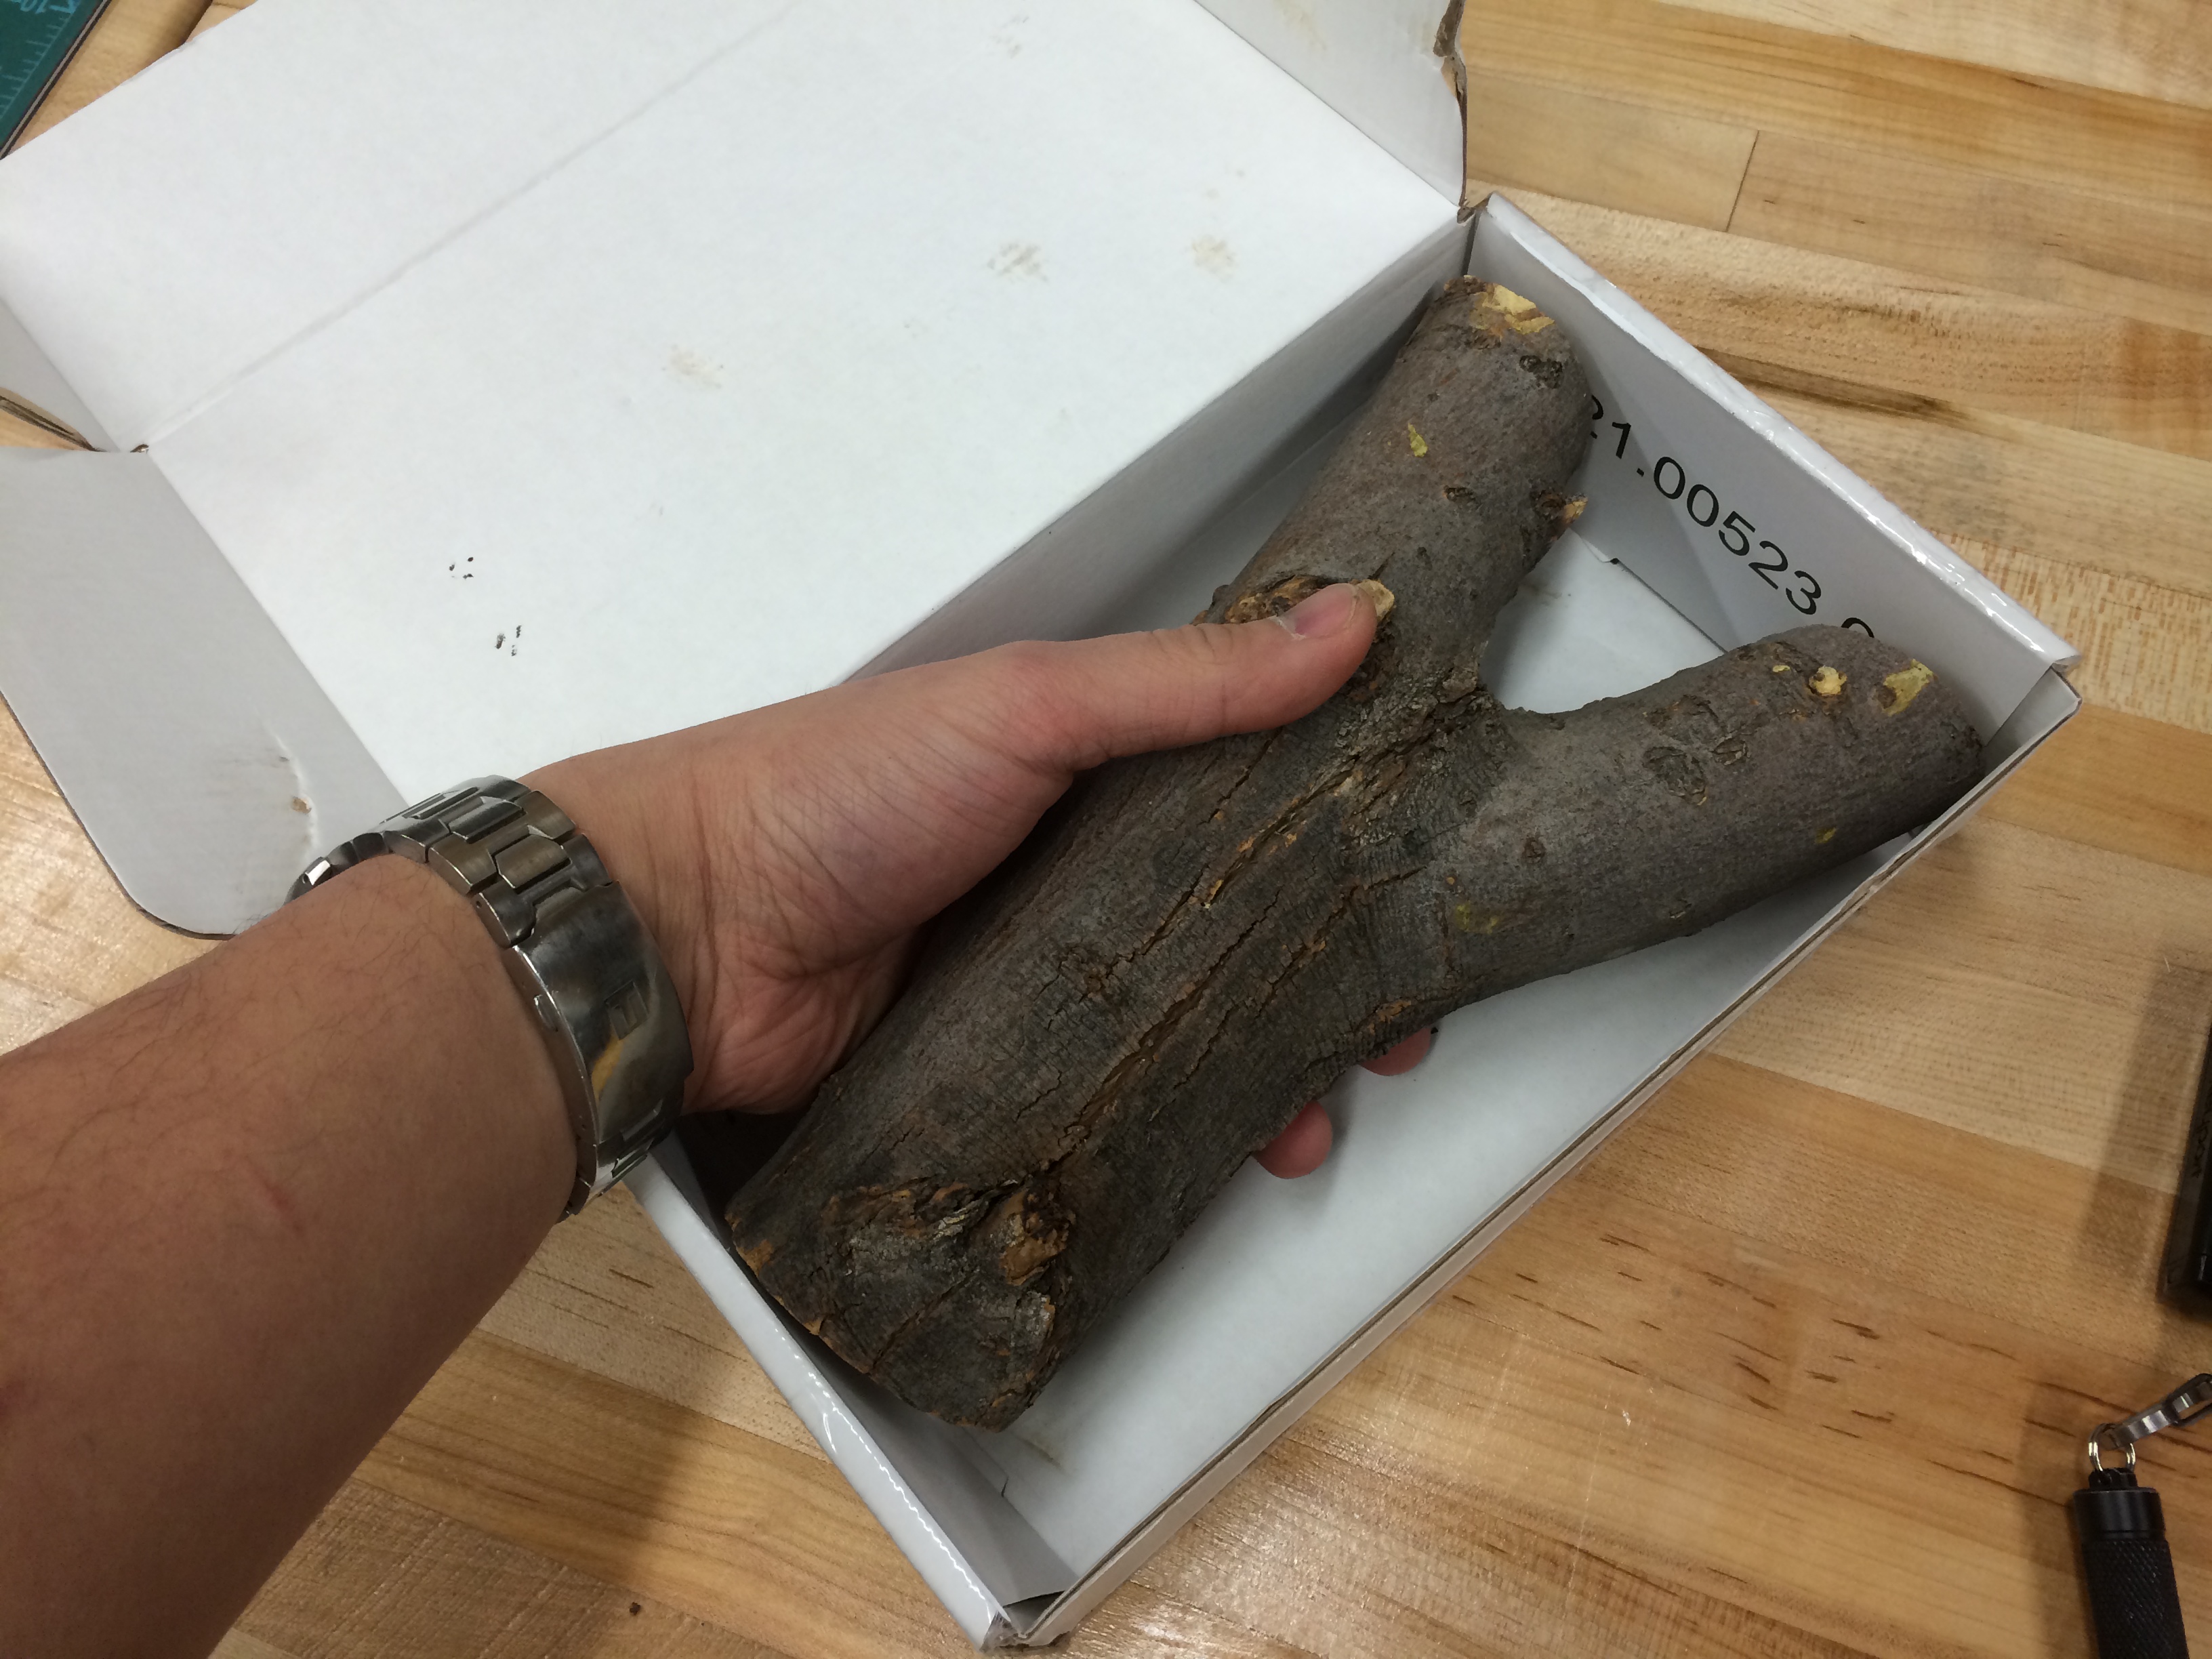
Working with uniformly planed wood is often very nice, however the surprise of a natural fork is always welcome. True hand carved natural tree-fork slingshot are timeless, but they just don’t excite me as much. When a friend sent me a huge mesquite wood fork, I knew exactly what to do with it.
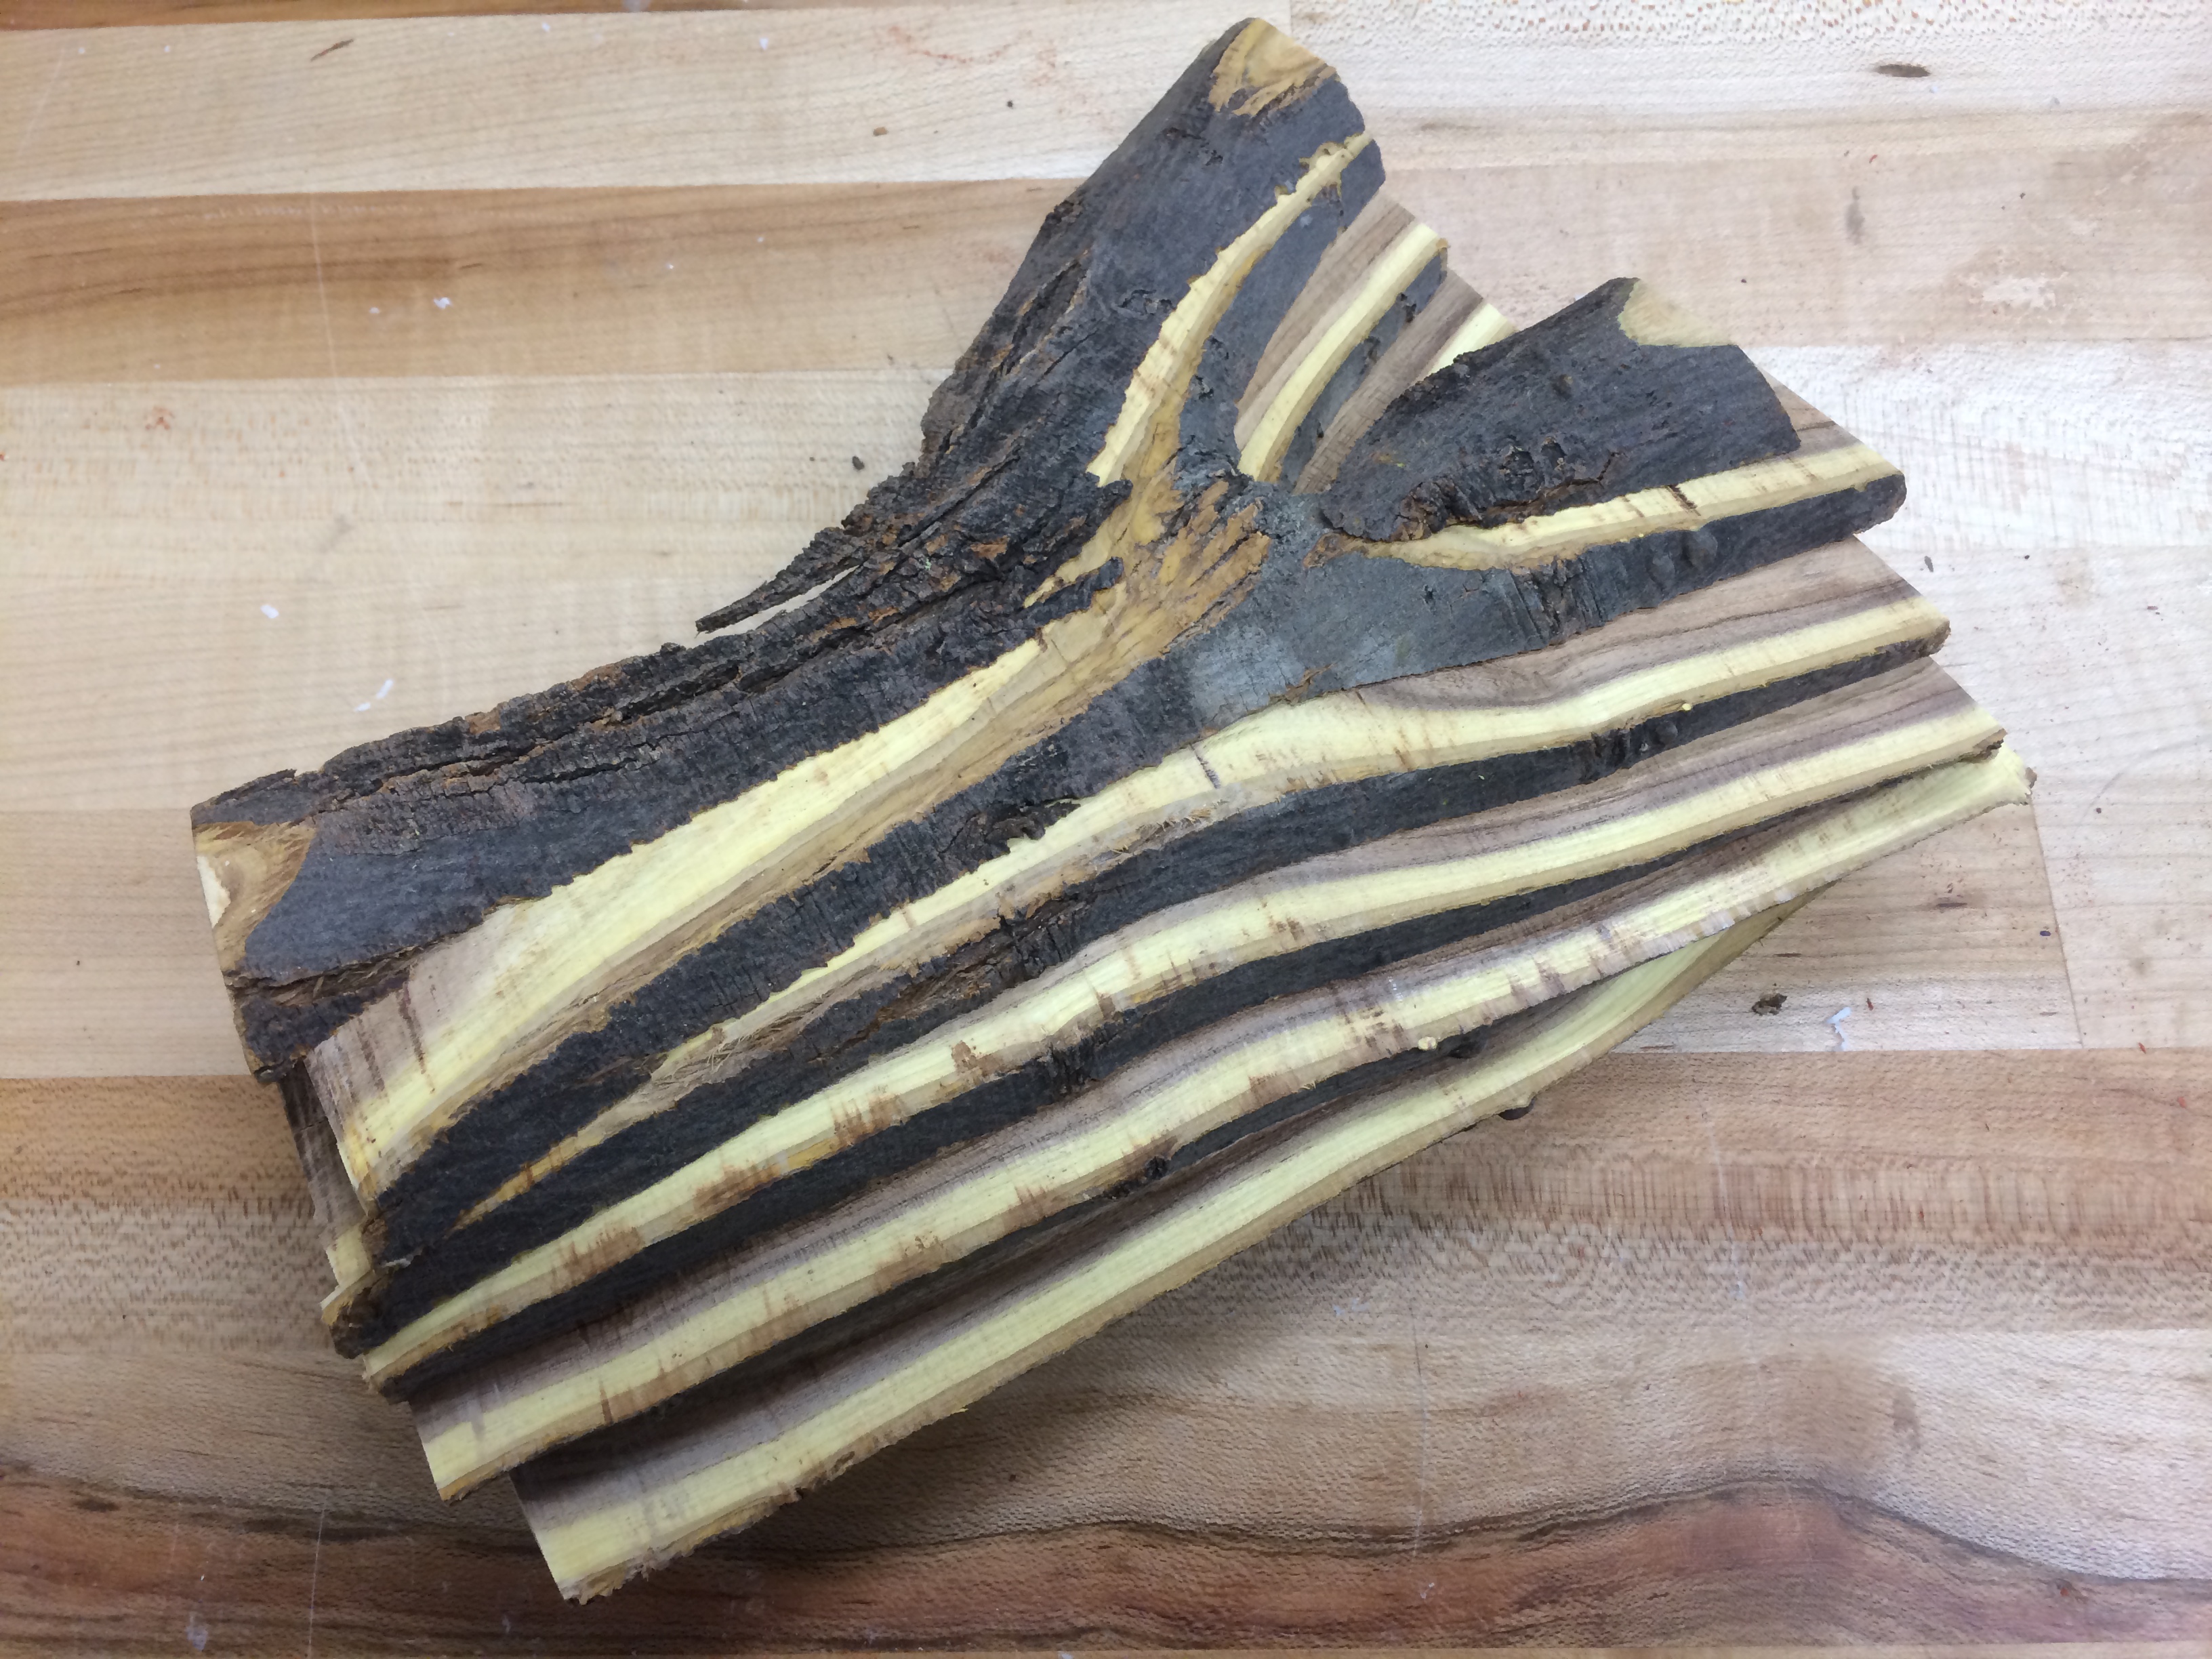
I have been wondering if this technique would work but as soon as a new, huge bandsaw with a dedicated carbide tipped re-saw blade showed up at the shop…it was time to get going on this. I started by sanding a little bit of a flat spot on the high spot of the fork, this could be used to ride on the fence for splitting.
After the first slice, I got REALLY excited. I’ve never worked with mesquite before so this was a complete surprise.
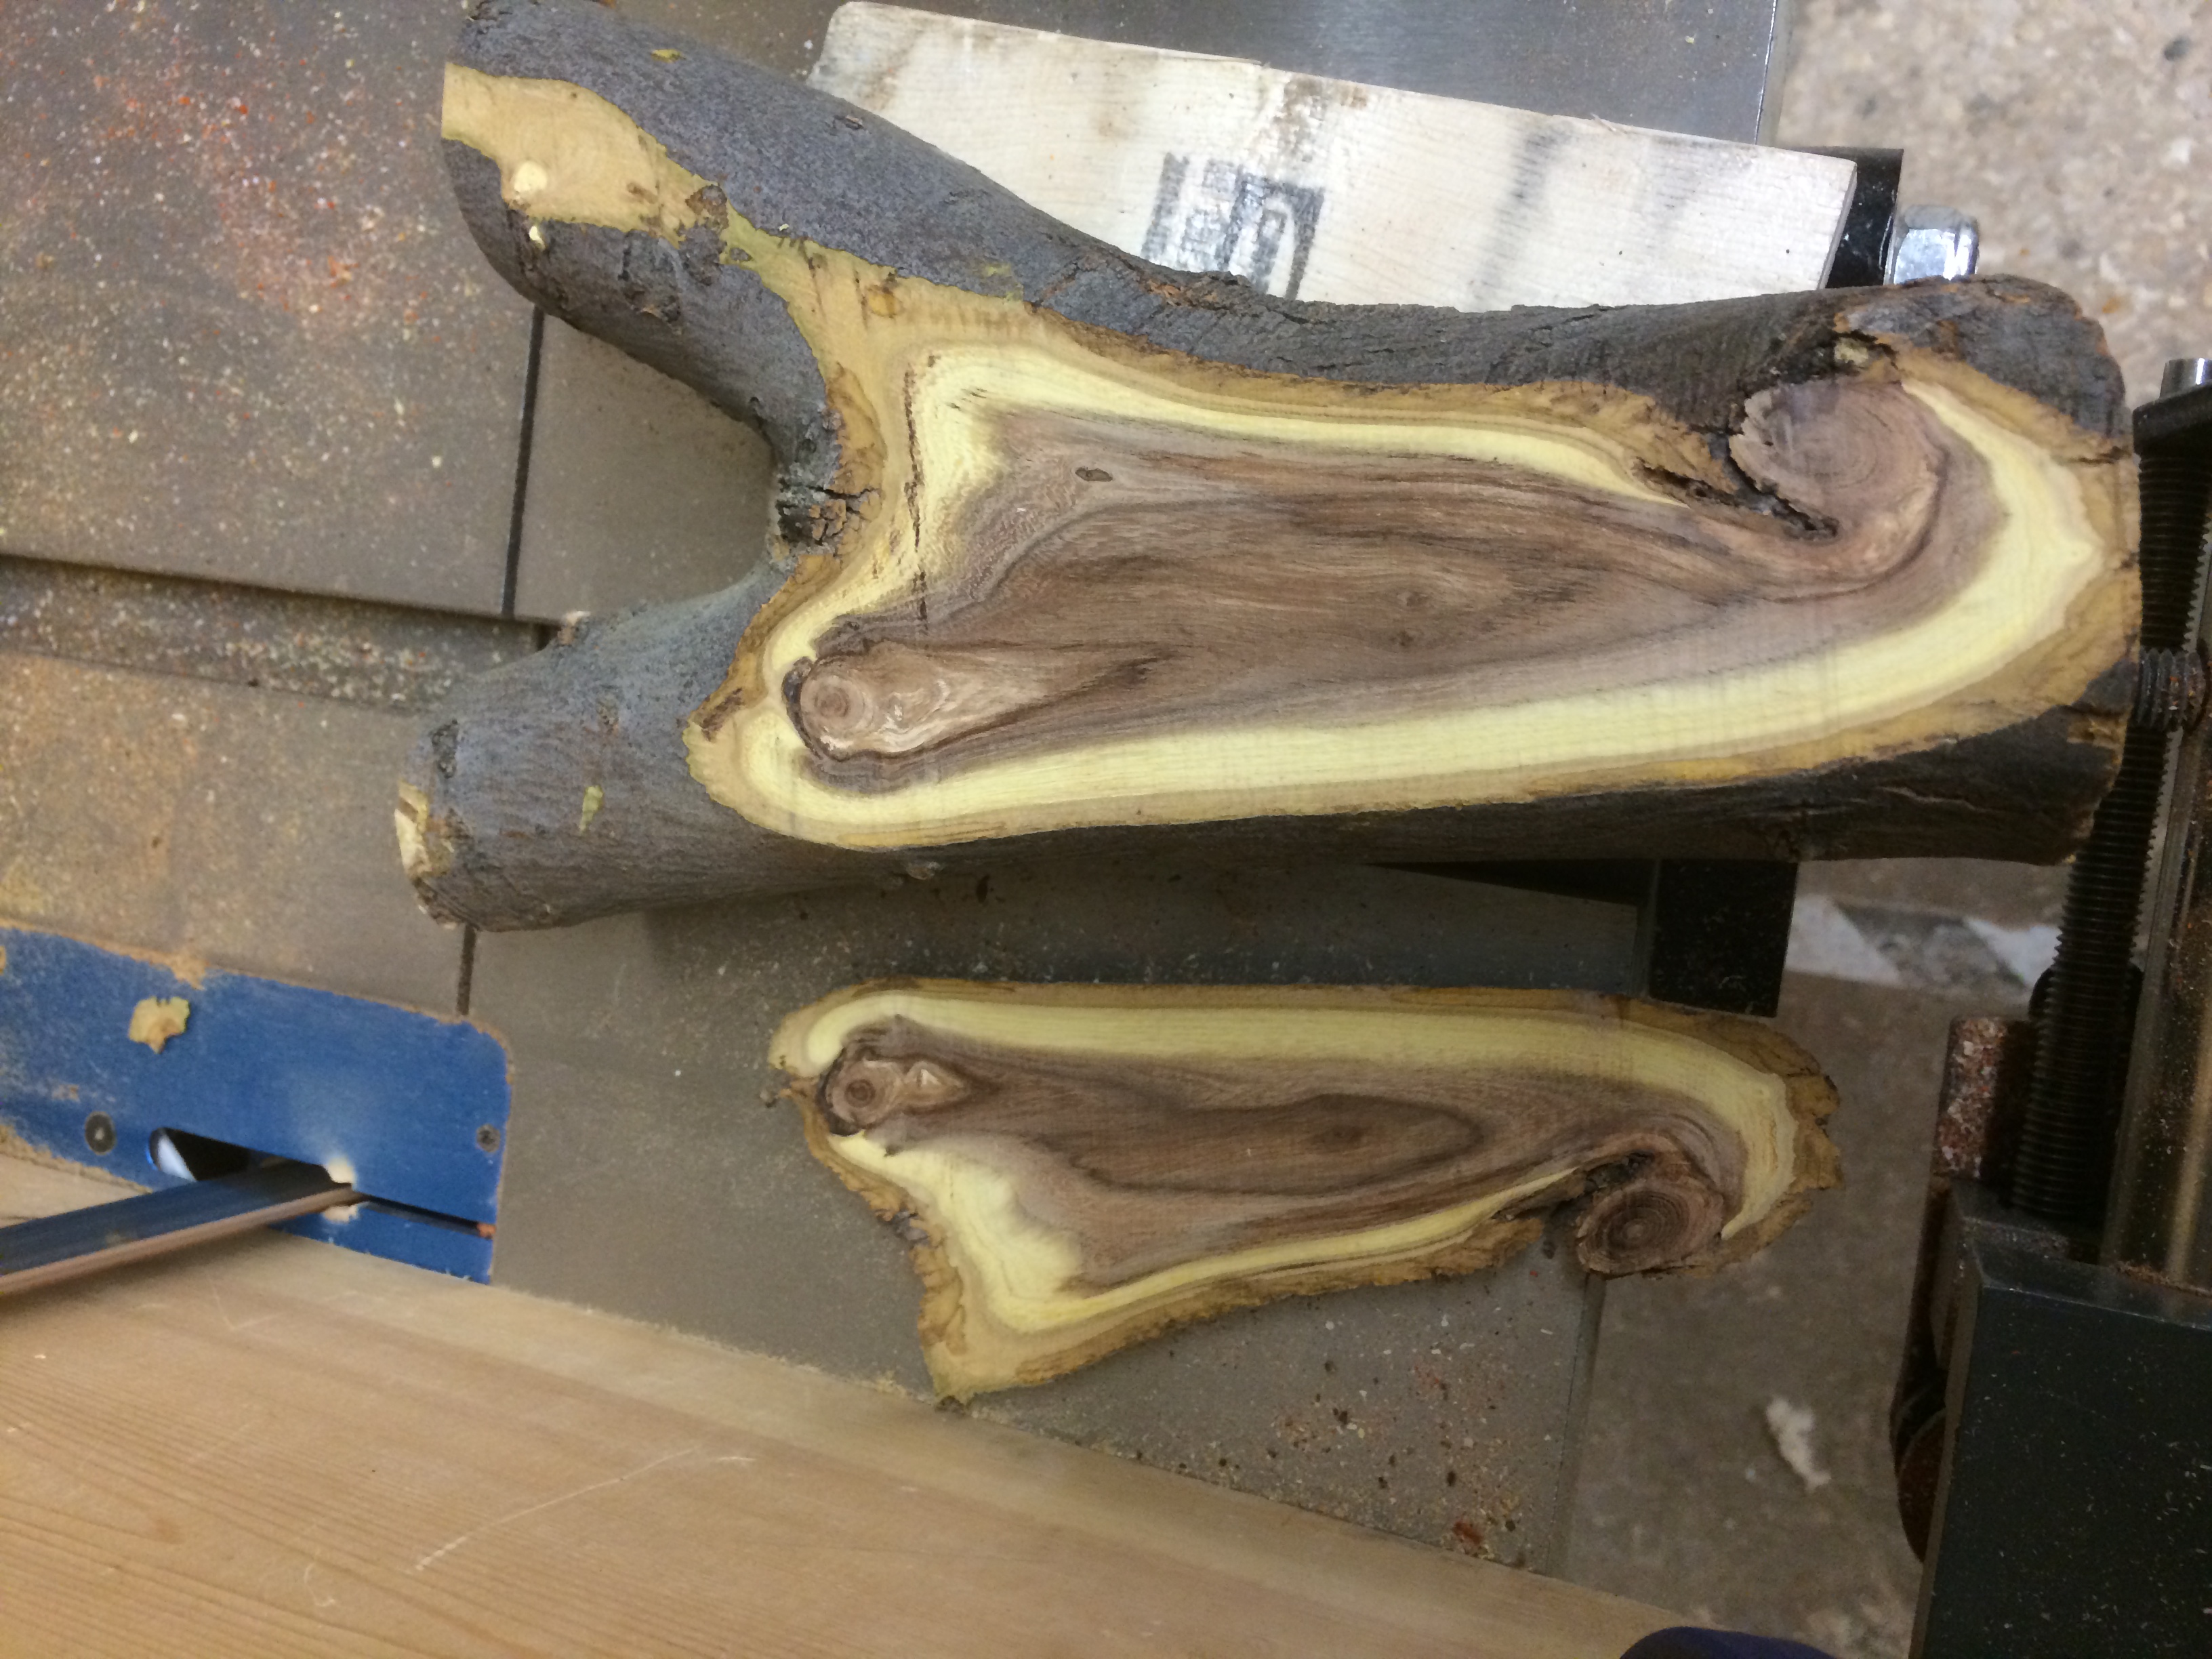
Things got even more interesting as the second slice came off.
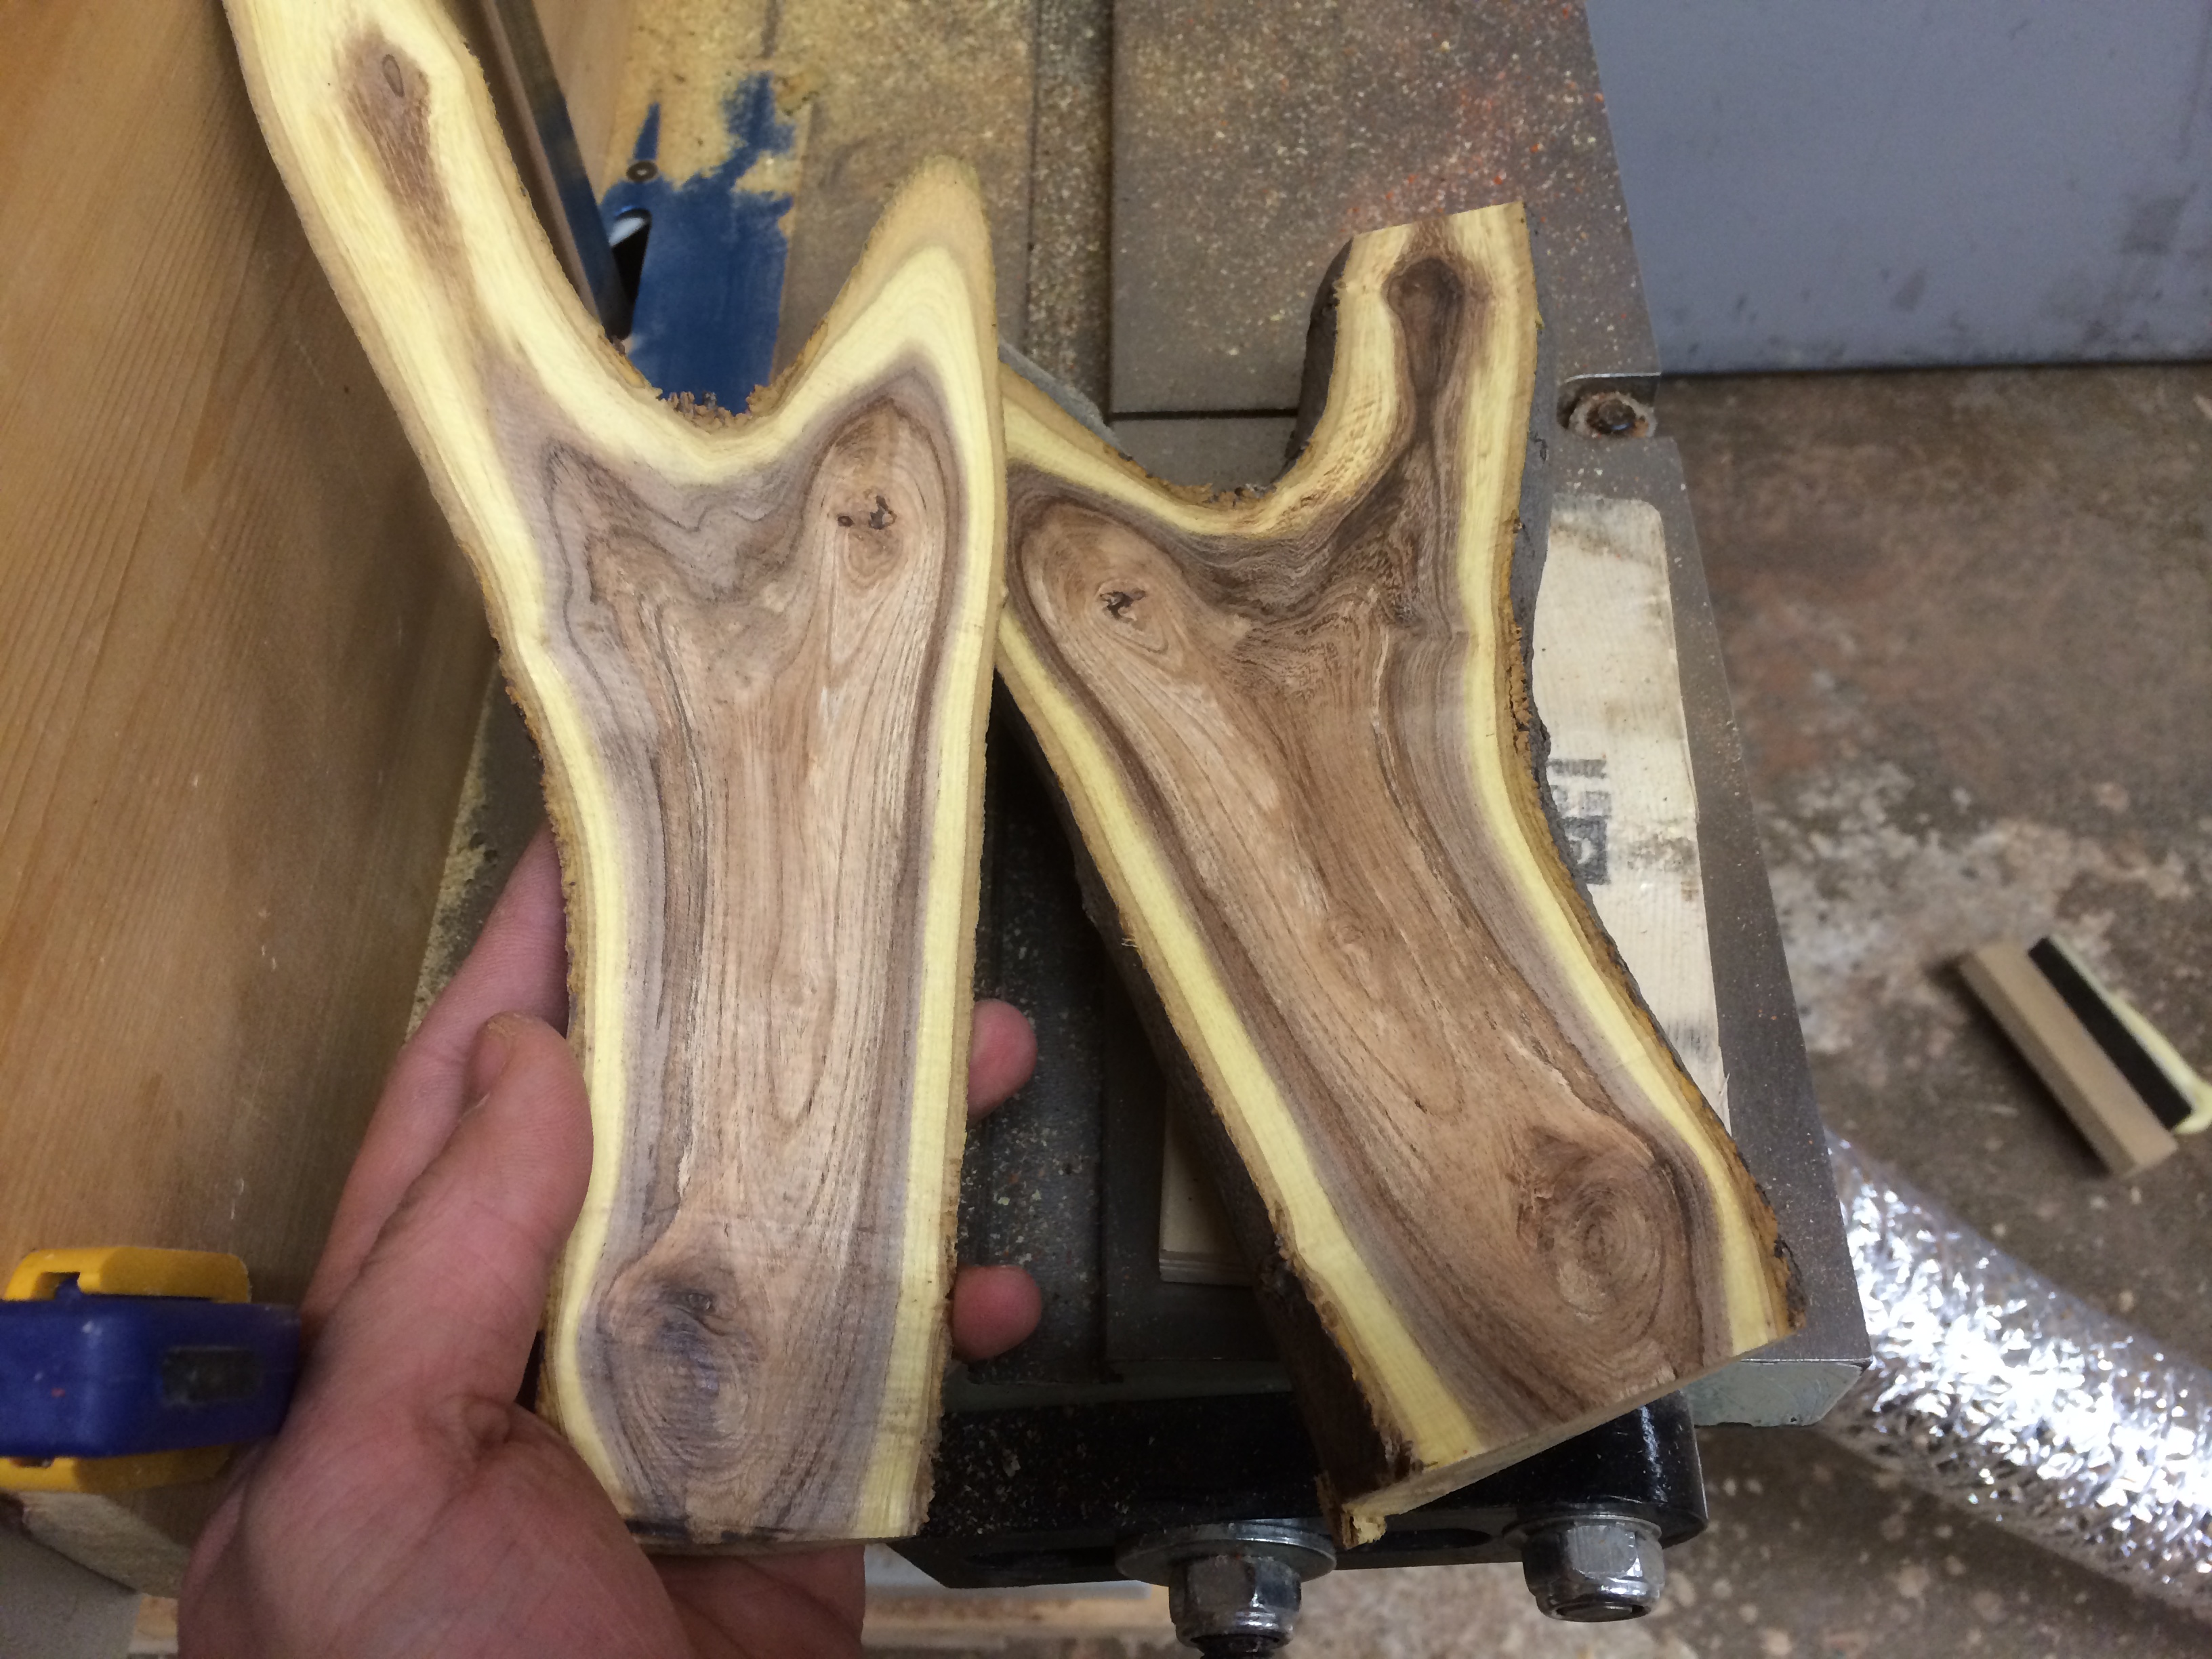
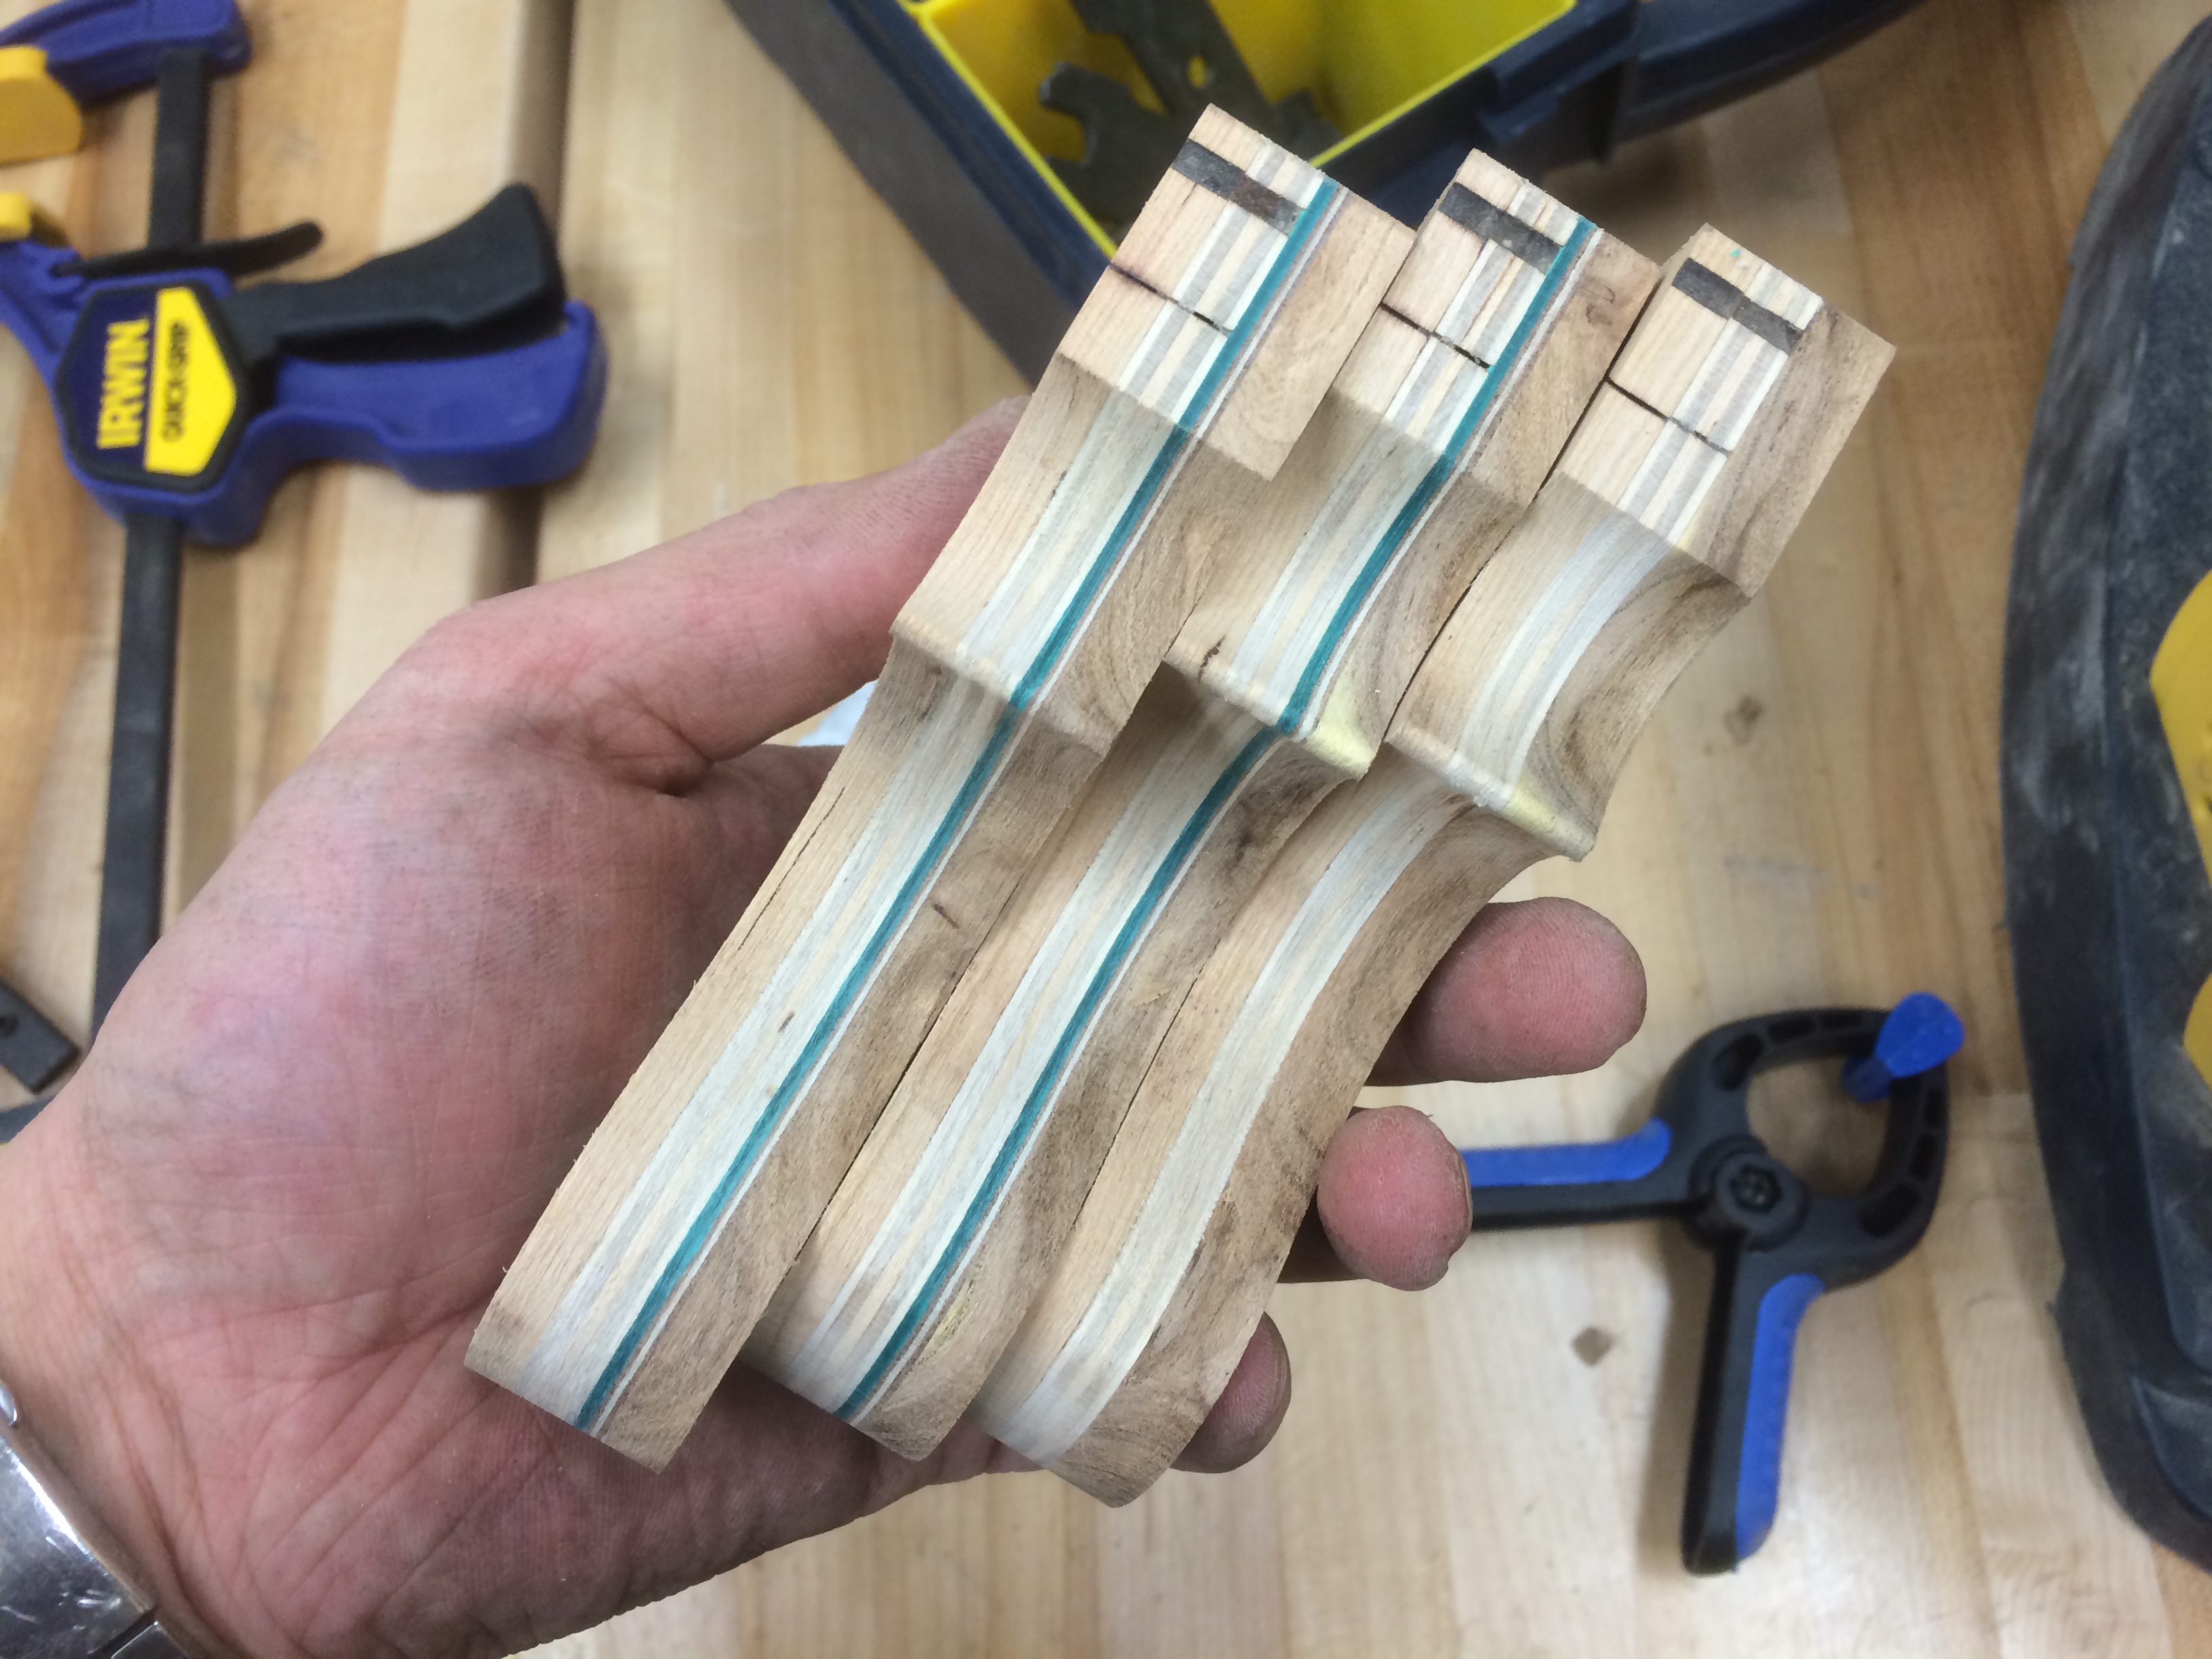
4 slices later, a fork became a leaning tower of wood.
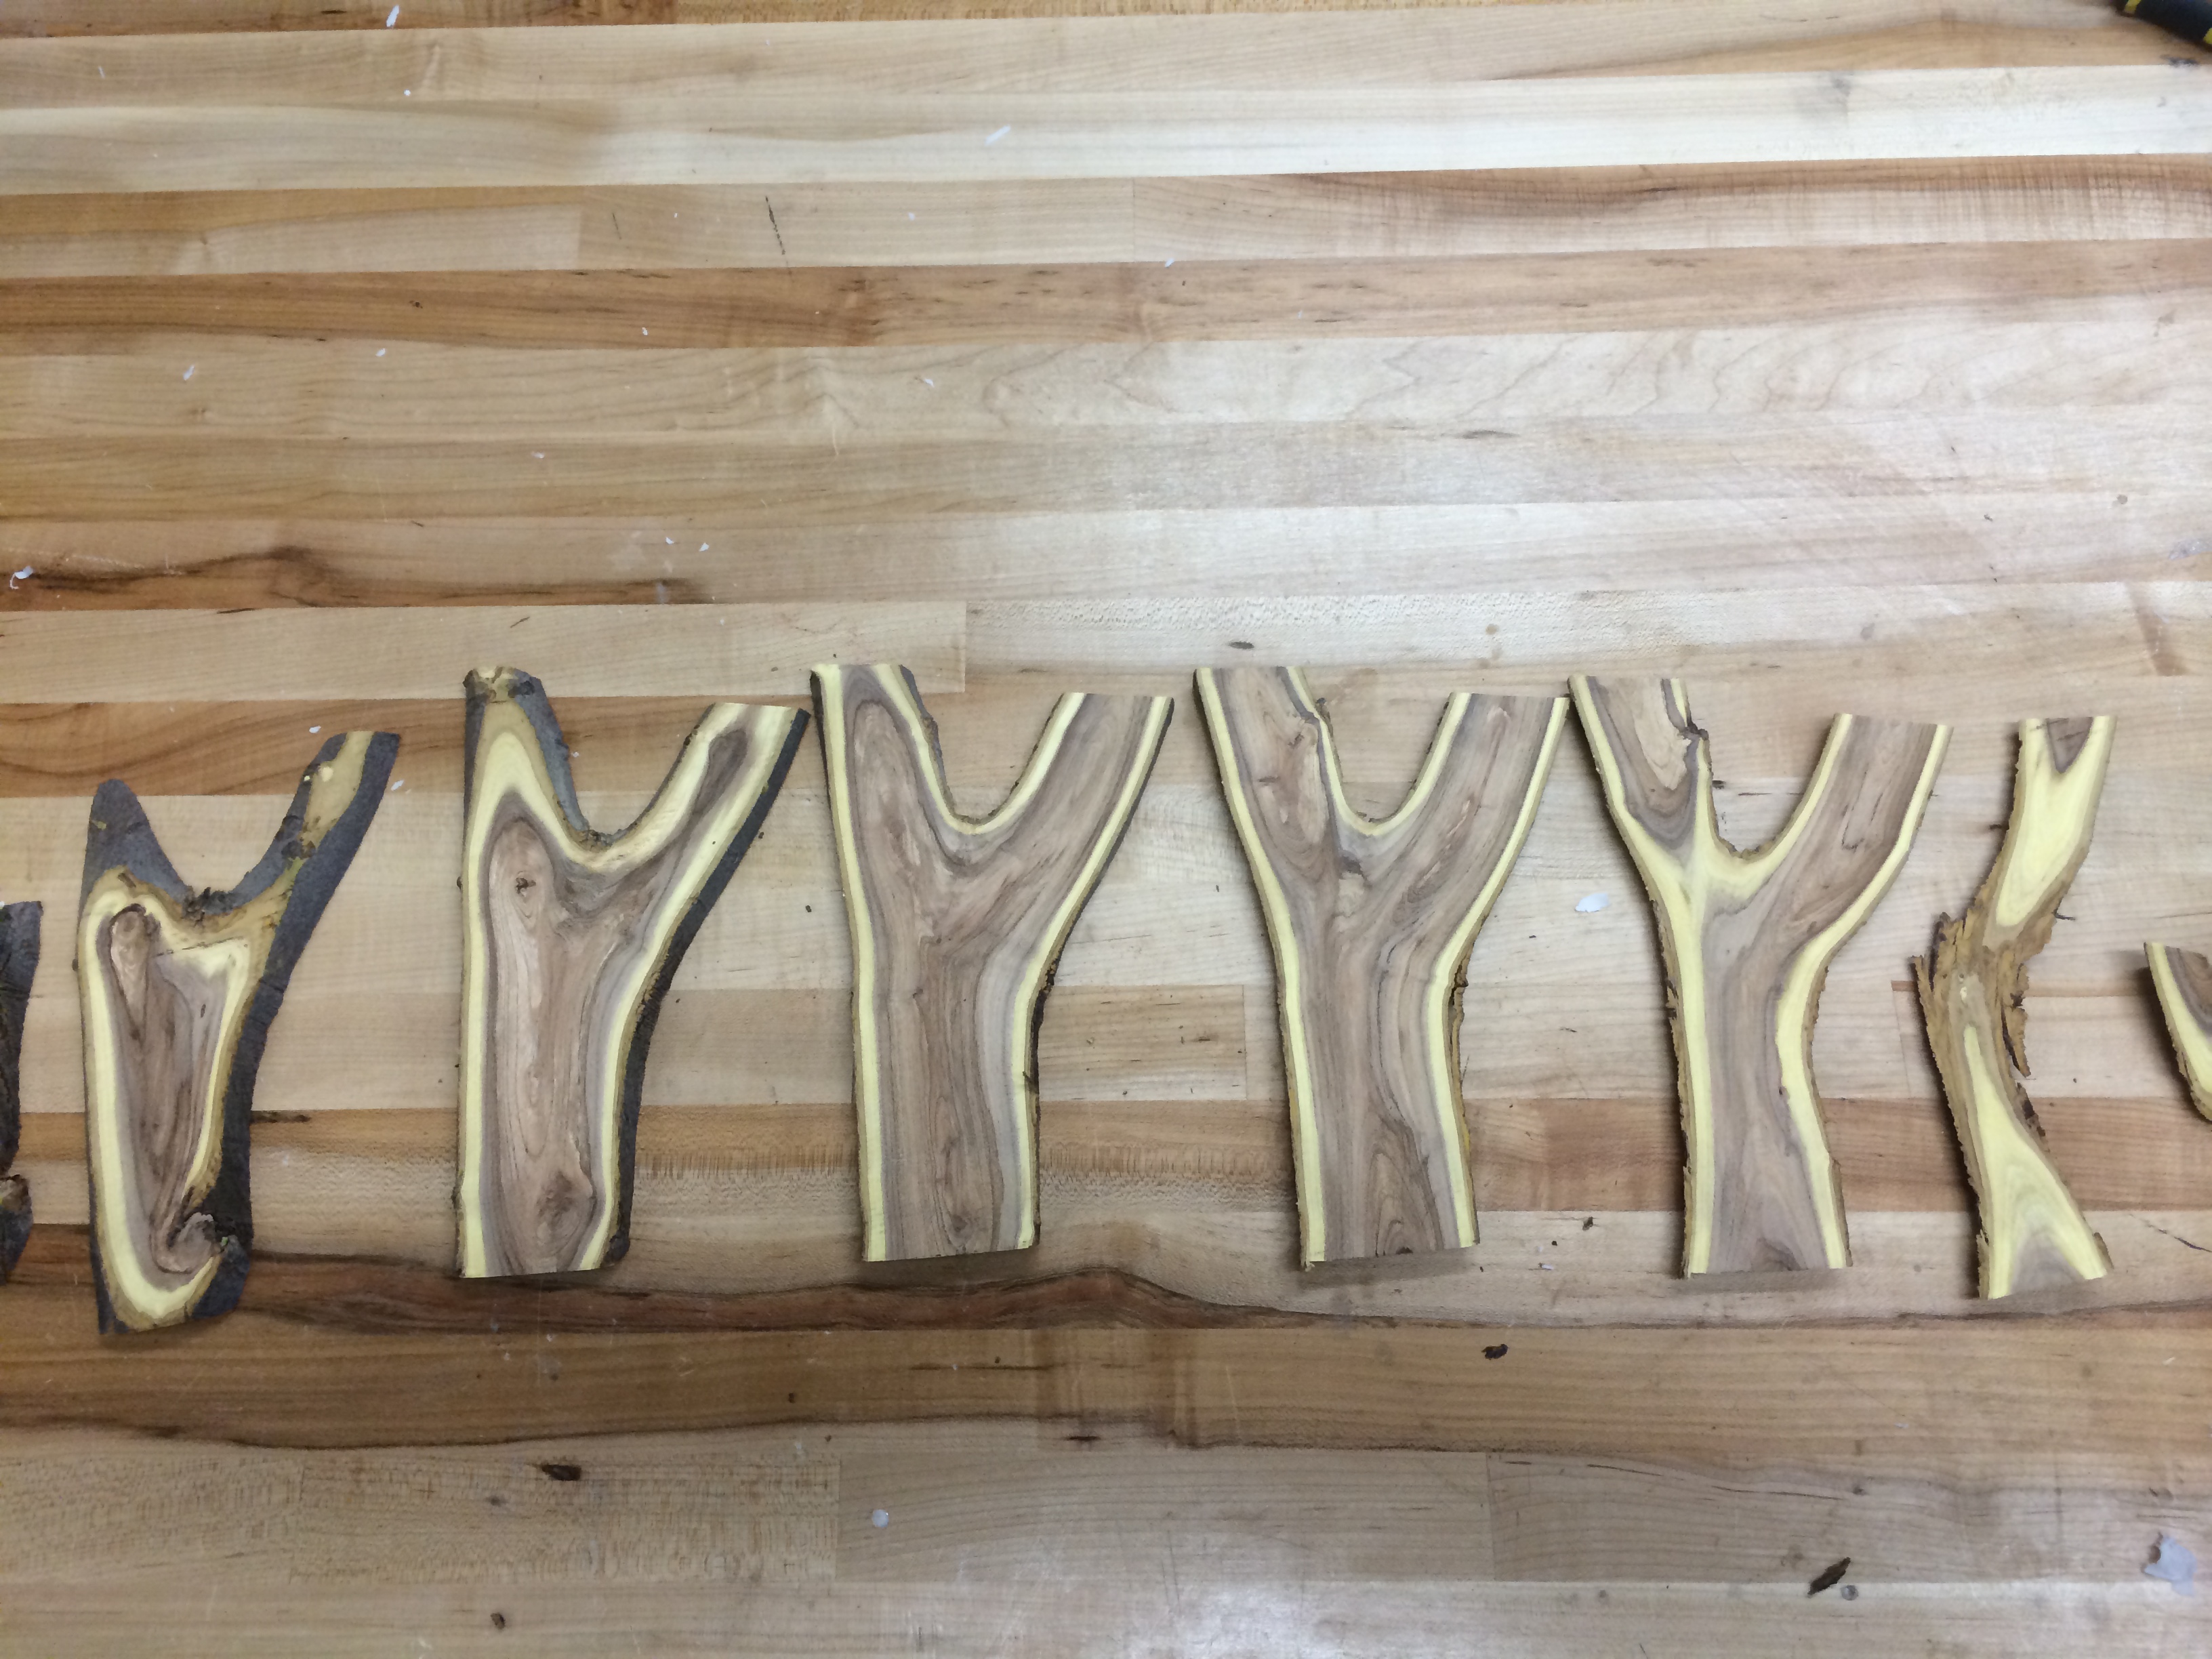
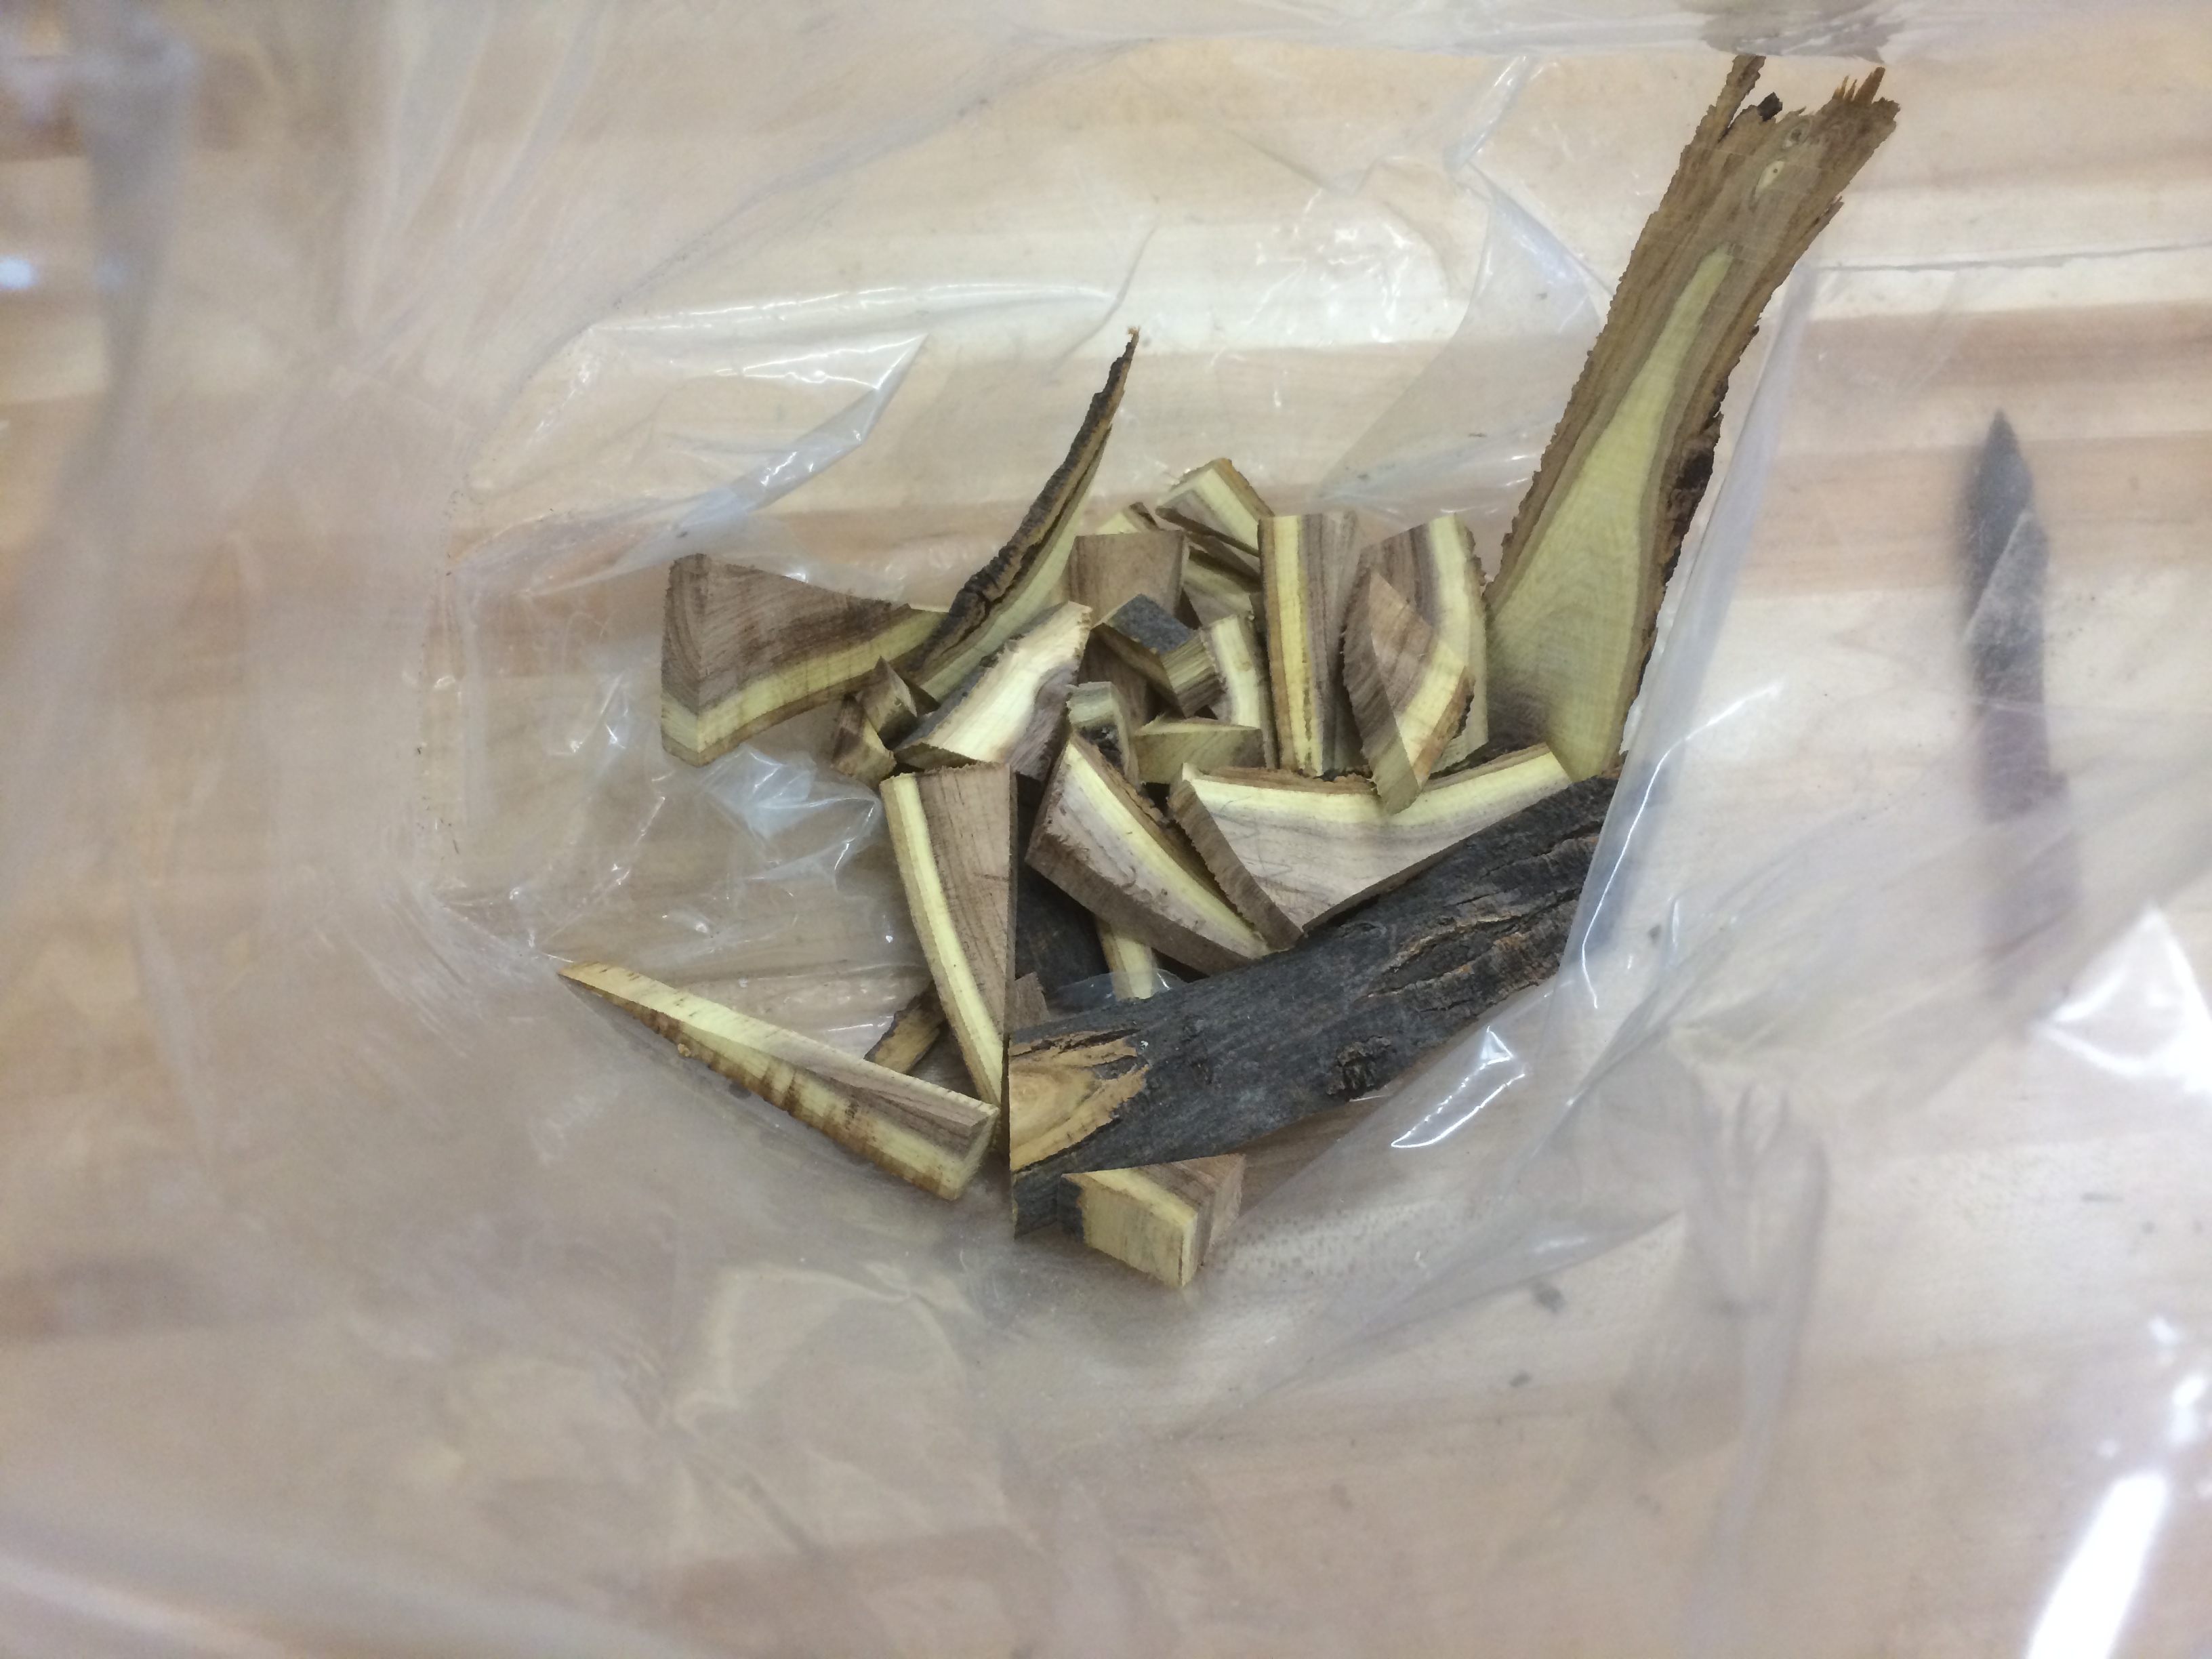
For this run of slings, the three middle slices are useable. There is still one more smaller slice for another project.
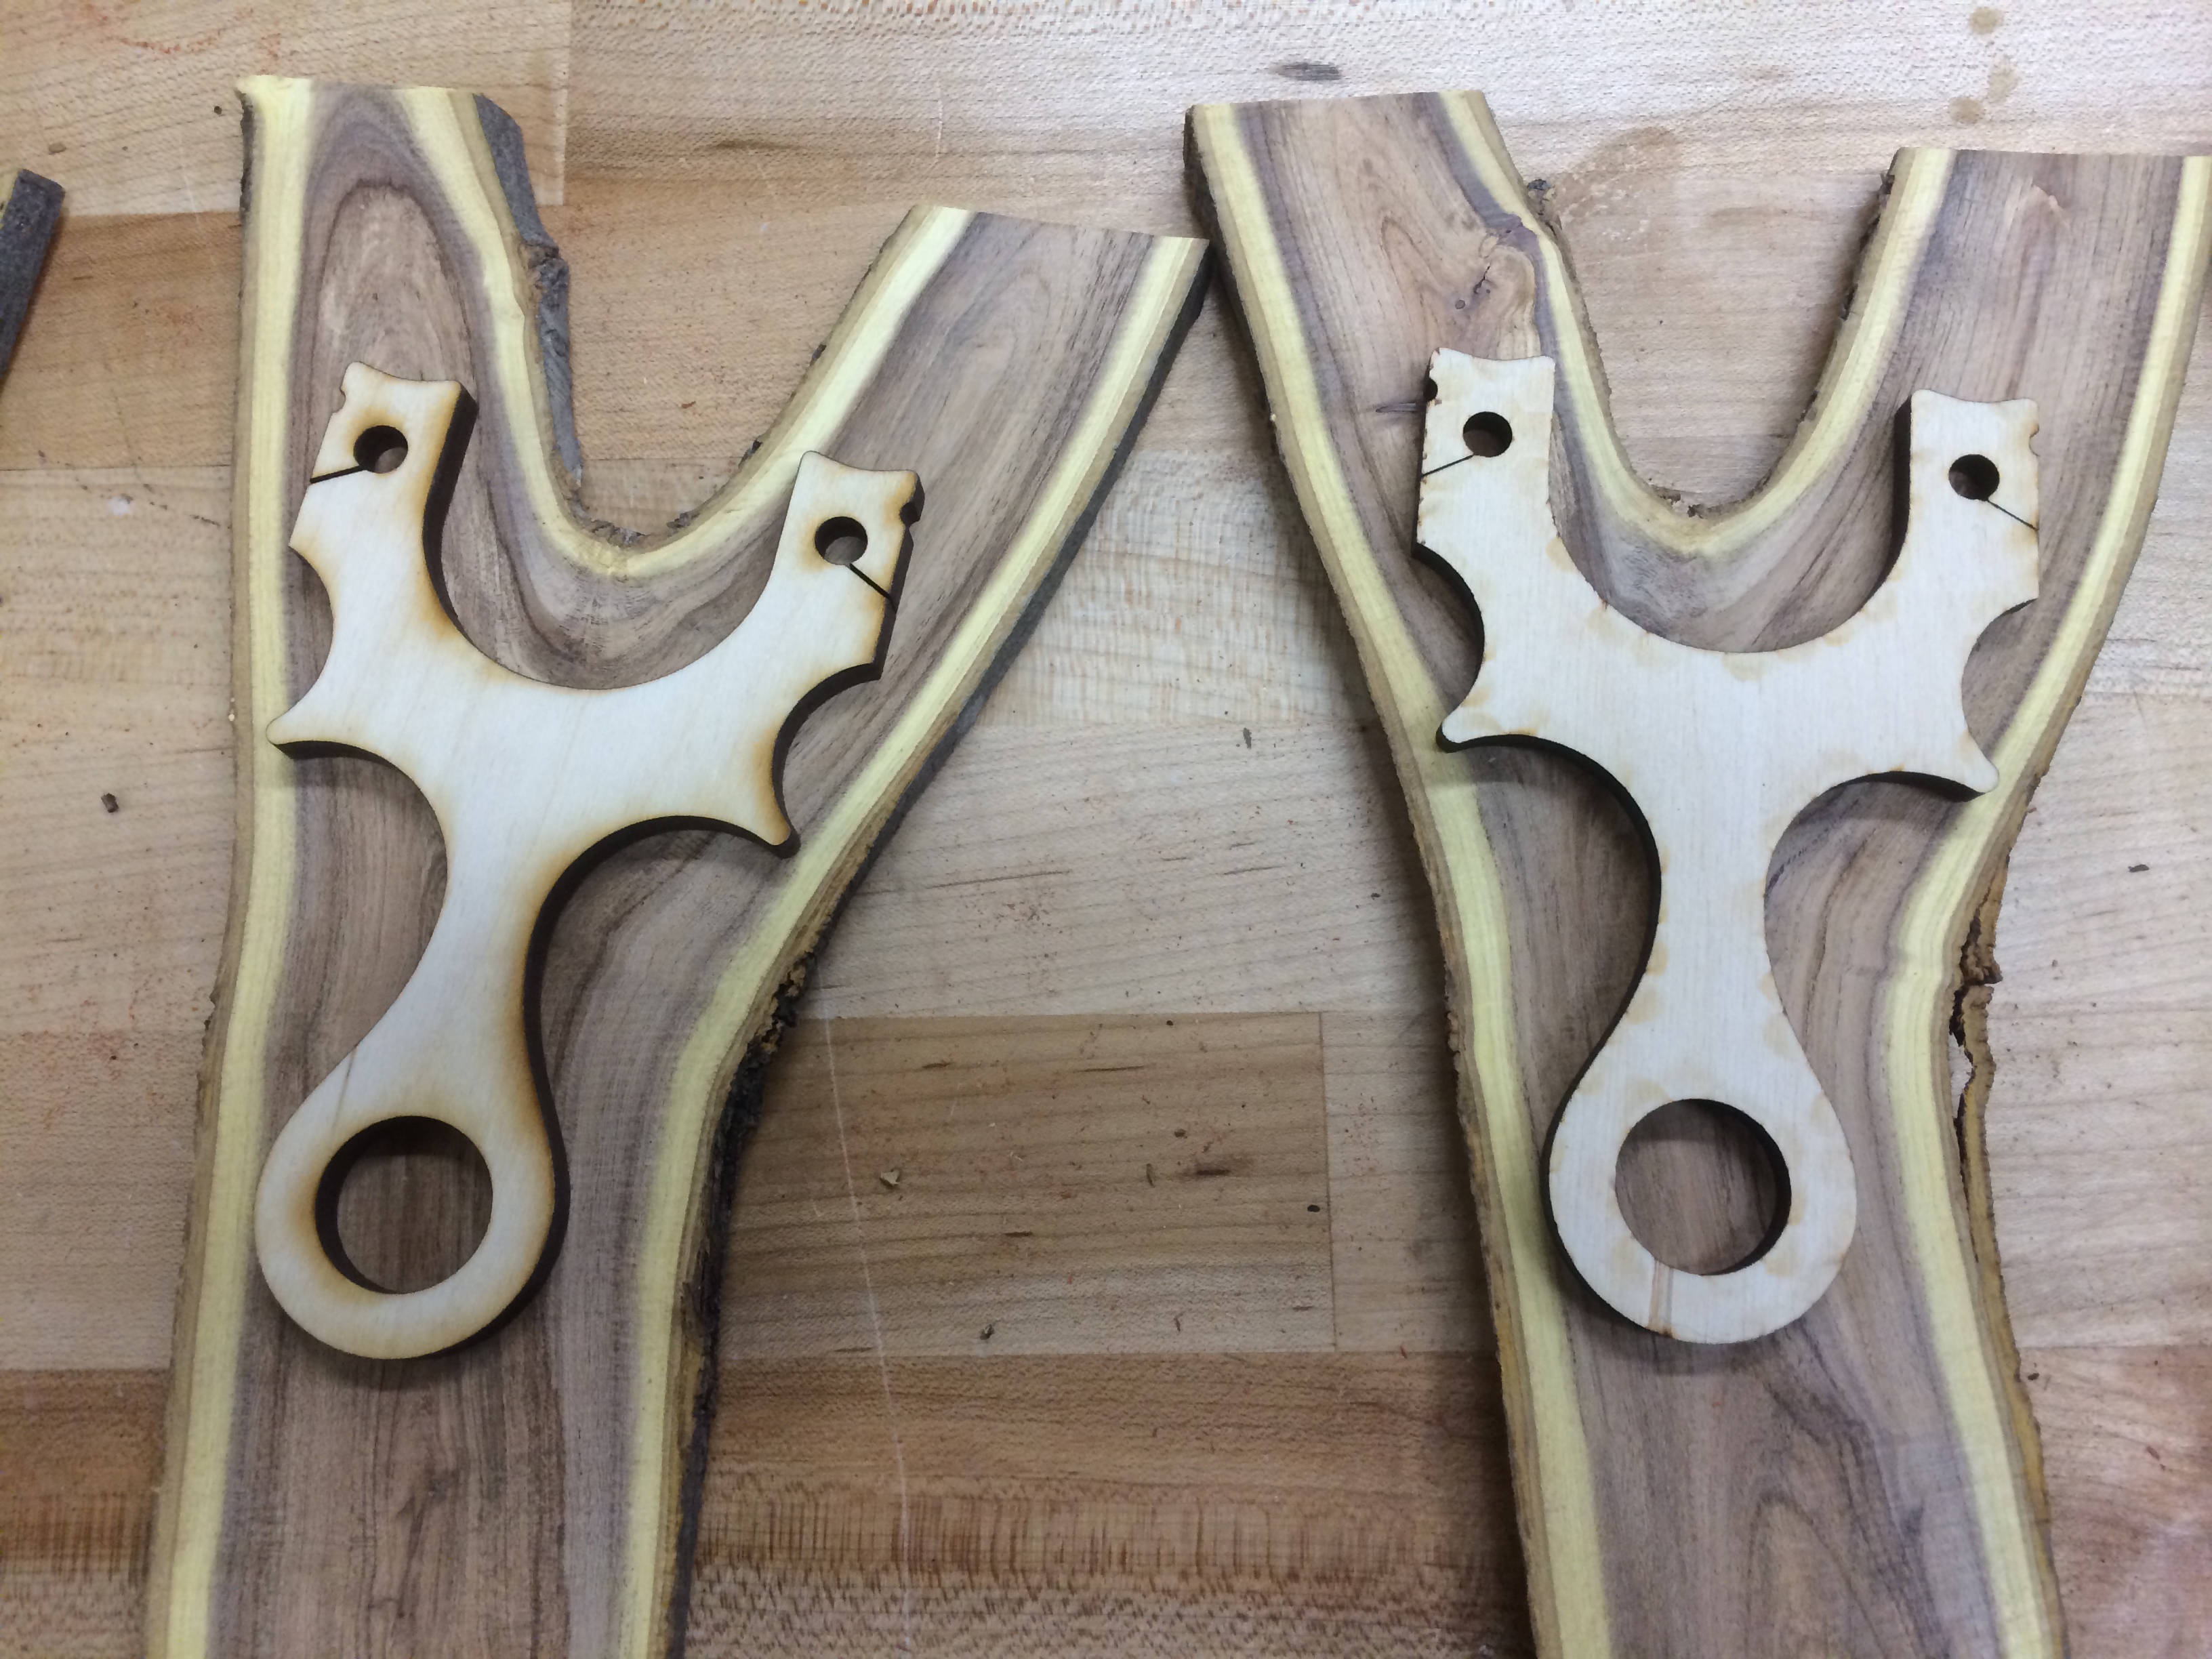
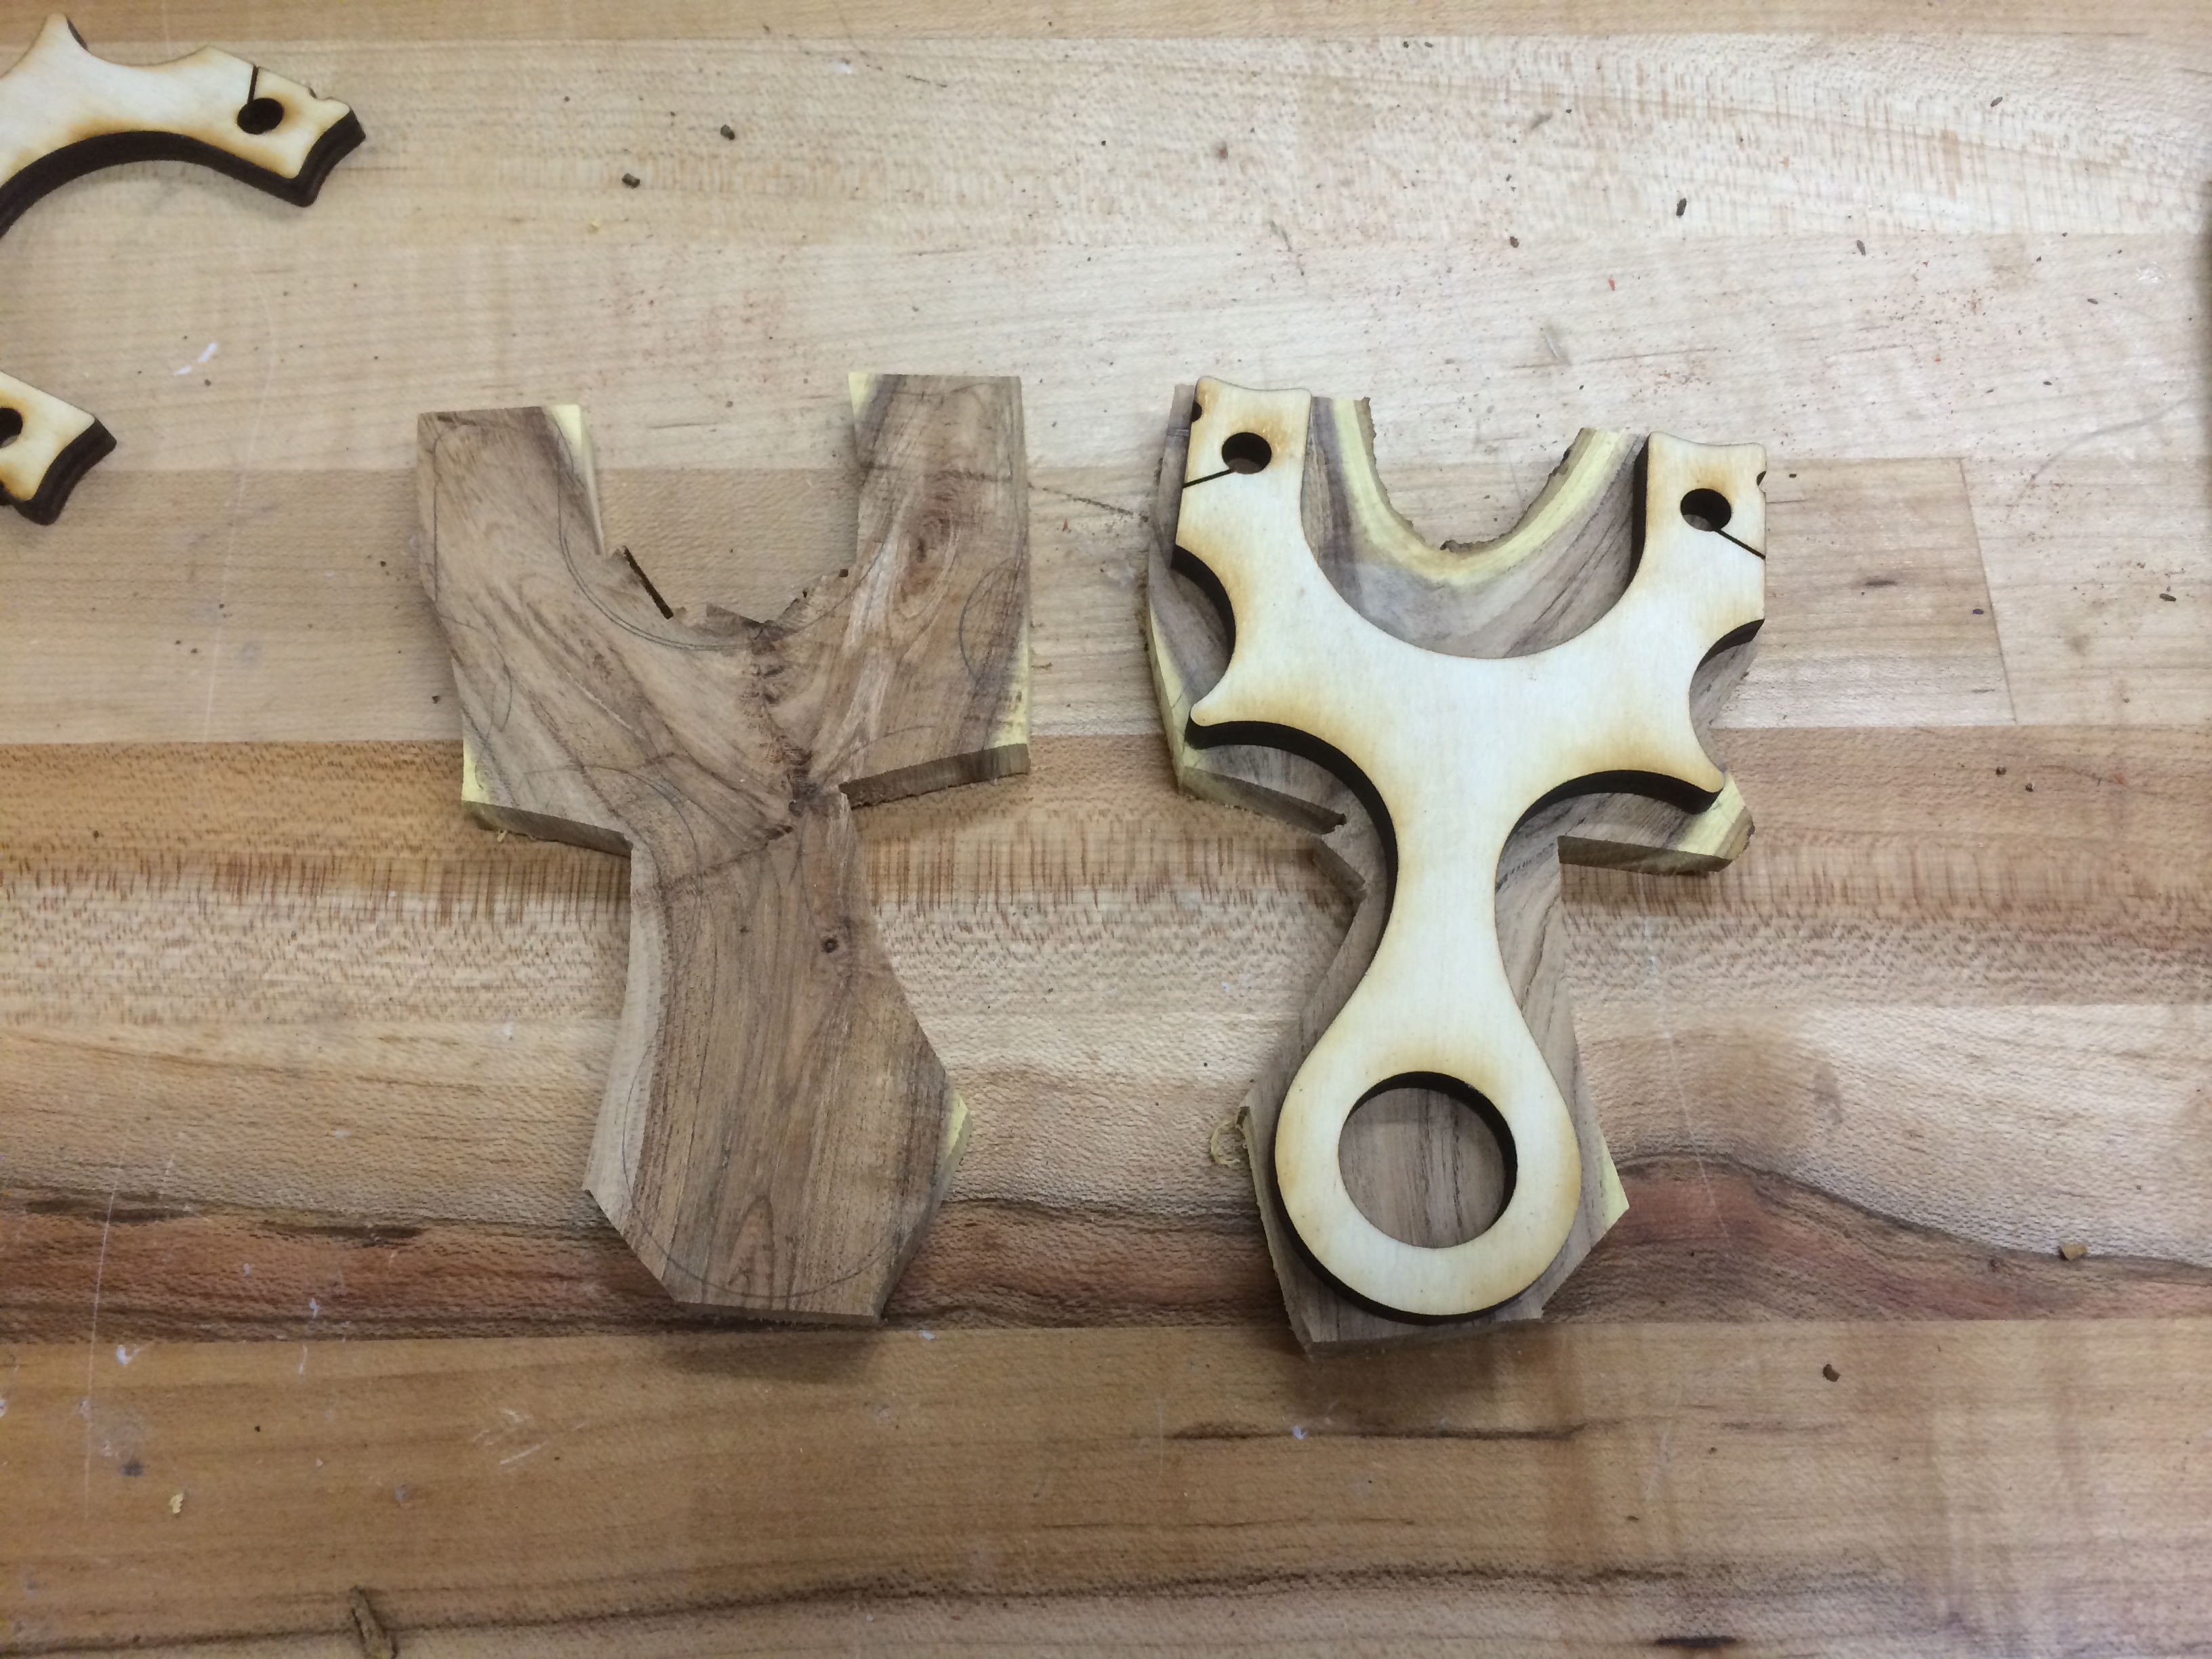
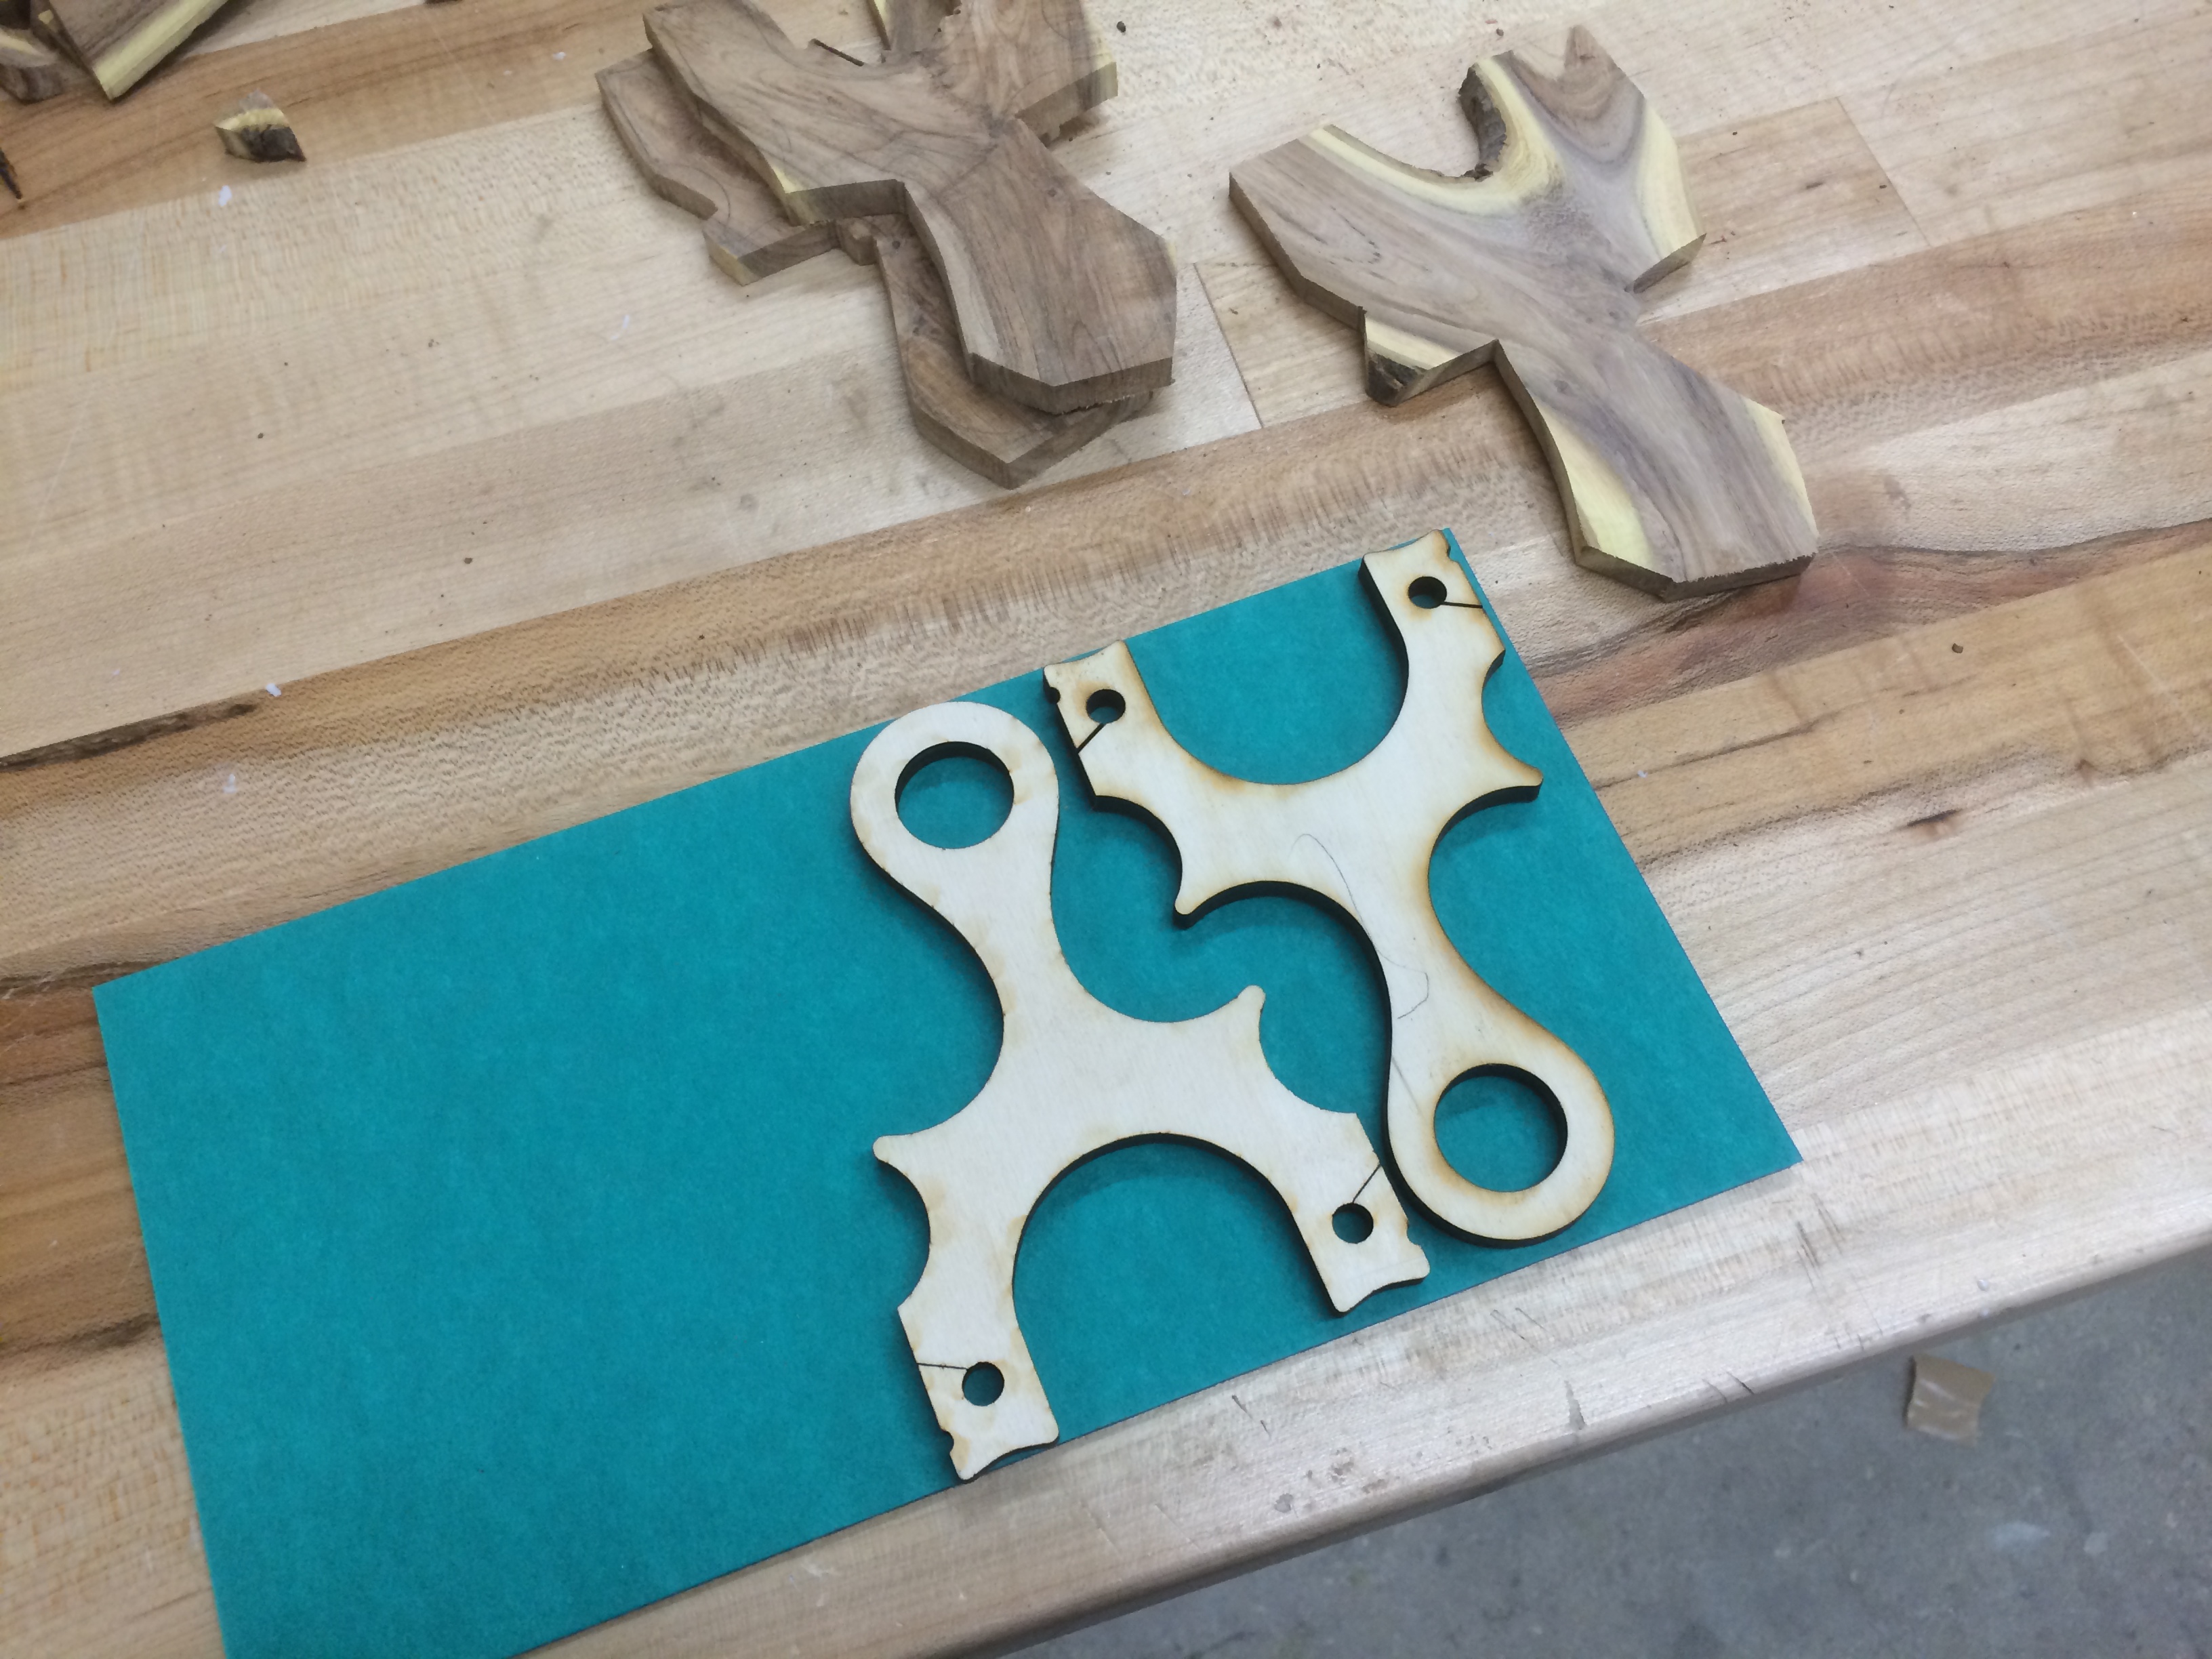
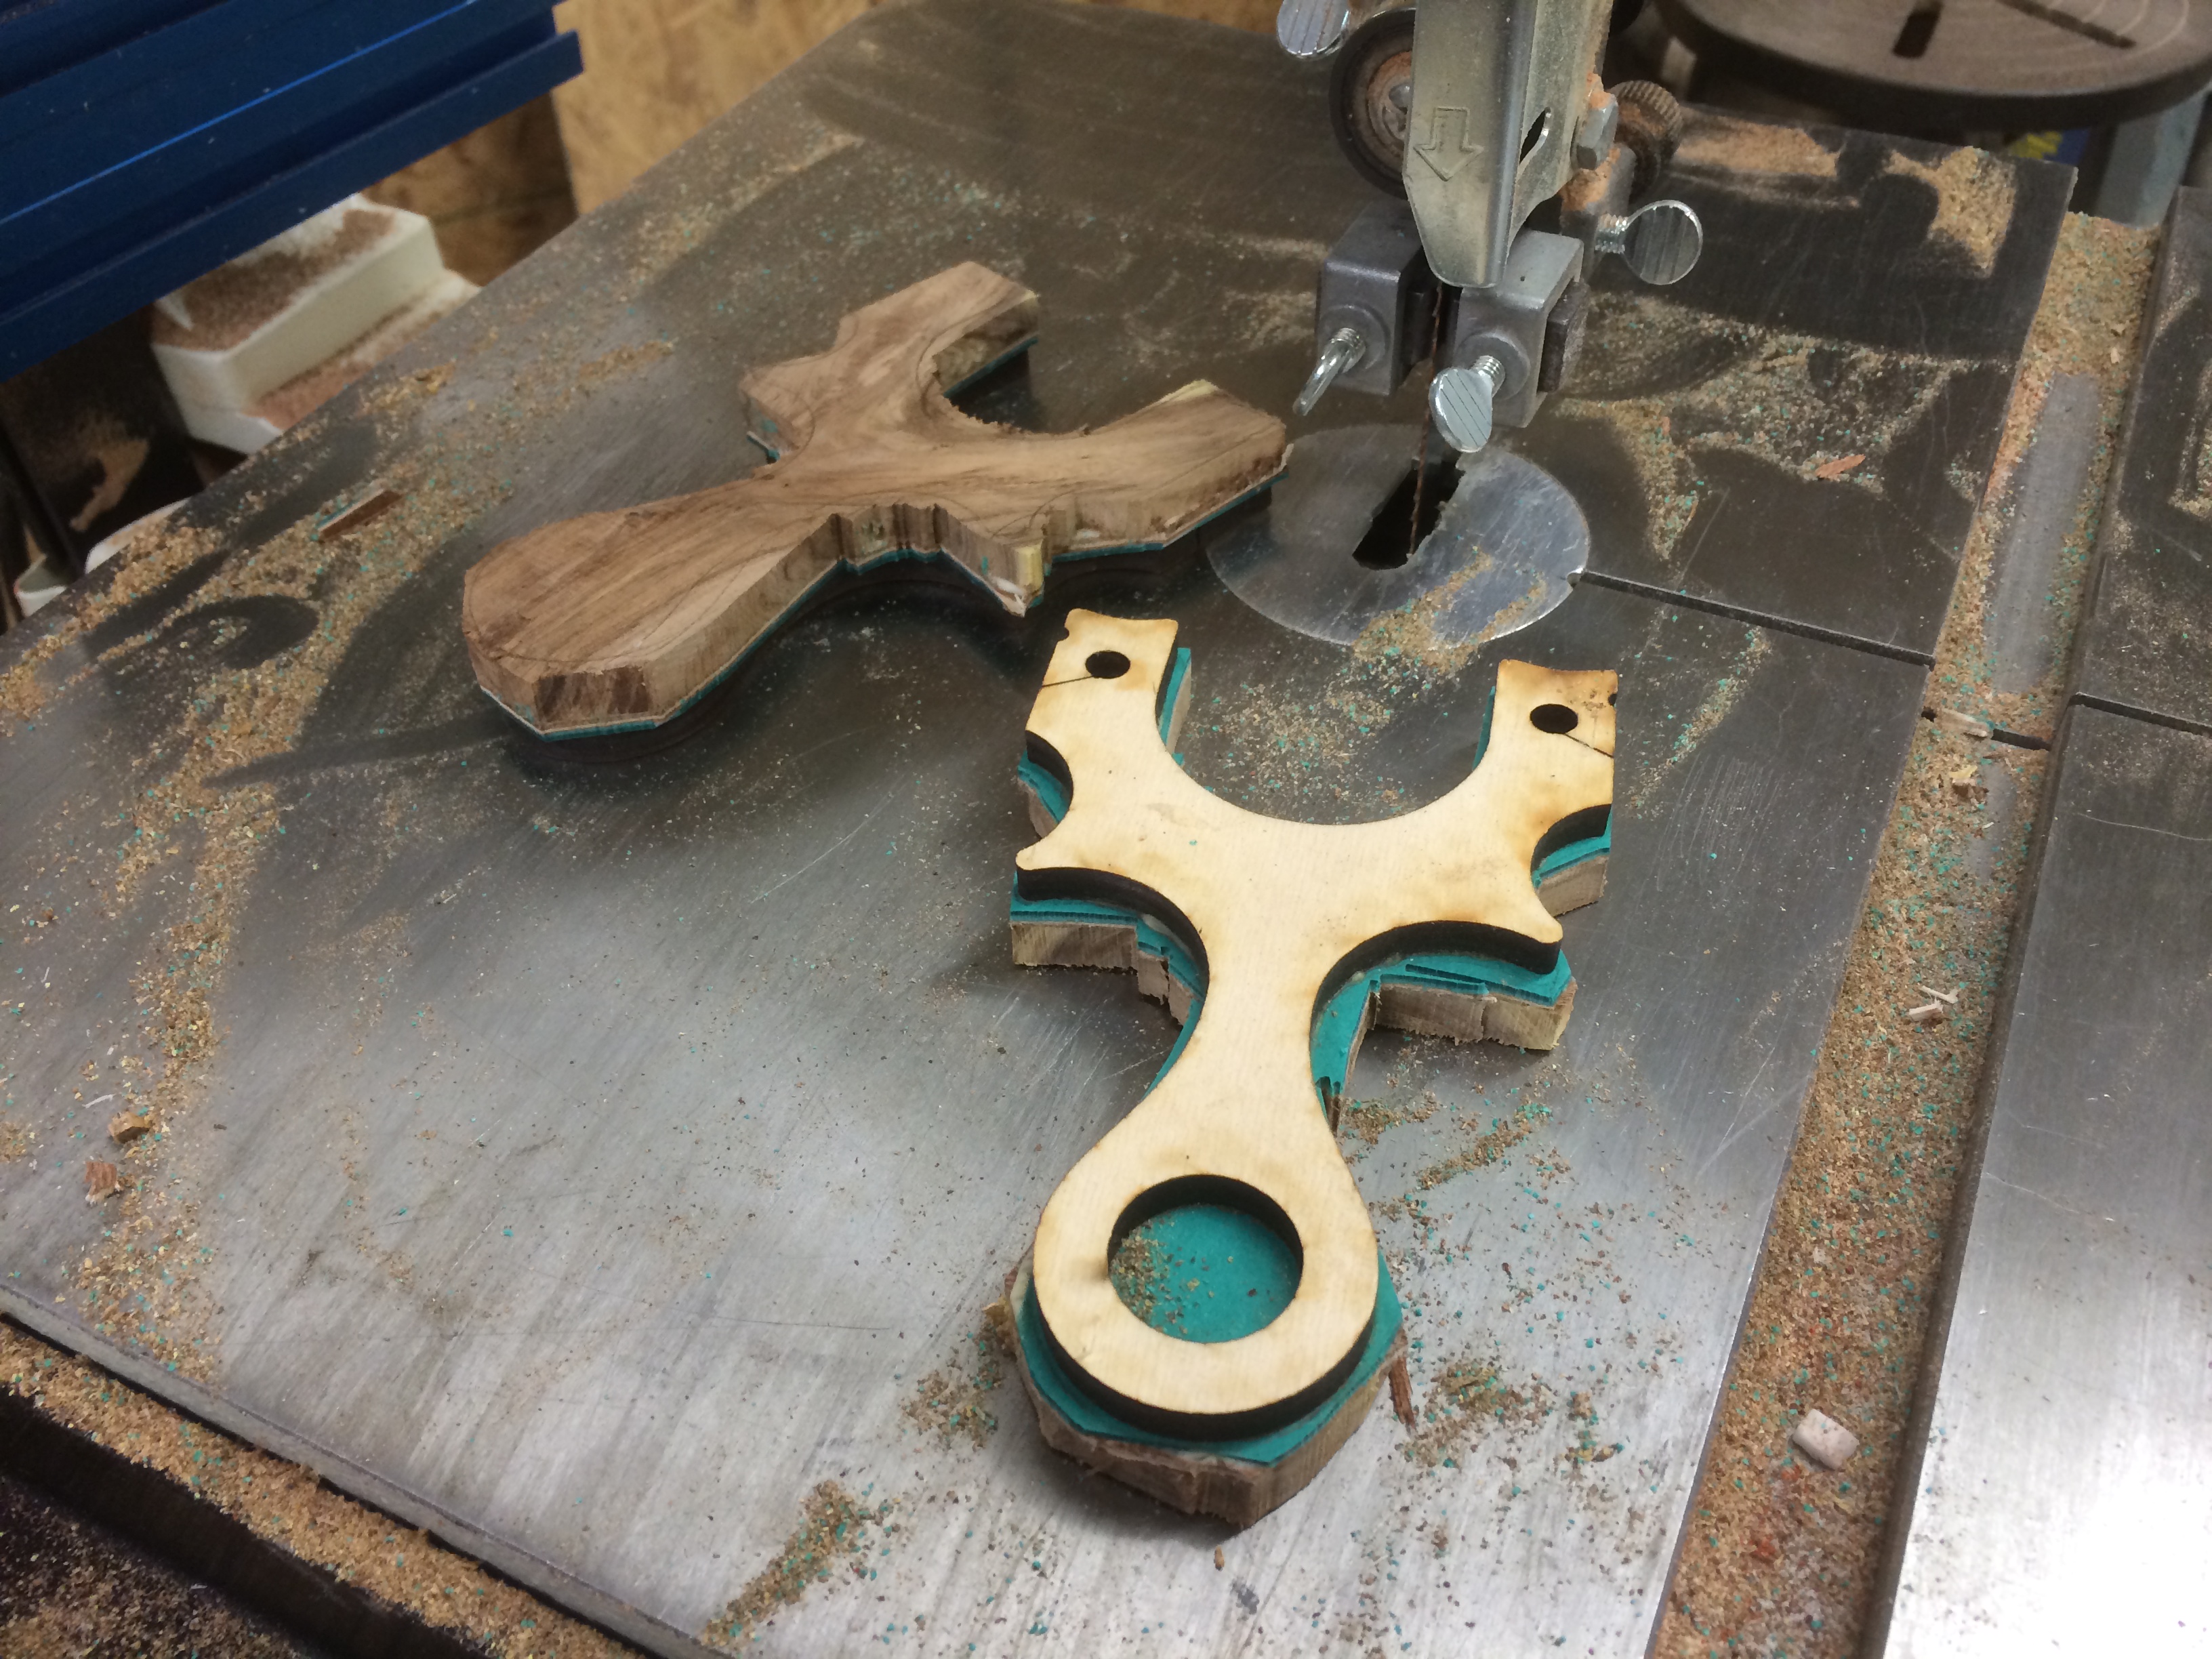
Pre-laser cut Baltic birch cores show up and mark their territory, the scale is perfect. The pattern gets penciled on, ready for band sawing.
Rough cutting on the band saw, trying to save as much of the mesquite as possible.
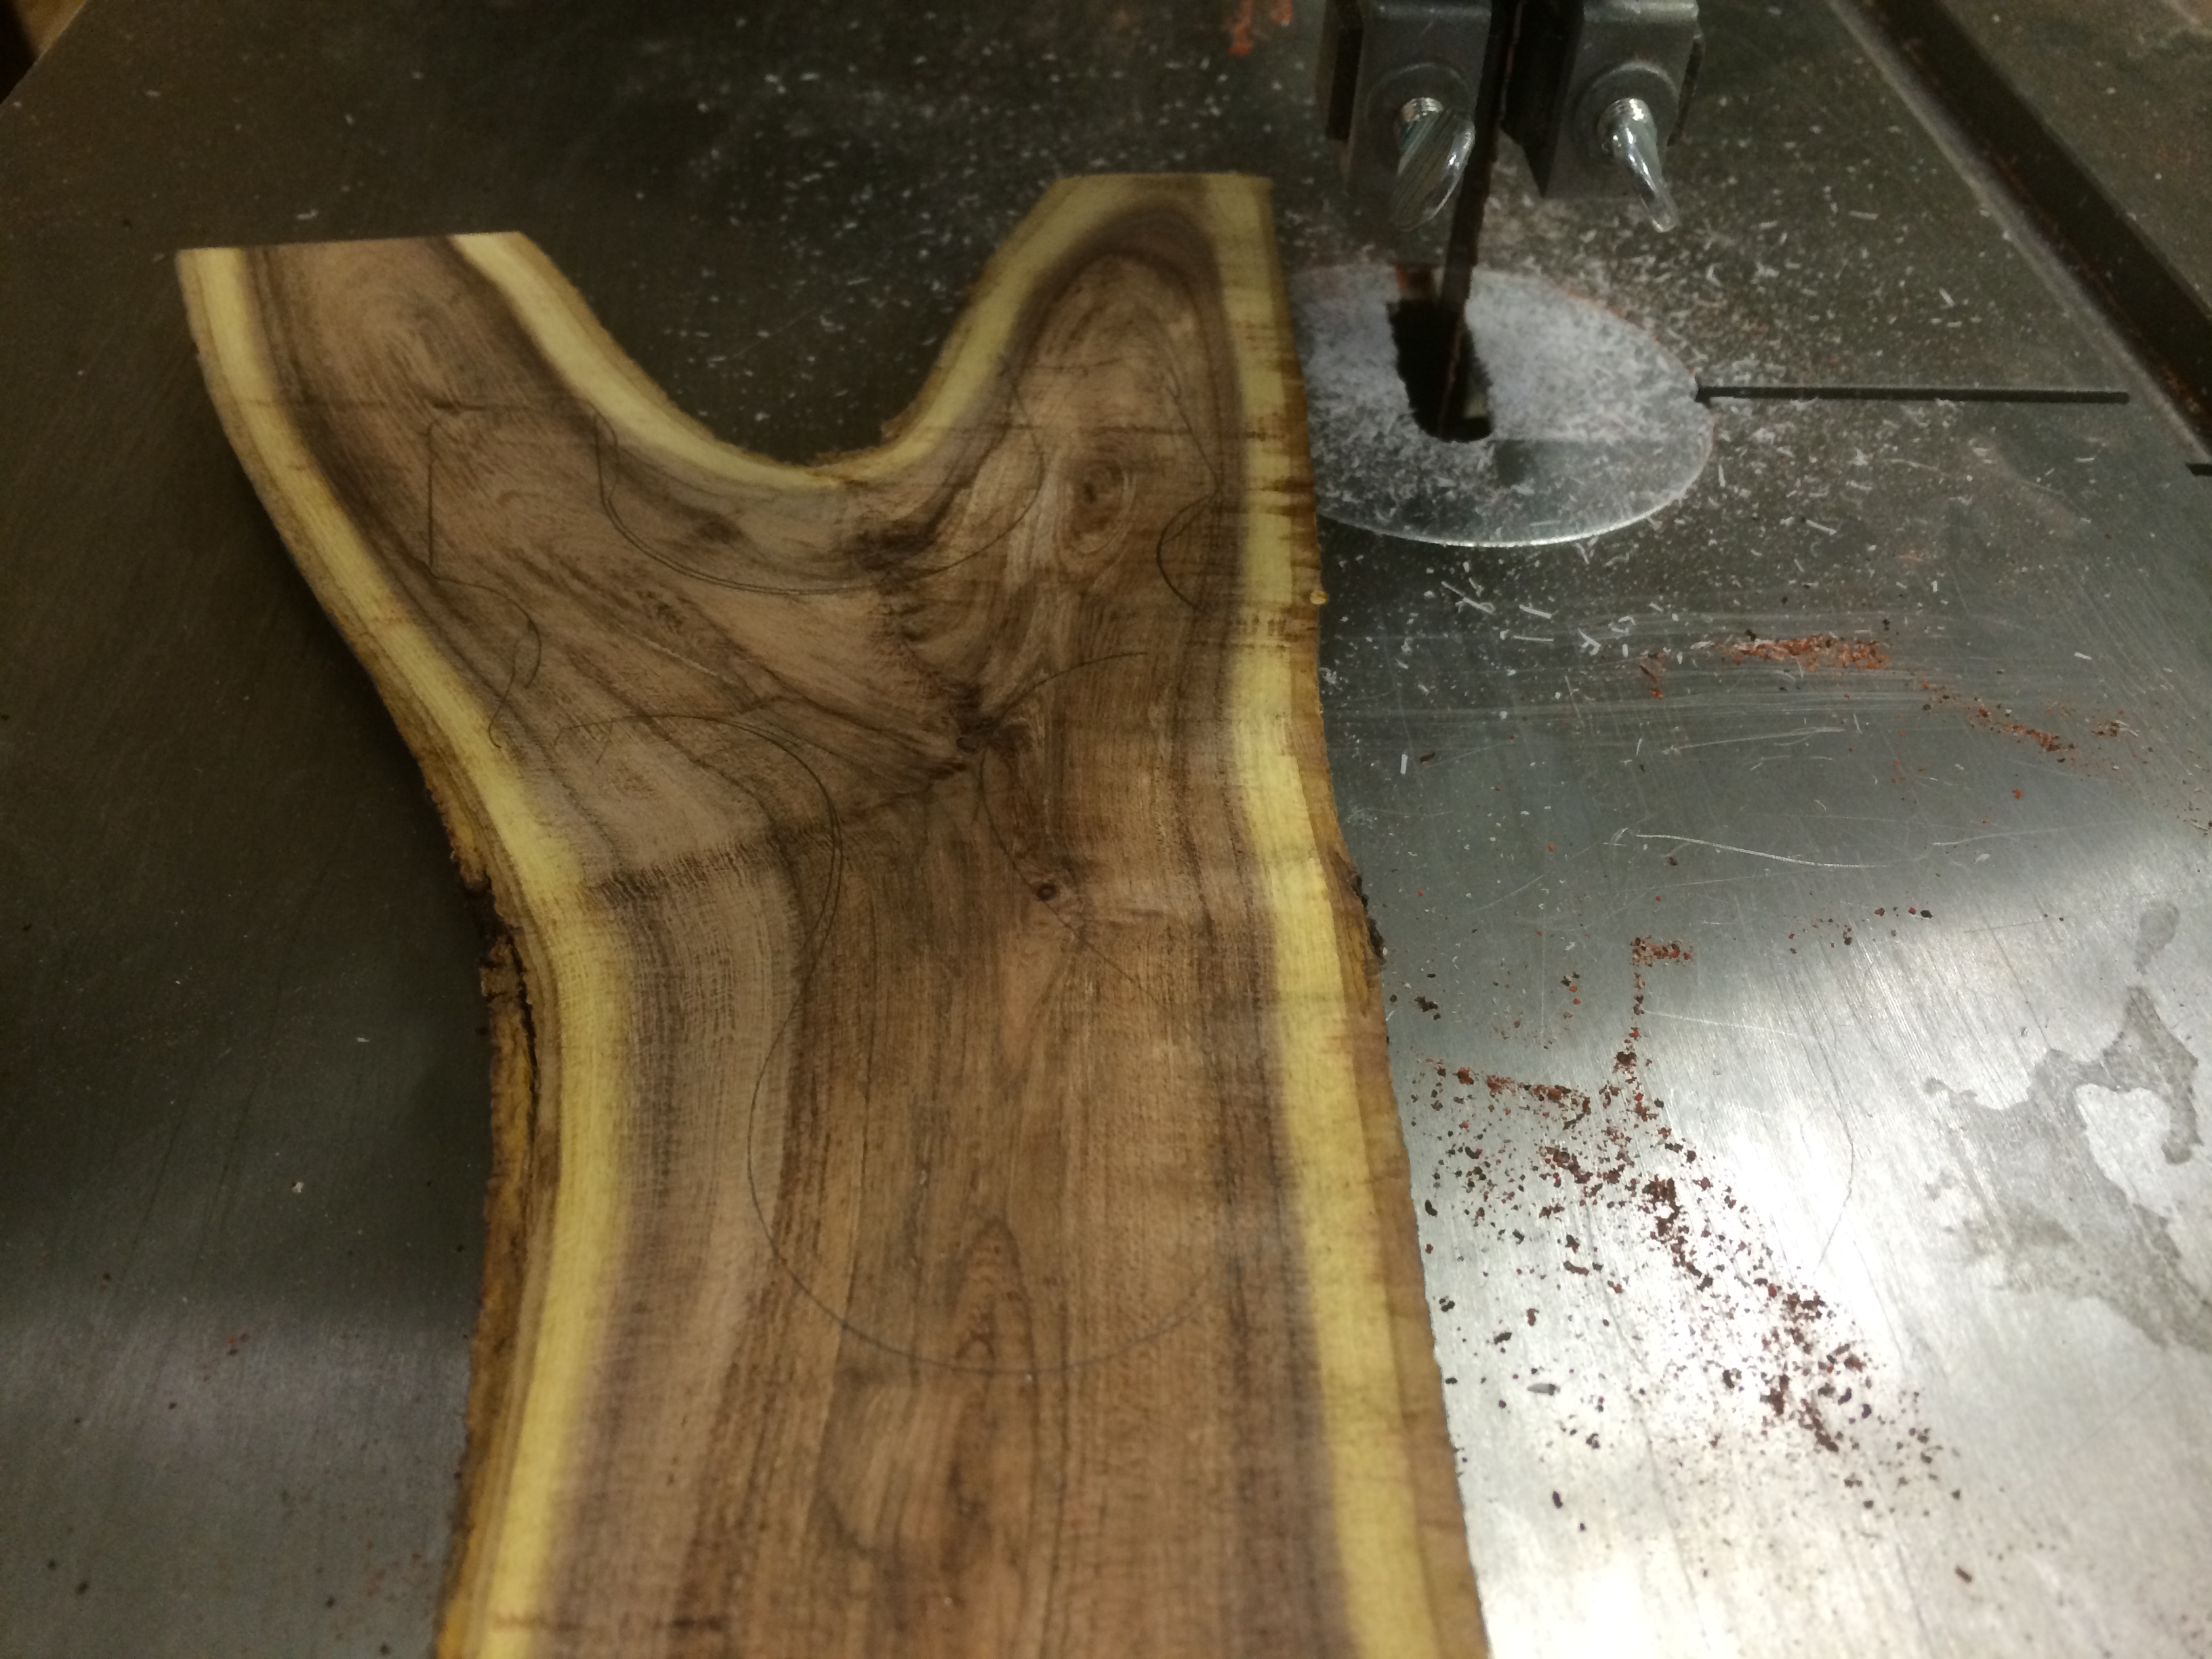
…and the chips that couldn’t be used, saved for a BBQ dinner!
The grain that is destined for the face looks interesting. The side that is going to be glued to the core/laminations is sanded flat. This was no small feat as mesquite is incredibly hard but the smell made my mouth water (it’s been a VERY long winter and spring/BBQ season is here!)
Another new thing that showed up is some micarta spacer material. At 1/32″ thick, a sharp pair of scissors was able to cut through it.
To give this Mesquito some more small detail, some mahogany and maple veneer was laminated together to create a spacer between the micarta and the mesquite wood.
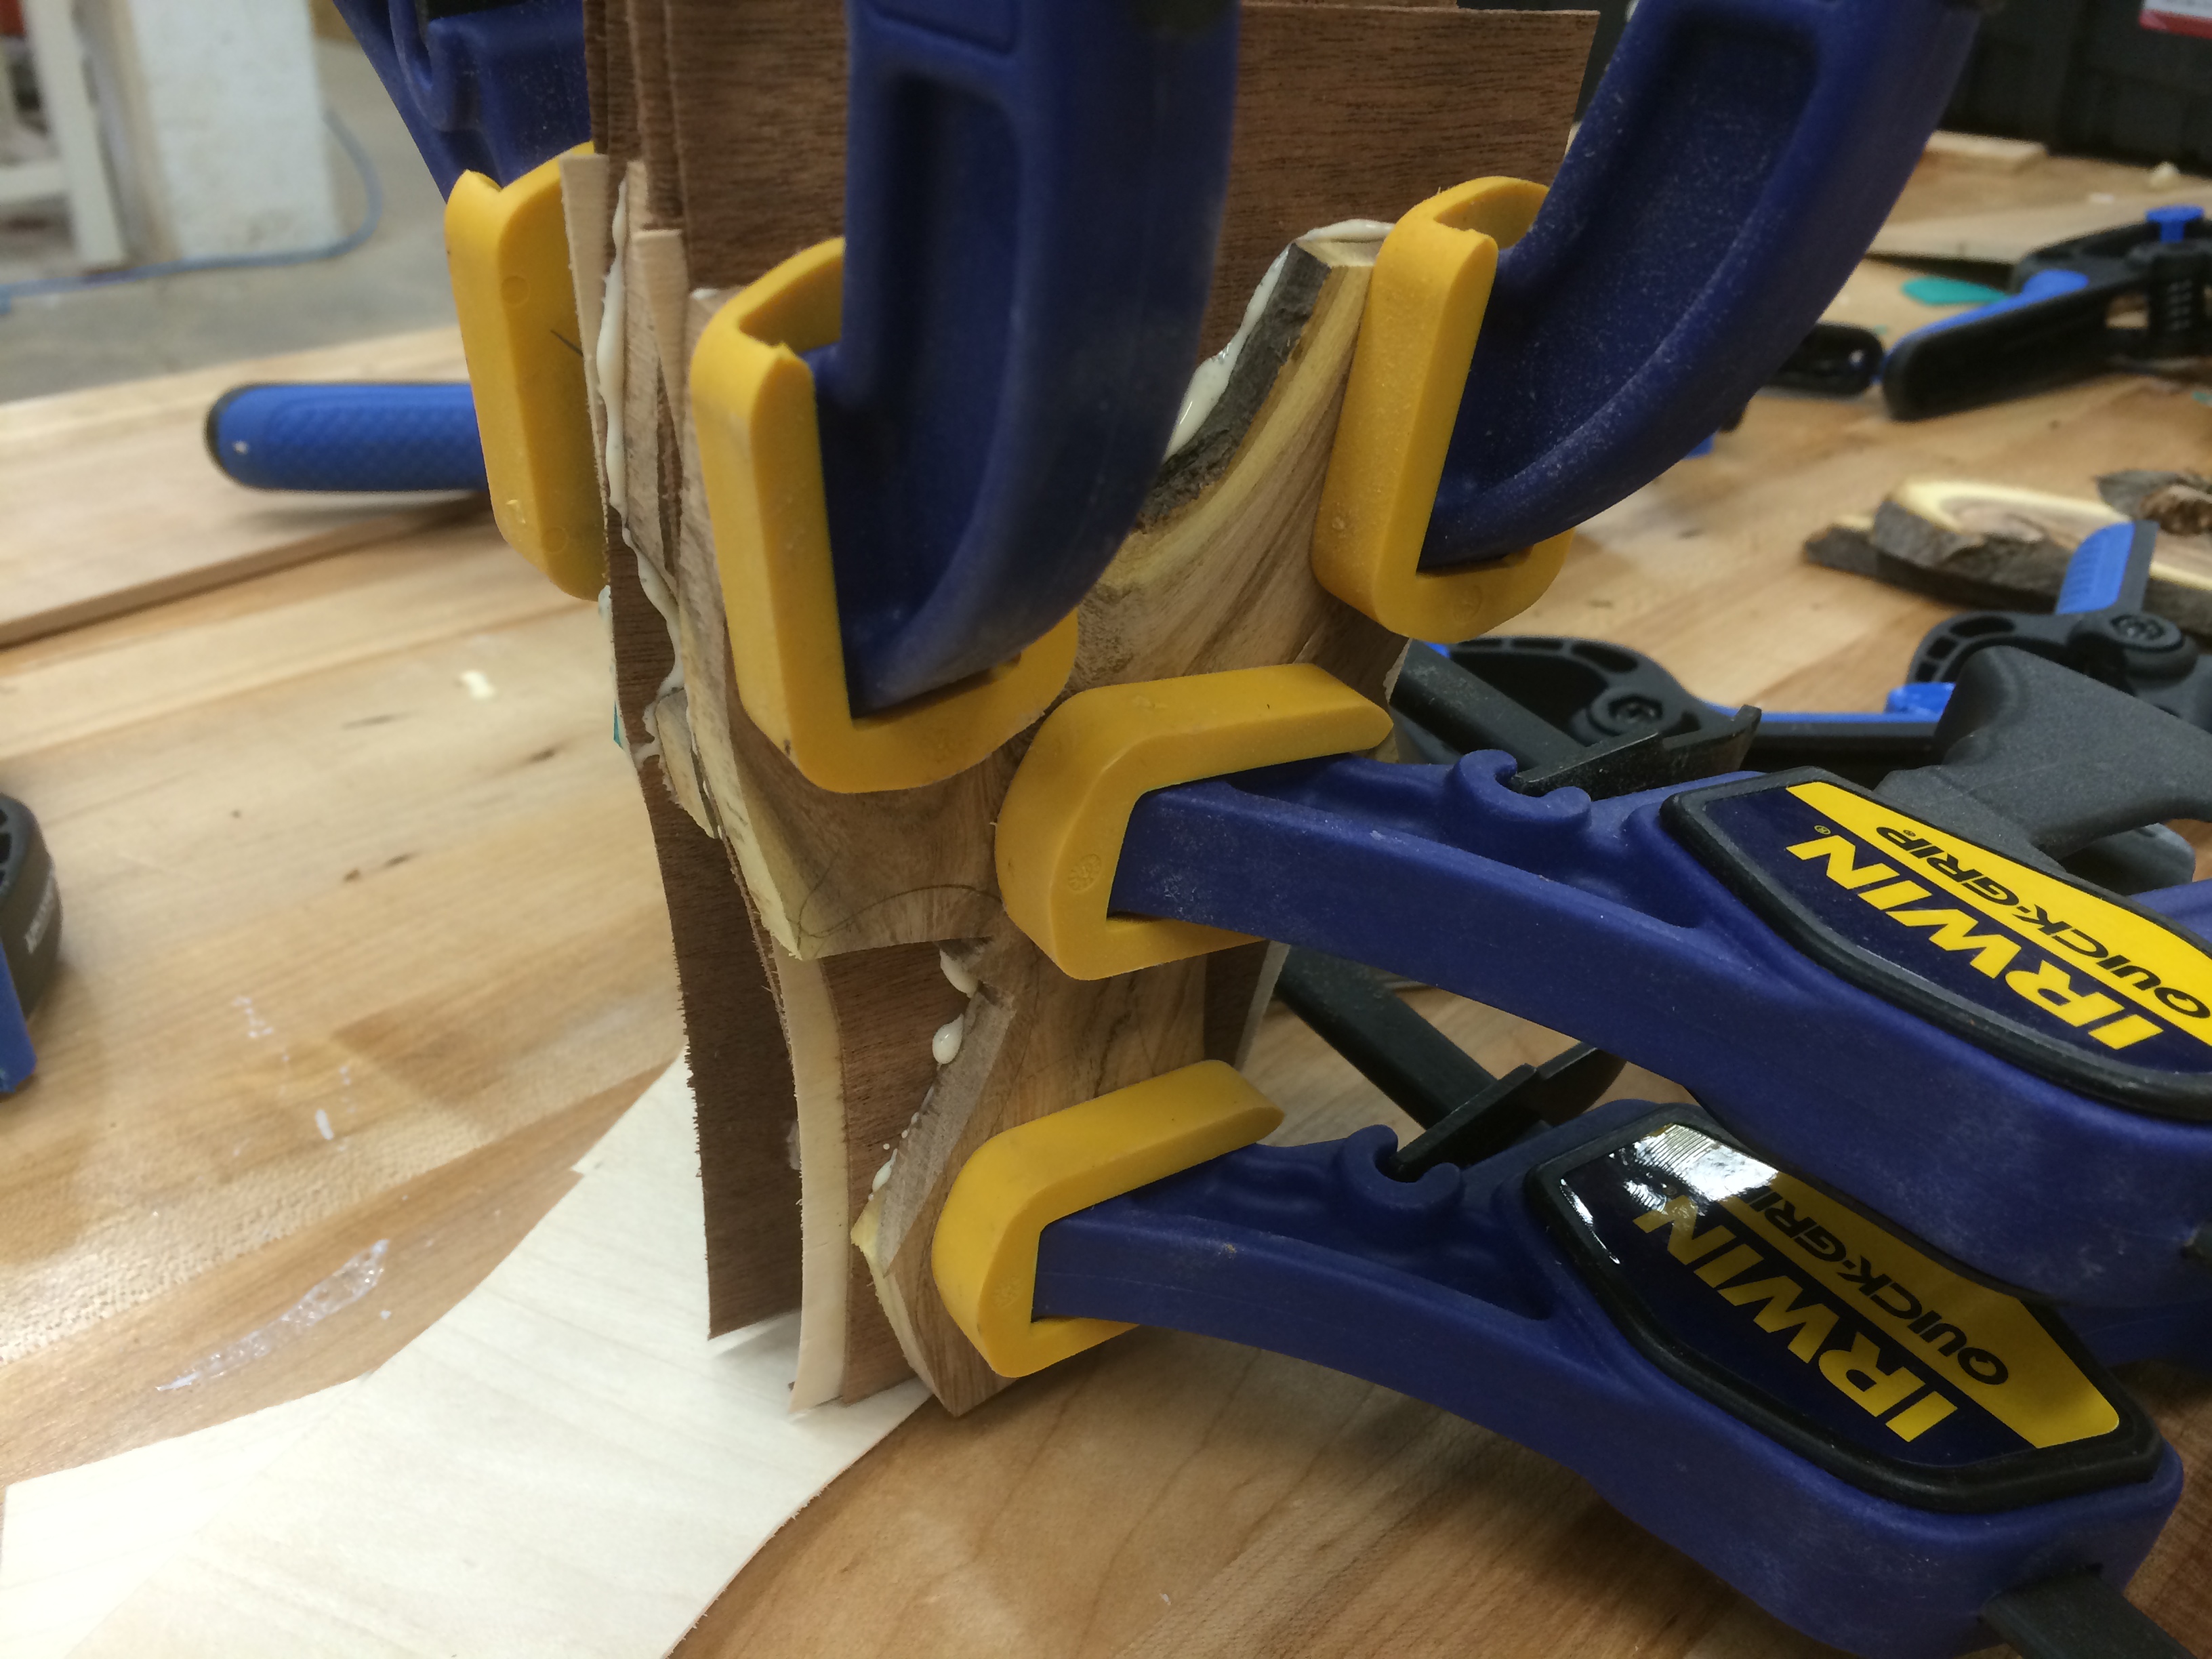
The whole sandwiched was placed under as many clamps as I could get on it. I don’t want it to come apart.
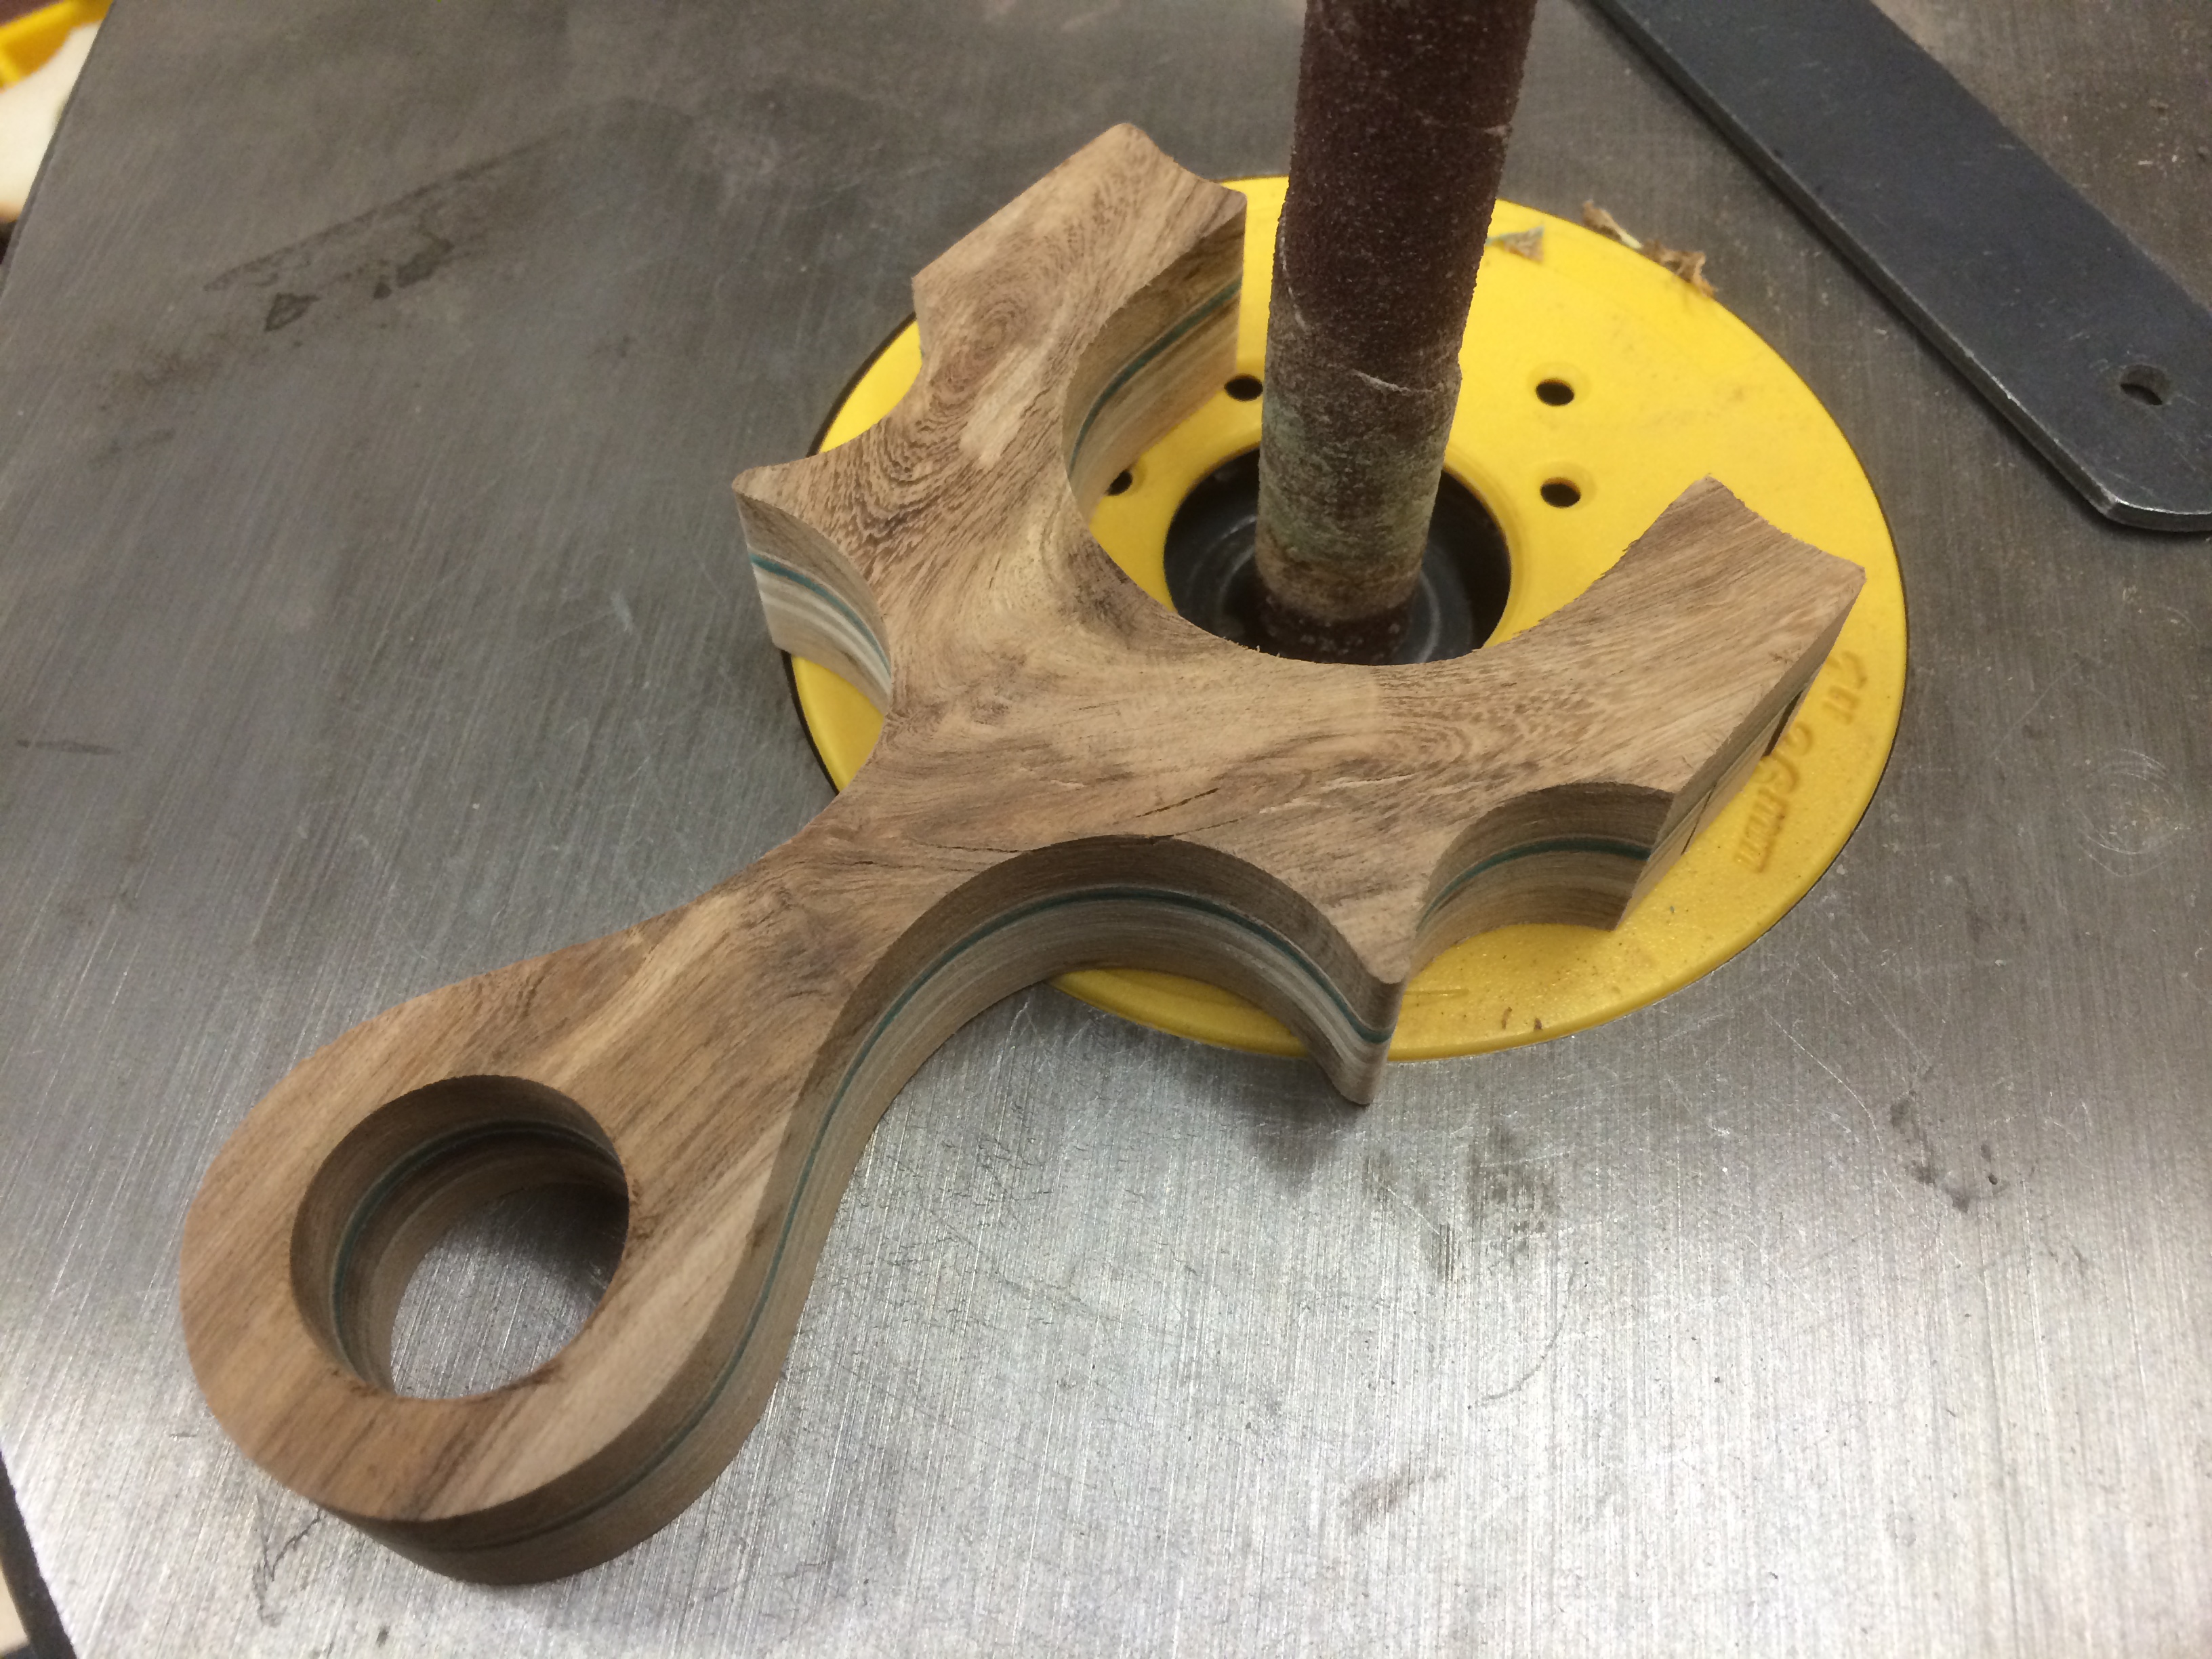
After some time, the excess was cut off and a closer rough cut was made. A Forsner bit was used to open up the pinky hole.
Then it was time to move over to the belt sander, cleaning up the faces.
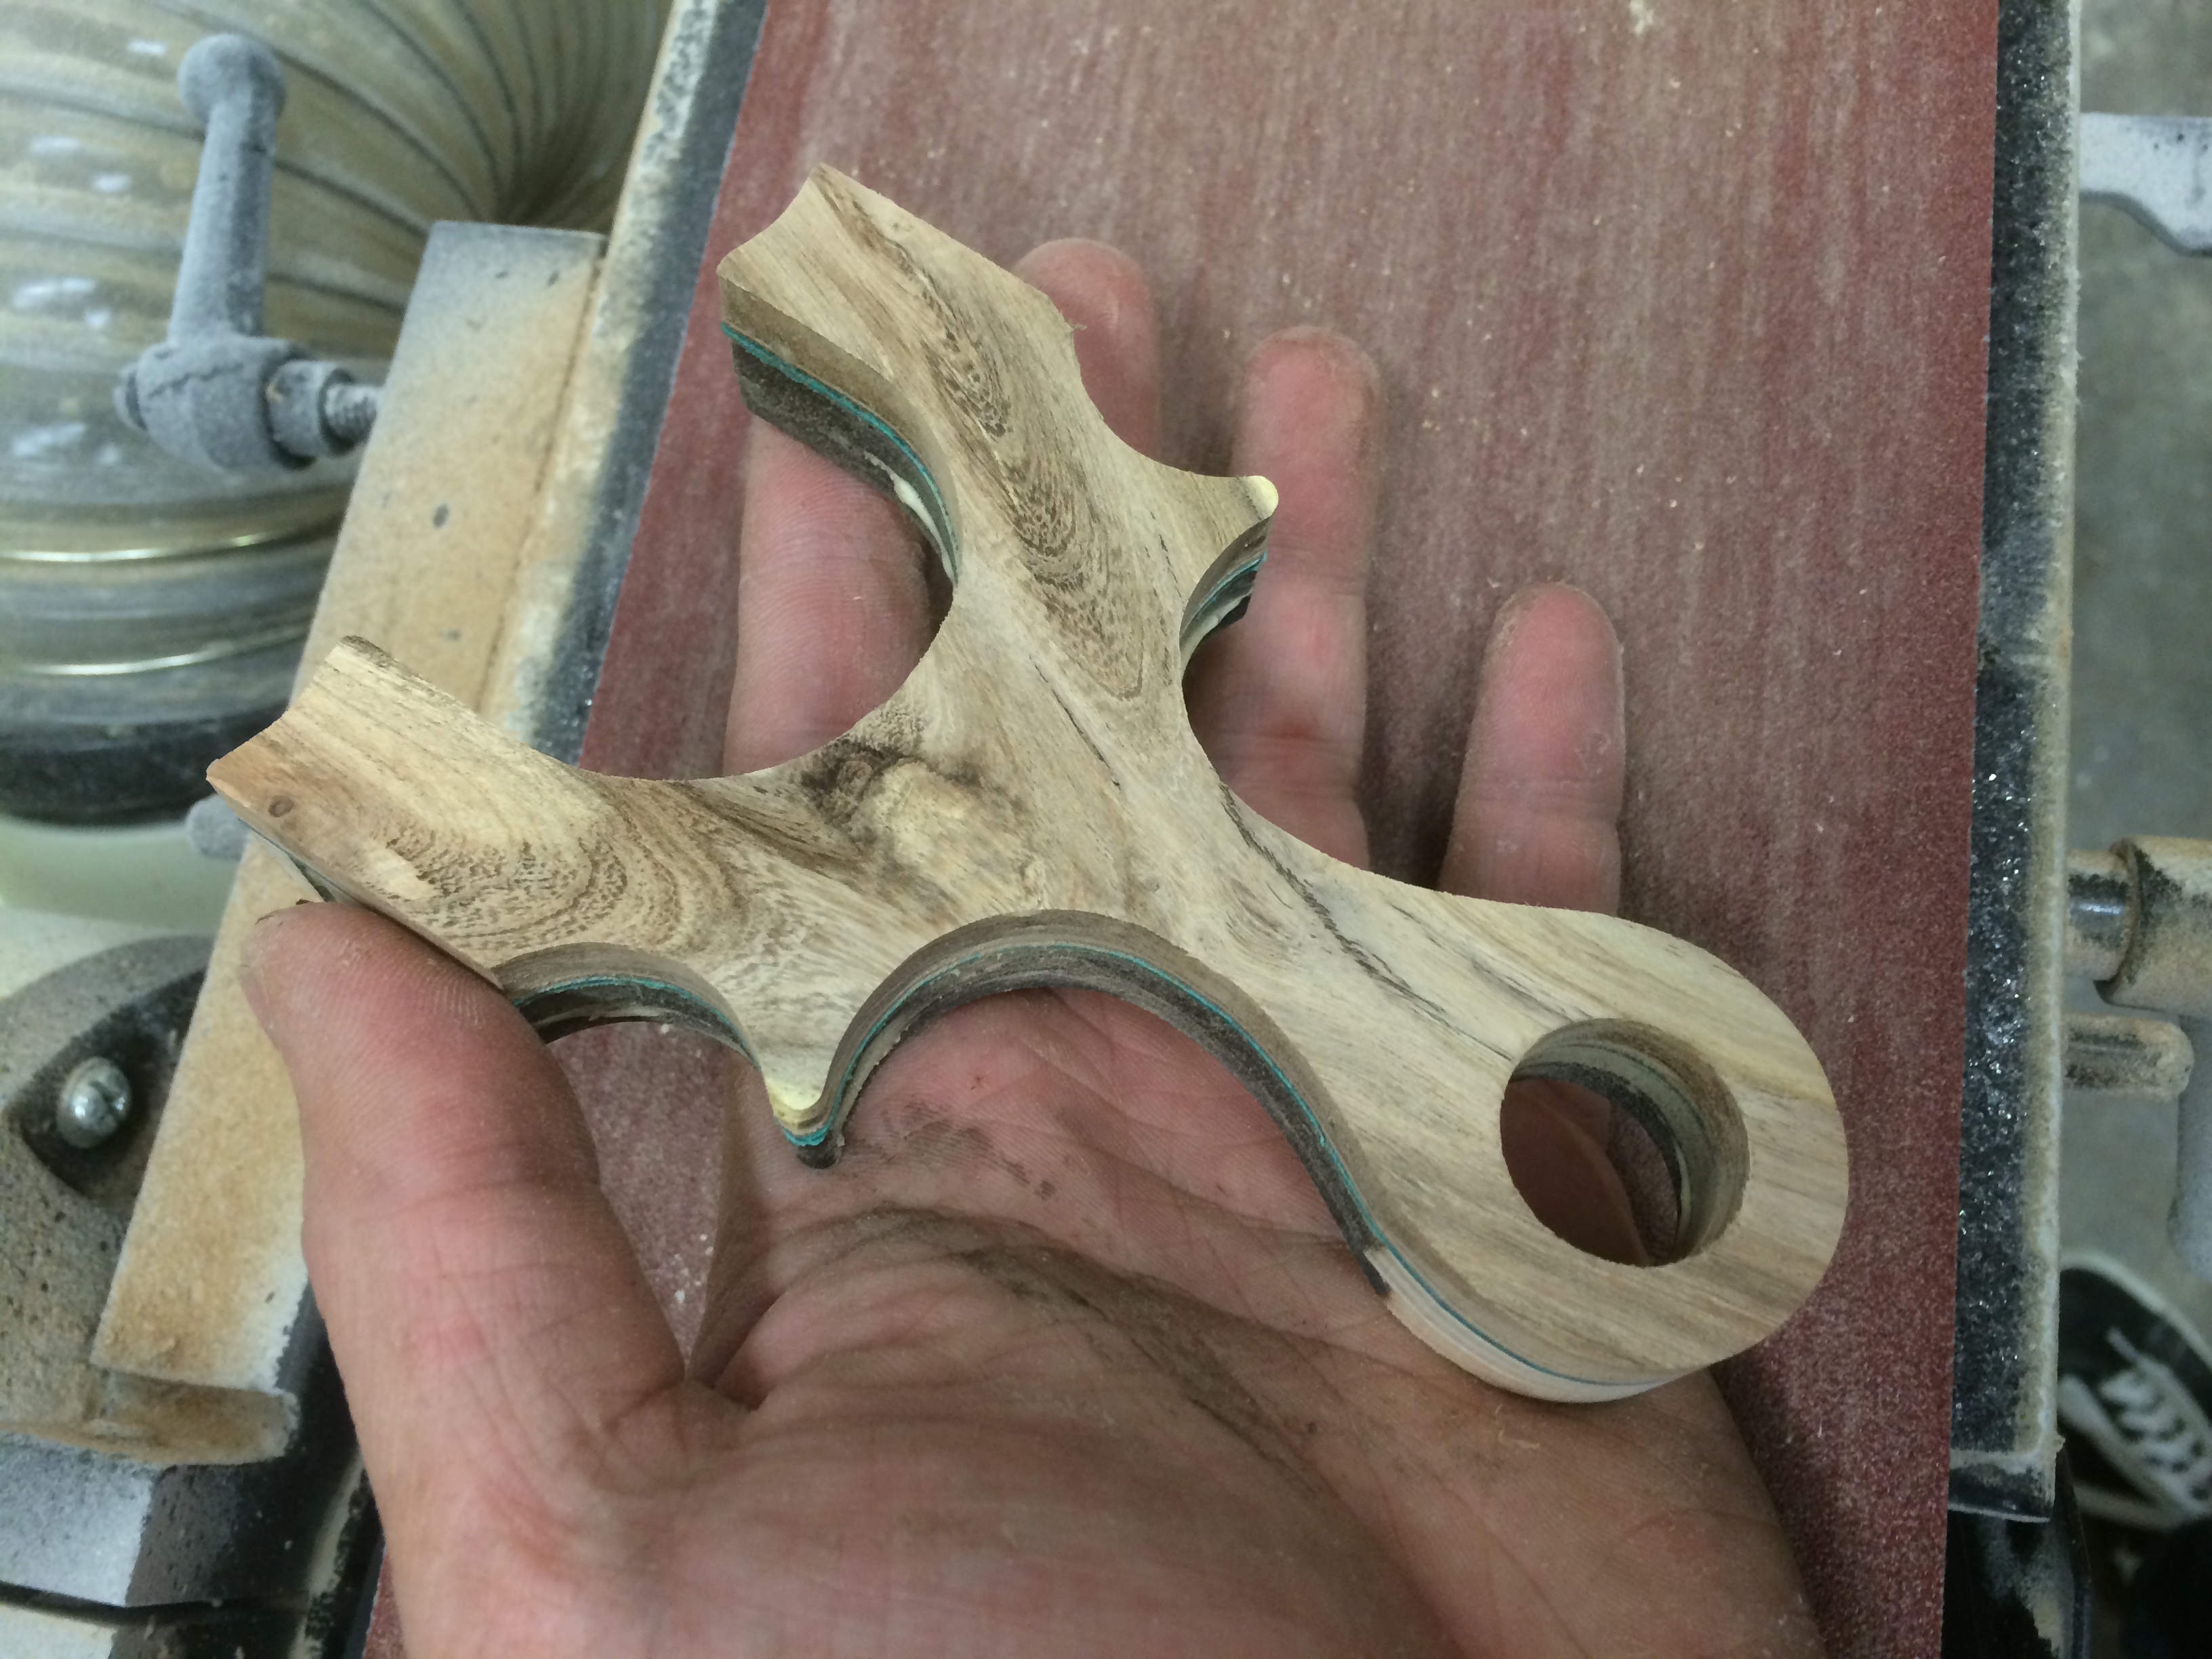
..and sanding down the outside curves and edges.
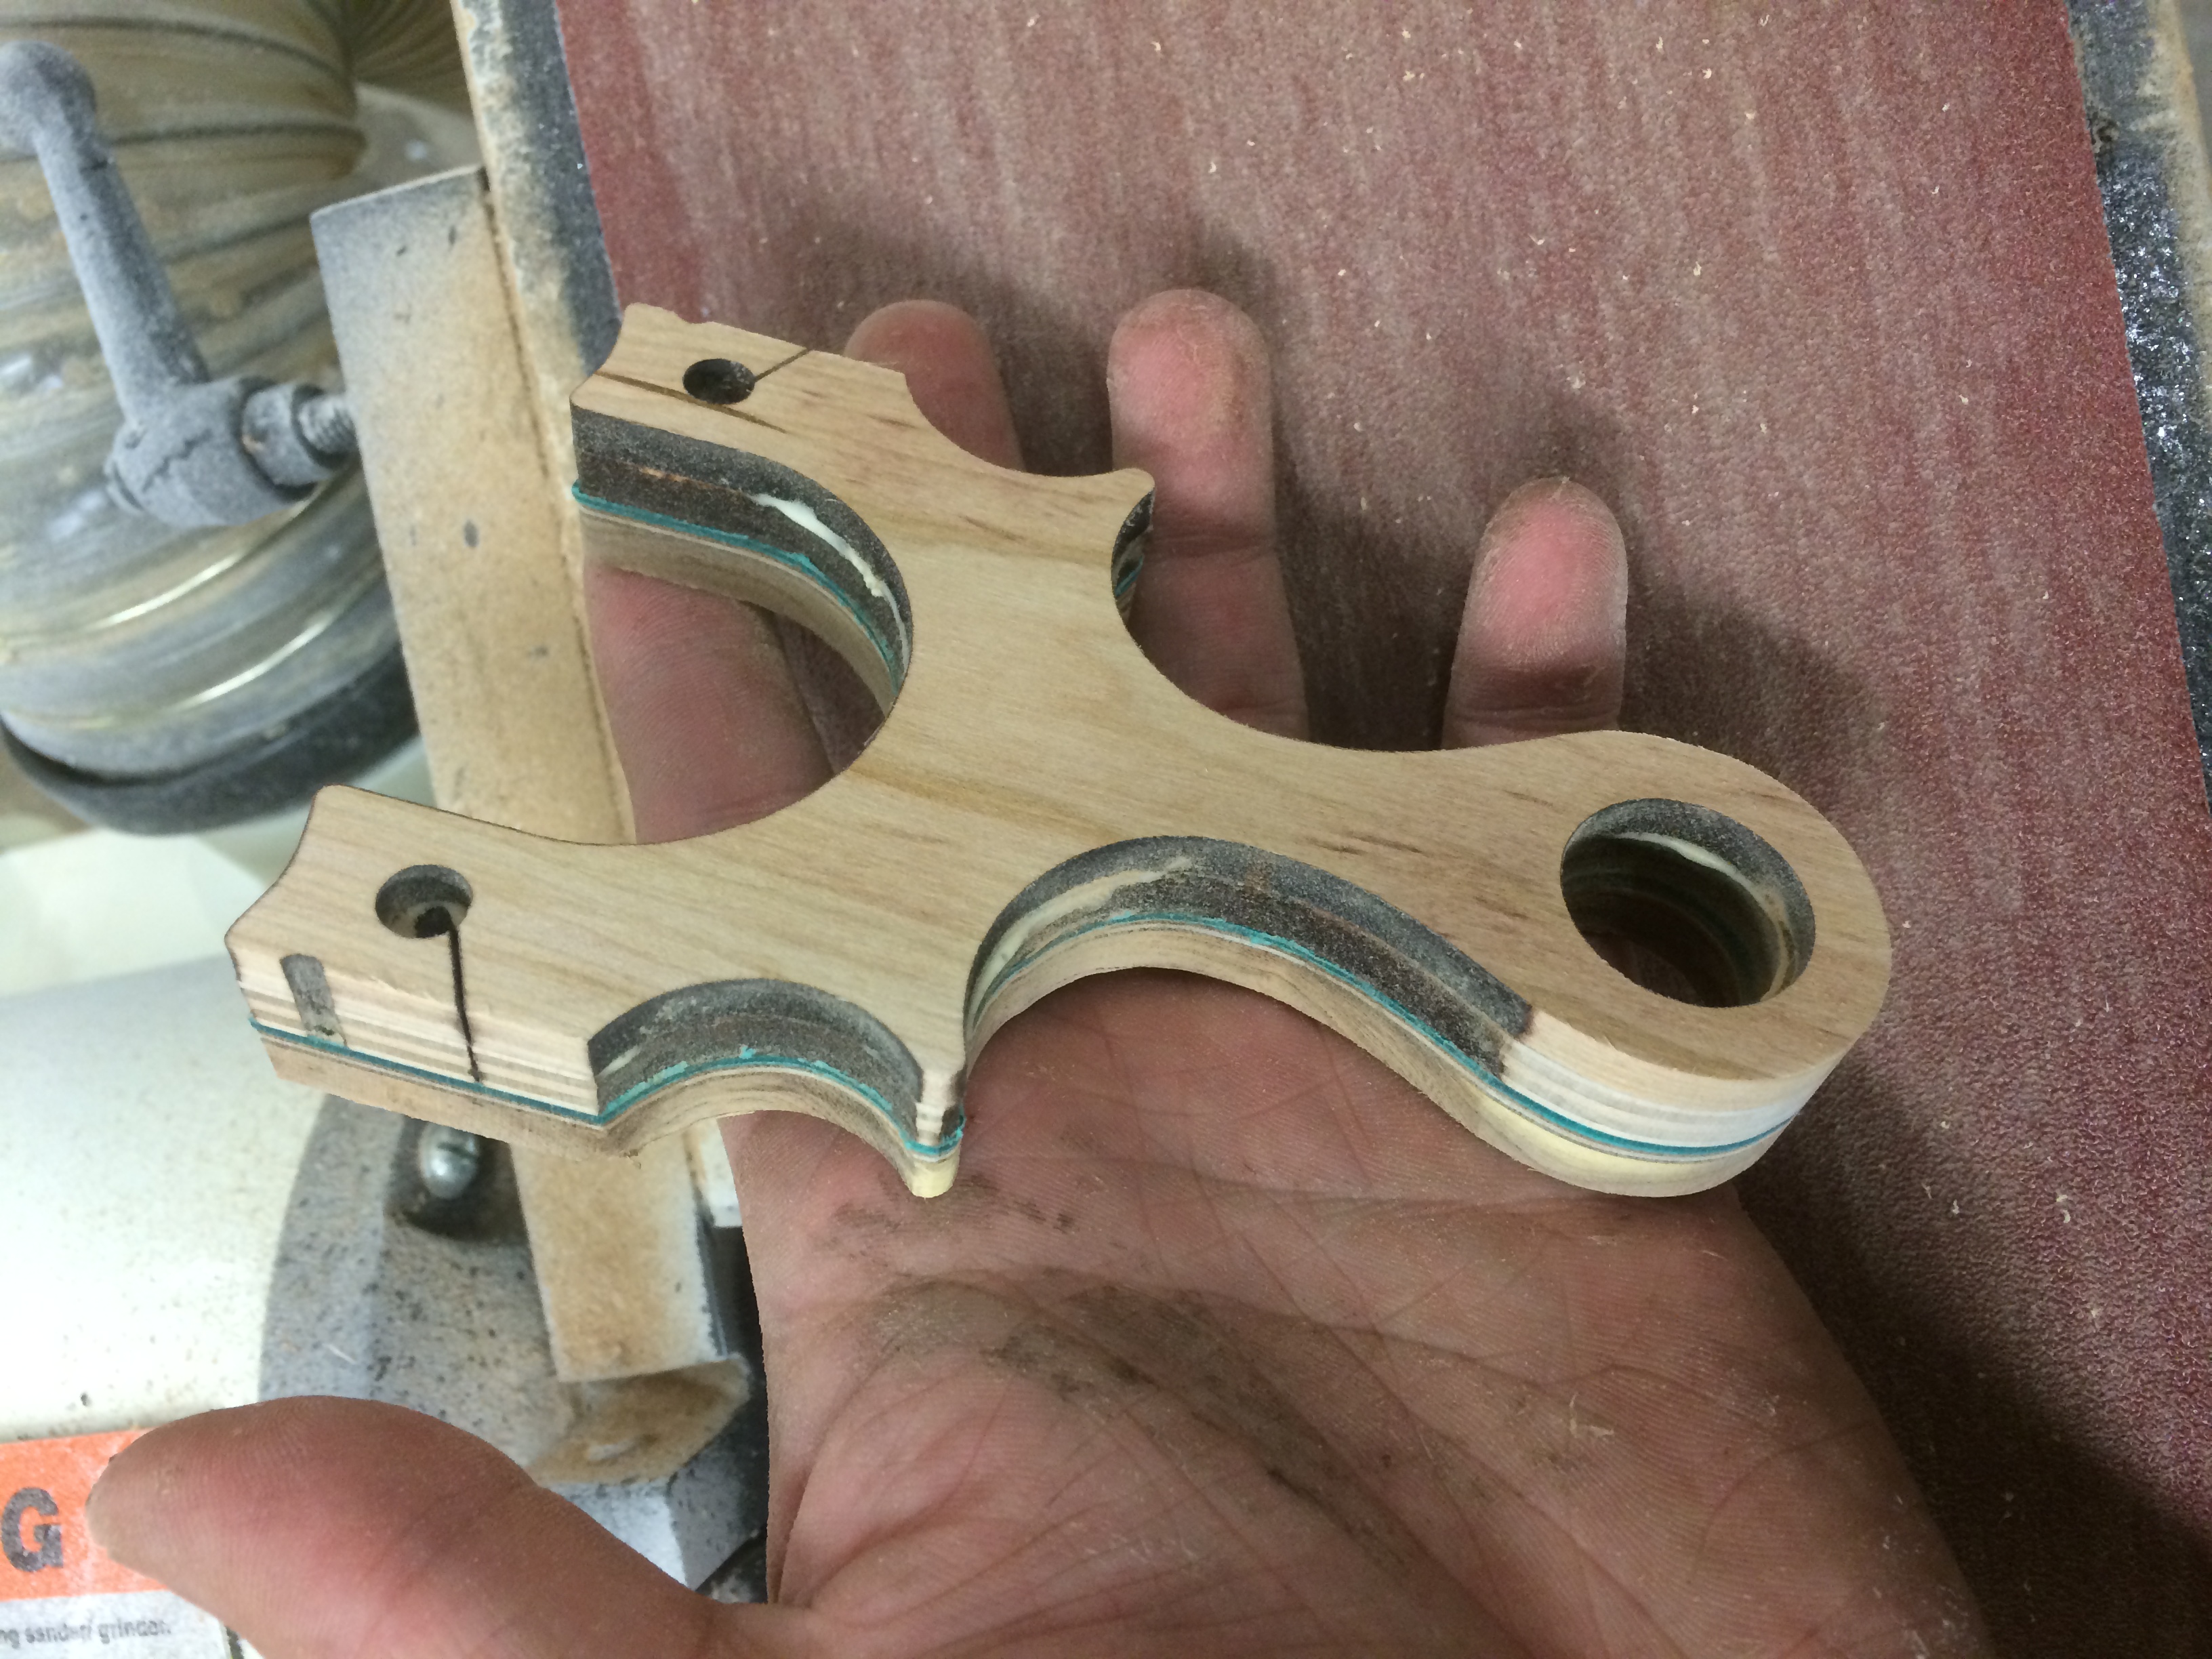
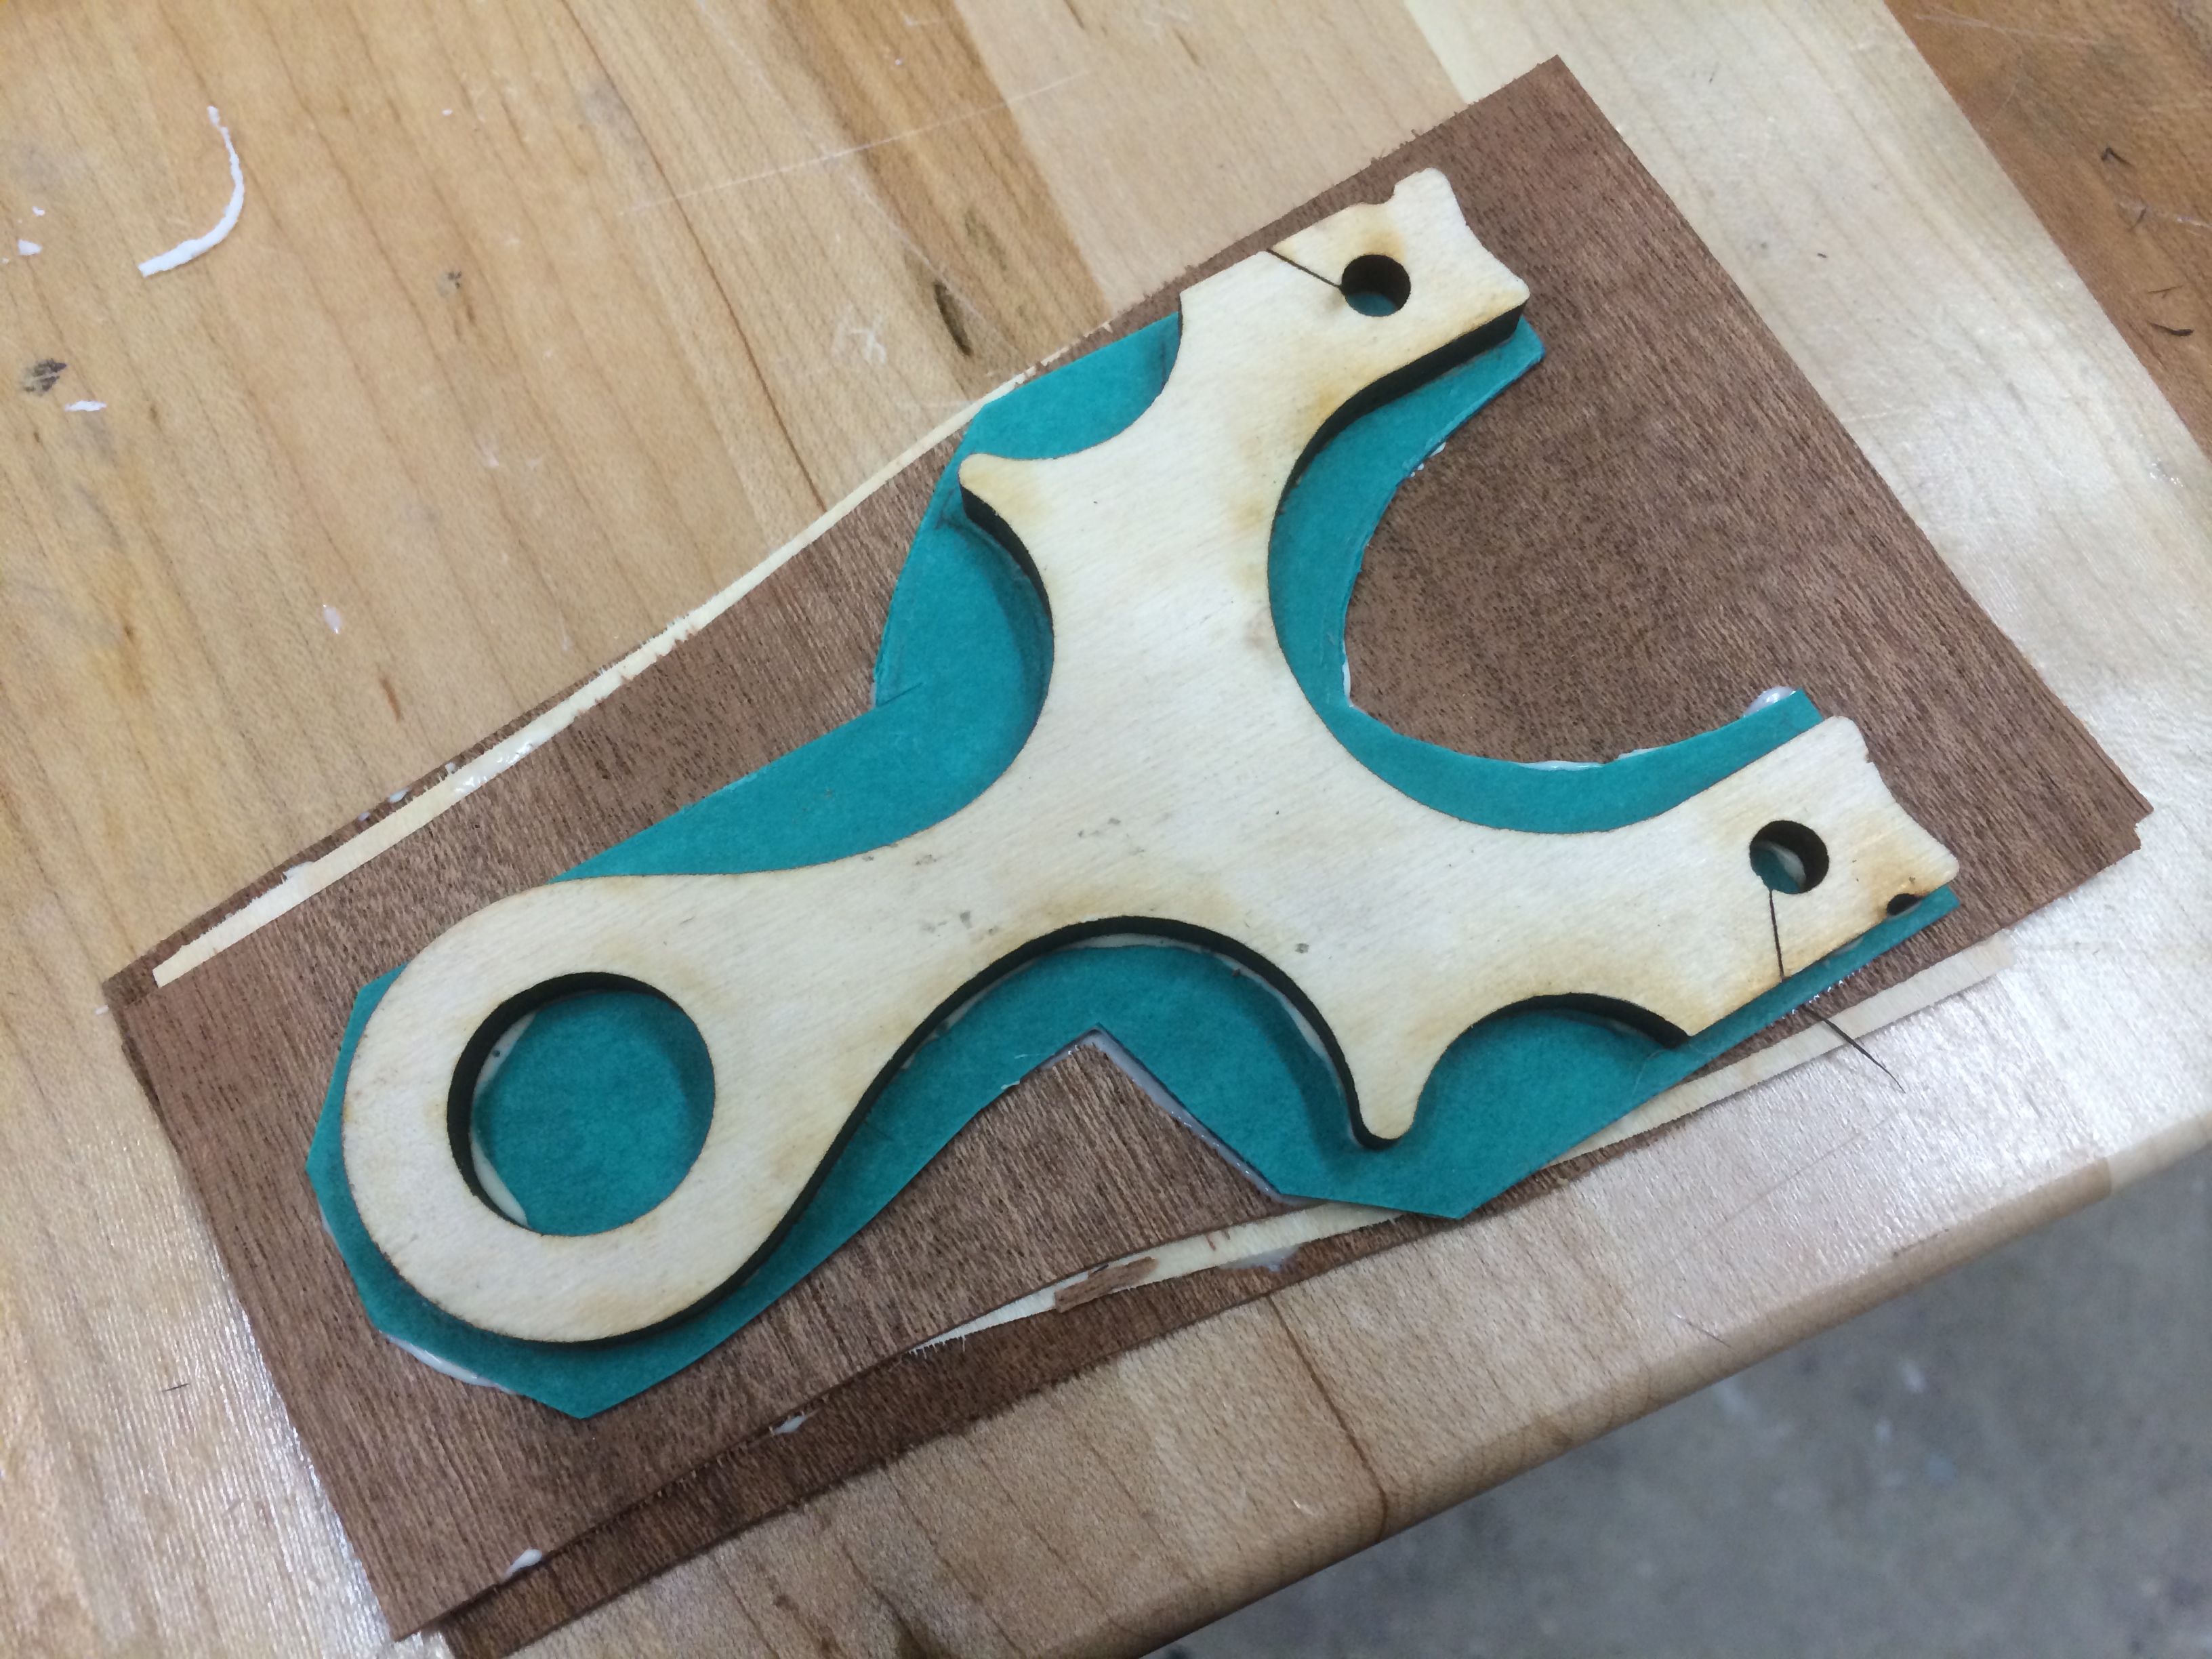
A fresh 80 grit sleeve makes short work of the laser cut edges and flushes up the whole package.
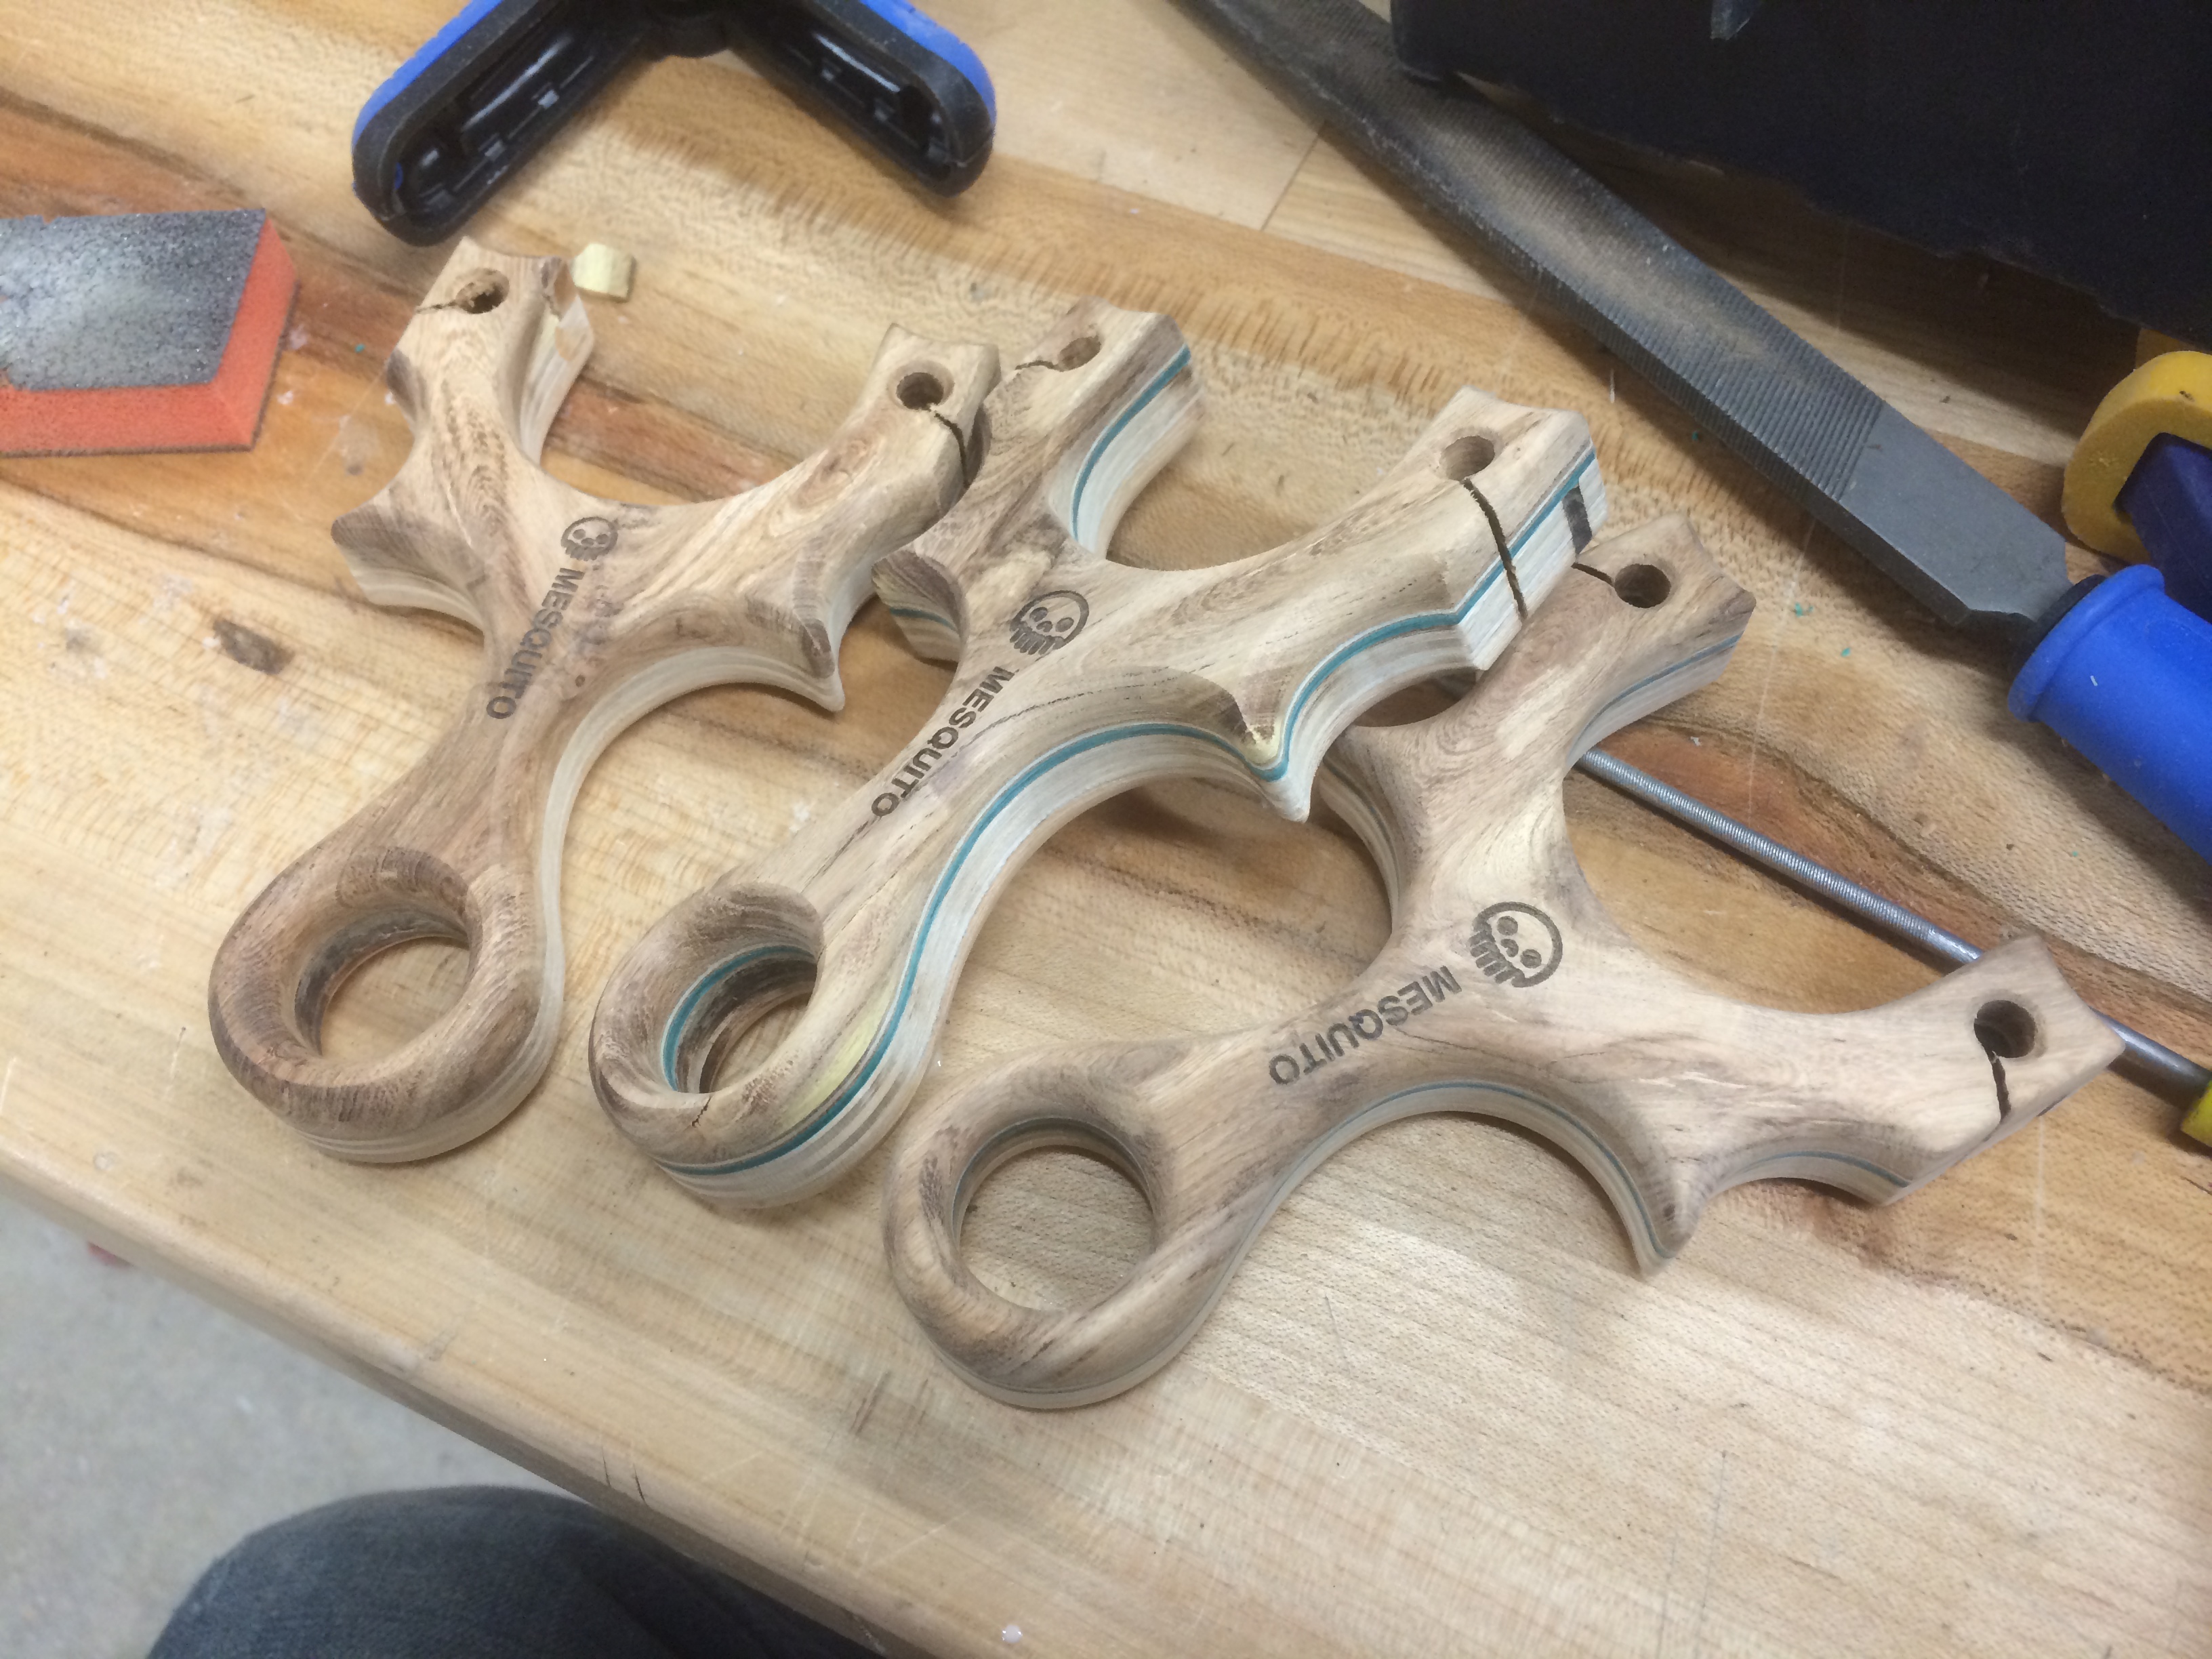
There was enough to make three slings, the third one on the right is for the friend who gift the fork. I love these photos since they say so much about the process of preparing and laminating.
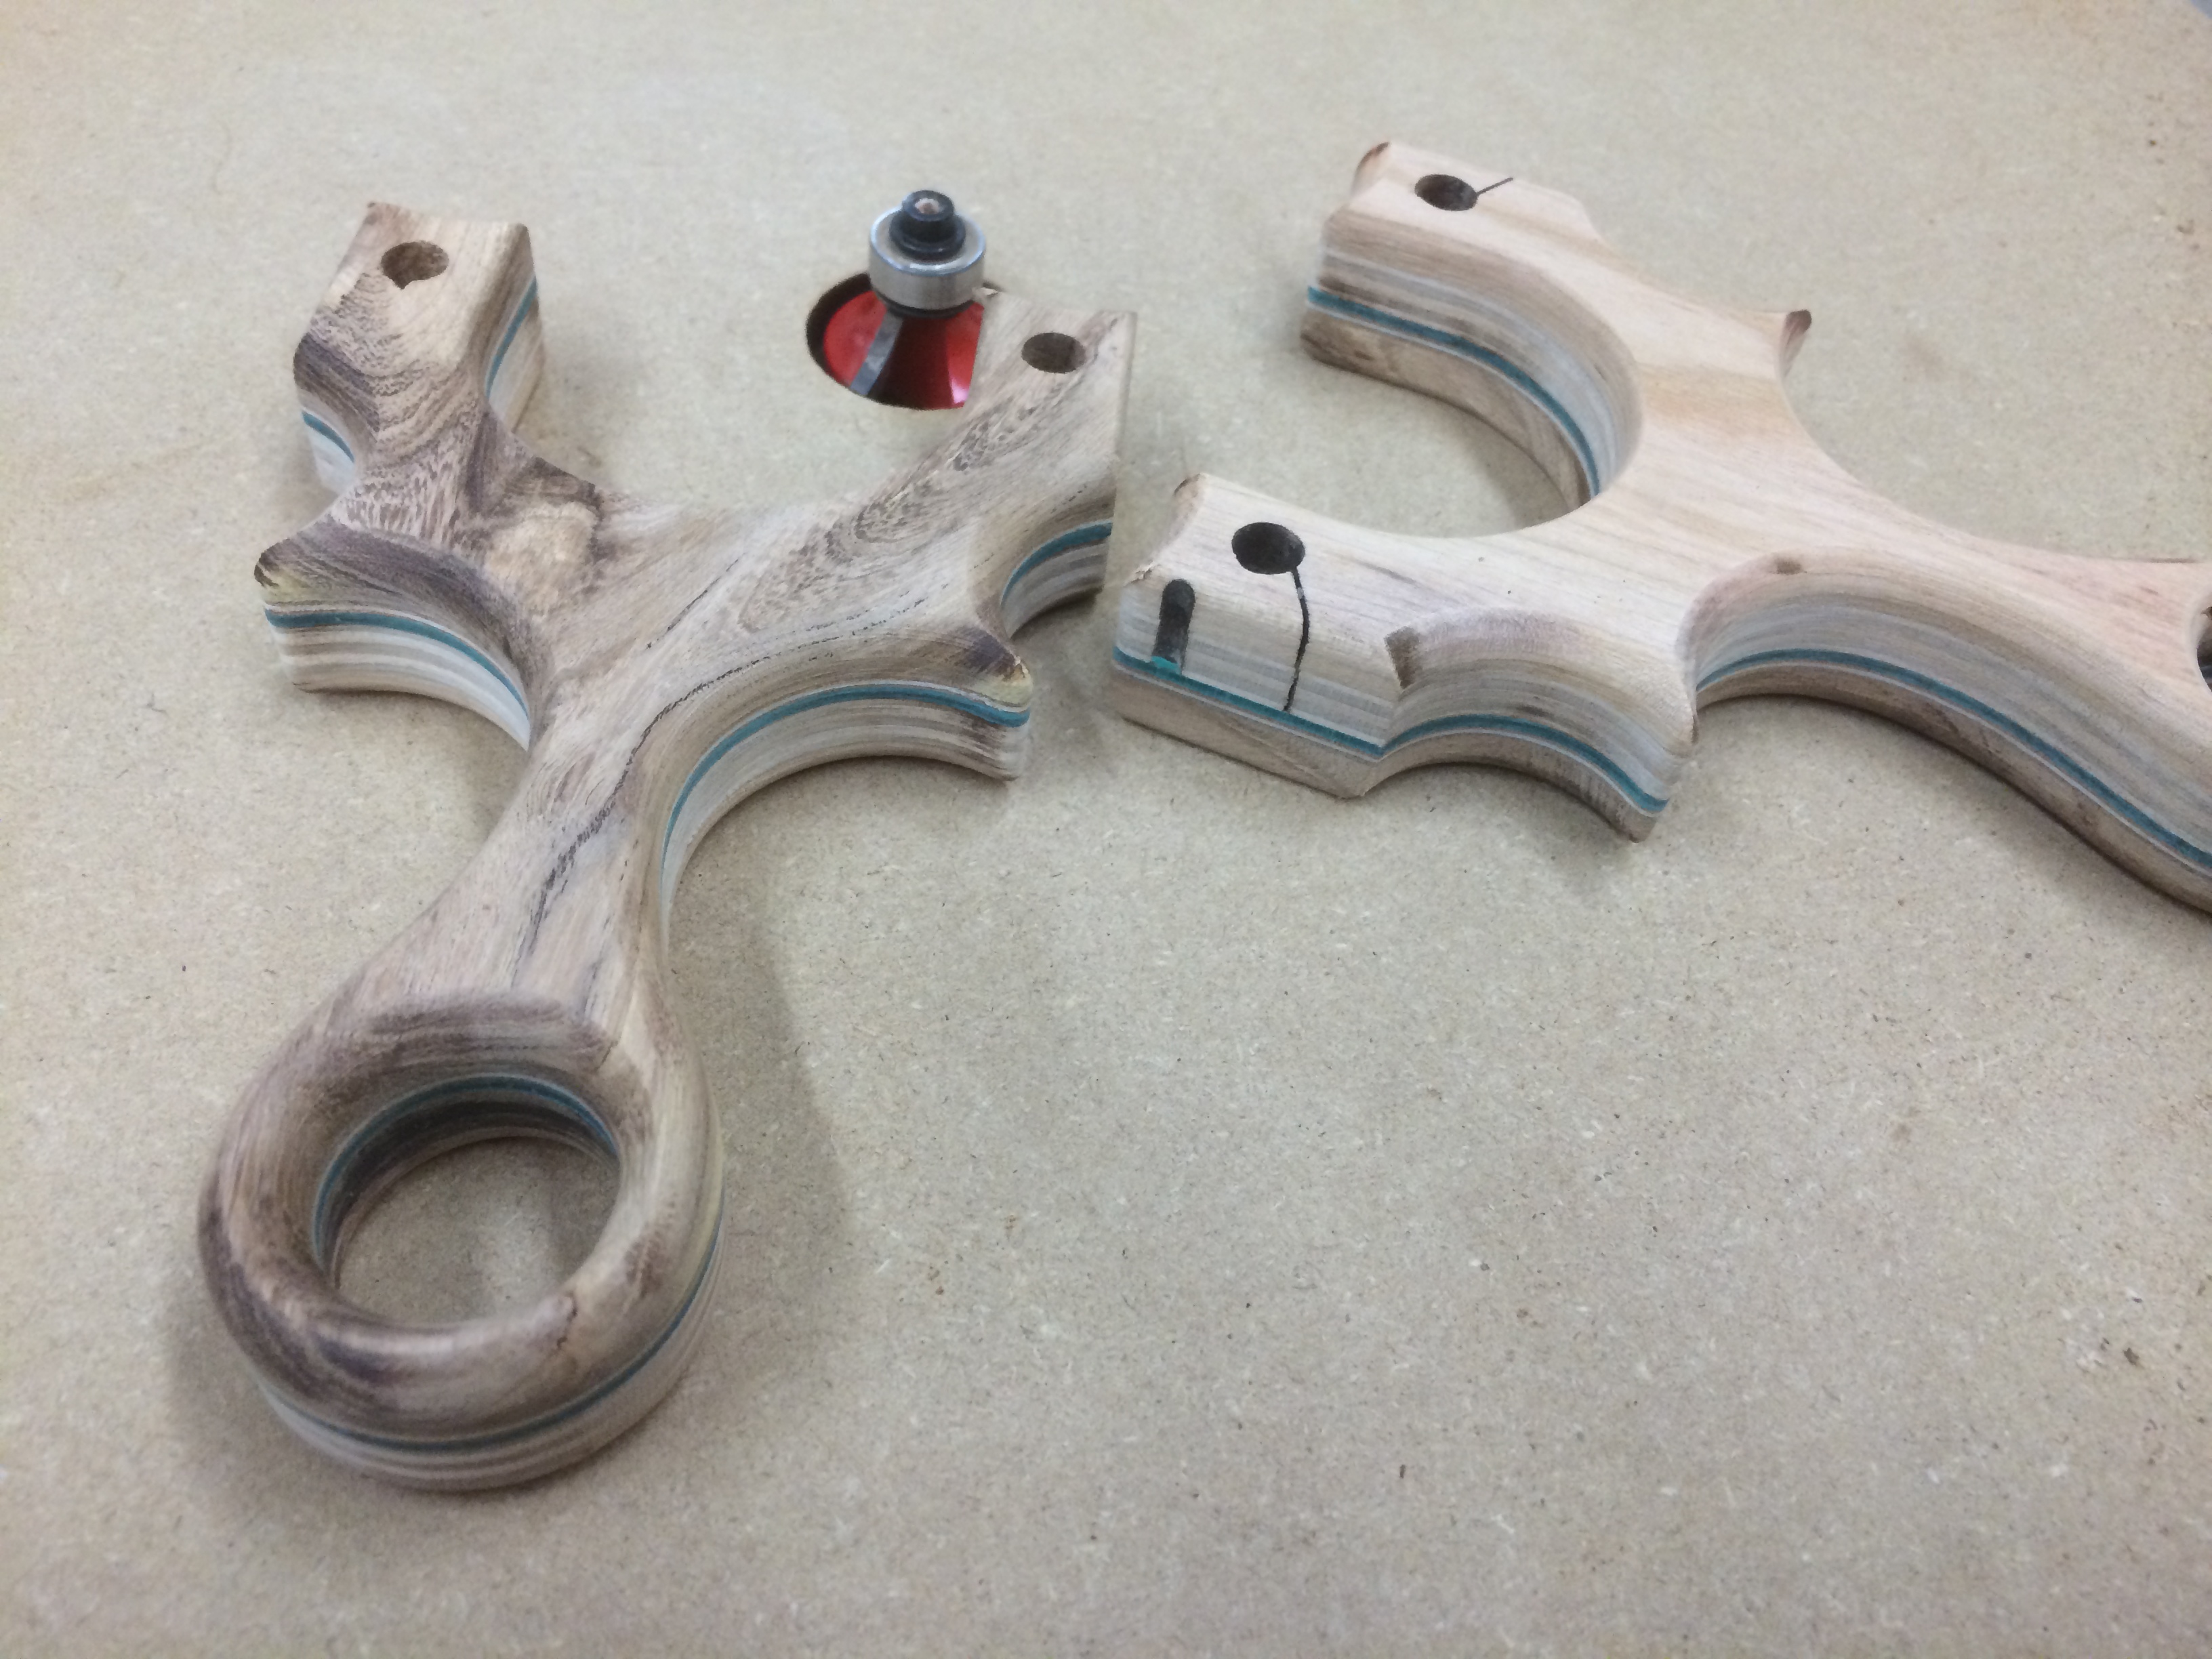
Since this wood isn’t something I have a lot of, I wanted to take careful steps to round the edges. To do this, the entire sling got passed over a with a smaller 1/8″ round over bit. This will reduce the material being removed by the final 1/4″ pass.
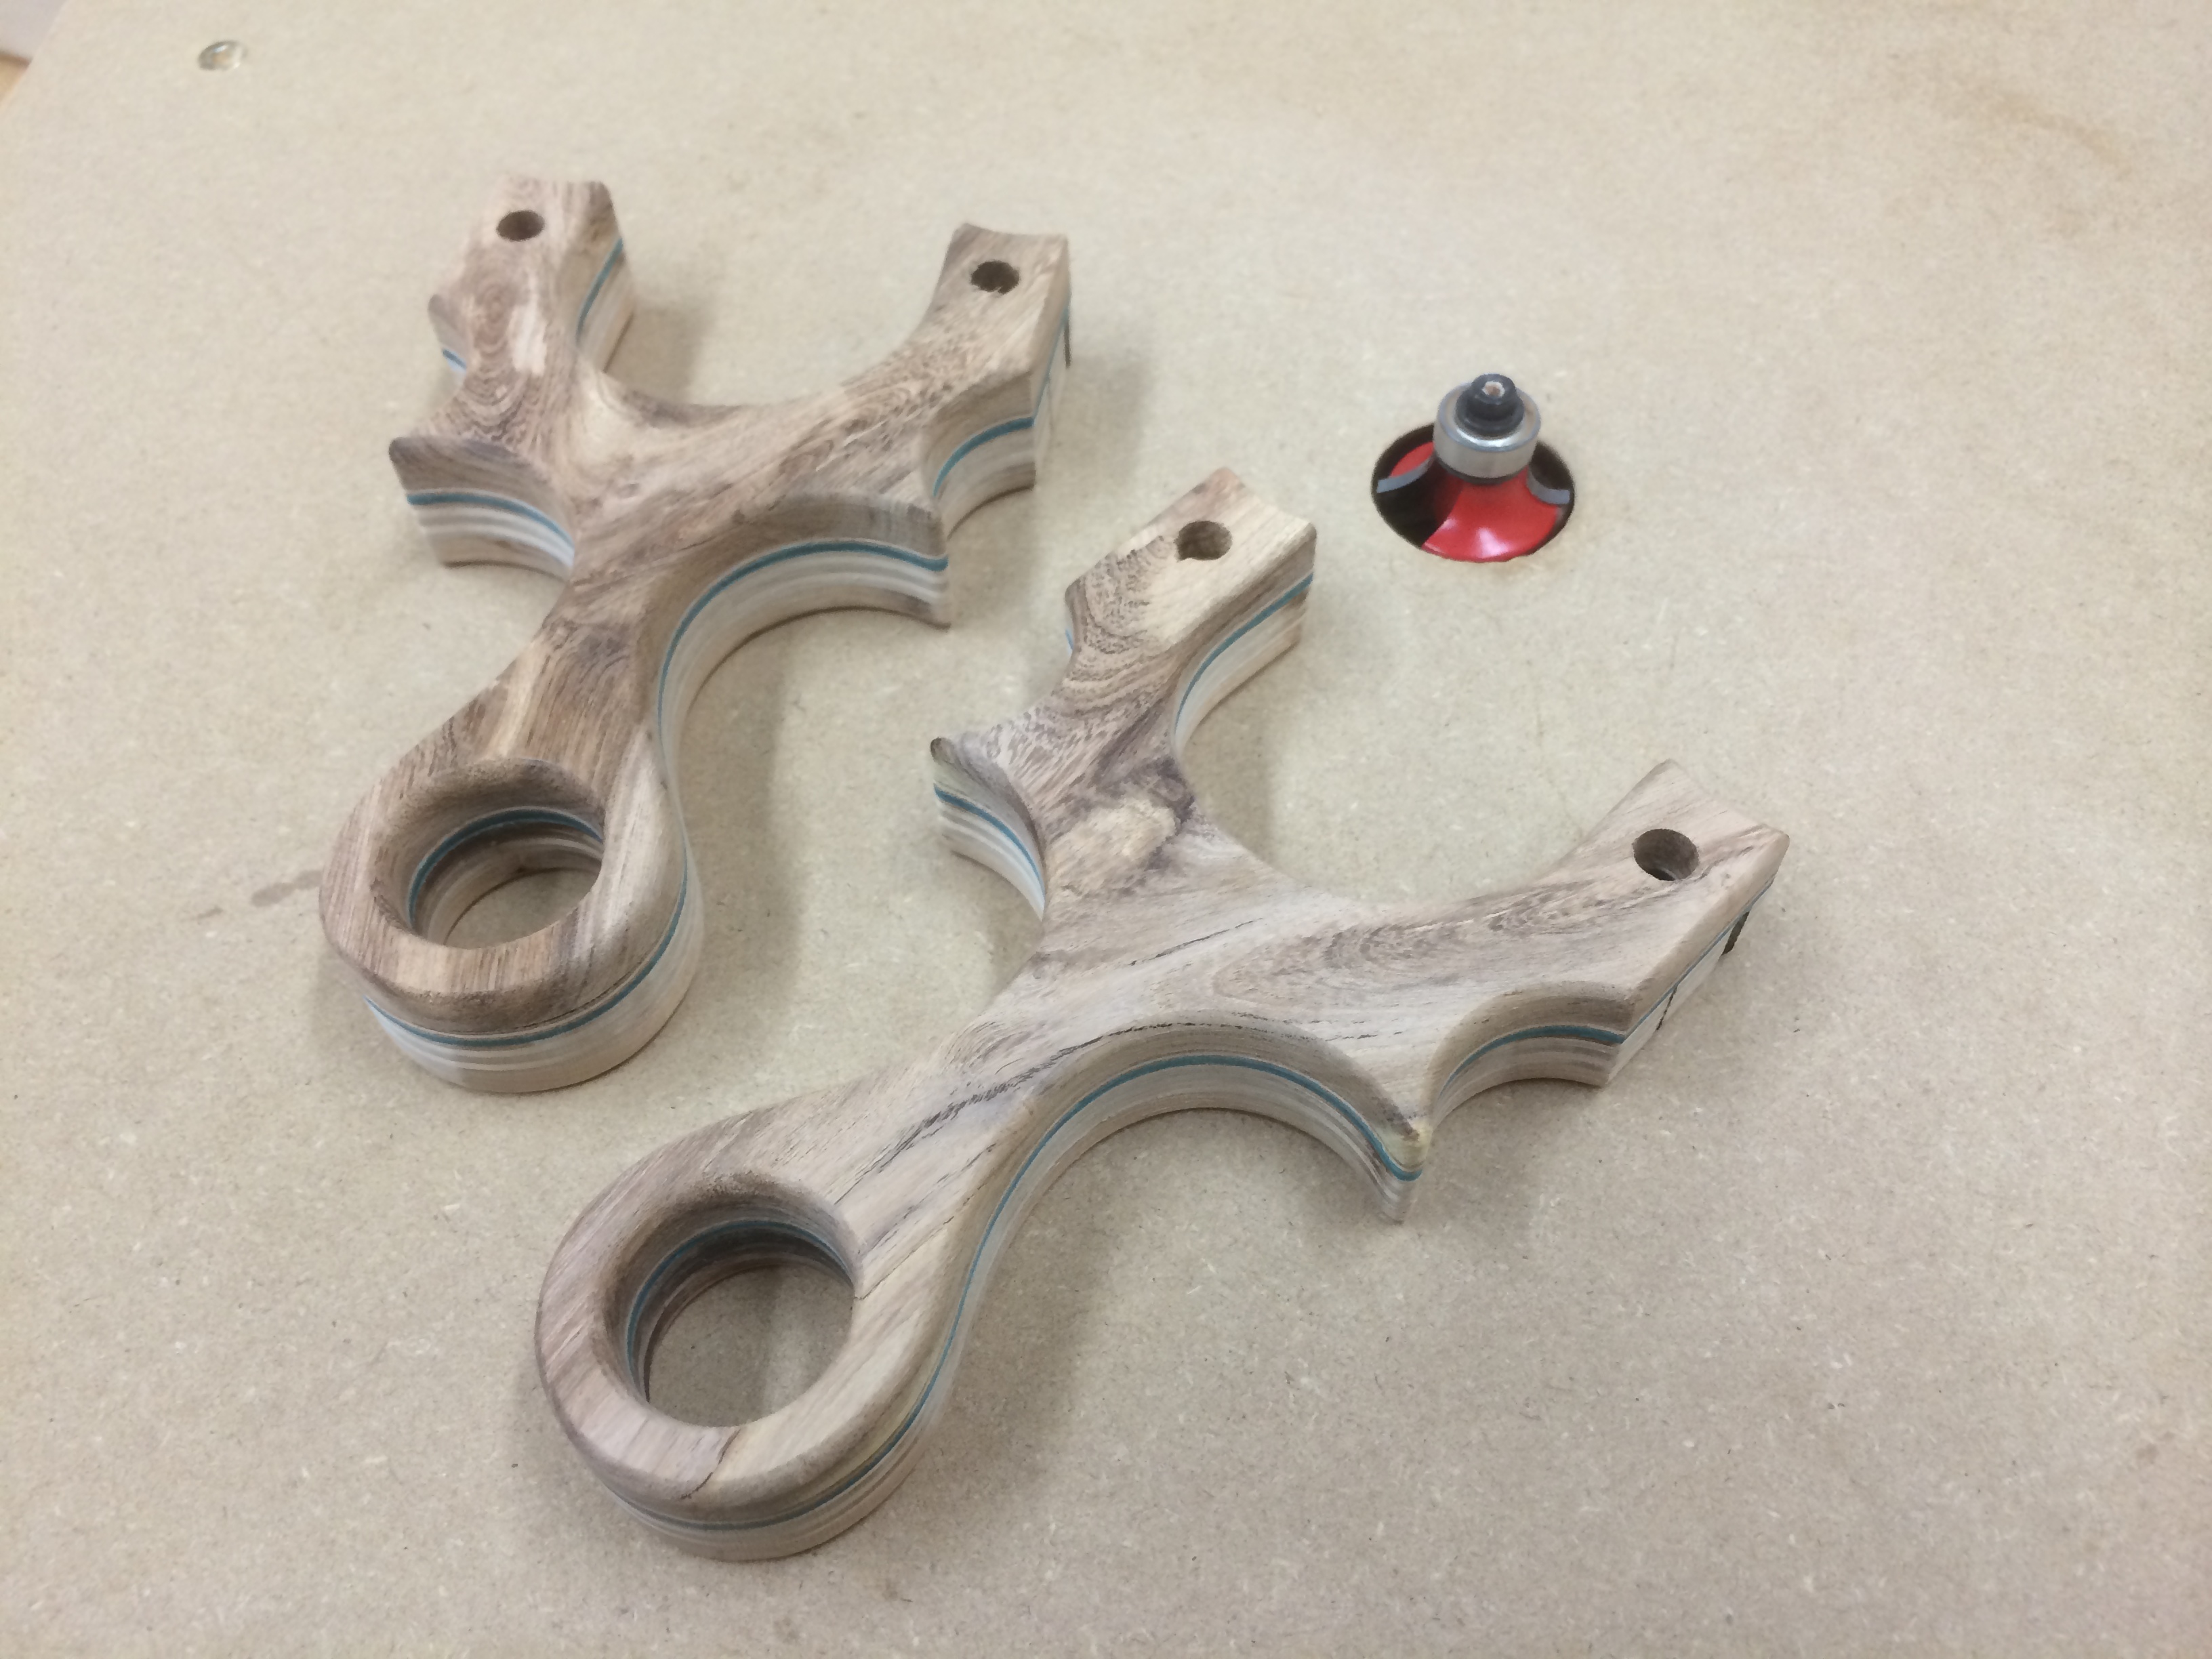
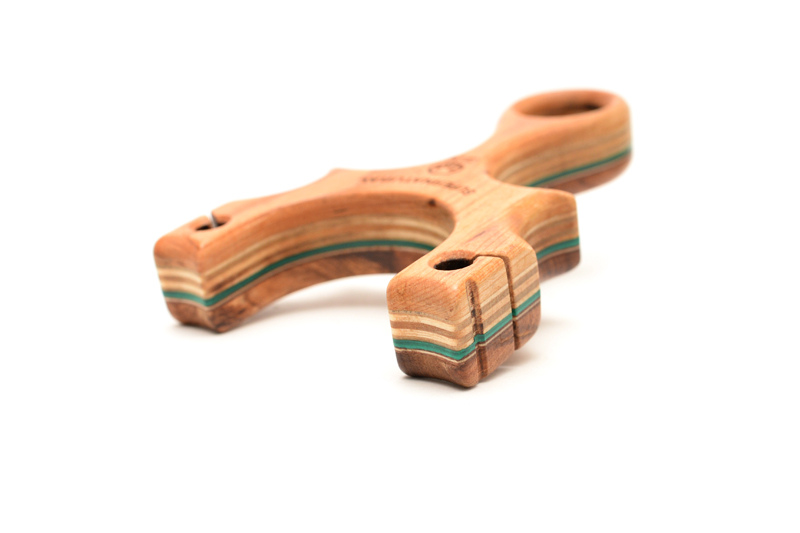
Selected edges are rounded off with the 1/4″, the finger and thumb area, the waist and pink hole. The tips are also rounded for the rubber tube to roll over easier. It now safe to proceed to chamfer the holes and open up the tube slot.
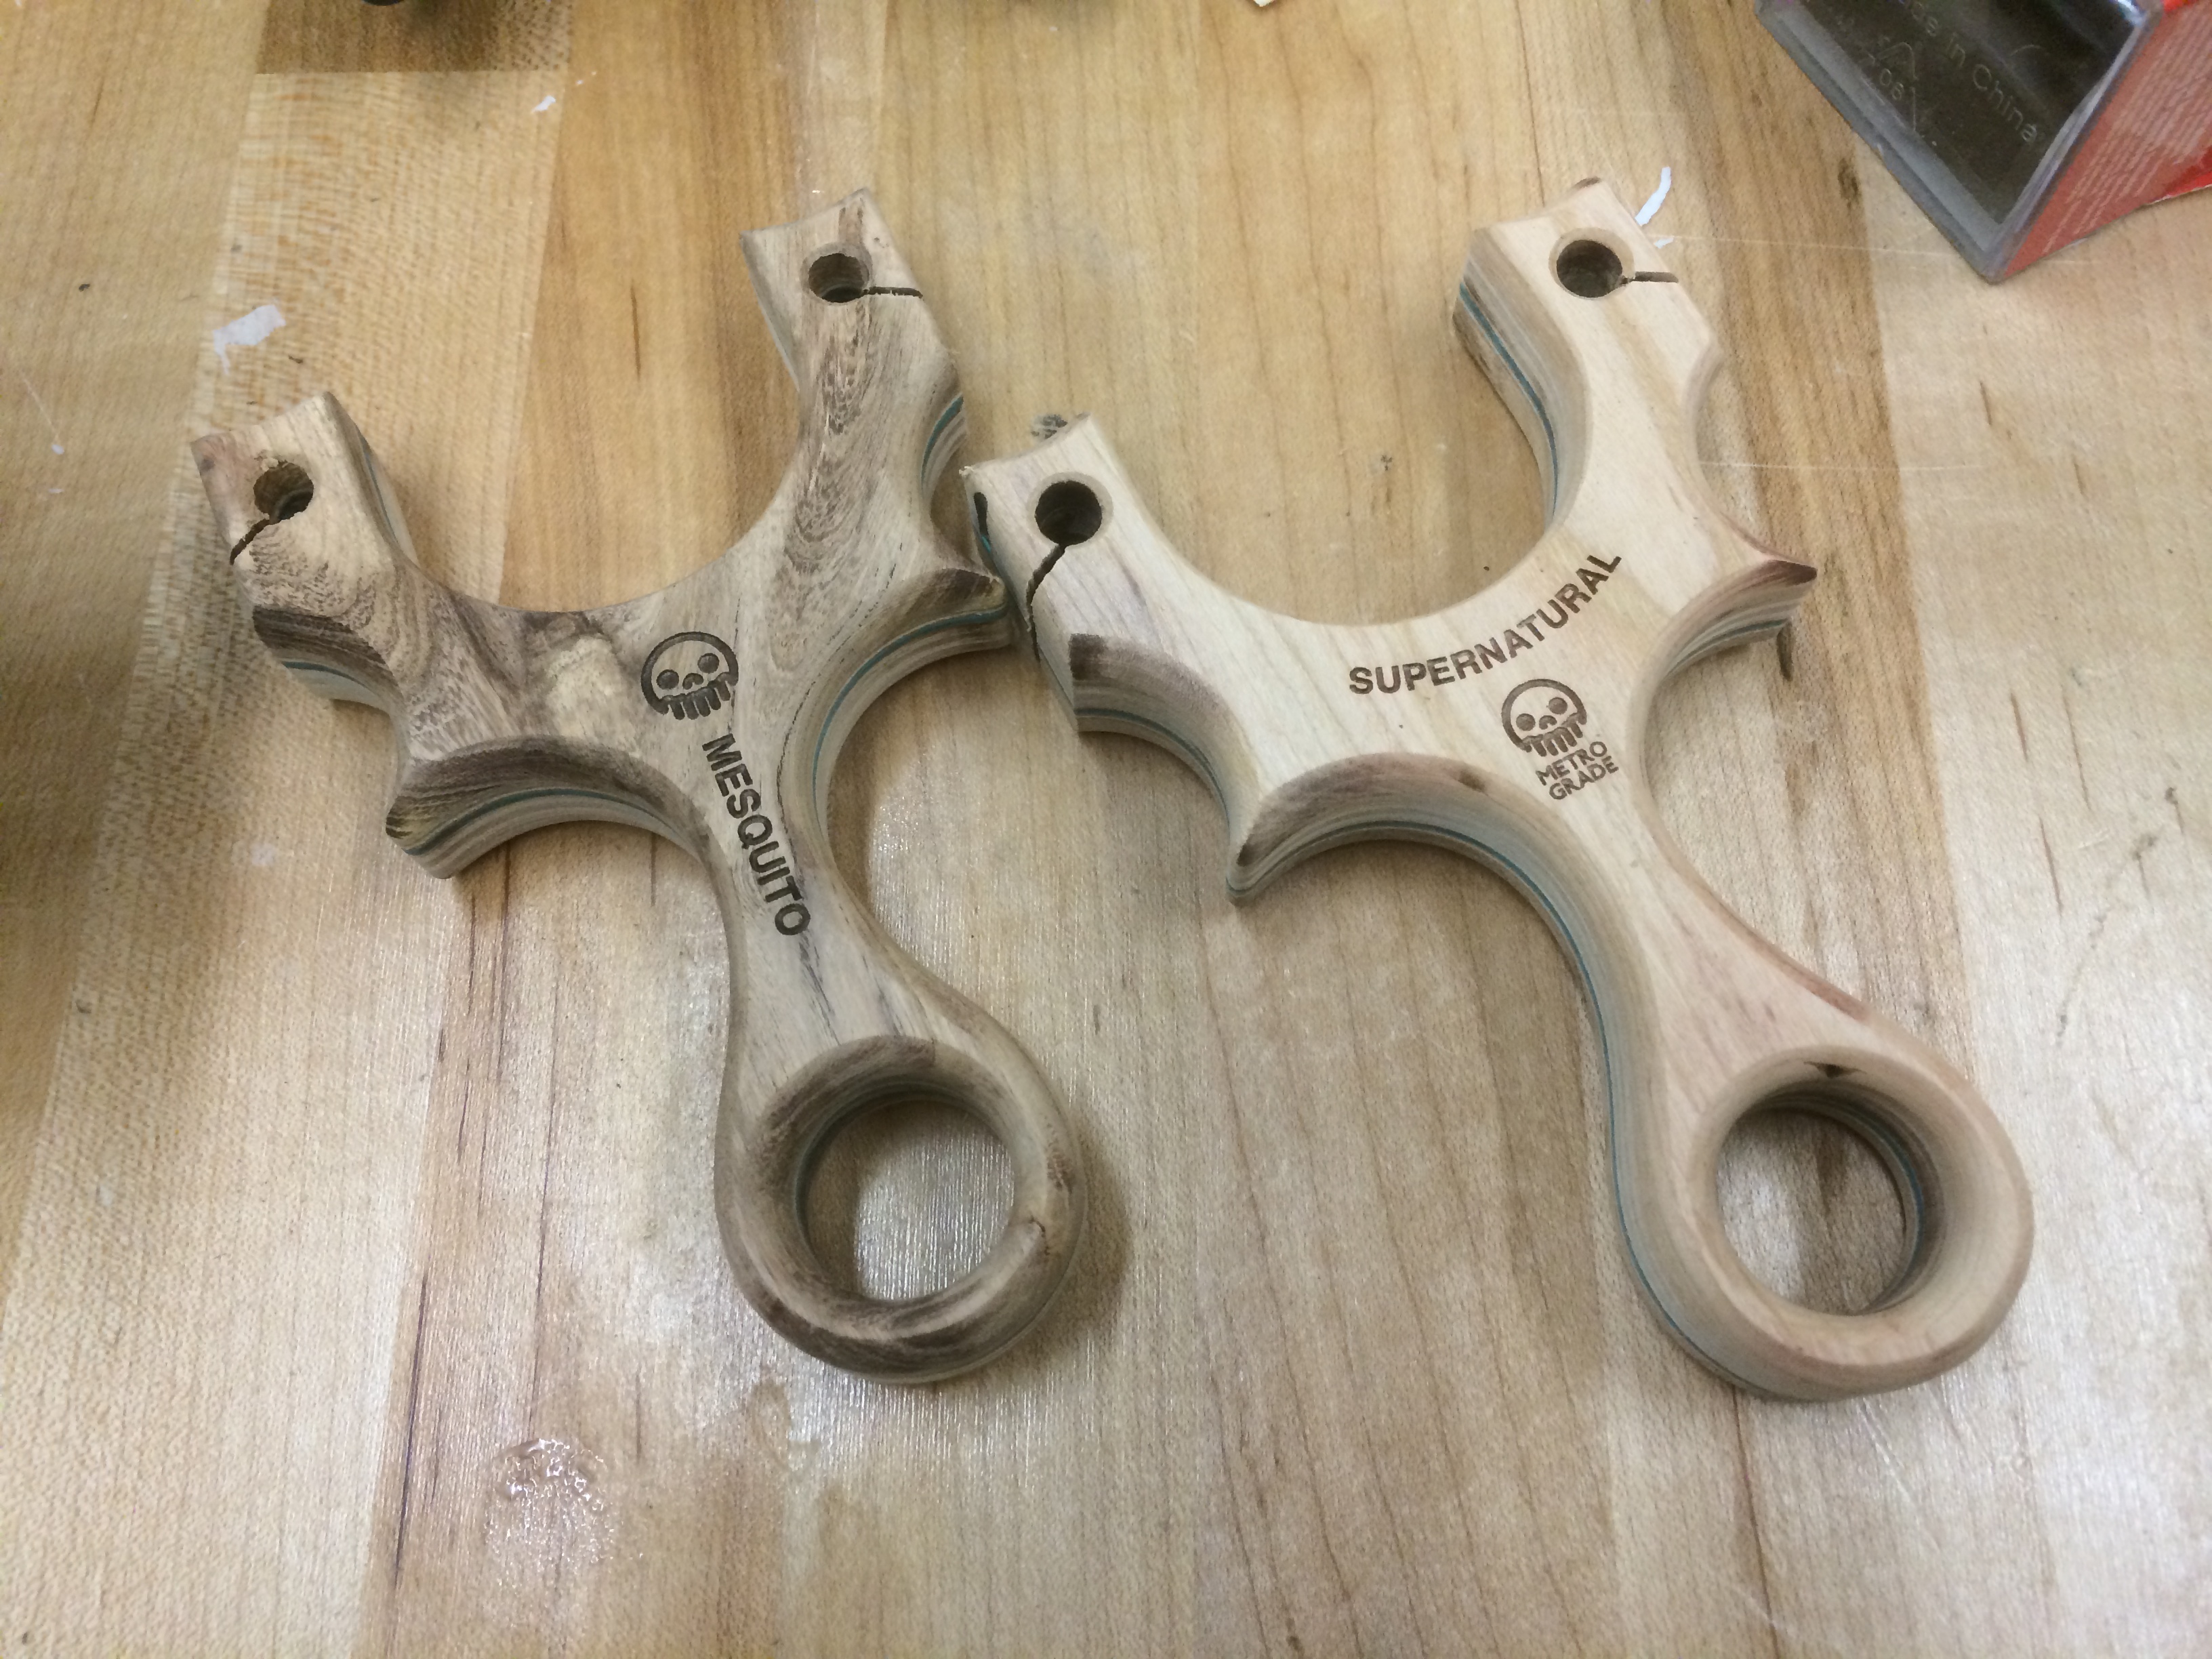
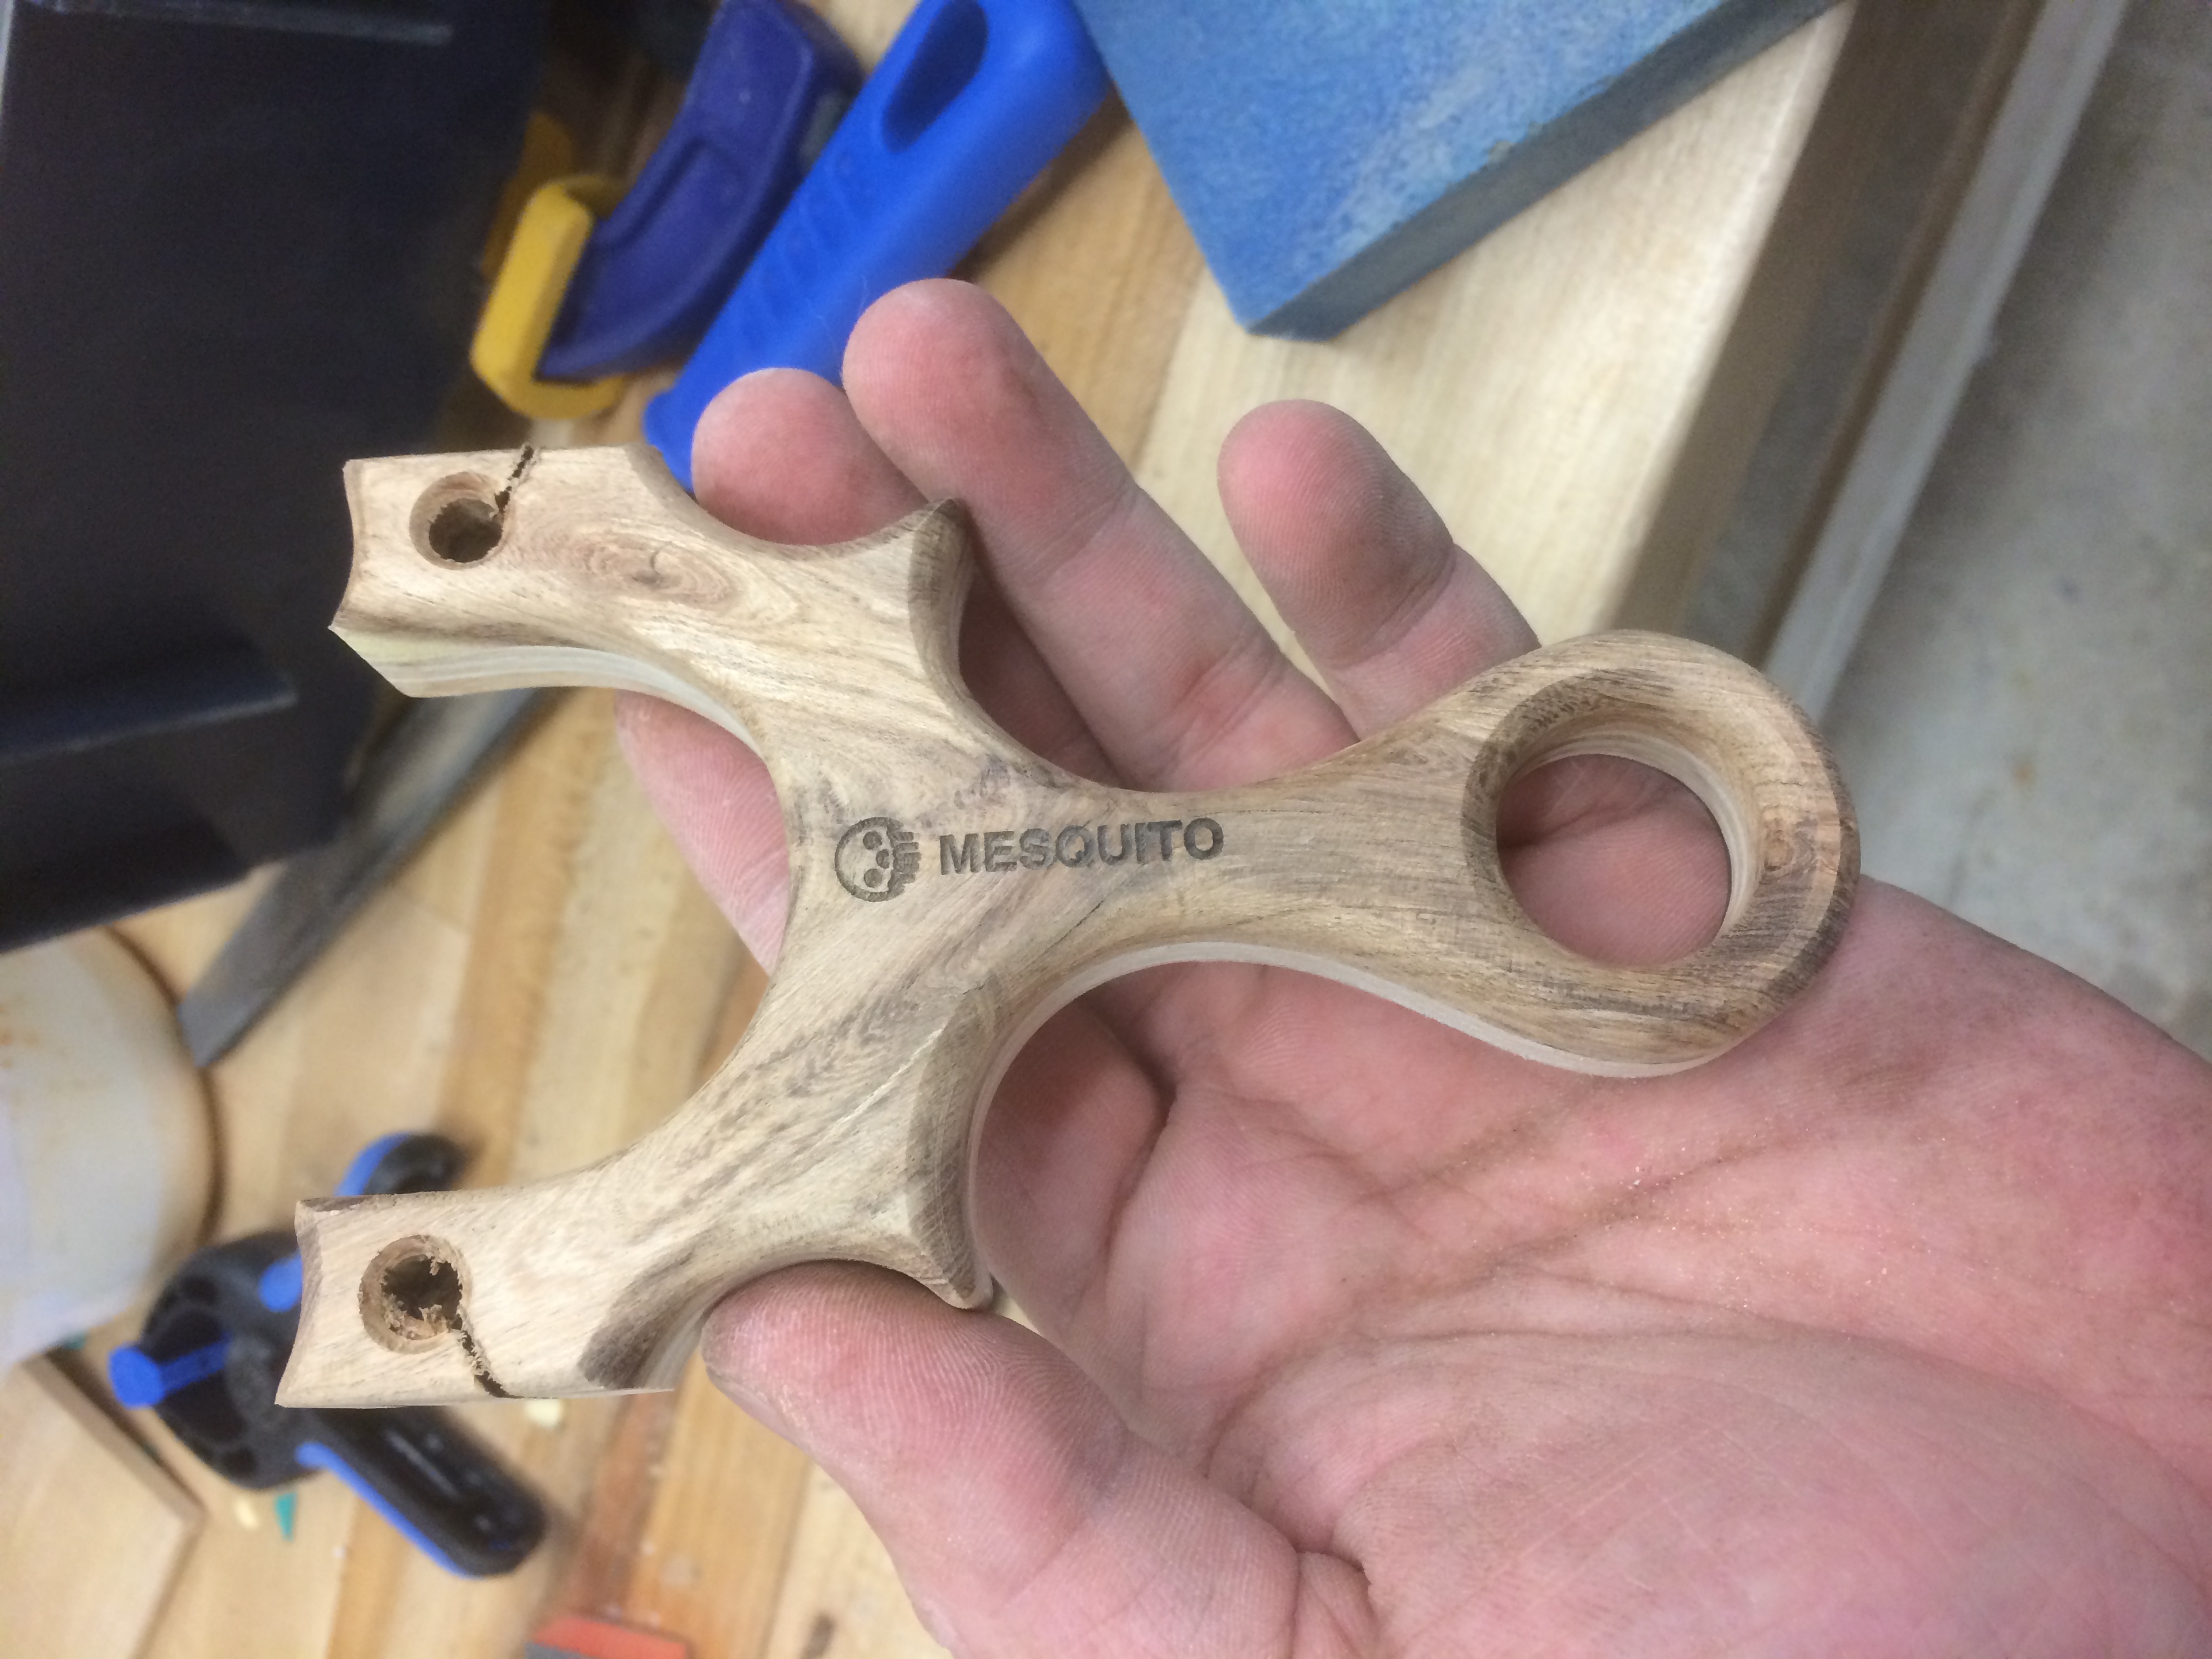
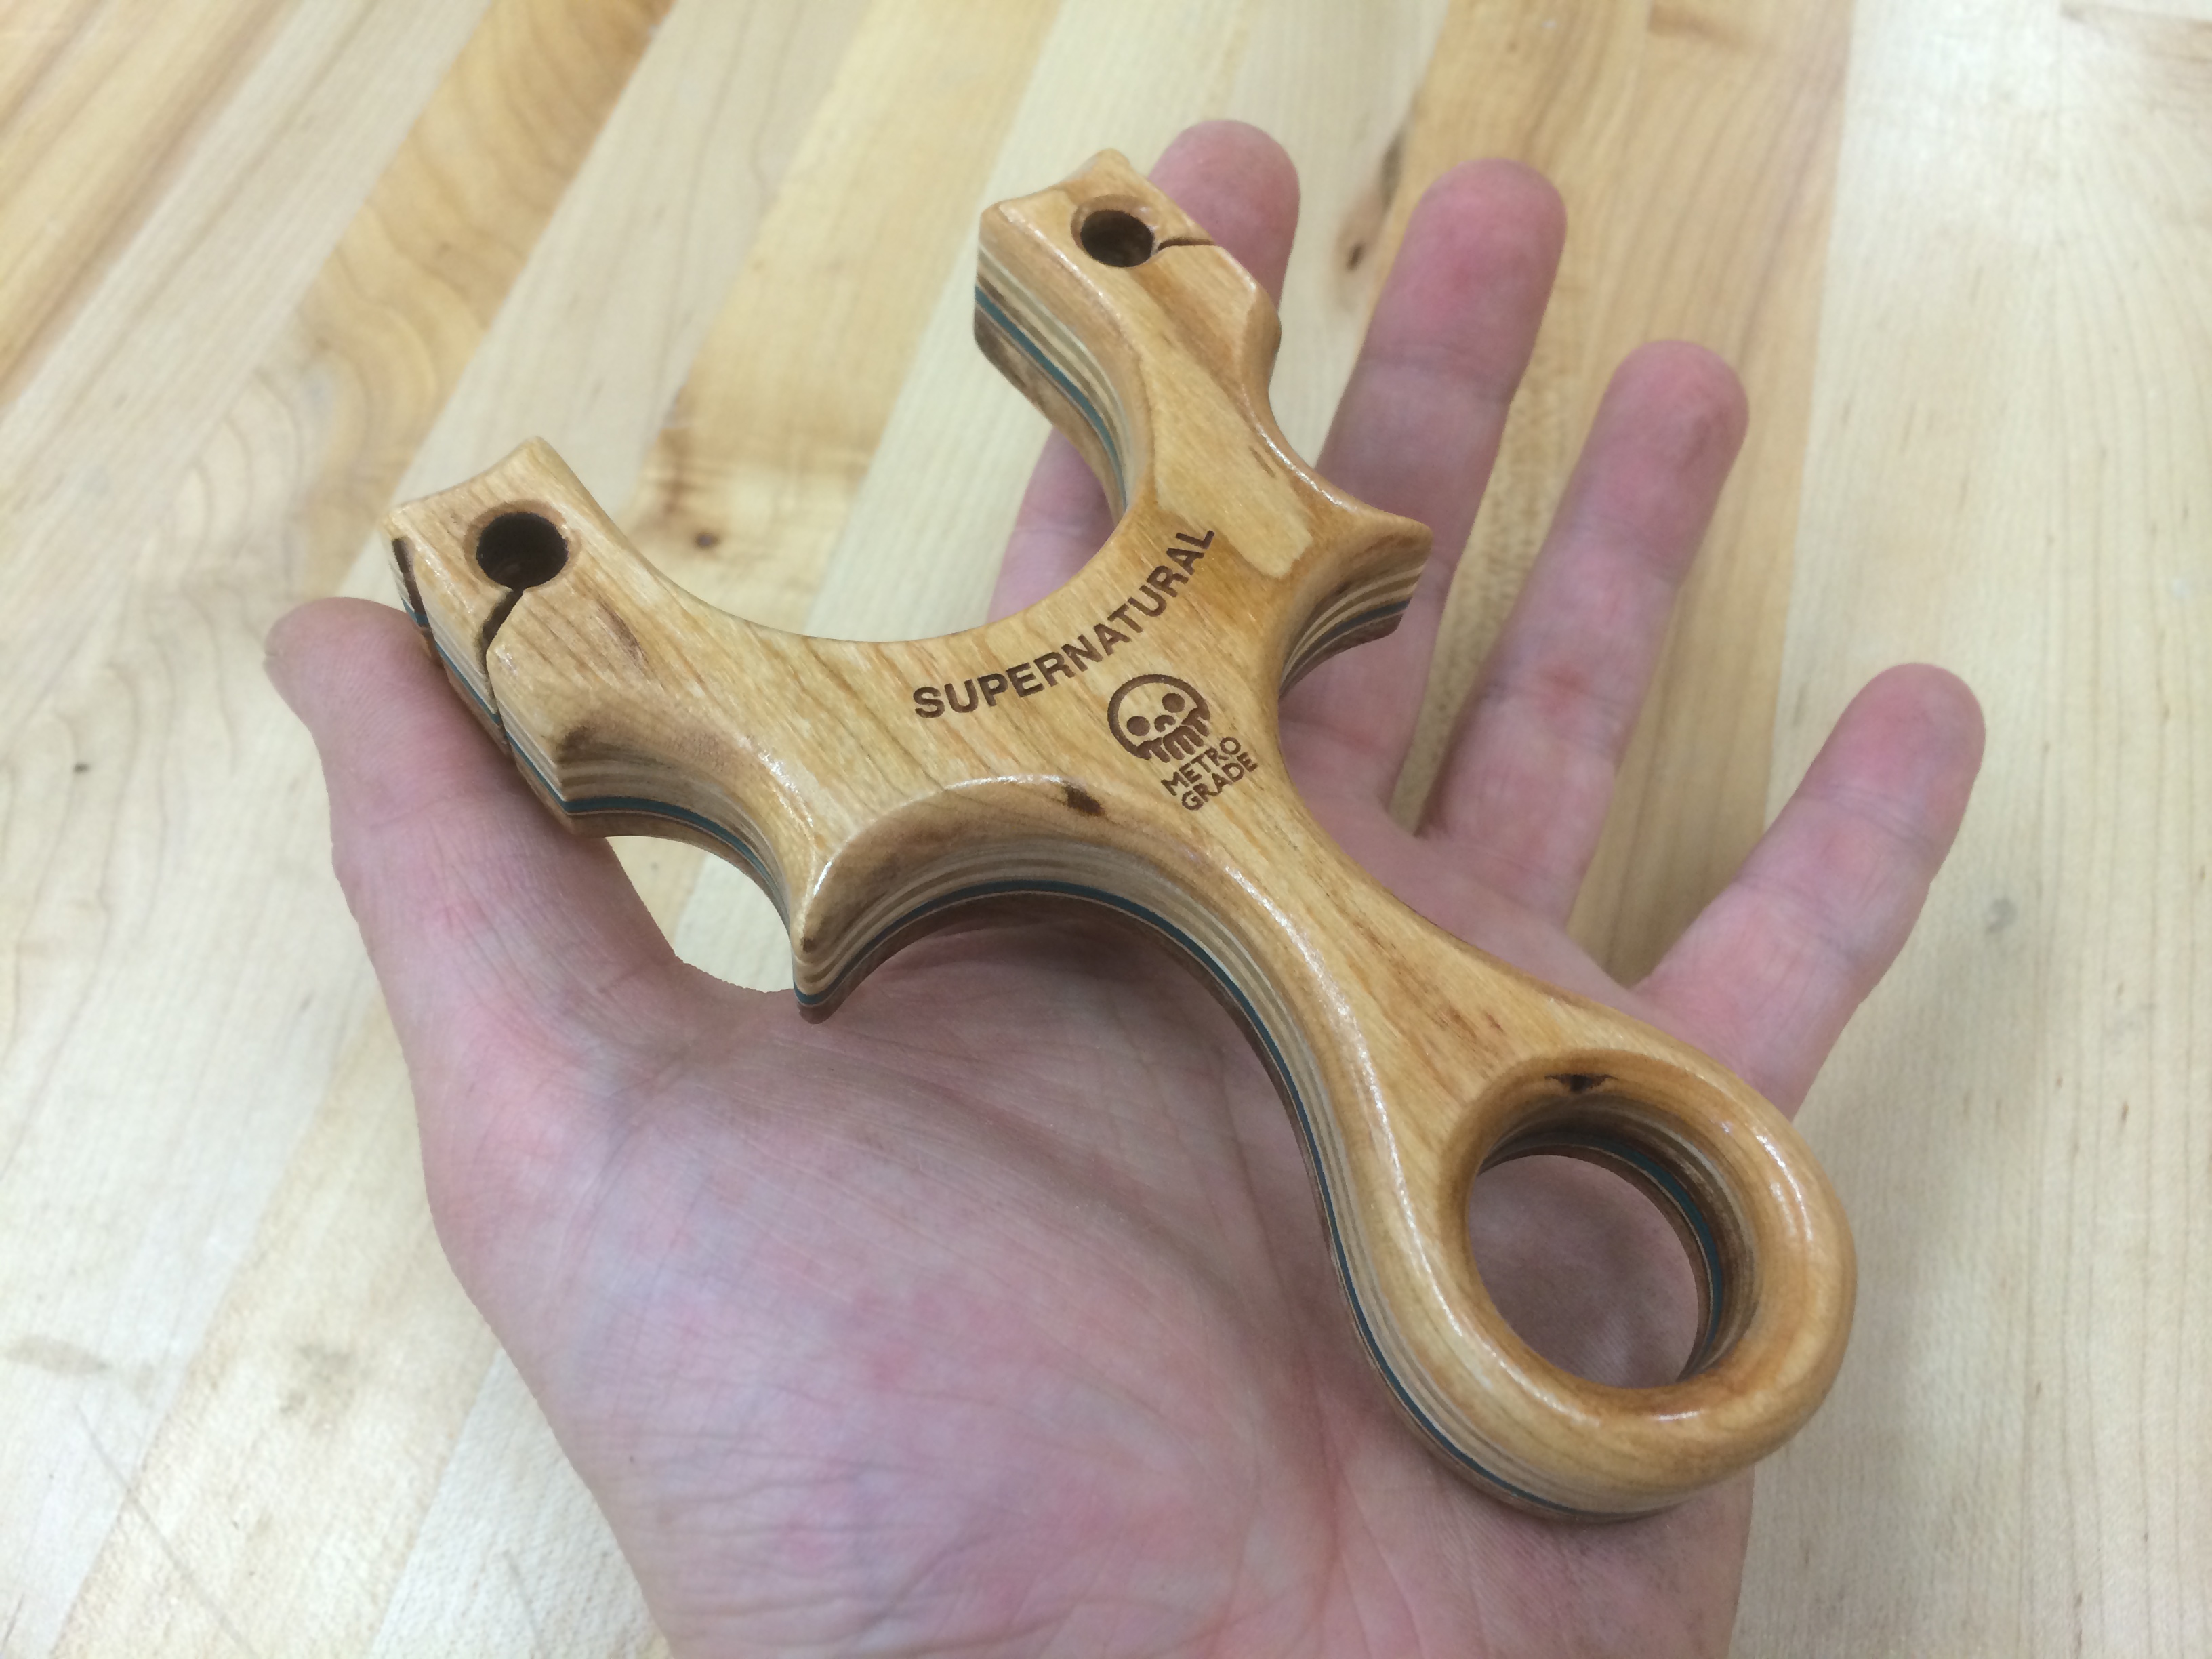
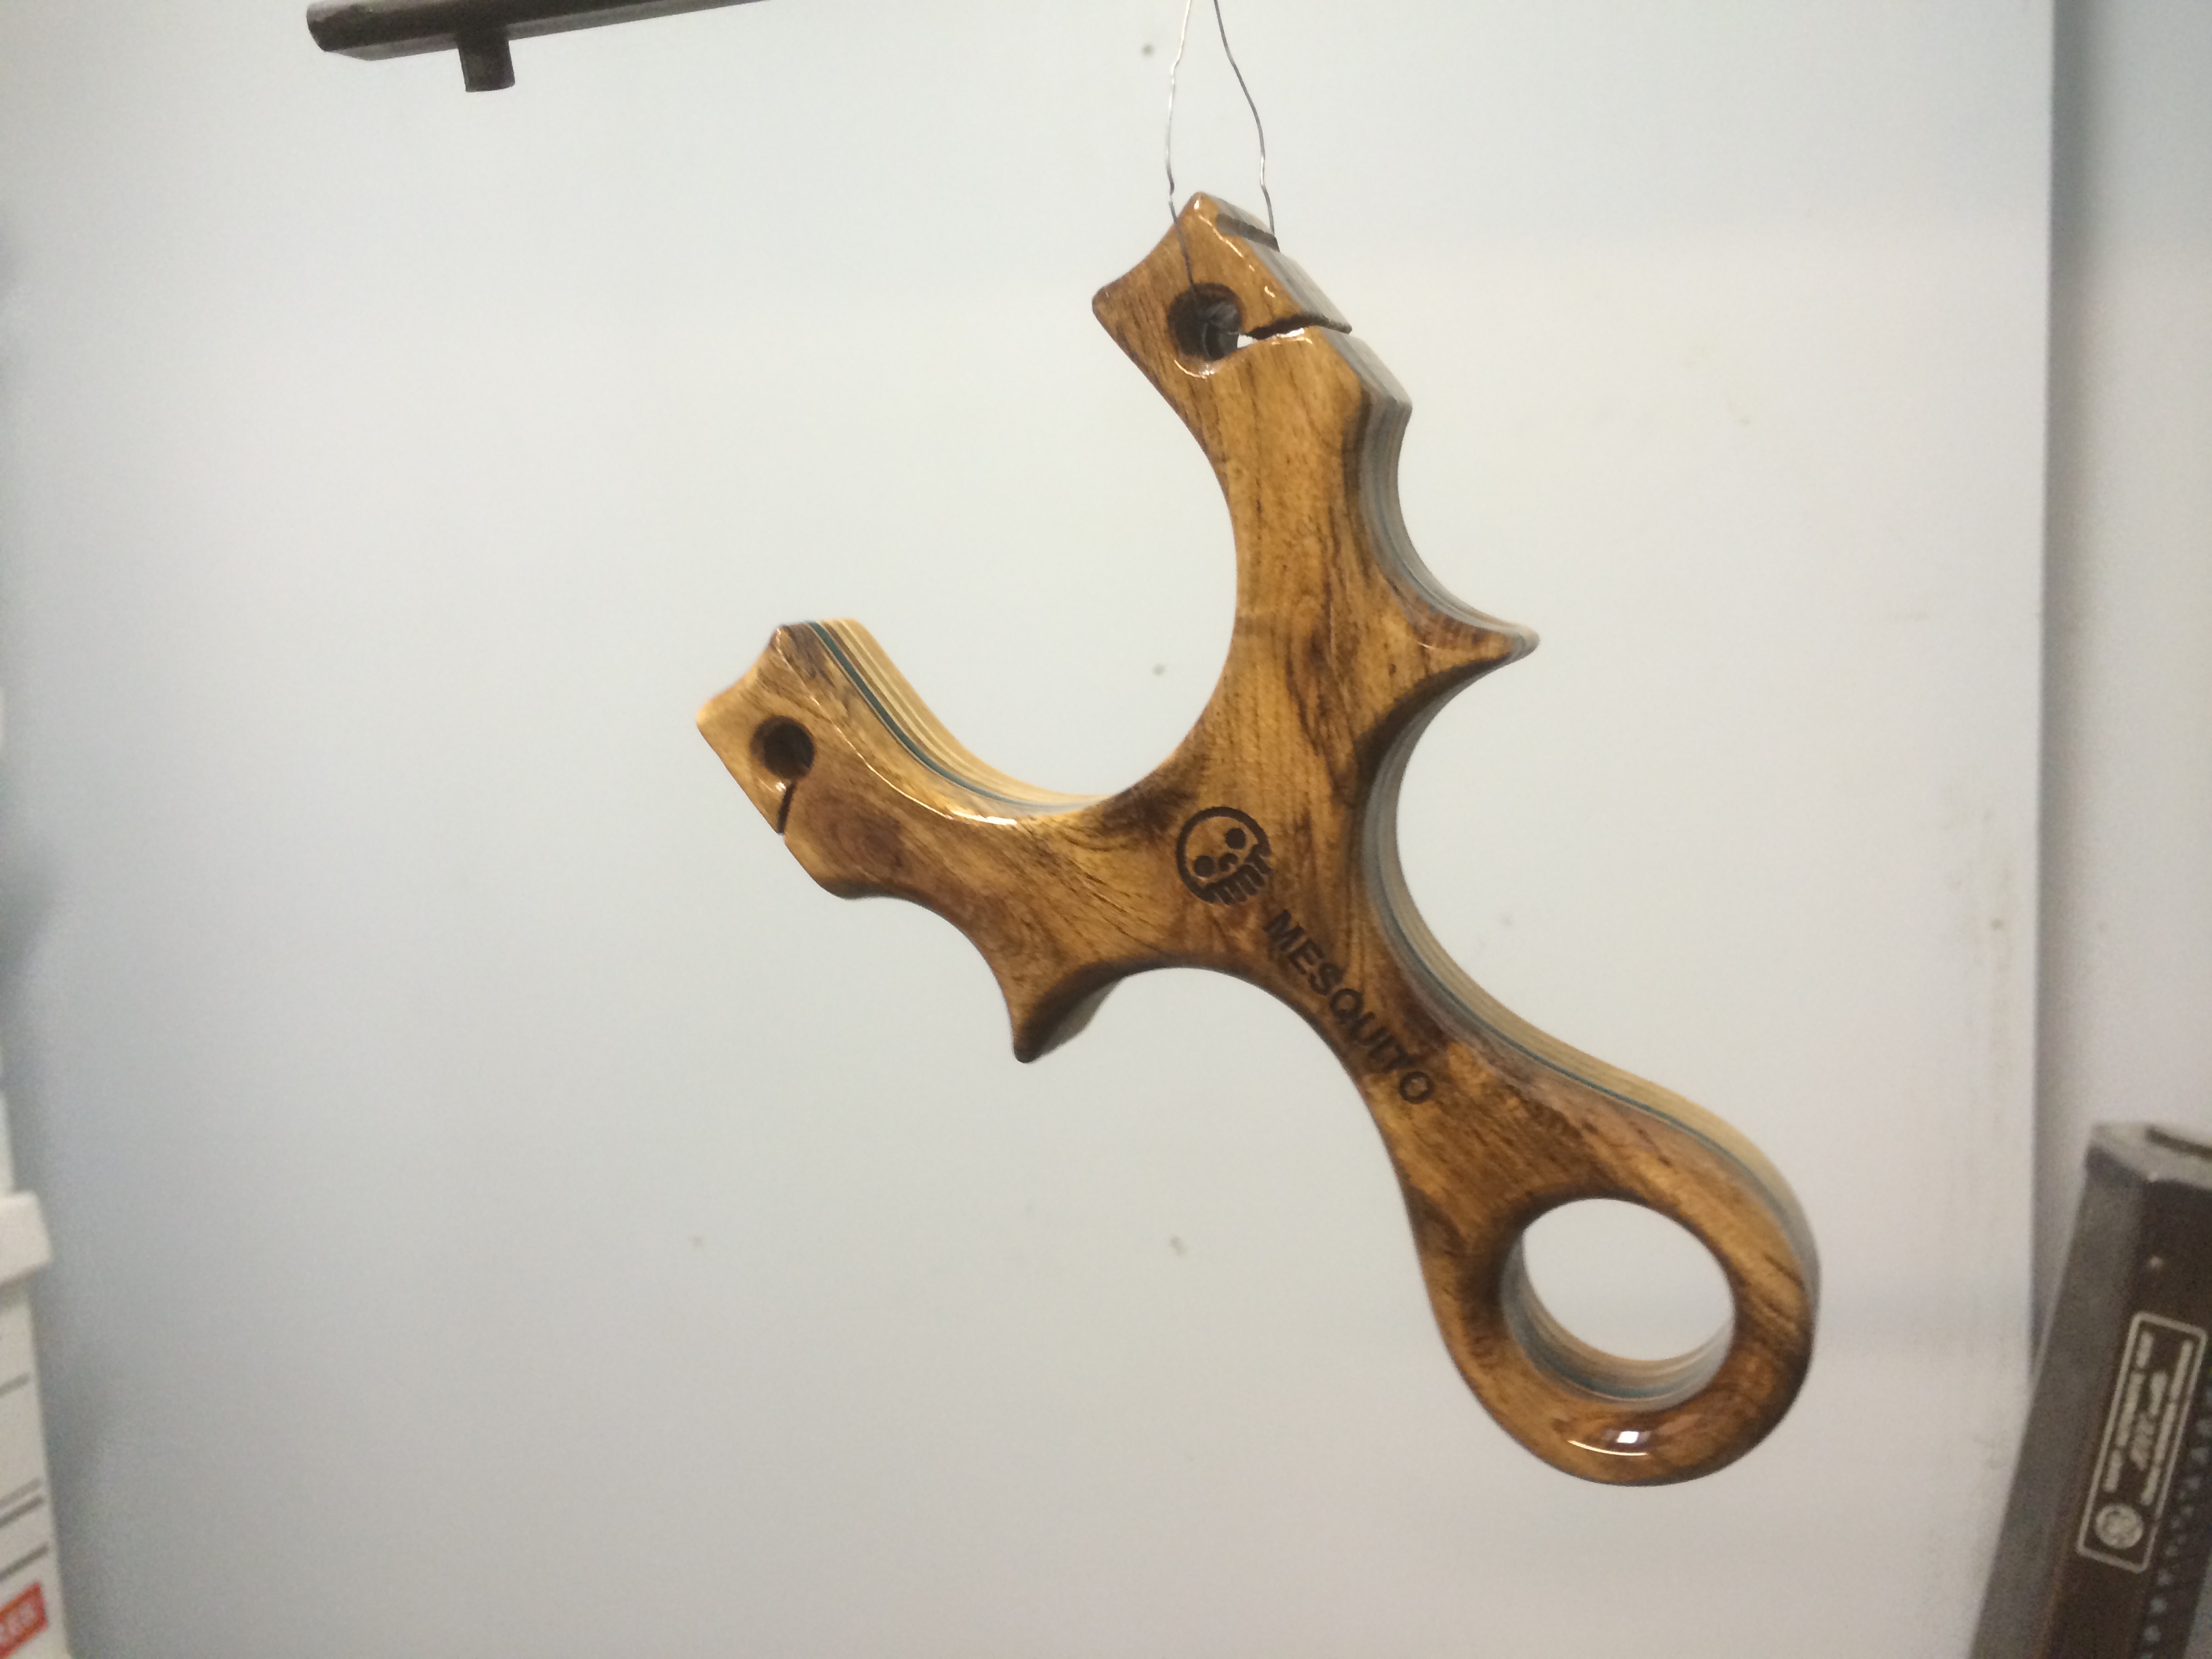
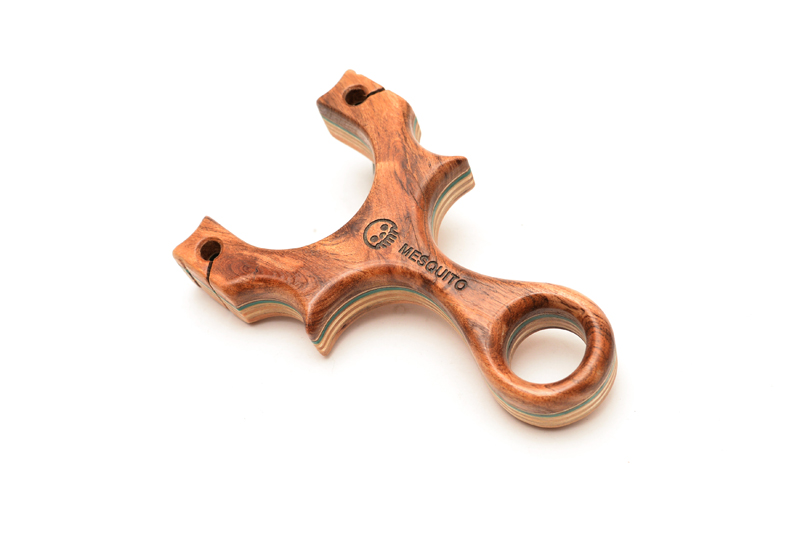
Now for the fun part. Laser etching! On the mesquite, the Metro Grade Skullthulu and the name Mesquito.
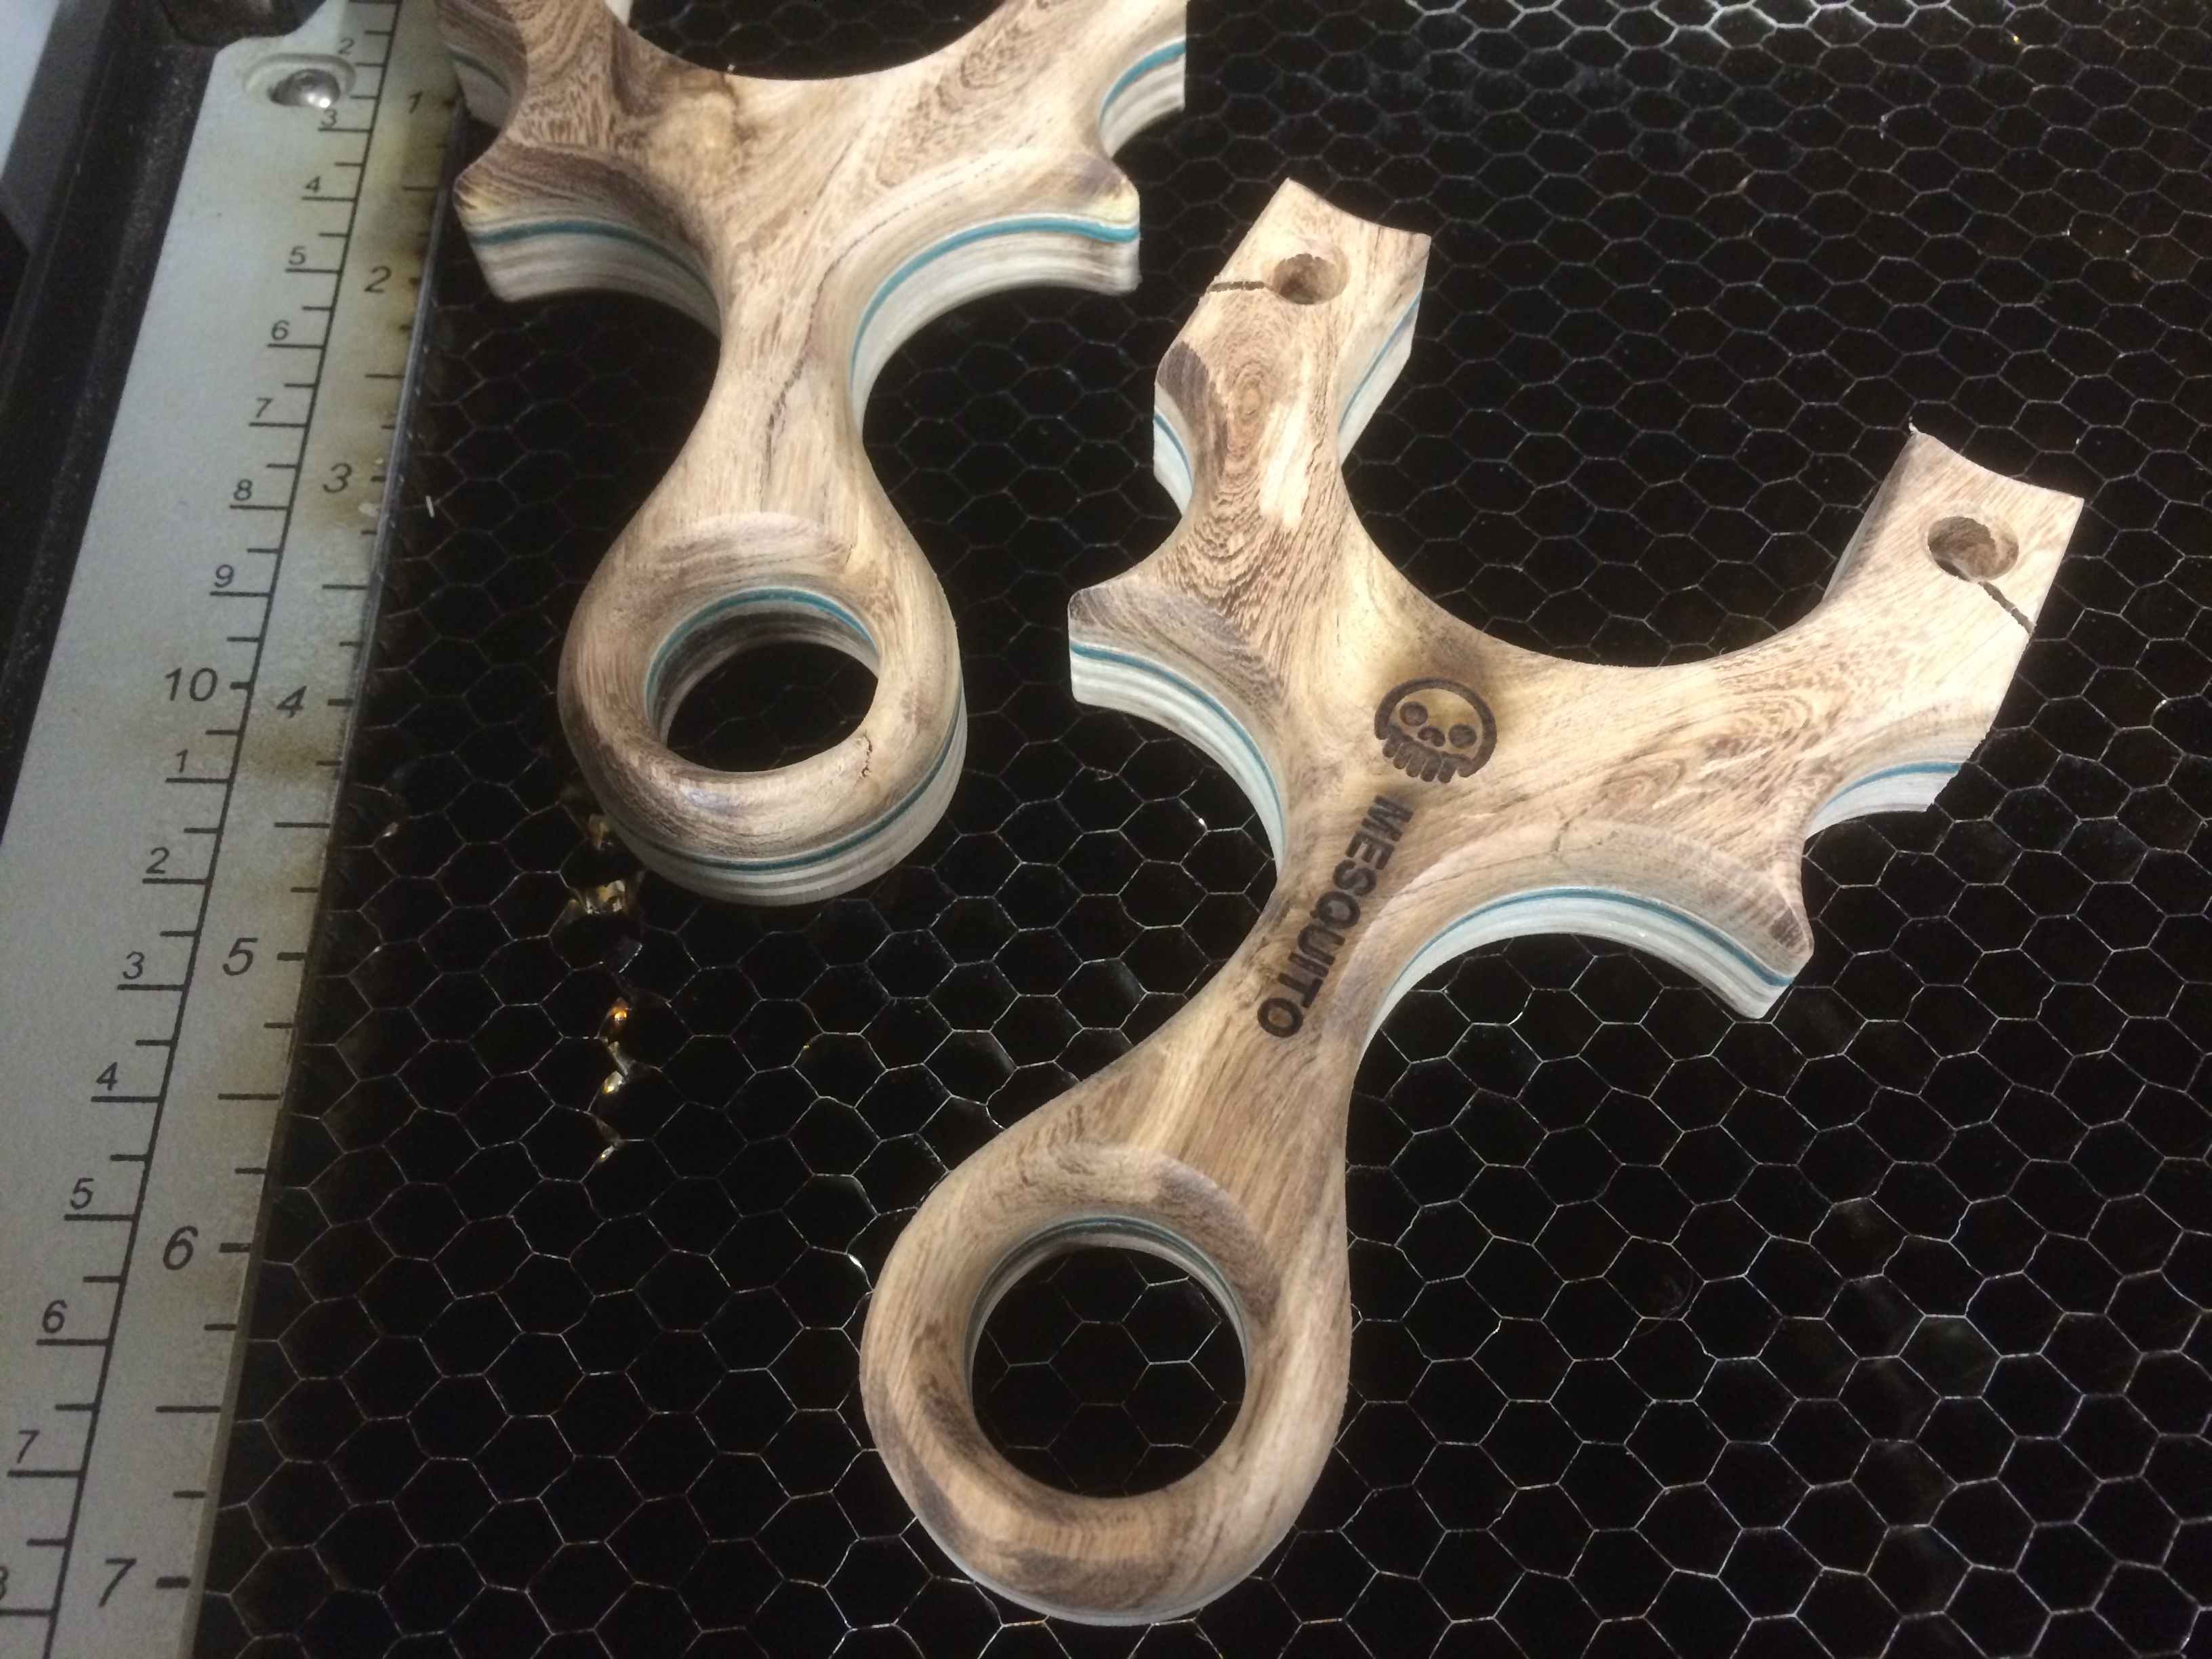
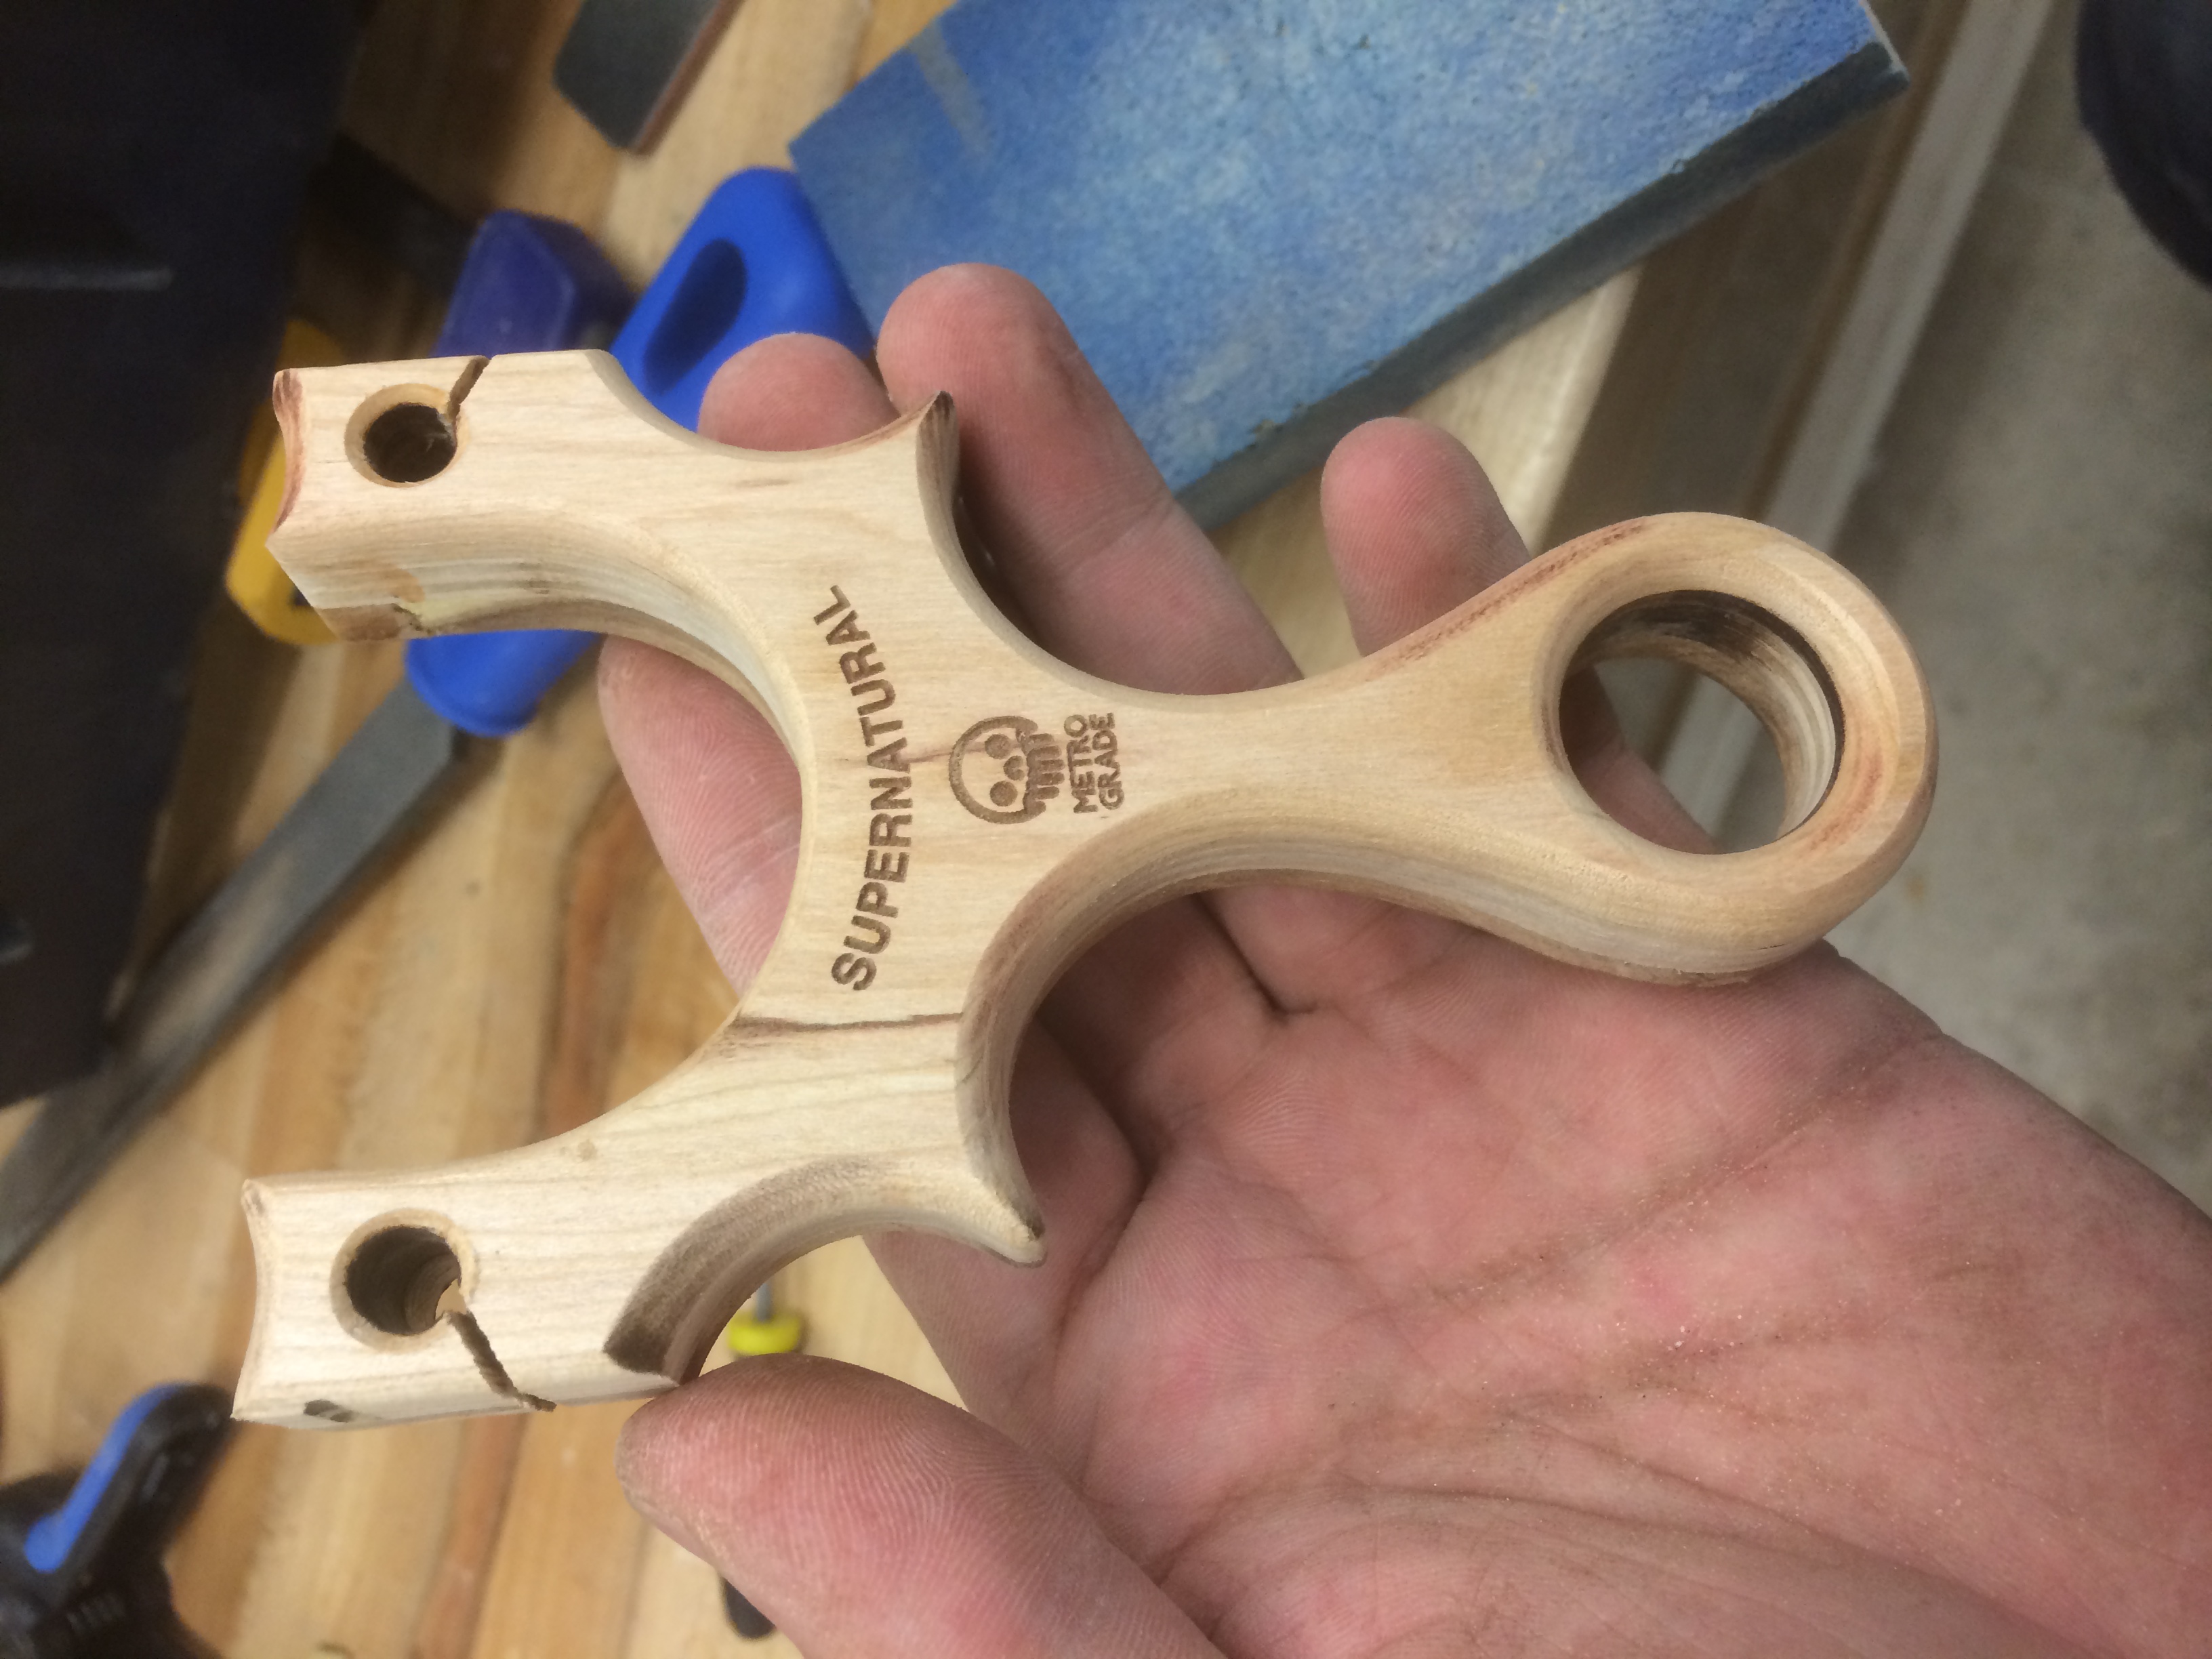
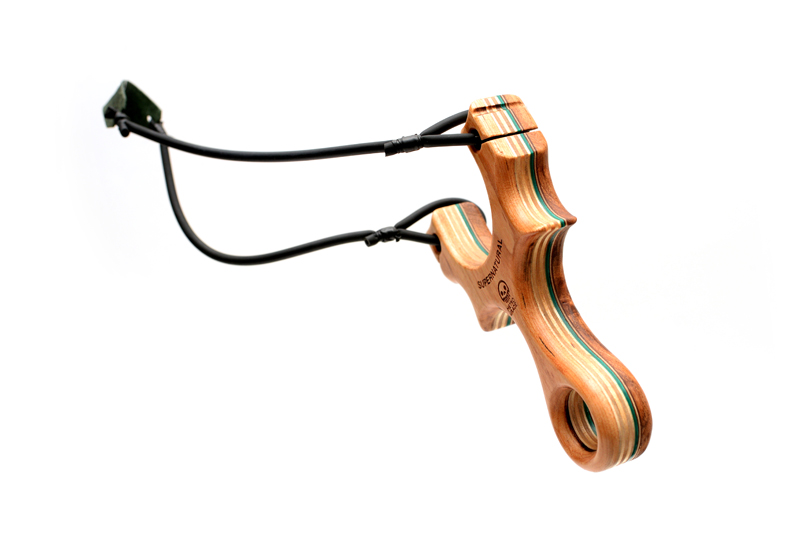
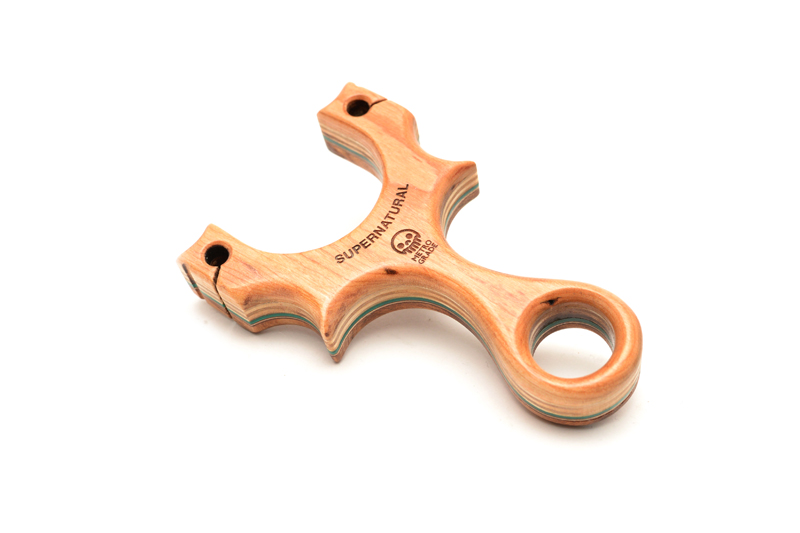
On the cherry side, the series name: Supernatural (Edit, fellow sling maker Nathan over at Simpleshot let me know he’s already using Supernatural, from here on in, we are going to call it the Unnatural Series)
Time to sand and sand and sand. The progression is 100 nail file, 150 grit foam block, 240 grit foam block and finally 600 grit paper.
First of three coats of acrylic sealer.
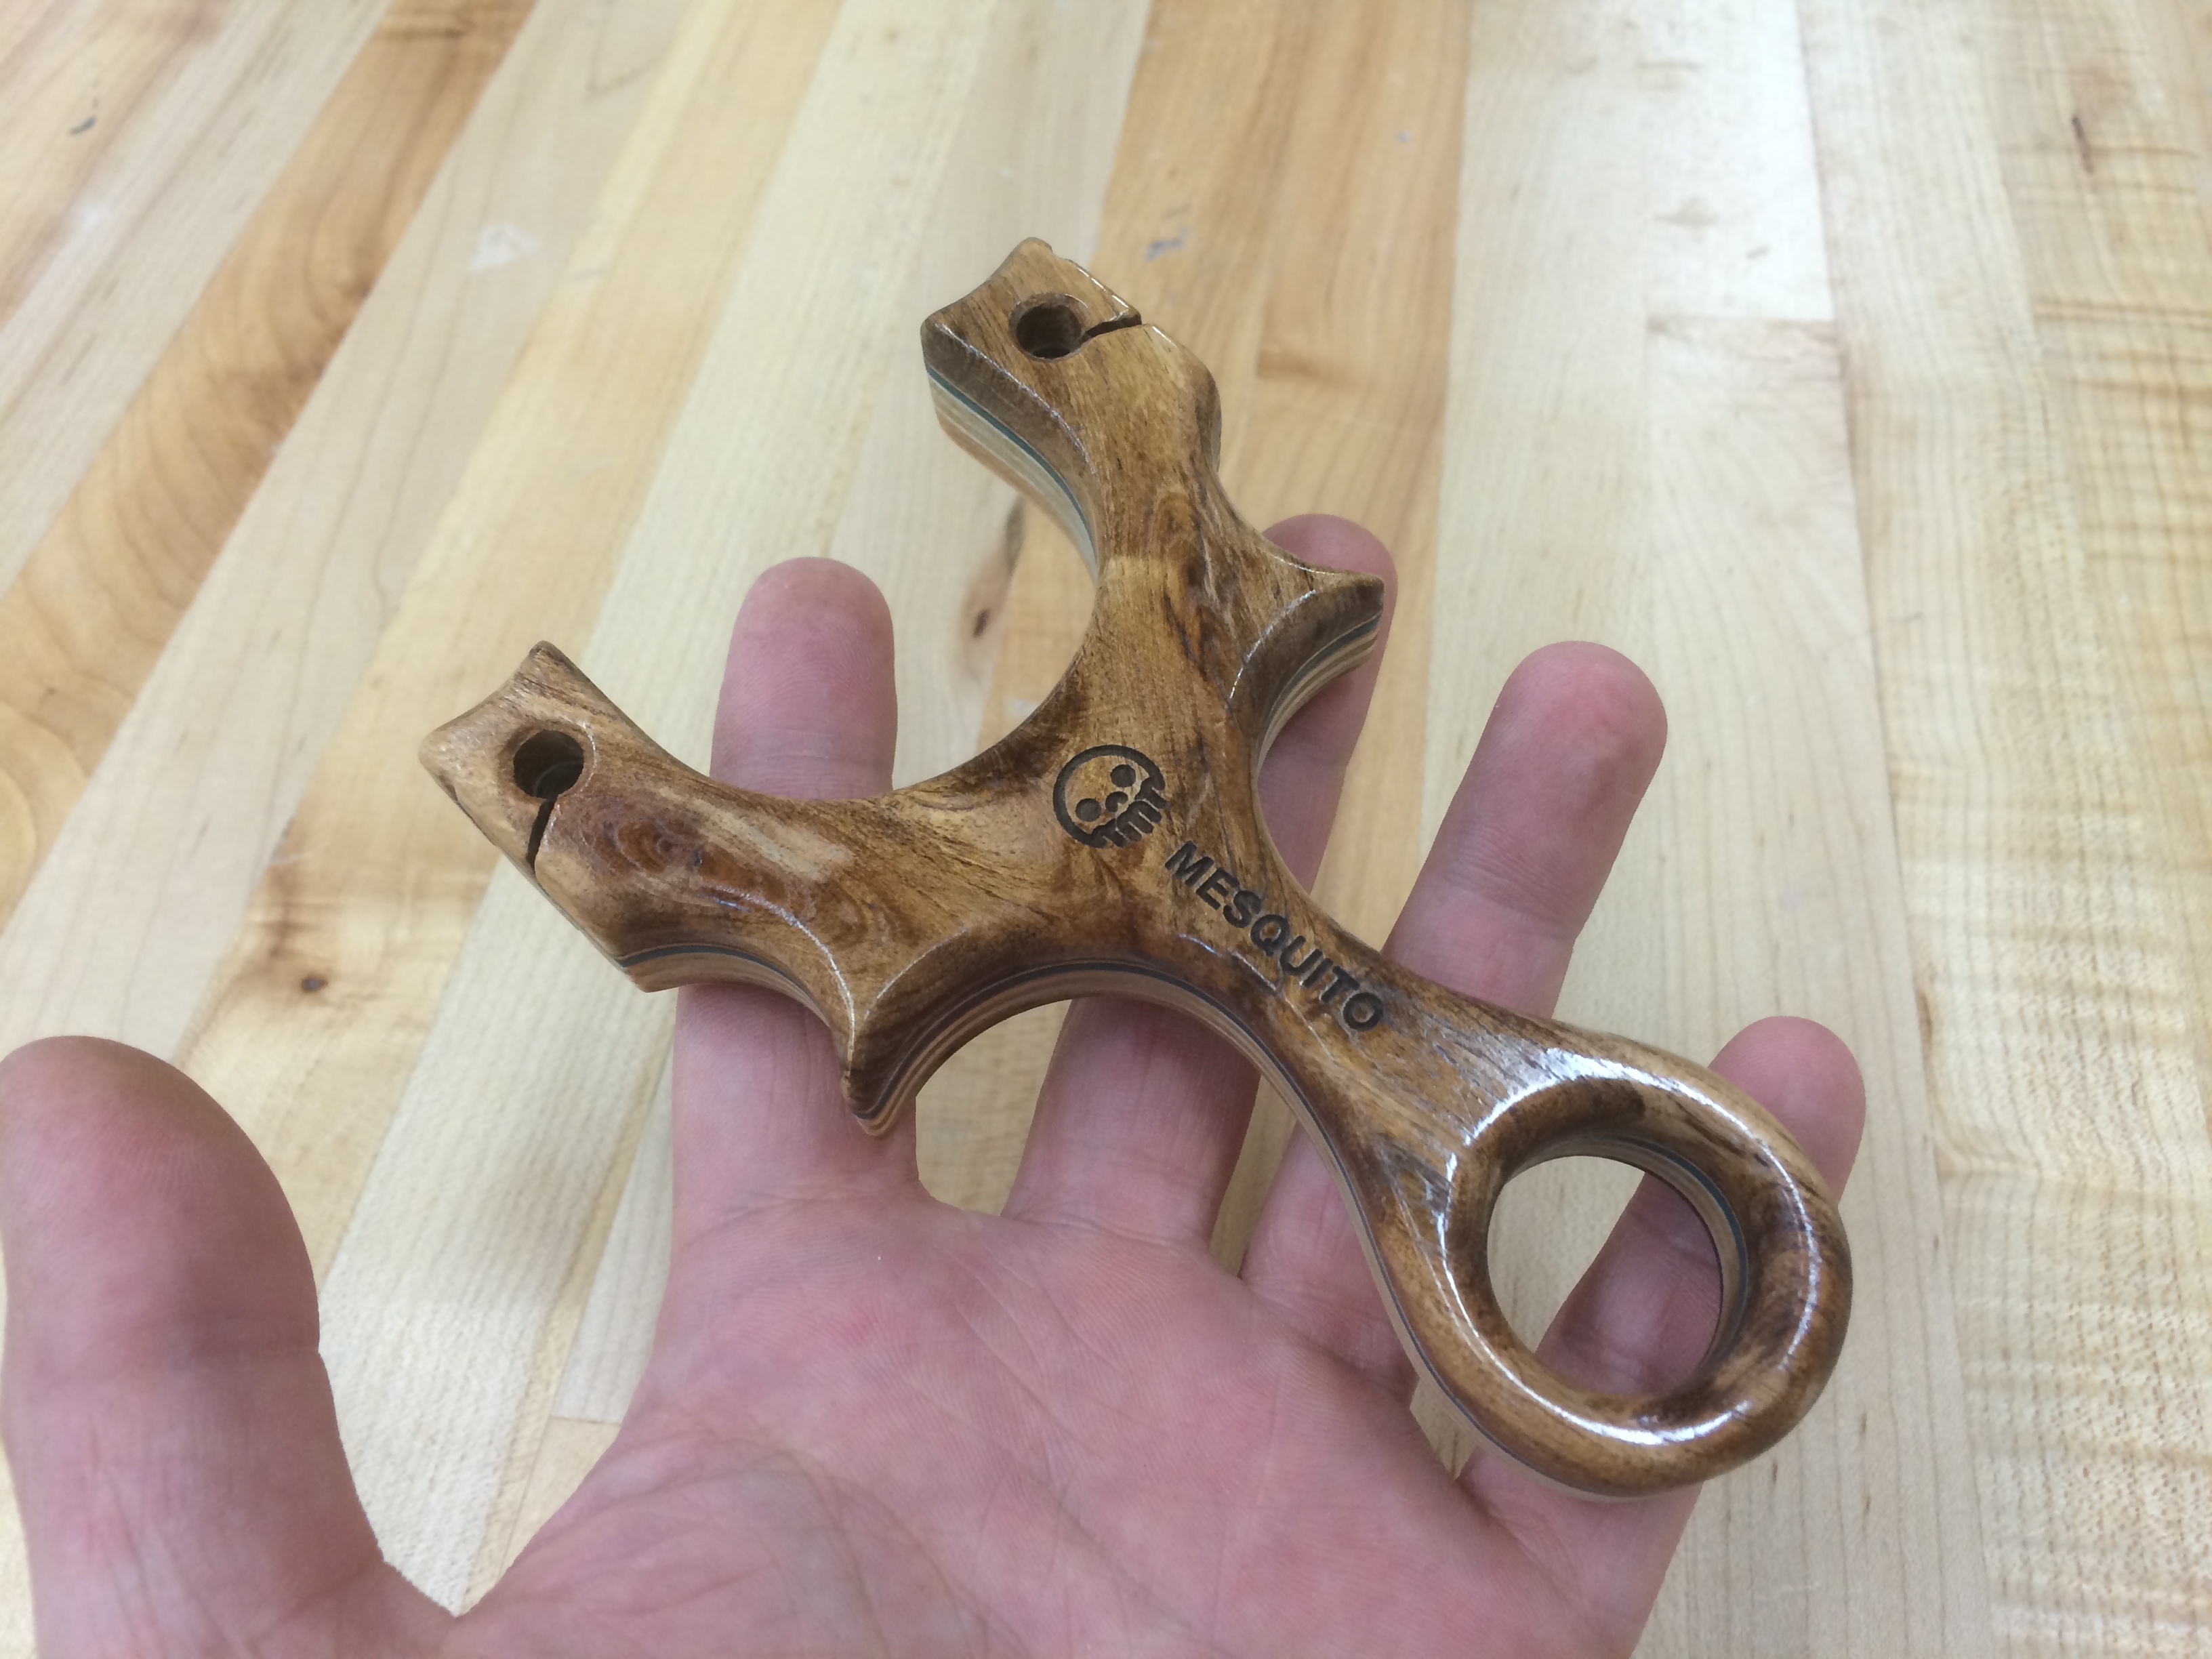
The sealer reveals so much in the wood that I can’t help but take a pic after the first coat.
The grain on this mesquite is something else!
After the first coat is cured, the surface gets a light scuffing with some 0000 steel wool.

The final coat. As per usual, the entire surface gets a treatment of a nice nail buffer shine.
—
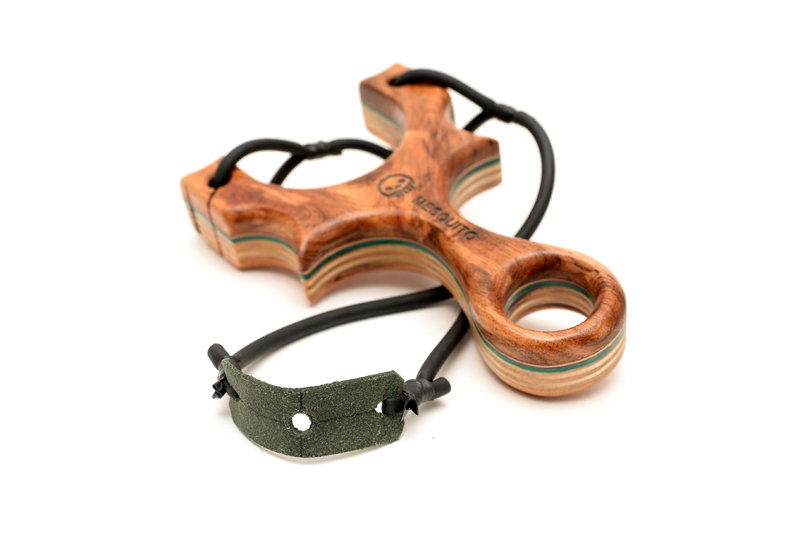
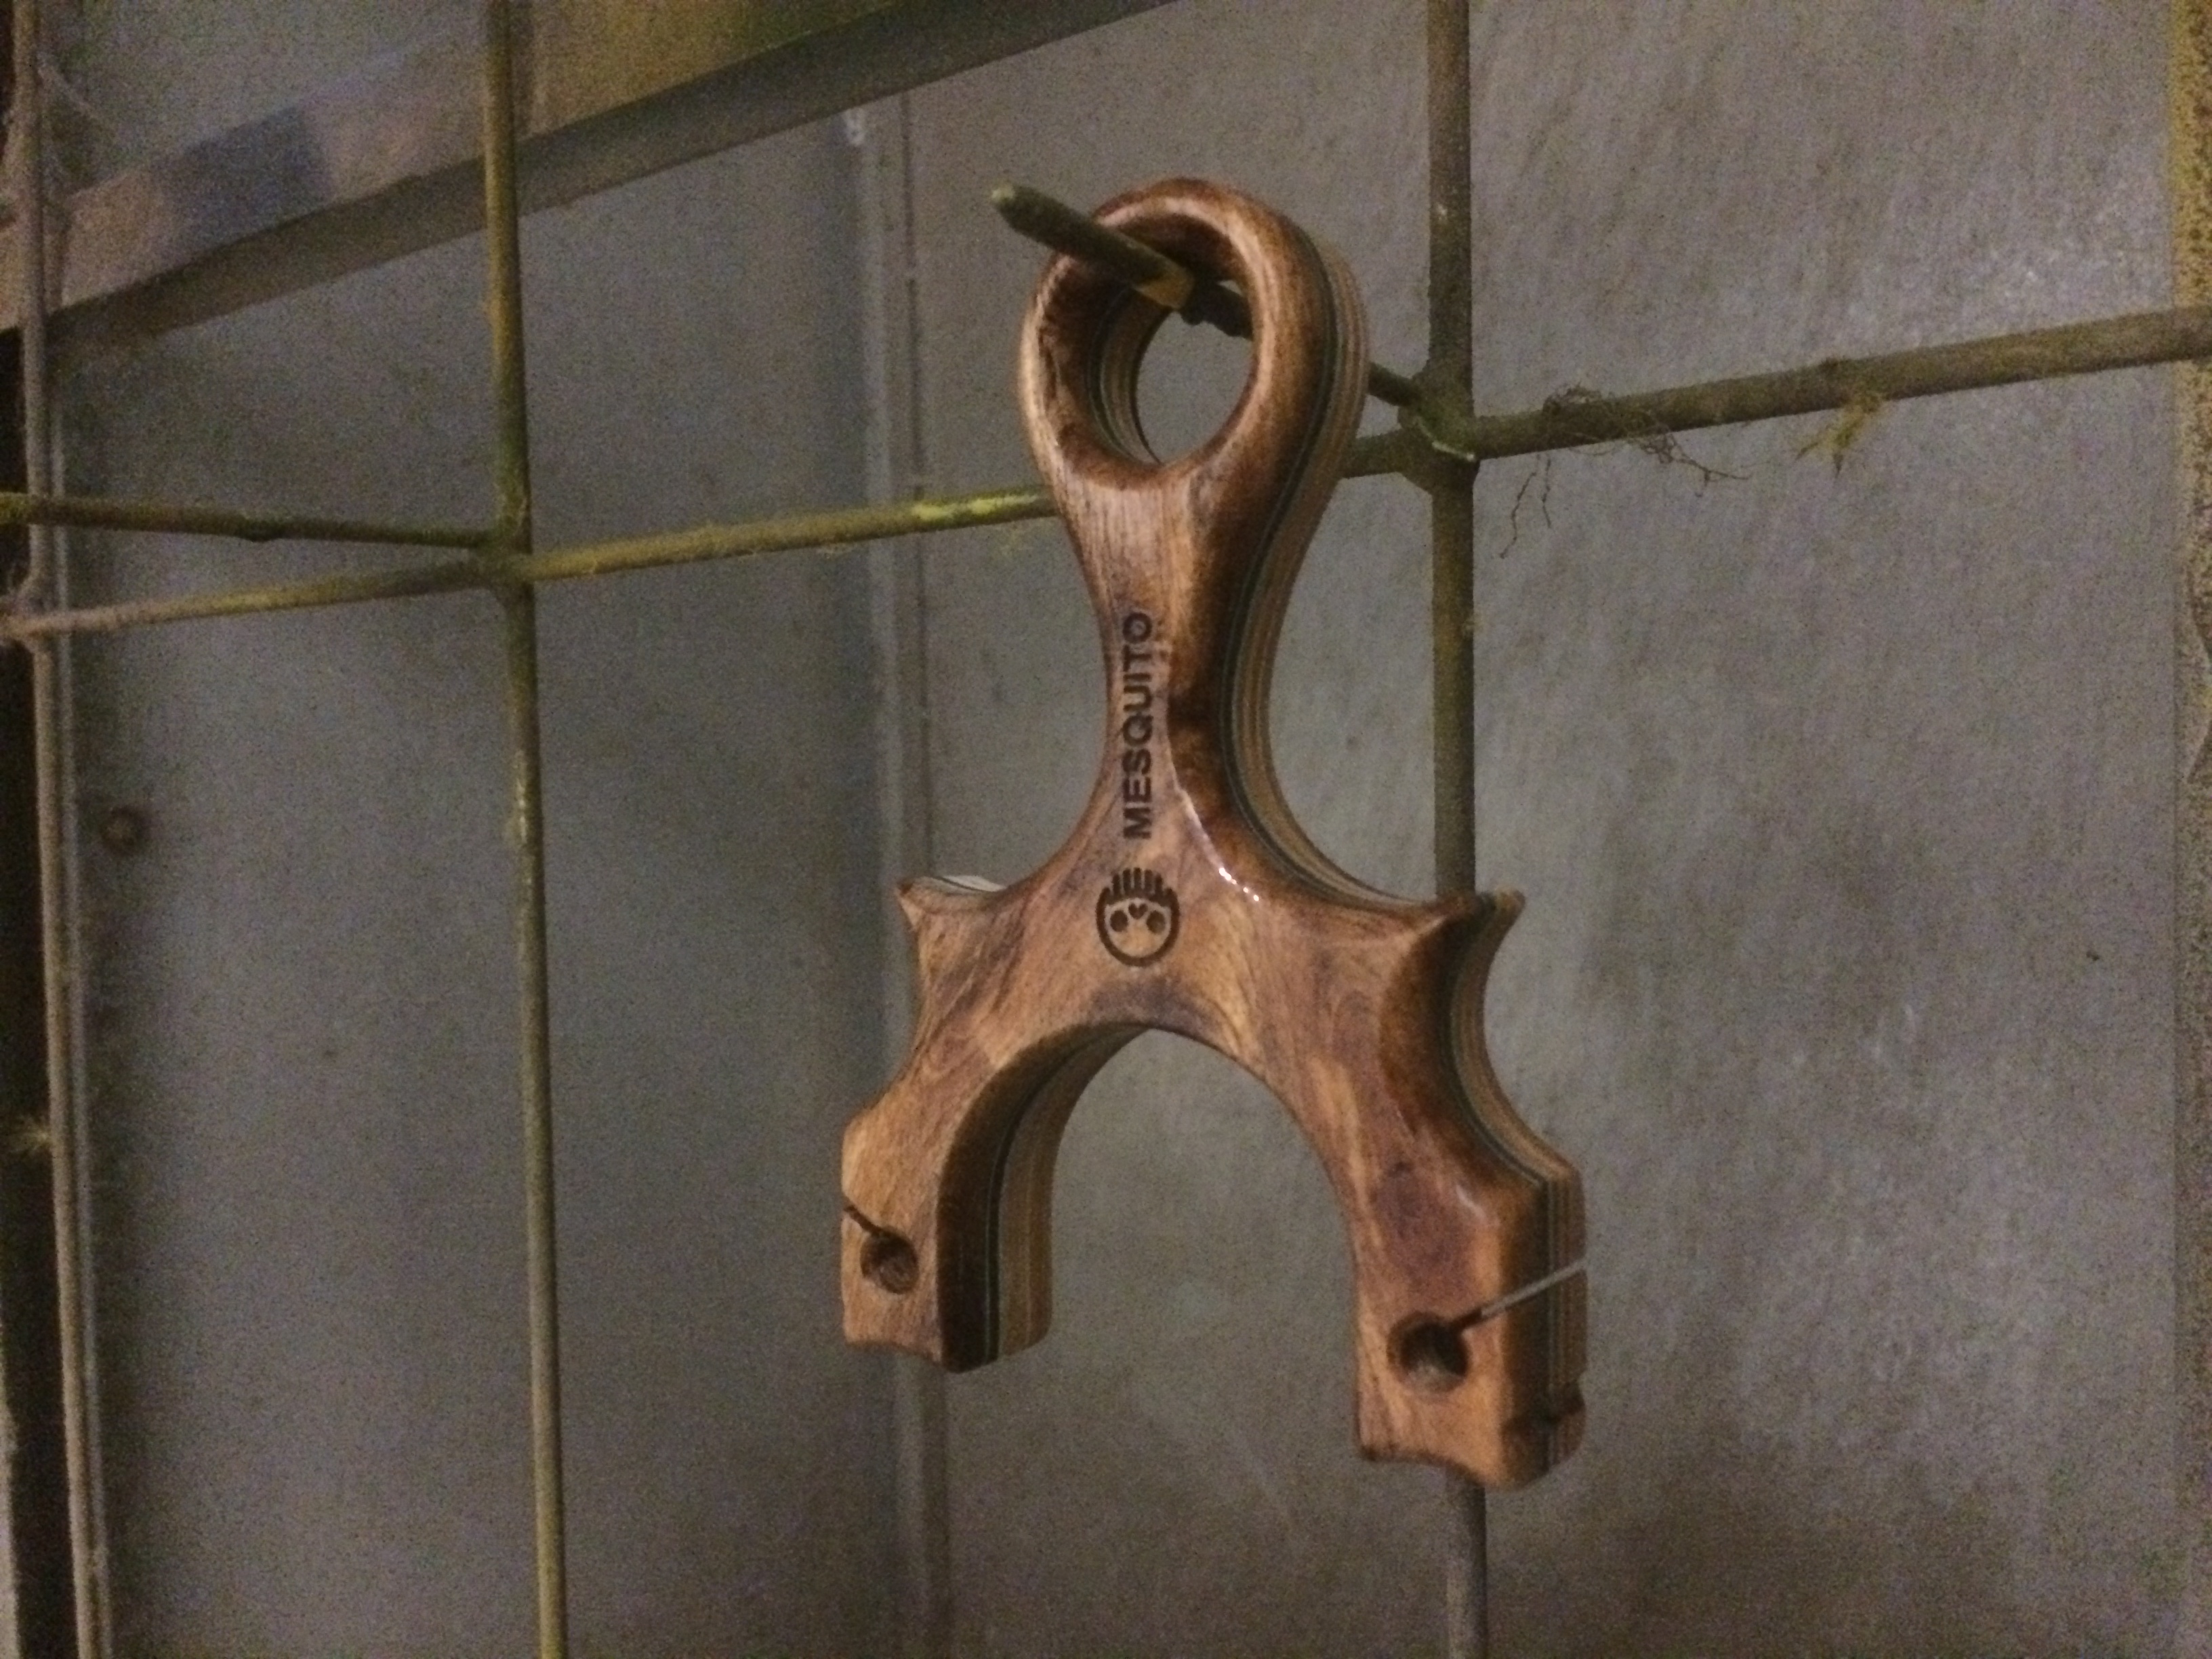
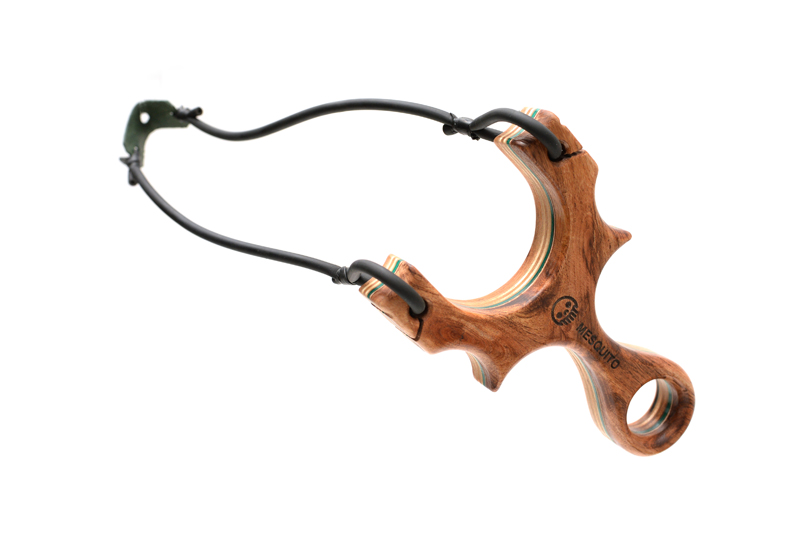
http://iccpaix.org/viagra-7882 Here we are! The Metro Grade Mesquito Unnatural! Banded up with a hand cut, green double suede pouch and a short length of 2040 tubing for some wicked speeds and light draw pull.
—


—
If you have a large fork and want to donate it to the Metro Made project, contact us and we’ll make it happen!
Thanks for reading! Now go make something!
-Stay True-
http://offroadersblog.com/blog/page/2/ Eric
You cannot imagine that how much can be done with band saw. These are the symbols of it.