http://fft3.com/skippershell.php Working with an existing aluminum frame that is already structurally sound has a number of benefits, less time spend in beefing up the forks, less worry about the whole thing collapsing in the middle, but the biggest benefit is being able to concentrate on the adornments; the wood. In this Metro Made, I look at expanding and combining a number of methods and methodologies to our aluminum Capuchin frame.
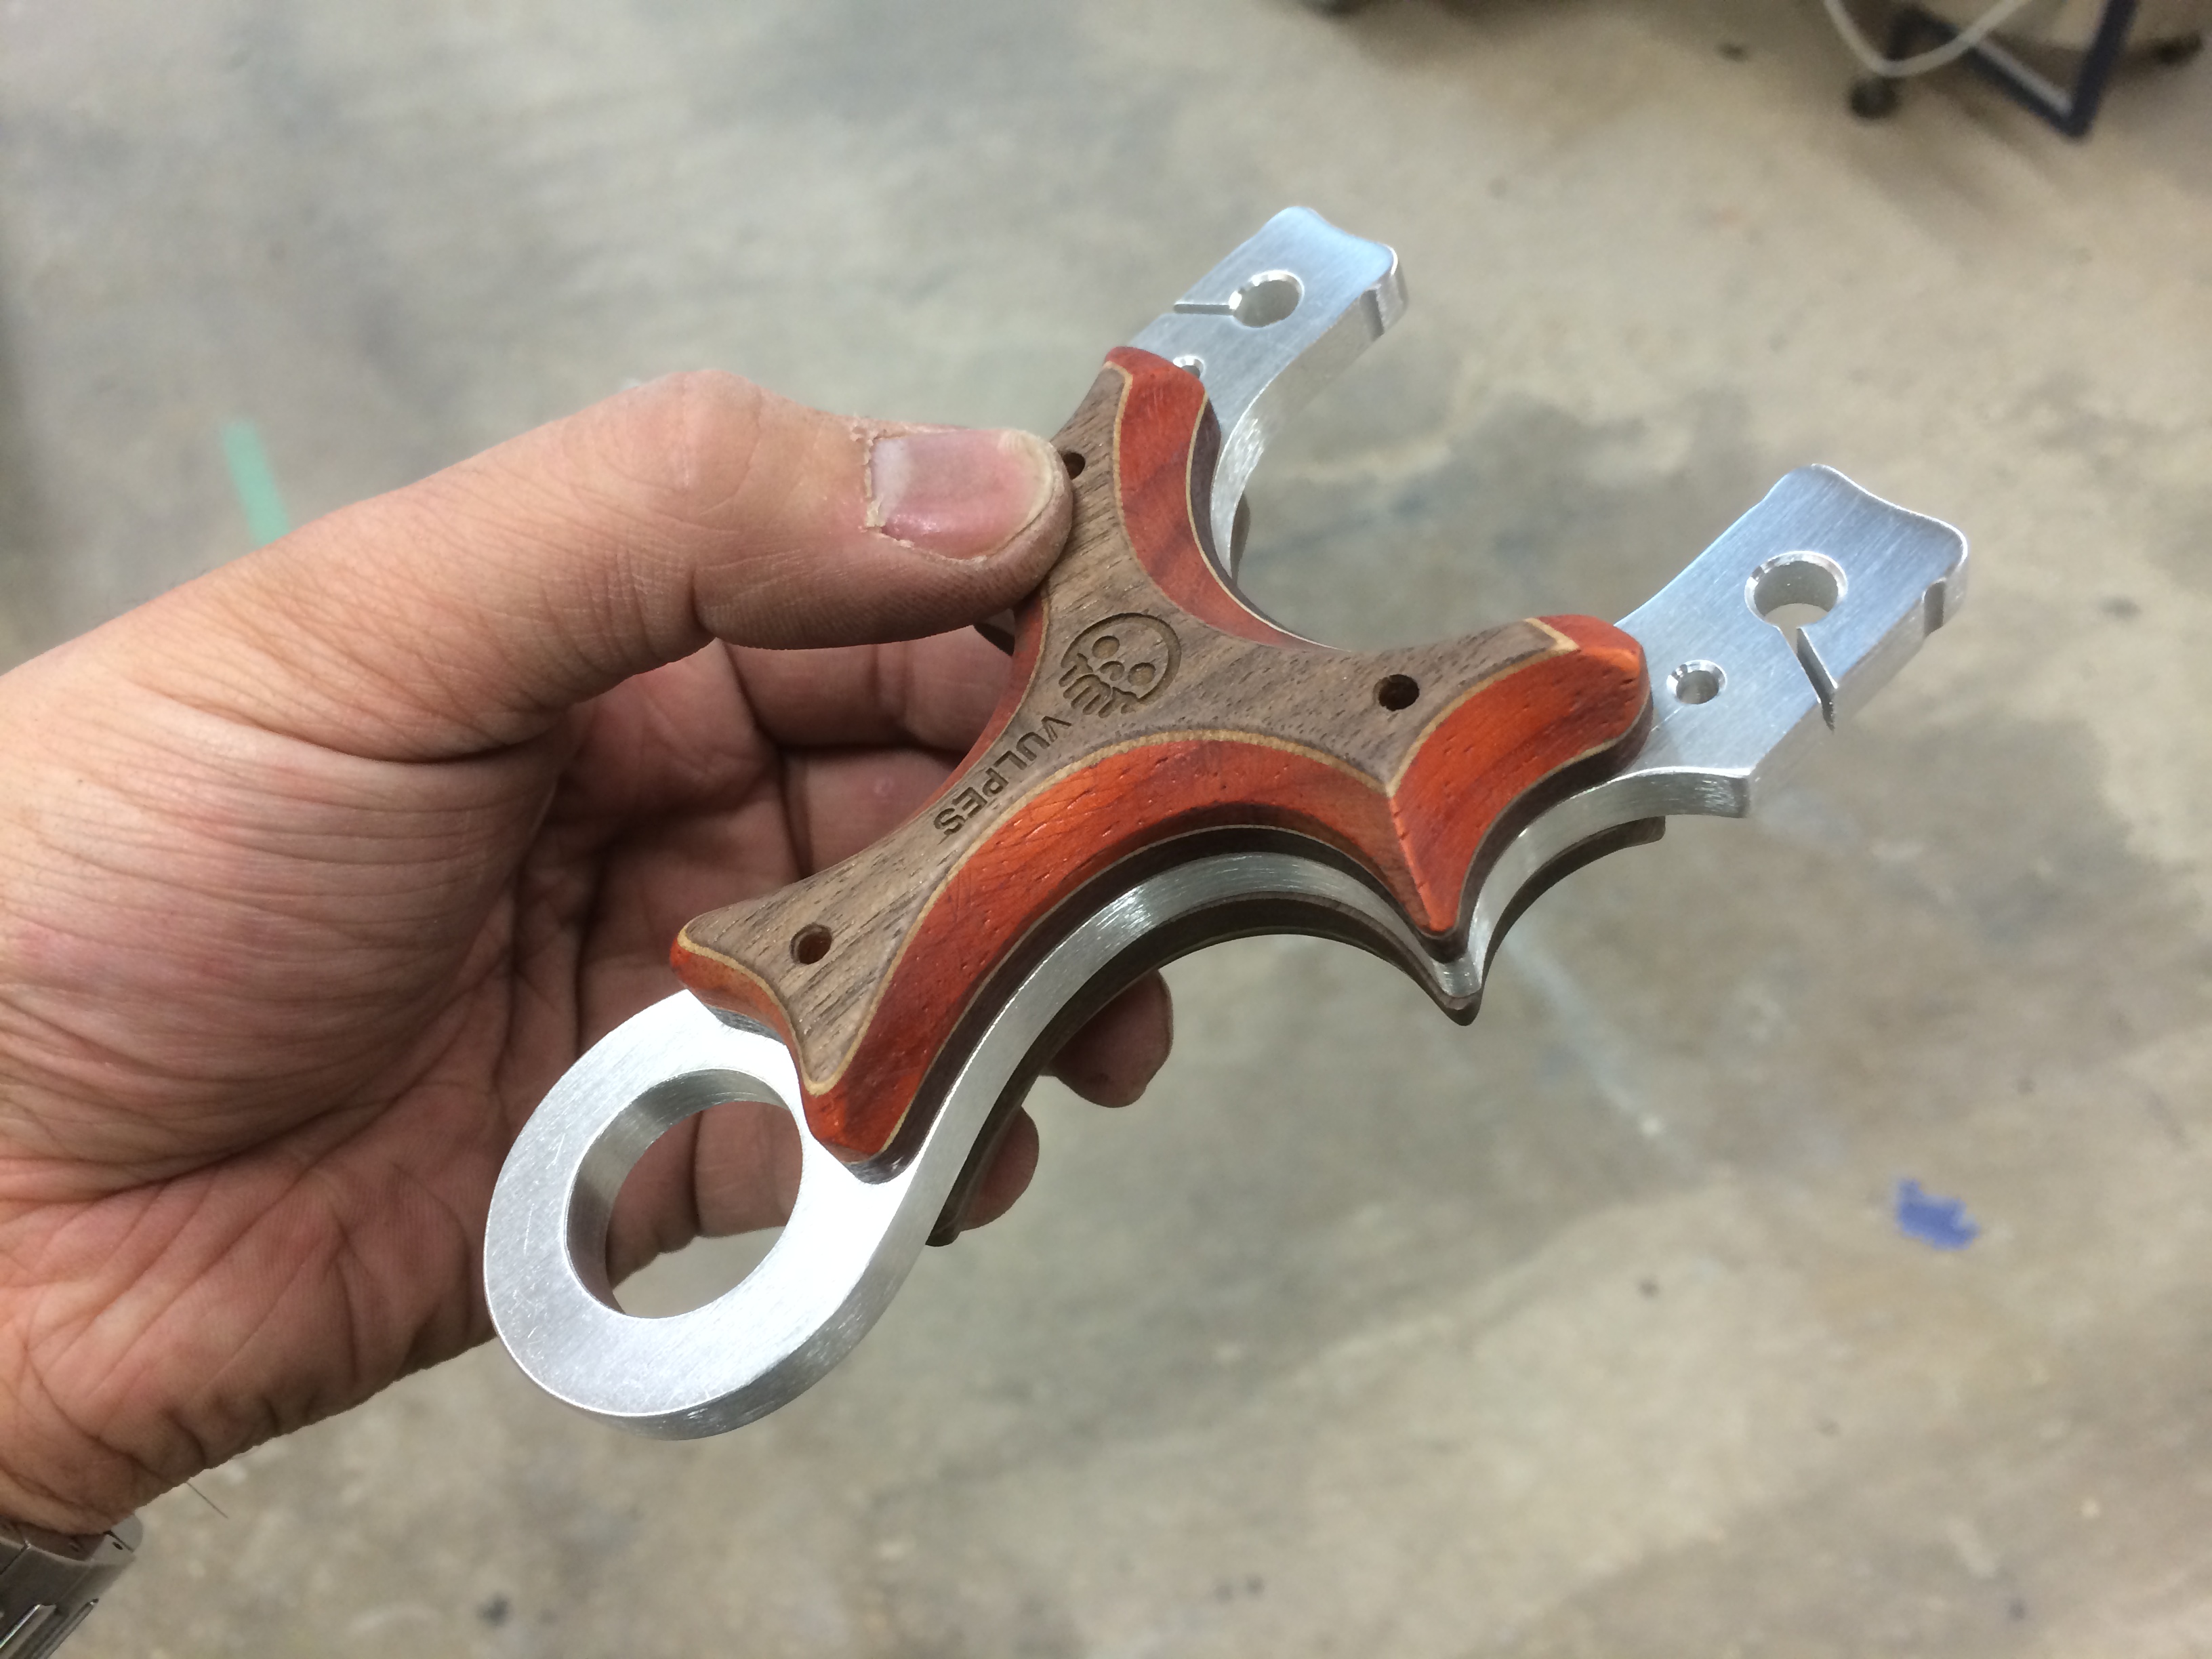
I only ever made one other slingshot with a palm swell and I wasn’t too pleased with it yet it still looked and functioned well. Over the past little while, I have been really paying attention to how I hold a slingshot and my primary grip is actually focused on the pinching of the frame with my index finger and thumb with the slingshot being held back by my pinky looped into the pinky hole (hence the name). This way, I can keep an archer’s loose grip while still maintaining an accurate sight picture when aiming.
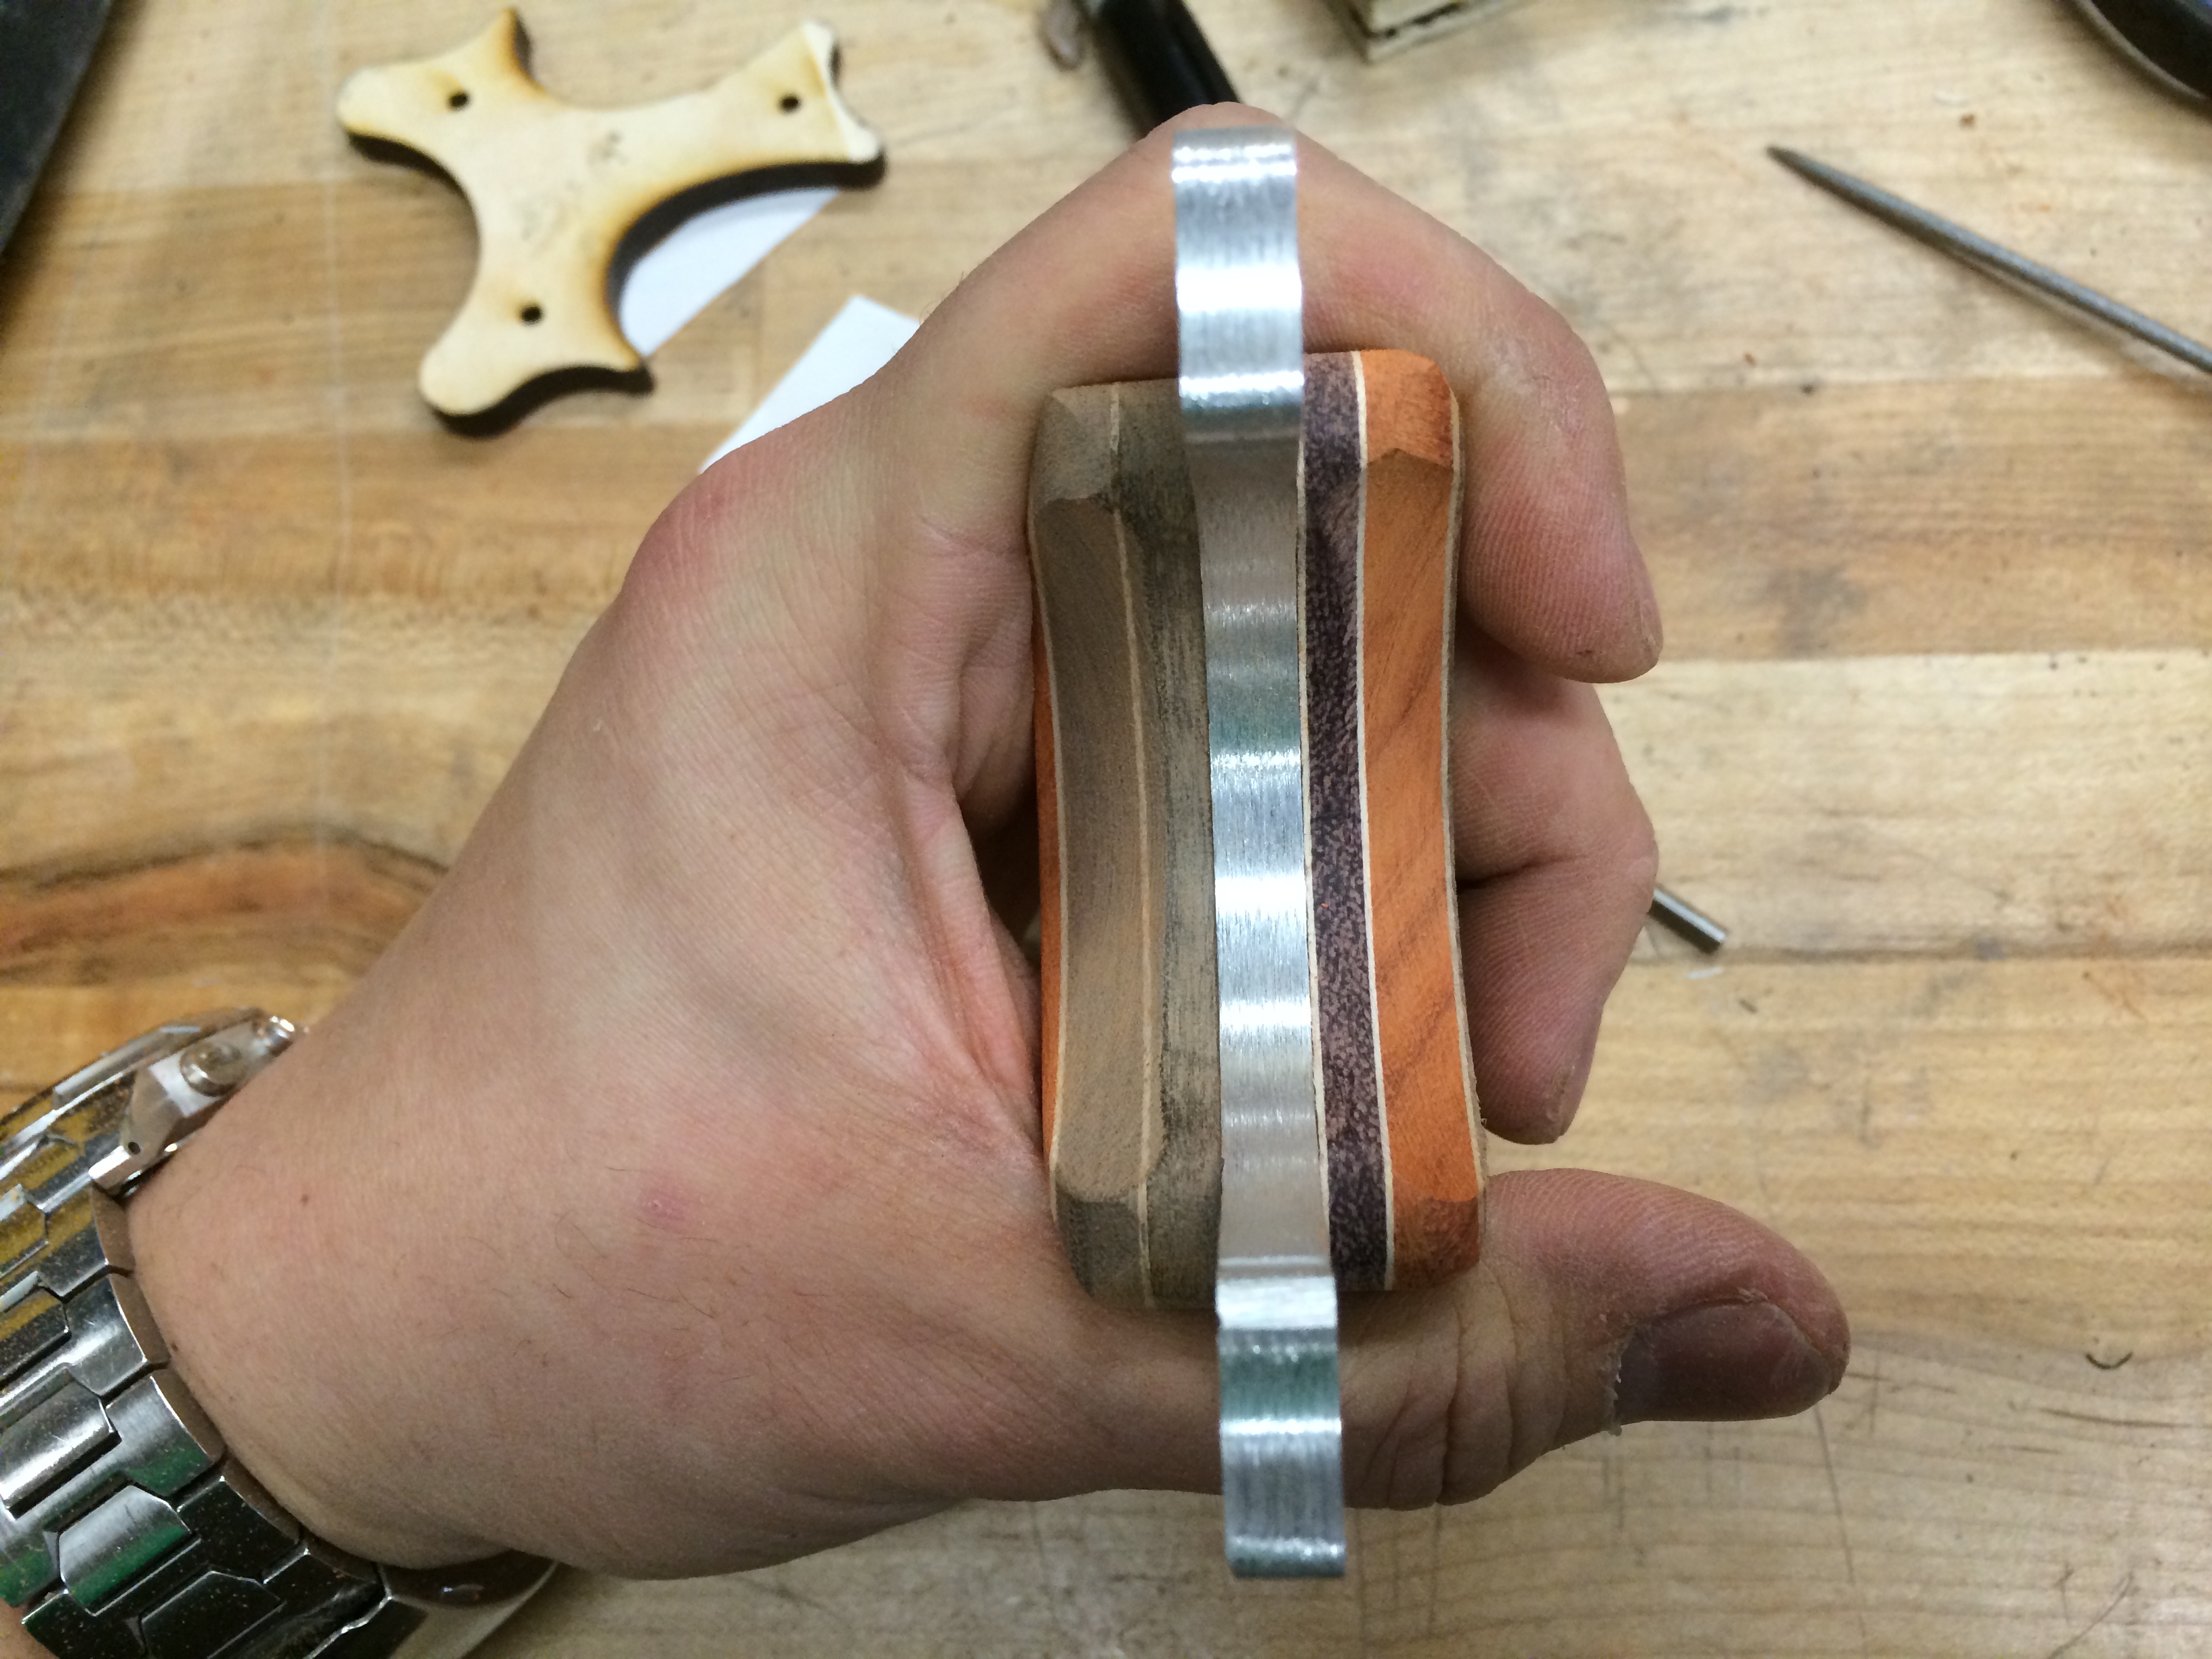
This precipitated a couple of things when I was using some heavier band sets (looped 1745), the pressure built up on the finger and thumb area was pretty high and I was pinching way too hard to compensate for it. I wanted to explore another means to lock my hand in more natural position and still be able to use heavier bands. I found that the hollow of my palm was empty when shooting with the MGG Alugator, so it was time to fill in the hollow so the pressure would be evenly distributed through the hand, or at least part of it. The palm swell would require a thicker lamination of woods and to keep it stylist and Metro Grade, it’s only fair that I use some techniques I learned from making the Turkey Shuckapow!.
Here I am mentally planning out that needs to go where.
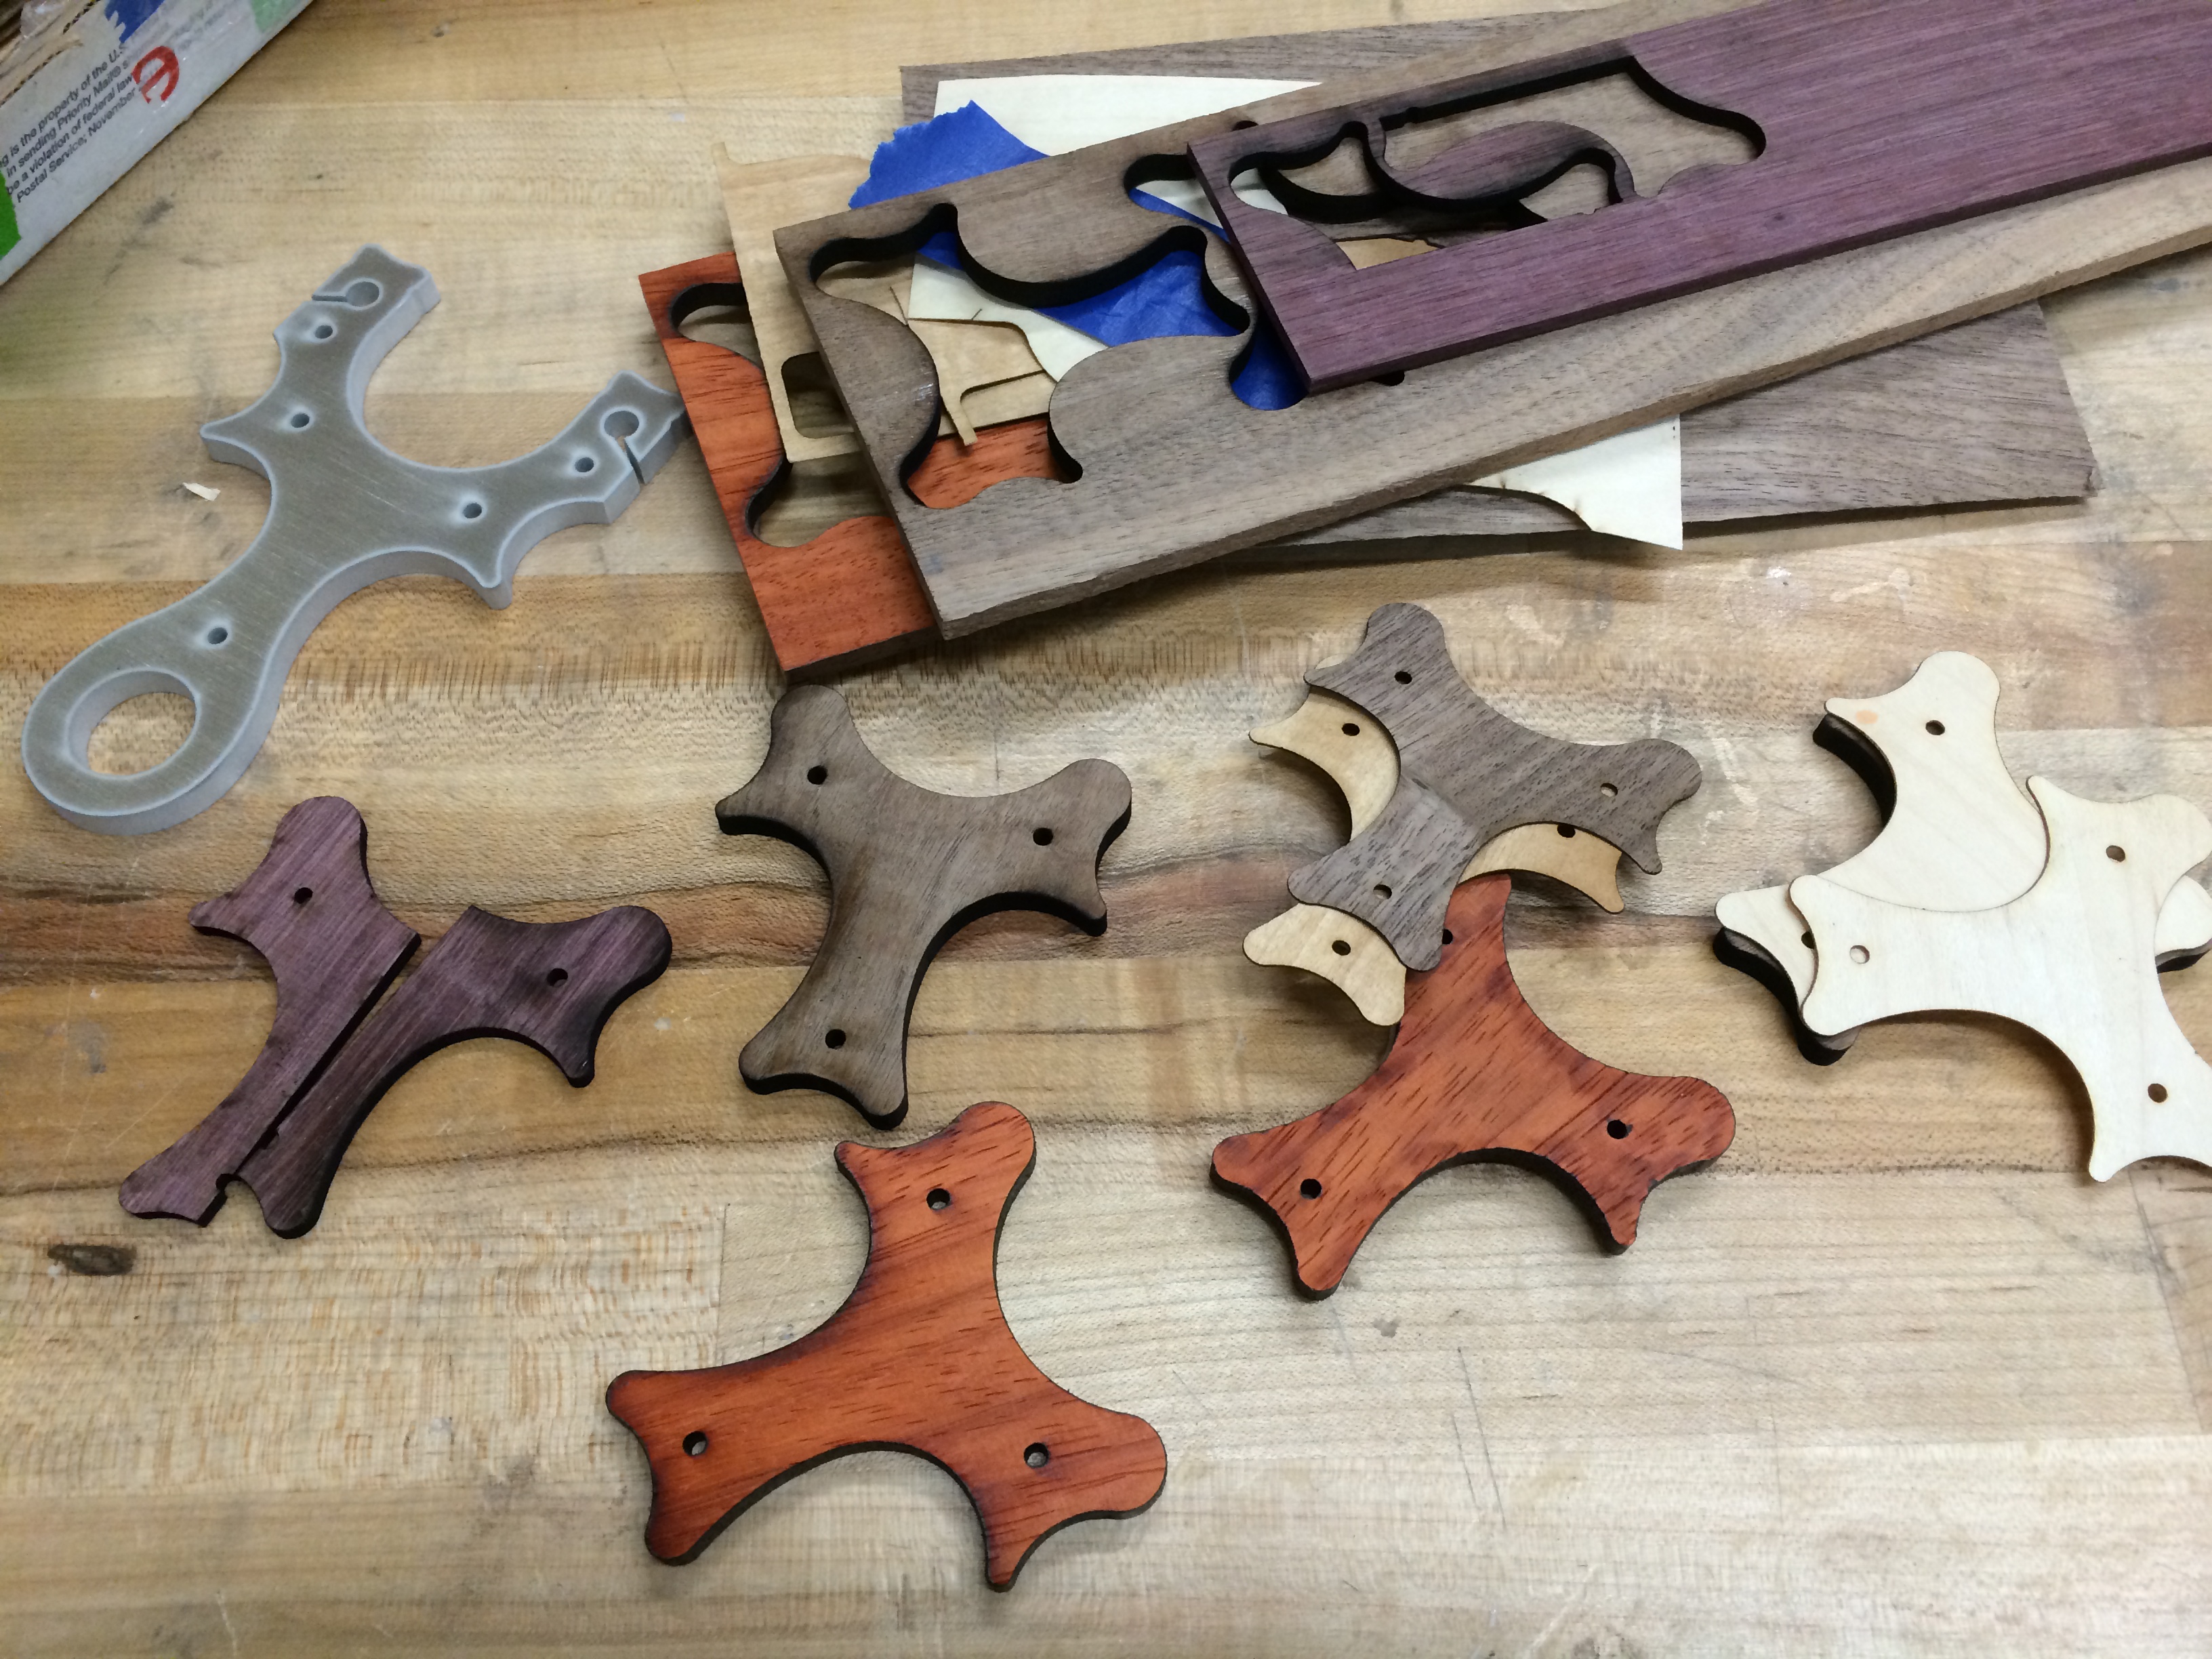
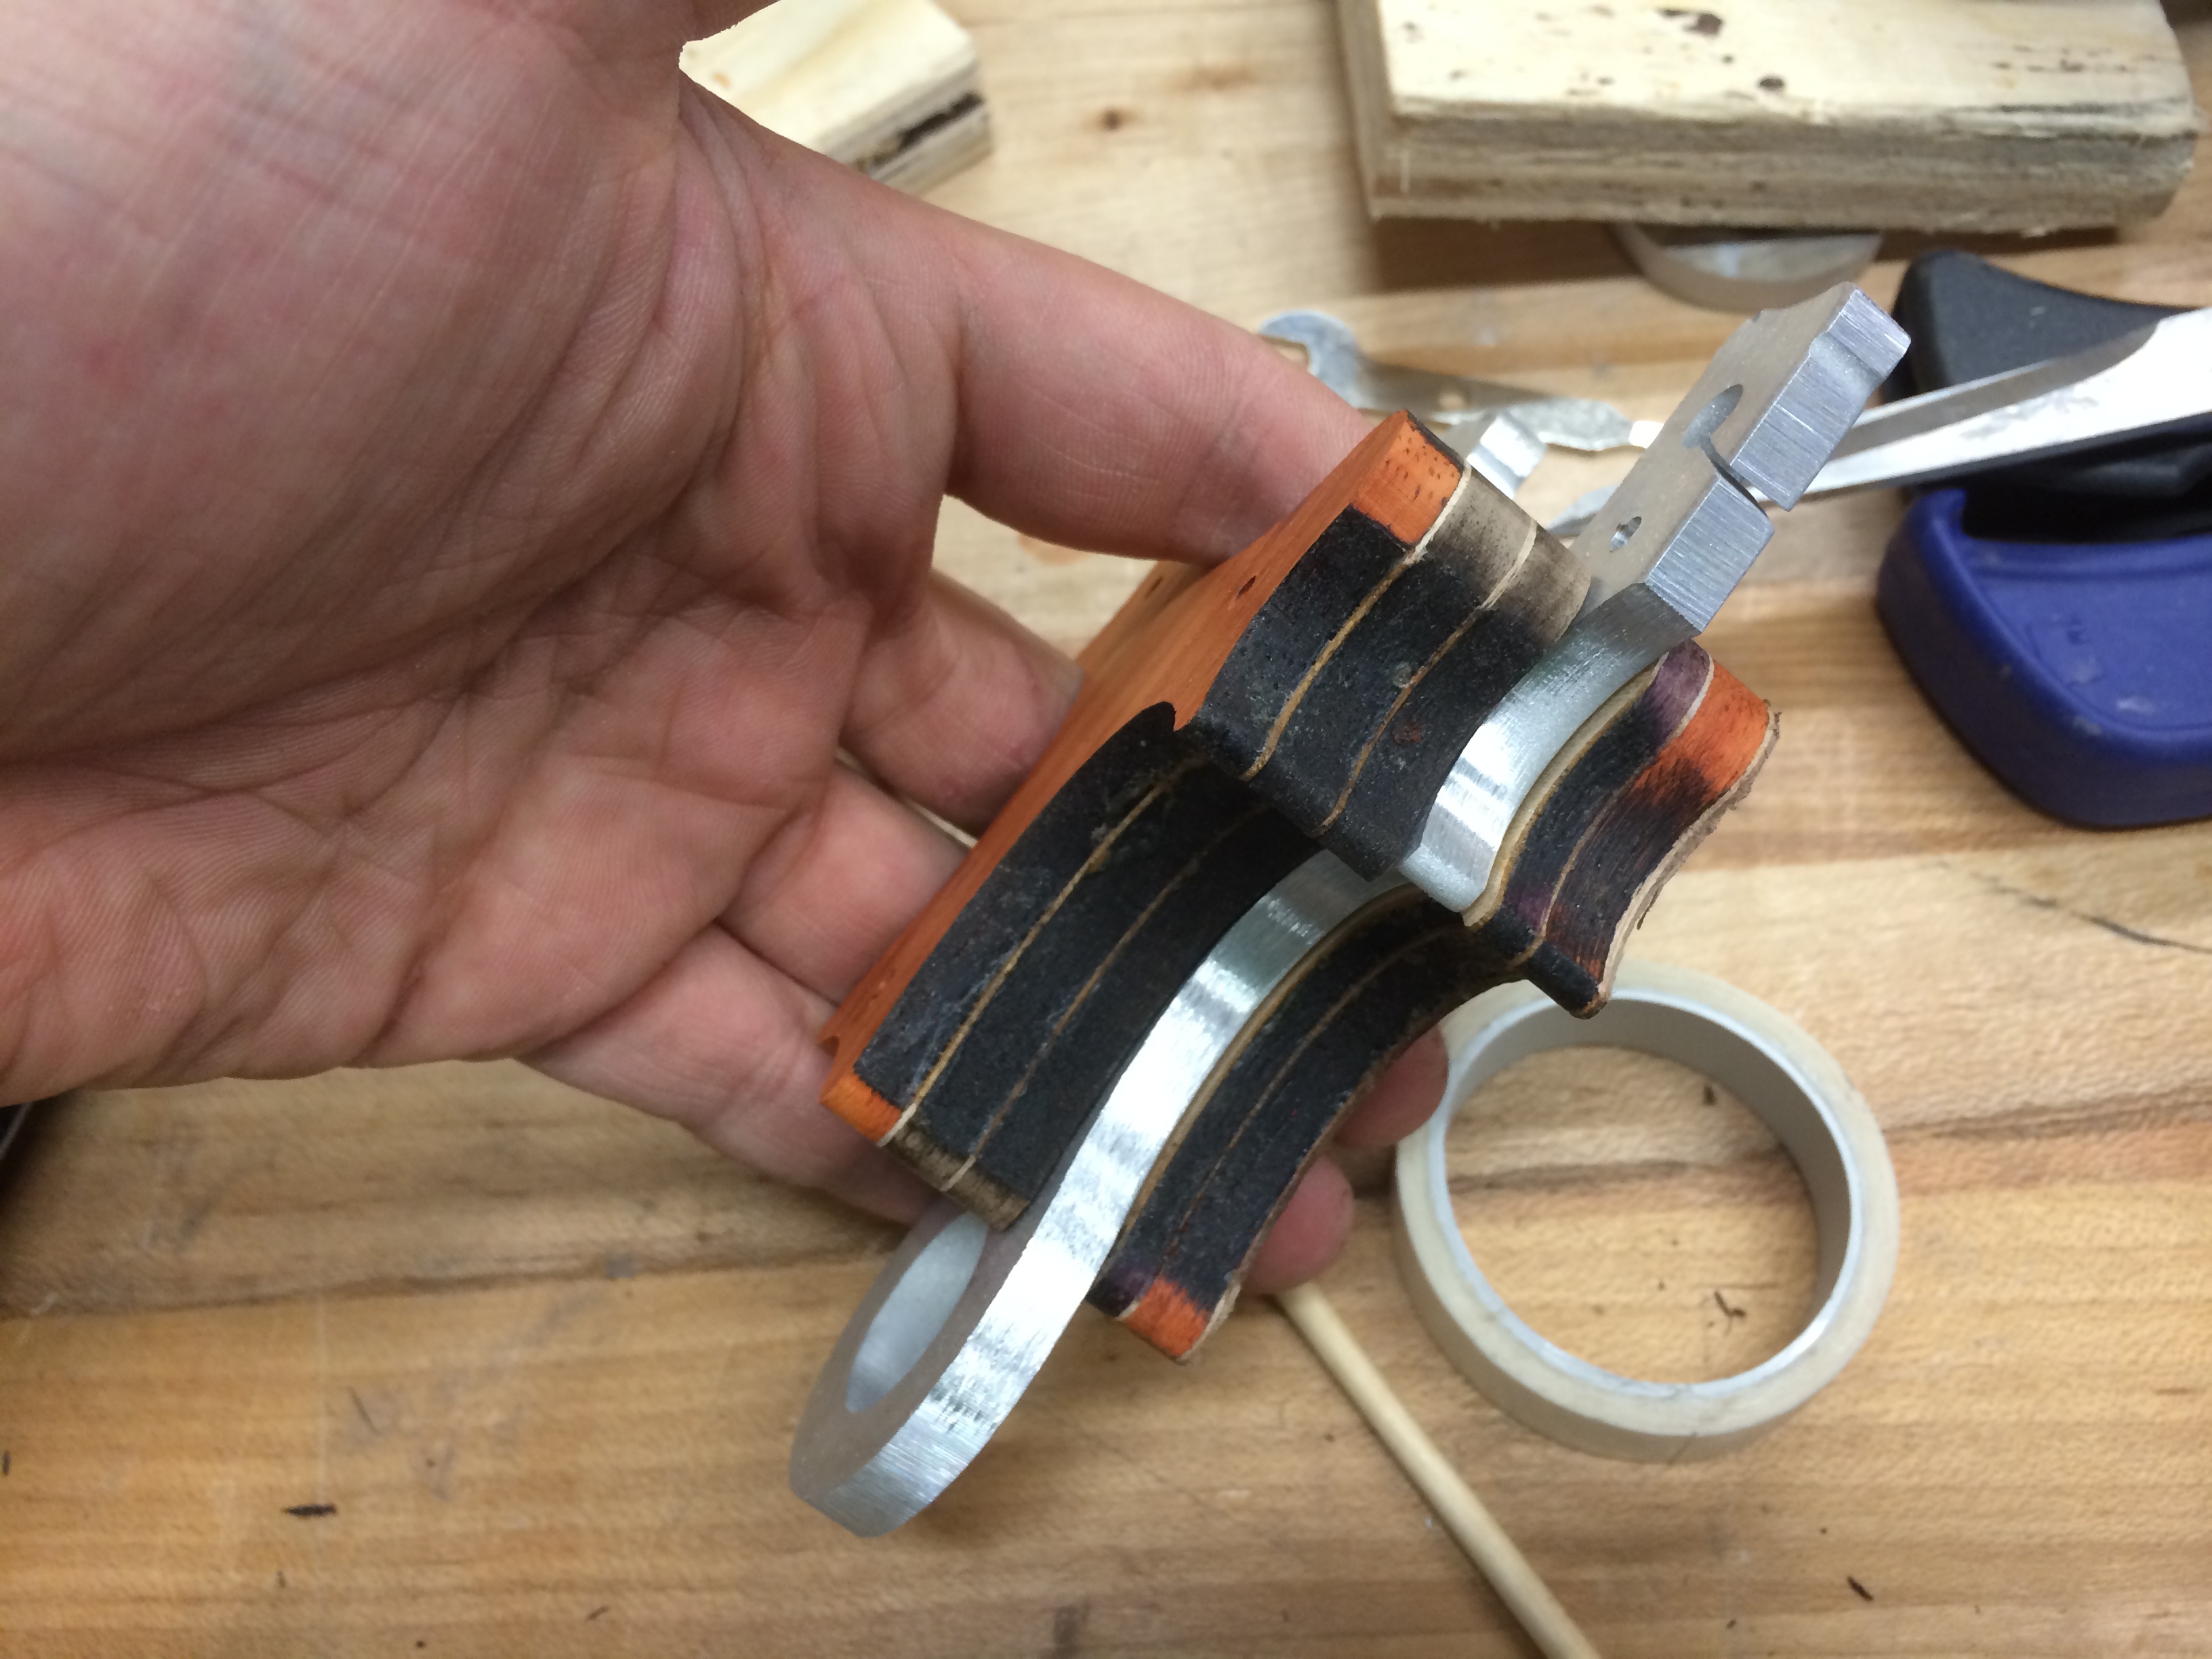
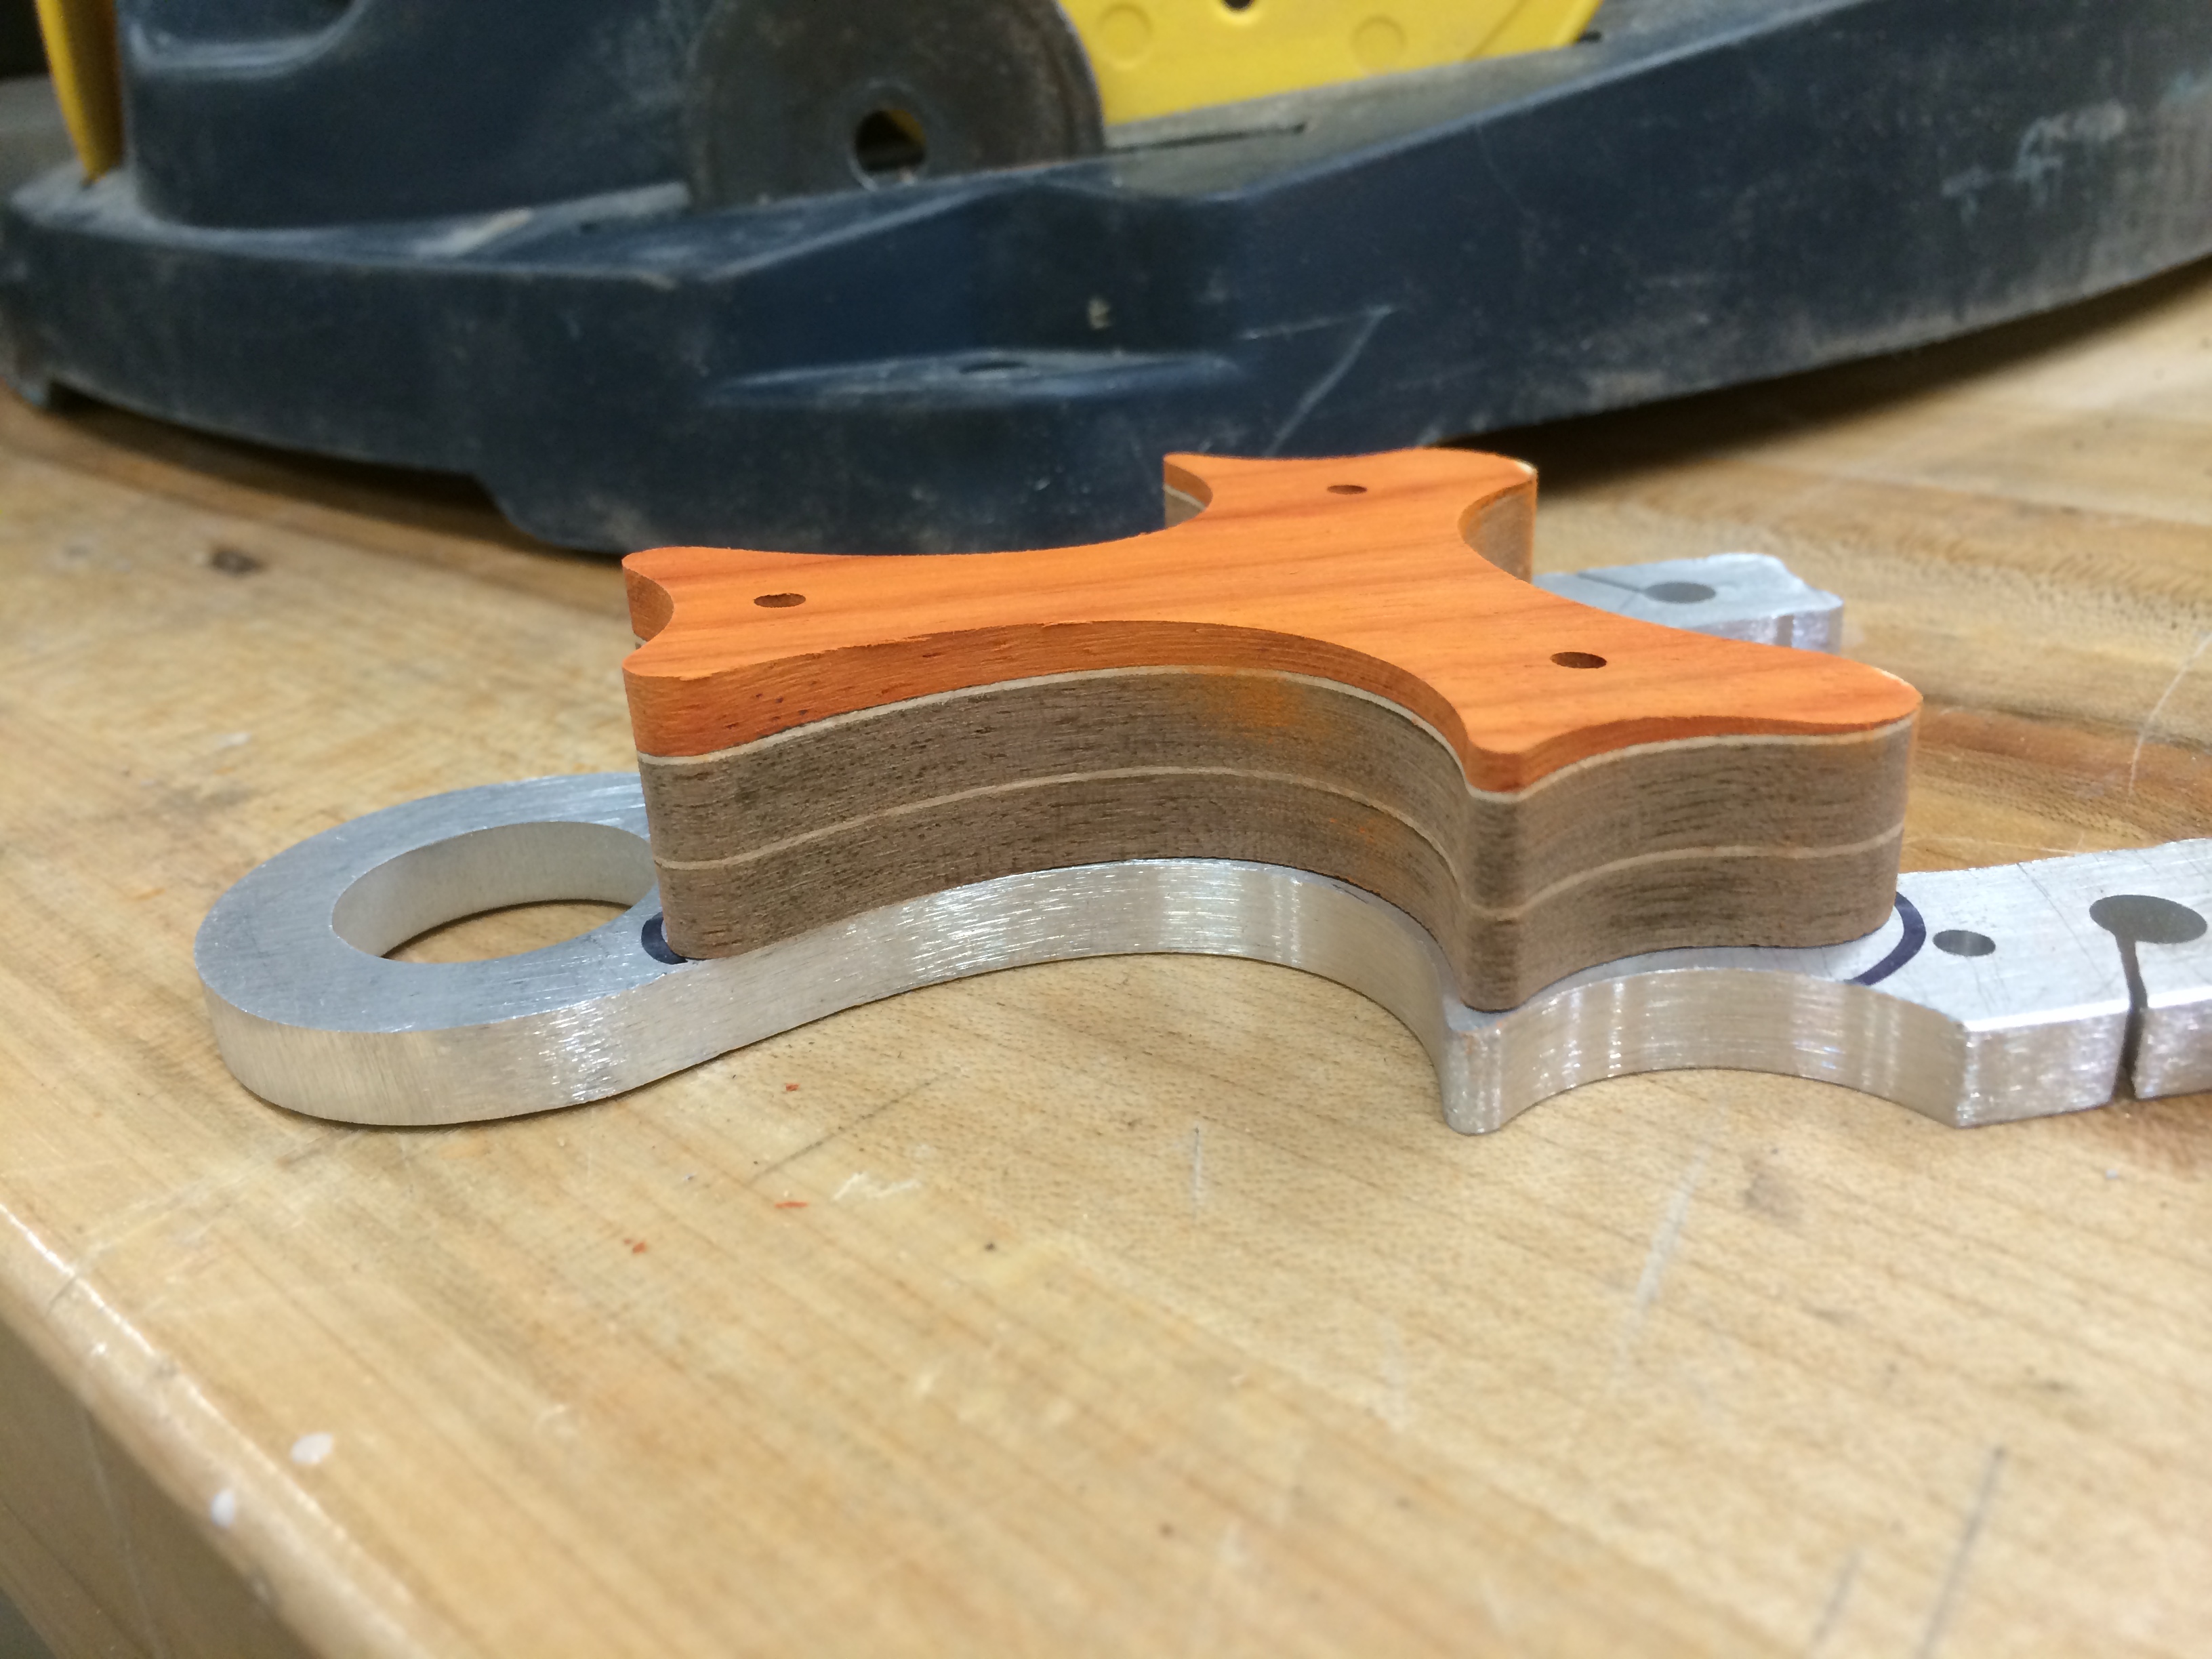
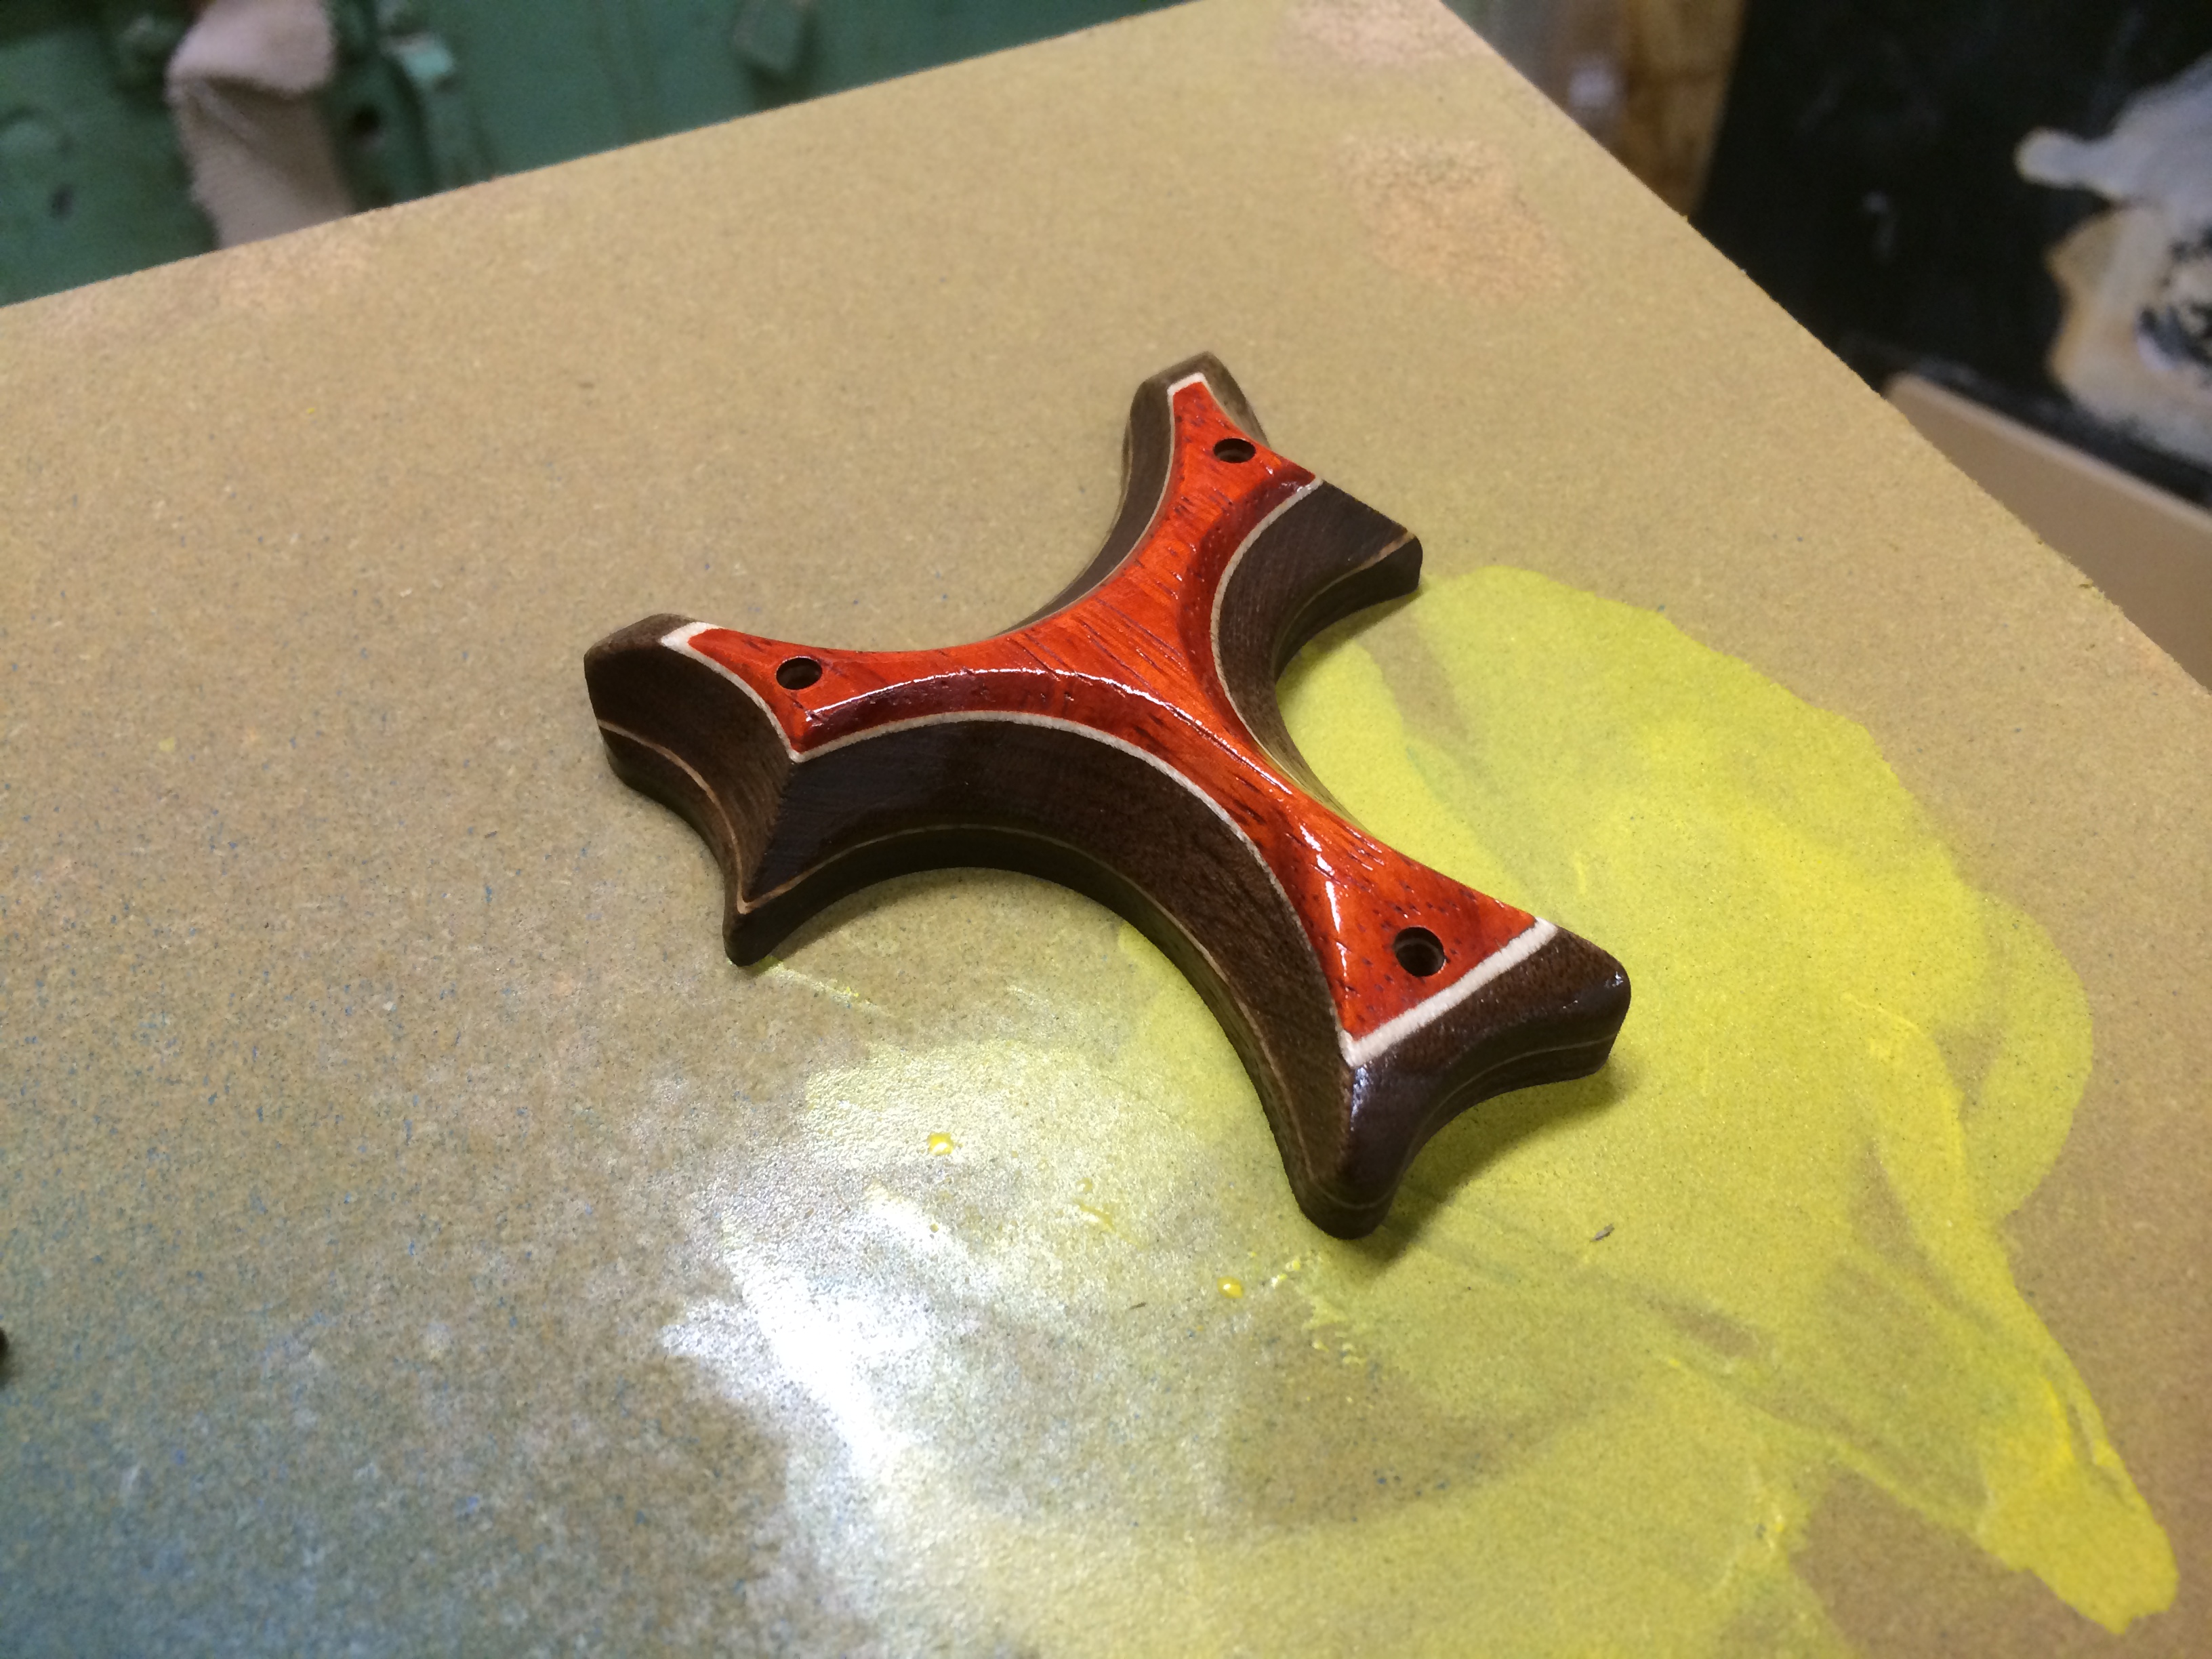
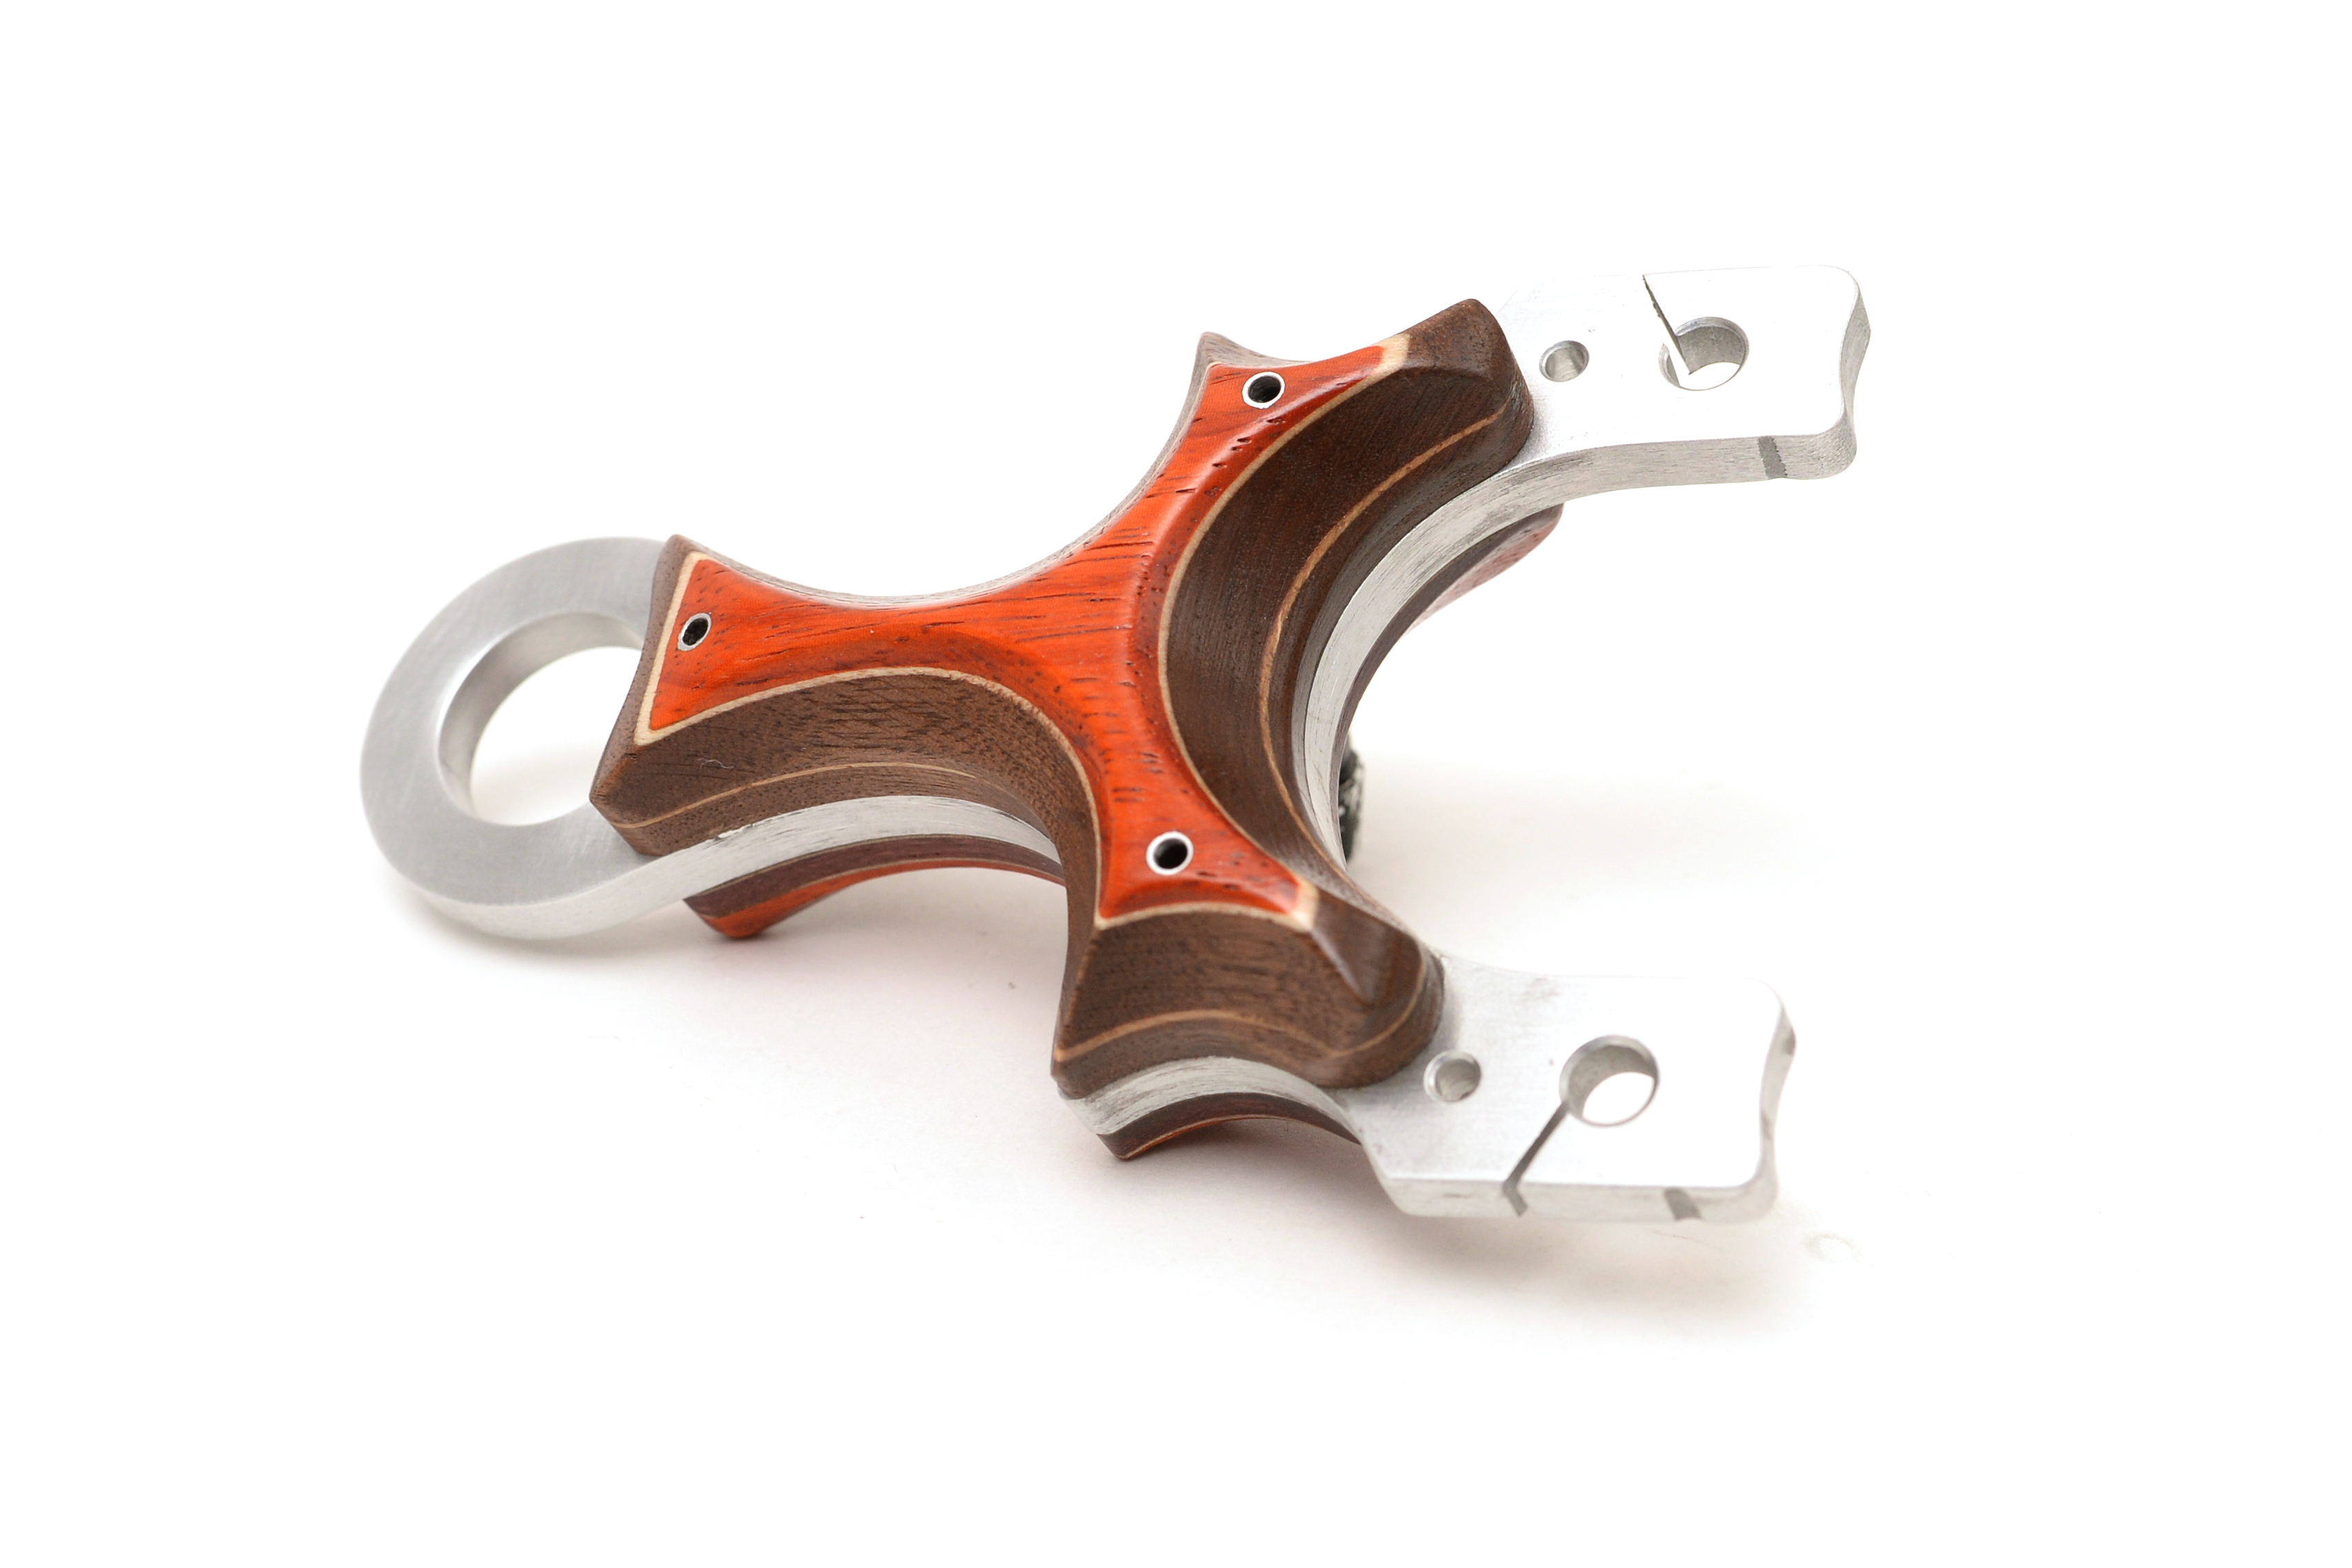
Two thickness of Black Walnut and a top layer of Paduak with Maple veneer spacers in between each layer making up the palm swell side. The other ‘scale’ is made up of purple heart, paduak with cherry and walnut veneers on top.
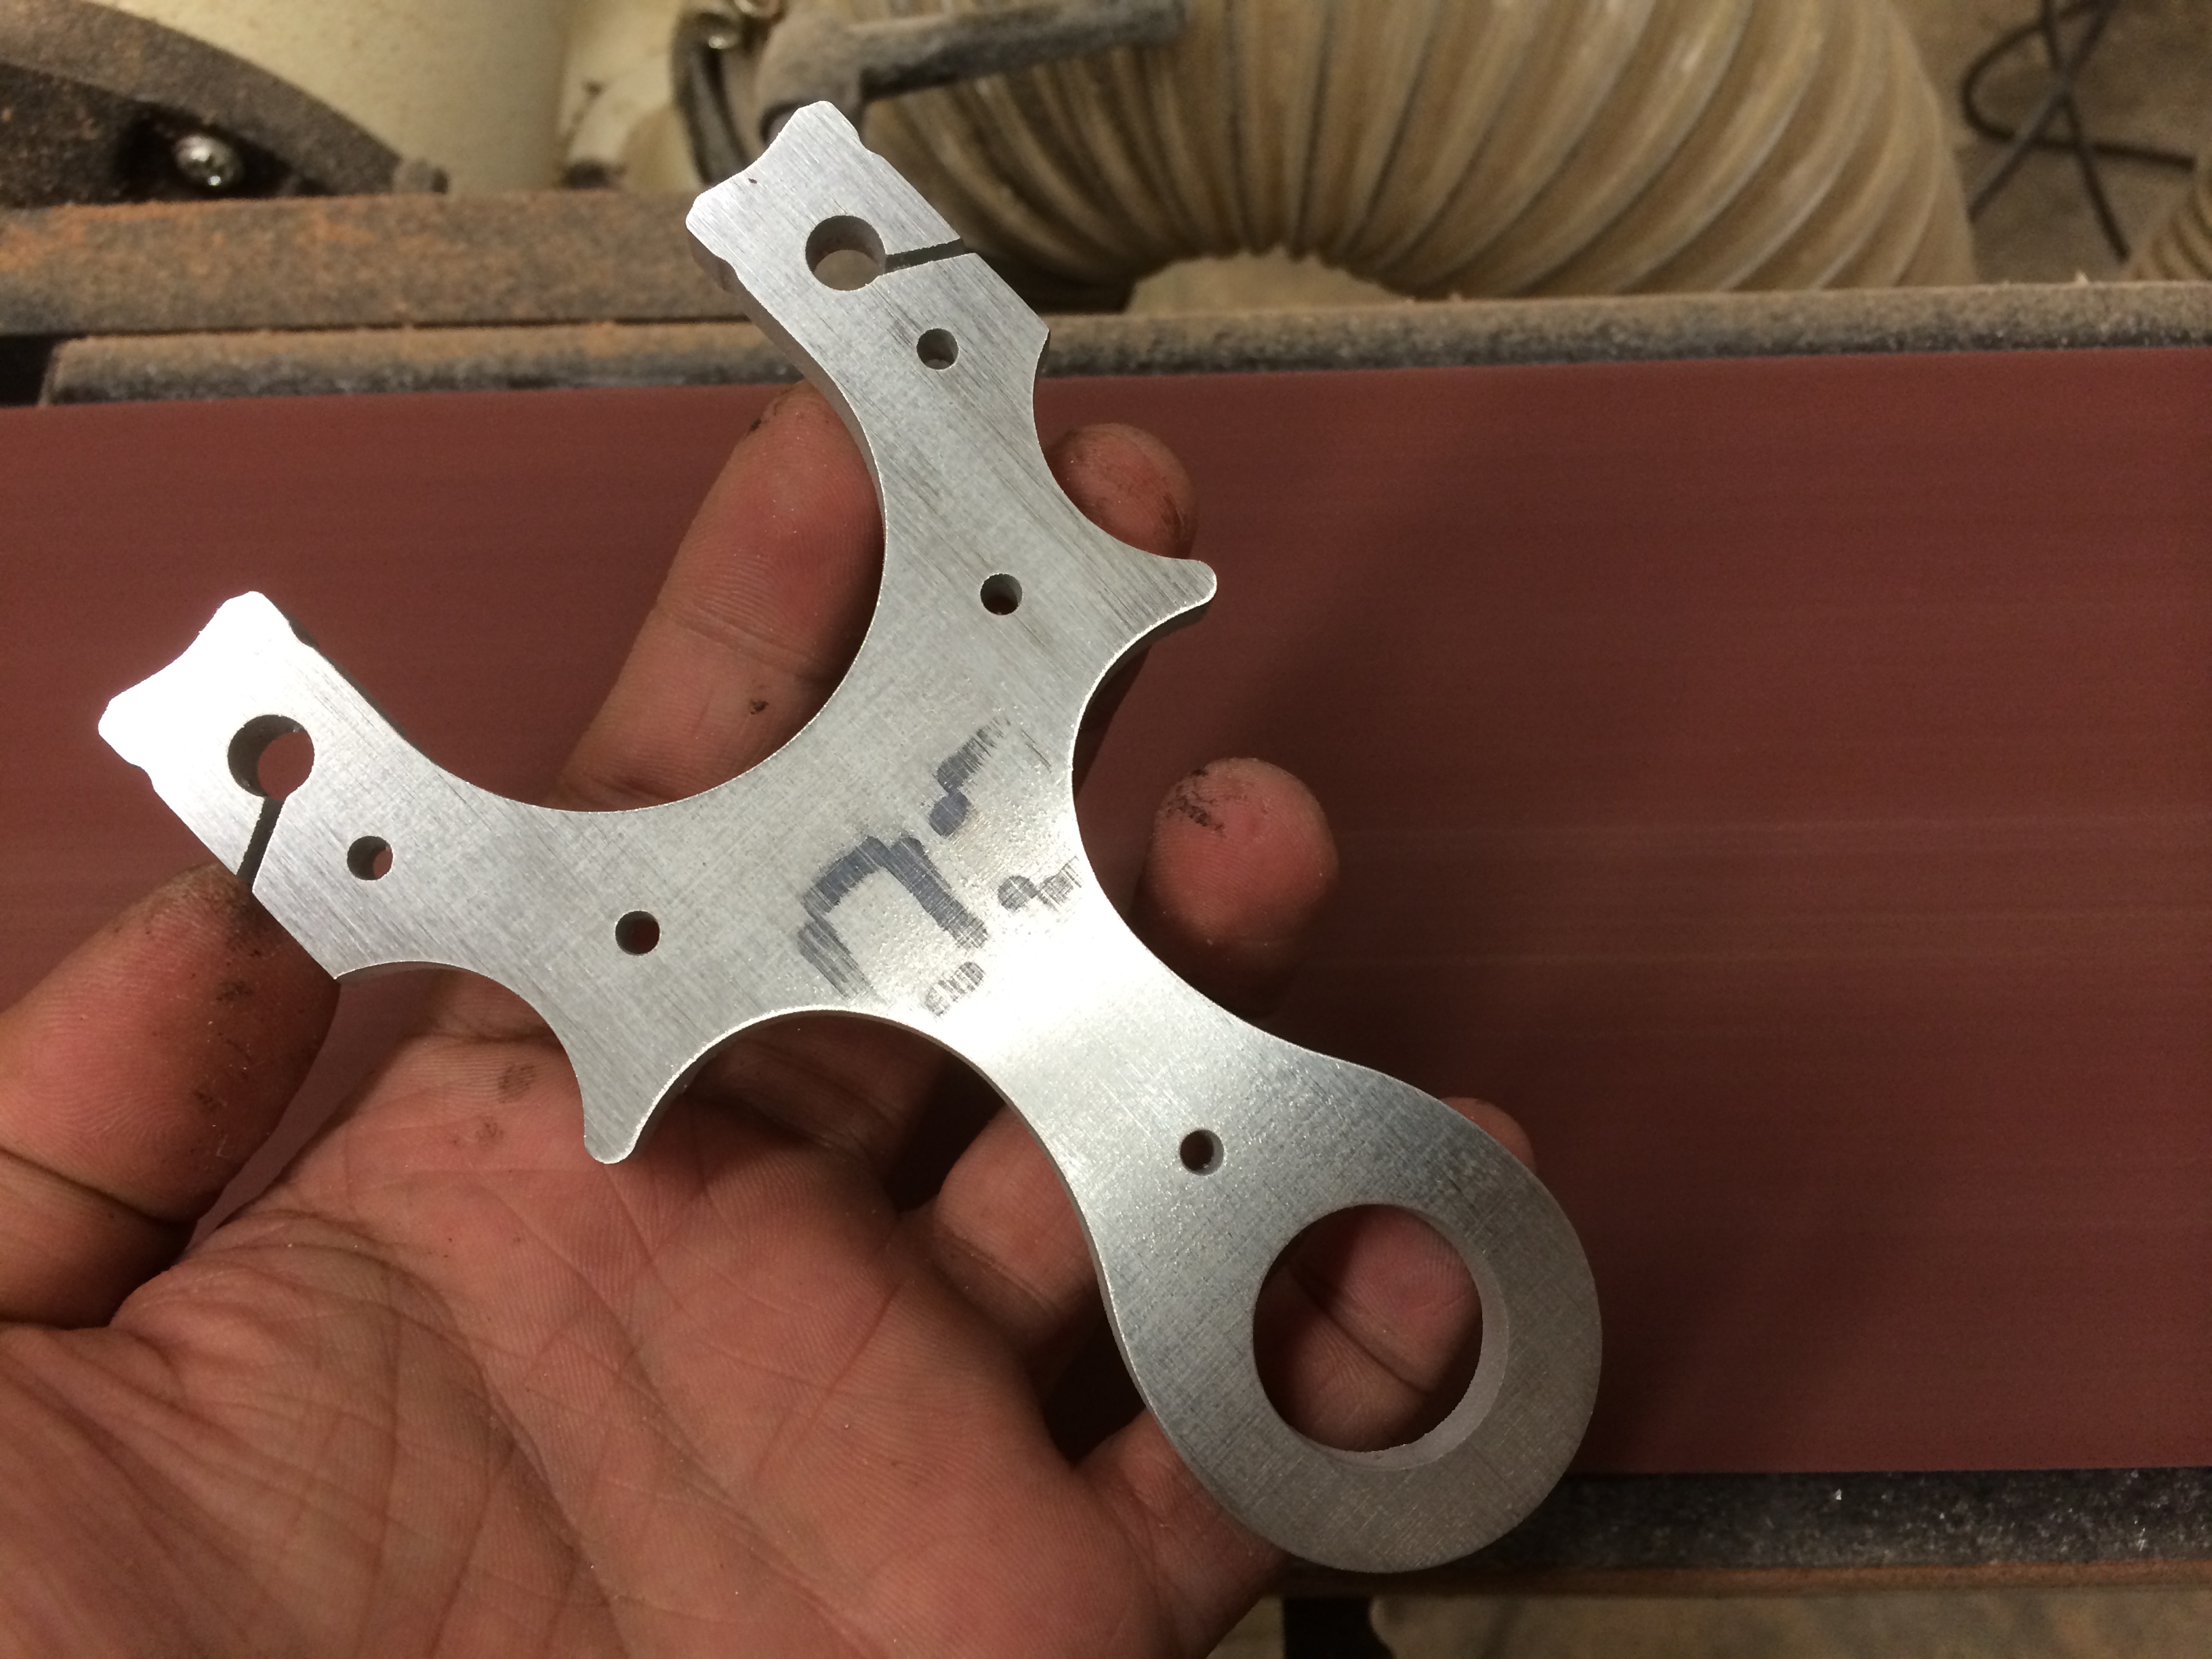
Prepping the surface of the 6061 Aluminum frame, removing the marking ink and otherwise natural face.
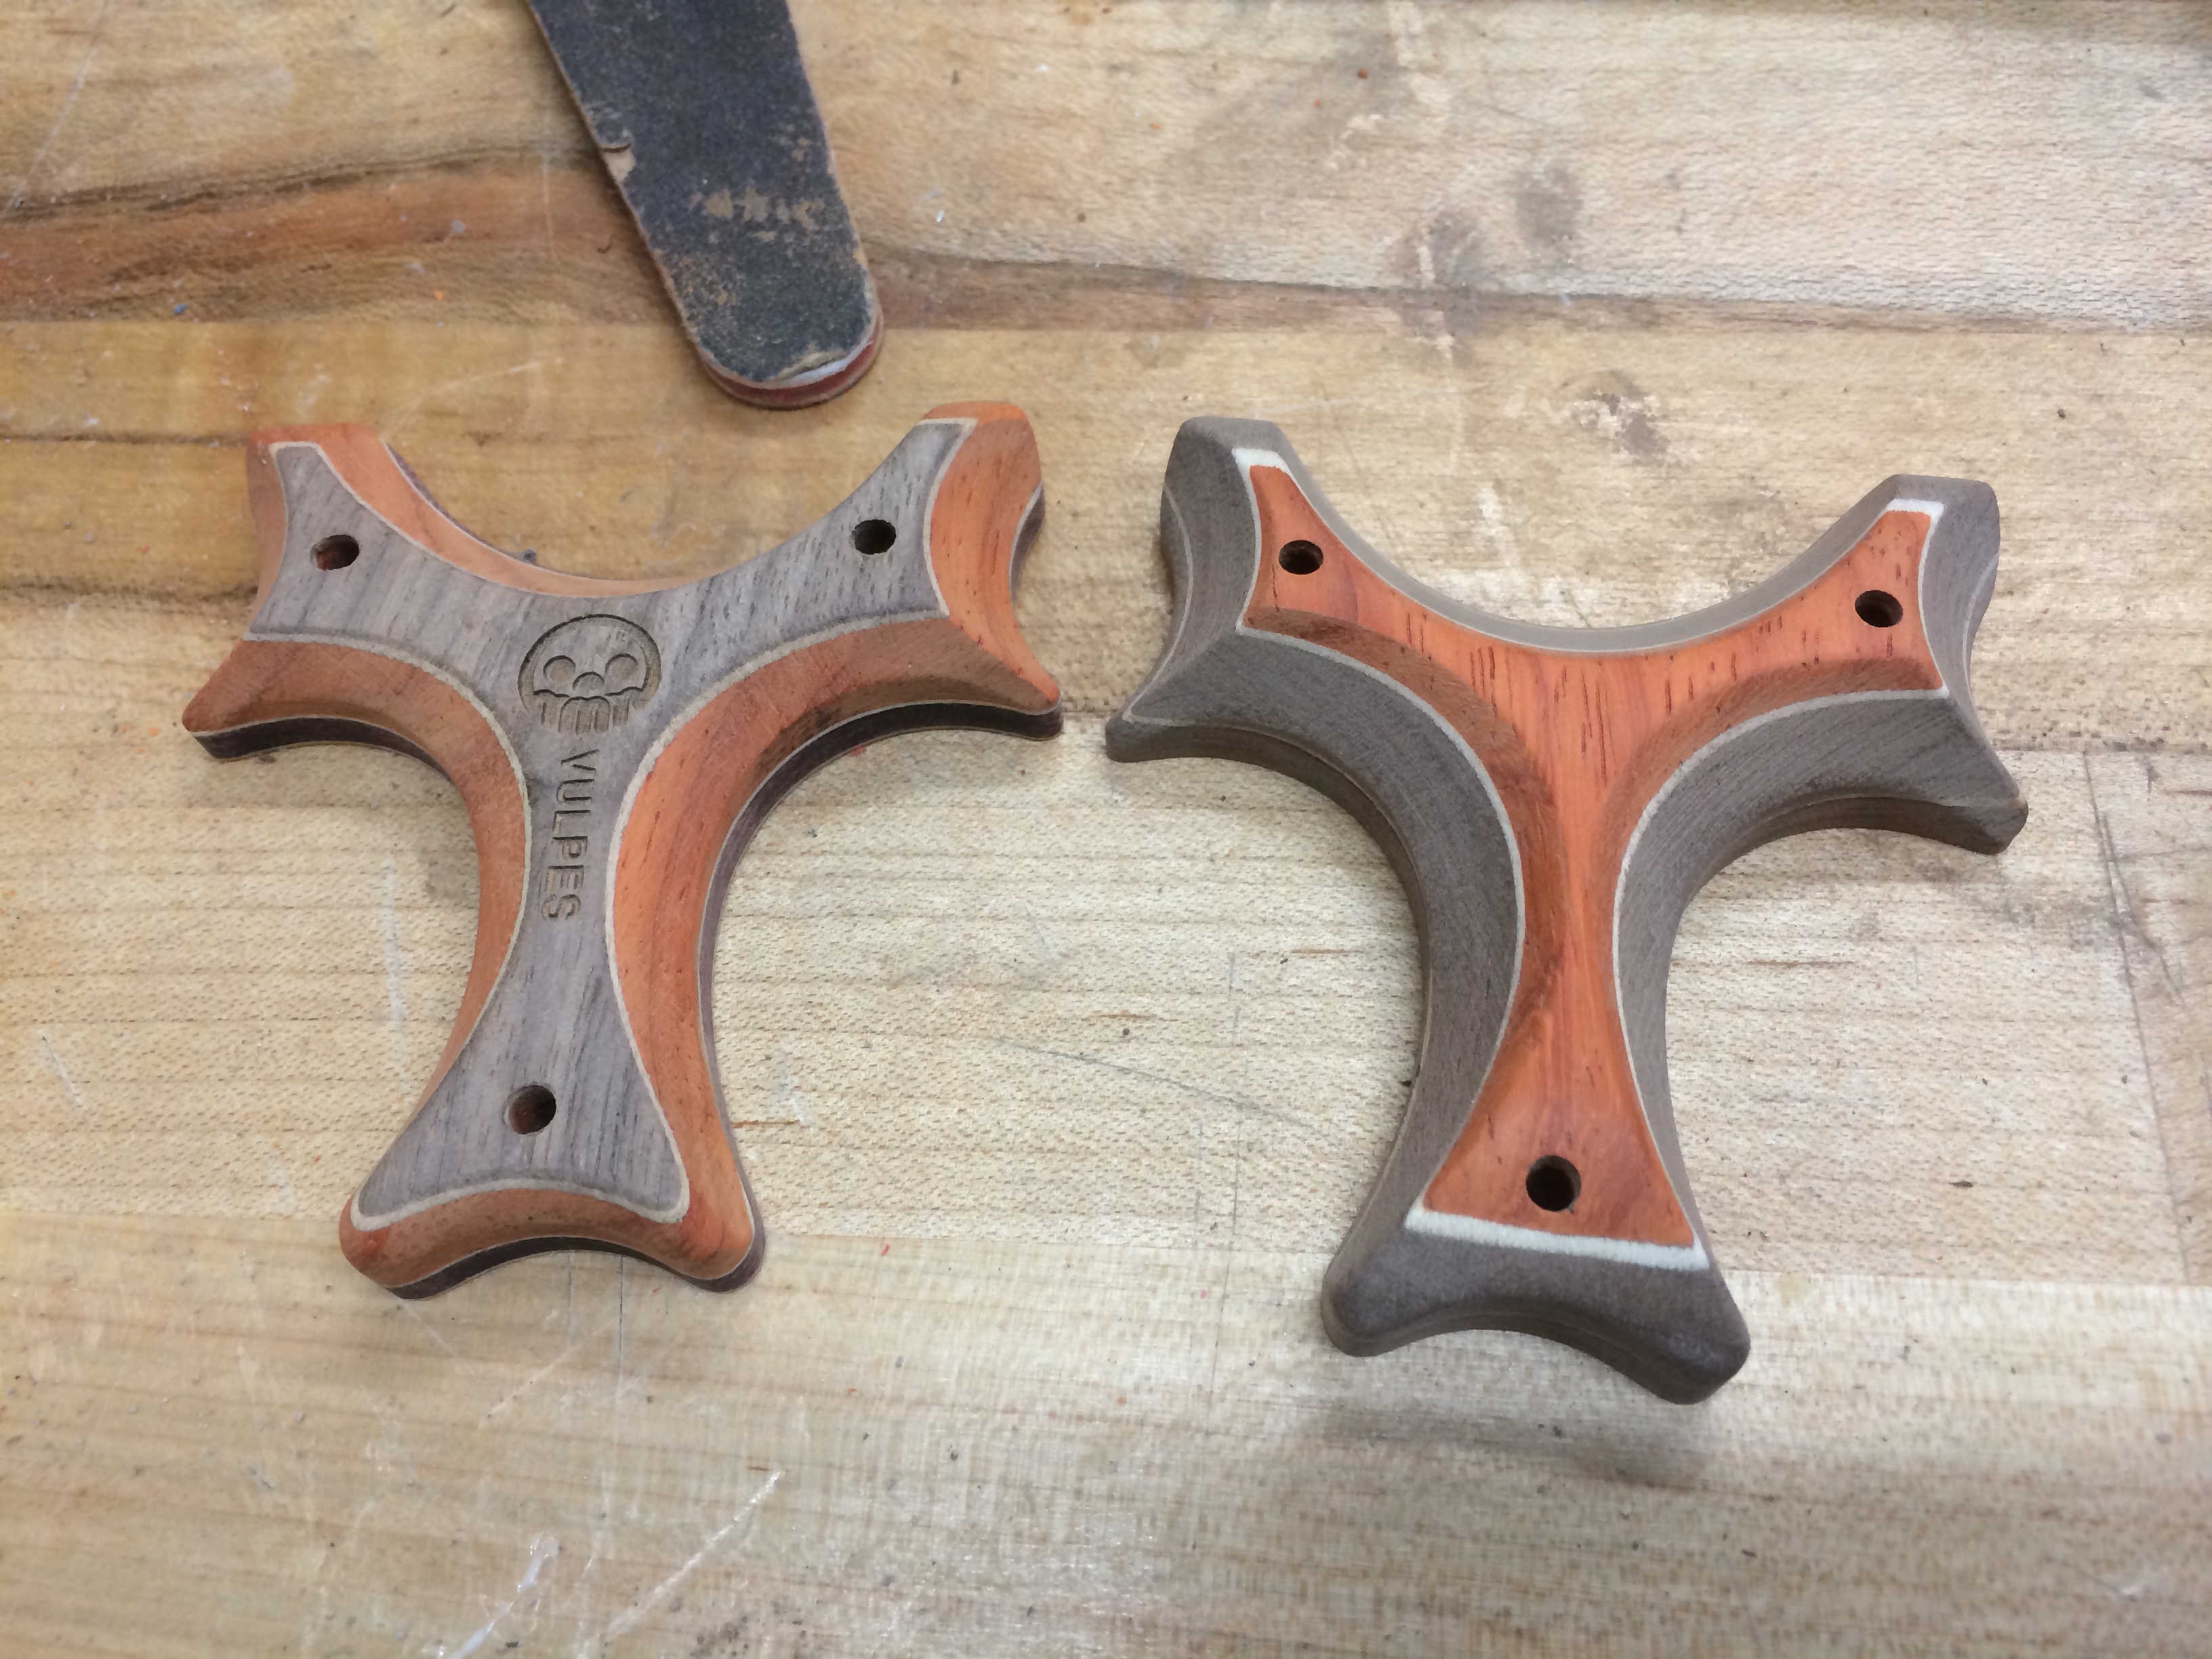
After some time, the scales where unclamped and the edges that aren’t accessible from the outside of the slingshot are sanded so to reveal the shape and colour.
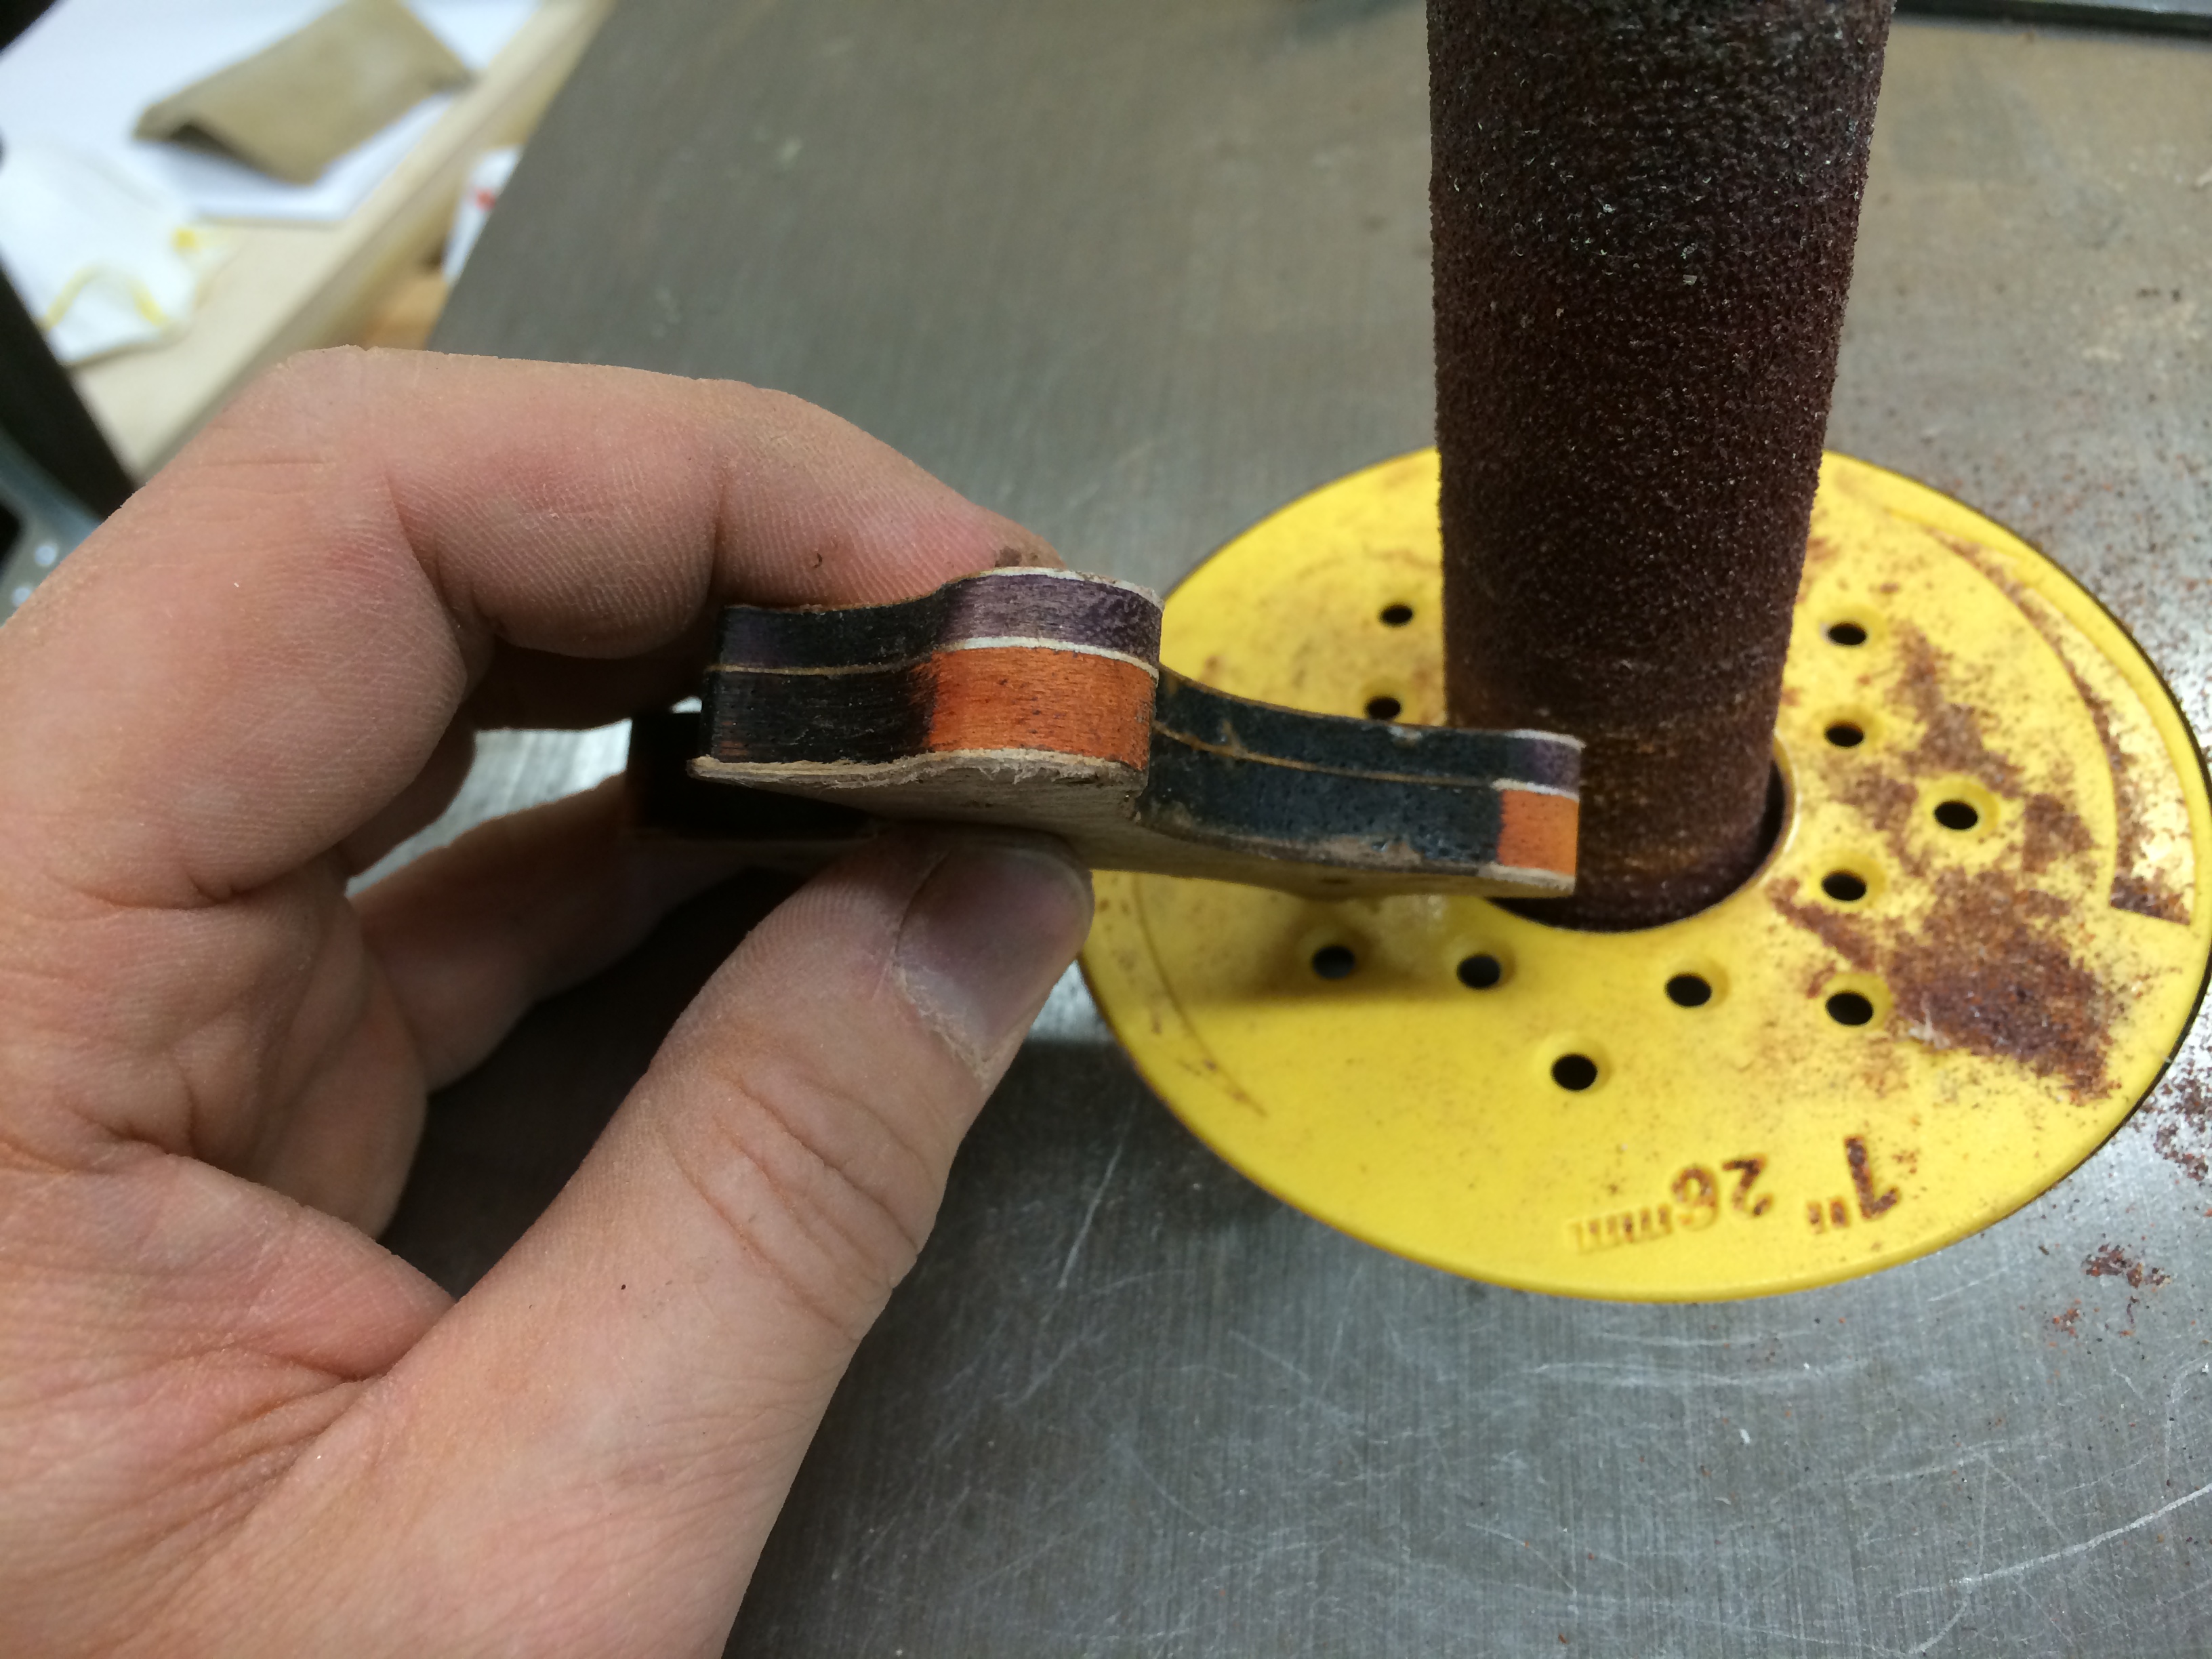
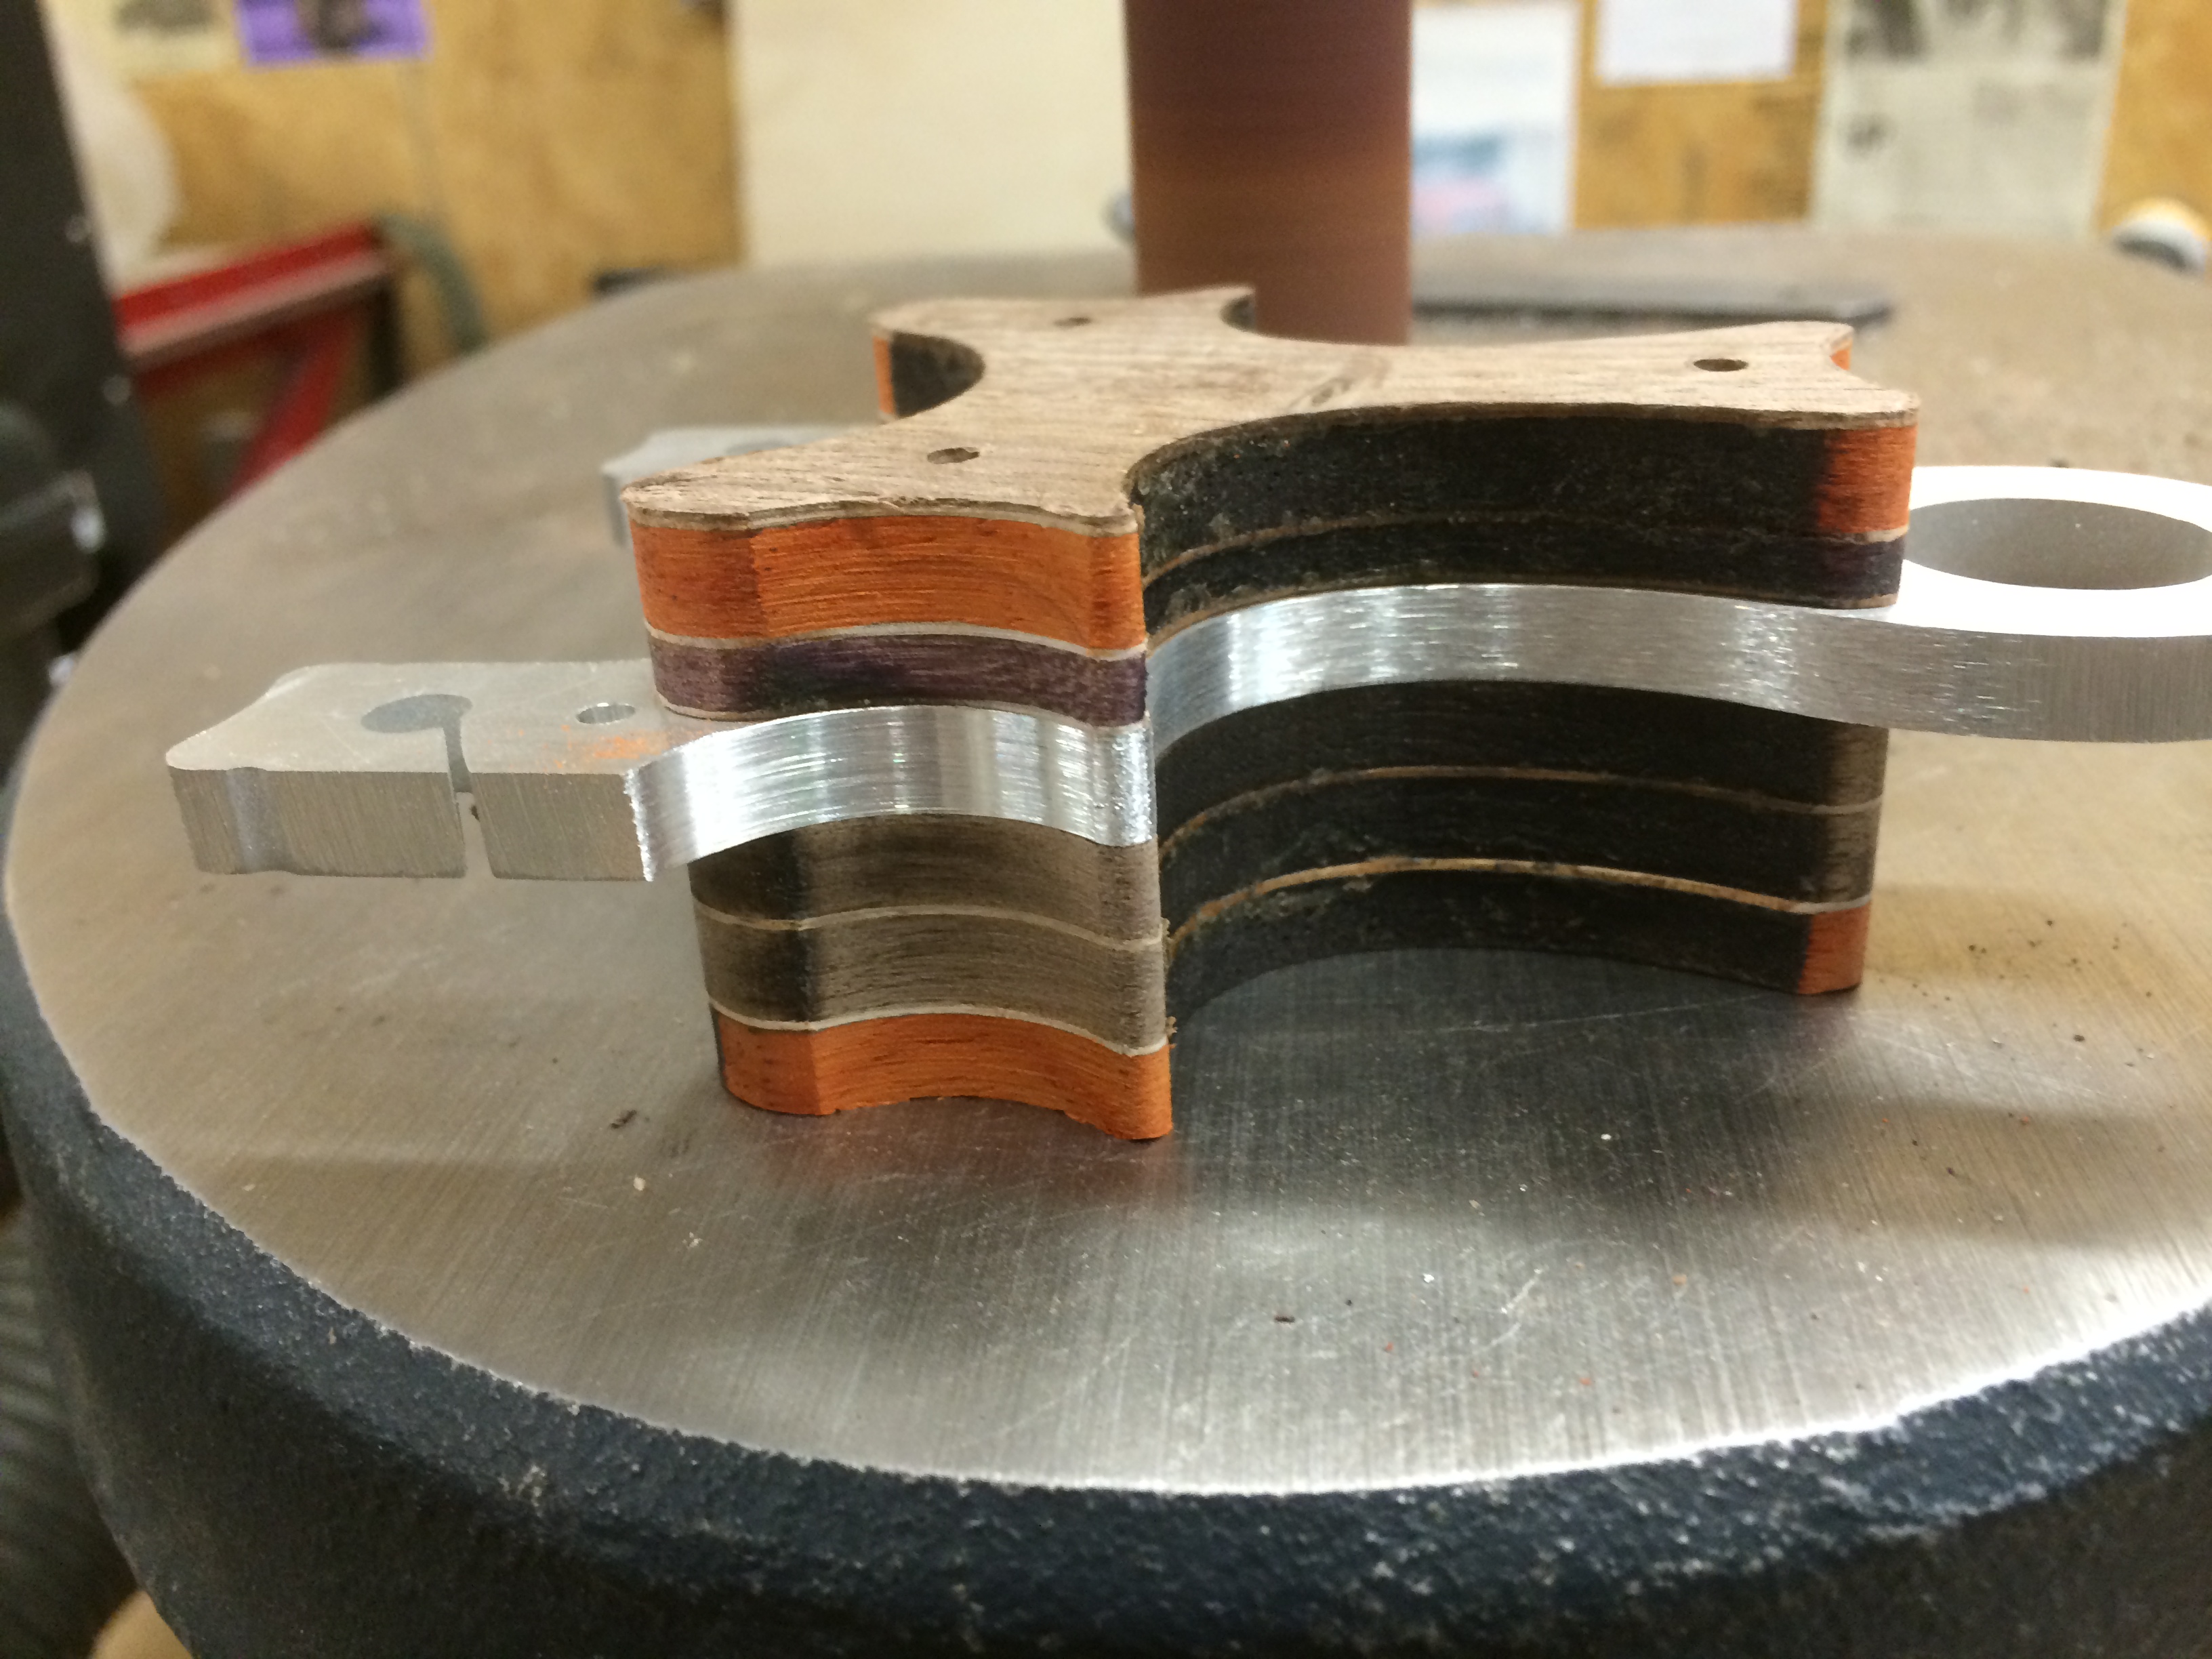
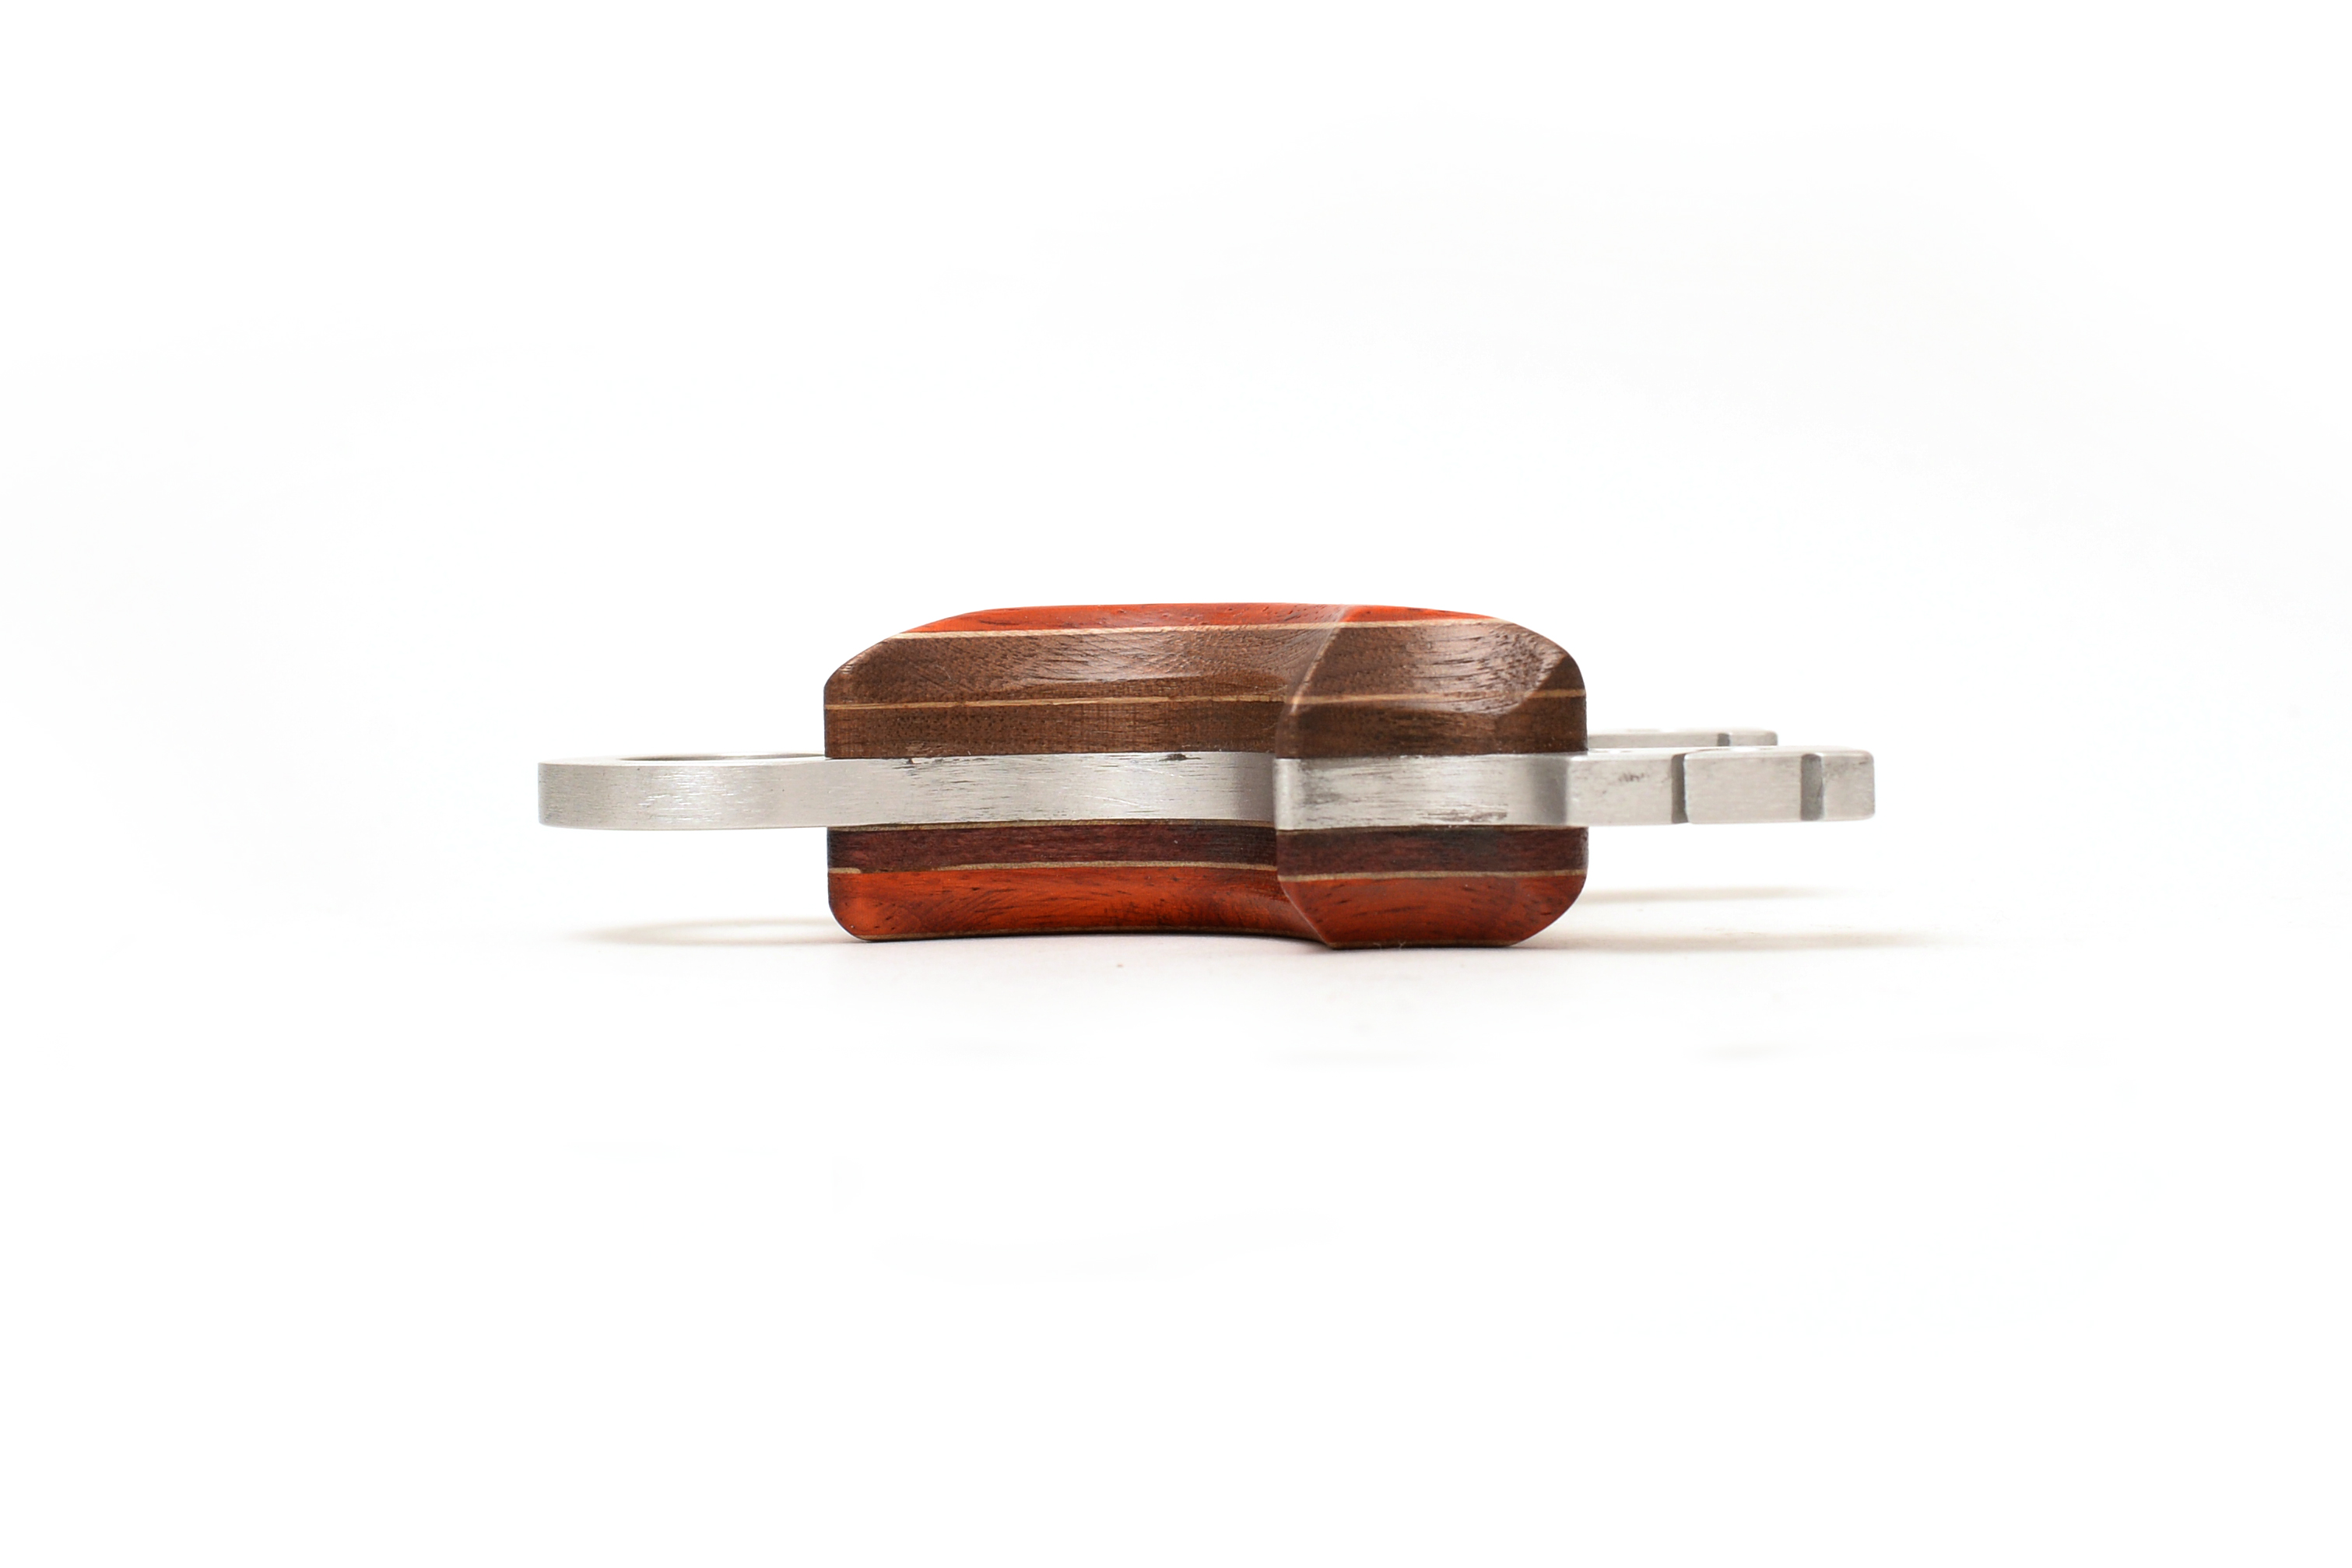
Here is a shot of the full thickness of the materials, there is a lot of sculpting and wood removal to be done to make this work.
With the scales taped on, the edges of the scales and the frame are sanded together. Next time I am going to make some temporary pins to hold them in place, since the frame heats up from the friction causing the tape to become soft.
After that, the scales are taped together to smooth out the transitions from the scoops to the nubbin shapes.
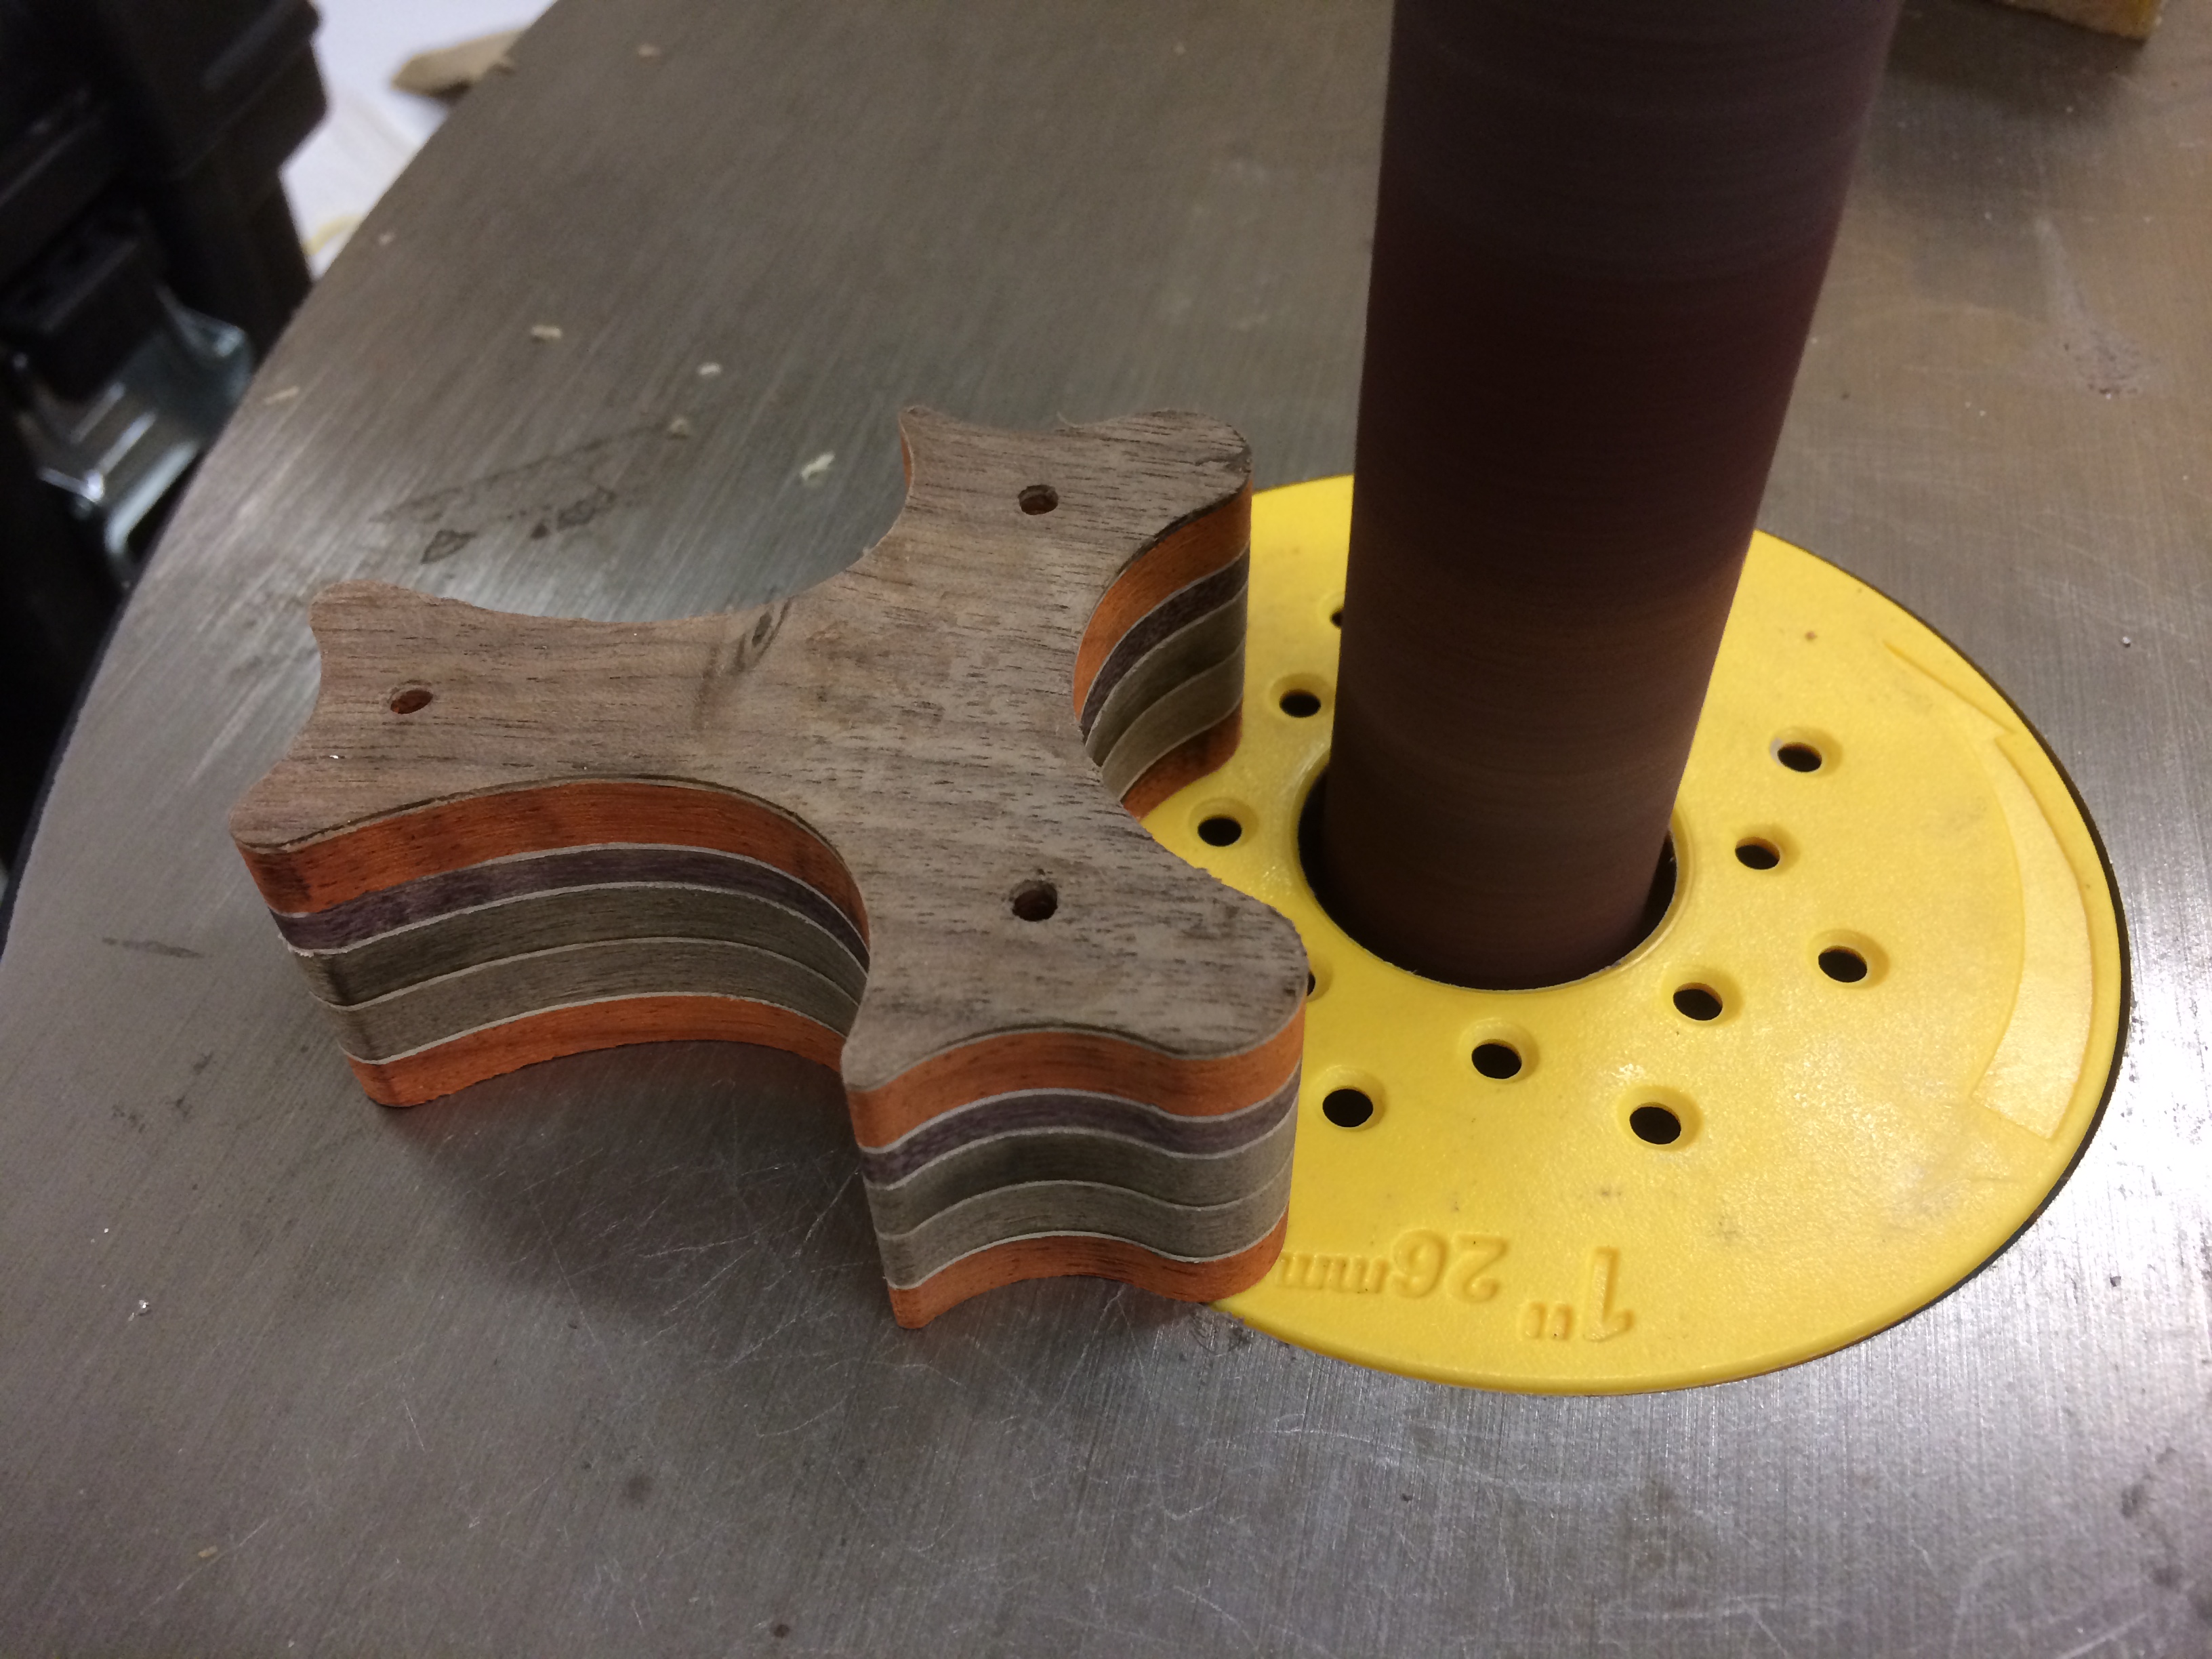
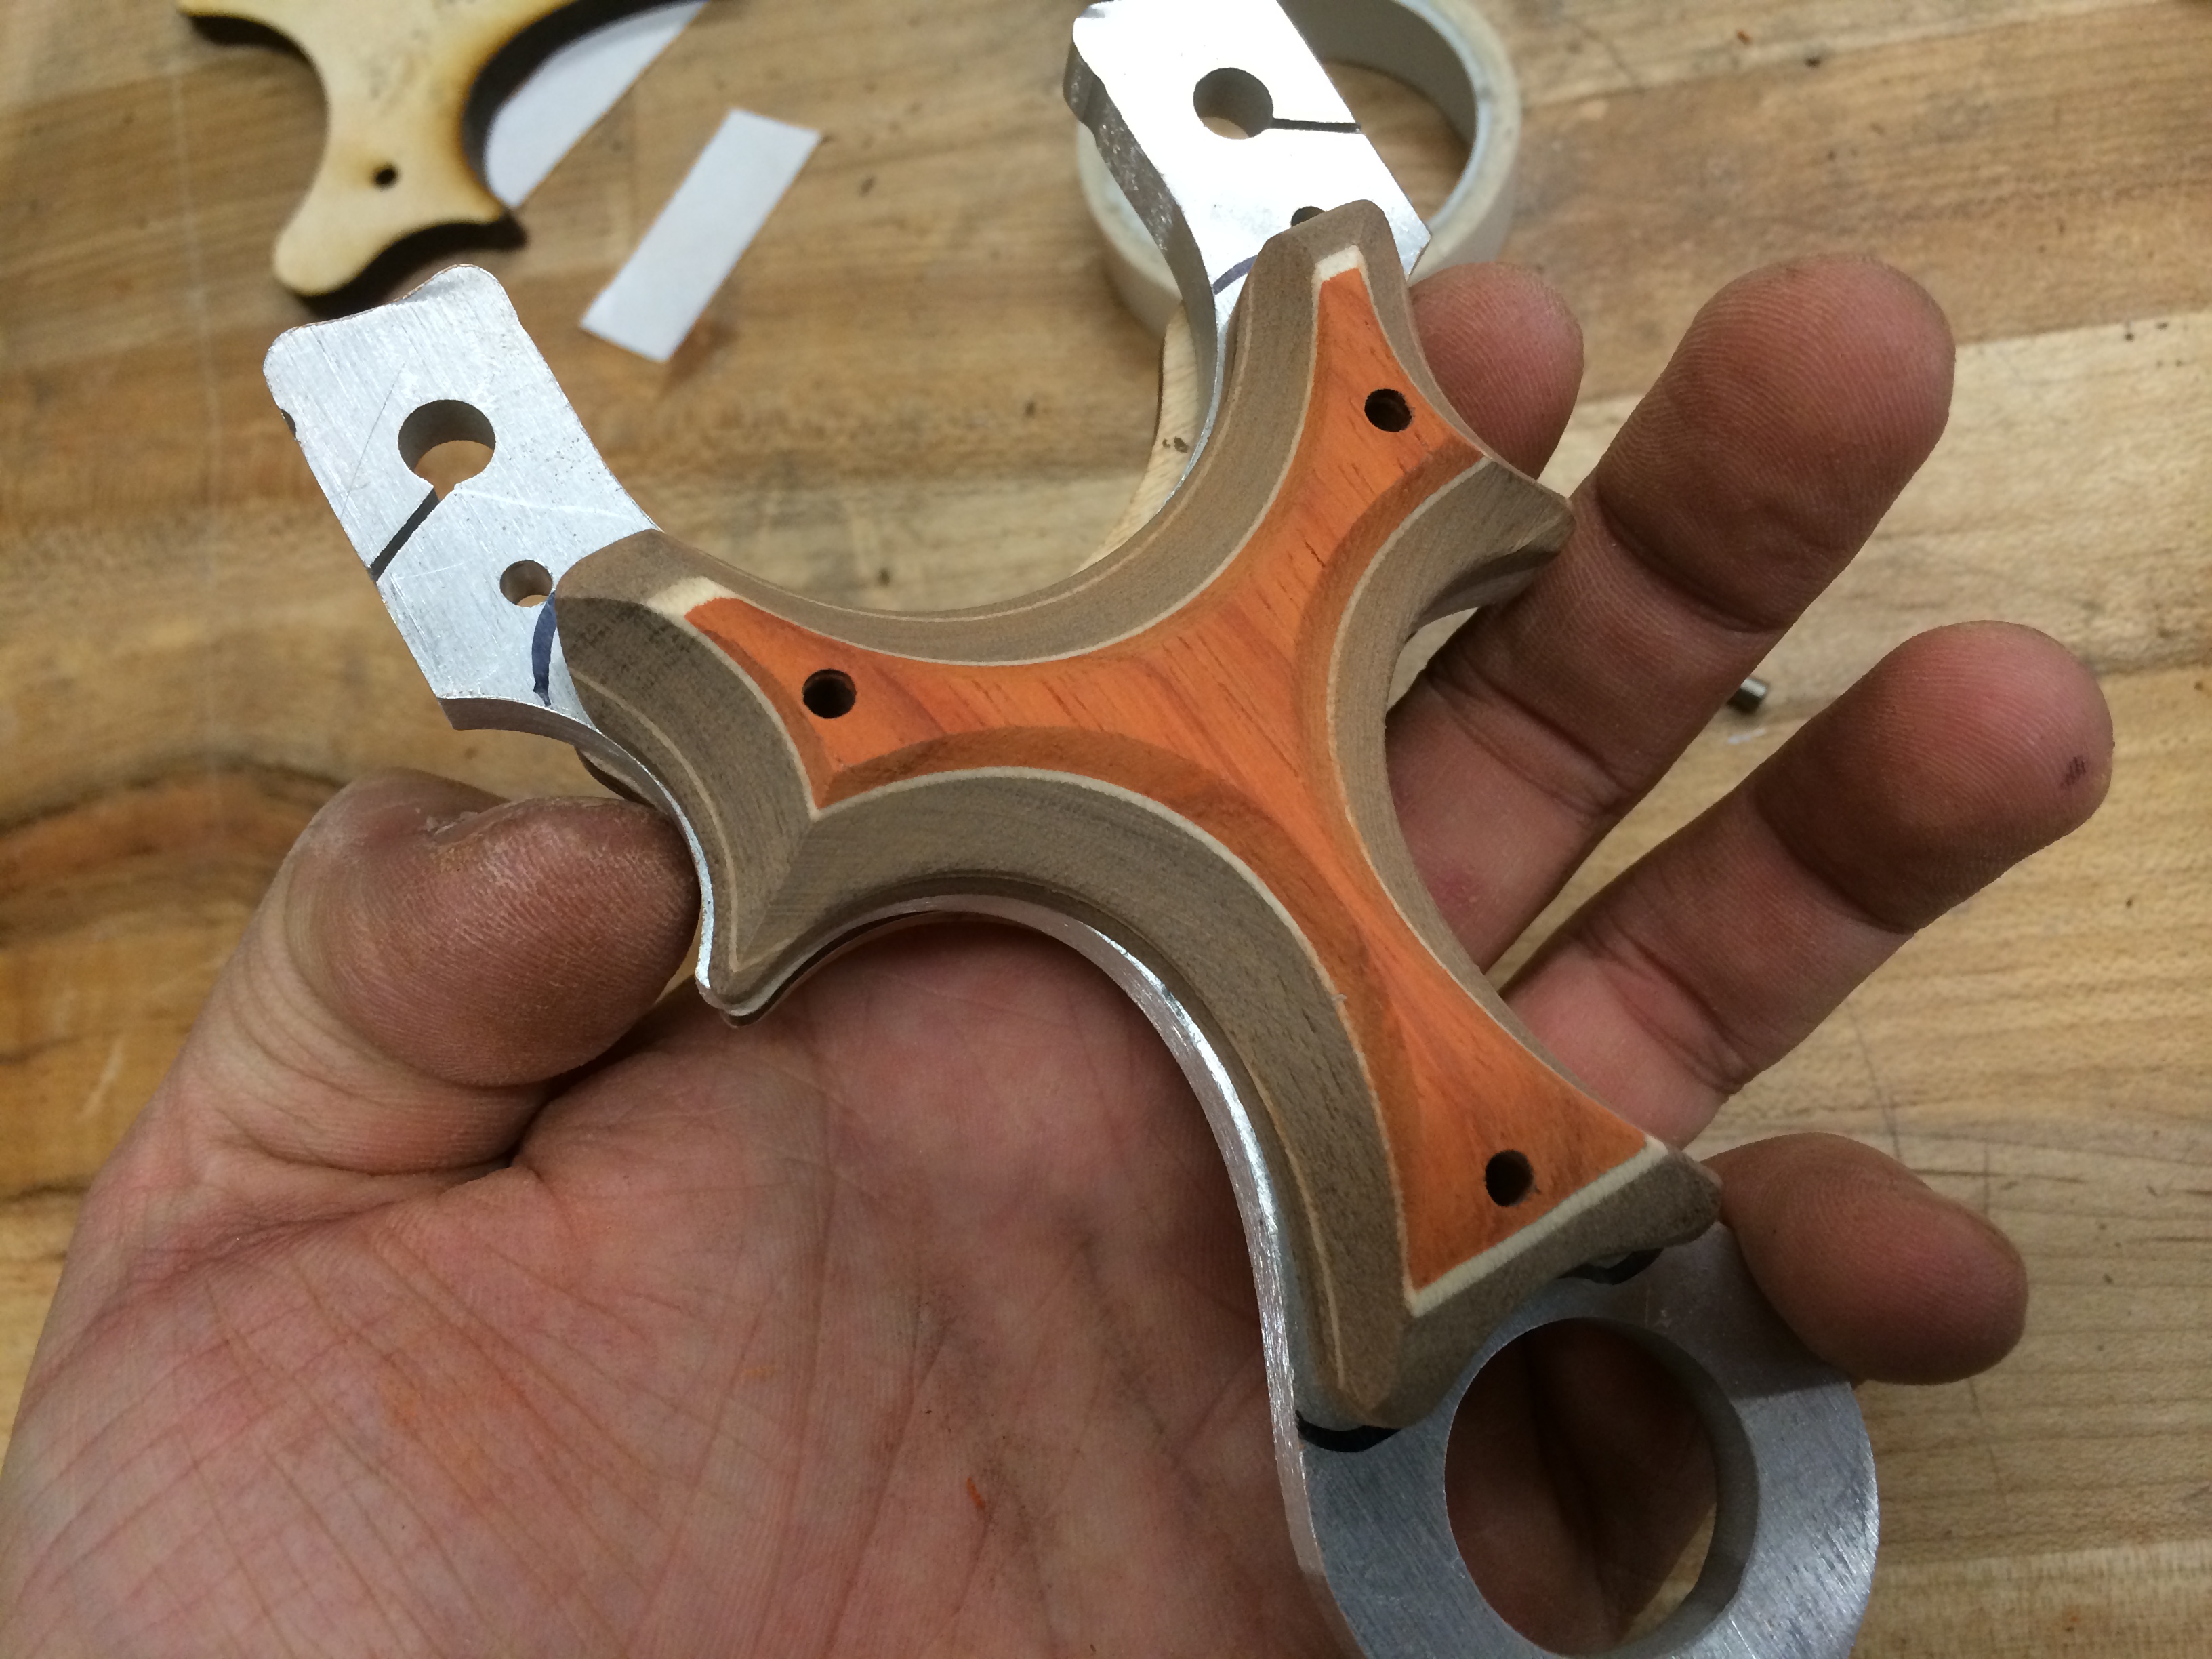
Time to work on the palm swell. First I used the belt sander to mow down the top layer into a gentle slope. From there I rocked it back to curve the lower portion and also rolled the tips of the scales into a curved nubbin.
It was hard to take photos while working this section since it’s something that is requires a lot of micro sanding operations, slowly taking off material, checking, taking more off, checking again. Eventually the main scallops where taken off.
The ‘waist’ area had the biggest scallops since that where the middle and ring finger wrap around. Thinning around that area makes for a positive yet loose grip. The back side scale is also scalloped in the same way. I want to note that the scallop was done on the yoke area purely for aesthetics, as the routed edge didn’t really match the chamfered edges well.

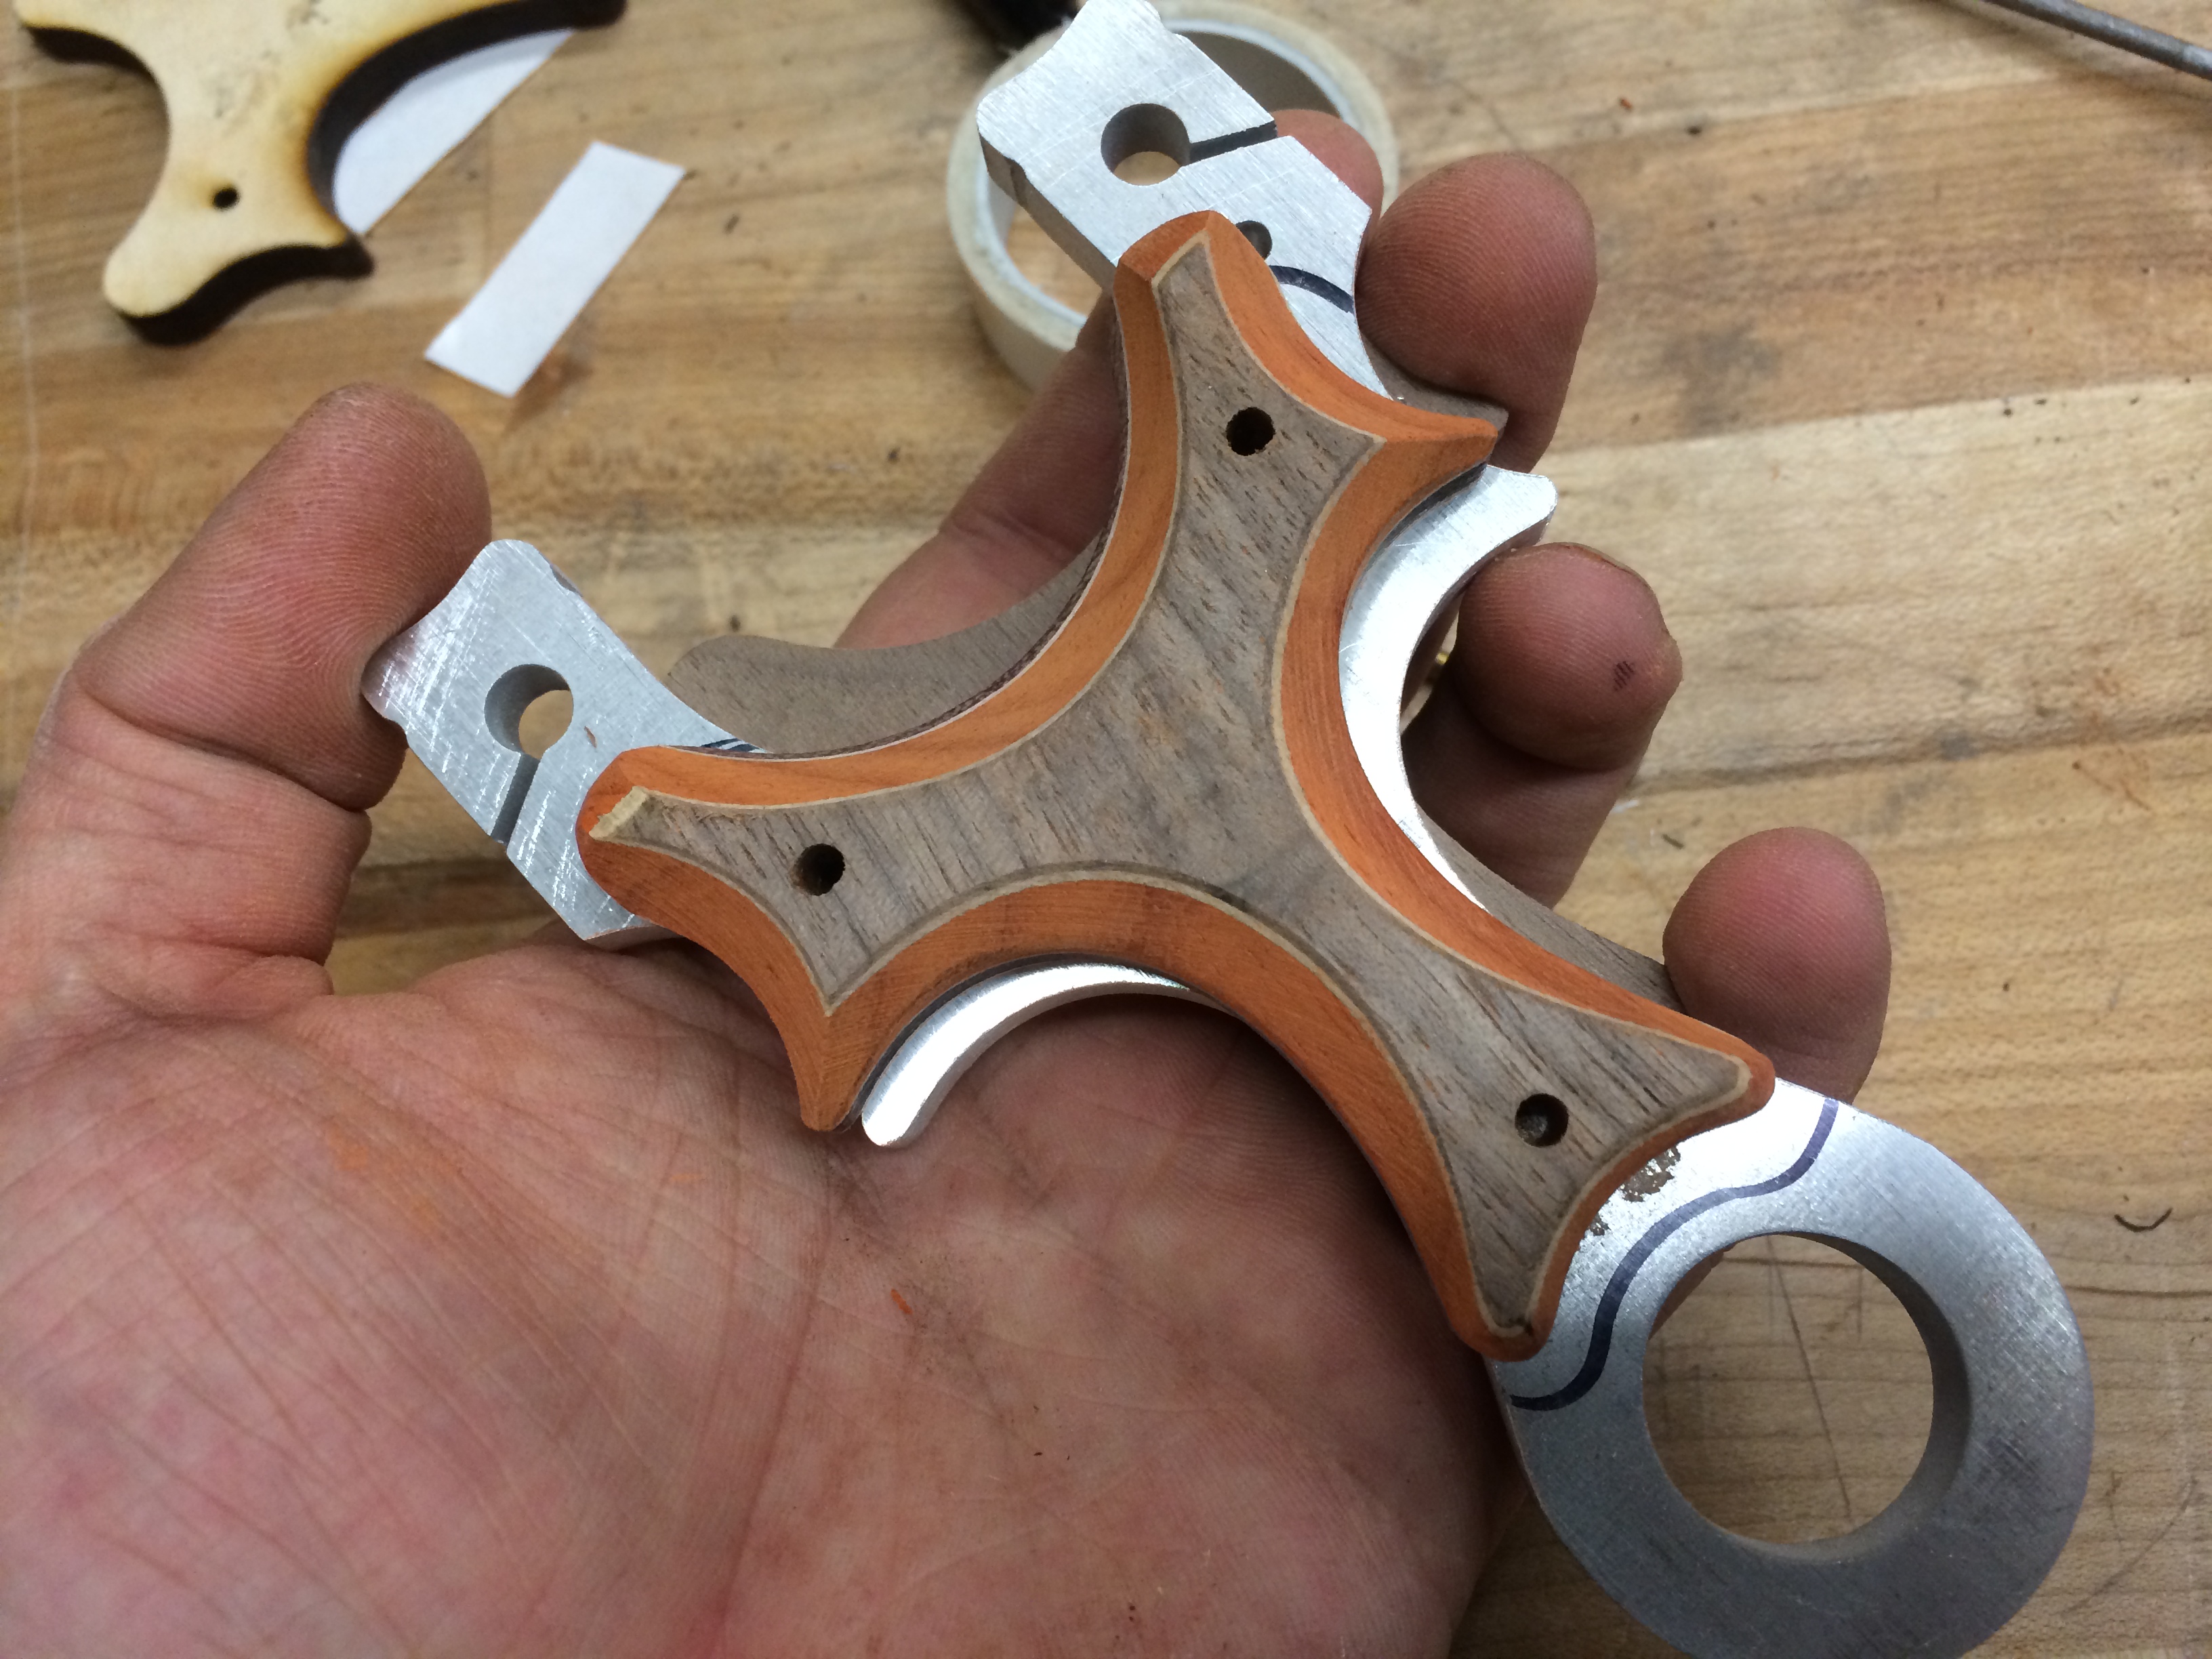
After placing the scales on the frame, I noticed that the finger/thumb areas were too beefy.
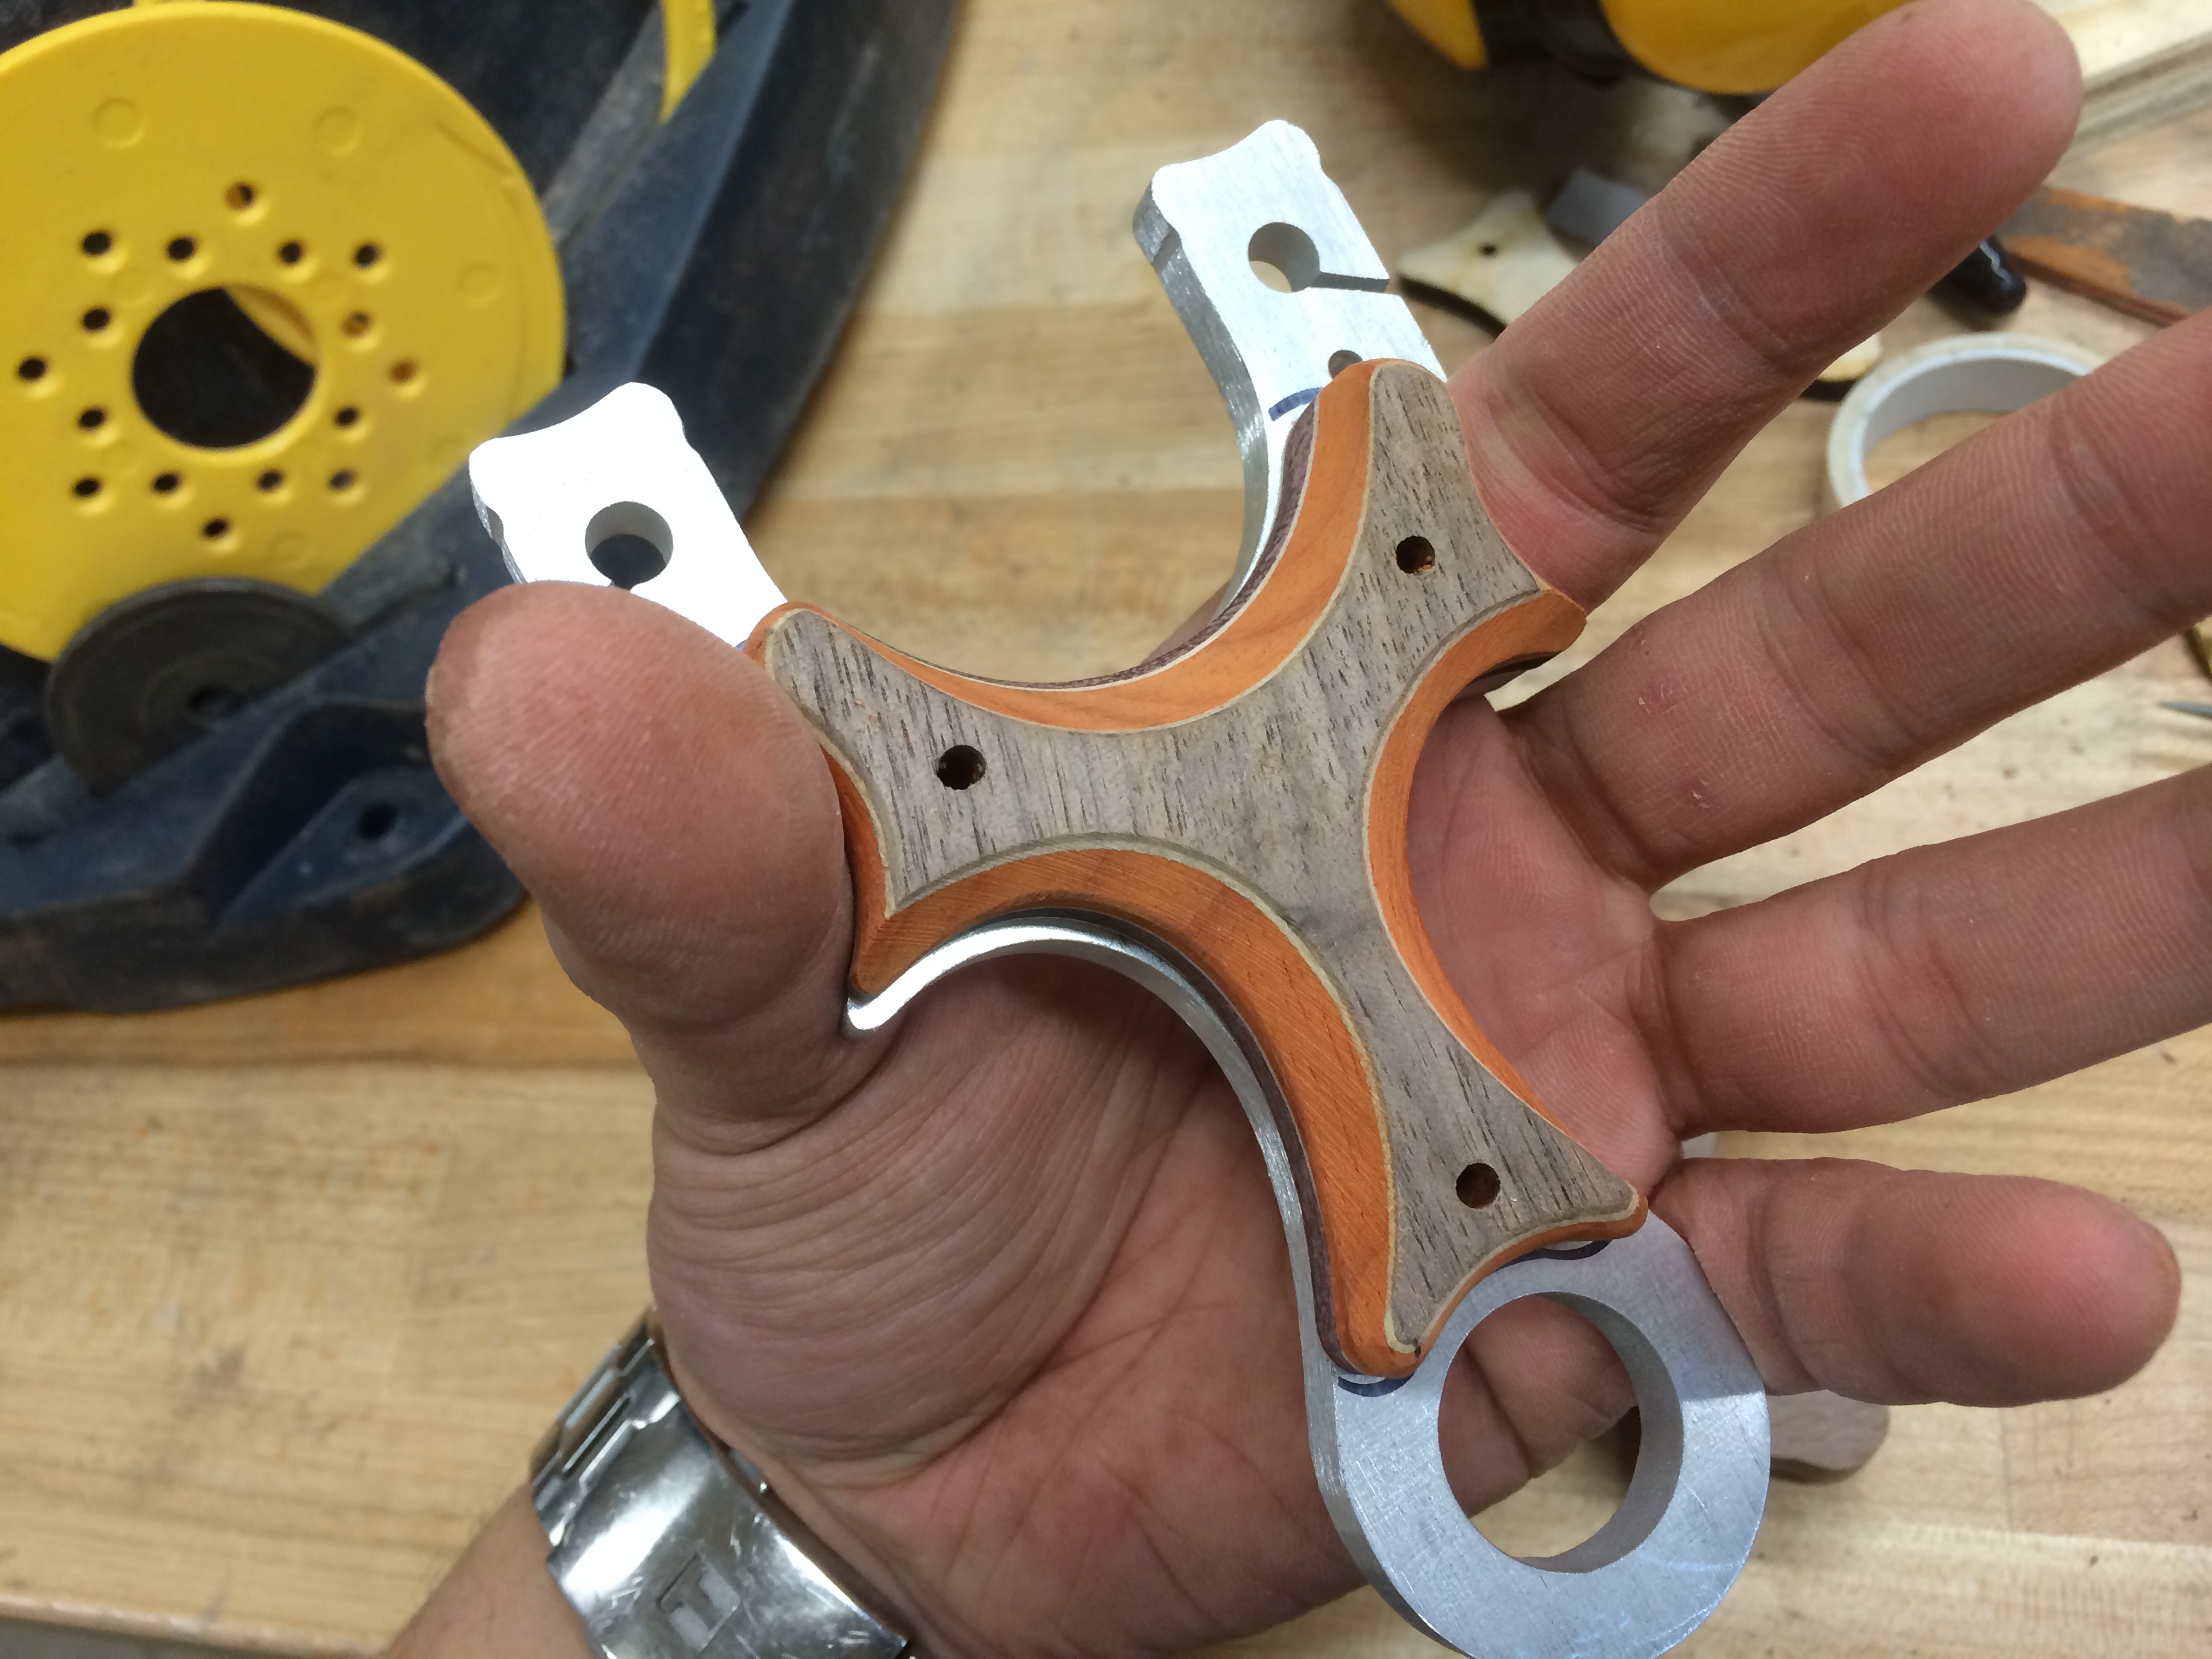
…causing me to stretch to get around the grip.
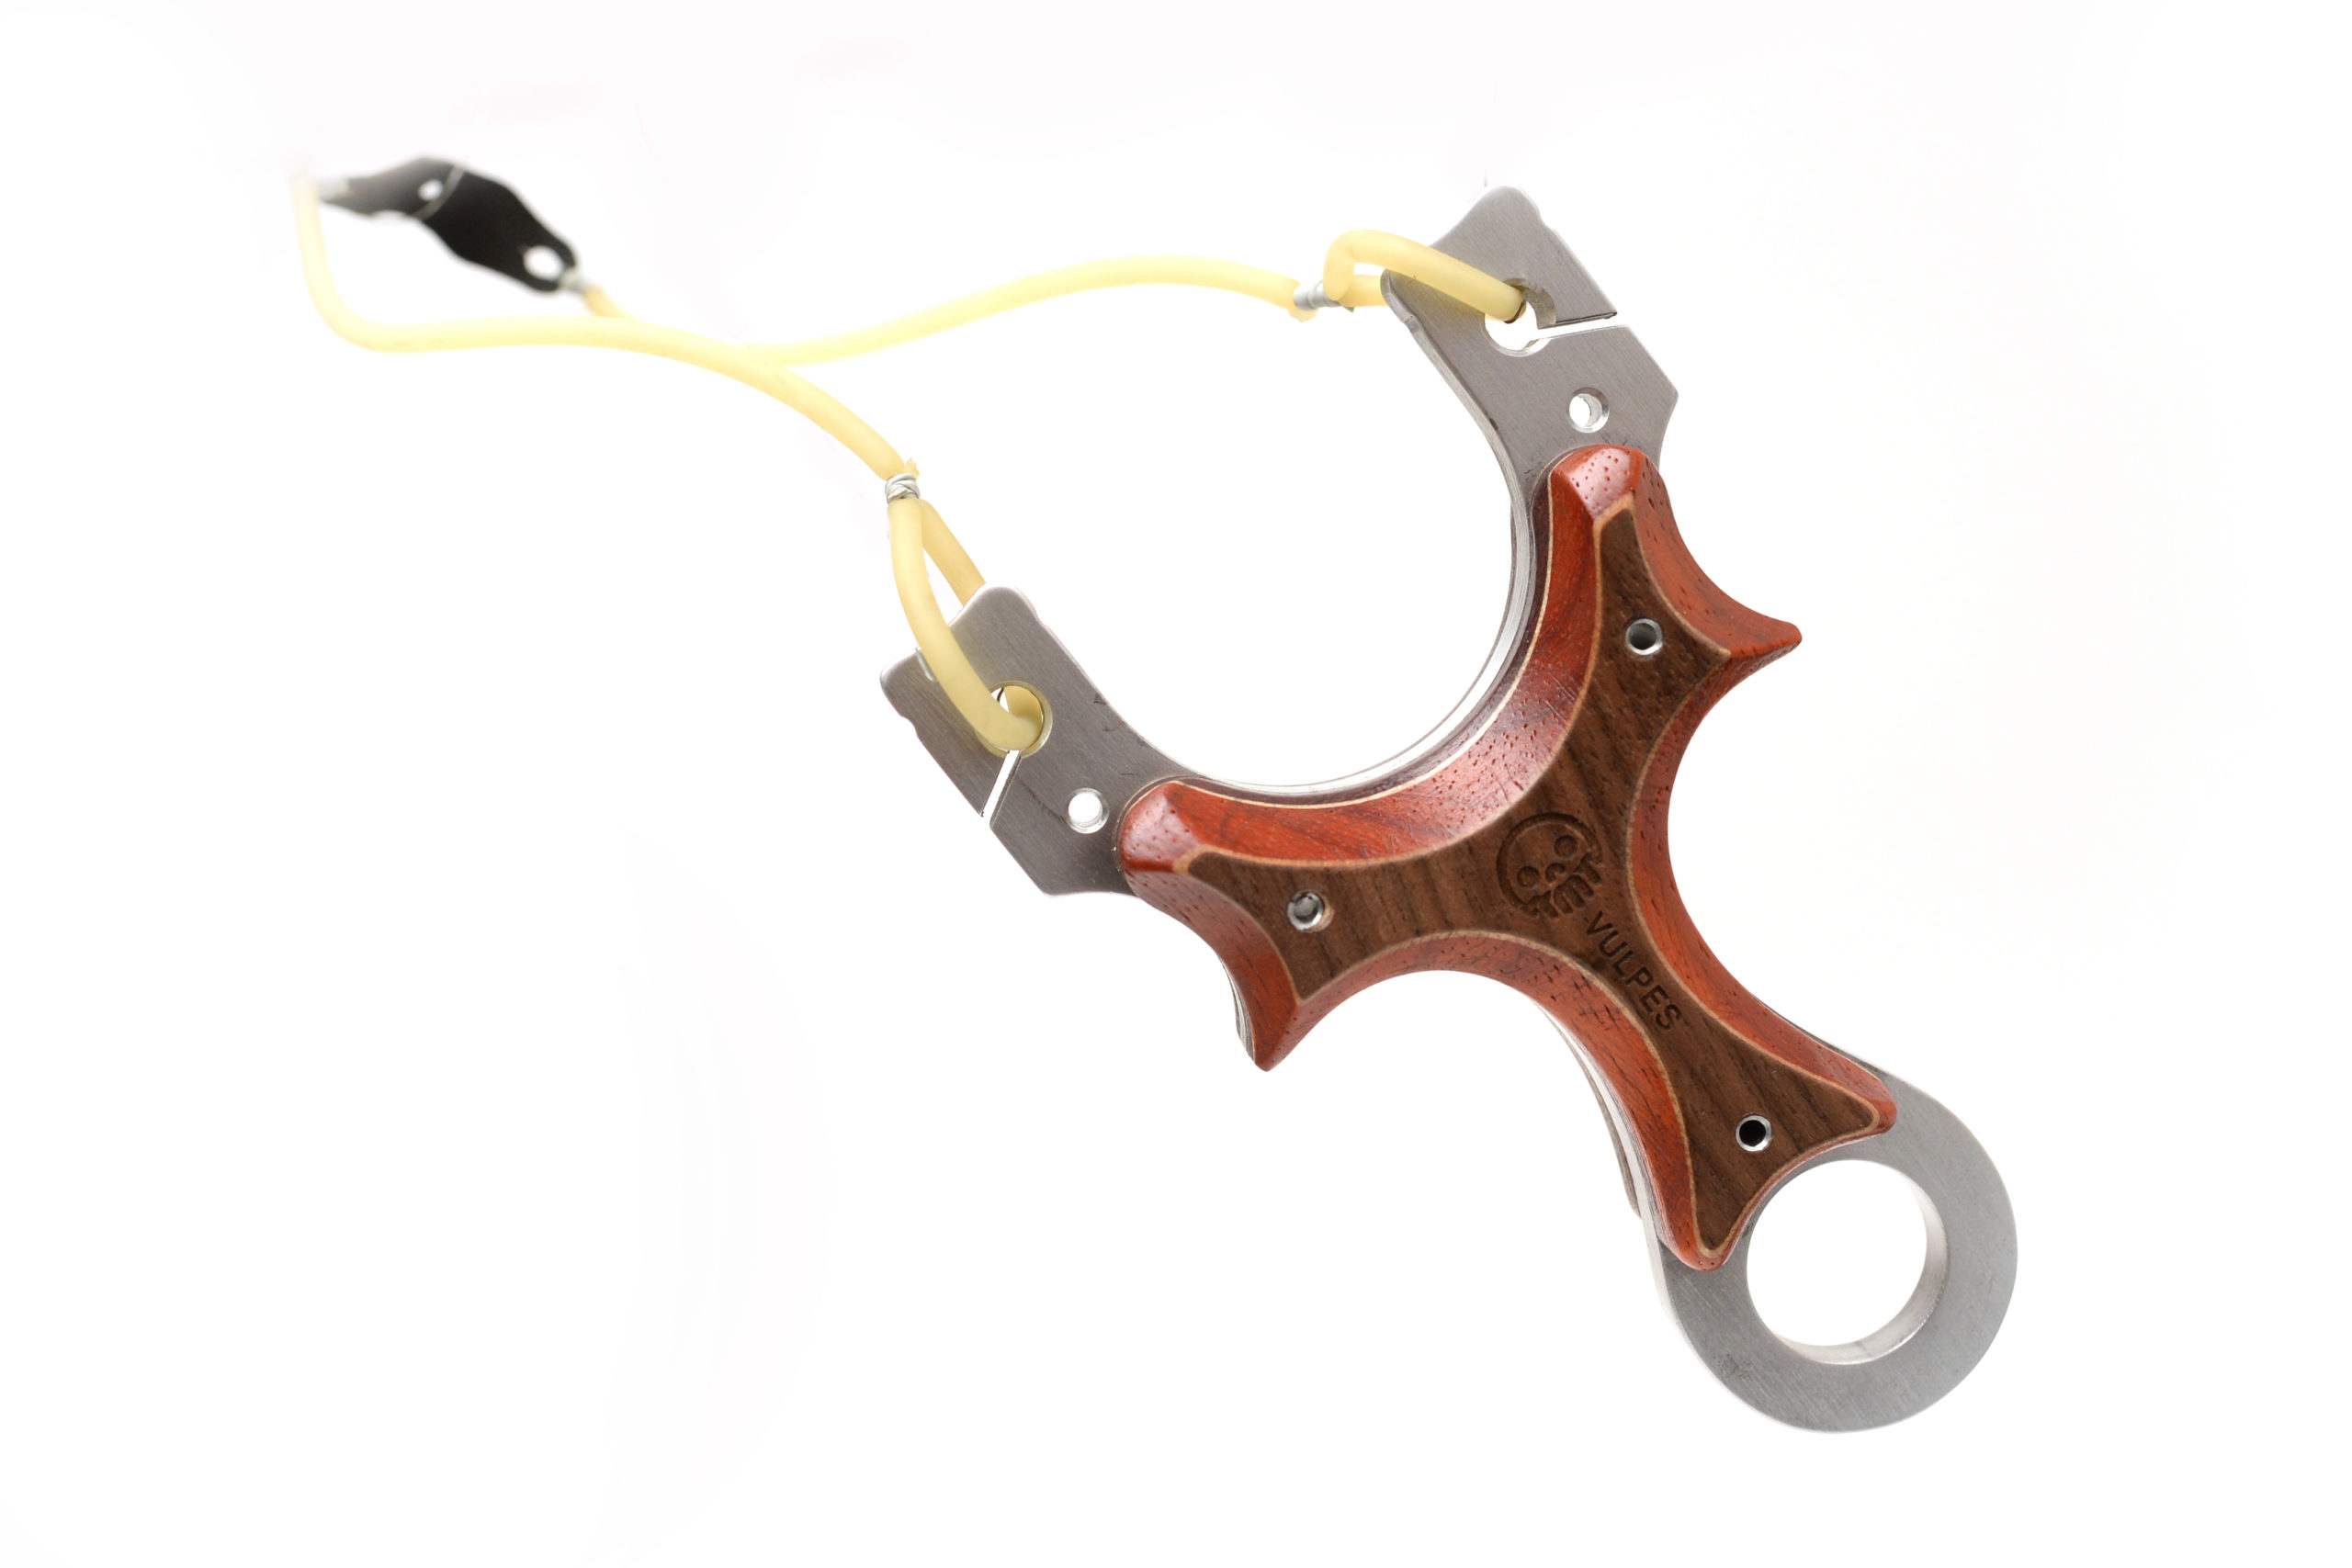
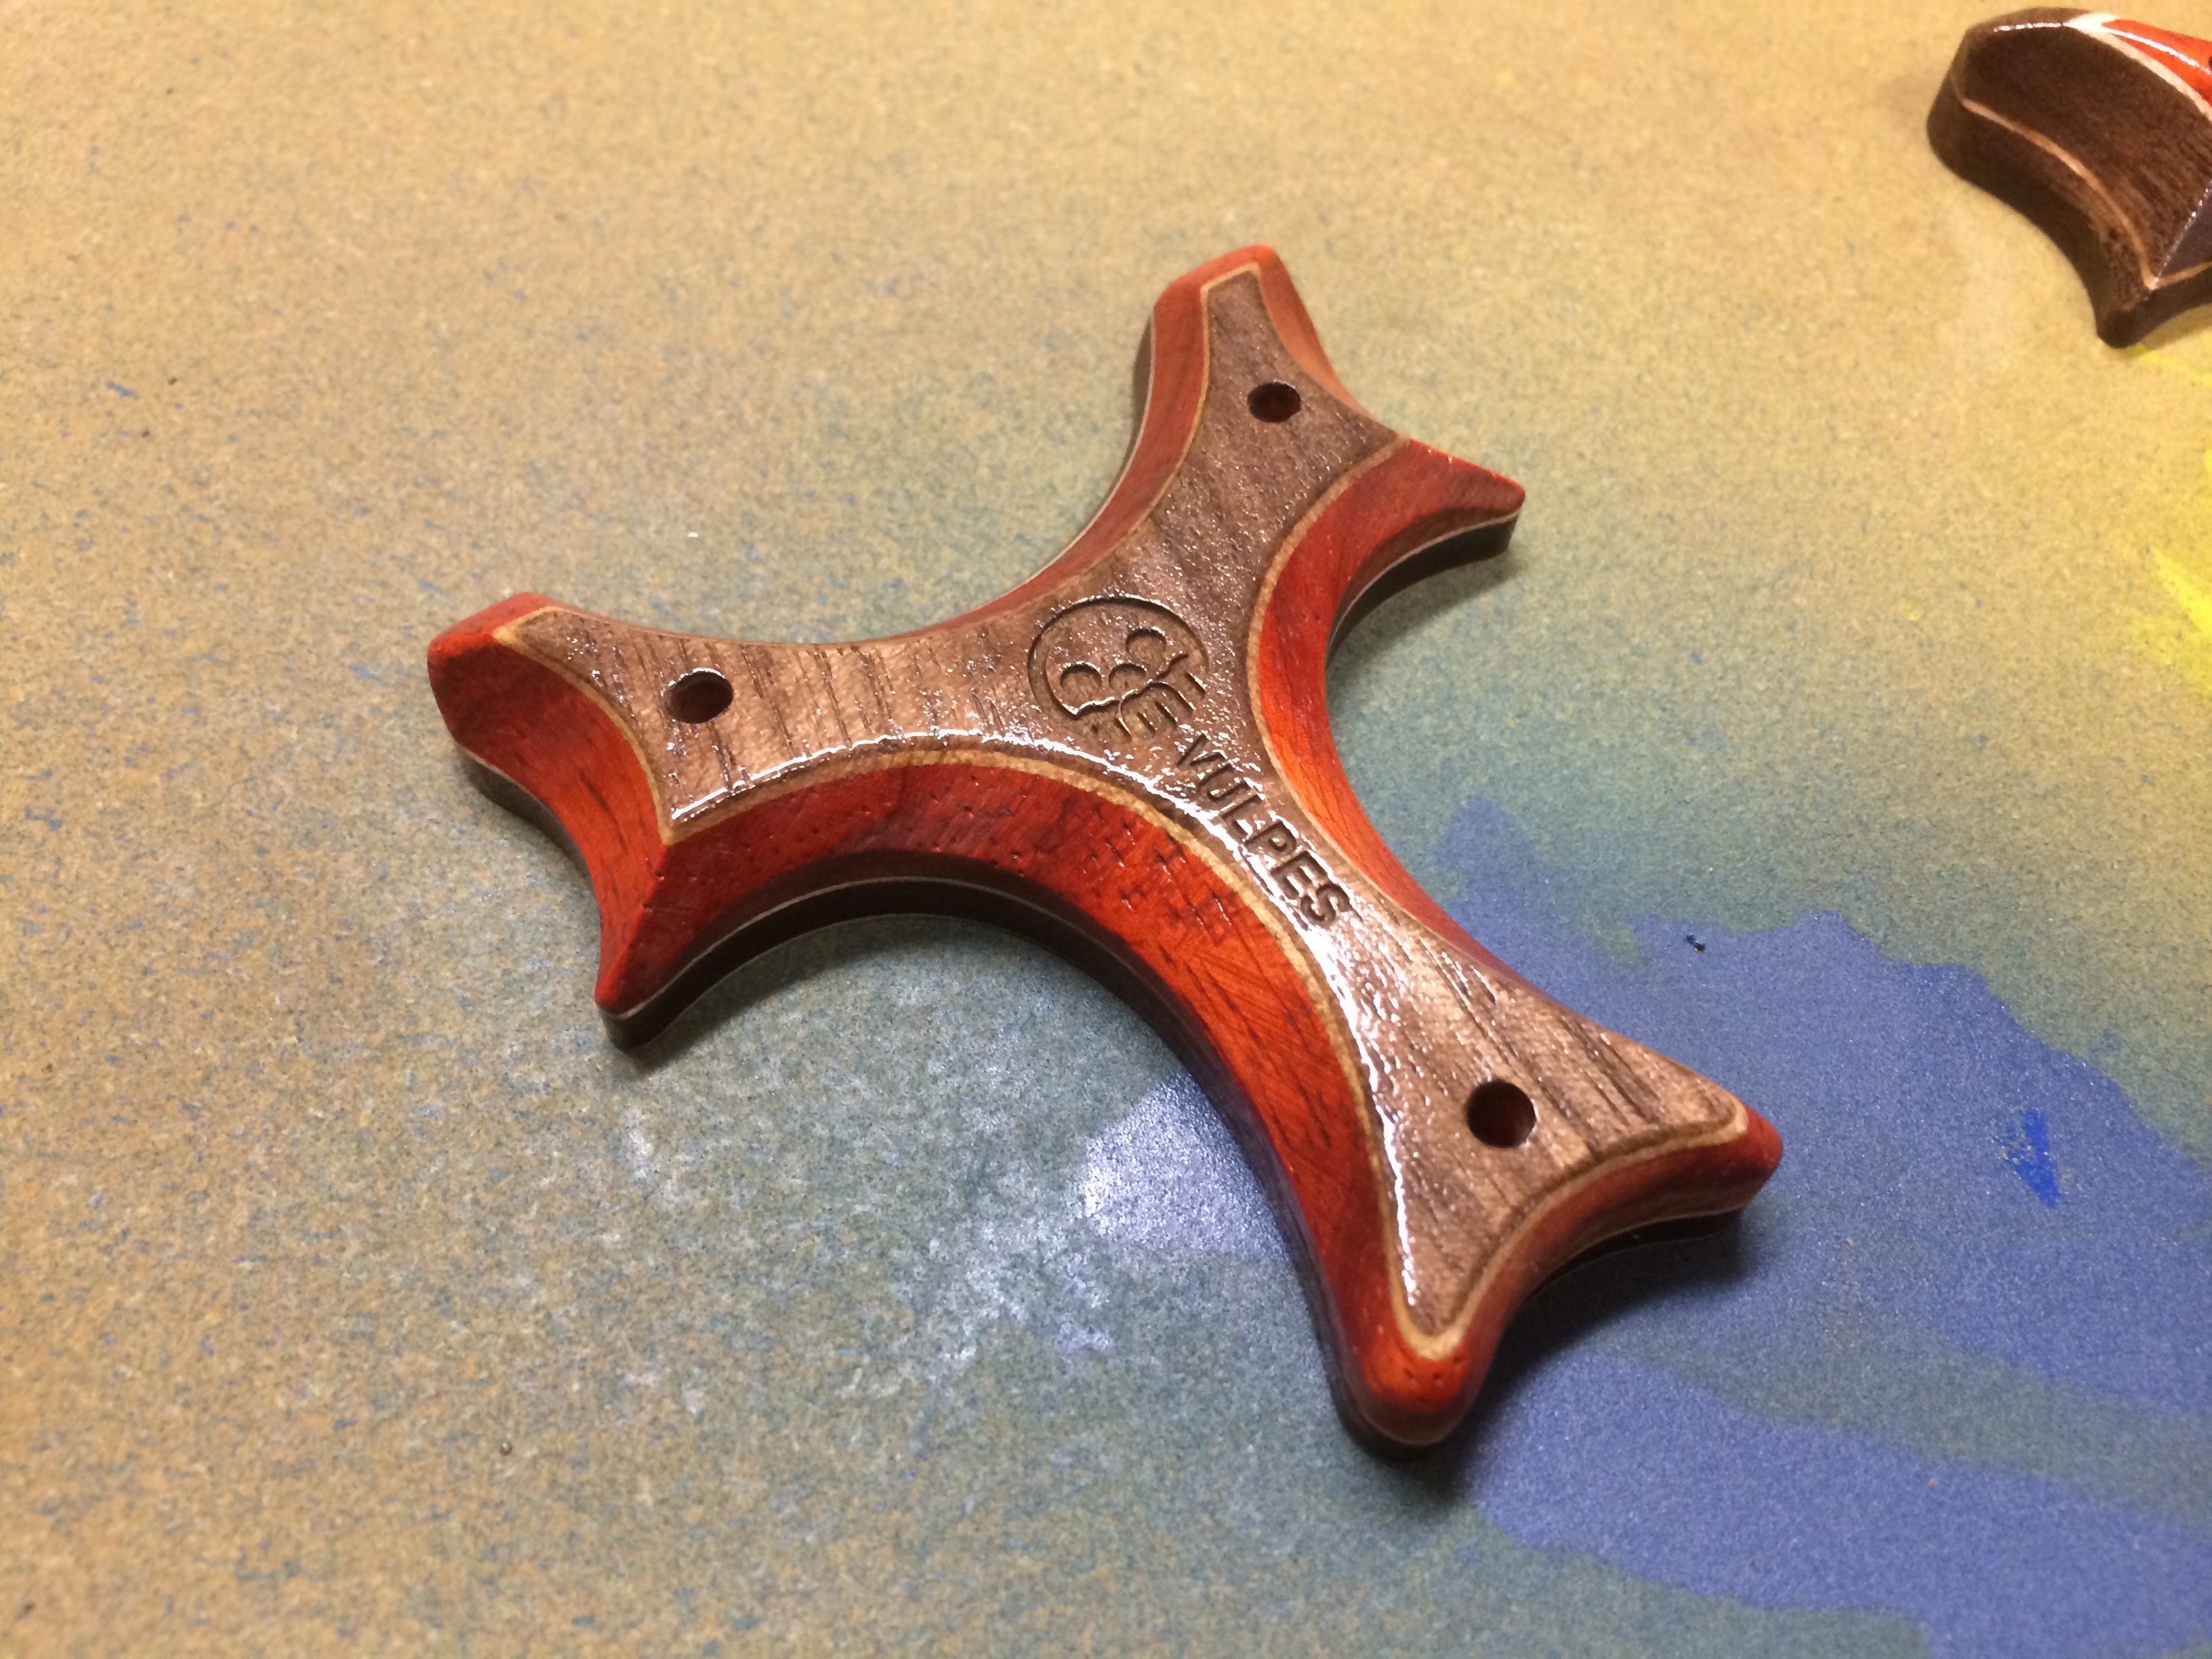
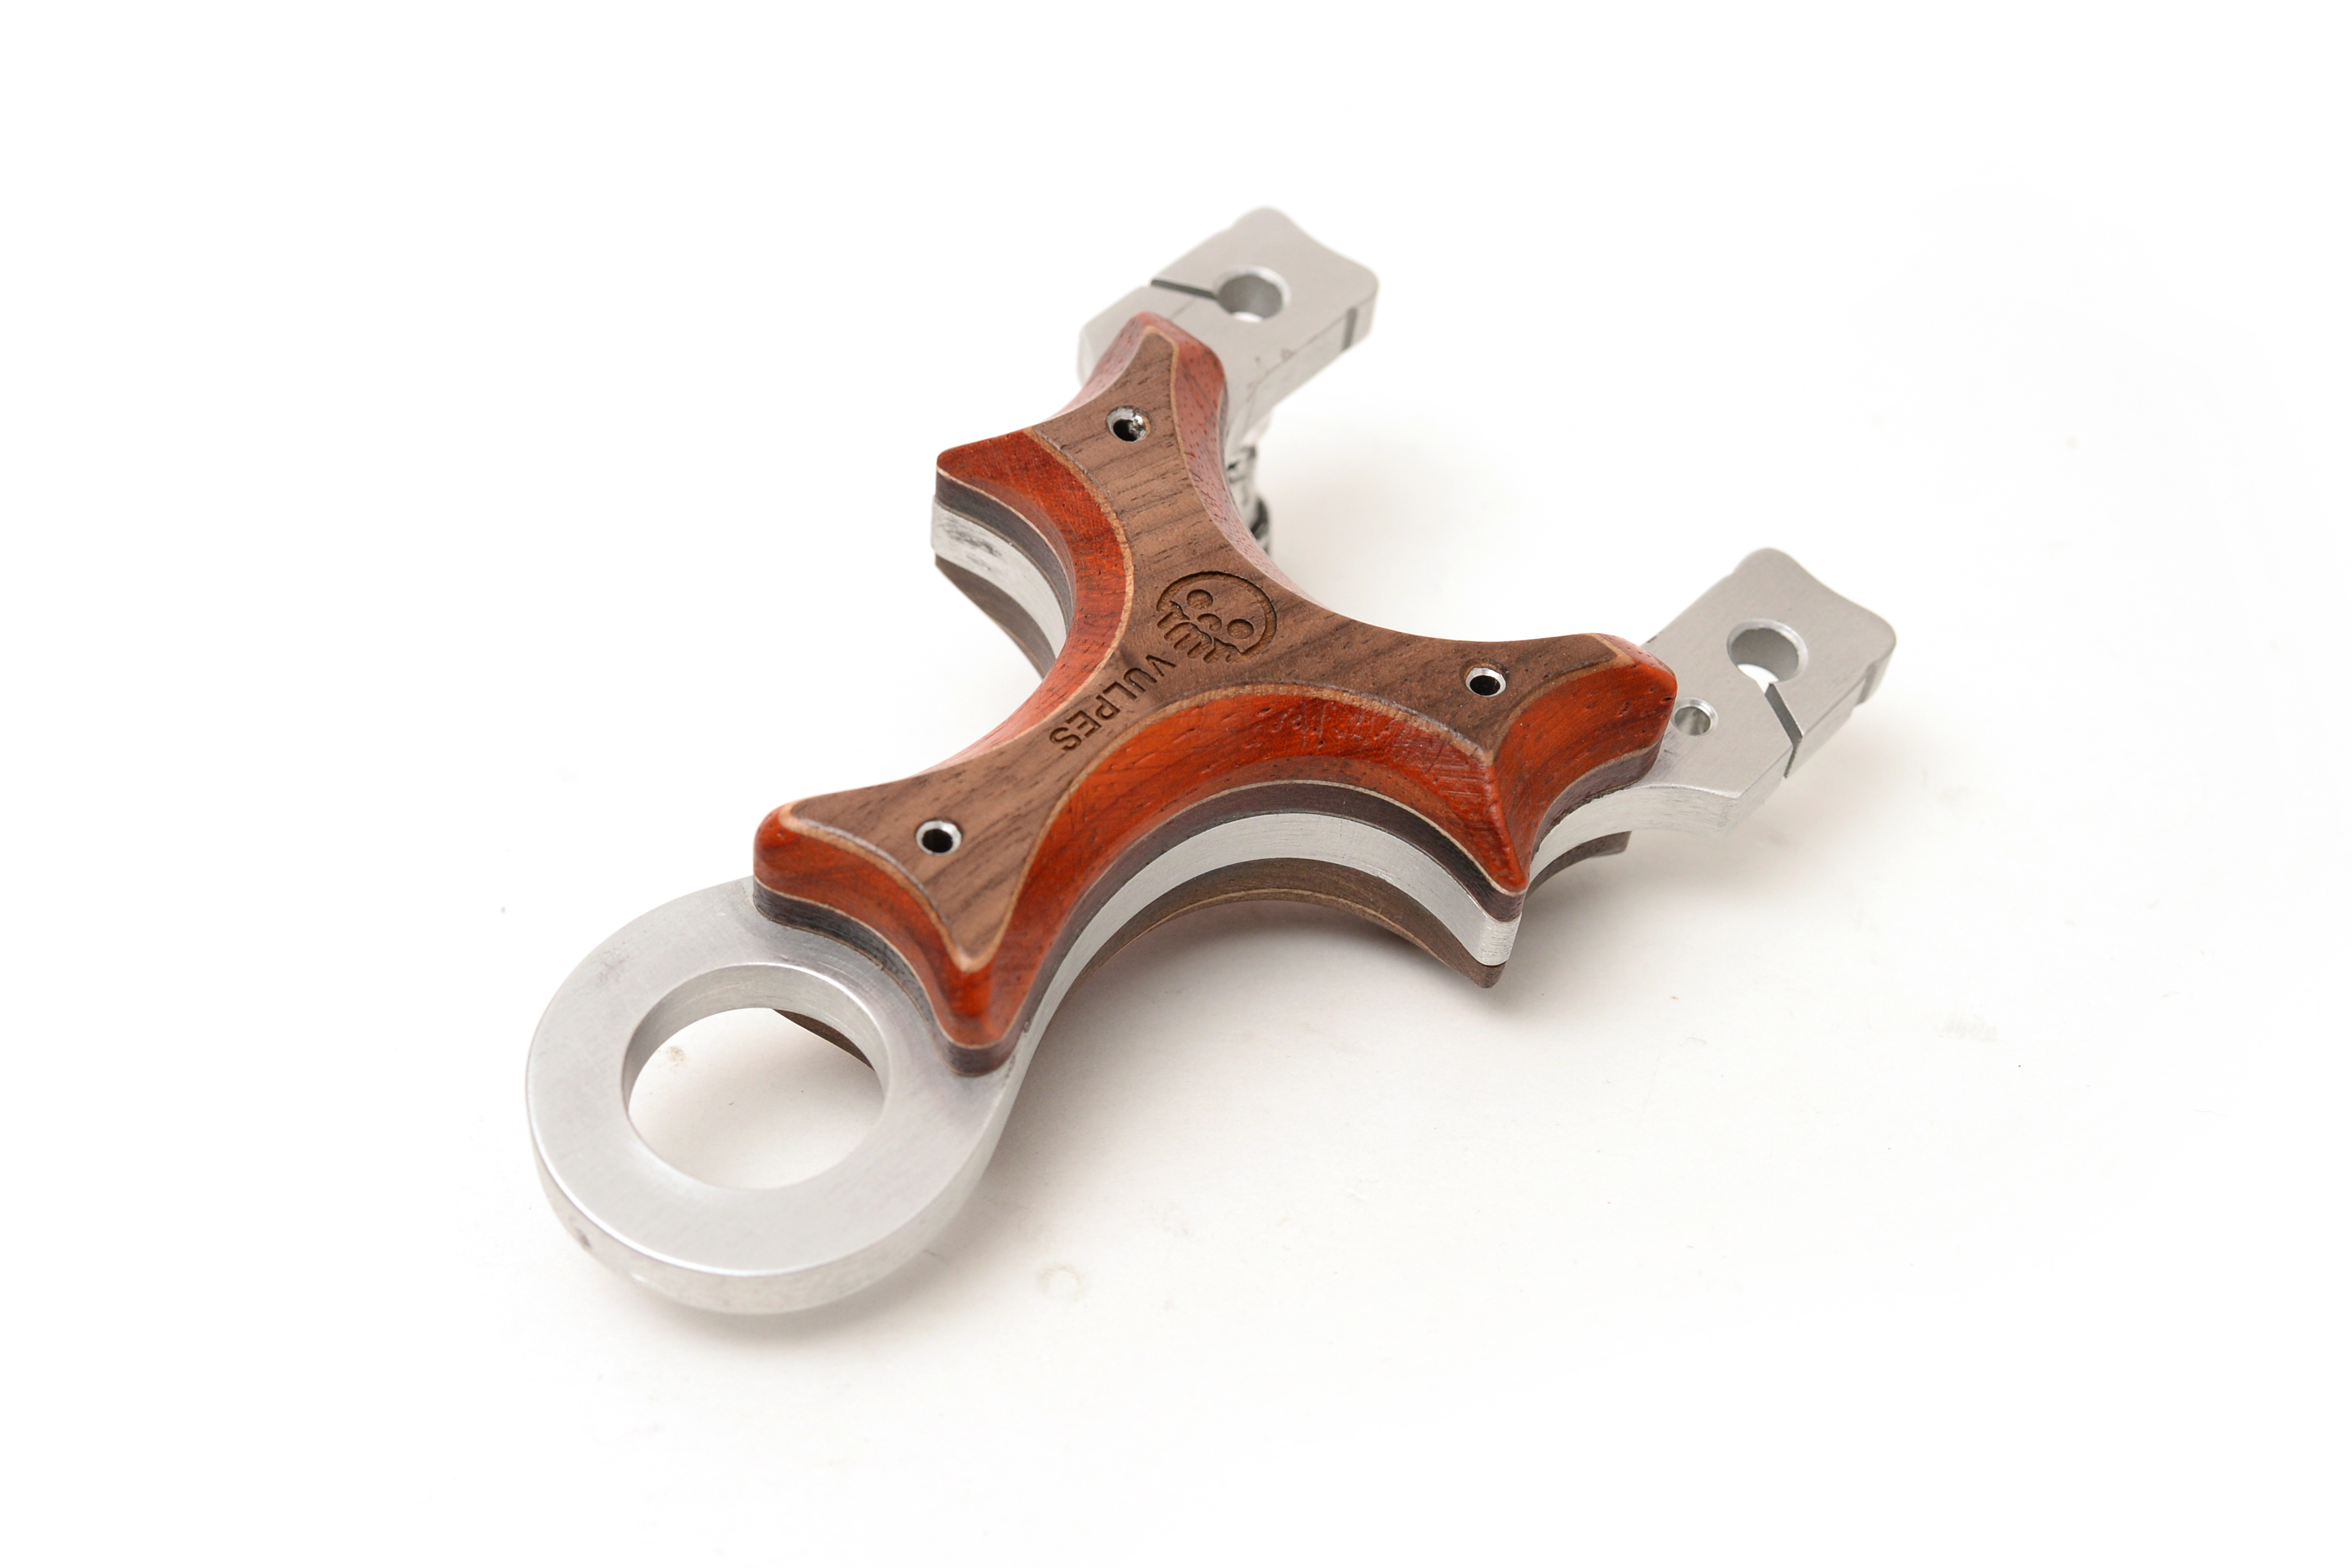
The answer was scalloping the finger/thumb grip to reduce the travel for my hands. It is at this point, I noticed the face that came out of the woodwork, and the name came to me. Red Fox…or Vulpes.
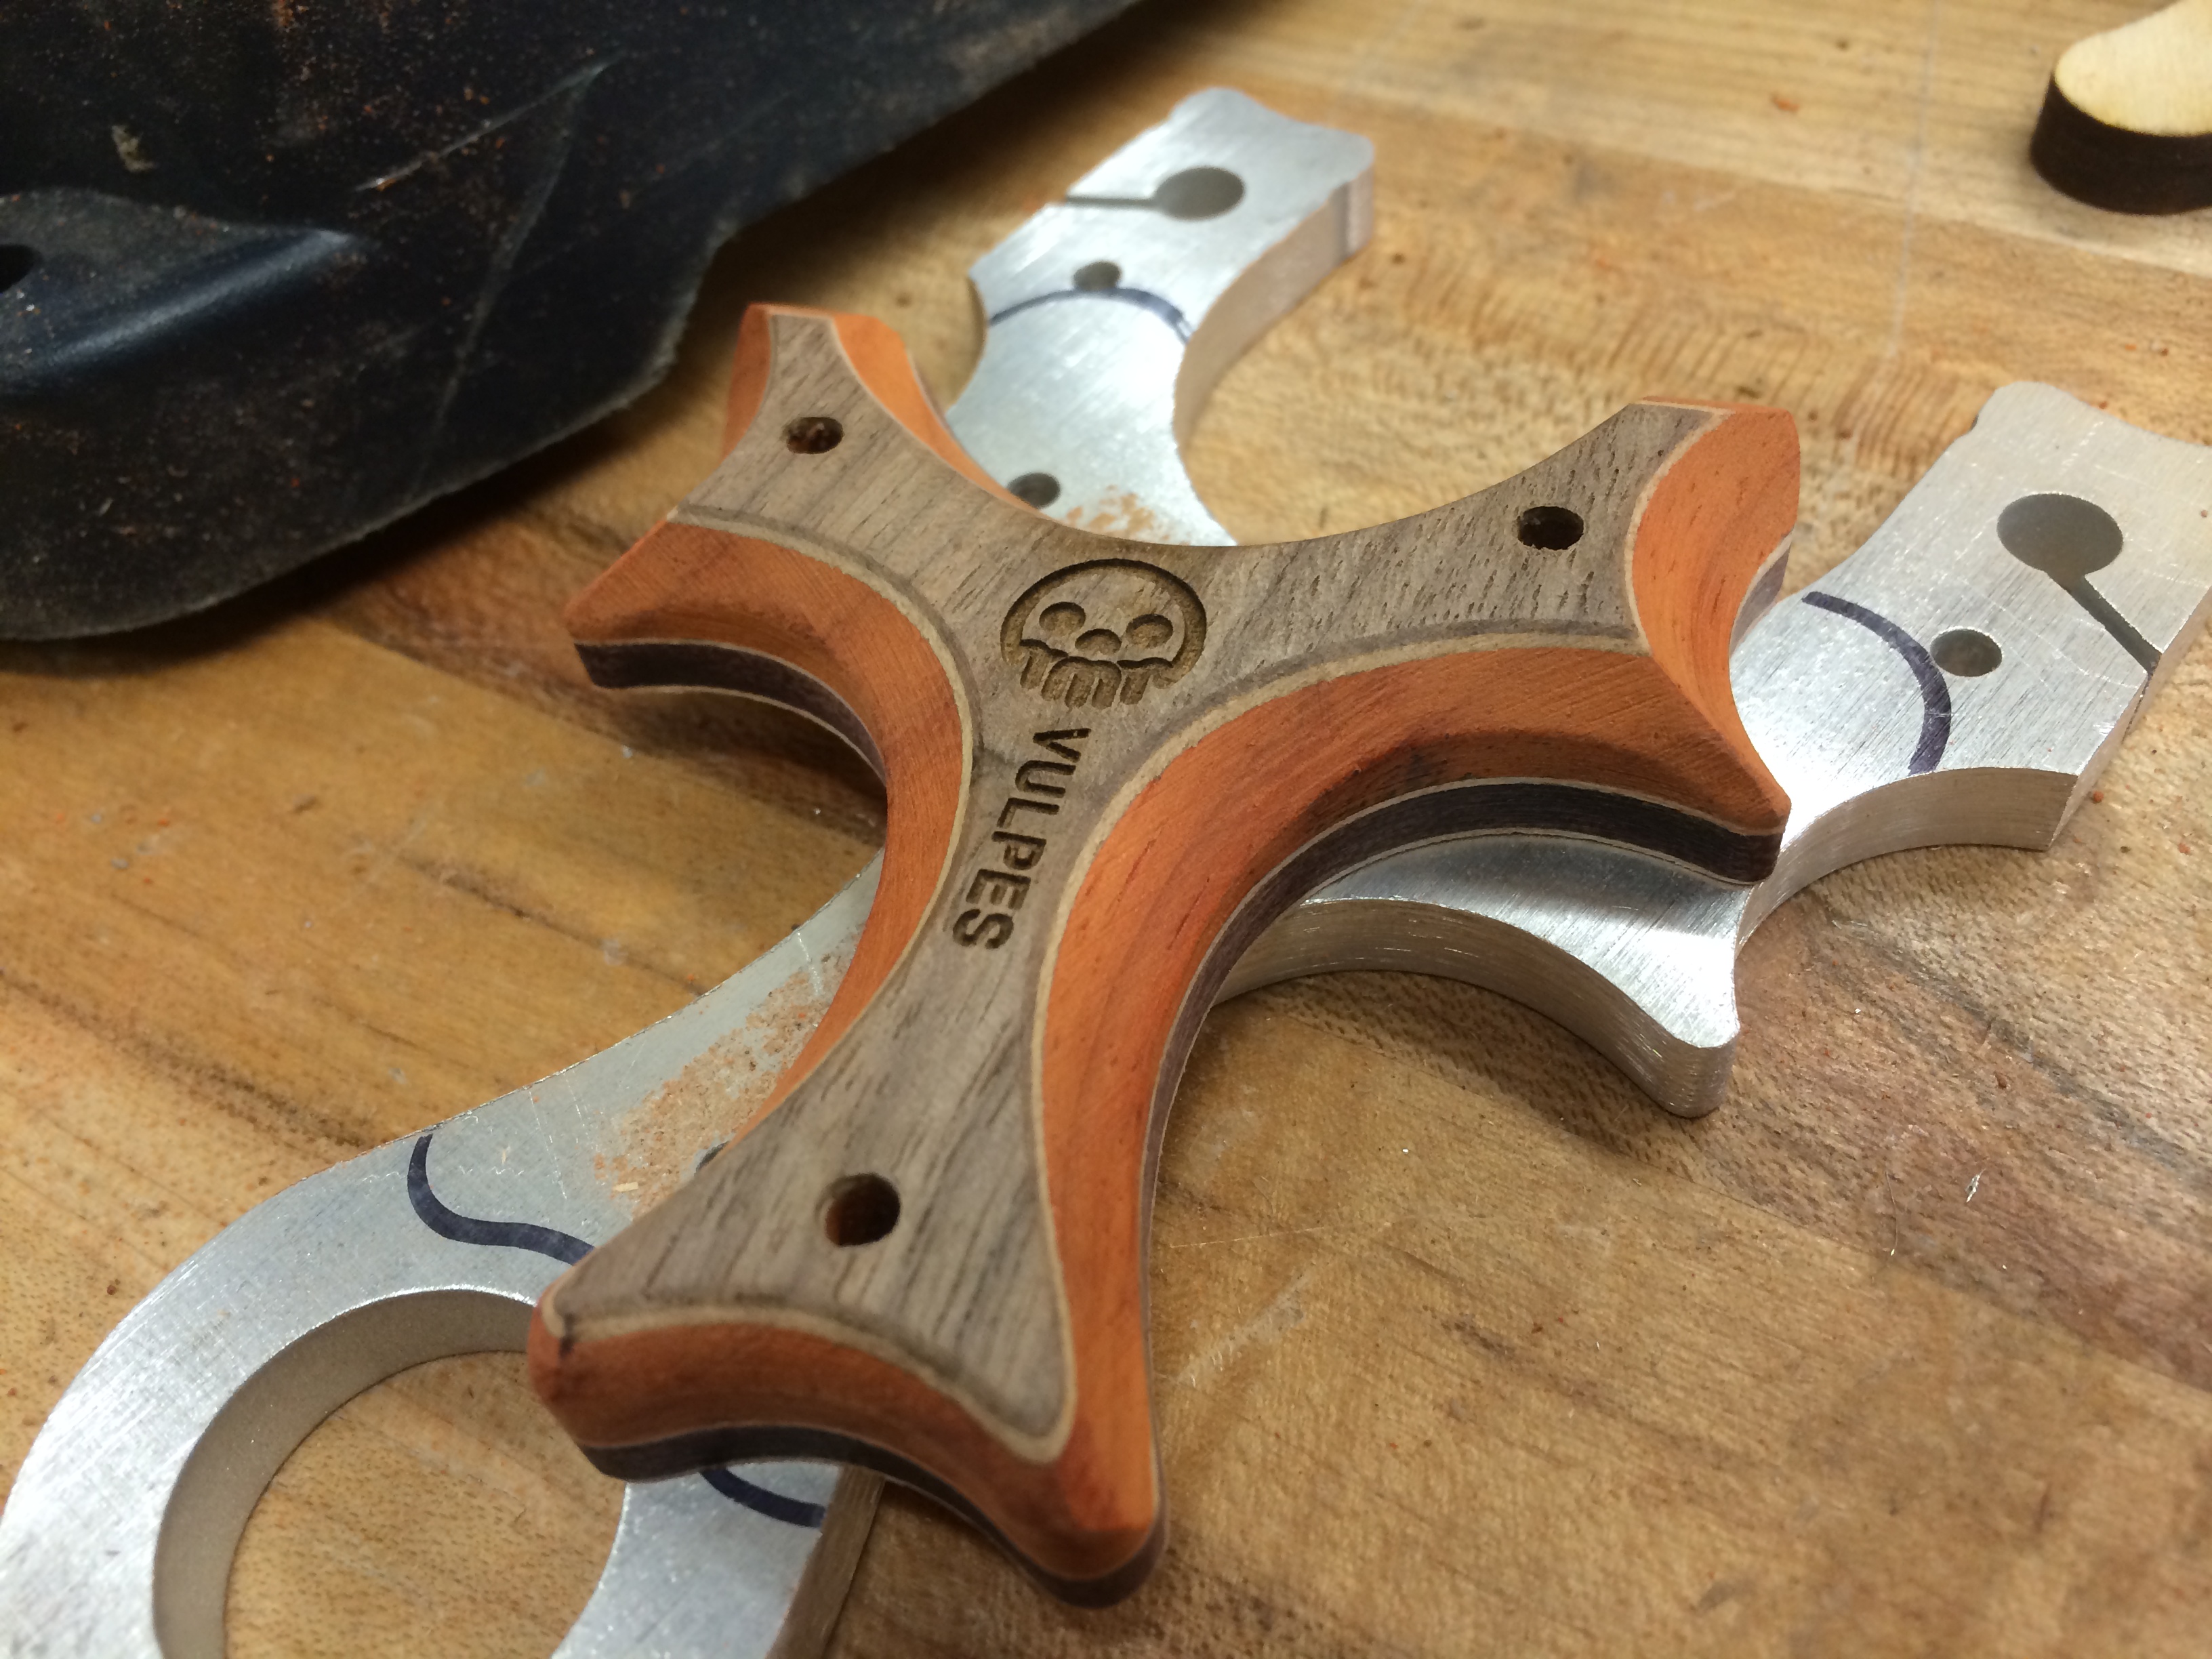
It was time to brand the beast.
Lots of sanding, 100, 240, 600, steel wool.
I prematurely hit the scales with clear coat to see the grain and colour. The contrasty light in the paint booth makes for a terrible shot.
After some time, I swiped the surface with steel wool to knock down the sheen.
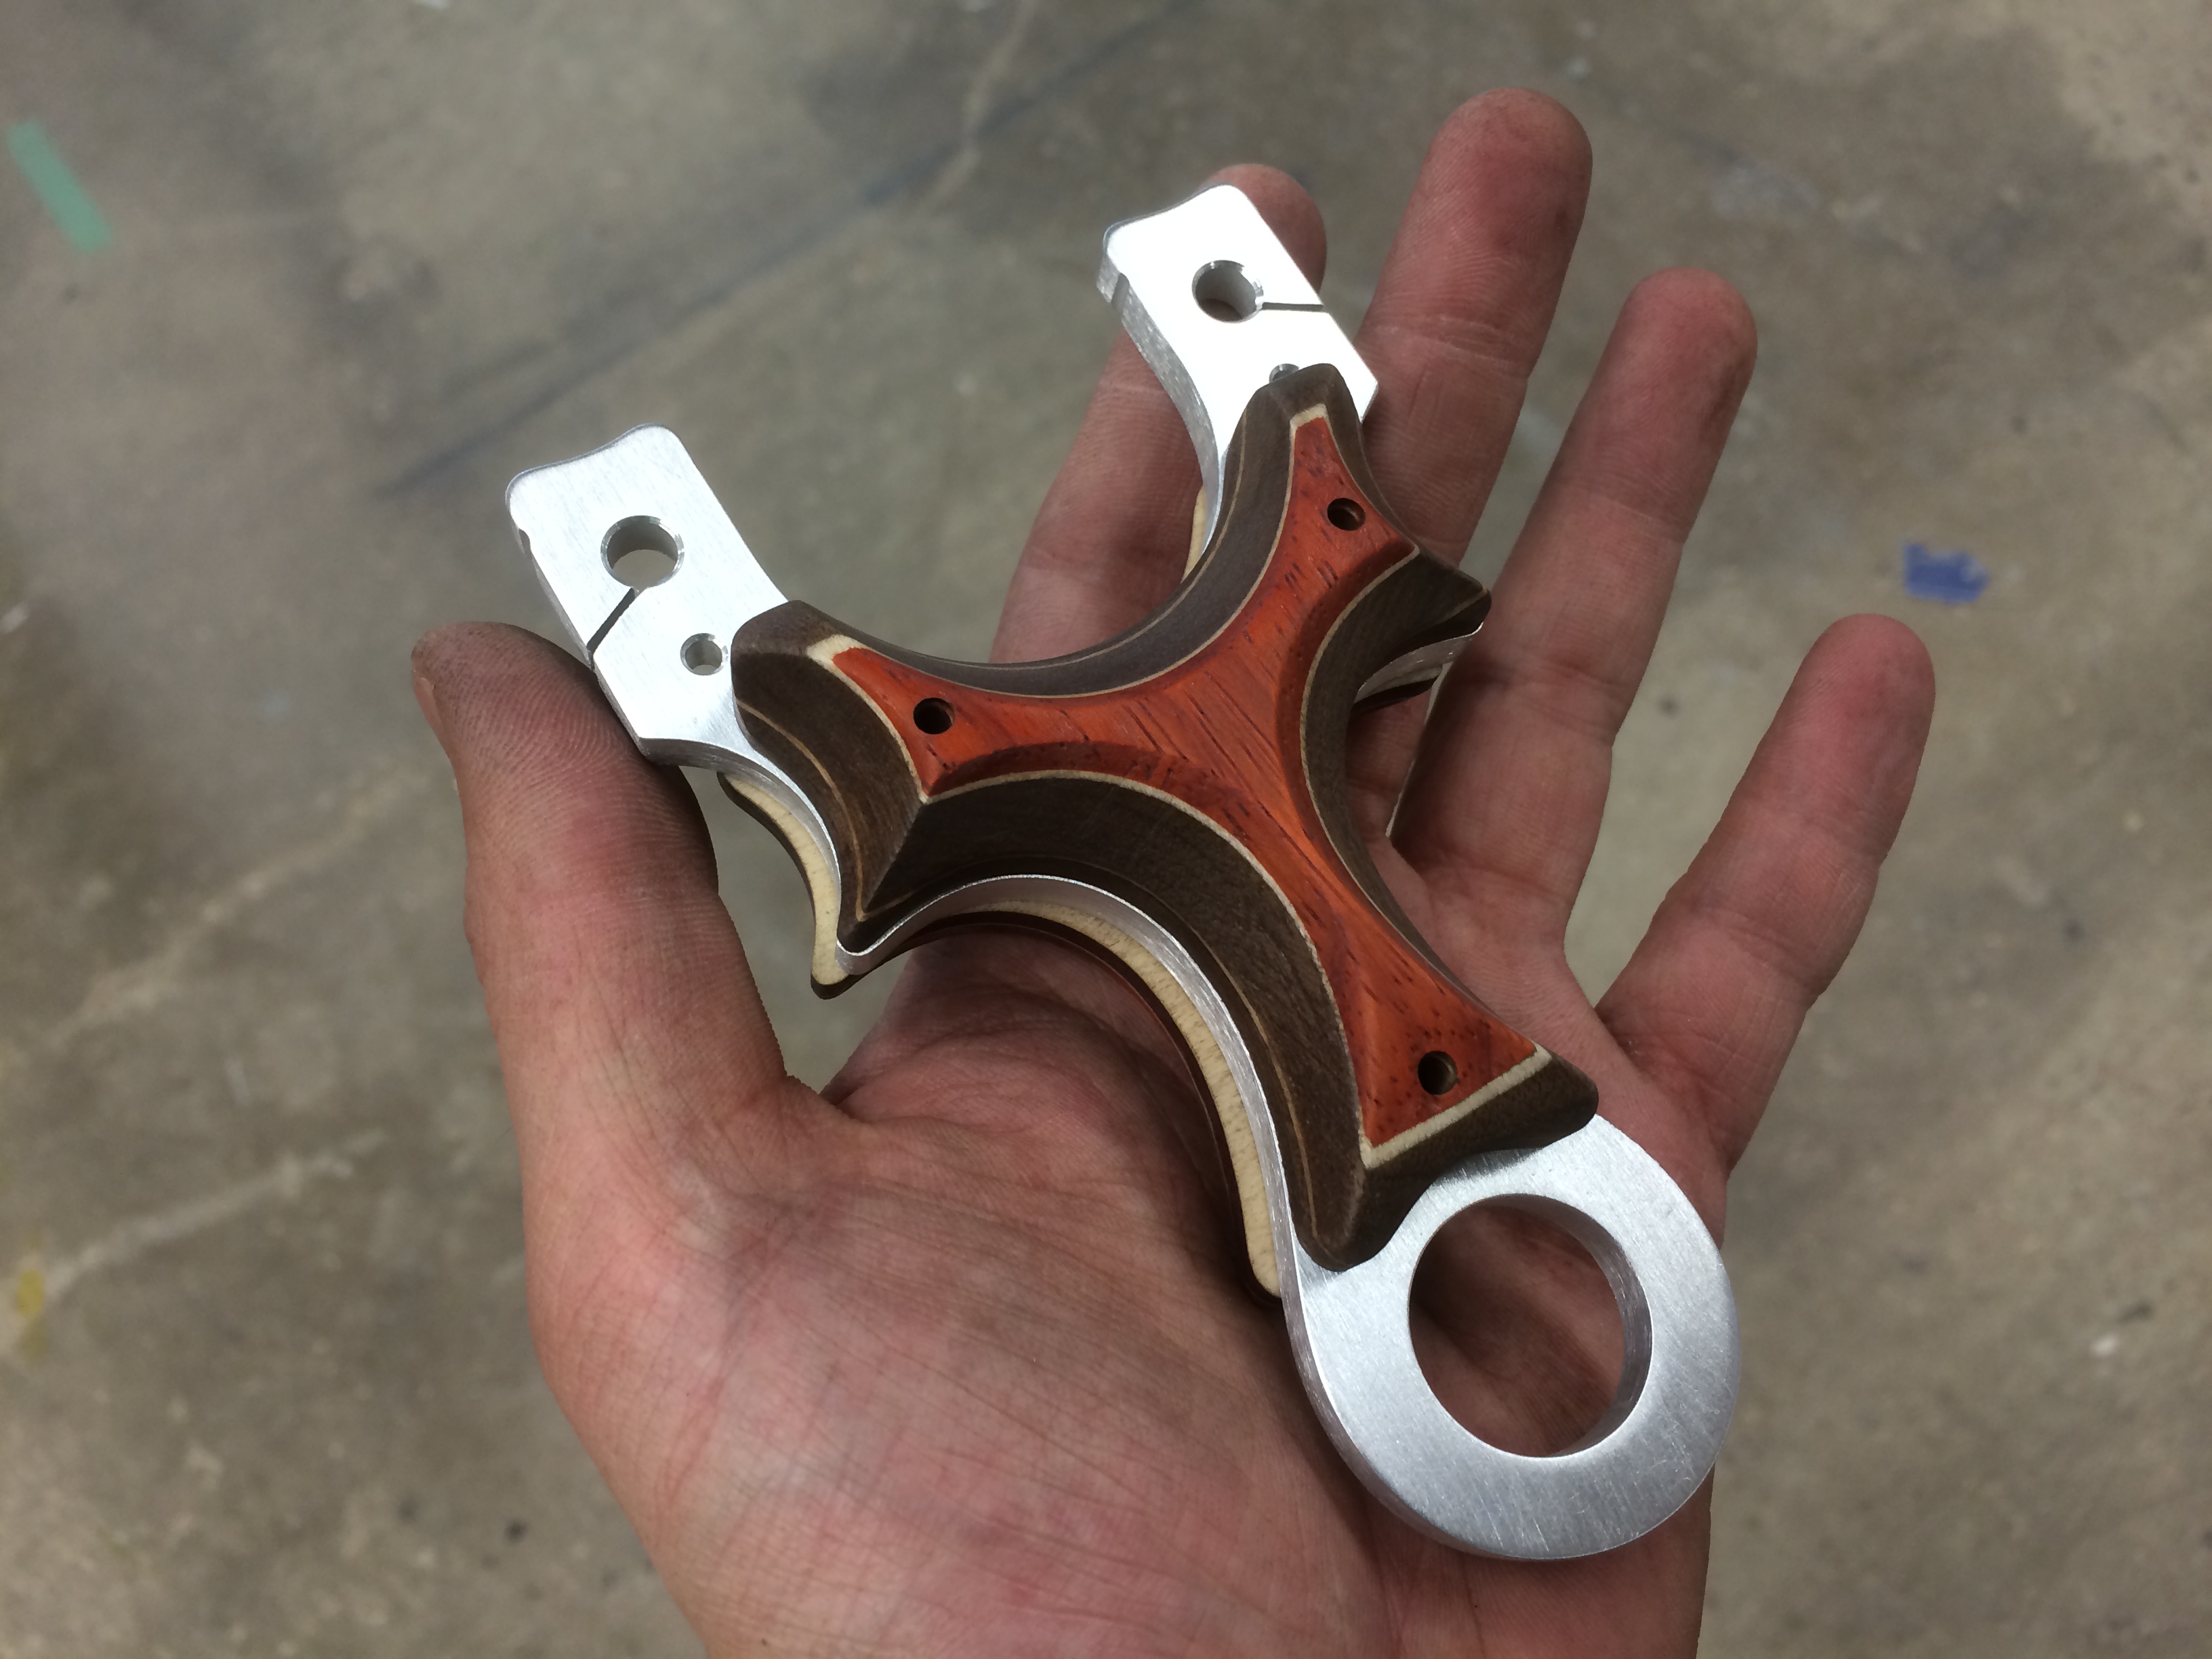
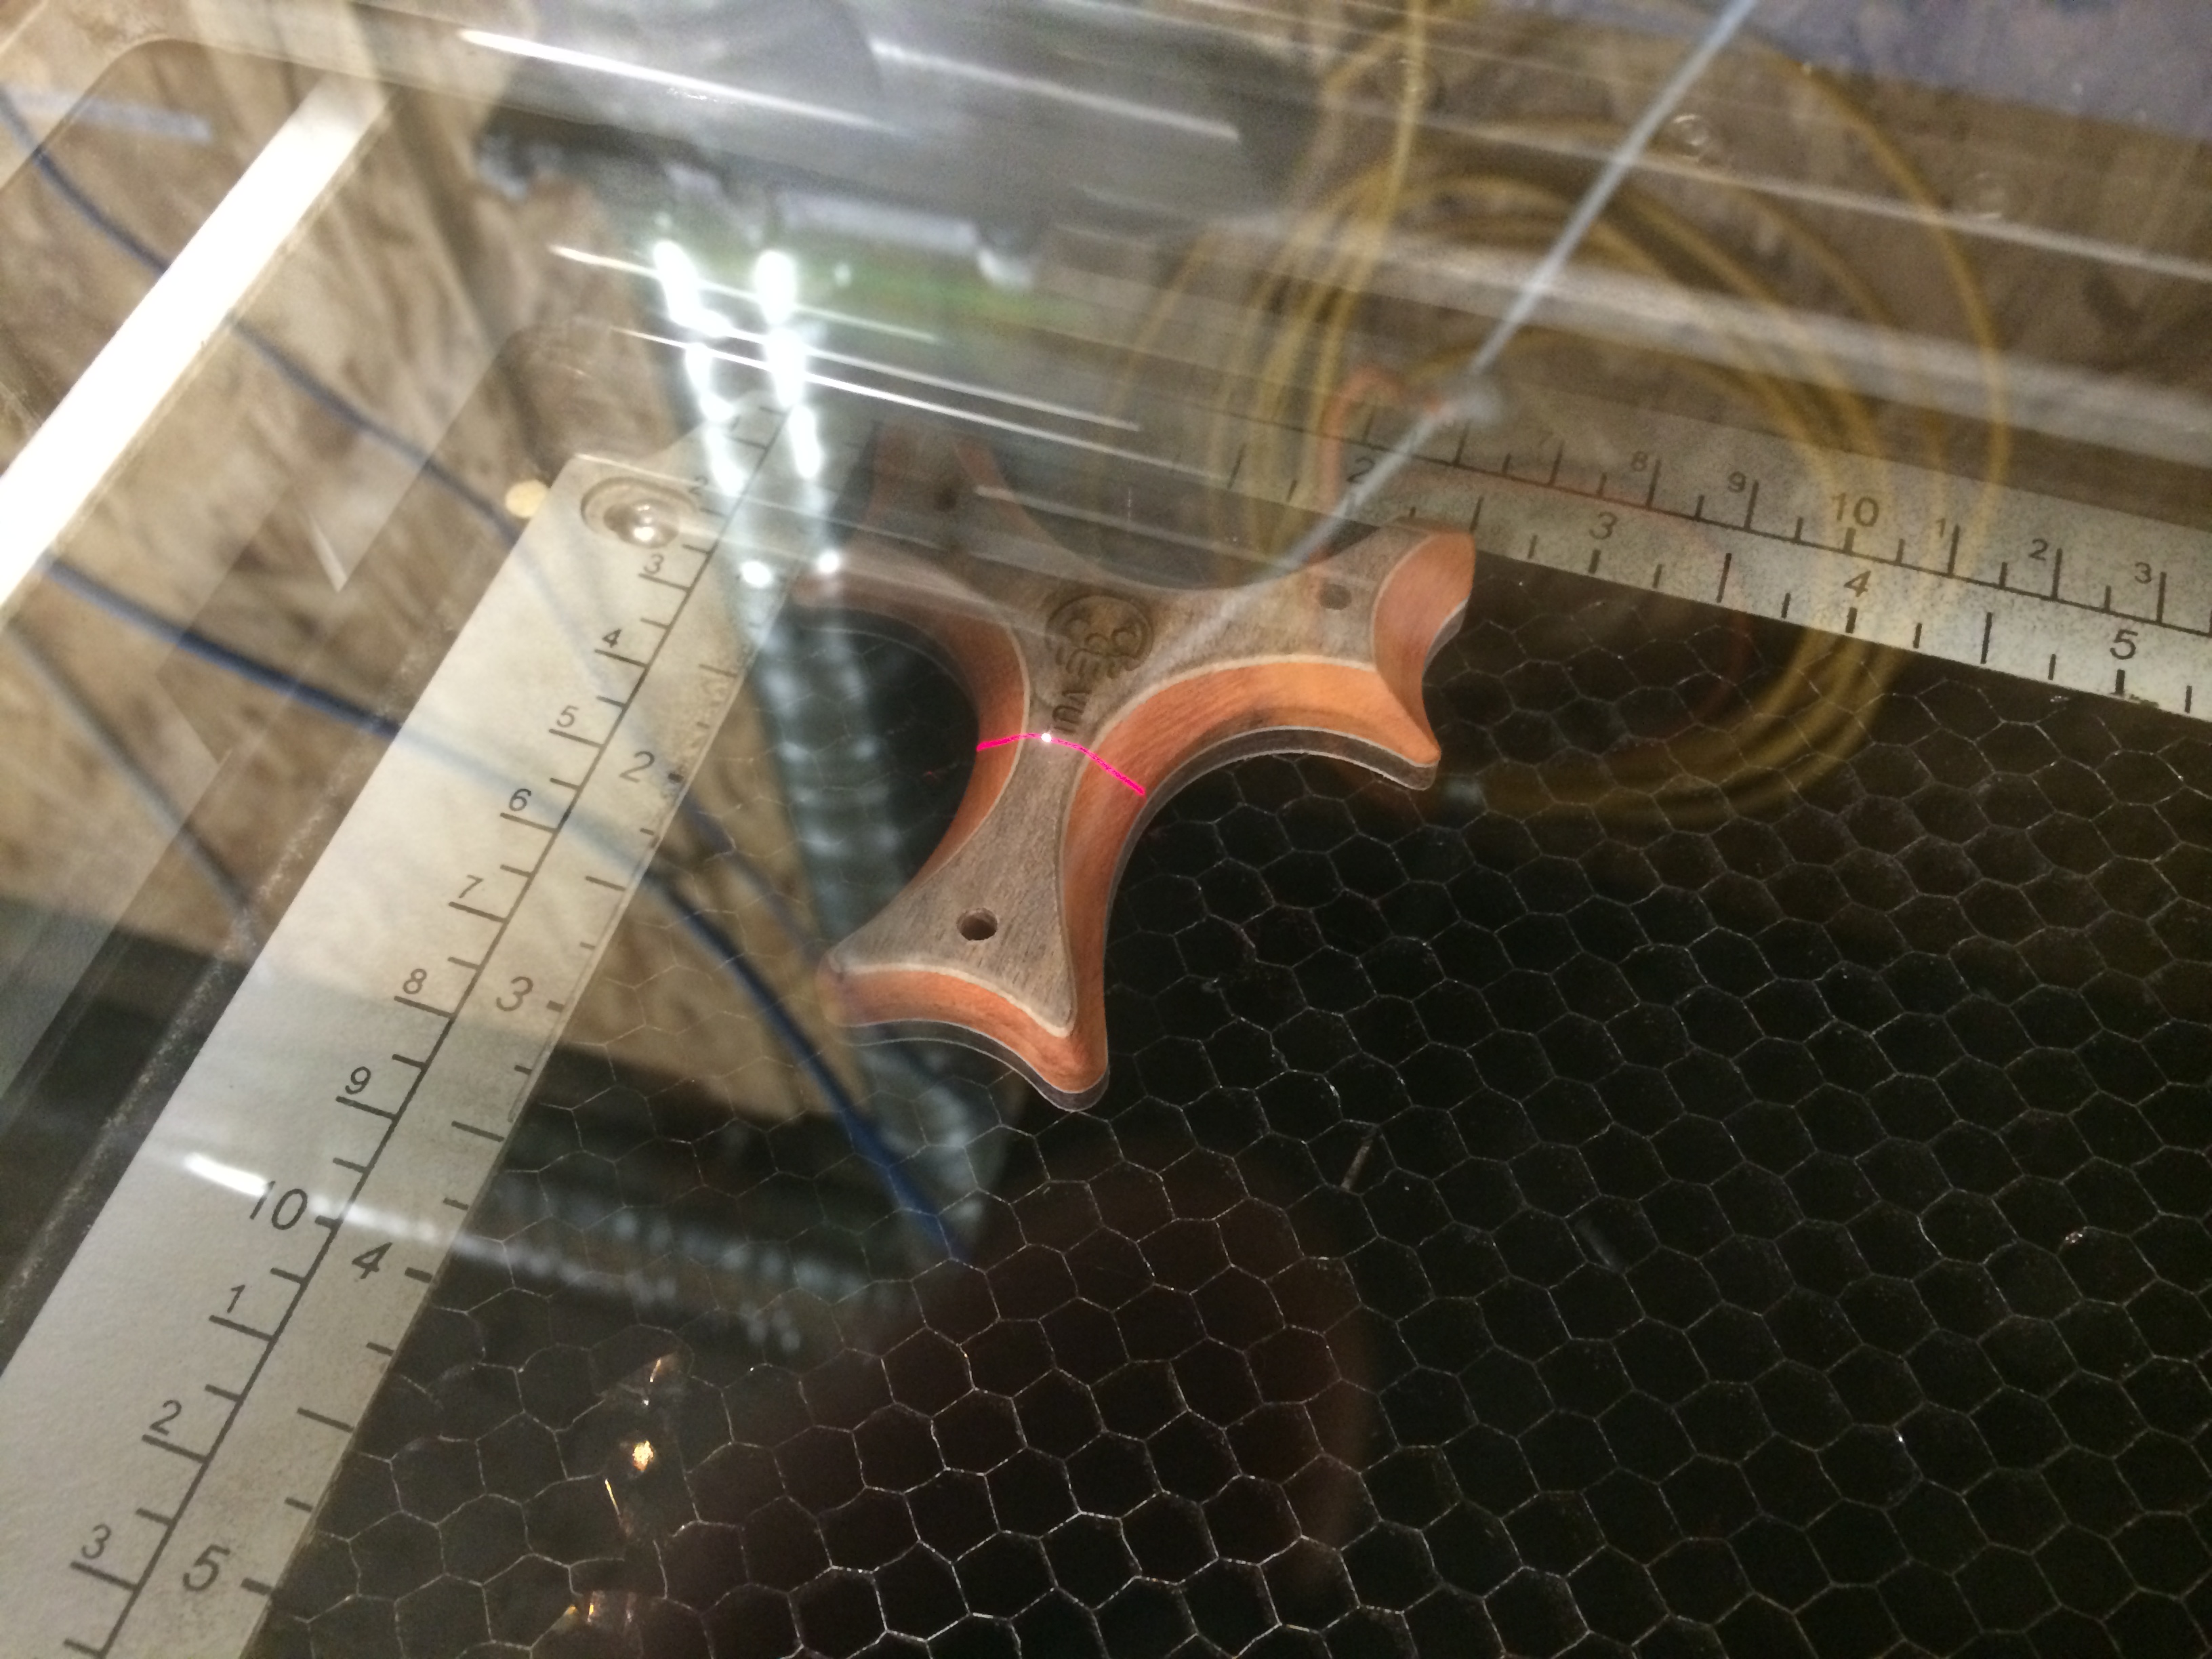
Testing the grip area.
Aluminum bleeds a lot when you sand it, but who ever said making things was a clean job? No one that’s who.
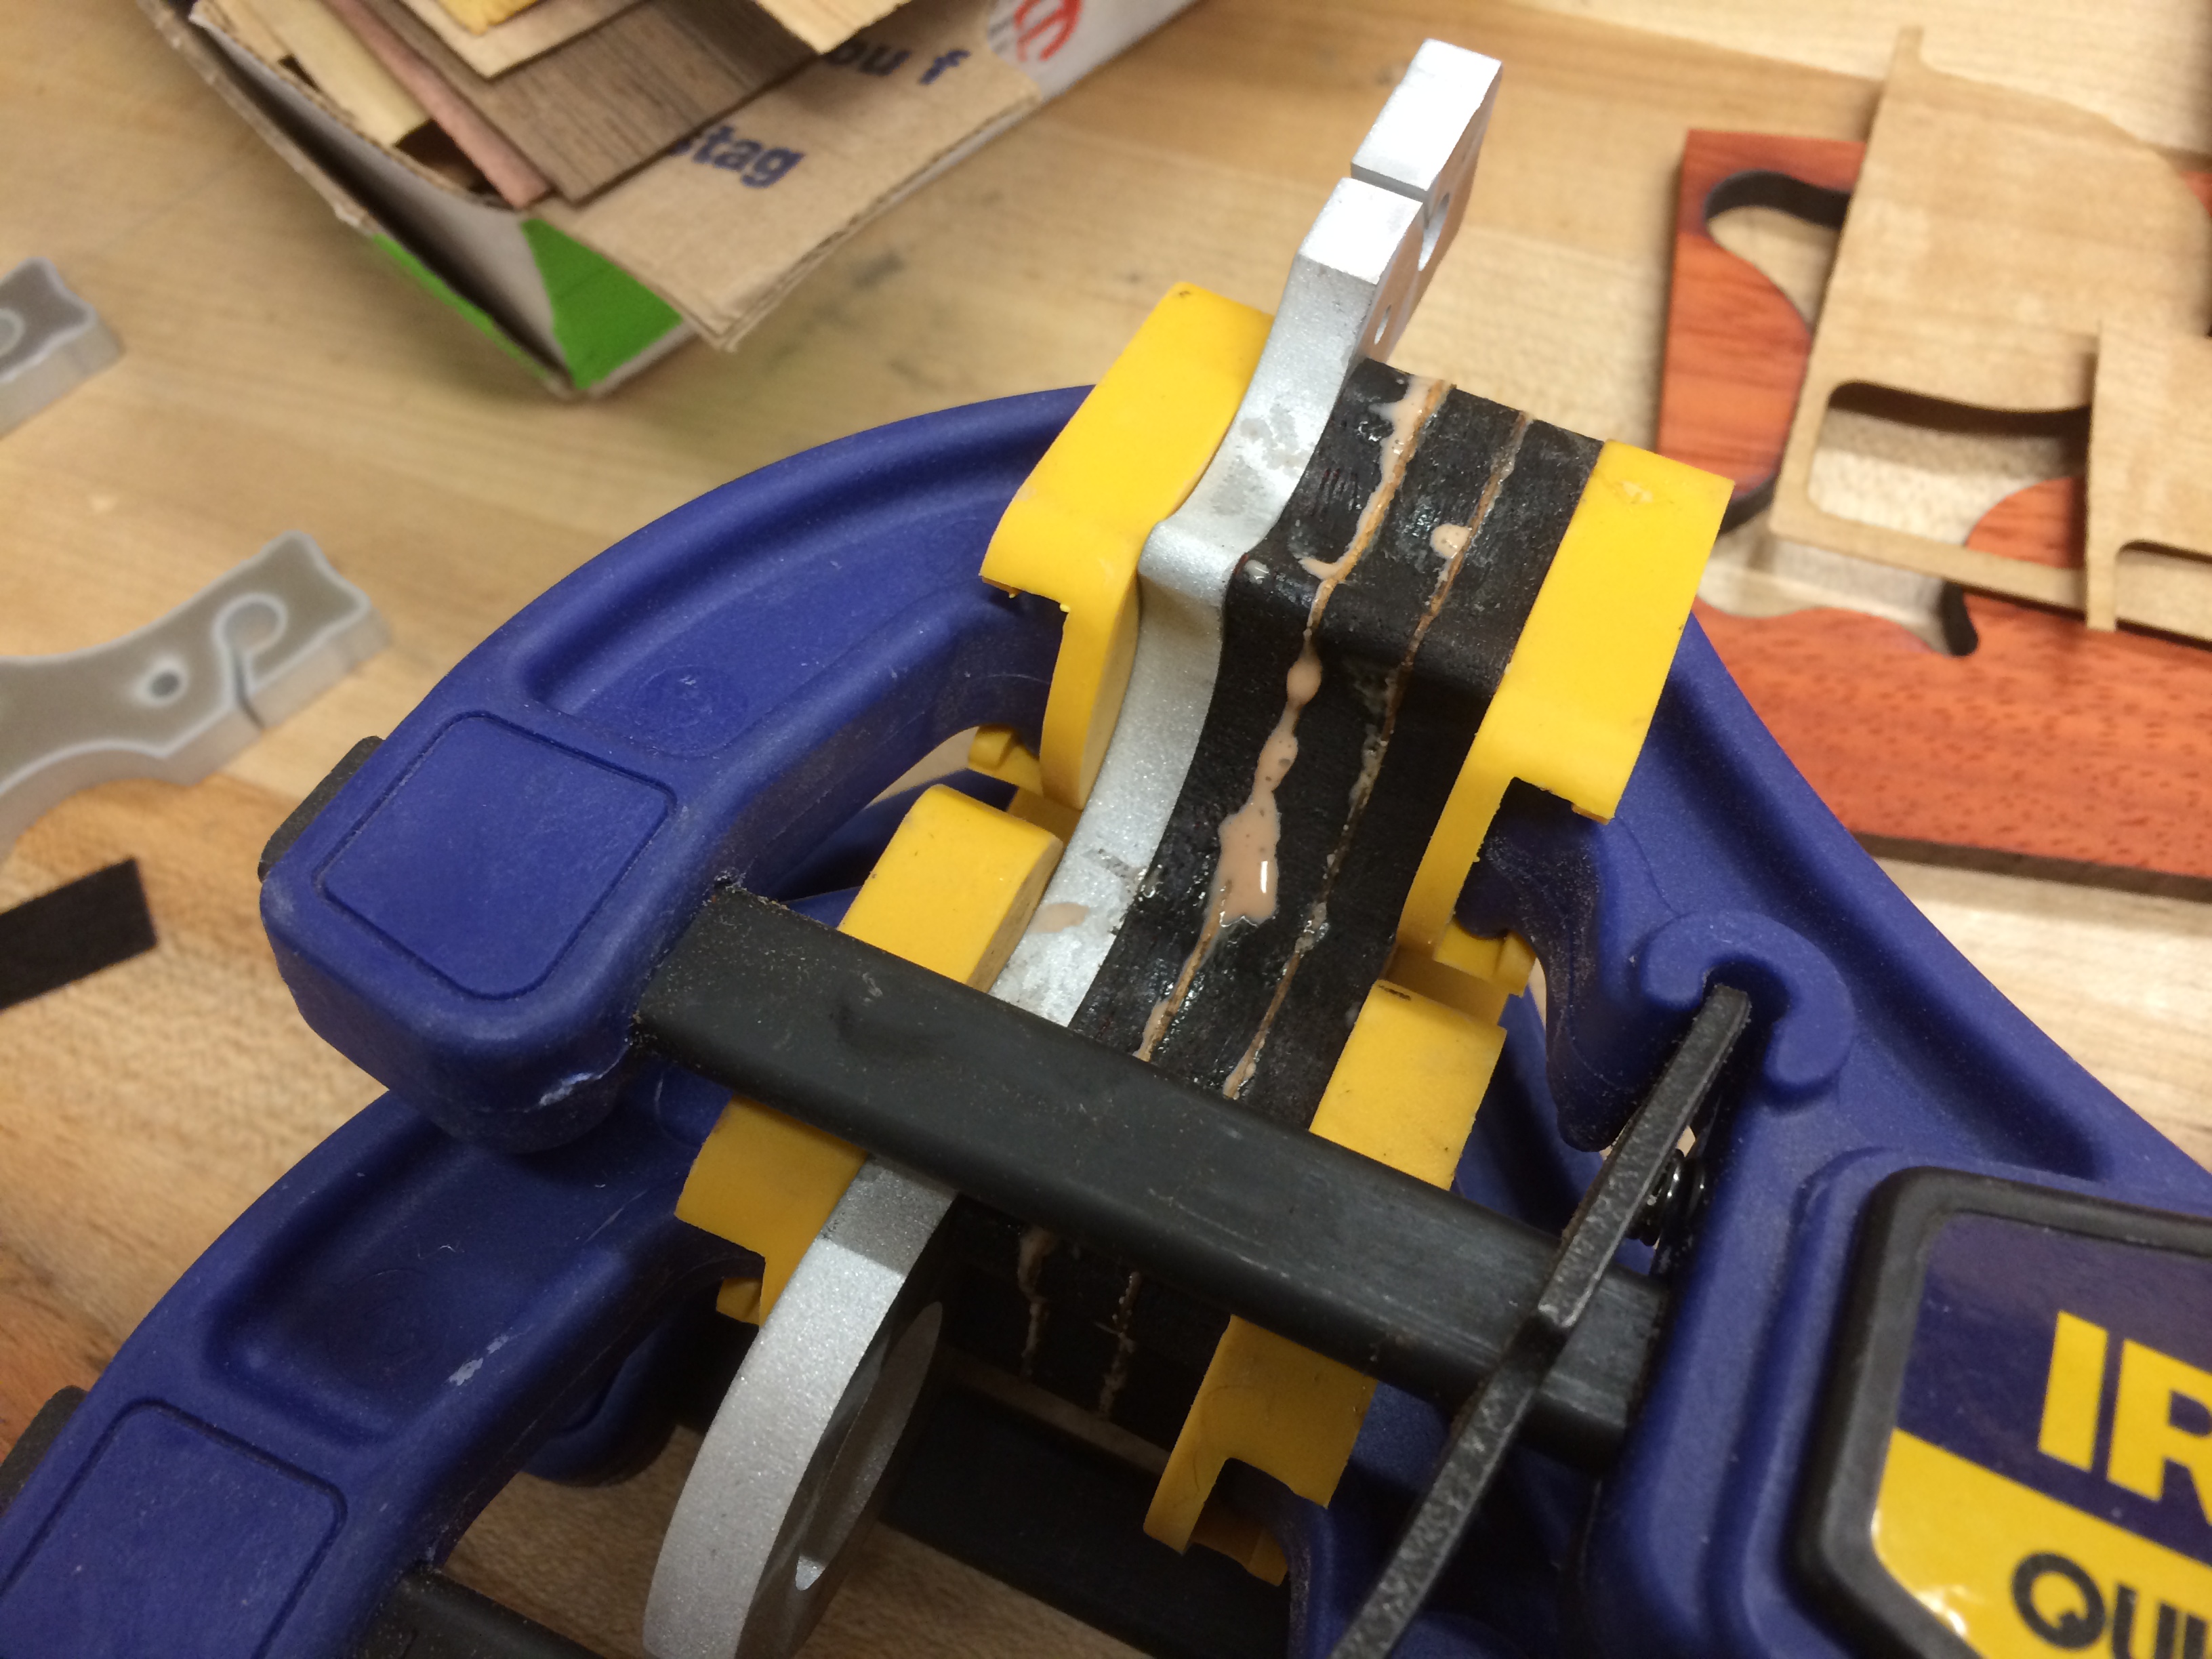
After mixing up some epoxy and fitting some 1/8″ aluminum tubing into the holes, it was time to glue the scales on.

Thanks for reading again and find us on Facebook & Twitter (@MetroGradeGoods)
-Stay True-
-Eric