
While showcasing at the Toronto Mini Maker Faire, we got asked time and time again “how accurate are these slingshots?”. I always answered, it’s as accurate as you want it to be, meaning you have to put in the time in practicing and training. The best slingshot in the world is the one you have in your hand. Proper pouch grip, pouch draw, pouch position and pouch release are among the most difficult thing to master, but there are still things you can make to help you shoot more accurately.
This Metro Made is about pouch making. Not the kind that you put stuff in, but the kind you tie rubber to and whip through the forks of a slingshot loaded with your ammo of choice.
Let’s start off with the tools and materials. You will need:
- Sacrificial surface to punch into (mine is a 4×6 piece of UMWPE)
- Self healing mat
- Steel ruler
- Thin line pen (ball point is best)
- A large and a small hole punch (I use a 5.5mm and a 3.5mm)
- Mallet (I am using the Death Rattle Mallet)
- Scalpel or a sharp Xacto knife
- Ammo choice (3/8″ steel in this case)
- Leather (more on this)
- Optional: Rotary Cutter
- Optional: Right angle square
- Optional: Drafting Circle Template

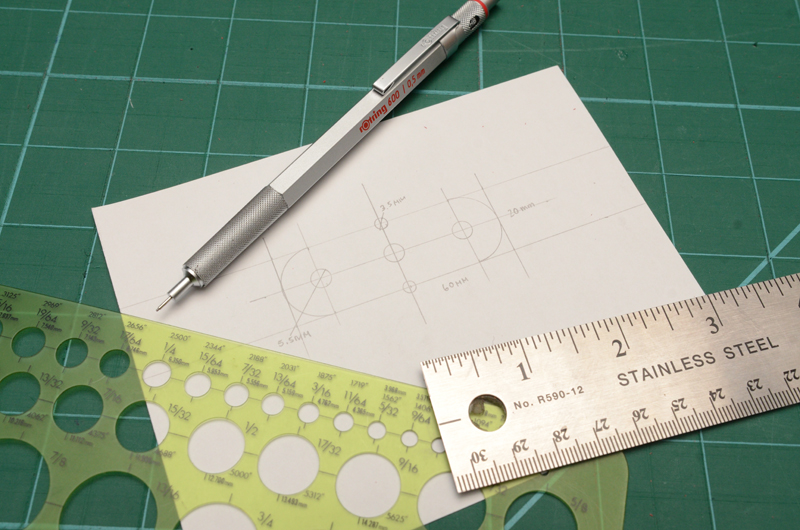
Once we’ve gathered all the materials and tools, it’s time to design a pouch. There are a few factors to consider when designing a pouch:
- What kind of rubber is going to be tied to it?
- What ammo is going to be used?
- How big are your fingers?
I’ve chosen 3/8″ steel balls as my ammo, and to shoot the heavy 3/8″ ammo, you need to use a medium amount of rubber which means there will be a lot of pressure around the tie hole. The ammo needs to sit inside a folded pouch nicely, not to spill over the sides but also not too much leather since the more weight there is in the pouch, the slower the shot. As mentioned, there will be at least one layer of medium weight rubber attached to these pouches, so the area surrounding the pouch tie hole needs to be beefy enough not to blow out. Also, the thickness of the rubber needs to be taken into consideration.
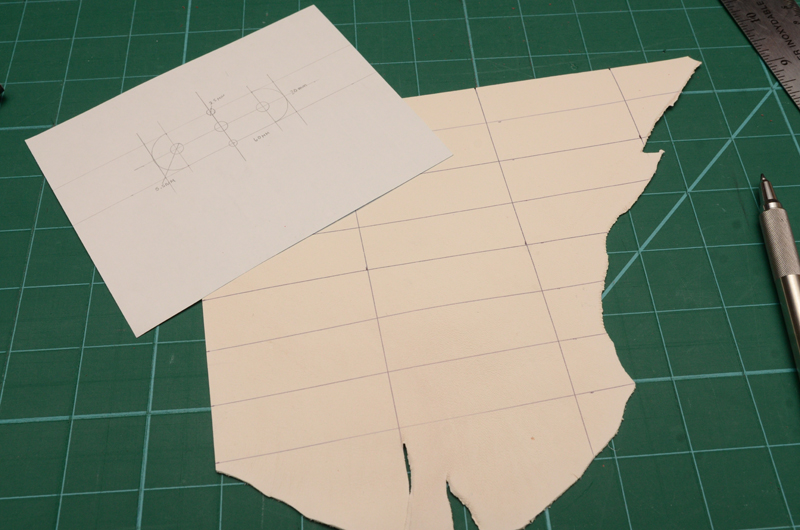
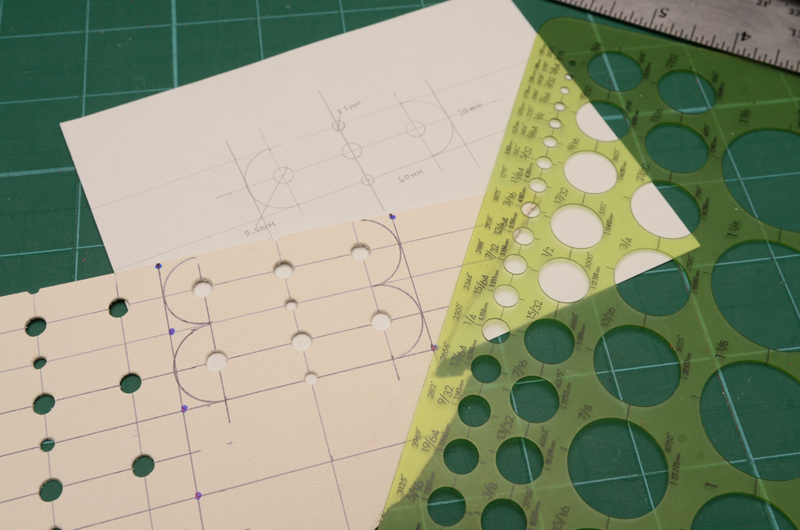
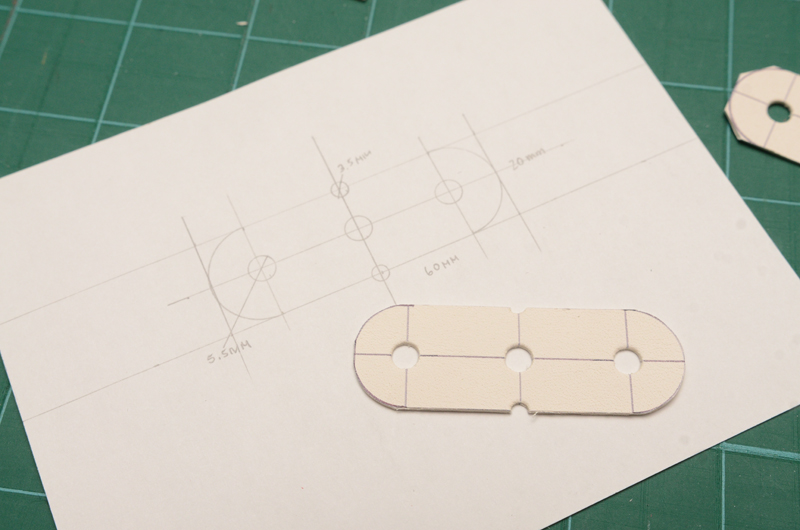
This all translates into the design on paper. The length is 60mm, which when folded in half nests the 3/8″ steel ball nicely and my fingers would be just touching the rubber ties. The width is 20mm which is a balance between cradling the ammo and allowing for a beefy rubber tie hole. To make this simple, the ammo centring hole is the same as the pouch tie holes on either end. The two smaller holes will be made with the smaller punch which aids in the memory of the leather to be folded in the right way.
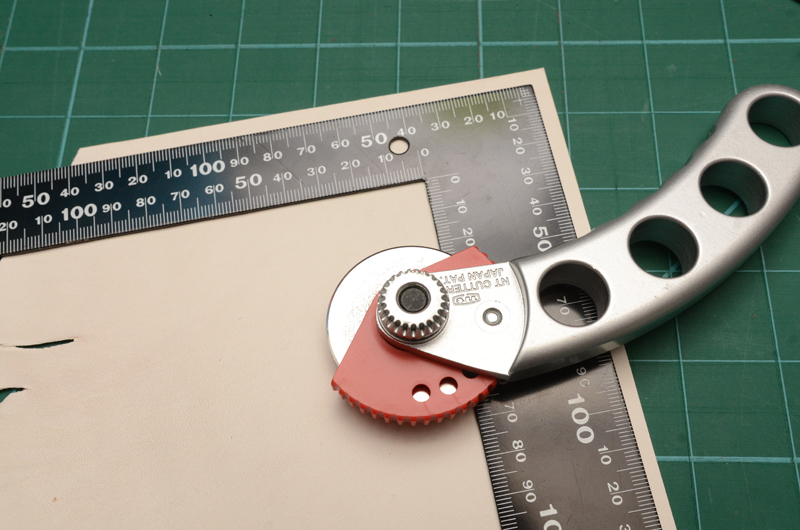
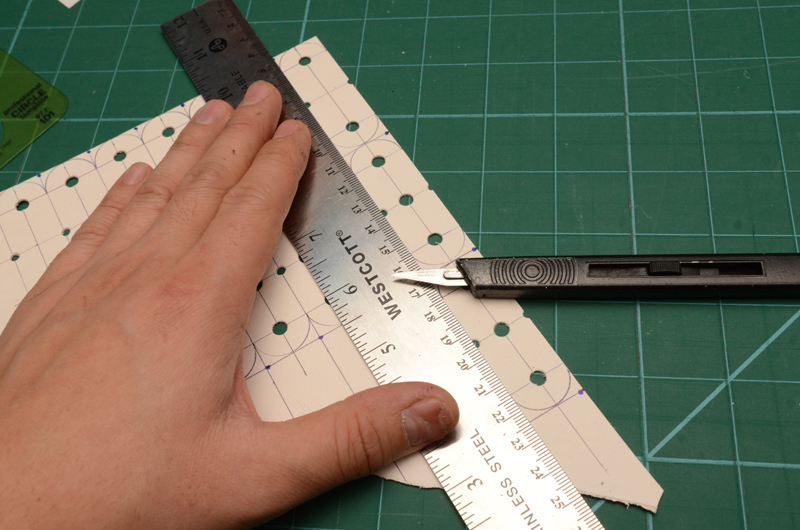
Now that the design is setup, it’s time to select a leather. It has to be a balance of good stiffness, but also supple, not too thick, not too thin and has to be low stretch. I have selected a nice white kangaroo section, which is known for it’s low stretch, high strength properties. Single sides, chrome finish cow hide is also good. Leather finished for upholstery is also good, you want something in between 1.5-2.5mm in thickness. Here I’ve used a right angle square to give myself two edges to work from.
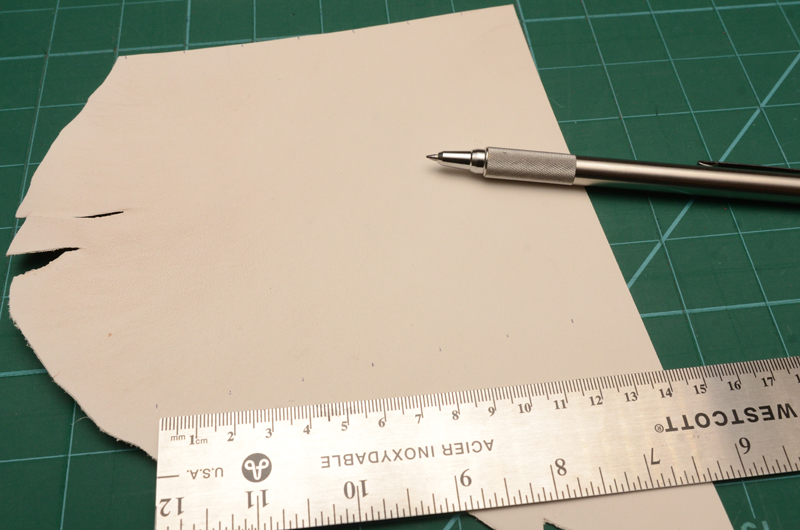
Leather has grain and depending on where it came off the animal, will stretch more or less. Belly cuts stretch more while leather from the back will stretch much less. What you want to do is test your leather and pull it slightly to find you which direction you want your pouches to be laid out on. The direction with the less stretch should be the LONG side of the pouch, this will make the pouch last longer and deform less as it is used.
I’ve already tested this leather and started to mark out the first lines, the ticks are spaced 20mm apart. This will form the height of the pouch.
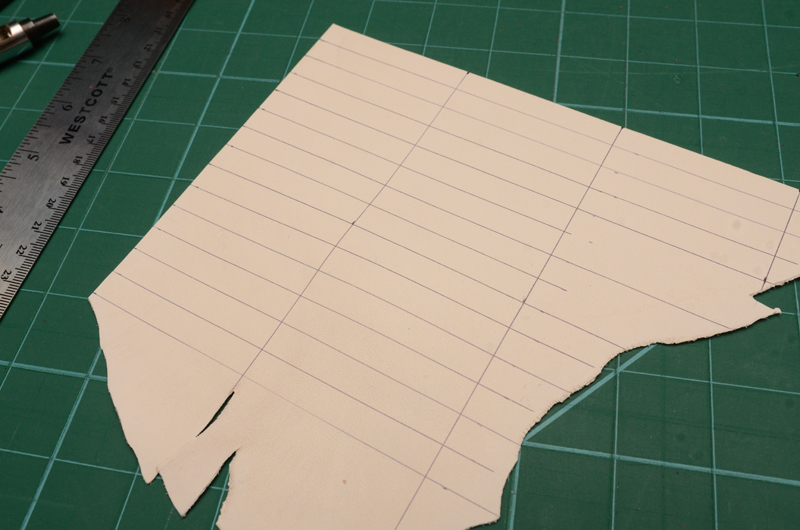
Taking great care to line up the ticks, lightly draw in the lines so they are accurate and straight.
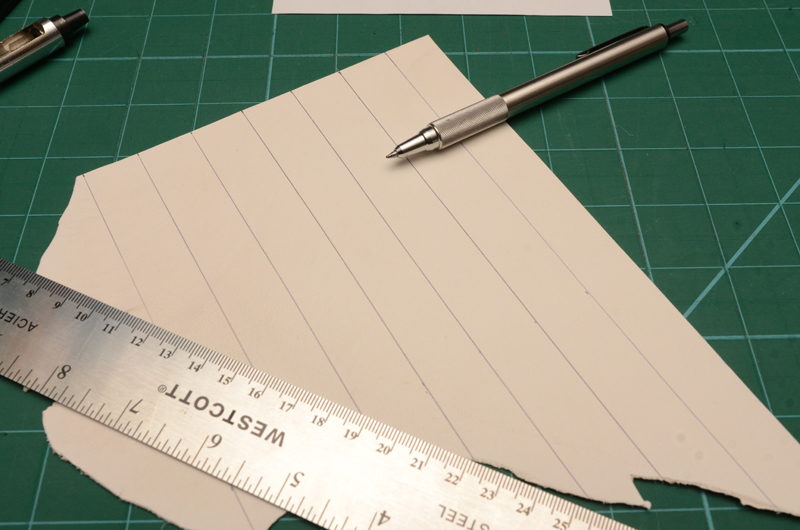
Now to measure out 60mm increments, these will divide the leather into rectangles.

Again, carefully scribe in the lines.
Now to divide the 20mm into 10mm/10mm. This is how the center hole and the pouch ties holes will be located. Sample process, measure out, carefully trace the line in.
At this point, it’s going to get messier as more lines are put down. So use a marker to put dots on the lines you will use to cut. They differ from the registration/location lines.
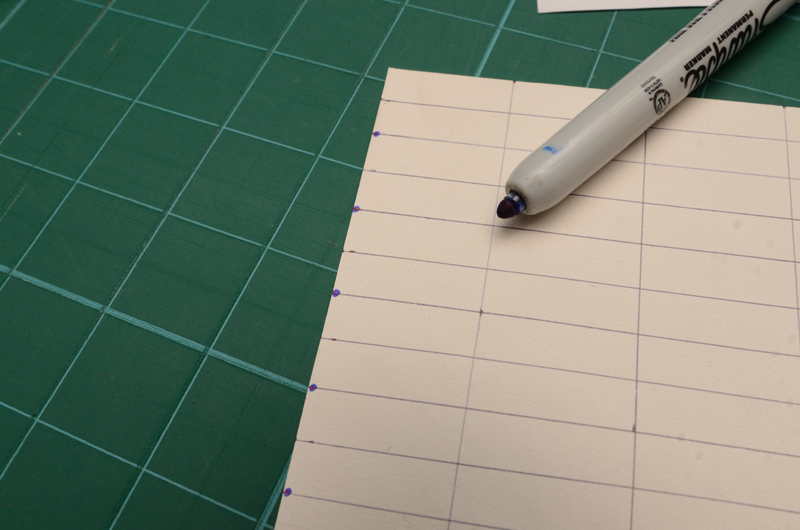
Marking the vertical cut lines.
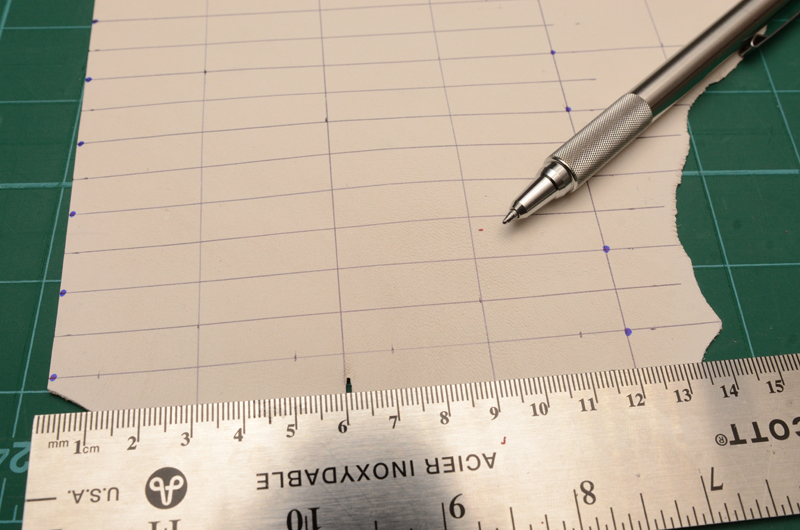
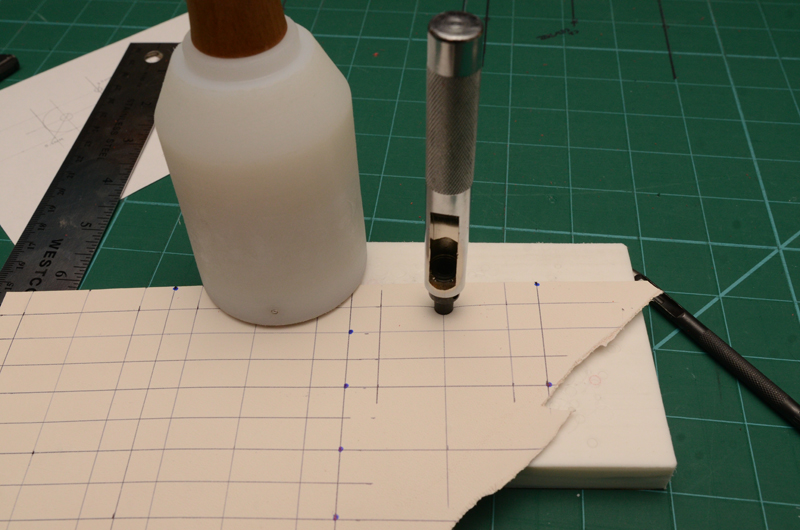
On the initial drawing, the center of the pouch tie holes are 10mm from the edge, so mark, align and draw in those center lines. The same goes for the center hole, it is 30mm from either end.

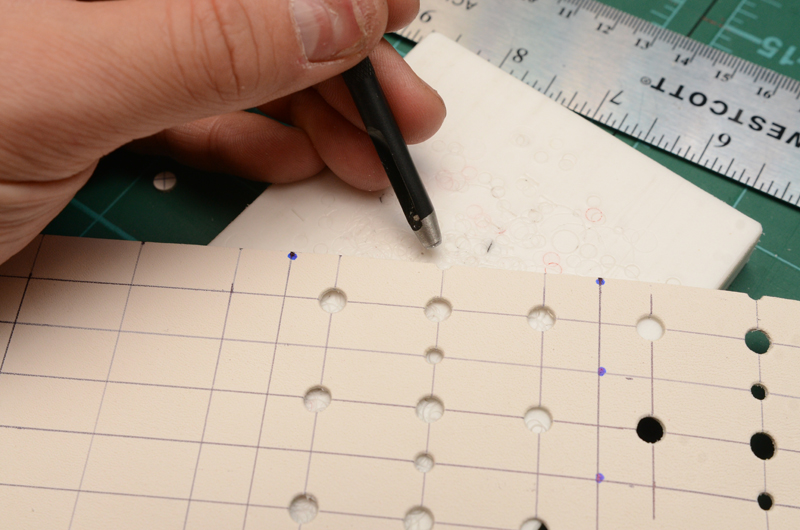
Now comes the hardest part, punching the holes. Using the lines like cross hairs, line up the punch and wack away. This is the center hole.
The center holes punched on the two.
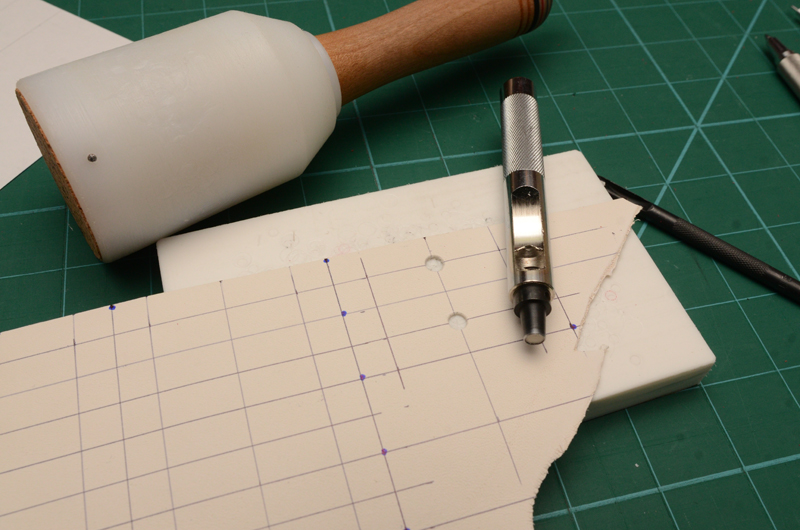
Now punch the outside tie holes.
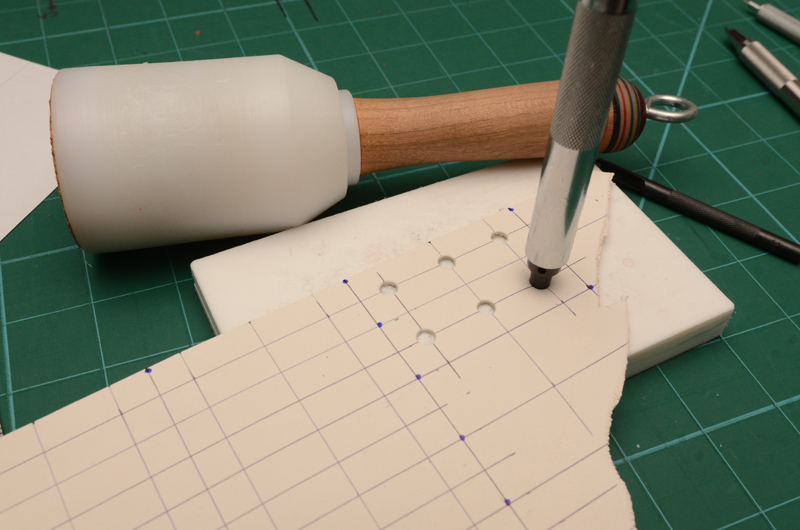
After punching out the outside tie holes, take the small punch and line it up in the other cross hair that was made. This will form the little divot to aid pouch folding in half.
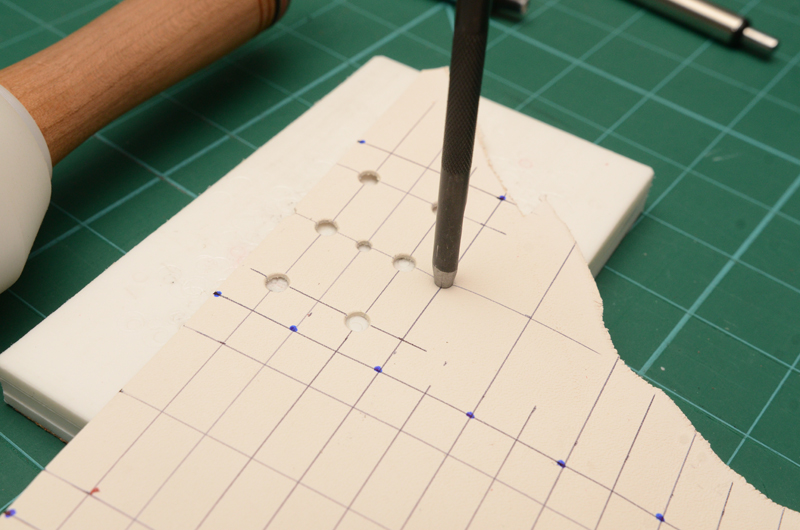
For the outside edges, just line up half the punch and wack. This will cut a semi circle out. 
Repeat until the whole thing is punched out.
I chose not to put center holes in this line, but I still put the side divots in.
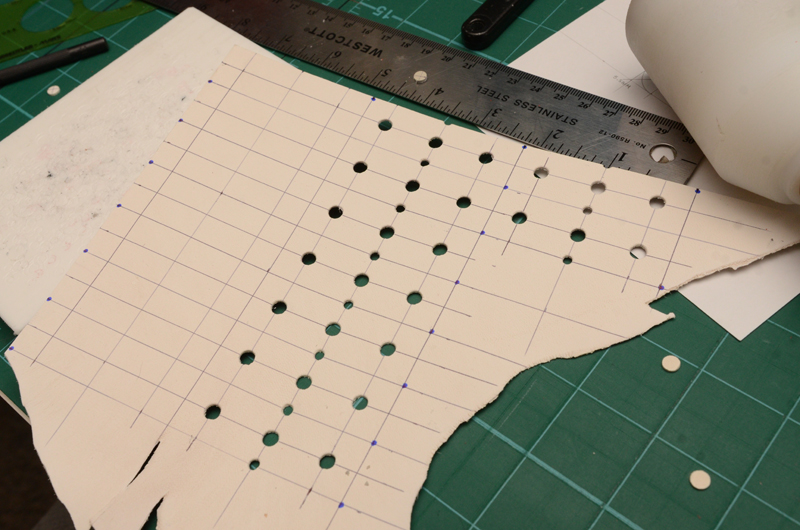
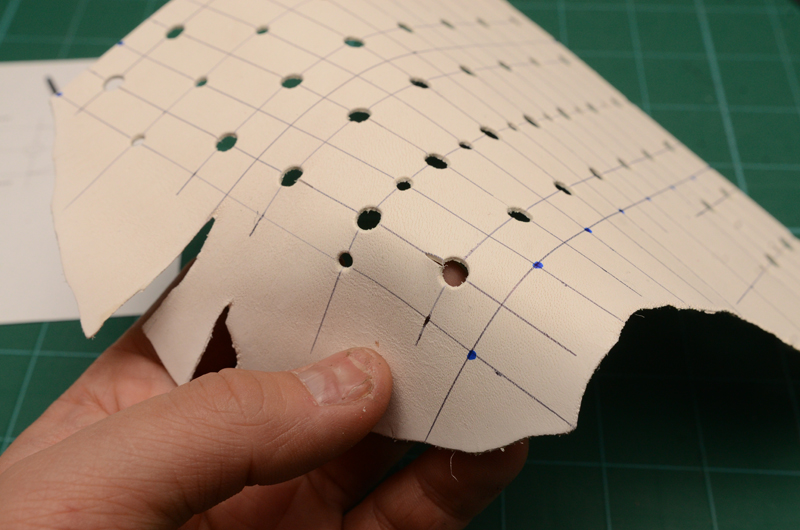
The hole sheet done now.
This is an optional step, using the scalpel/Xacto blade, cut into a slot on the inside line of the pouch tie hole. This will make pulling the folded bands or tubes easier.
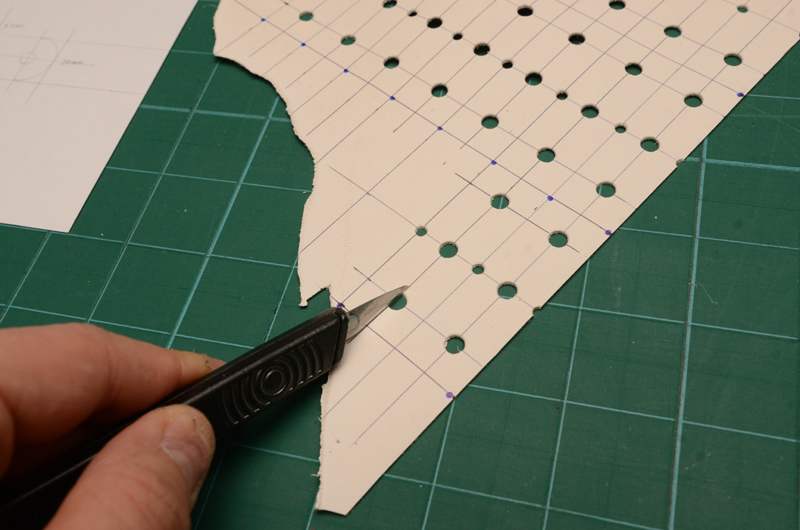
As seen on the hole closest to the camera.
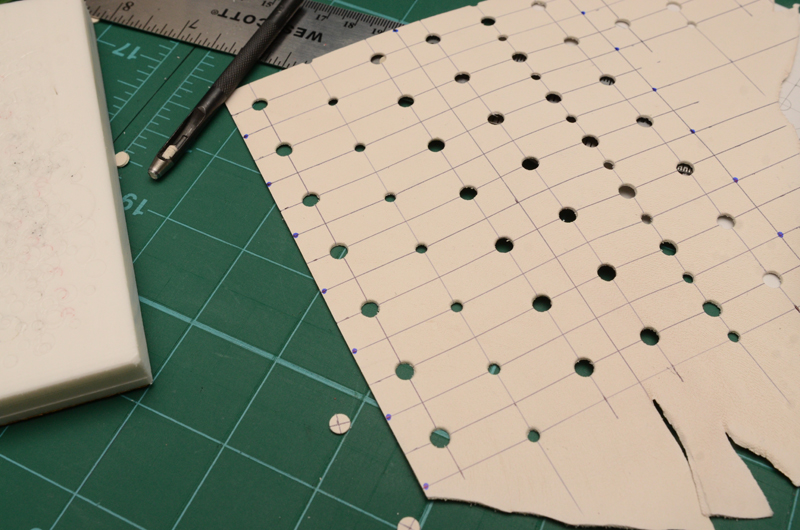
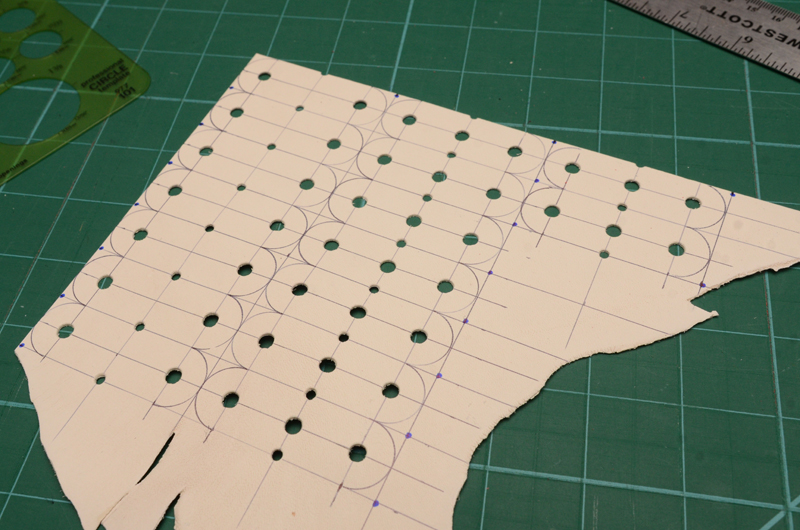
This step is also optional, but makes the pouch that much more clean in the end. Use a drafting circle template to mark a half circle on the outside of the pouch, like the original drawing.
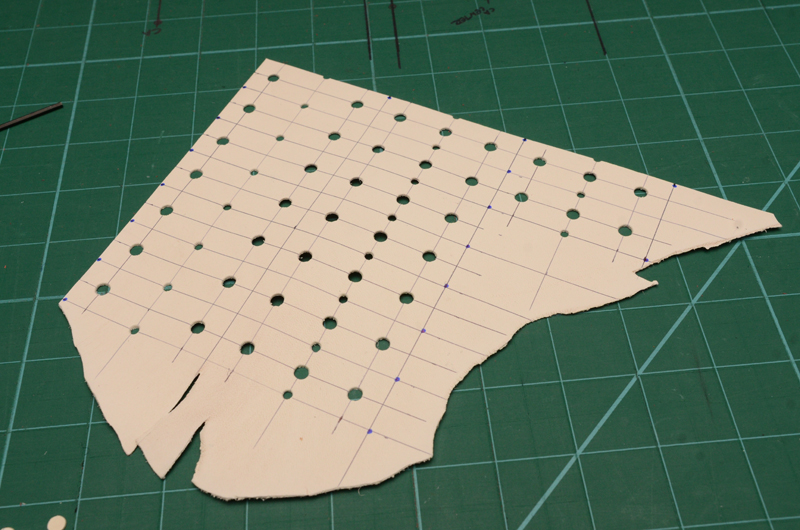
Repeat until all of the circles are drawn in.
How, using the knife, carefully cut the pouches in to length wise strips. This allows for a more accurate cut.
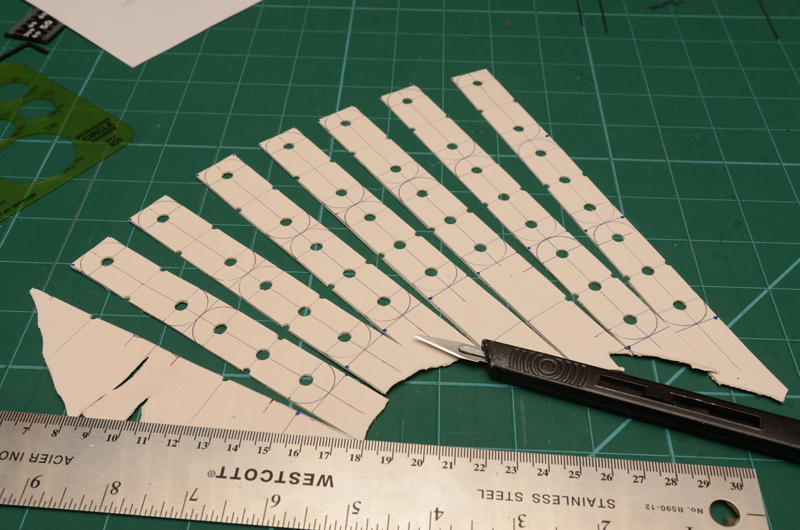
After slicing them into strips, each pouch can be separated into sections. This can be done with a knife or scissors.
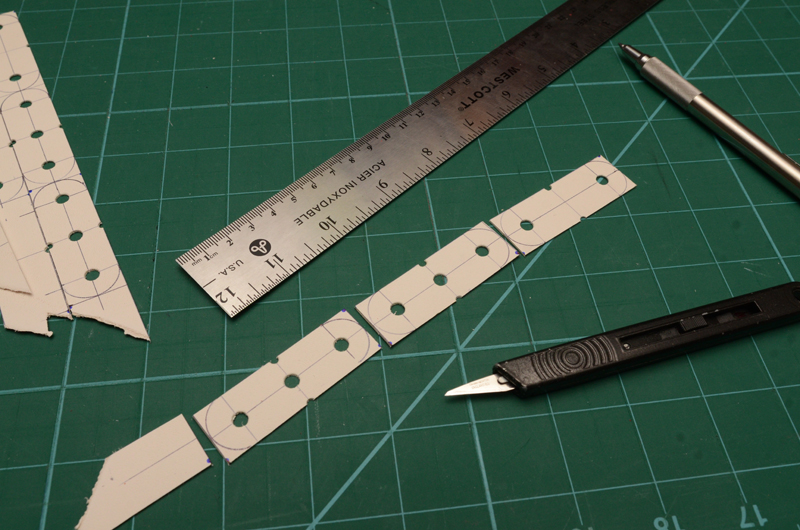
After all that careful planning, the left over scrap and the semi finished pouches. At this pouches are serviceable, but it’s nice to have them finished on the edges.

There are two different ways to do this…I am sure there are more but these are the simplest ways. The first way is to cut using sharp scissors, the semi circle that we drew on the pouch.

The 2nd way is even simpler, just cut off the corners at 45 degrees.
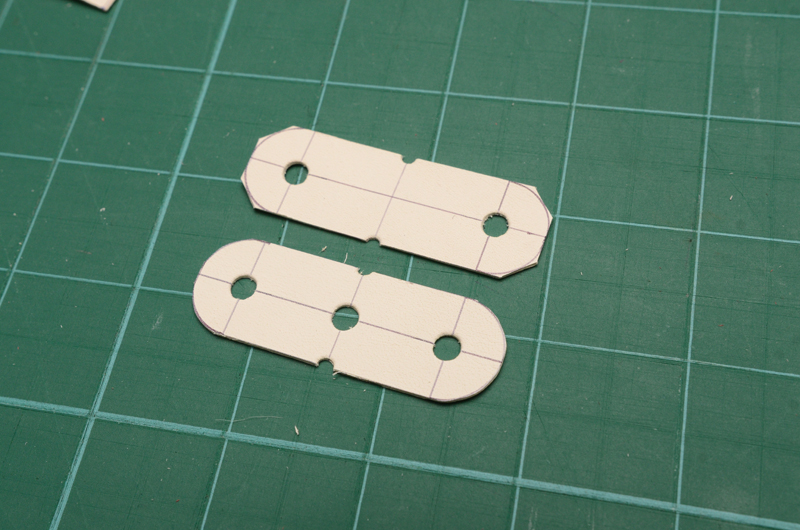
Comparing the drawing to the real thing.
So that’s the short and tall of how to make a slingshot pouch. This obviously isn’t the ONLY way to do it, but I encourage you to try out different shapes, lengths, thicknesses etc until you find what works for you. I still prefer the precision of a laser cut pouch, but not everyone can get access to such high tech equipment.
andante Thanks for reading!
http://davidpisarra.com/book-review-zig-the-autobiography-of-zig-ziglar Next up, cutting bands and assembling a band set!