Posted on 5 Comments

Metro Made | Mini Router Table Box

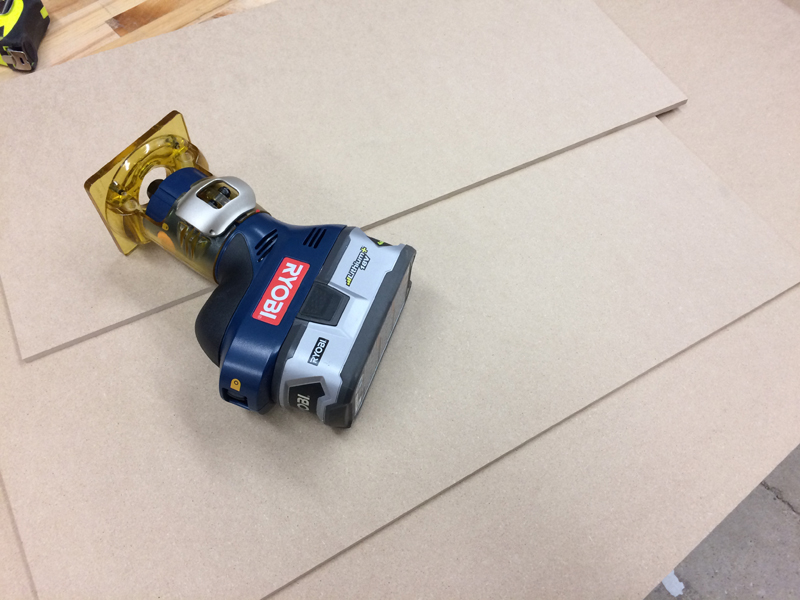
Ciudad Miguel Alemán More times and not, I enjoy roughing out curves, fillets and chamfers by hand. However, there are times when the might of a router with a proper round over bit is the best ‘route’. When I sought out a small trim router to suit my needs, something amazing came into my sights.

Cruising around the internet, I came across the Ryobi One+ battery powered trim router. At 5A, it’s plenty of power for slingshots and other small projects, and the best part is that it interfaced with my already large collection of Ryobi Li-ion batteries. At $50 a piece, they were inexpensive enough to get a few to save on set up time. I had the idea to build some modular boxes, router boxes, router boxes that would sit on a stand with different tools set up so I could hot swap them out when I needed.

I started by using an online resource for designing finger joint boxes, my plan is to make sorta of a square hat box with the router base sitting on the top. I entered the dimensions into the online box maker and out spit a PDF of the box. After taking the file into Adobe Illustrator, I measured the outside dimension and then generated another box, this would become the lid. I digitally chopped off the top of the base box and then lopped off the bottom section of the lid. This left me with a pattern I could start dropping features onto.

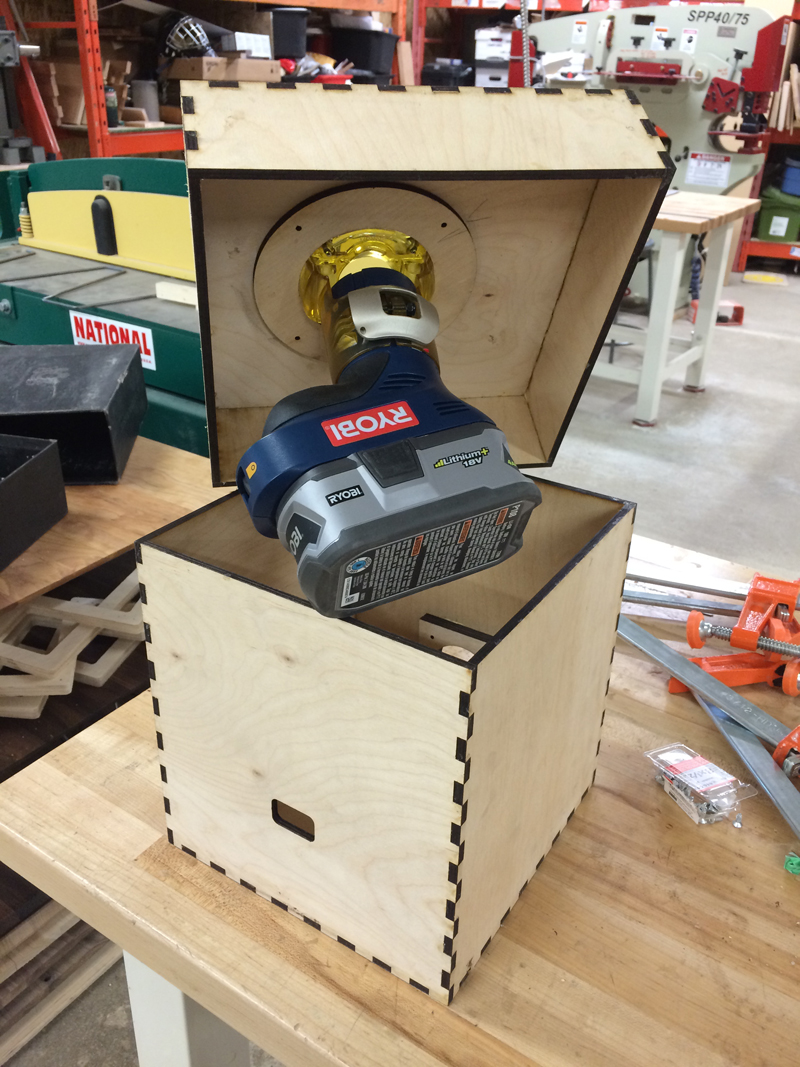
The first thing was to figure out the orientation of the tool. The Ryobi trim router doesn’t have a flat base parallel with the surface of the base, this is meant to be a hand held tool, not stationary. The base didn’t matter, it only means that it would be suspended in the box. This did two things, it allowed for height adjustment of the bit (no need for a complicated lift system) and would also allow for the router base to be level with the box surface without bracing. Measuring the base of the router, it was a 9cm square with about a 3/8″ rounded corner, so that’s what got drawn on the top of the lid. Directly under the layer is another layer that would support the head and also index the router so it would always be in the same position. This is a lot of reading without much photographic explanation but it was such a fast process the later images will make sense after reading this.

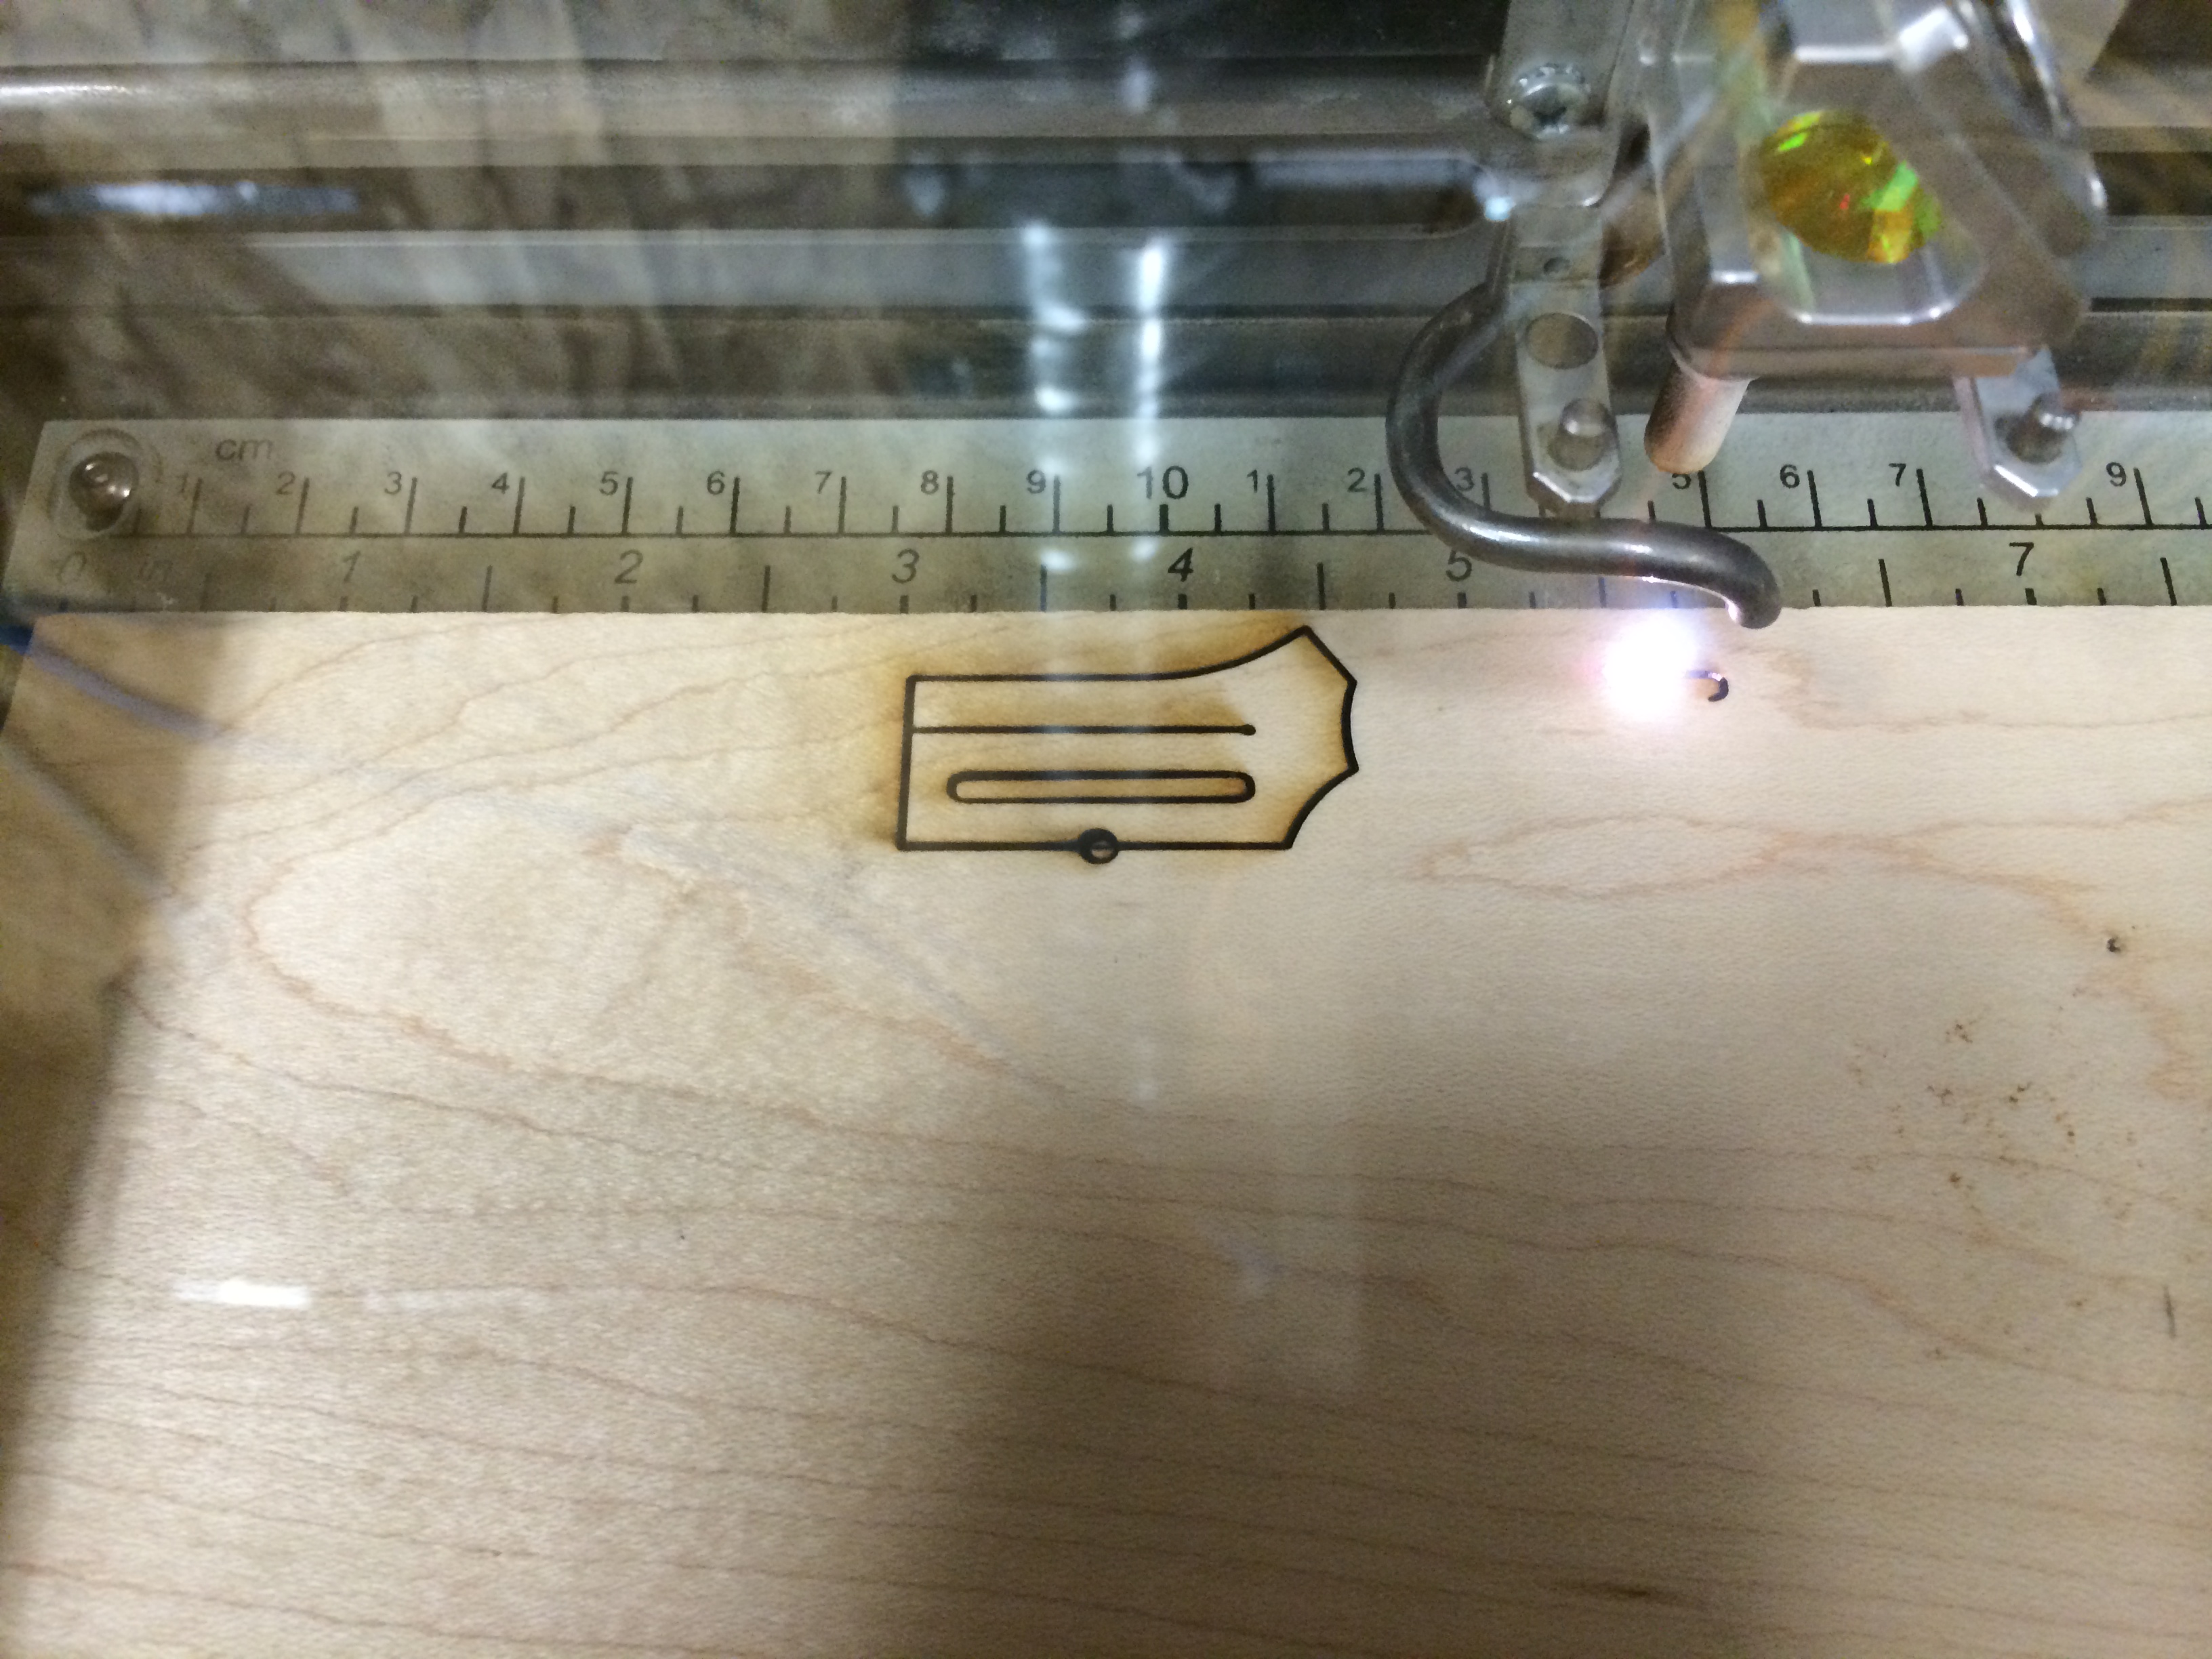
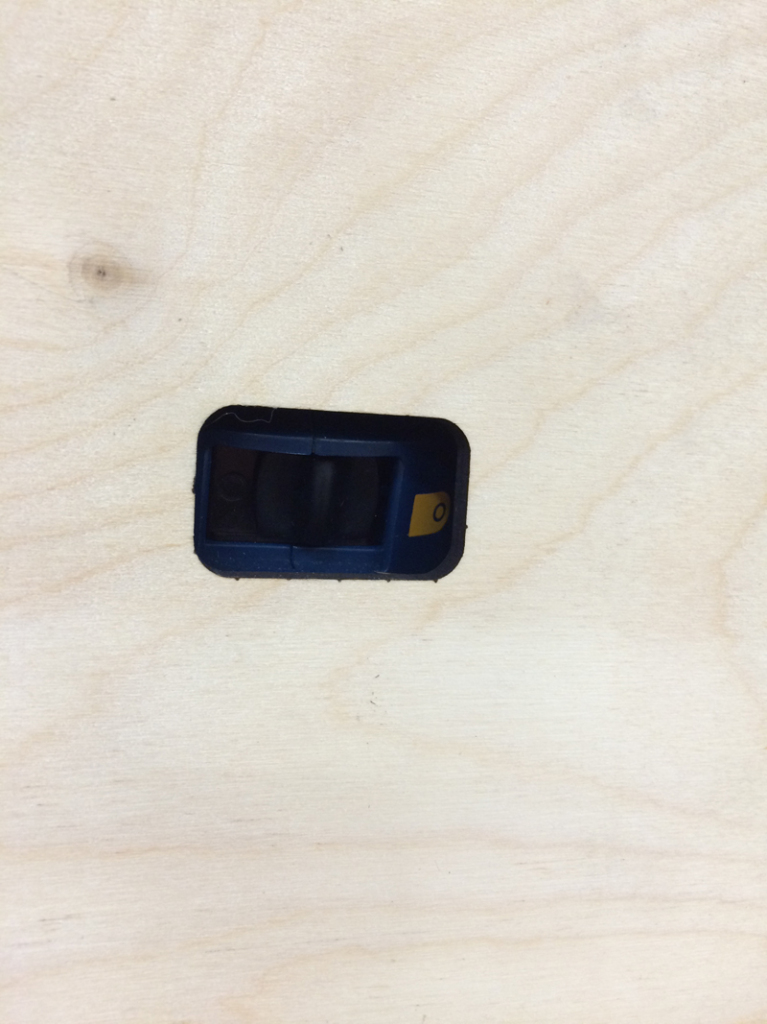
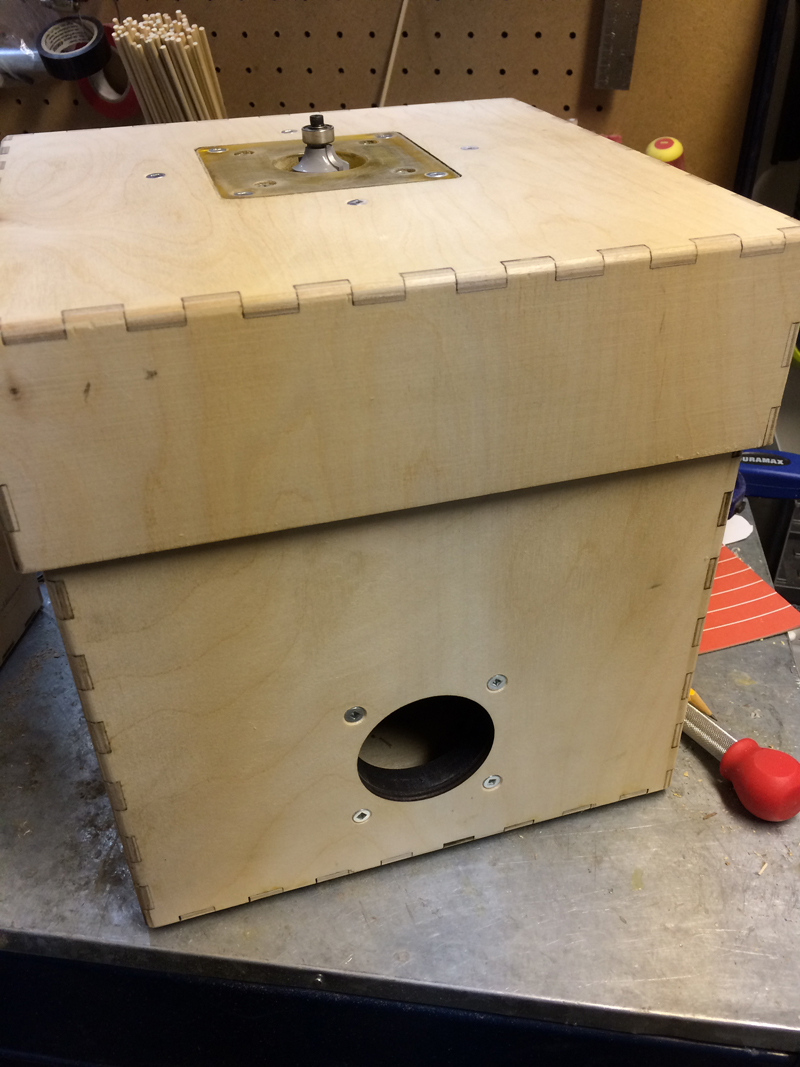
The second thing was the on/off switch, being a battery powered unit, the front of the tool needed be accessible so that it could be turned off and on while in the sealed box. So locating the switch and making a generous hole in the front panel of the bottom box was done. A rotating switch plate would cover the hole so increase the dust collection effect of the vacuum…..

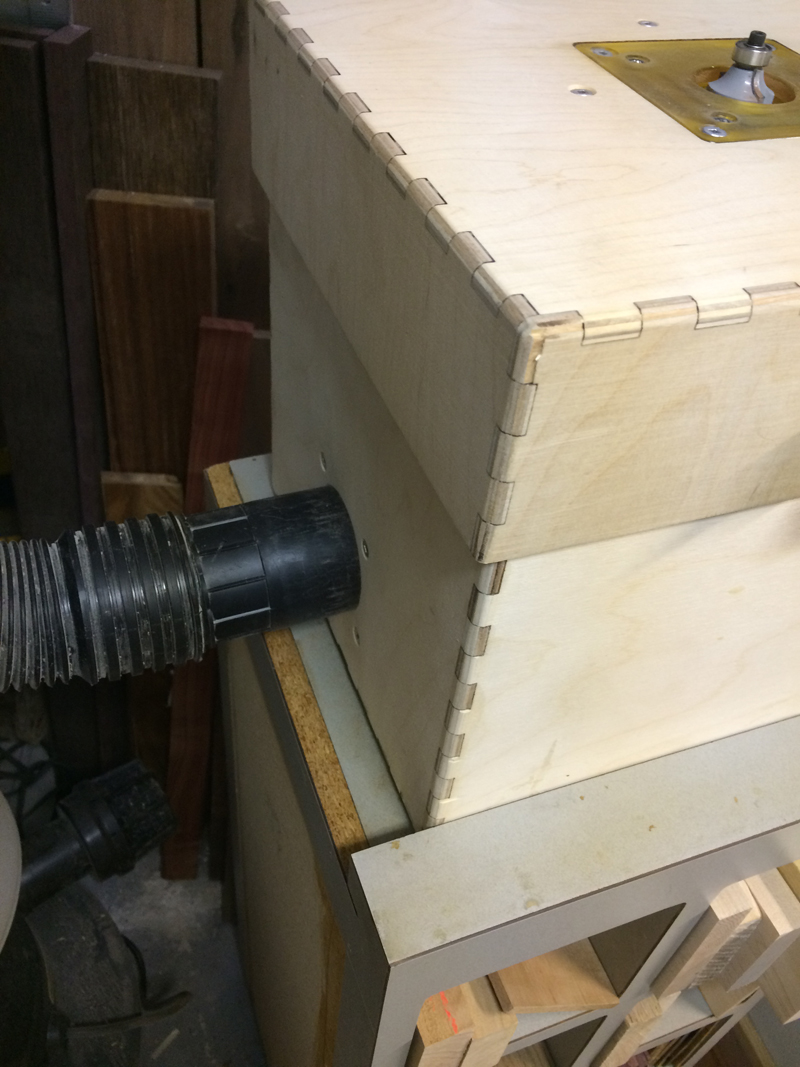
Which brings us to the third feature, a dust collection port. On the back panel, a 2.25″ hole was located so that a hose could be attached to have a down draft effect. While a SOME chips may make it away from this vacuum, most will be carried away. Two additional layers of material could be glued to the inside to create a .75″ flange so that hose would have something to grab onto.

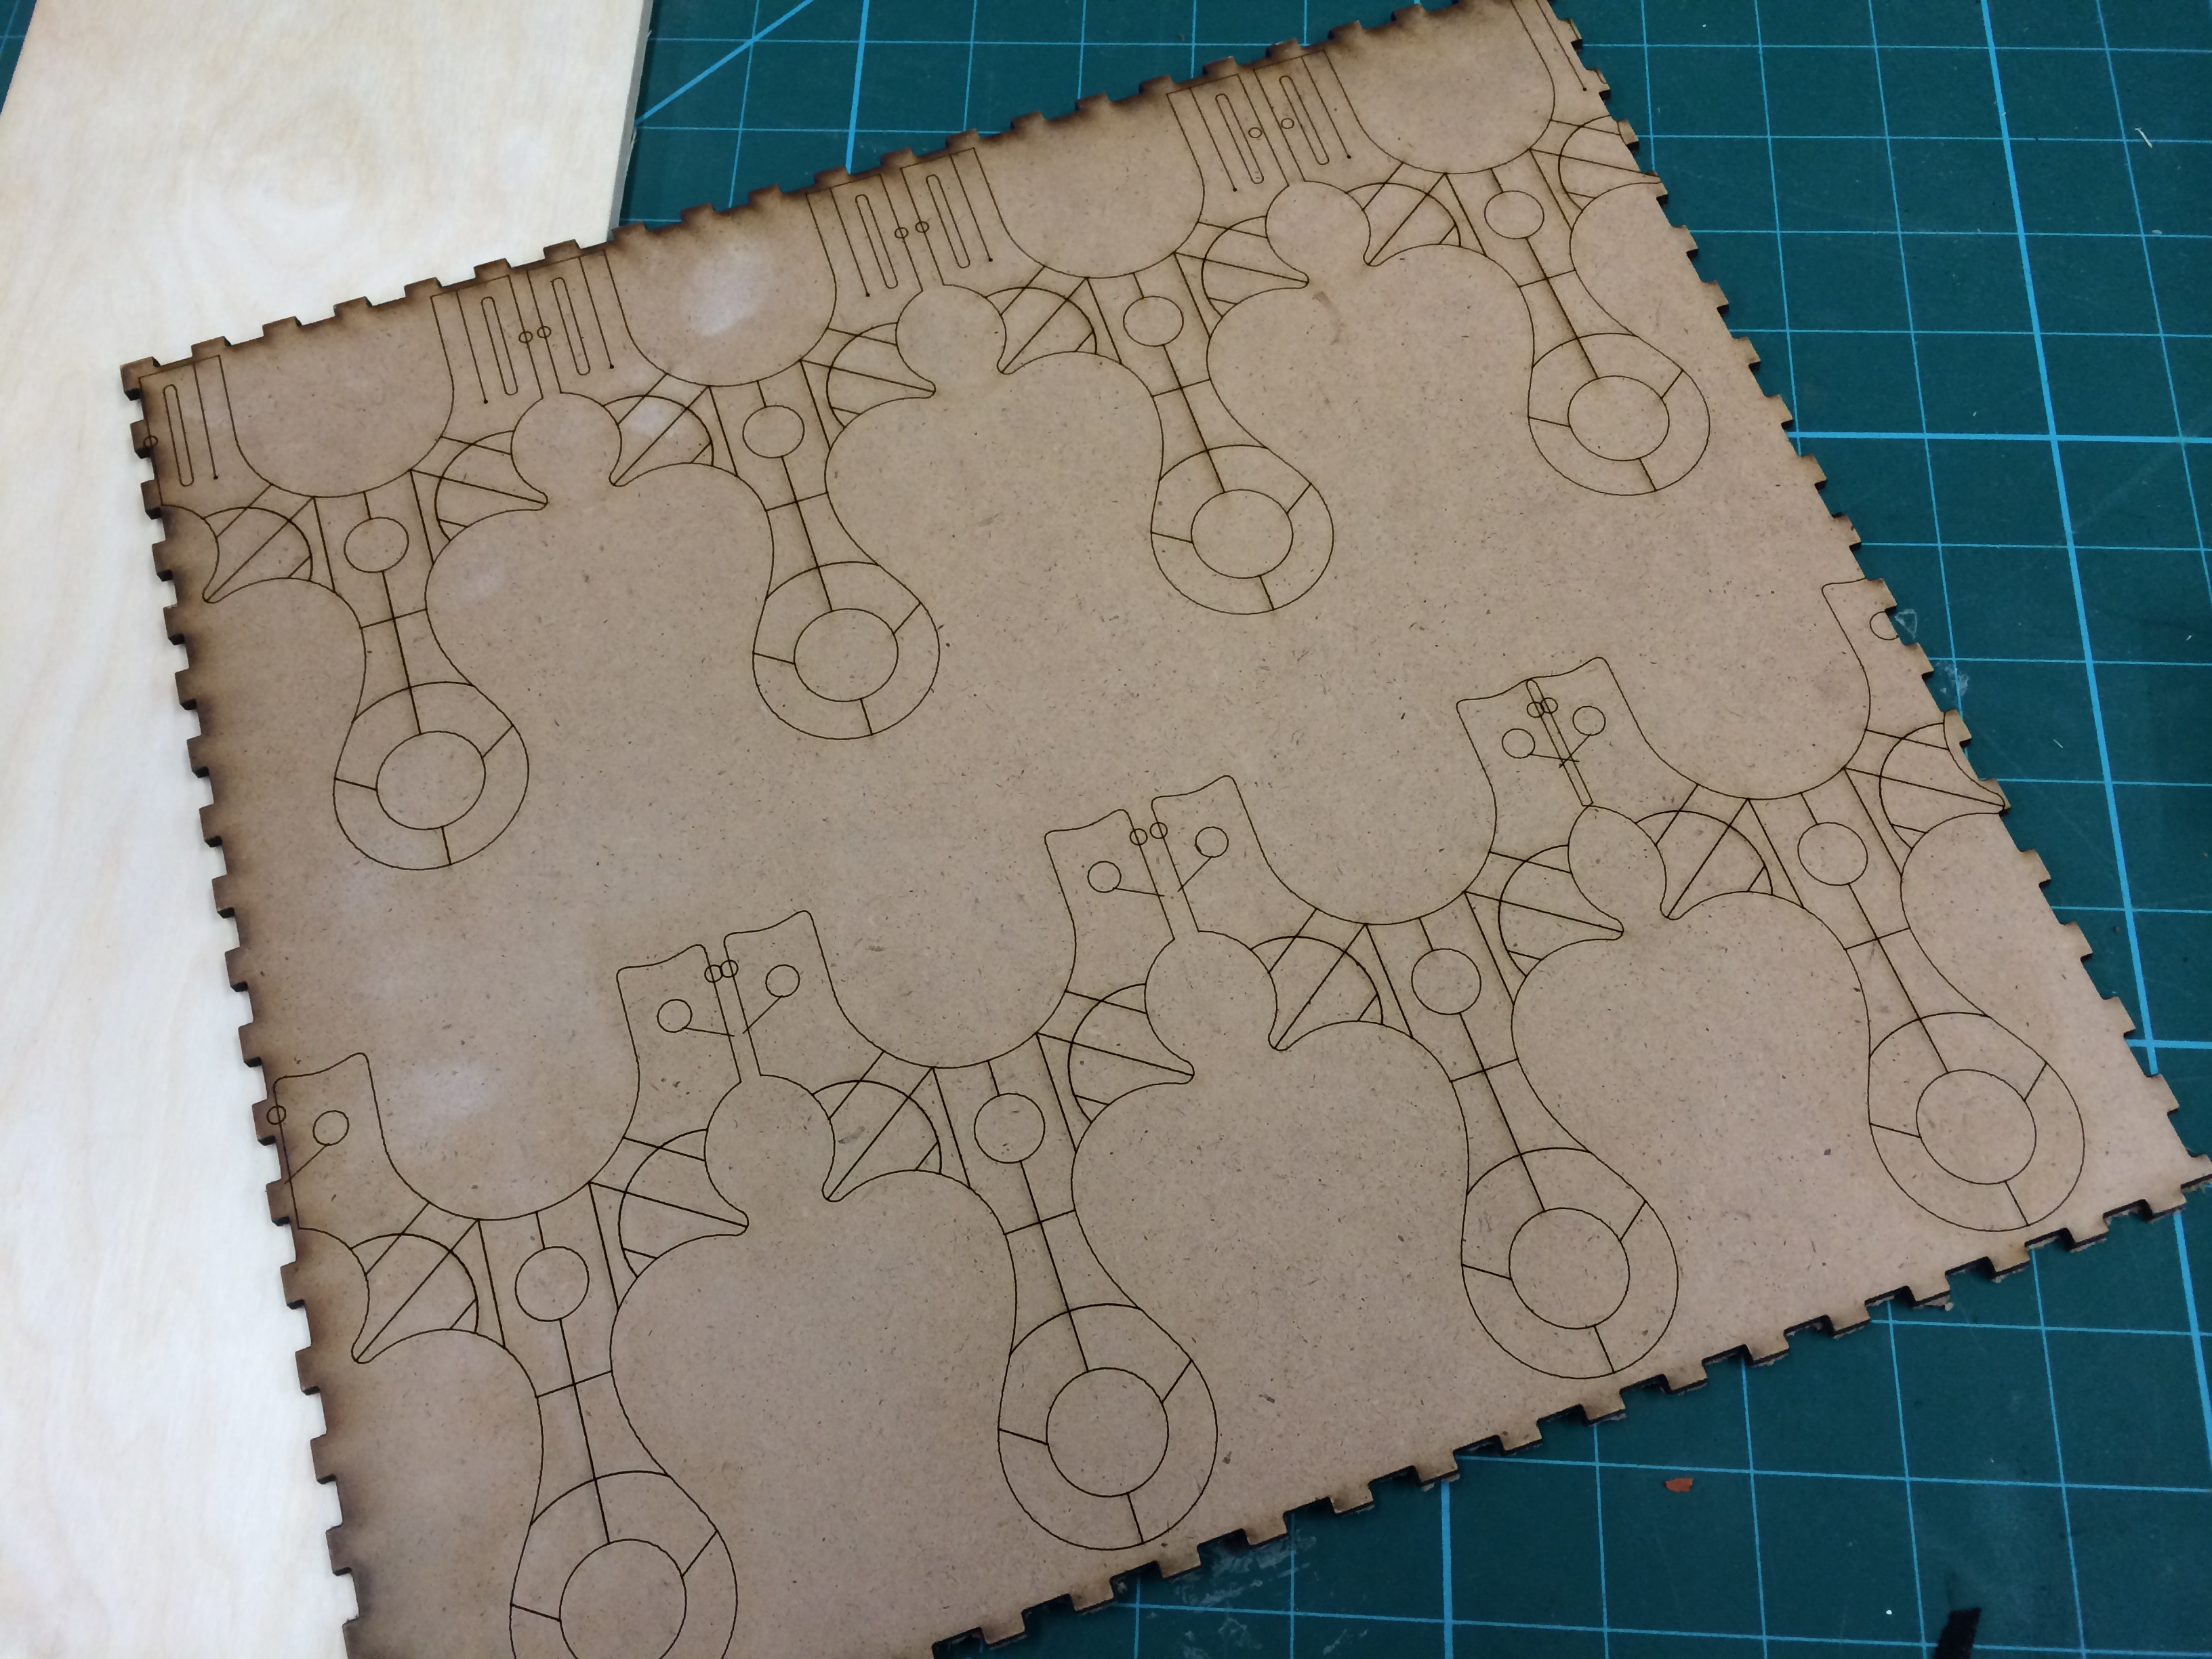
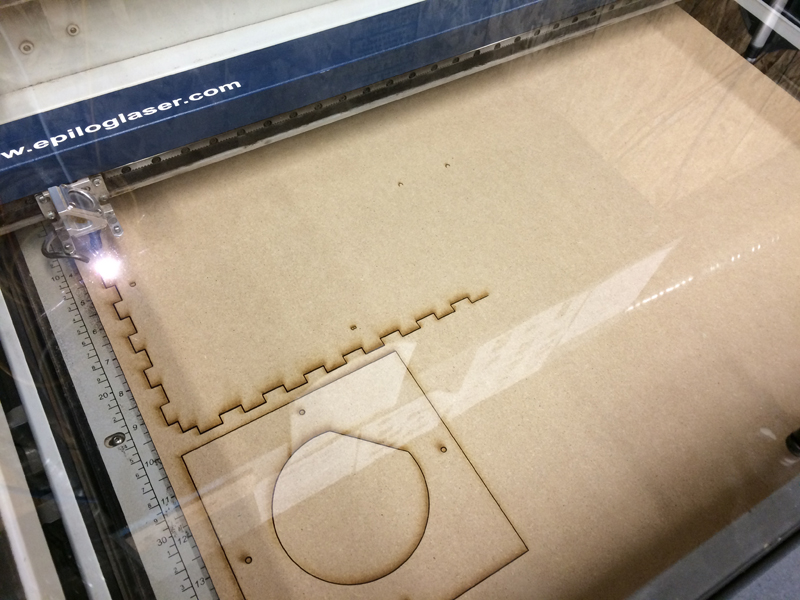
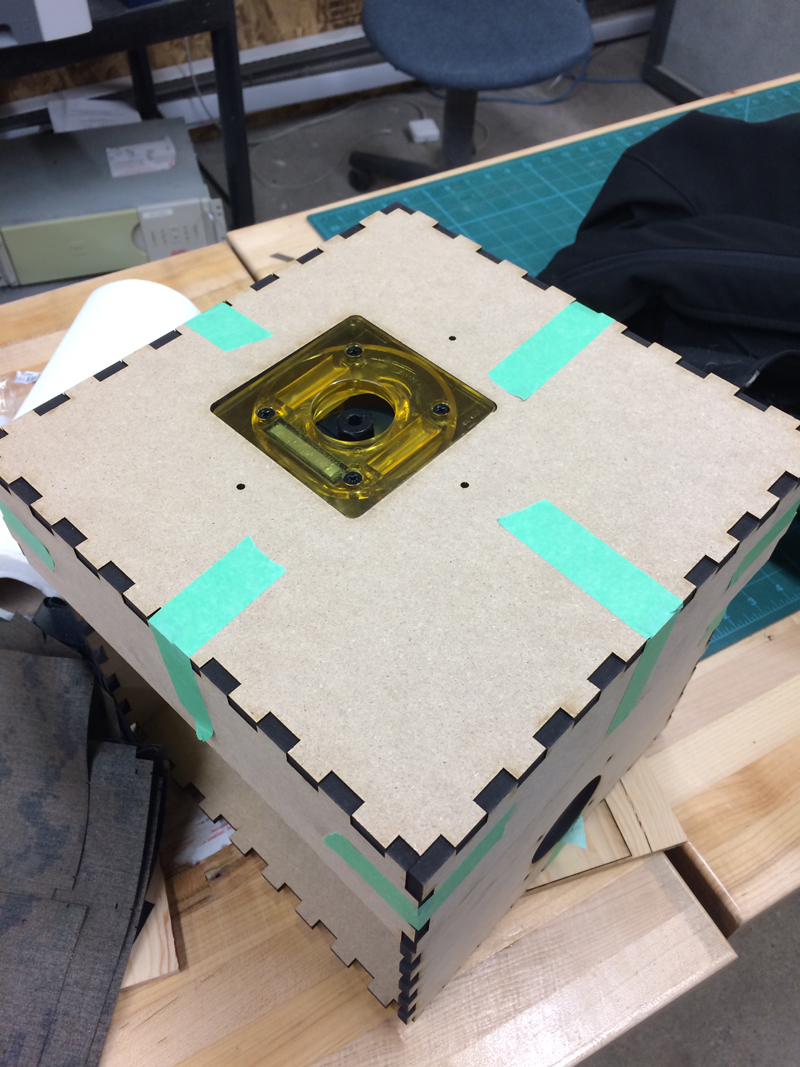
Ok….so after this was designed in both my head and in 2D, it was time to prototype in MDF. Throwing a sheet of 1/4″ MDF into the laser, one by one the panels were cut out. On top is the router with the big battery.

IMG_0807

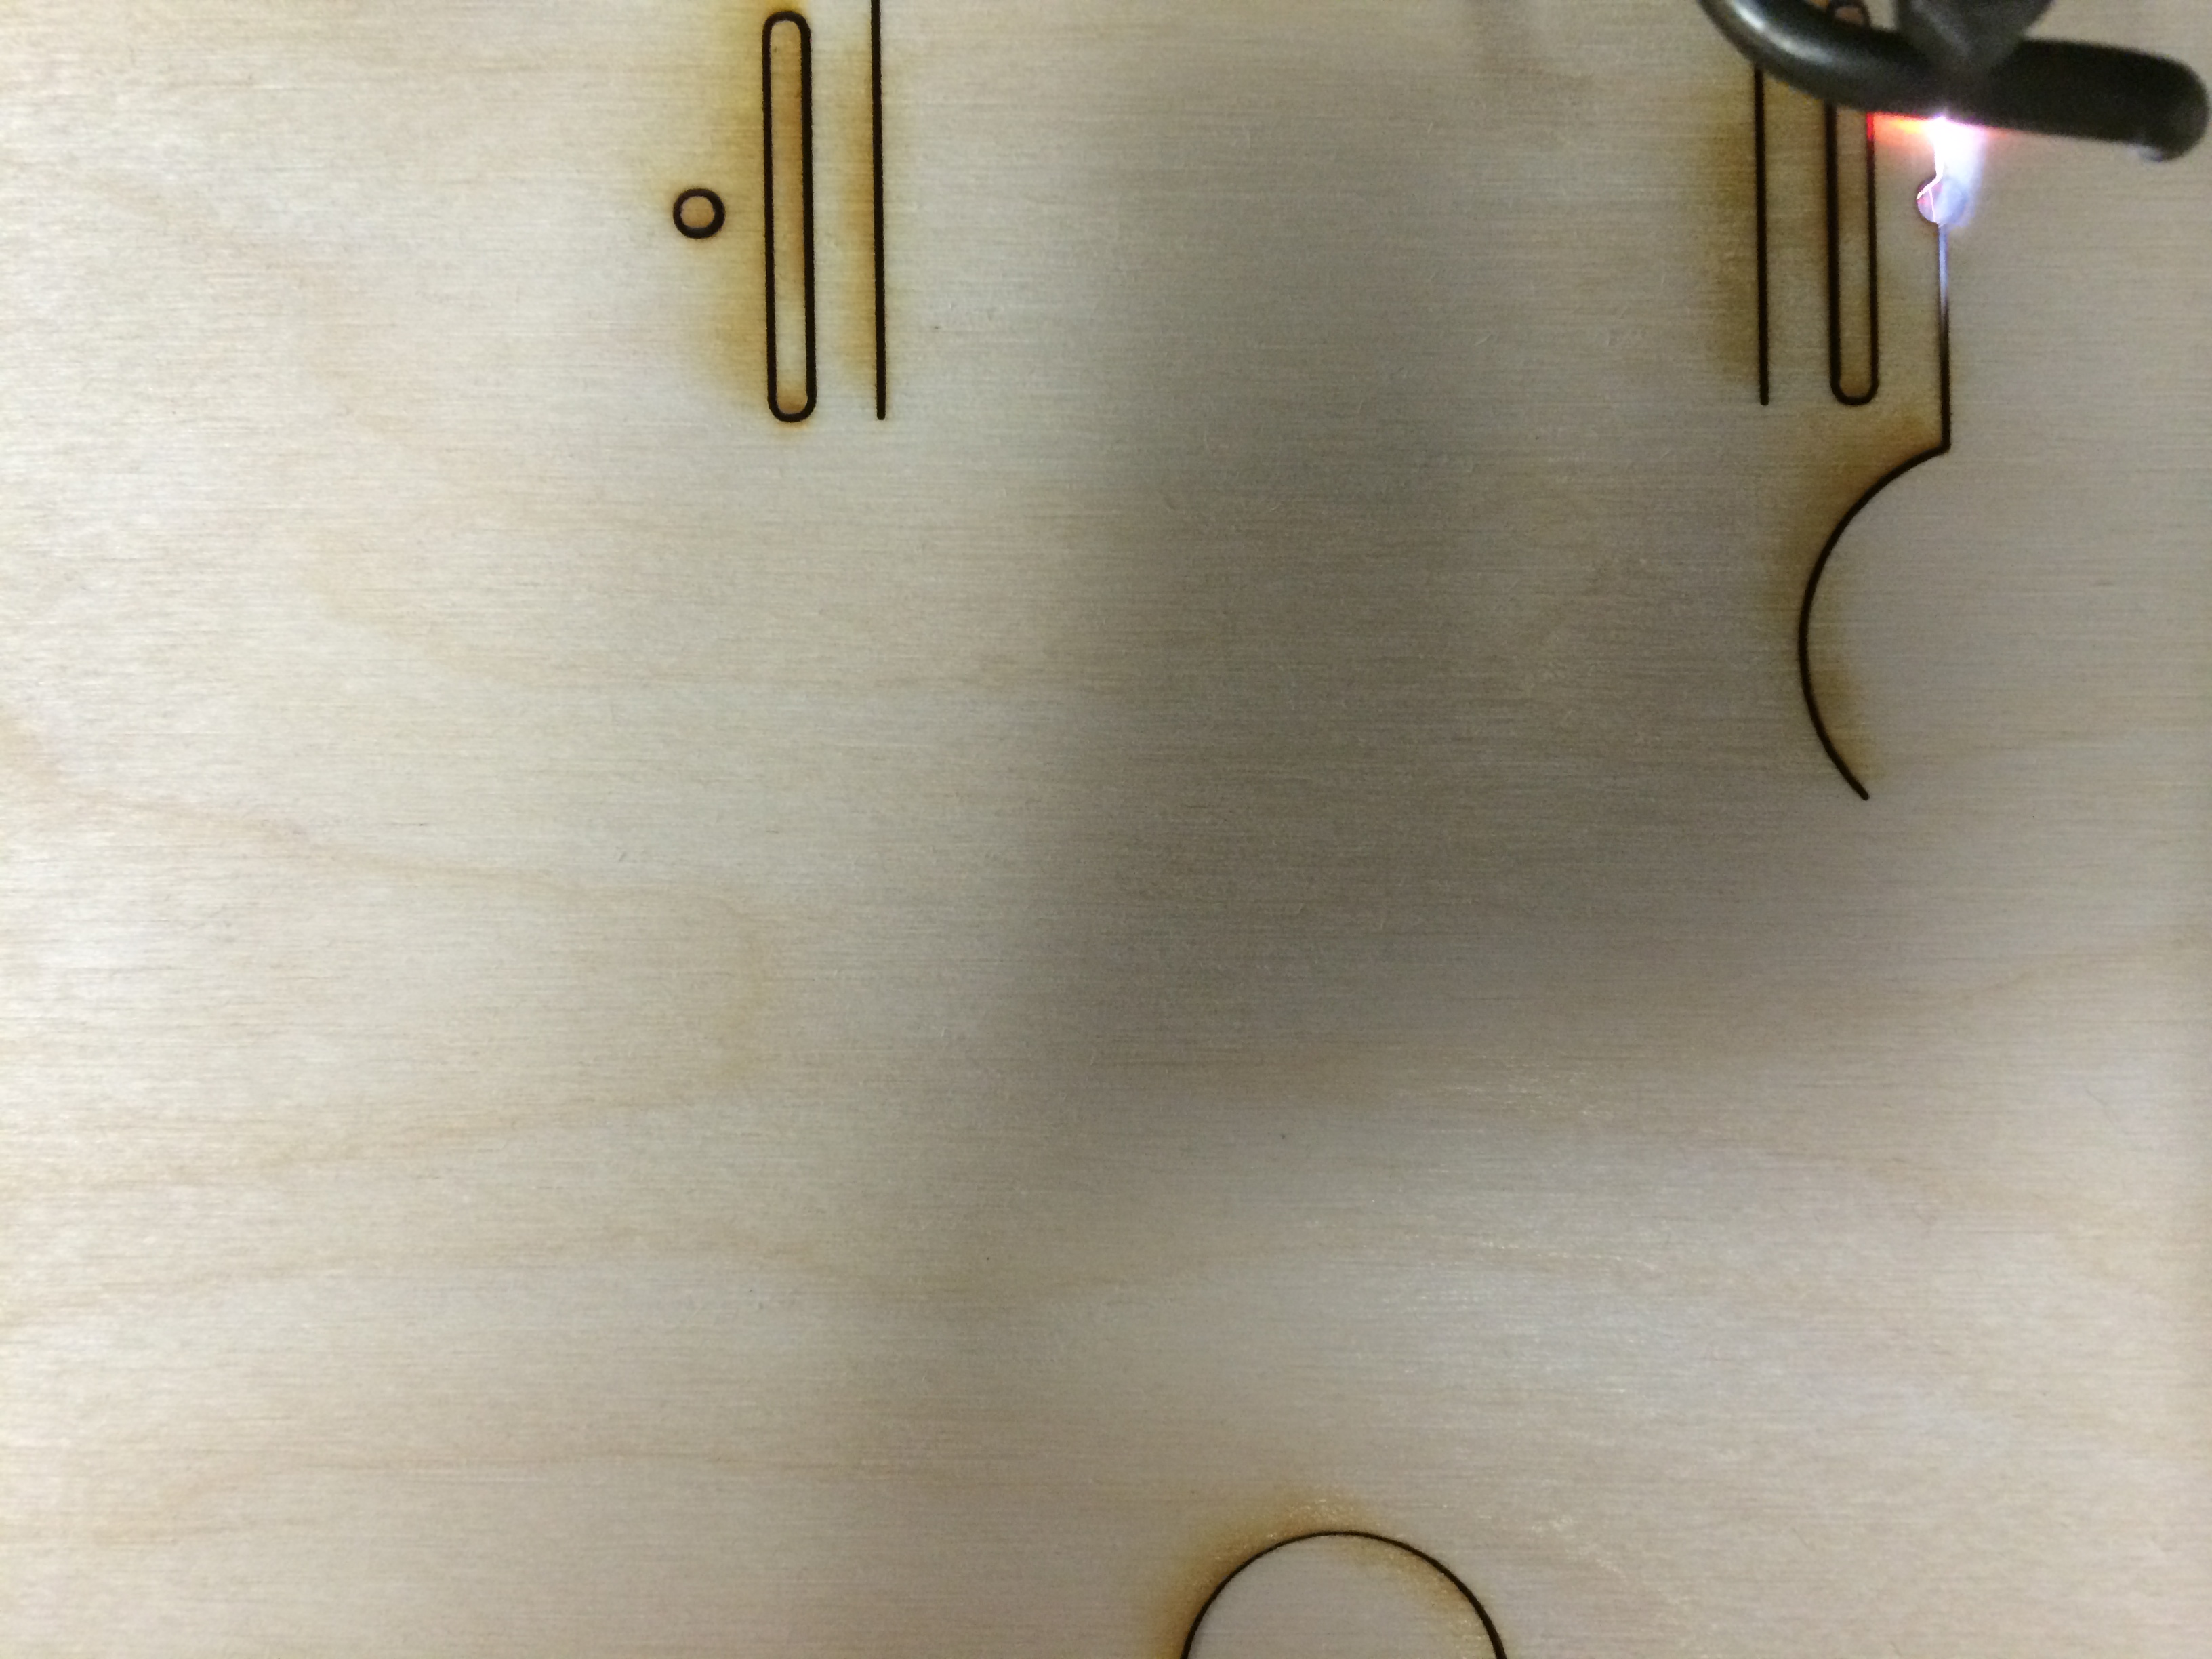
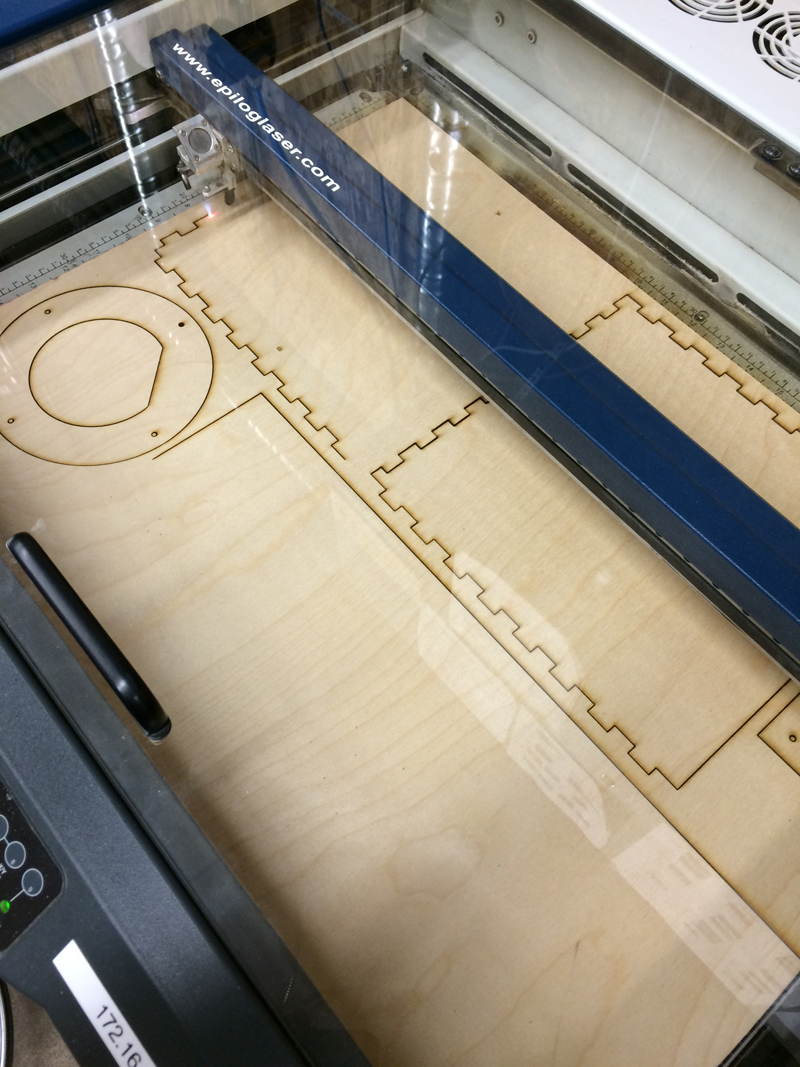
First cuts of the first panels. You can see the plate on the near the bottom of the sheet, it’s the indexing ring and support.

IMG_0806

First dry fit of the parts. The finger joints were actually sized for stock that is .235″ thick and the MDF is .255 so they don’t line up here. Not a big deal since the MDF was just used for sizing and for first fitting.

IMG_0808

The router clears the bottom nicely and will allow for about 3/4″ of travel downwards.

IMG_0809

After editing the files to change a few details for alignment, it was time to move to some Baltic birch. You can see the indexing plate is now round, I forgot to account for the inside edges of the box. Ideally I this would of been made out of 1/2″ plywood, but the laser has trouble cutting that thick of stock. With a 10″x10″ foot print, the box will be plenty stiff.

IMG_0810

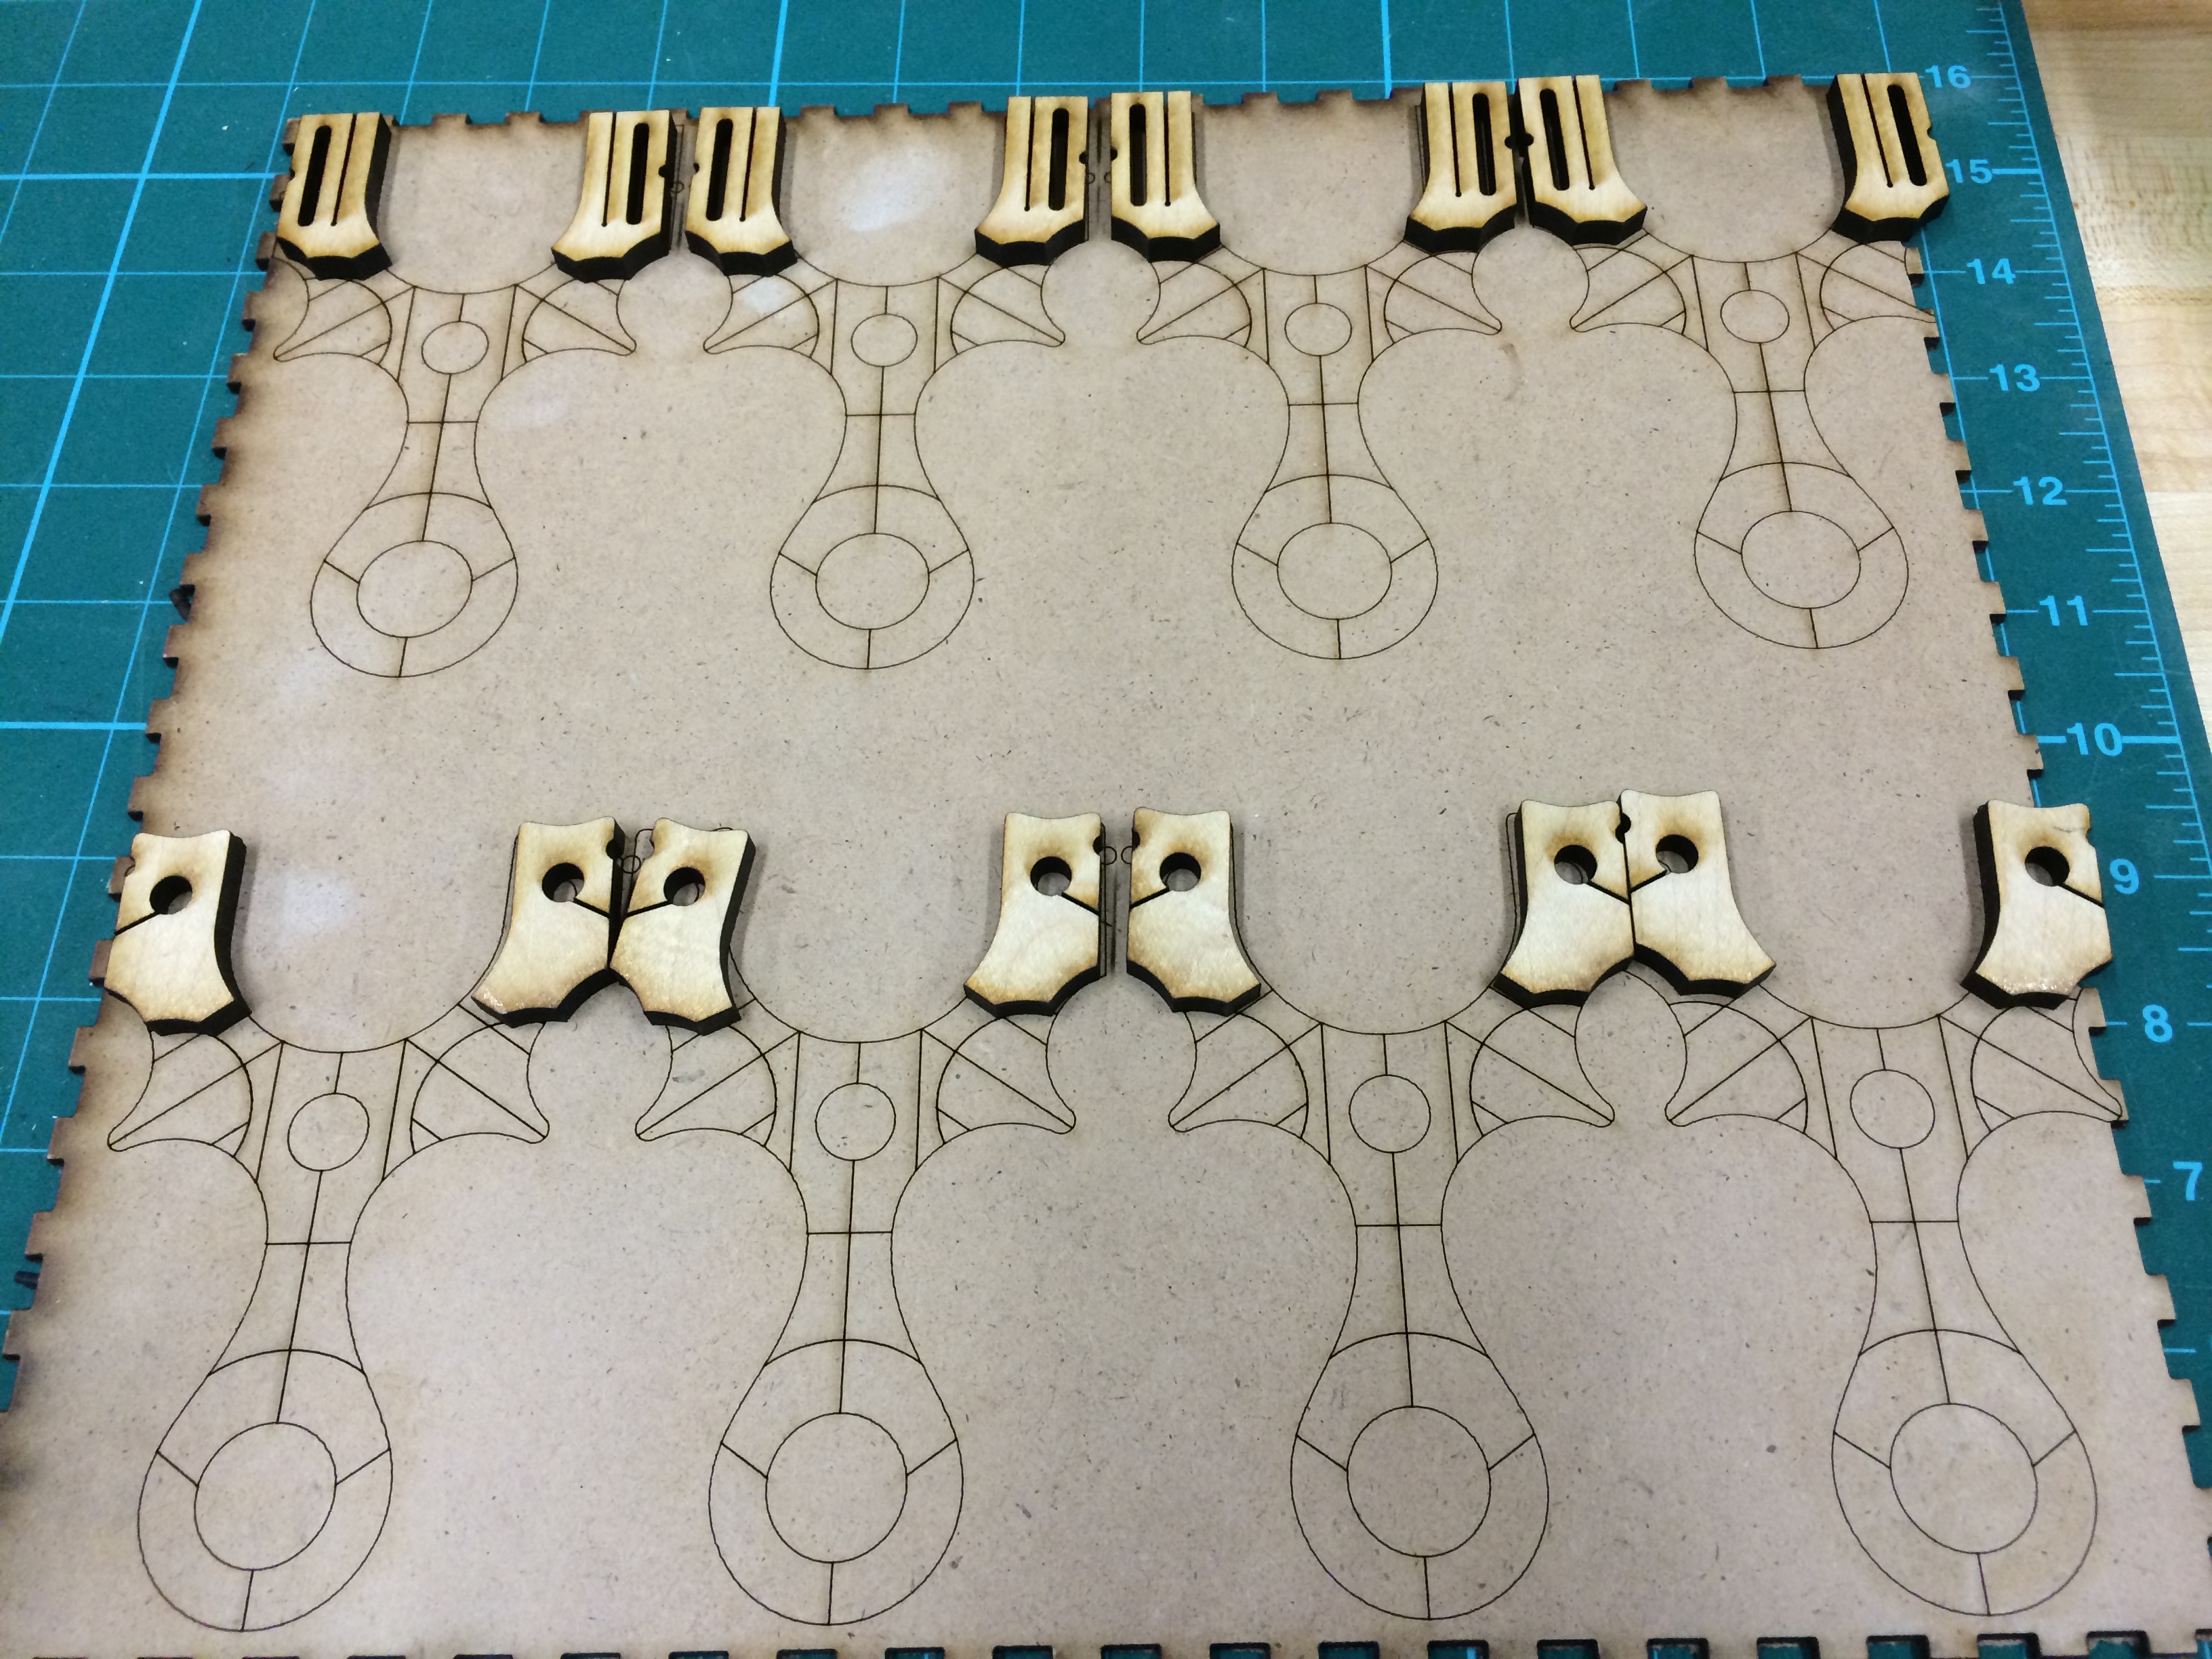
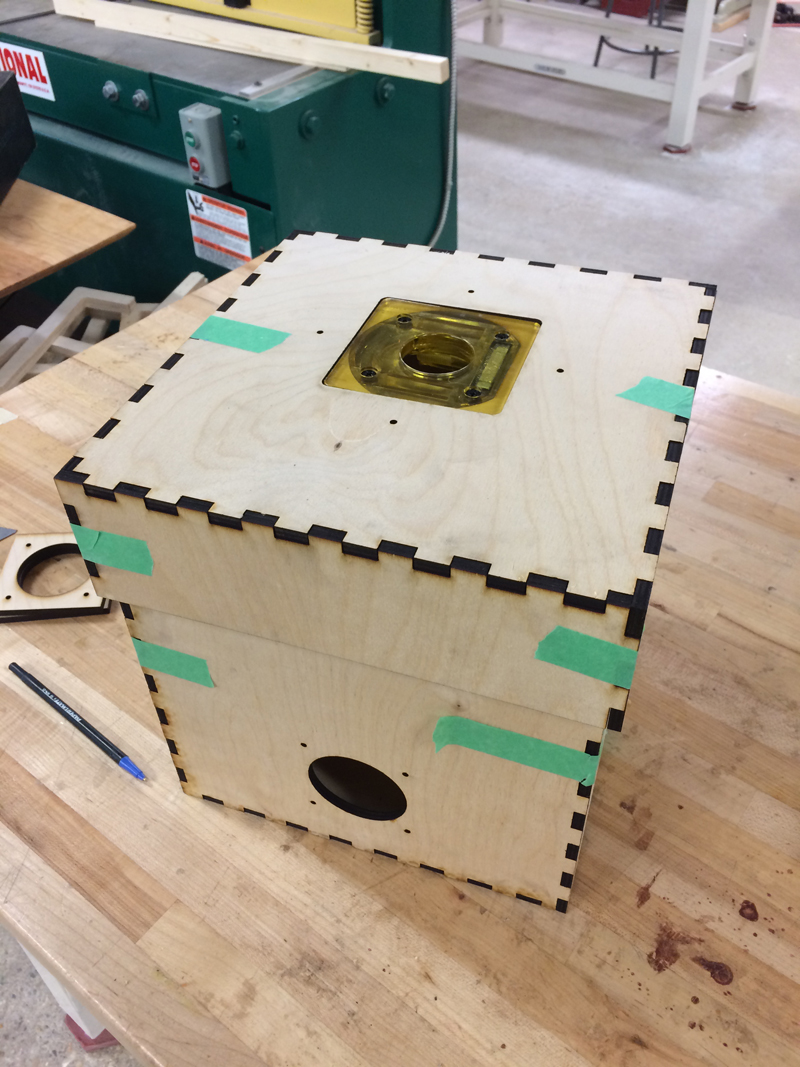
Dry fitting the plywood parts. You can see the beginnings of the dust port near the bottom of the box.

IMG_0812

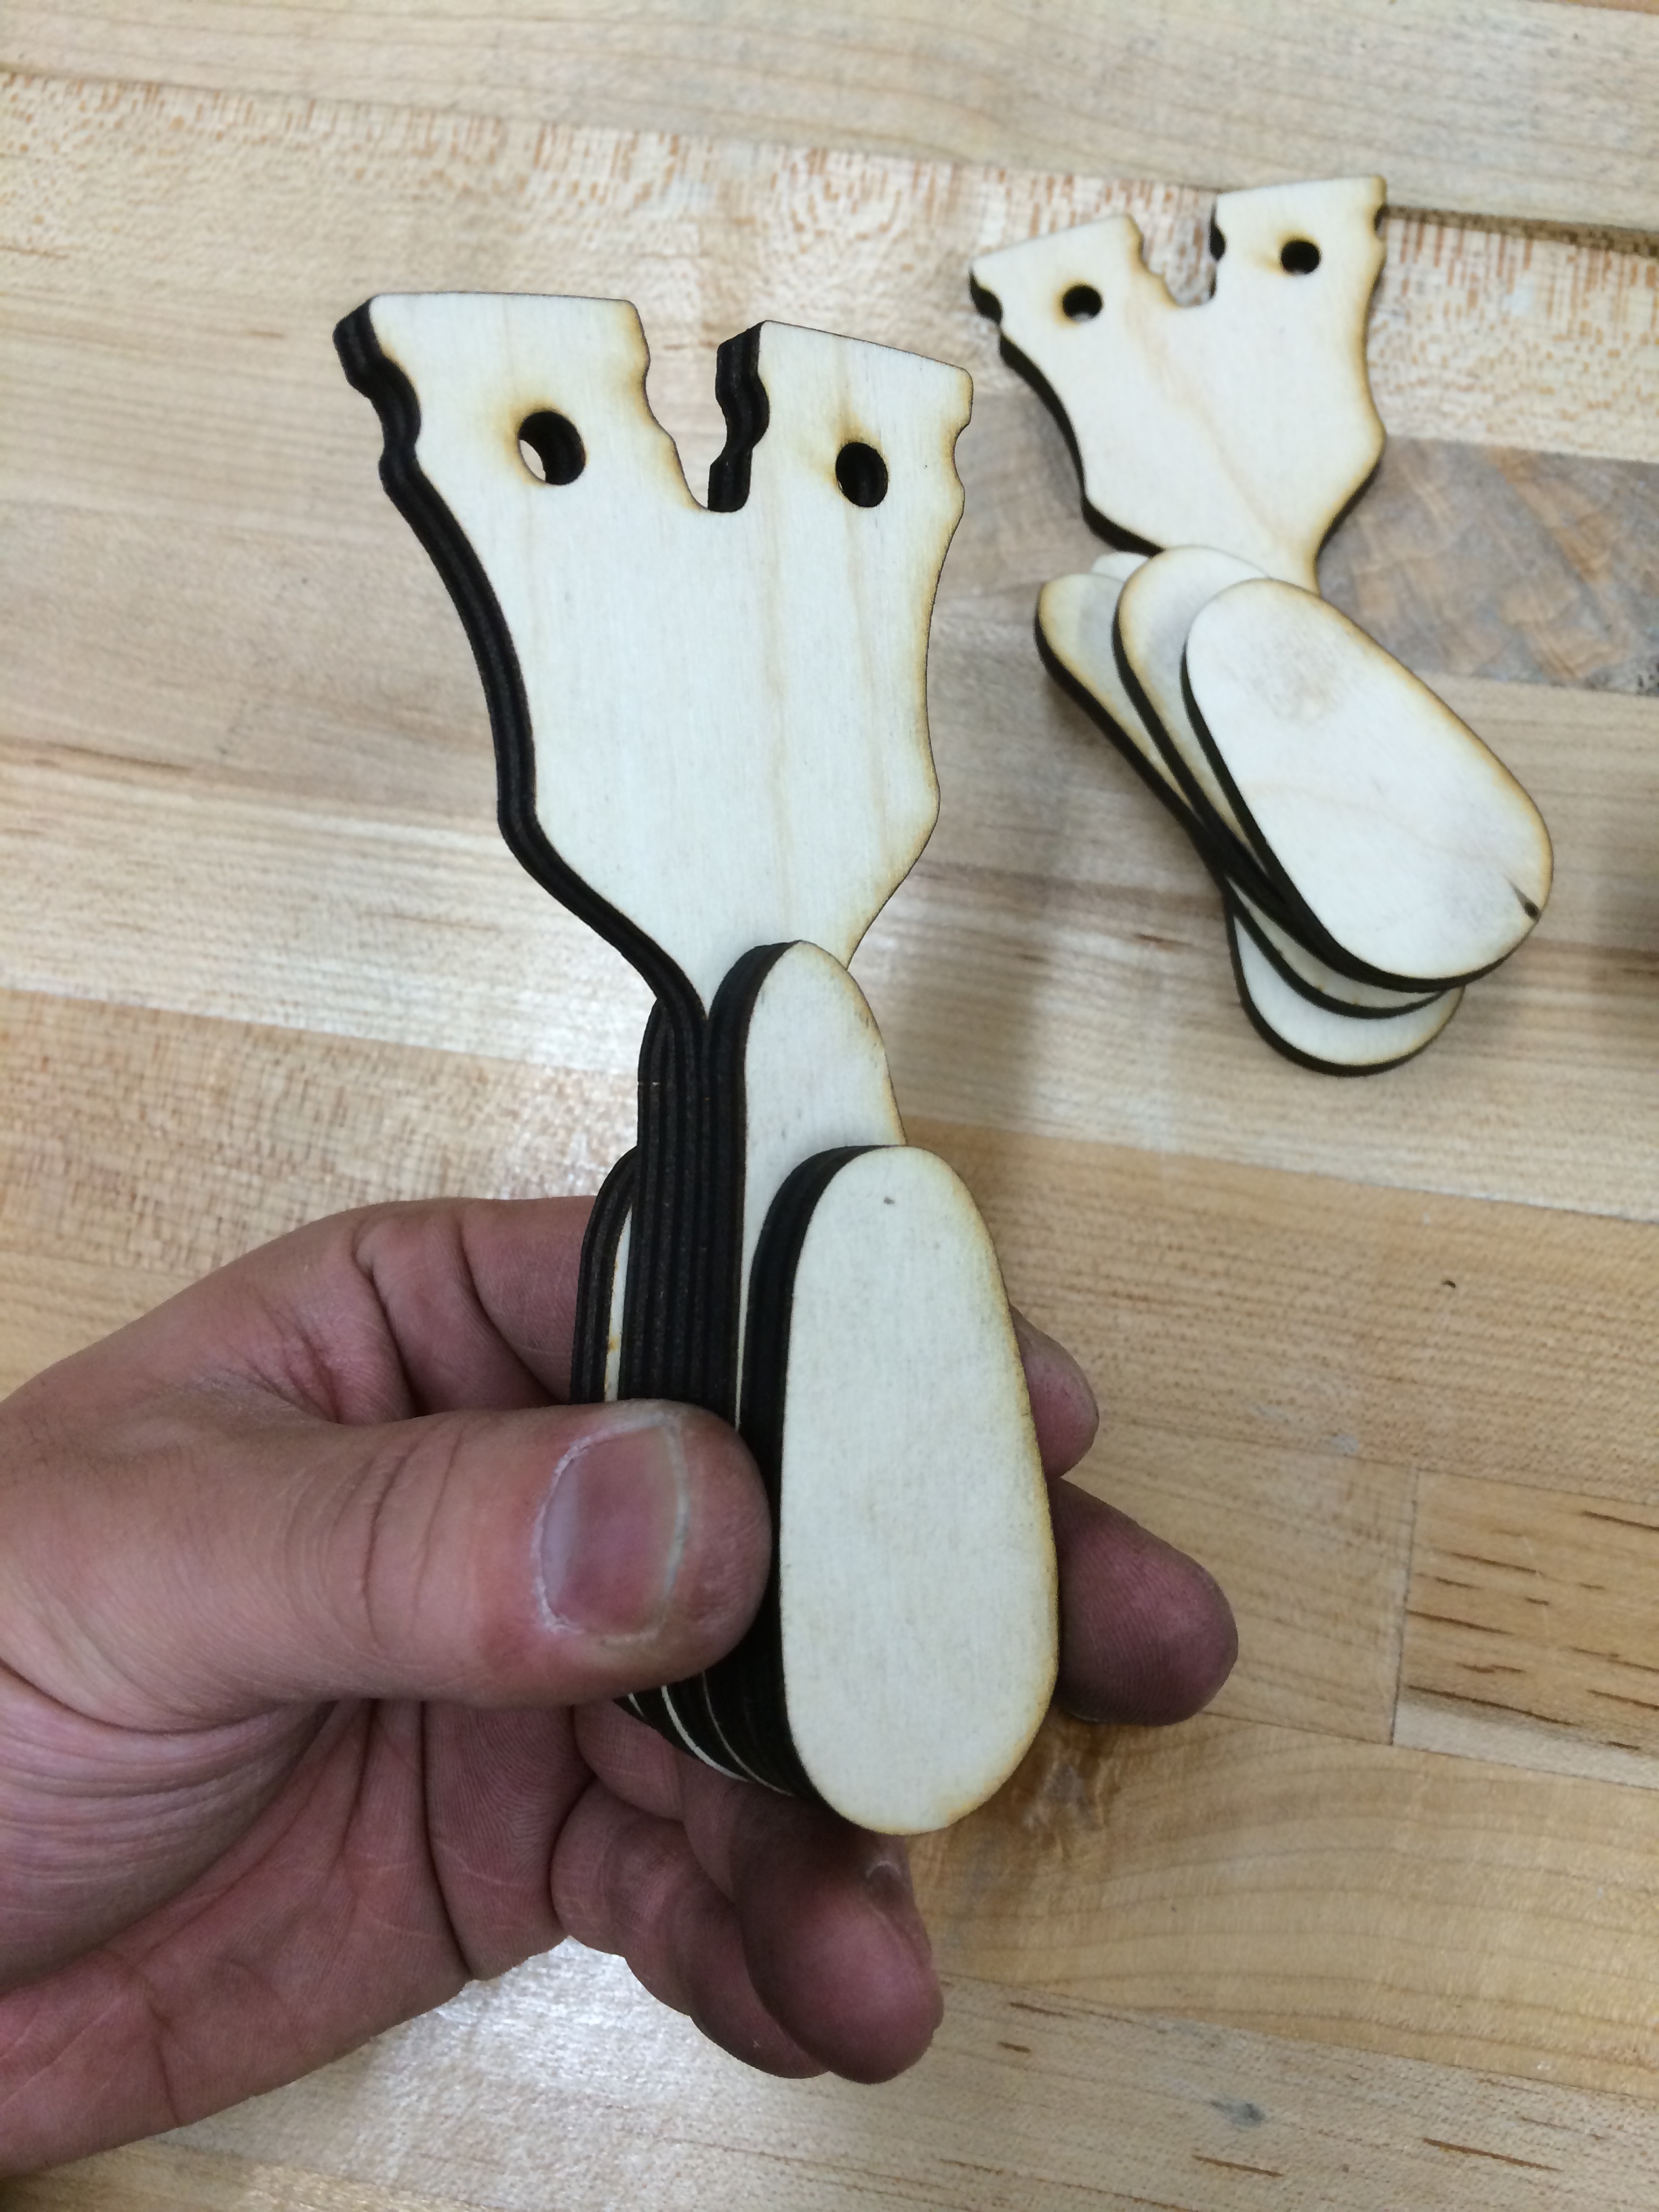
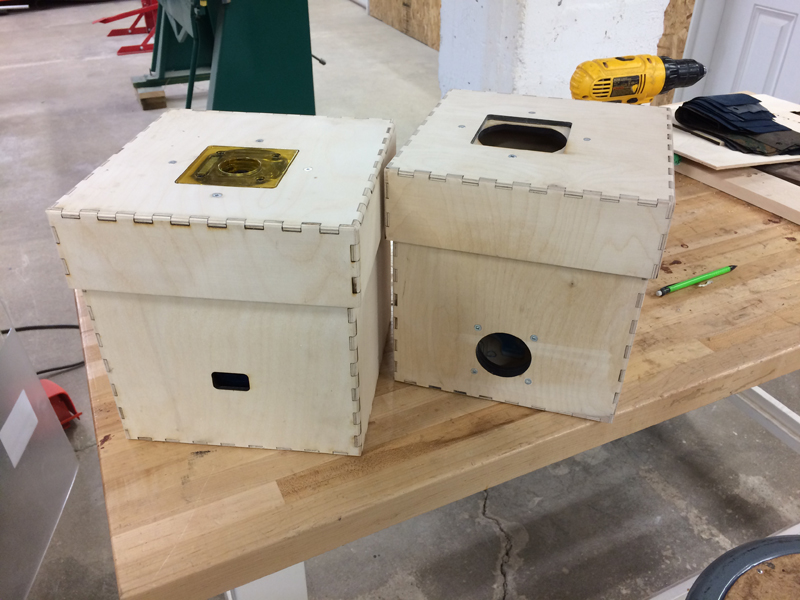
I should note that I made two of these boxes, one for each router, and my 2nd one went 4X faster like with any multiple build. The glue joints on the 2nd one are much tighter, I previously hadn’t worked with so many finger joints at once. I also sanded the edges to get rid of the burning PRIOR to gluing on the 2nd one.

IMG_0813

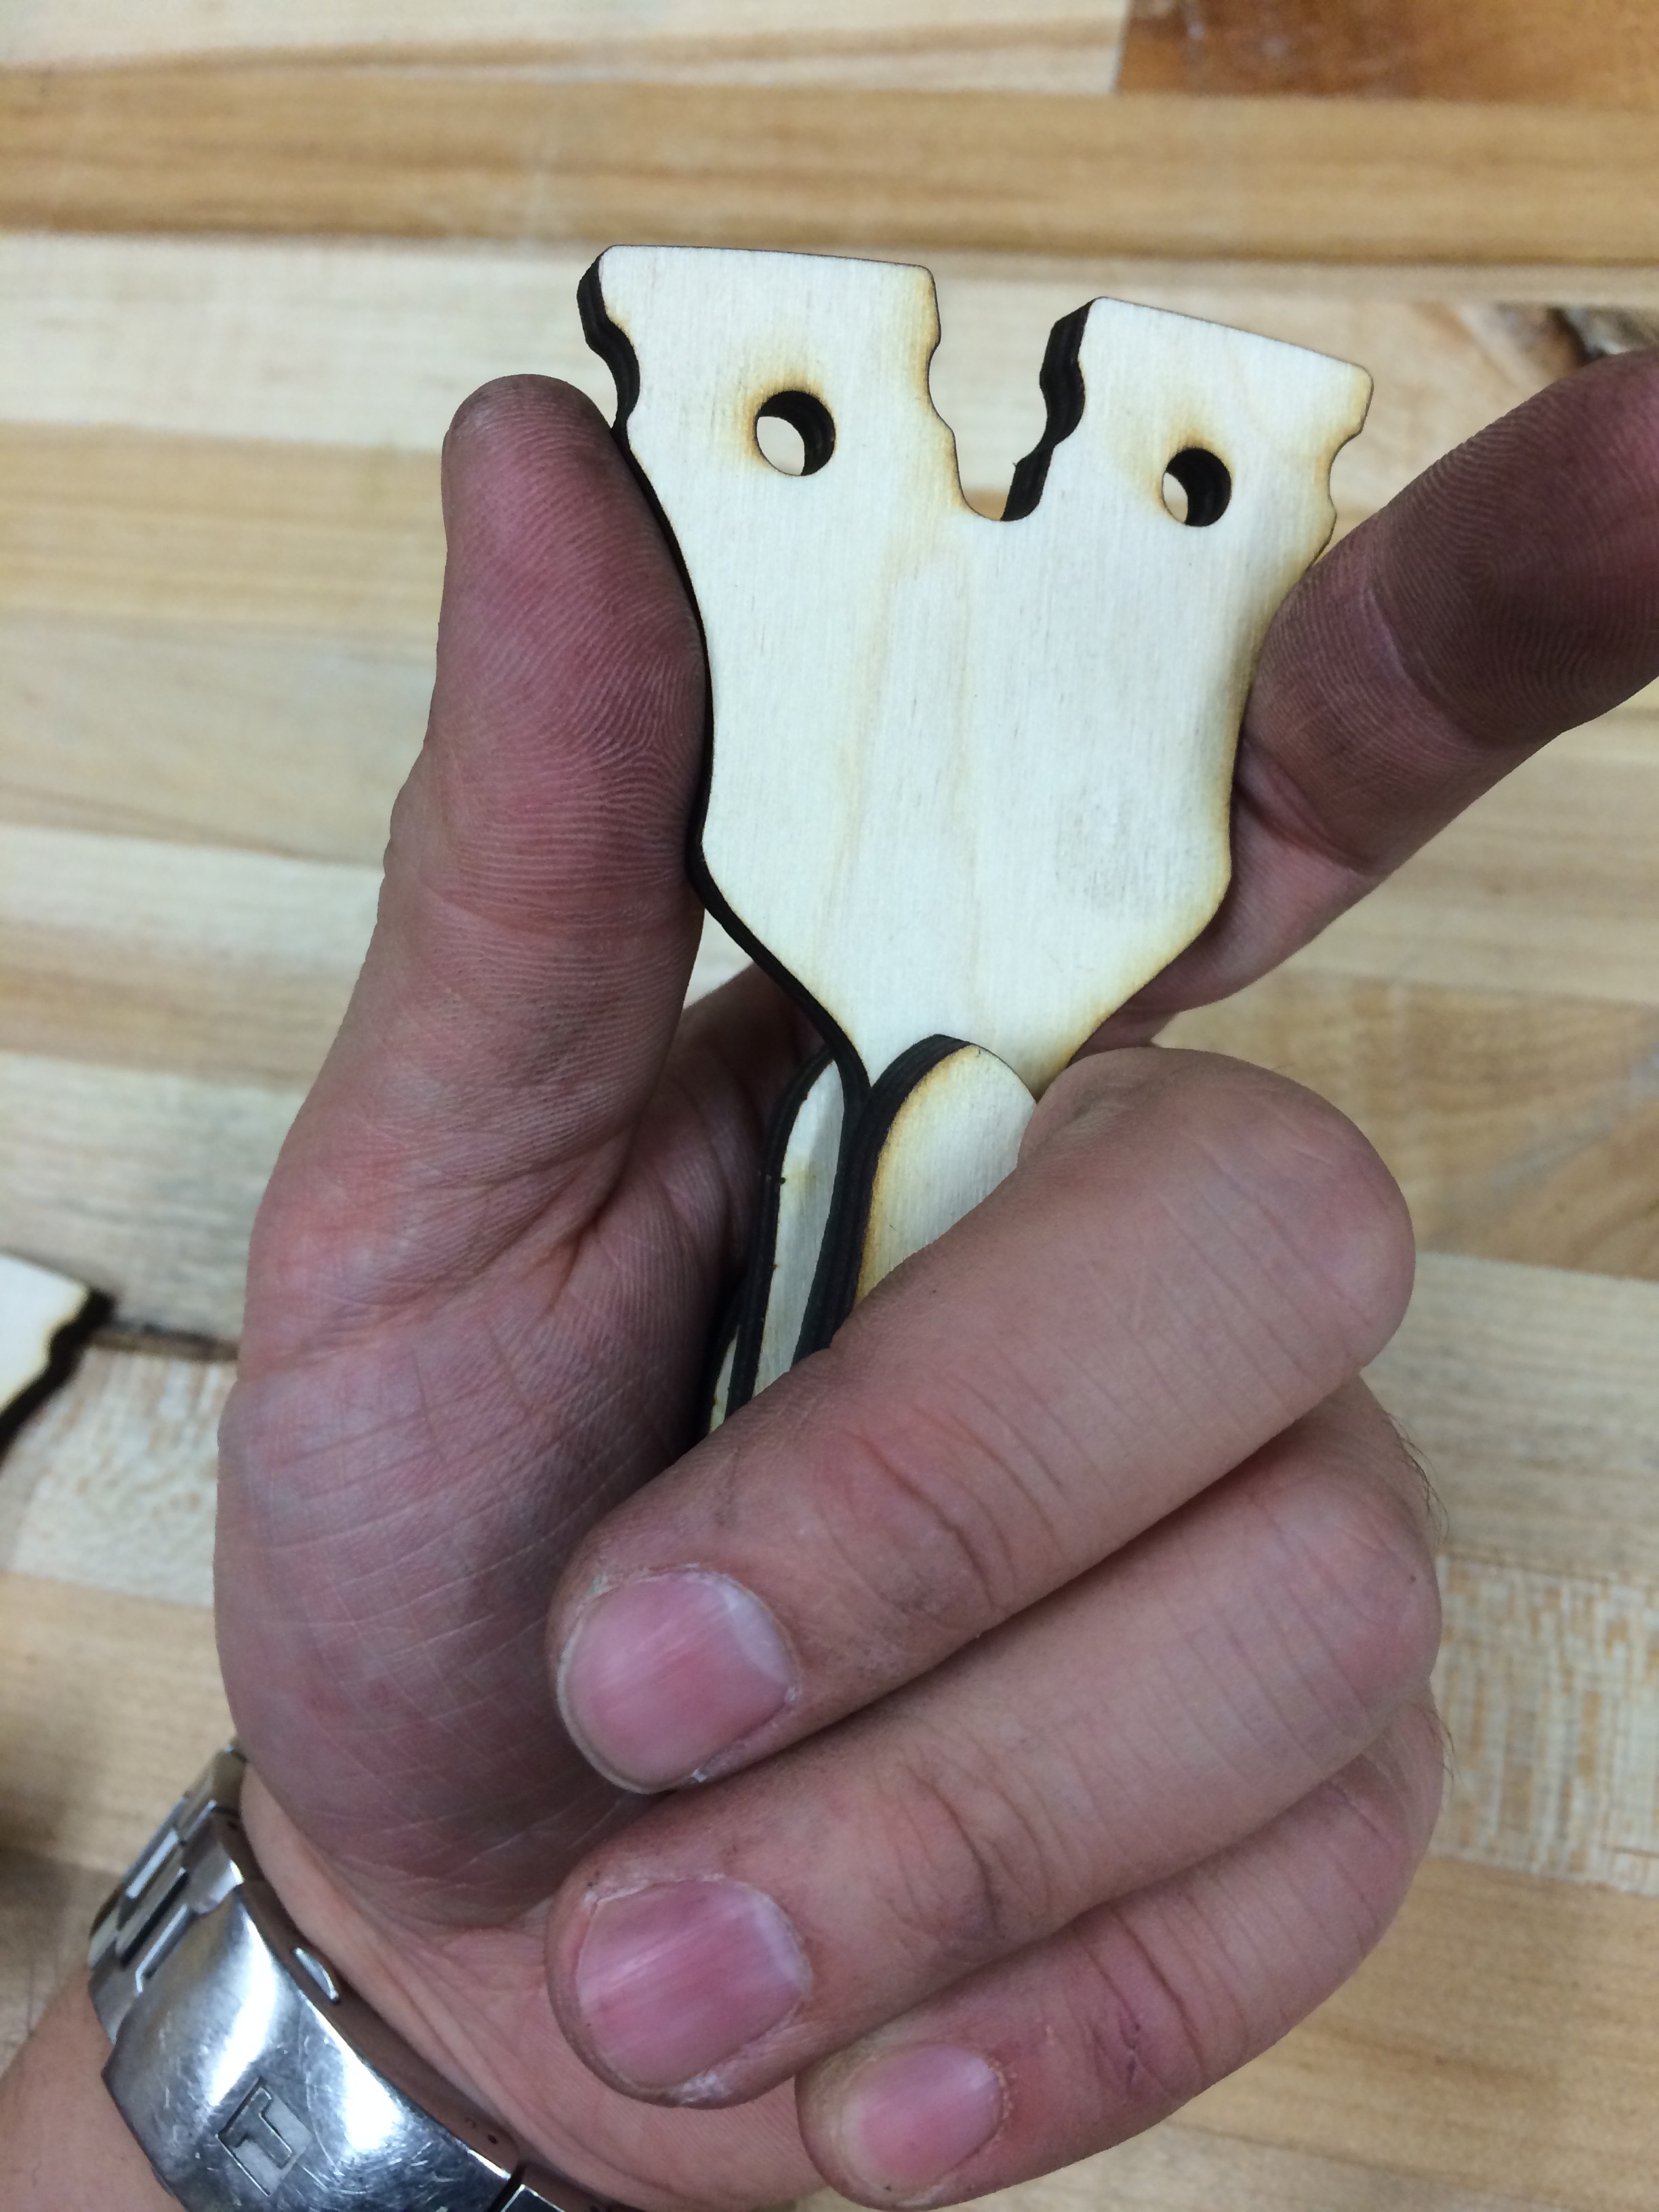
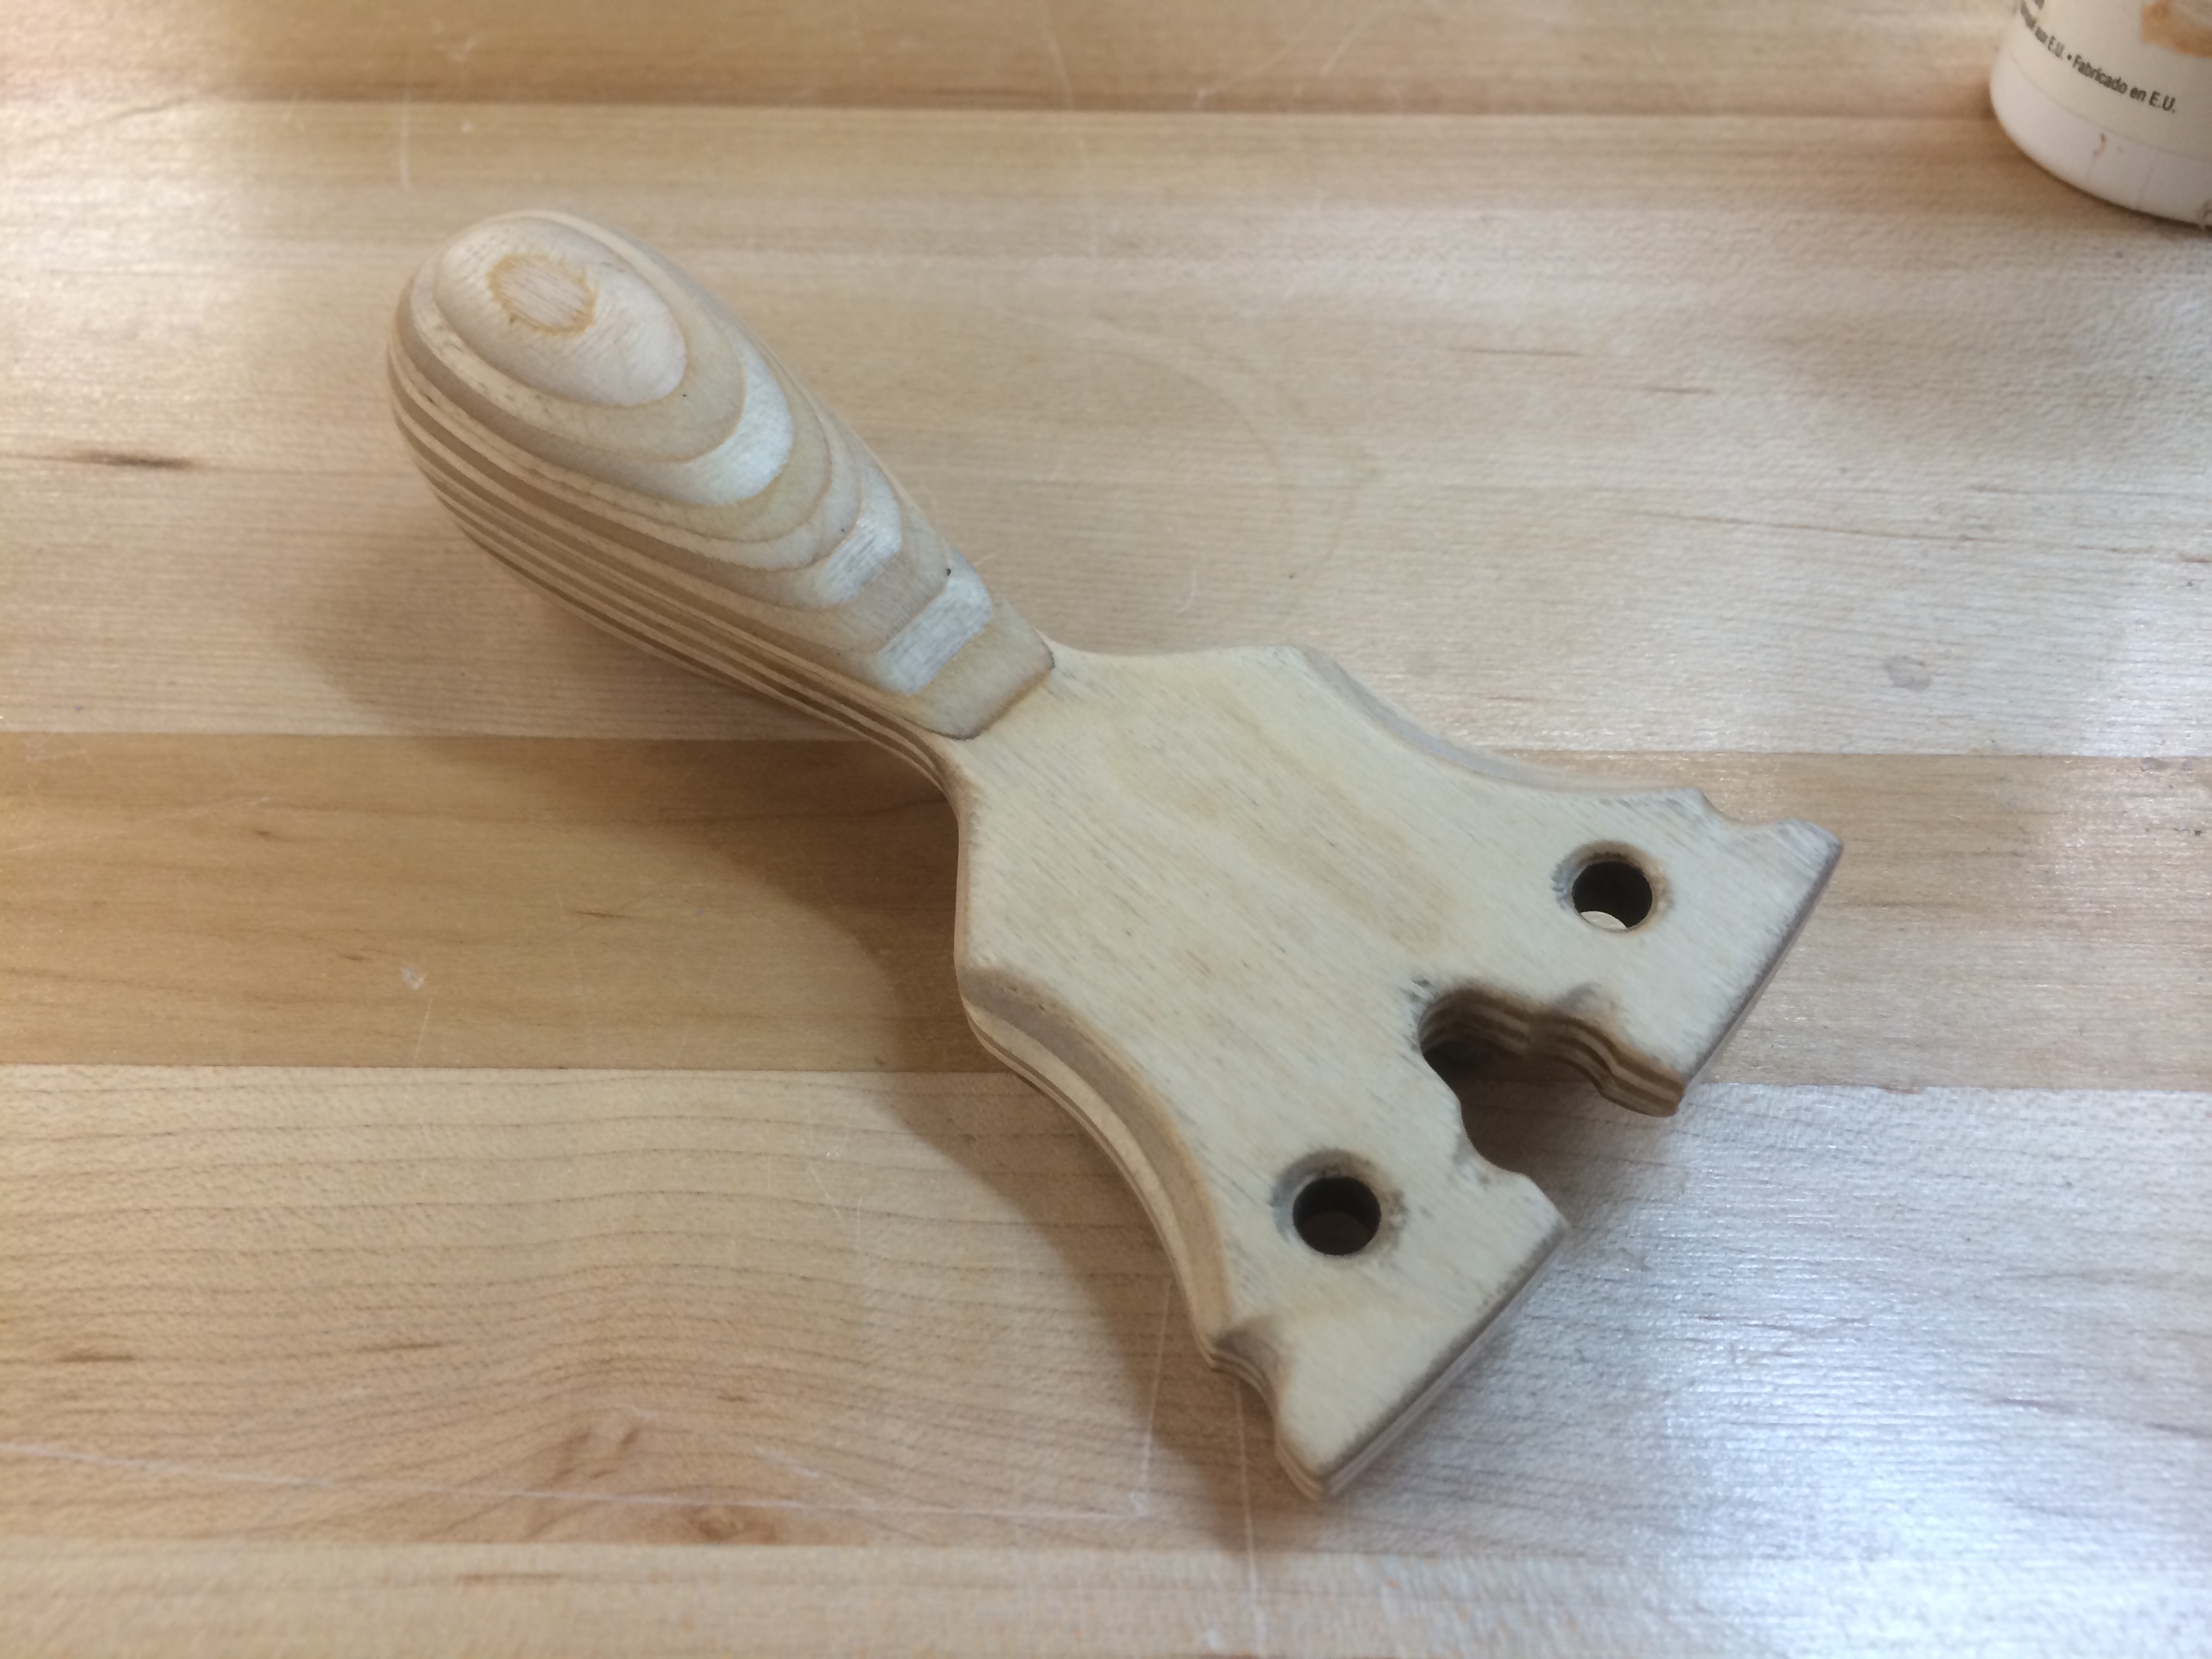
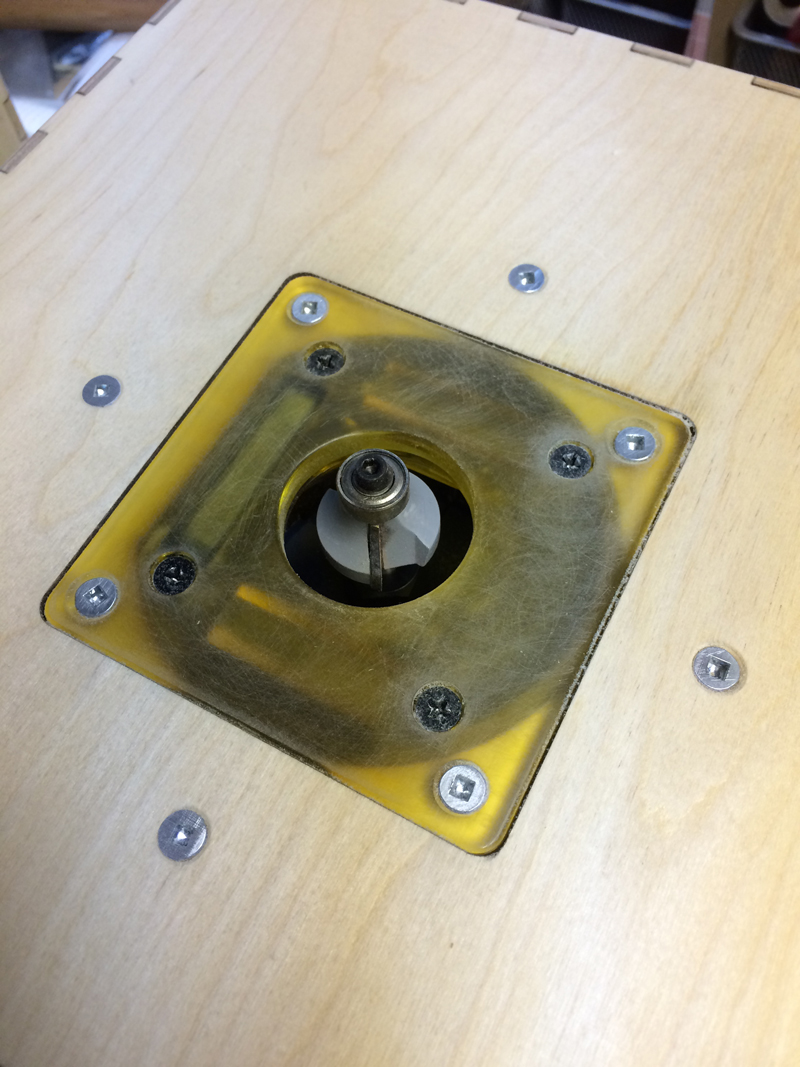
This is basically it. The rectangular hole on the front is the switch hole, this got lengthened by hand later to adjust for the bit height. The support/indexing plate was glue in place and further reenforced by 4 countersunk screws.

IMG_0814

IMG_0816

A shot of how the router looks like suspended by the support/index plate.

IMG_0815

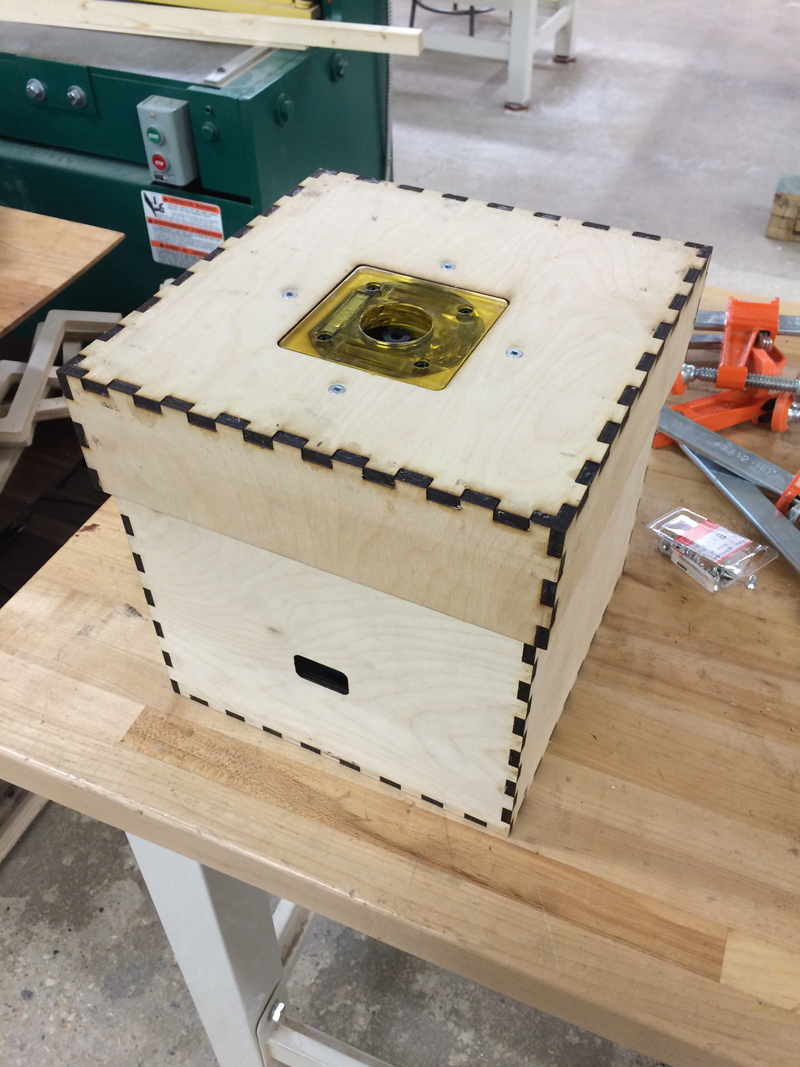
A quick zip on my other router table to cut the edges down and it was time to make a second one. Next to the first box (on the left) is the second box. Like I said, it was 4X faster to make the second one.

IMG_0817

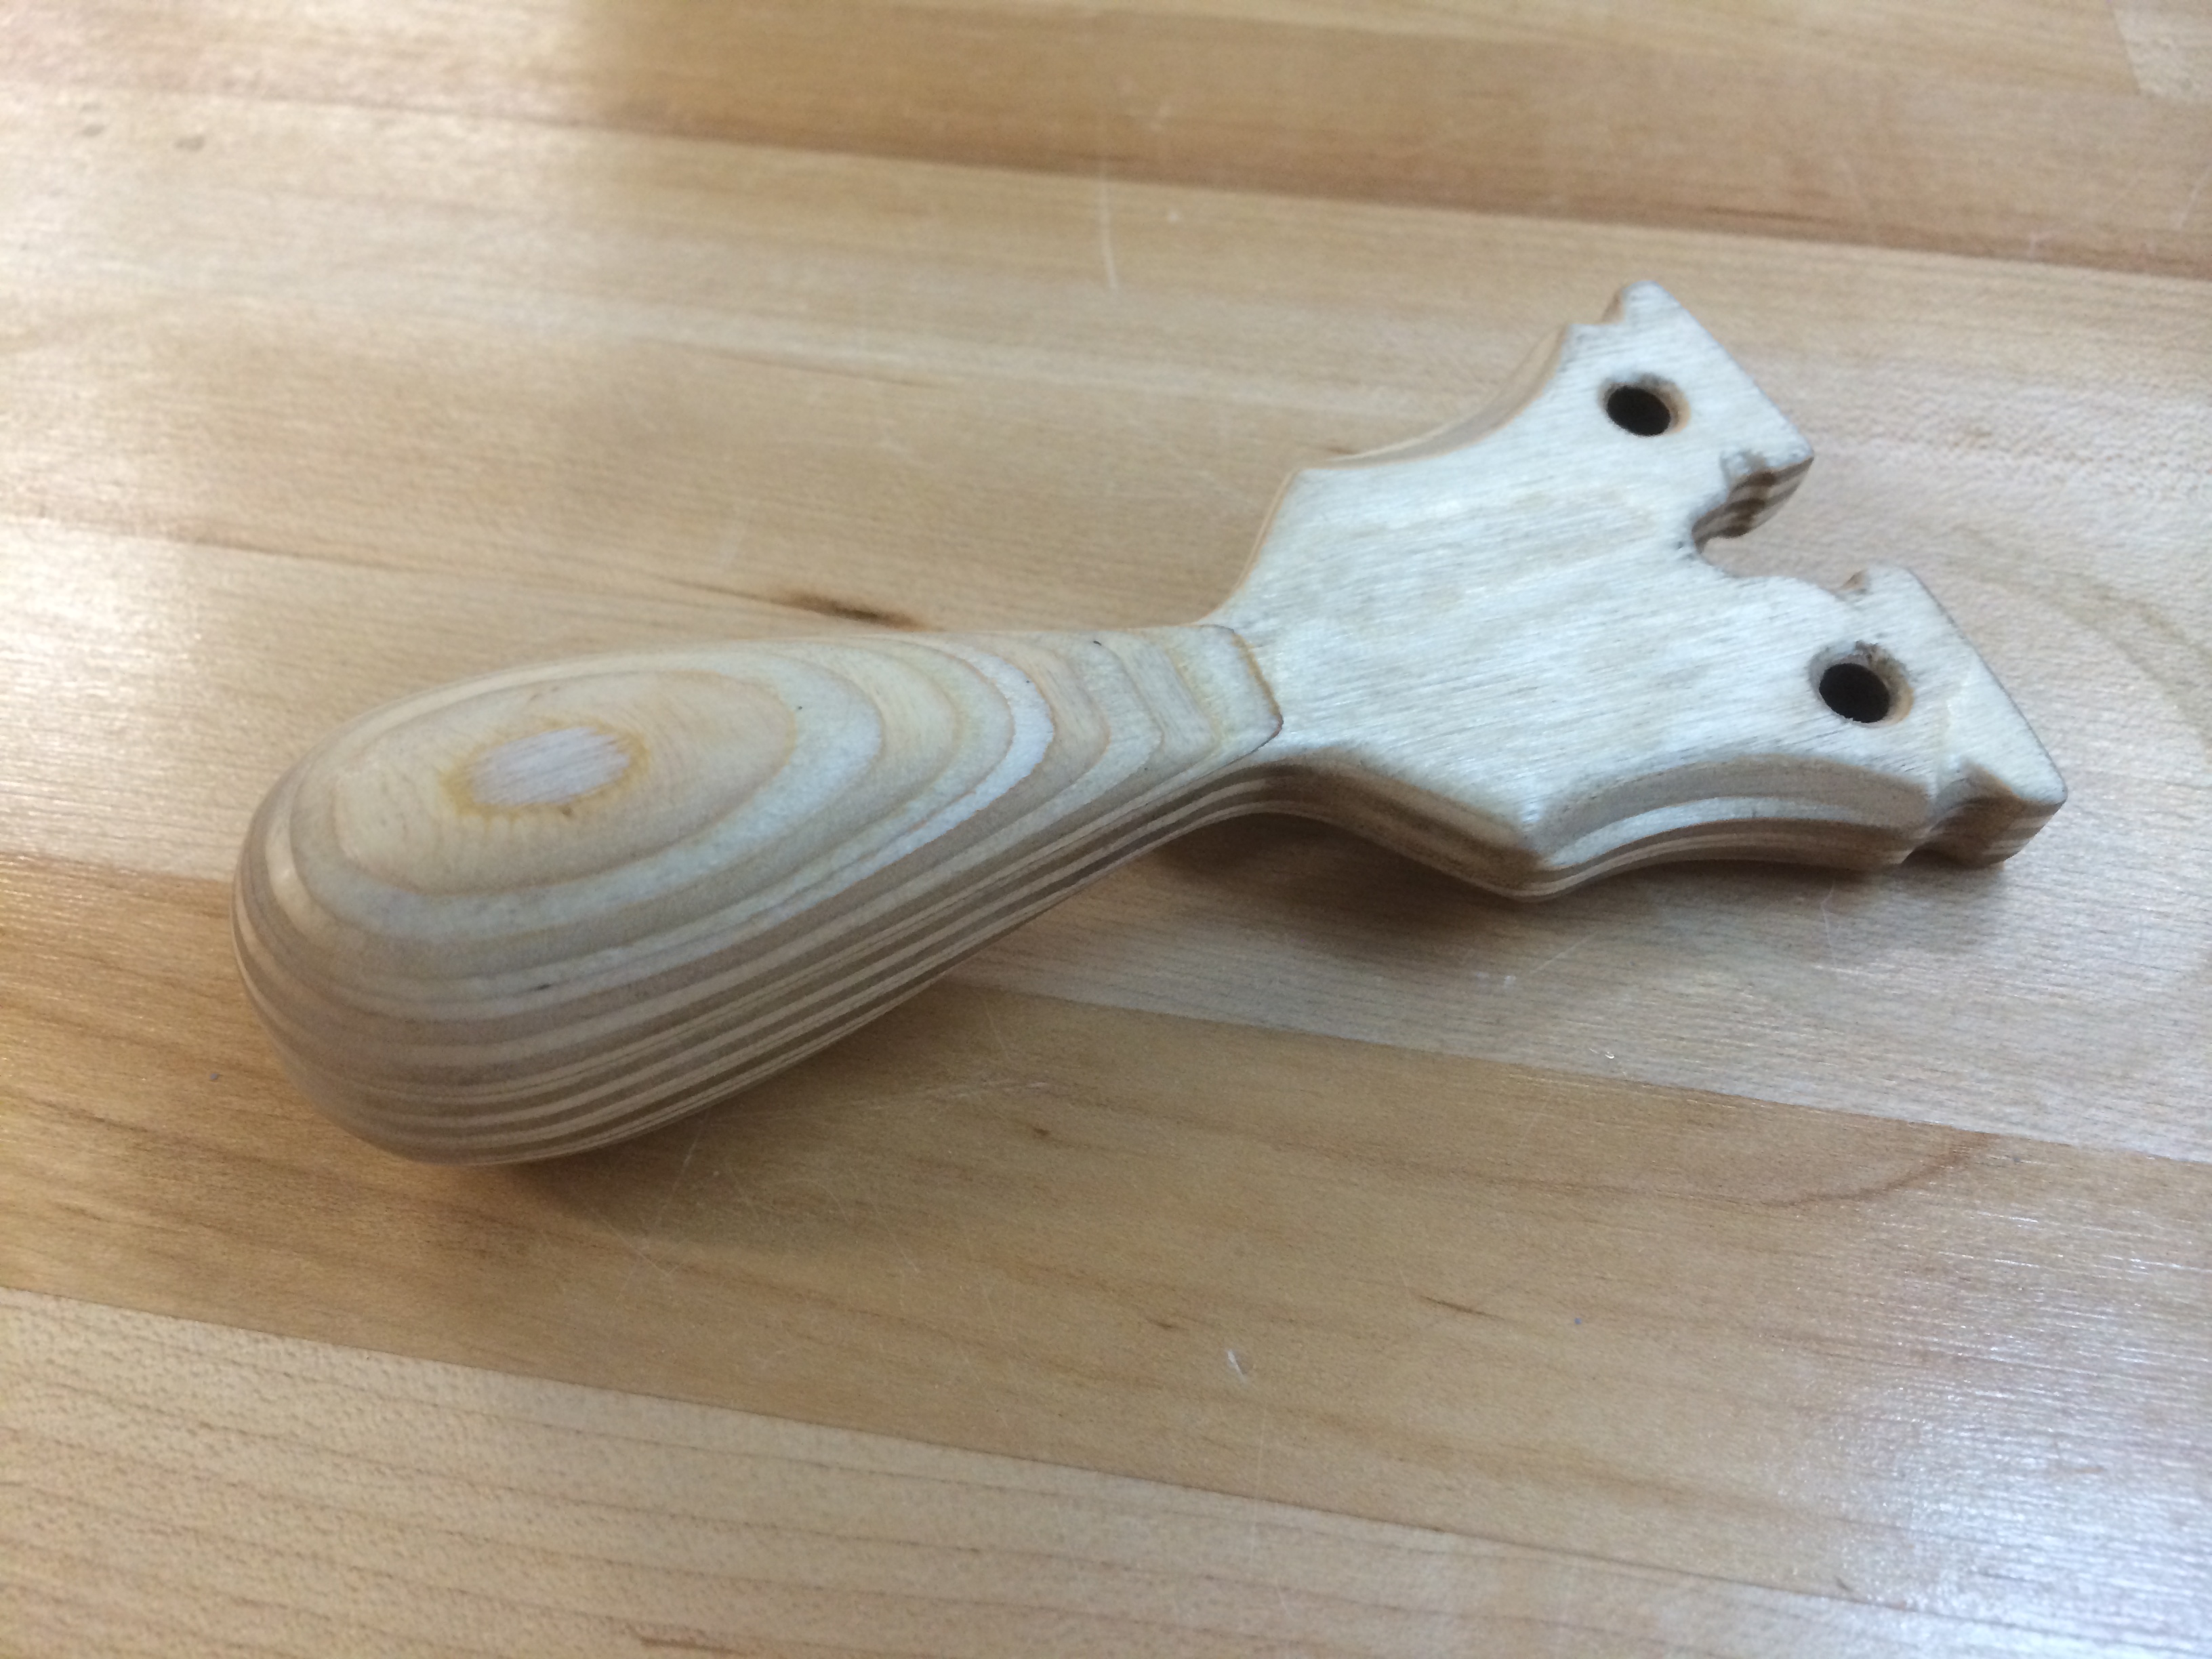
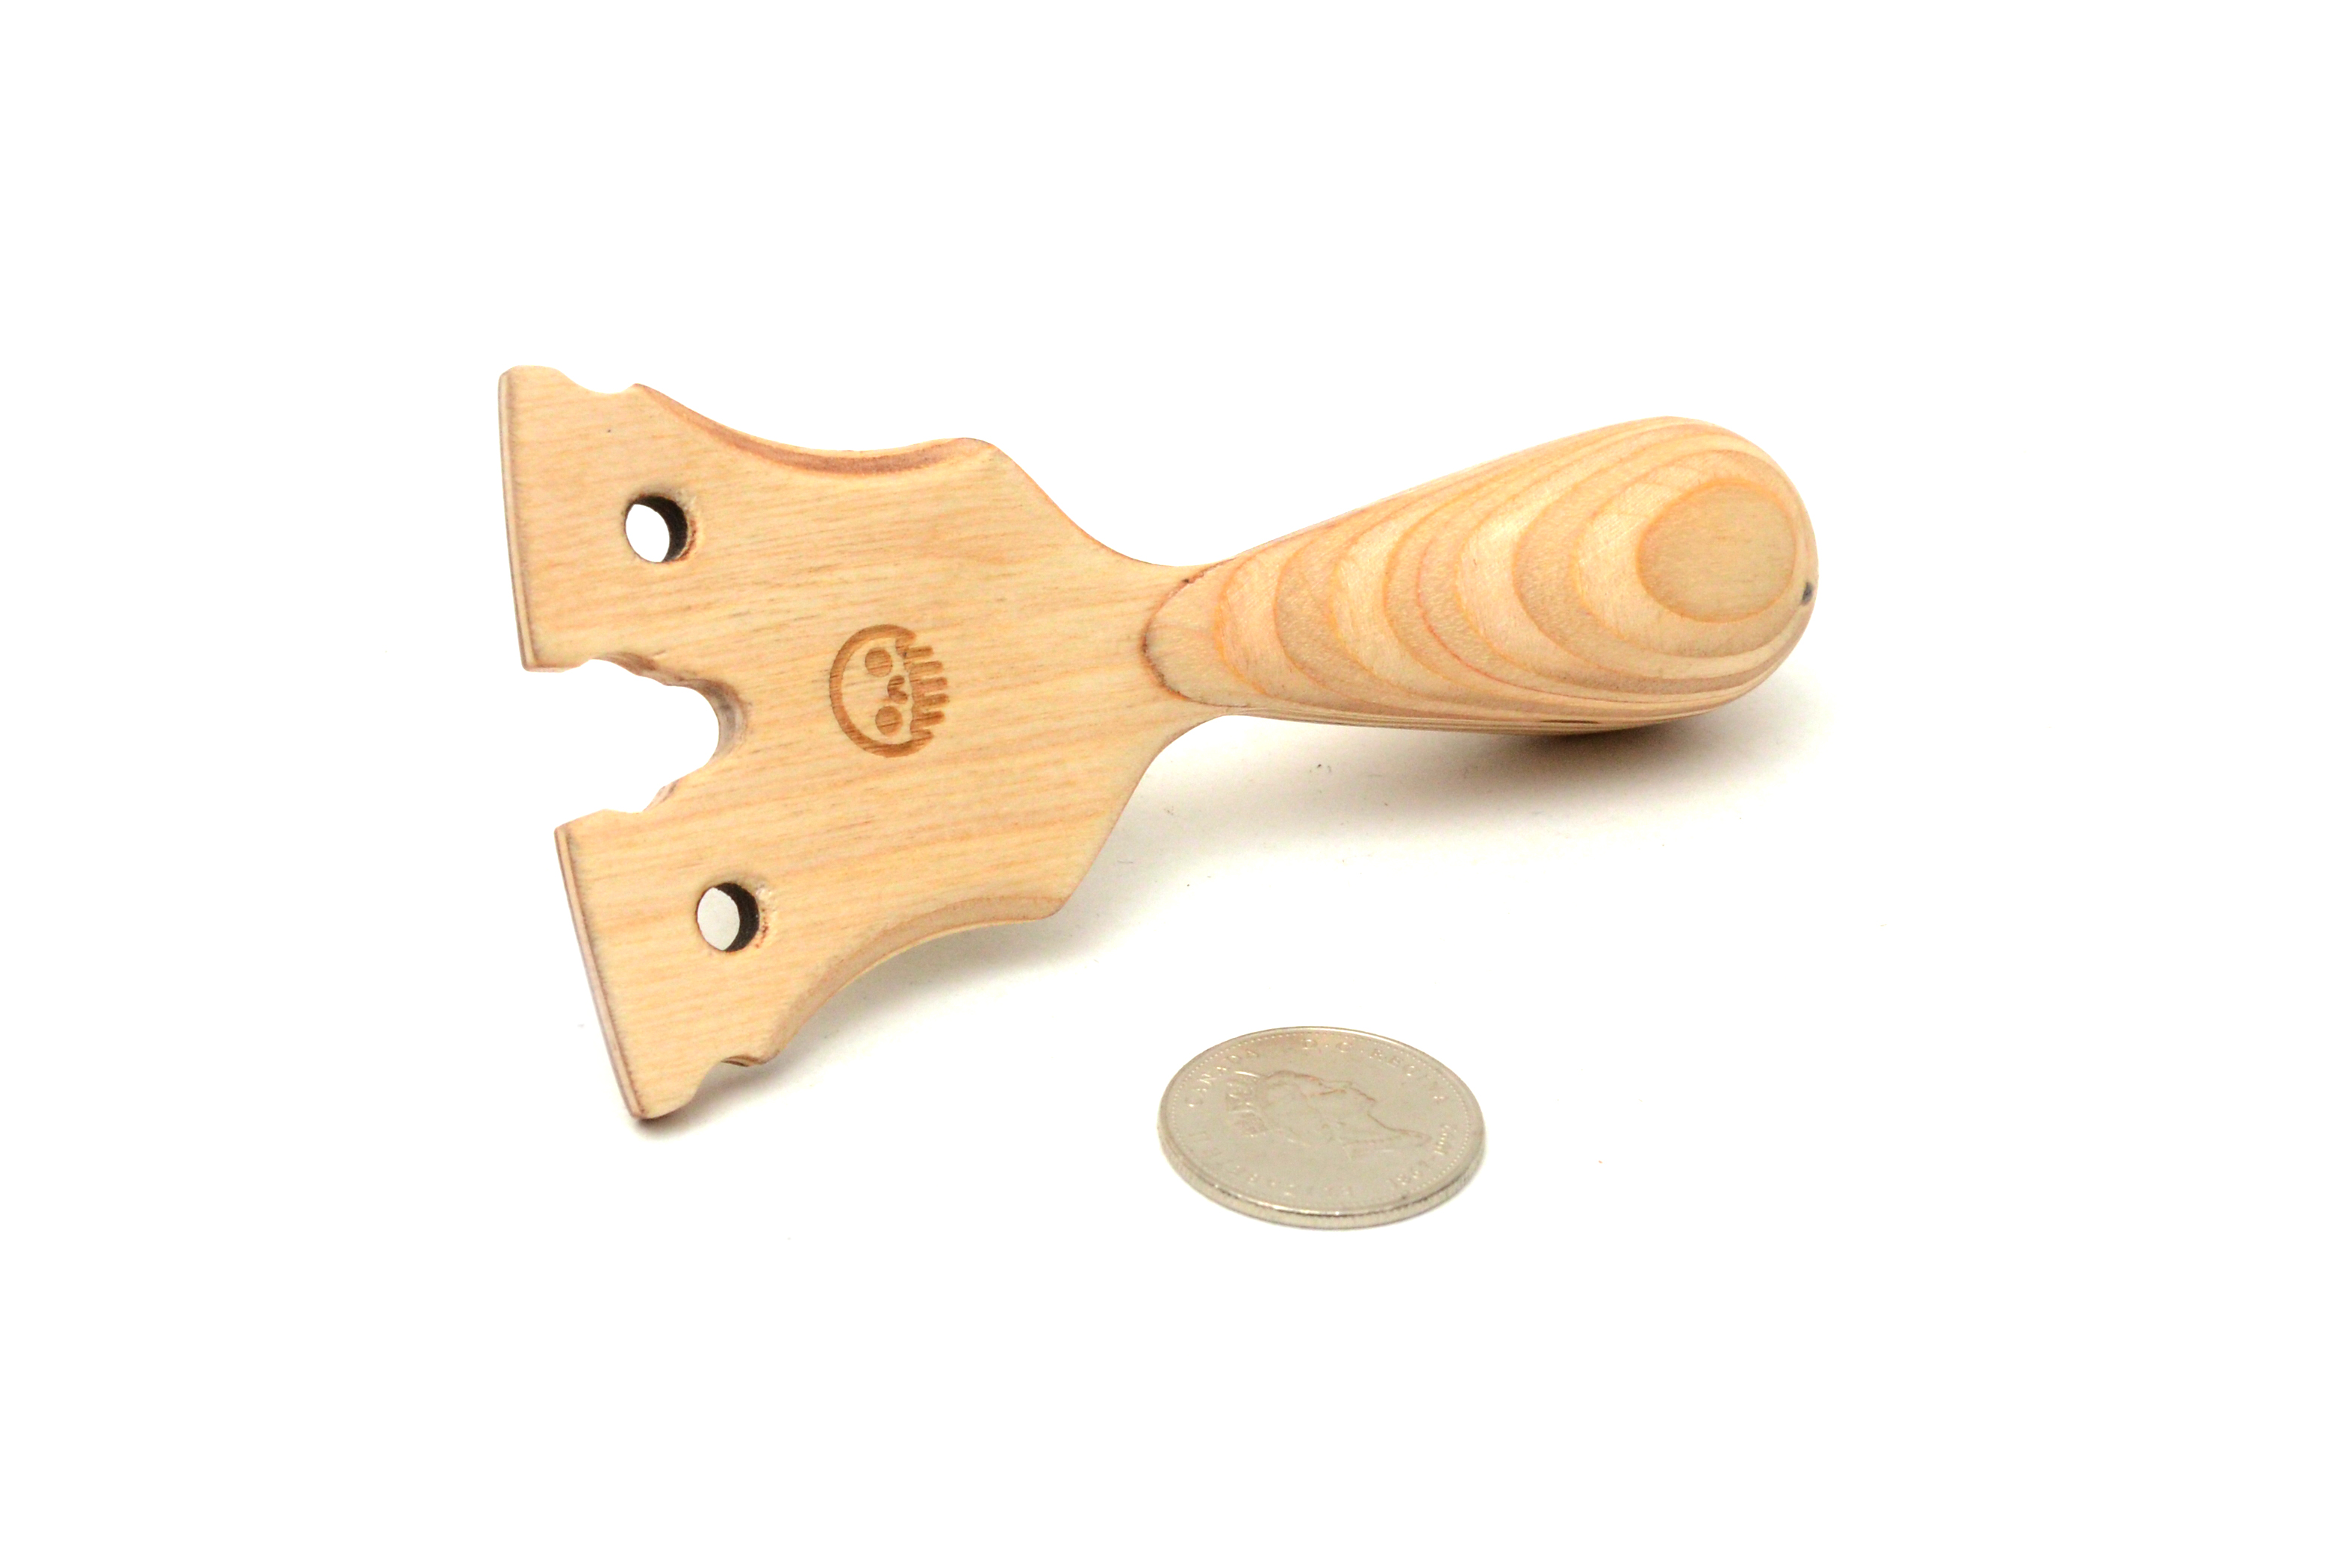
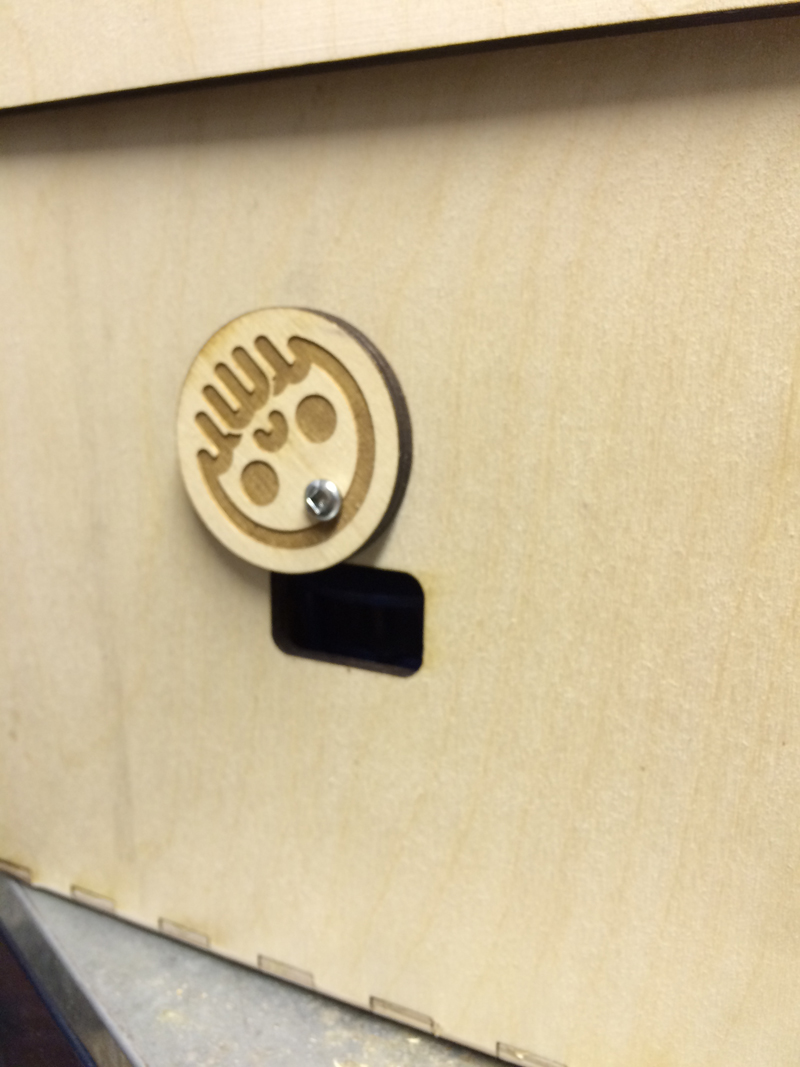
Once the basic form was made up, it was time to address some performance details. First, the switch hole cover. No Metro Made project is complete without the Metro Grade skull.

IMG_0818

This is simply screwed in place (the hole on the skull plate is bigger to allow for rotation).

IMG_0819

I knew the routers would likely have a lot of vibration and with such a light weight box, it would be amplified. To combat this, two bricks were put inside the box to weight it down and some rubber feet were installed on the bottom to dampen the vibration. This also makes the whole box very sturdy when in use, less fear of it tipping over with the center of mass, well below the table’s surface.

IMG_0820

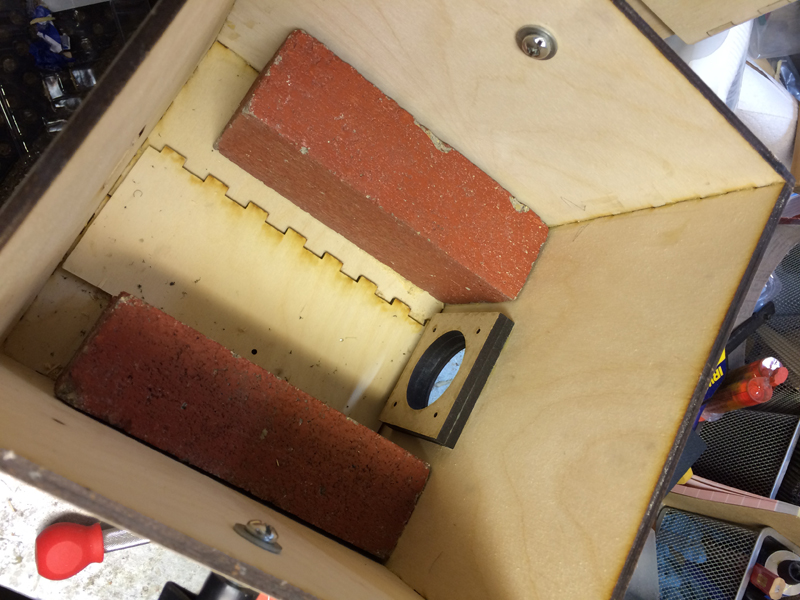
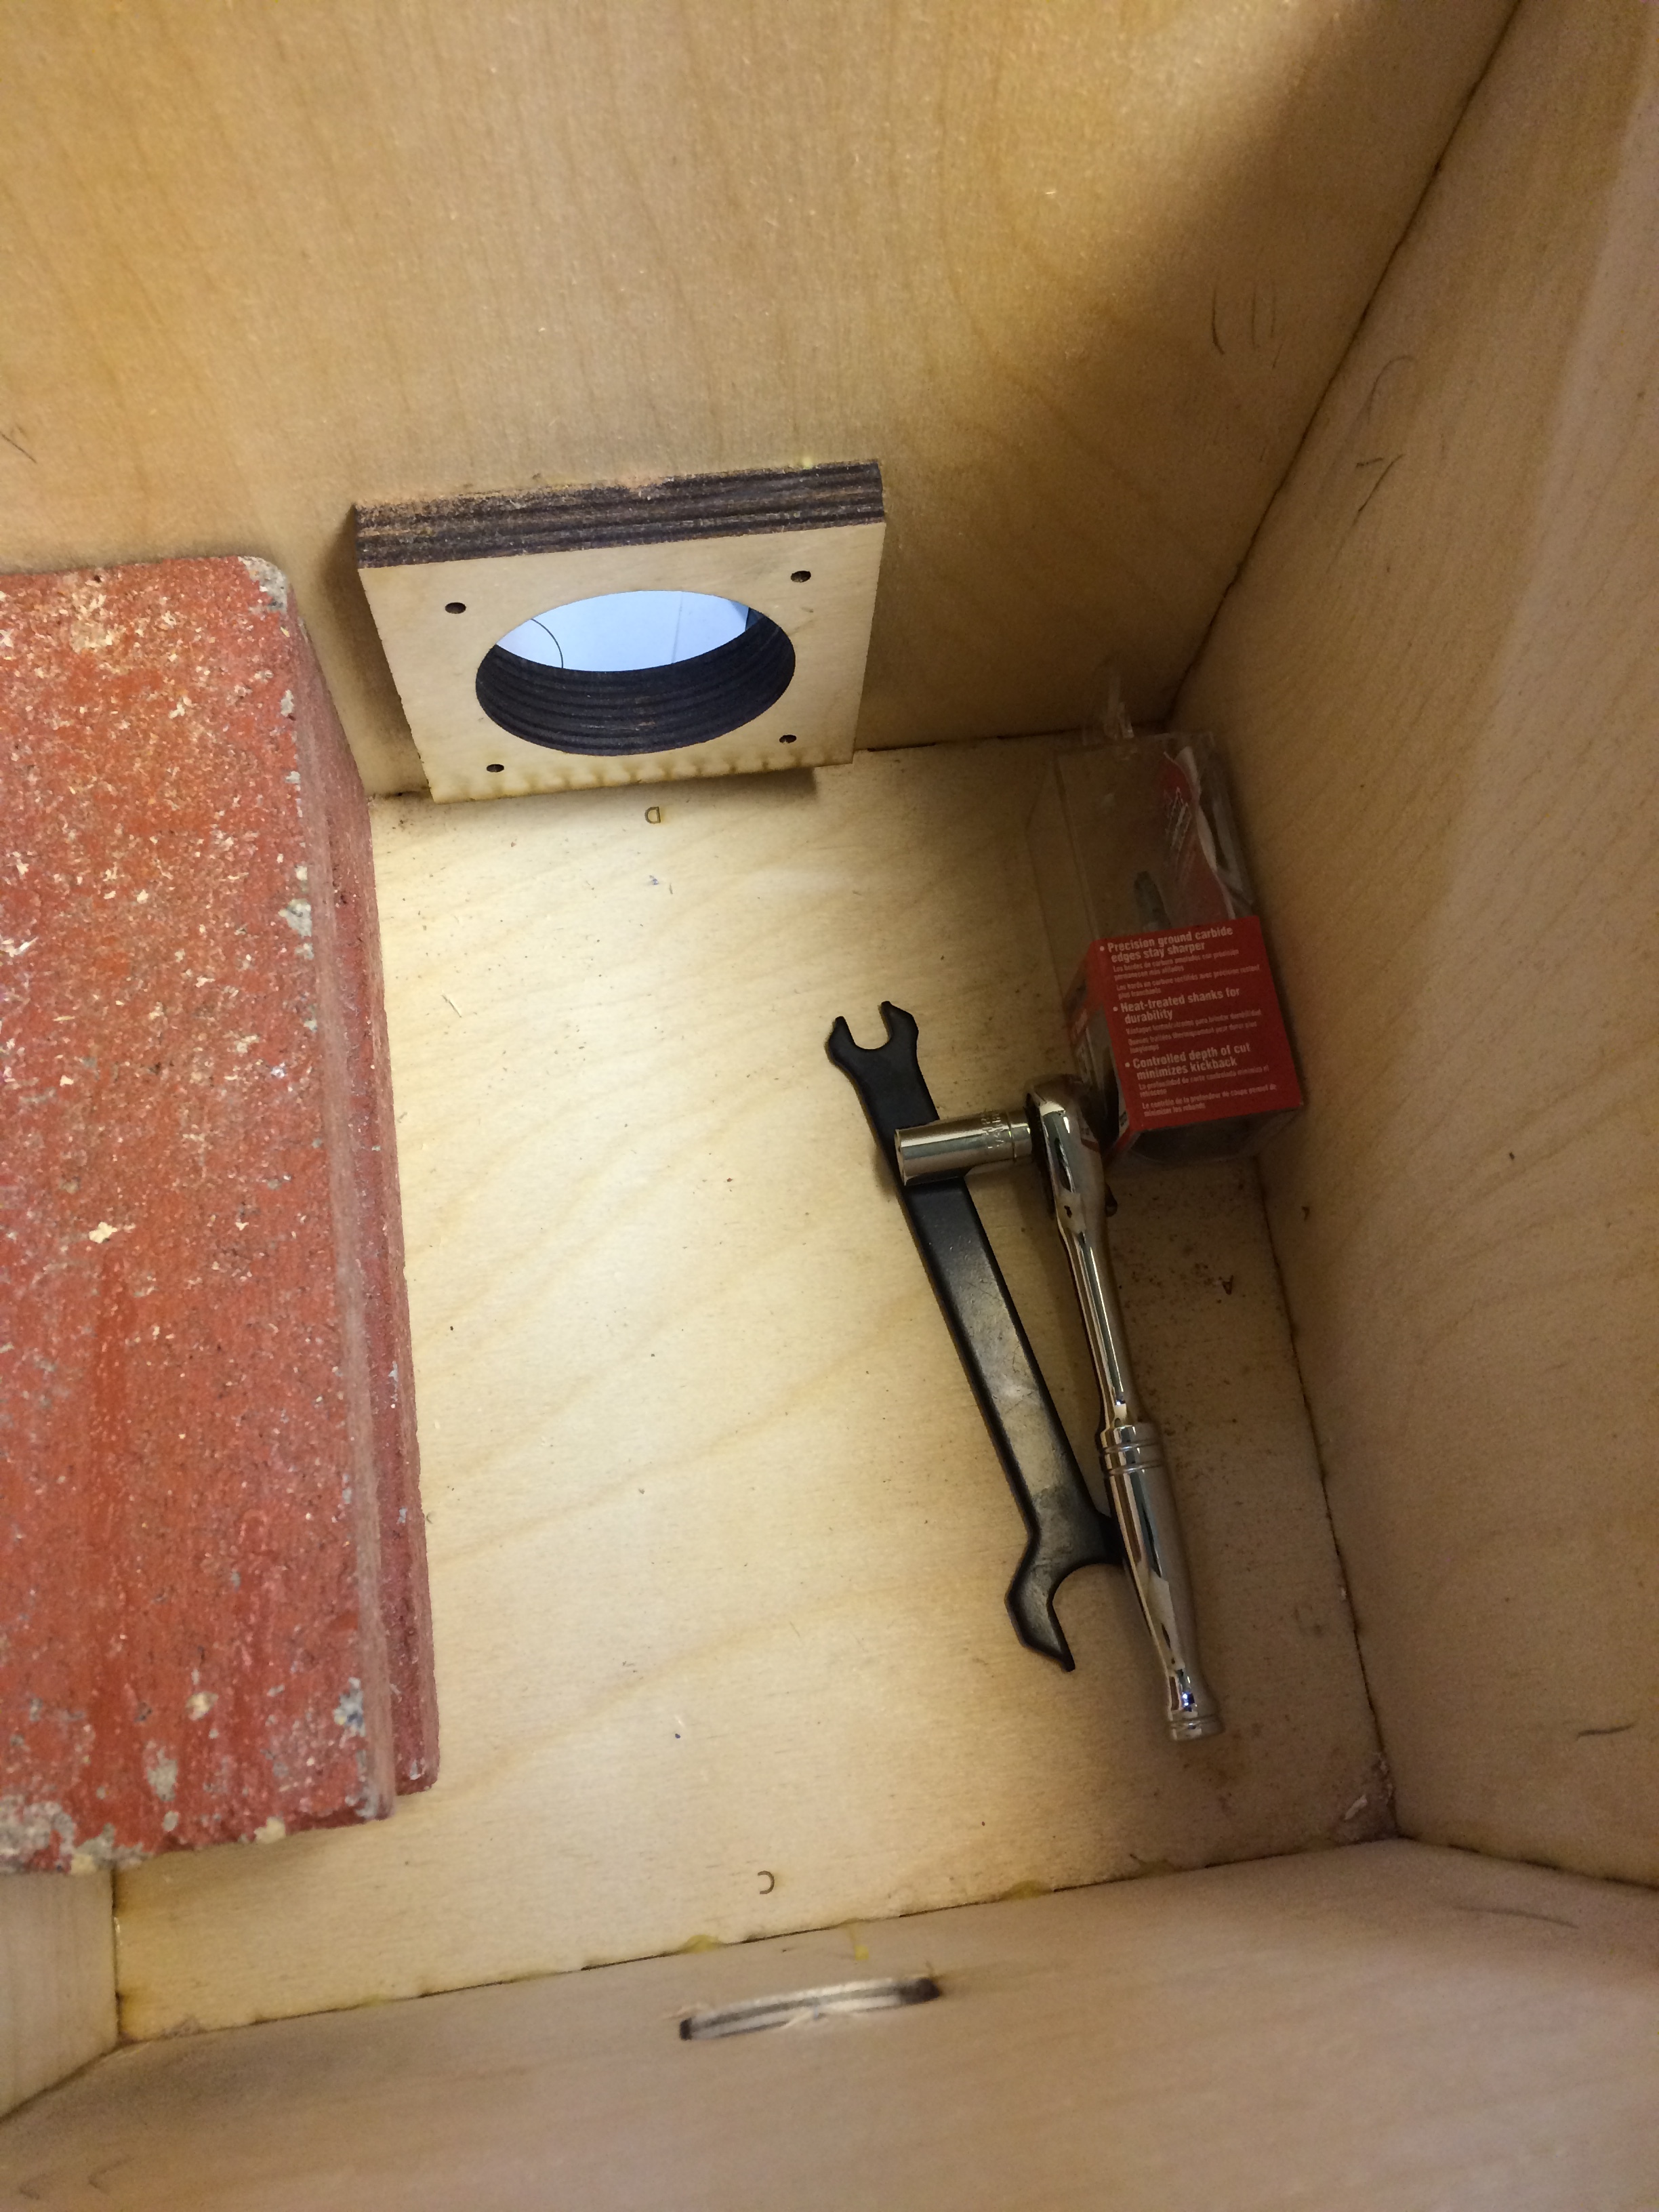
The best part about these boxes is that they are BOXES! which means they are perfect for storing the adjustment tools. I don’t know about you but I have a small collection of cheap tools, so leaving this small 8mm socket wrench and the bit adjusting wrench ready to be used INSIDE the box is great. Some commonly used bits can also be stored inside the box, I have to make sure they are weighed enough so that they won’t get sucked into the dust collector. This is also a good shot of how the dust port looks like, two additional layers of plywood make up the port.

IMG_0831

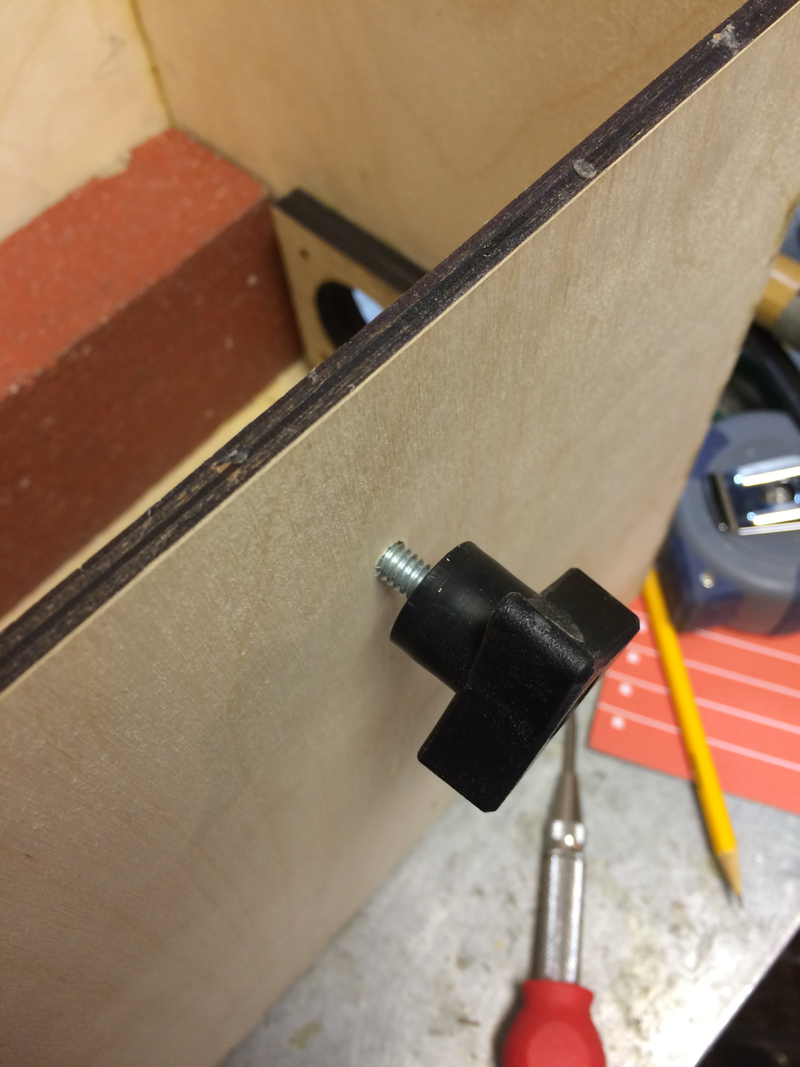
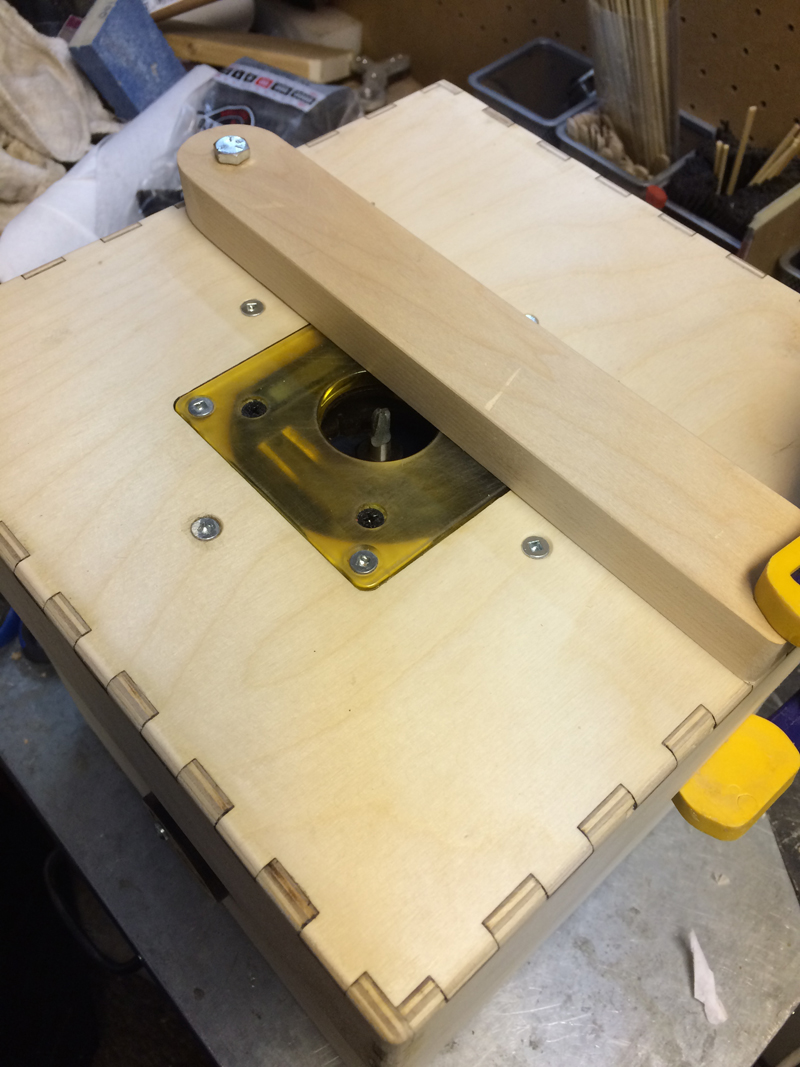
To lock the lid down, I used two 1/4-20 bolts with a flower knobs on either side that correspond to two slots cut out of the lid.

IMG_0821

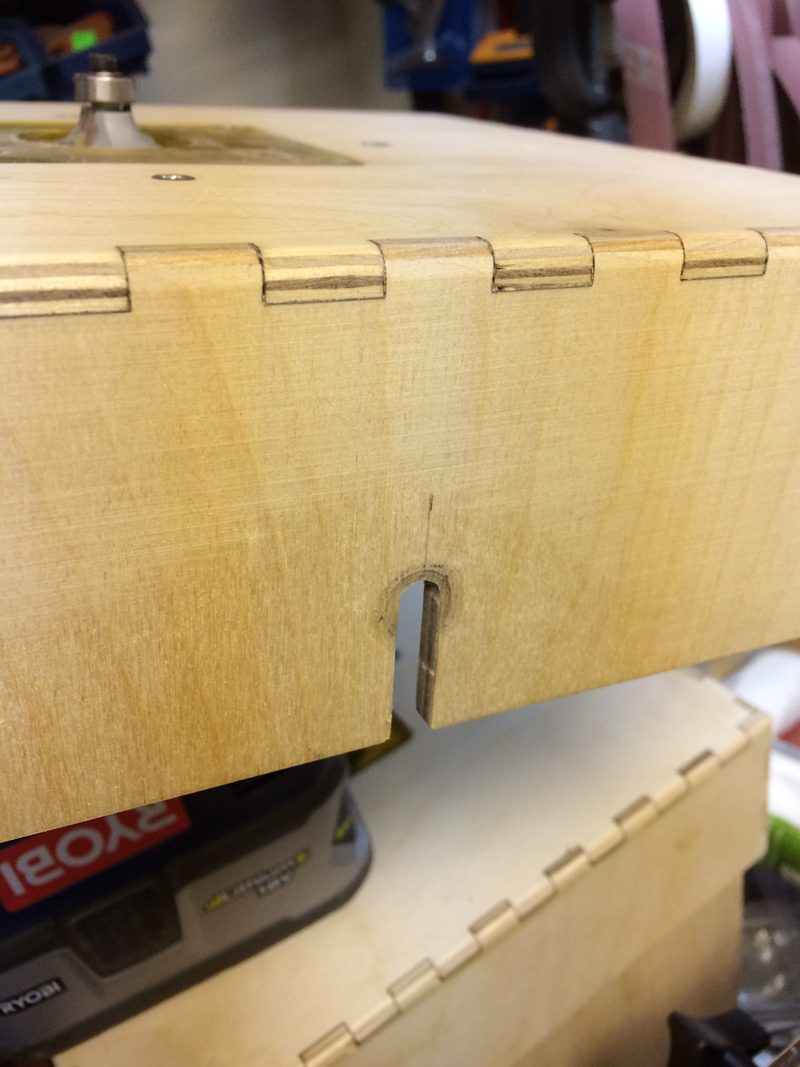
Here are the slots. On the underside of the lid, on the inner corners, a thin 1mm cork strip was glued in place to increase the contact of the lid and the box. This should dampen the vibration more and also make for a better airtight seal.

IMG_0822

The surface of the router plate was TOO slick so some 220 grit sandpaper took off the sheen and added a bit of traction for better control. 4 additional screws were added to the router to really suck down the router base surface to the box lid.

IMG_0823

One final shot of the dust port.

IMG_0824

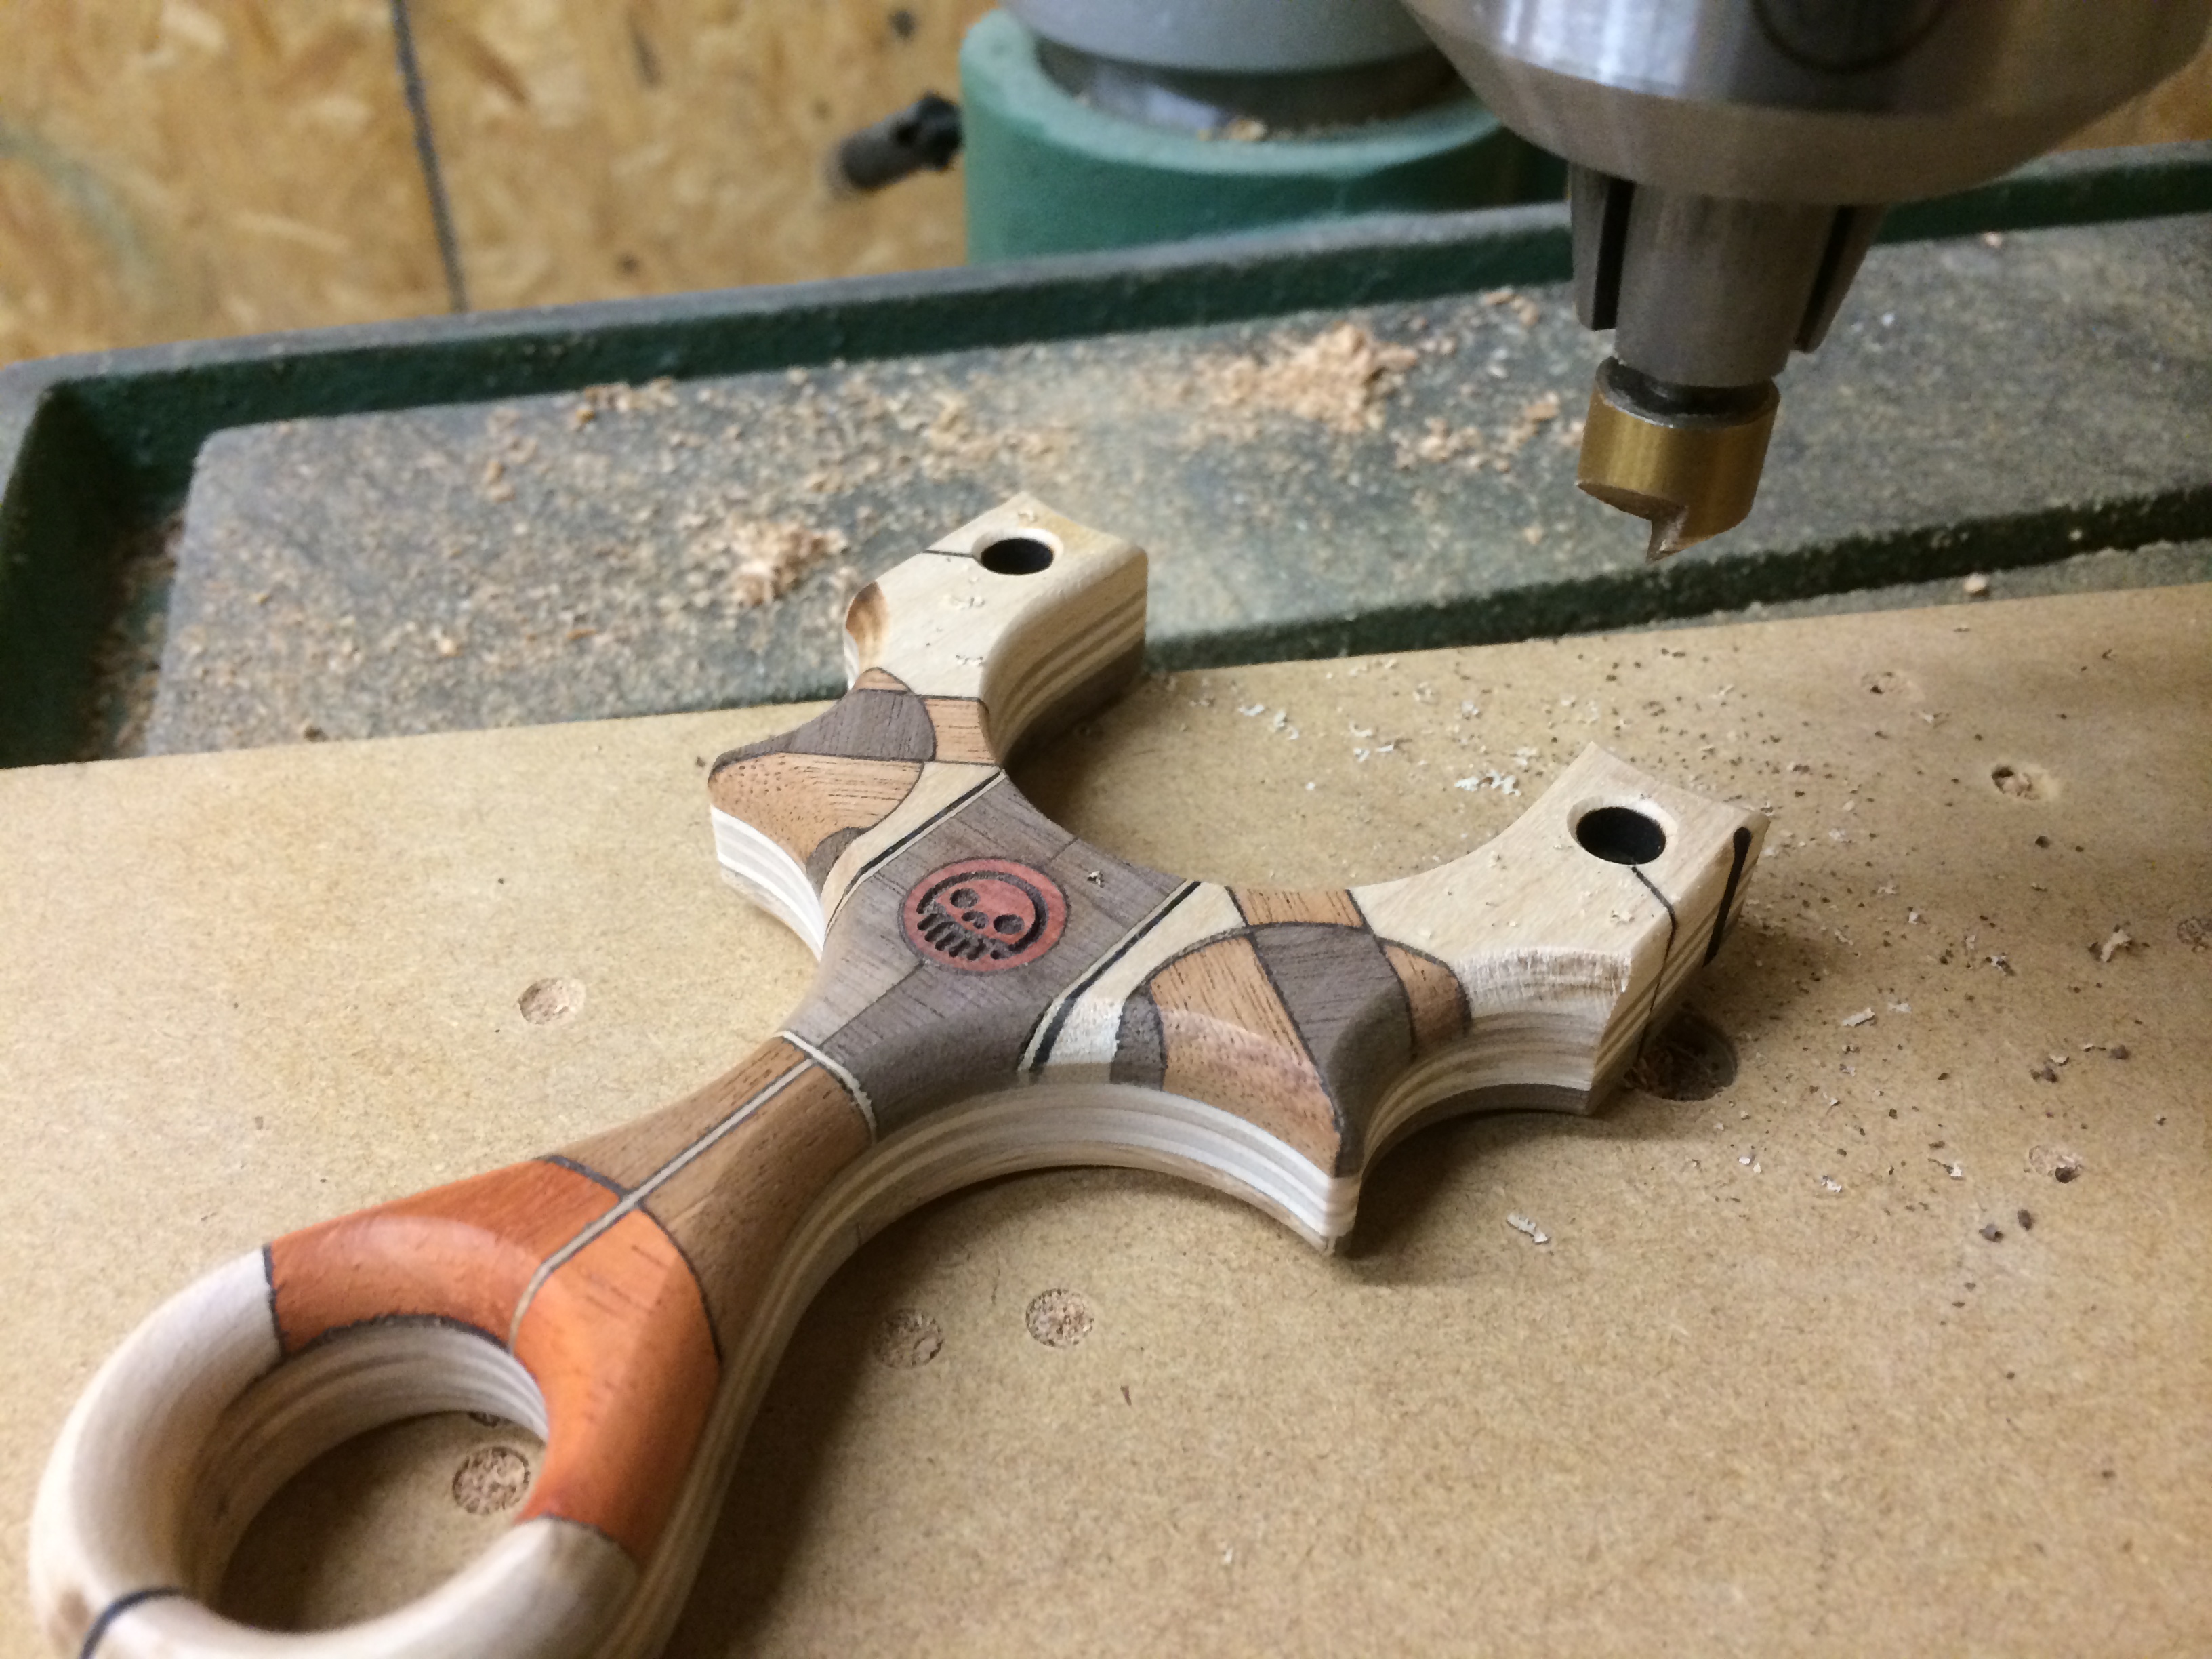
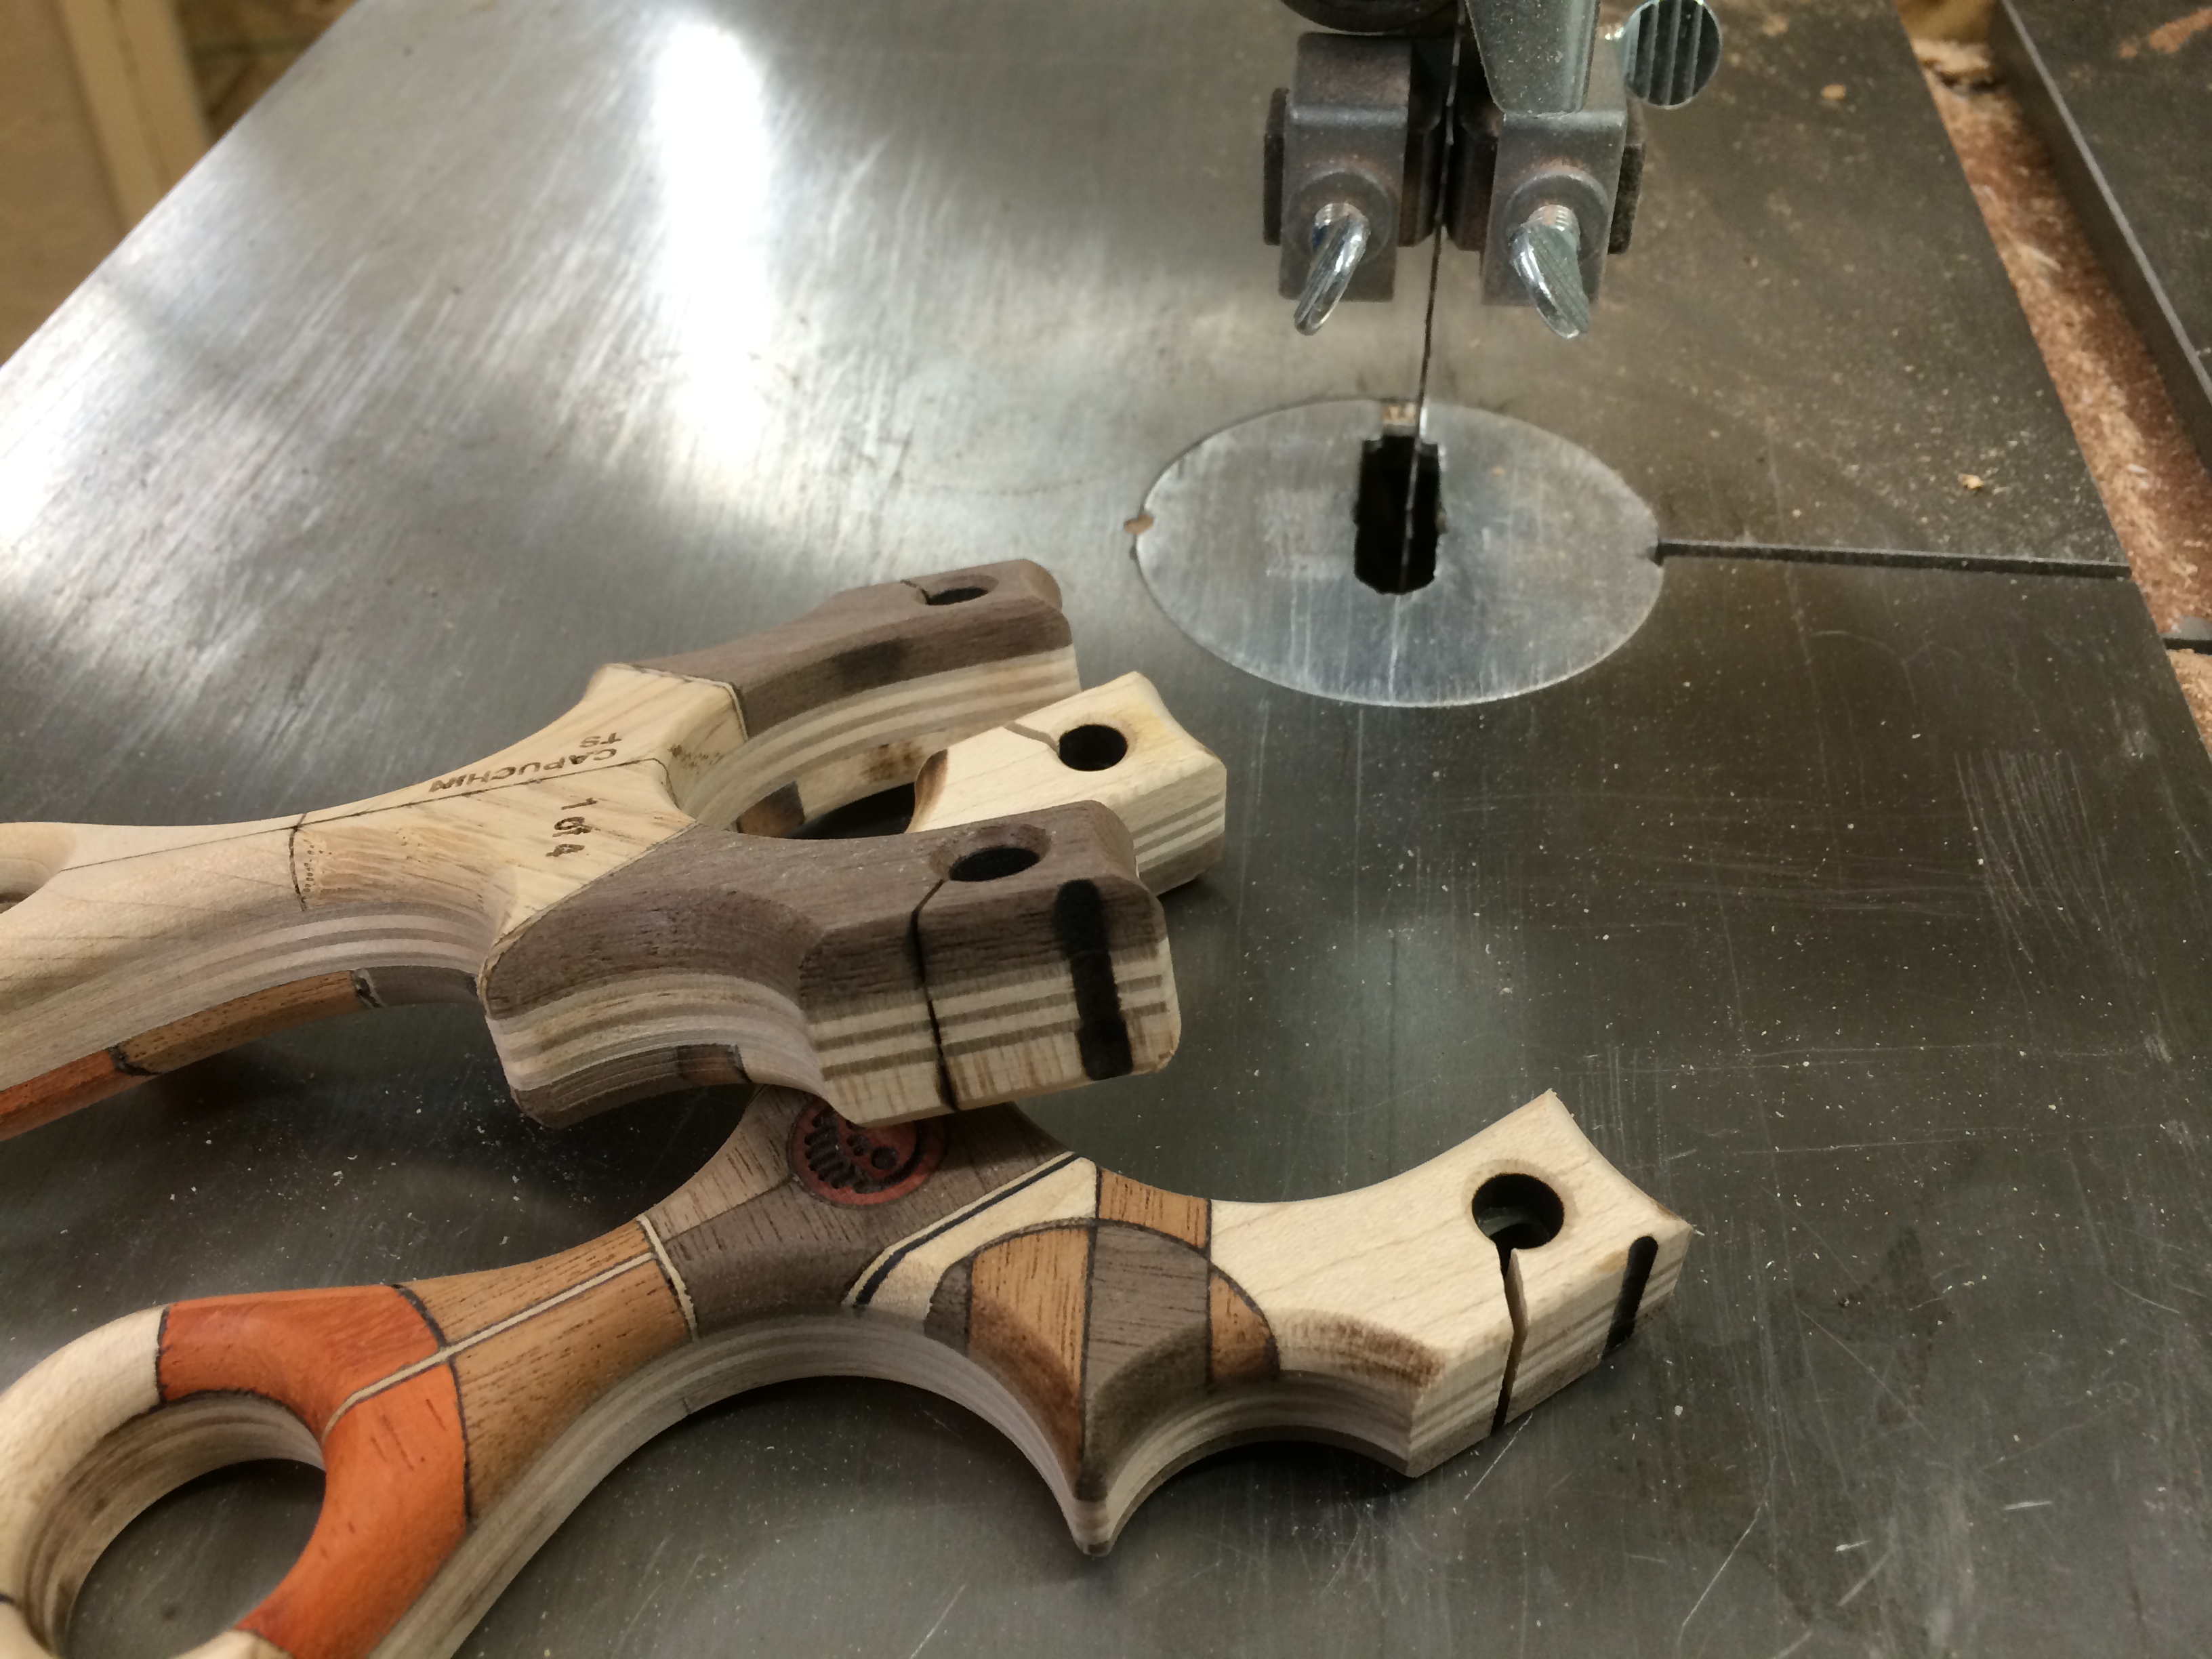
The first box will be set up with a 1/4″ round over bit almost exclusively so the 2nd box needed a few more details to make it more versatile. Aside from being a flush trim box, it will also be the box I use to cut band groove slots on the tips of slingshots. I have to buy a 1/8″ and a 3/16″ core box bits, but the idea here is that the swinging arm will pivot on one end to increase or decrease the distance from the bit and act as a fence for the slingshot to ride on. The free swinging end gets clamped down by a quick clamp. When I figure out the idea distances to swing it, I’ll make some indexing pins to easily repeat the cut.

IMG_0827

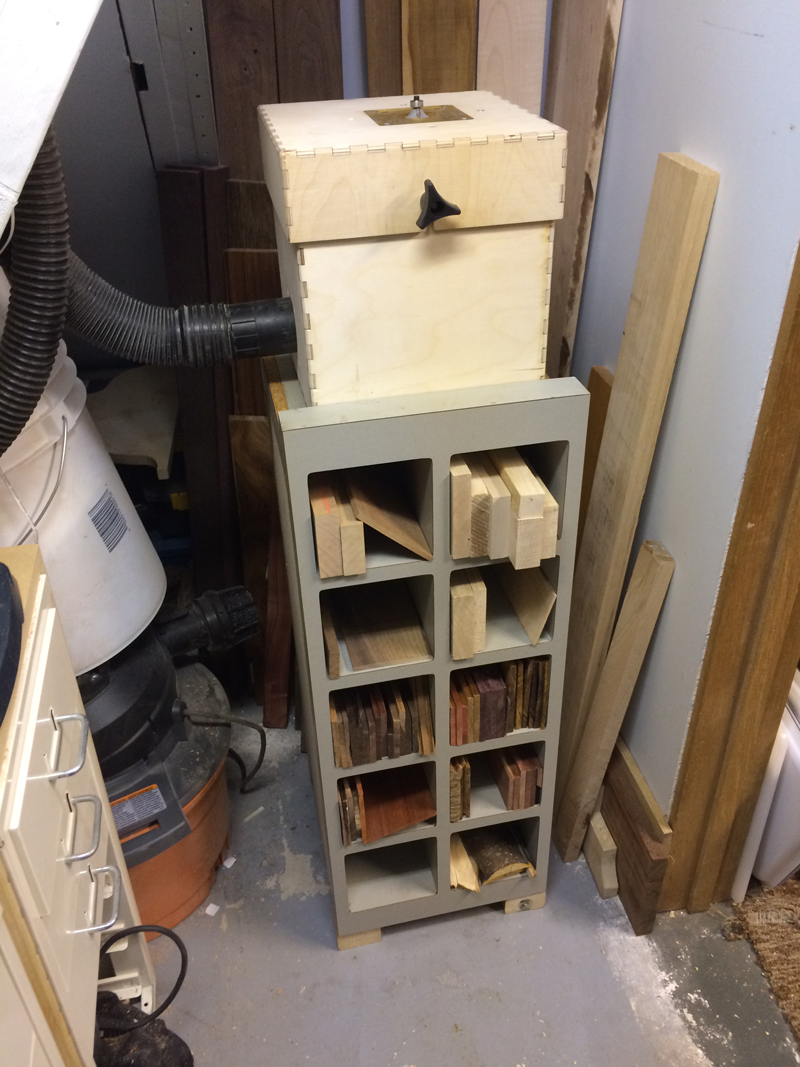
Now to install it in the shop. This whole project was spurred when I found this amazing cabinet at my local Re-Store (Habitat for Humanity) for $15. I think it was used as an mail inbox unit, obviously part of a larger installation due to the unfinished sides, it’s very sturdy. I put some medium duty casters just so I can move it around, but when I am using it, I have it blocked up in the front.

It is the PERFECT thing for organizing my thin woods and smaller blocks of lumber.

IMG_0828

The cabinet had a lip on the top side, which I actually think was the bottom, which is nice for the router box to rest up against. I freed up the area in front of the wood storage by moving the small blocks to the new cabinet. There is just enough space to get behind there and get the larger planks of stock. The modular boxes allow me to move the whole unit off the base and then move the other box into its place, no need to spend time changing bits.

IMG_0829

I know I’ve gone on and on about the dust port but router make such a mess if you don’t control them.

IMG_0830

So to close this Metro Made up, a short video of the first run on the router box. I hadn’t installed it on the base.

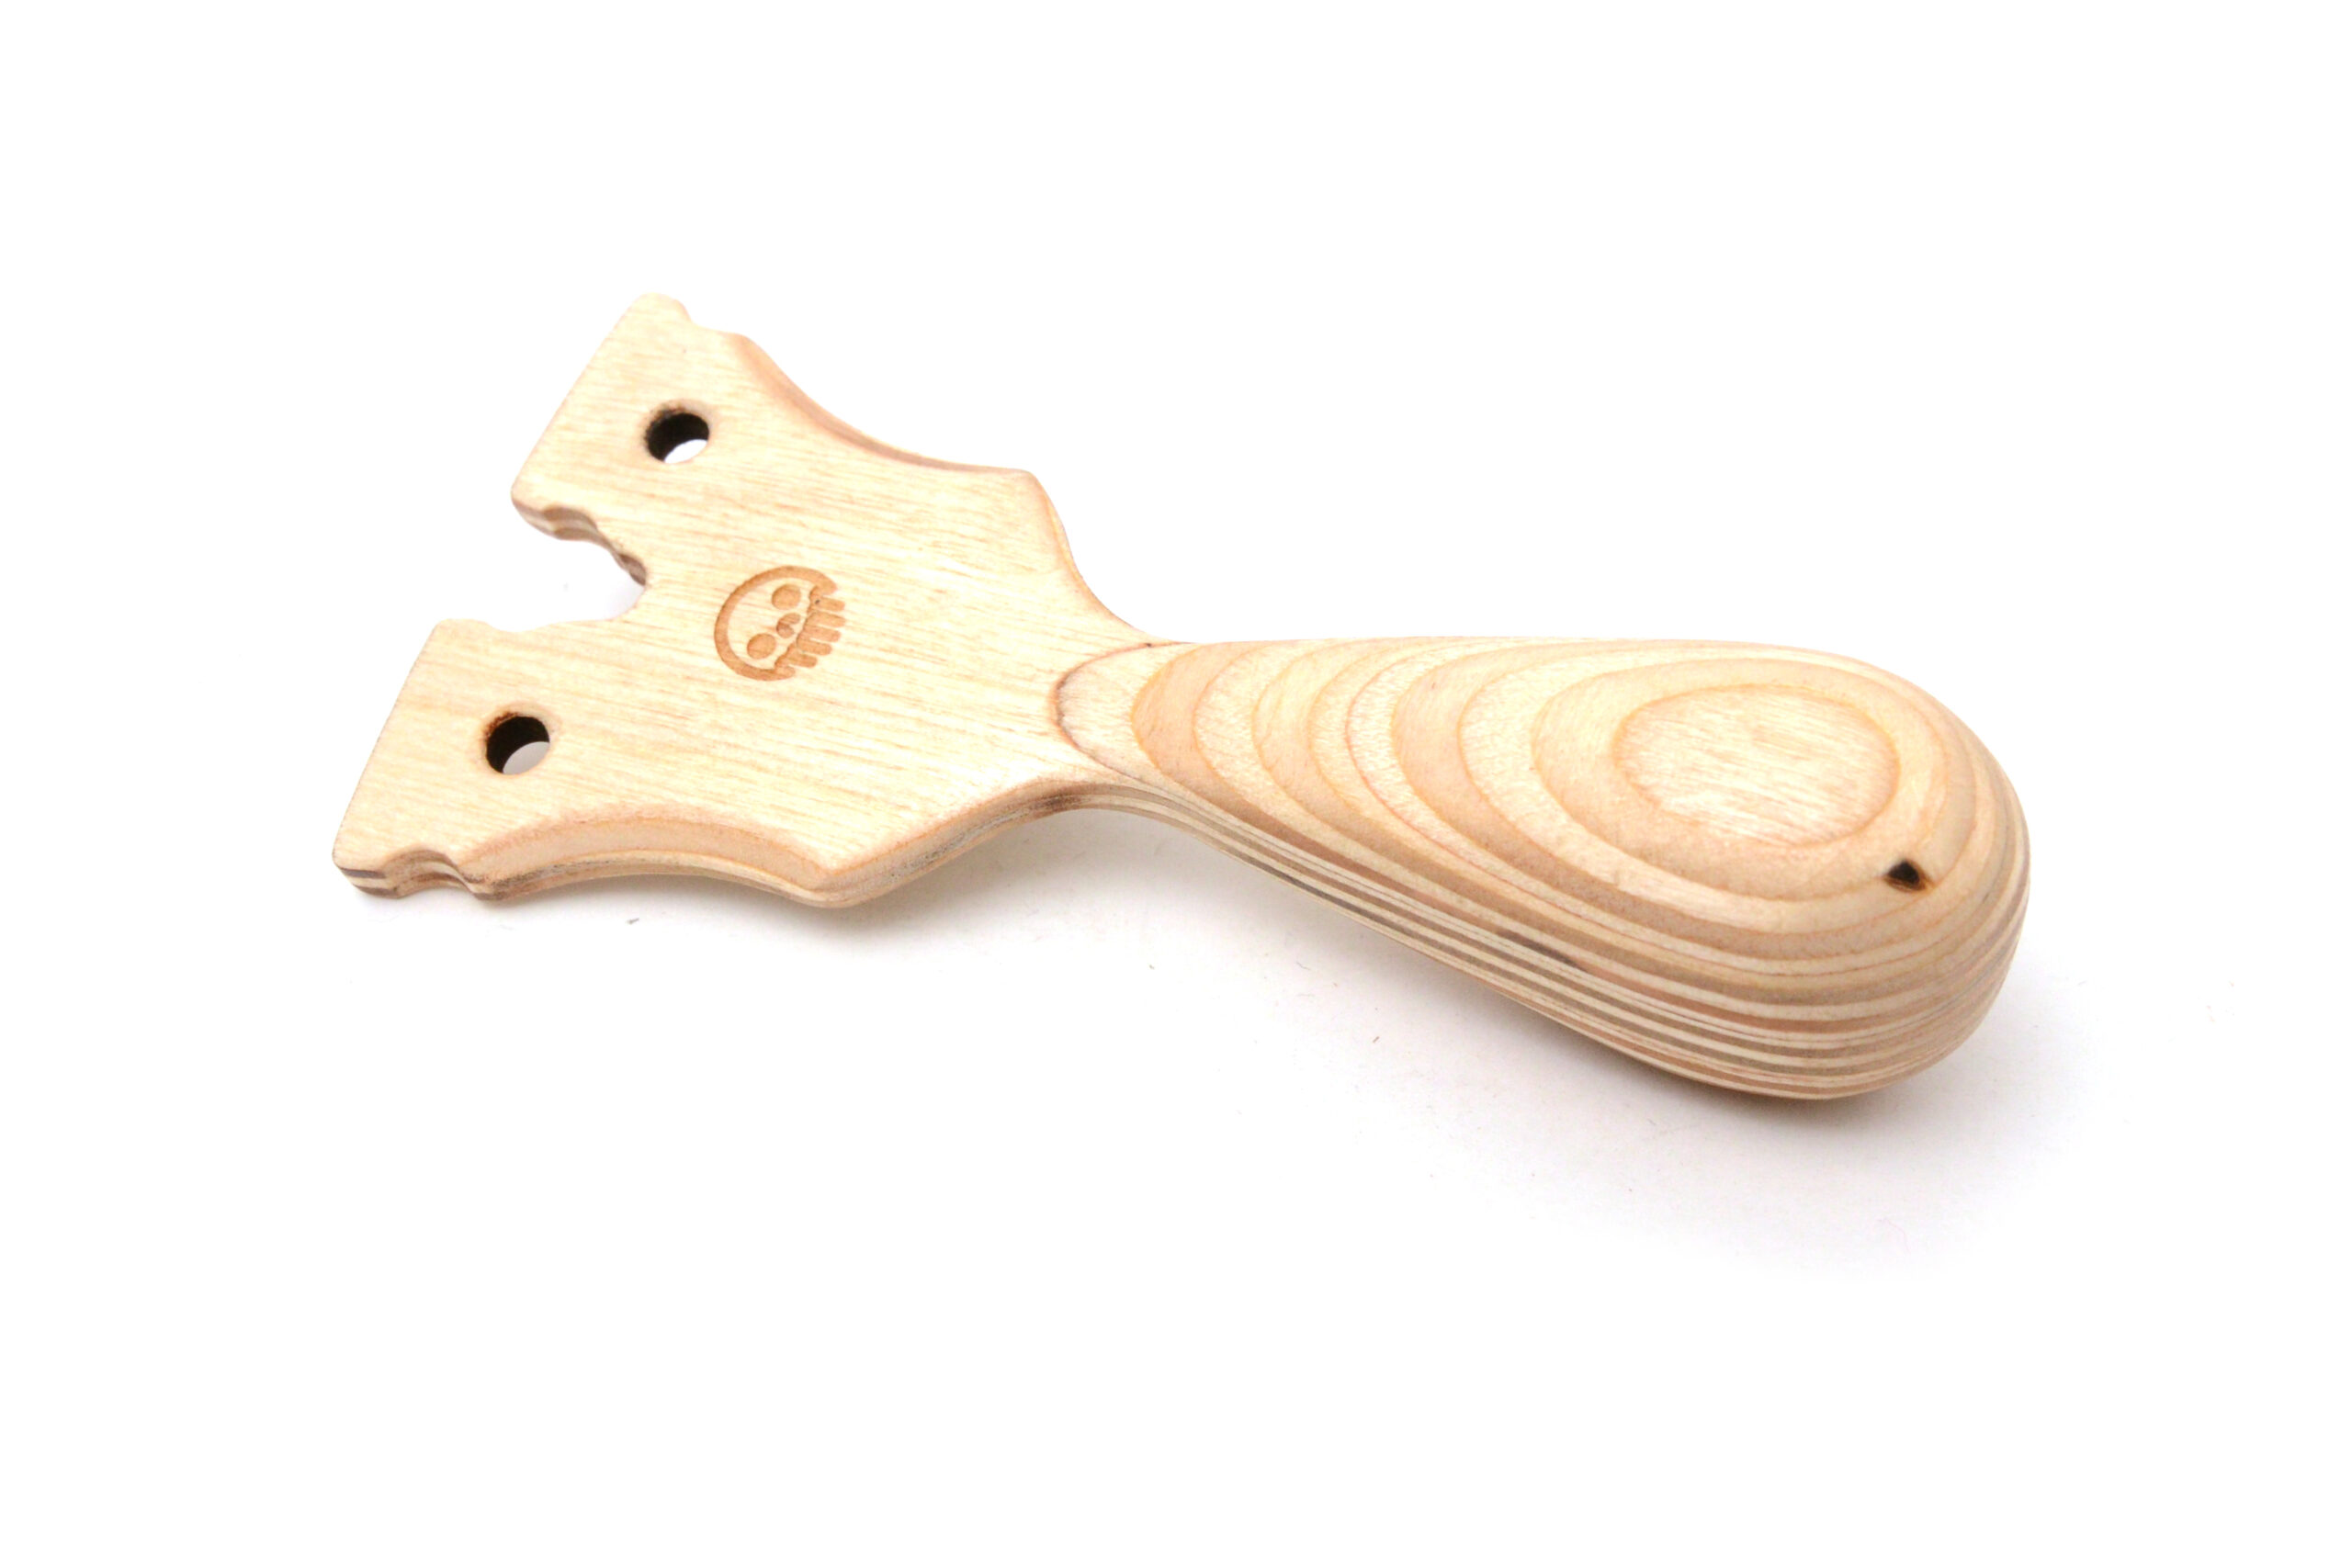
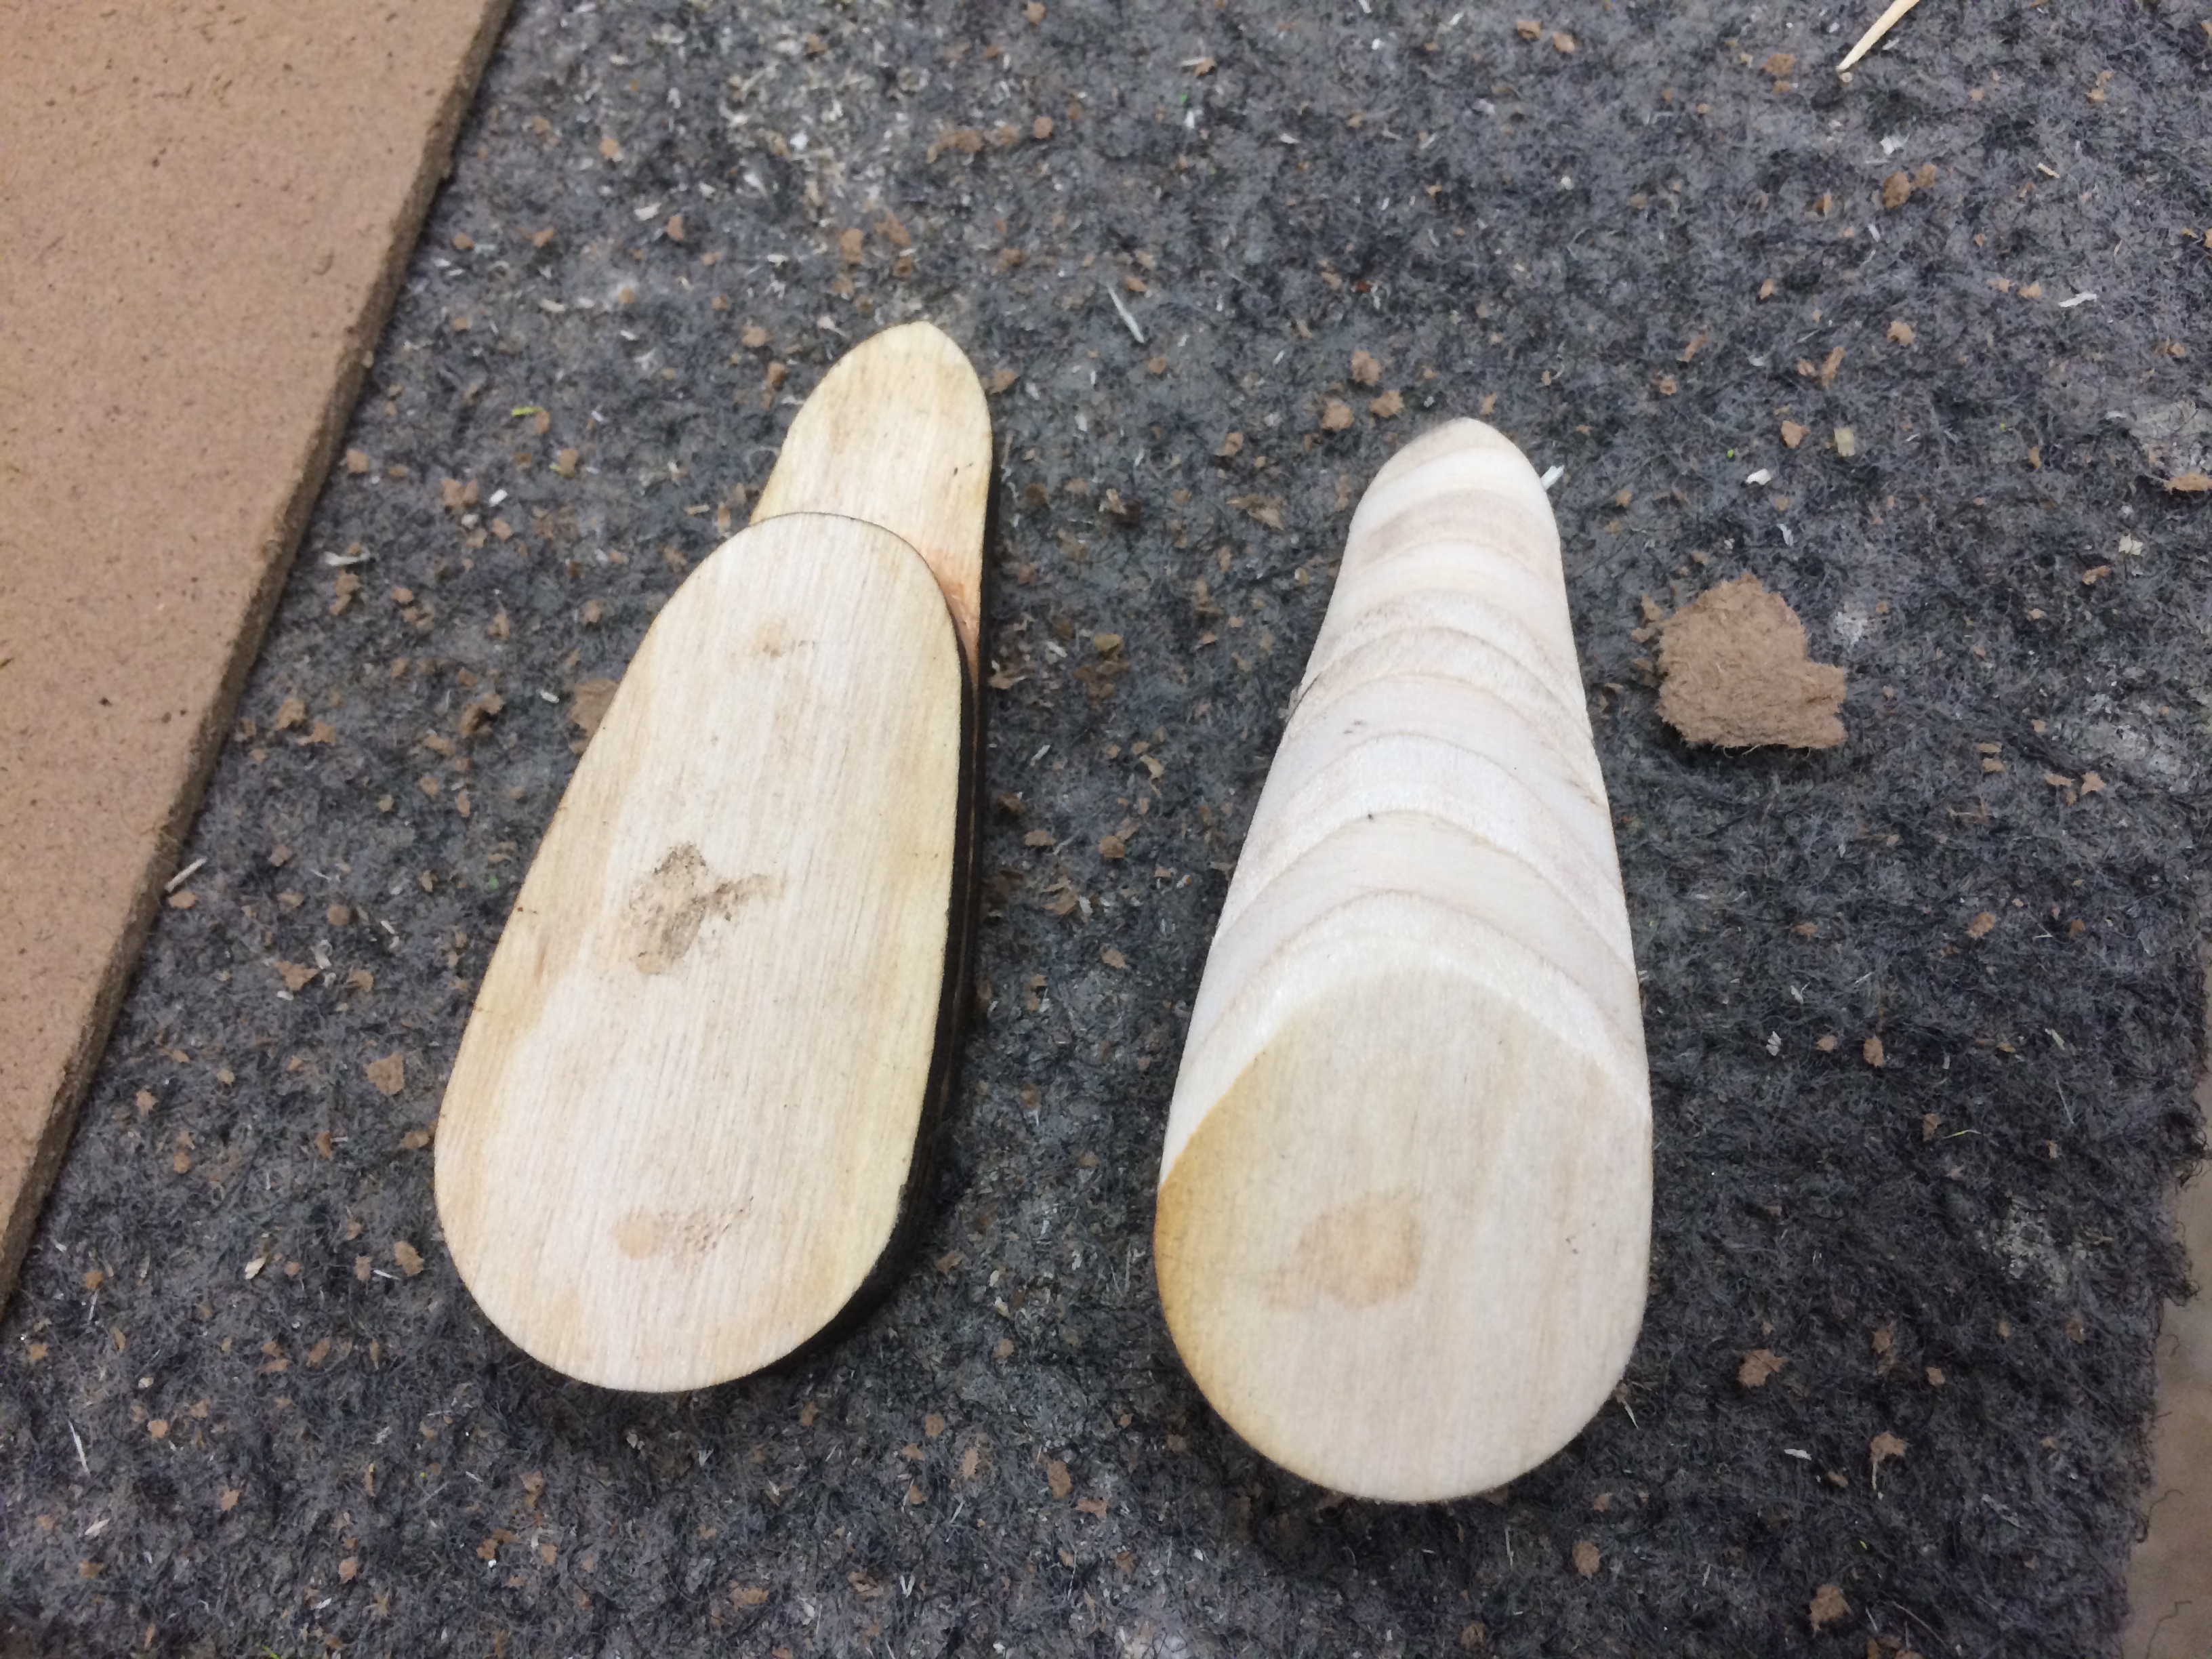
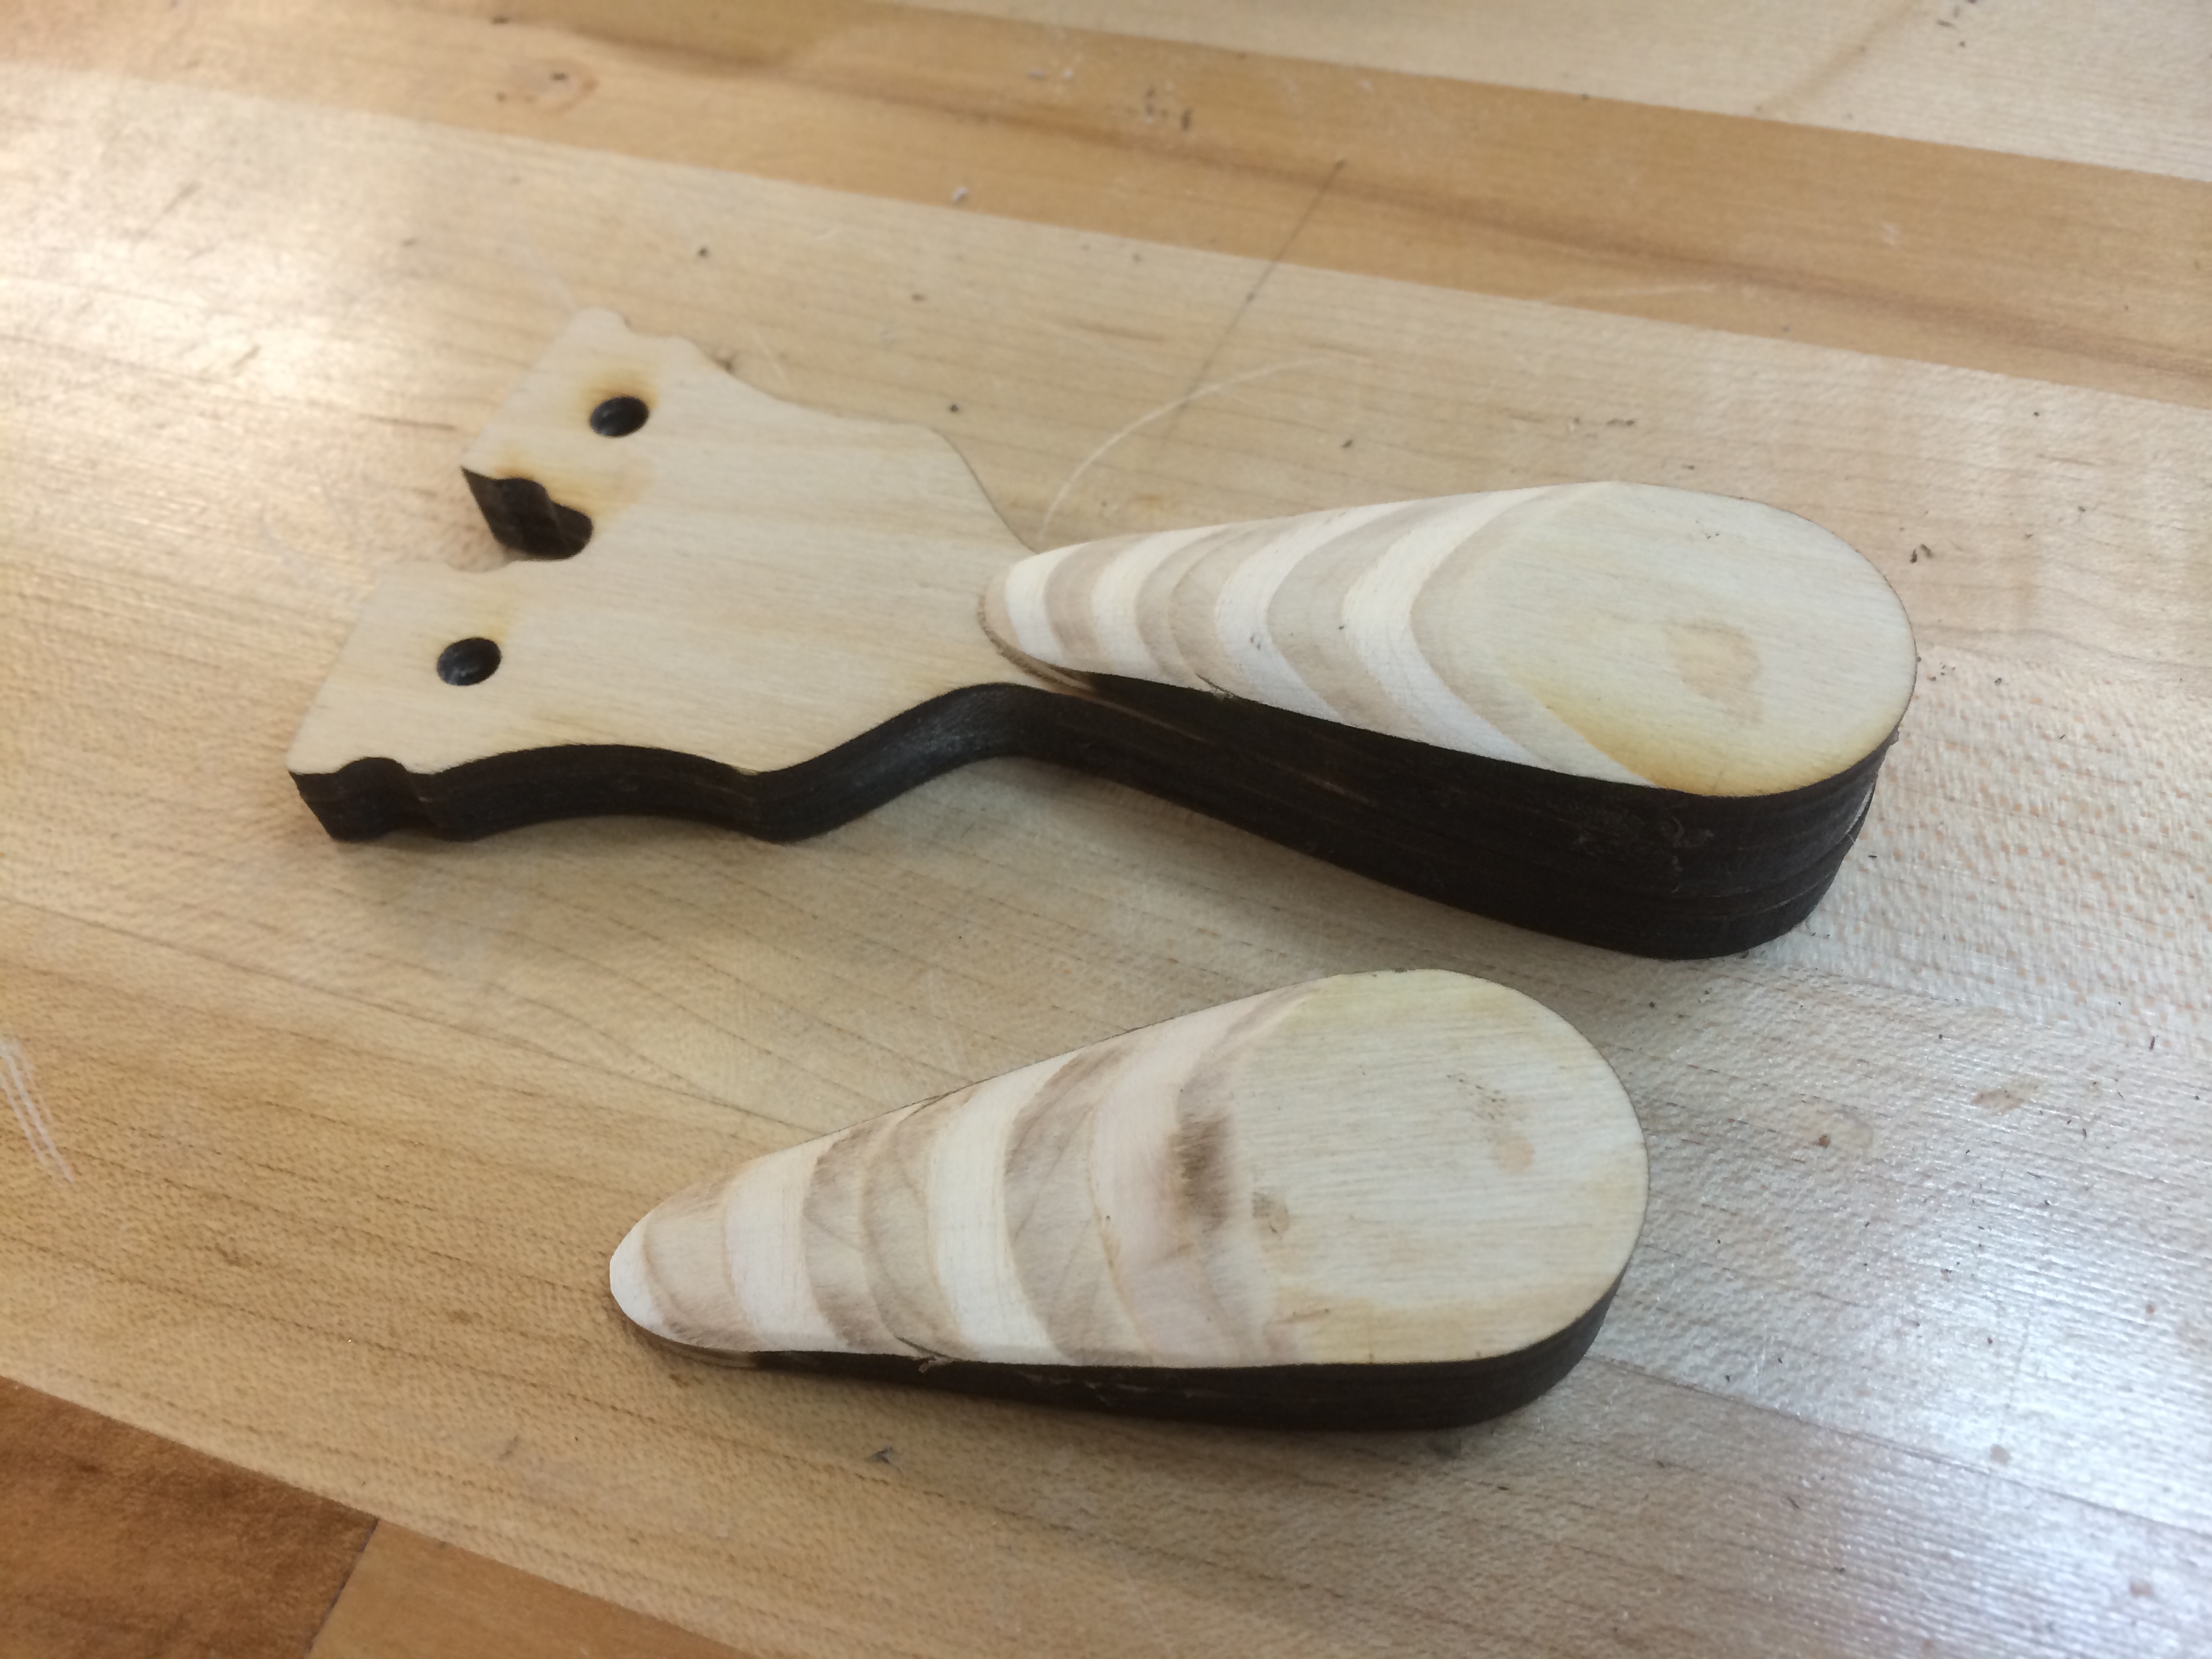
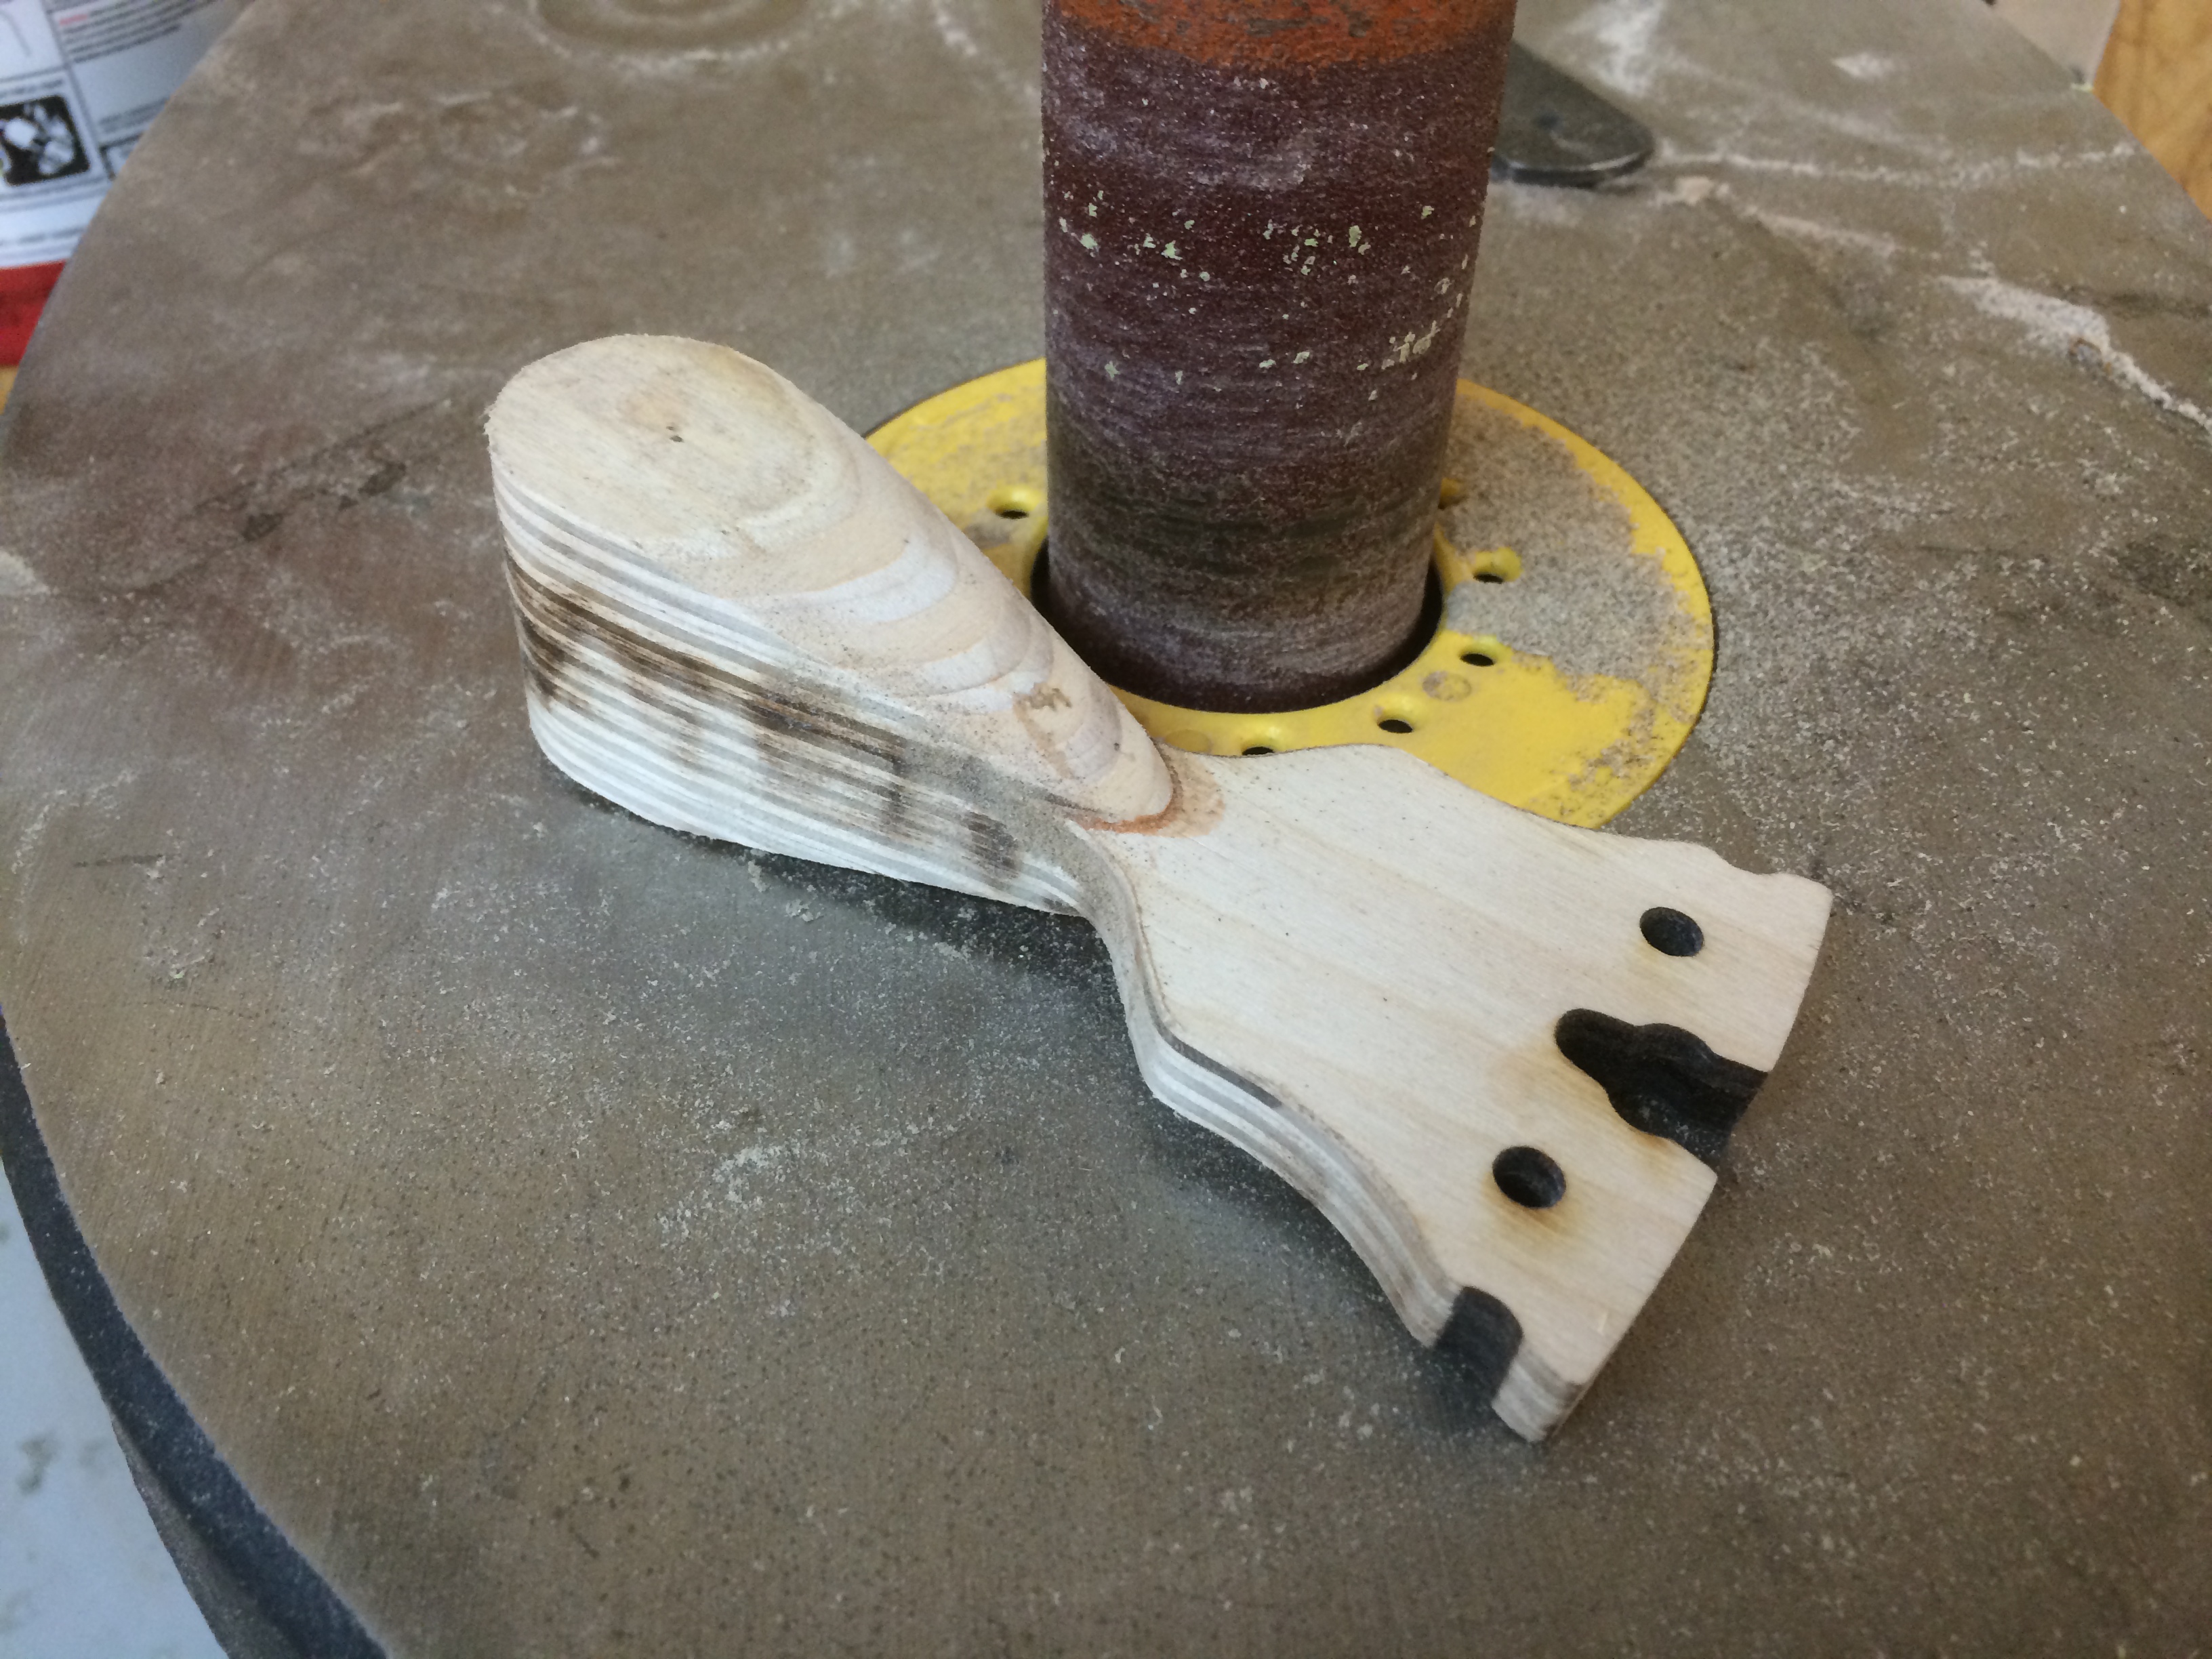
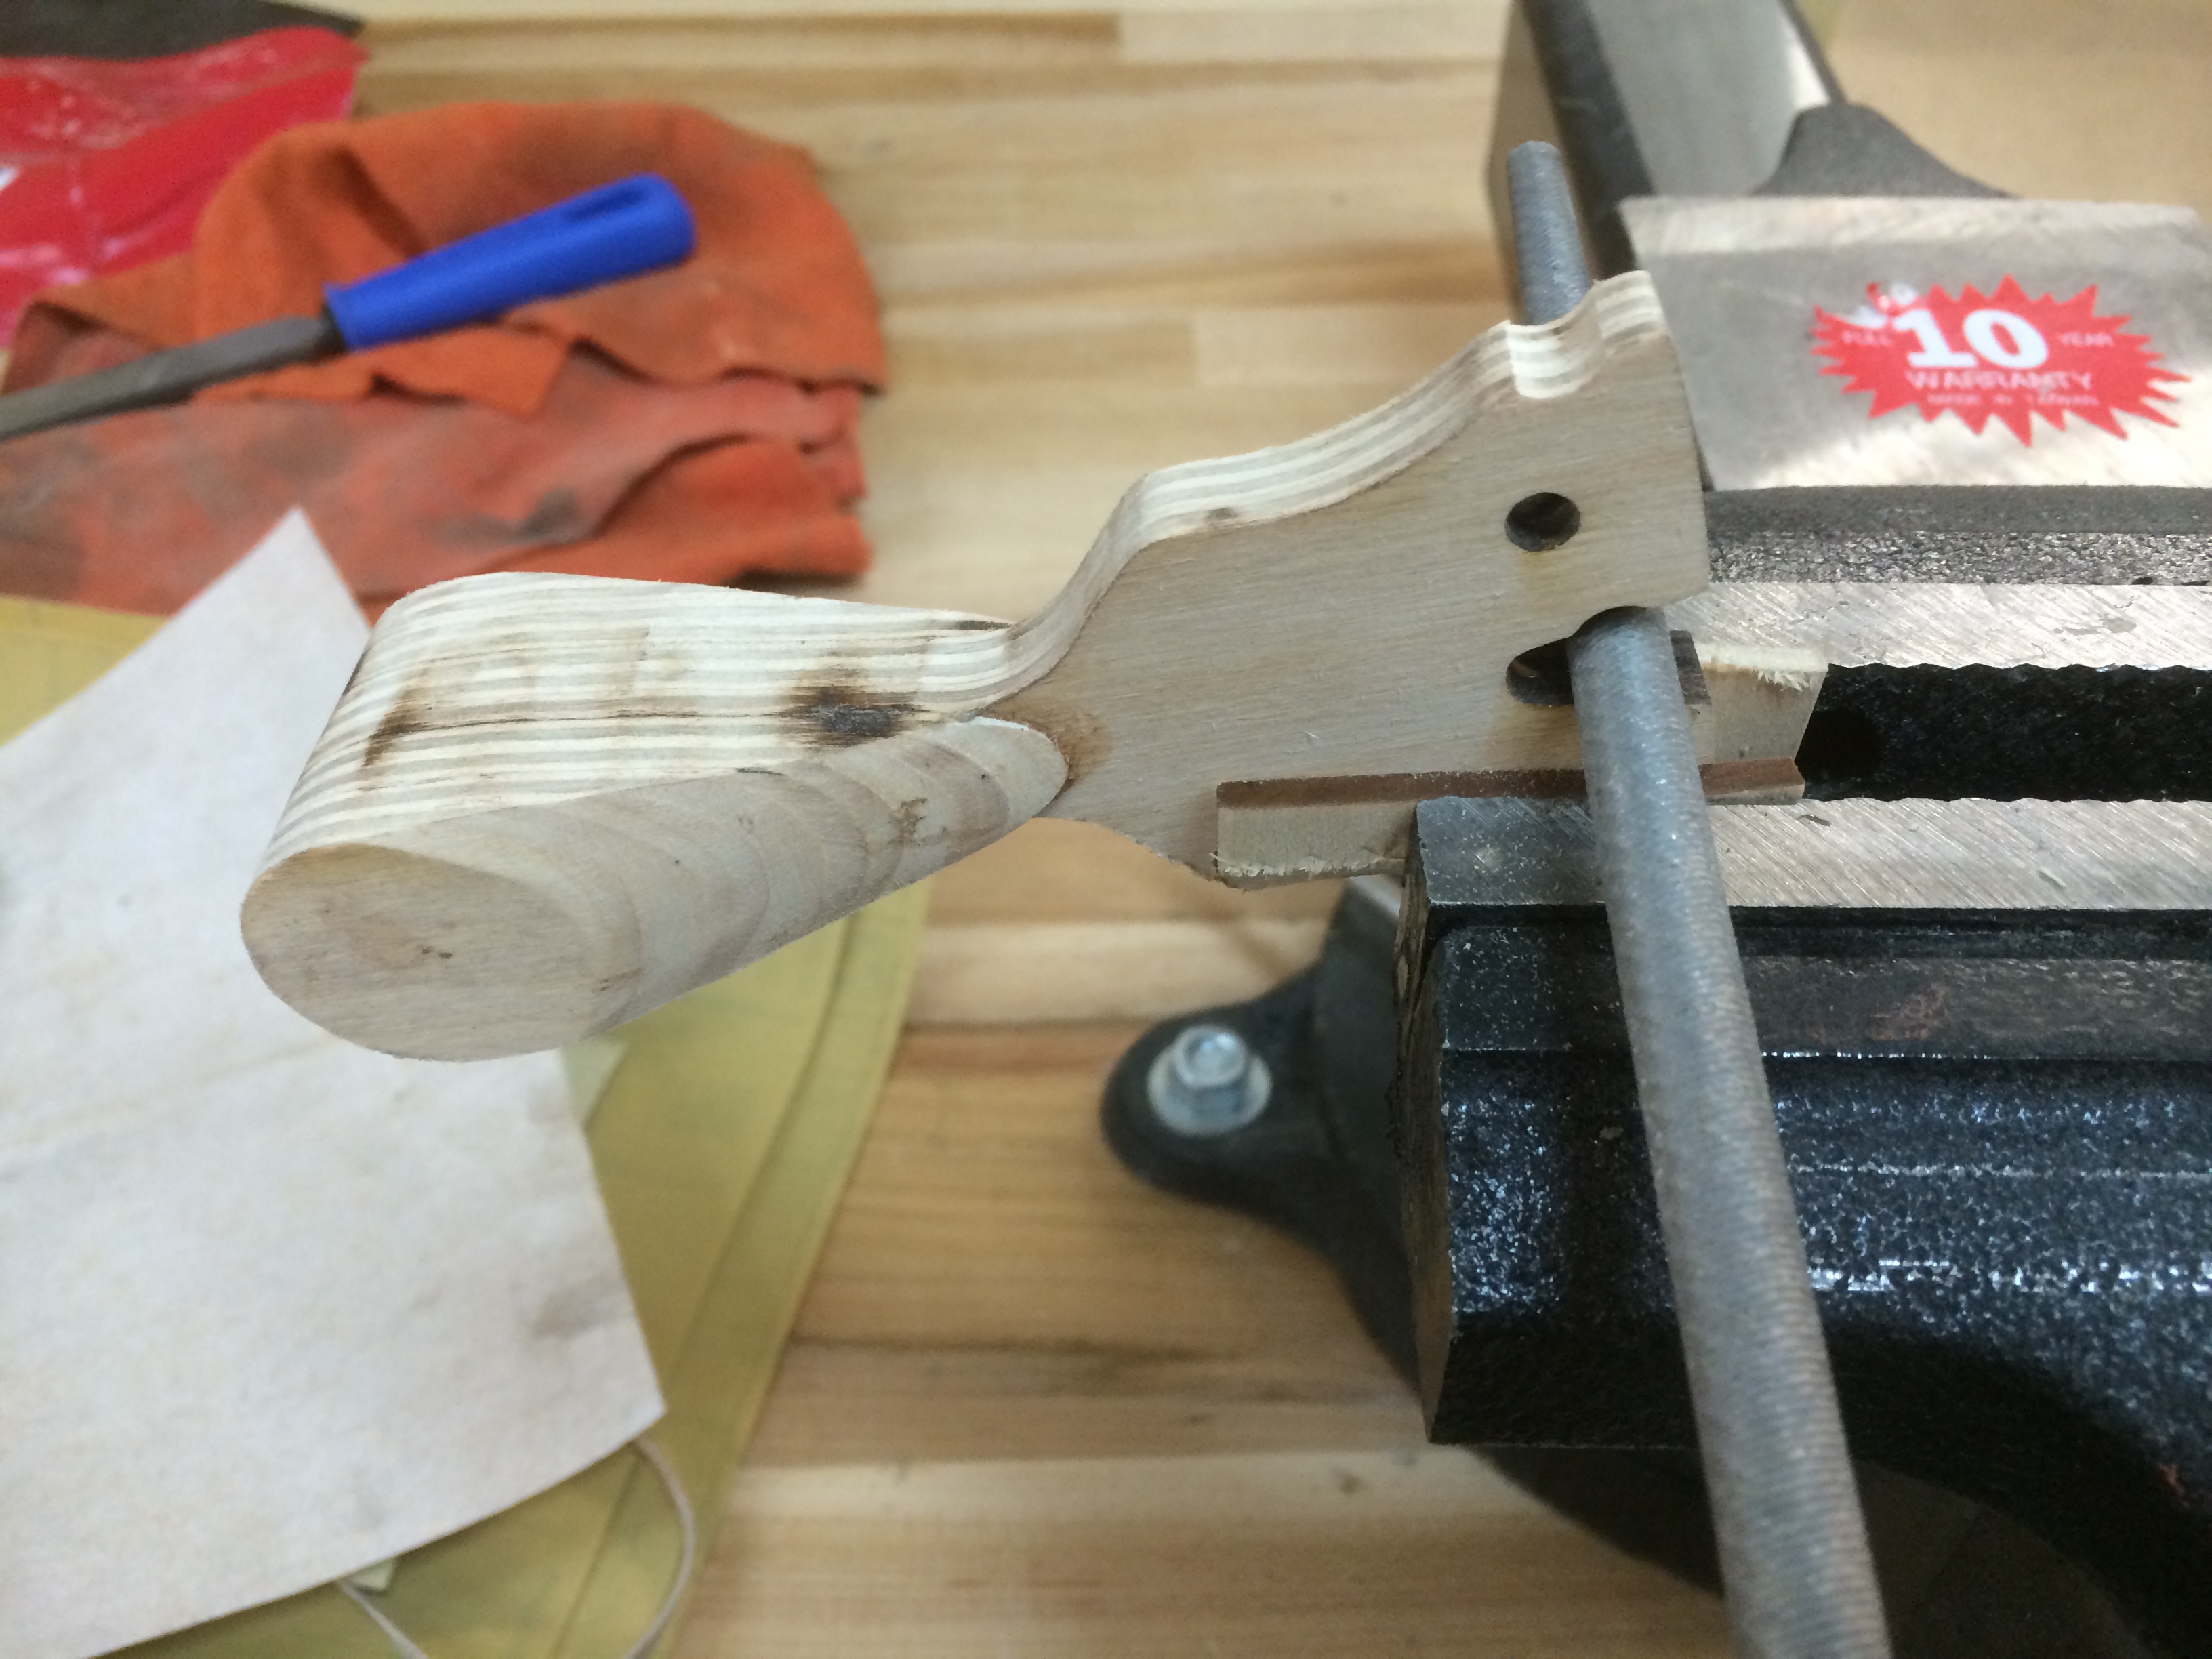
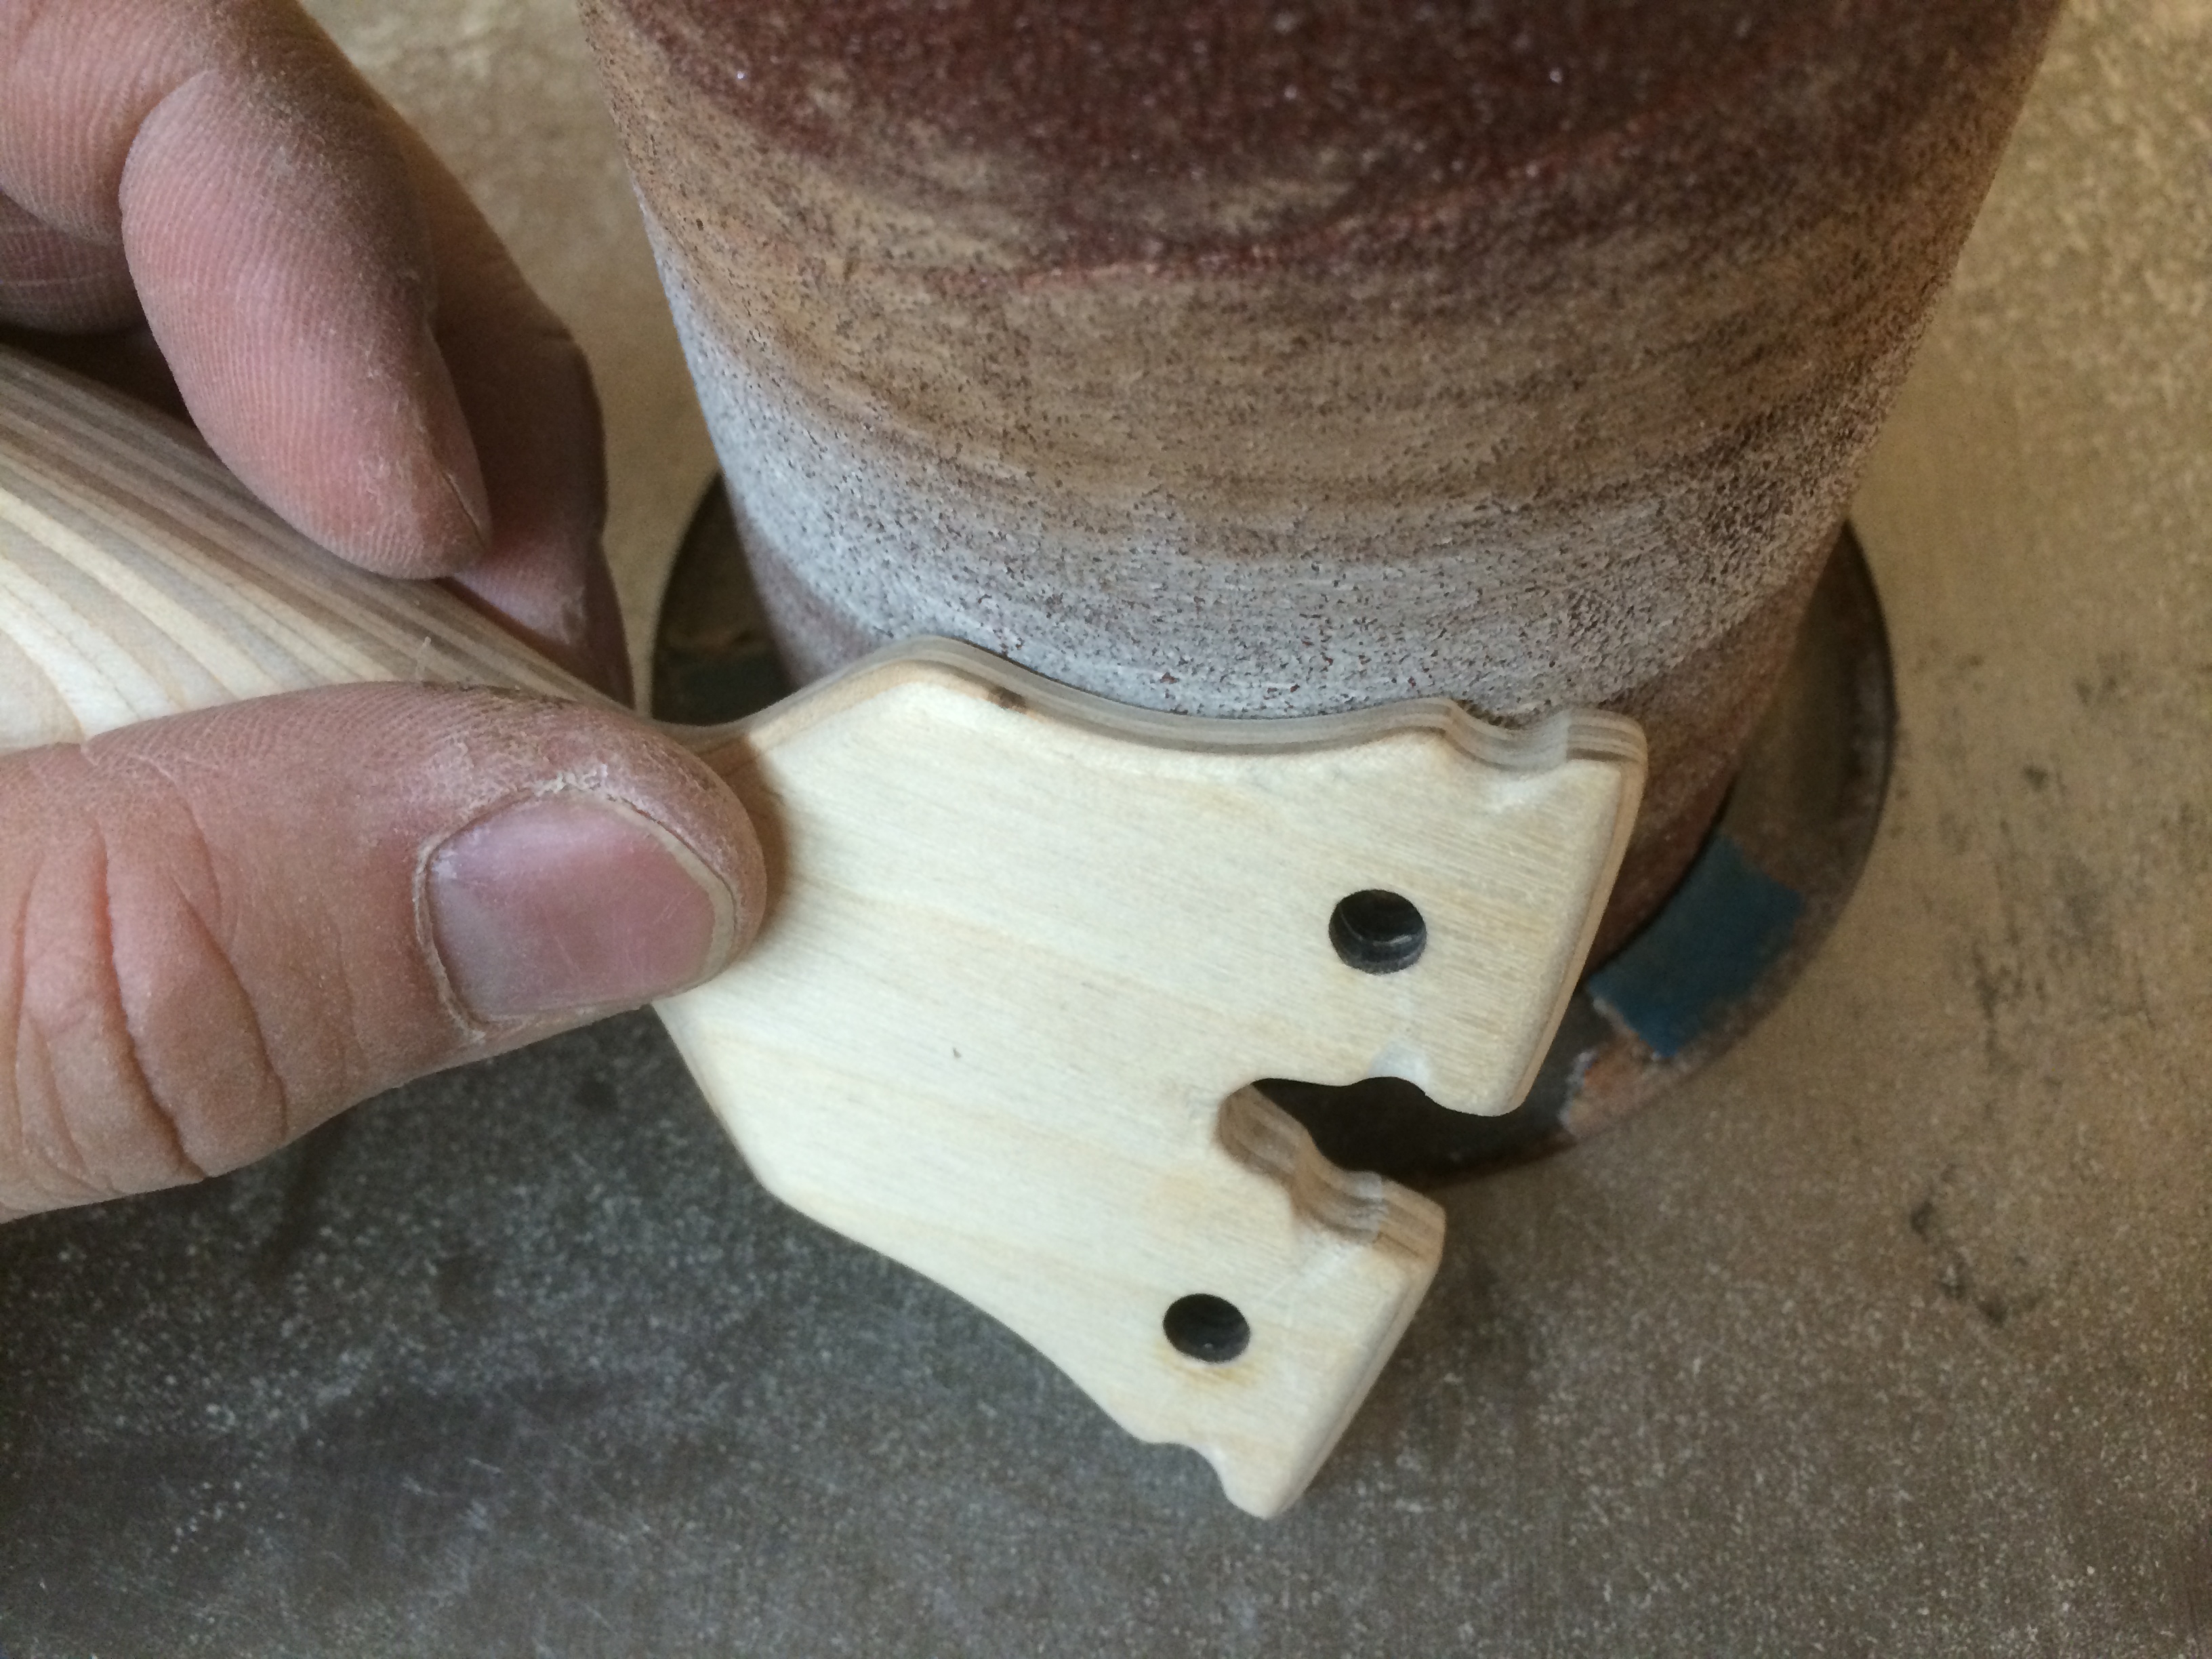
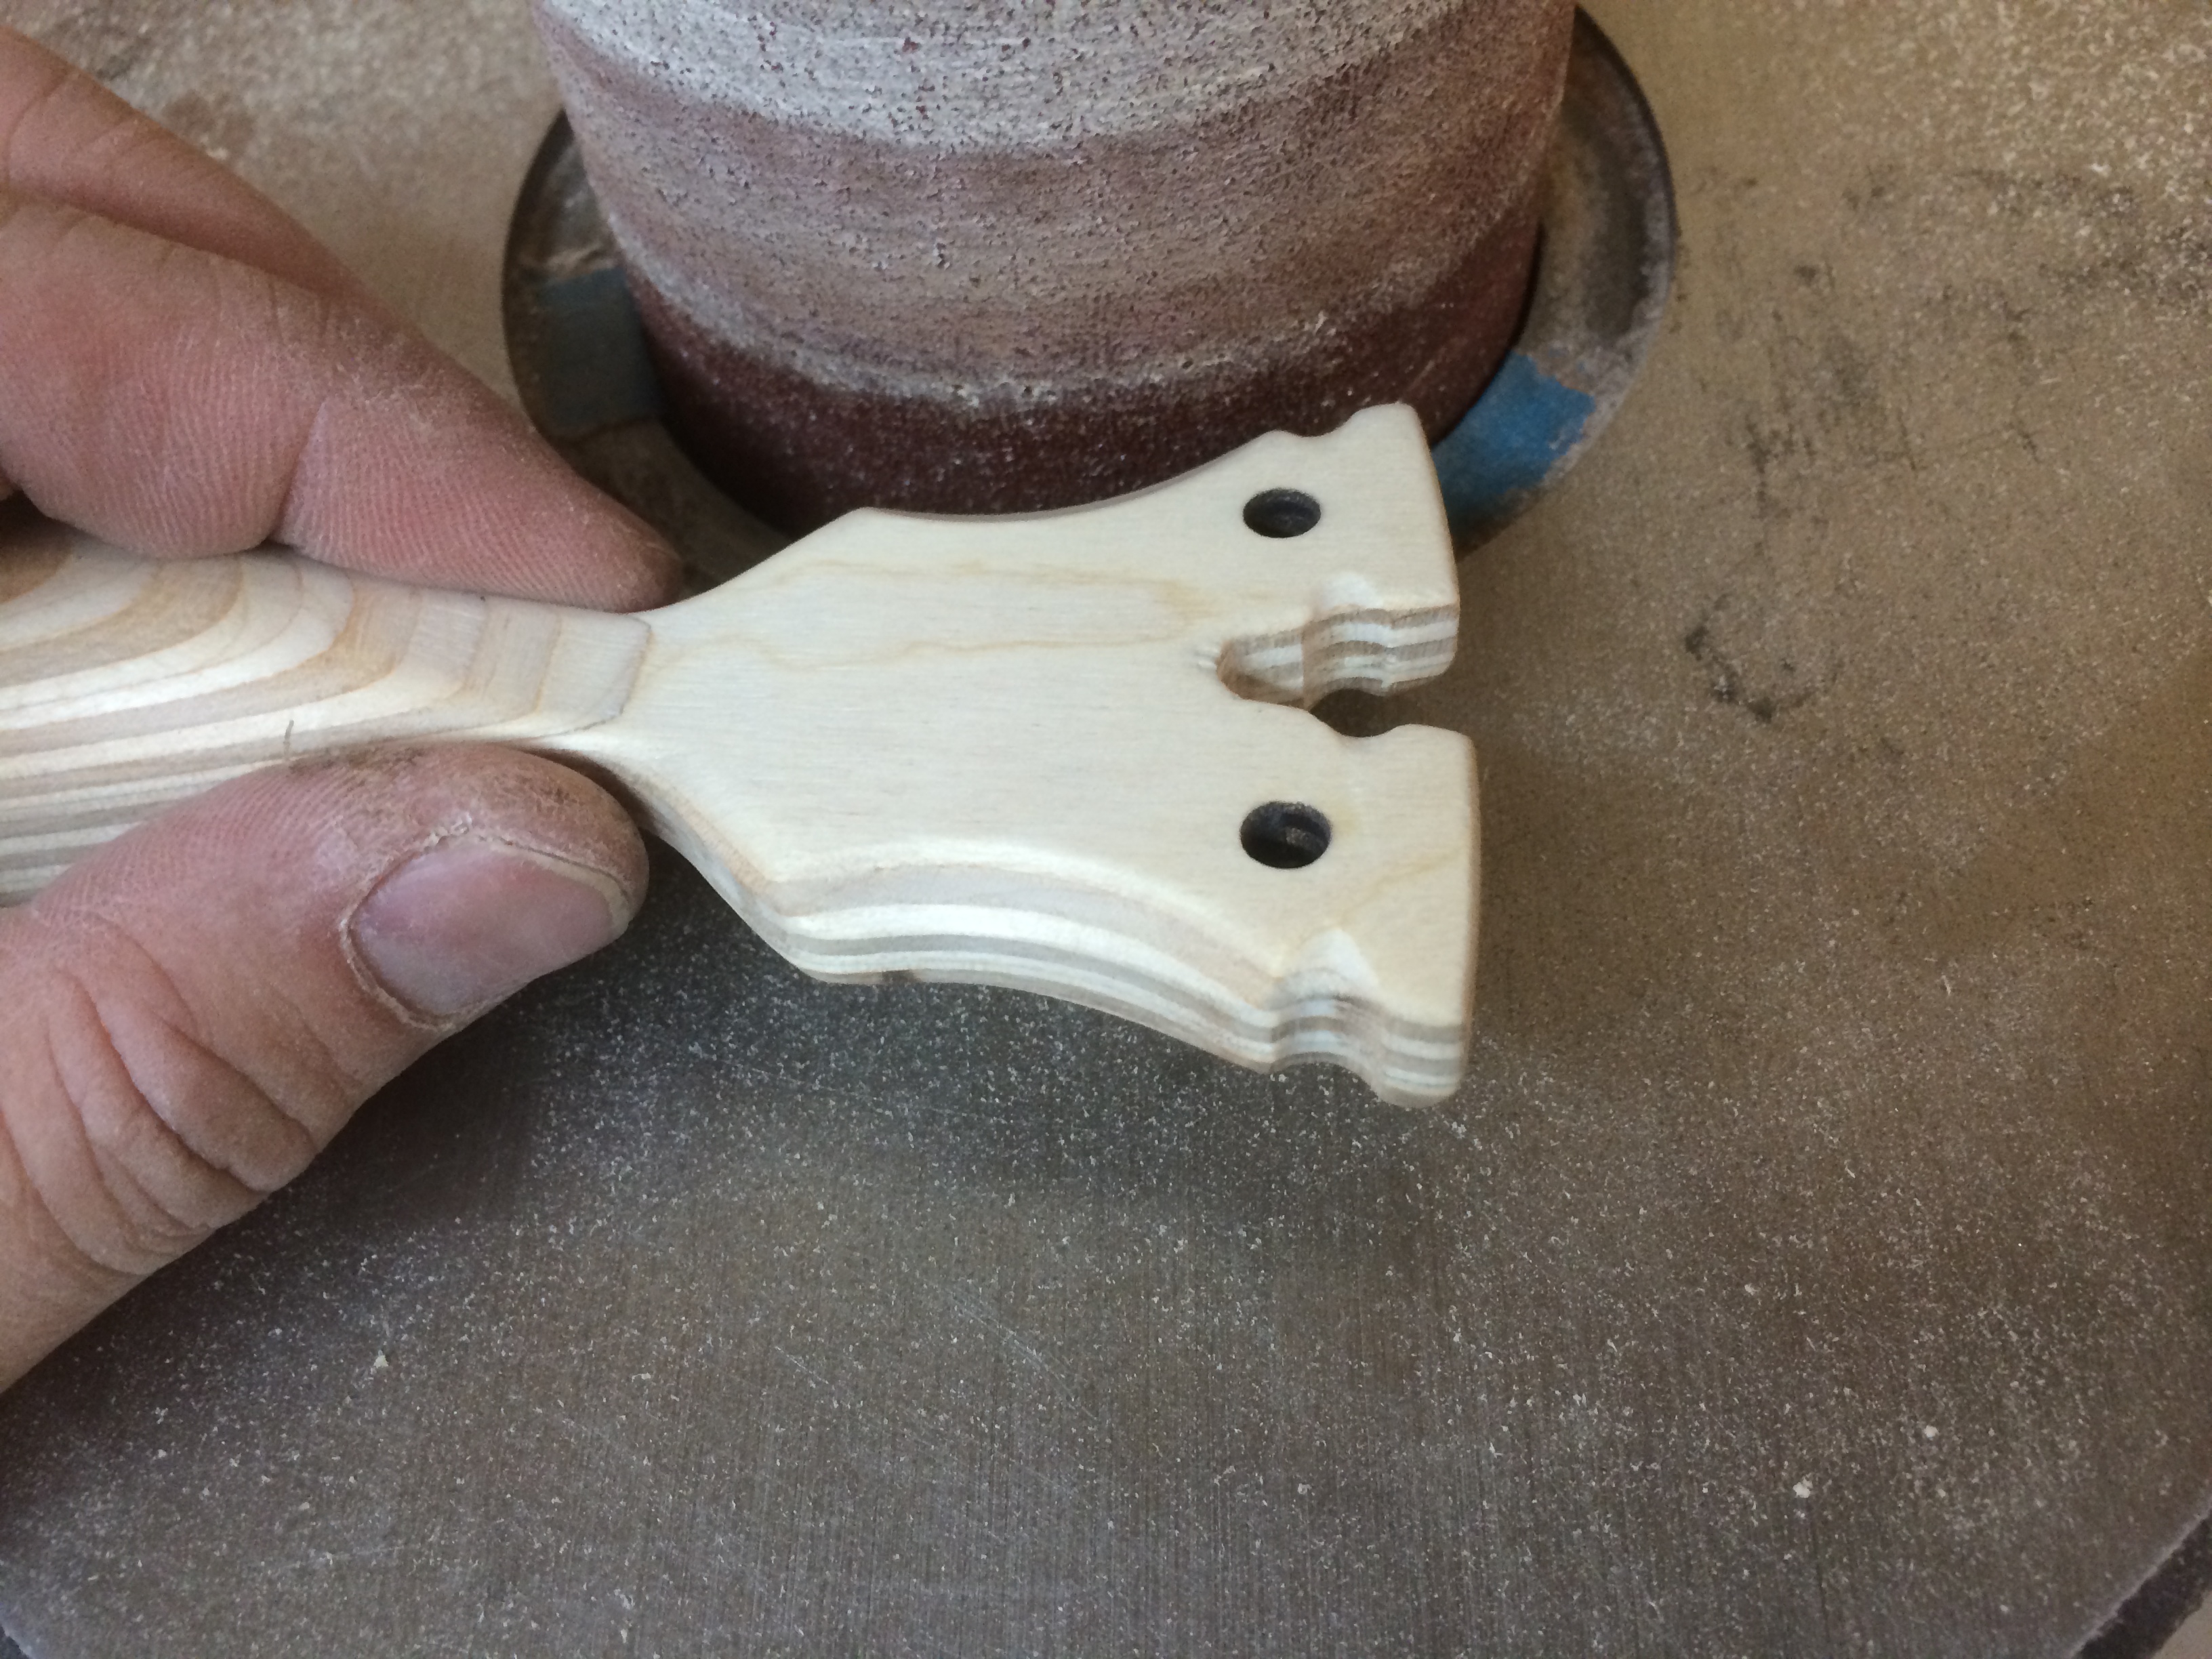
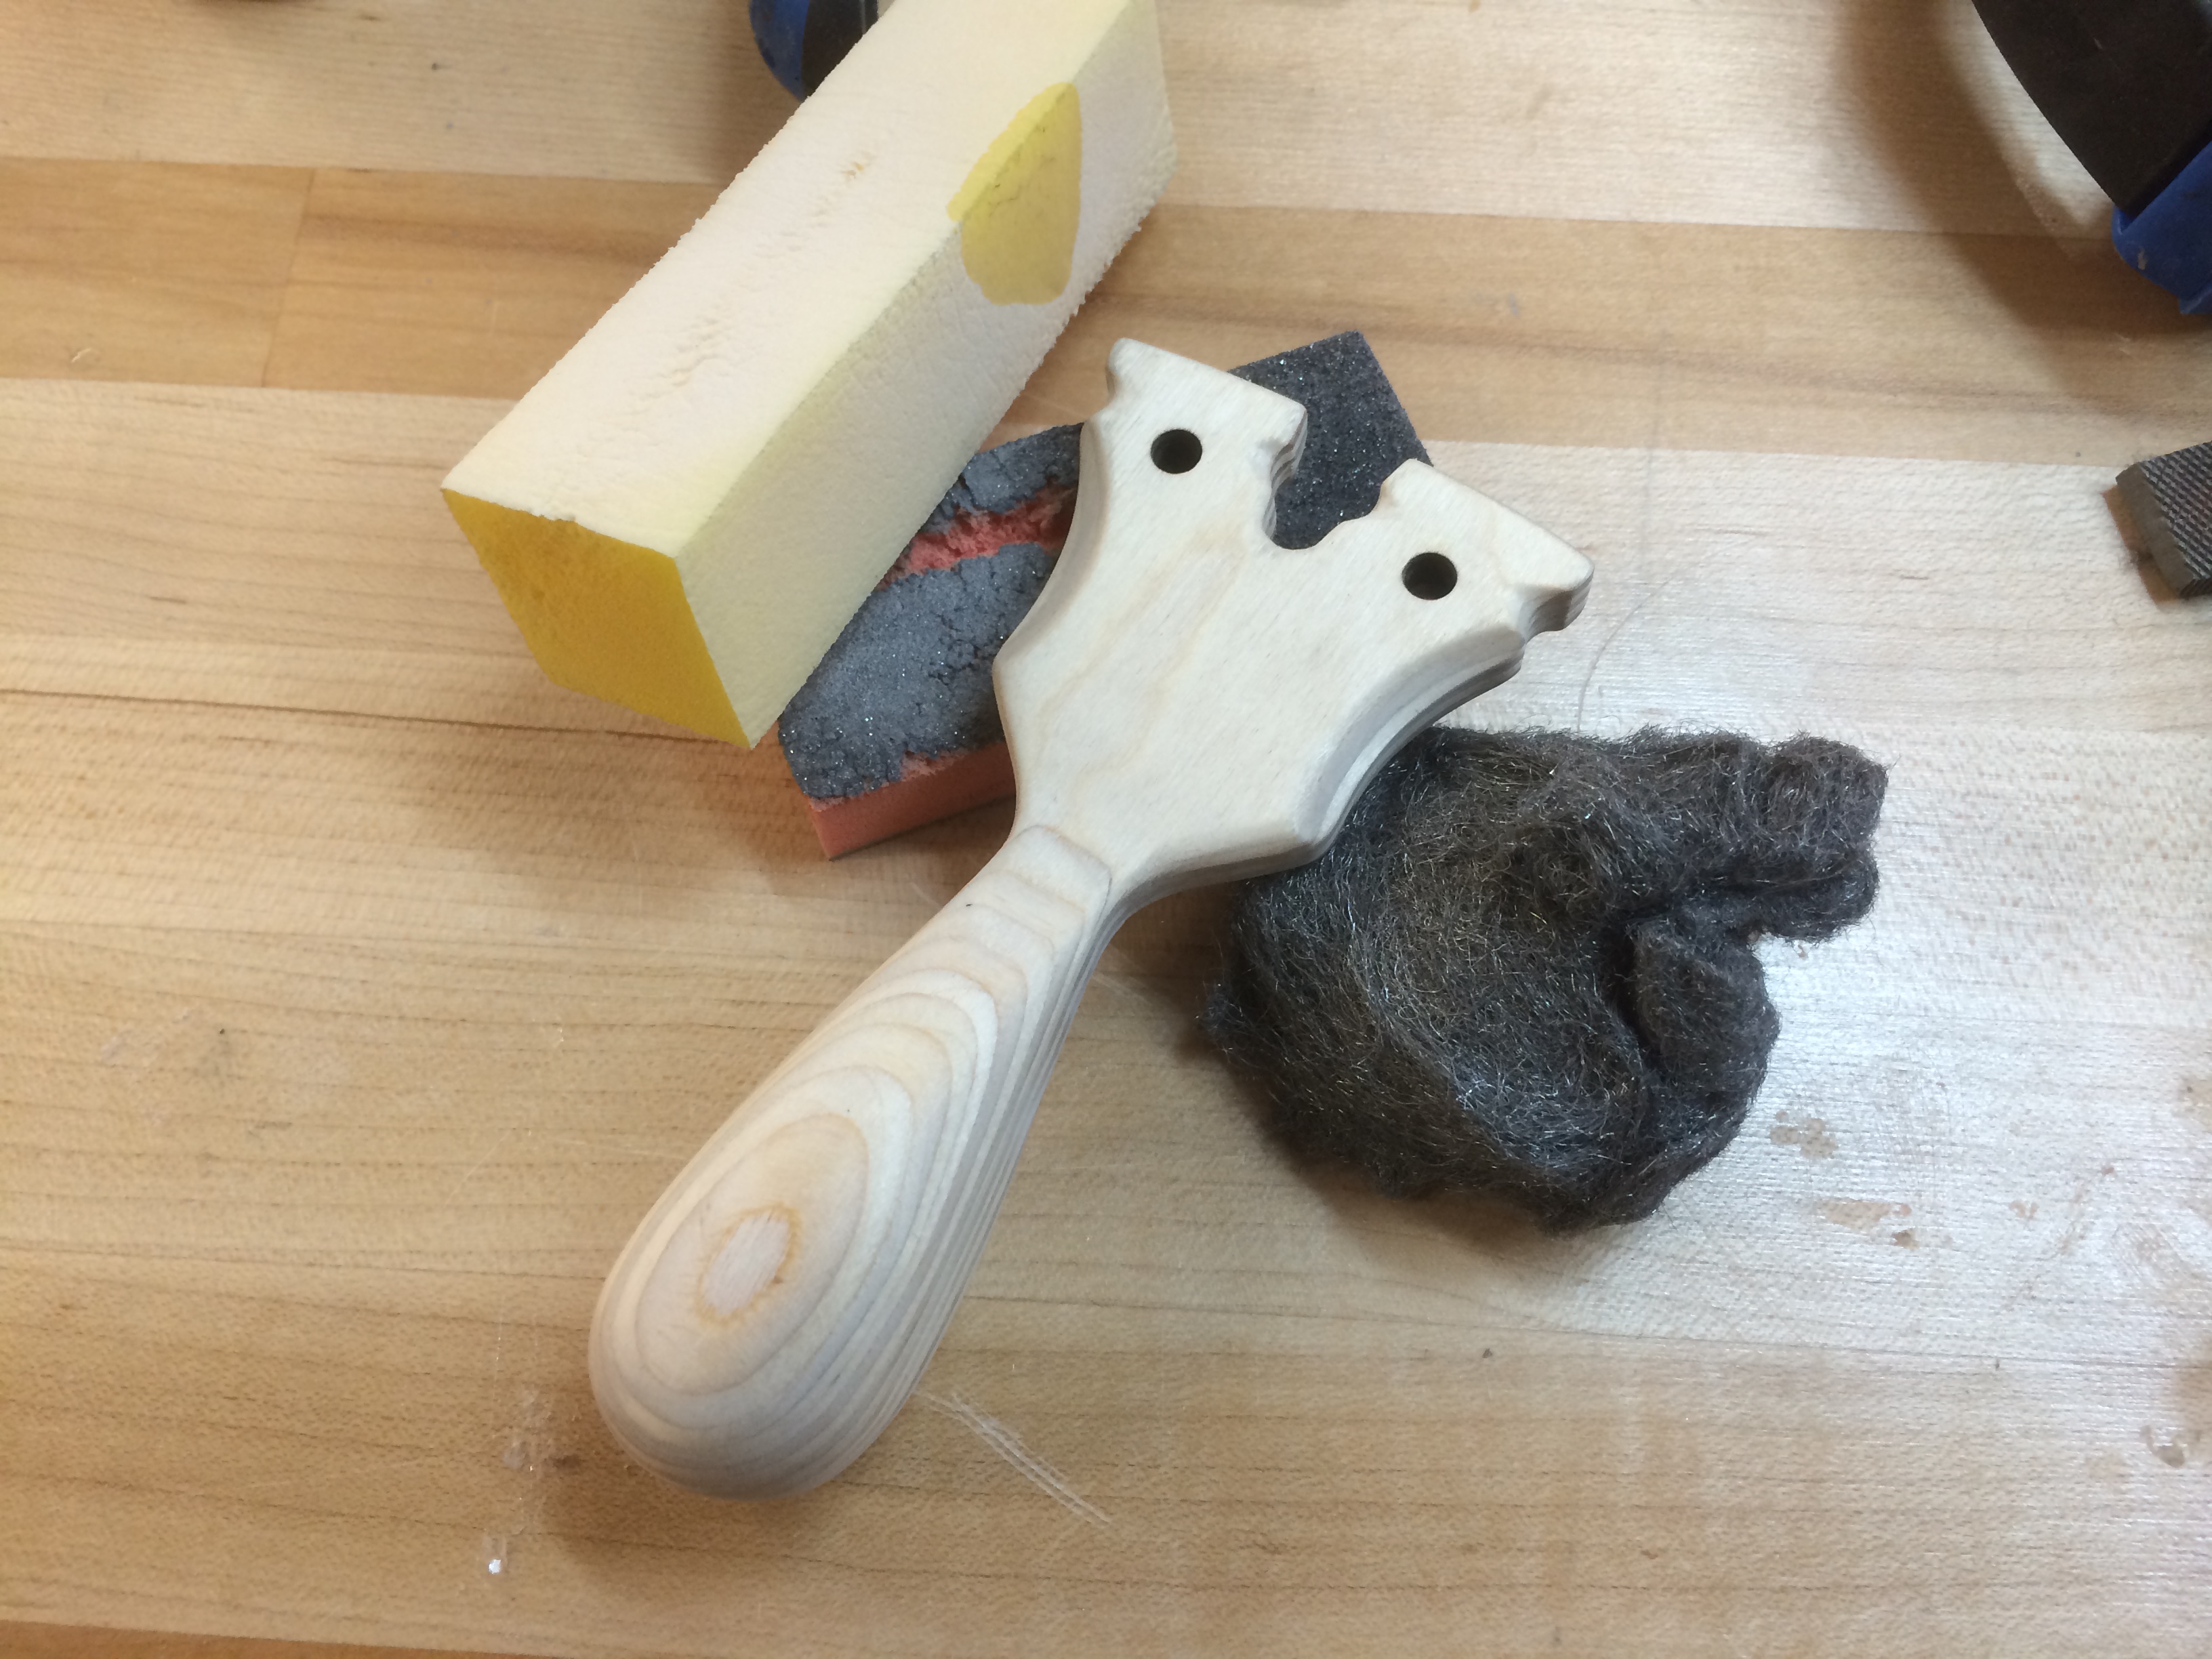
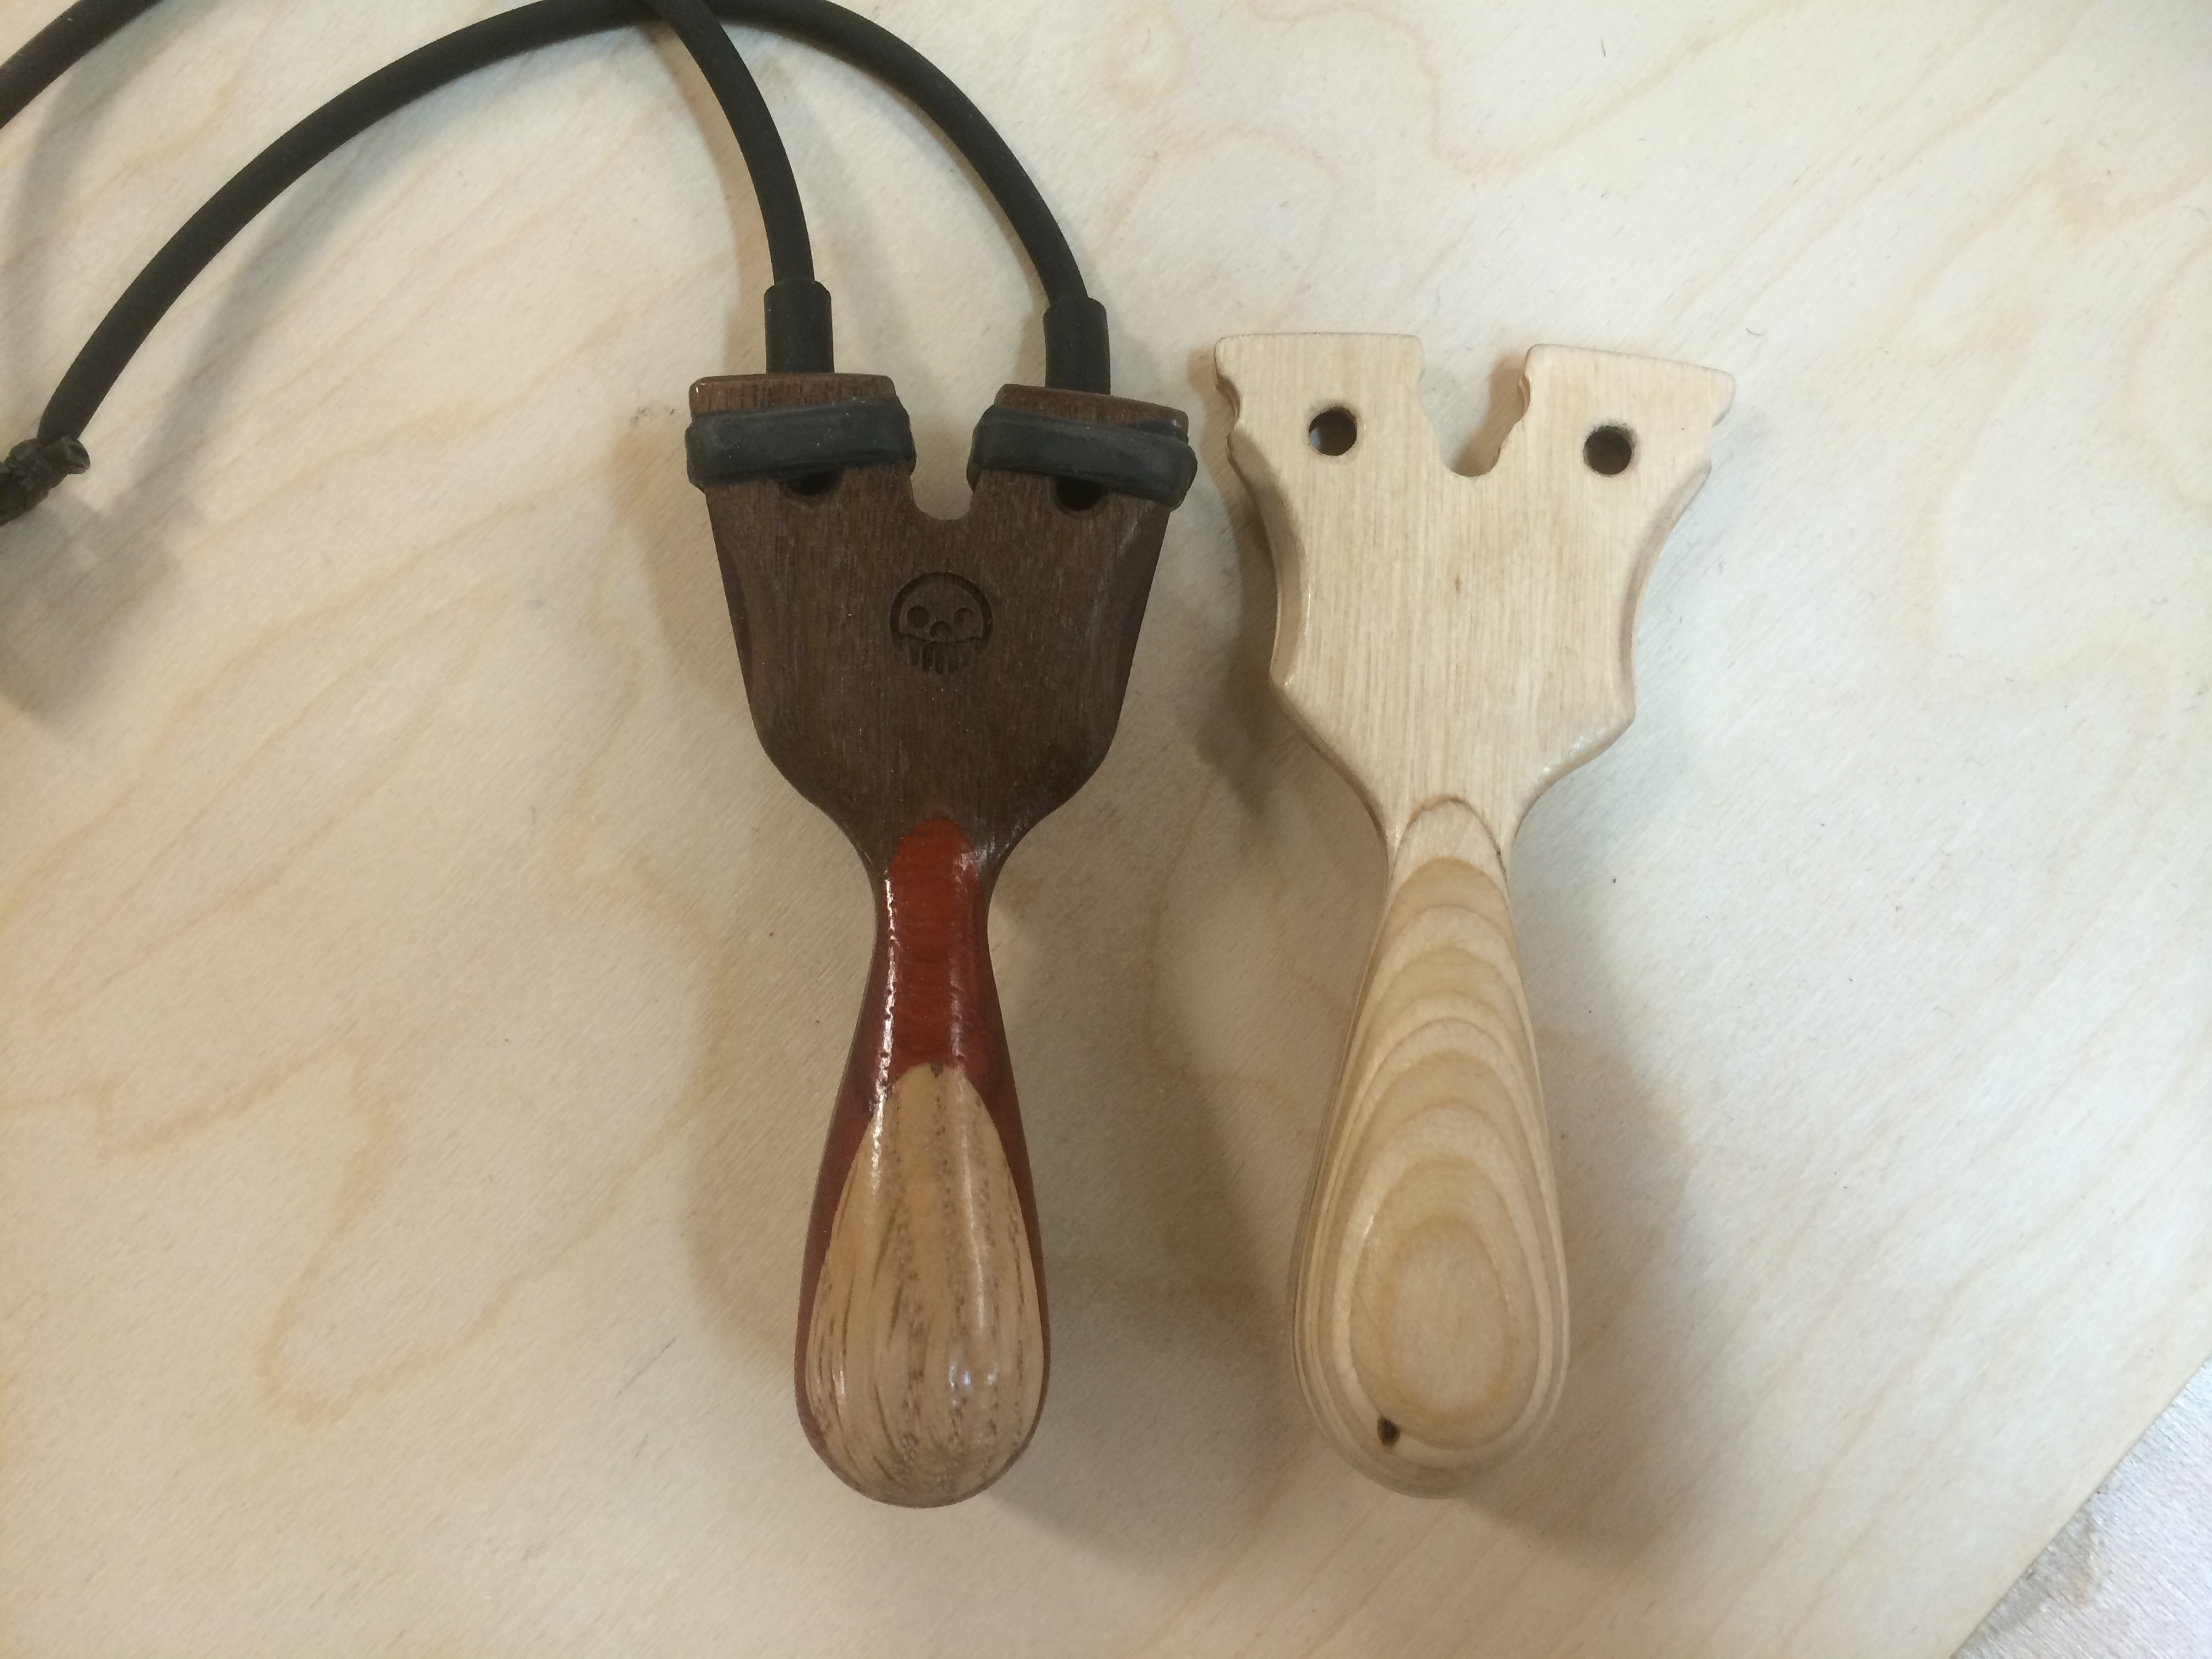
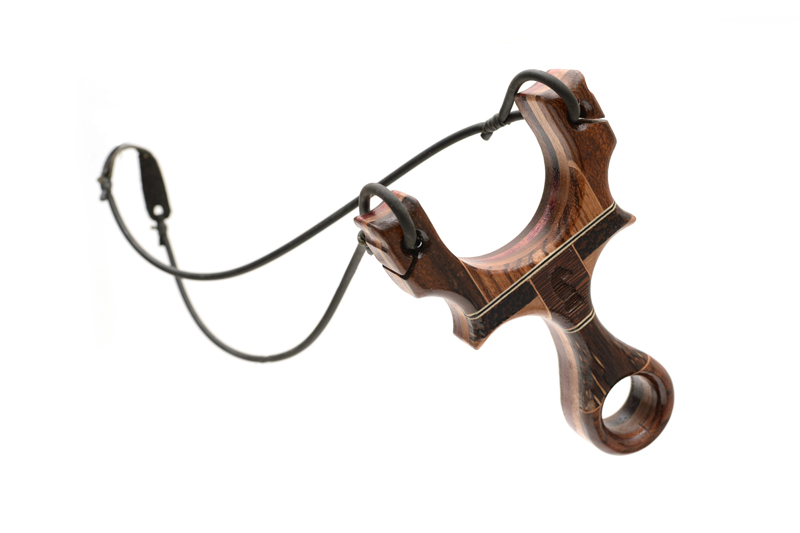
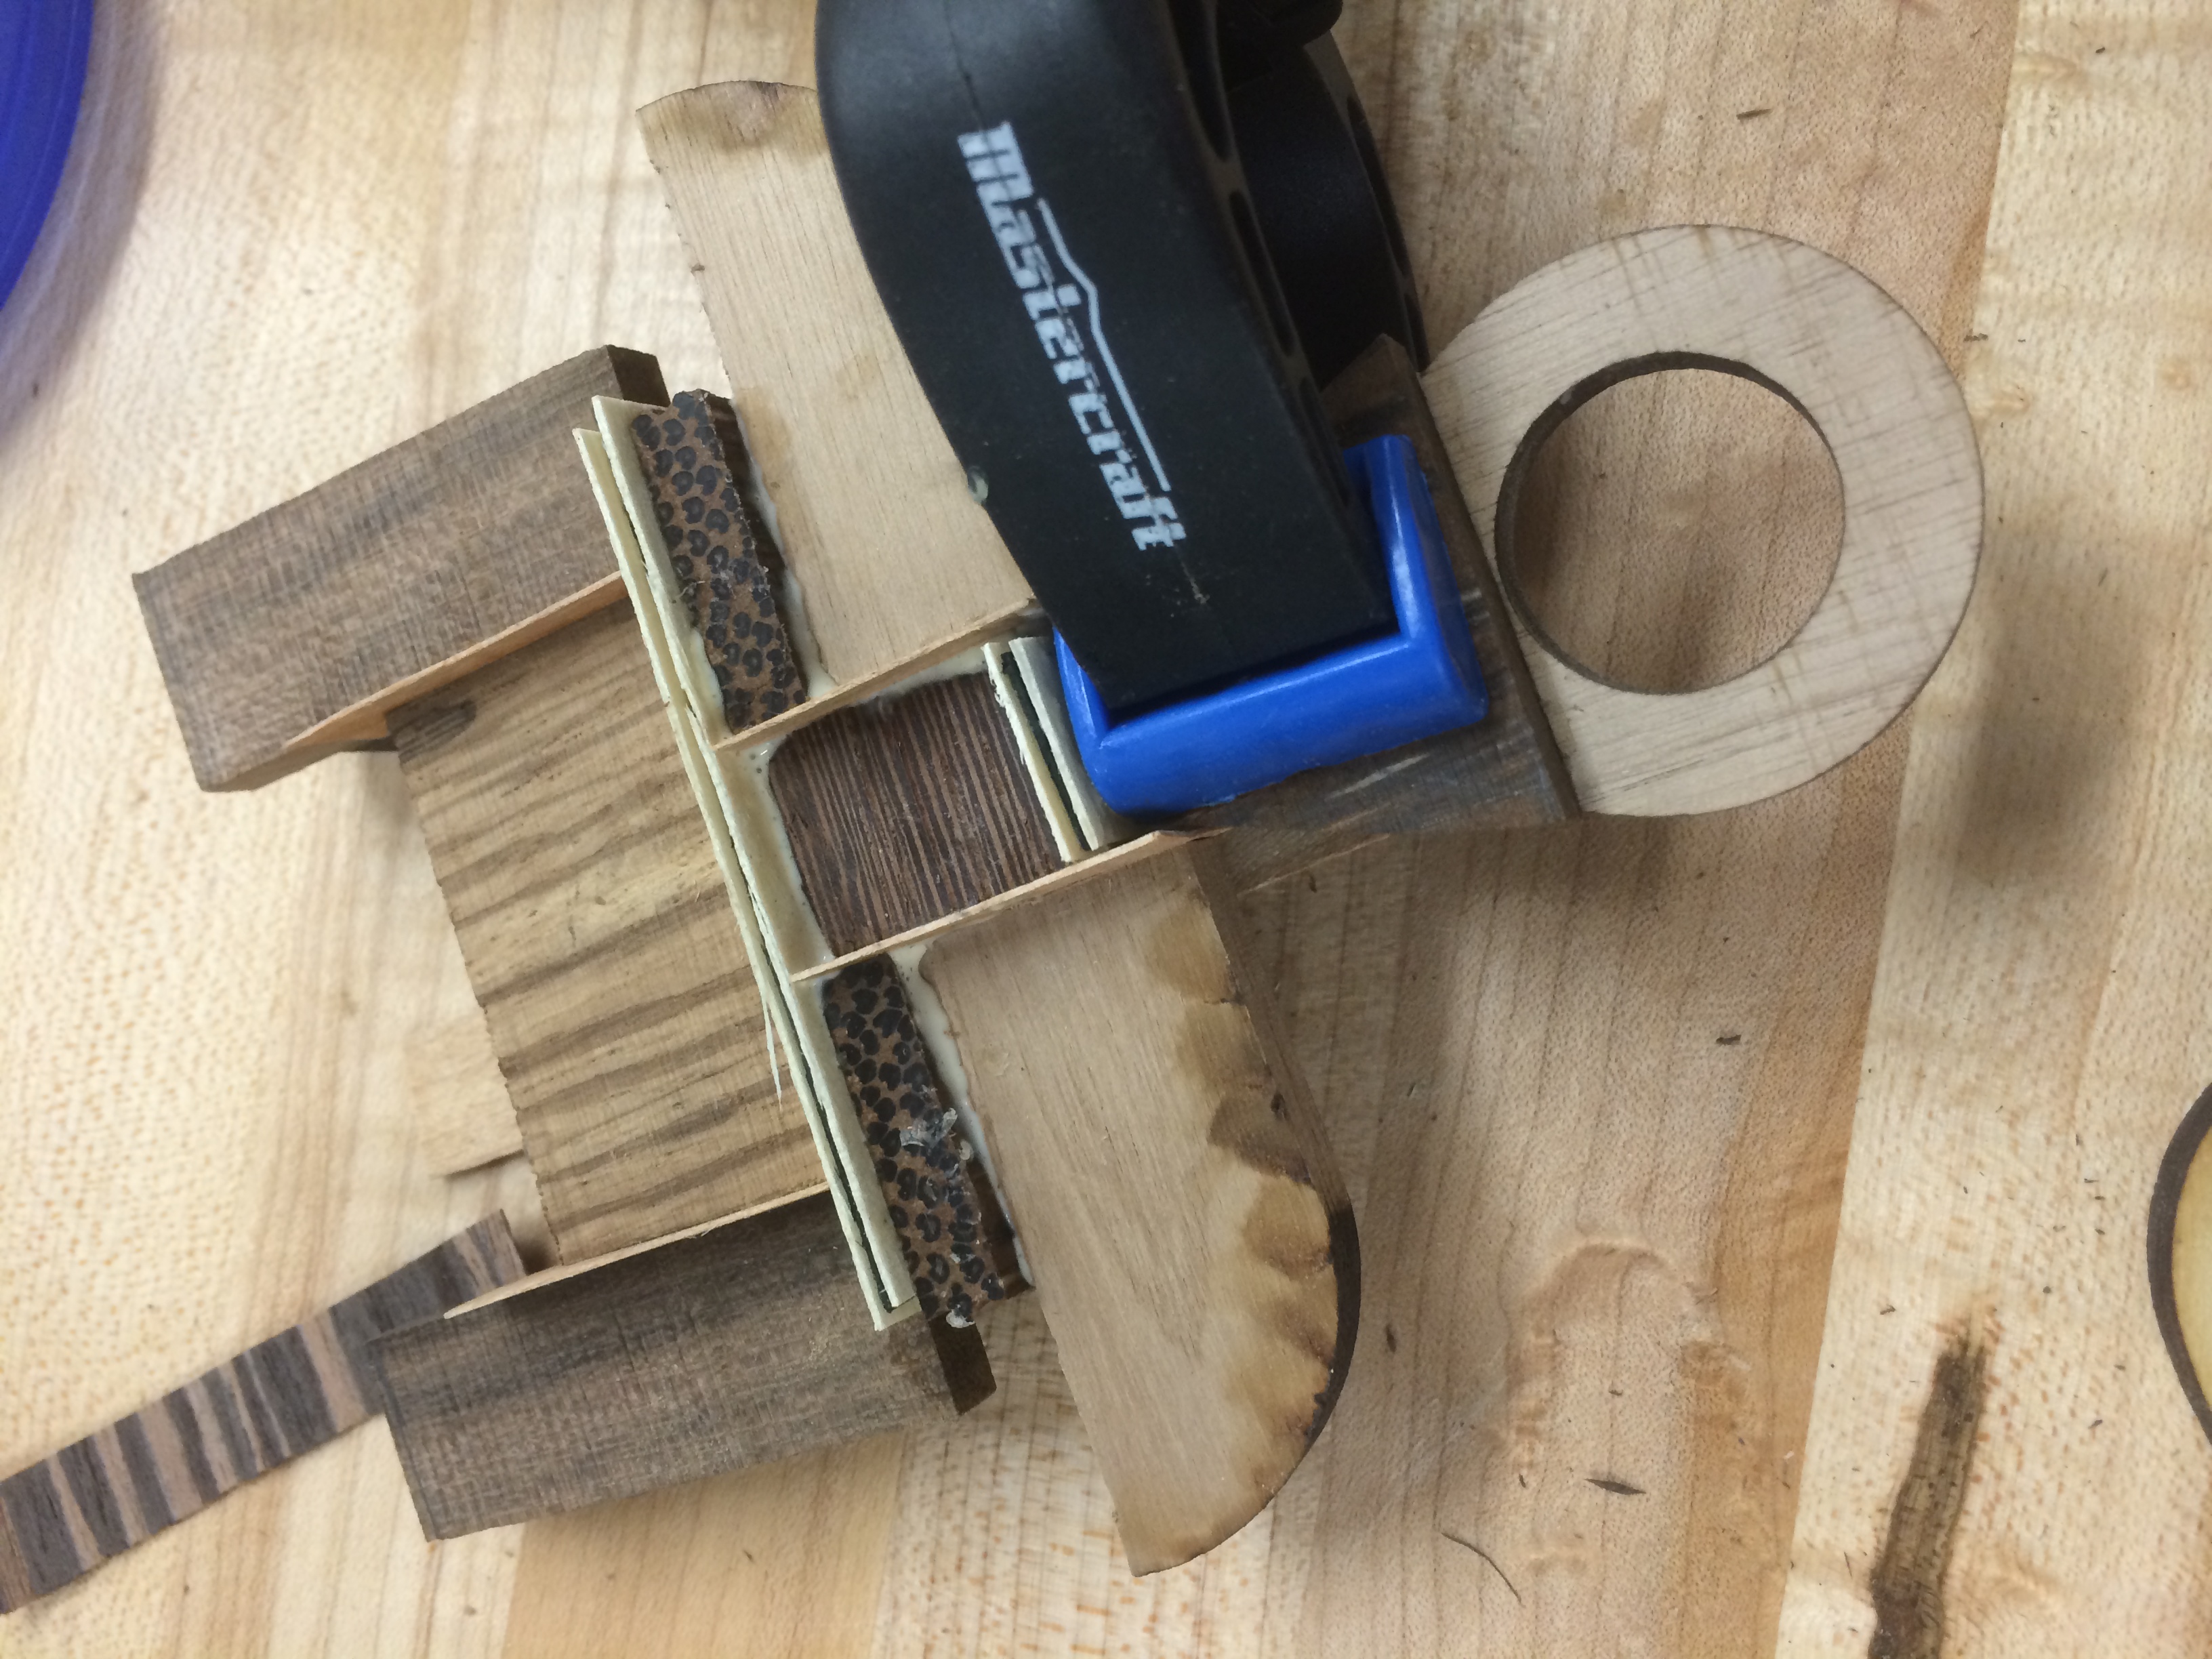
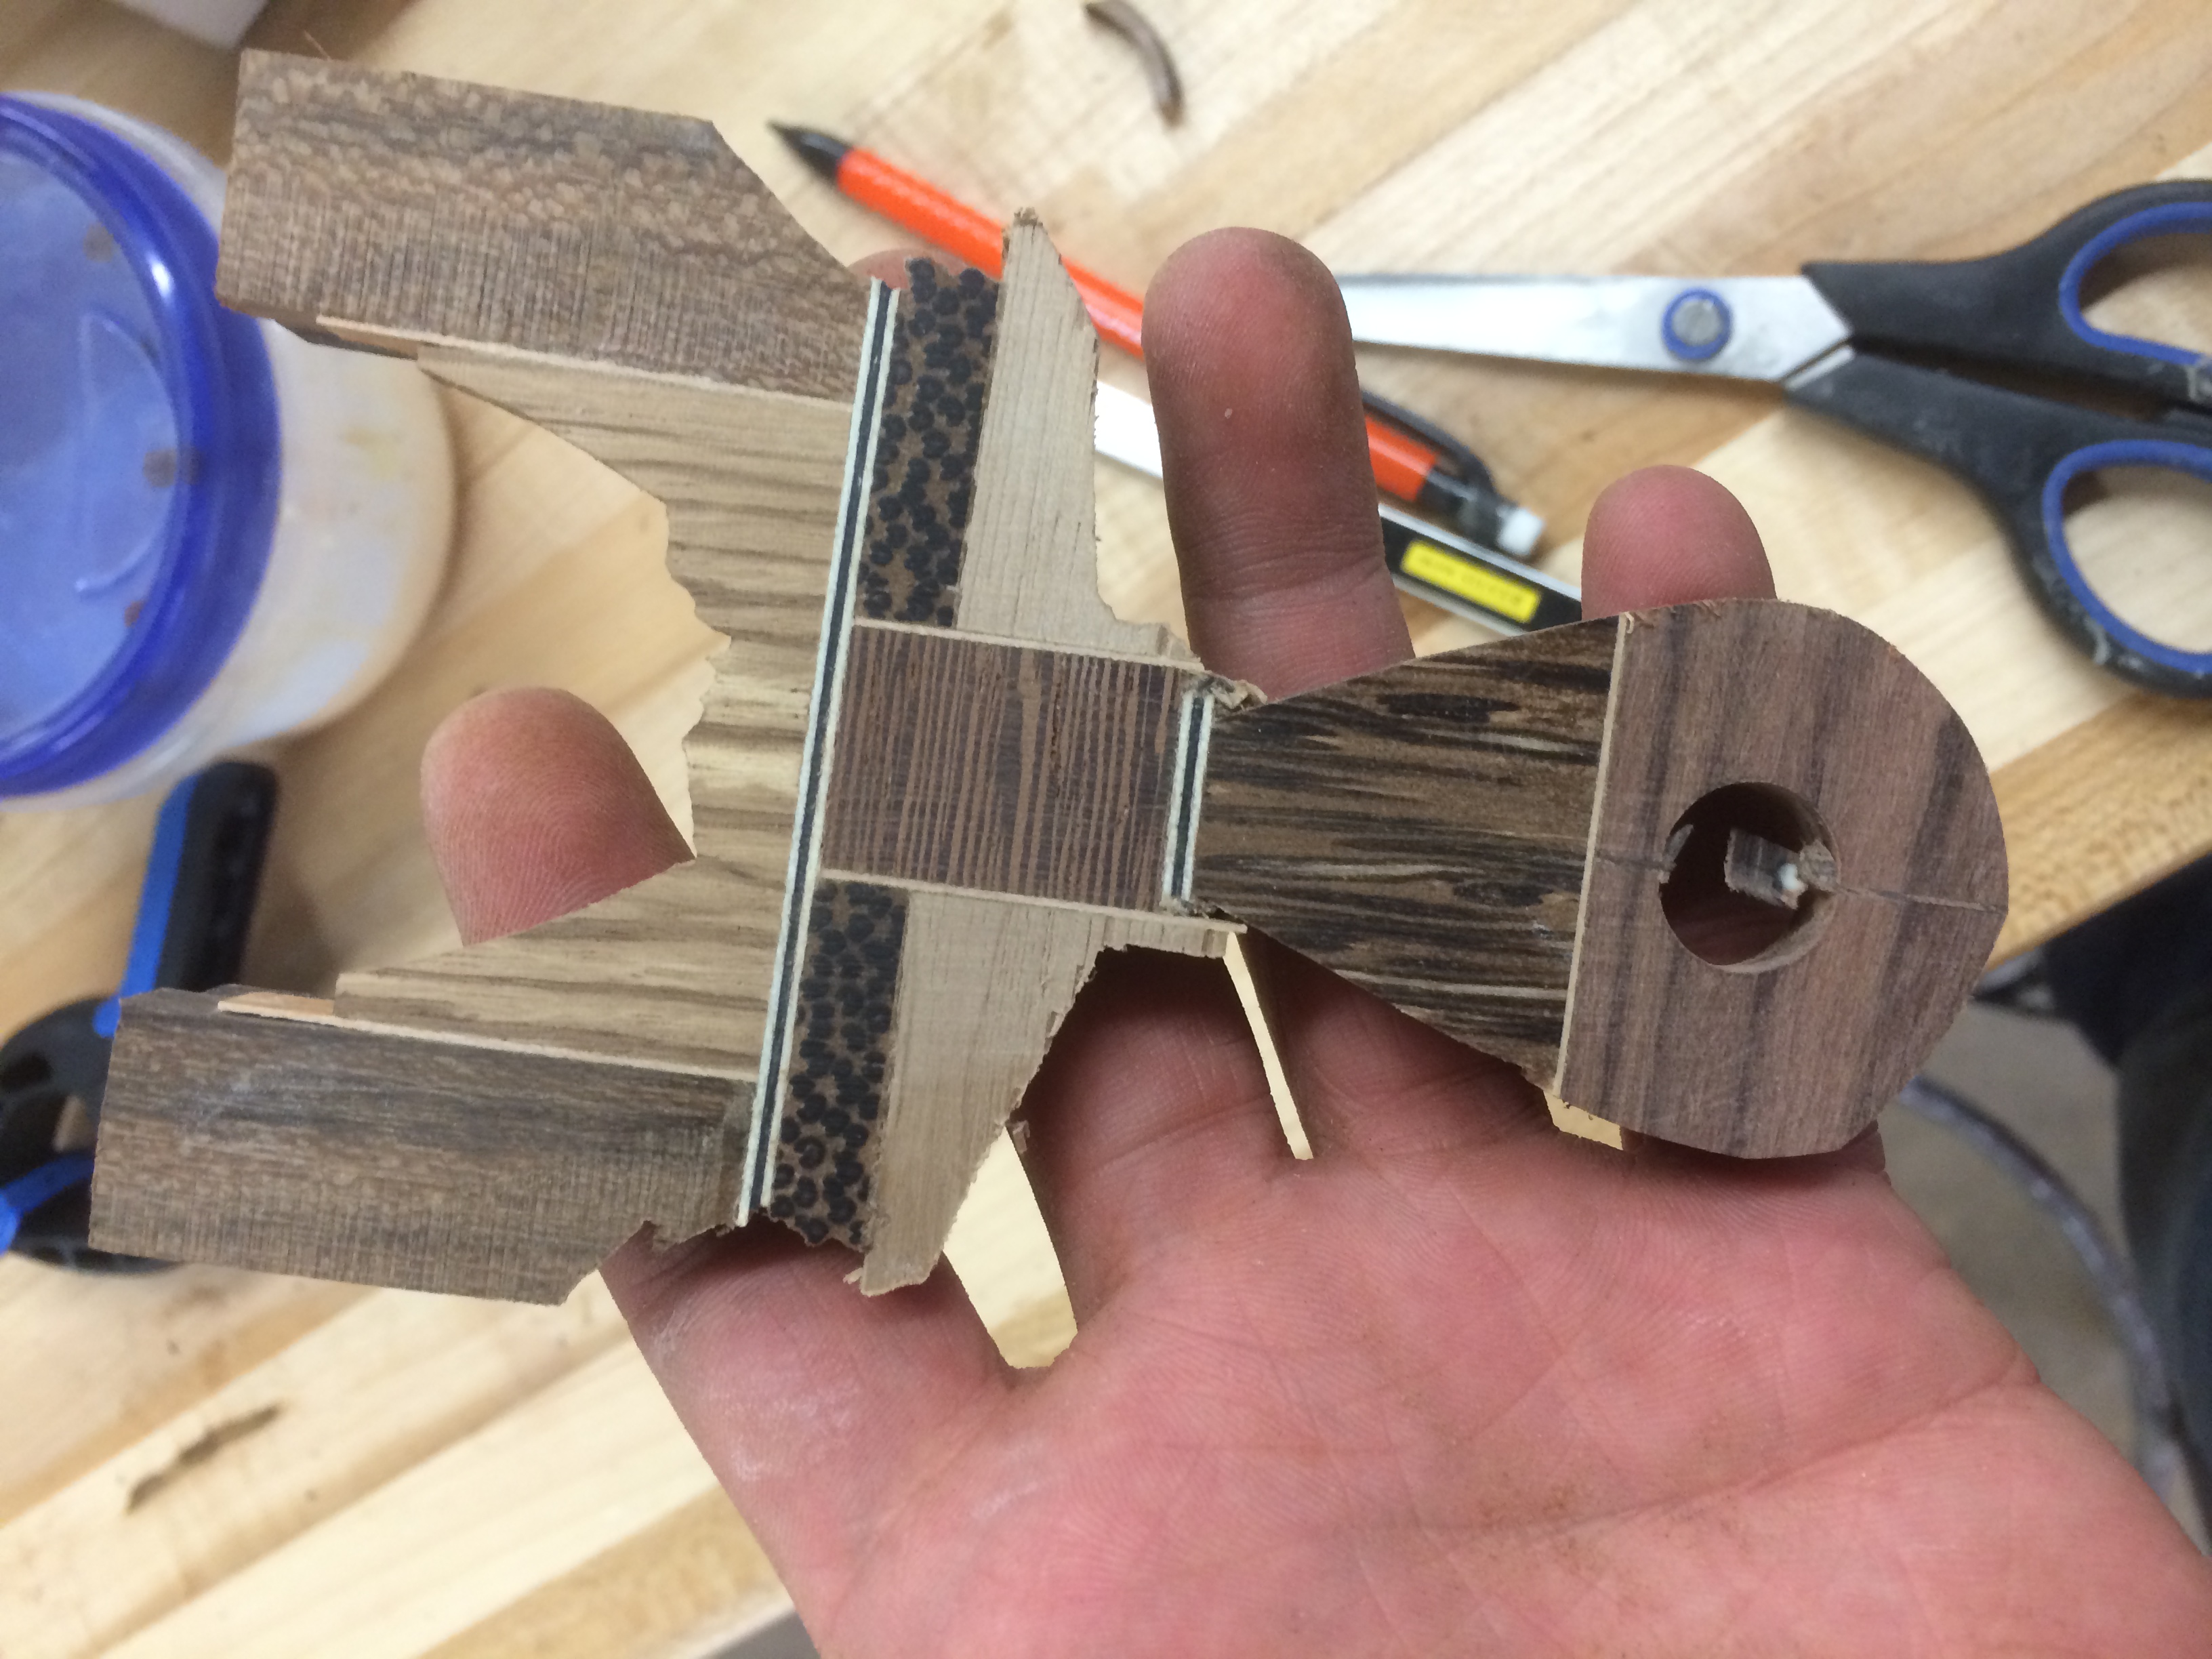
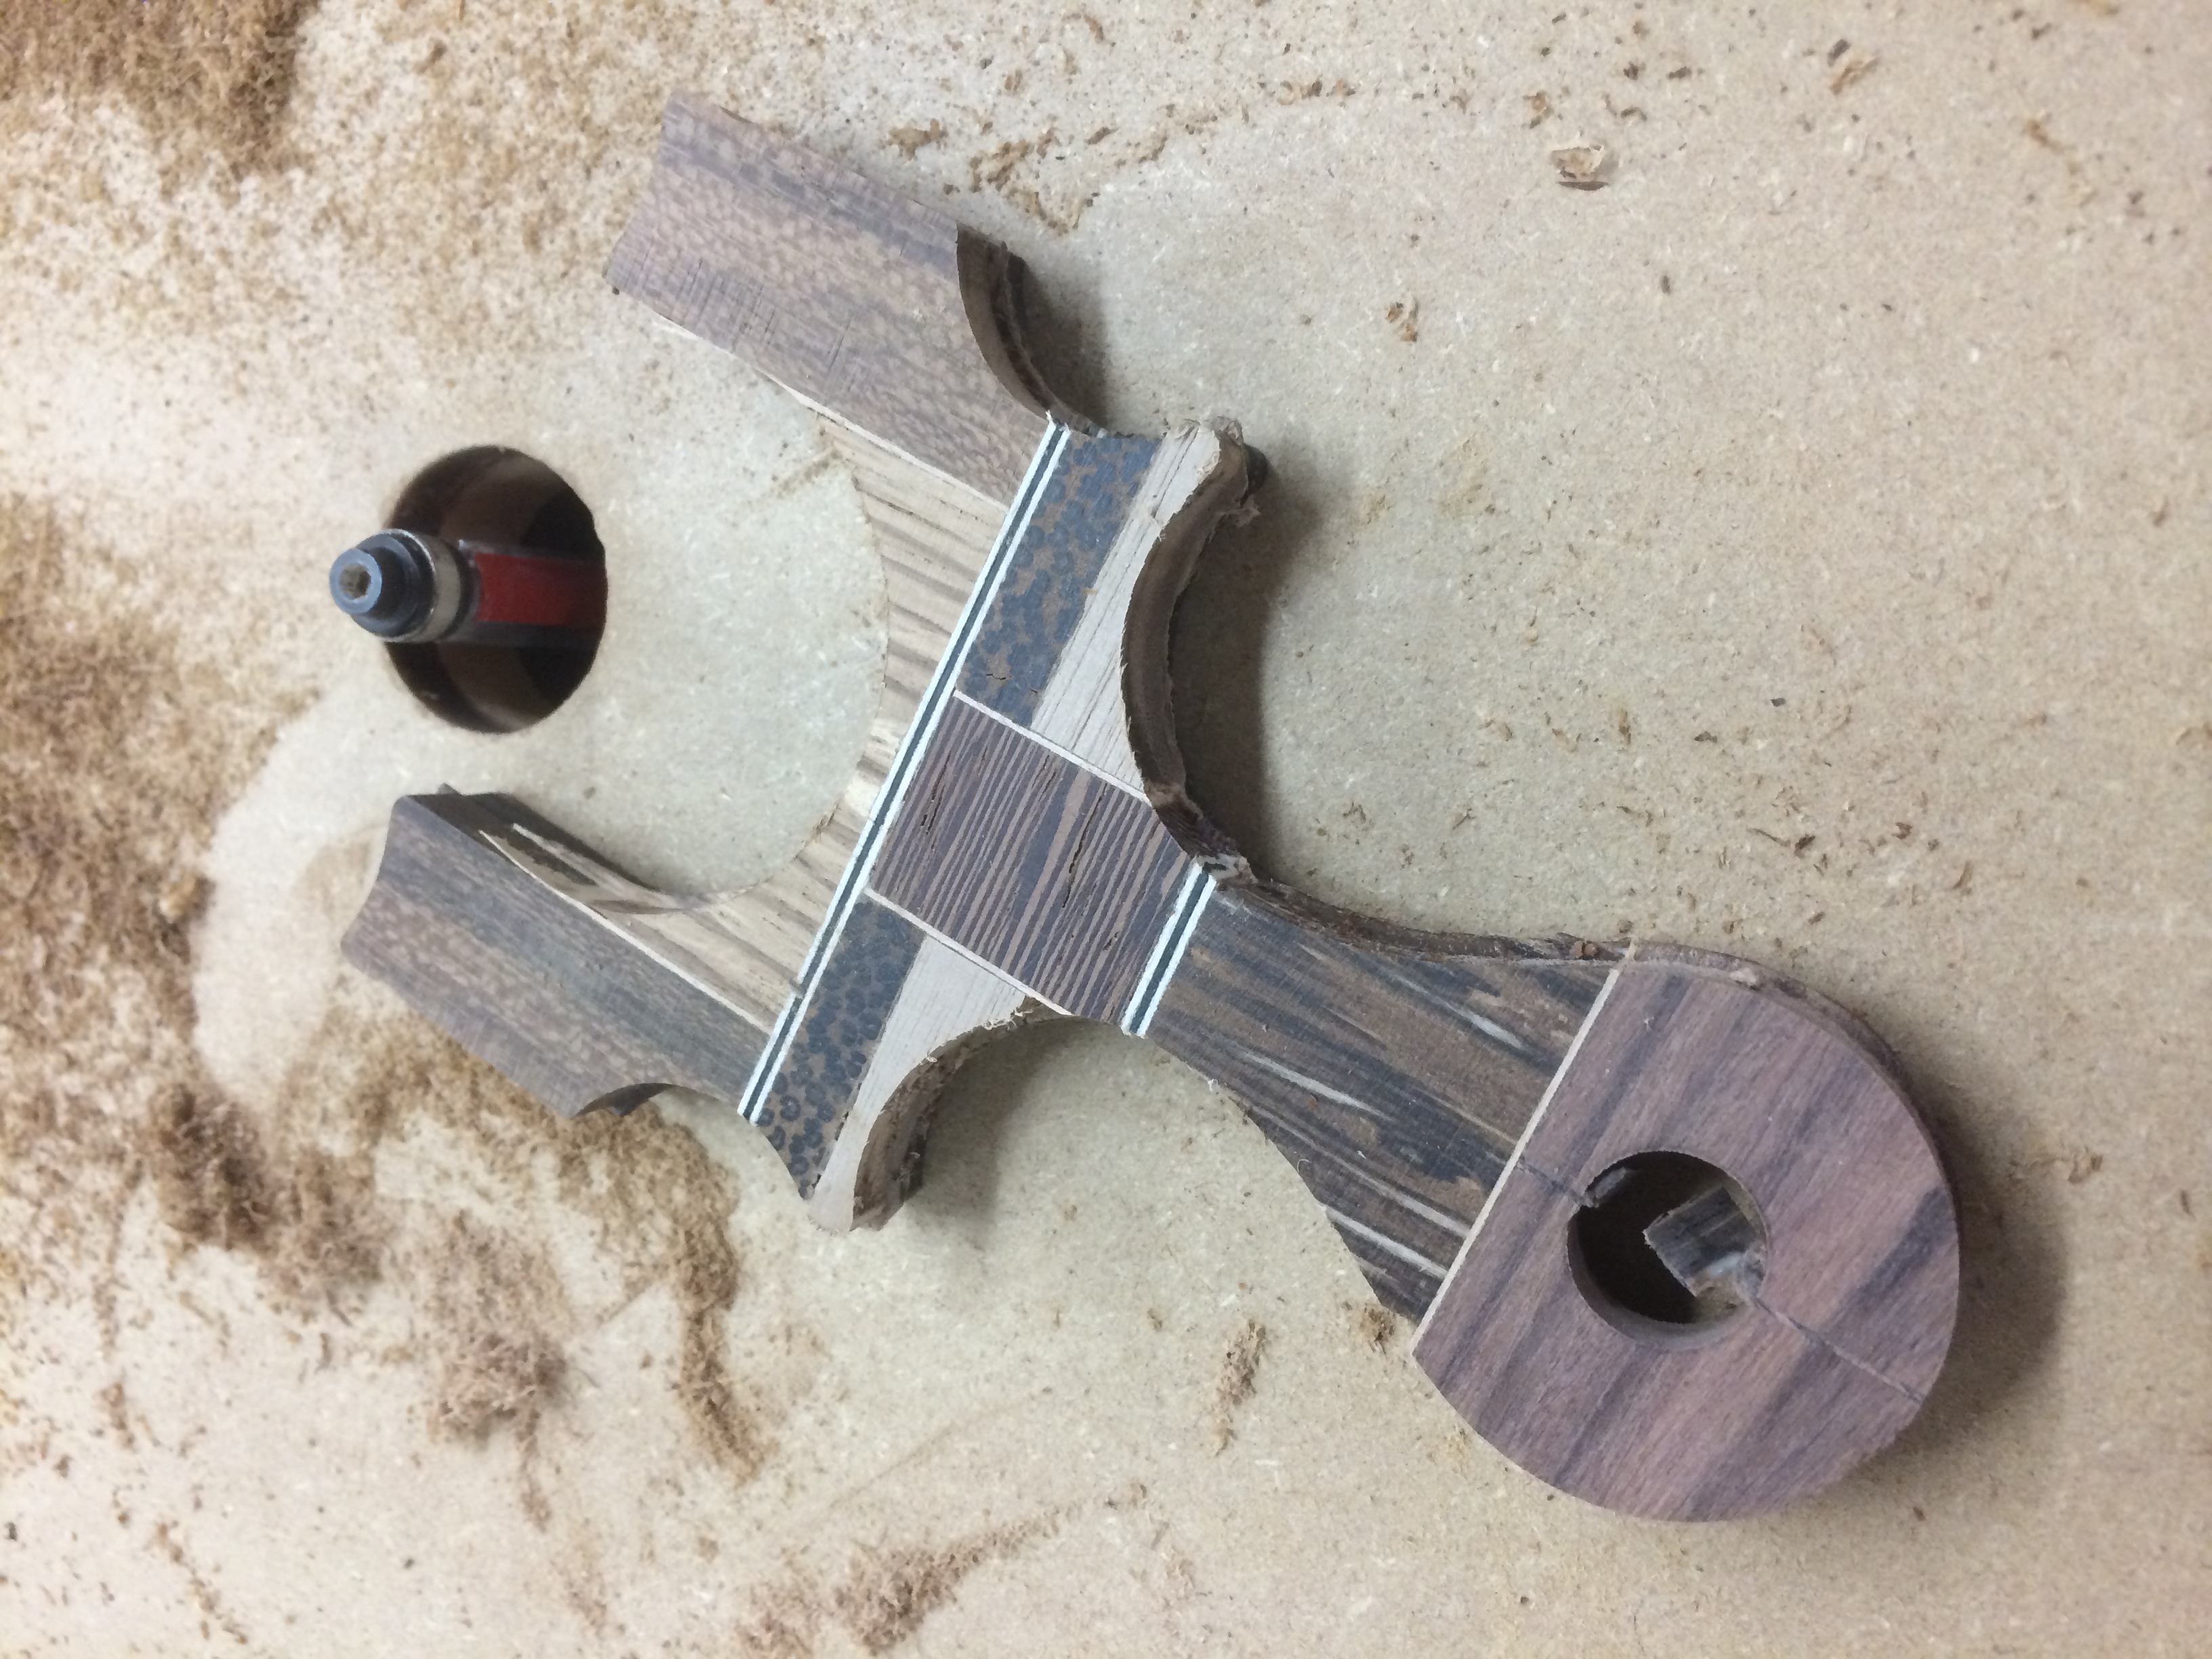
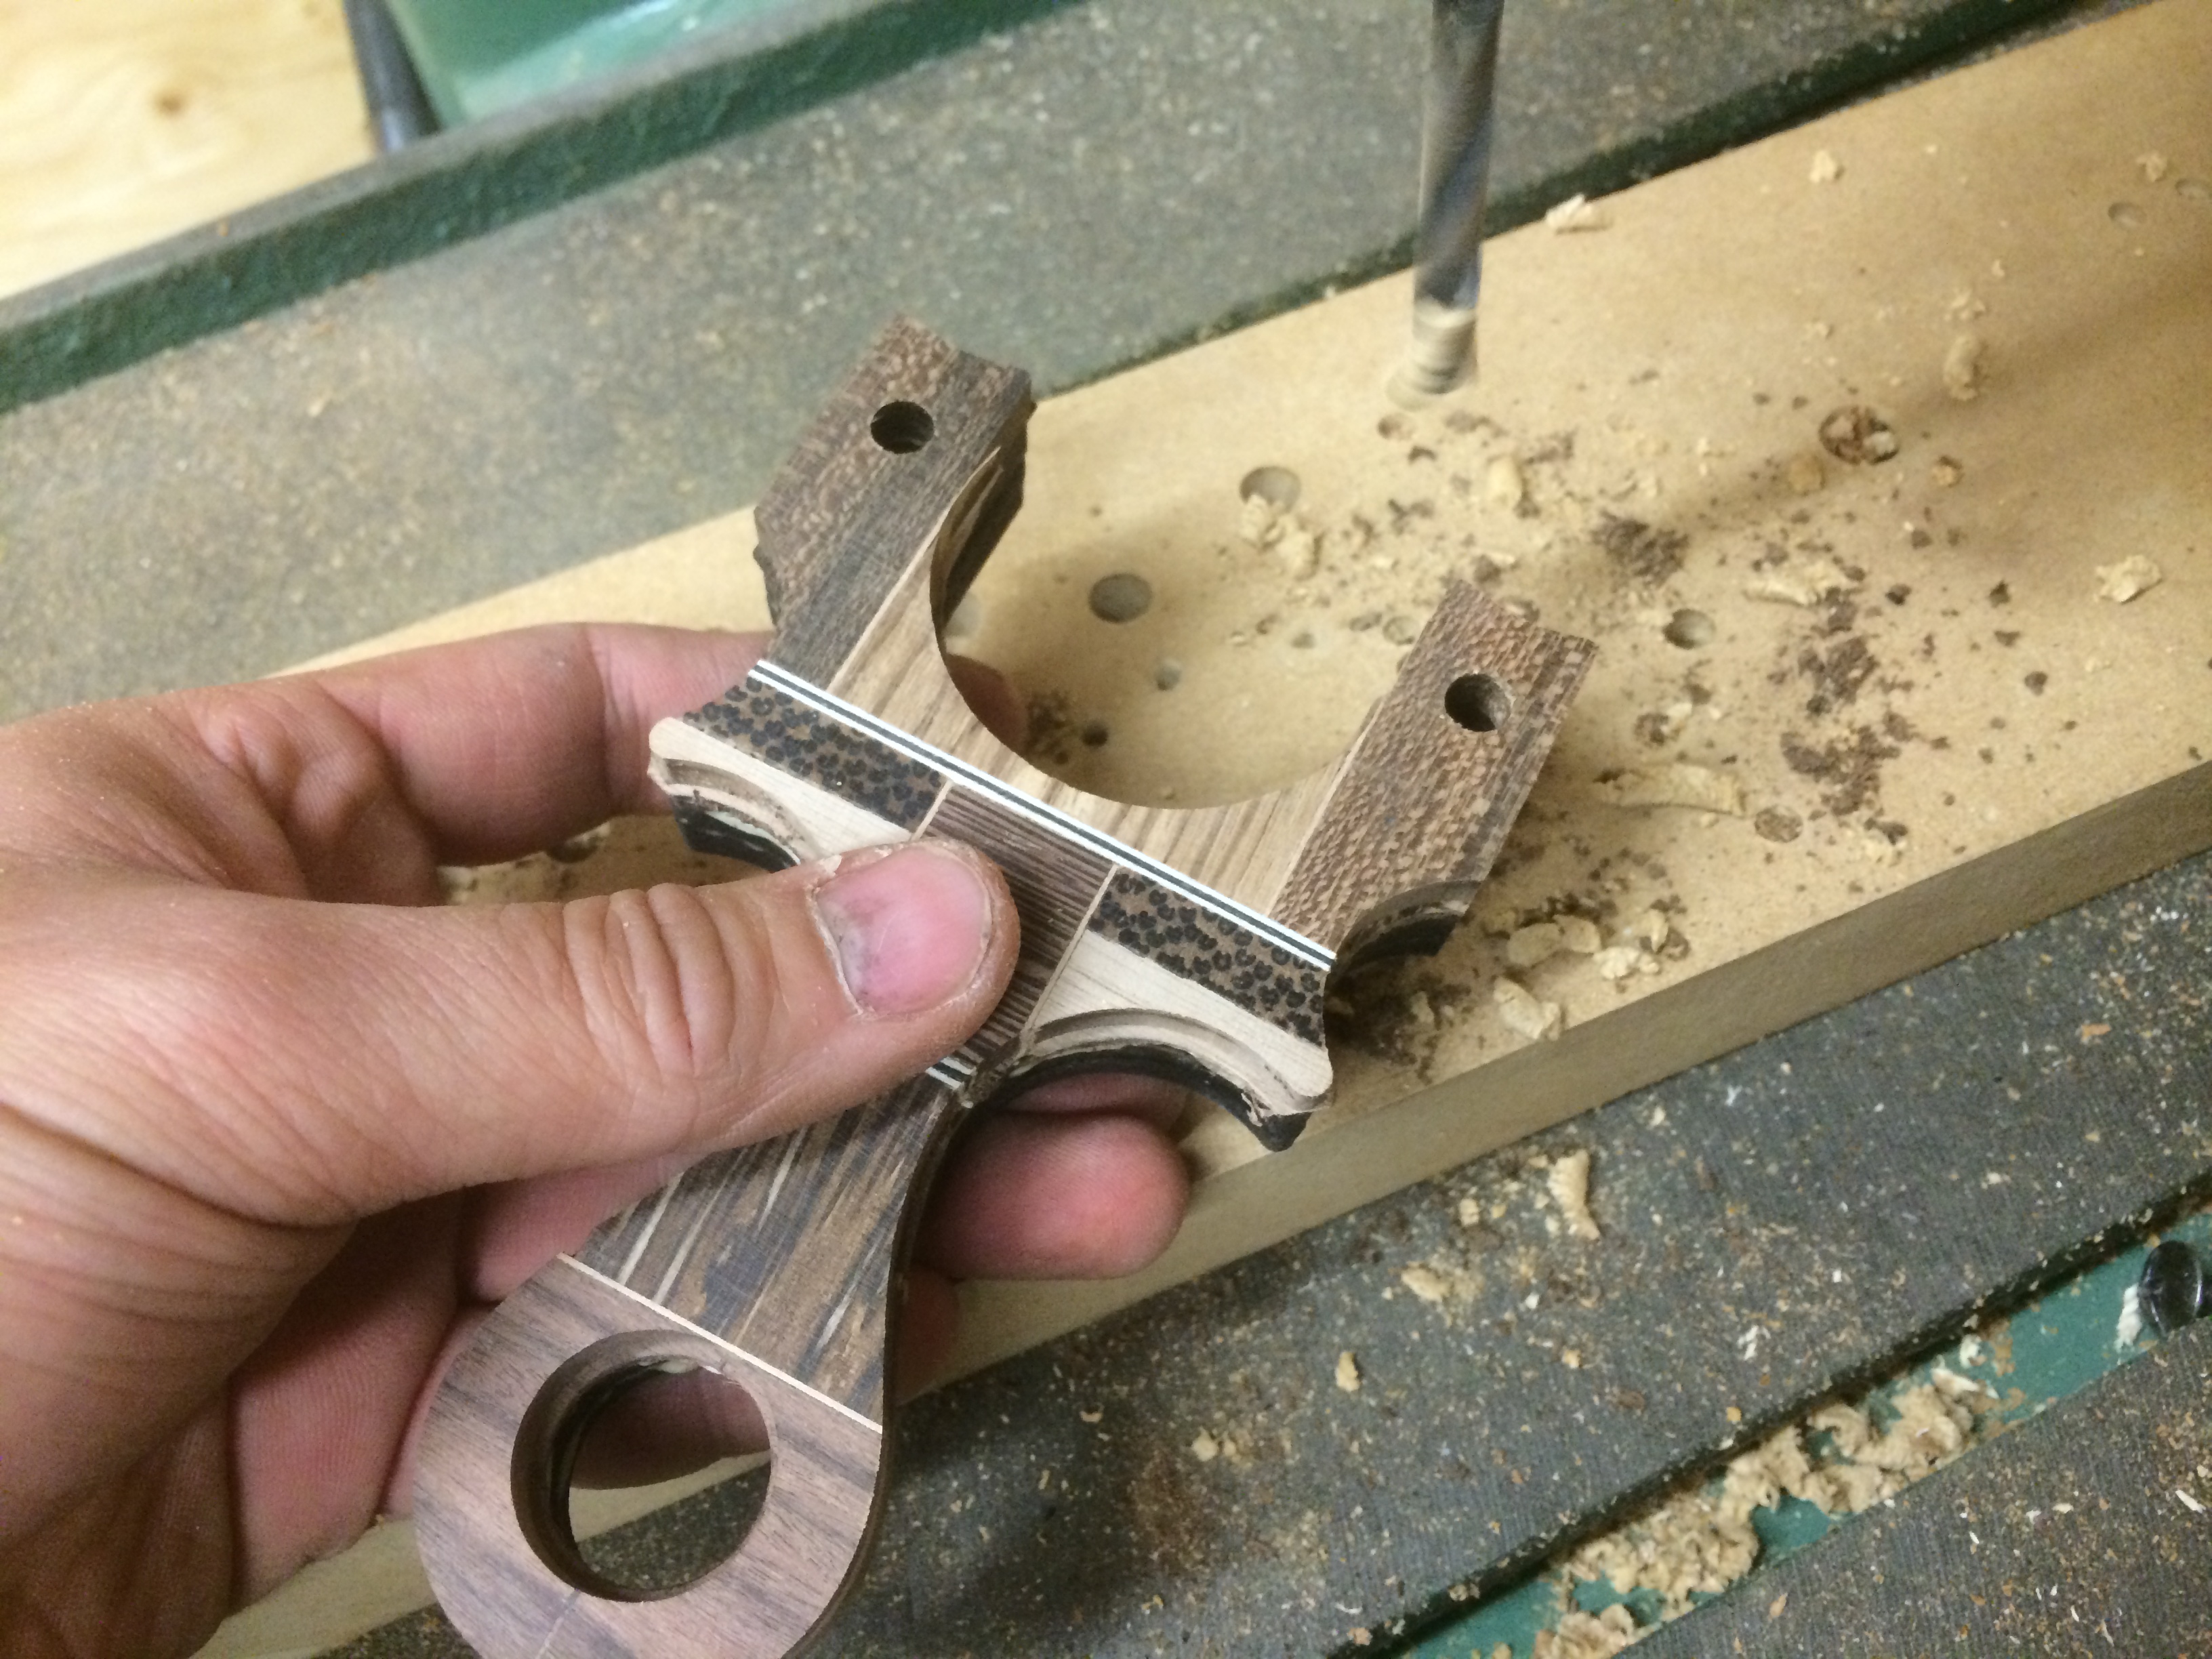
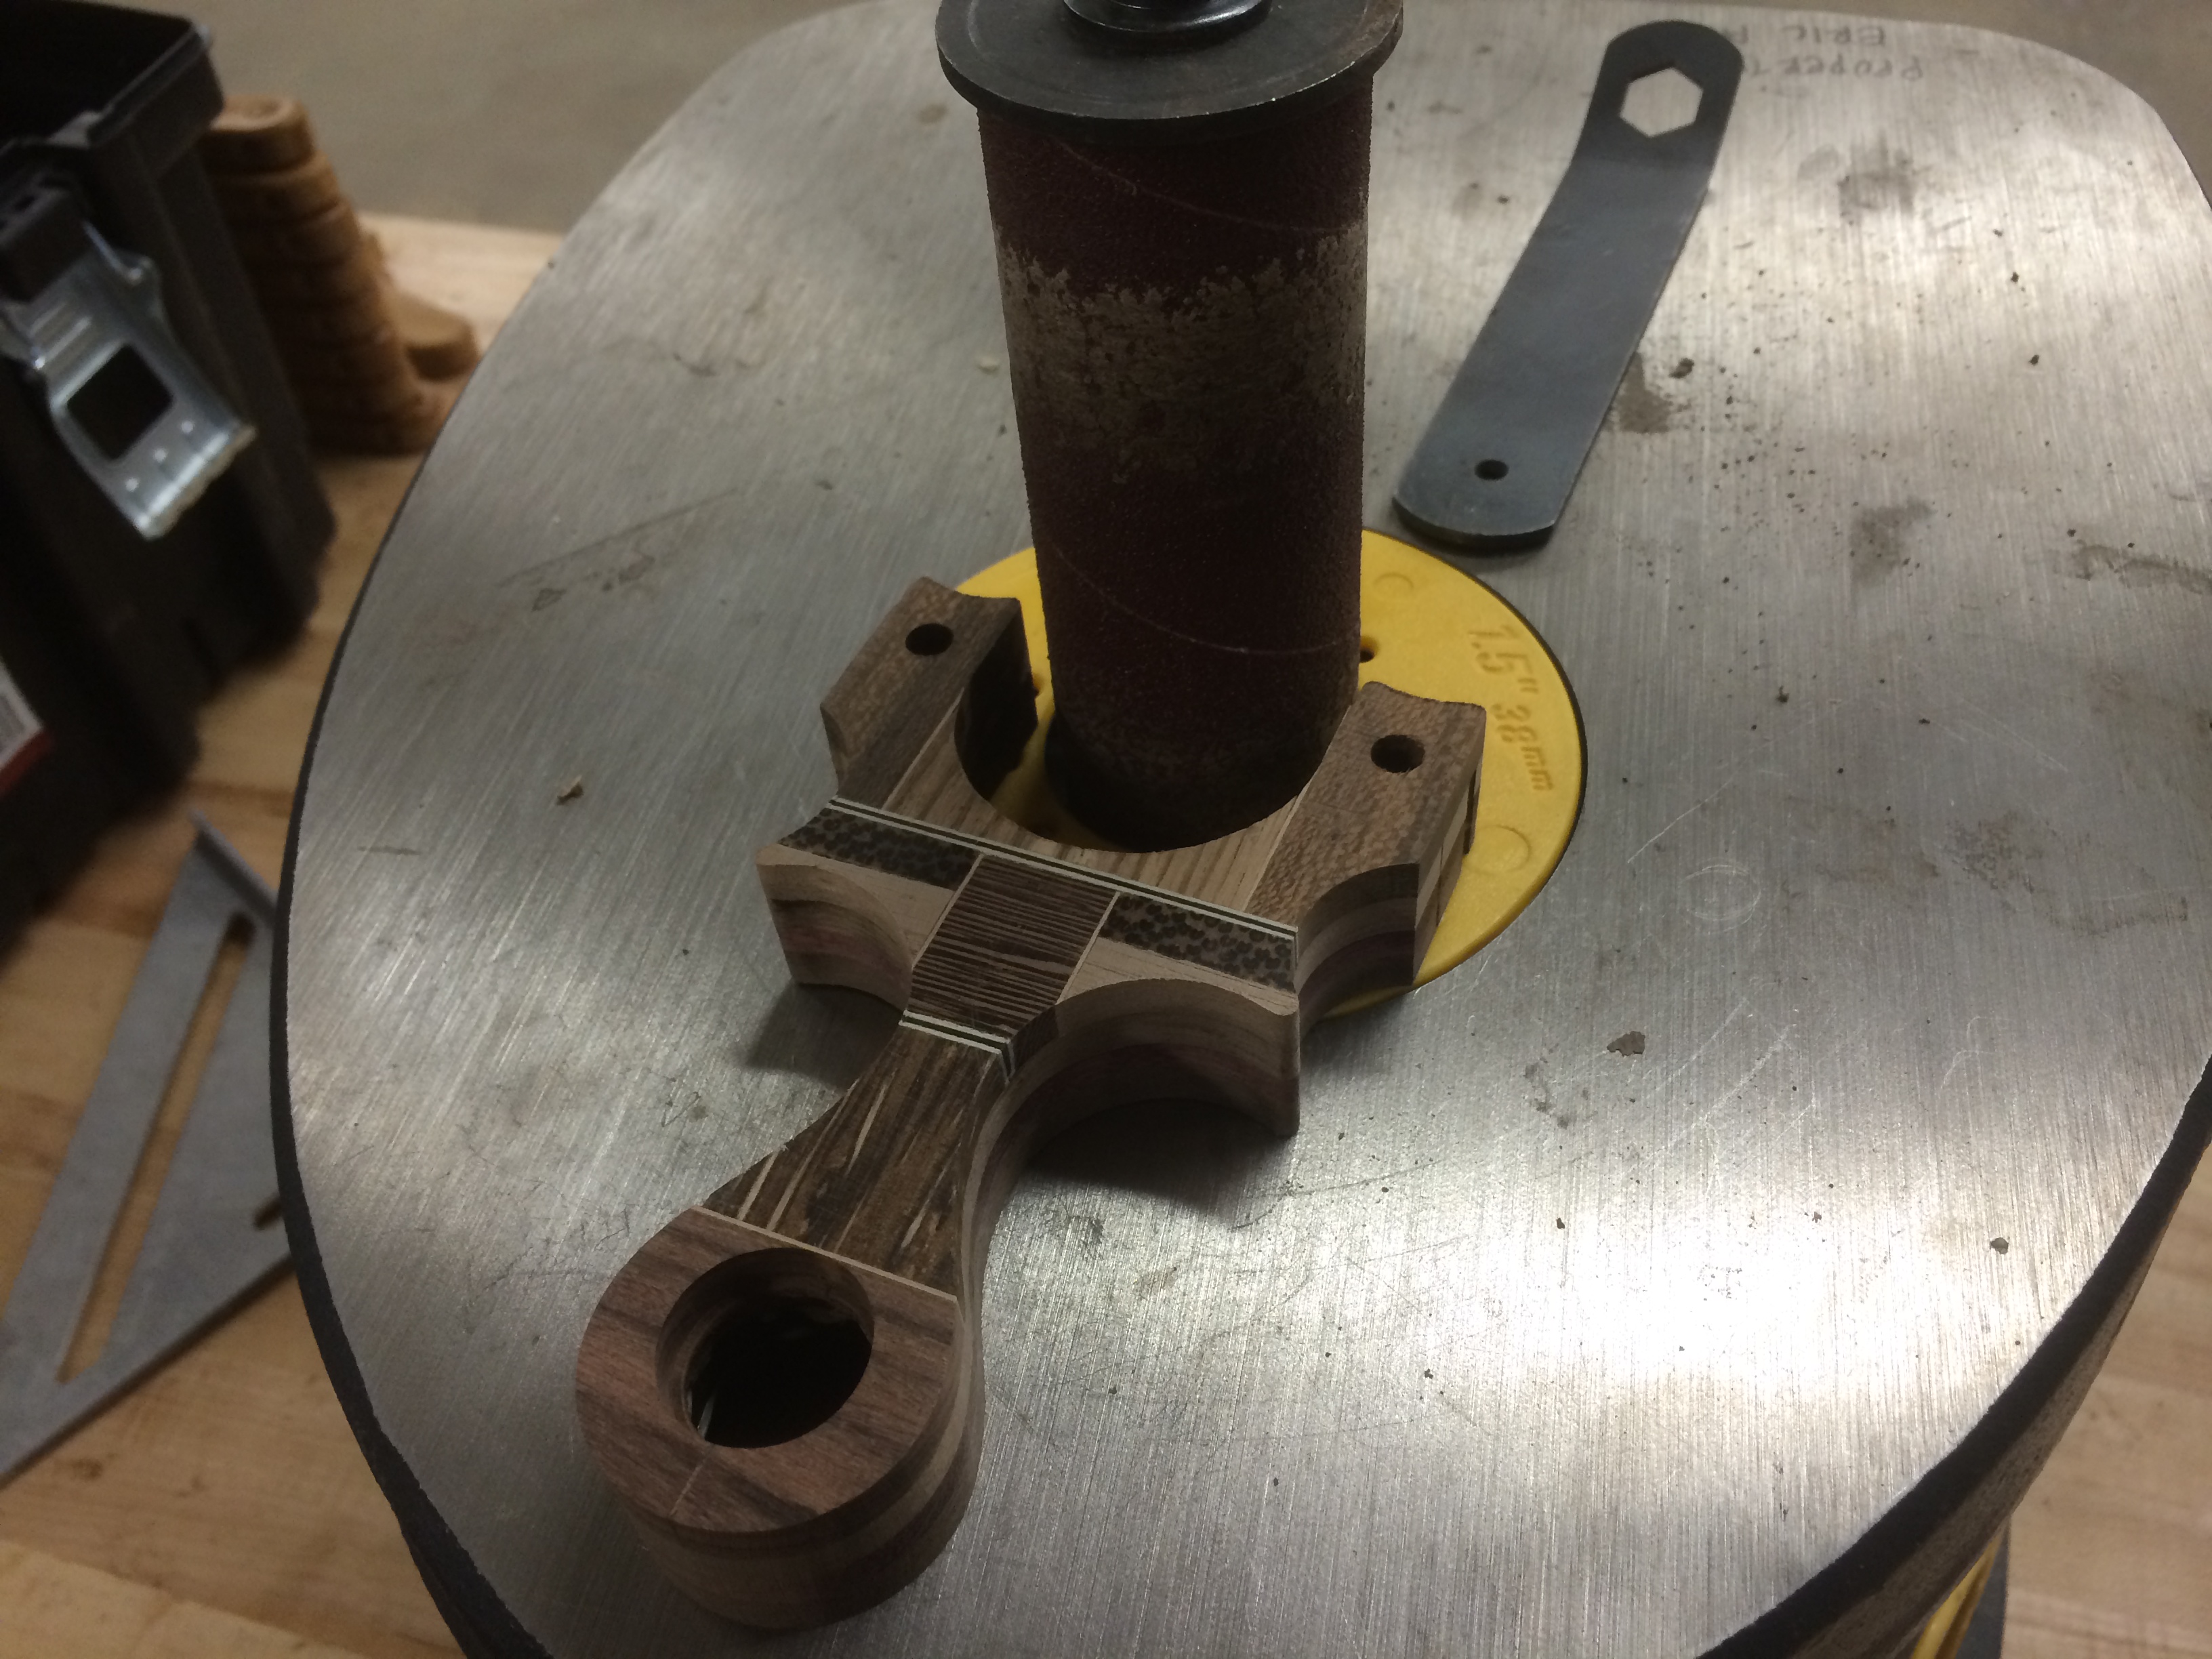
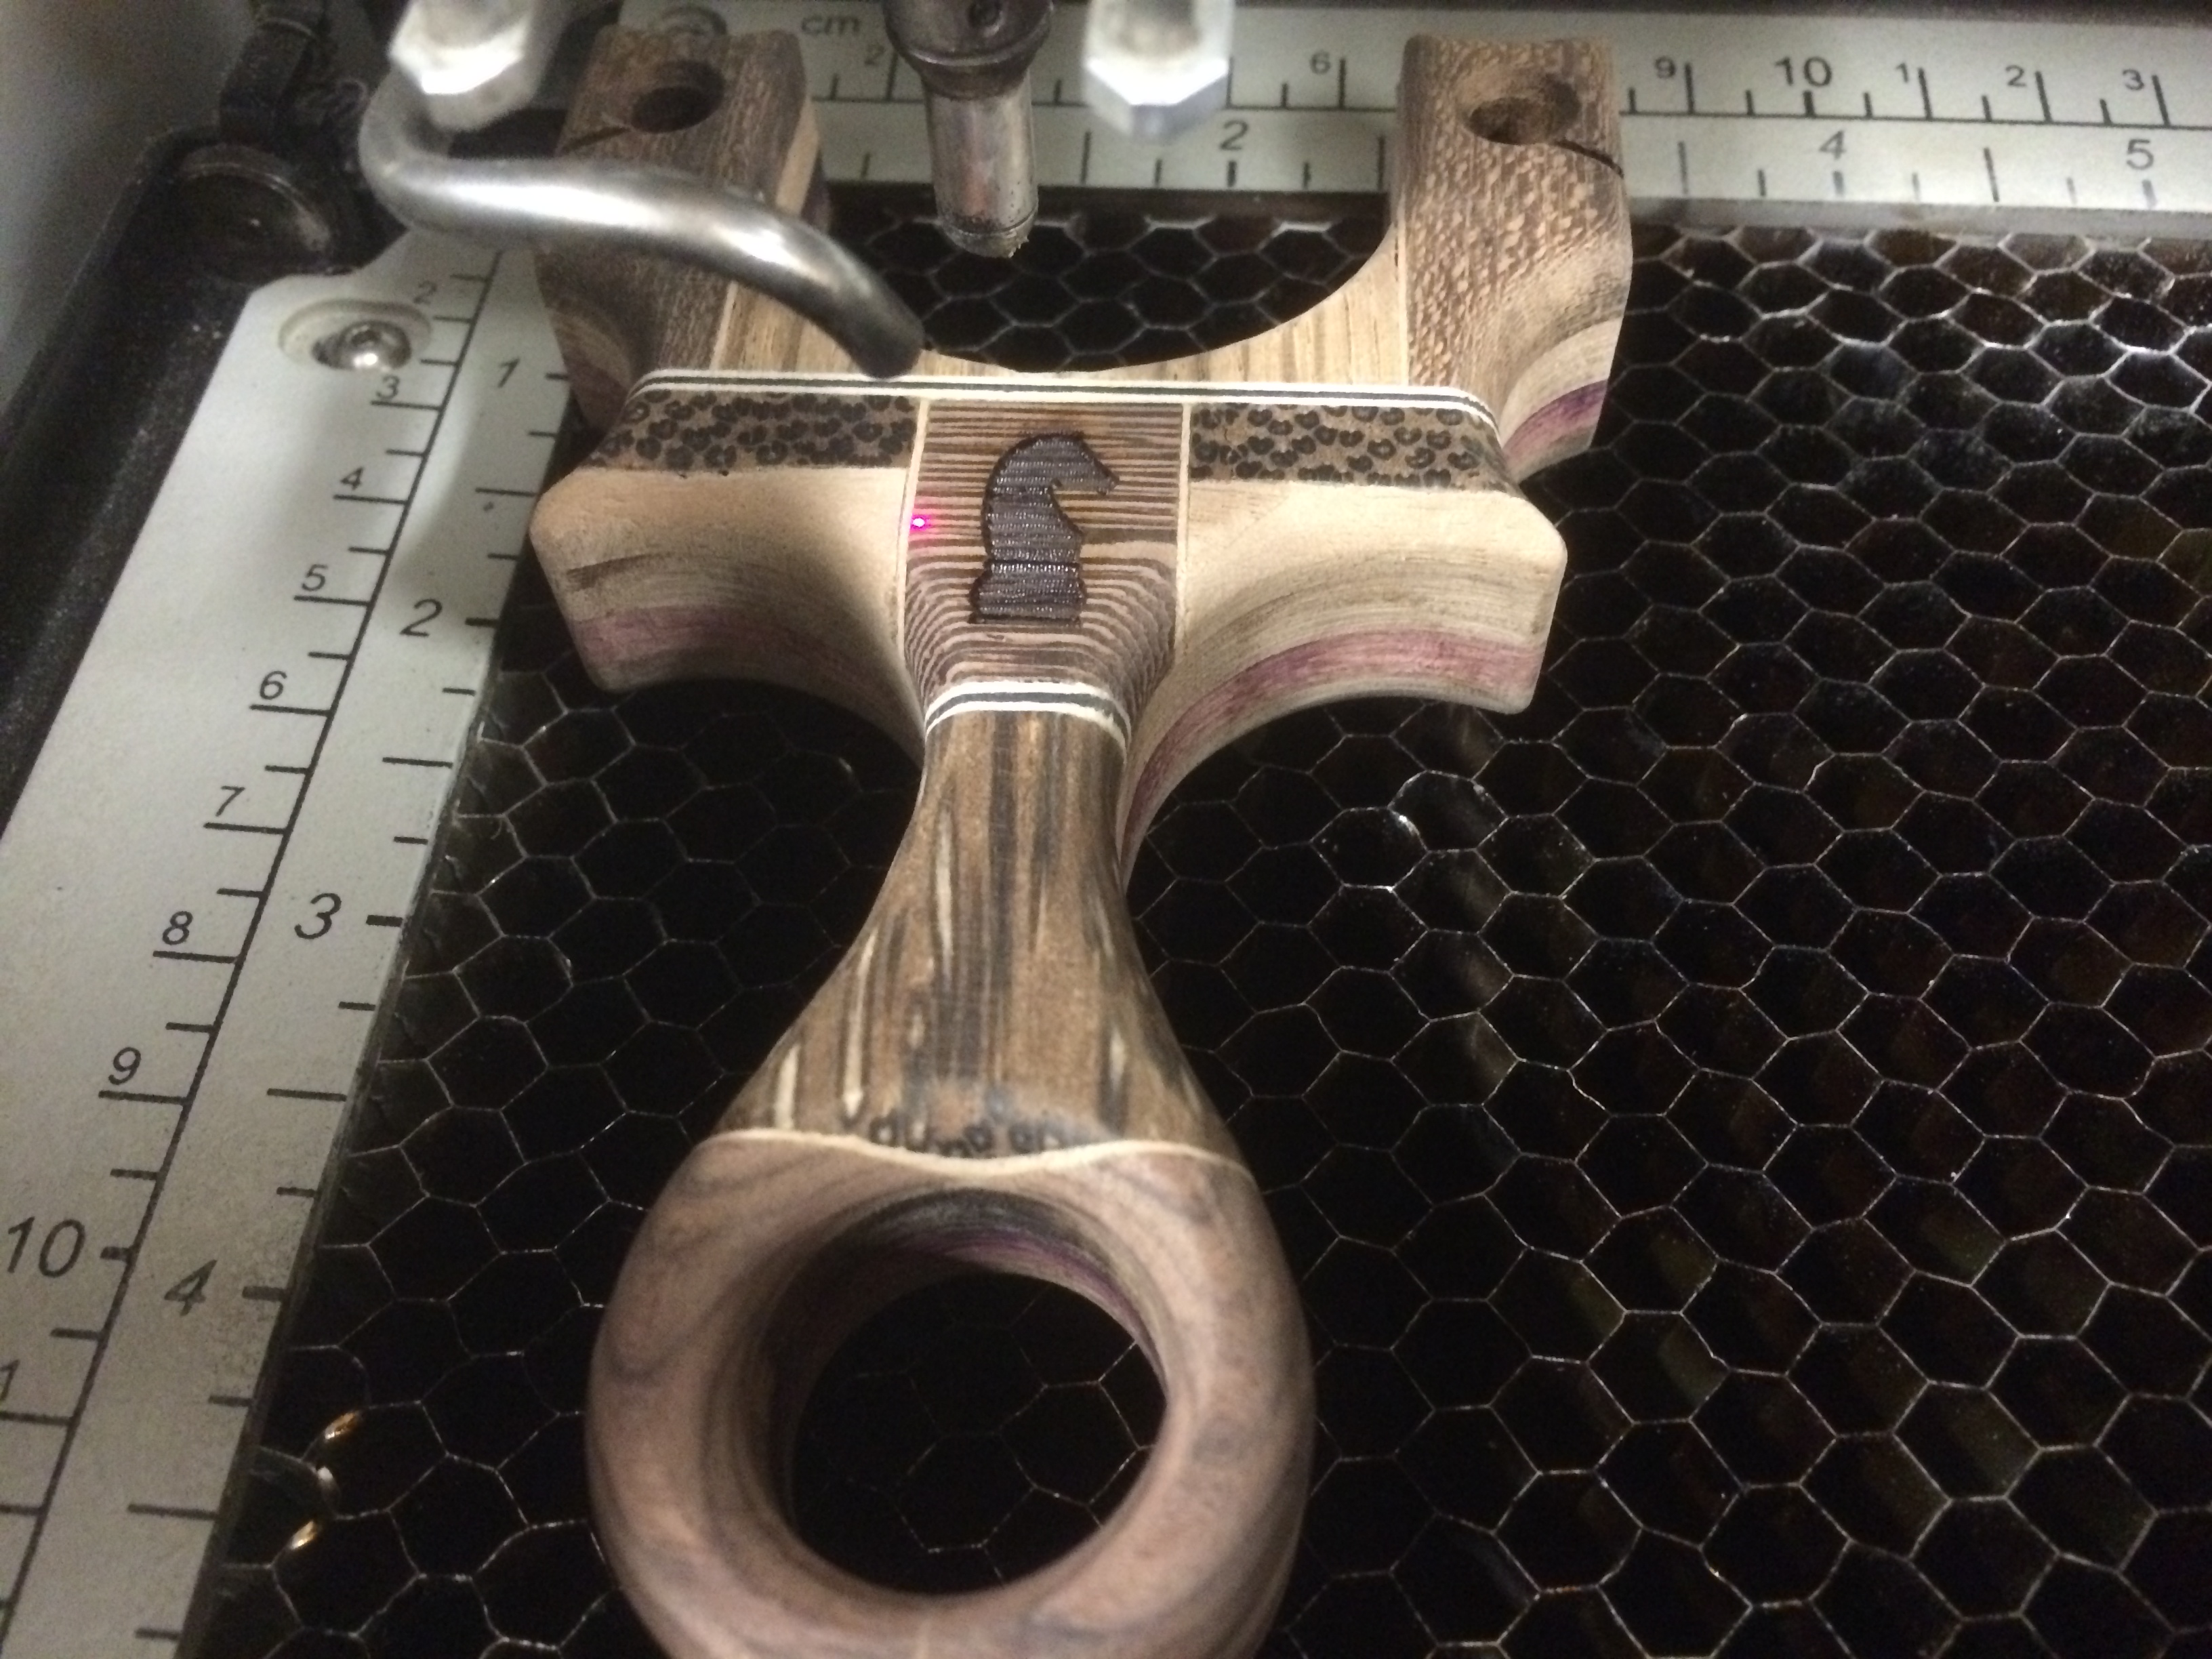
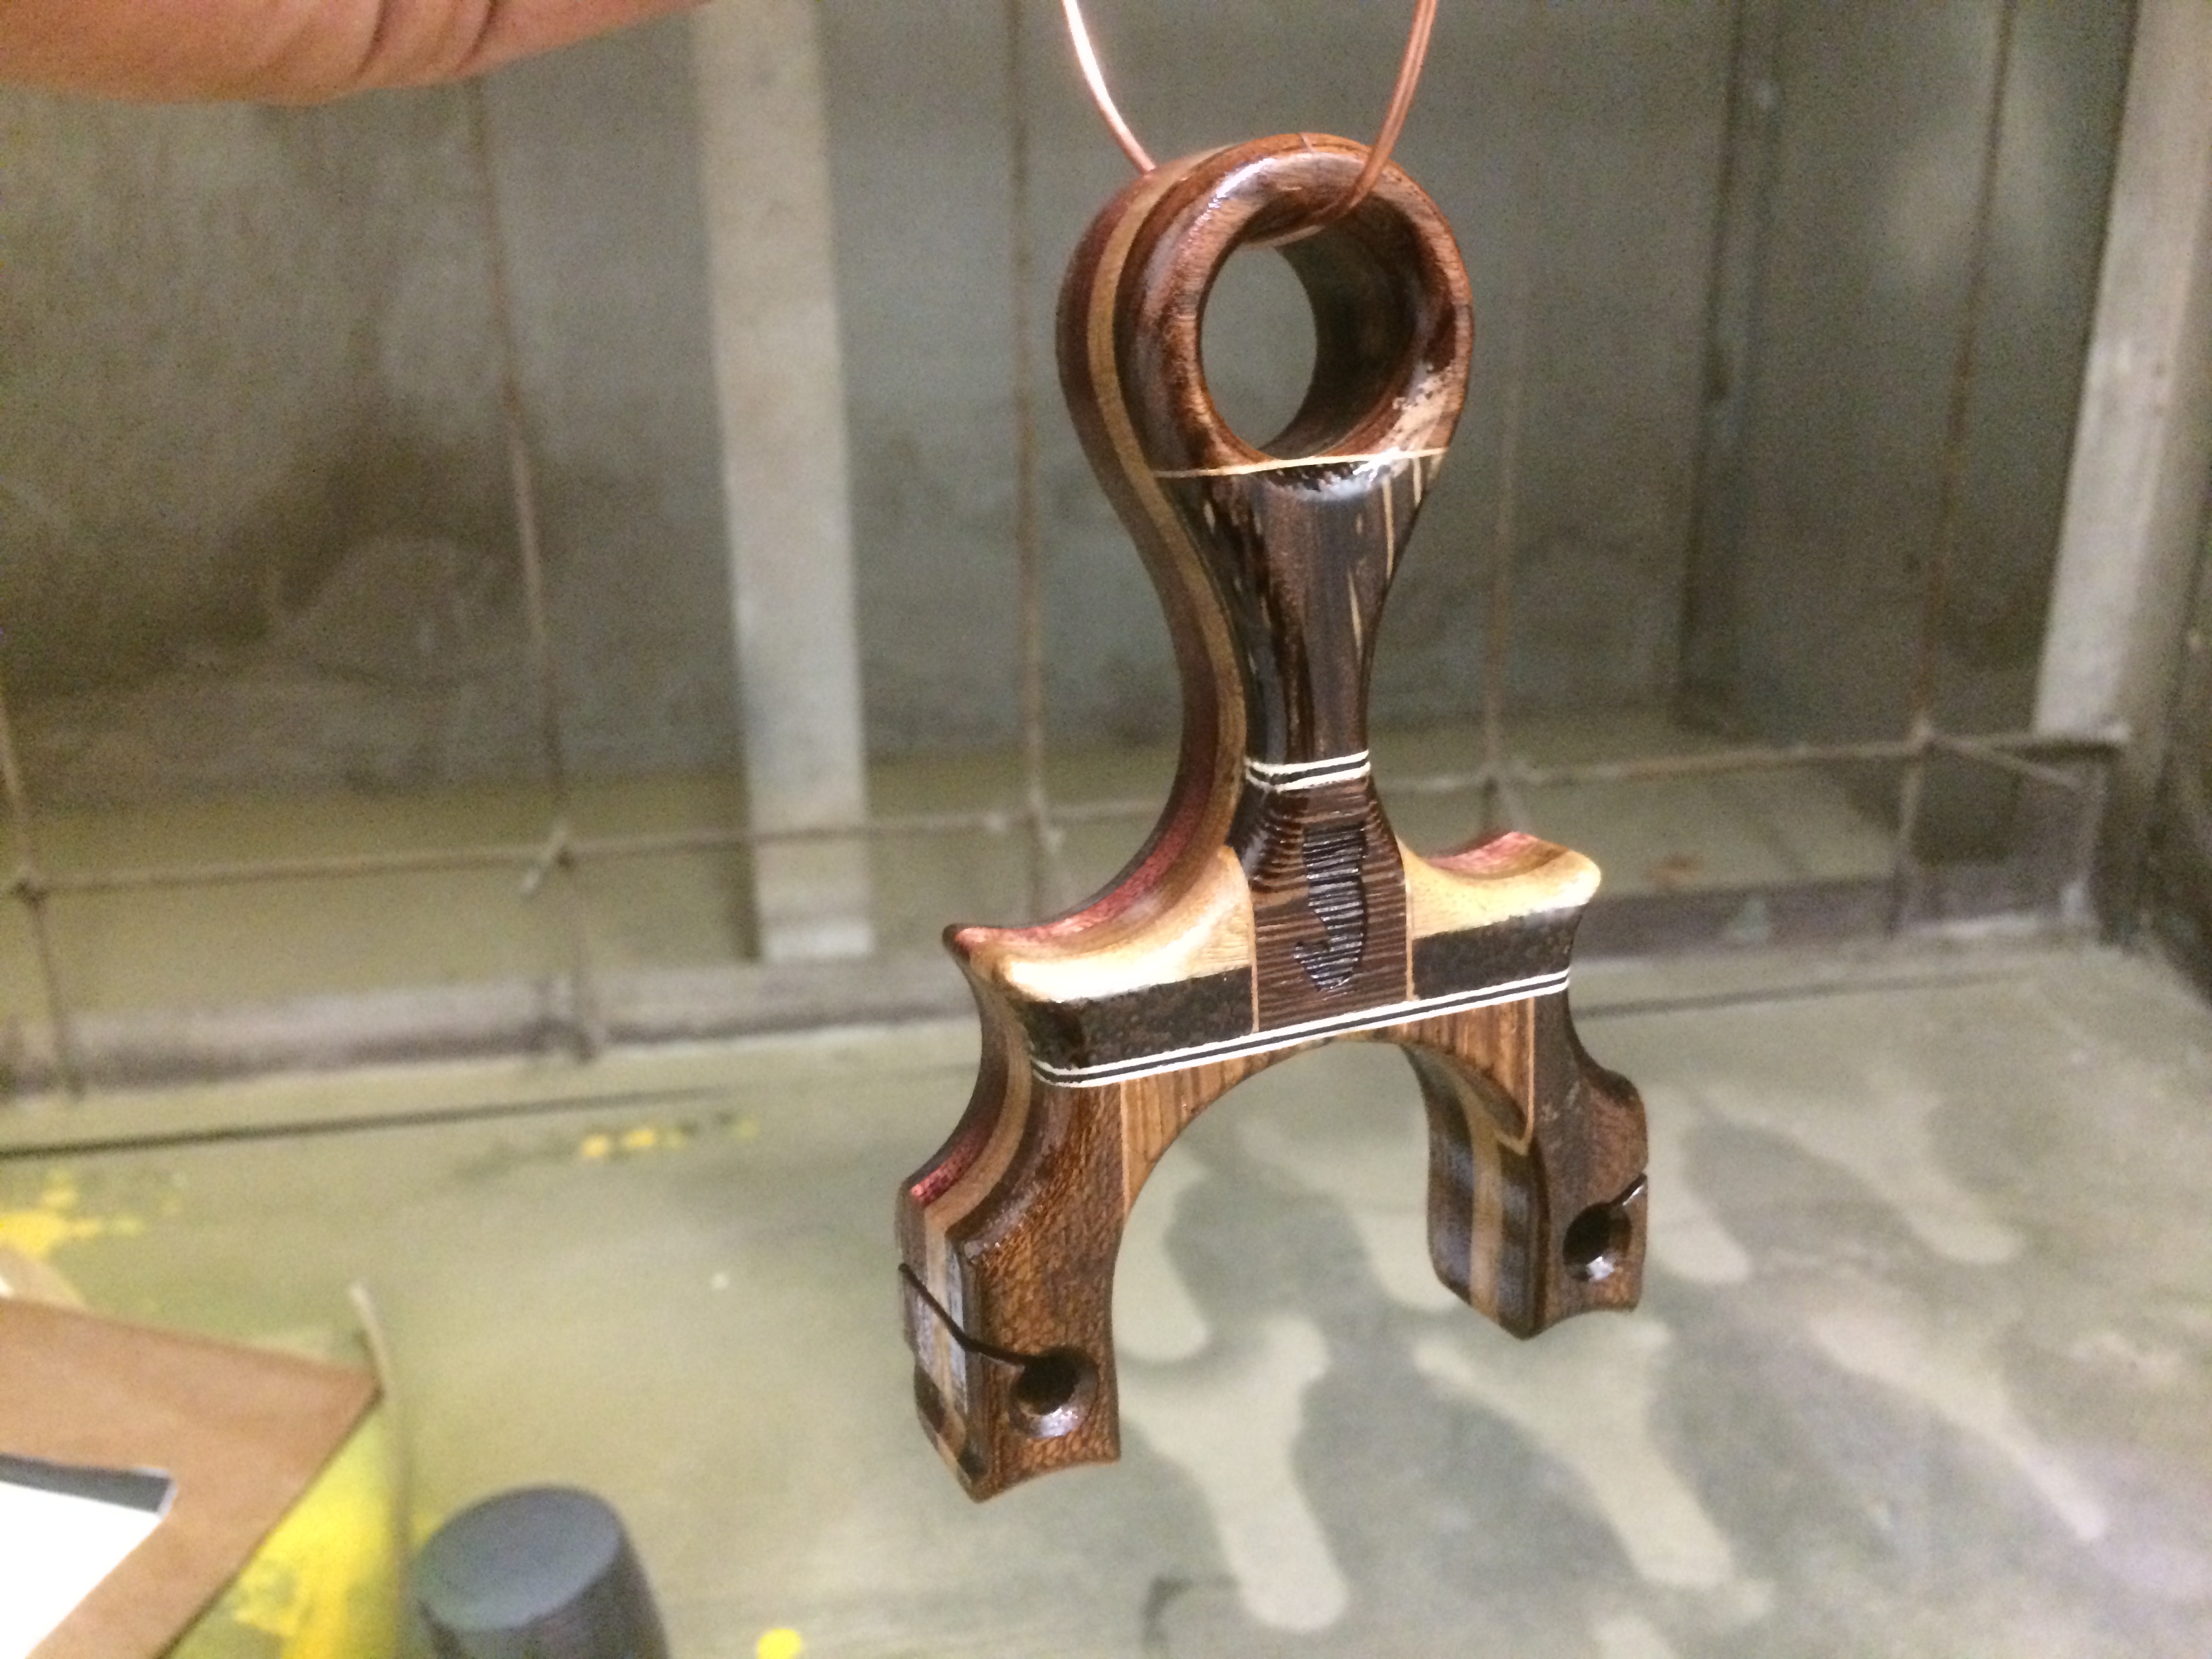
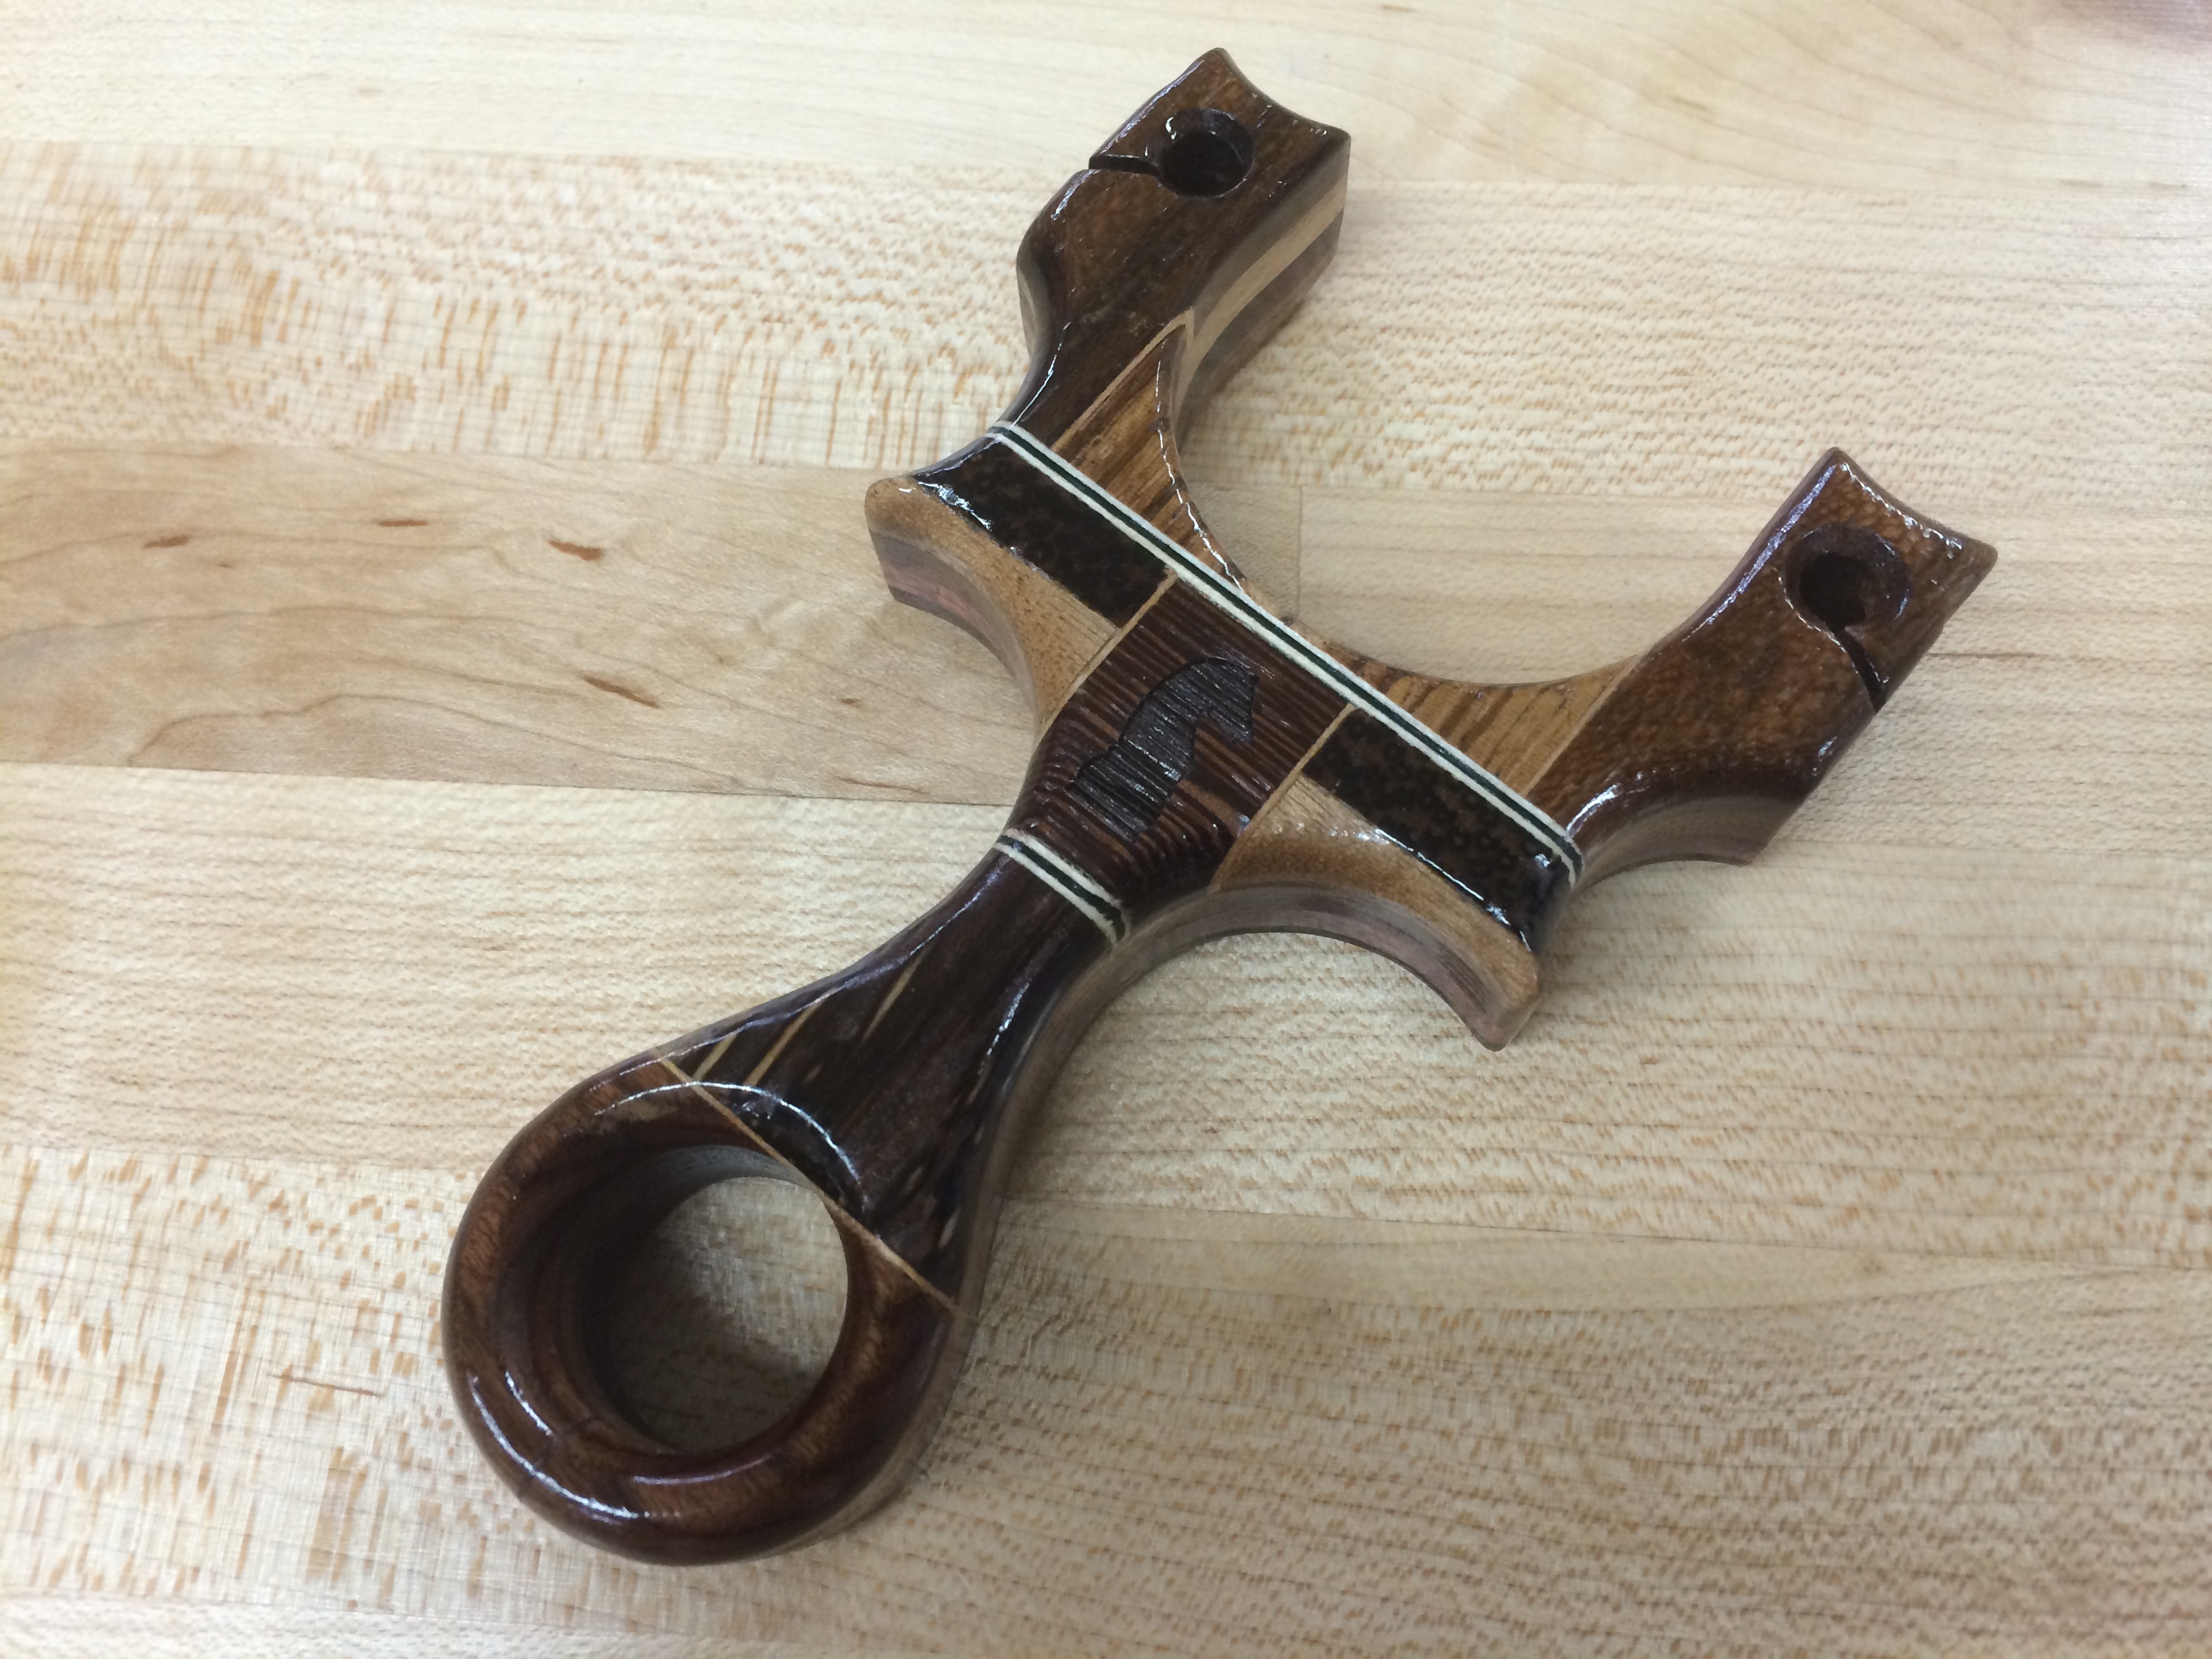
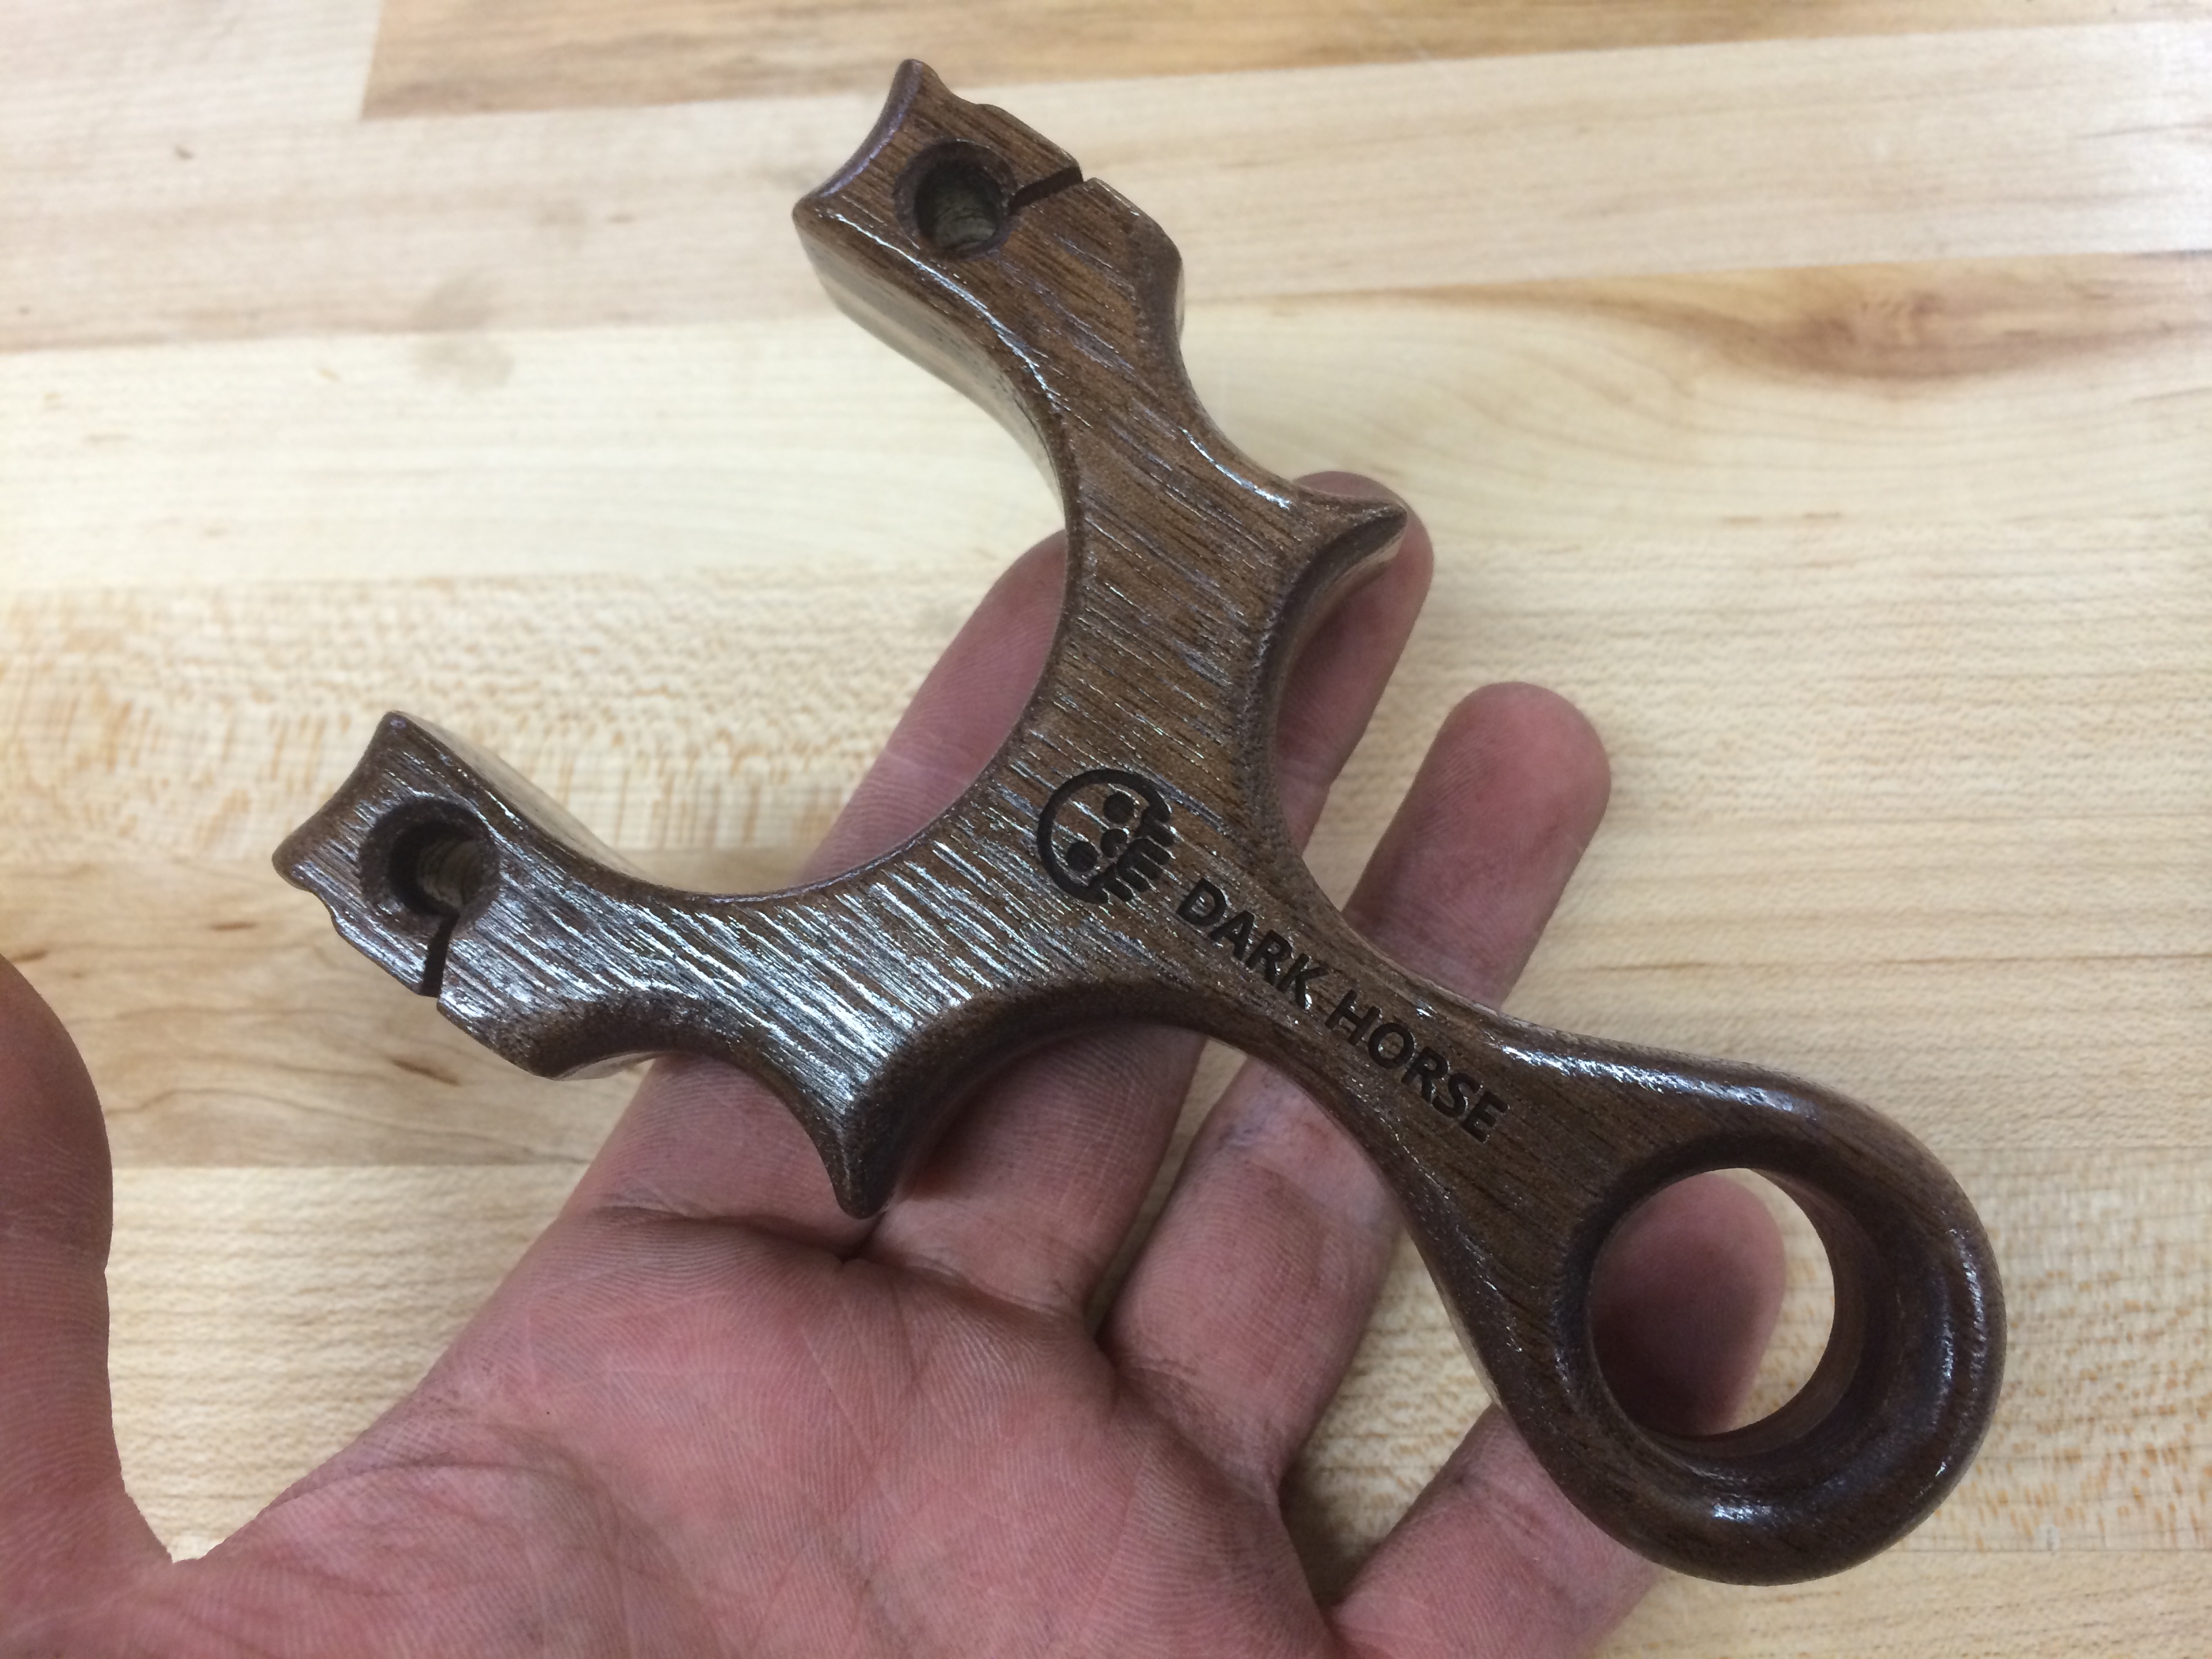
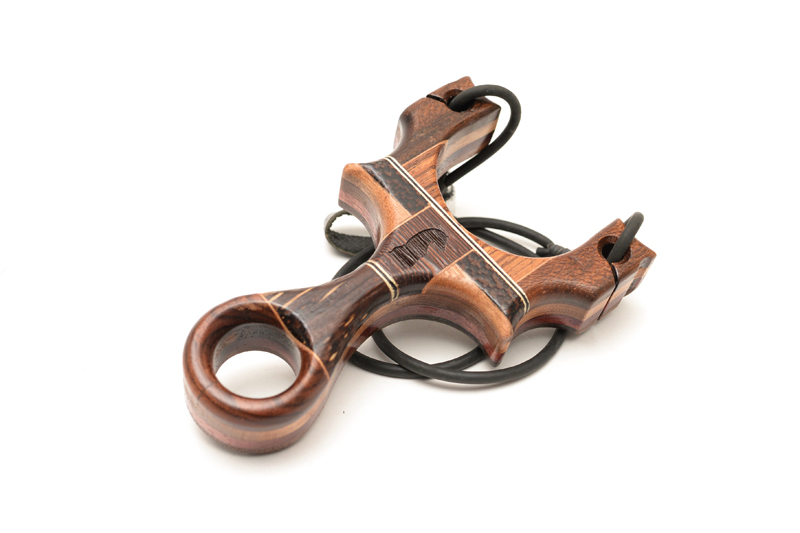
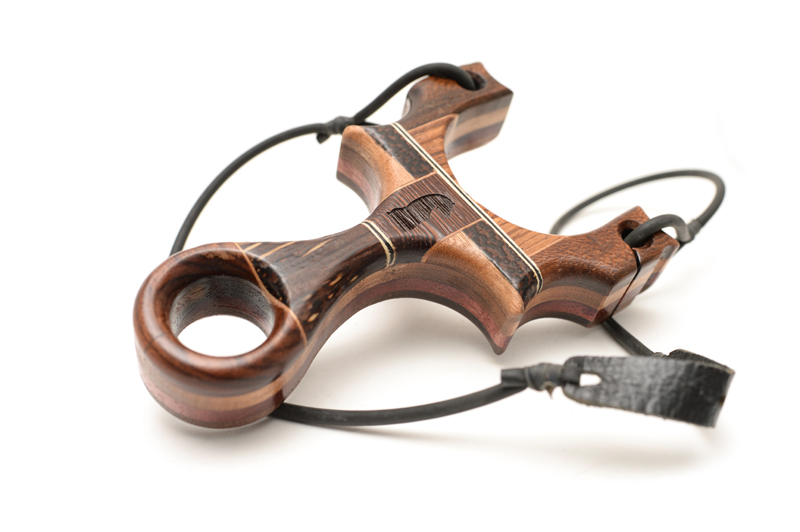
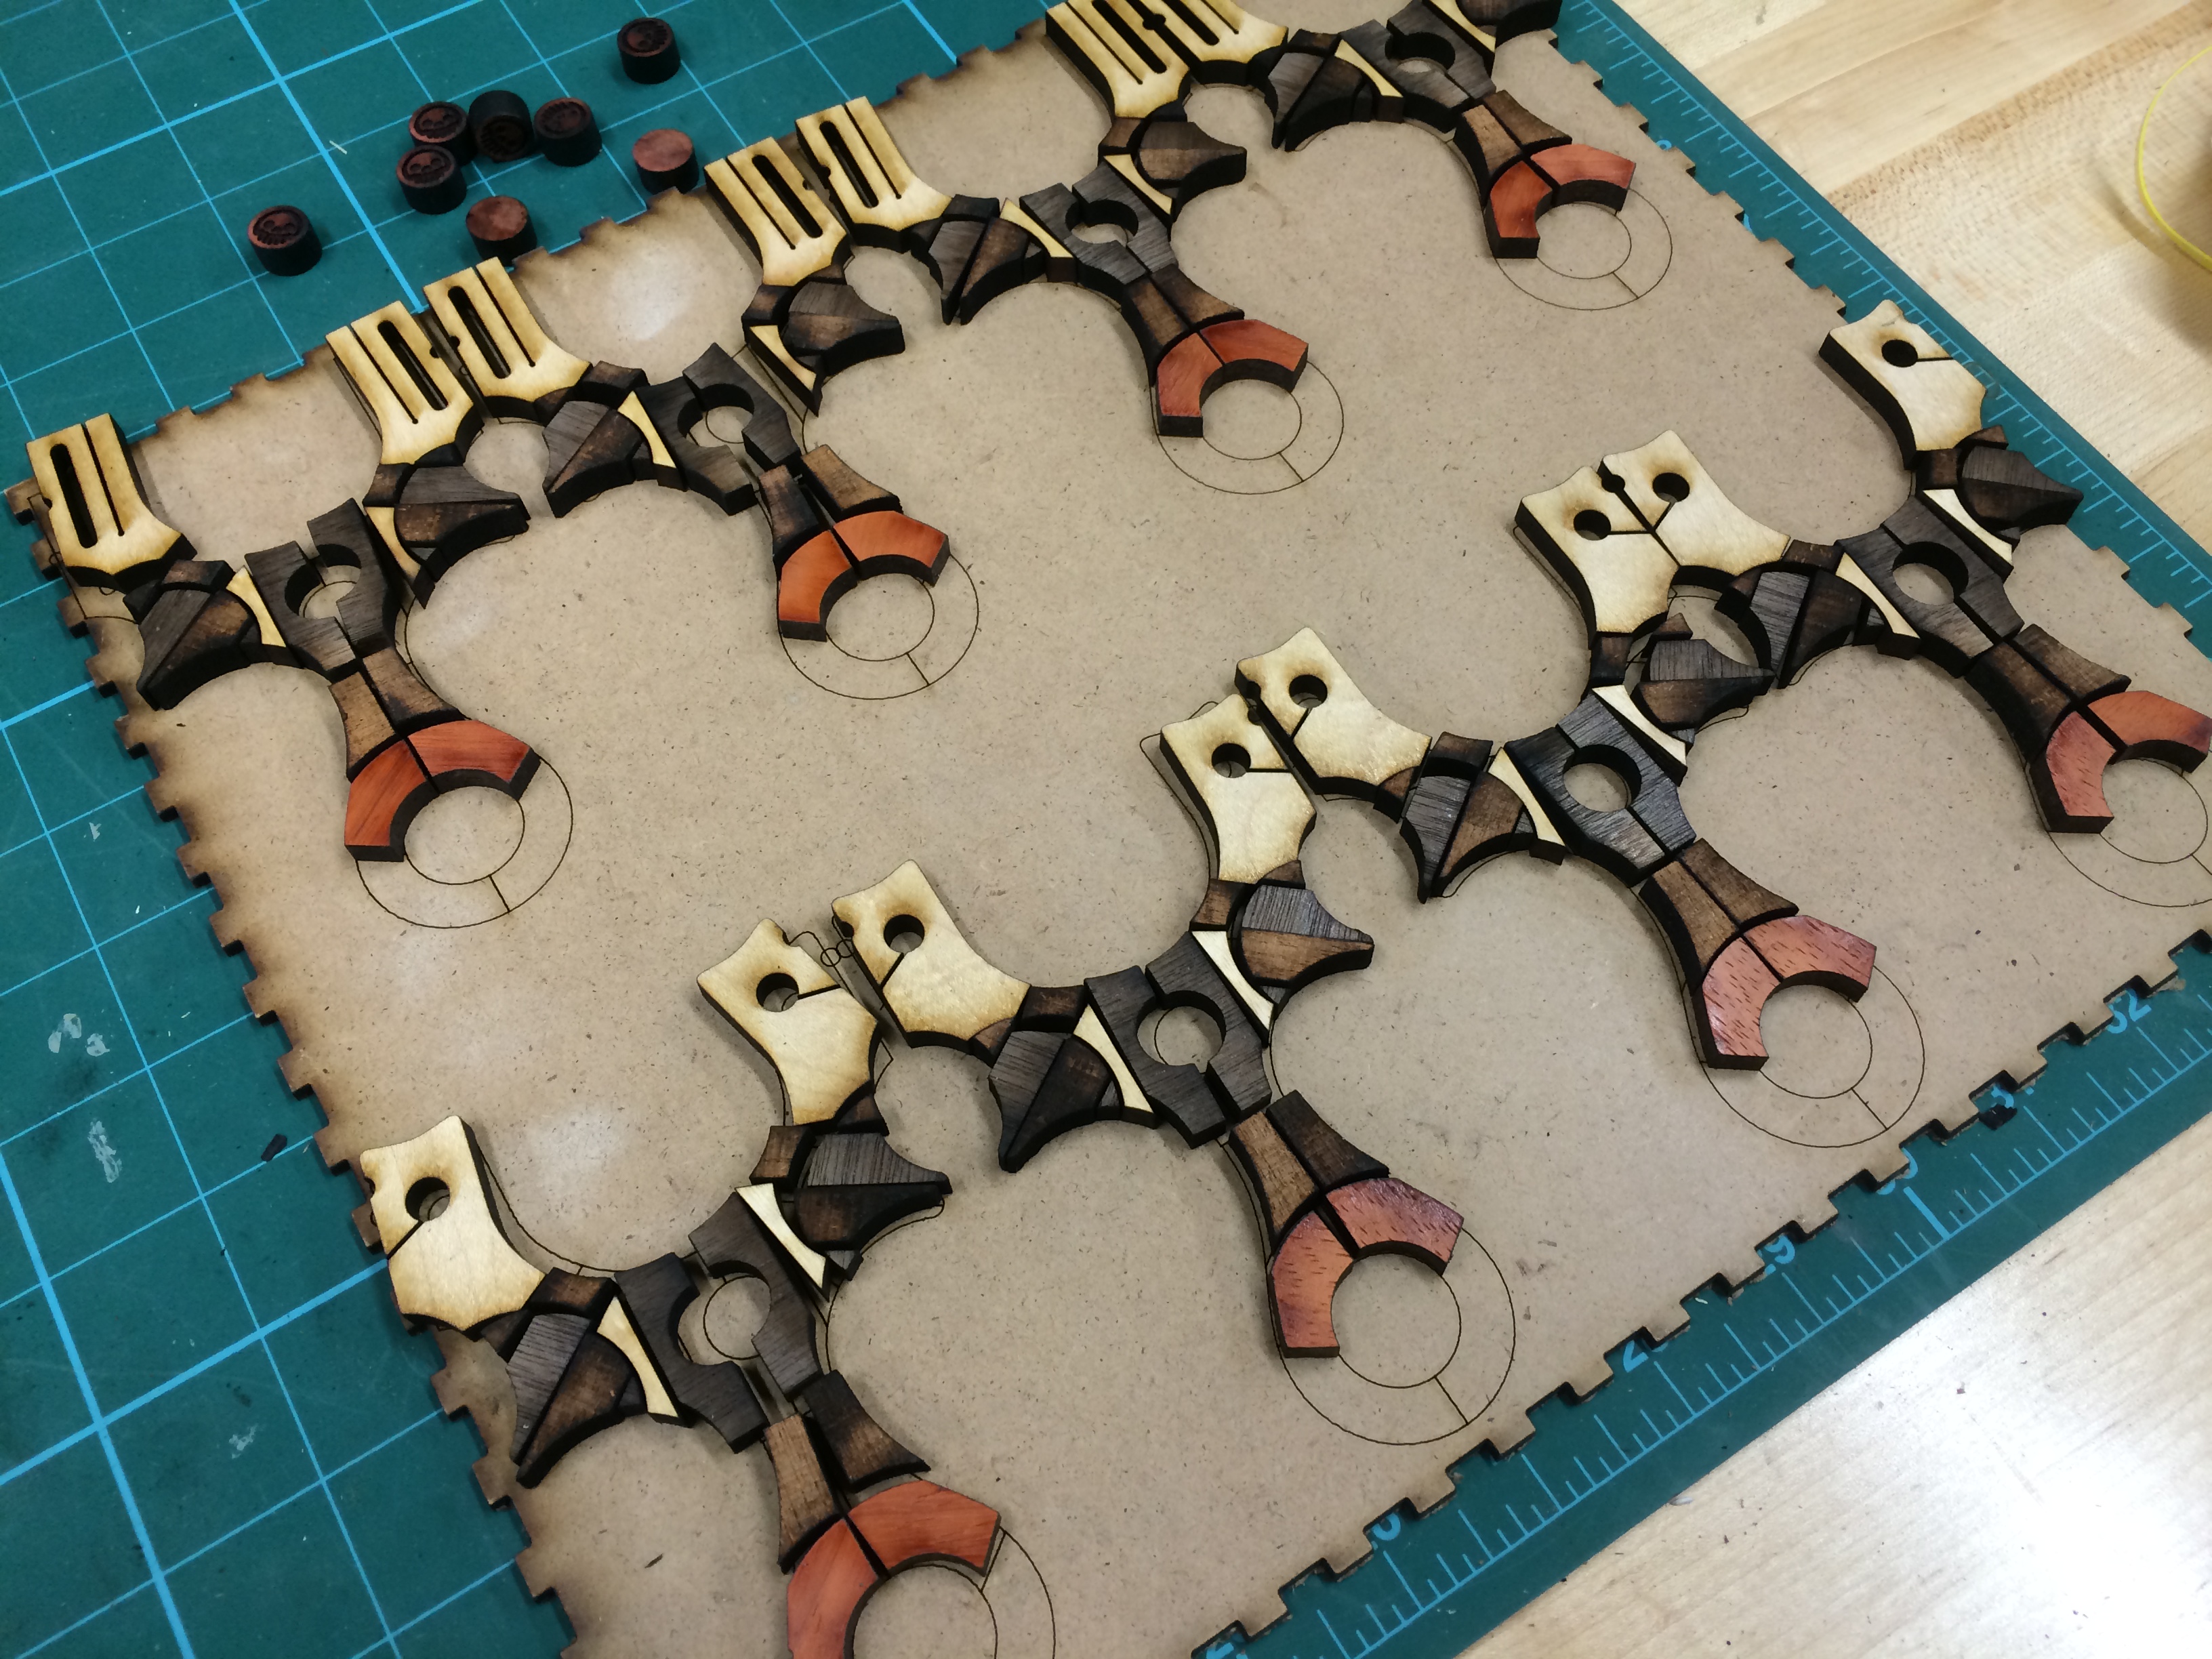
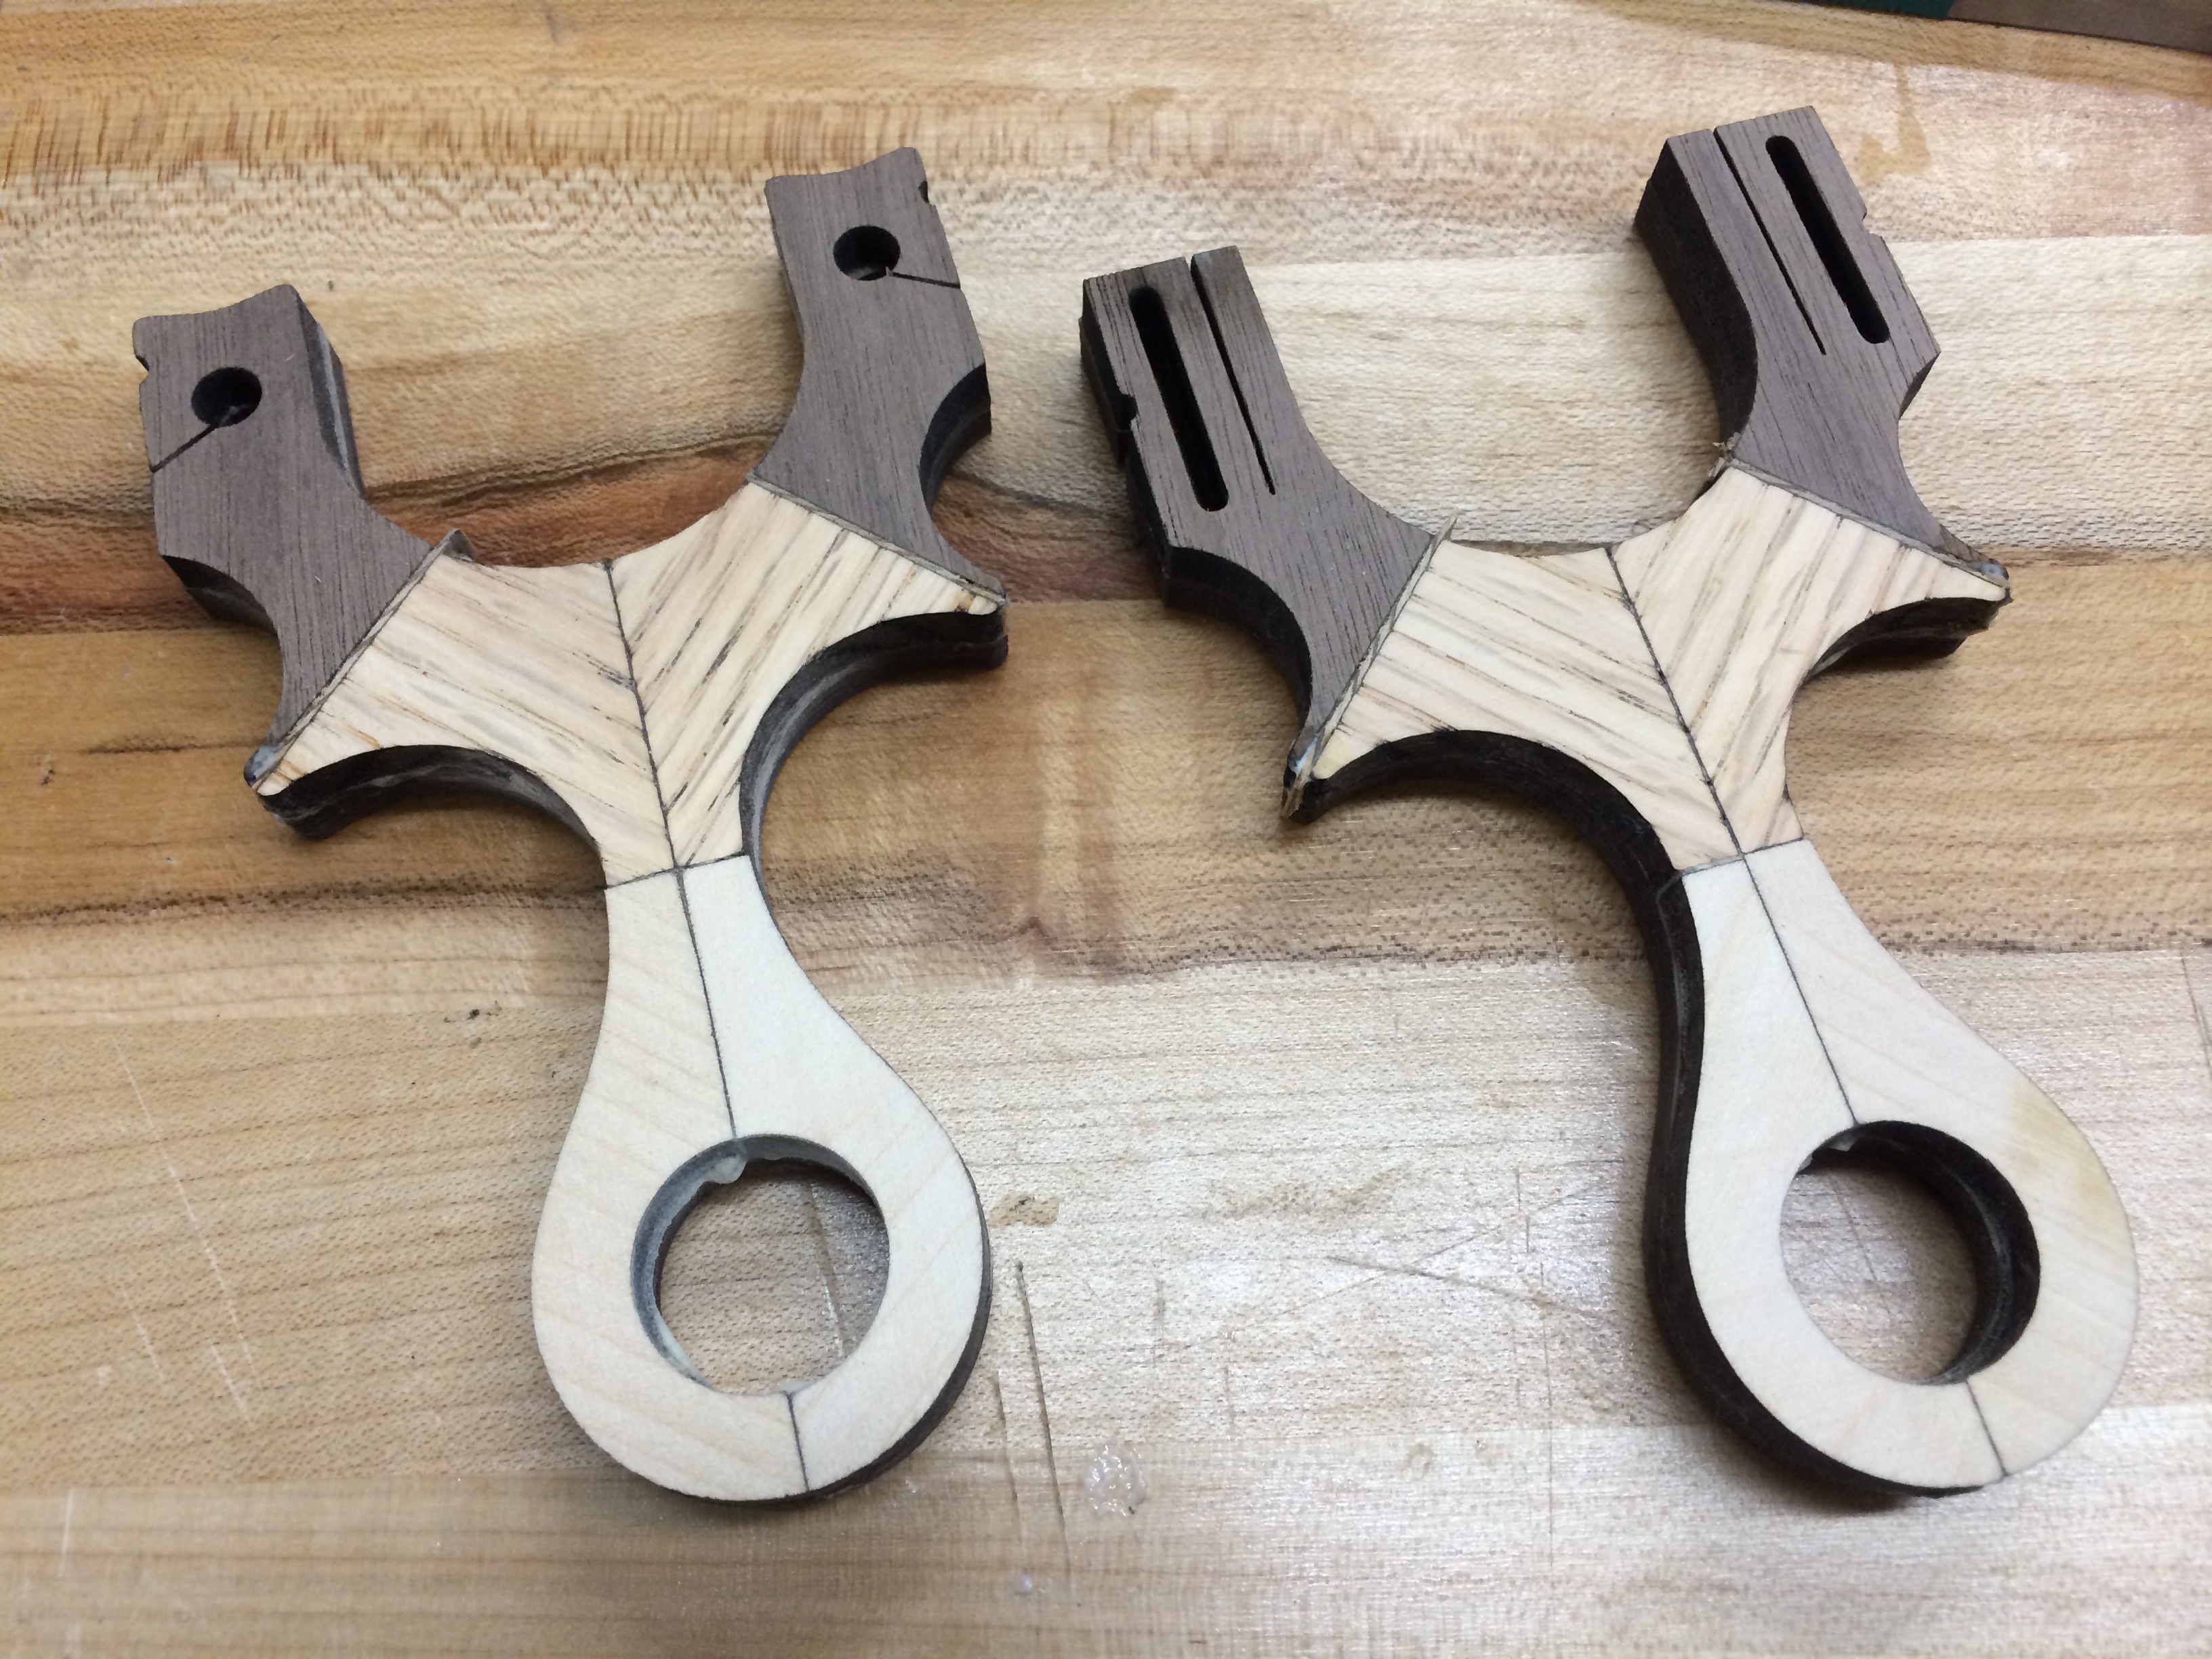
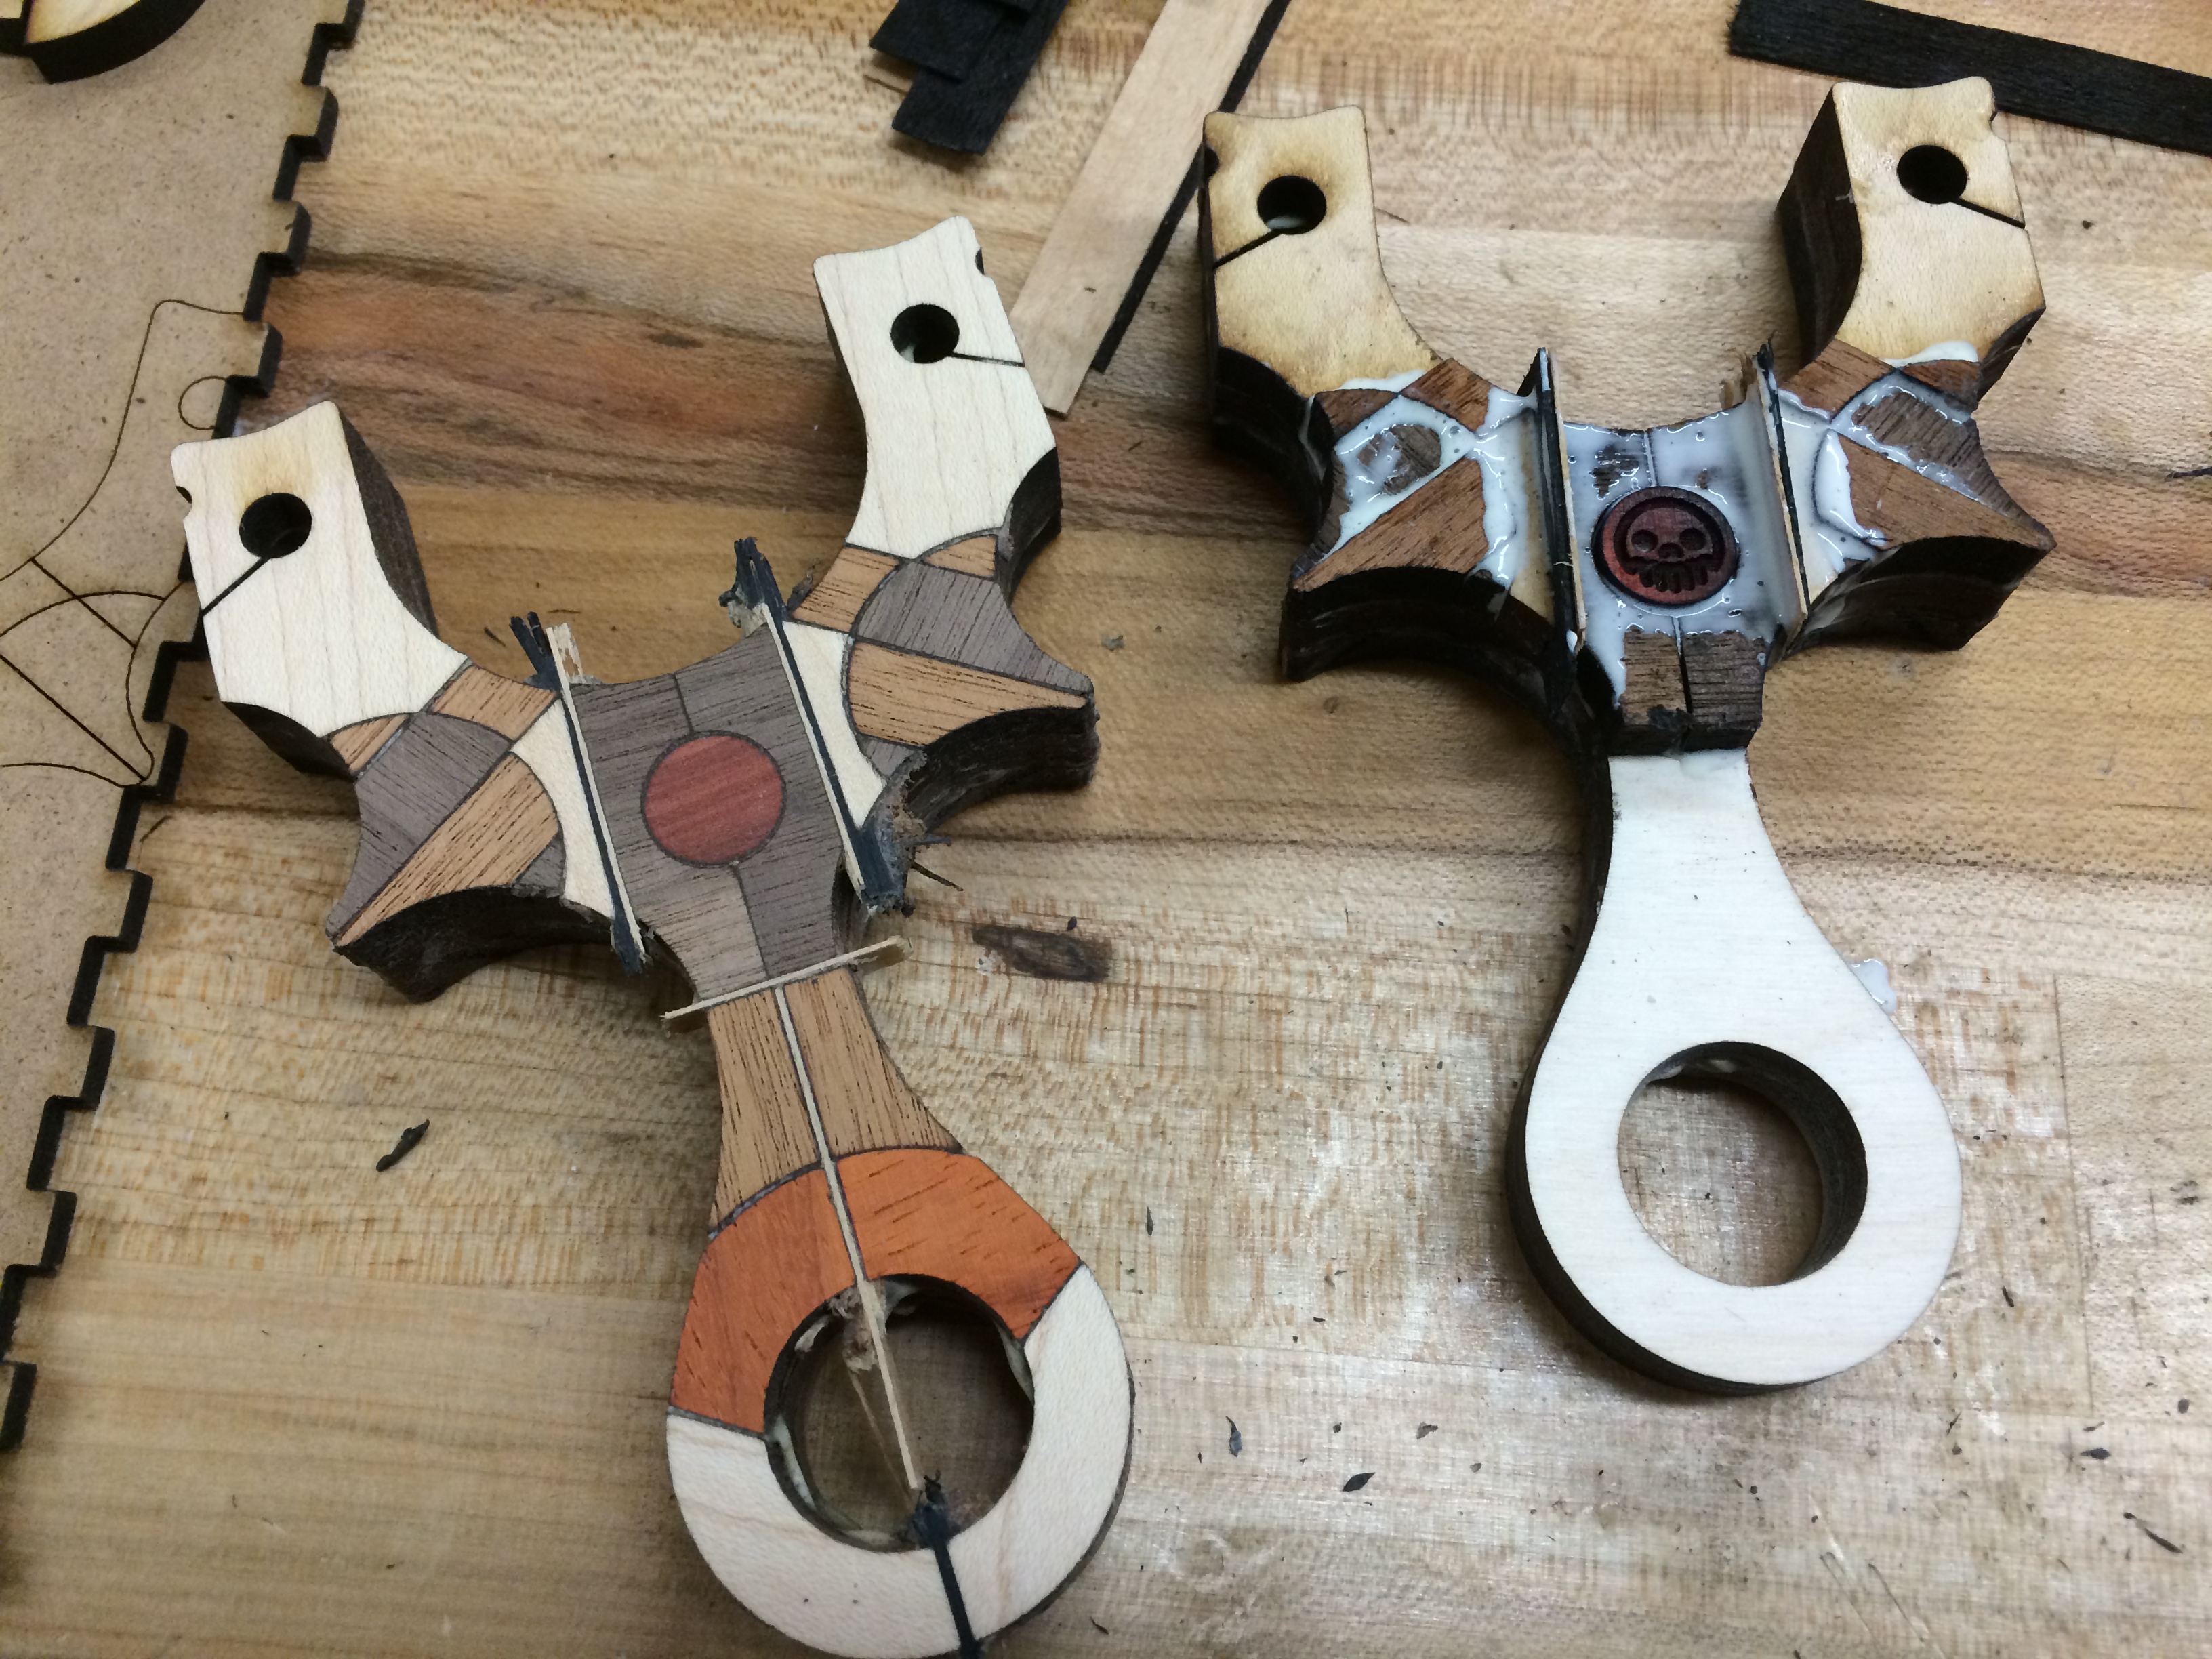
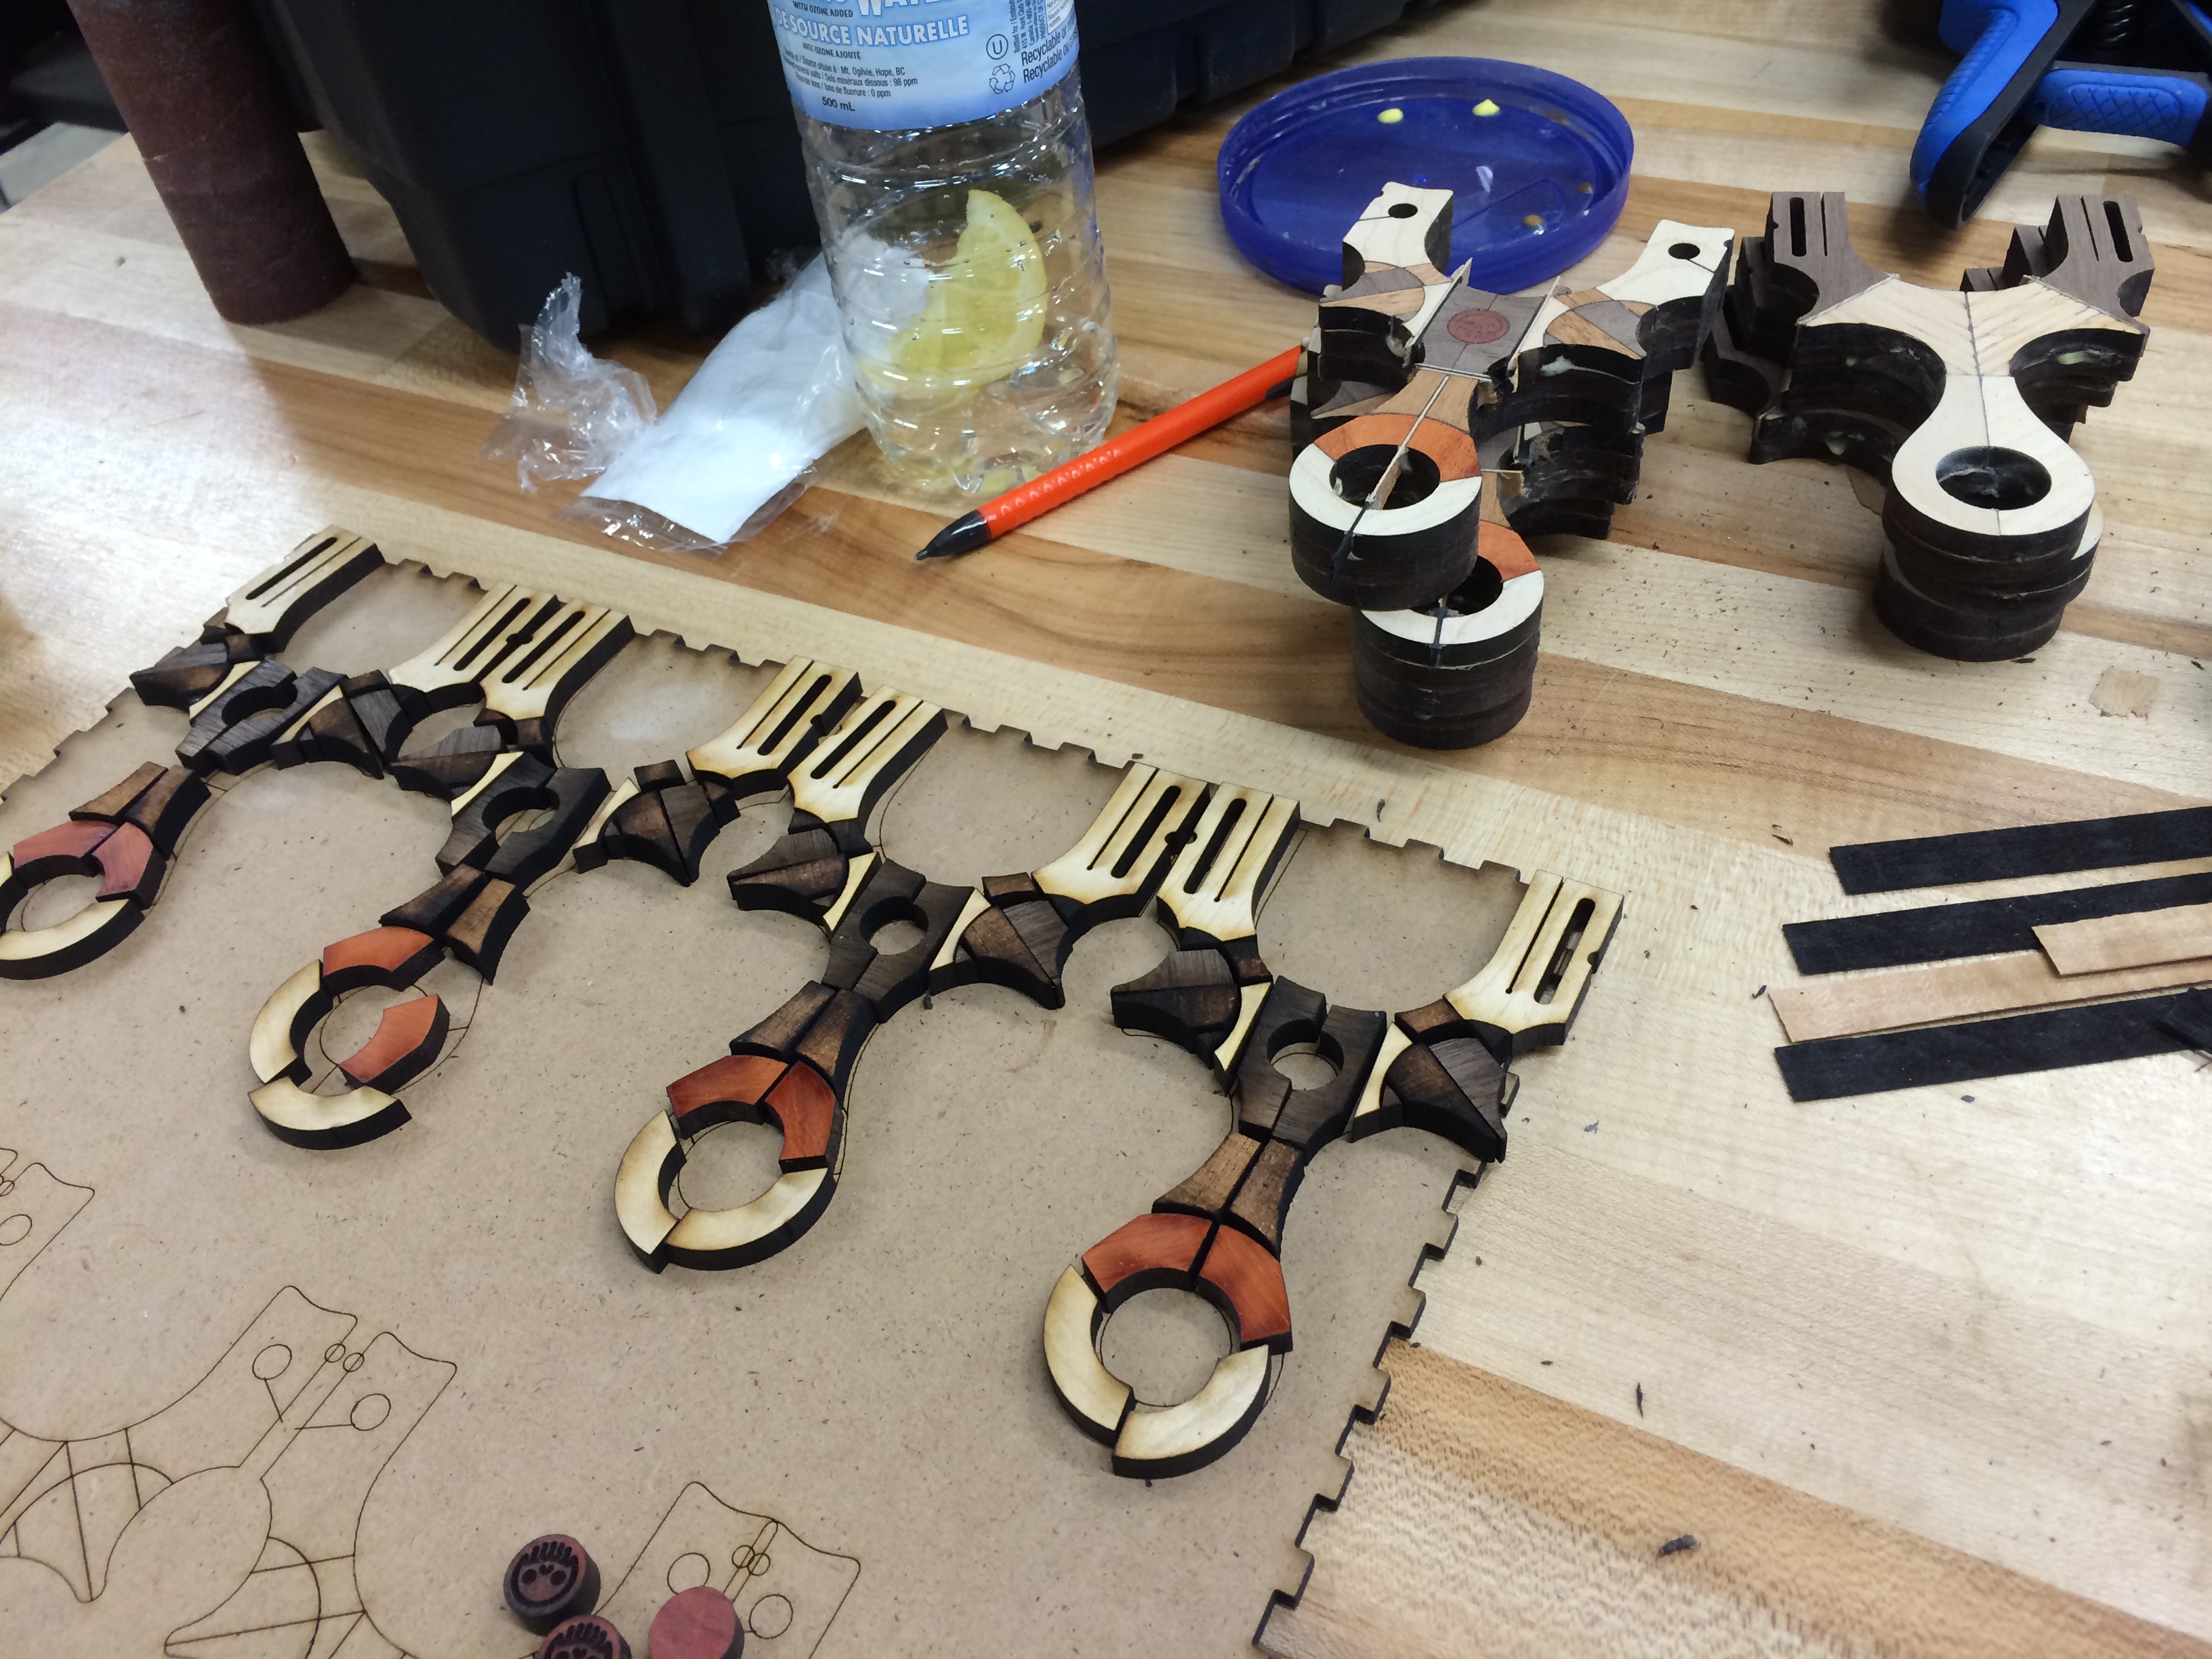
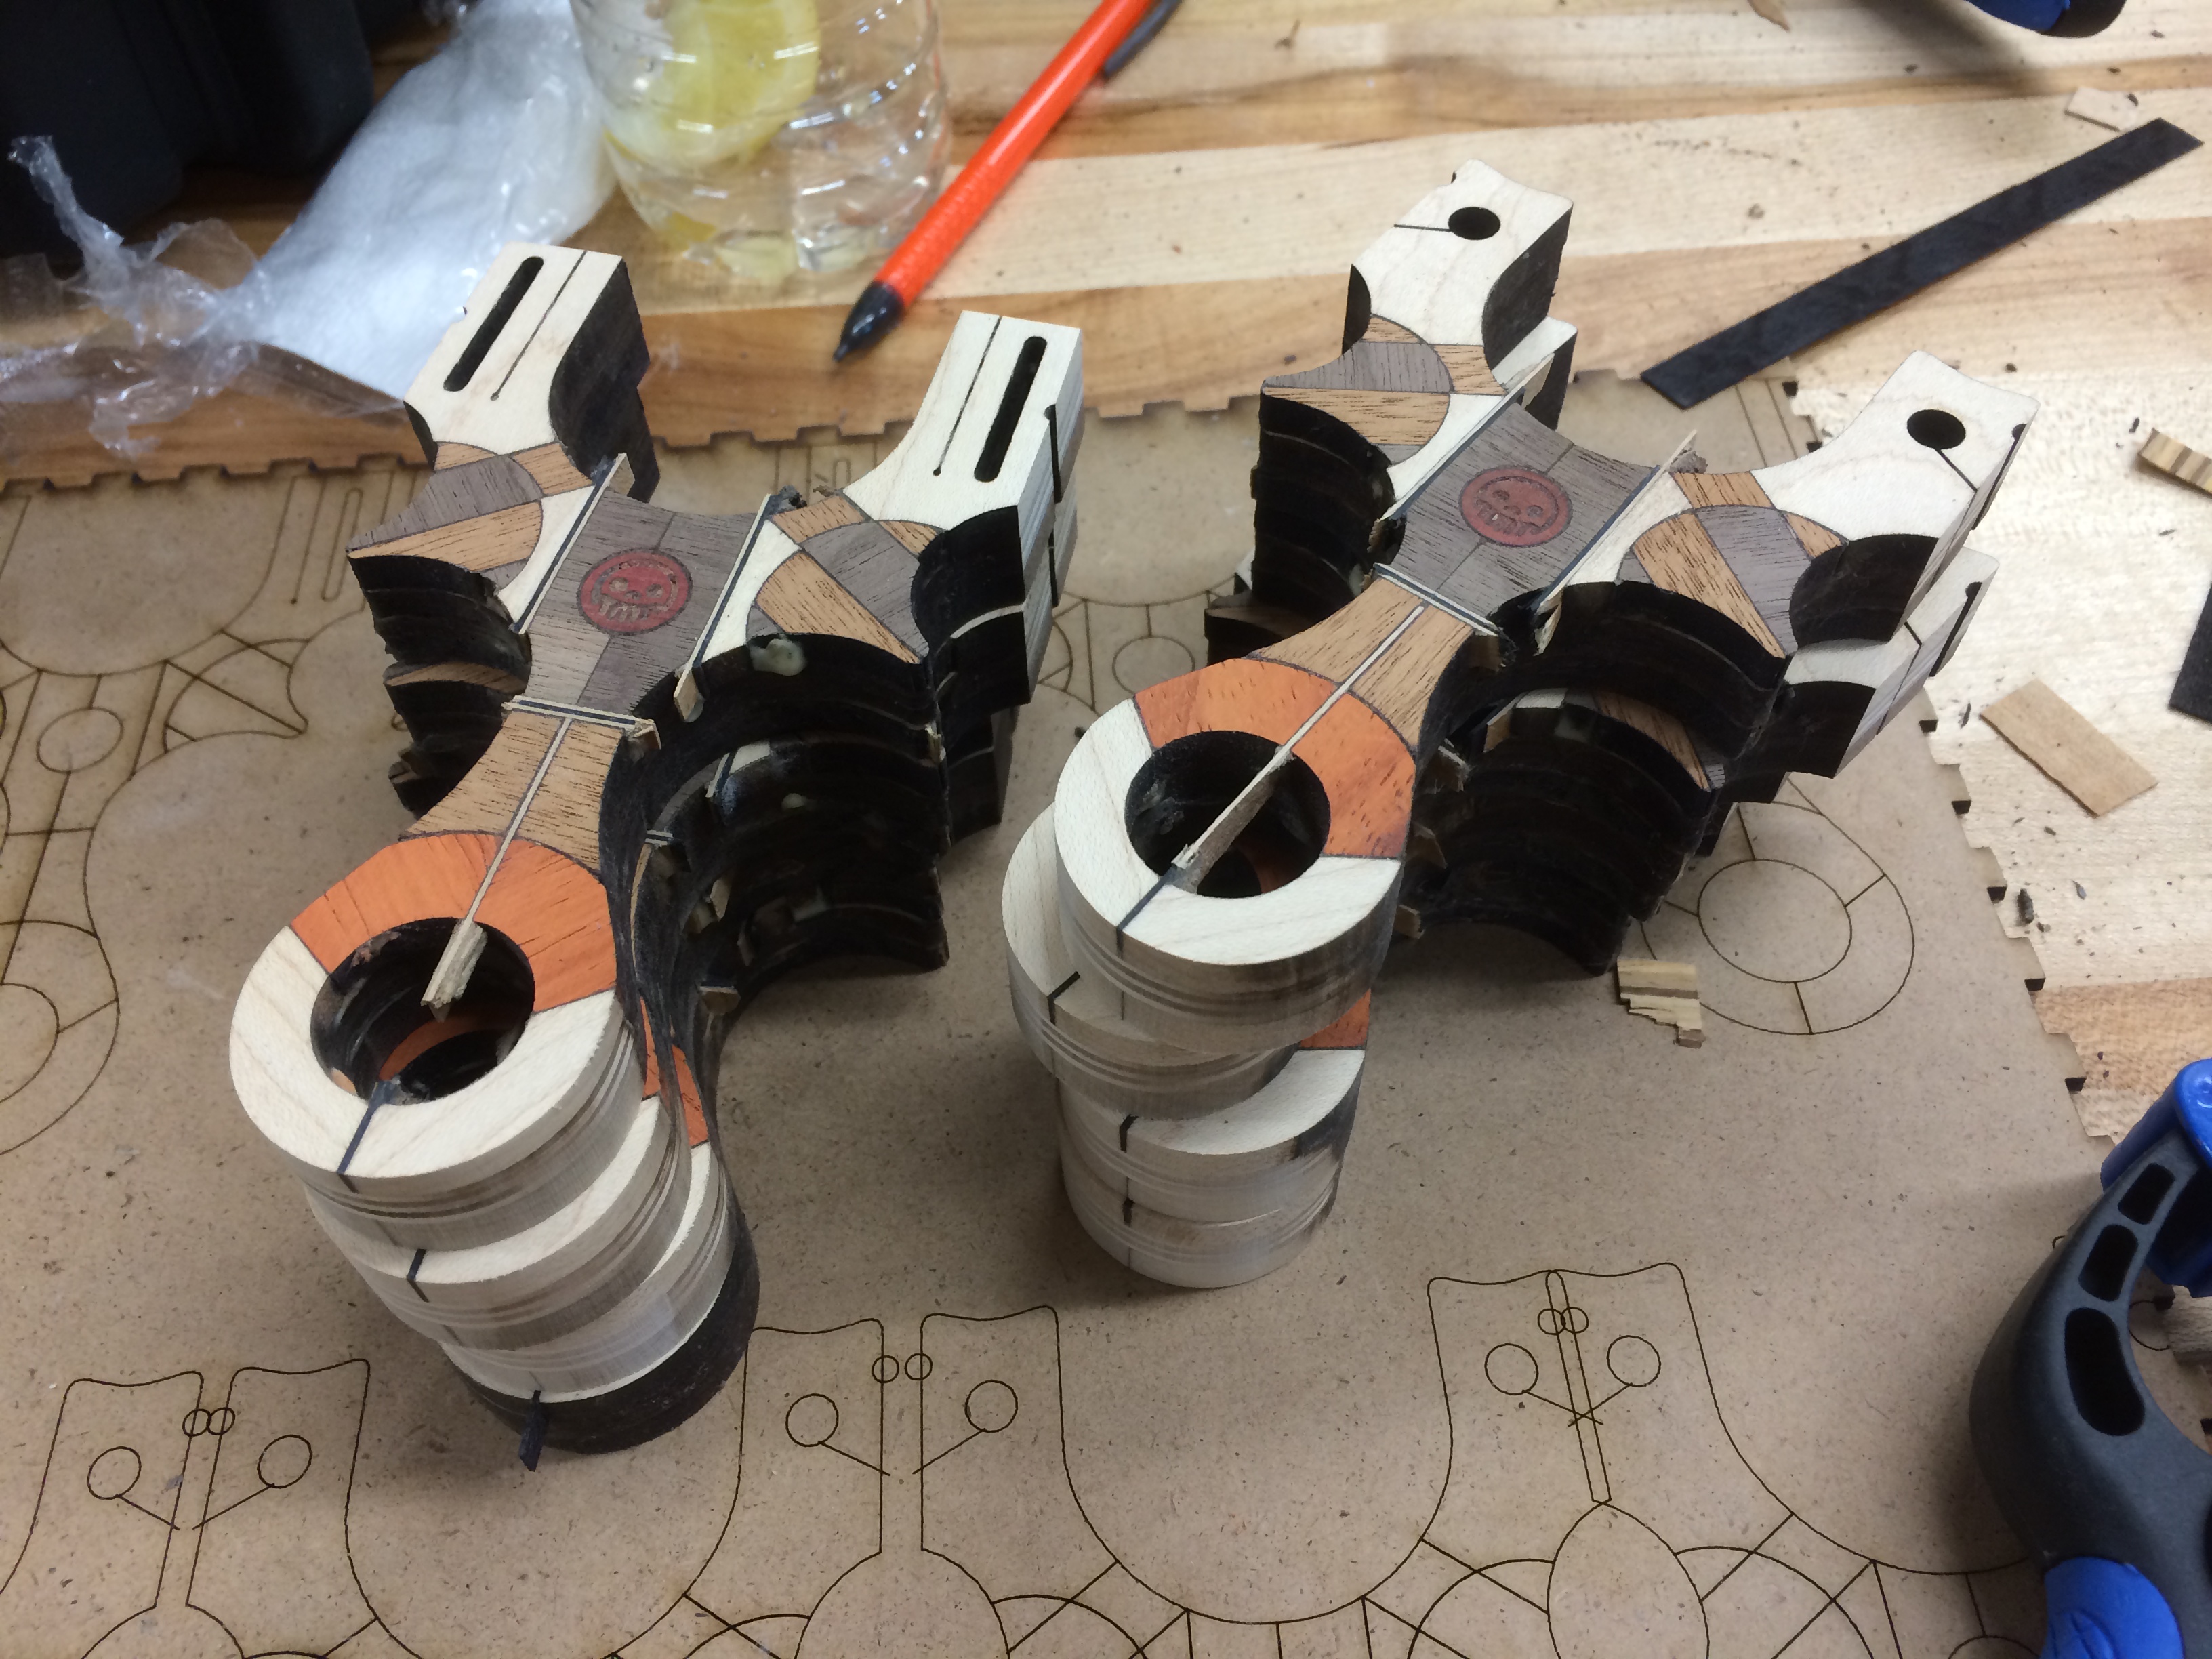
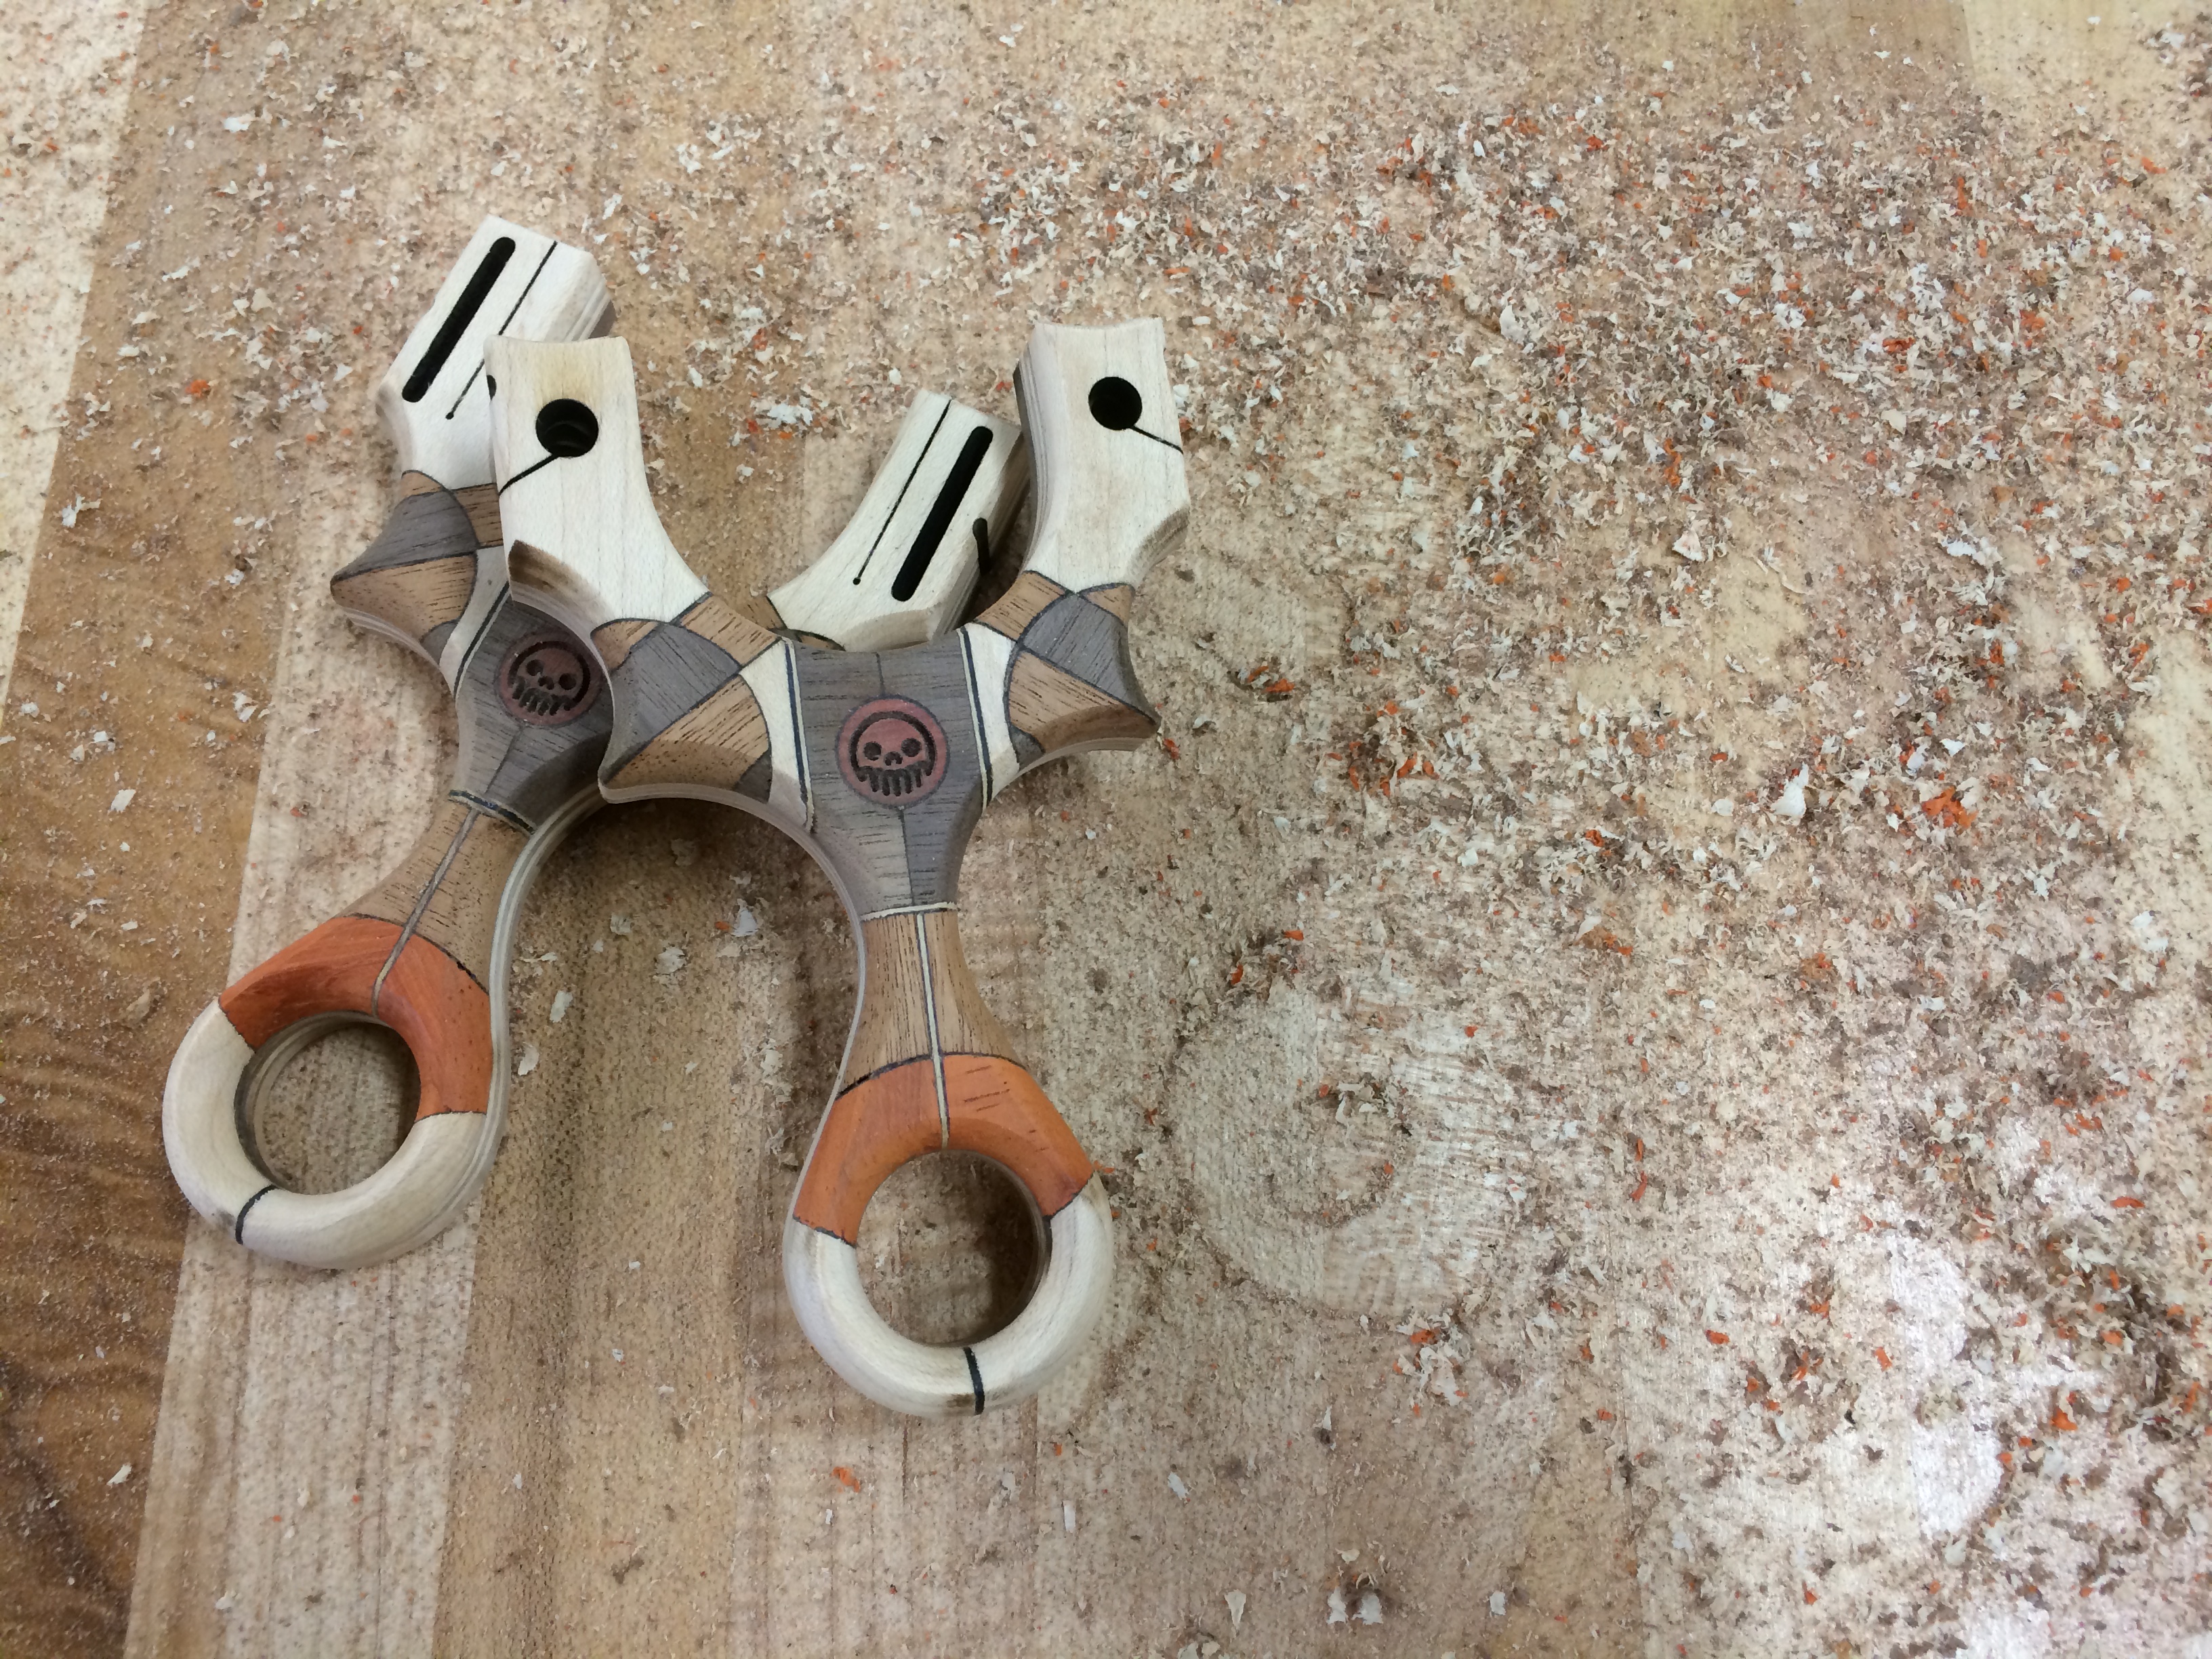
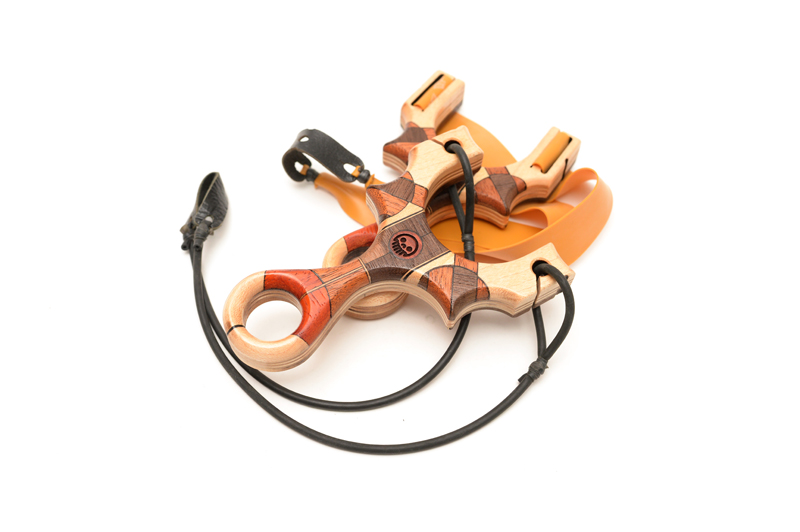
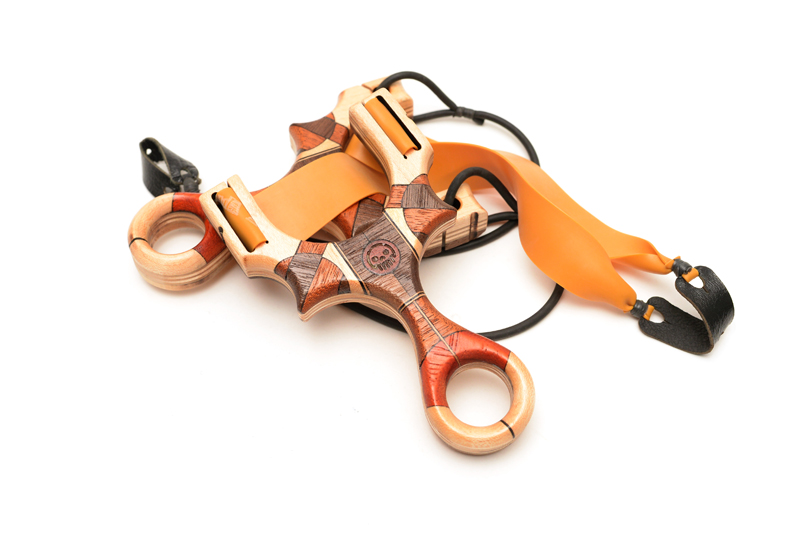
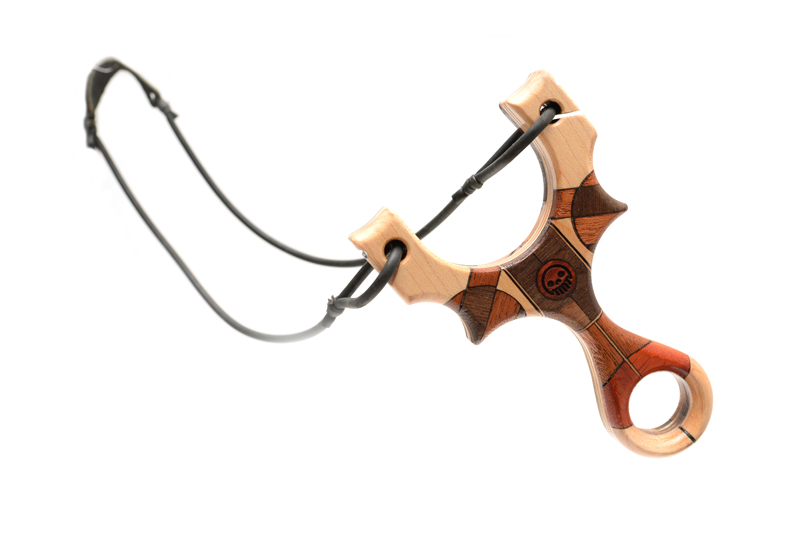
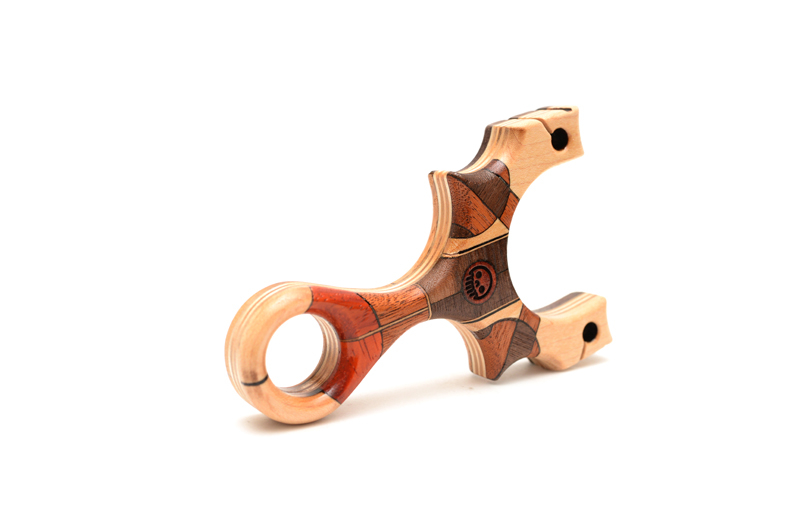
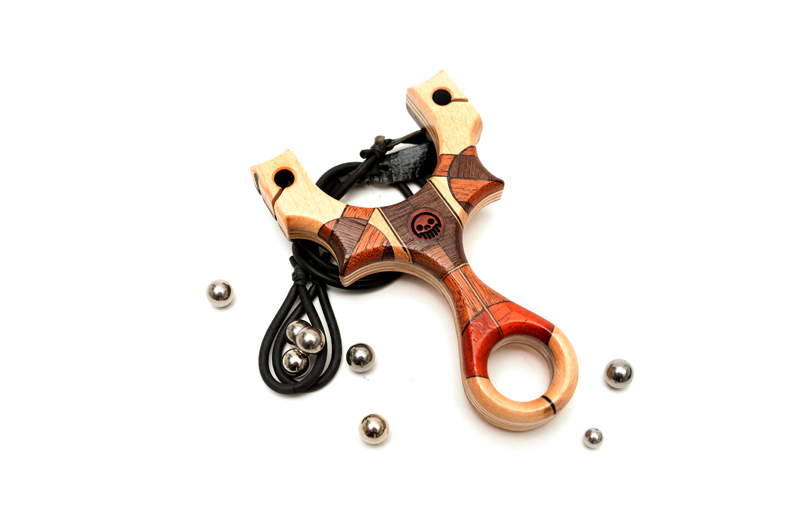
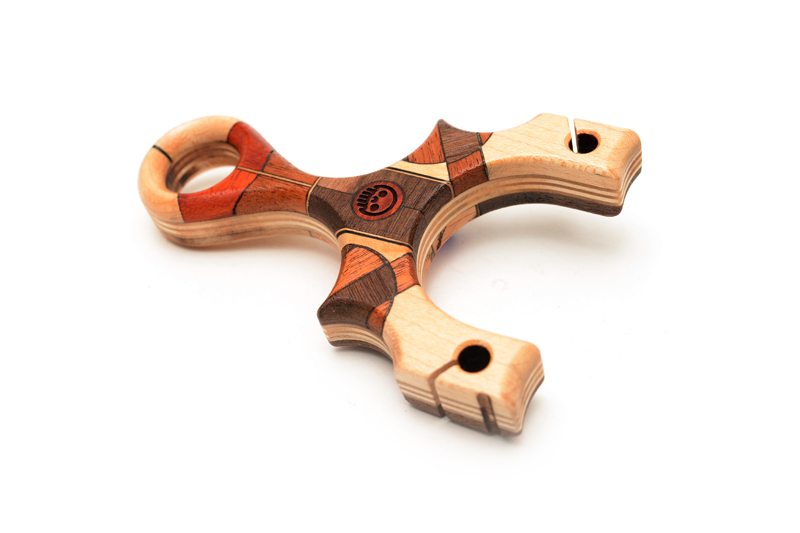
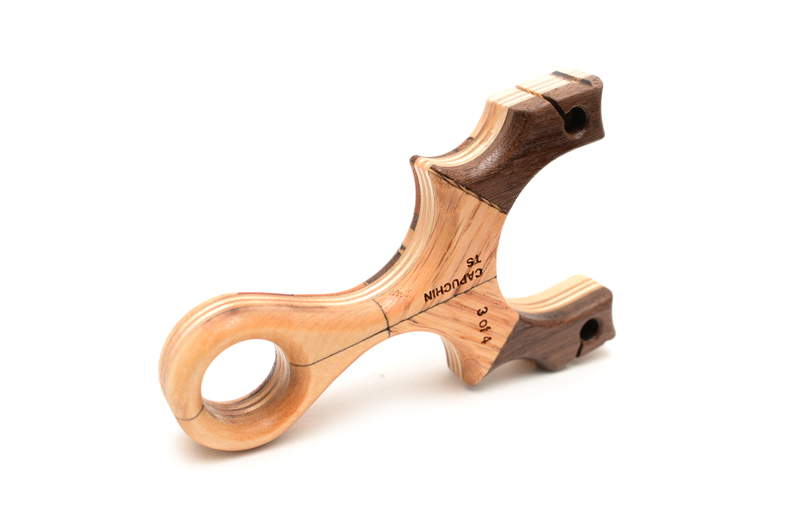
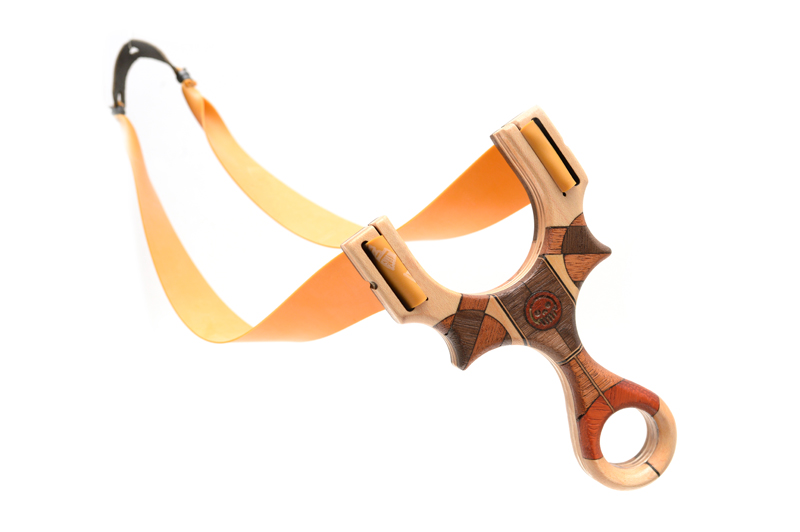
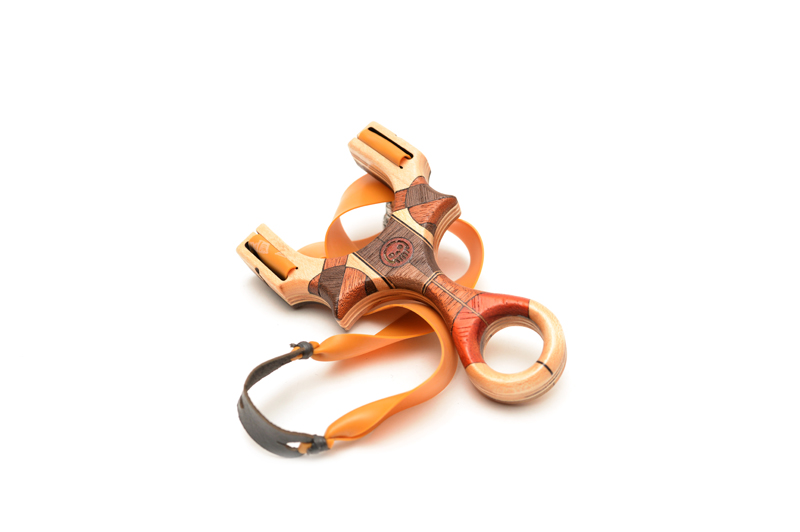
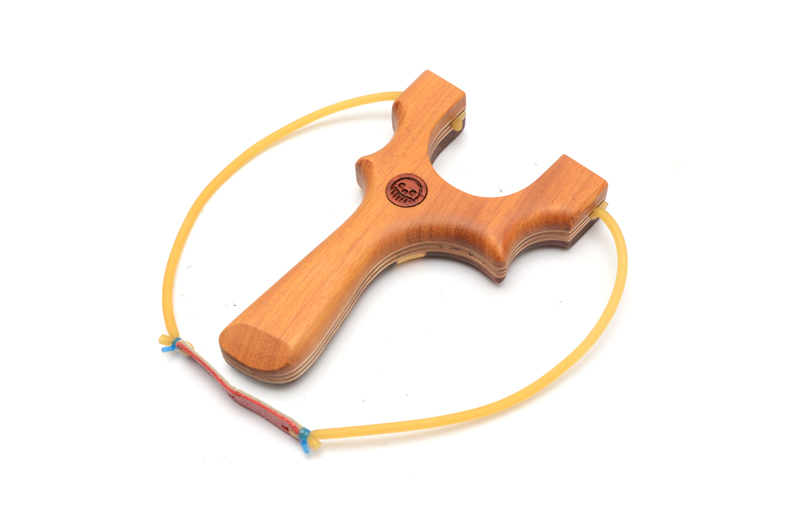
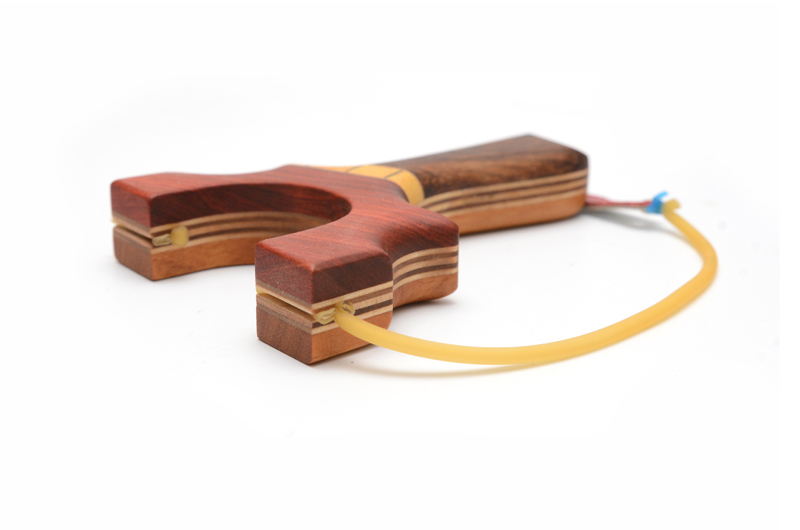
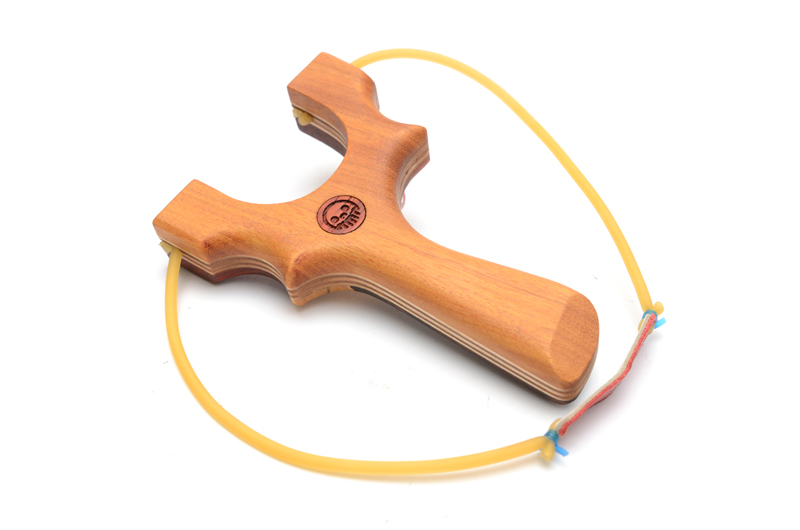
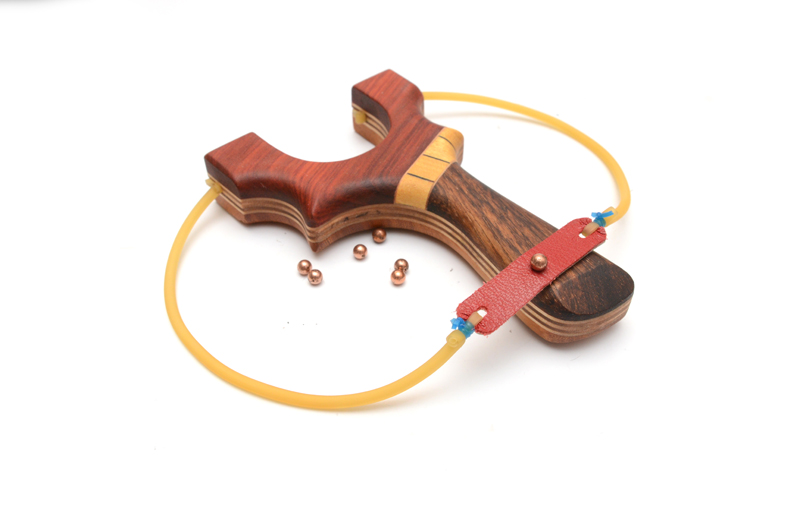
To celebrate the finish of these boxes, I made this Blood Orange Tyton with it. The smooth radius courtesy of the 1/4″ round over bit.

MAR_2081 MAR_2083 MAR_2084  MAR_2087

http://sargeantstudios.net/?p=1253 Thanks for reading and have a superb holiday season!


Posted on 1 Comment

Metro Made | Wasply PFS Slingshot

Been a little while since I’ve posted a Metro Made, so there is no reason why NOT to post one. Fresh from the laser cutter to your workshop, this is a tutorial on how to assemble and finish your Wasply PFS Maker Kit. Don’t have one? You can get yours here: Wasply PFS Maker Kit

In the kit, you’ll have two cores, and two sets of palm swells.

IMG_8117 IMG_8118

First things first, glue up the core, and two palm swells.

IMG_8125

When they are set up, I used a belt sander to start to shape the palm swells. This make life a lot easier later if you take off the bulk of the material first.

IMG_8126 IMG_8127

Once the swells are partial shaped, time to glue up the swells on the body core.

IMG_8128

IMG_8130

I used a spindle sander to remove the laser burned wood but this can be done with files and sandpaper.

IMG_8131

A round file expands and refines the band grooves.

IMG_8132

A few more swipes with a first cut file and the inside of the forks is cleaned up.

IMG_8133

The hardest part of the build is shaping the palm swells so they are perfectly round. I used the belt sander again, rotating it like a drum stick. Rasps, files and sandpaper will do the same job.

IMG_8134

Using some 100 grit nail files, the palm swell is blended into the core, making a seamless joint.

IMG_8135

An optional machining step is to cut some scallops with a big 3″ drum into the finger grip area, but this can be done with a 1/2″ round file.

IMG_8136 IMG_8137

Now to finish it! A variety of 100 grit, 320 grit foam blocks and a final swipe with some steel wool to prep the surface for clear coat or oil.

IMG_8138

The one on the left is one designed by Magpie Slingshots and I replicated it to test out the scale. We worked in collaboration to come to the final design of the Wasply PFS.

IMG_8142

After a couple of coats of clear and some light buffing with the wool to get it a more matte finish, the Wasply PFS is done!

IMG_8148

IMG_8149

WASPLY Finish1 WASPLY scale


Thanks for reading and in case you missed it, you can get your Wasply PFS Maker kit at our store.


Posted on Leave a comment

Metro Made | The Dark Horse

Sometimes, a nice long, complicated project is all you need to really get over your creative slump. Carefully calculating how things go together, taking the time to properly do clamp things down and lovingly polishing your new creation, it’s all in the details.

The Dark Horse is exactly that.

After doing some tests, all the dark woods that I had selected for this project absorbed too much heat to be cut so the result was a very burnt and singed edge and surface. So, switching to manual navigation!

I could at least start with a couple of cores and and a back side scale. This time around, a 1/4″ slab of purple heart, a 1/4″ slab of American Walnut and a back side scale of Black Walnut. The walnut laser cuts and etches nicely so the name Dark Horse and the MGG skull was etched on it prior to assembly.

IMG_7722

After the cores where cut, it was time to lay up the bits of wood. Tackling this like a Tetris game, sanding slowly to fit the blocks into place, delineating the layers with a triple stacking of contrasting veneers (maple, ebony, maple). The inside core is American Walnut, which is much lighter than the Black Walnut used for the backside.

IMG_7724

Always choose a hard wood for the fork tips in case of a fork hit, in this case, Zircote. It has a VERY interesting micro texture and is hard as nails. Sandwiched in the middle and will eventually make the scoop of the yoke, is Zebrawood. Below that is the aforementioned triple stacked veneer. In the center is rectangle of Wenge (this was purposeful), the Wenge is flanked by Black Palm end grain and some more of the American Walnut.

IMG_7723

After gluing up the final bits, Black Palm and Pau Ferro for the pinky hole, the excess was cut off with the band saw. The whole face was then flush sanded to reveal the nice geometric dark wood pattern.

IMG_7726

Once that was done, it was time to trim up the new hardwood face so that it conformed to the shape of the rest of the body. Using a 1/4″ flush router bit, the final trim was quick and easy because I built the pattern on a laser cut blank. I’ll make note here that going at a steady pace is more important than speeding through the pass on the router, hardwoods chip really easily.

IMG_7727

After laminating the cores to the new trimmed face, the hole for the tubes needed to be drilled. 3/4″ of existing hole as guide made locating the holes pretty easy.

IMG_7728

IMG_7729

Moving over to the spindle sander to clean up the laser marks on the sides of the Purple Heart, American Walnut and Black Walnut cores. The Zircote is already showing its amazing stepped grain.

IMG_7730

Switching bits to a 1/4″ round over, select edges were taken down, mainly the parts where the hand hits. The Black Palm is now showing its very unique, vascular bundle texture. The Pau Ferro (on the pinky hole) is also showing it’s wide, dark streaky grain. The other edges were knocked down with a 1/8″ round over bit but no photos were taken of that process.

IMG_7731

 I wrote before that the Wenge was placed in the heart of the face for a reason. Wenge is exceptionally hard but it also has a differential density between the grains. This means each vein of wood will react differently to laser etching, aka heat. Knowing and understanding this material property, I scaled a knight chess piece vector to be etched into the Wenge. The etching gave a pleasing wavy texture to the graphic and the outcome was as expected, a textural difference between the wood’s sanded surface and the etching. This would be further enhanced when the polish is applied. 

IMG_7732

Despite taking precautions and a steady hand, there was still some chipping that occurred at the wood’s mating joints. Some ghetto wood filler, glue and saw dust, filled those gaps easily and blended back into the wood work.

IMG_7733

I took extra care in sanding and prepping the surface to accept the acrylic spray, going from 100 git foam blocks, to 240 grit nail files to 600 grit paper all the way to 1000 grit strips. Then it was off to paint, 4 coats of spray with a light buffing in between to smooth out the overspray marks. If you look closely, you can see the laser etching detail is much more clear once the clear coat hit it, the ridges of the etch, surrounded by the smooth surface.

IMG_7734 IMG_7735

IMG_7736

IMG_7737

45 minutes later, the coating is now ready for a polish using my super secret sauce, the nail buffer. A 4 step foam block backed with progressive grits, close to 10,000 grit in roughness rating. 

IMG_7738

A couple of minutes of buffing and its off to the photoshop!

MGG Black Horse Zircote

MGG Black Horse Lamination

MGG Black Horse Hero

MGG Black Horse font side

MGG Black Horse Etching

MGG Black Horse Backside


Thanks for reading!

Had enough? Want to buy this slingshot? Get it here: Dark Horse Capuchin Slingshot

-Eric

Follow Metro Grade on Twitter @MetroGradeGoods

Find us on Facebook facebook.com/metrogradegoods


Posted on 1 Comment

Metro Made | Harlequin Capuchin TS & FB Limited Edition

It’s been far too long and it’s time for another Metro Made post, this time around, something familiar to you returning Metro Made readers. If you are tuning in for the first time, welcome! Metro Made is the blog of Metro Grade Goods and how I turn raw materials in the stuff you see on the site. It is my way of letting you know where things come from and how they are made. Besides, who doesn’t love a good behind the scenes.

In this installment of Metro Made, we take a look at how I took the plunge and crafted 8 super laminated slingshots in one weekend. A pretty daunting task since a single unit took 5 hours to complete. If you are at all familiar to scaling up production, you don’t just take your unit’s build time and multiply it by the number of units you are making. There are always ways to save time. Despite the time savings, this oct-build still took 15 hours to complete. This one is a long one so take a potty break if you need to now, those of you joining me DURING a potty break, I commend your multitasking mindset.

The Harlequin pattern is something I developed when I made another Metro Made project, the Art Deco Loris. It was my ploy to use up a lot of small, left over wood ‘sprues’ generated when laser cutting full frames from planks of hardwood. The results where a stunning selection of hardwoods arranged in a very pleasing Art Deco style.

Art Deco Loris PFS Red Tube 1

There were a lot request to have this available but the Loris was not the most popular slingshot to begin with, so I decided to go with a more universally appealing frame, the Metro Grade Capuchin. A smaller frame with a lot of potential for slicing and dicing for the Harlequin pattern, I went ahead and did that. I started by laser cutting the 1/4″ Baltic Birch plywood cores. I planned to make 4 Harlequin Capuchin TS’s (Tube Shooter) and 4 Harlequin Capuchin FB’s (Flat Band).

MetroMade HarleCap Laser Frame

The biggest difference between making one of these versus eight is parts management. With 8 sets of near identical micro bits of wood (close to a 30 some odd part count per slingshot) something to keep them in order was necessary.  Here’s what I used:

MetroMade HarleCap Jig base

Adjusting the laser so it would only shoot out 50% of it’s 75 watt beam and speeding up to a max velocity, I made a template to organize the parts as they came off the laser cutter. The material is a scrap piece of hardboard. The next few photos show how the parts started to fill up the puzzle grid. I chose to go with rock maple for the fork tips since it is one of the hardest woods that can be laser cut and it is also readily available.

MetroMade HarleCap Laser maple

MetroMade HarleCap Jig start

Not long after, the Honduran Mahogany, Black Walnut, Paduak and some more maple was laser cut and placed in their respective spots. You can see how the puzzle board is necessary now, and this is just one side.

MetroMade HarleCap jig more

The final pieces for that side were cut from maple, here’s the video to prove it.

Here are some shots of the backside puzzle board. That’s some Walnut and a piece of vintage Oak reclaimed from an ‘old’ friend (who is young at heart!). Meet Mervin, the most brilliant guy I know.

MervinLecouillard-LR-002

MervinLecouillard-LR-013

MetroMade HarleCap Jig Back side

Once all the parts were cut out, it was time for the hardest and longest part of the build process; the lay up. I wanted to start positive so I began with the back side. With less parts, I would feel like I was accomplishing more and carry me through to the more complicated side. The forks get glued on first, since they are the only parts that need critical alignment, especially on the flat band version. The tips were clamped for 10 mins to ensure a good bond.

MetroMade HarleCap back side fork tupe

Here the Oak goes on but with a Zebra Wood spacer to fill in the laser beam kerf, this only fills the gap, but lens a little bit more pizzaz and detail.

MetroMade HarleCap Backside lay up

The final bottom pieces were added (solid Birch) and left to set up a bit. Once they were more solid, the whole thing was flush faced on the belt sander. This is one of my favourite states of a slingshot build, revealing a built up pattern is pretty great.

MetroMade HarleCap flush backside

Now, the painful but rewarding part, gluing up the 30 some odd parts that make up the pretty face side. I didn’t take to many photos of this process but as you can see, this part required a lot of attention to detail. The detail I particular enjoy is the red heart wood (Chakte-Kok) I used for the Metro Grade skullthulu logo. Even though I know that the red will deepen in colour once it hits UV rays (natural properties of the wood), the dramatic red splice in between the slabs of Walnut are really something else.

MetroMade HarleCap Laser logo

You’ll notice the face sanded frame has the Metro Grade skull sanded clean off, this was a mistake on my part since the Chakte-Kok wood was thicker thank some of the wood so the etching came clean off. No worries, I had a plan to return the etching back on the face the Capuchin.

MetroMade HarleCap Frontside lay up

After many, many cycles of this gluing, sanding, fitting and more sanding, the result was a respectable stack of work, worth of calling it a good day’s work.

MetroMade HarleCap assembly

MetroMade HarleCap aseembly 2

MetroMade HarleCap flush sanded stack

*One night later*

The next morning, it was time to get cracking, knowing the project would have some finality to it. First order of business, flush sand the sides of the Capuchins and remove the burned laser cut edge. Thanks to a fresh 80 grit spindle sanding drum, this was a mere 30 min job for all of them.

MetroMade HarleCap spindle sand

This next photo represents 10 hours of time, kind of crazy to think. I call it ‘Fist full of Awesome’.

MetroMade HarleCap Hand full of awesome

Remember when I said I had a plan to return the Metro Grade skull back onto the Chatke-Kok wood circle? This is that plan. I knew I wanted to mark on it that this was a limited edition of 4 (4 TS’s and 4 FB’s) so I again used a scrap piece of wood and quickly etched the outline of the slingshot so I could realign the already assembled and glued slingshot back onto the laser bed. This technique is also what I used to realign and re-etch the skull on those slings that had the face sanded off.

MetroMade HarleCap Alignment Jig

MetroMade HarleCap Laser Limited Ed

Now the most dangerous part of any slingshot build, the router. Things can go VERY badly here and the entire sling could go to waste if there are any slip ups. Thankfully, I’ve had lots of practice with this model having made a limited edition of 10 plywood ones and various other hardwood versions. Despite my comfort level with this pattern and frame, I treat every time I turn on a switch to a machine a chance to die. It works, seriously.

MetroMade HarleCap 1:4 router

This photo doesn’t show anything new, but I wanted to grab a pic of the router shavings. Such beautiful array of colours.

MetroMade HarleCap Splash

The Capuchin TS and the Capuchin FB both have things that still need to be done with them before the band attachment area are operational. The TS’s tube slot needed to be widened but not before the edges of the hole are chamfered with a 1/4″ counter sink.

MetroMade HarleCap hole chamfer

Then it’s off the band saw with a fairly narrow, 1/2″ blade, the tube slot gets widened to a saw width. The existing tube slot was not really a tube slot at all, it was merely a guide for the alignment when gluing up the layers and subsequently, a guide for the band saw to slide into.

MetroMade HarleCap tube slot saw

Then the notched ‘iron sight’ needed to be cleaned up too, so a round rat tail file comes to the rescue. Under the TS is one of sanding blocks used to sand the surfaces of the sling. These are 80/120 grit mini blocks meant for manicurists, but for those tight curves and hard woods, they are perfect.

MetroMade HarleCap sanding and file

I didn’t take any photos of the FB slot finishing as it’s a bit of a secret but essentially it just needed to be sanded out to improve the consistency in the width of the slot for Theraband Gold and pure Latex bands. Once they were all sanded with 600 grit paper, it was off the paint booth to shoot 3 coats of acrylic sealing spray.

MetroMade HarleCap coat

MetroMade HarleCap coat 2

Once they were cured (acrylic spray only has a 30 min cure time), they were buffed to a shine with another manicurist tool; the nail buffer. It was time to hit the photoshop.

BUT before you go ahead to the final product and images, I want to list the woods used in these slings:

– Baltic Birch plywood core

– Rock Maple

– American Black Walnut

– Honduran Mahogany

– Chatke-Kok

– Maple Veneer

– Ebony Veneer

– Zebrawood Veer

– Birch

– Paduak

– Oak

…ok enough stalling.

I am pleased to present the Harlequin Capuchin TS and FB.

HarlCapuchin FB and TS

HarlCapuchin Fb and TS 3

HarlCapuchin FB and TS 2

HarlCapuchin TS LE

HarlCapuchin TS hero

HarlCapuchin TS No Band

HarlCapuchin TS Play

HarlCapuchin TS No band 2

HarlCapuchin TS Backside

HarlCapuchin FB Hero

HarlCapuchin Back side

HarlCapuchin FB Le

HarlCapuchin FB Banded


Thank you for reading to the end, it’s not often I get to spend this much time writing about my process and methods, but I know it’s always worth looking back on projects like these.

I am also really happy (but with begrudgingly) to announcing that Metro Grade is now on Twitter, you can follow and reach me at @MetroGradeGoods

3 of each Harlequin TS and FB will be available at the Metro Grade Shop.

Find the Harlequin Capuchin FB here

Find the Harlequin Capuchin TS here

-Stay True-

-Eric