http://fhaloanmichigan.org/beence.php Sometimes, a nice long, complicated project is all you need to really get over your creative slump. Carefully calculating how things go together, taking the time to properly do clamp things down and lovingly polishing your new creation, it’s all in the details.
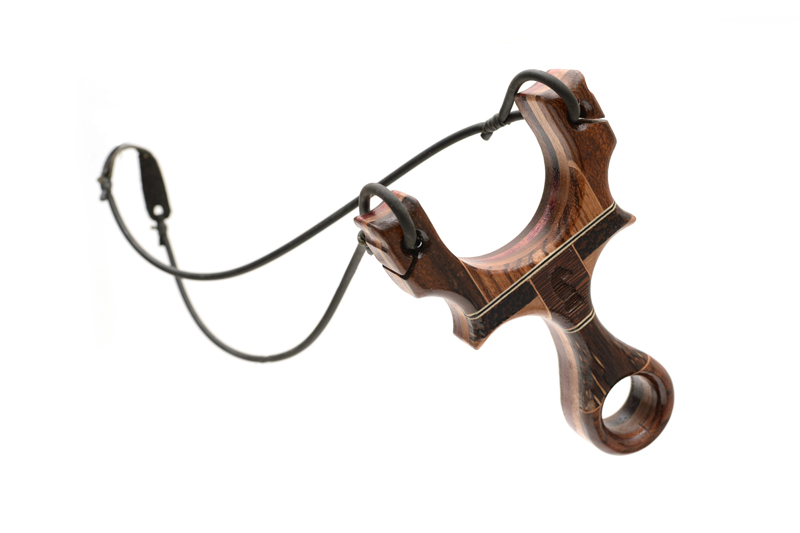
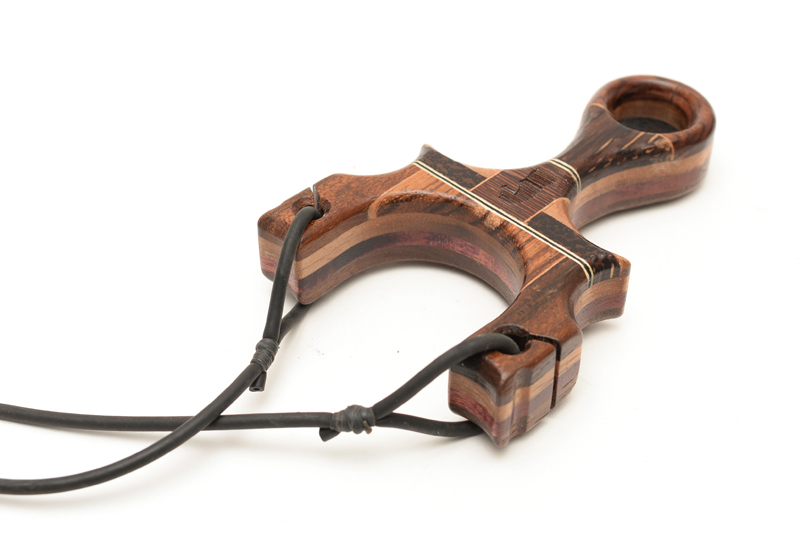
The Dark Horse is exactly that.
After doing some tests, all the dark woods that I had selected for this project absorbed too much heat to be cut so the result was a very burnt and singed edge and surface. So, switching to manual navigation!
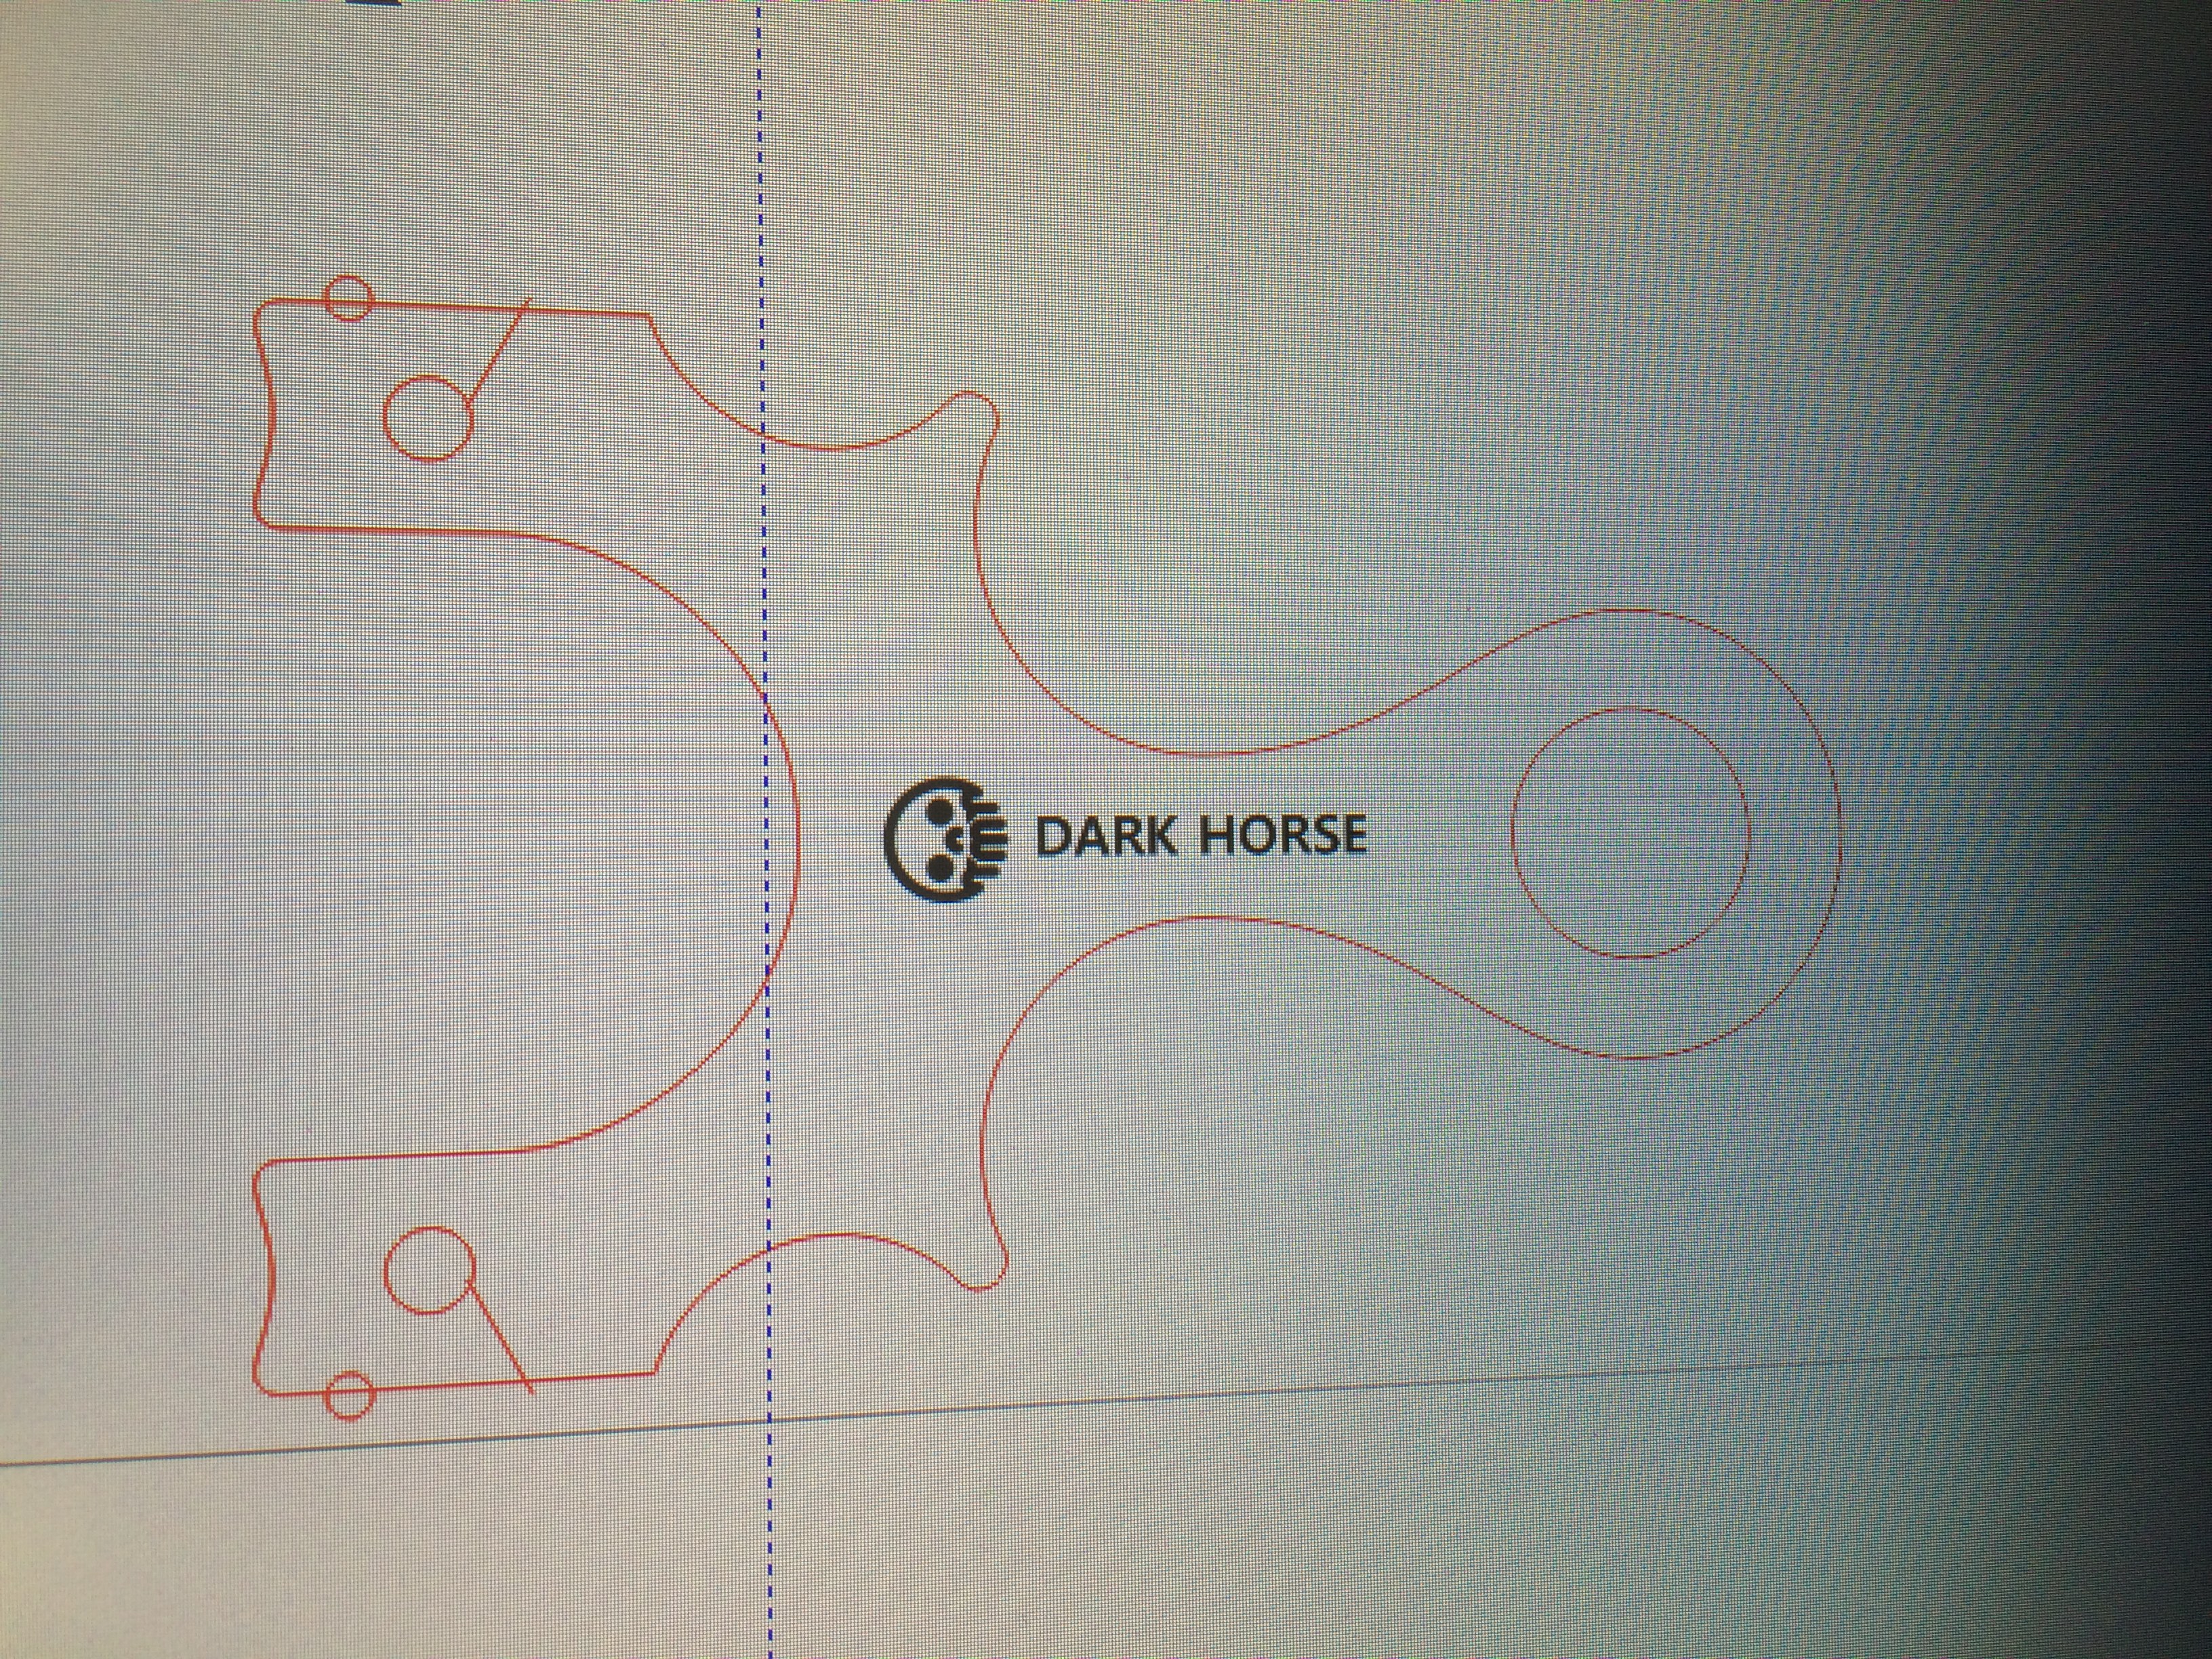
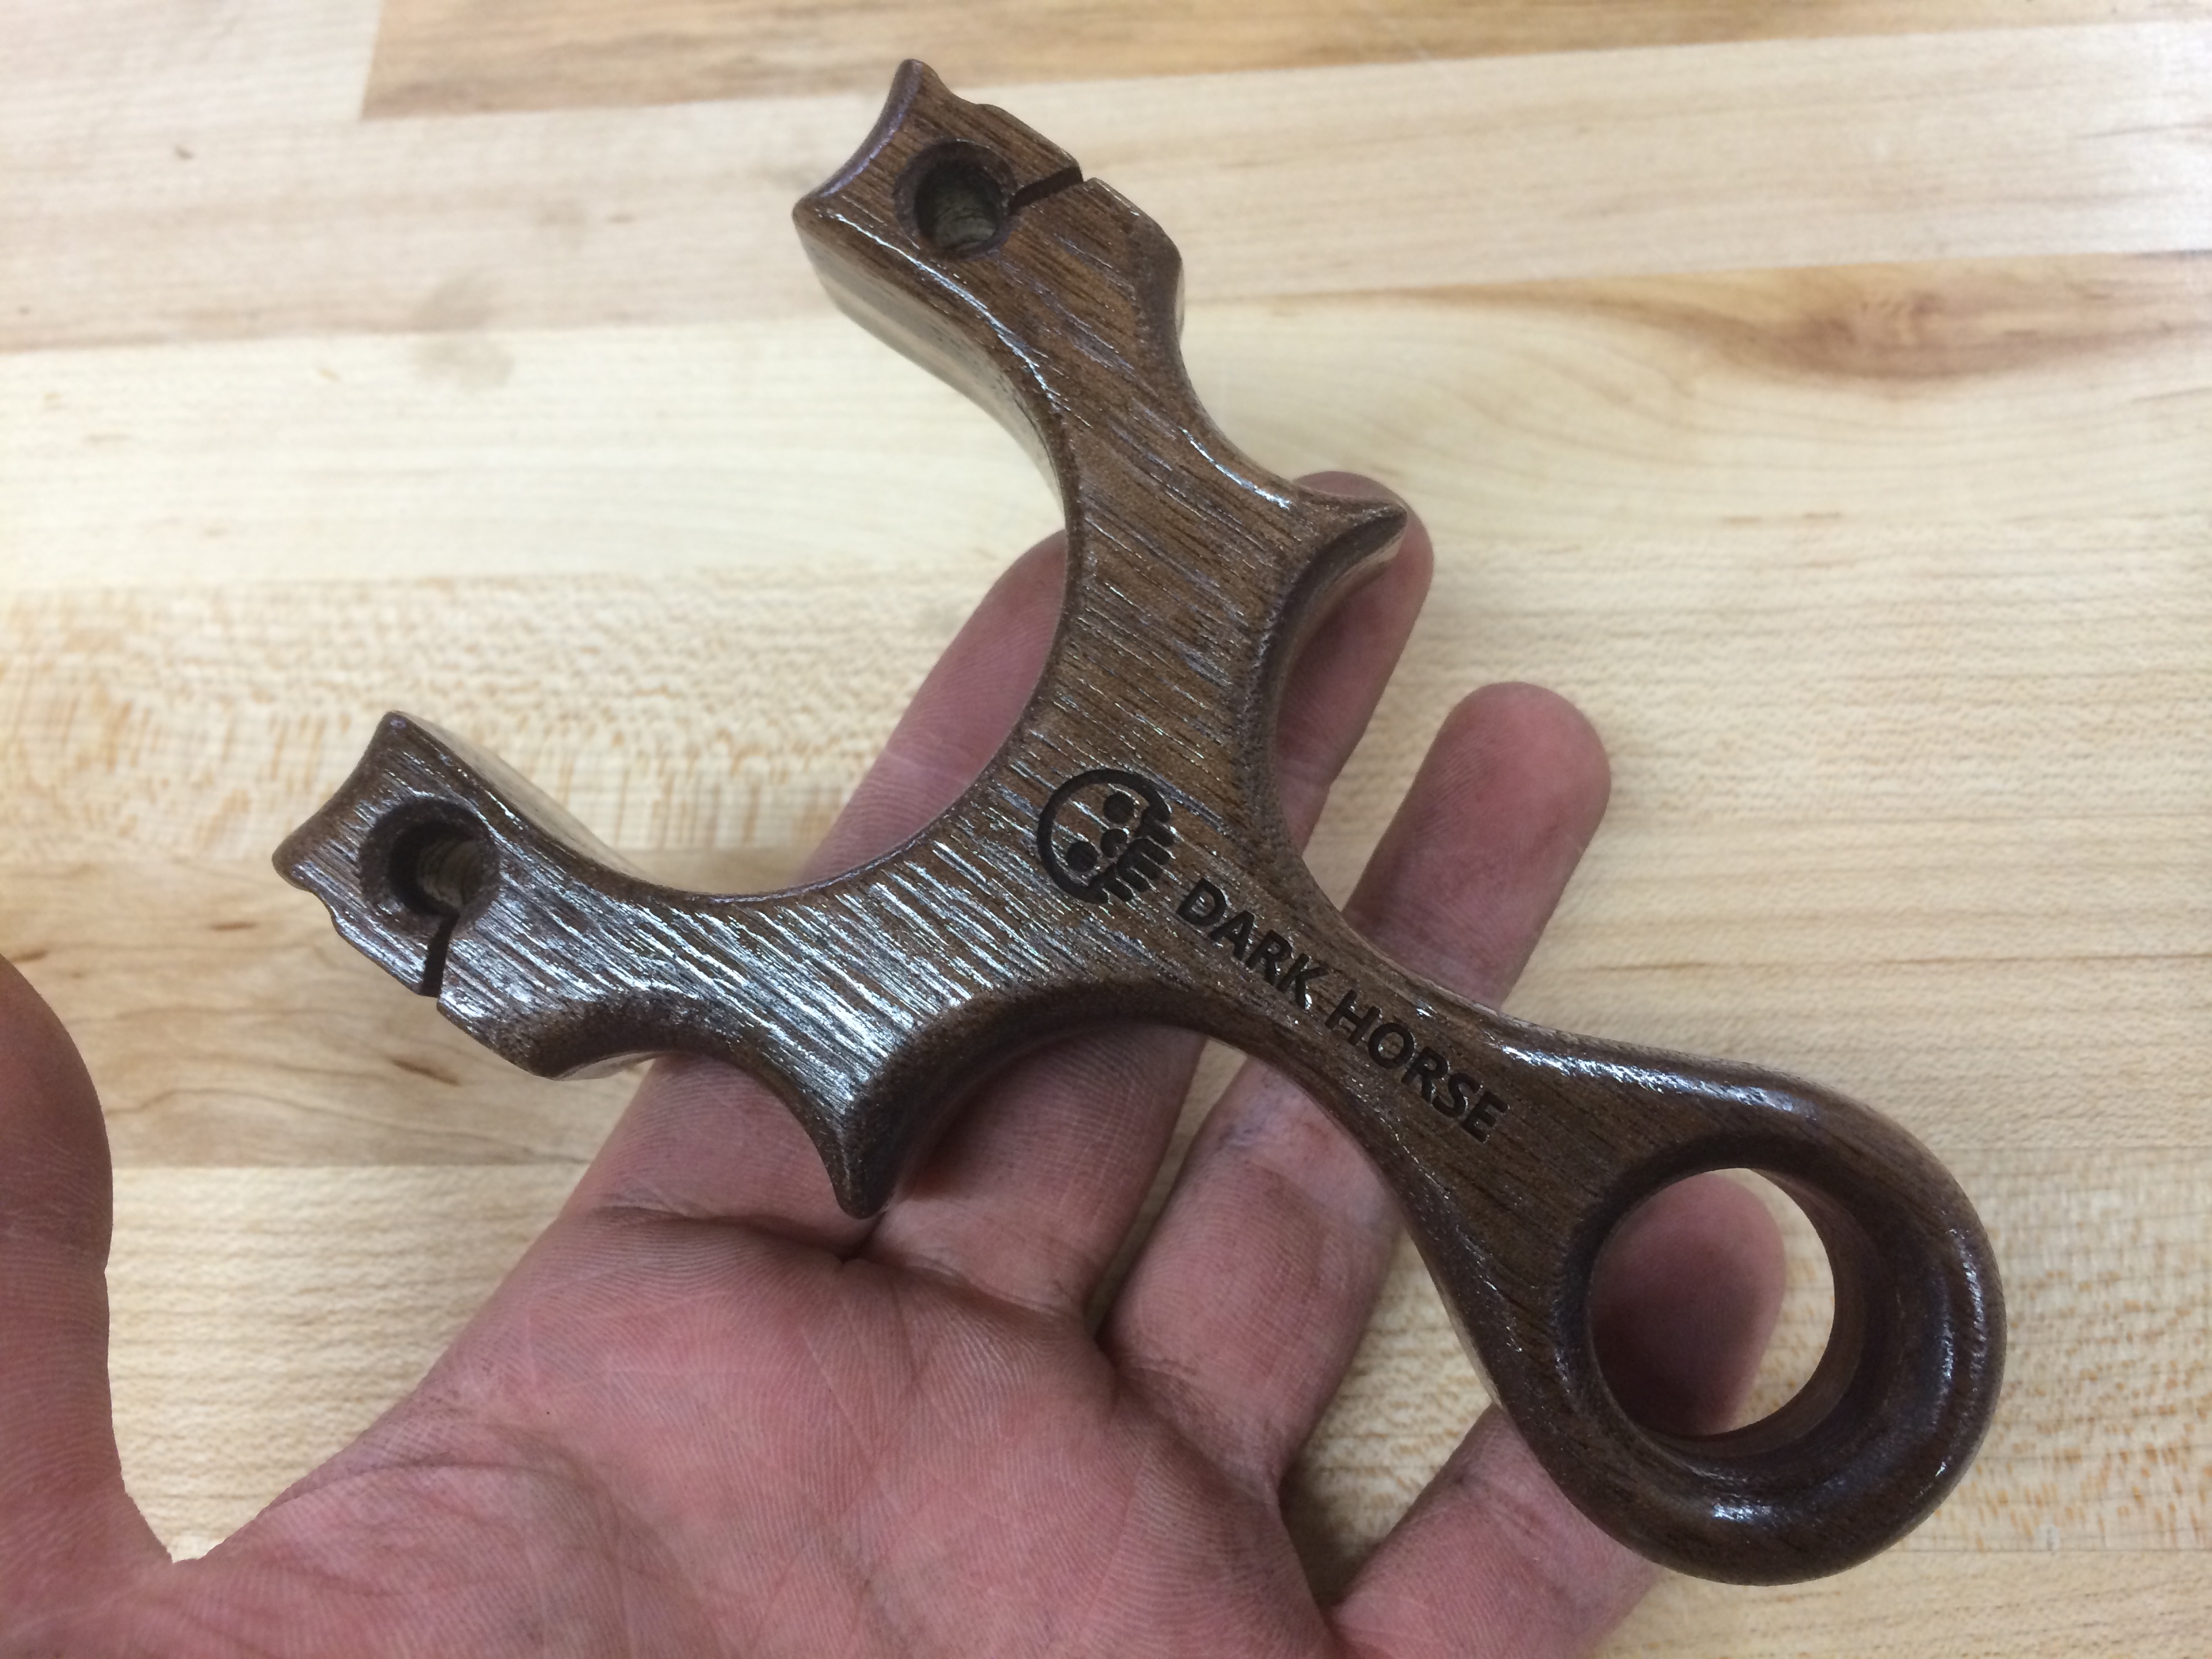
I could at least start with a couple of cores and and a back side scale. This time around, a 1/4″ slab of purple heart, a 1/4″ slab of American Walnut and a back side scale of Black Walnut. The walnut laser cuts and etches nicely so the name Dark Horse and the MGG skull was etched on it prior to assembly.
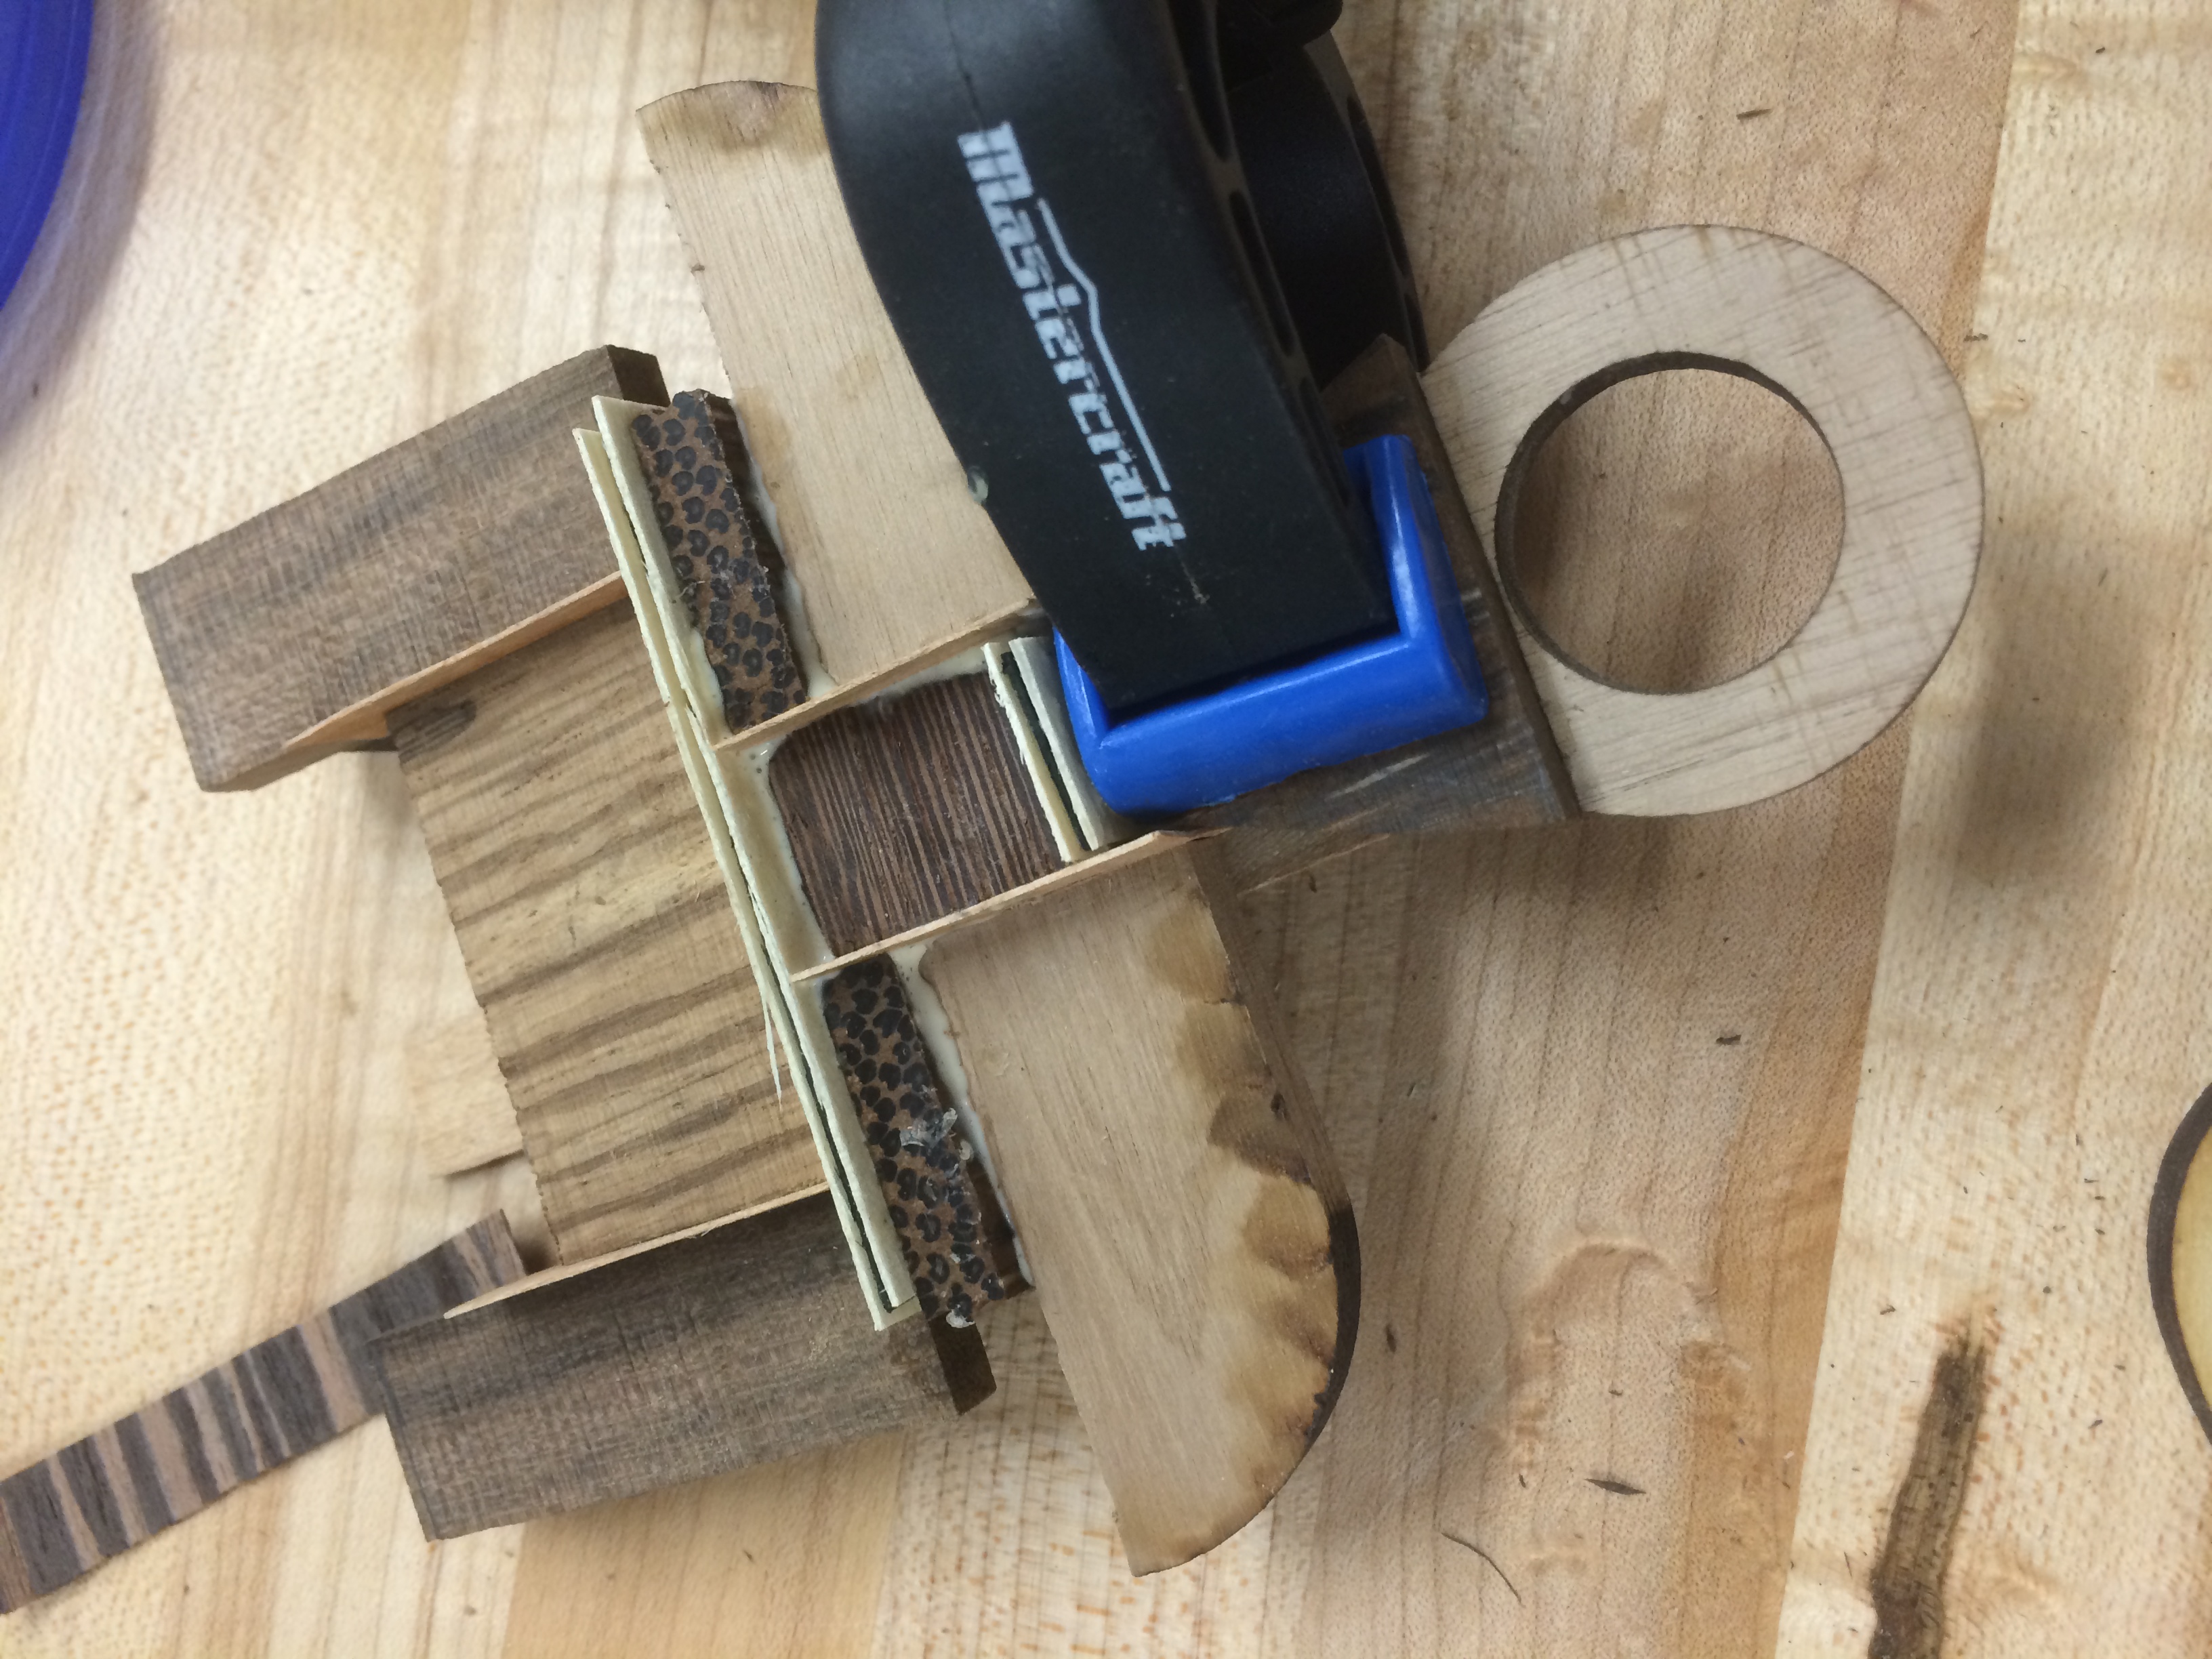
After the cores where cut, it was time to lay up the bits of wood. Tackling this like a Tetris game, sanding slowly to fit the blocks into place, delineating the layers with a triple stacking of contrasting veneers (maple, ebony, maple). The inside core is American Walnut, which is much lighter than the Black Walnut used for the backside.

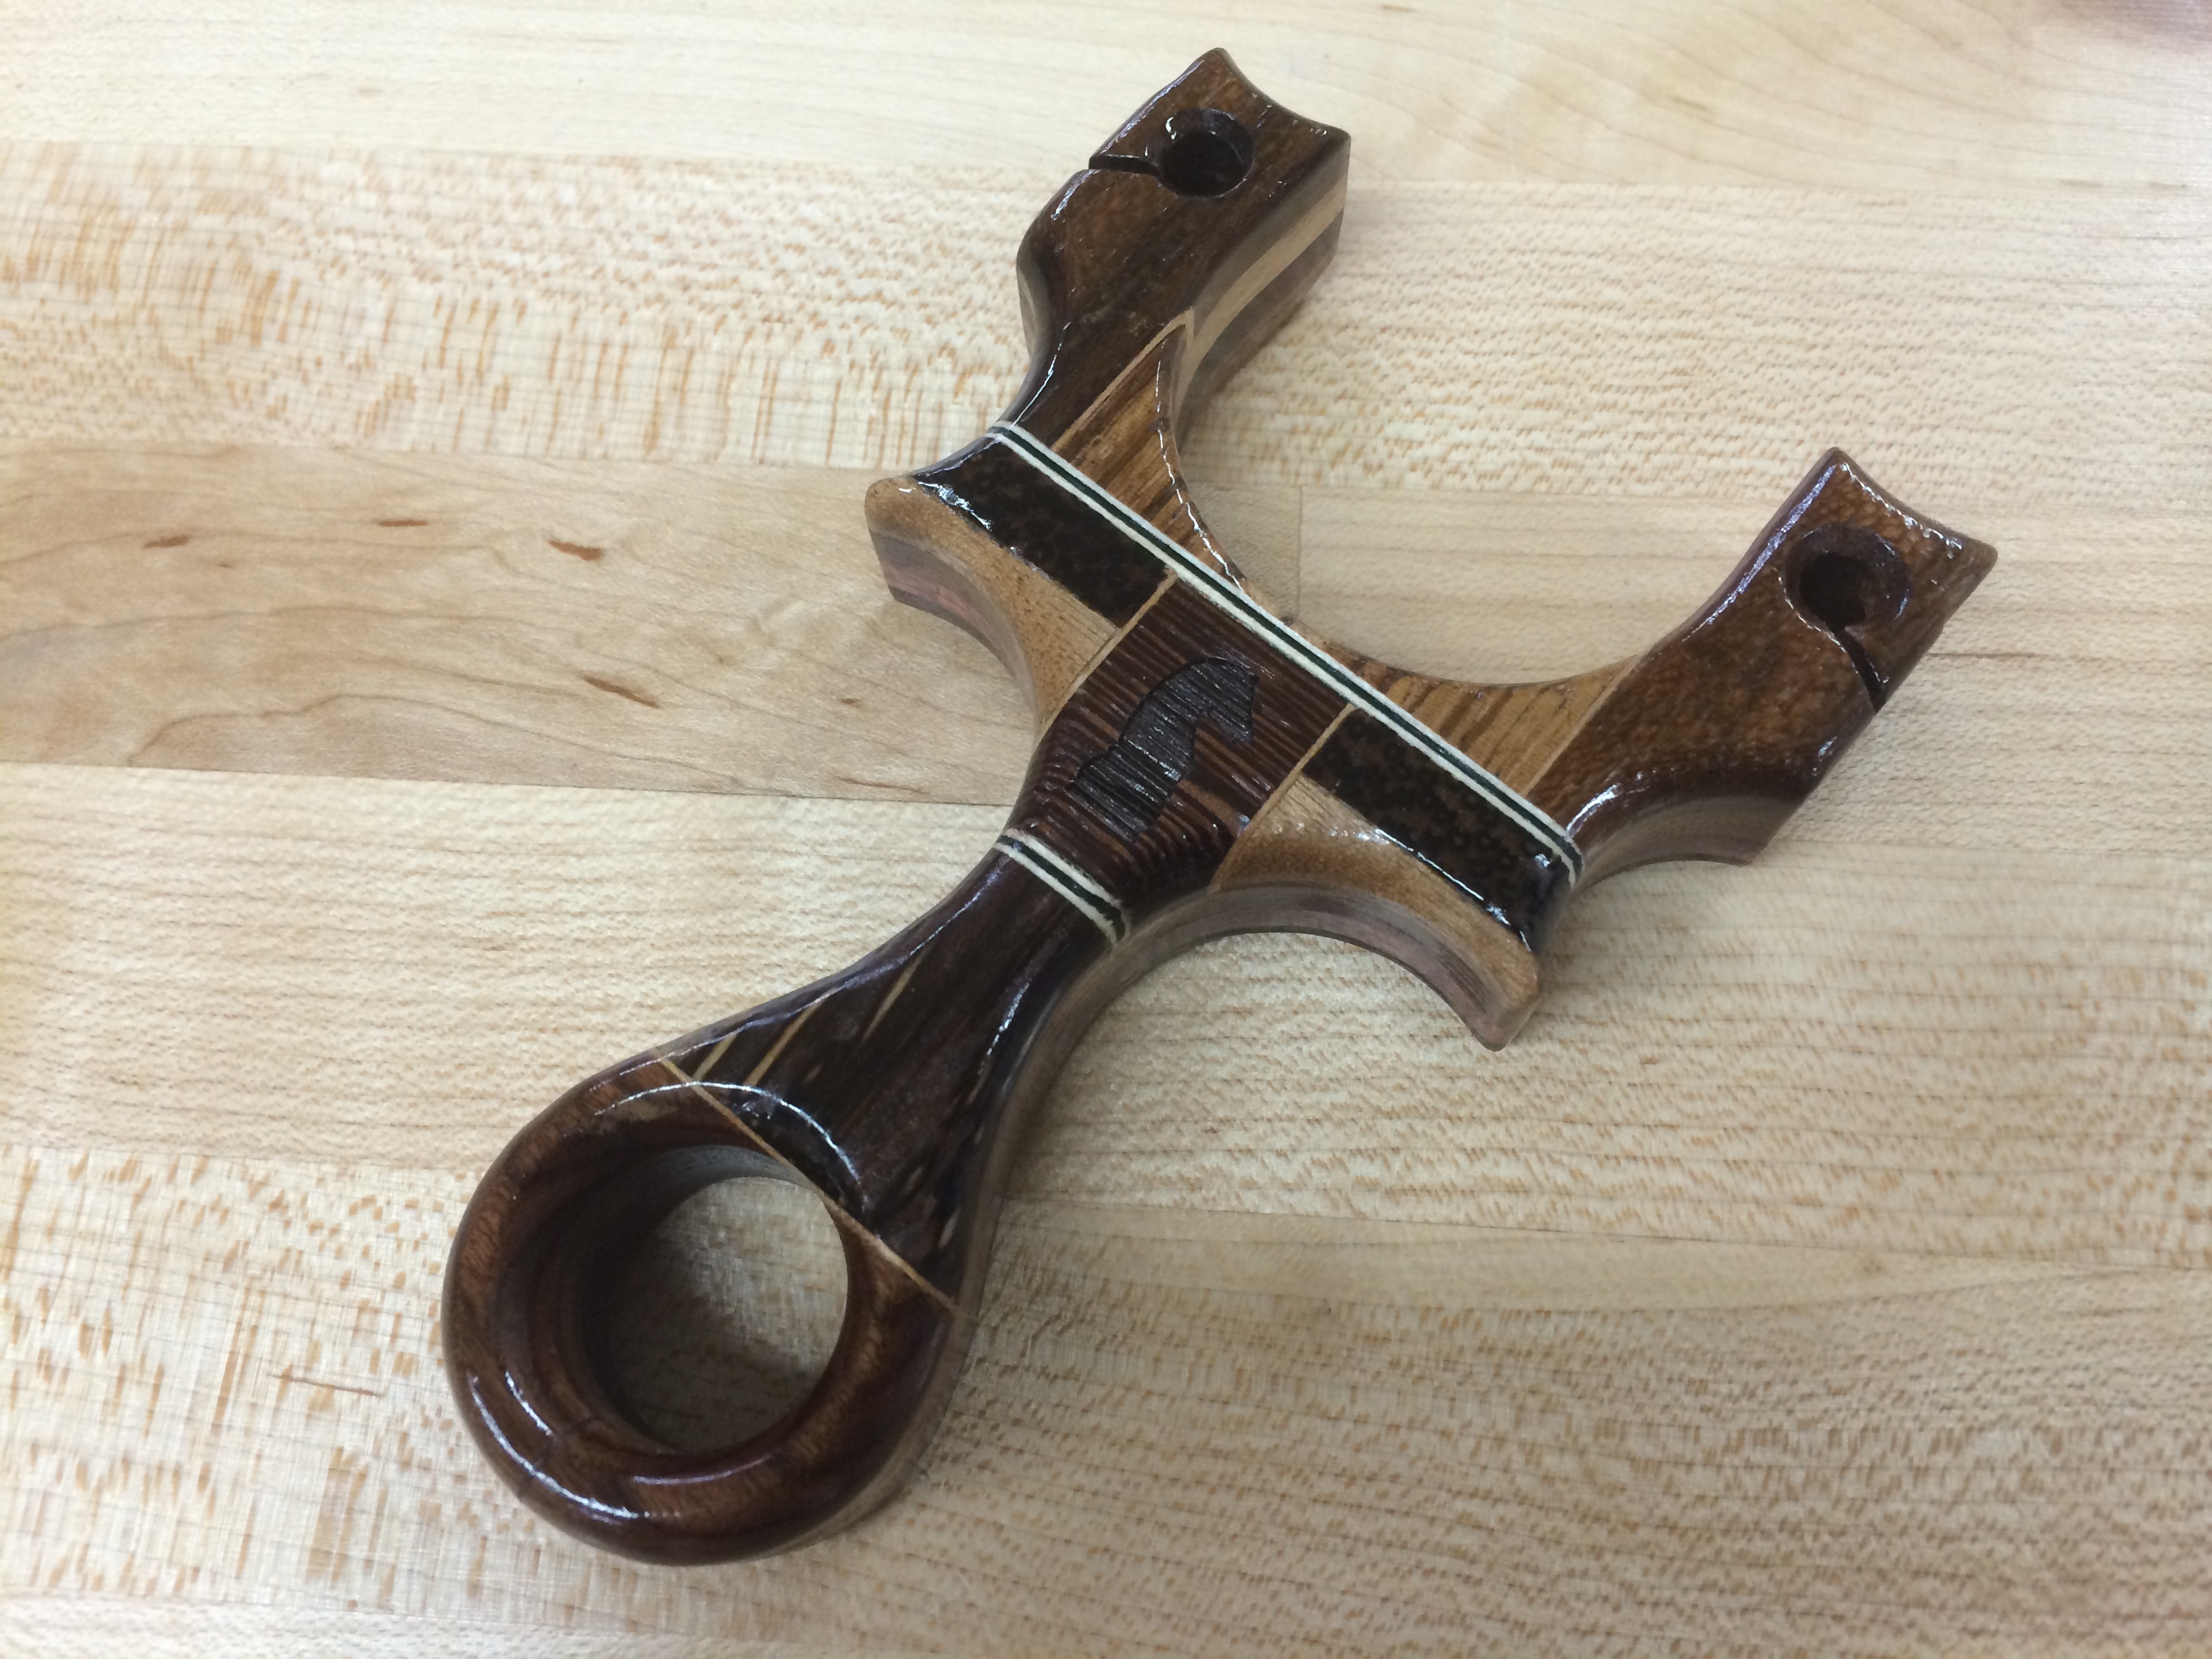
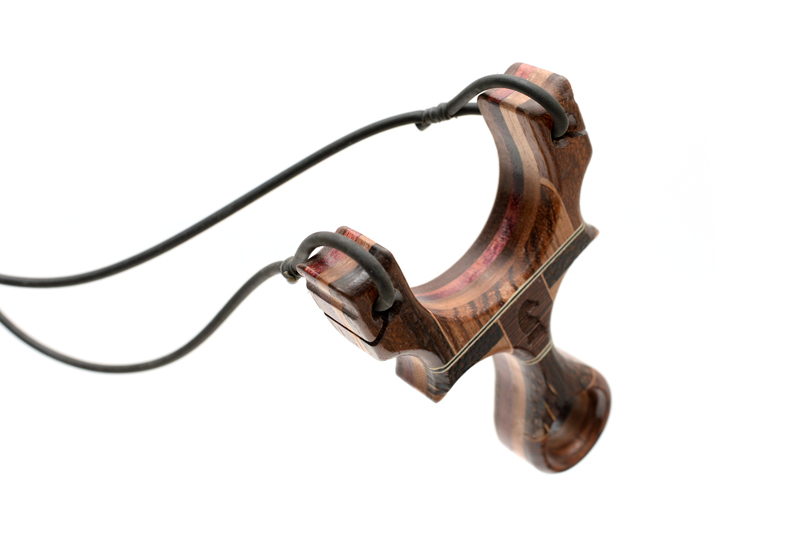
Always choose a hard wood for the fork tips in case of a fork hit, in this case, Zircote. It has a VERY interesting micro texture and is hard as nails. Sandwiched in the middle and will eventually make the scoop of the yoke, is Zebrawood. Below that is the aforementioned triple stacked veneer. In the center is rectangle of Wenge (this was purposeful), the Wenge is flanked by Black Palm end grain and some more of the American Walnut.
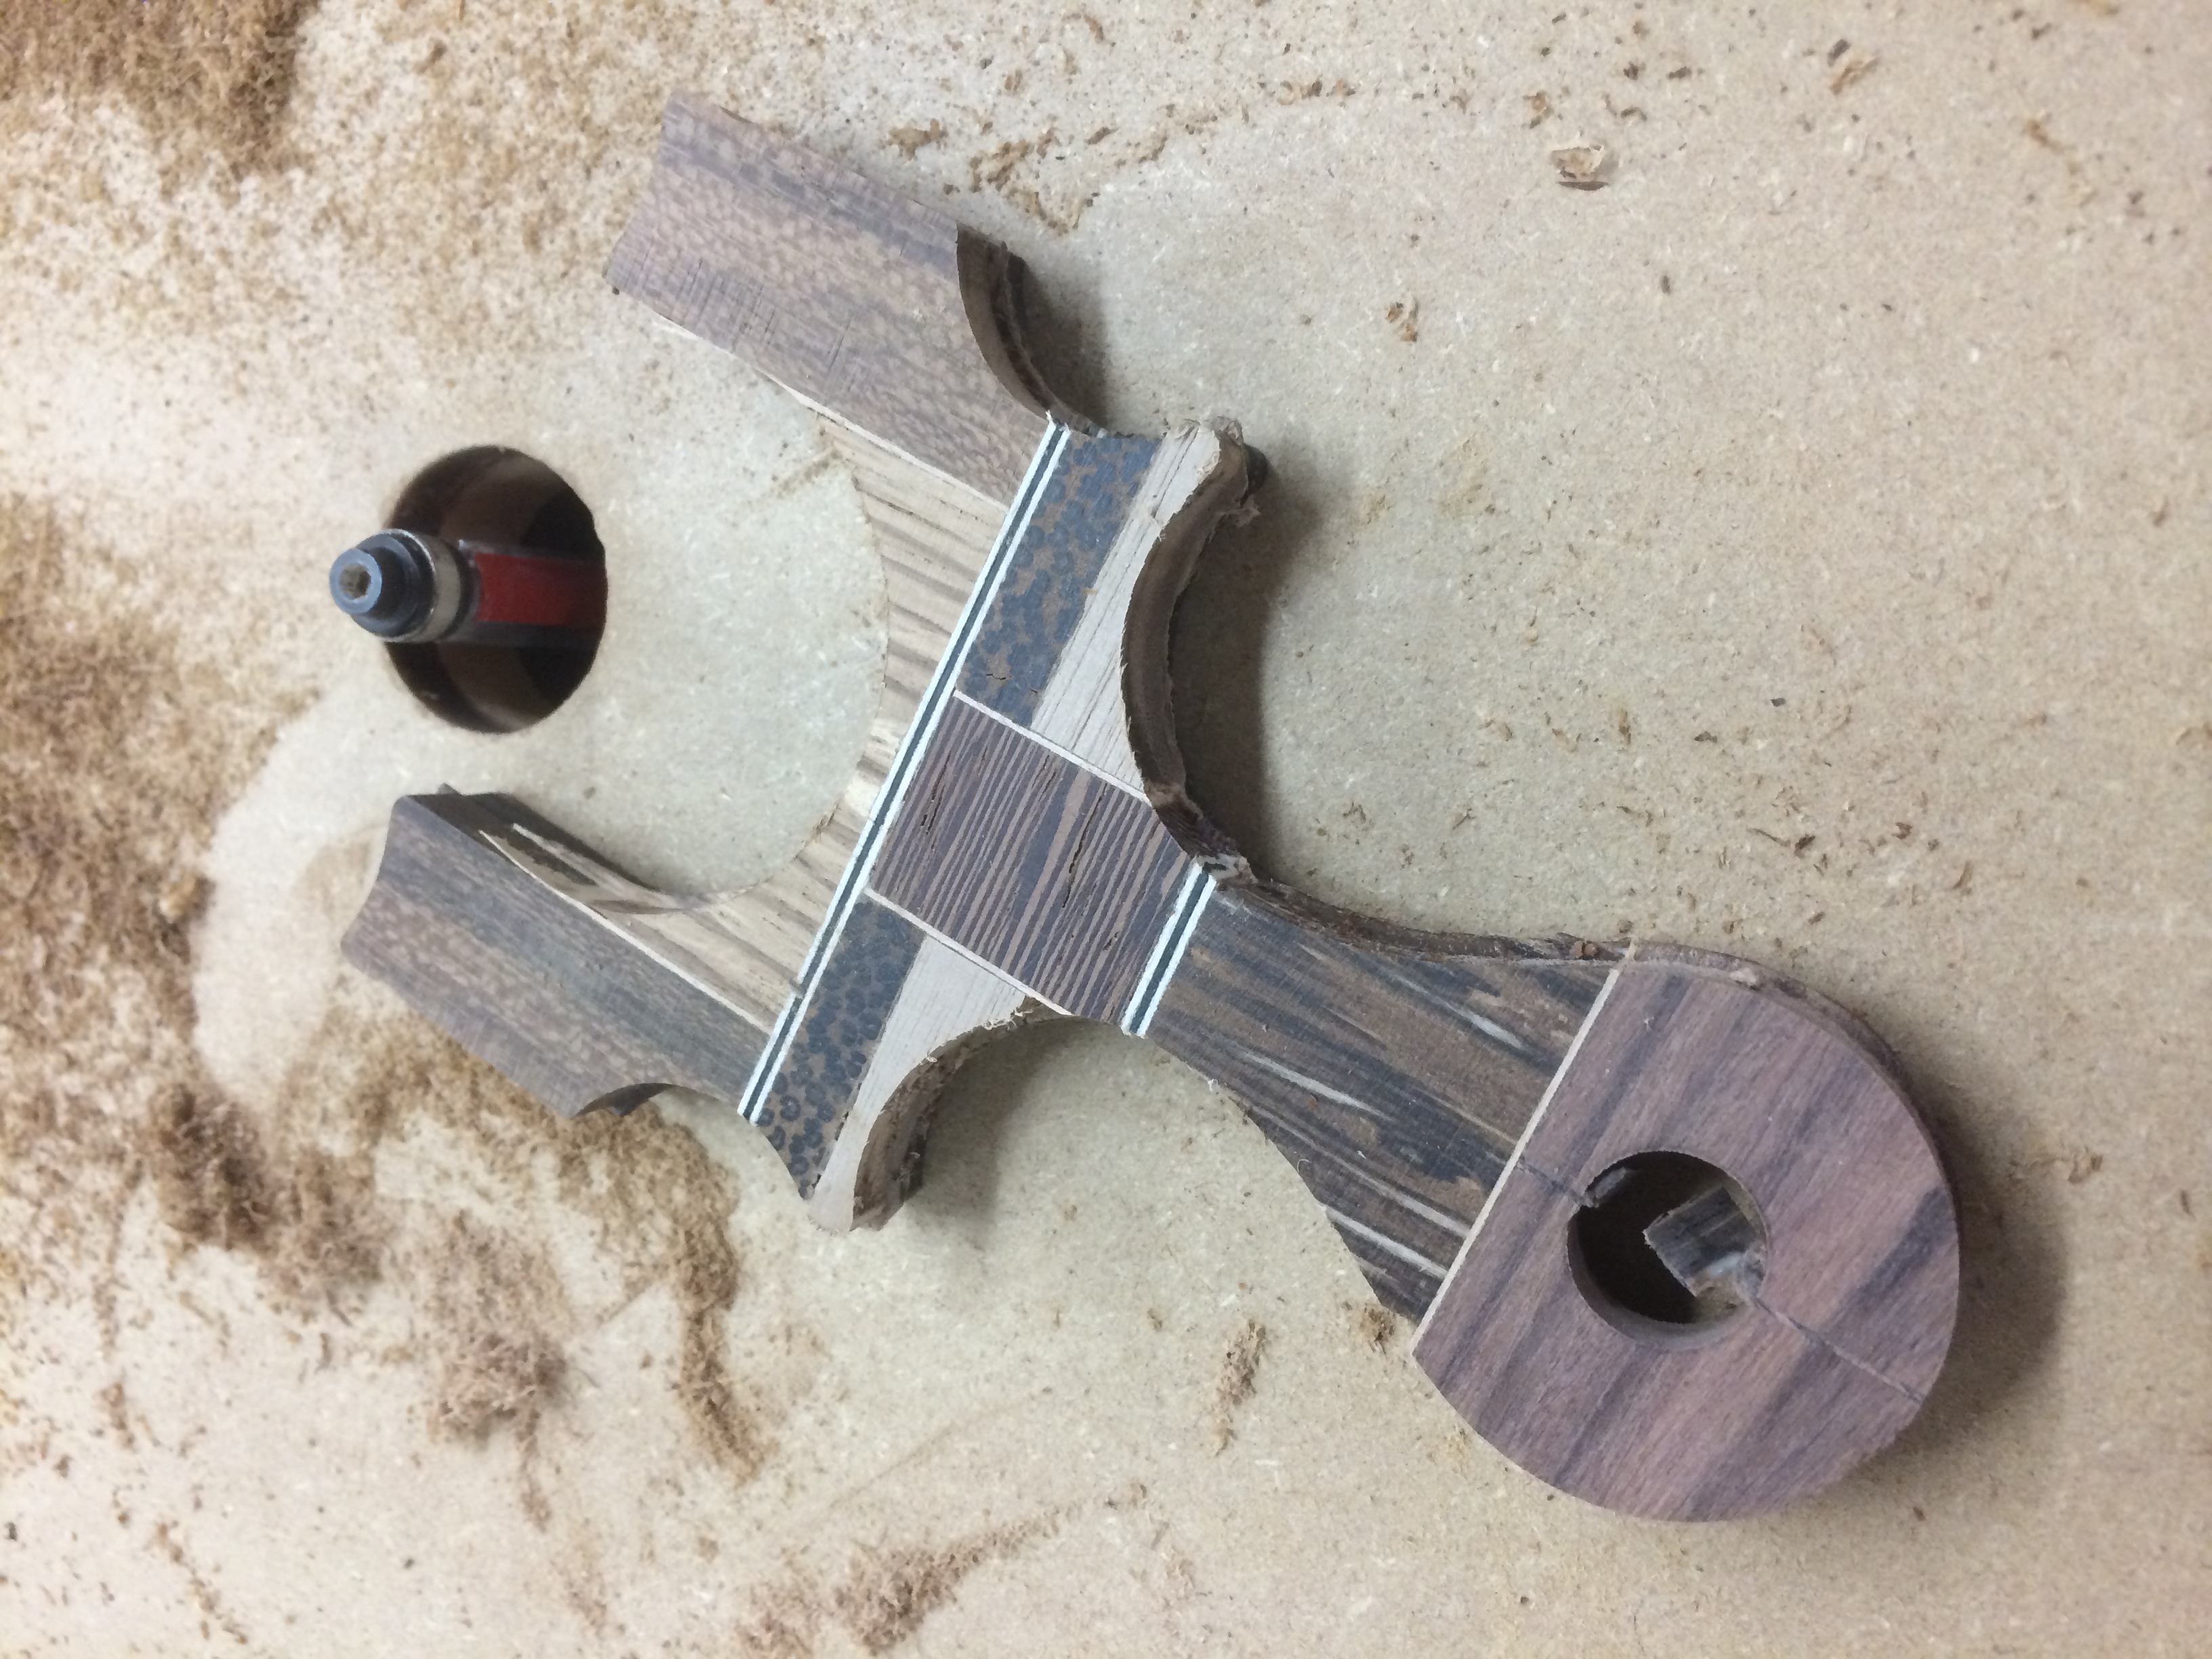
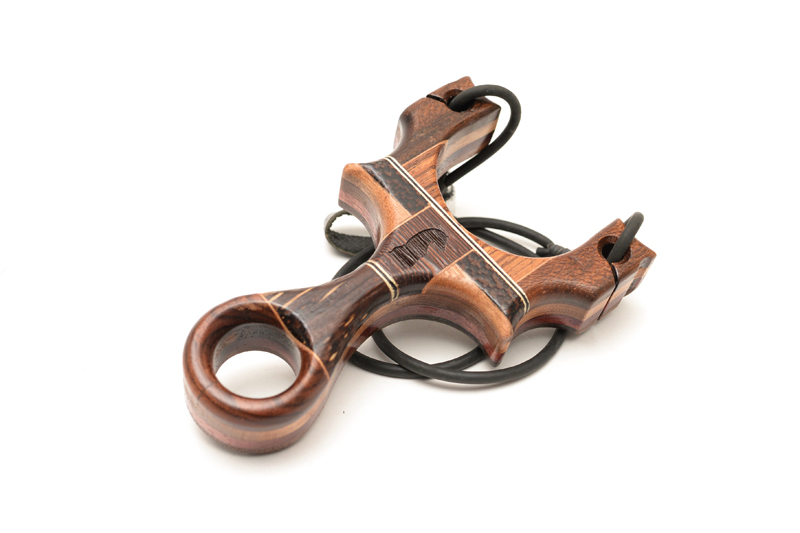
After gluing up the final bits, Black Palm and Pau Ferro for the pinky hole, the excess was cut off with the band saw. The whole face was then flush sanded to reveal the nice geometric dark wood pattern.
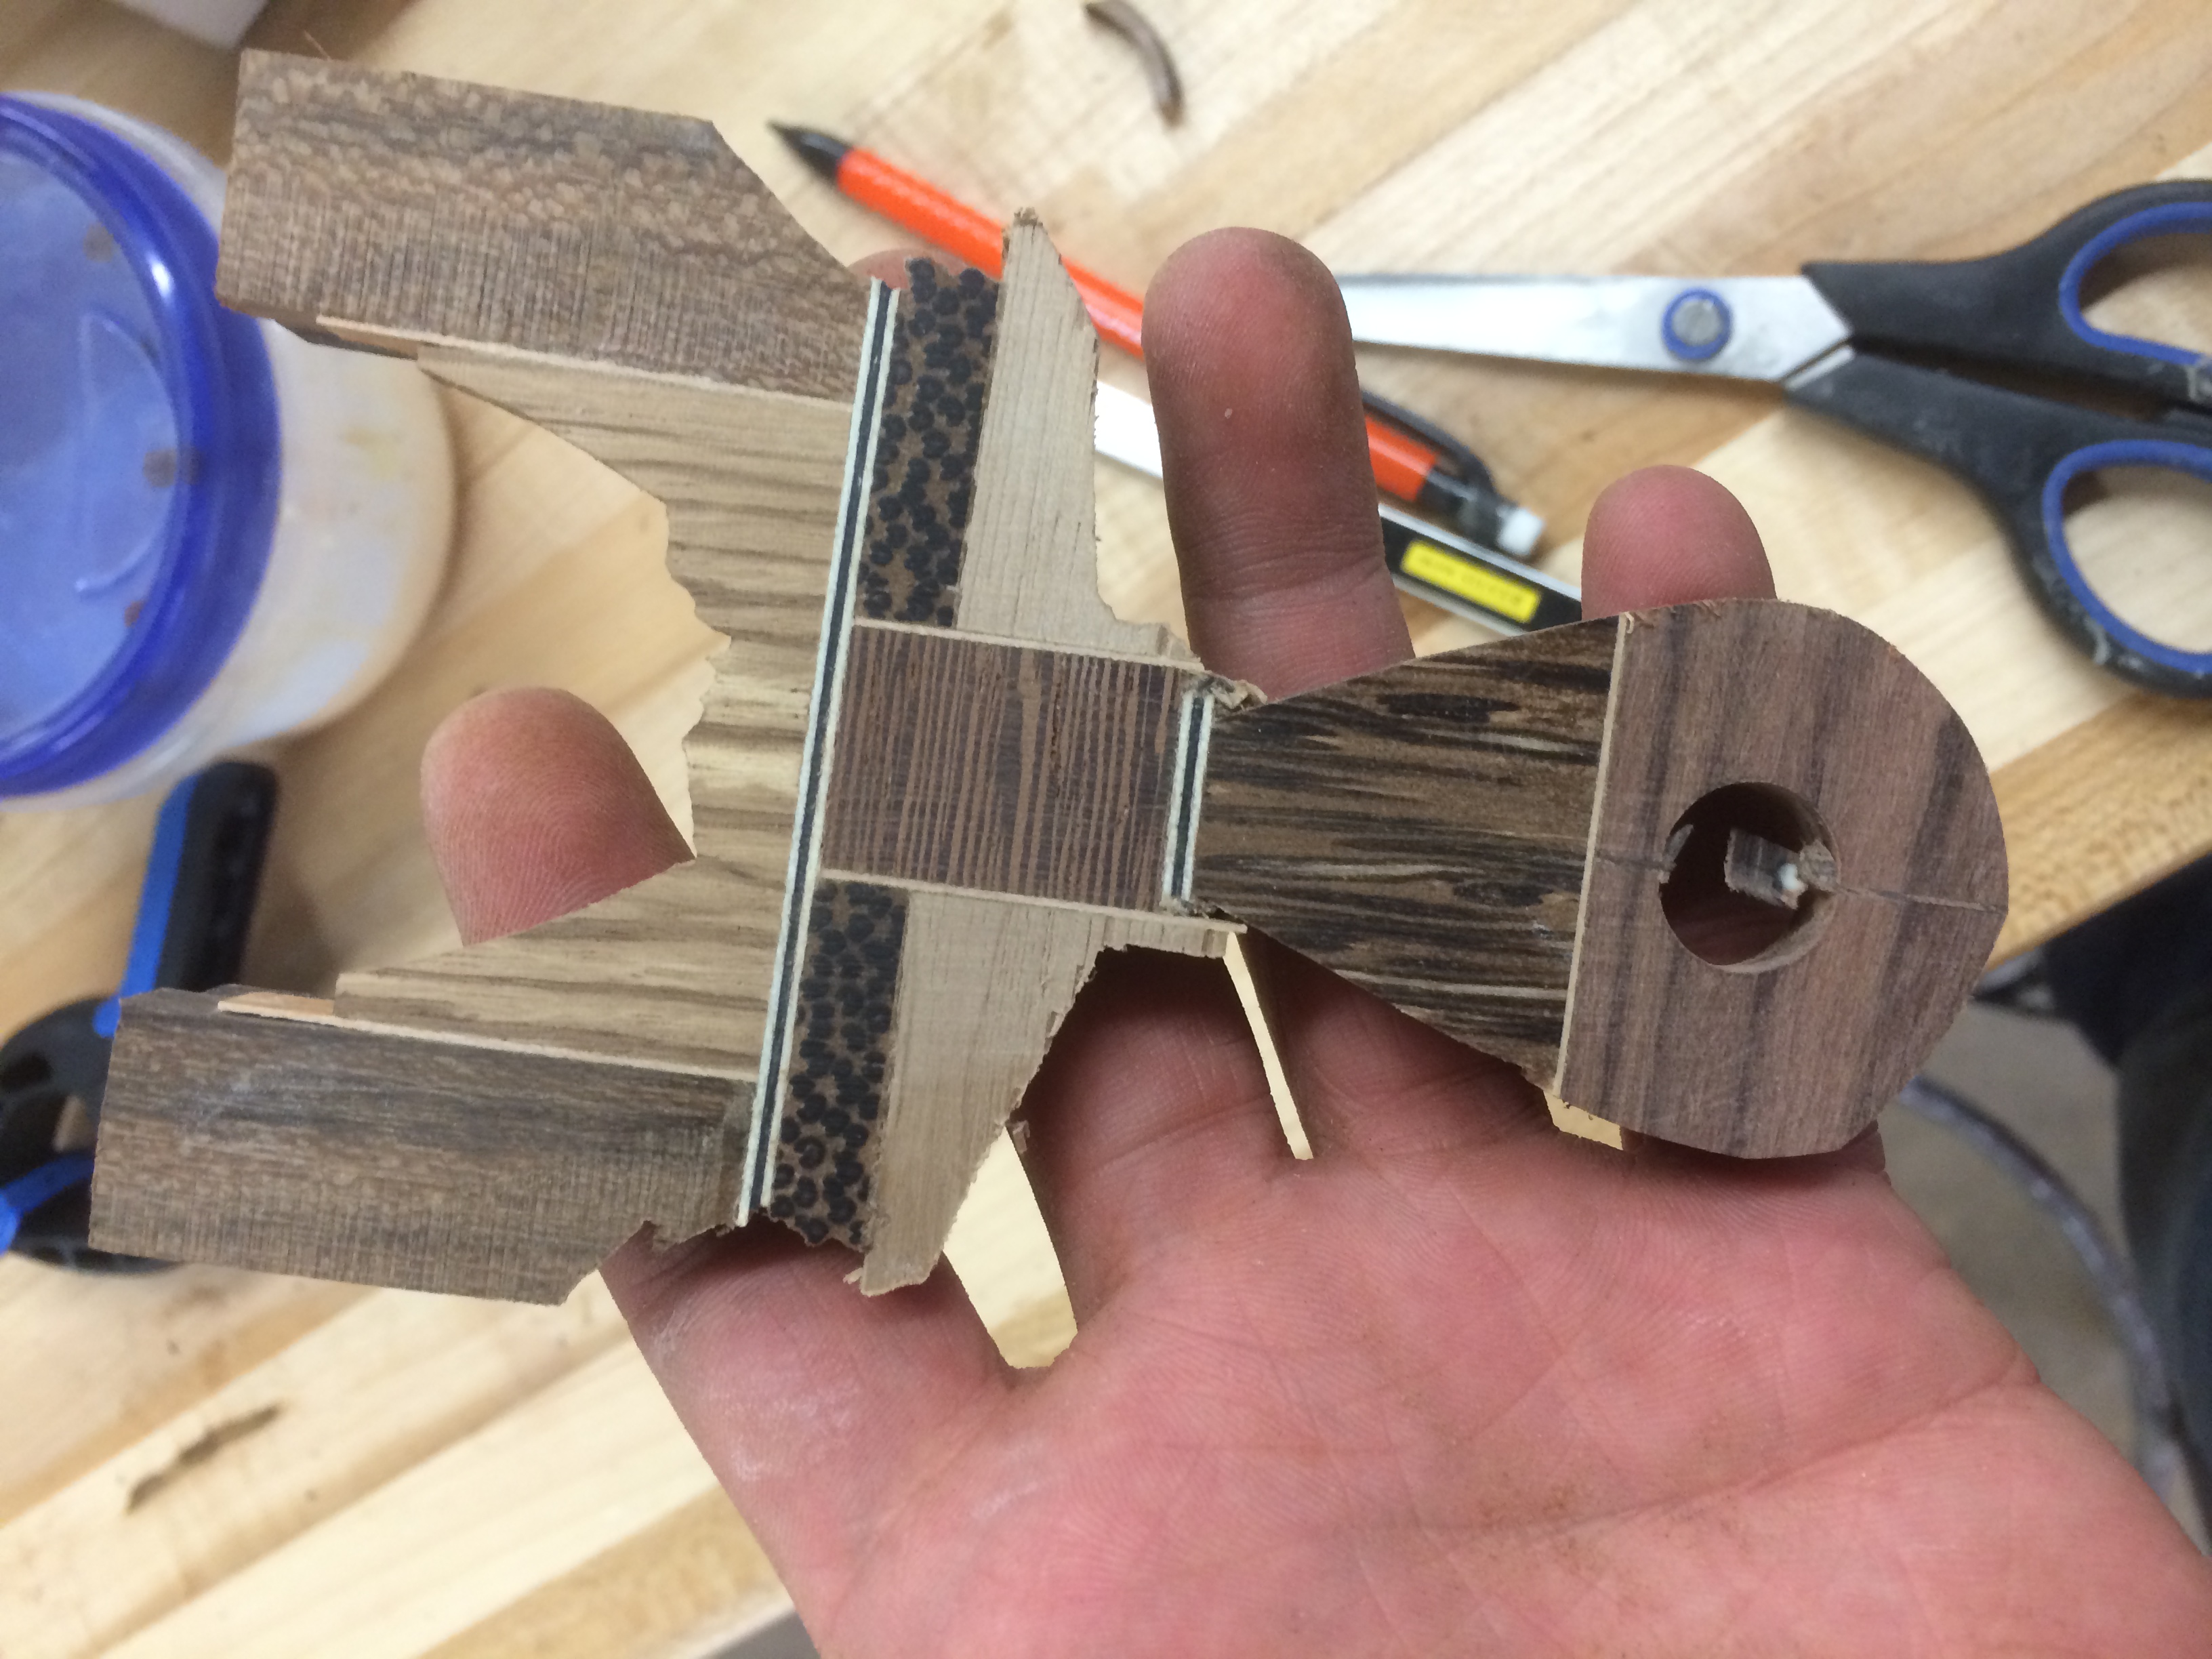
Once that was done, it was time to trim up the new hardwood face so that it conformed to the shape of the rest of the body. Using a 1/4″ flush router bit, the final trim was quick and easy because I built the pattern on a laser cut blank. I’ll make note here that going at a steady pace is more important than speeding through the pass on the router, hardwoods chip really easily.
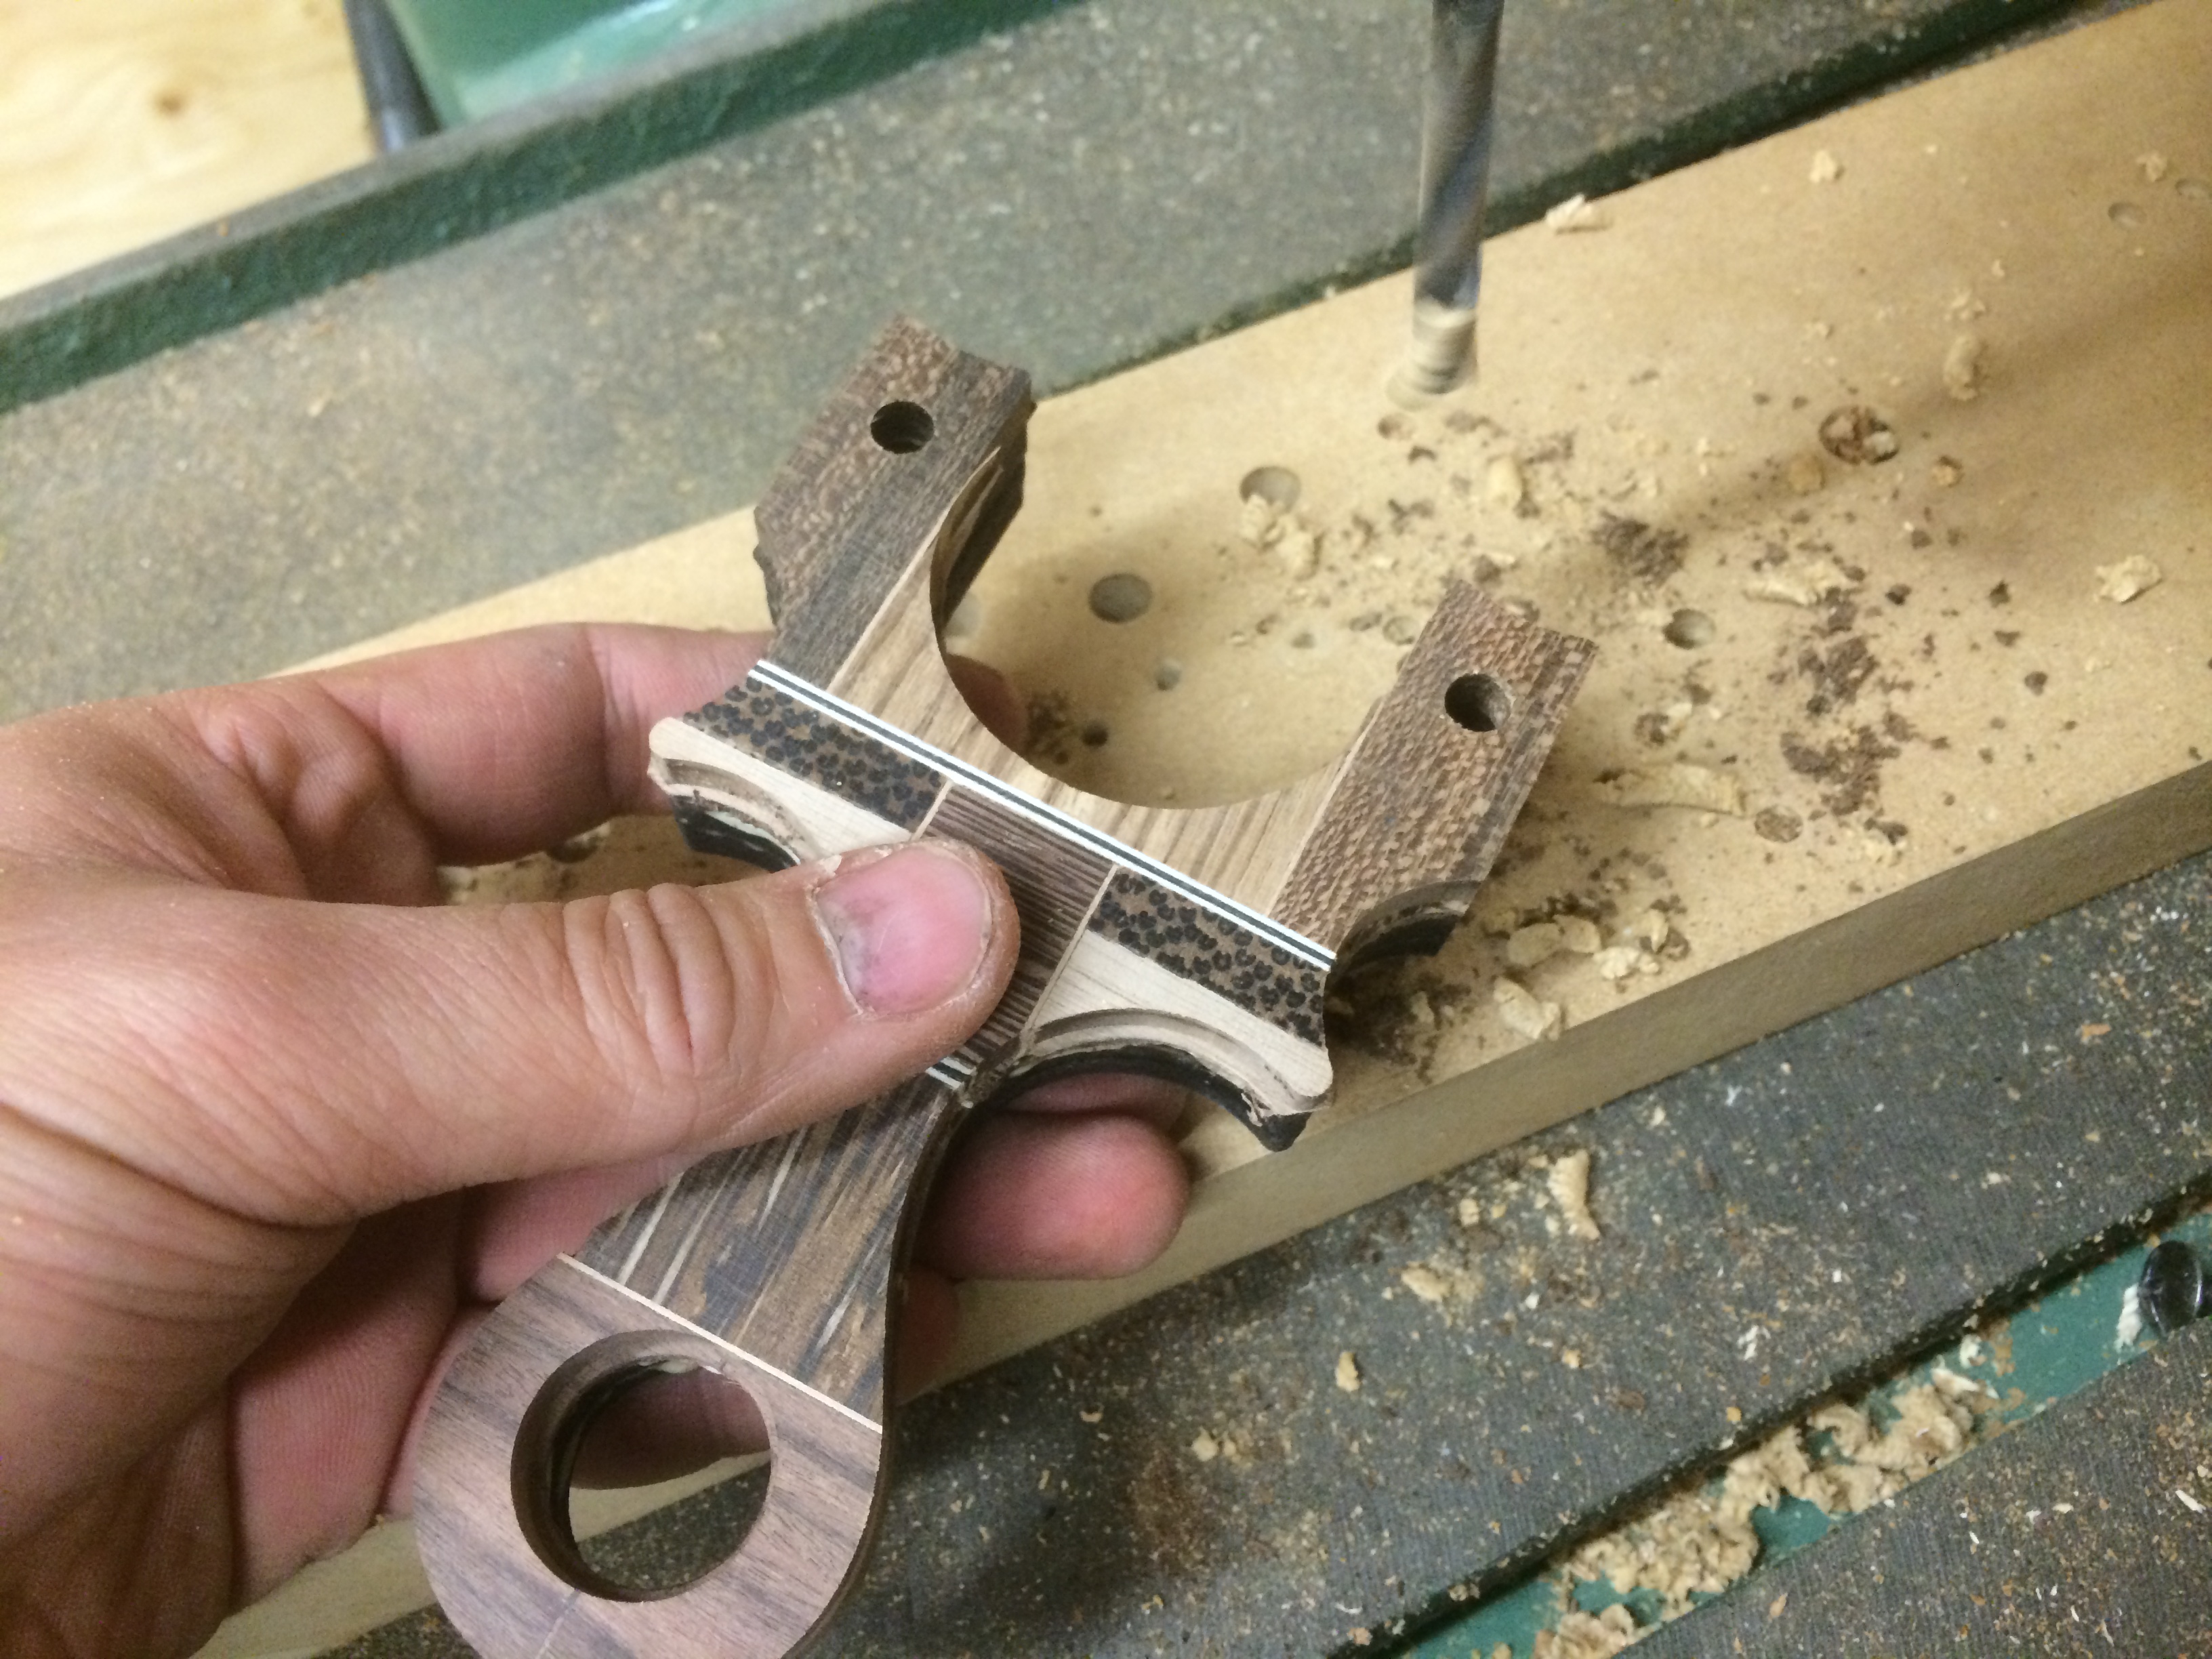
After laminating the cores to the new trimmed face, the hole for the tubes needed to be drilled. 3/4″ of existing hole as guide made locating the holes pretty easy.

Moving over to the spindle sander to clean up the laser marks on the sides of the Purple Heart, American Walnut and Black Walnut cores. The Zircote is already showing its amazing stepped grain.
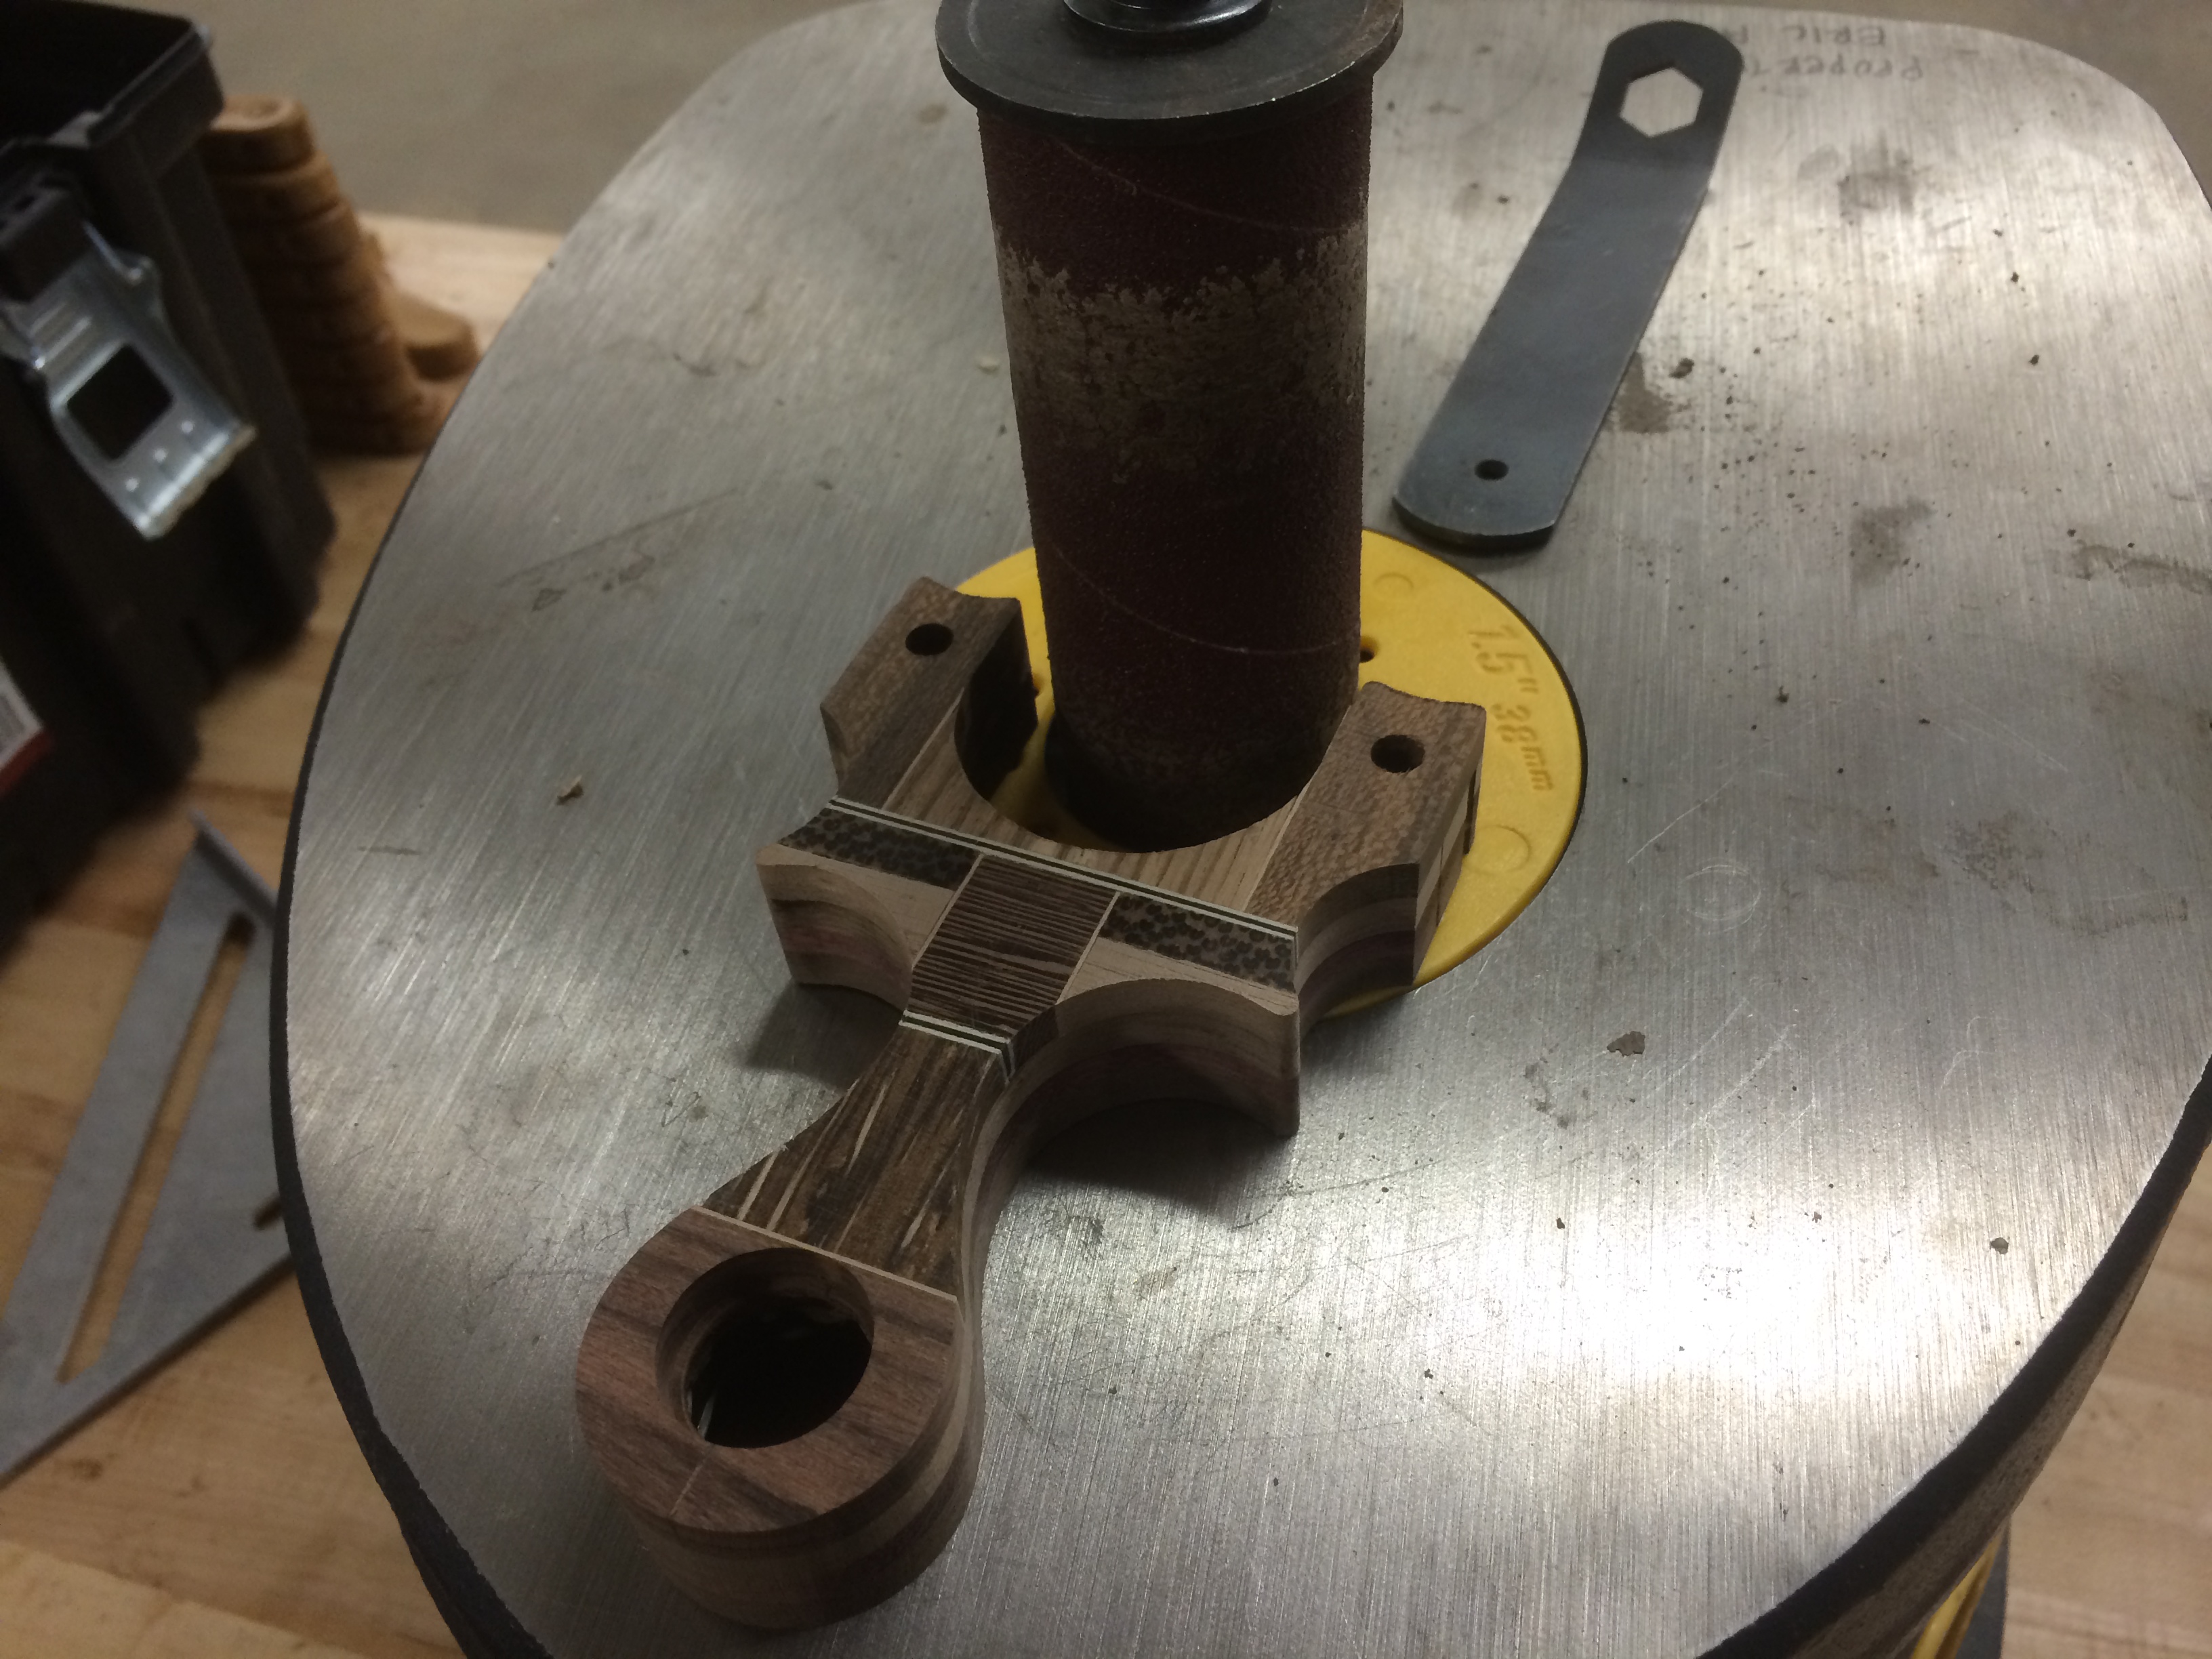
Switching bits to a 1/4″ round over, select edges were taken down, mainly the parts where the hand hits. The Black Palm is now showing its very unique, vascular bundle texture. The Pau Ferro (on the pinky hole) is also showing it’s wide, dark streaky grain. The other edges were knocked down with a 1/8″ round over bit but no photos were taken of that process.

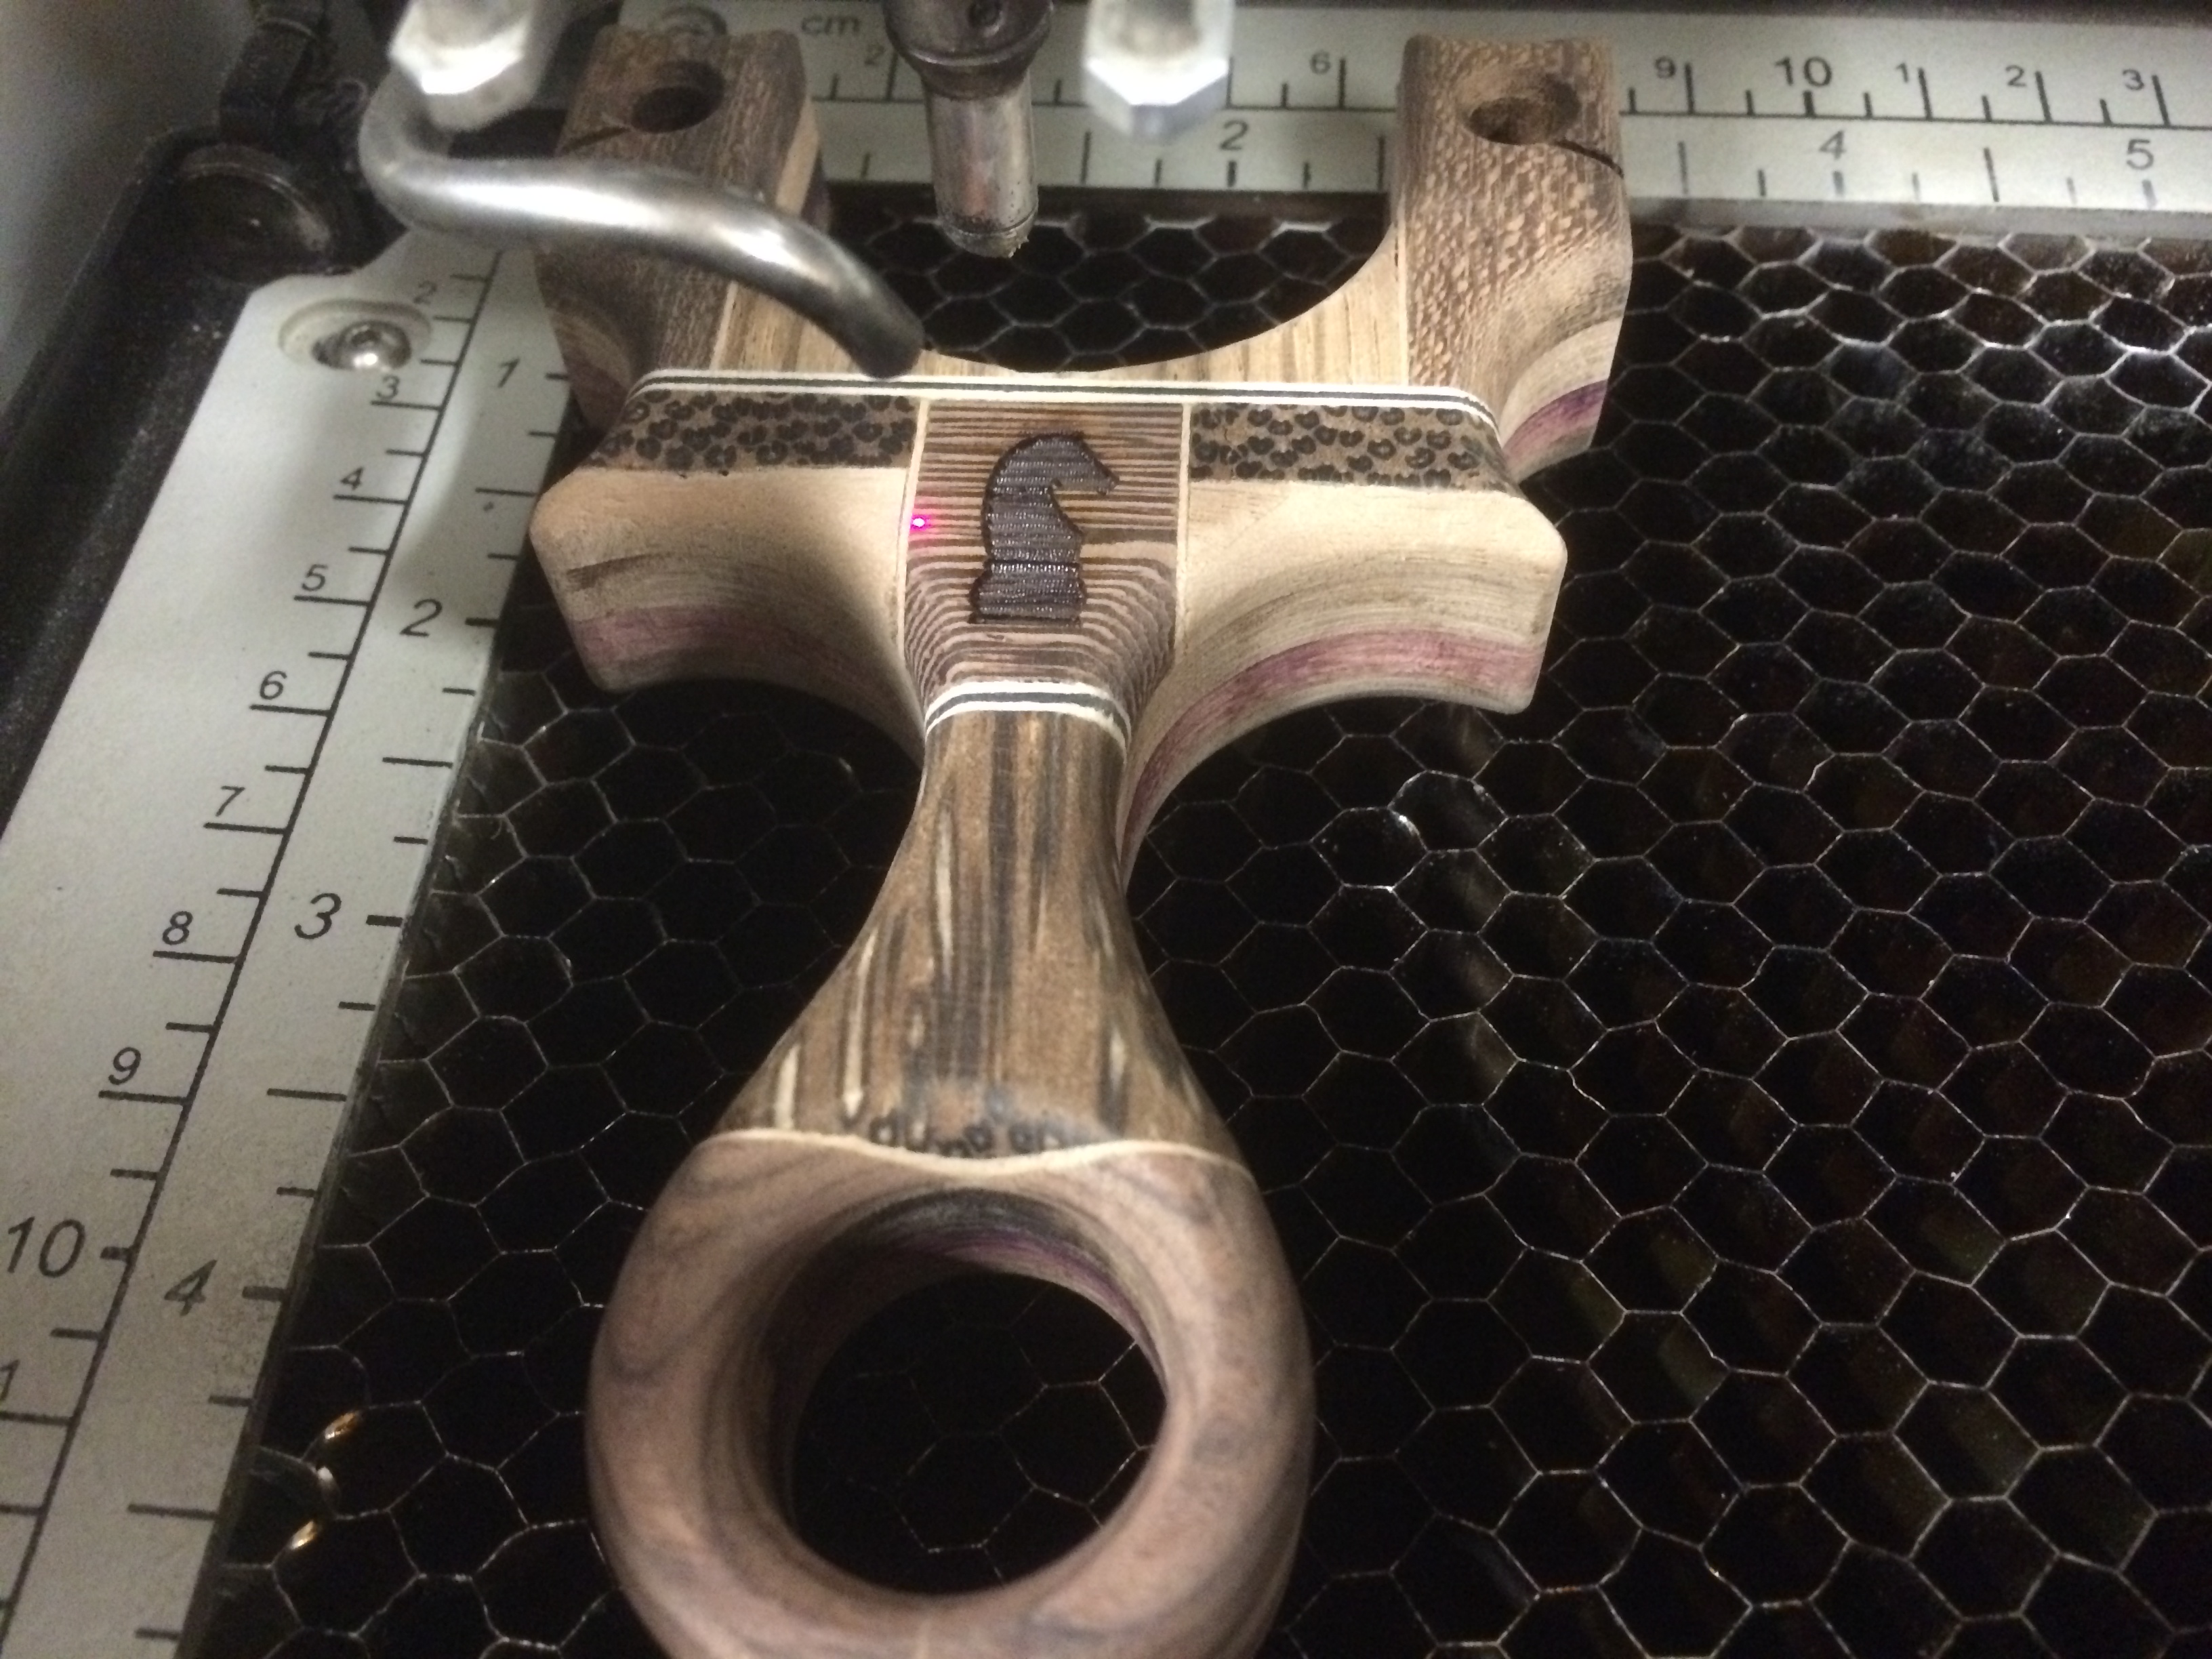
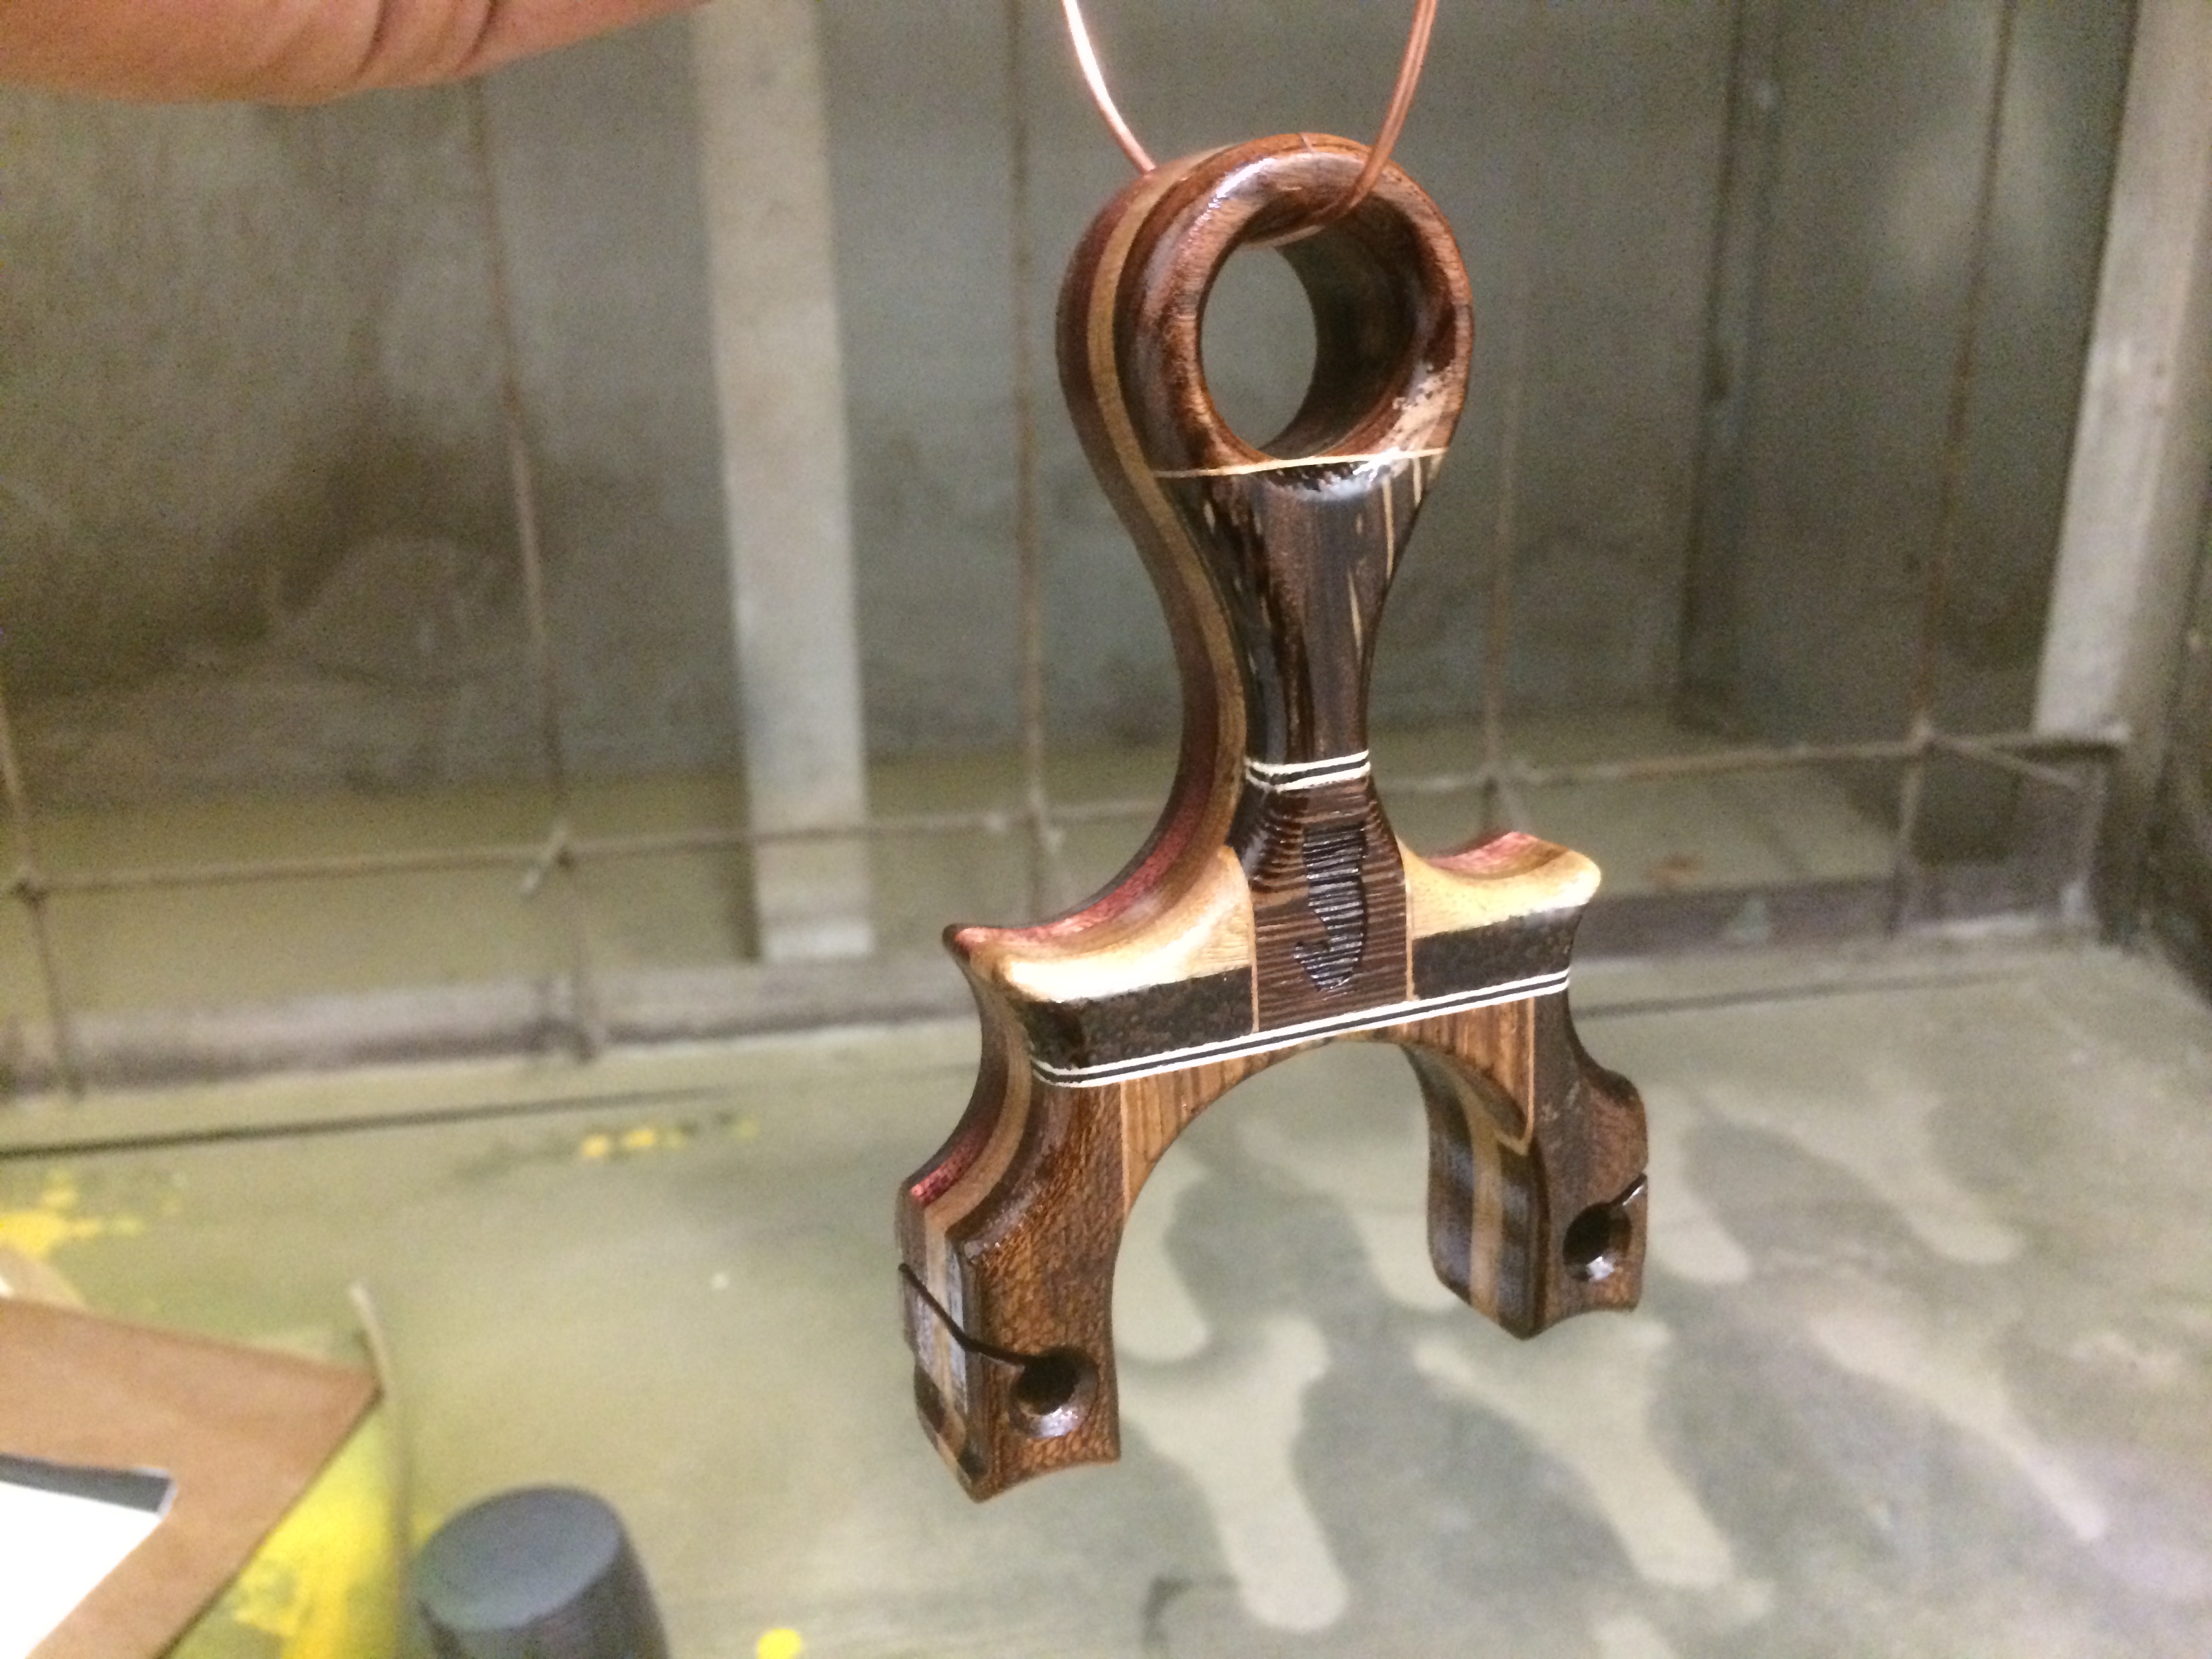
I wrote before that the Wenge was placed in the heart of the face for a reason. Wenge is exceptionally hard but it also has a differential density between the grains. This means each vein of wood will react differently to laser etching, aka heat. Knowing and understanding this material property, I scaled a knight chess piece vector to be etched into the Wenge. The etching gave a pleasing wavy texture to the graphic and the outcome was as expected, a textural difference between the wood’s sanded surface and the etching. This would be further enhanced when the polish is applied.
Despite taking precautions and a steady hand, there was still some chipping that occurred at the wood’s mating joints. Some ghetto wood filler, glue and saw dust, filled those gaps easily and blended back into the wood work.

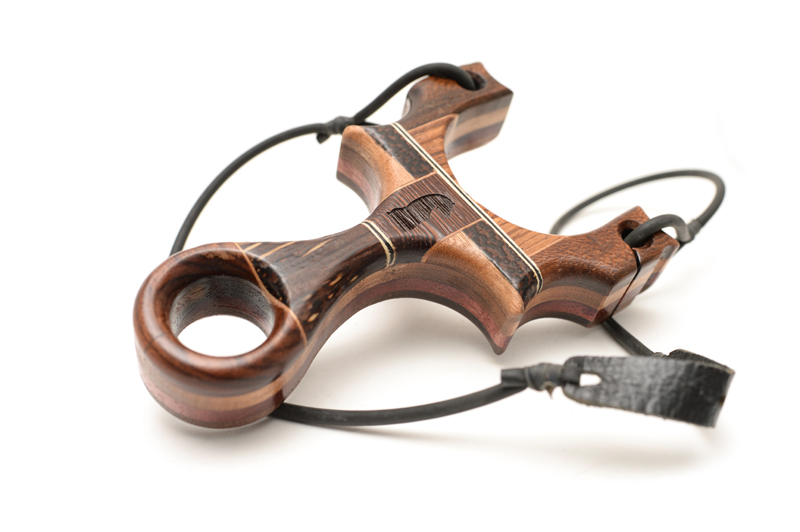
I took extra care in sanding and prepping the surface to accept the acrylic spray, going from 100 git foam blocks, to 240 grit nail files to 600 grit paper all the way to 1000 grit strips. Then it was off to paint, 4 coats of spray with a light buffing in between to smooth out the overspray marks. If you look closely, you can see the laser etching detail is much more clear once the clear coat hit it, the ridges of the etch, surrounded by the smooth surface.

45 minutes later, the coating is now ready for a polish using my super secret sauce, the nail buffer. A 4 step foam block backed with progressive grits, close to 10,000 grit in roughness rating.

A couple of minutes of buffing and its off to the photoshop!


Thanks for reading!
Had enough? Want to buy this slingshot? Get it here: Dark Horse Capuchin Slingshot
-Eric
—
Follow Metro Grade on Twitter @MetroGradeGoods
Find us on Facebook facebook.com/metrogradegoods