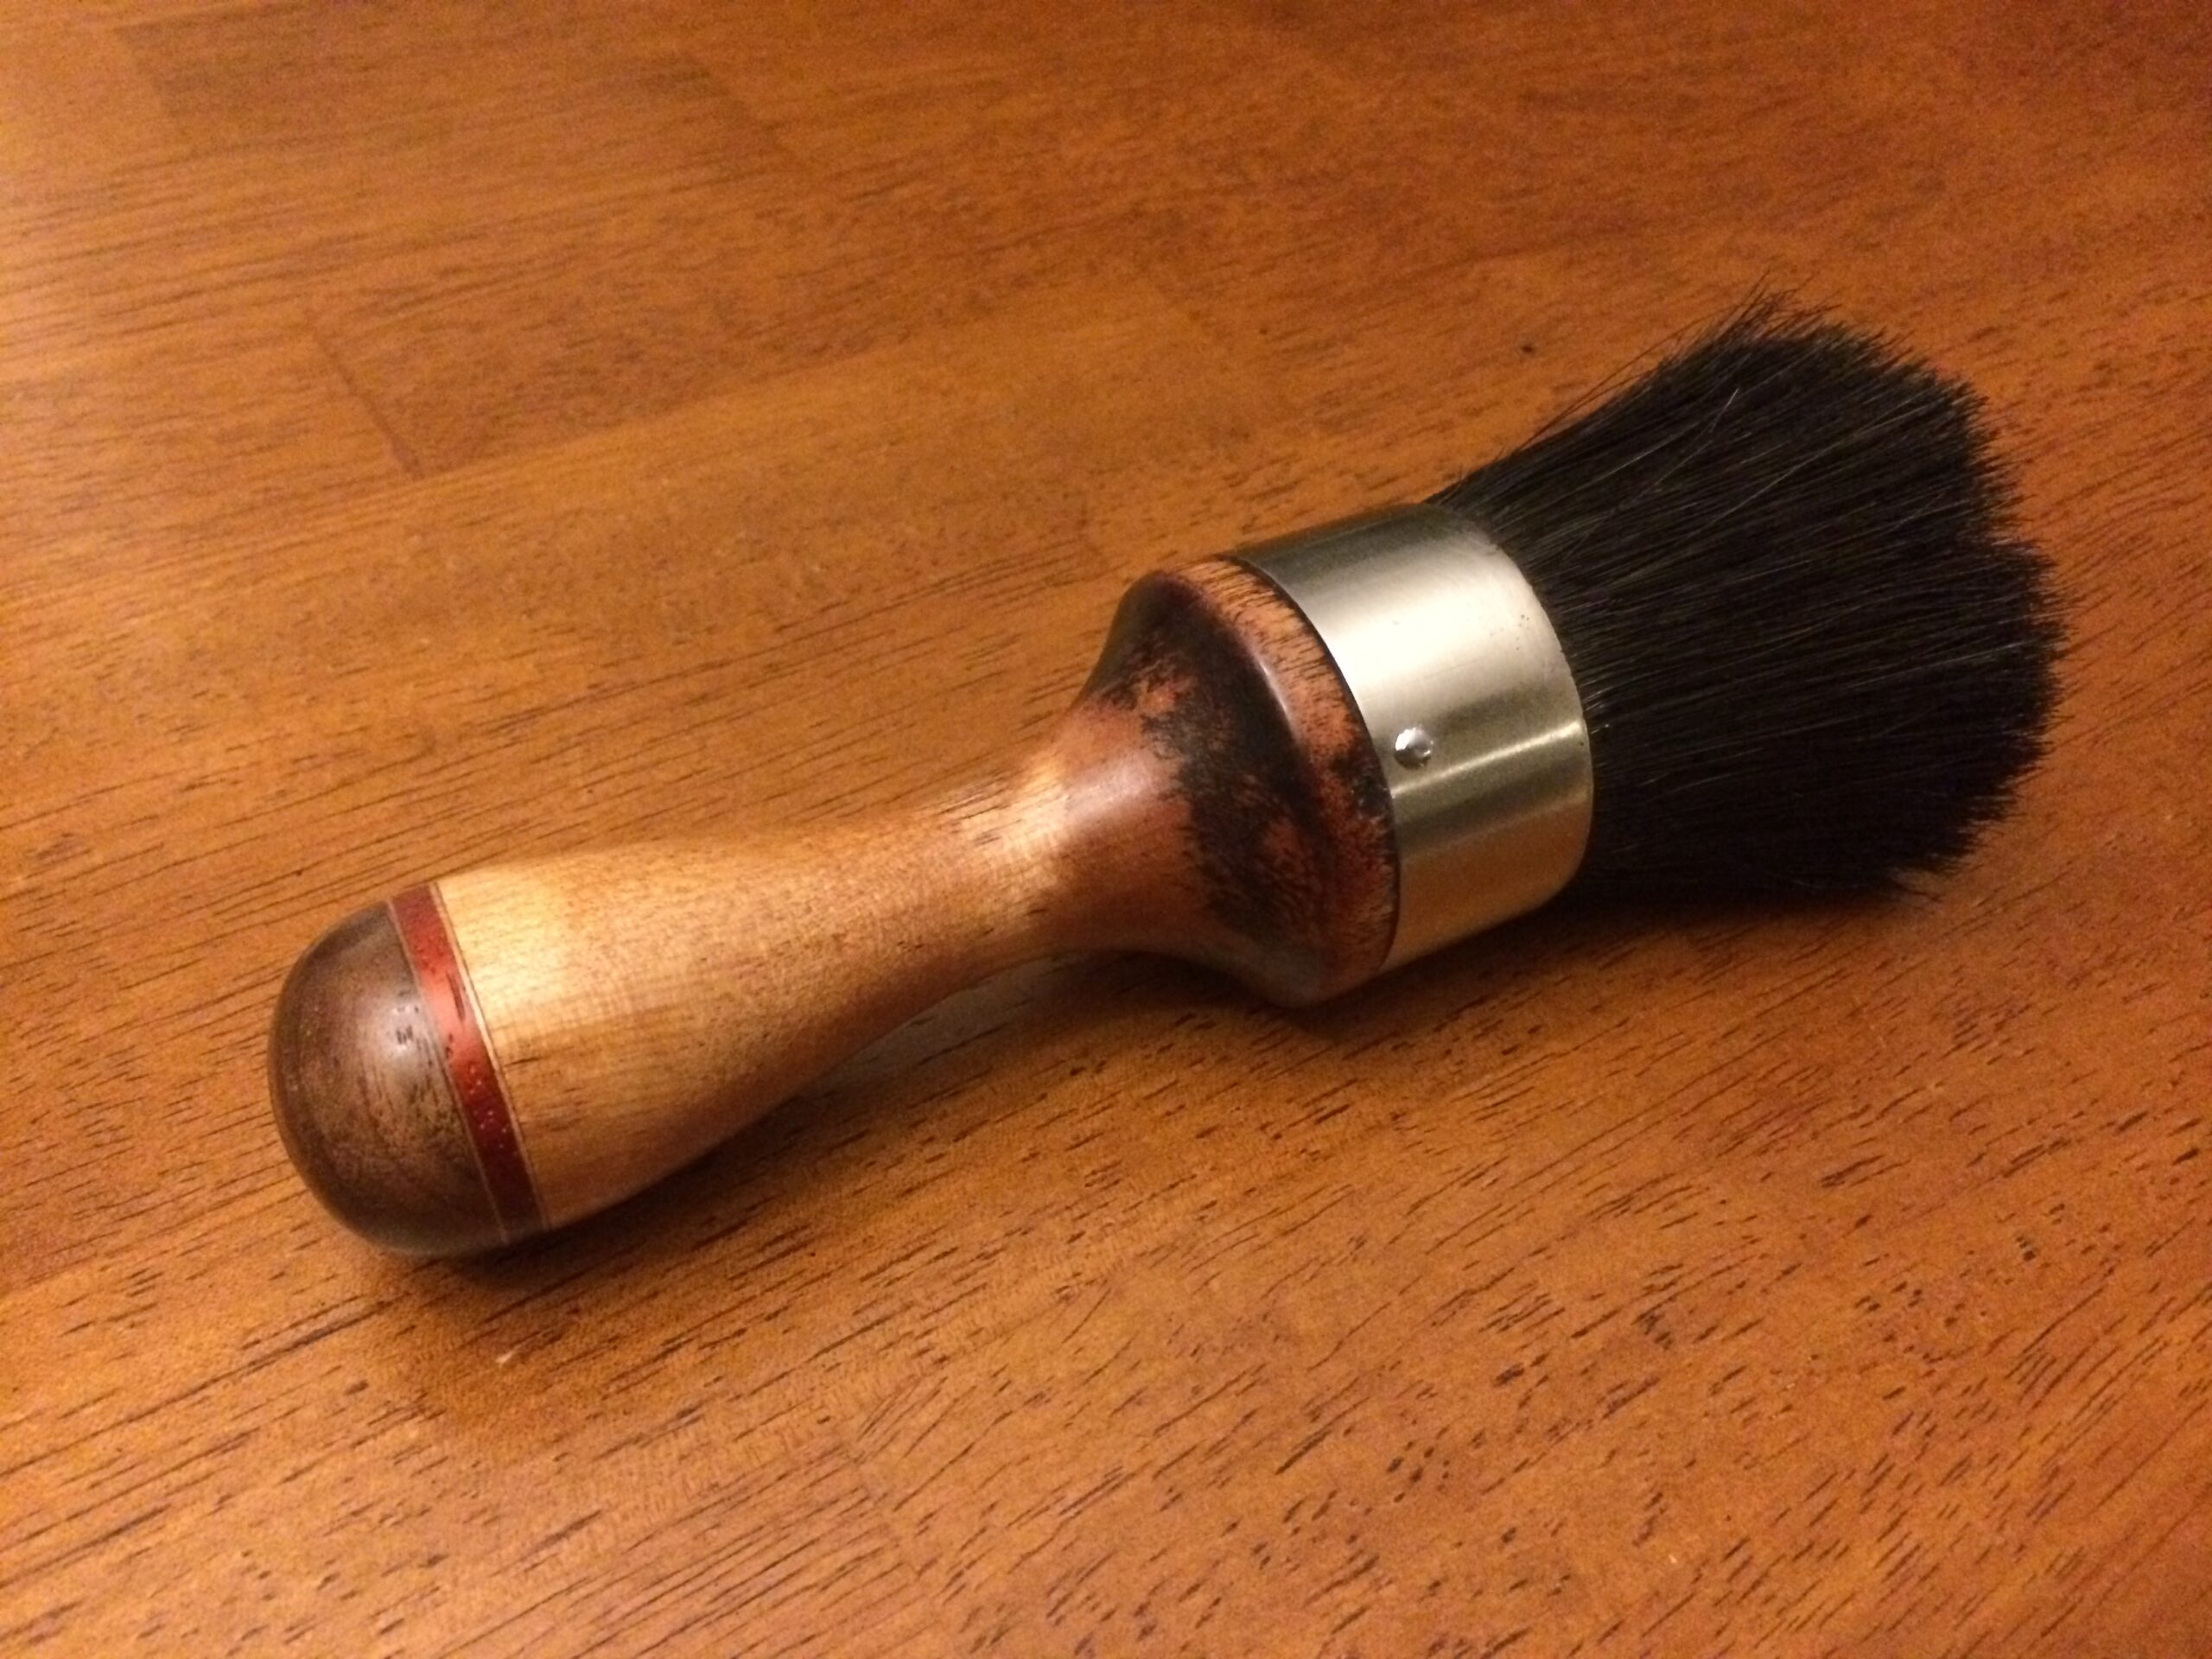
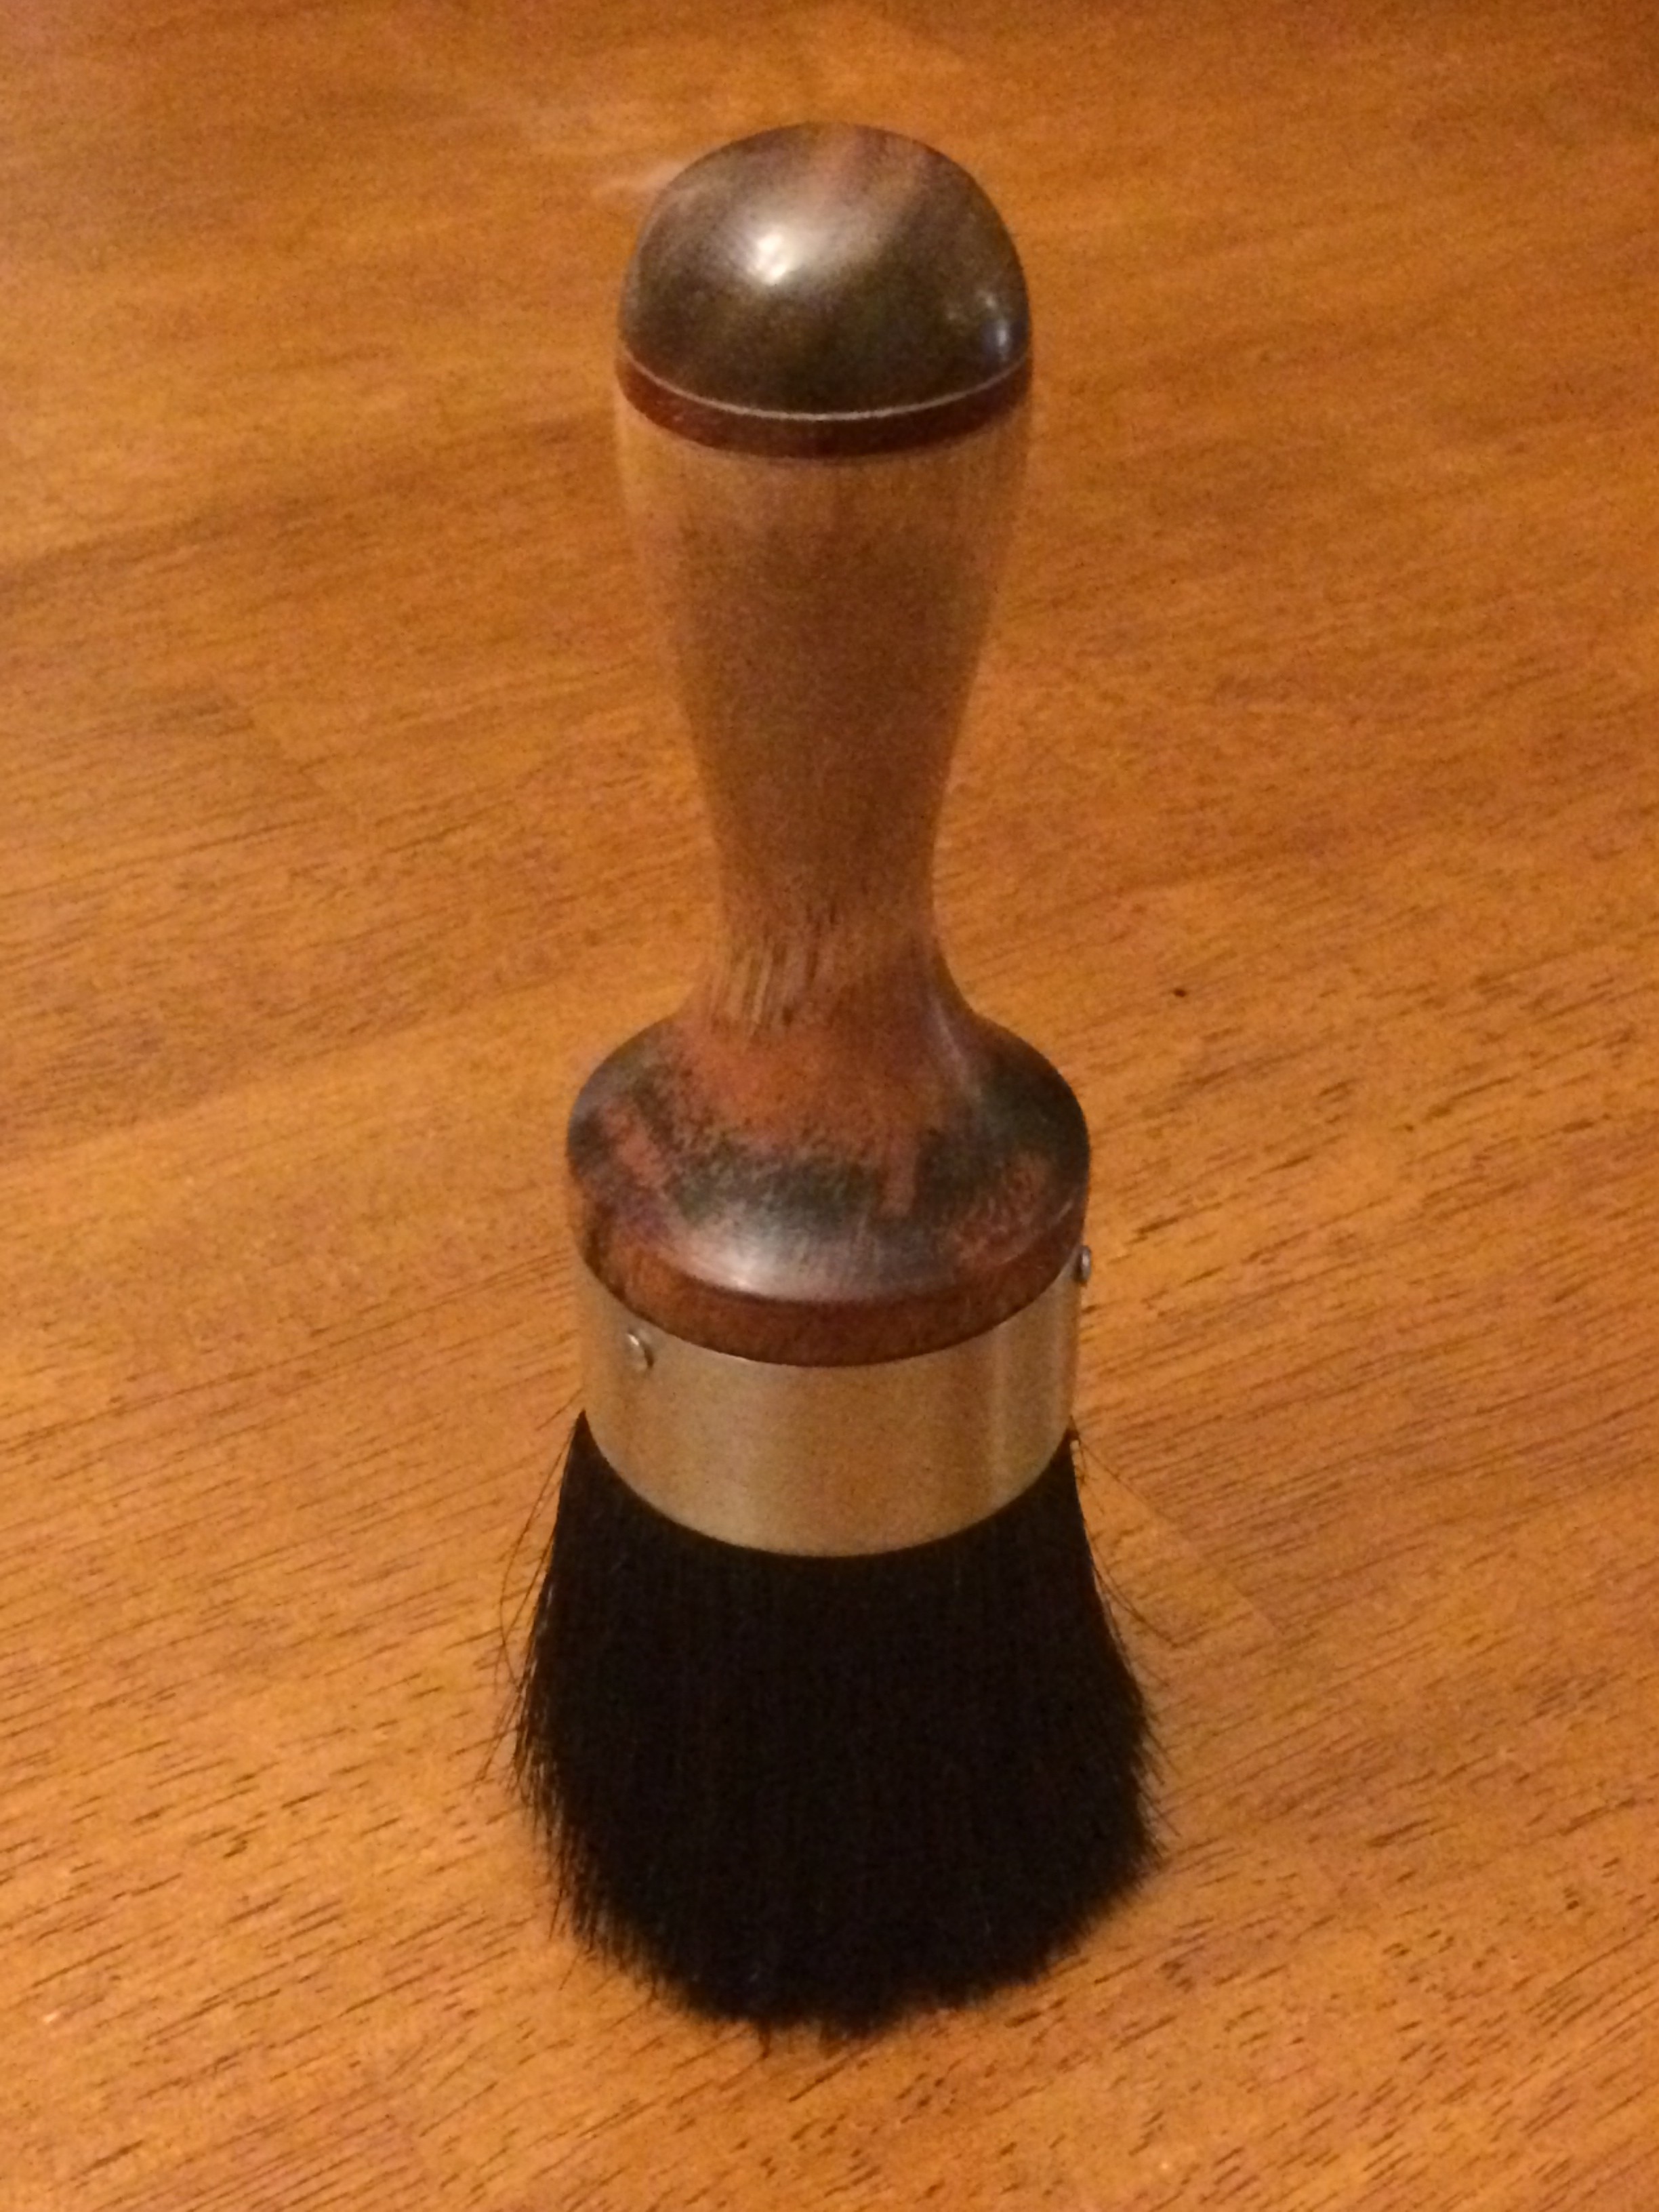
safe online pharmacy to buy Clomiphene Our last Metro Retro Made featured the restoration of a unique, stubby handled brush. In the same purchase, I also found a nice looking spokeshave. Spoke shaves work a lot like hand planes, but instead of pushing the blade forward, the blade is drawn towards you. This allows for very light, precise curls on cylindrical or organic shaped stock.
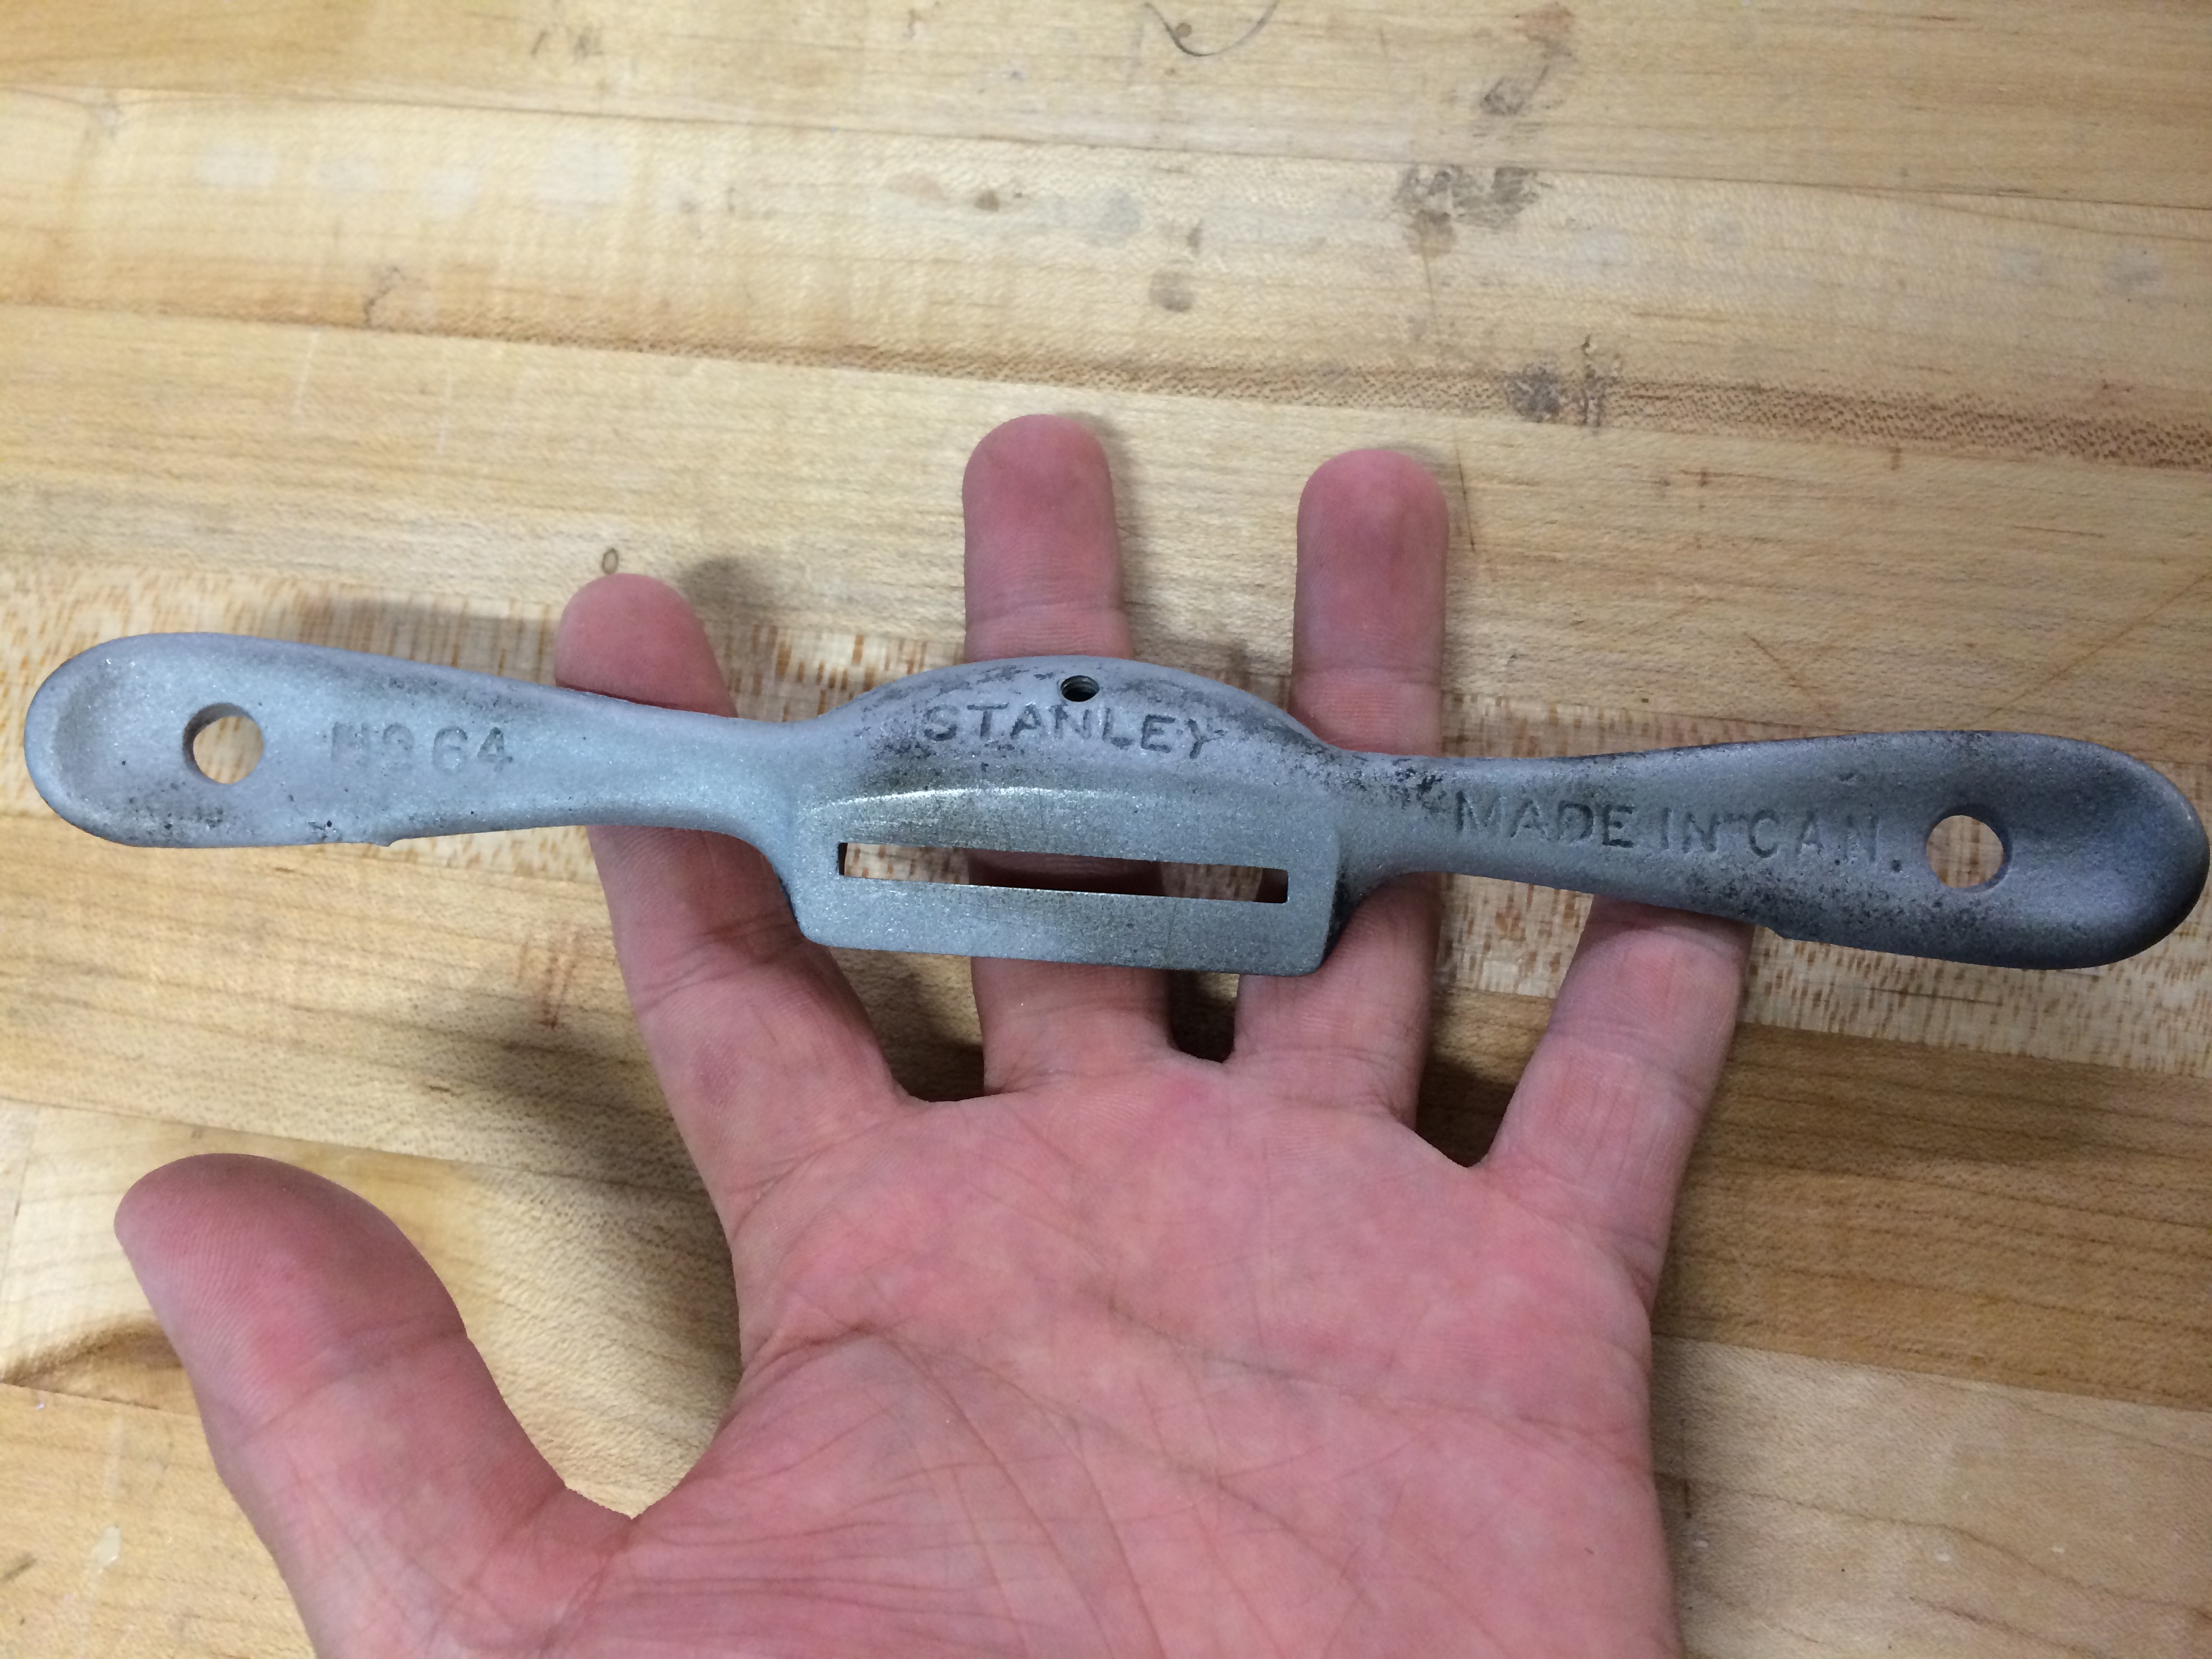
This spokeshave looked like it had been used for a period of time but was stored in some pretty rusty bins for a while. I almost thought it was made from steel there was so much rusty dust on it. The old epoxy paint was hiding some stamping and frankly, I knew nothing about it.
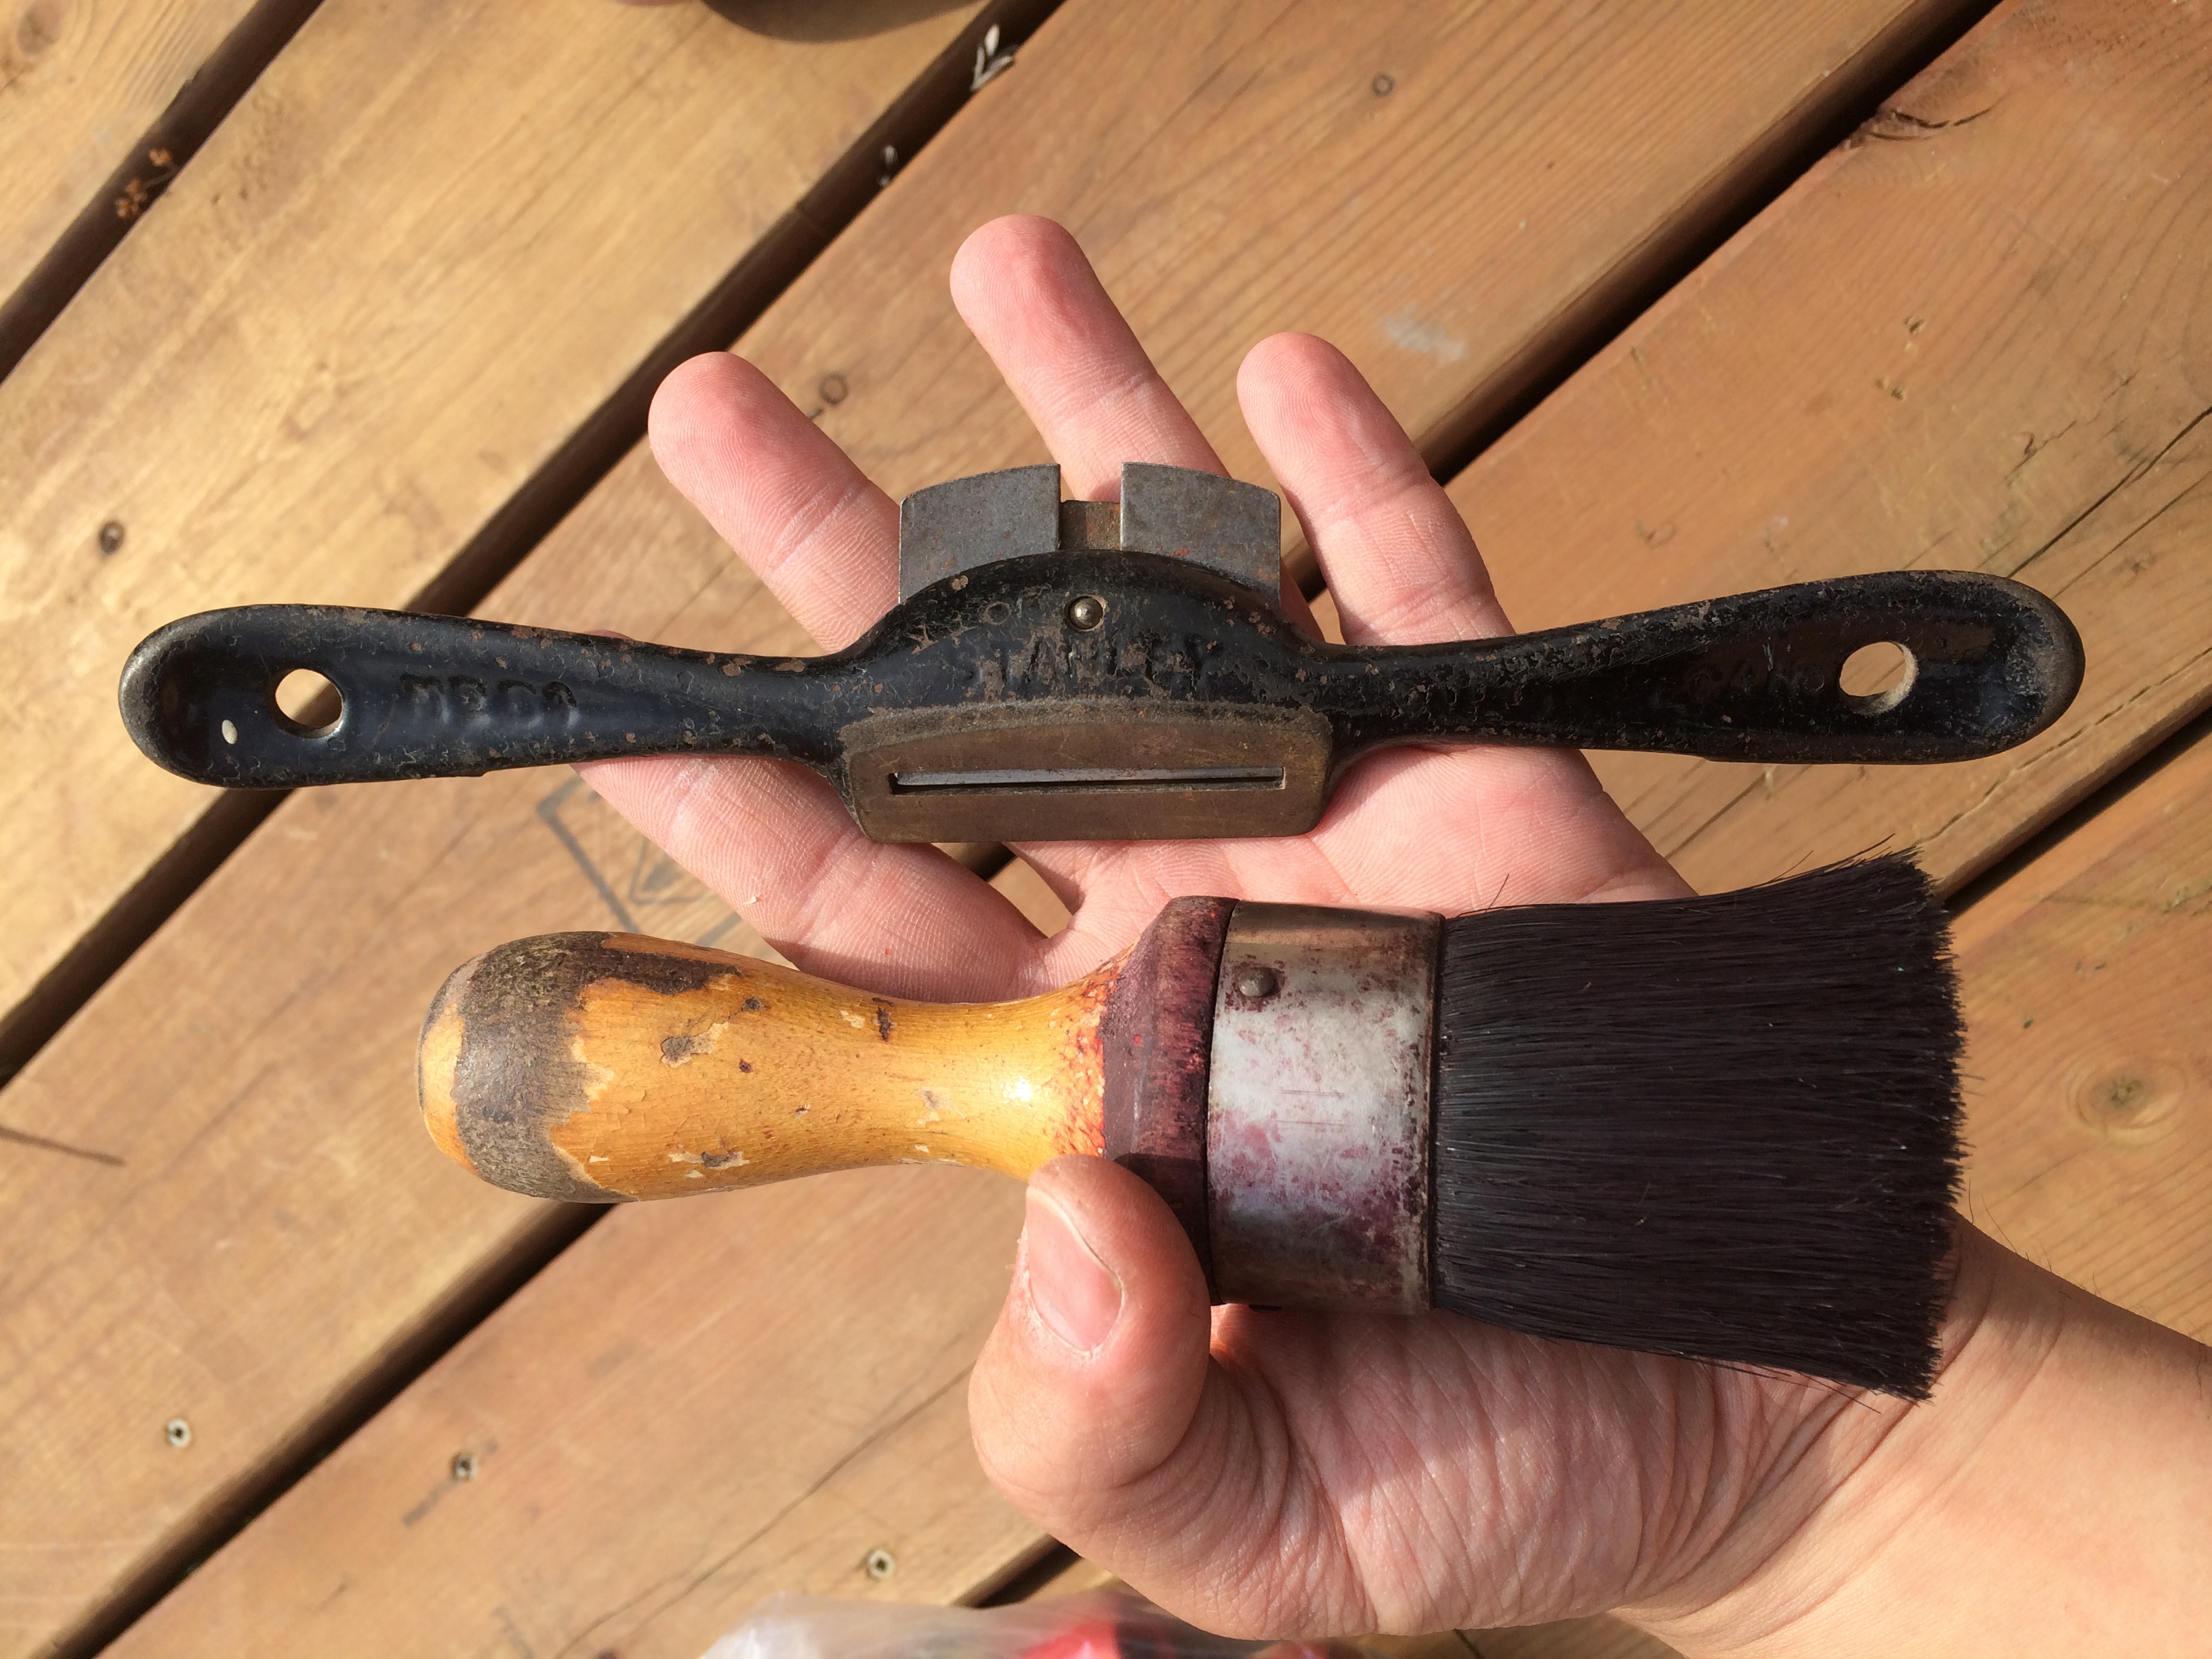
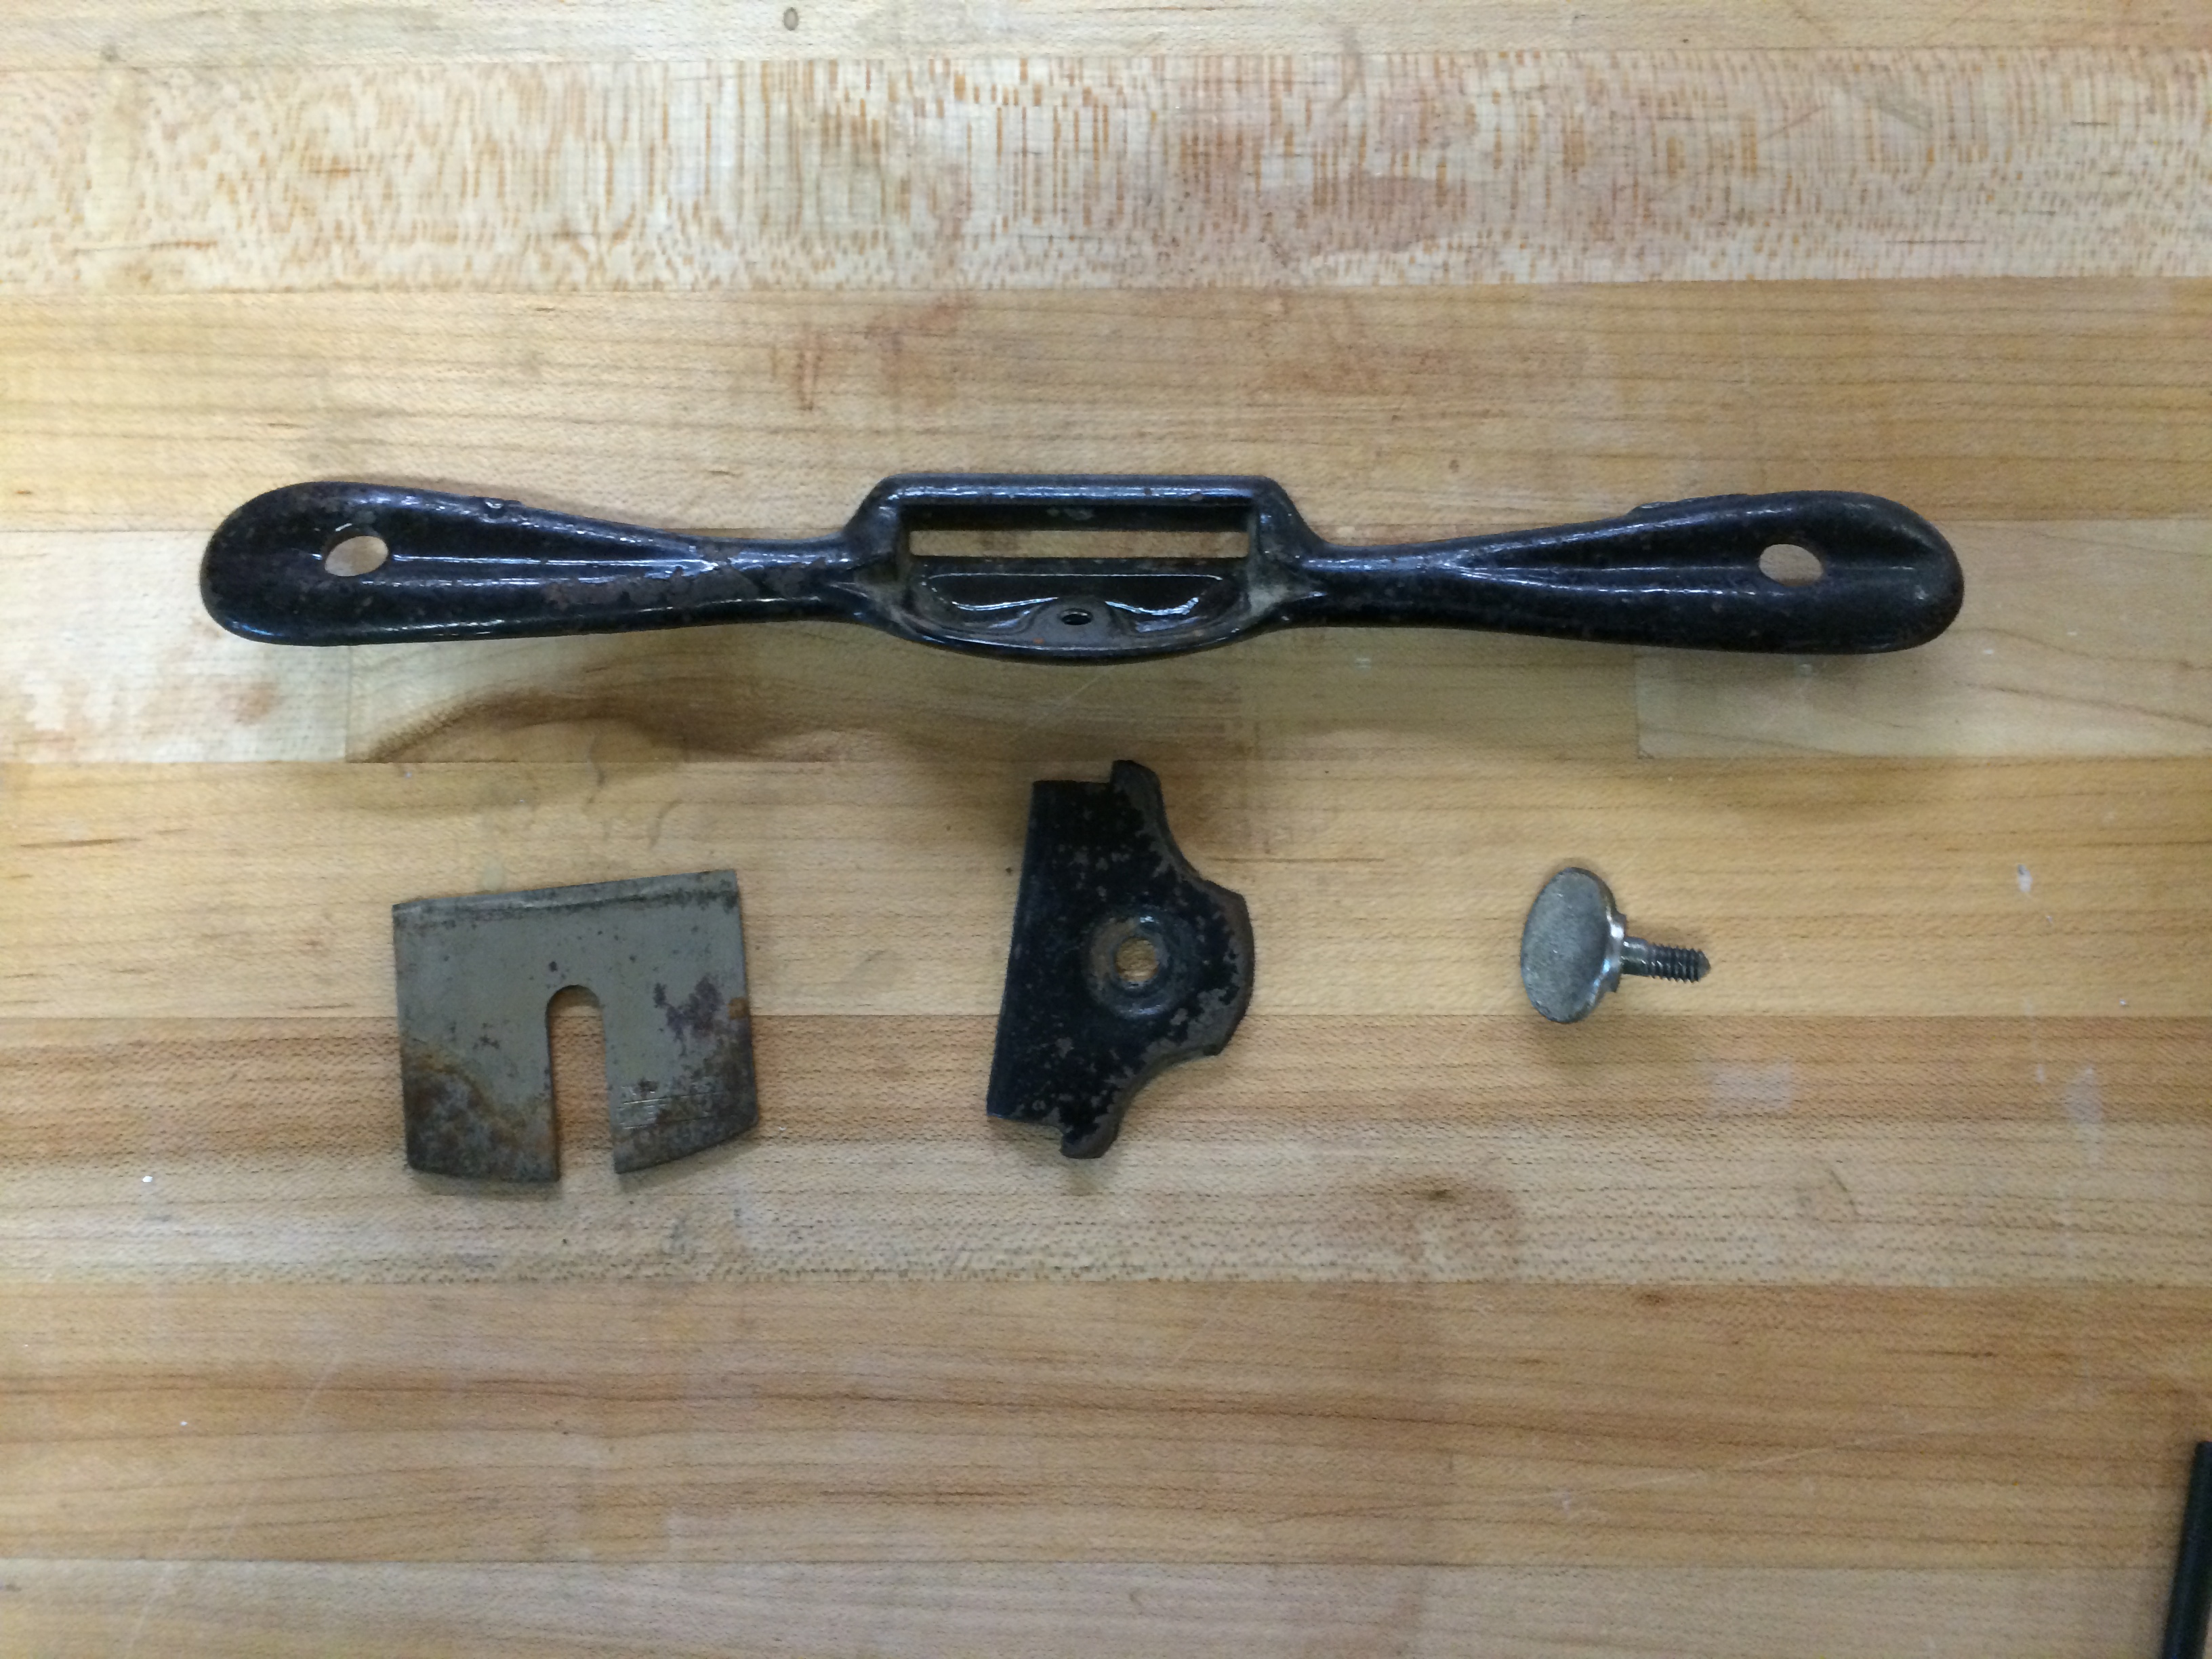
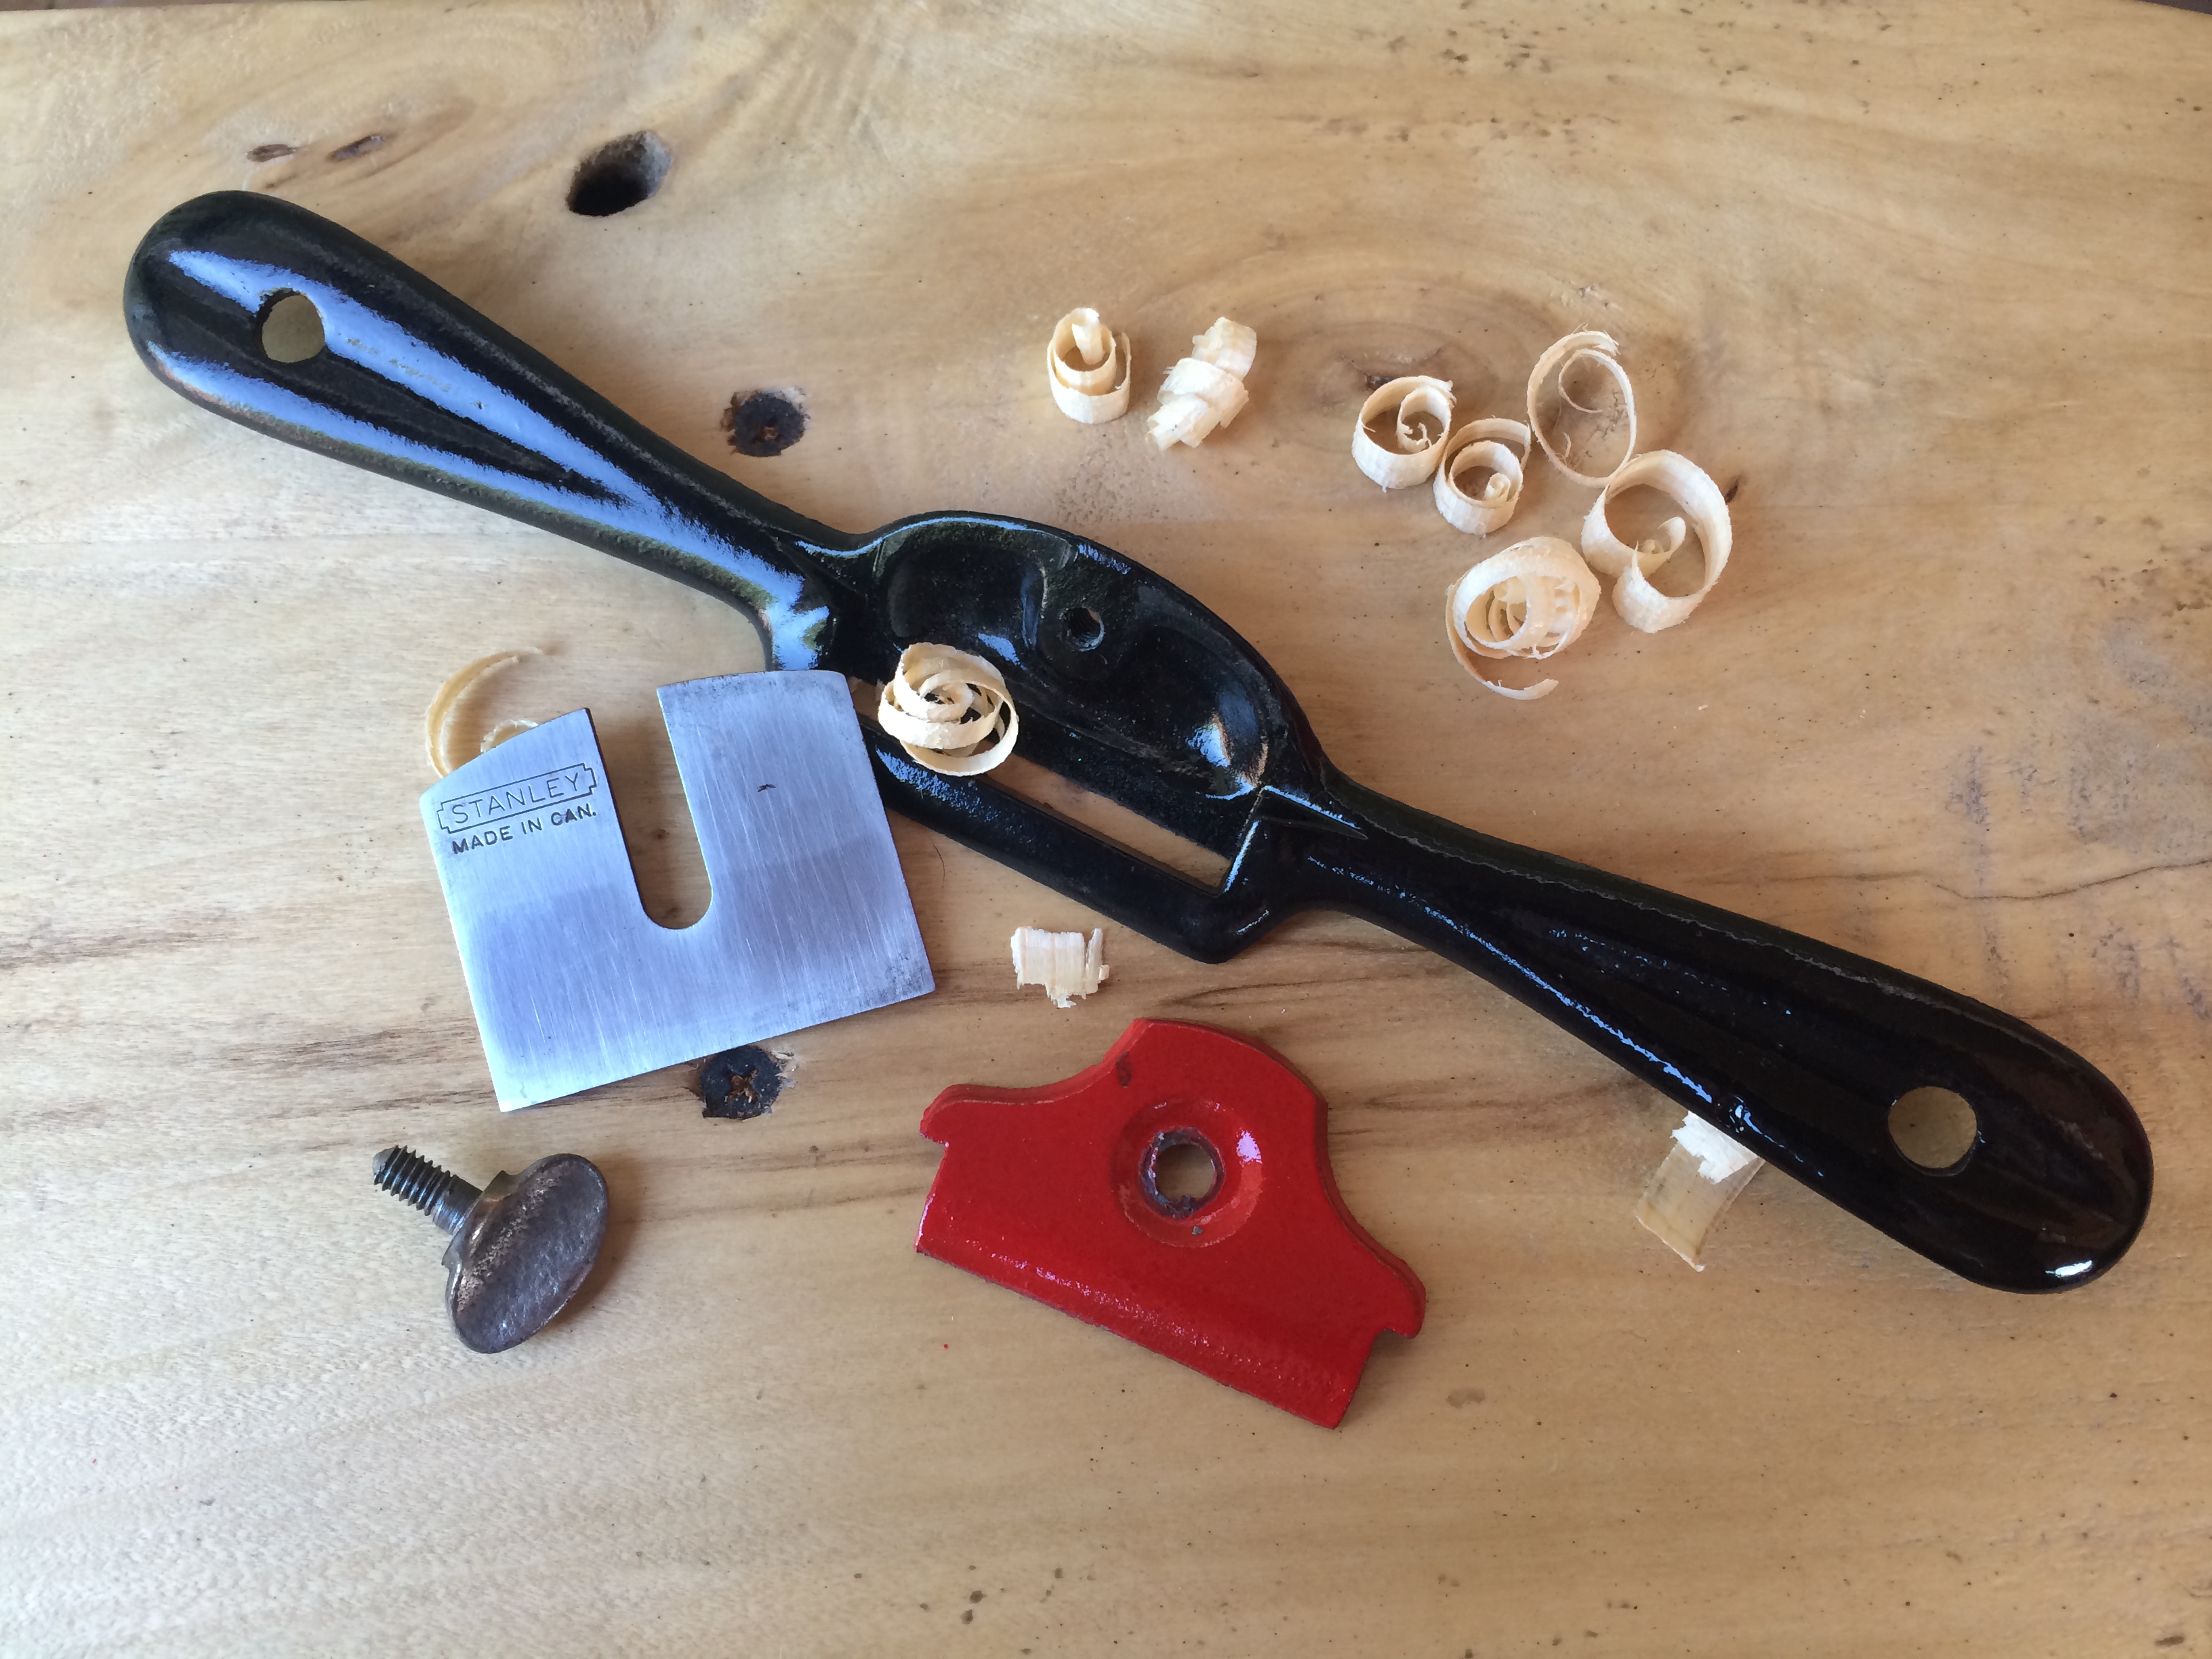
First things first, time to dissect the patient. The part count for this guy is low, which is good, less things to fail. You can see the old epoxy paint is quite thick and chipped in areas. The blade is also pitted and rusted. The only thing in good shape is the thumb screw.
Sticking the chassis and the blade cover into the blasting cabinet, I hit the whole thing with glass media to clear the surface of rust and the old epoxy paint. The body was actually in super good shape, no dings or massive gouges.
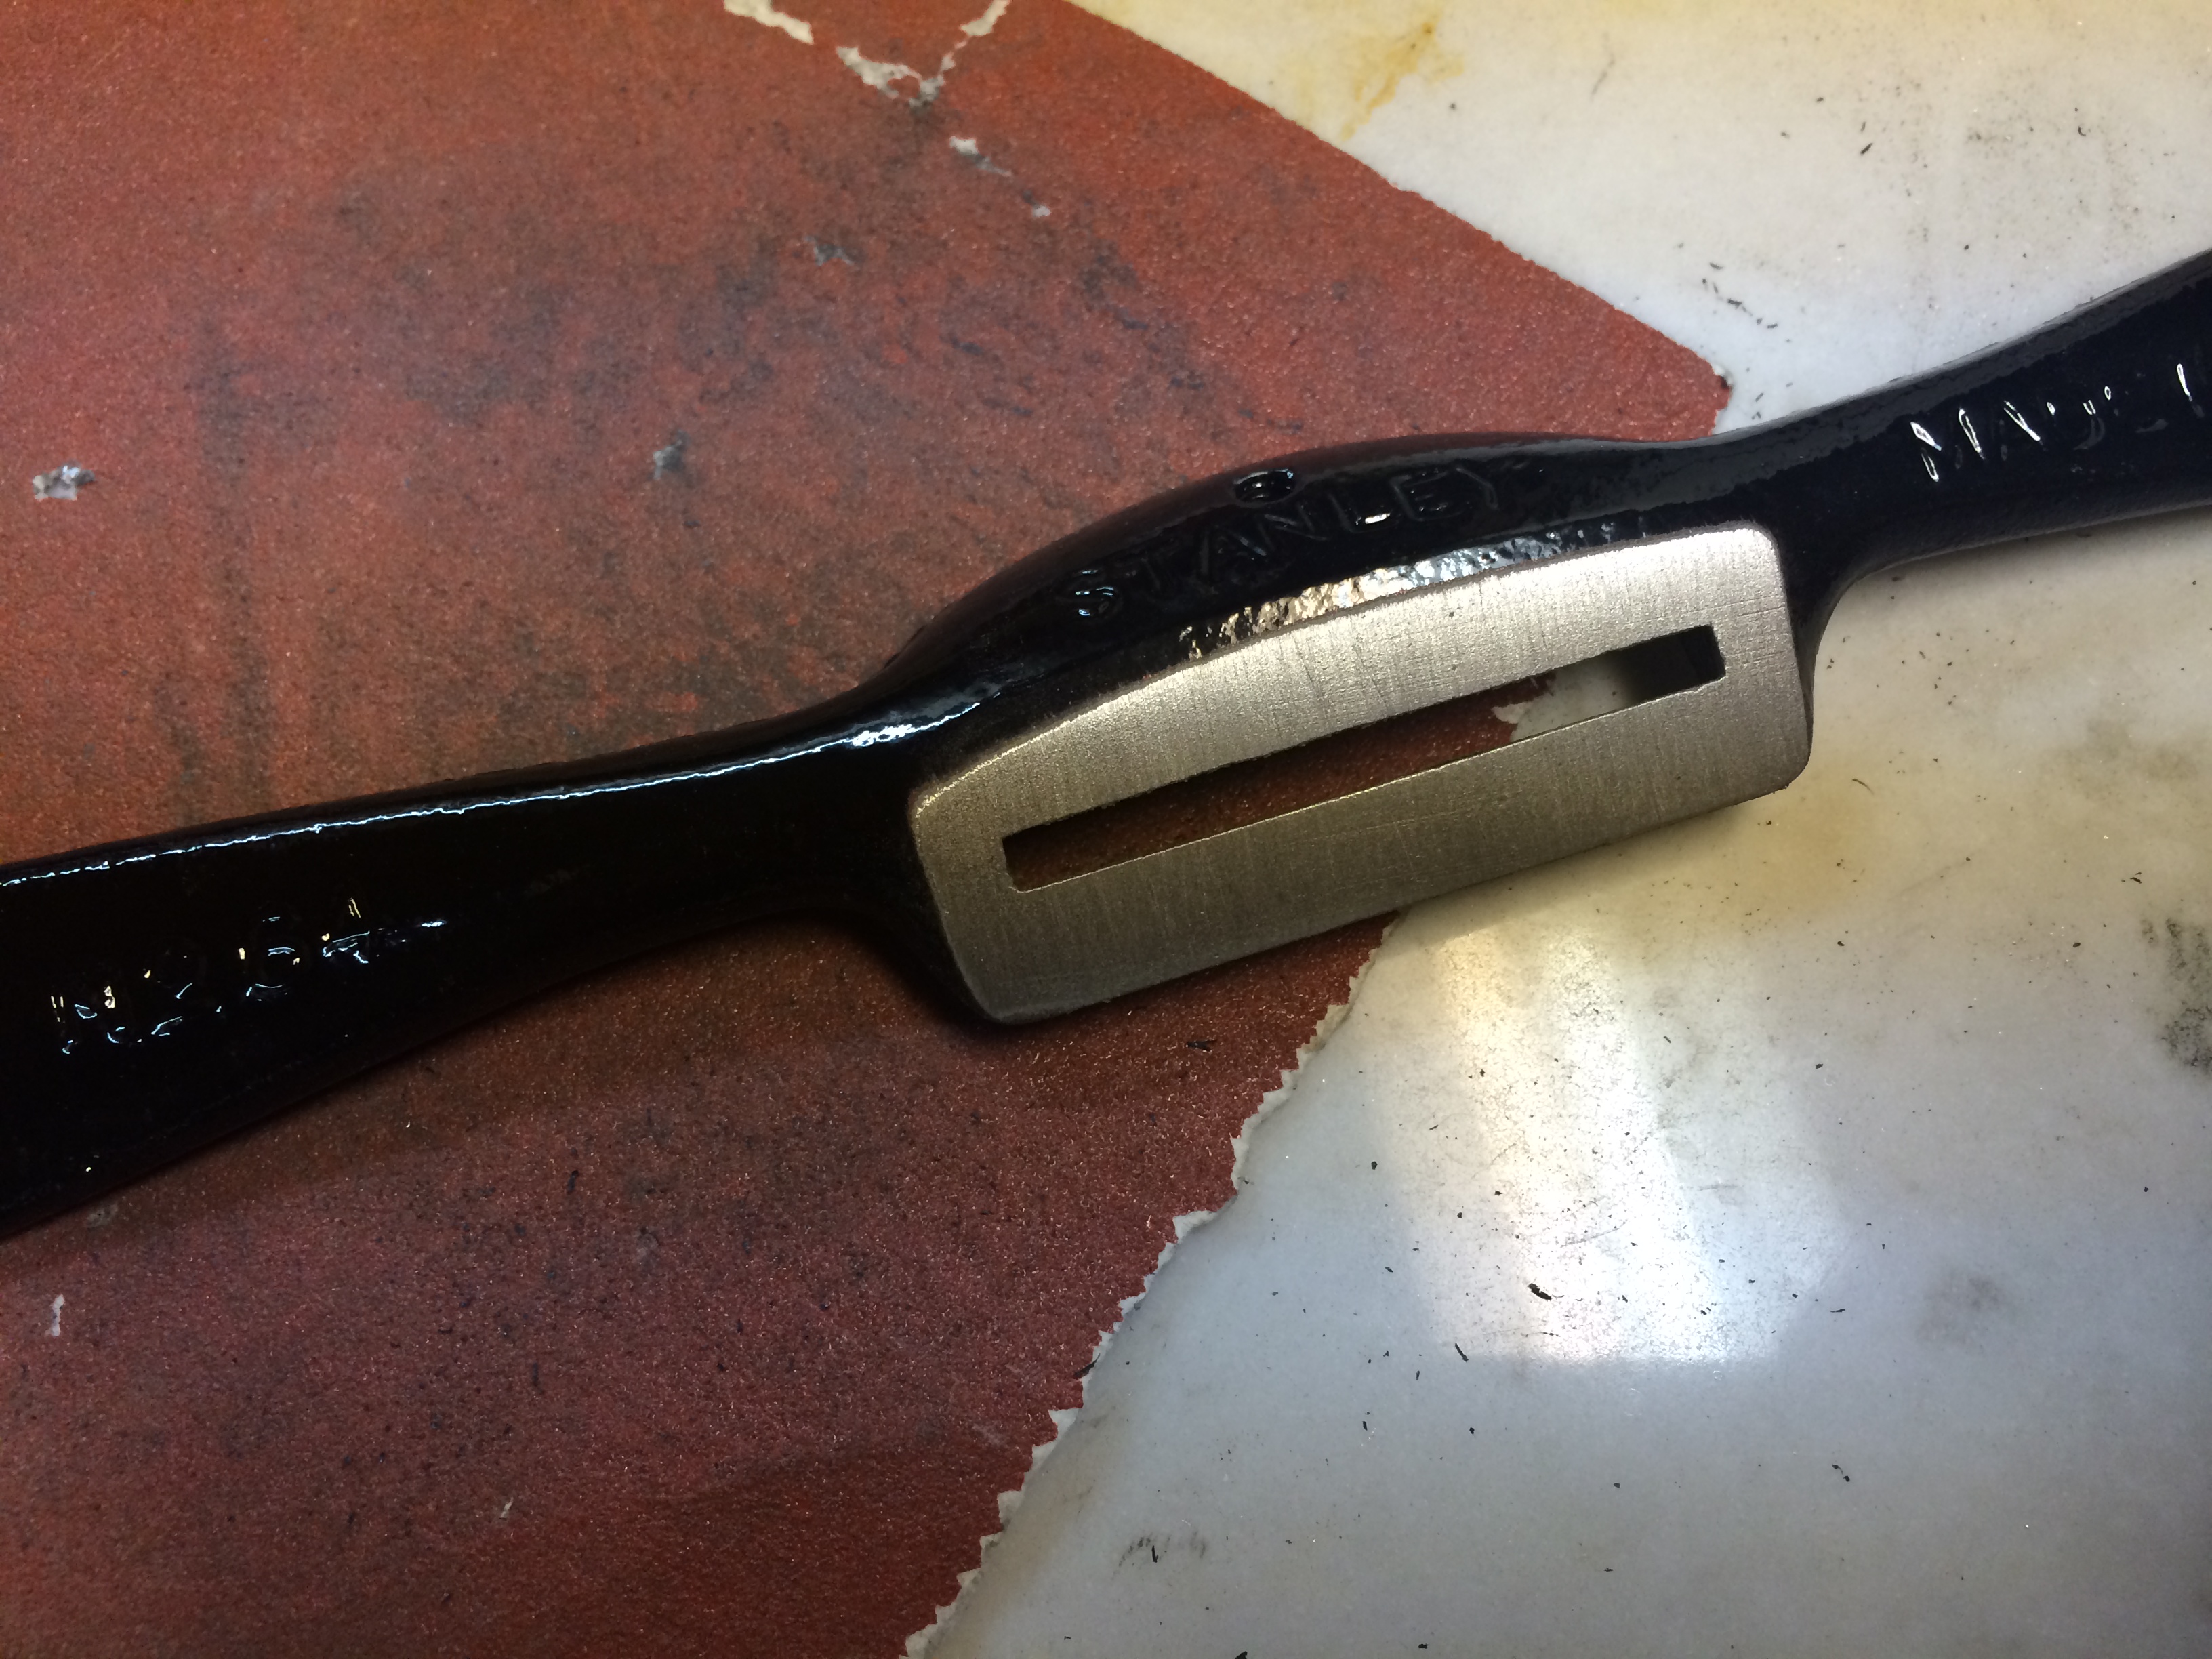
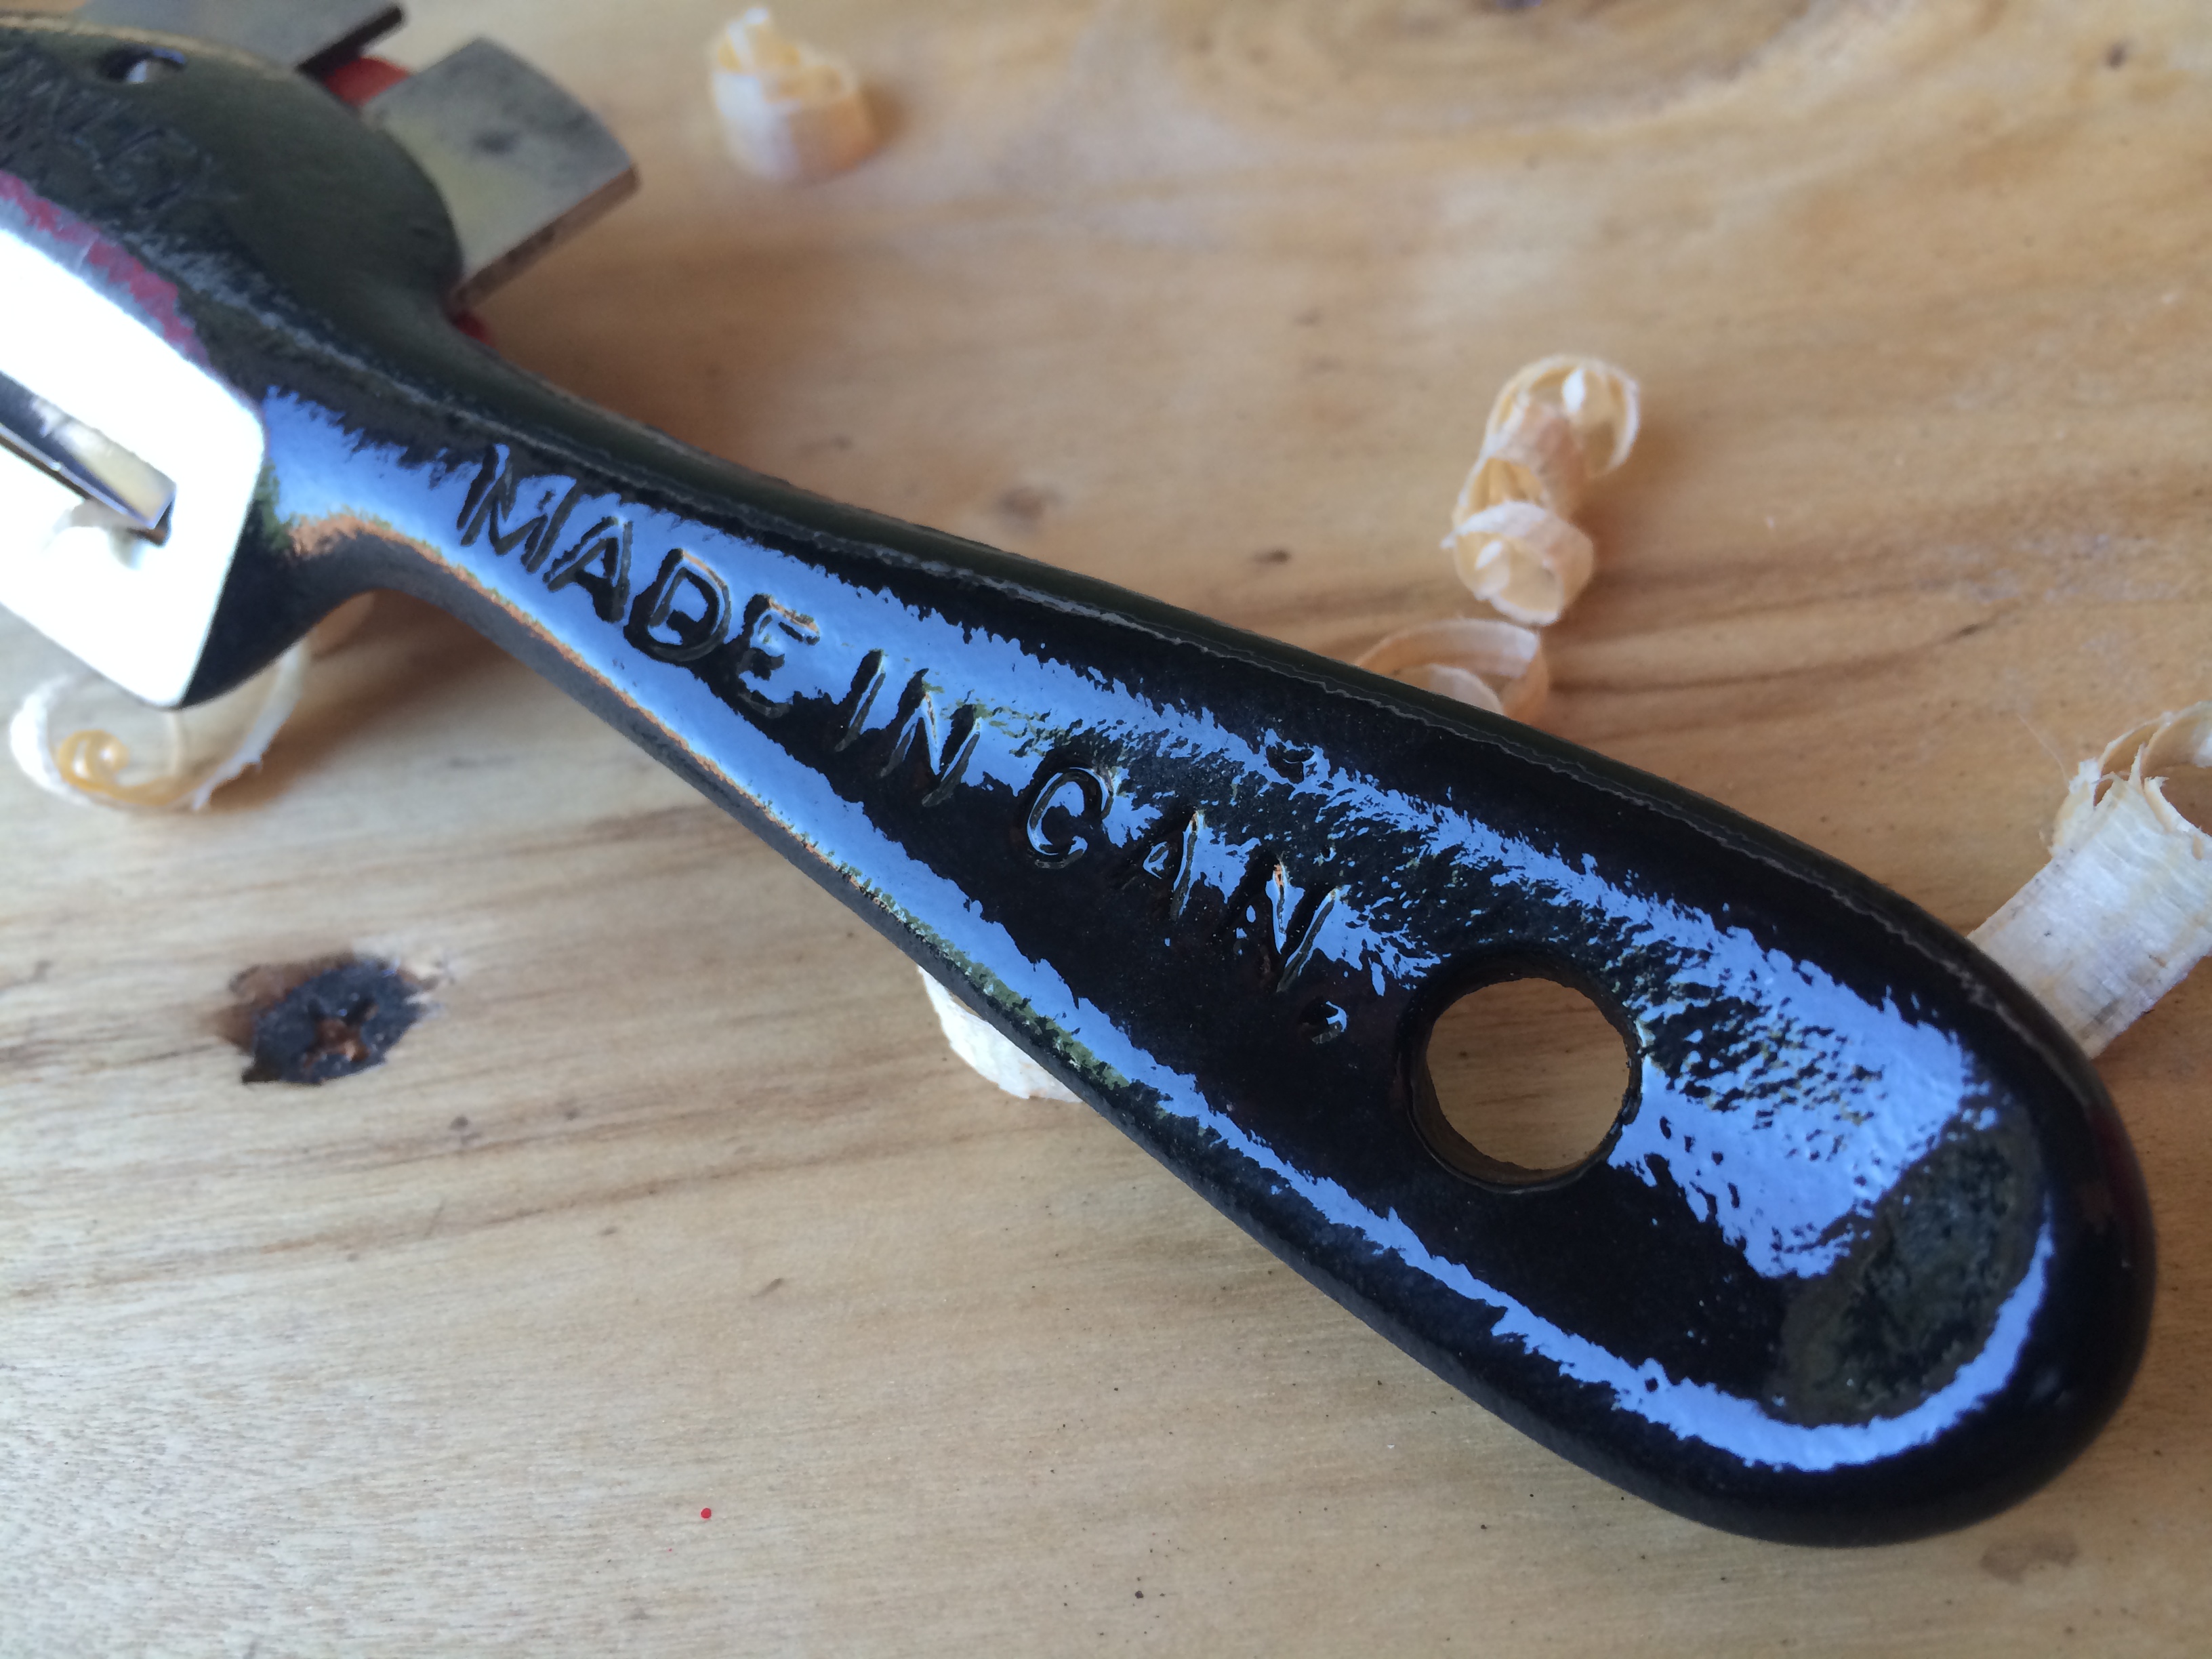
It was at this point I found out this is actually a Canadian made No. 64 Stanley. A little research told me that this is identical to the ones made in the USA and the UK, there must of been three moulds made and three factories. There was a little flashing on the handles from the casting. When I first picked this guy up, I thought it was steel because all of the rust, in reality this is likely a magnesium aluminum alloy, a very common casting material in the 1920-60’s. A couple of draws with a fine file smooths out the flashing.
After shooting two coats of self etching primer, the surface was prepped for some black, gloss appliance epoxy paint. The epoxy paint will be super durable and it’s period correct.
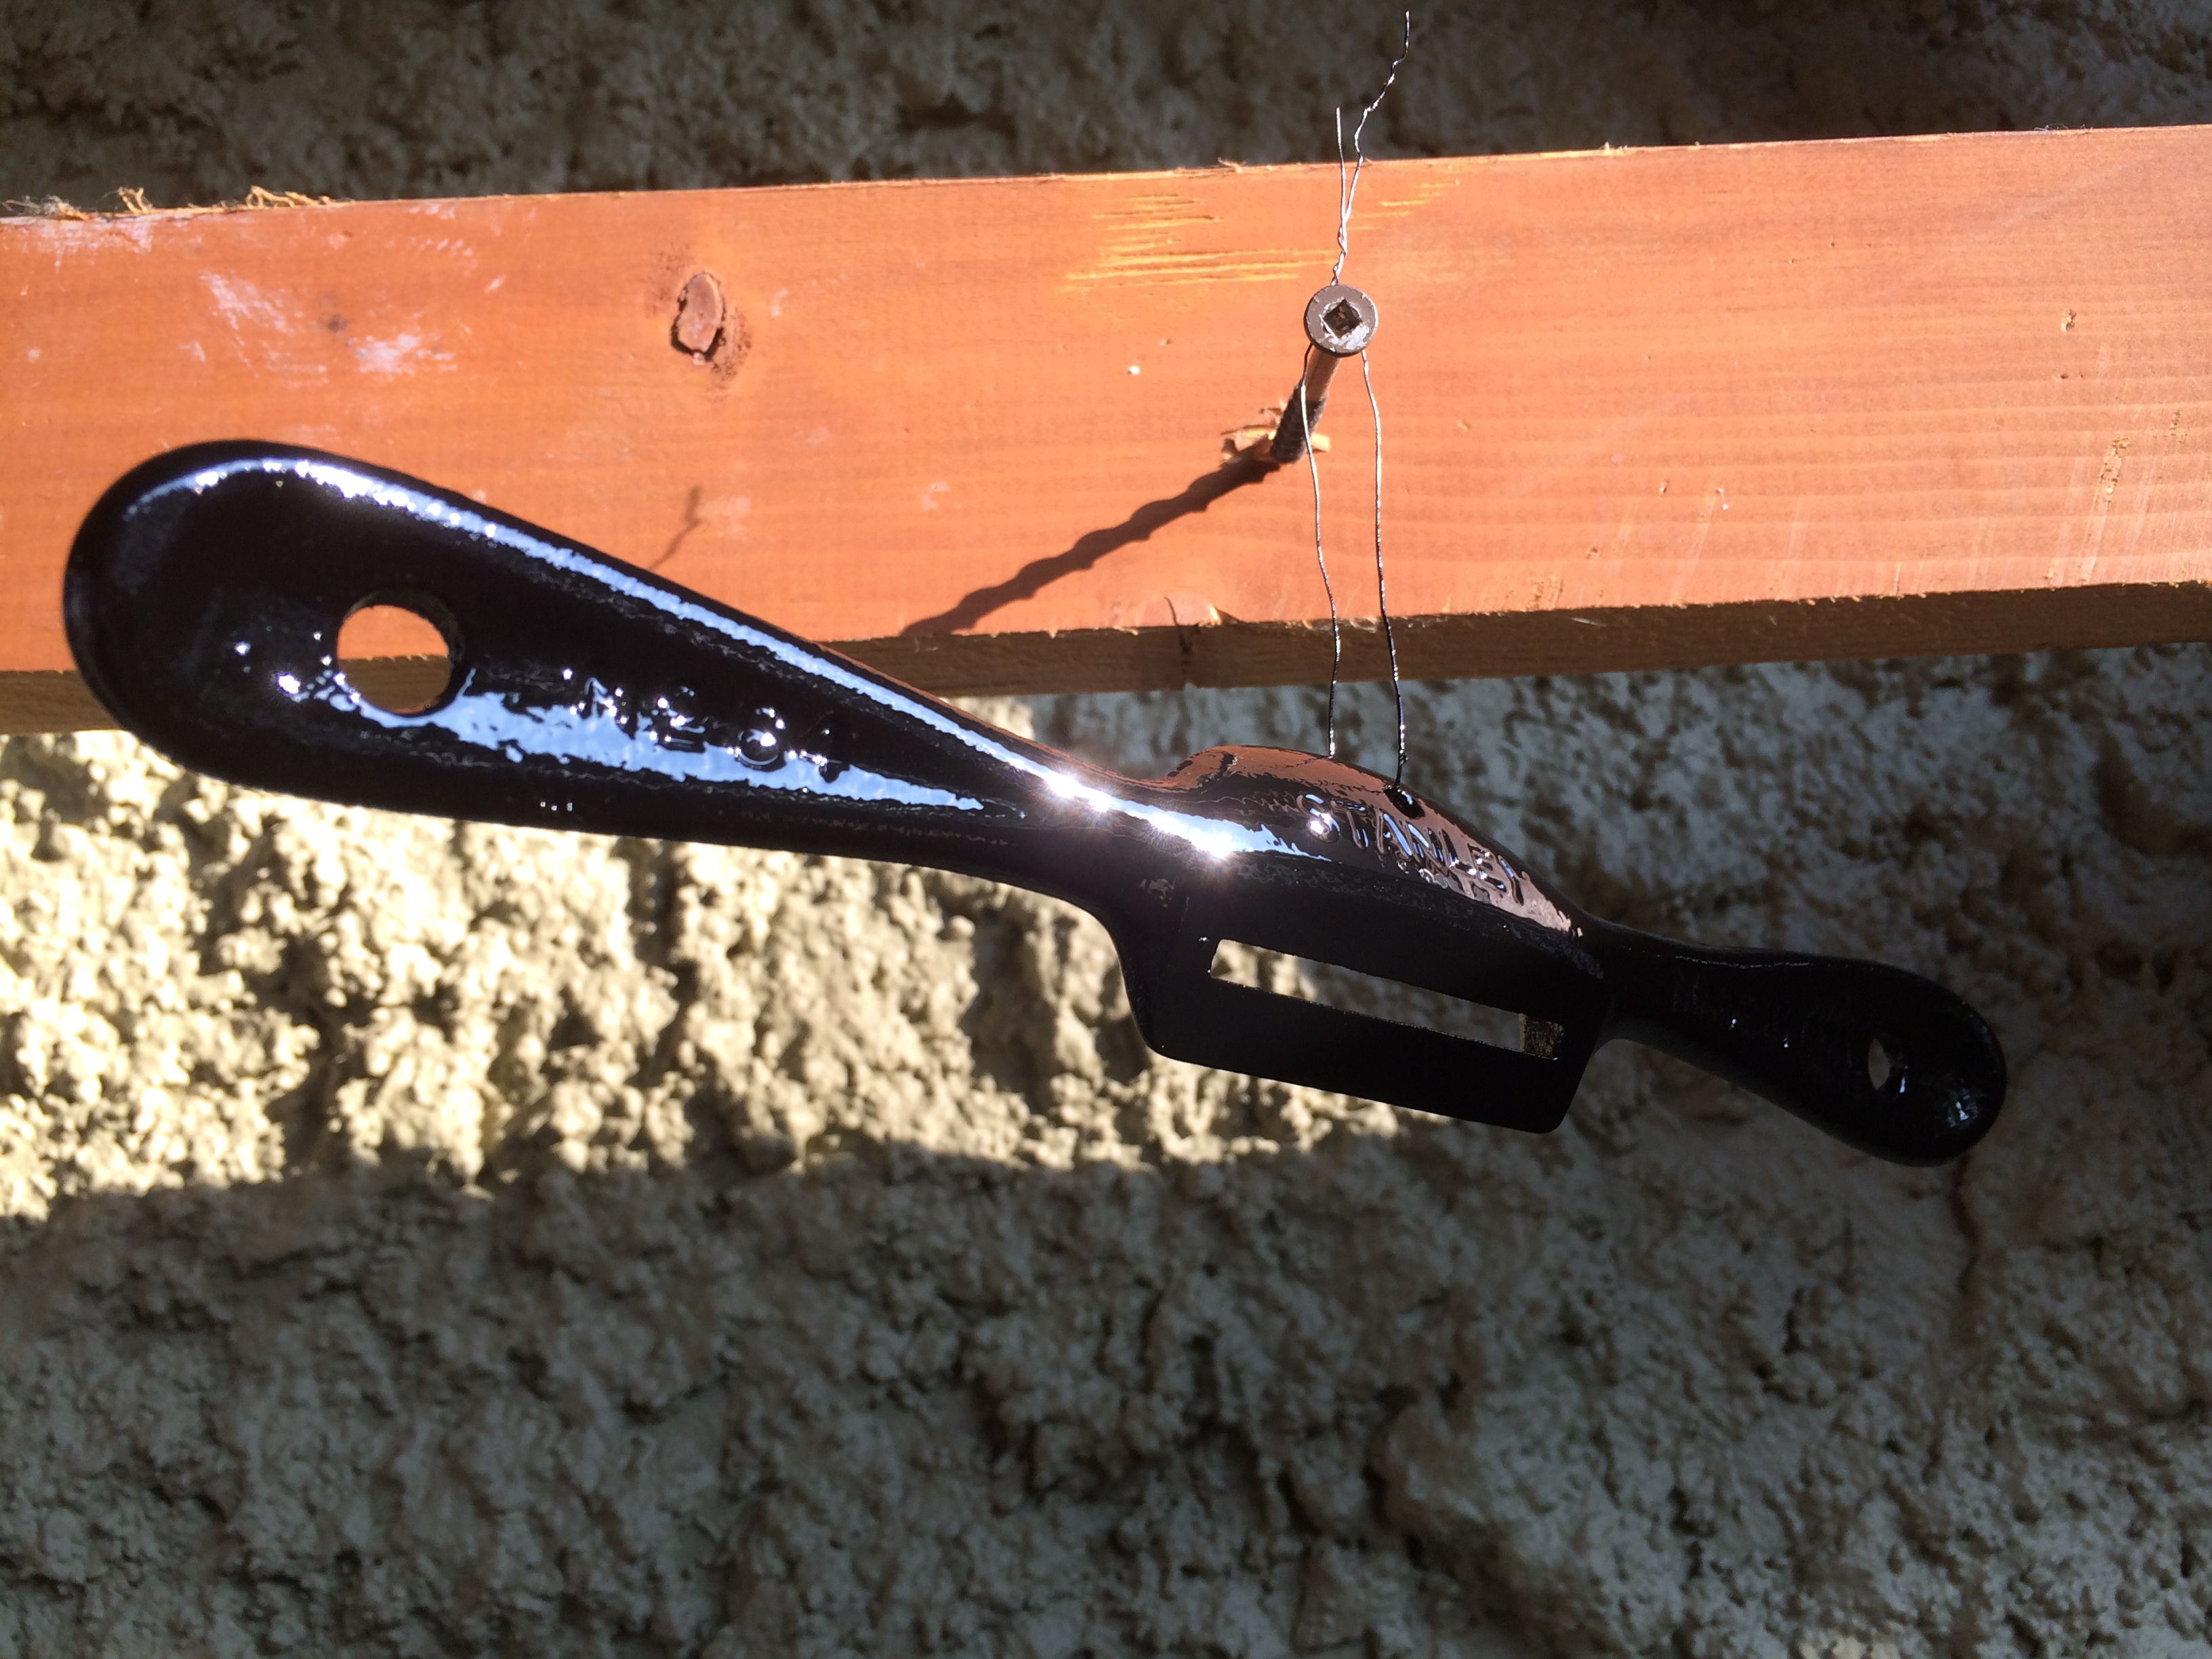
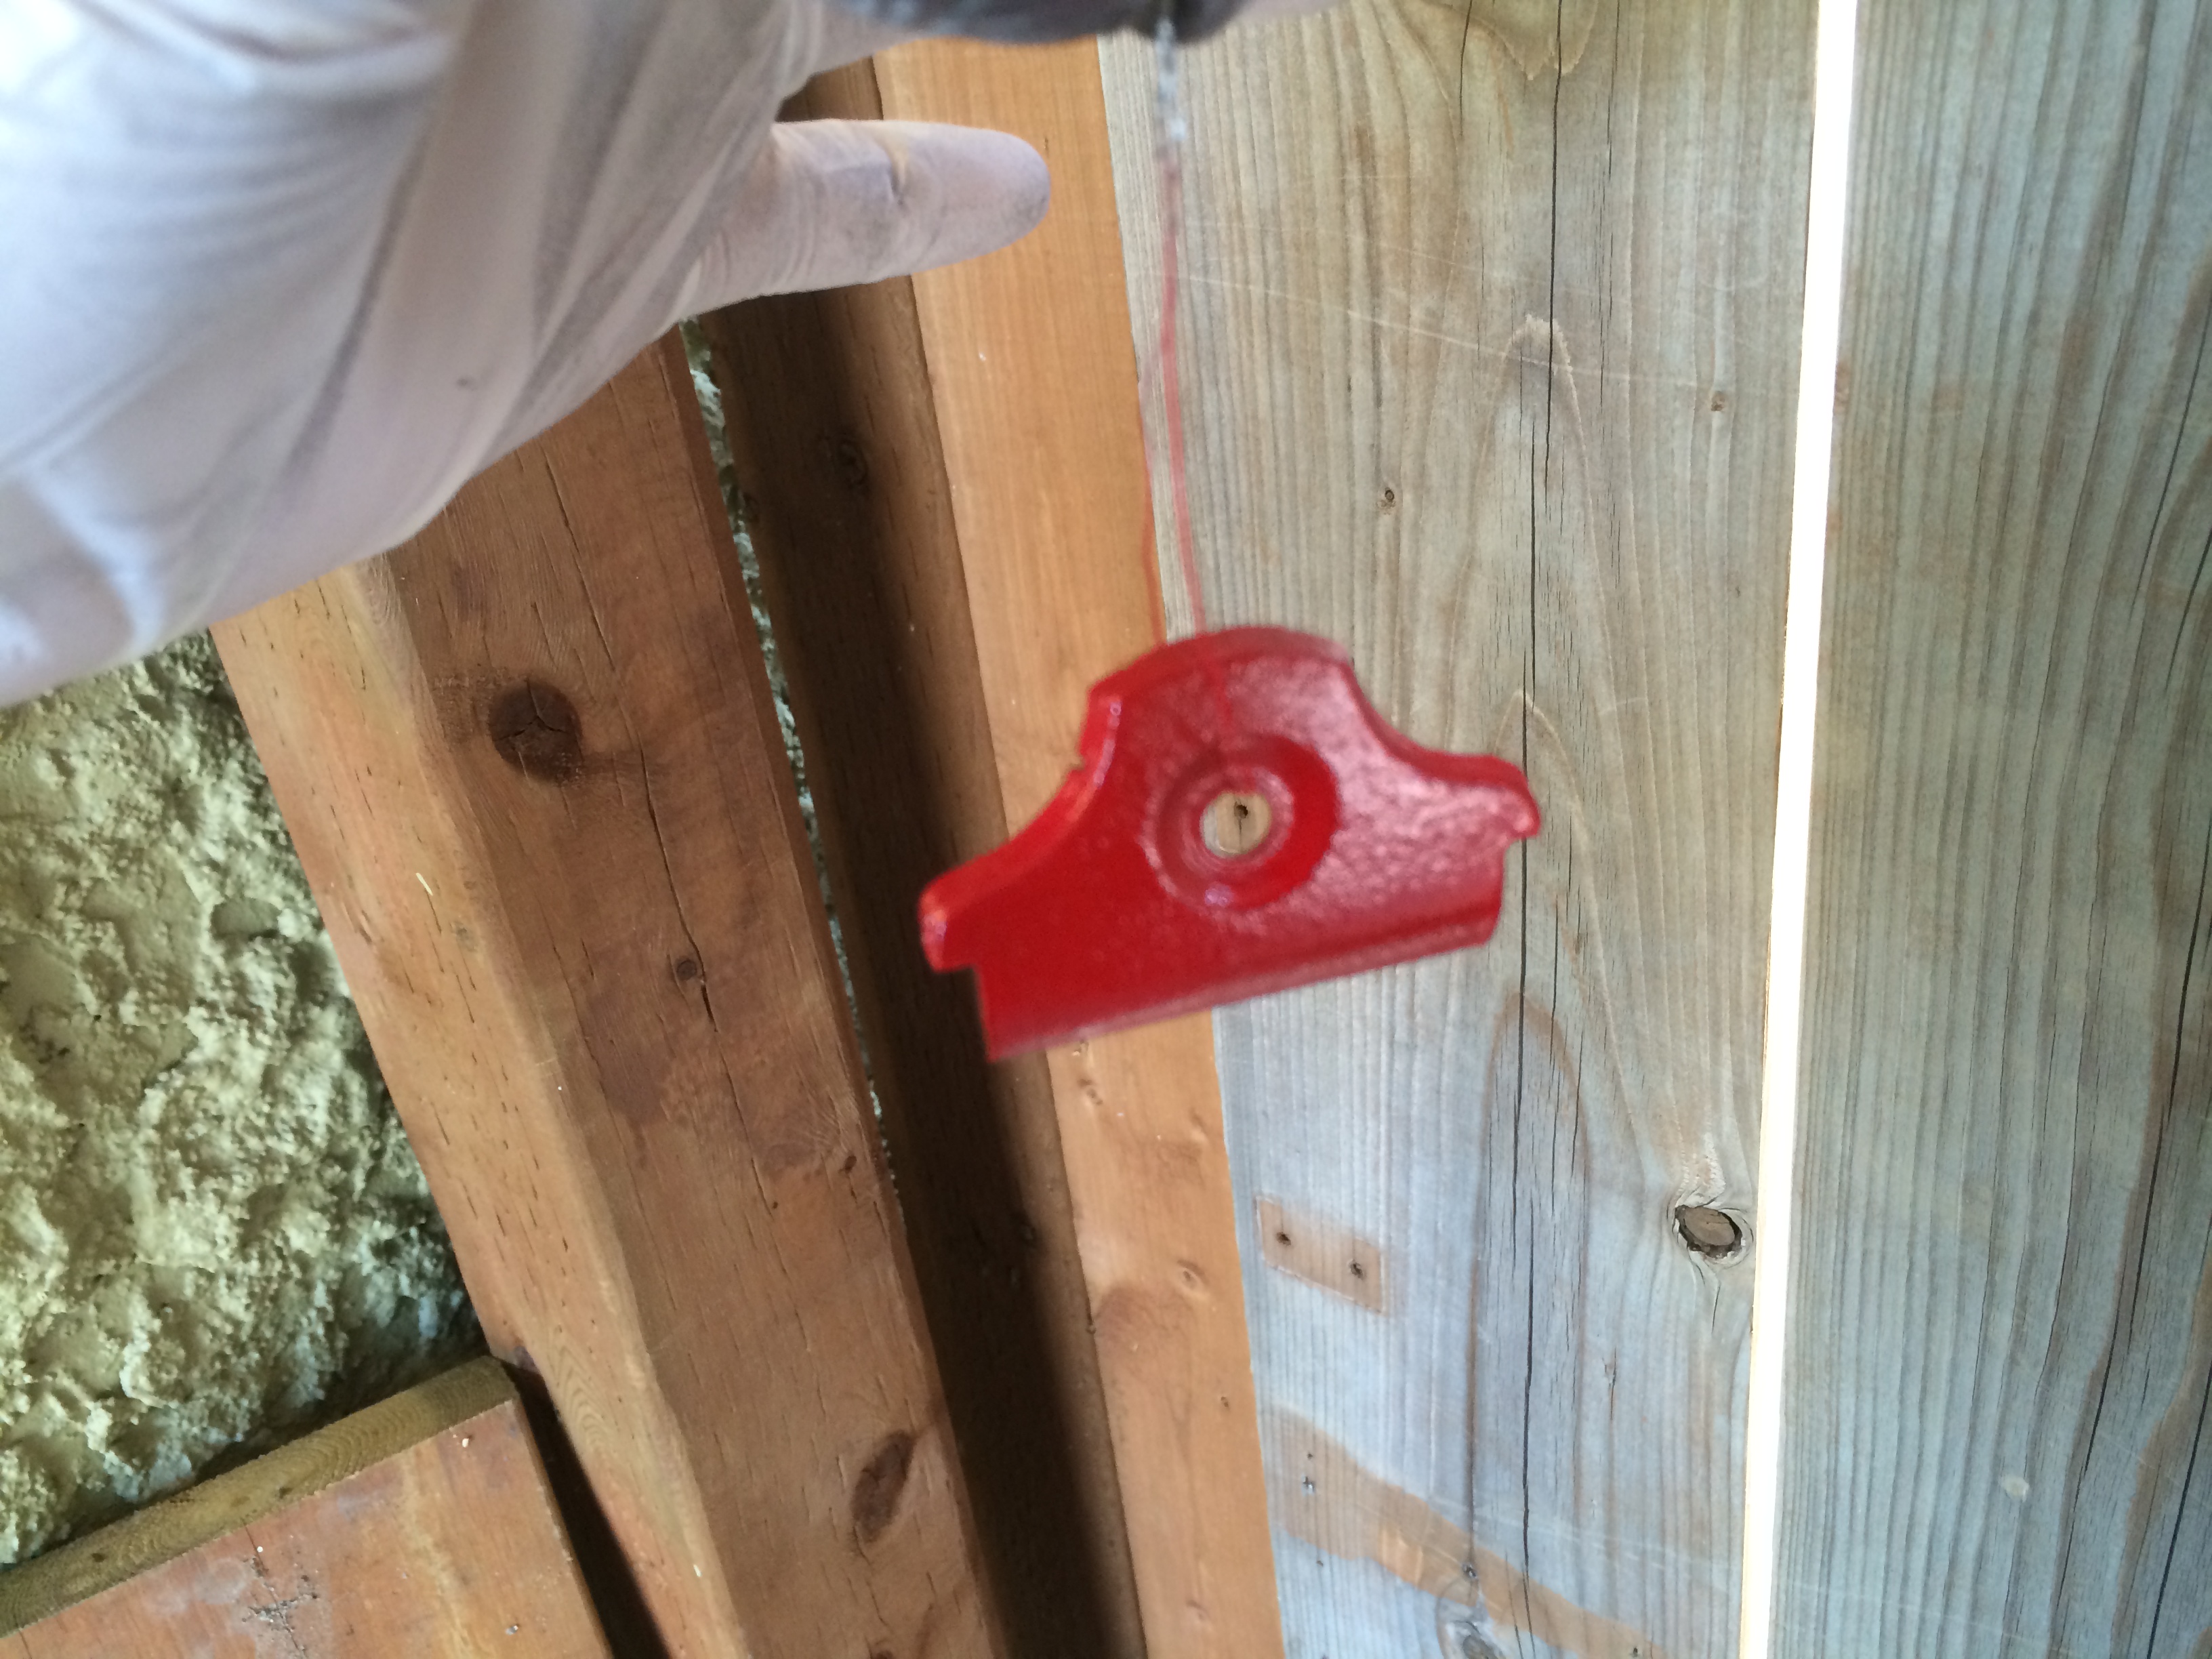
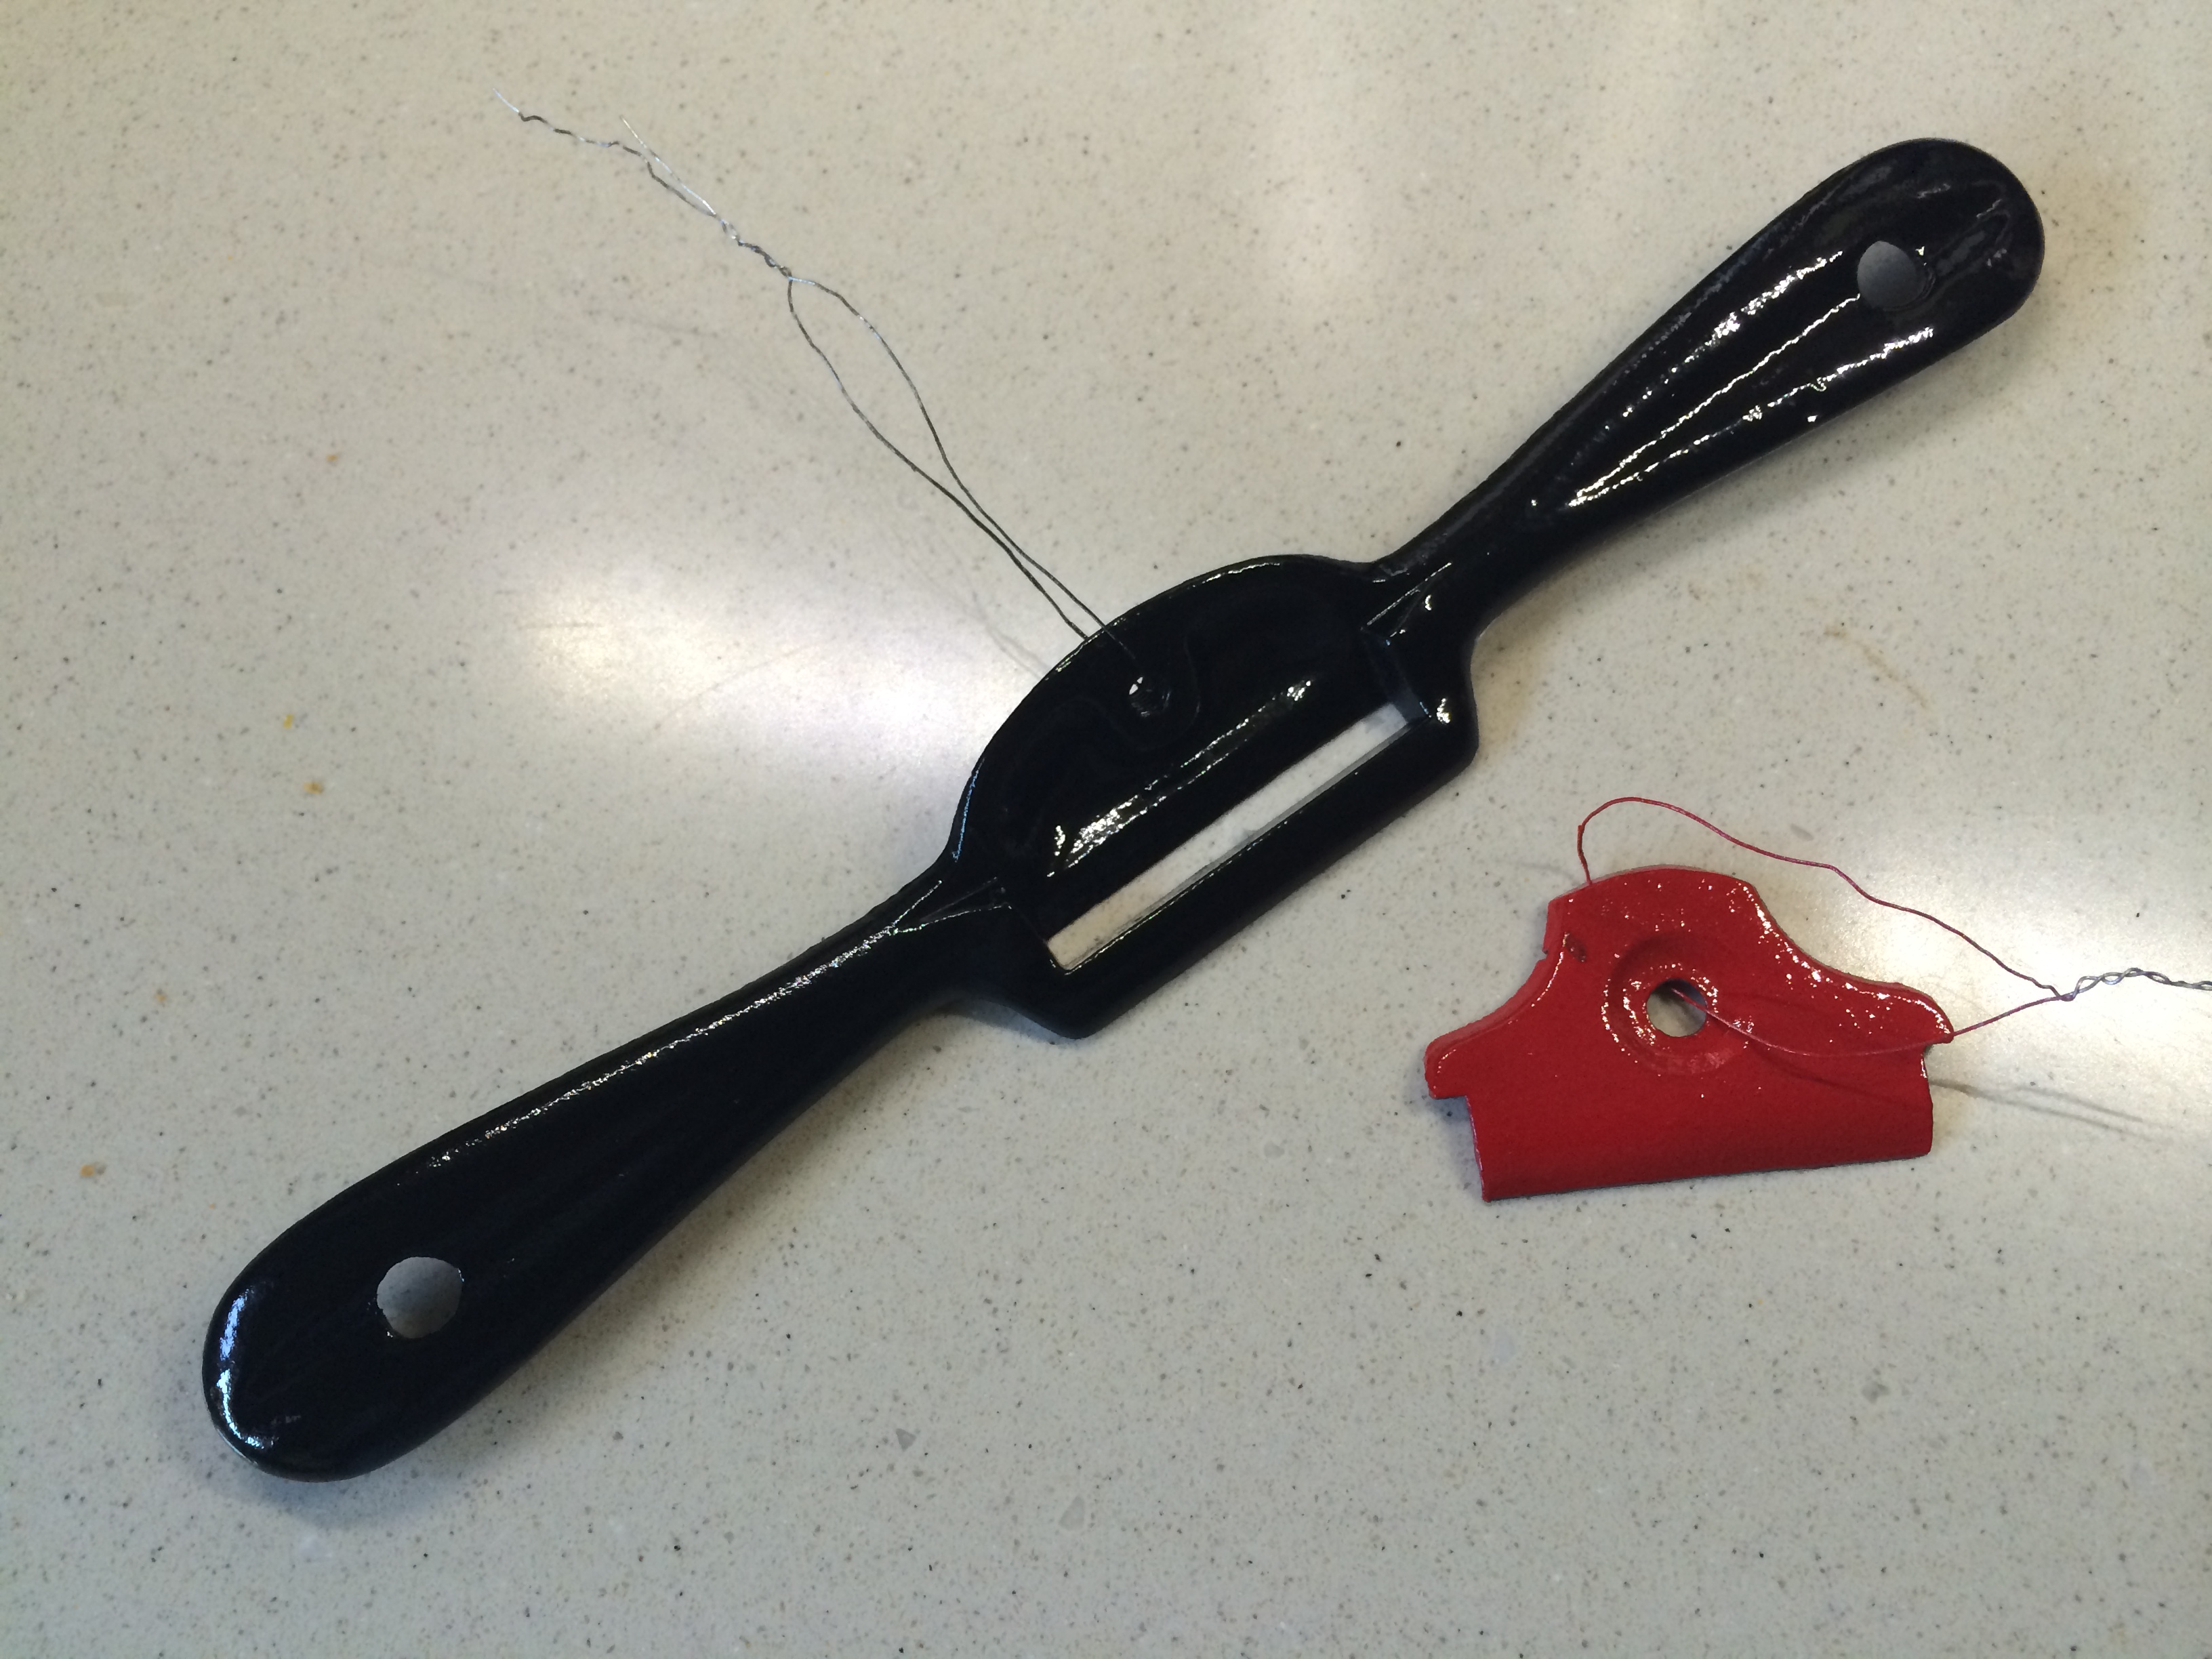
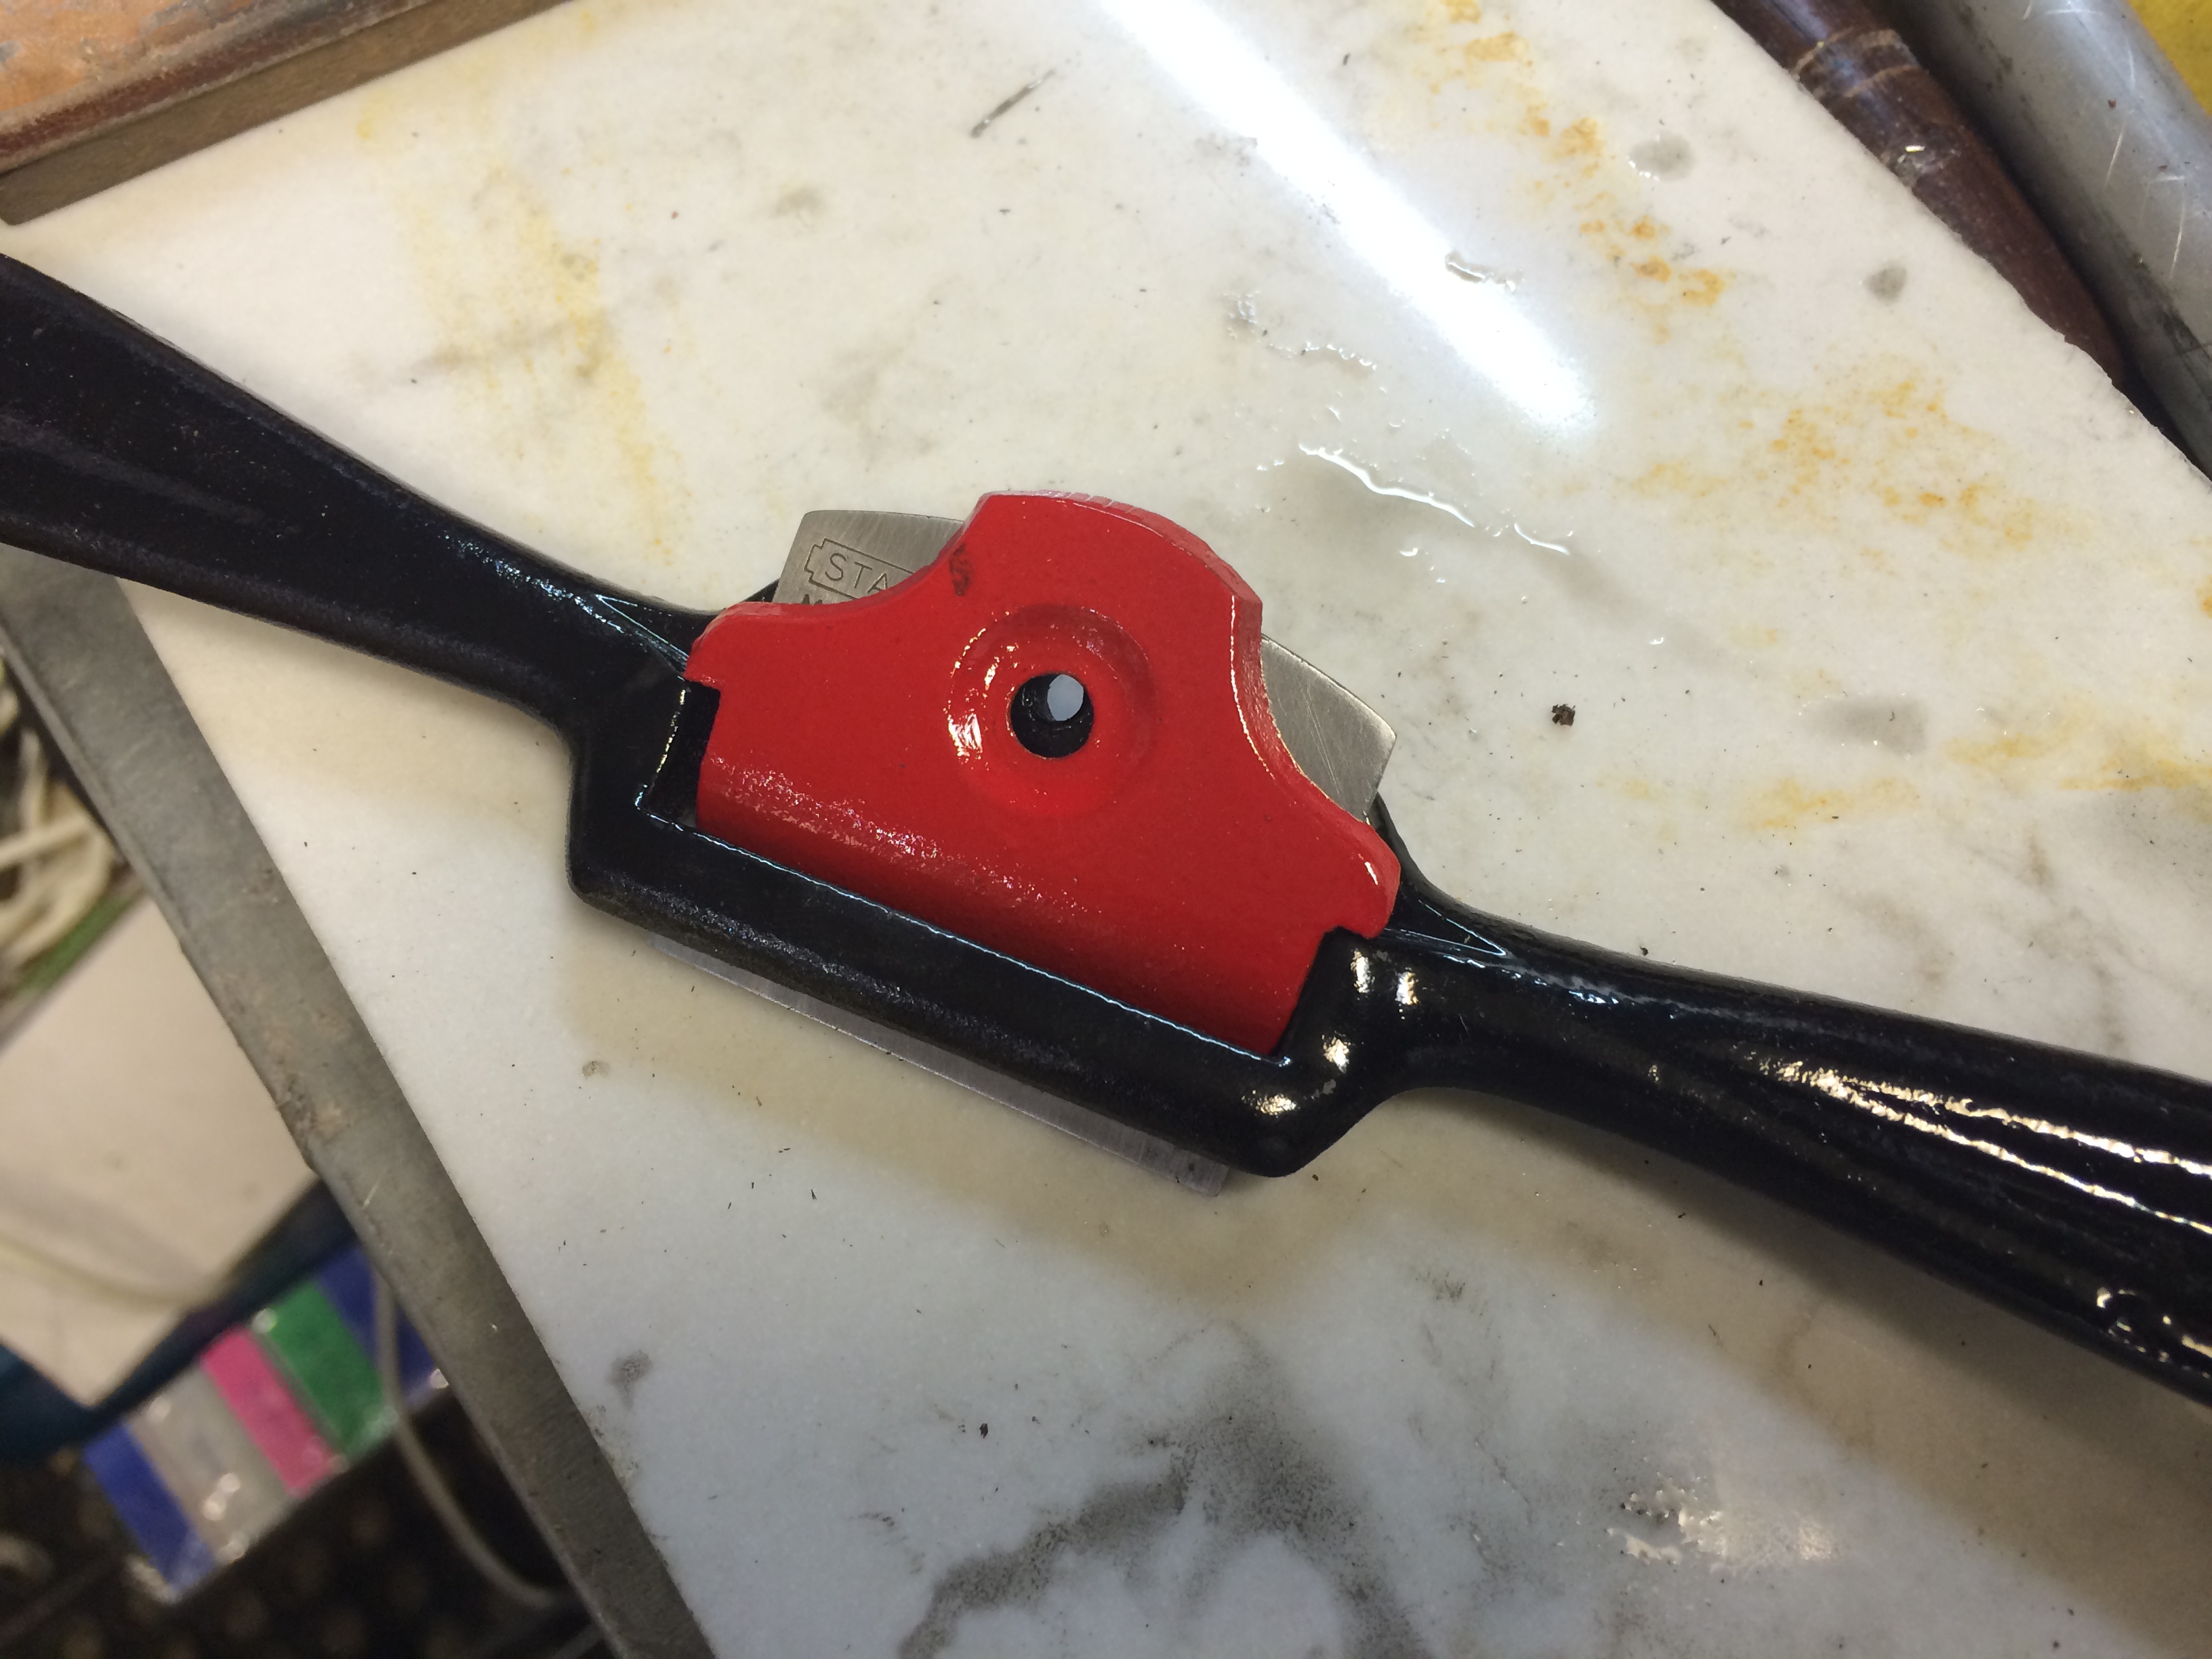
The blade plate was originally black, but I wanted to mimic the Stanley 12-951 model with it’s red plate.
After waiting a full 24 hours, the epoxy paints have fully cured and it was time to pay attention to the business end of the spoke shave.
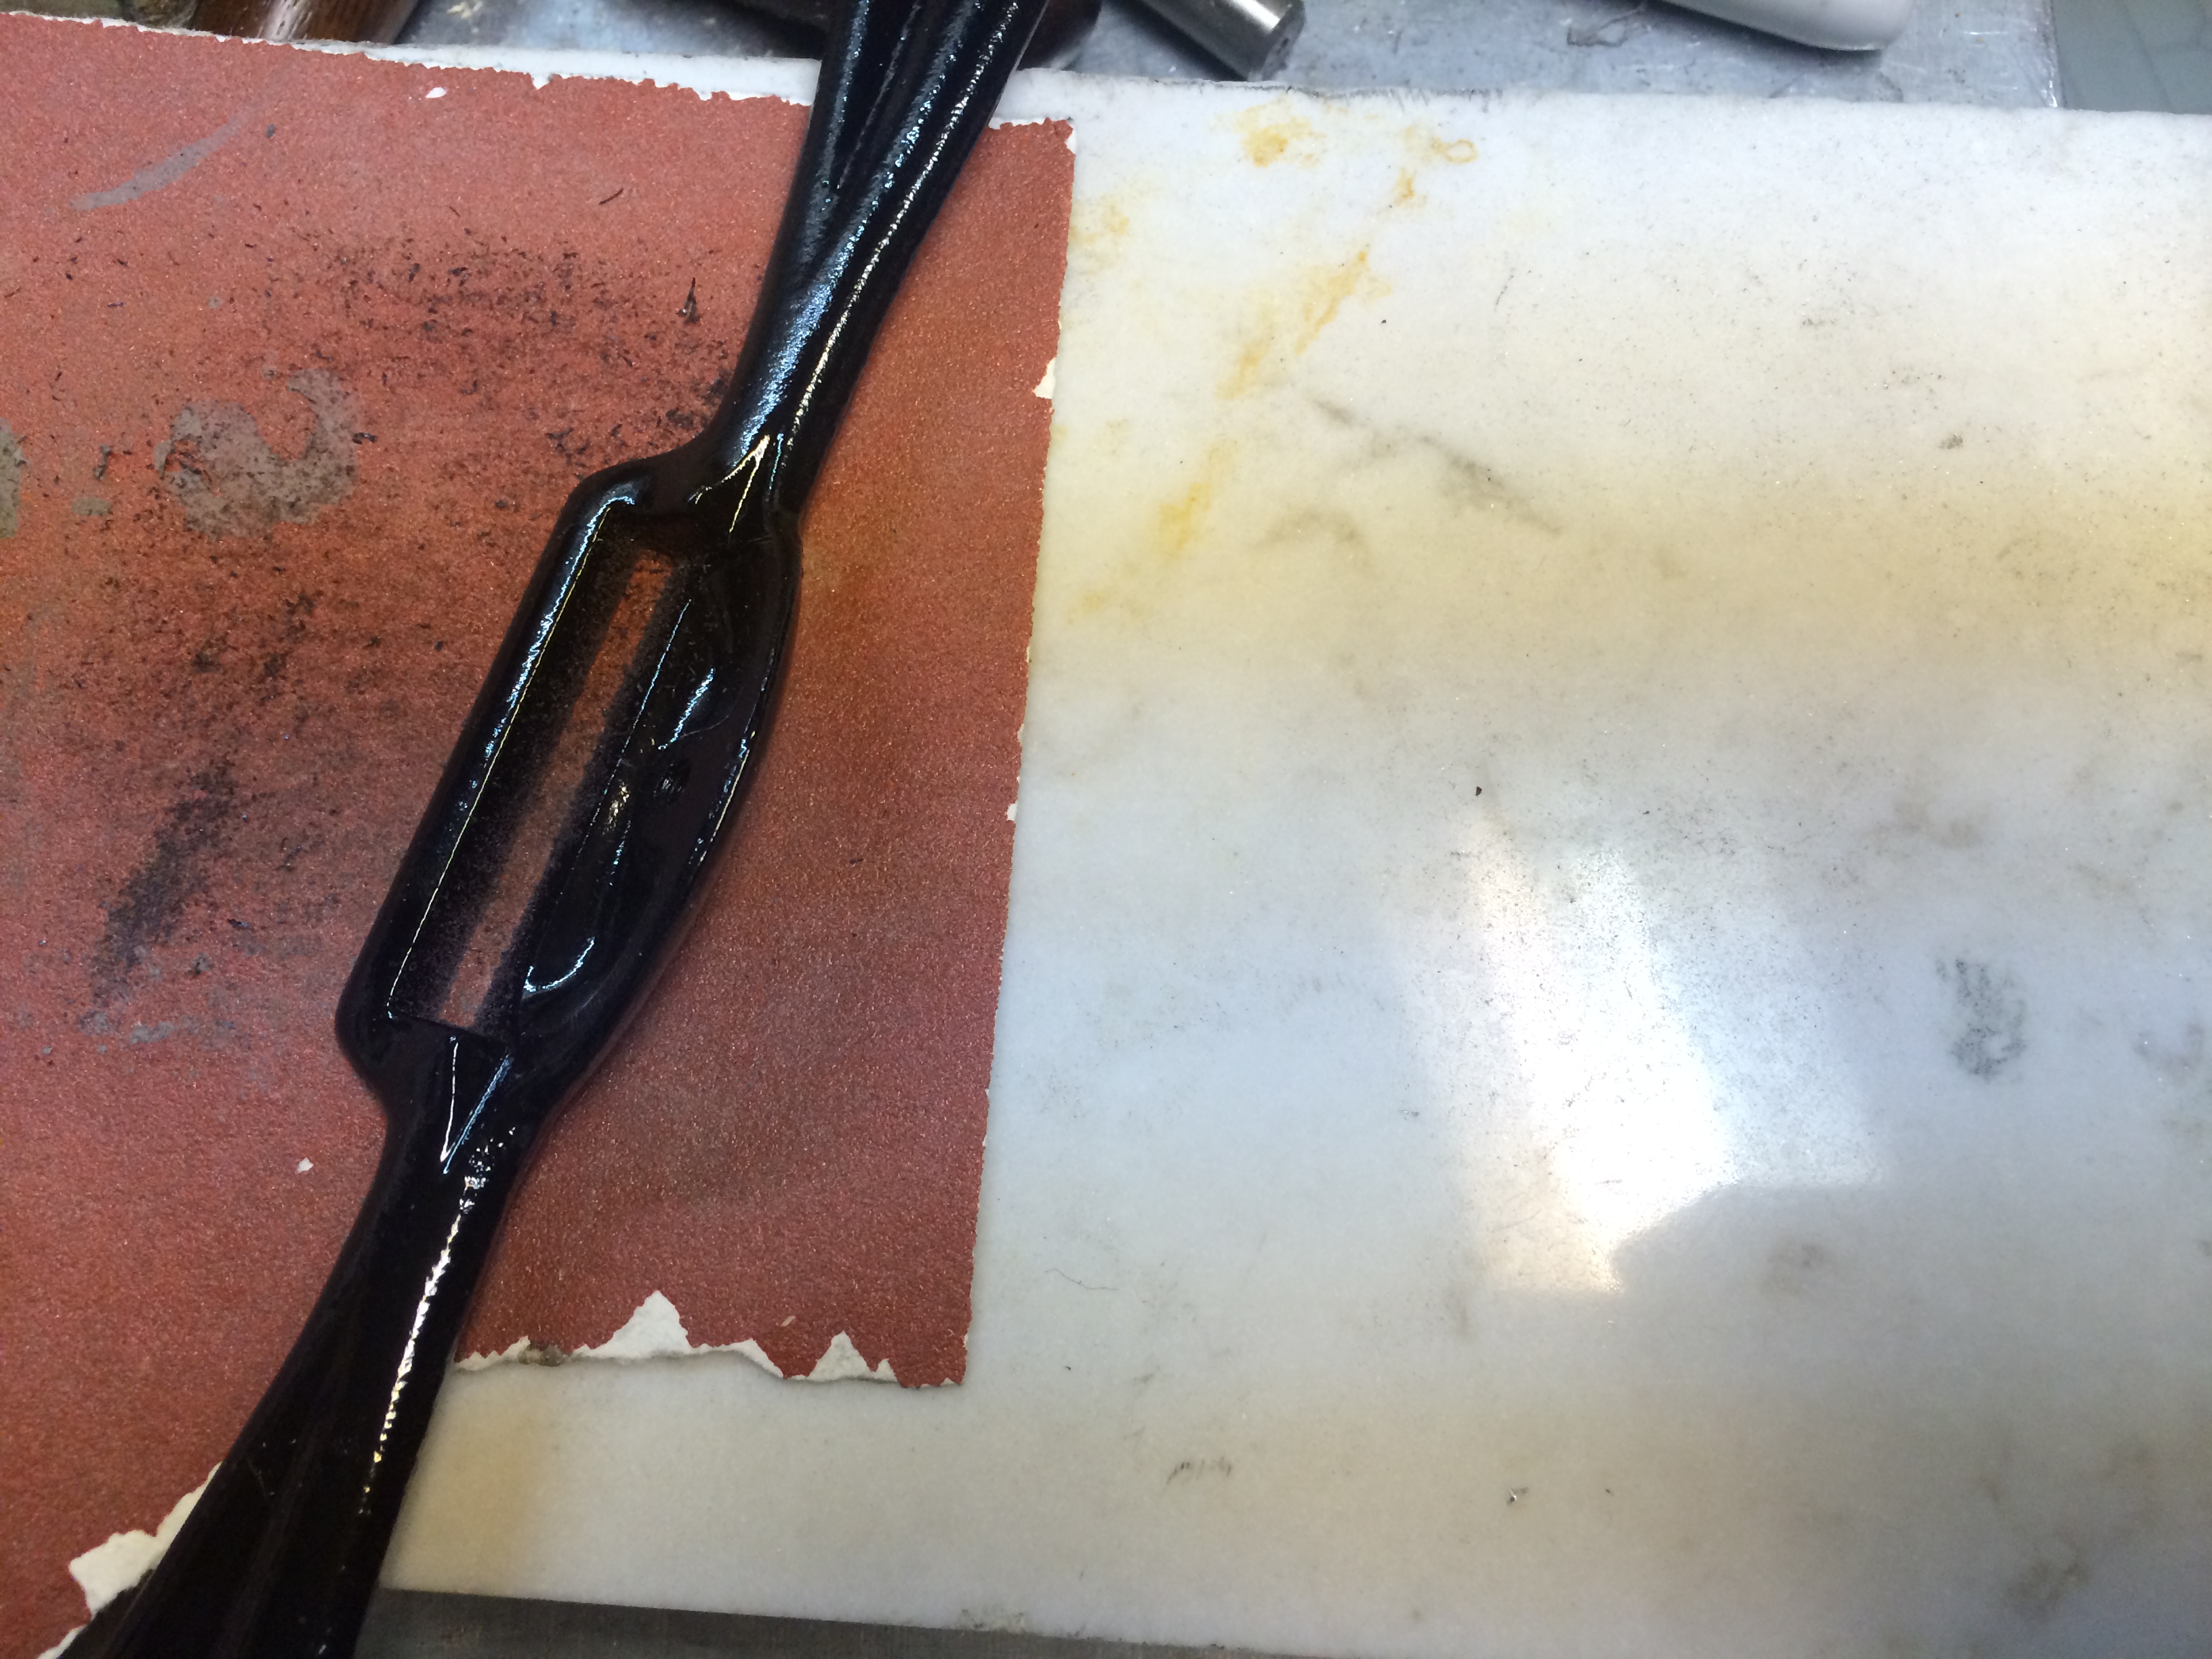
The cutting surface of this particular model is completely flat so to sand off the epoxy paint and keep things true, I turned to my scrap piece marble found at my local counter top manufacturer. I use 120 grit first to do the heavy removal.
This is beginning to look like a final product.
Then I used some wet dry 240, 600 and 1000 to give the surface a nice glossy surface.

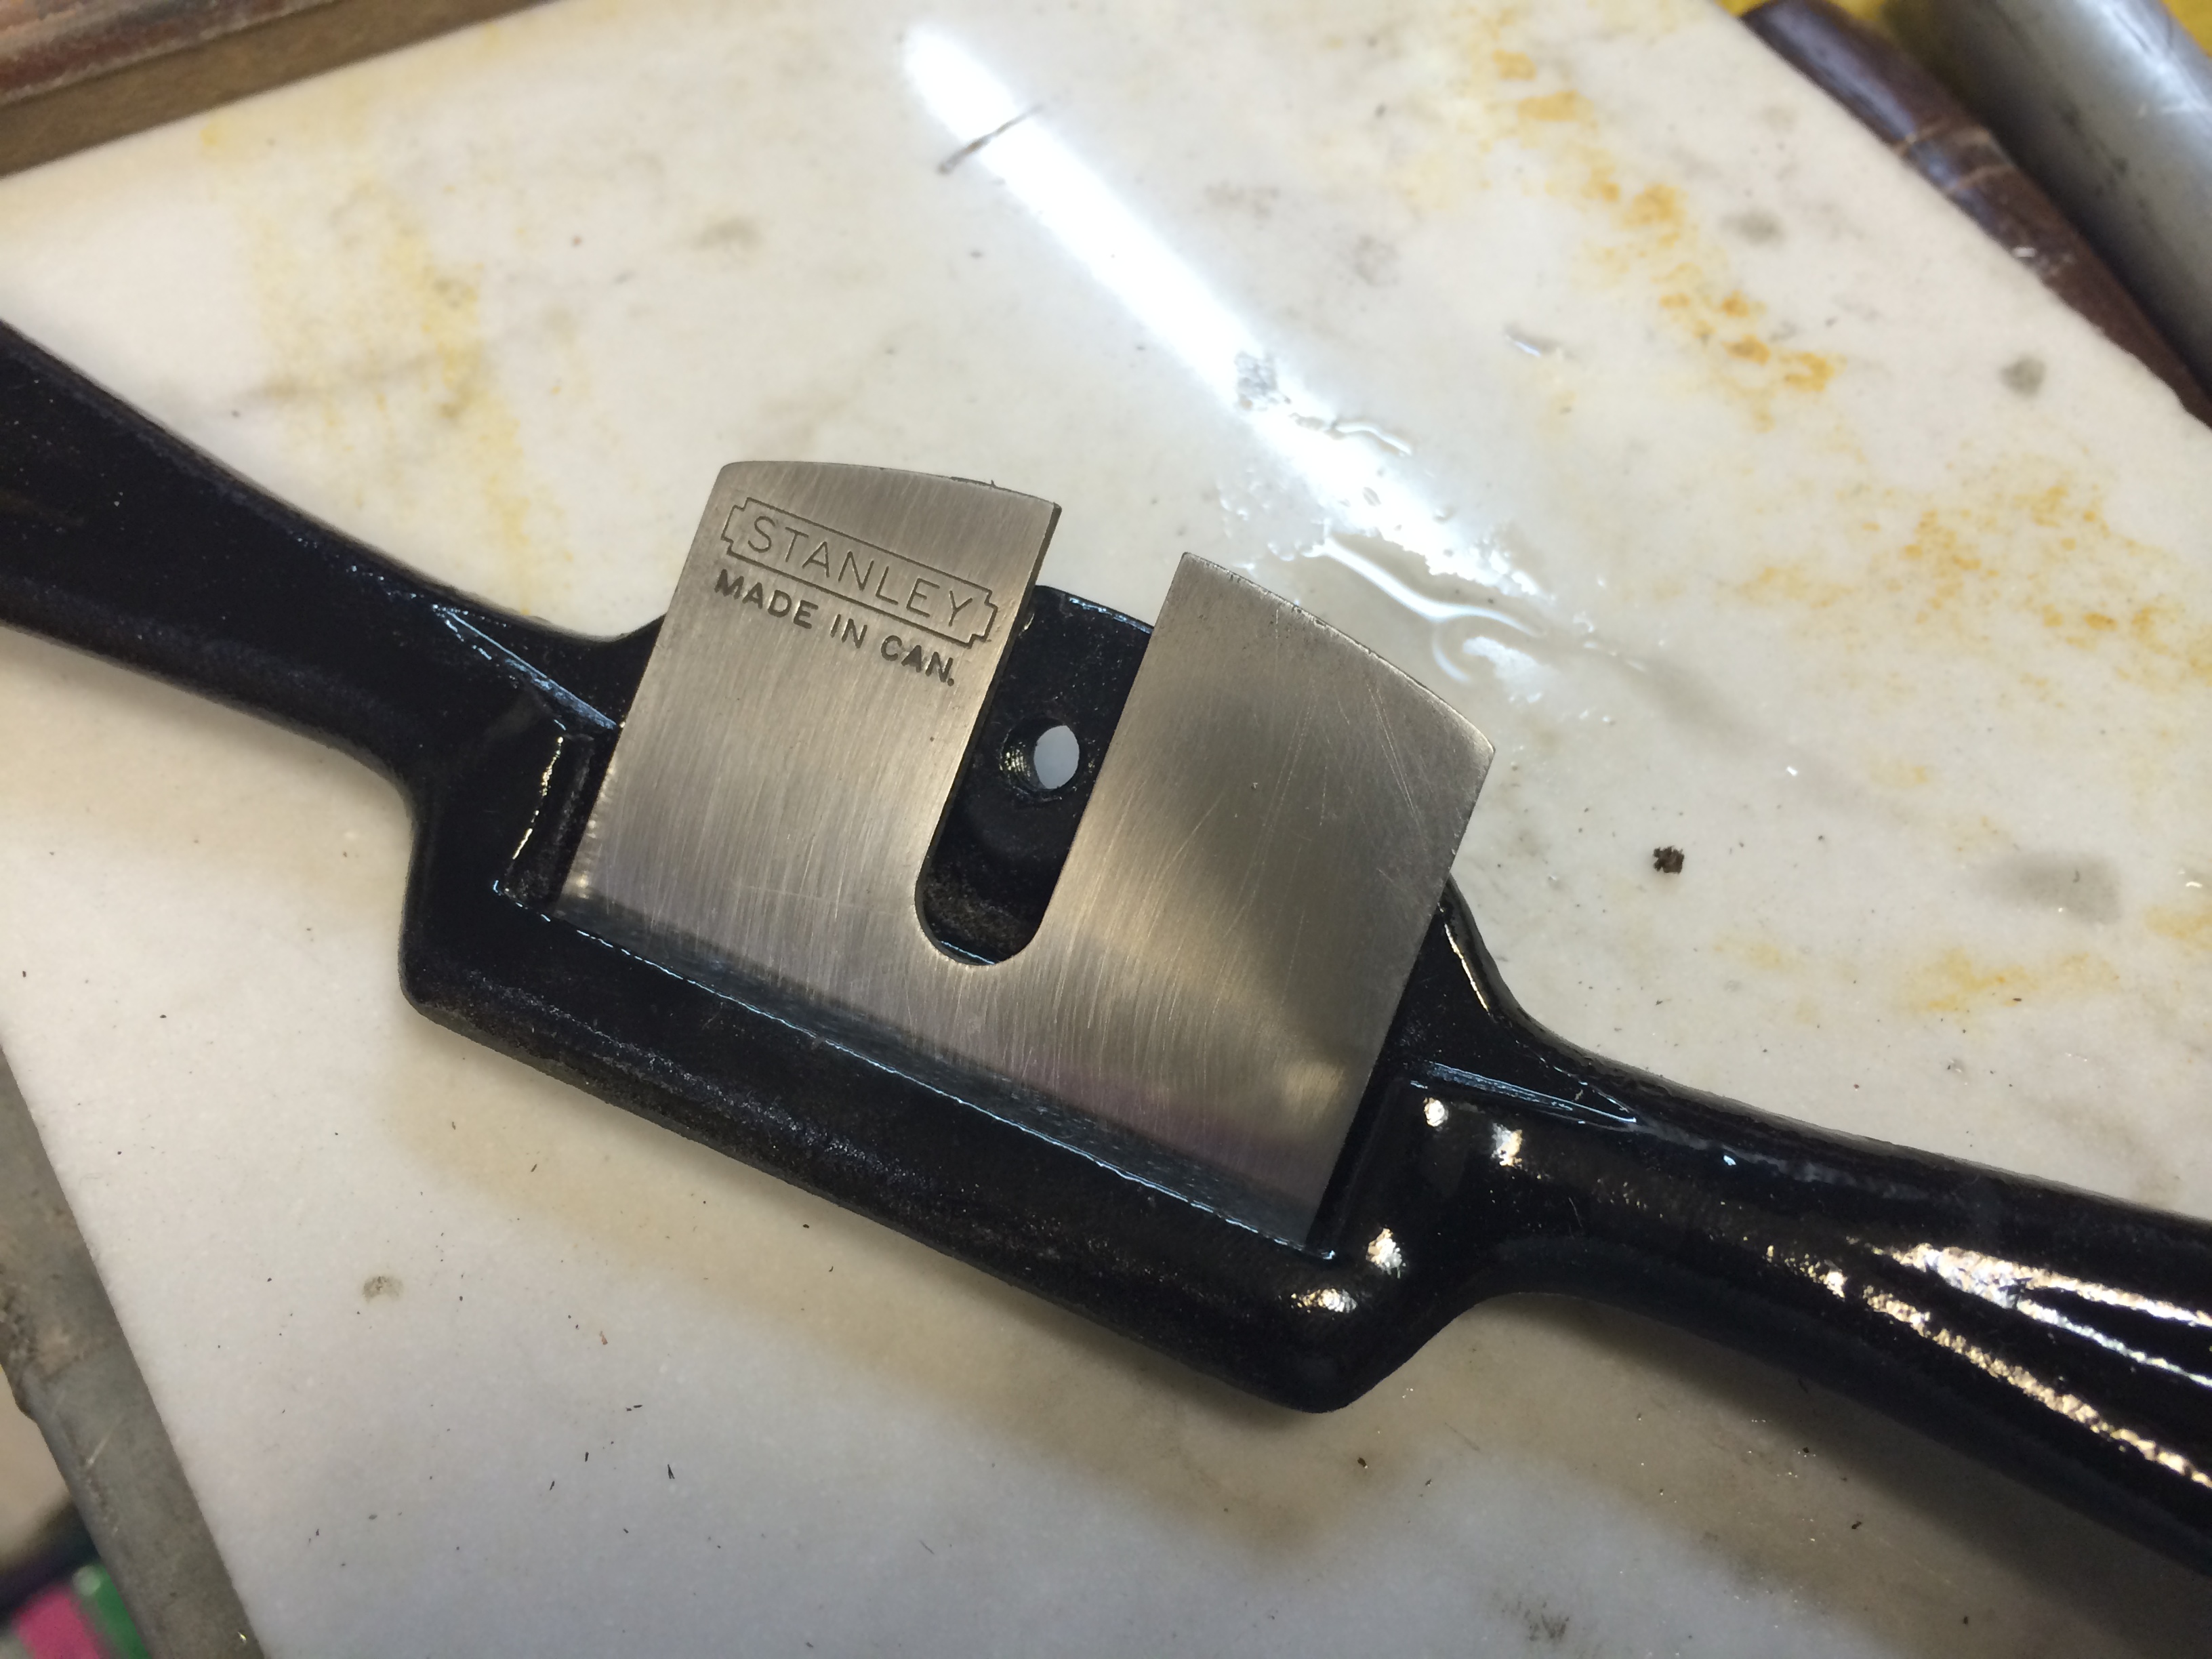
I didn’t show it, but I did the same process for the blade. After taking off the rust, the ‘Made in Can’ made an appearance. The blade didn’t have any nicks in it and the angle was already set to 30 degrees. All I had to do was slowly hone the surface with 600 grit wet paper, then 1000, then 2000 grit. A final buffing with some diamond compound on a soft wheel to give the edge a mirror finish.
Replacing the red plate on the spokeshave and tighten down the thumb screw.
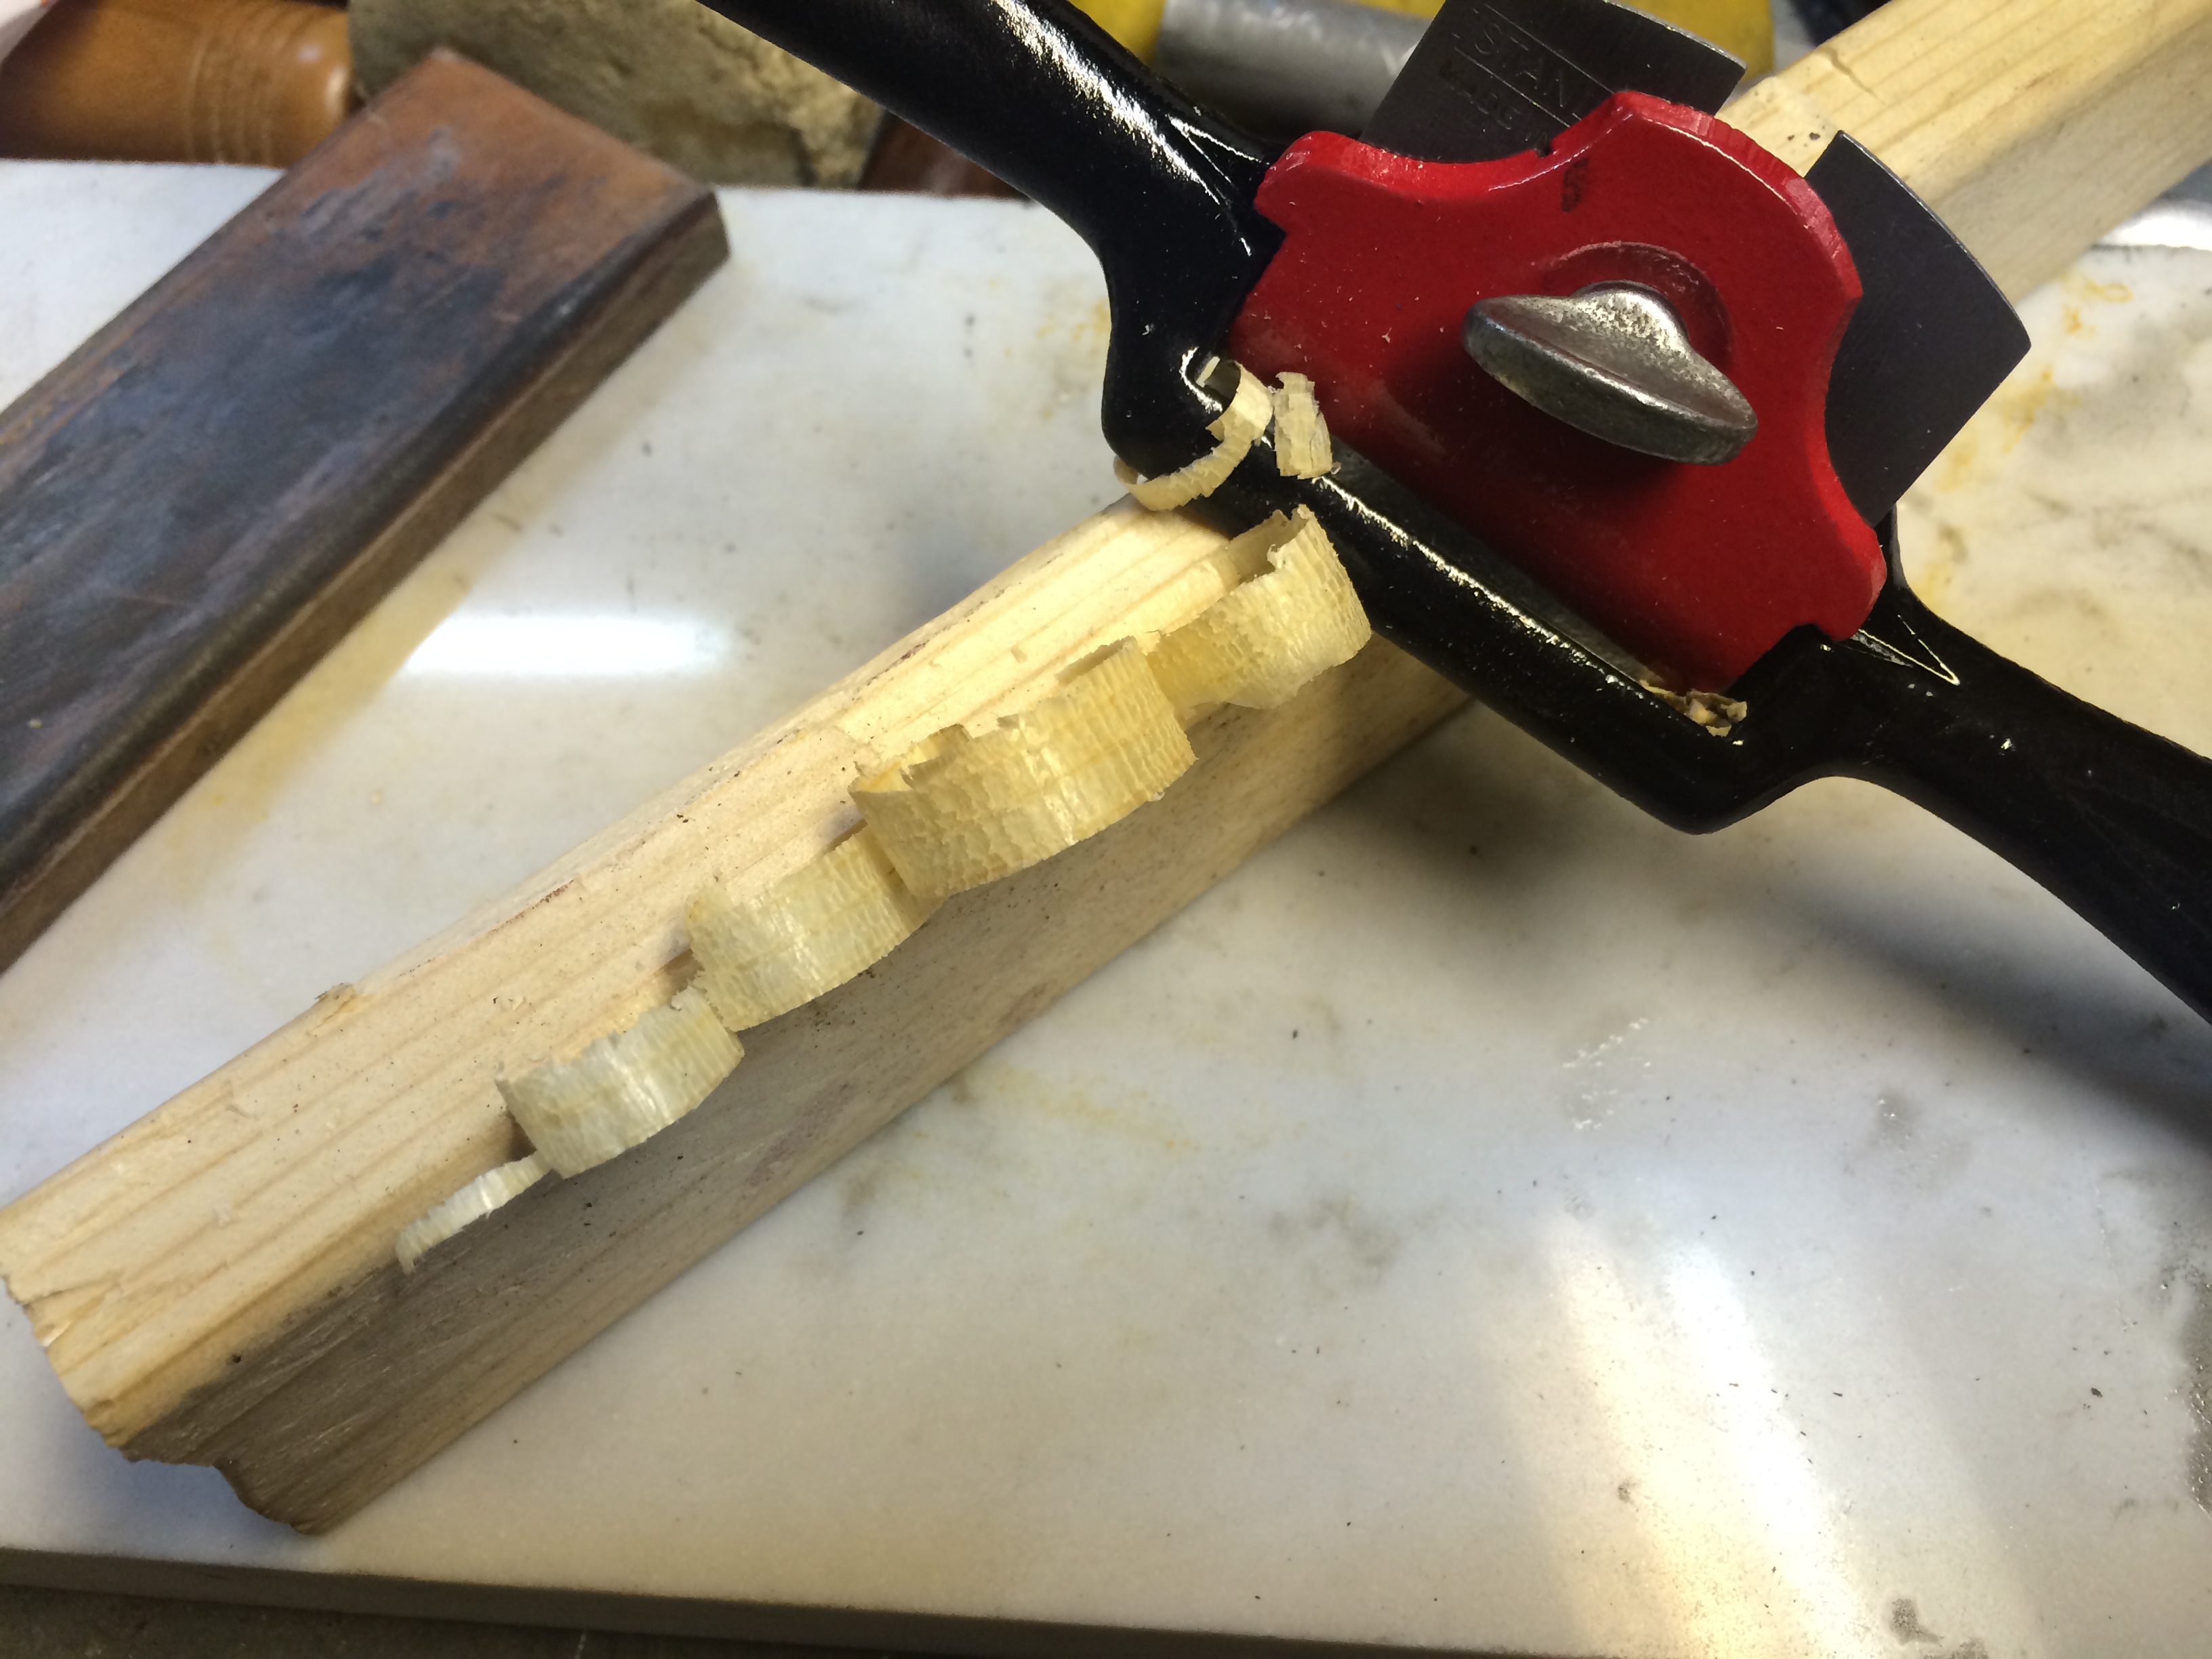
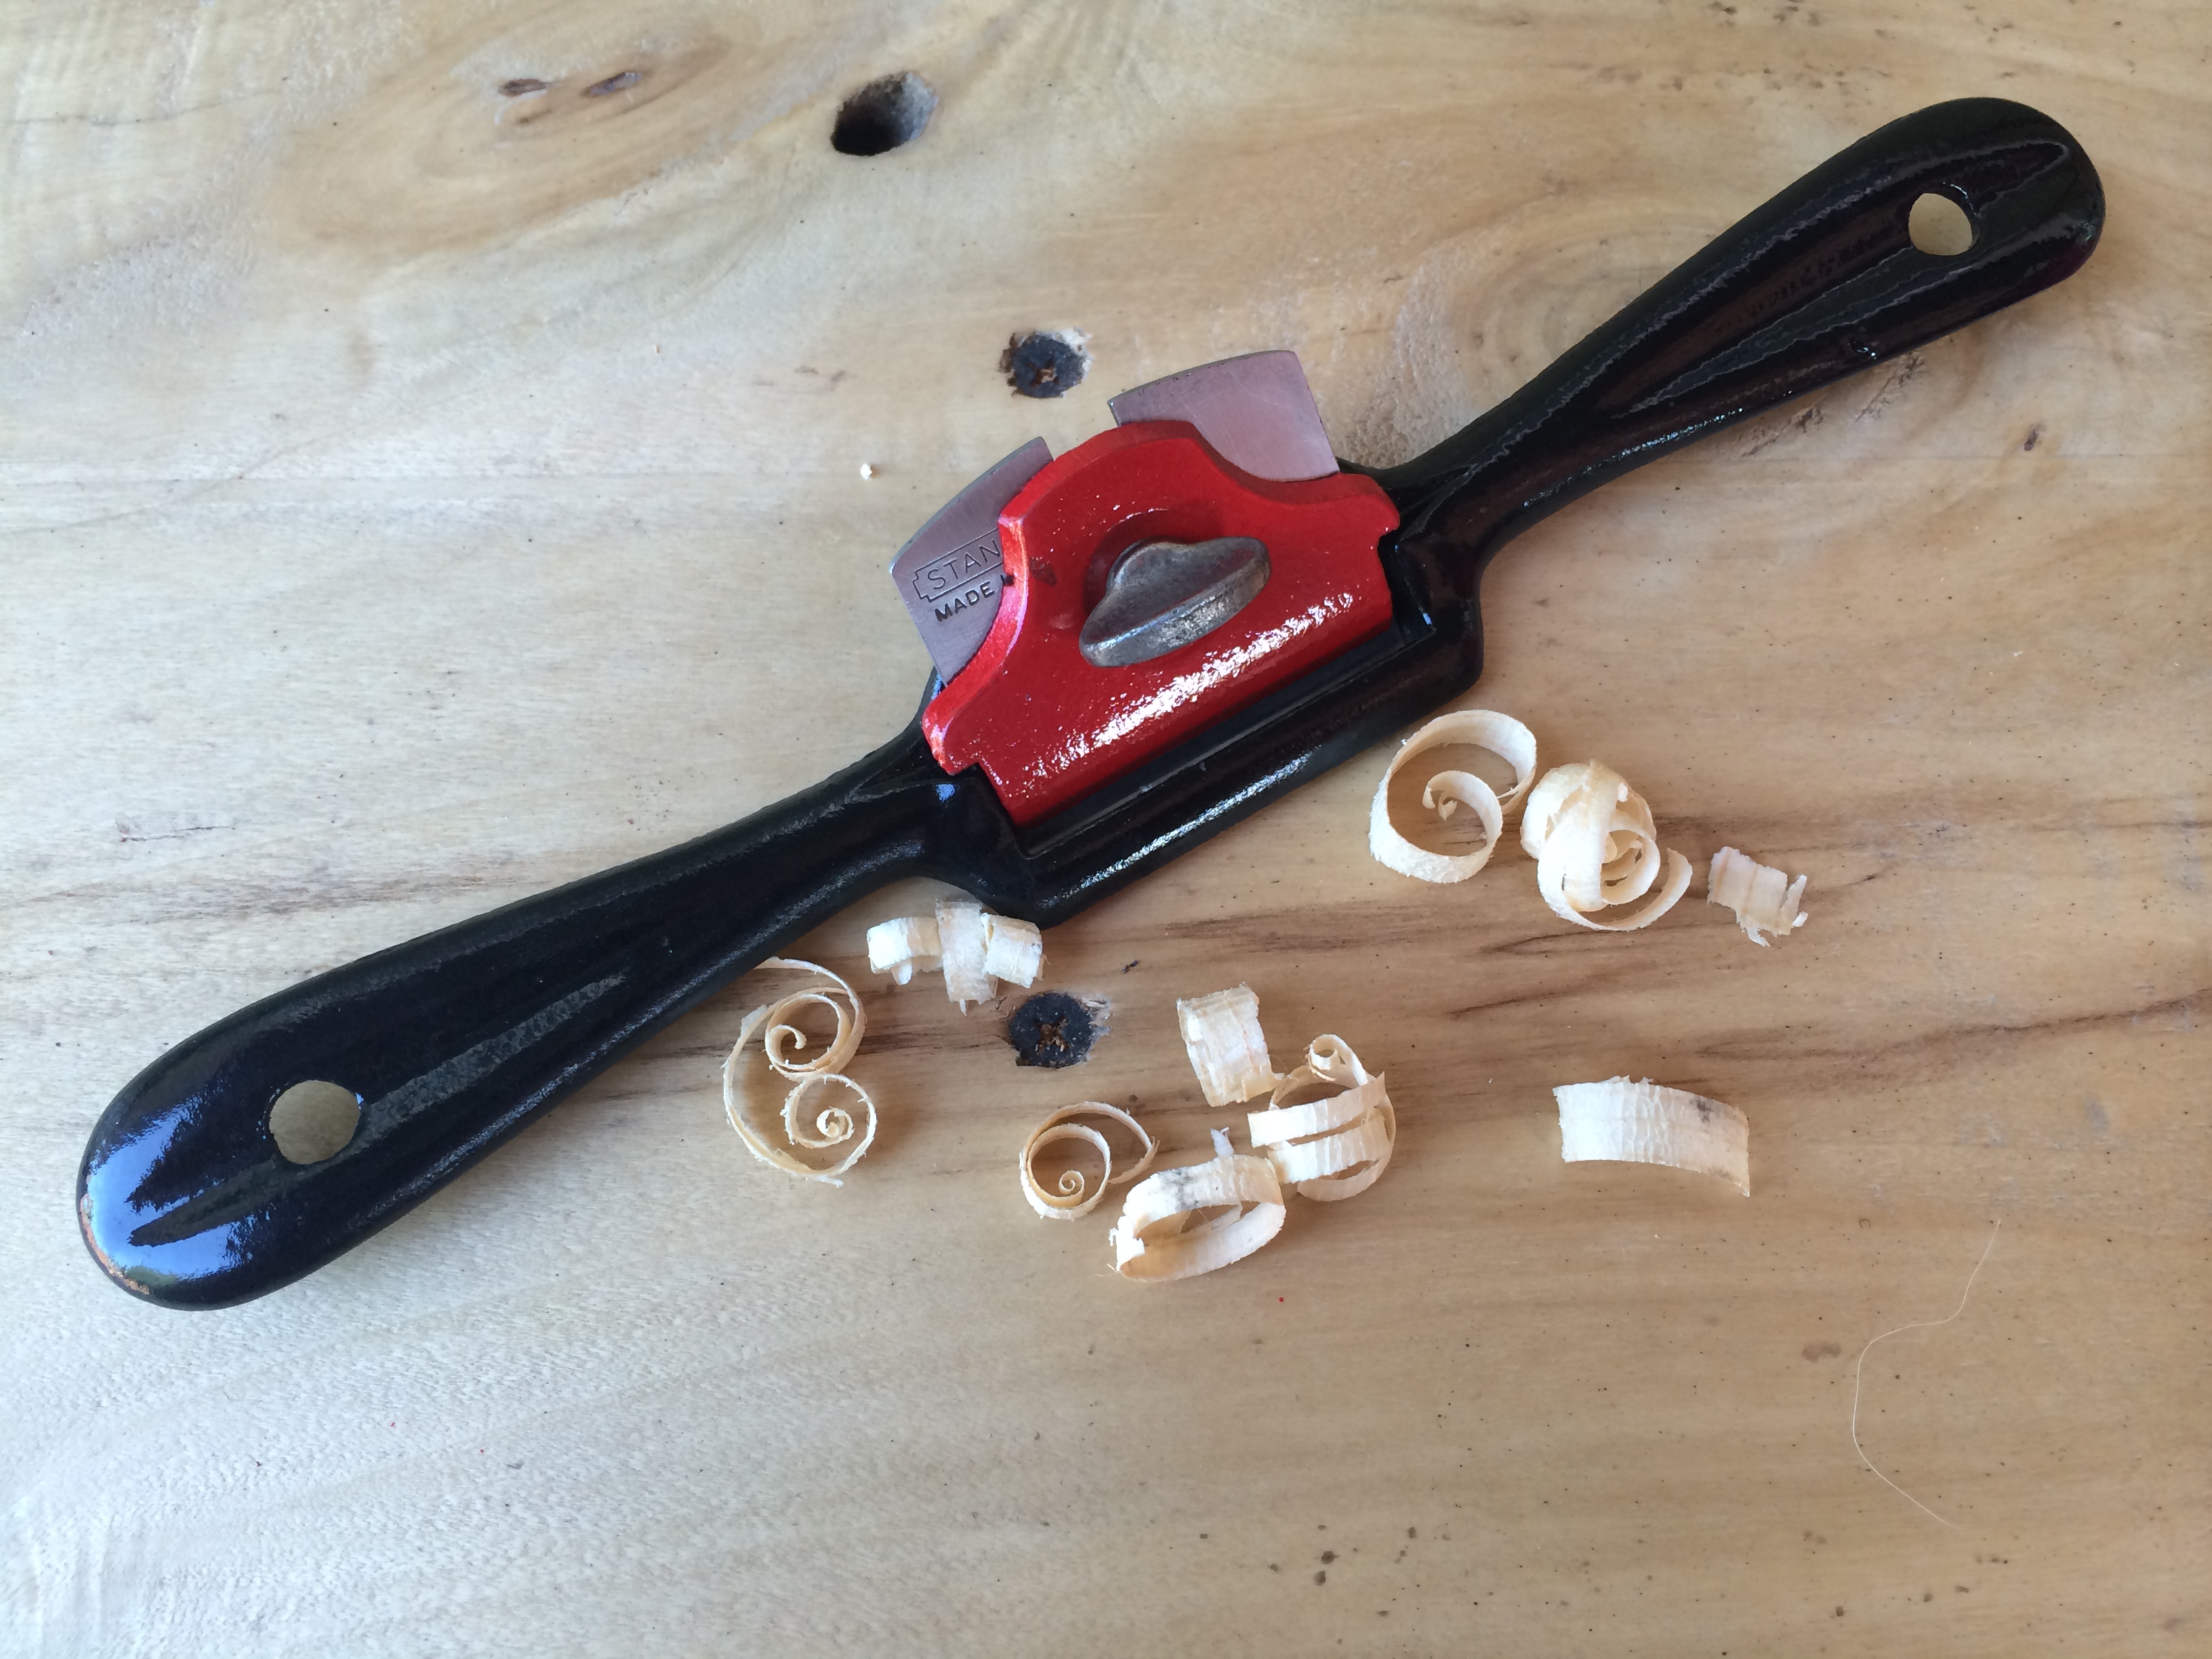
Some test curls on some pine.
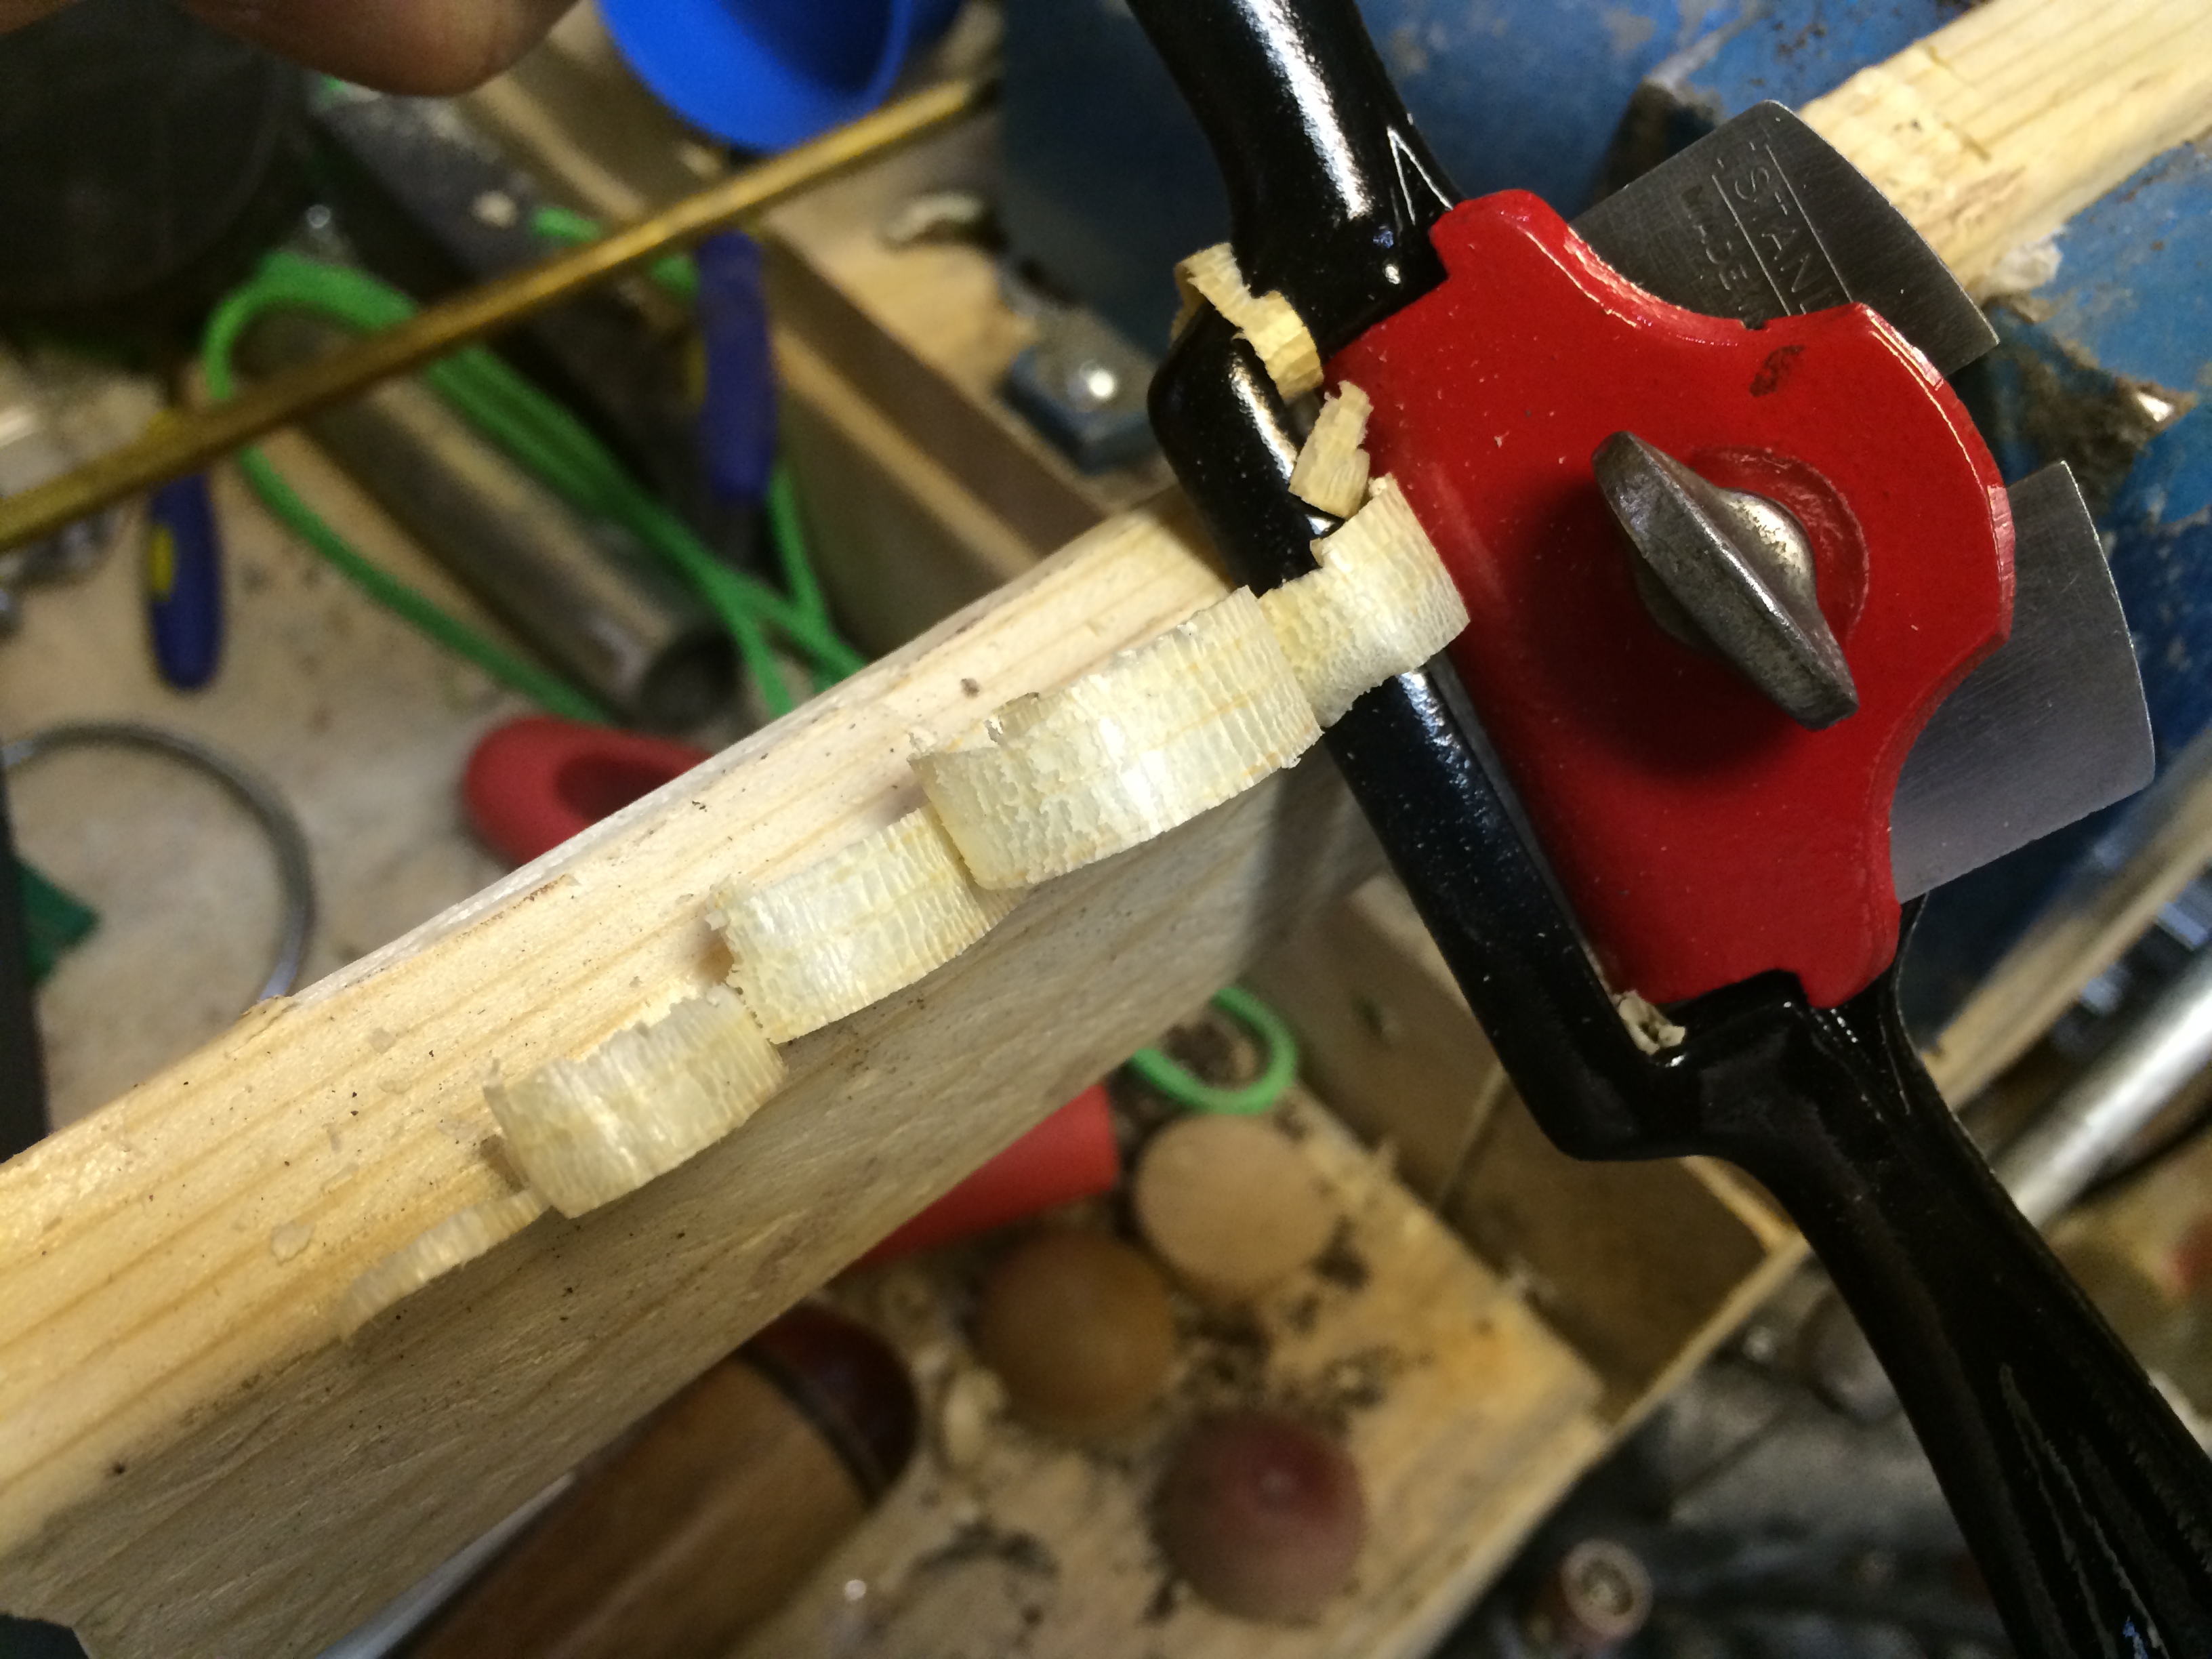
All the work carefully honing the blade has proven to be worth while.
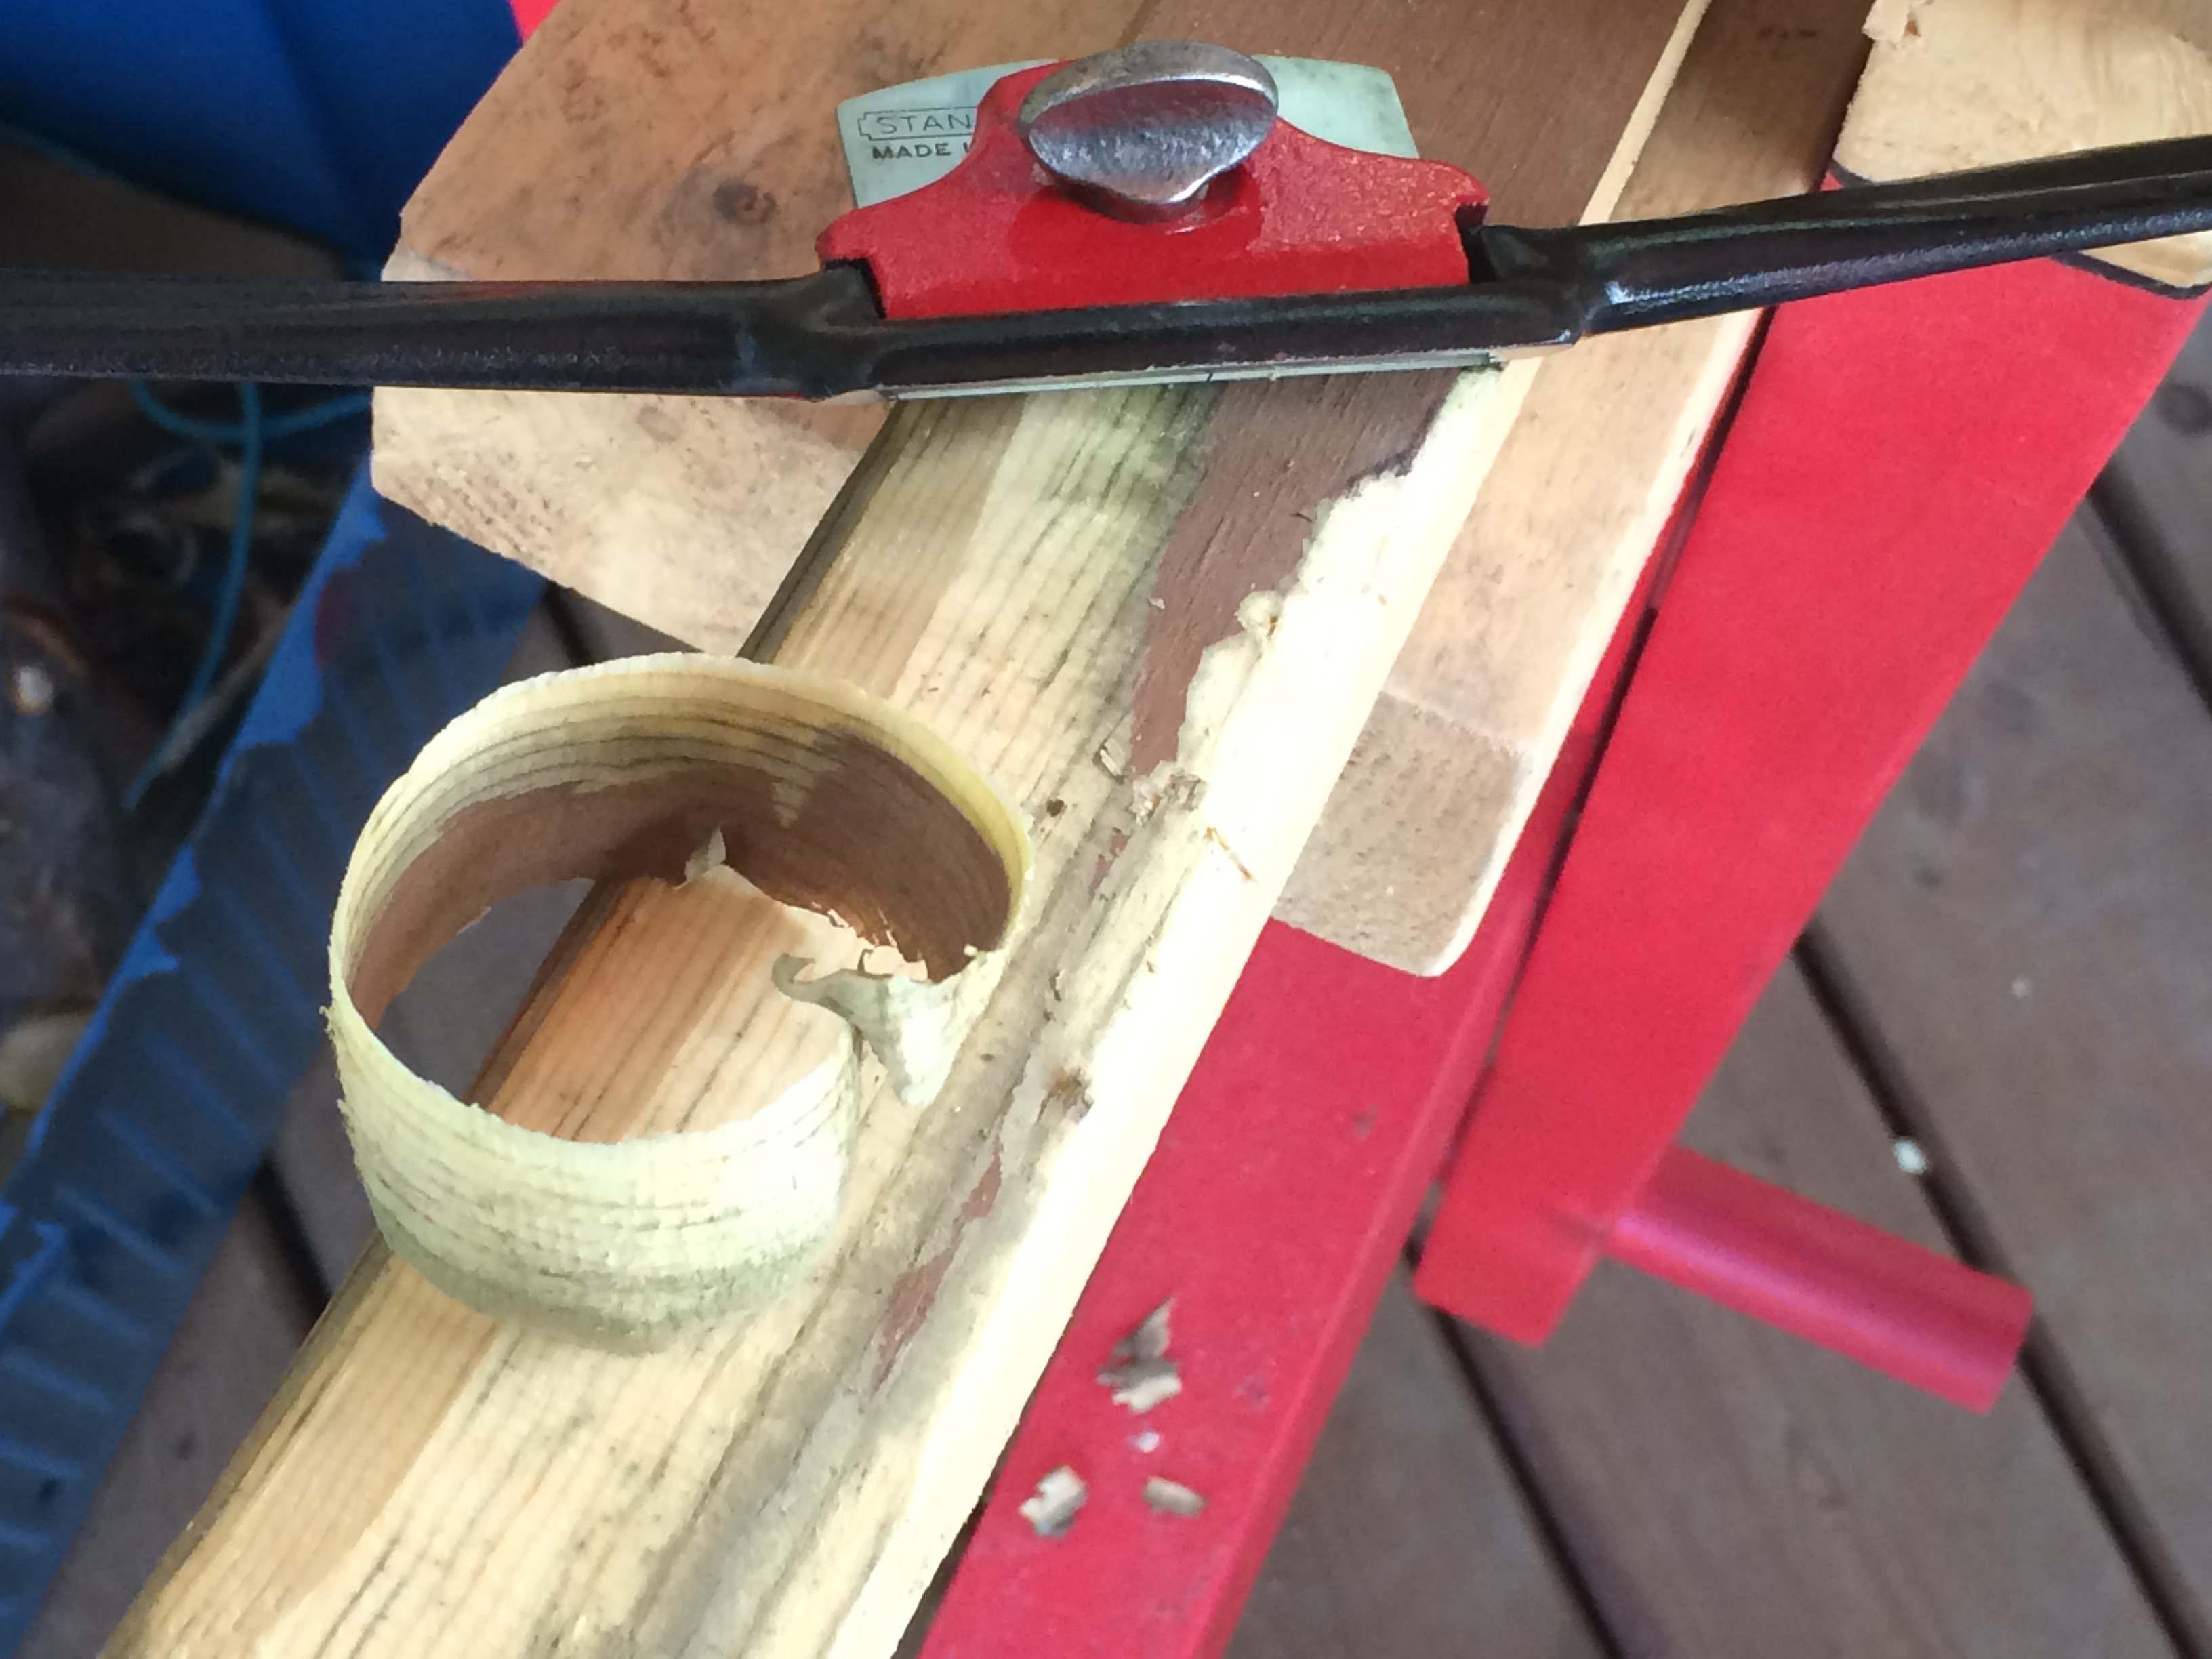
It even works for BIG curls along larger surfaces.
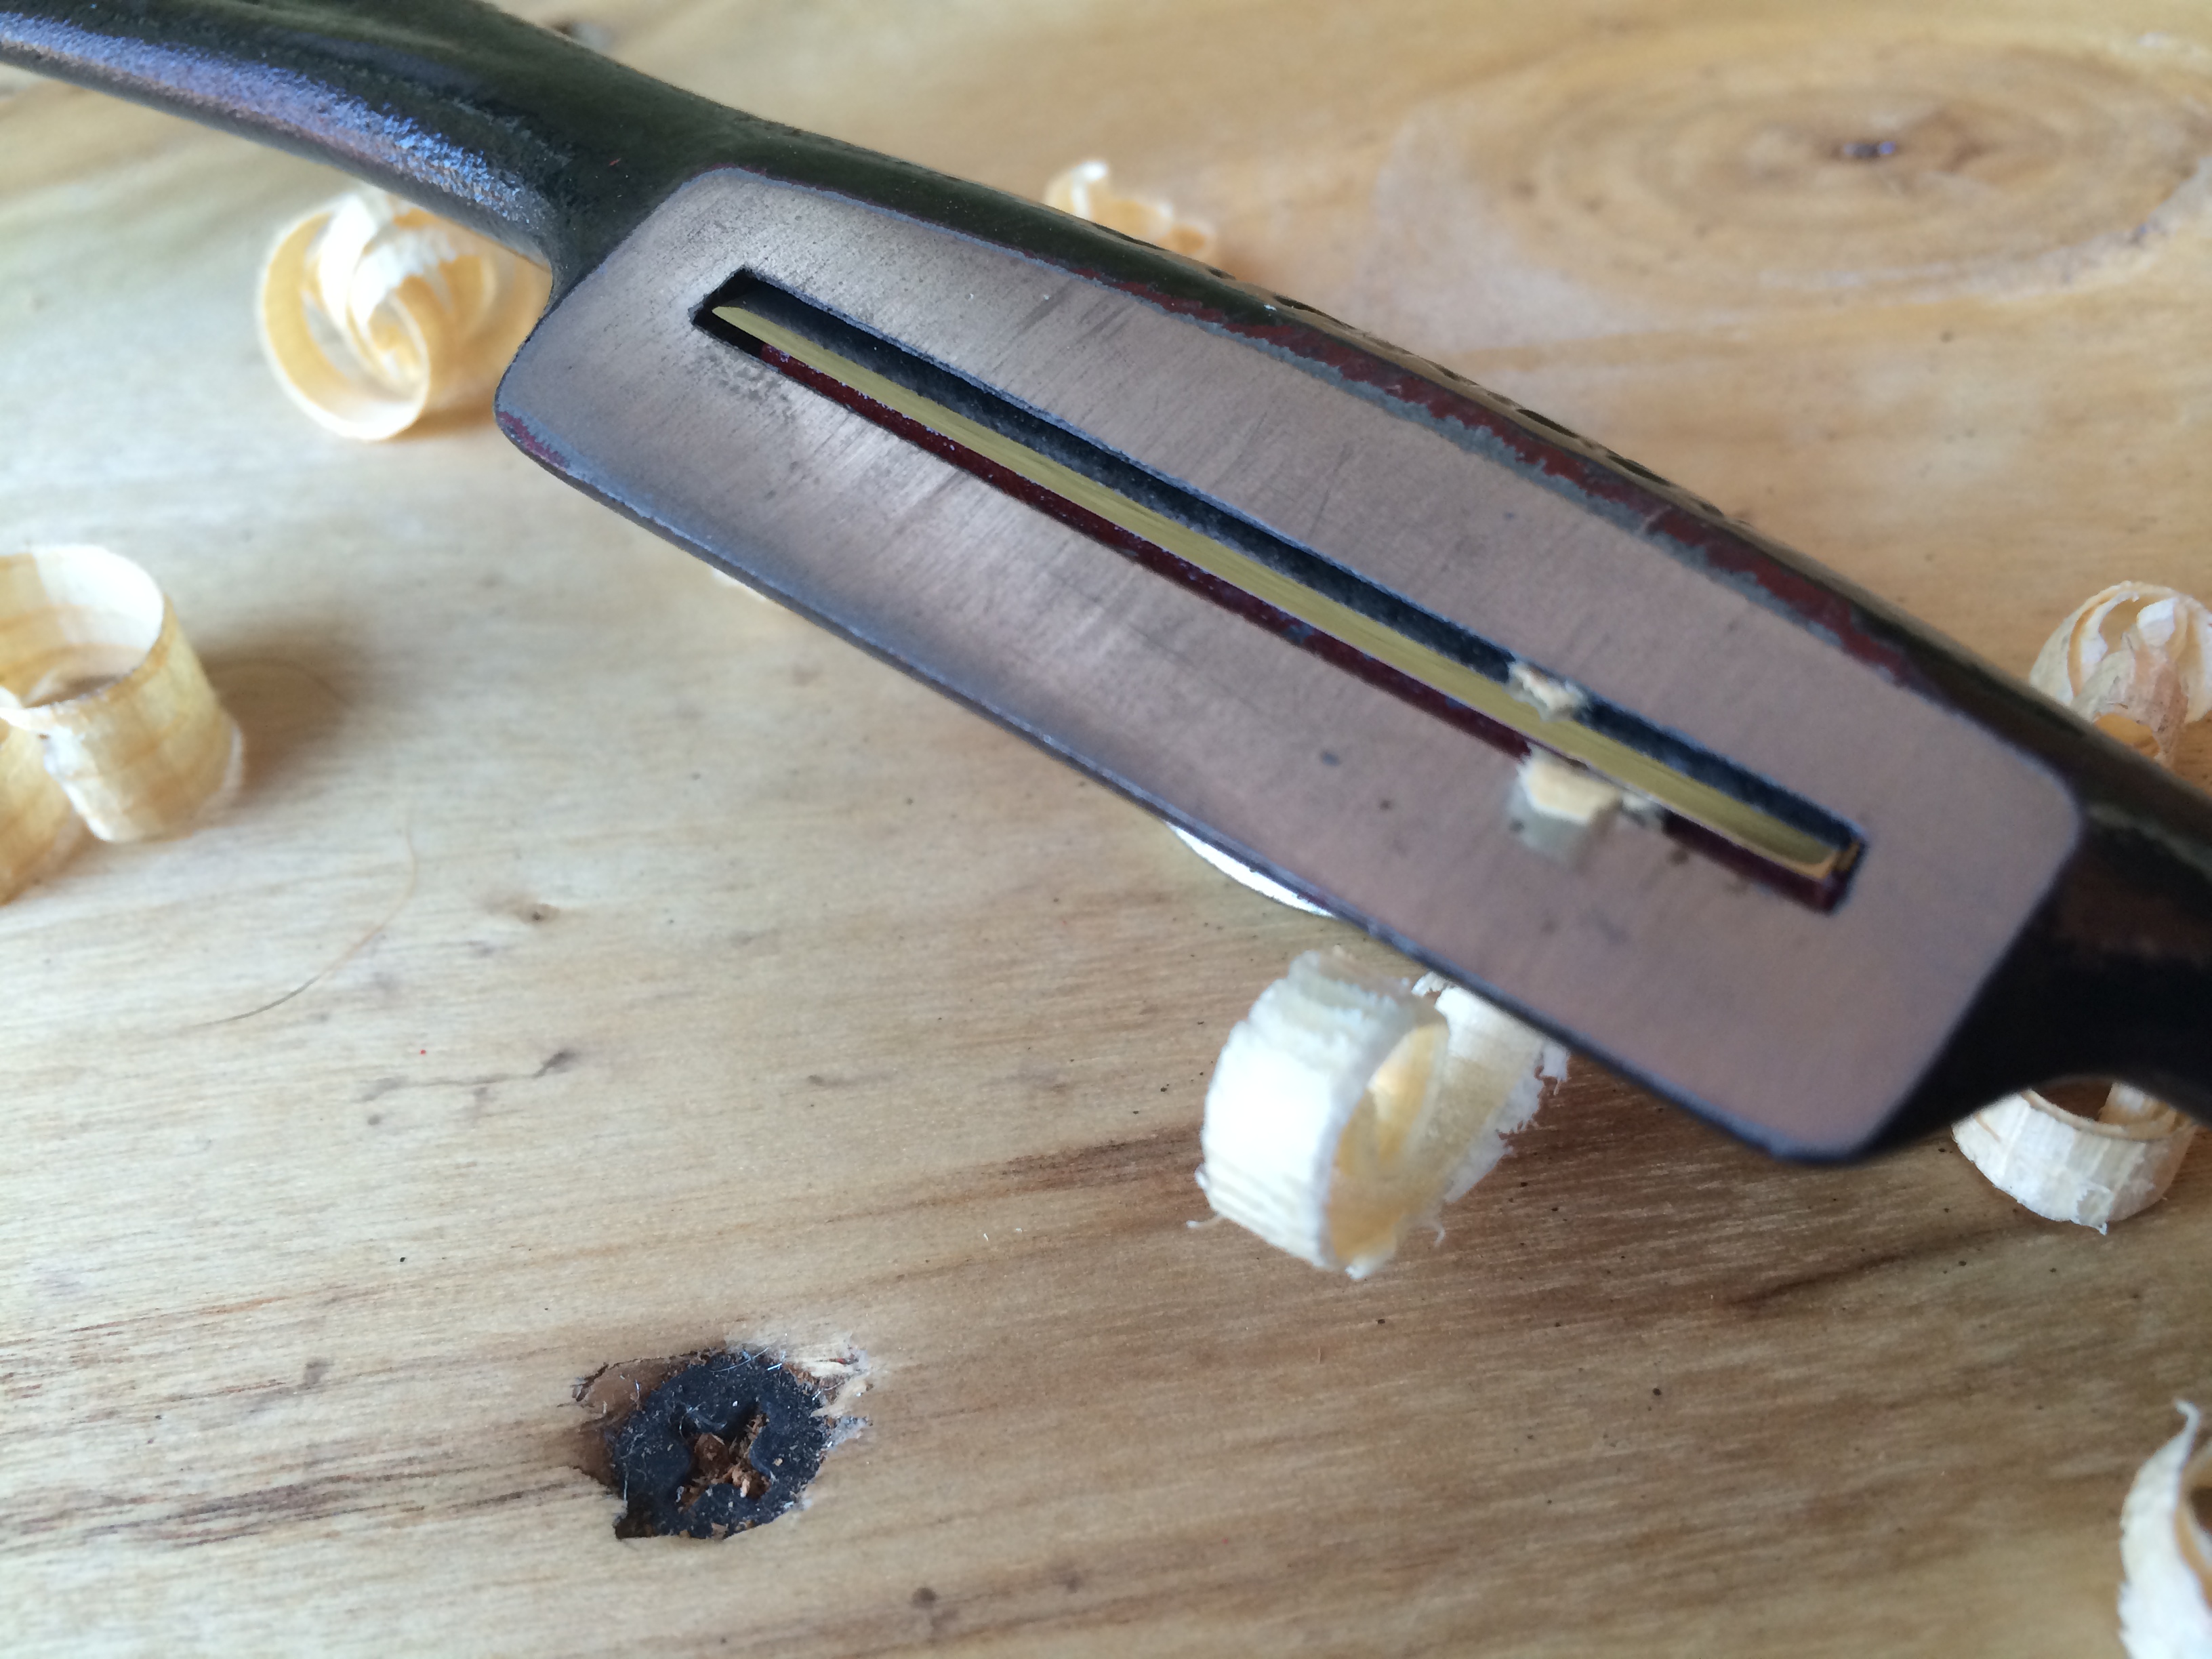
A close up of the mirror edge, chisel blade.
Proudly made in Canada, and now REMADE in Canada as well.
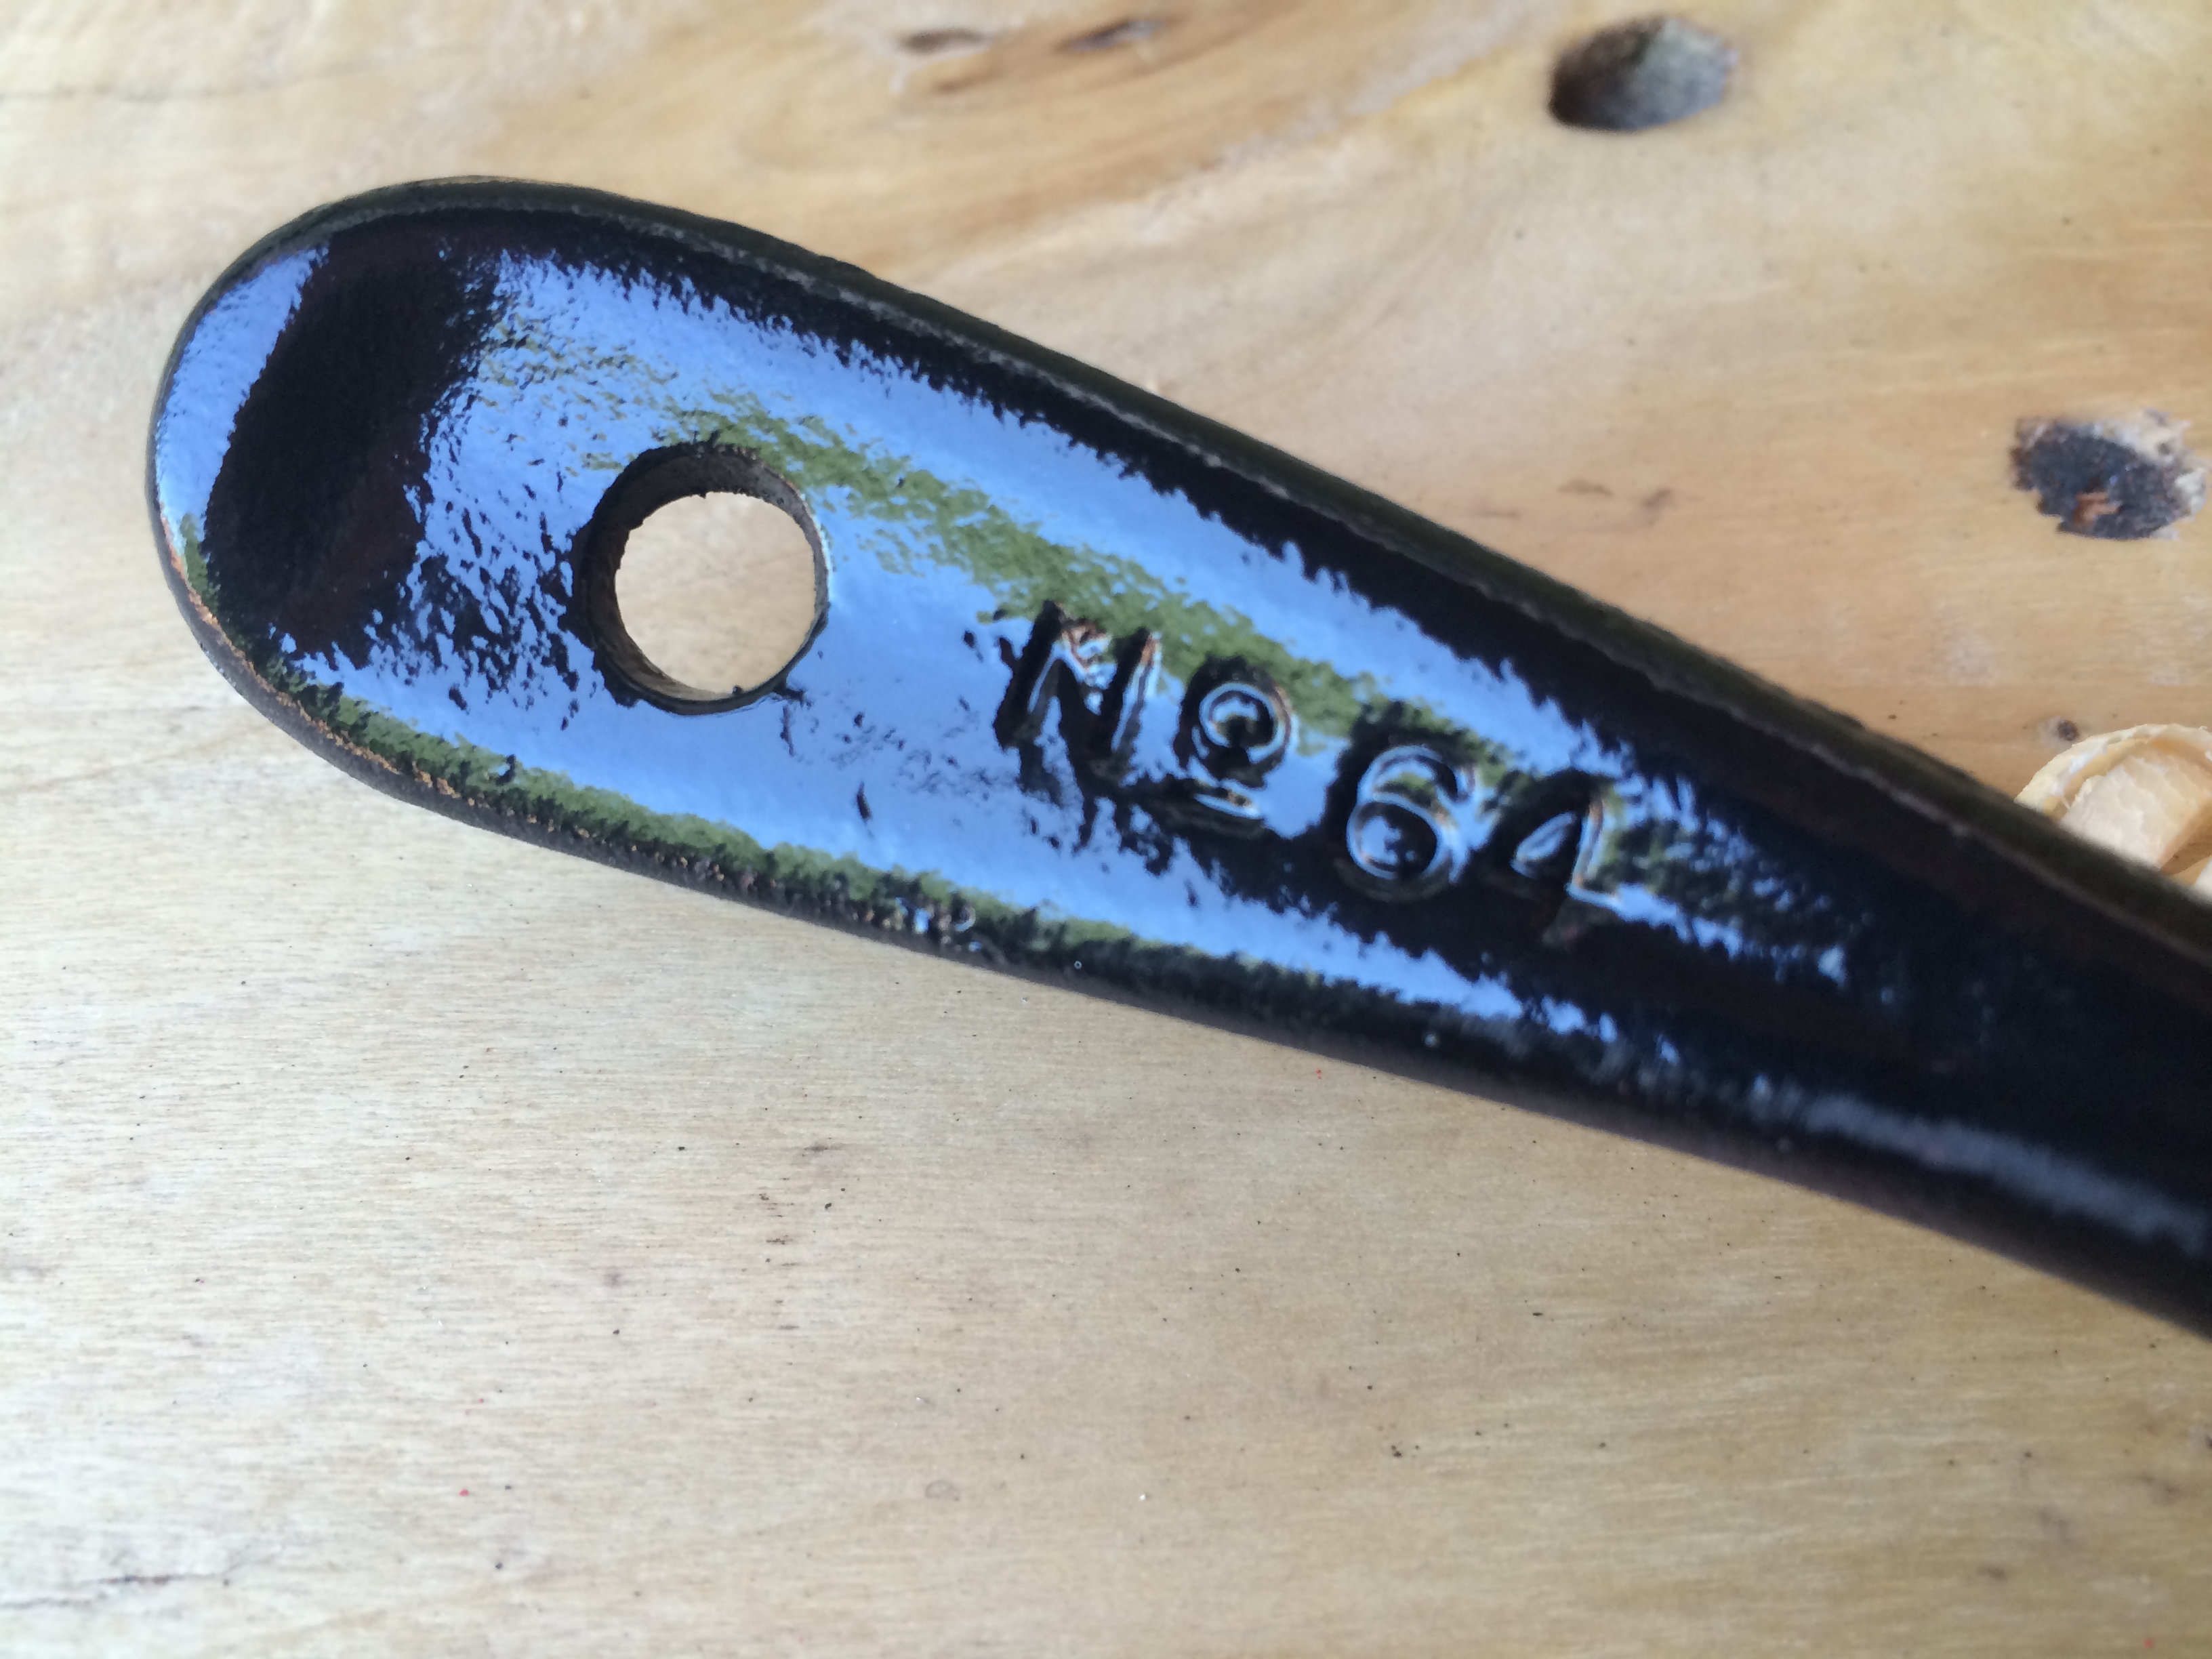
The model number, No. 64.
Again, the part count being very low, there is very little to break. More complicated models feature precision depth guides, multiple thumb screws etc. I enjoy the simplicity of this model.
And one parting shot…
Here’s a quick video of it in action, using the spokeshaving with my shaving horse I built from 2×6’s and 2×4’s.
Thanks for reading!
Expect more Metro Retro Mades, these are way too much fun to do and the best part is the result something I can use.
-Eric