Having been an avid collector of mid-century modern furniture and a huge admirer of the Eame’s design manufacturing sensibility, I wanted to see if I could take the lessons I’ve learned from one of Industrial Design’s masters and apply it to something else besides famous chairs.
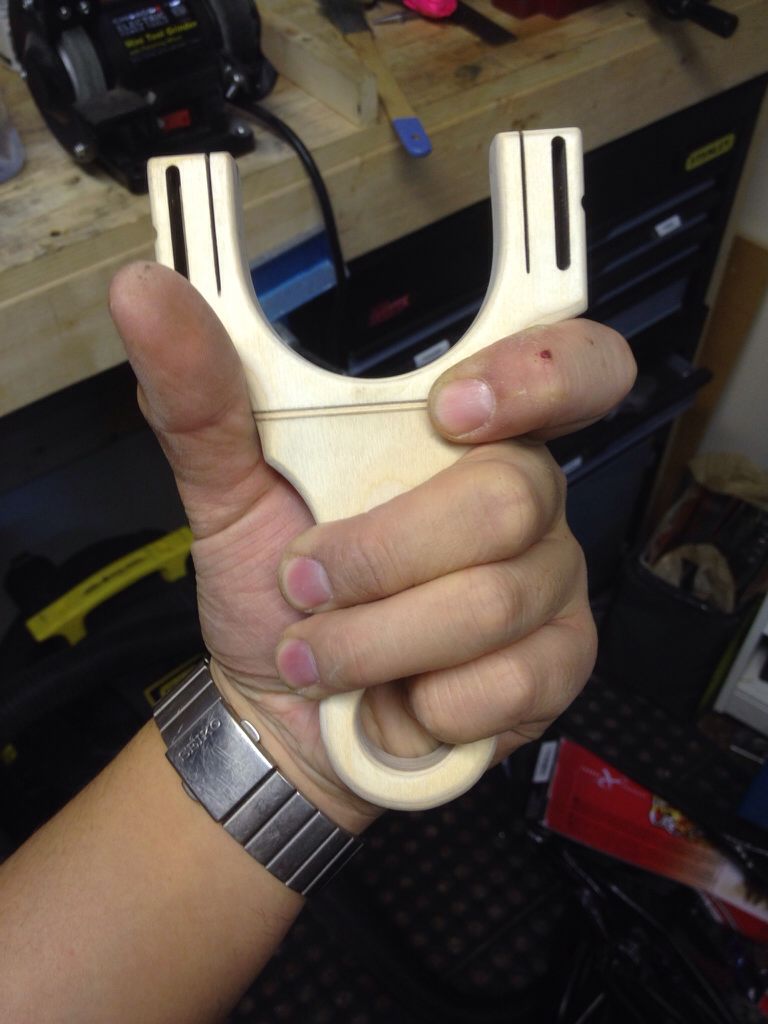
I am never one to compare myself direclty to the Eames’, but I do like to think I am a constant experimenter like they are. This time around, I wanted to take a slight three-dimensional approach to slingshot design, I speak, of course, the recurve slingshot. The recurve slingshot is a slightly more ergonomically design, made to fit the more canted, naturally forefinger/thumb forward position. The frame is usually bent into a curve, where the middle, ring and pink fingers can more easily grip on to them.
In this instalment of Metro Made, I attempt to make a recurve slingshot. Many successful recurve slingshot designs involve carving and removing material to create the curved portion, but very few, if not at all, use a bent plywood frame.
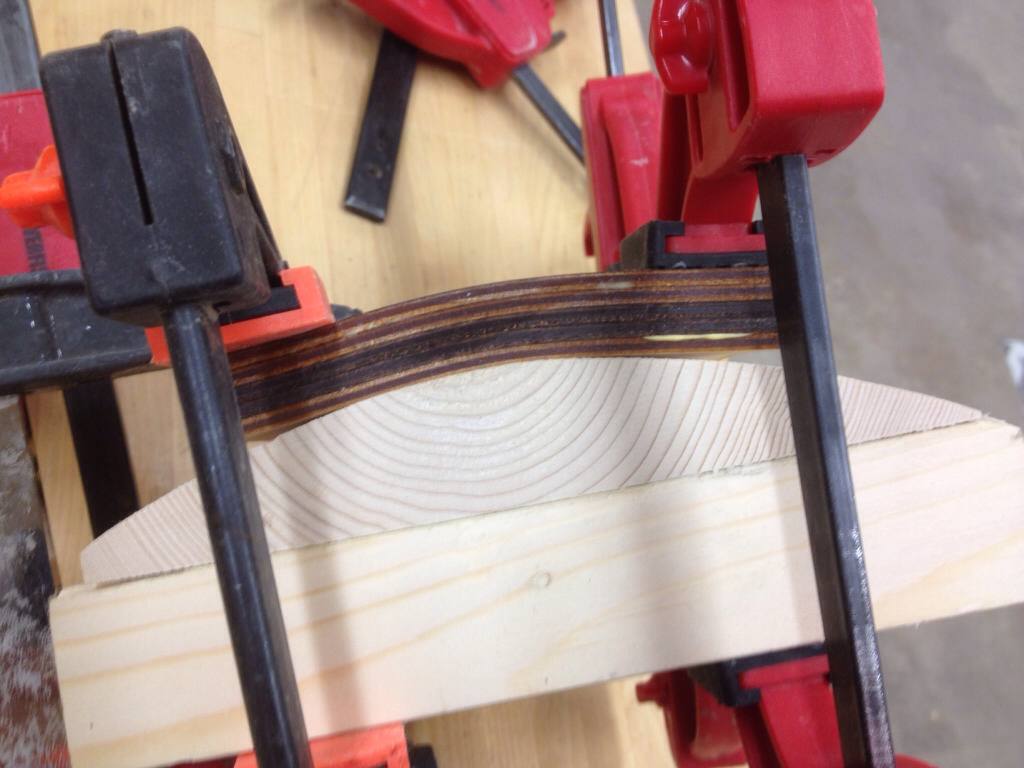
I start with 5 layers of 1/8″ Baltic birch plywood. On the top layer of this soon-to-be sandwich I laser etch a pattern of the handle in which I wanted to be bent. These layers where, one by one, laminated together and then compressed onto a pine form. In hindsight, I should of cut the layers longer so that they would have more room to bend, I don’t like wasting material so I did what I could. This was clamped down for 45 minutes while the glue set up.

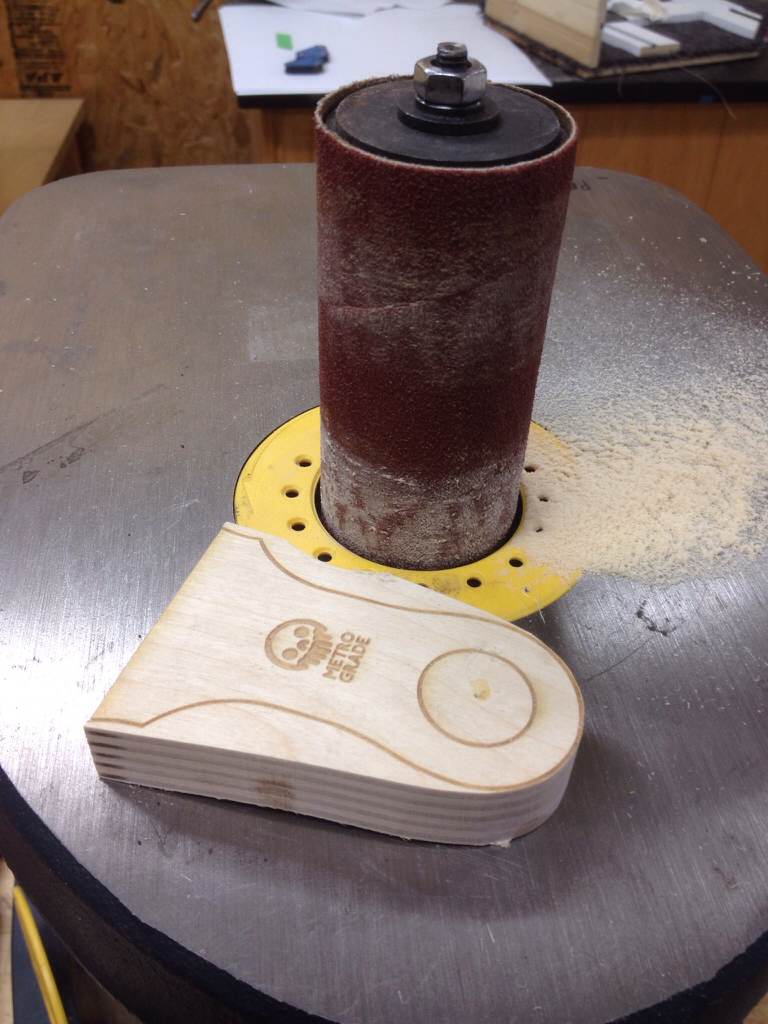
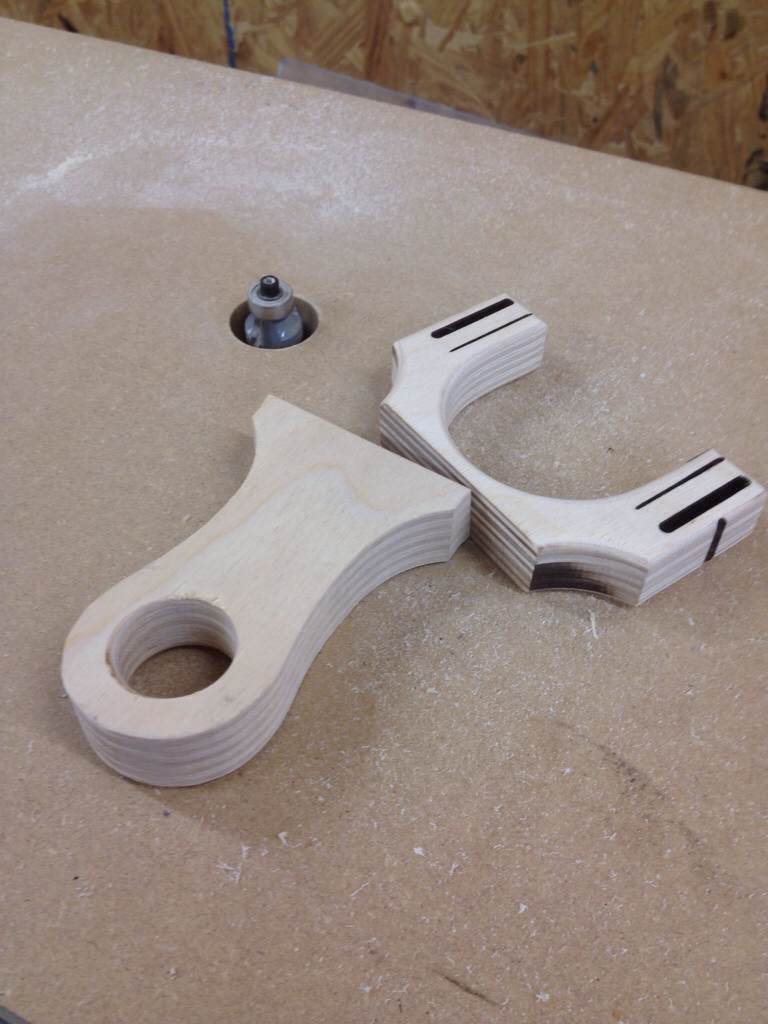
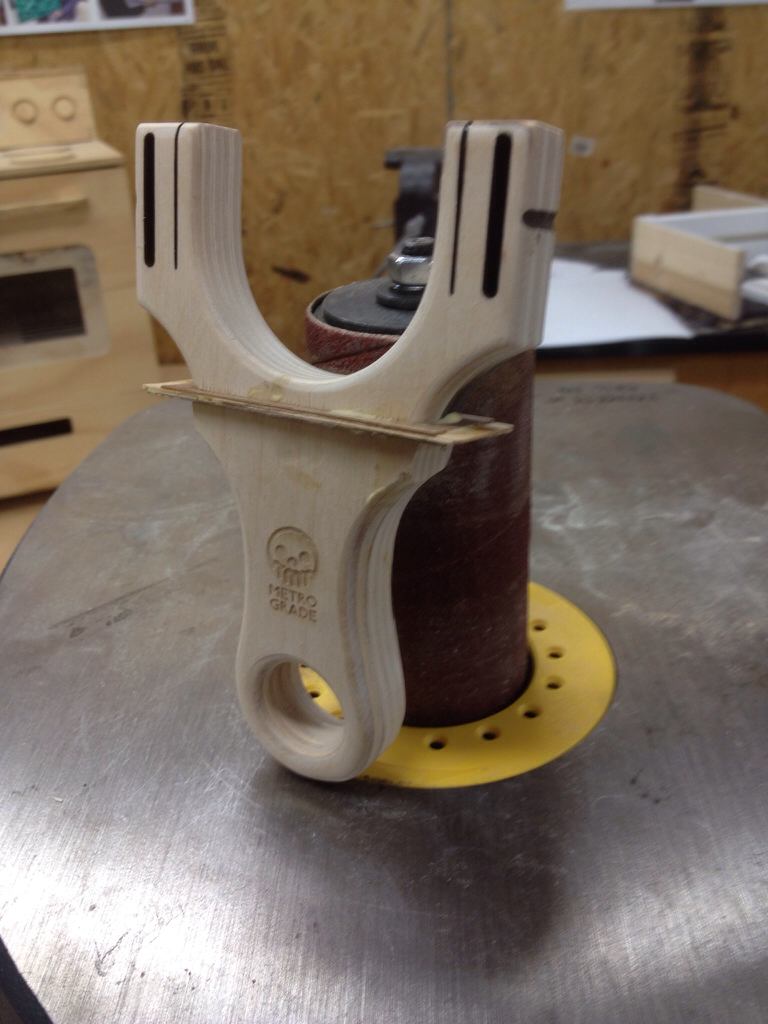
After removing the now curved formed from the buck, I used the band saw to cut off the excess material, and use a medium size drum with 80 grit on the spindle sander to refine the shape.
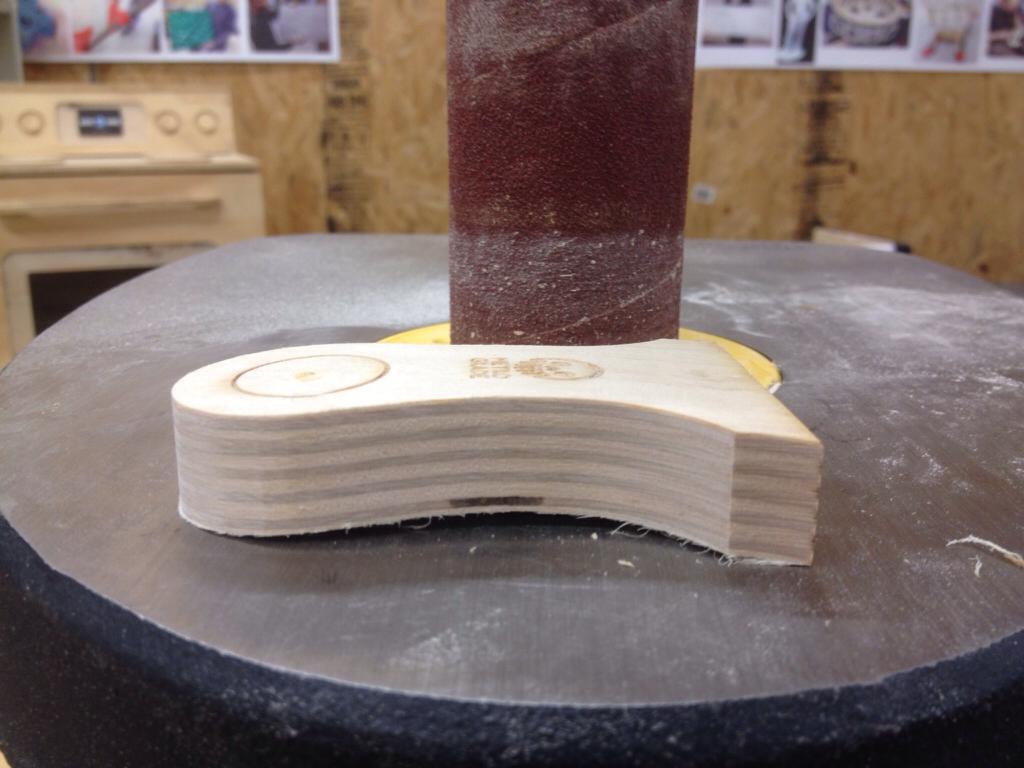
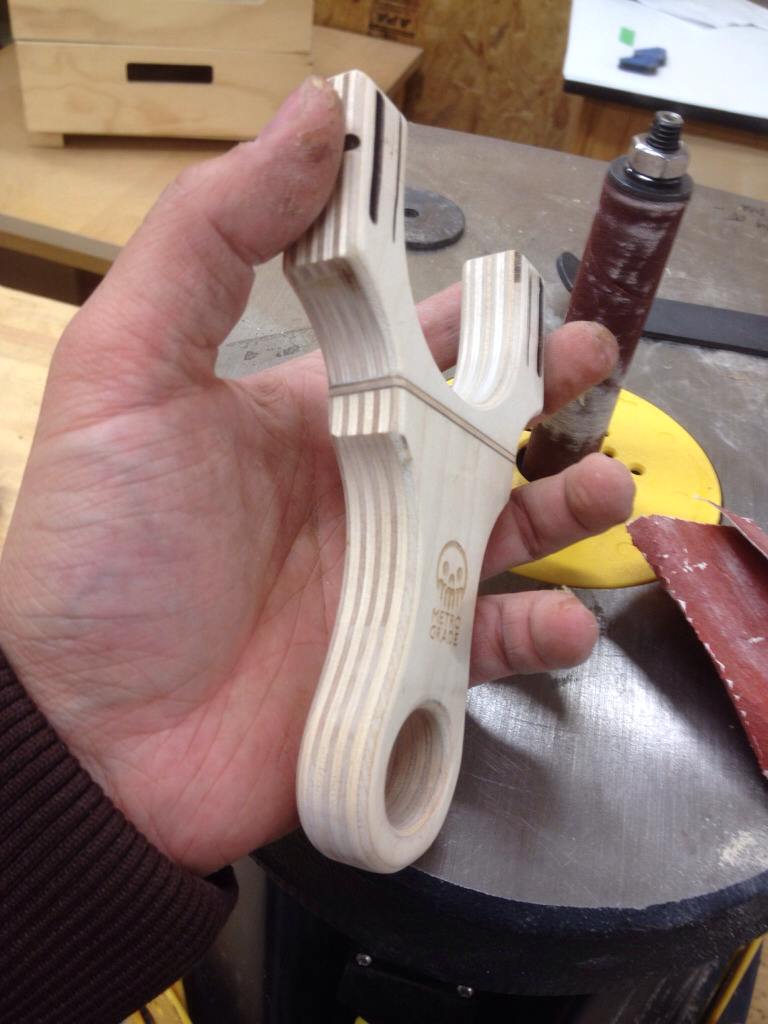
After achieving the desired shape, I turned my attention to the pinky hole. The majority of the material was removed with a 7/8″ spade bit. The final shaping was done with the spindle sander.

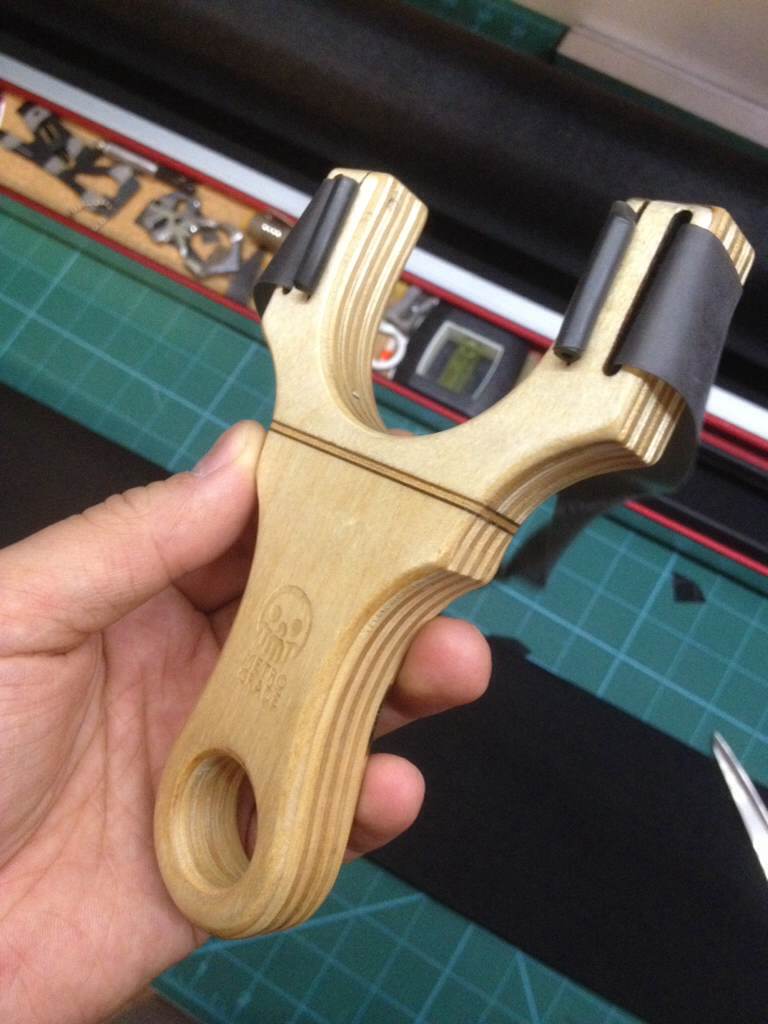
You can see the handle take shape.
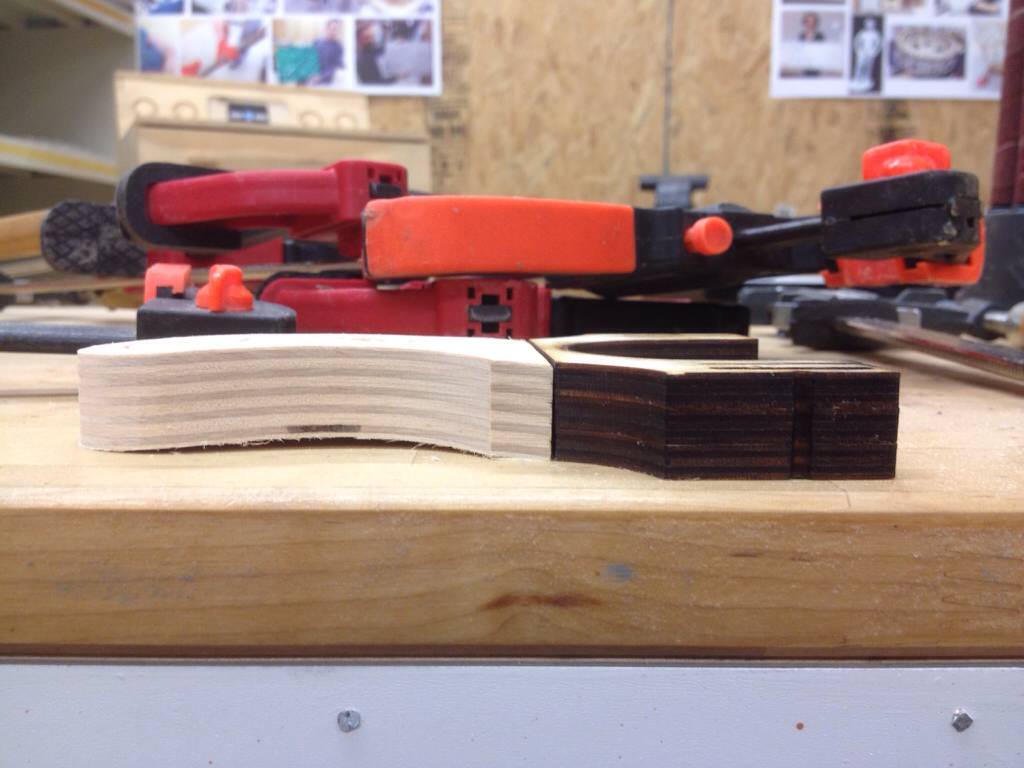
Before gluing the two hemi-spheres together, the edges were knocked down with a 1/8″ round over bit on the router.
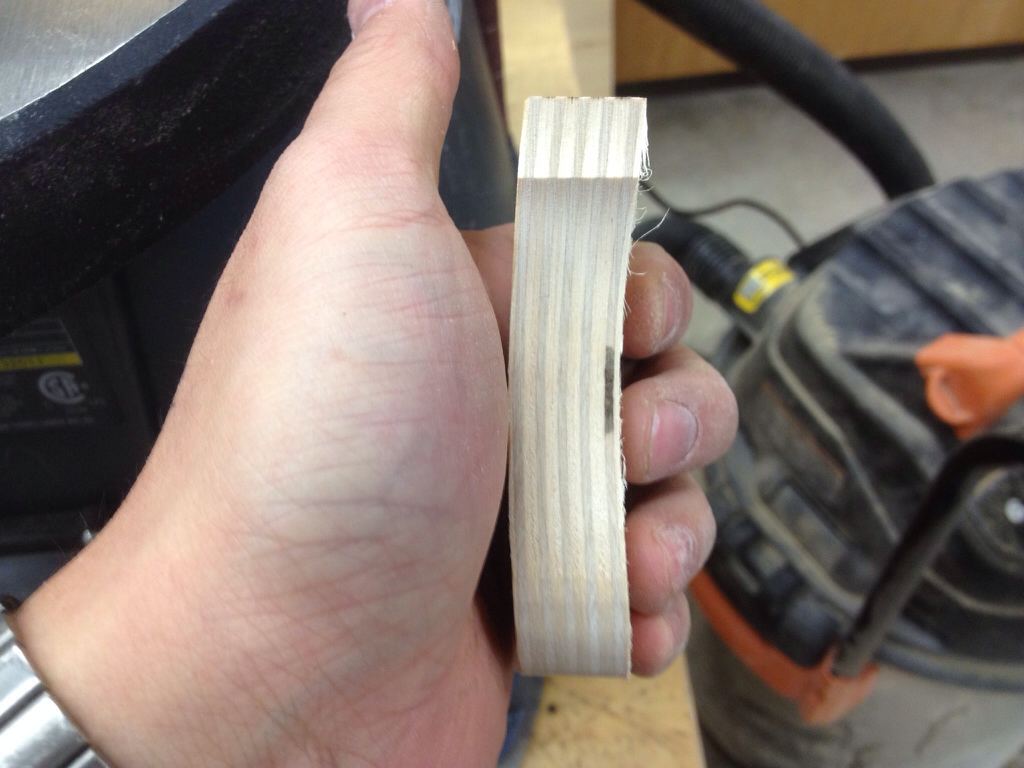
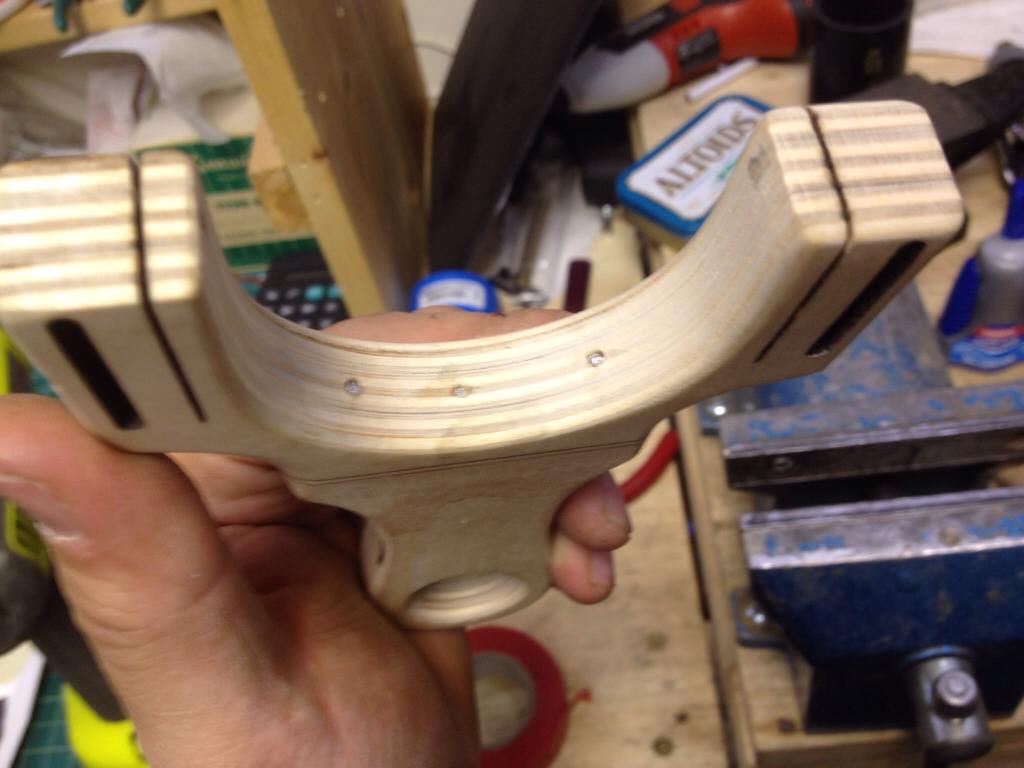
Since it would be impossible to blend the Baltic birch together to hide the seam, it would a great chance to make a feature out of it. 4 stacked veneers made for a nice detail.

After clamping to ensure the joint is as strong as possible, the excess veneer was sanded off and the mismatched routered edges were bended together with some heavy grit sandpaper.
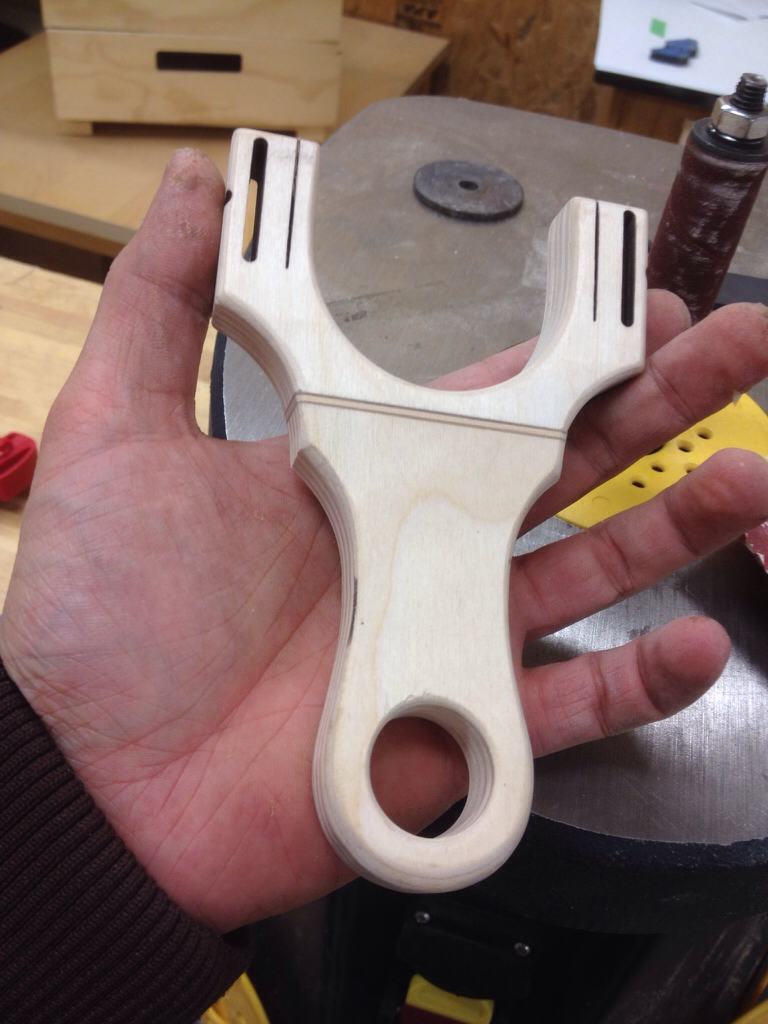
To further strengthen the joint, 3 nails were driven into the yoke.
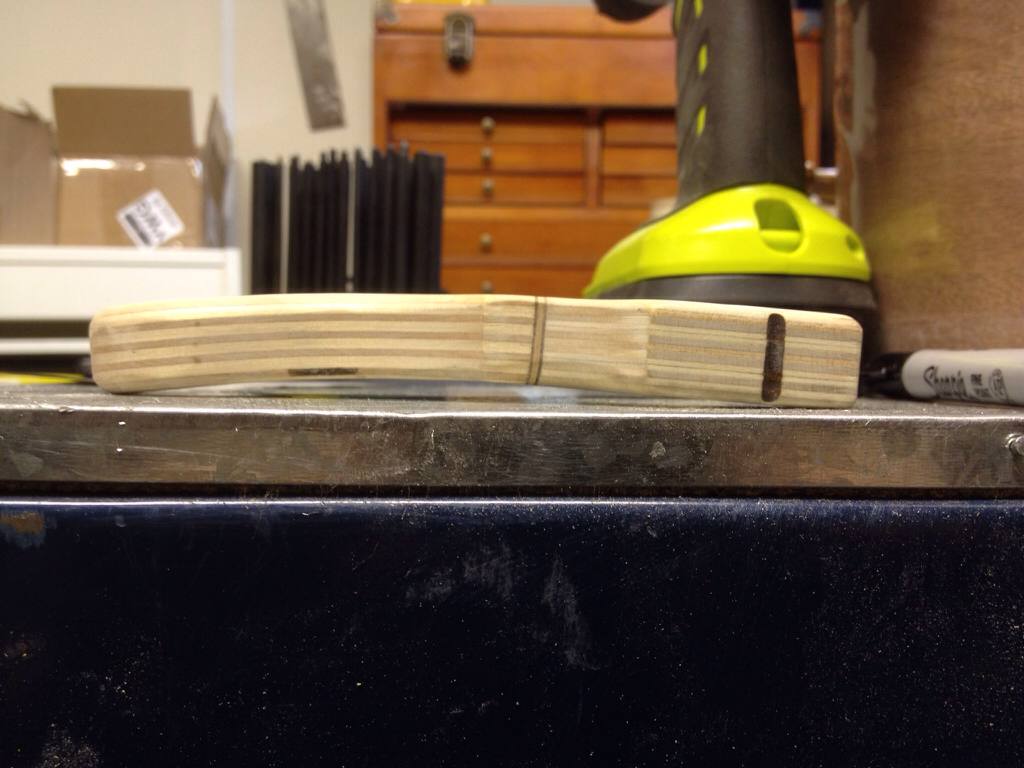
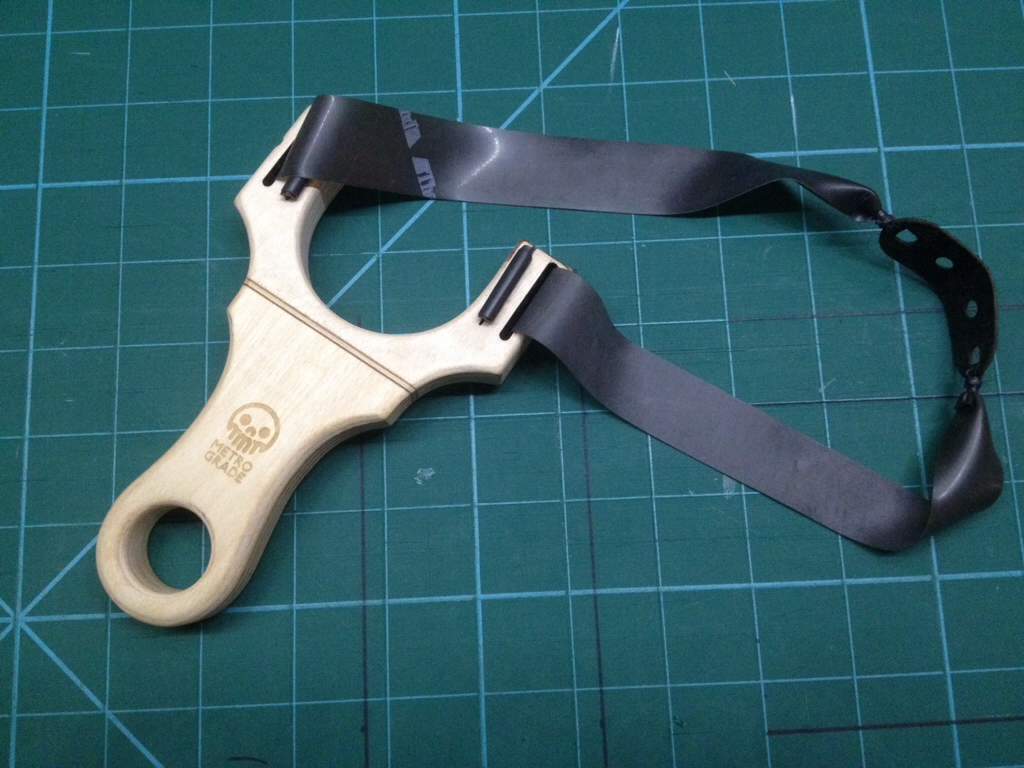
When placed on a flat surface, the full effect of the bent plywood combined with the vectored glue joint can be seen.
Applying 3 coats of polyurethane, after each coat a rub down with some steel wool, the final result is a smooth slingshot with great grip. Since there is a potential danger of the forks separating, the heaviest band set I would place on this slingshot is Theraband Black.
Thanks for reading yet another build post,
The next time I decide to make this again, I am going to do things a bit differently, but for a proof of concept, this recurve slingshot is some thing I can have a lot fun explaining how I made it.
-Stay True-
-Eric