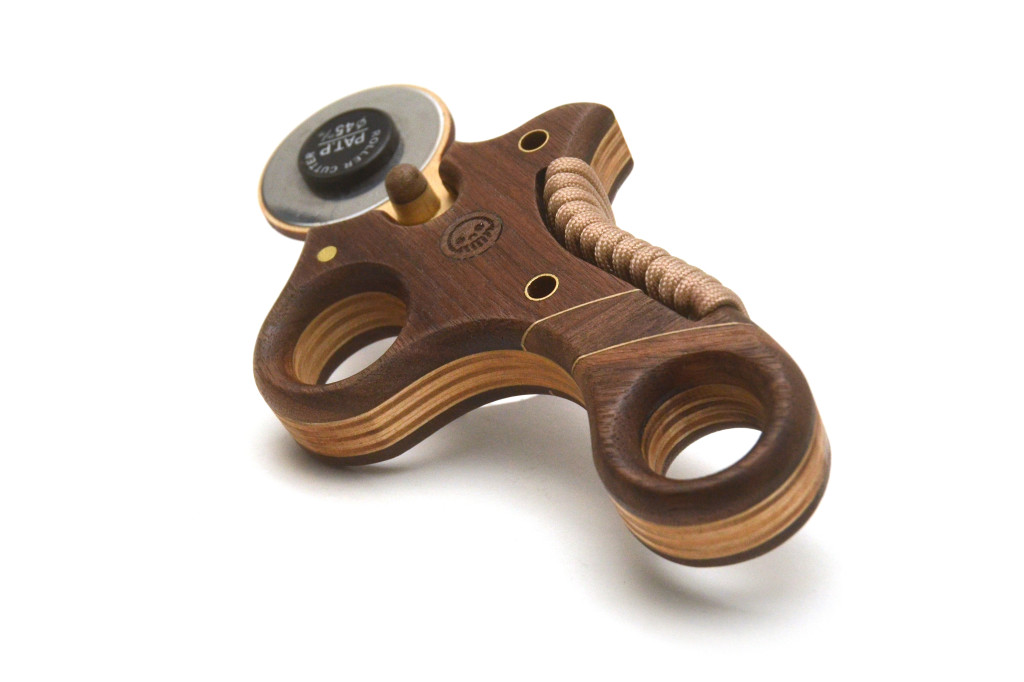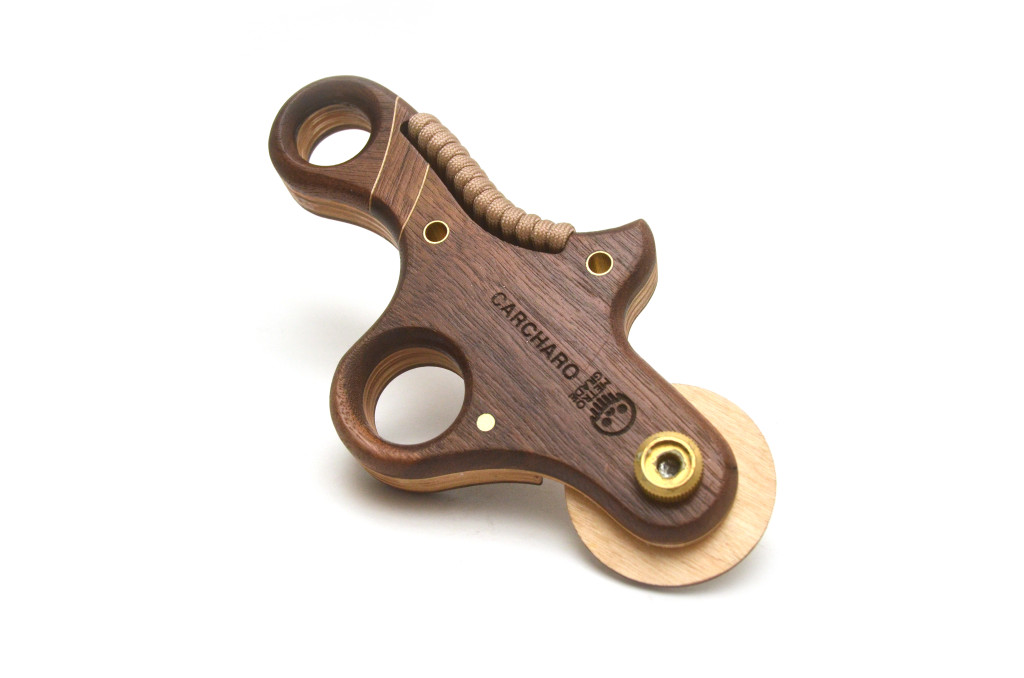
Kināna Our sister company Skinth Solutions cut yards and yards of CORDURA nylon fabric everyday, it was time to join forces and develop a stylish and ergonomic rotary cutter we could both use. http://inklingsandyarns.com/2010/11/not-a-hobby/ The only way to cut Theraband well is to use a rotary cutter, ones commonly used for textiles and paper. Theraband is the same high performance latex band used for resistance based exercises.
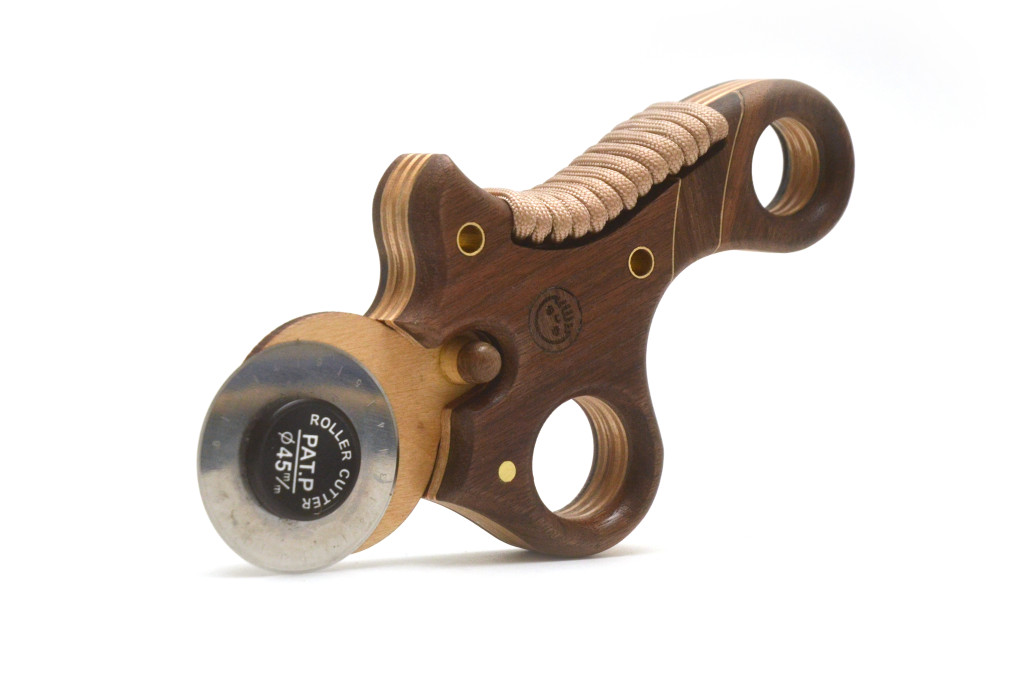
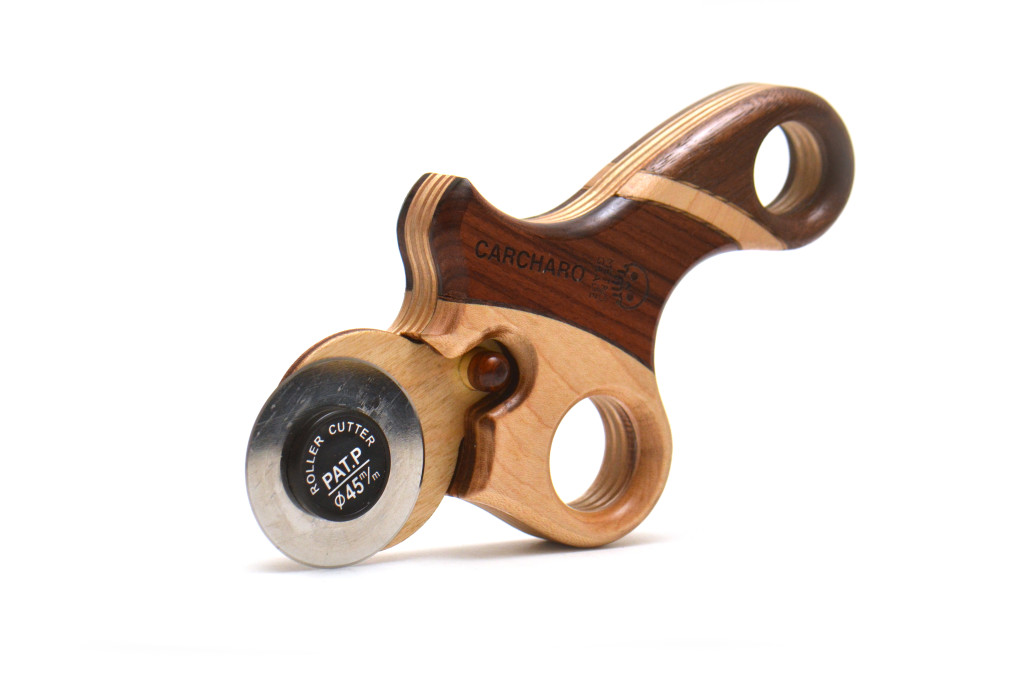
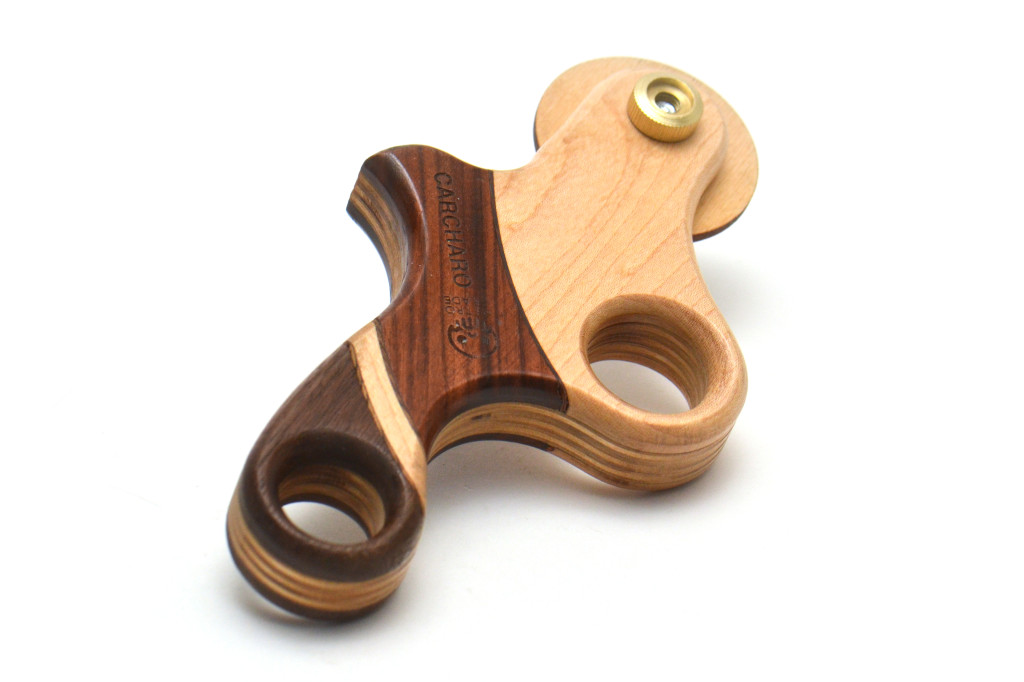
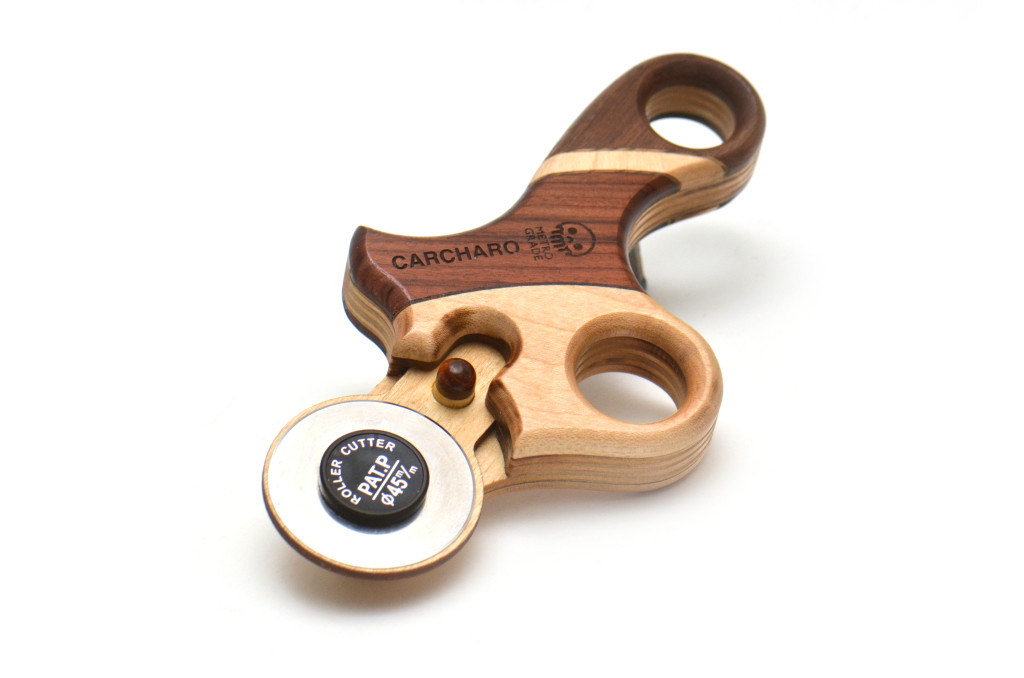
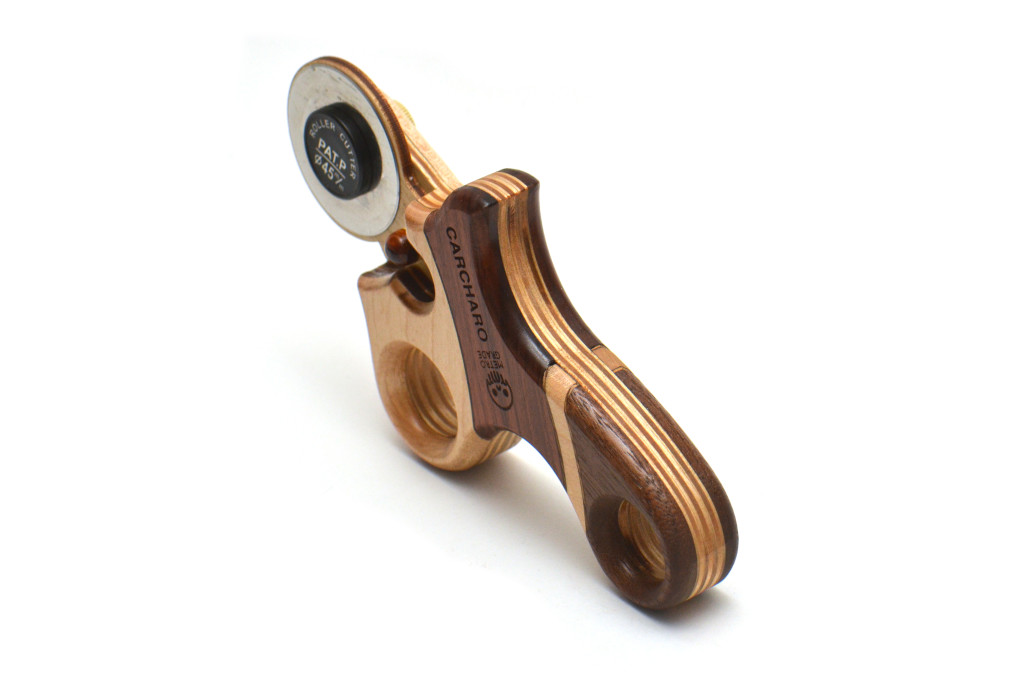
In this installment of Metro Made, we are going to show how we made the Carcharo (short for Carcharodon;Shark) rotary cutter.
Like always, we drafted the design up in Adobe Illustrator, using our favorite scripts, Metaball and Round-every-corner to make short work of building up shapes and forms. After that we prototyped in plywood to check for tolerances and fitting of the blade guard mechanism. Once we were sure of safety of the cutter (it is a razor sharp blade after all), we went ahead and laser cut up some premium woods.
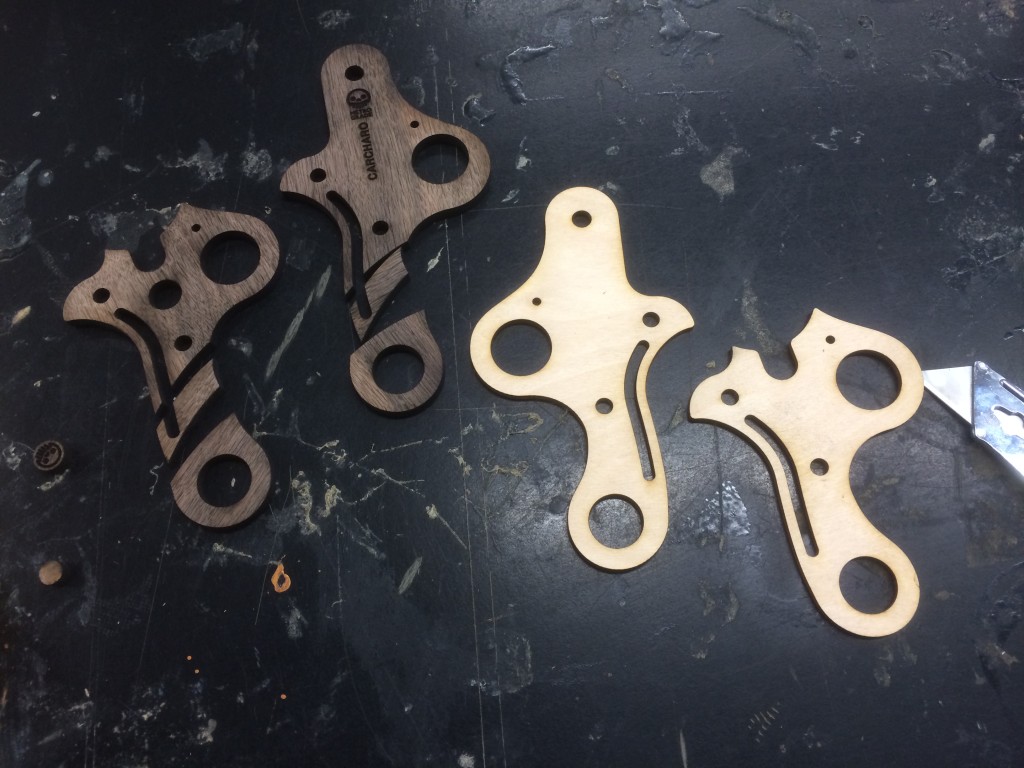
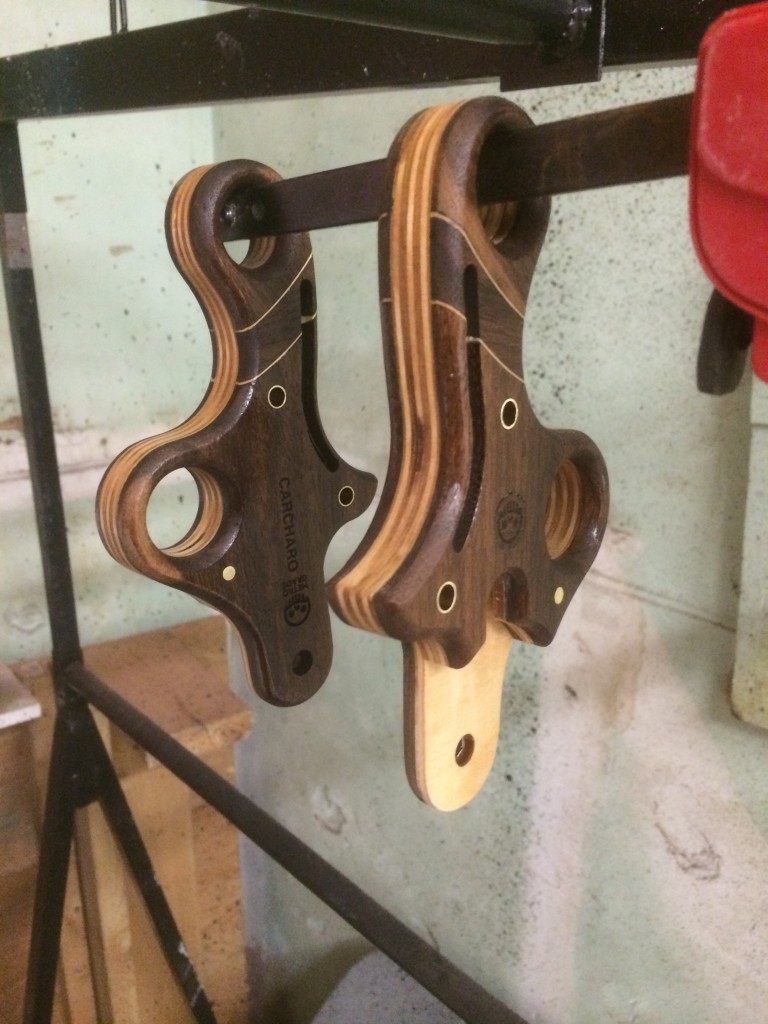
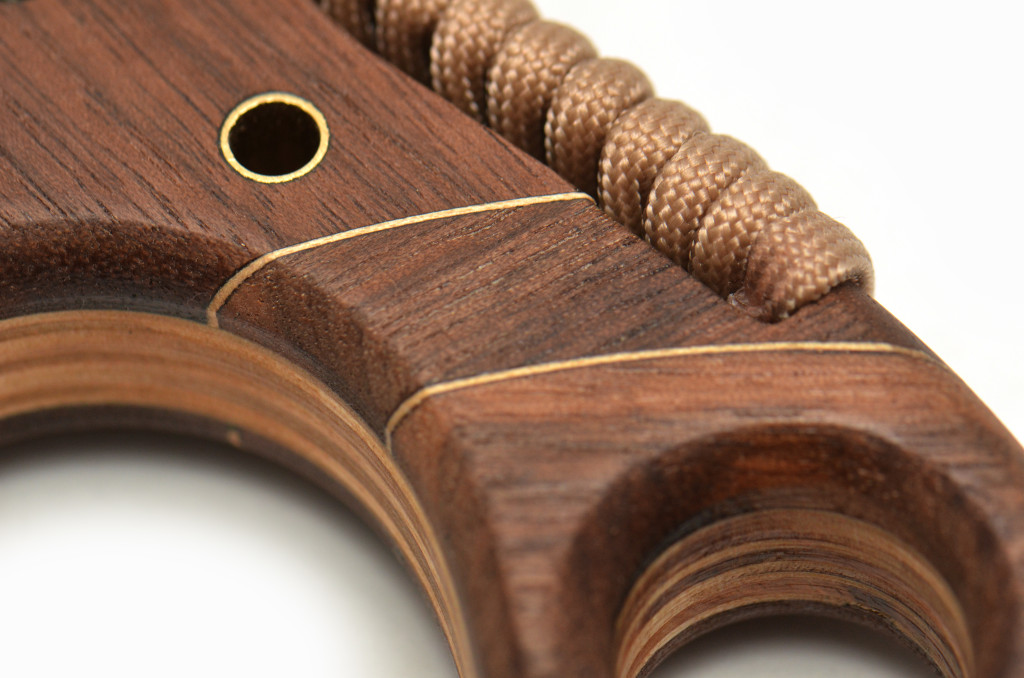
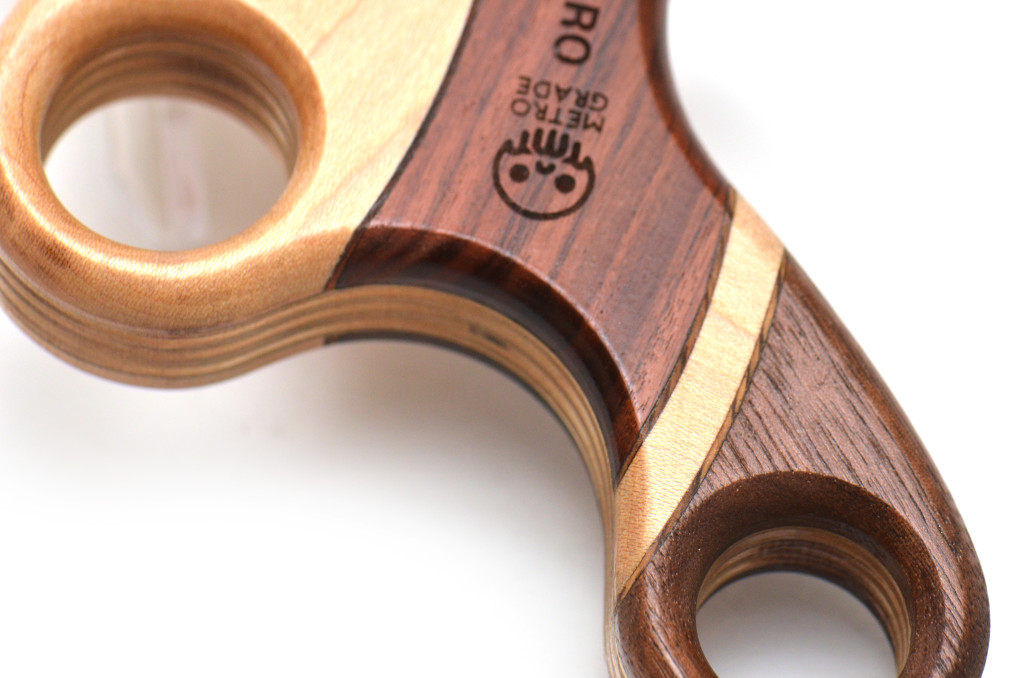
We are going to skip ahead to that step, here are the parts all laser cut. The puzzle pieces are cut some 1/4″ American Walnut and the framework is cut from 1/8″ Baltic birch plywood. The walnut parts are sliced up in a way to create alternating grain patterns and more efficiently tile the parts on the stock. It is also a chance to inlay some contrasting maple veneer, since the laser cut has a 40 thousandths of an inch kerf, a single layer of wood veneer is a perfect filler.
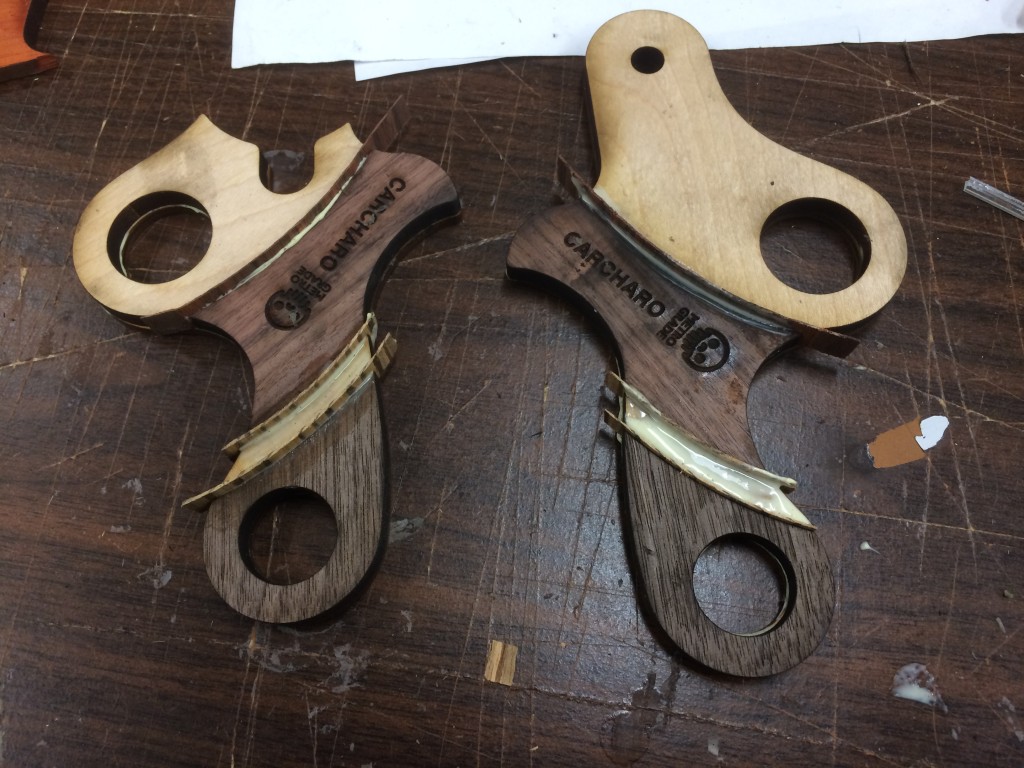
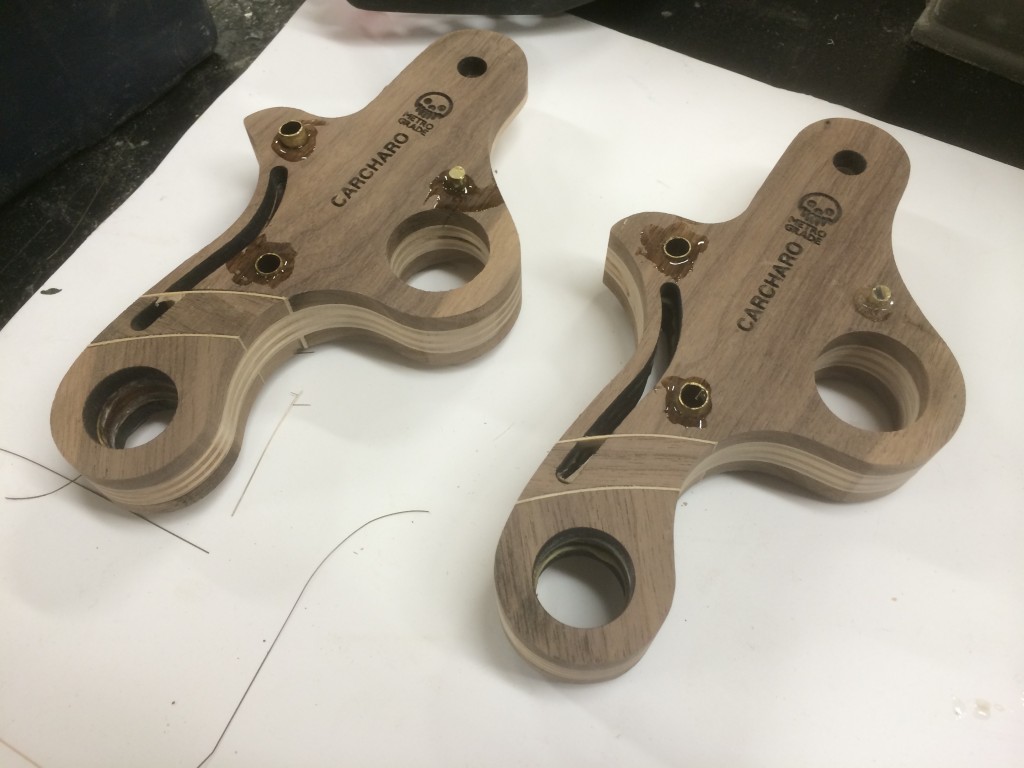
Gluing up the parts is a little time consuming and hands on so we forgot to take some pics but here is a shot of another Carcharo glued up in the same manner. Note the veneer spacers/filler. The laser engraving is set to 25% more power than necessary so that when the 1mm of material is sanded off to flush the face, the engraving still remains crisp and intact.
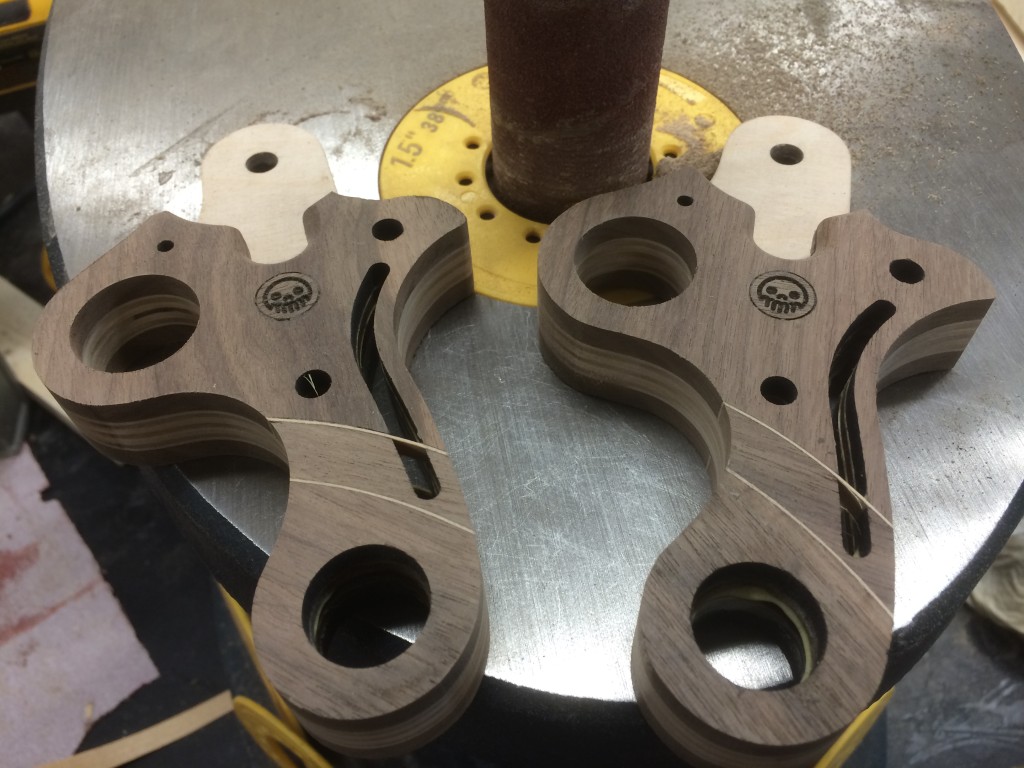
Once the parts are all set up, the final lamination of the back side, inner core and front face was done. Edge and face sanding makes this project a little bit more clear.
Once everything is cleaned up, the holes were precision drilled out so that some 1/4″ brass tubing a 5/32″ brass rod could epoxied into place.With so much contact between the wood, these are mostly for aesthetics and detail. Normally pins and tubing are used to stabilize applied scales on a frame. With no other projects on the go, the wait time for epoxy to set up is unbearable.
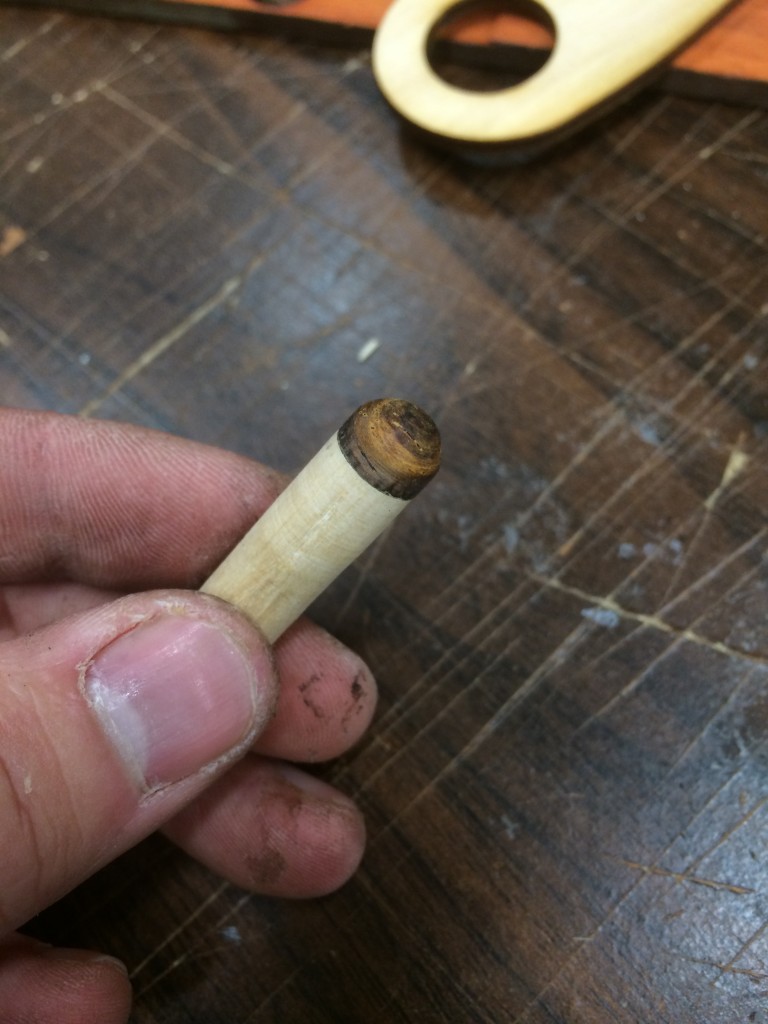
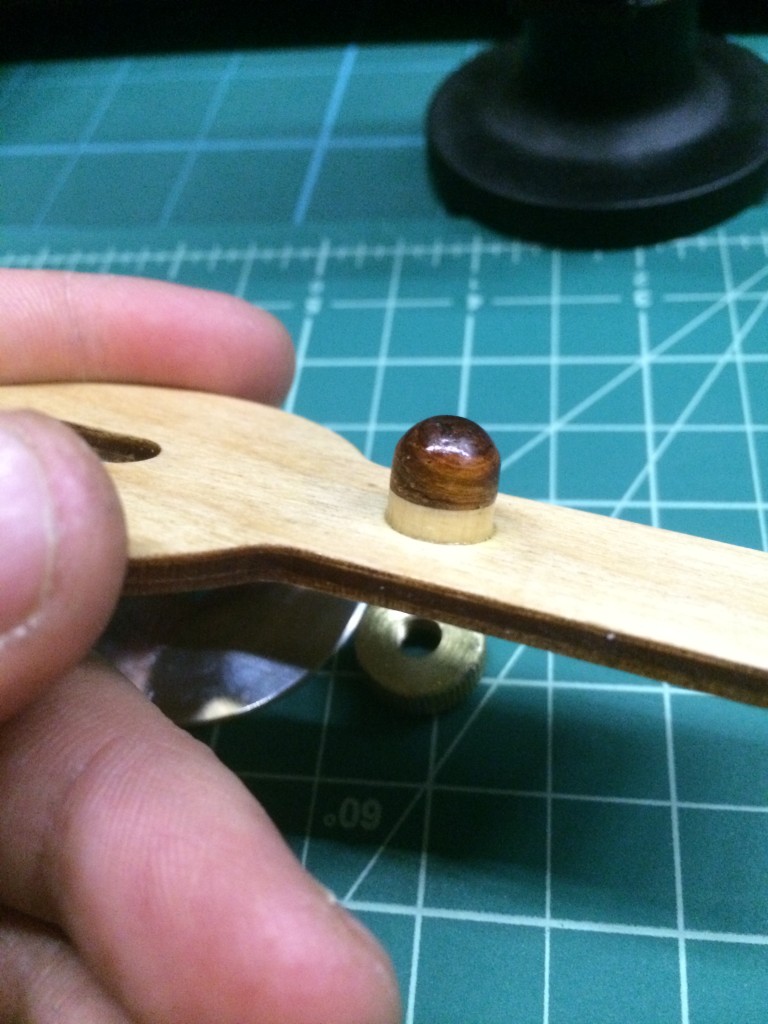
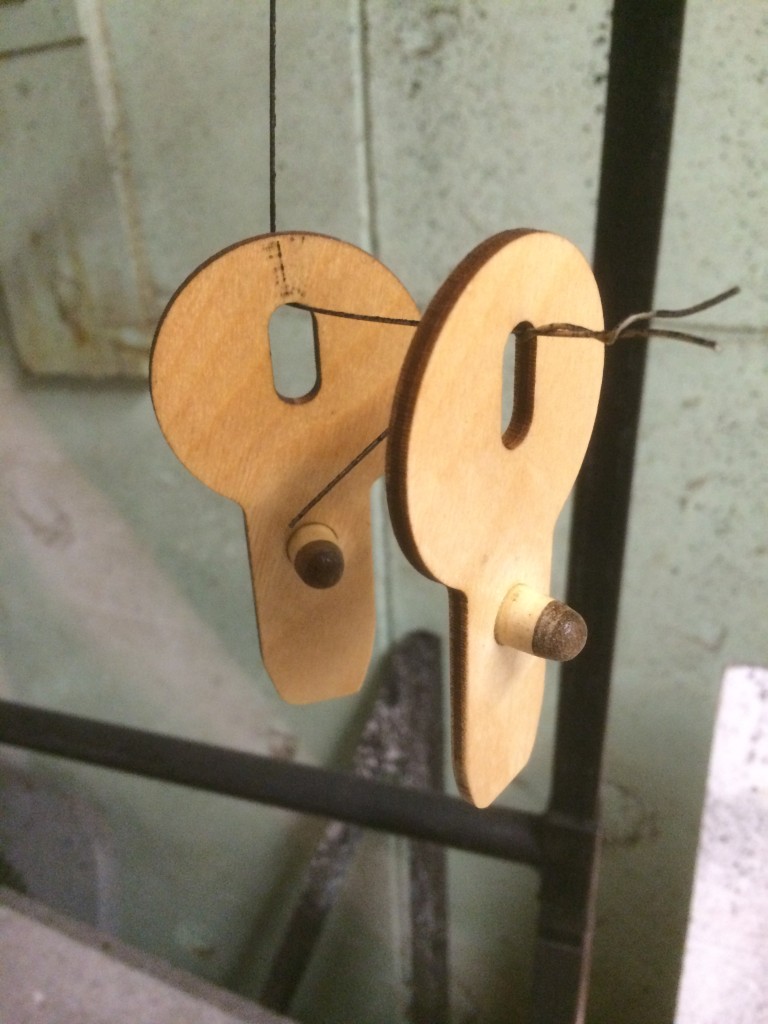
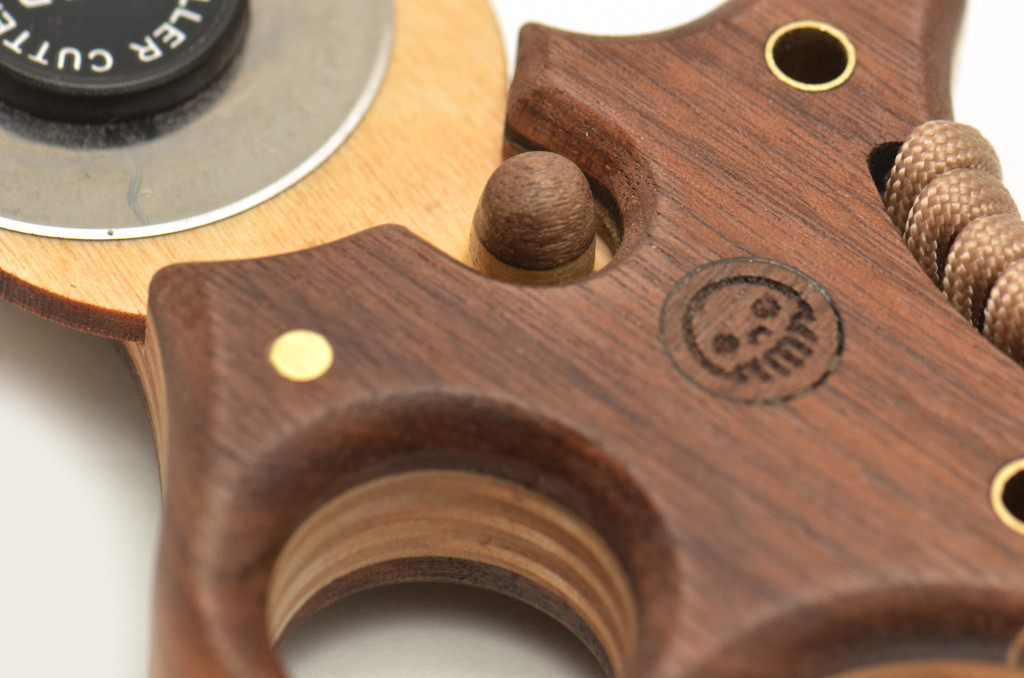
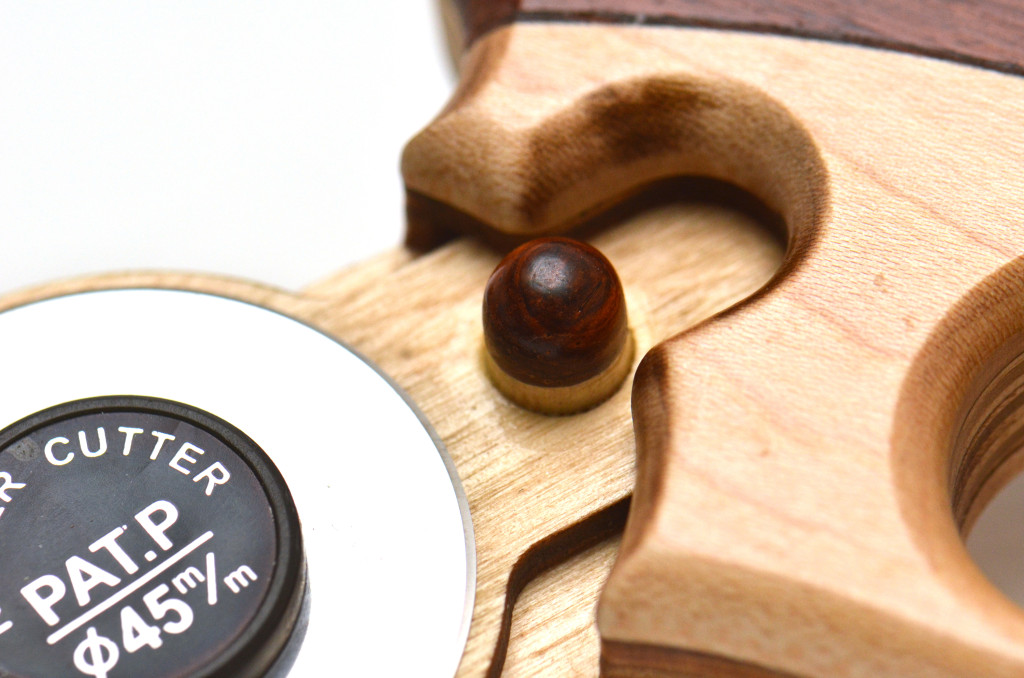
Meanwhile, the blade guard needed attention. The thumb nubbin used to engage and disengage the guard could be just a rounded dowel, but that’s just not good enough. A laser cut 5/16″ disc was cut from the same walnut and glued onto the end of a maple dowel. The dowel was then chucked up into a drill and using sandpaper, the end cap was rounded into a nice domed switch. Again, this step was a little involved so the images here show a cocobolo end cap shaped the same way.
Turning the focus back to the main body after the epoxy set up, the faces were sanded flush and the all of the edges were rounded using a 1/4″ router bit.
Both the blade guard and the main body then went into paint, shot with 3 coats of fast dry acrylic coating.
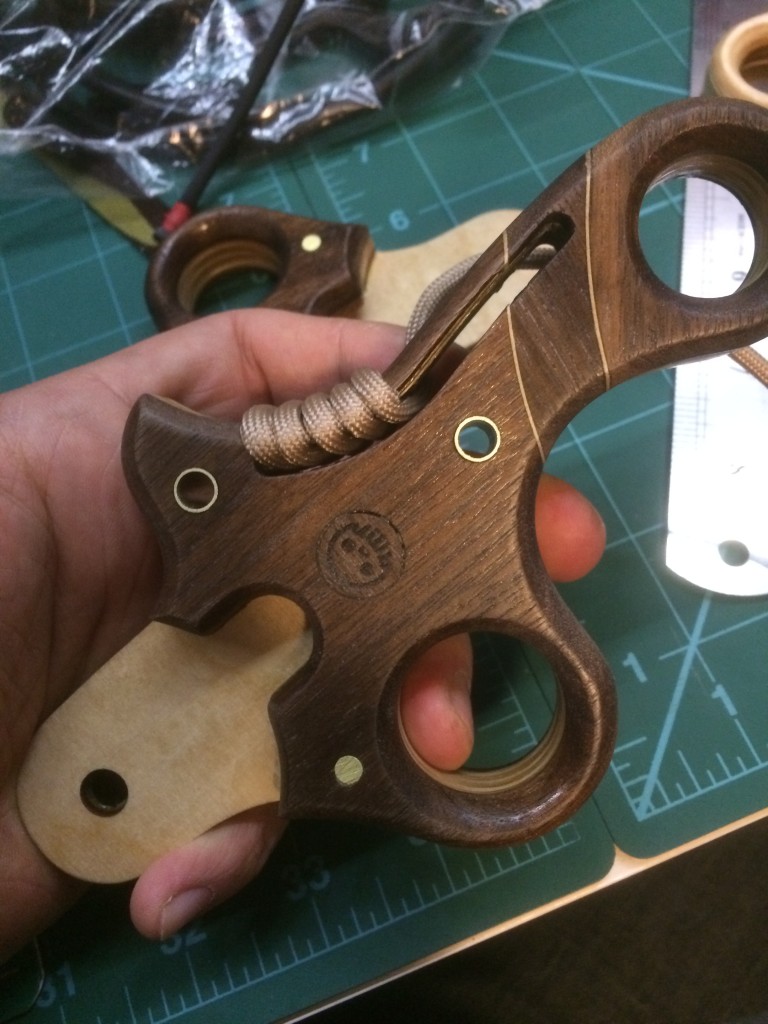
A short wait later (mostly to let the coating off gas), a length of coyote brown 550 paracord was threaded through the spine for a nice palm cushion.
Tucking the end into the slot, the paracord is held in by friction.
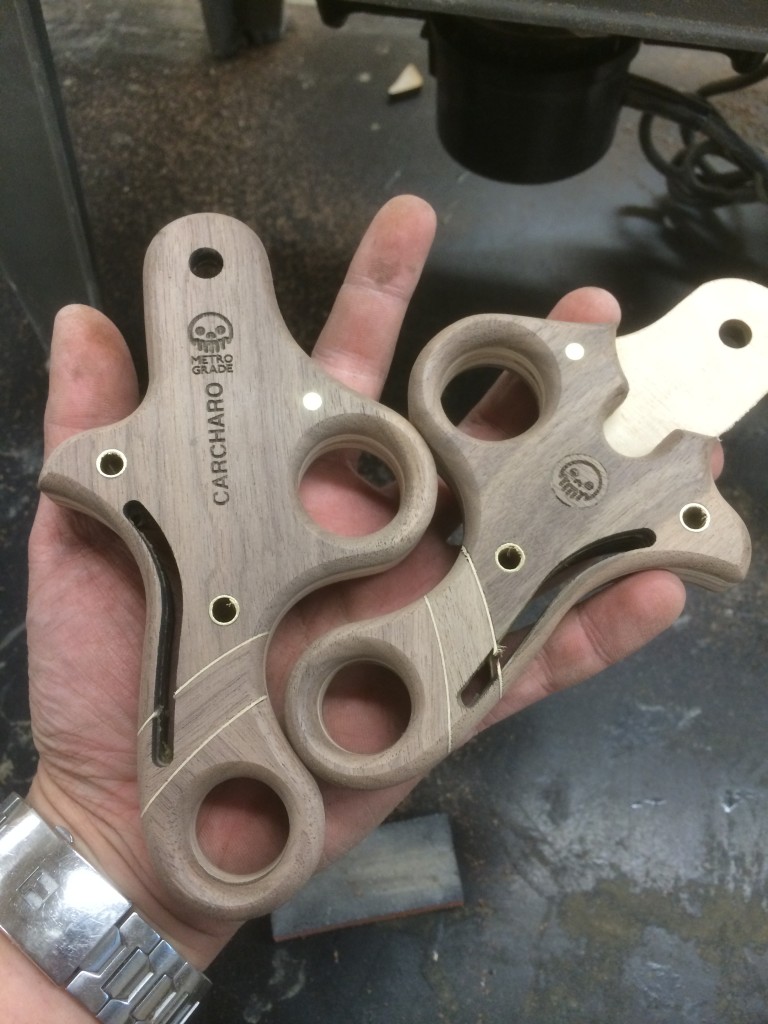
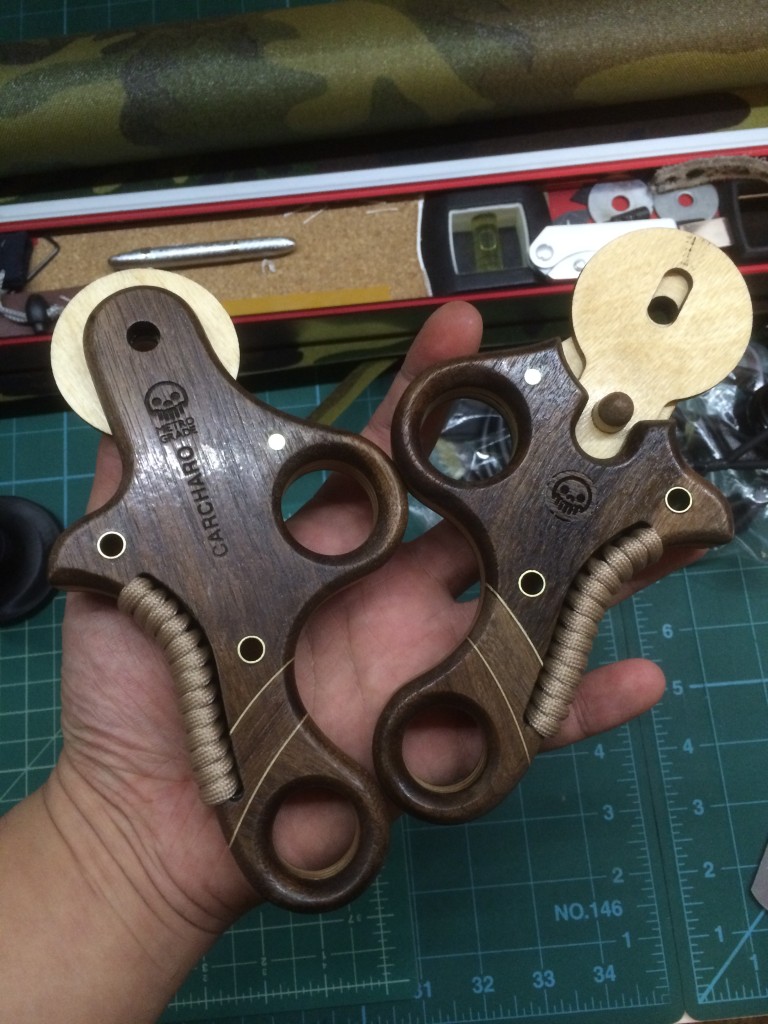
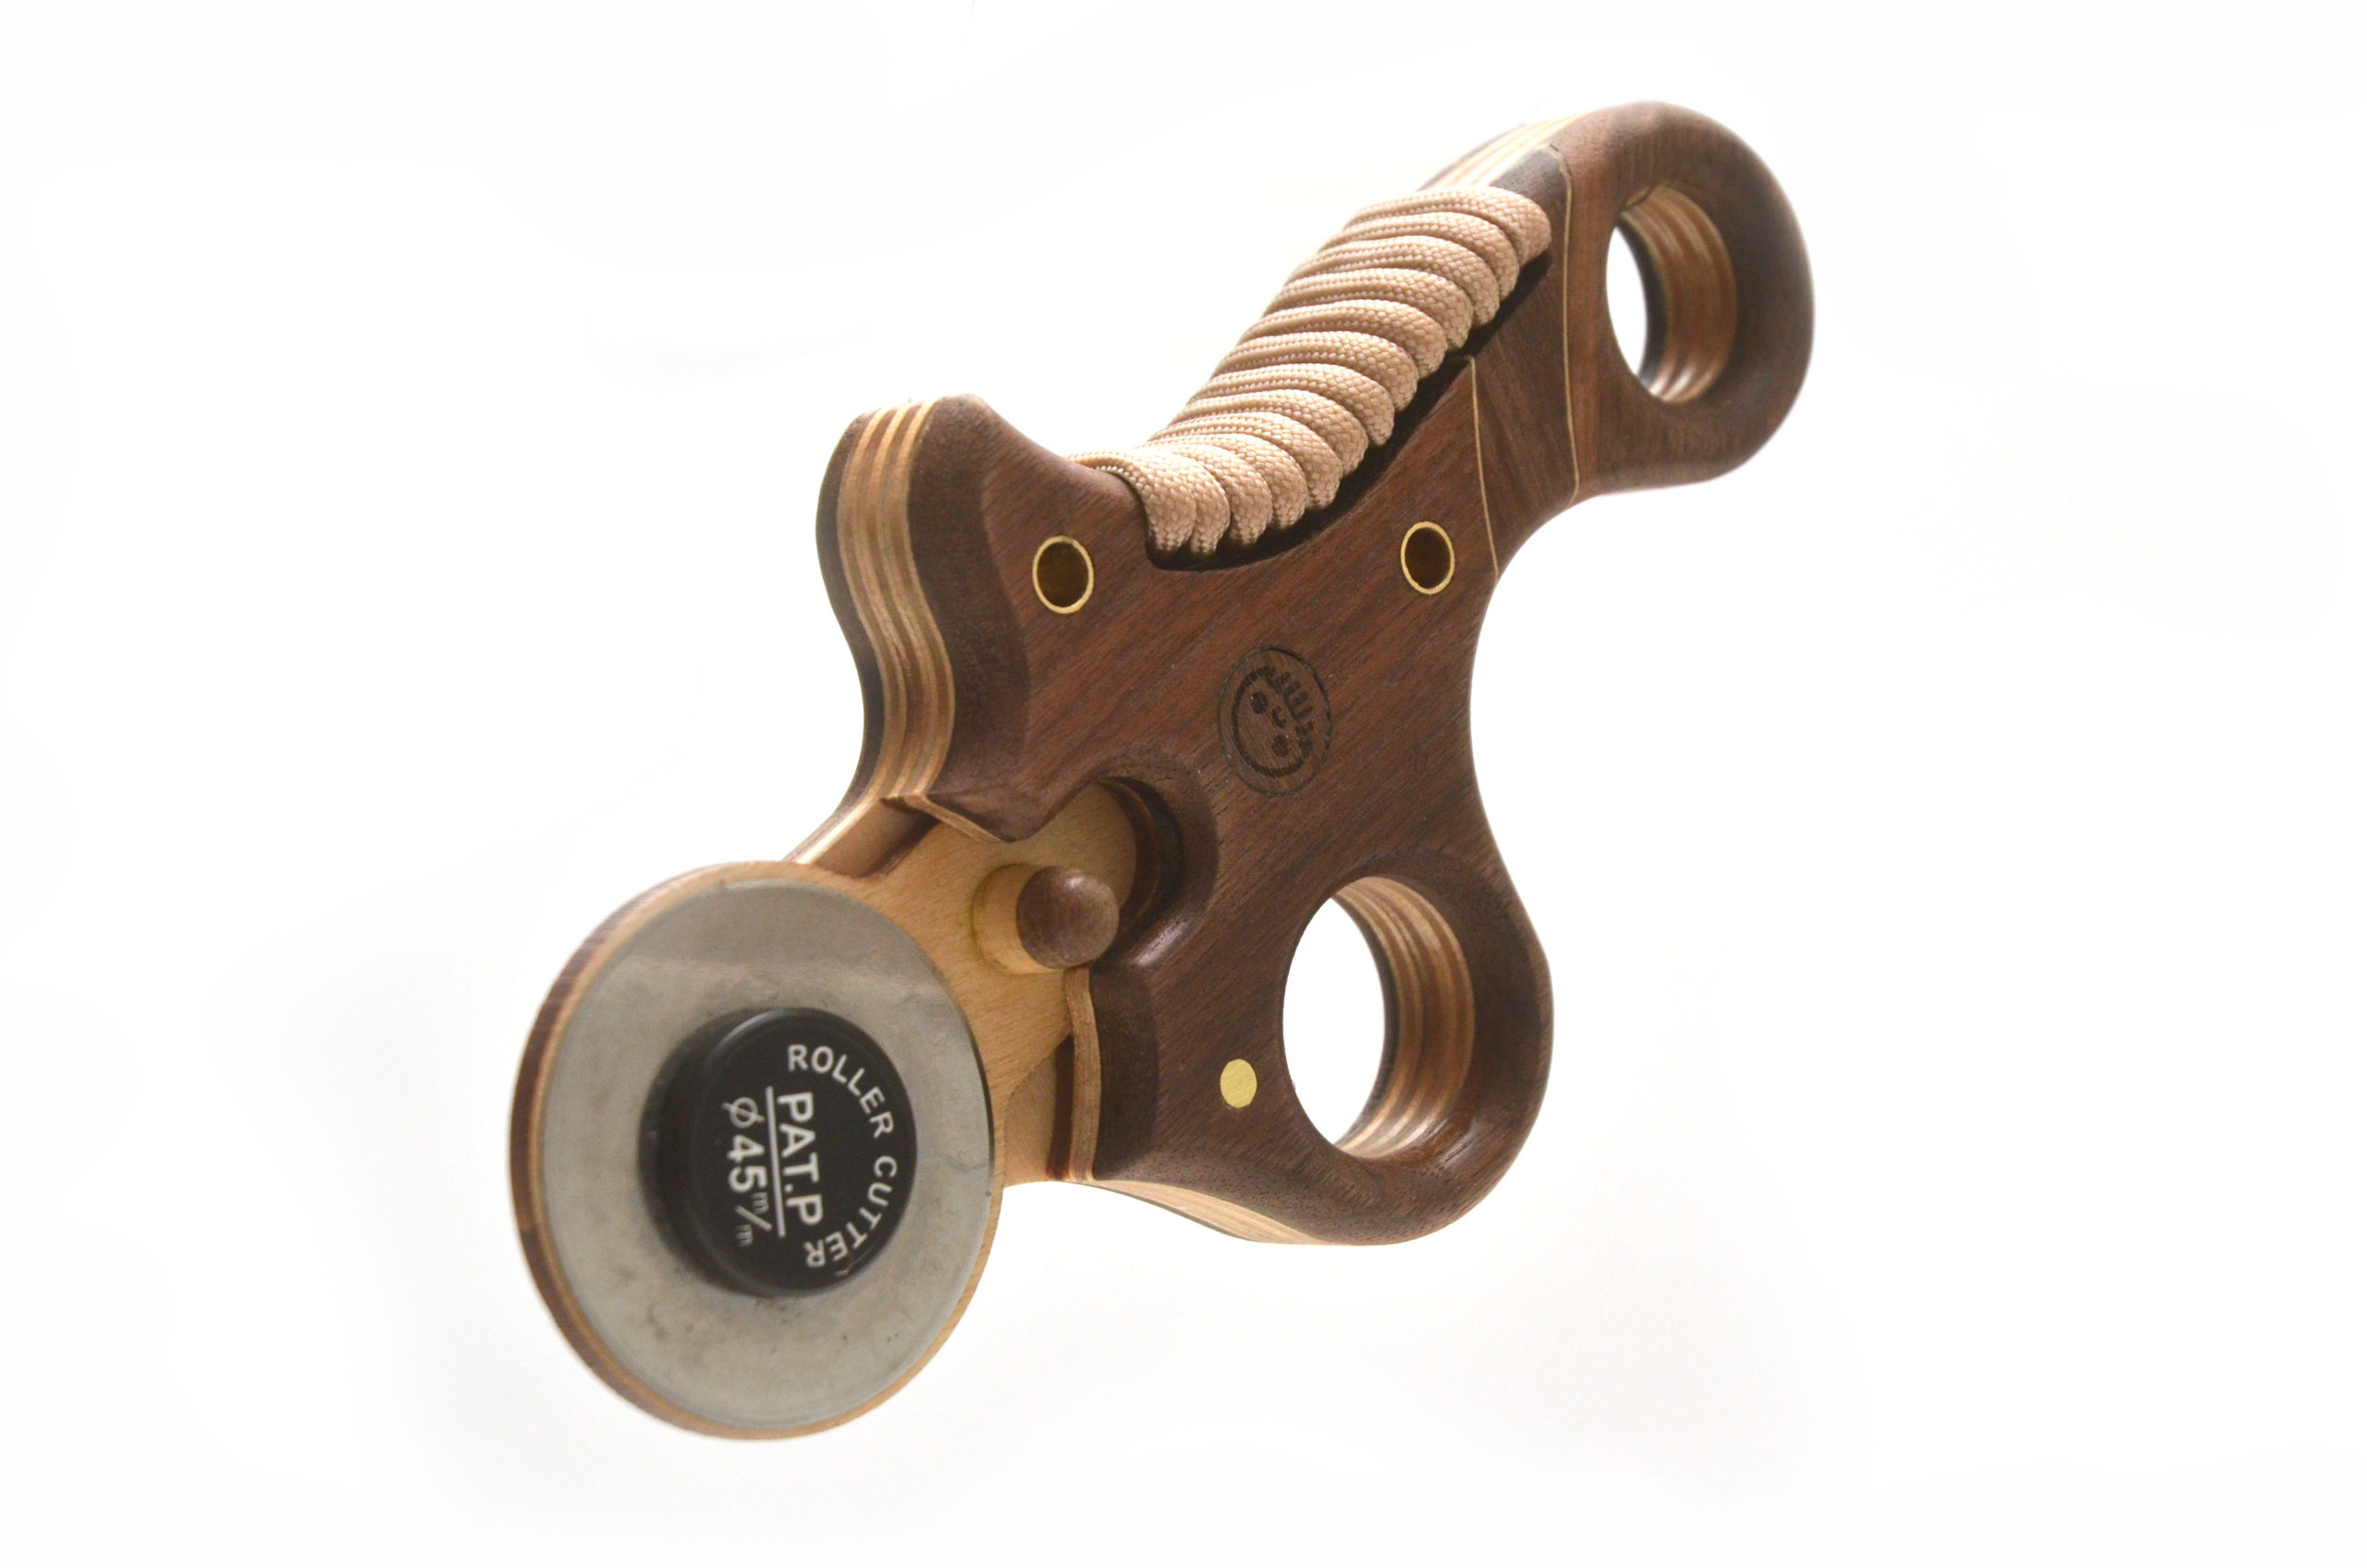
Right now, we are using some hardware found on commercially available rotary cutters, hence the “pat. pend” sticker on the pivot. We have on order some 5/16, 304 stainless steel barrel bolts and 1/4-20 thumbscrews to complete the mechanism. That didn’t stop us from shooting some juicy product photos.
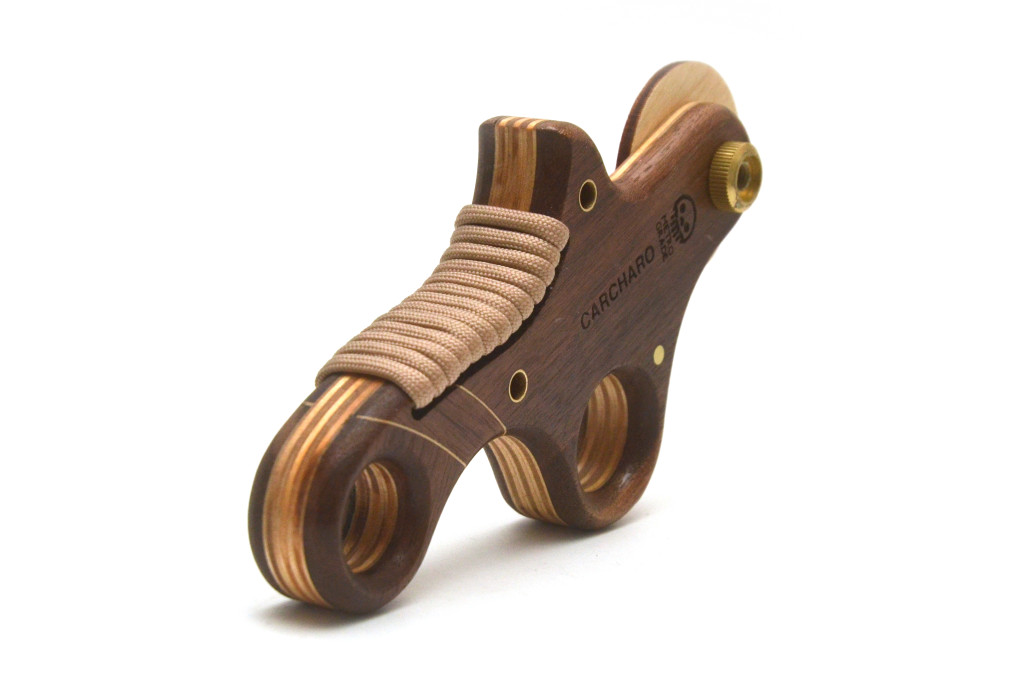
…and since you saw the cocobolo nubbin thumb switch, here’s a shot of the other Carcharo we made for a friend of ours, Barrow Built. This one is made from Walnut, Maple, Cocobolo, Rosewood, Baltic birch ply and Zebrawood spacers/fillers.
Phew, if you made it far, congratulations!
Thanks for hanging in there. It was fun documenting and writing this post. We hope to make a video for the Metro Made vlog about the Carcharo, made in plywood.
They will available Metro Grade Goods site soon!
