
cap-a-pie It’s been quite some time since I’ve written about another build, frankly, it is tough to live up to last slingshot (The Cafe Racer). In this Metro Made, I dive into a deep custom for my last build of 2016. I’ve been collecting materials for this build for quite some time, from all over the planet. Mainly, brass sheet and brass hardware and brass coated components. When the last component arrived, it was time to start building.
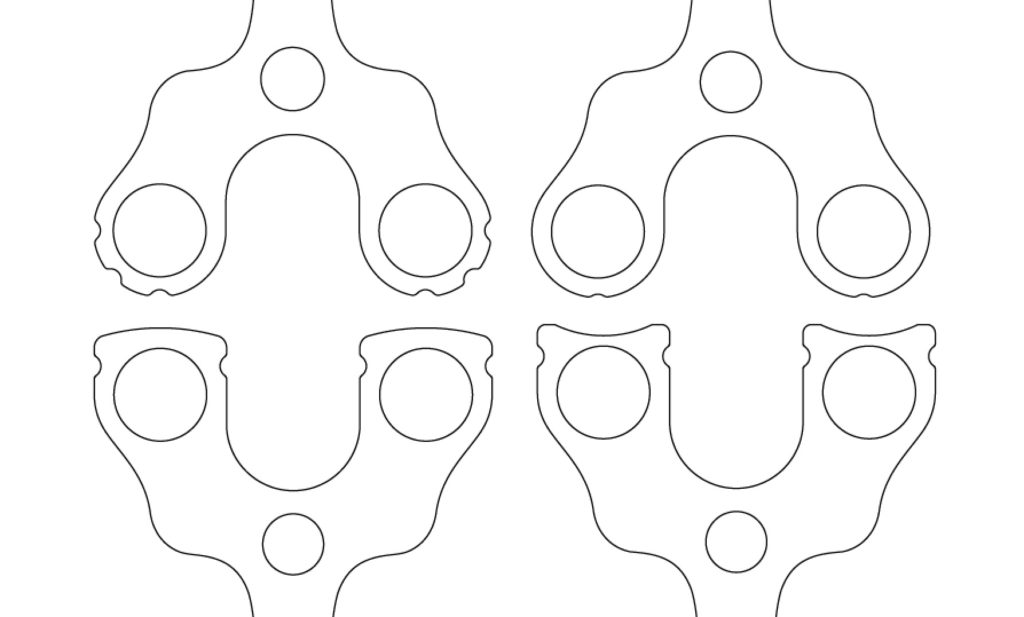
To start, this slingshot is dedicated to OTT shooting, with flats and tubes. To achieve this, the design of the Oren’s tips (which this design was based on) had to be altered. Probably the most unique and often debated feature of Simpleshot’s Ocularis ® plug system is the rounded tips. While it offers an incredible versatility and ease of banding for various styles of band orientation, my preference for the Ocularis ® is usually always OTT. Since this build is going to be my 2016 opus and this frame being exclusively mine, I decided to refine the tip into something I would enjoy shooting over, and over and over again.
This illustration you can see the variations I went through to arrive at the final shape. The final tip shape is slightly convex with flat sides and a dip in the middle for the single tube to seat into. The bottom left is what I went with, but without the indentations (a meek attempt at adding wrap and tuck style grooves). The body and handle style remained unchanged, a shape I was very familiar and comfortable with.
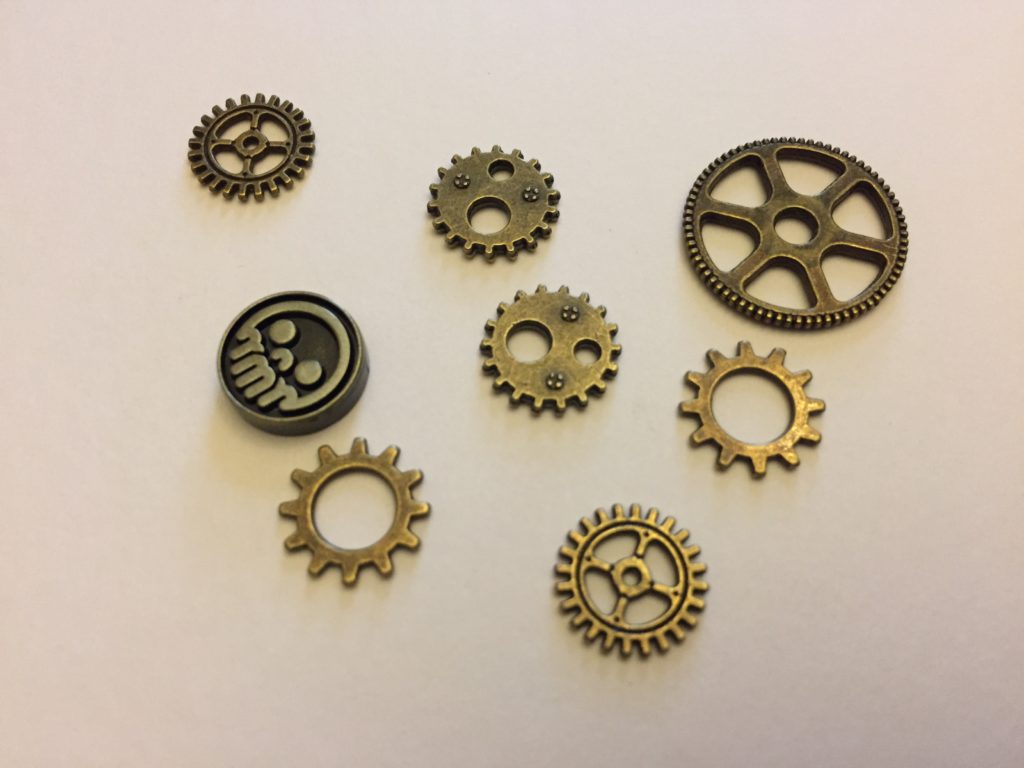
Here’s a sample of what I had to work with for details. Some very small 12mm brass cogs, gears and otherwise Steampunk-like accoutrements.
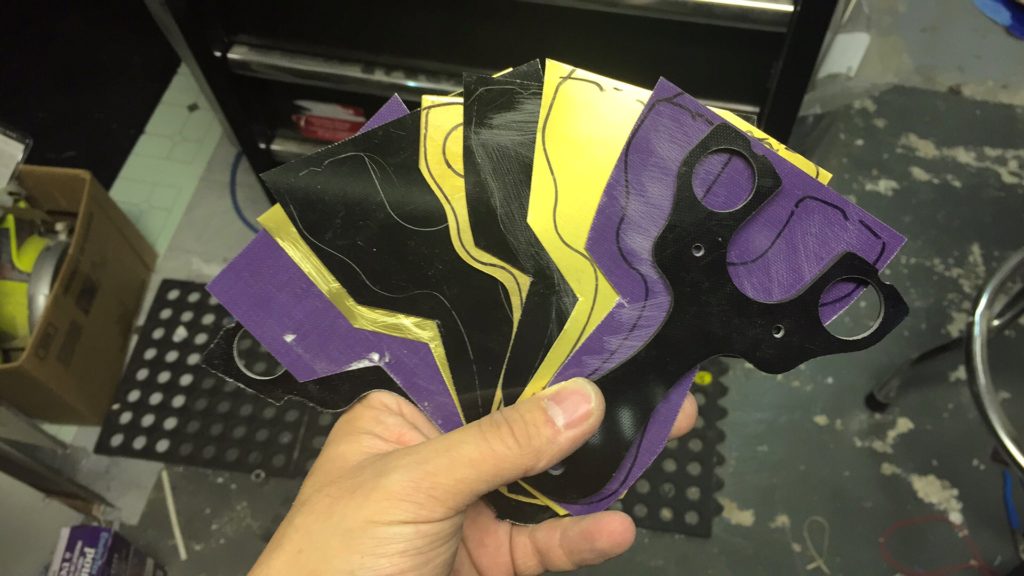
After programing the initial profile, the concept was to use the profile as a template to successively cut and trim each layer of brass, g10, brass, g10 etc etc. This worked out with a few hiccups, but for a complex build like this it can be expected.
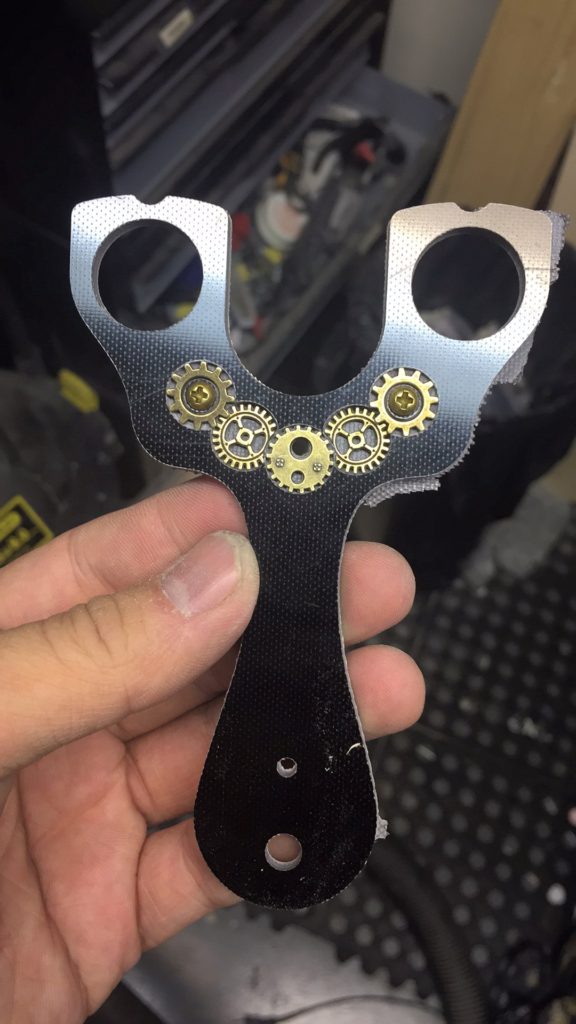
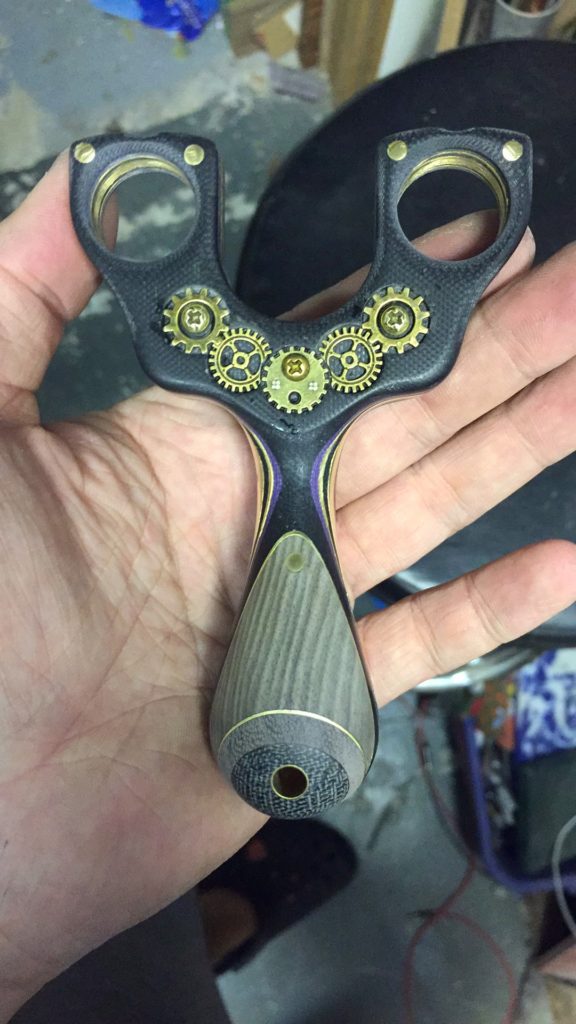
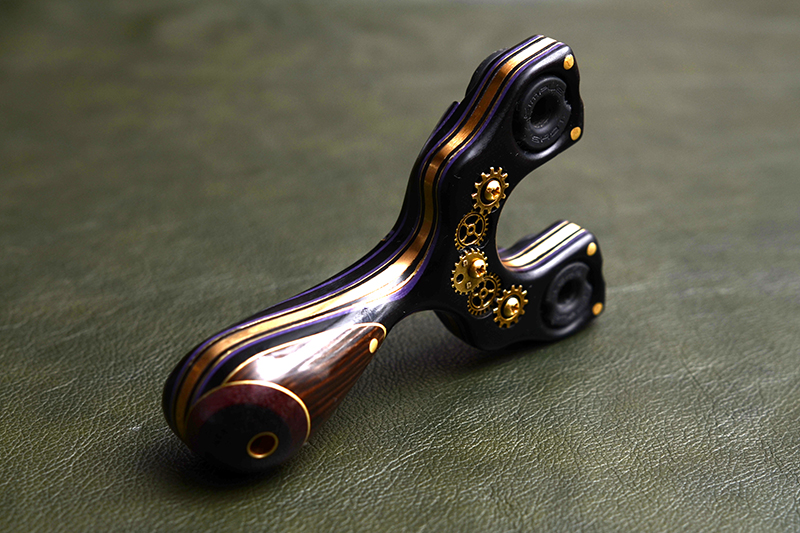
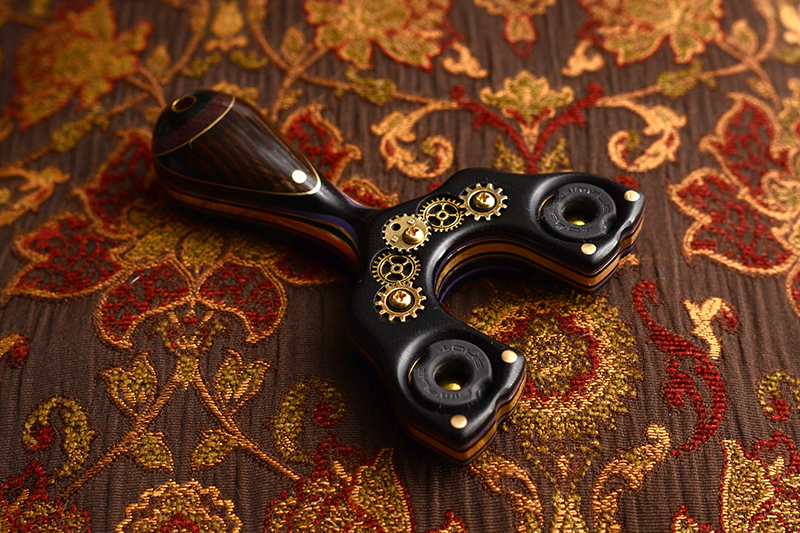
The profile also was host to gears, layered at different depths to really mesh into the body. The outmost gears had a 5mm hole which I used to integrate the brass Philps screws.
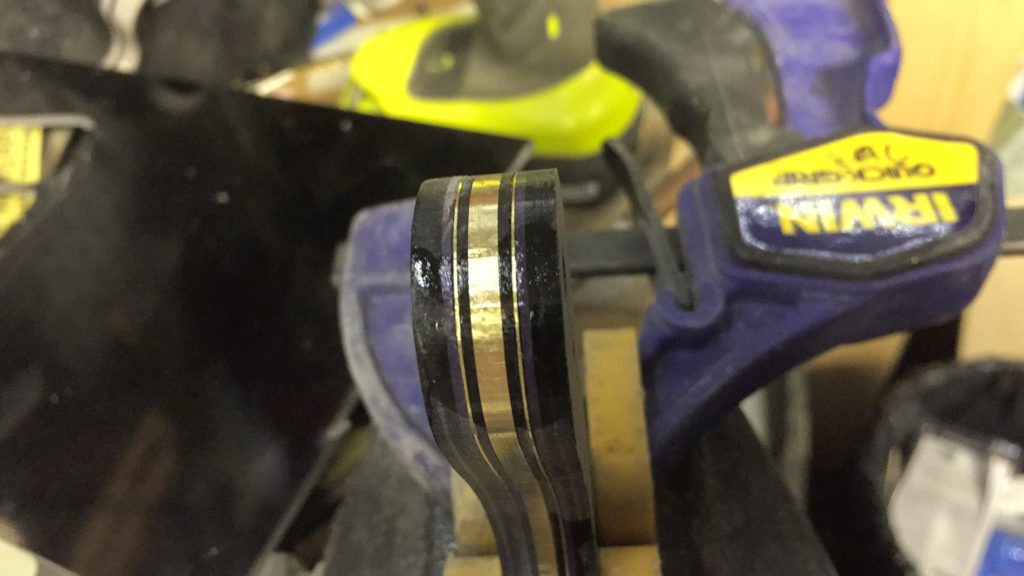
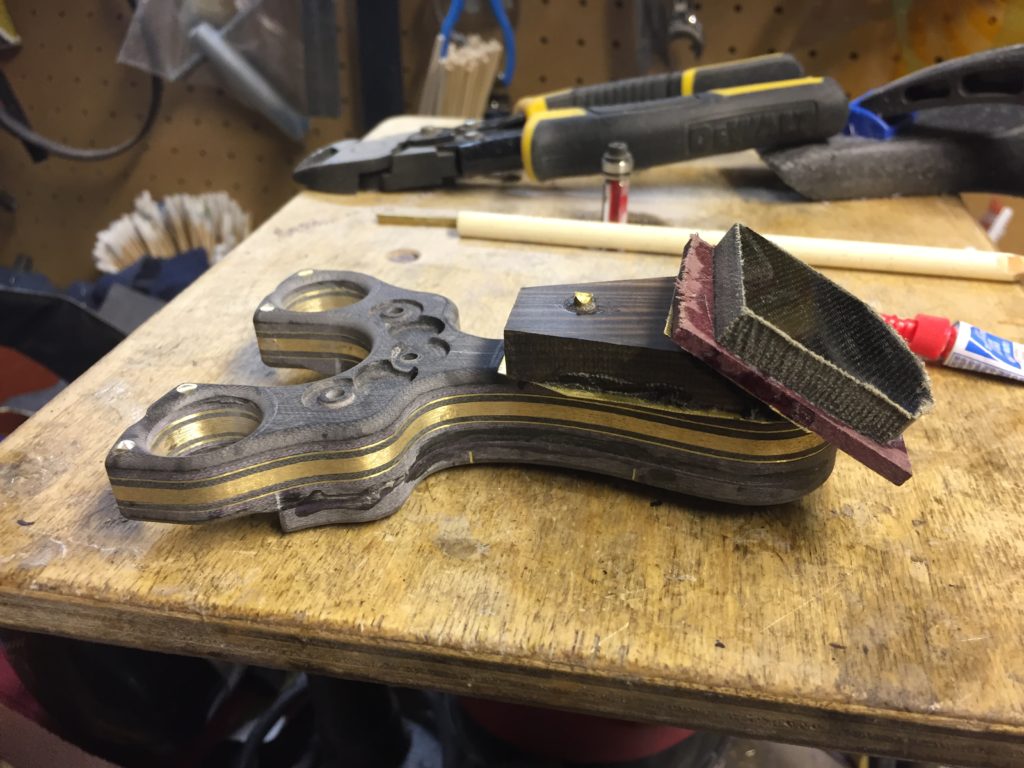
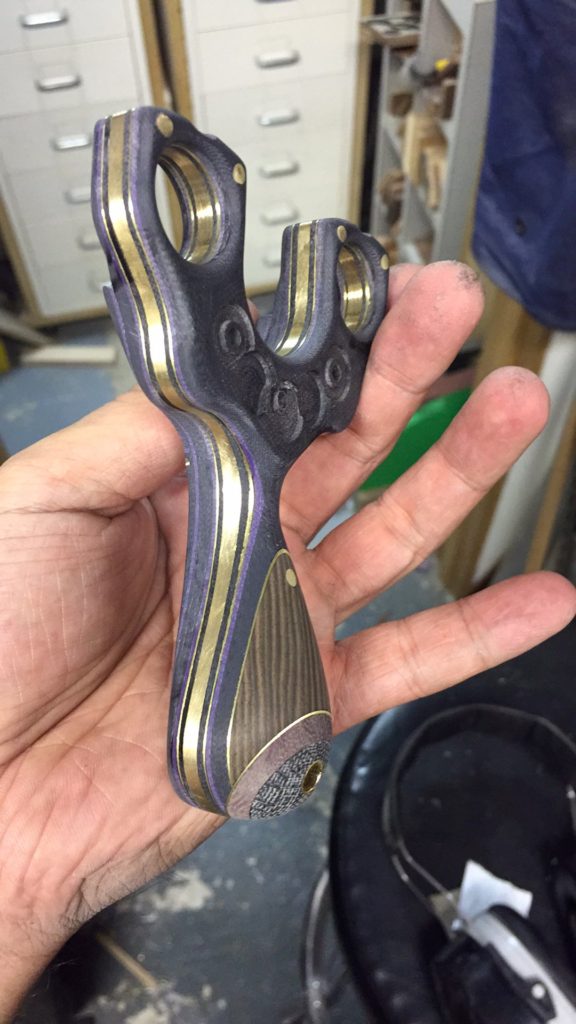
Rough cutting the rest of the materials. At the core is a 3mm thick brass sheet, flanking that is a .03″ black g10, then a .5mm brass sheet, then purple .03″ G10 and finally an outside scale of .125″ black G10. Did I confuse you with the Imperial/Metric measurements? Try working with them…the reason is that they are sourced from all over the world, so the Metric 3mm and .5mm brass was sourced overseas, while the G10 was source from two different North American suppliers. Regardless of system, the final thickness is just a hair over the ideal thickness for the Ocularis ®plugs. I wanted to create a piece that had colour in it but in a subdued colour palette suitable for the steampunk theme. While purple on its own is quite flashy; however used as an accent colour to black and brass/gold tones, it gives an air of royalty and class.
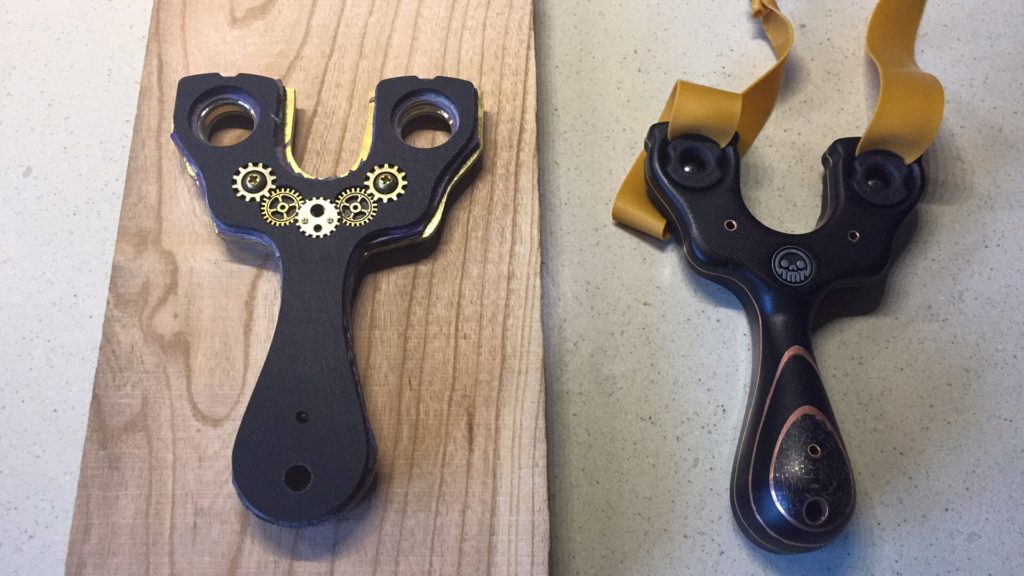
Each layer was attached with glue and then trimmed closer to the final shape. Then the brass core and before the last layer was applied, brass M3 inserts were set into the body to so that the screws could be put in place when it was time for final assembly. Unlike most of my excited builds, I took my time with this, letting it sit overnight before trimming the excess material. The Cu-Ren sits next to the Steamplinker as a jumping off point.
The unfinished main body travelled around with me while I did some admin work and shipped out some orders. The more I looked at it, the more things I resolved in my head on how to finish it. Next to it is the Kylo-Ren, yet another Oren variant.
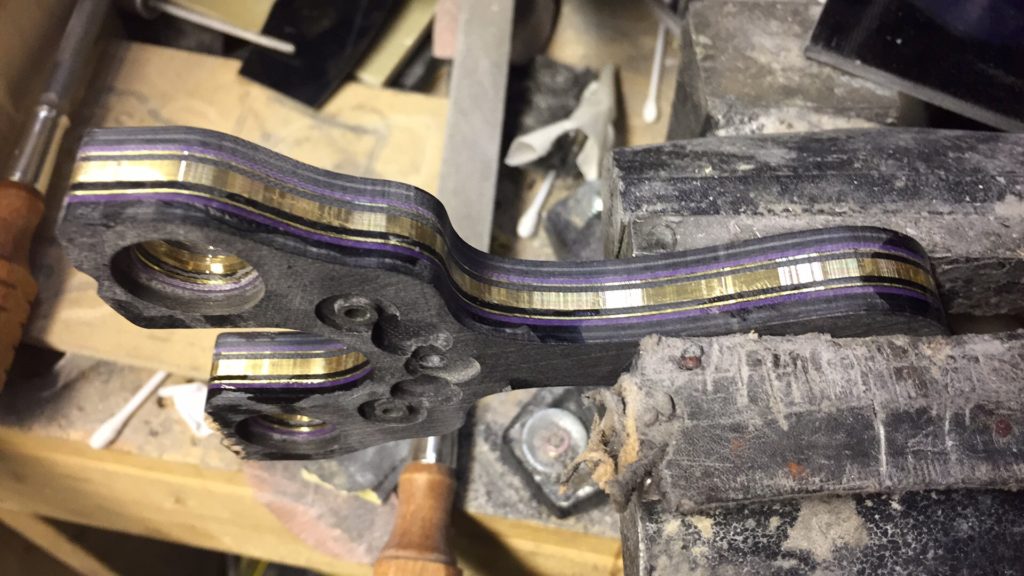
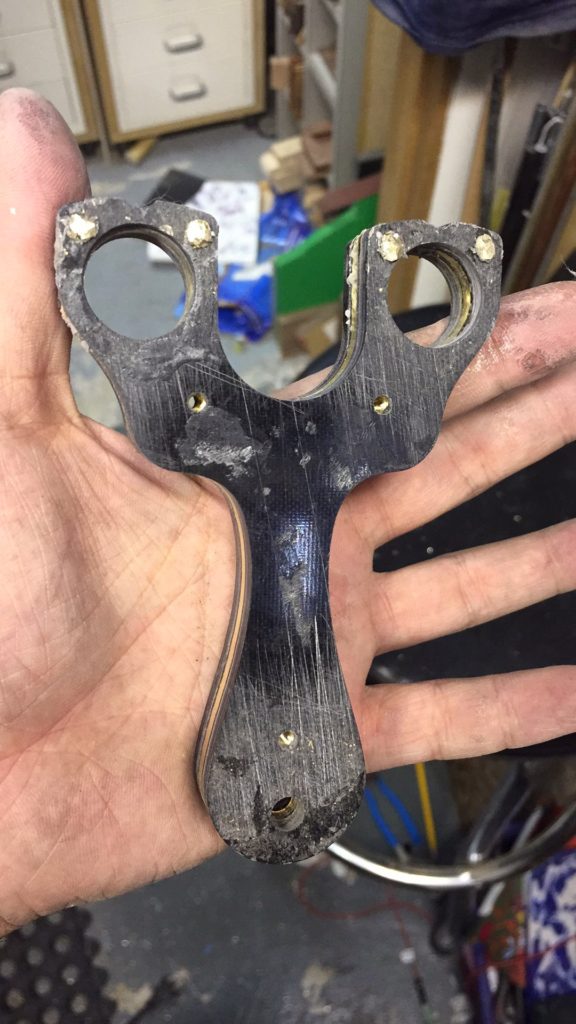
After sitting on the frame for a day (which was mostly to build up the courage) it was time to tackle the brass core with a flush trim bit via the router. My router jig to hold slingshots was crucial for this step as I wanted nothing to do with holding work with my hands near this potentially dangerous step. Luckily with some tweaking of the router bit and feed speed (and some light lubricant on the brass), the majority of the brass and other stacked layers were trimmed away revealing the very attractive core.
The heat of the machining separated some of the layers, no matter, a quick flood with some viscous CA glue and some pressure cured that problem. This also gave a quick preview of what the final core would look like.
With so many layers combining to make the main body, I had planned on peening over some brass rod at the tips, which is what I did. This locked the layers down for good. The added thickness of the OTT tips allowed for two pins per tip.
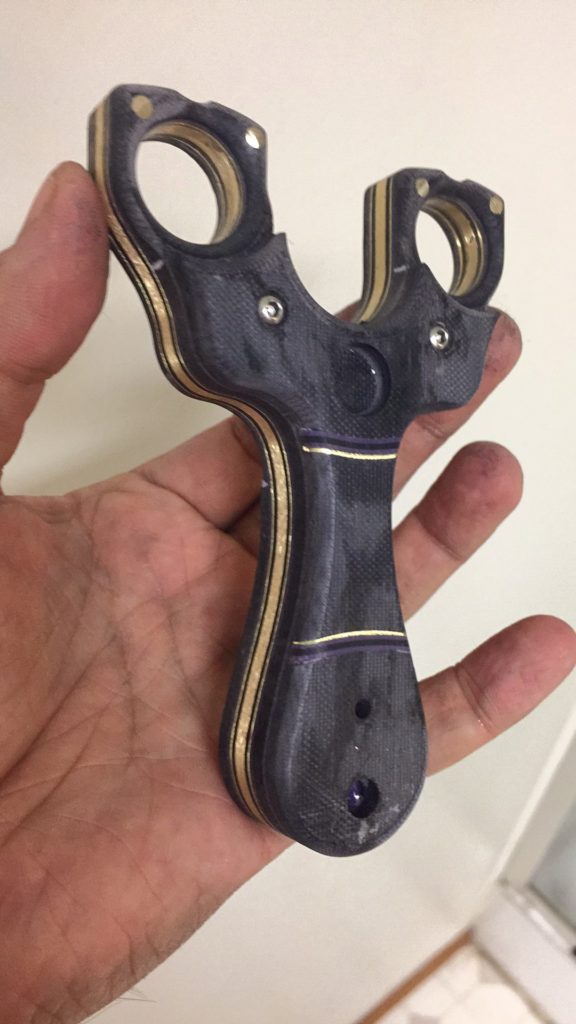
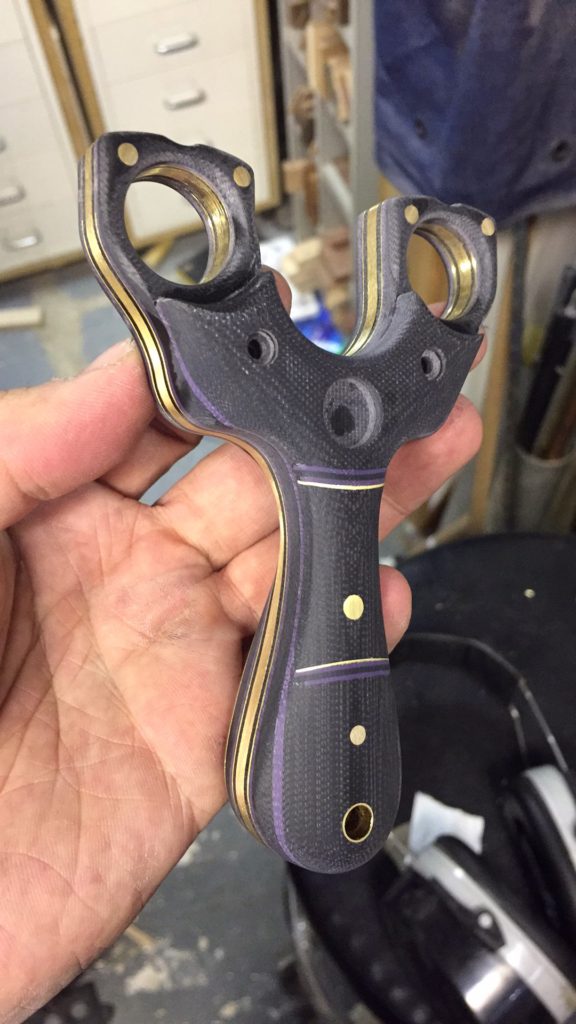
This next step I couldn’t document very well since it required a lot of hands on manipulation, but the front scale was cut from .185 G10 with the same .03″ purple G10 liner. On this surface a pocket for the maker’s mark was machined and two channels for inlays to be put in. Strips of brass, black and purple G10 were set into place and then sanded flush with the surface to create a faux separation between the handle and the tip area. The channels aren’t straight, they have a slight curve to them, a feature impossible to do by hand but only with the aid of CNC. A quick router trip with .125 bit cleaned up the side and the surface roughed to 100 grit in prep for more shaping and the fine hand work. Having made this shape dozens of times, the compound curves of the shooter side scale is complex but familiar.
Now to flip it over and pay attention to the target side, this is where it got a little crazy. I had to estimate where the lanyard hole would eventually be and select the correct materials to suit the theme. Not only did the materials need to match, but I also like designing these types of features to wear nicely when the slingshot is put on a table or surface or replaced many times into a holster/bag.
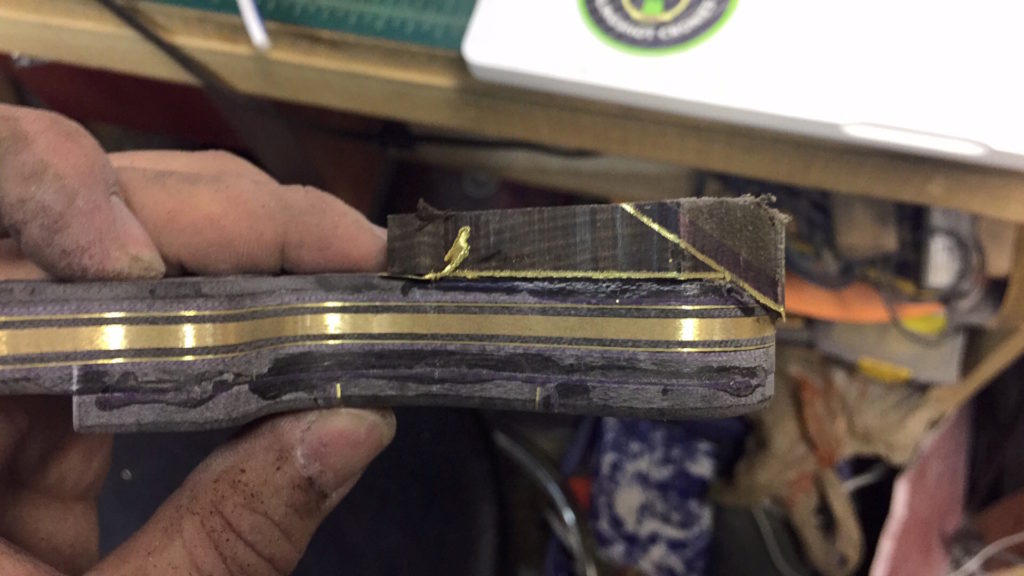
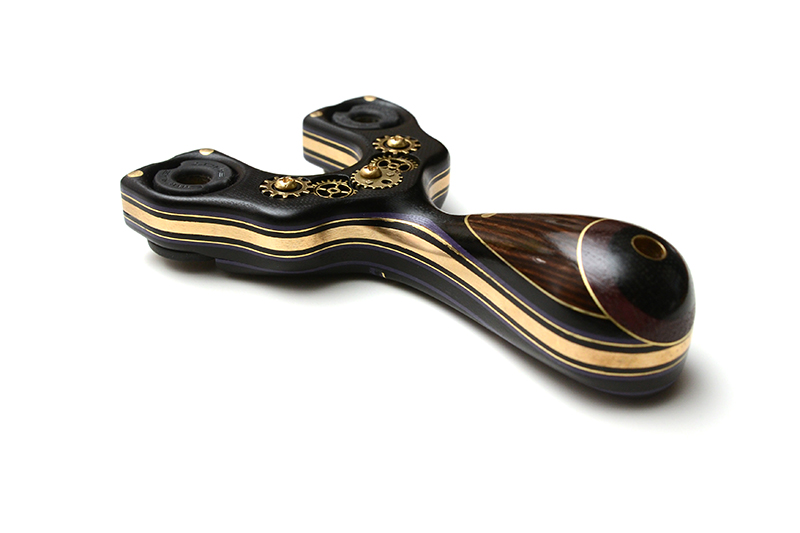
So, first was a layer of .5mm brass, then a nice selection of brown ebony (with the grain oriented vertically). Once that cured, the end was ground off with some aggressive 80 grit belt sanding. On that off-axis surface, more brass, purple heart and finally a chunk of canvas micarta. I felt the brown ebony was precious enough to stay within the theme, the purple heart being a natural version of purple tones and the canvas being a little bit of a ‘rougher’ visual texture, it would combine into an interesting composition with the delineated, intersection of brass lines. This is something I’ve been experimenting with for a little while and this was a perfect opportunity to apply it.
Rough trimming the excess material away. The ebony is HARD stuff! The ebony section is pinned in place with a brass rod. The offset purpleheart/micarta is held in place with a .25″ brass tube (itself offset to the rotation so it won’t be going anywhere)
Again, one of those times when taking process photos would have ruined the flow of creation, but fast-forward to the part where the pinky swell is rough shaped, then tweaked with file work and sanded to 400 grit. Ebony being so hard and oily, it took to wetsanding very well.
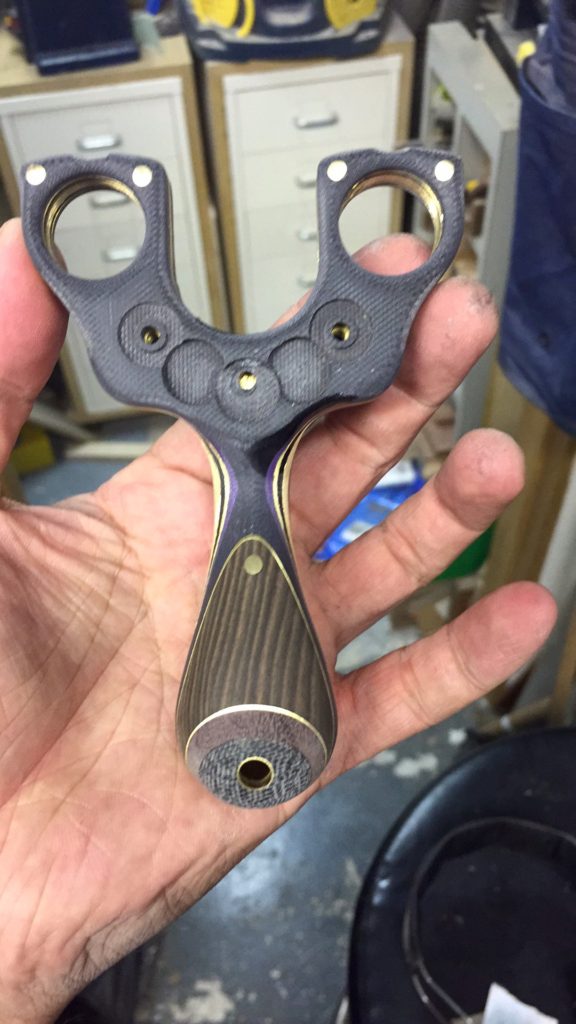
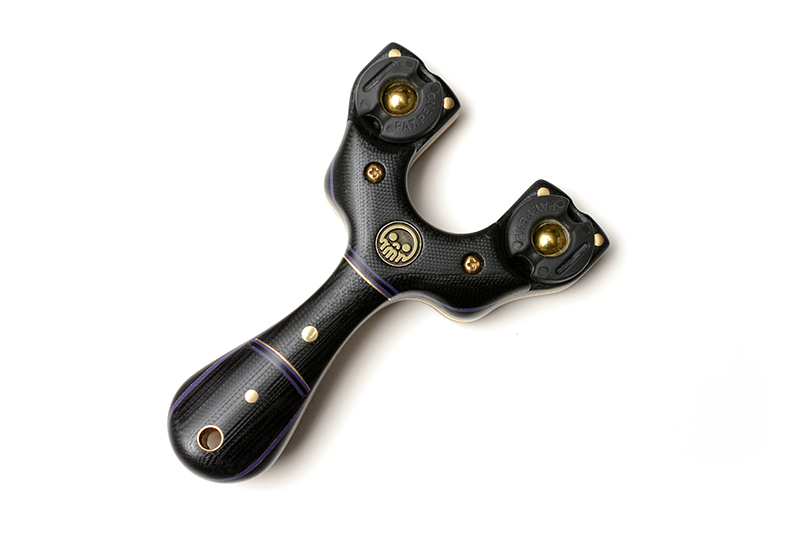
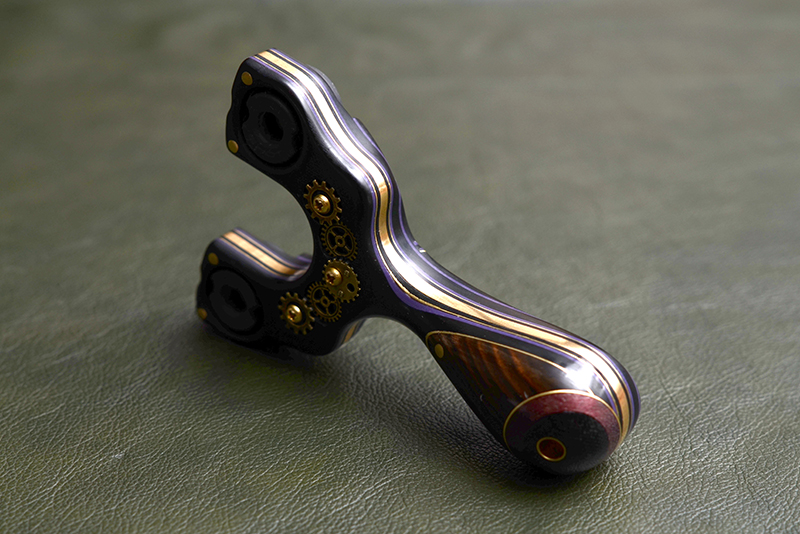
Some of my favourite parts about this design is how the pinky swell melds into the middle finger indentation near the center of the handle. This makes for a seamless shape, but the material makes is even more interesting.
Fast-foward view on the front scale. The process is very much the same, rough shape after drawing on the lines and then lots of file work, abrasive papers and some cloth backed 400 grit. The design of the front scale has been refined over the various iterations of the Oren, but essentially it’s a removal of all the material that would hit a hot spot in the palm. By placing the liner under the thinner scale material, a nice contour of colour is revealed when filing it back.
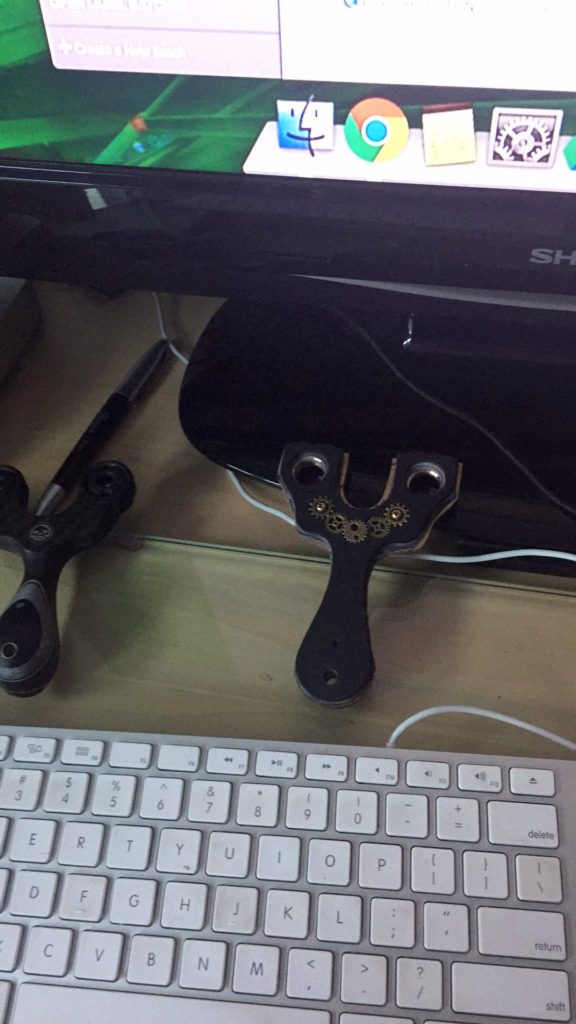
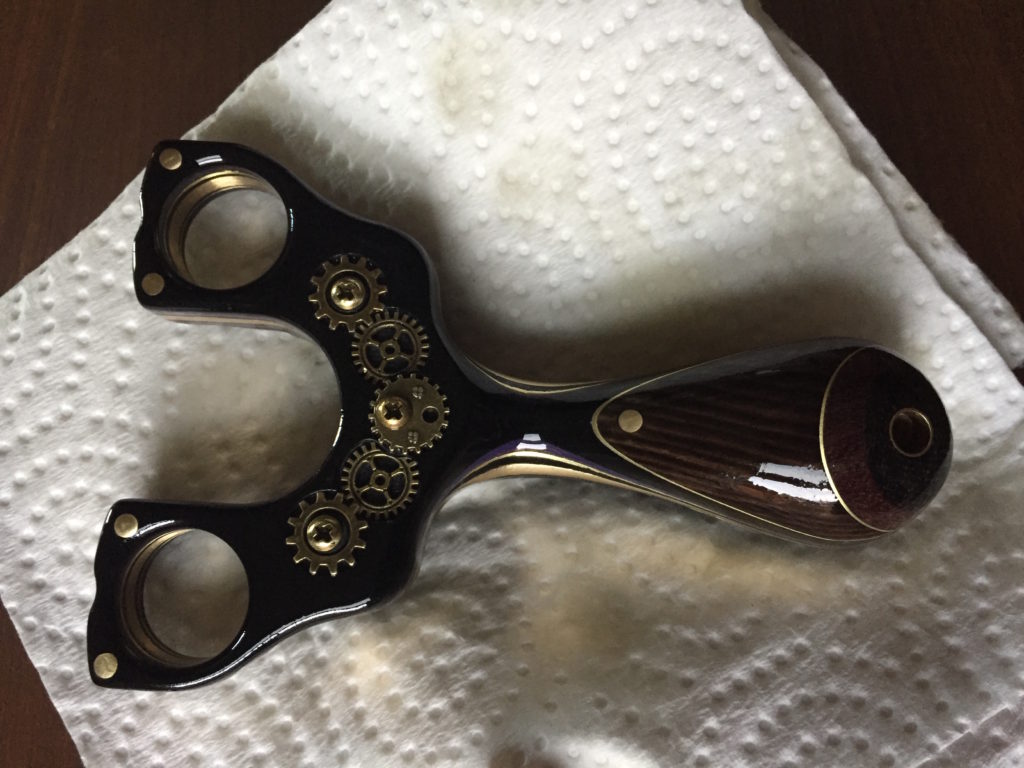
Test fitting the gears before the final sanding and polish.
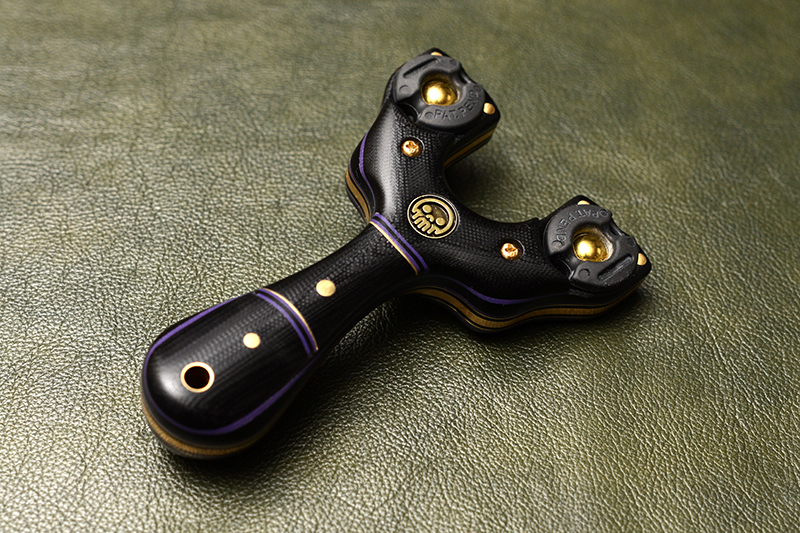
I had tried using the MicroMesh polishing system before on a few other G10 frames and the results were amazing, so there was no reason to skimp on the finish for this. After going through the grits (1500 to 12,000), the surface of the g10 and wood would be as smooth as it would ever get without polishing. The trick to G10, I found, was to leave it unpolished and use some mineral oil to return the jet back colour to the surface since sanding clouds the finish. I may still buff this to a high high shine but the high gloss pinky swell, the matte finish of the g10 and the gleam of the shiny brass makes for a combination of textures that I highly enjoy.
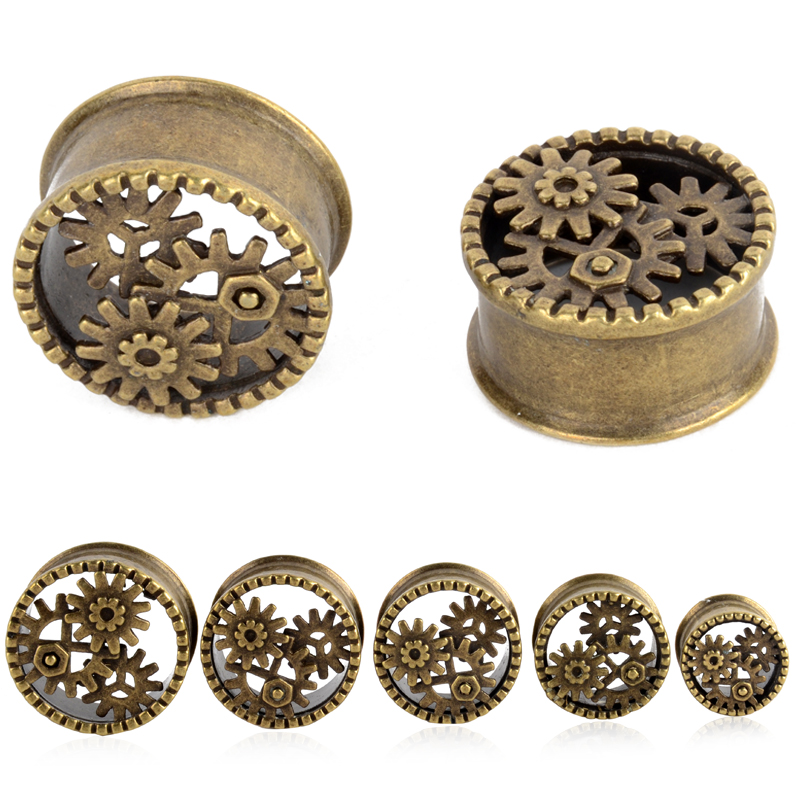
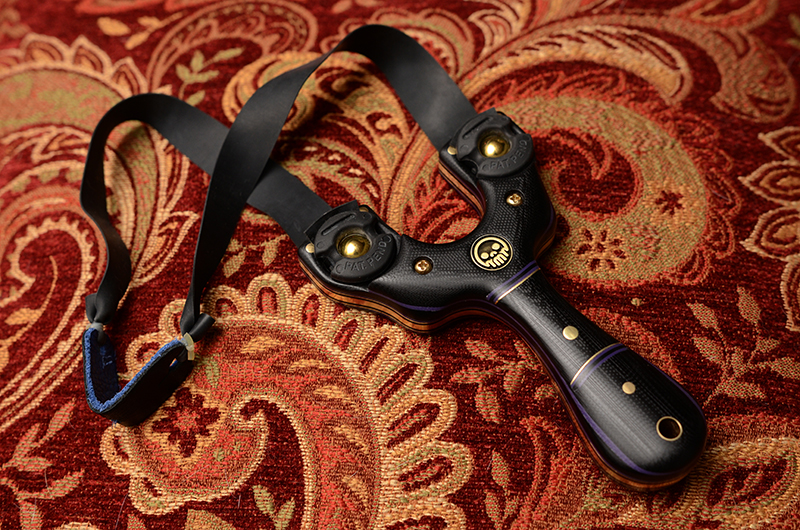
I am still waiting for ONE more hardware piece to come in, which put this deep custom slingshot into the next level. Some 10mm ear tunnel gauges. While I sourced 7/16″ G2000 brass balls for the Ocularis plugs, the gear laden era plugs will give the shooter side some interest beyond the maker’s mark.
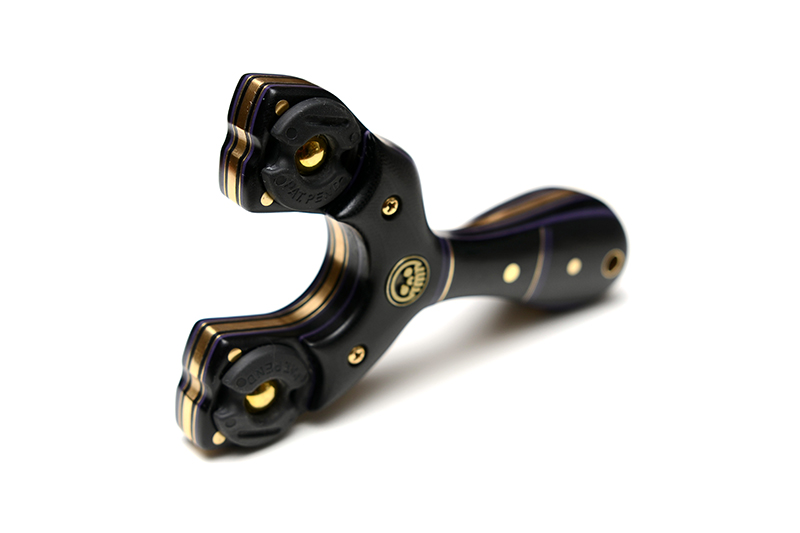
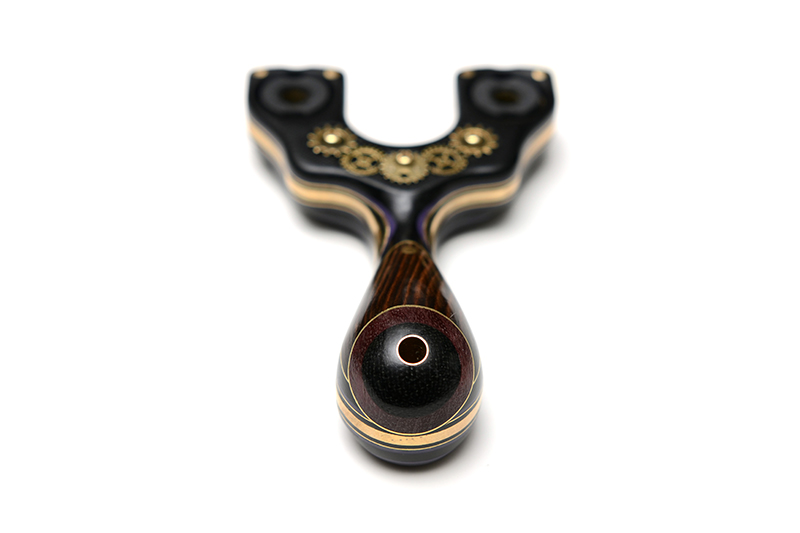
Despite the ‘proper’ hardware missing, I couldn’t help but take some archival photos of the finished slingshot.
If you’ve made it to here, it means you are truly dedicated to slingshots! Thank you for reading!
• Stay True •
-Metro/Eric

Brilliant work and a great read
Wow that is just amazing. I have never read about the process of making such a complicated slingshot. It is beautiful, a true work of art.
Always a joy to. watch your work!
Woah, i love this one.
verry great.
How i can get it? 🙂