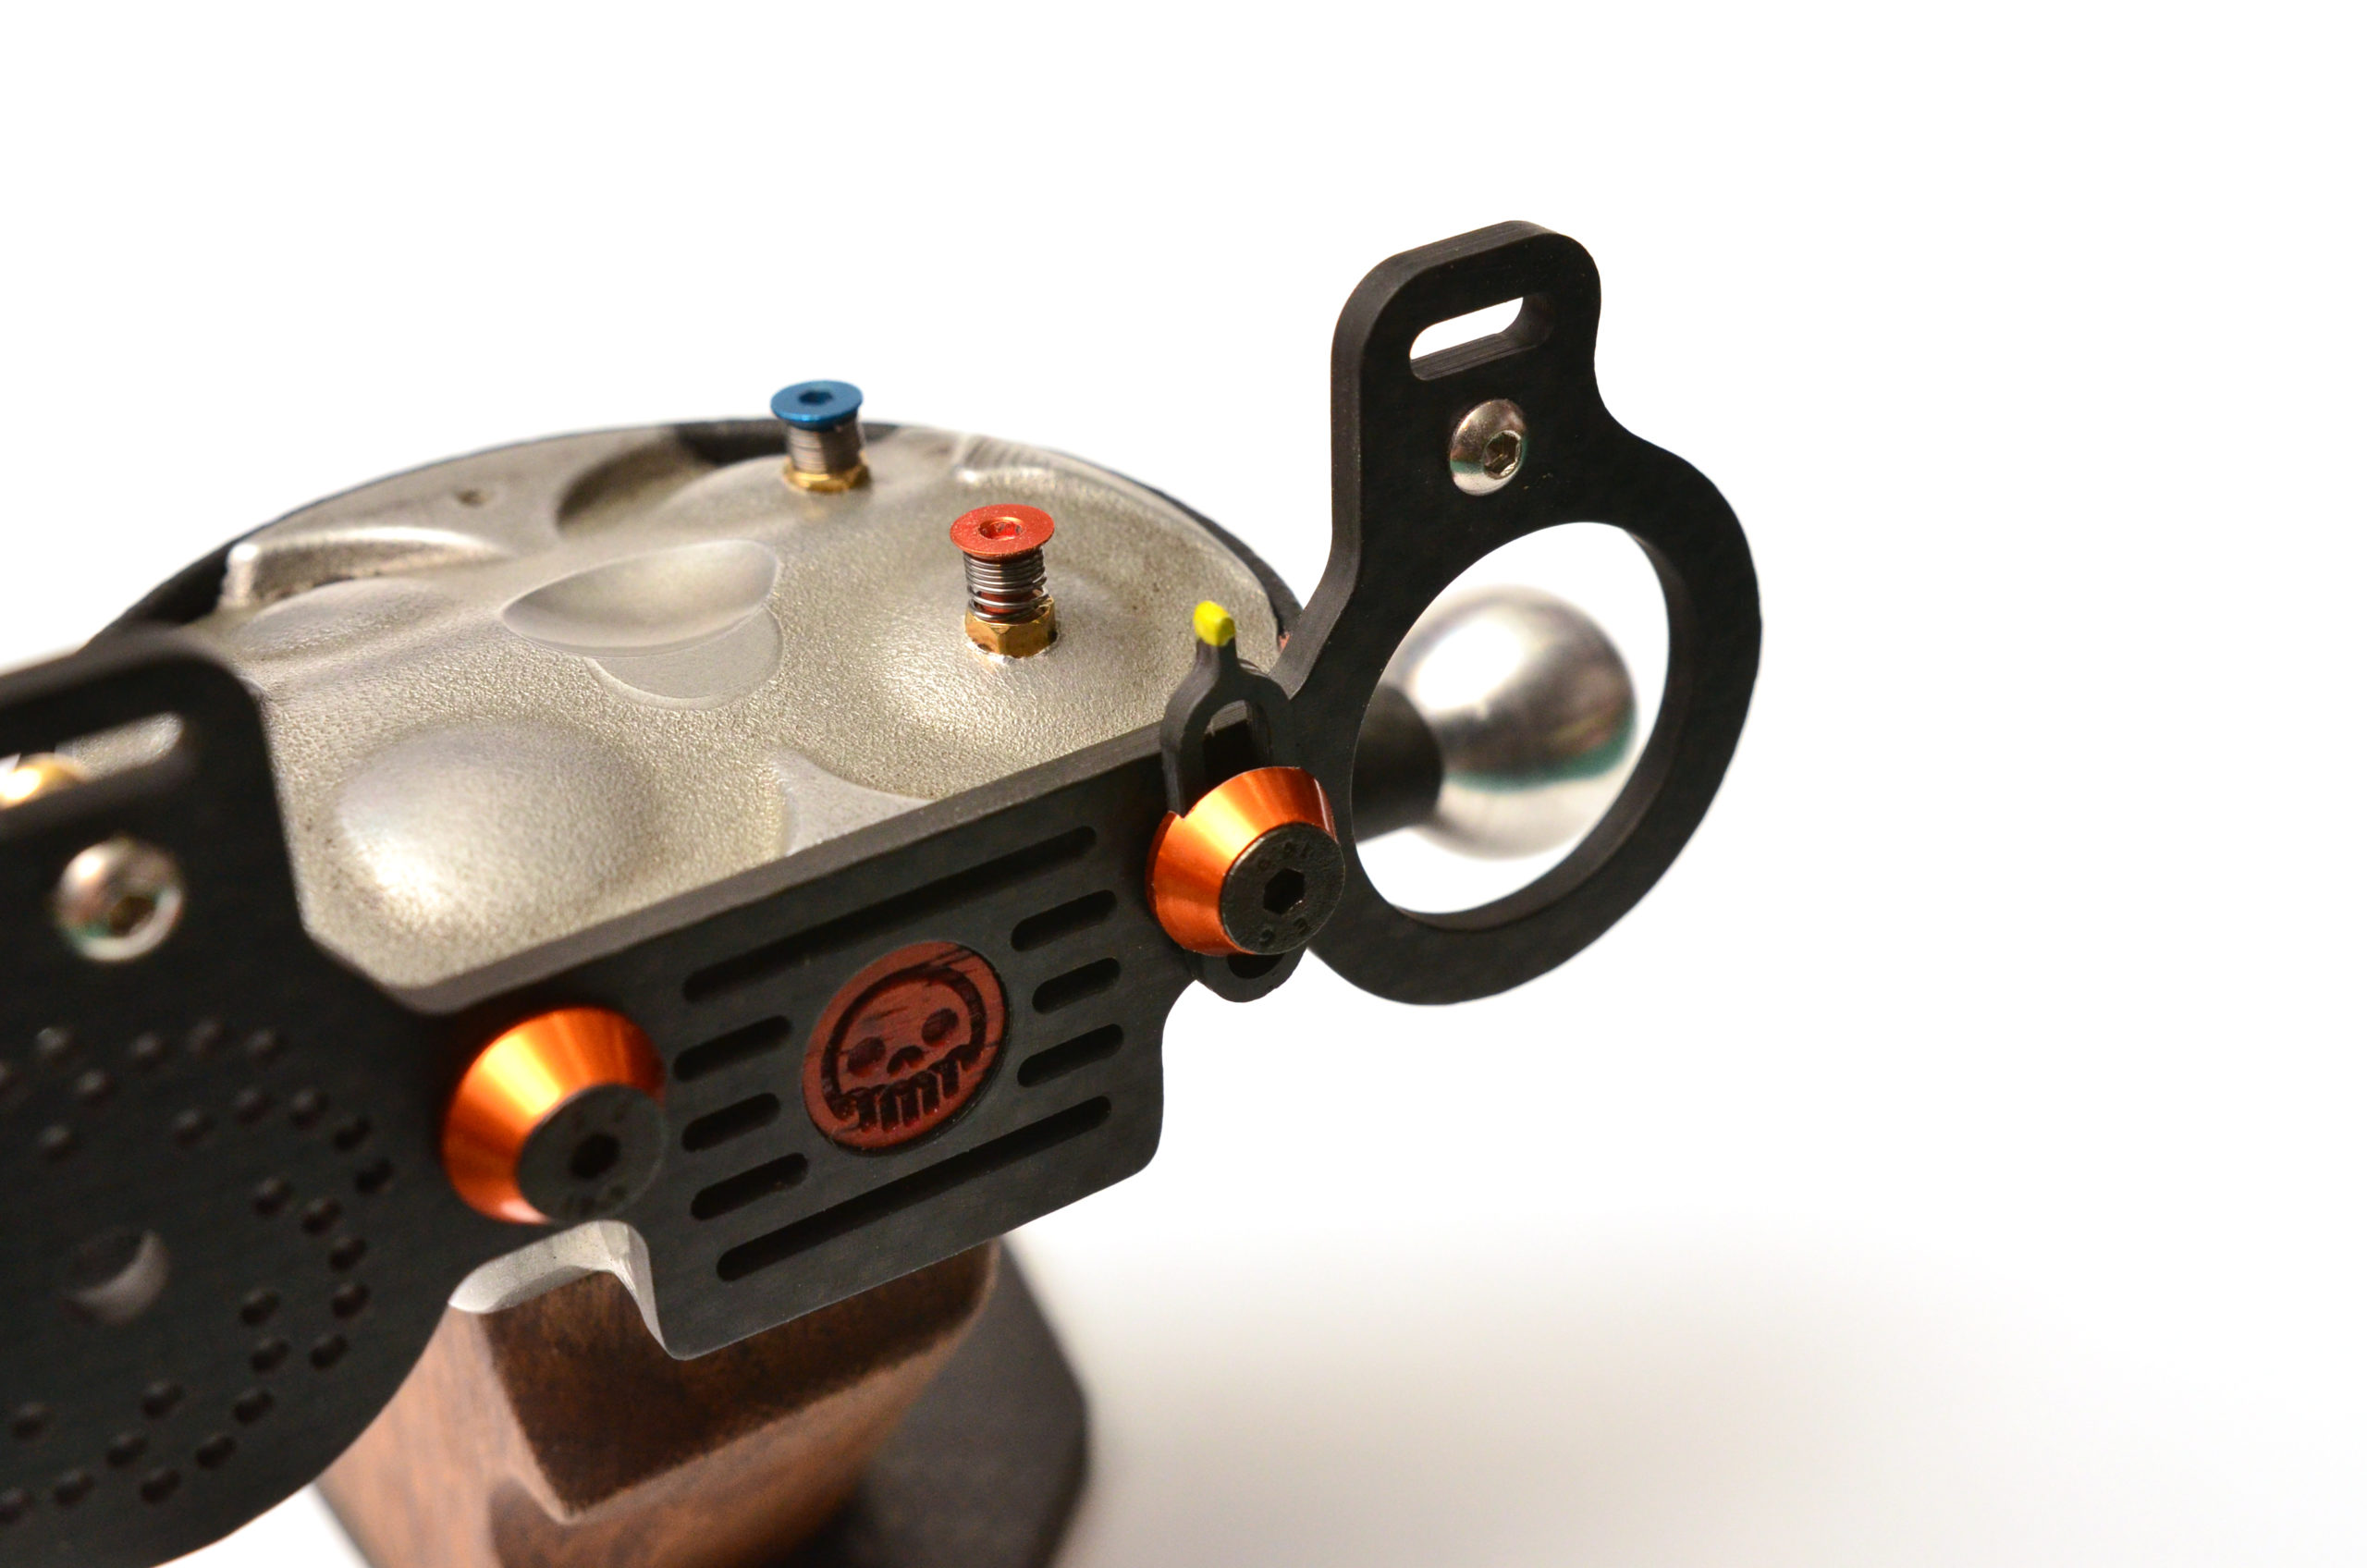
buy Gabapentin 300mg uk The best thing about slingshots is that it is like a very large pie, each slice a different flavour. One particular slingshot flavour is the legendary Spanish target style shooter. The Spanish Target Style has more in common with Olympic style free pistol and recurve bow target shooting than slingshots. With ergonomically shaped handles, adjustable band position and sights, the Spanish Target Style slingshot is a very tailored fit to the shooter.
It has been a very long time since I’ve posted a build log, just too many projects and too many details to write about. This late but better than never, post is one I am very proud of. Here’s the story of how the Spanish Cafe Racer was created.
Cafe Racer, after the classic naked sport bikes that favour speed over comfort for short races between watering holes.
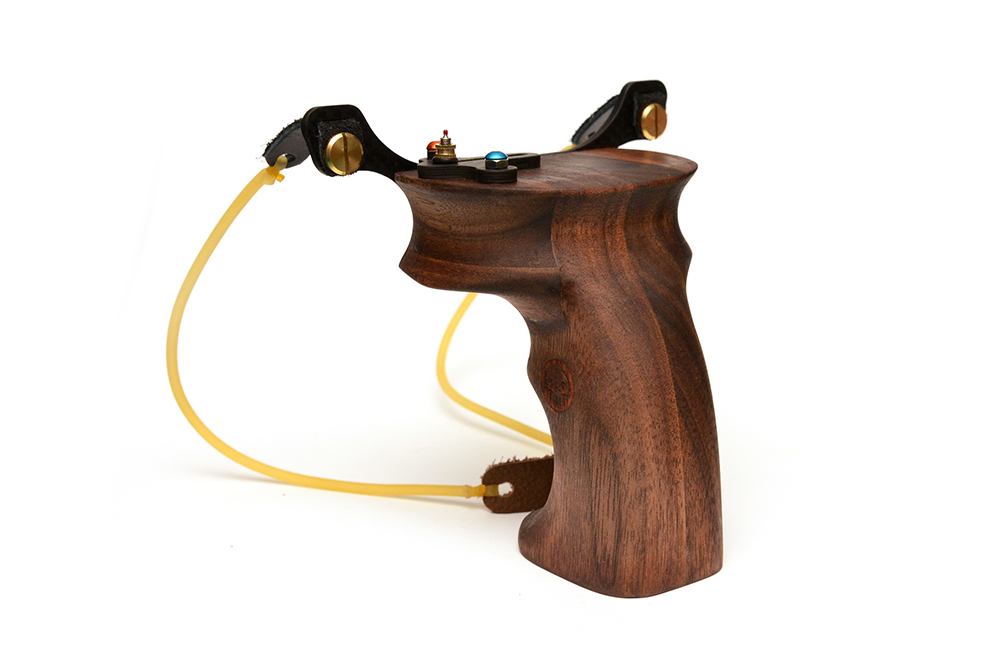
The idea came to me after I had finished another Spanish style slingshot, named the Jawa. It differs from other Spanish style slings because it has a moveable sight and fixed band positions. Typically, the bands are moved to match up with a fixed sight. The grip is a hybrid pinch/pistol grip which is based off a semi semicircular hand web shaped and a long pistol style handle.
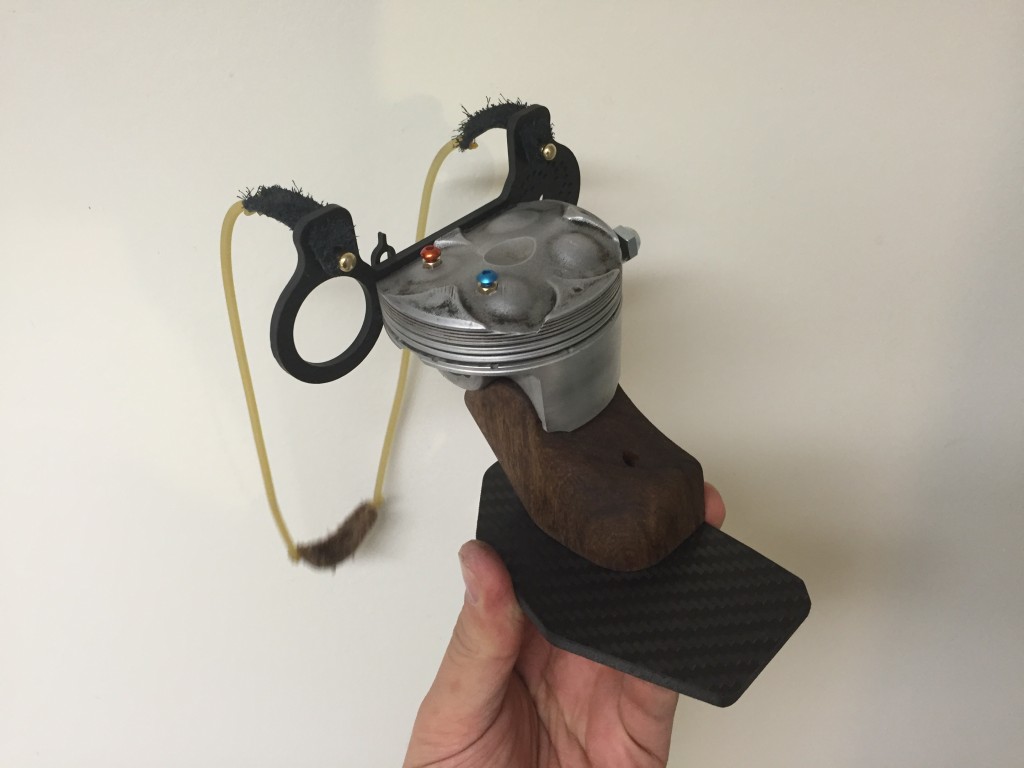
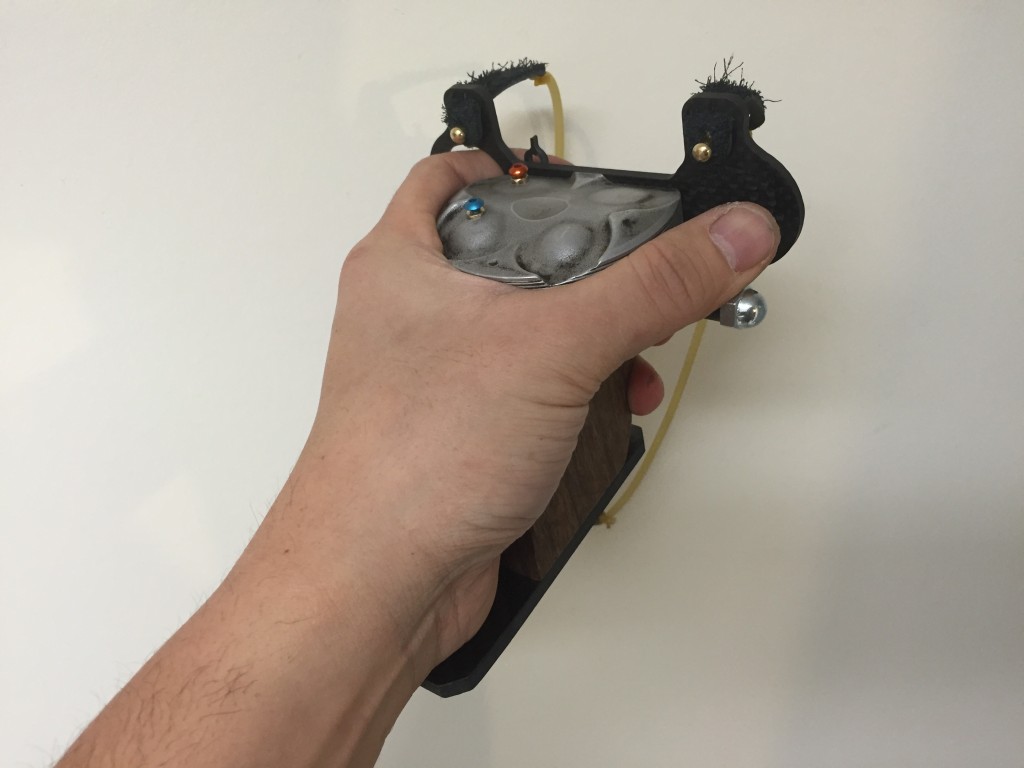
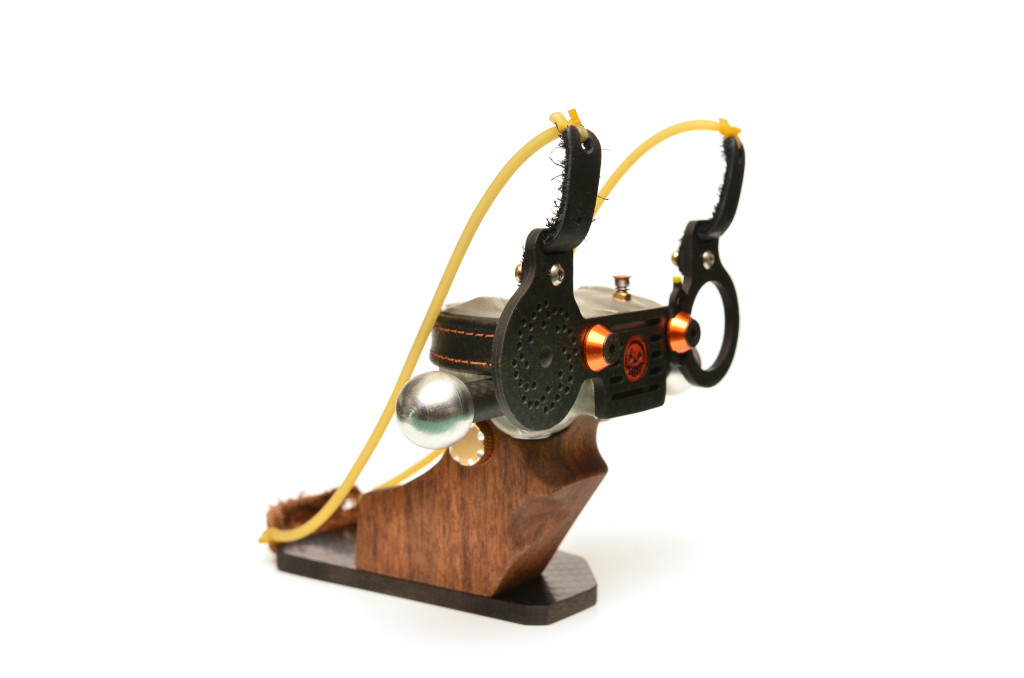
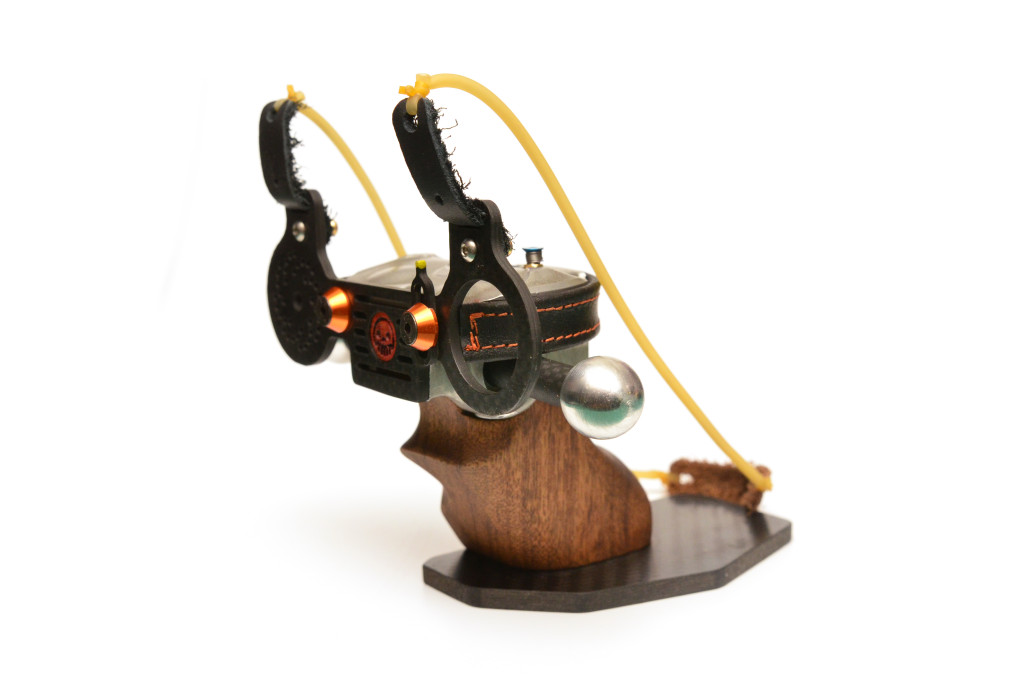
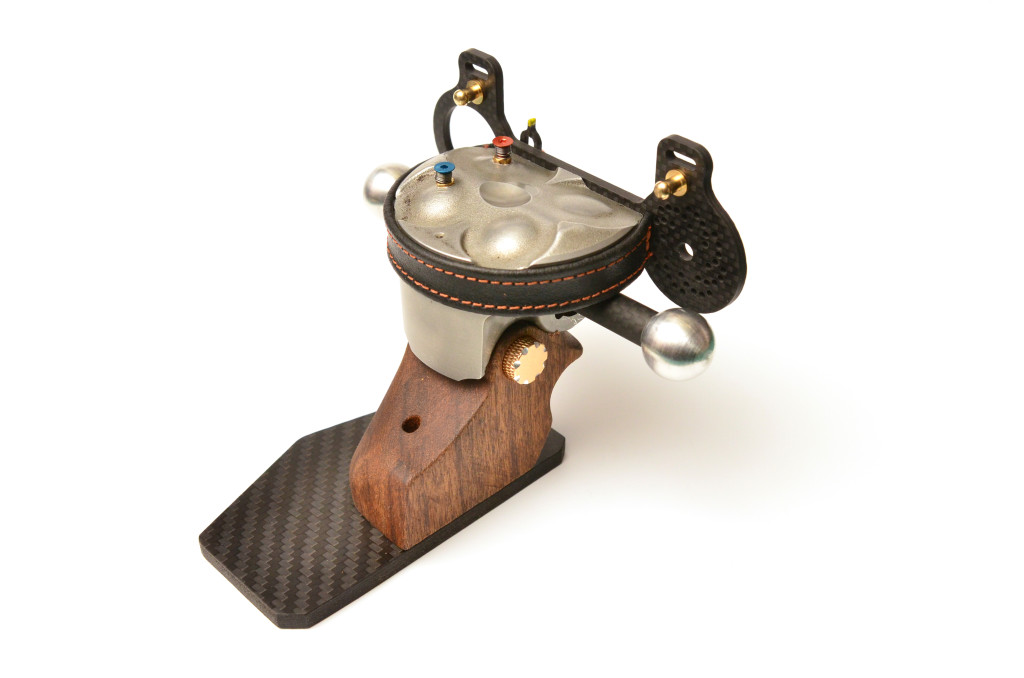
I had received a connector rod and piston combination (from a Triumph TT 600 for you motorheads) I was more excited about the piston than the con-rod (which can be converted into slingshot as well). The circumference and and over all shape was going to be perfect for the project I had in mind. Here’s a photo of the final product so you have an idea of where we are going.
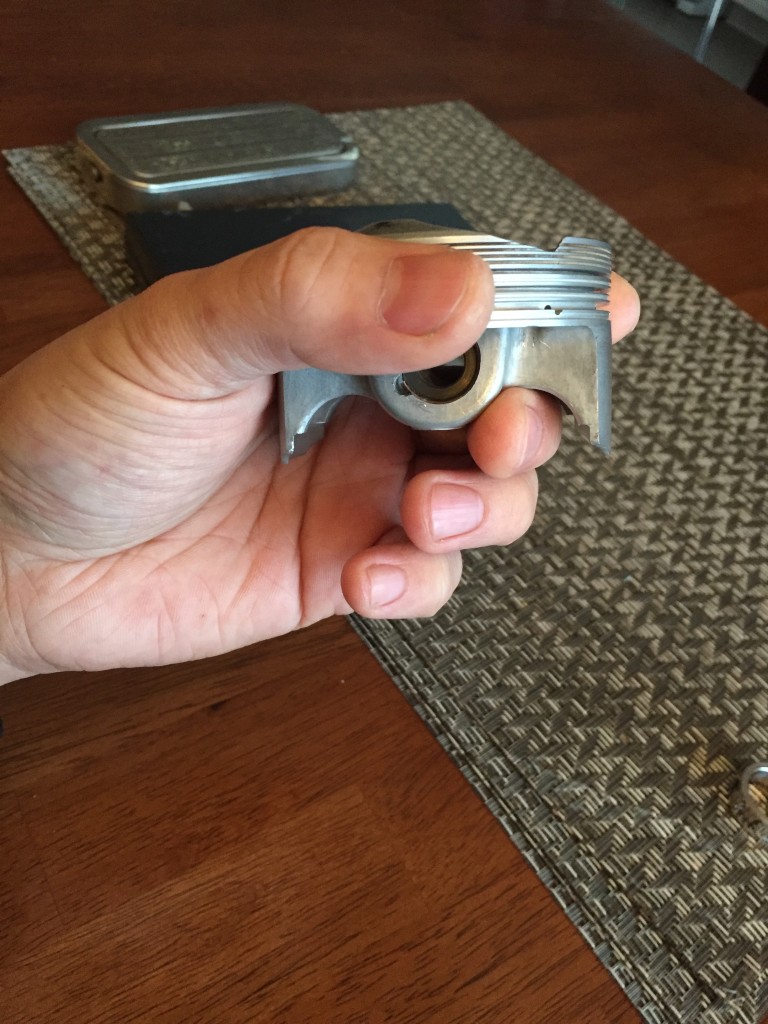
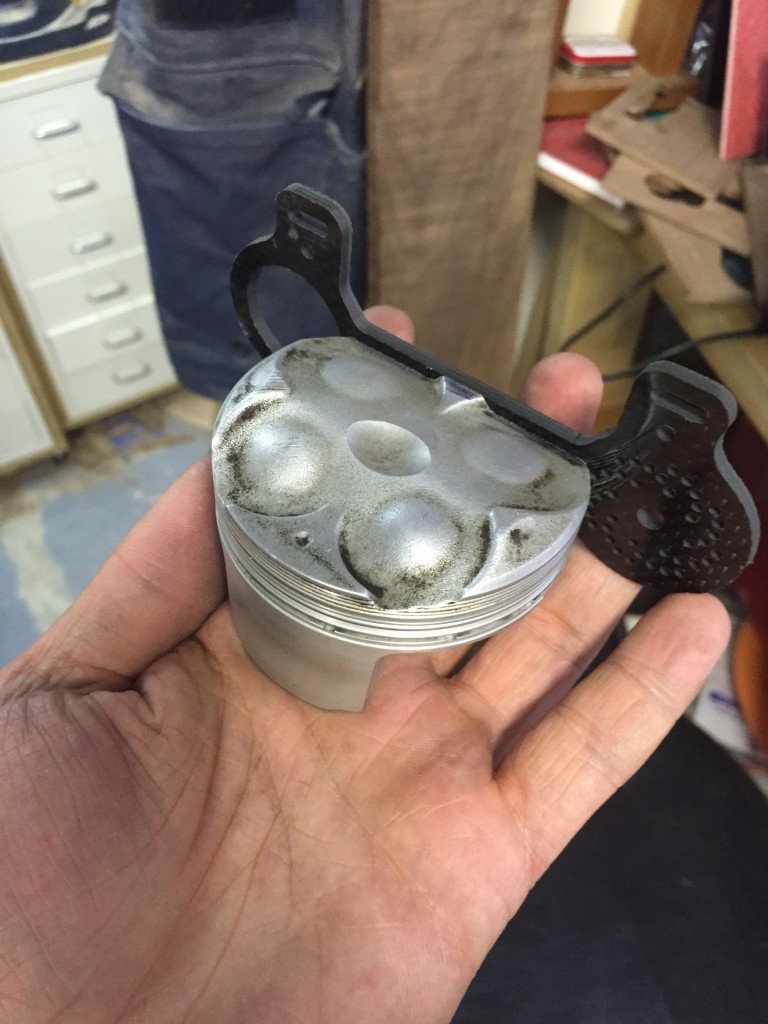
Here’s a shot of what kind of raw material I was working with: a solid cast aluminum piston head. The recesses for the con-rod movement were a great jumping off point on the design of the handle.
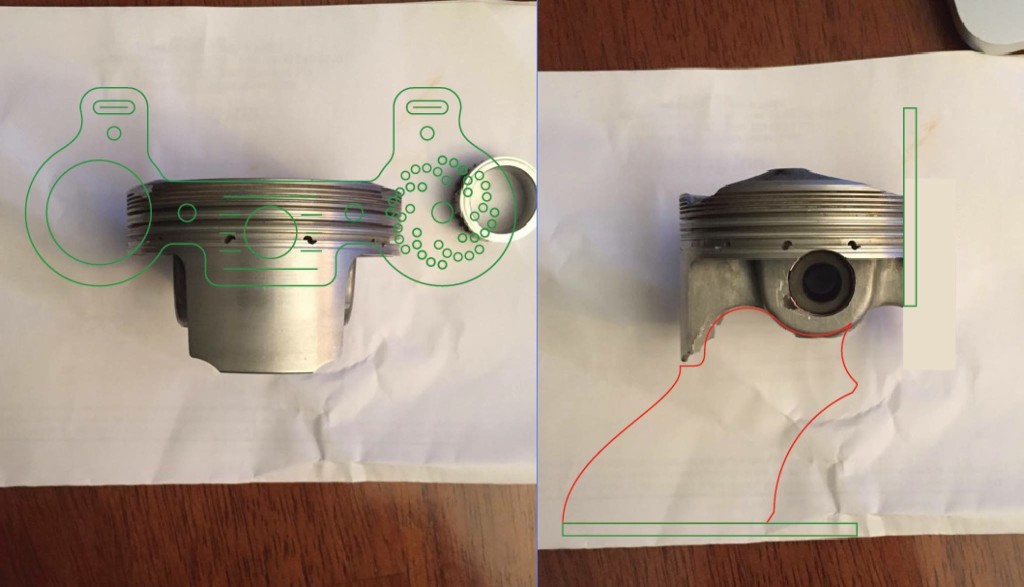
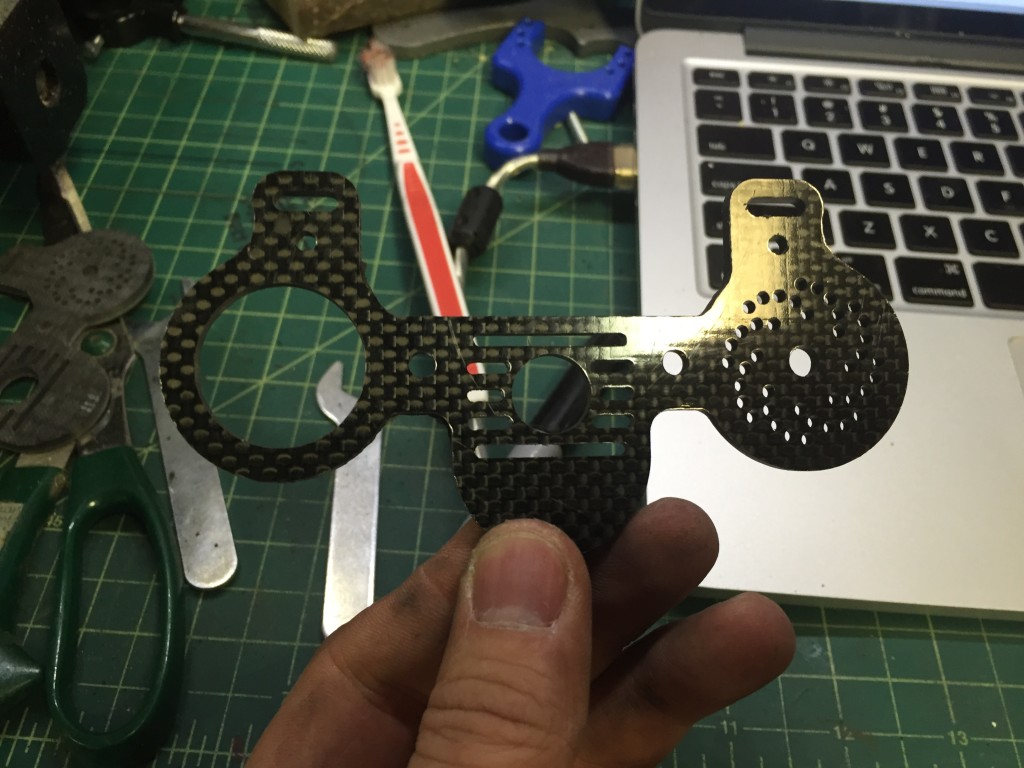
After some very careful planning and digital alteration of the piston head (lopping off a section of the front of it). This is what I came up with for the front fork plate, handle and base plate. The fork plate design is a meld of aesthetic and functional choices; the fork tips, the index finger hole, attachment holes and maker’s mark position ALL in one part. The handle is a 3 part sandwich where the middle section is sunk into the base of the piston and held in with the con-rod pin.
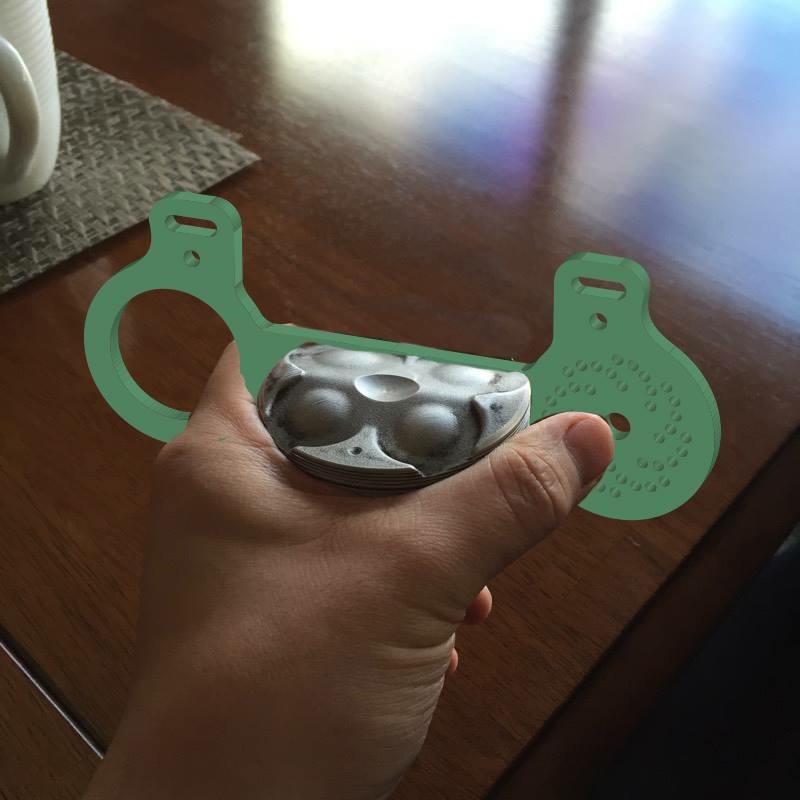
A quick and dirty digital mock up of the fork plate. It is out of scale, but the general idea was there. After 2 days of planning, I was ready to go into the shop and start crafting this speed machine.
–Shop Time–
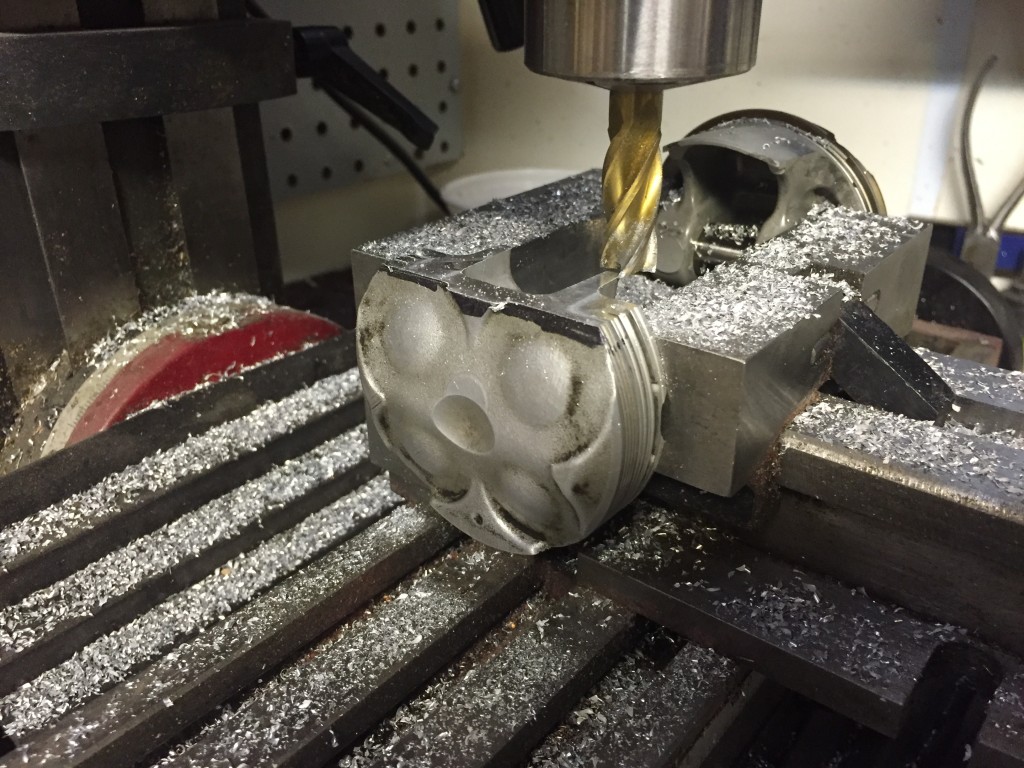
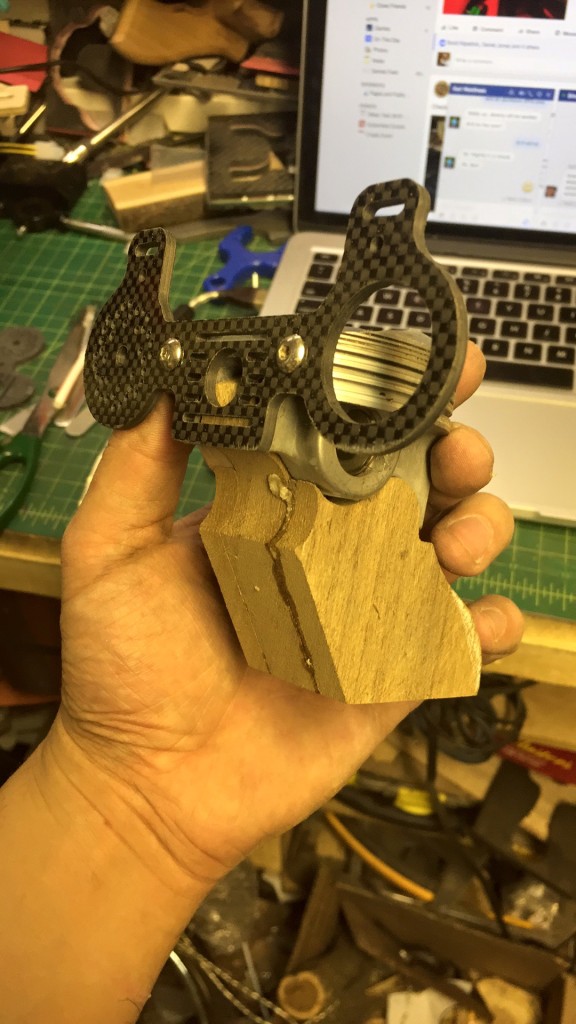
First step was to mill off some of the piston head to reveal a face to attach the fork plate to.
Then it was time to cut the for plate, something very satisfying seeing a part you’ve poured hours into designing come out exactly how you imagined it. 3mm carbon fiber was the material of choice for its high strength properties.
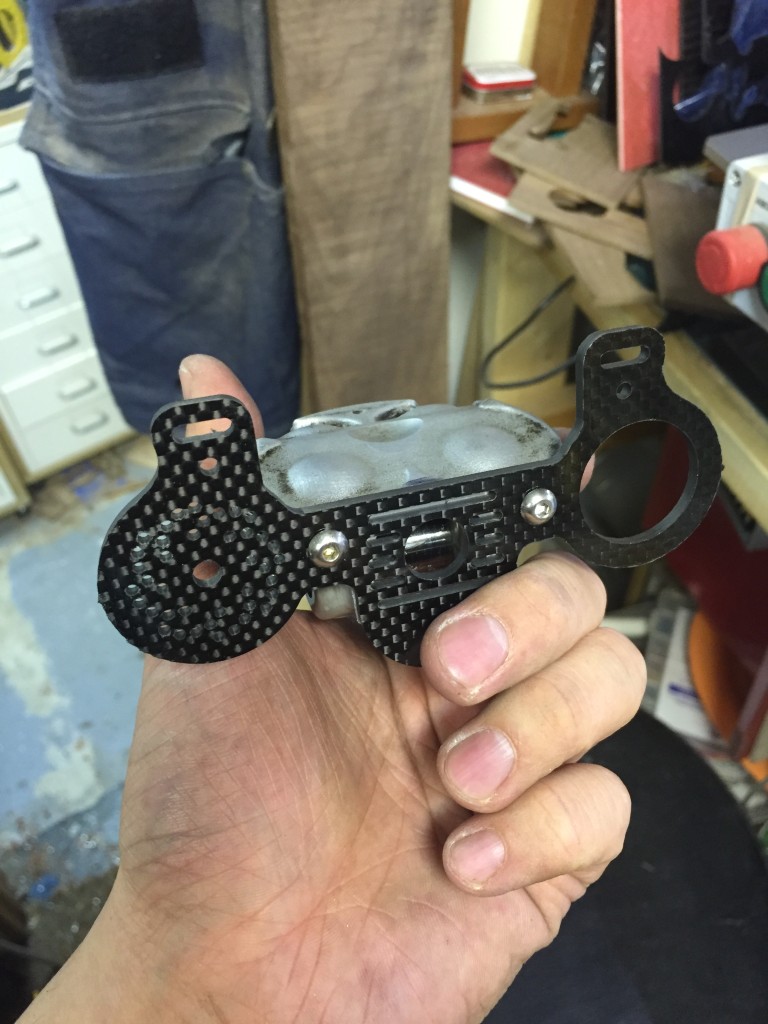
The first unholy matrimony of the fork plate and the piston. At this point…I was getting really anxious to surge ahead.
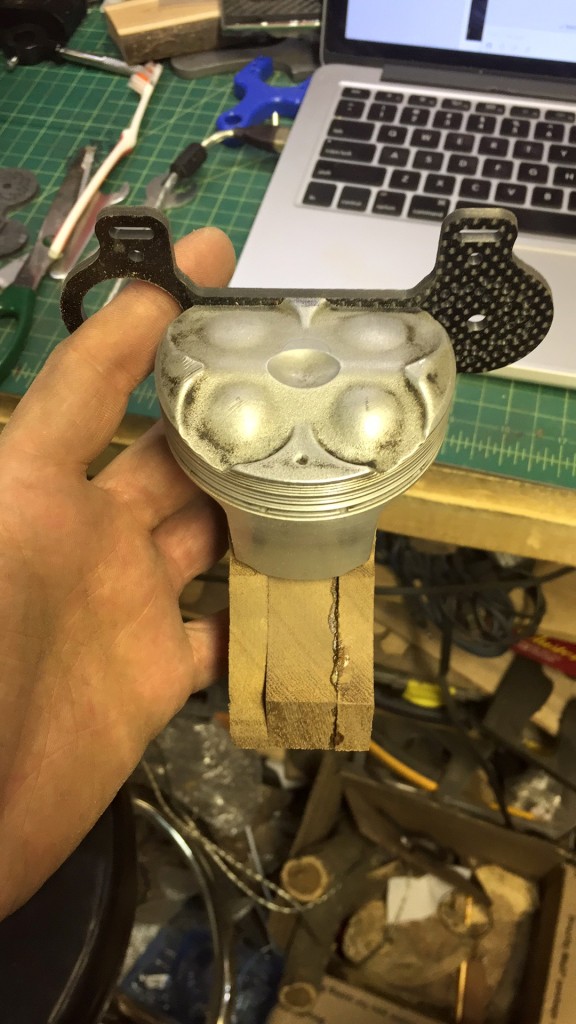
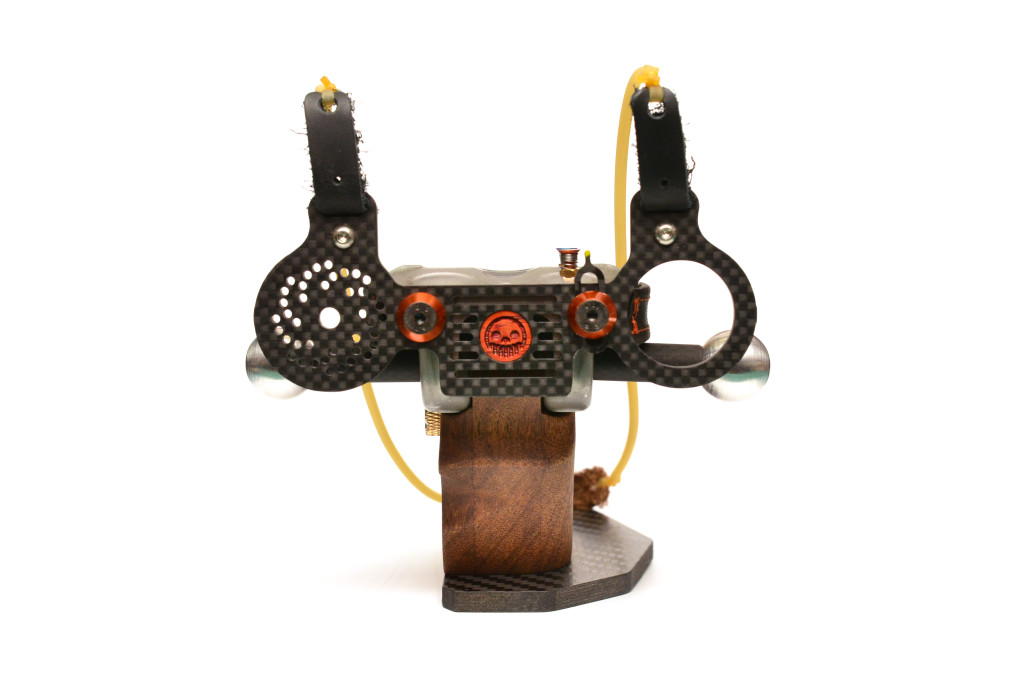
Front view
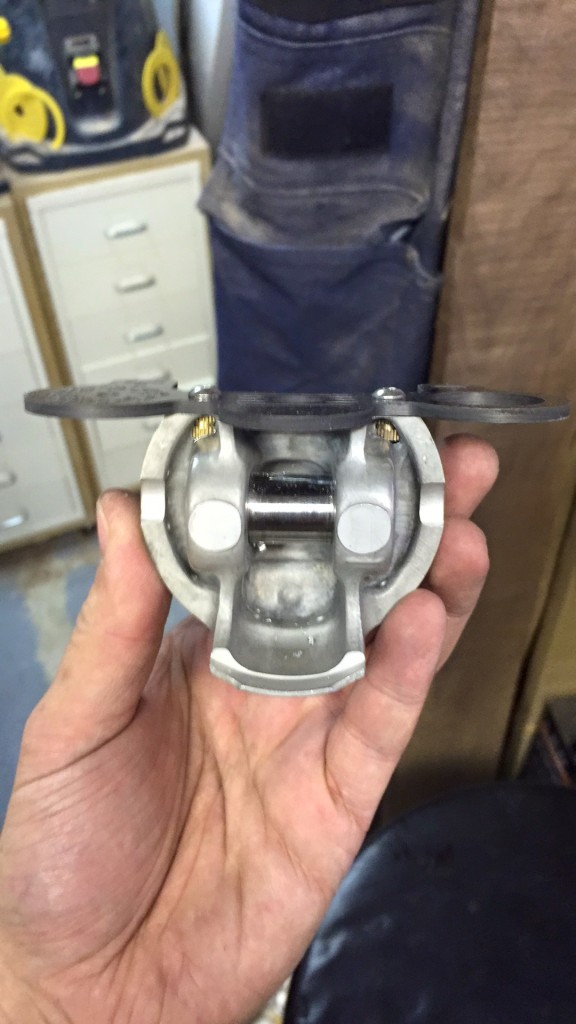
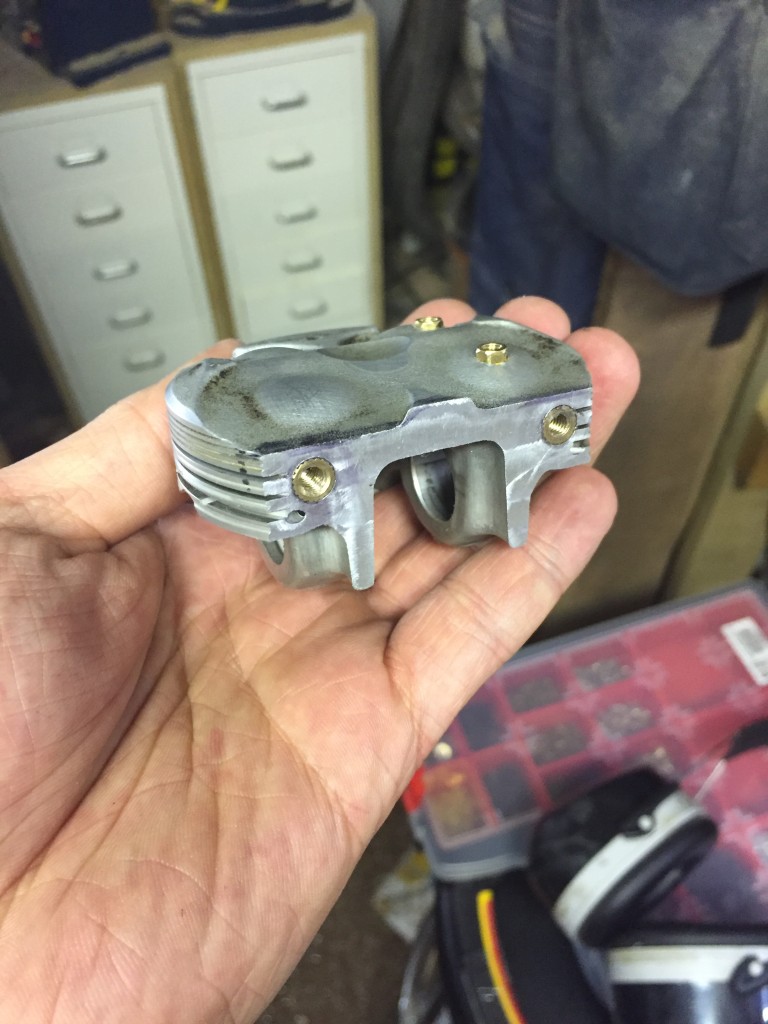
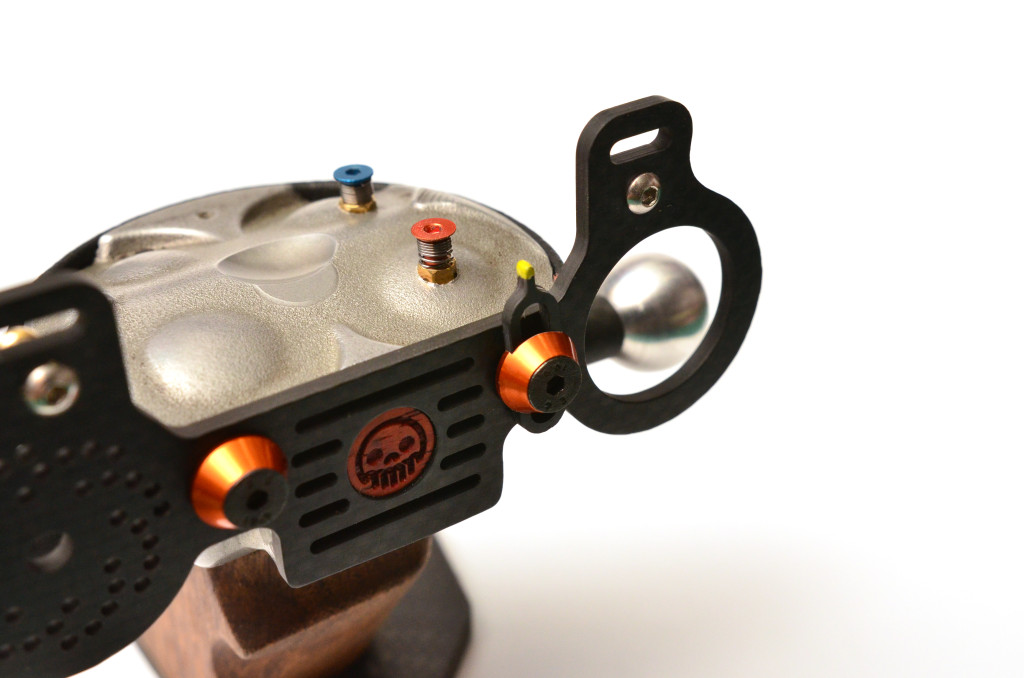
The plate is attached via two M4 inserts pressed into the newly milled face, you can see them peeking when looking under the piston (the brass bits).
The handle blocked into place waiting to be shaped.
I had thought I had chosen some mahogany, but mistakingly selected some teak. No matter, teak was a better choice in the end. Funny thing happened when I laminated the three parts together, using only a thin CA glue as the bonding agent, the CA glue fizzed, hissed and froze nearly instantly when the two parts where pressed together. Never seen that happen before.
After some quick shaping, removing only what was needed to make it work, the handle was done. Soaked in linseed oil for 10-15 mins and buffed with some paste wax.
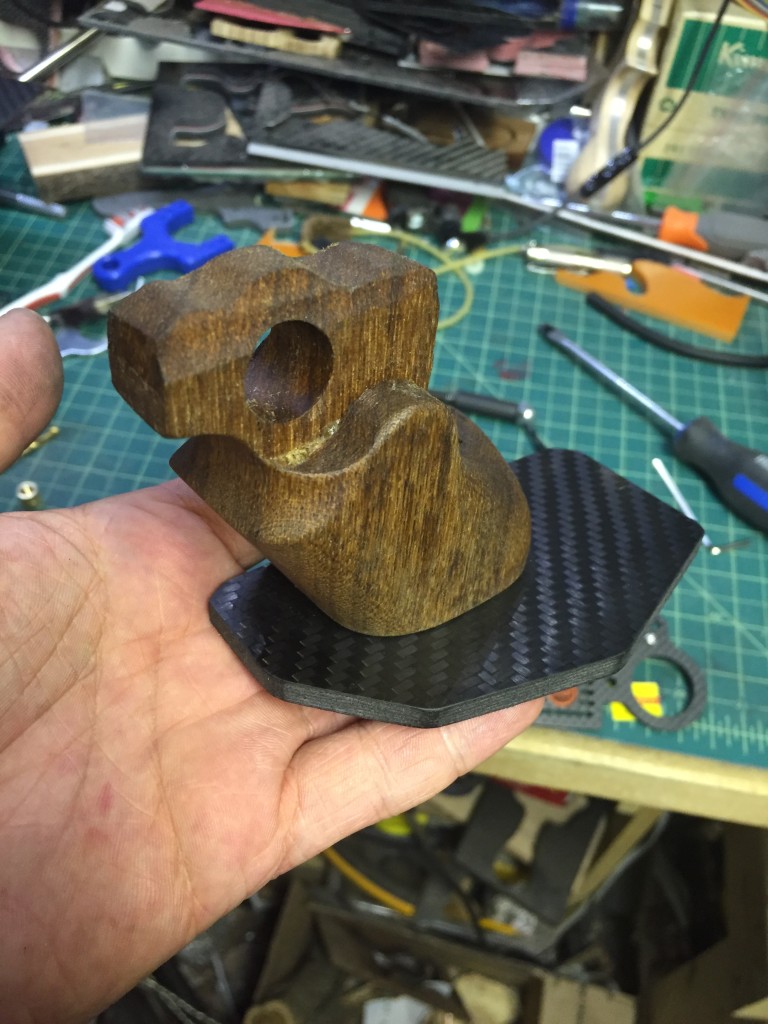
A 3/4 view of the handle installed.
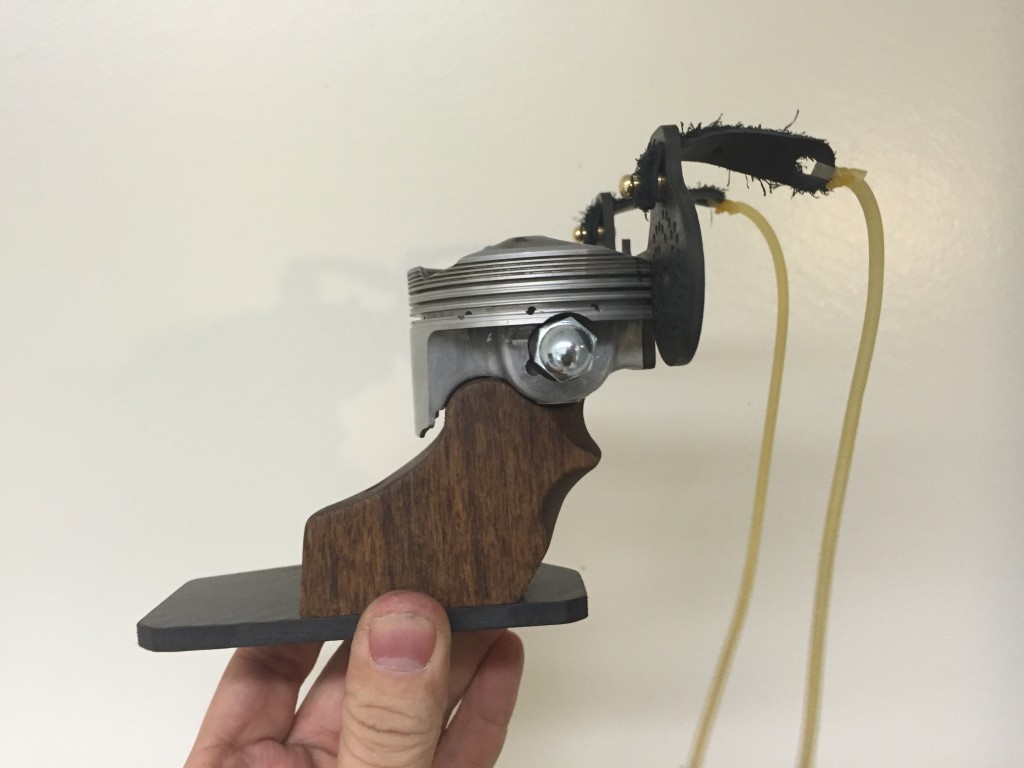
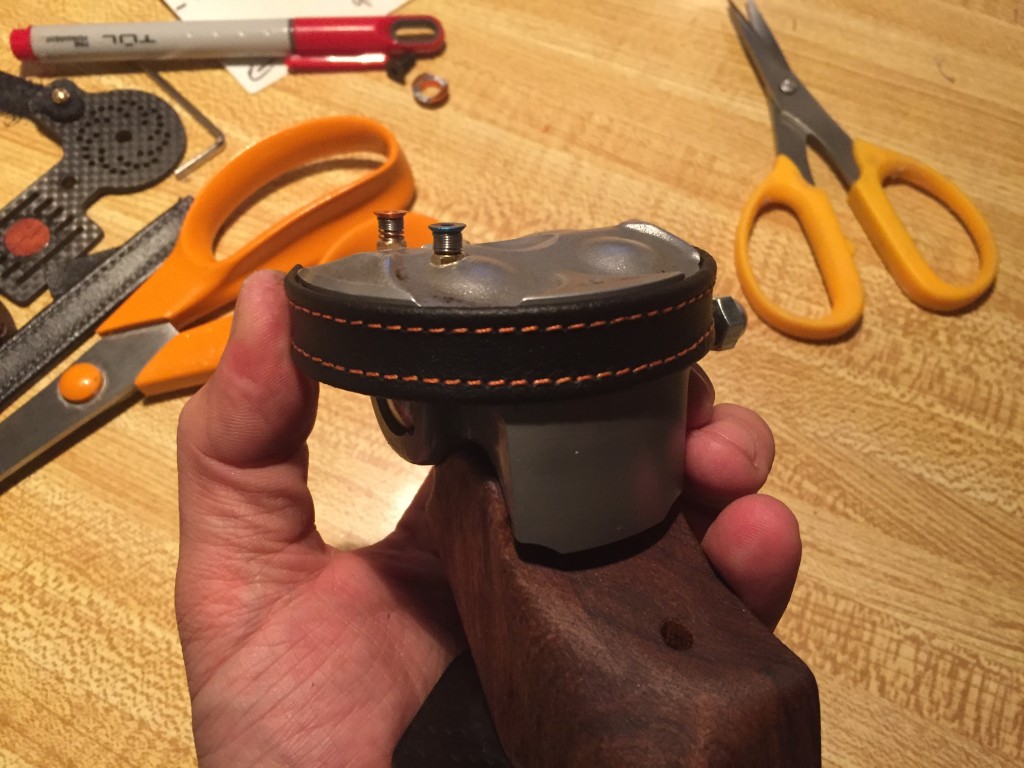
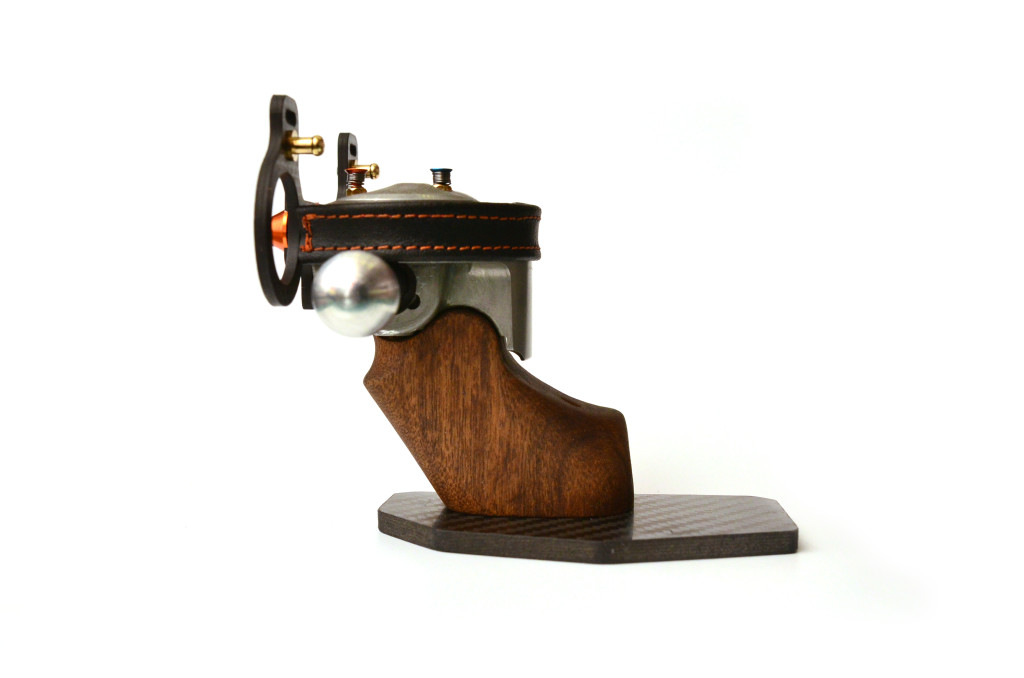
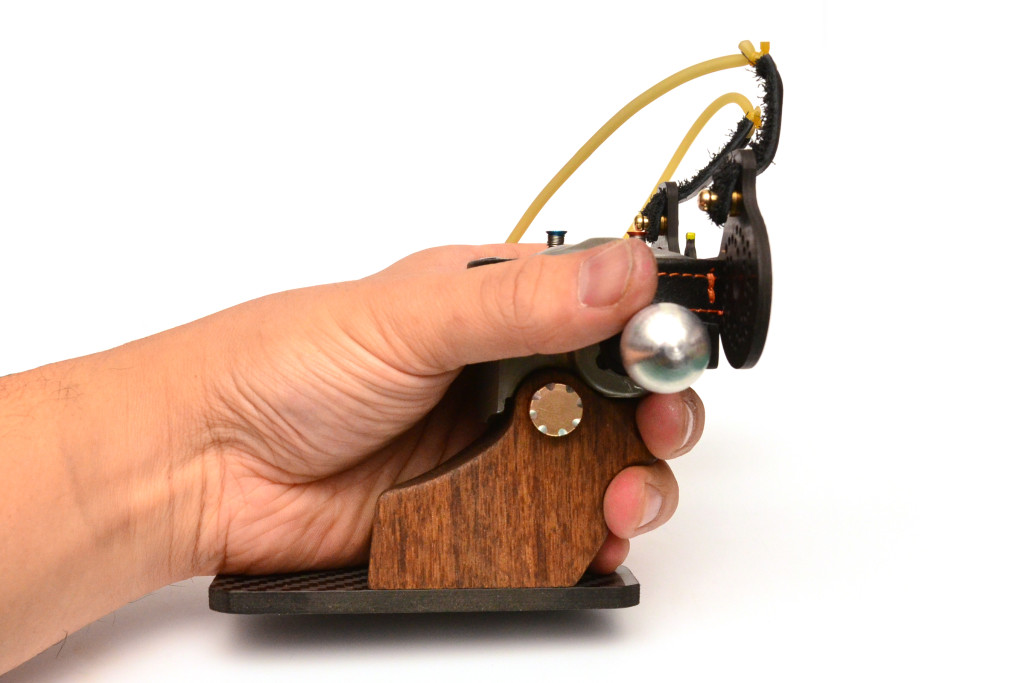
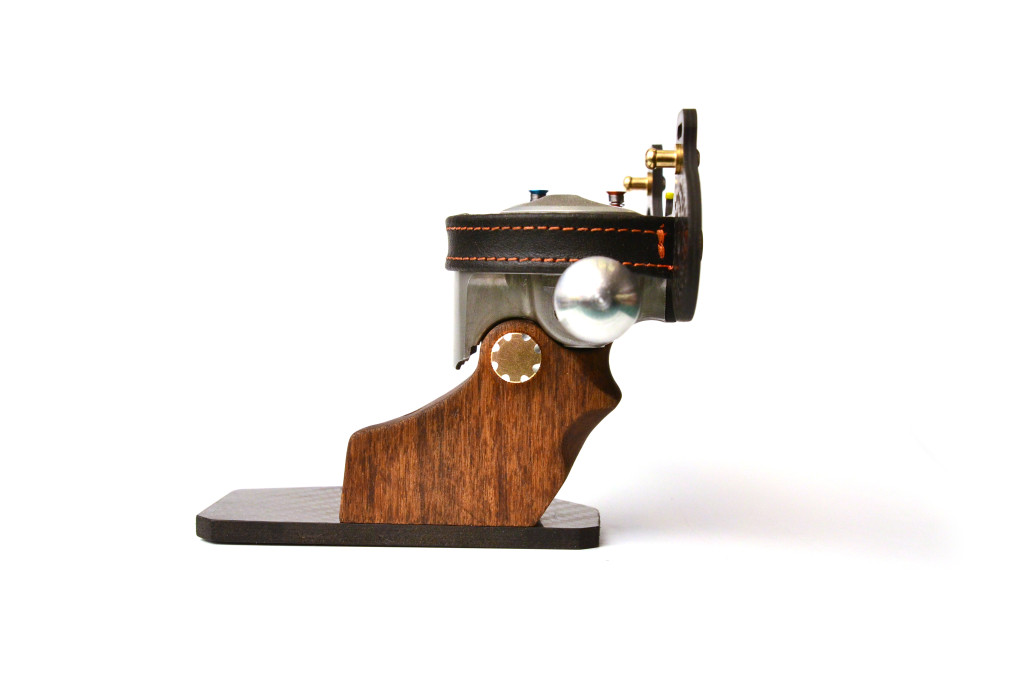
The right side view shows that the the handle profile wasn’t altered since no fingers or palm would be touching it. However you will notice that the middle finger curve is subtly in place as is a little notch for the ring finger. These two little recesses were crucial for the proper and repeated hand placement when gripping this frame.
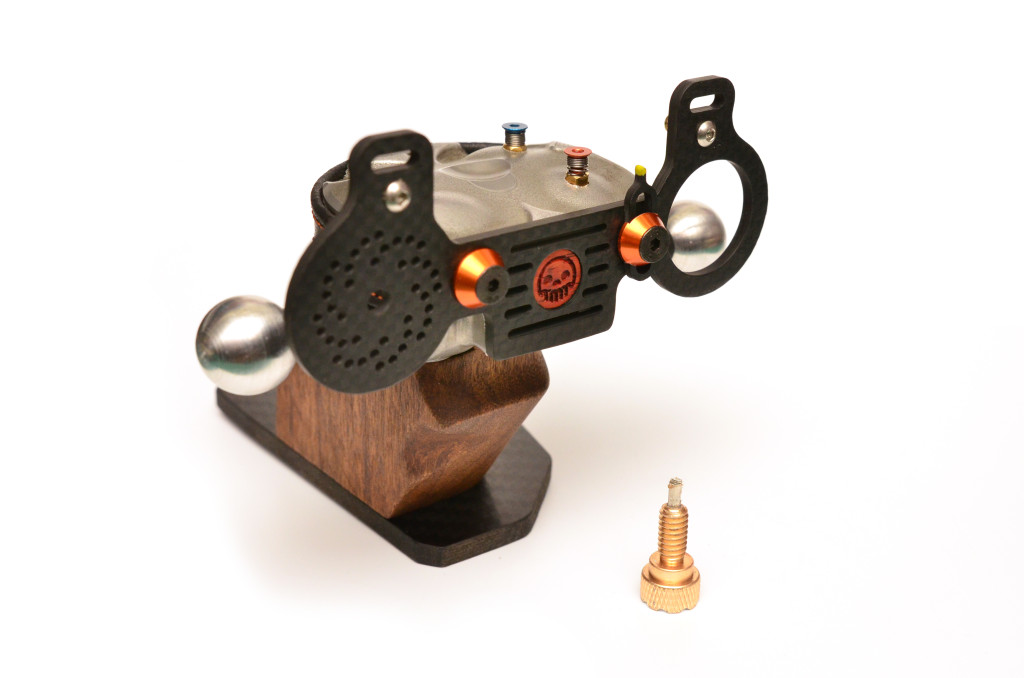
The rear view shows that the left portion of the handle was removed so that the meat of the palm has a place to sit and support. The peg on the right is a place holder for a bar that will span the entire width of the slingshot, serving as a finger and thumb shelves.
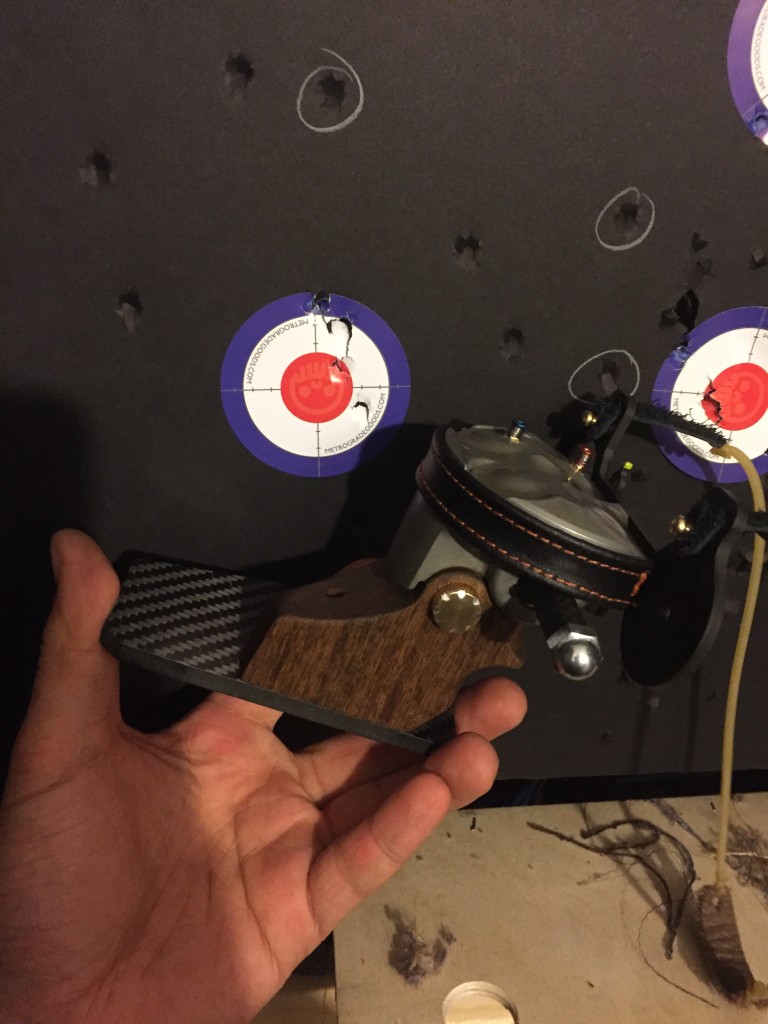
You’ll also see a the base plate was cut from some loose fiber filled carbon fiber place. The plate sandwiches the fist and handle, so the more I squeeze with my ring and pinky fingers, the more the frame snugs up into my palm.
This pic shows the M4 inserts for the fork plate attachment and the two M3 inserts on the top that will become the alignment pins to ensure the frame is square to the target.
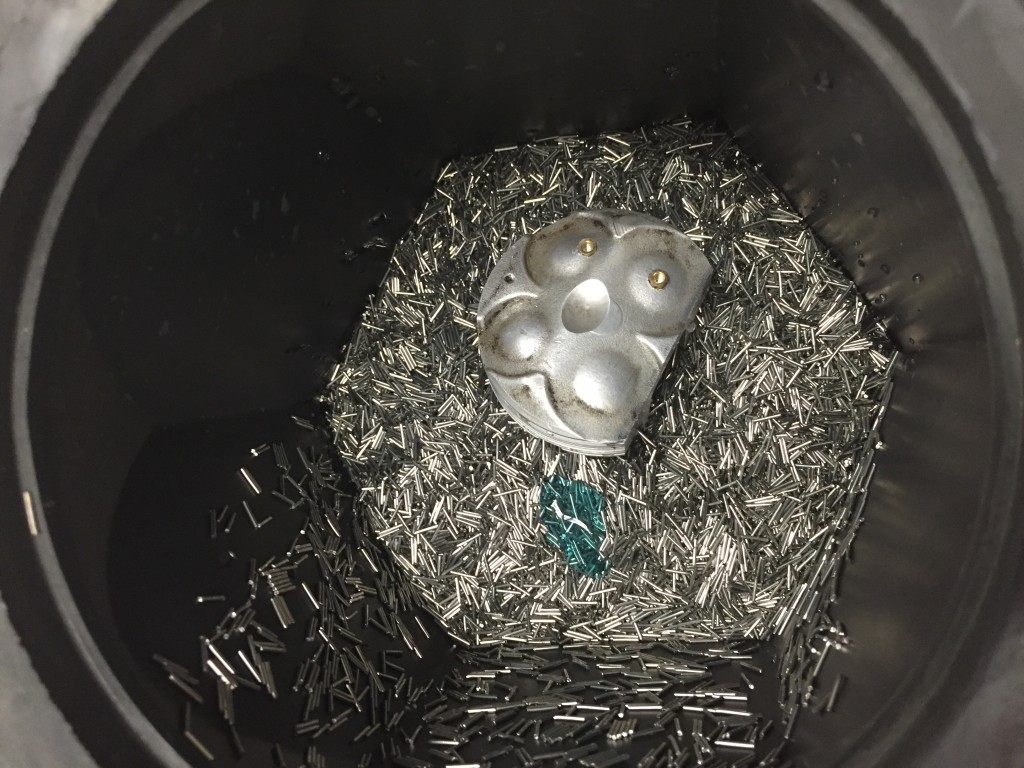
The machining process left the edges sharp and there were some stubborn carbon deposits on the top of the piston head so into the tumbler it went for an overnight toss up with steel pin media.
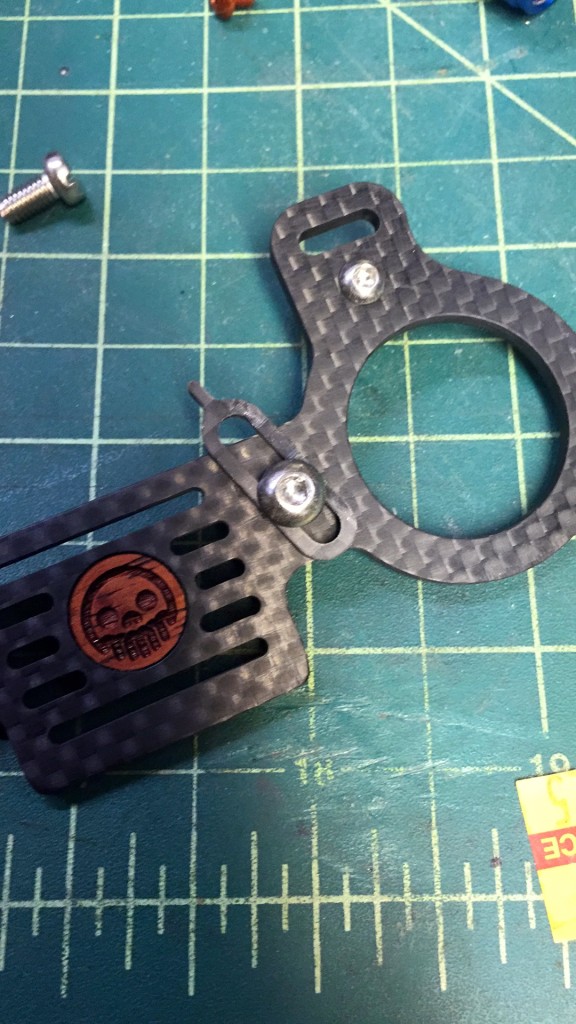
While that was working itself into a frenzy, a quick sight pin was made from 1mm carbon fiber board. This will attach via the same screw as the fork plate attachment.
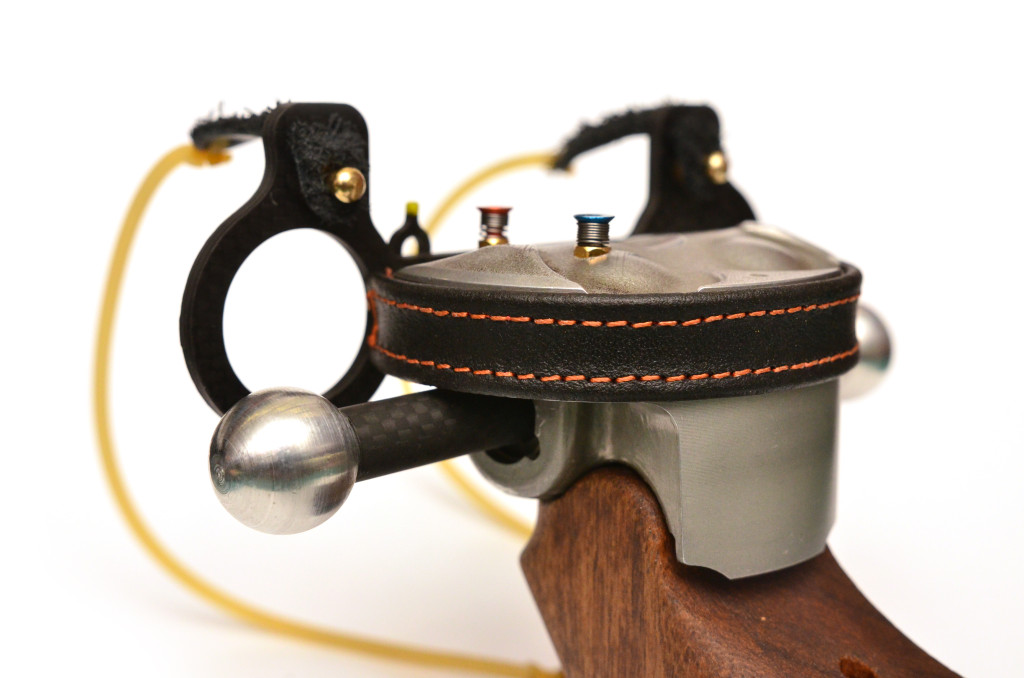
The edges of the piston head where the gaskets used to be were too sharp so some thin leather with some contrasting stitching was applied. This covered up the sharp areas but also gave it a nice upholstered look.
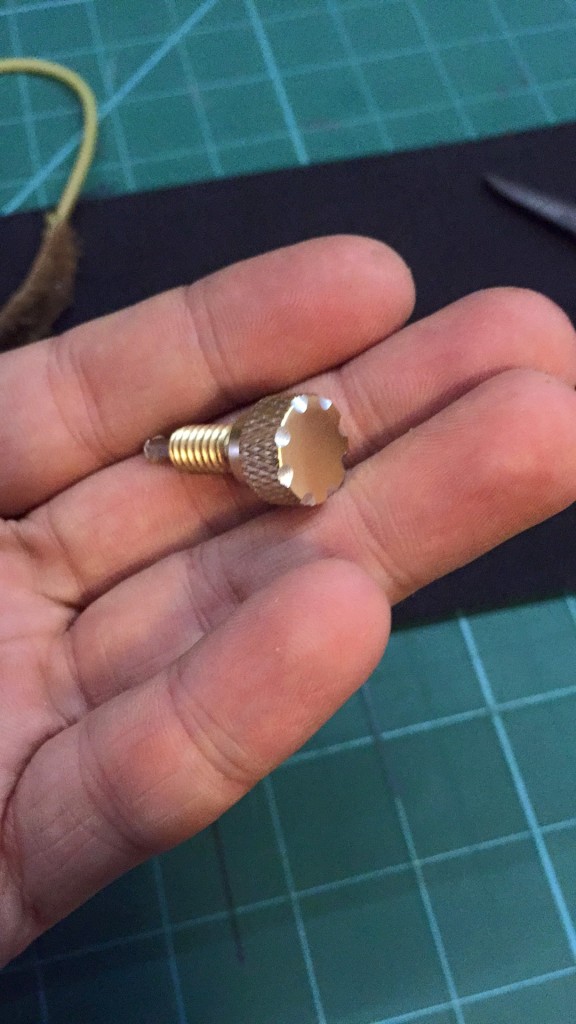
The last thing to add was a 2.5mm hex tool (made from a 1/4-20 thumb screw and a saw off section of Allen key). Some details were hand filed into the head so make it look like a gas cap.
First 10 shots on a 2.4″ target, 3 landed in the circles and 1 bulls eye.
A final spit polish: some orange M4 washers, a threaded rod with carbon fiber sleeves and .75″ aluminum balls completed the Spanish Cafe Racer. Enjoy the slide show!
See you all very soon at the first Annual South East Slingshot Tournament, March 11-12!
If the pictures weren’t enough, here’s a video of the road/range/shooting case I made for it!

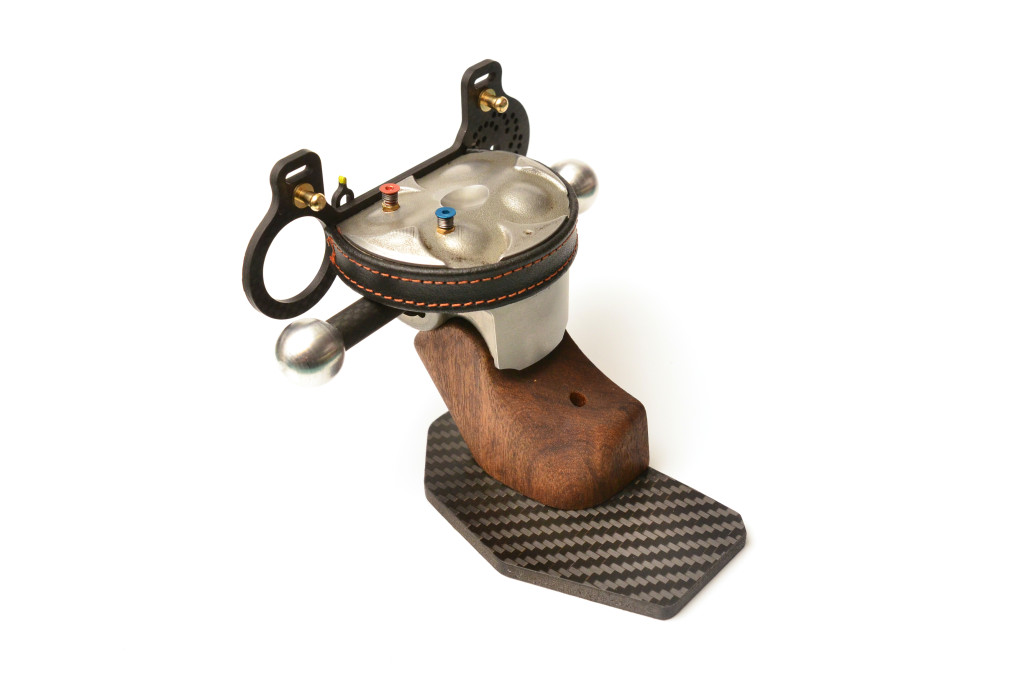



That has to be the coolest slingshot out there!
The pure innovative thought process involved to produce it, is just as amazing