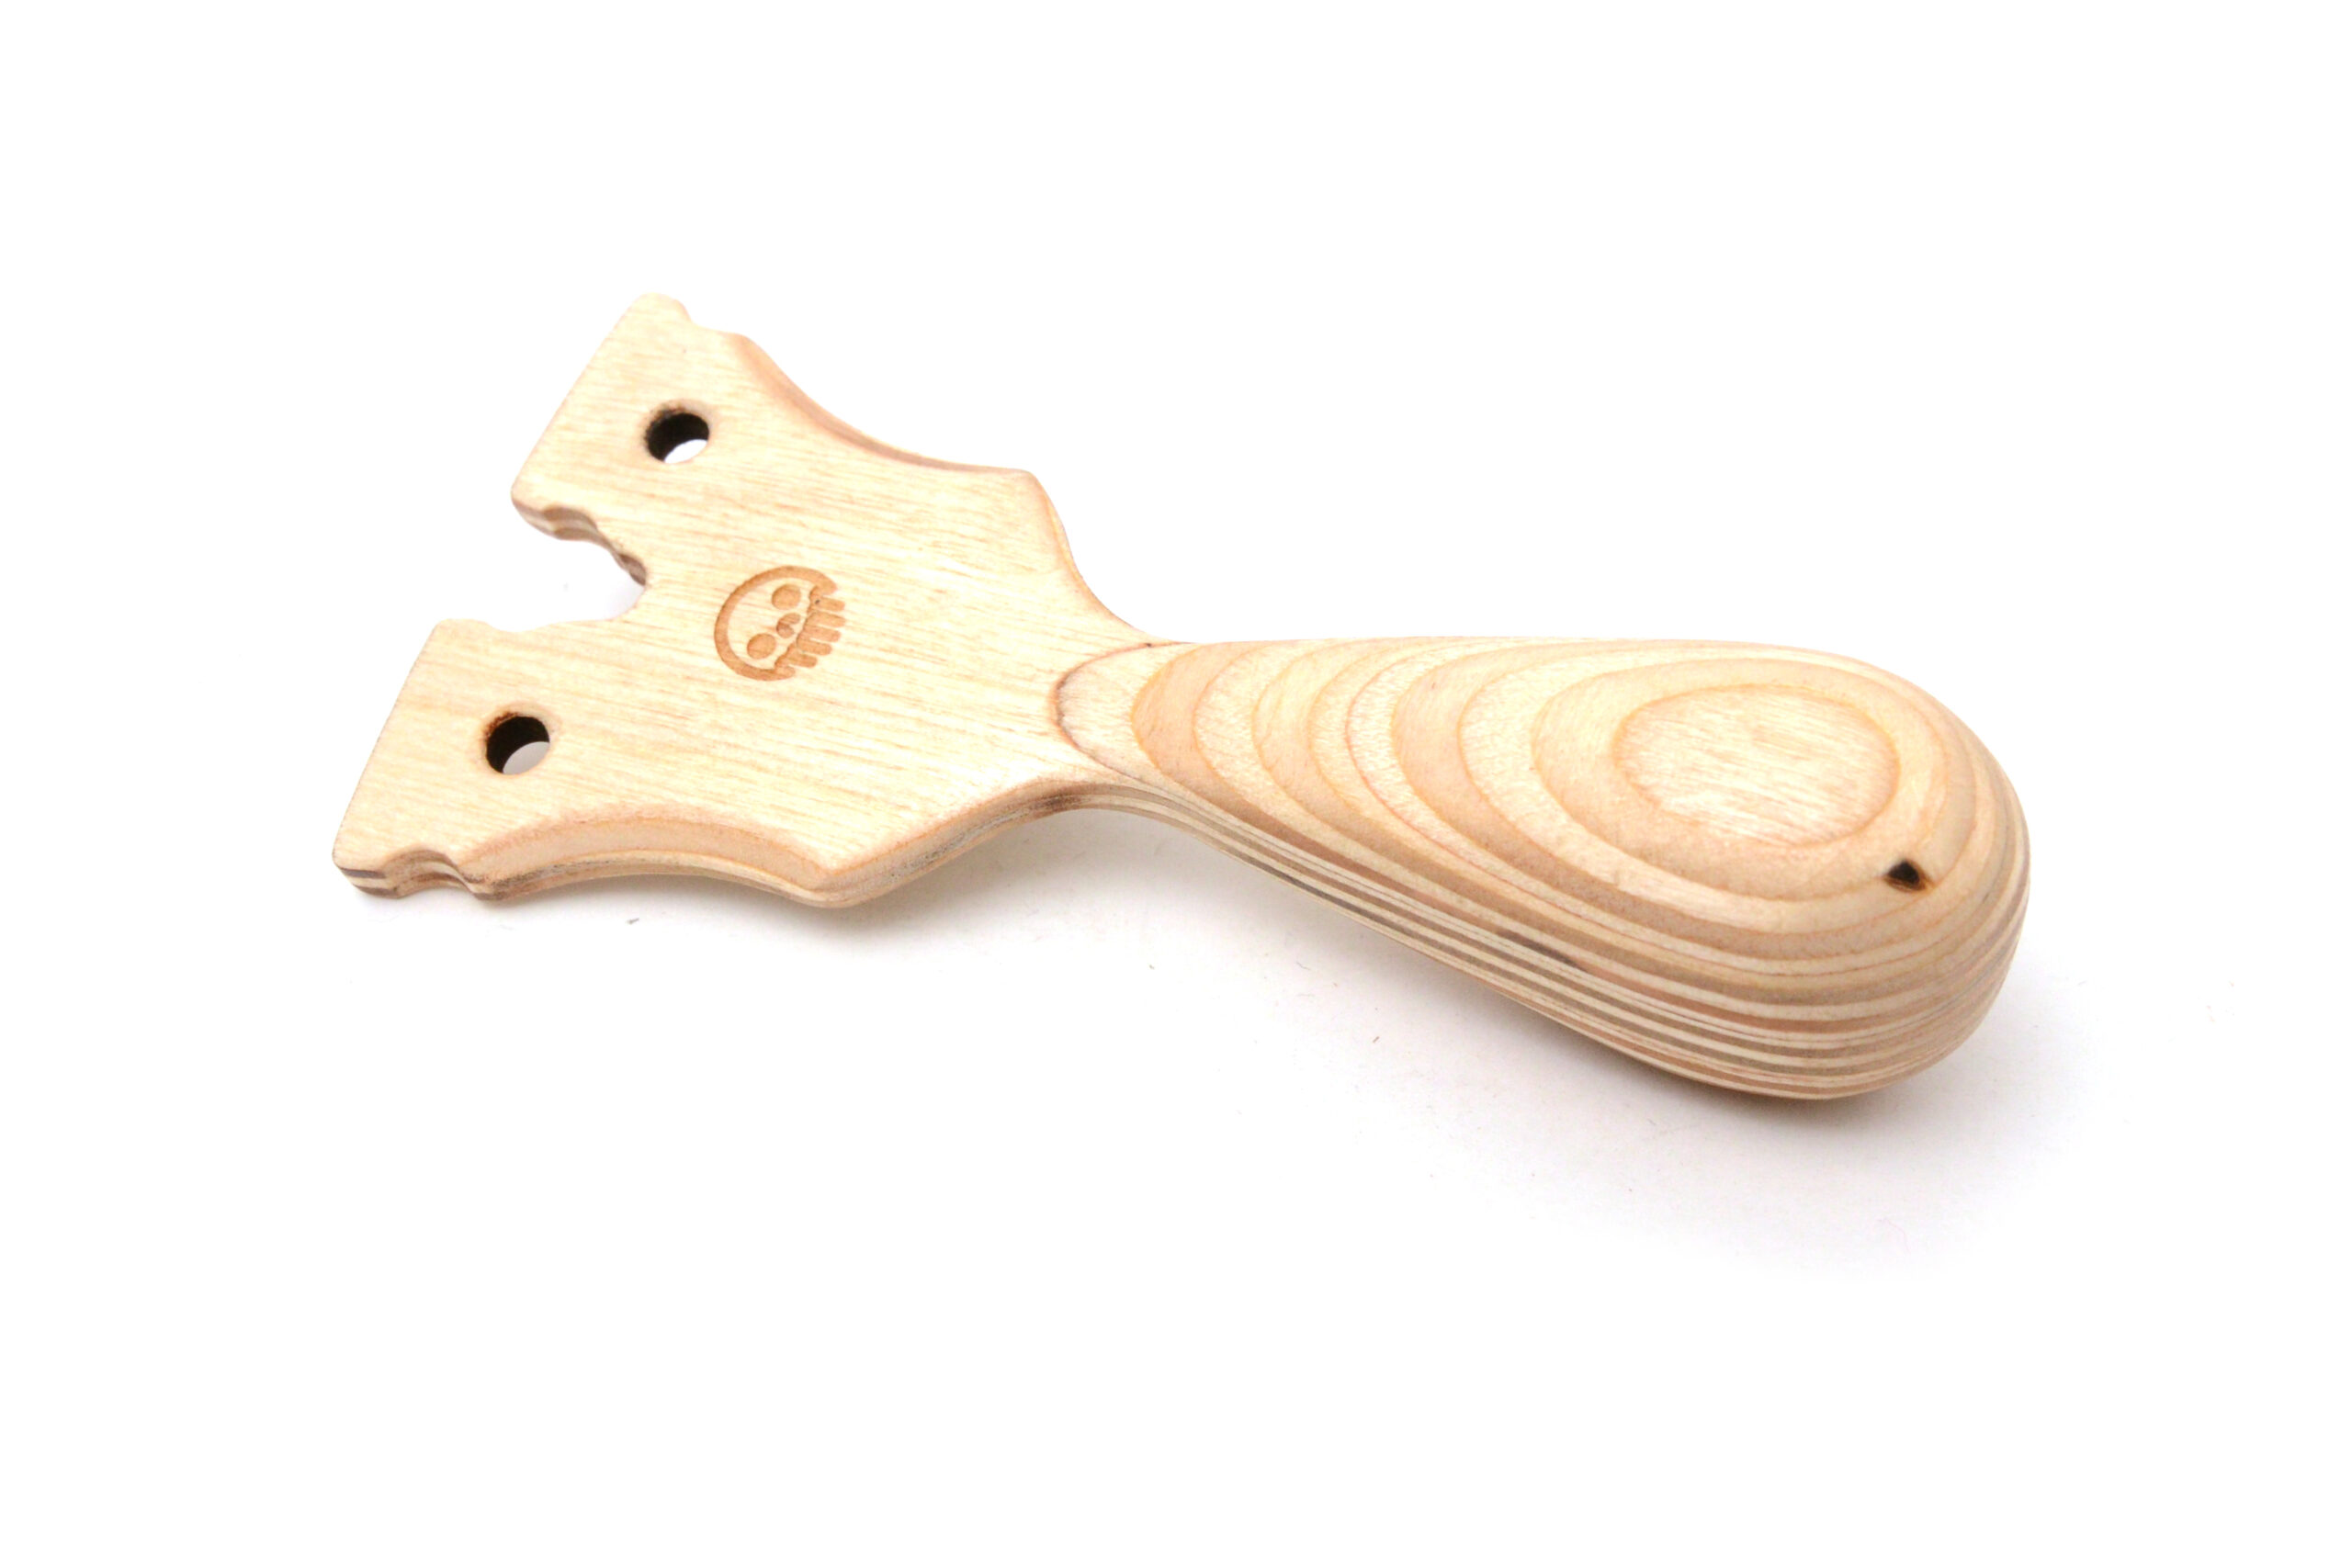
http://bfnionizers.com/product/bfn8412-ionizing-blower-extended-coverage/?add-to-cart=2384 Been a little while since I’ve posted a Metro Made, so there is no reason why NOT to post one. Fresh from the laser cutter to your workshop, this is a tutorial on how to assemble and finish your Wasply PFS Maker Kit. Don’t have one? You can get yours here: Wasply PFS Maker Kit
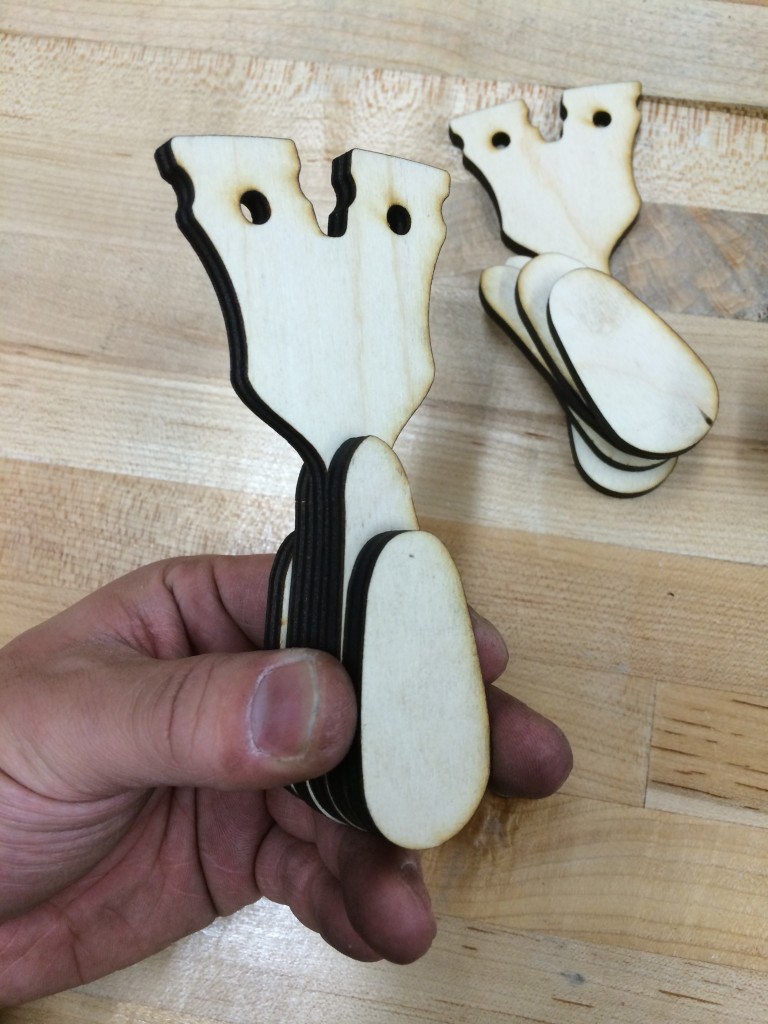
In the kit, you’ll have two cores, and two sets of palm swells.
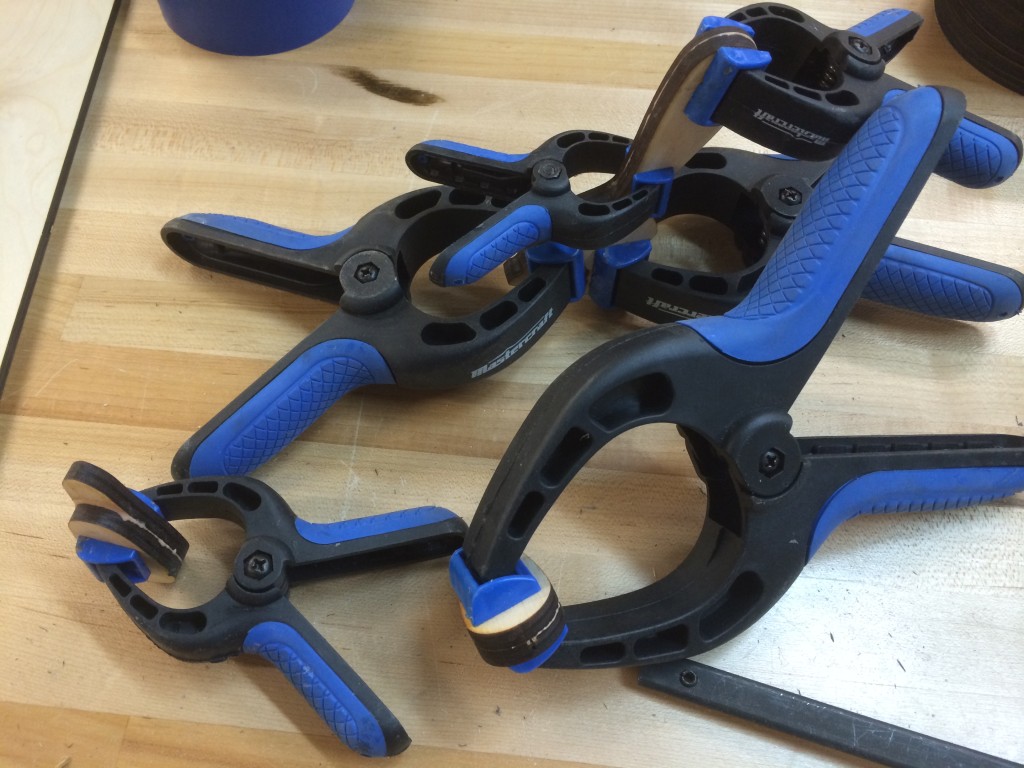
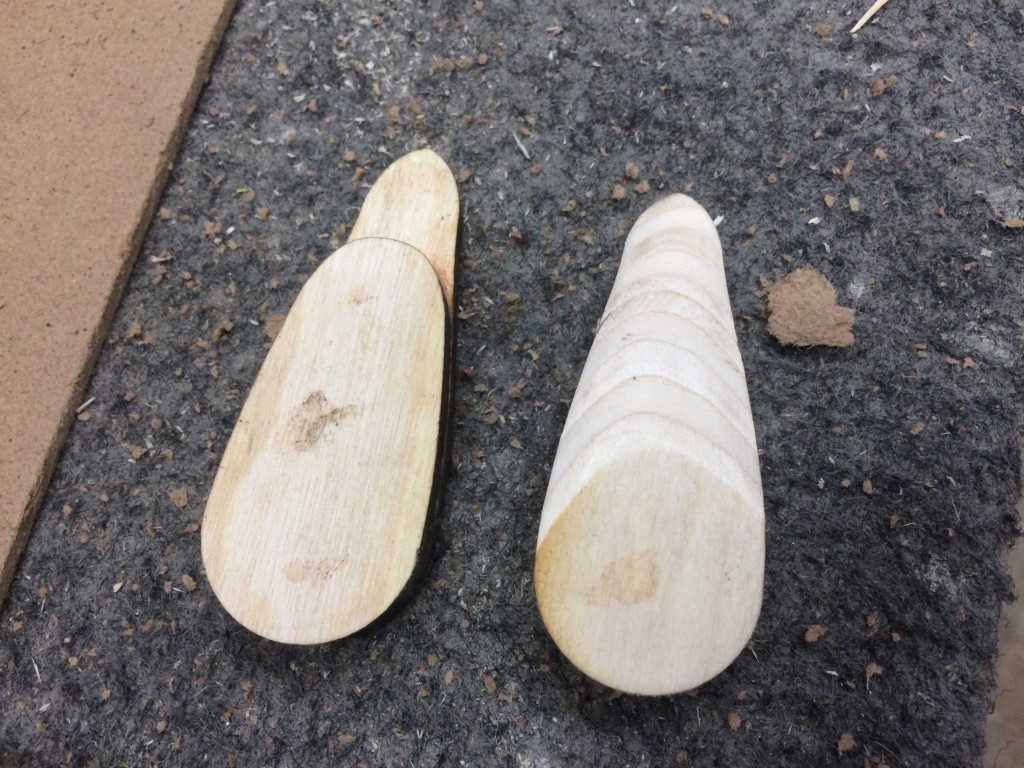
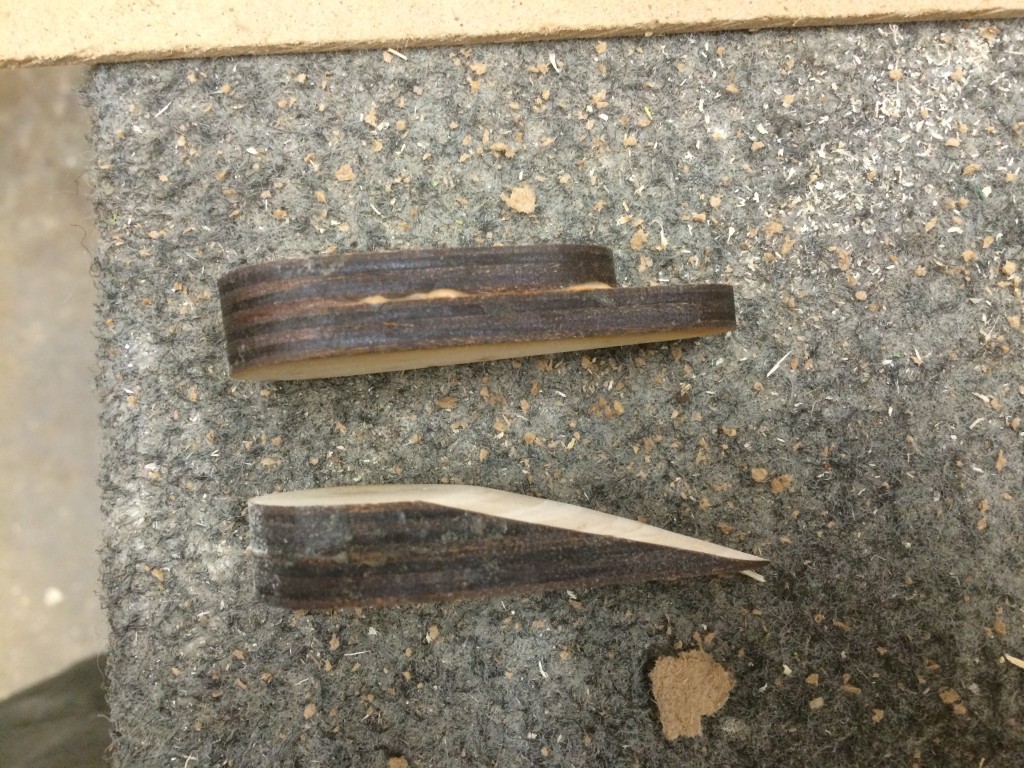
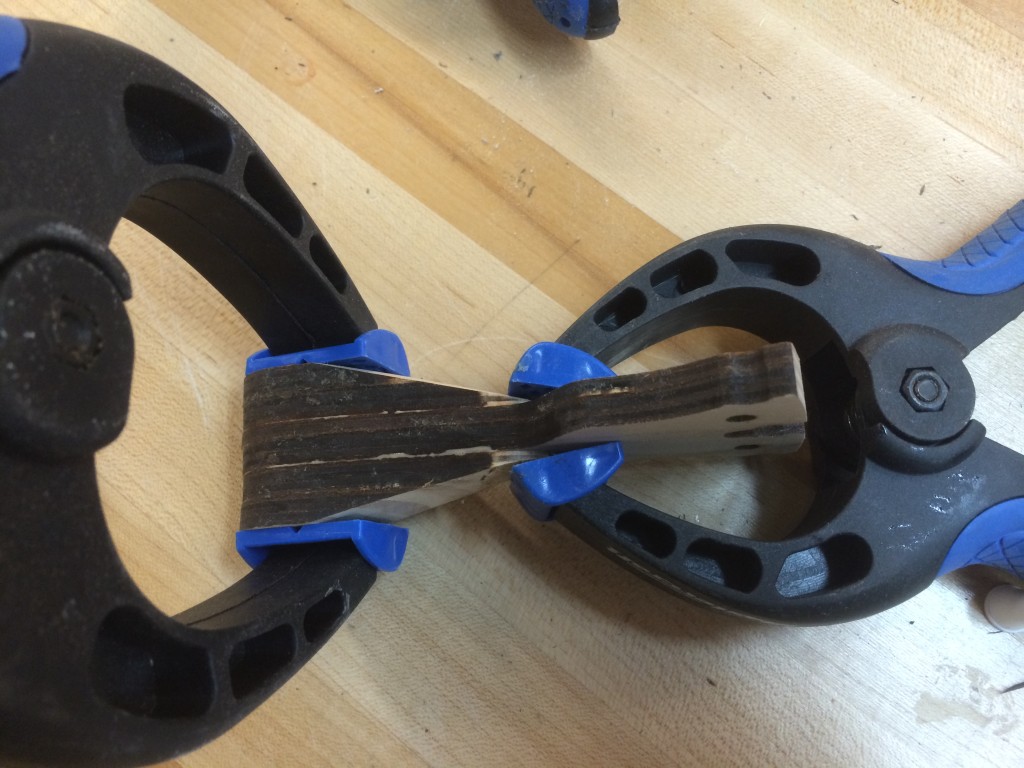
First things first, glue up the core, and two palm swells.
When they are set up, I used a belt sander to start to shape the palm swells. This make life a lot easier later if you take off the bulk of the material first.
Once the swells are partial shaped, time to glue up the swells on the body core.
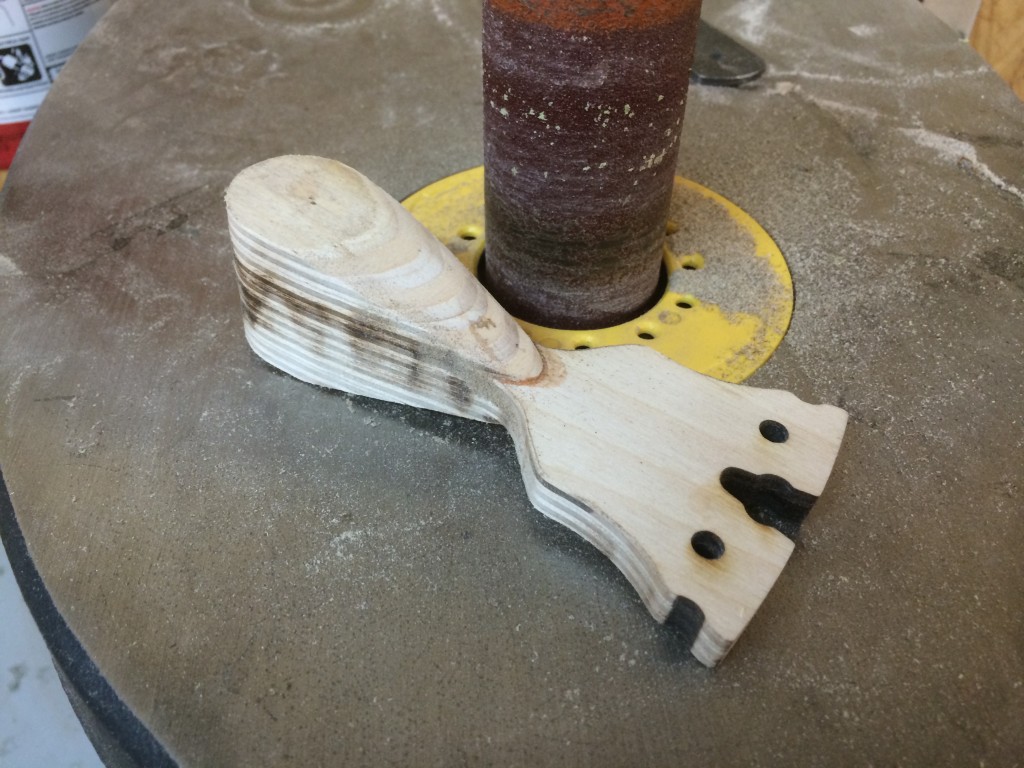
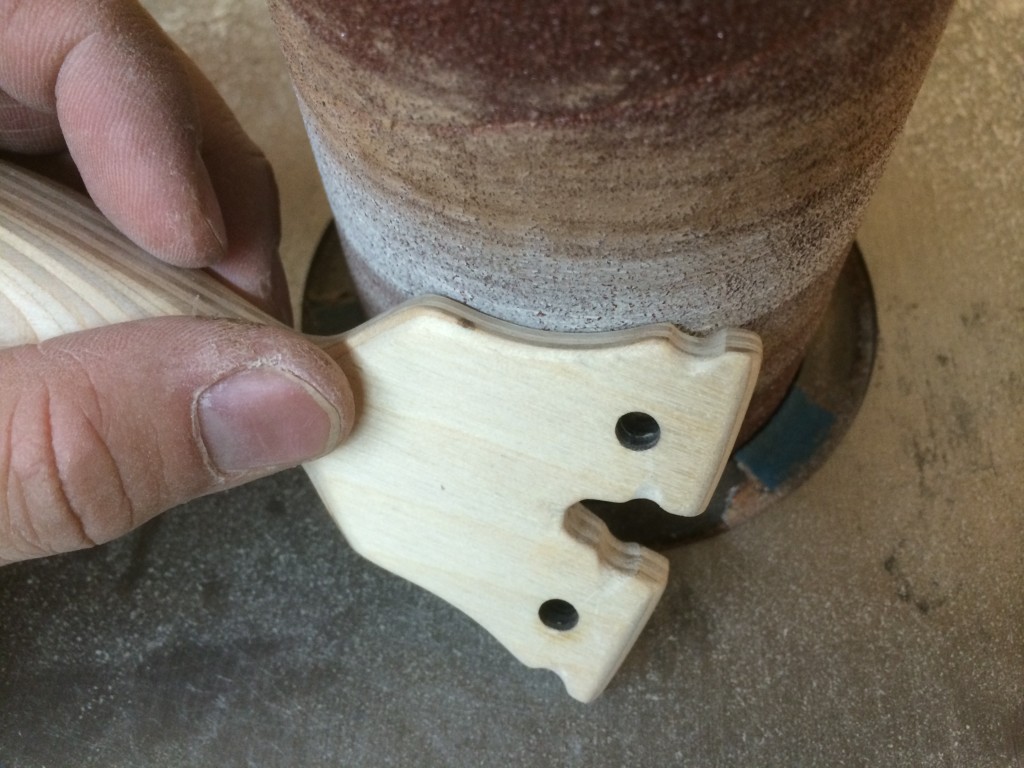
I used a spindle sander to remove the laser burned wood but this can be done with files and sandpaper.
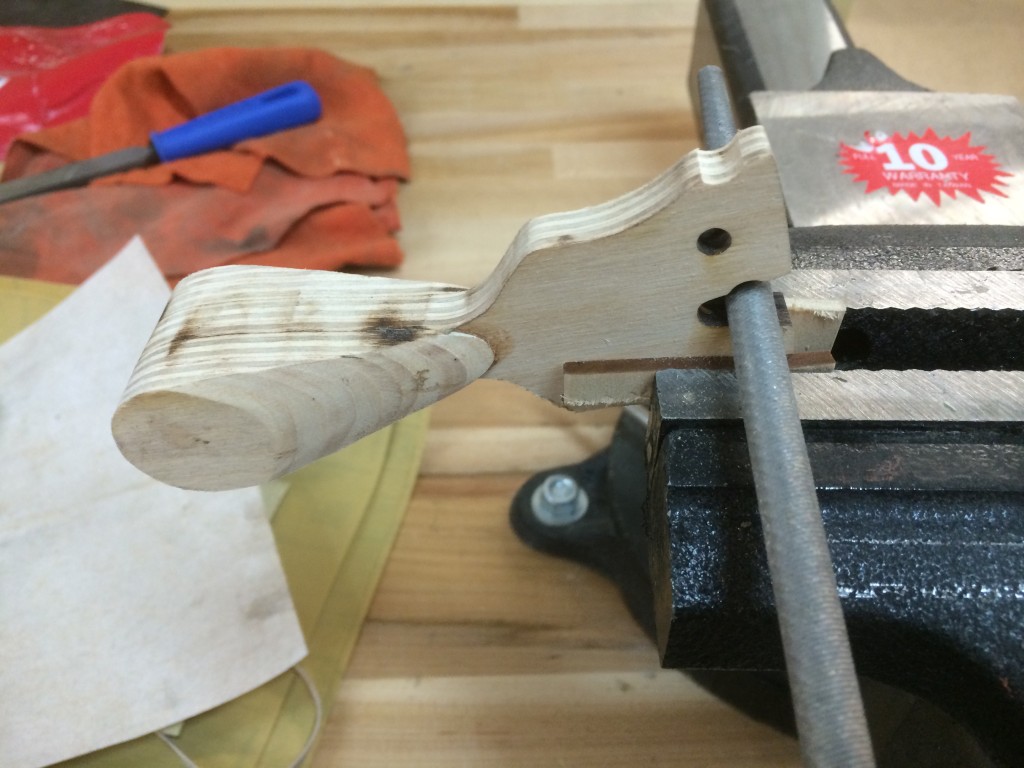
A round file expands and refines the band grooves.
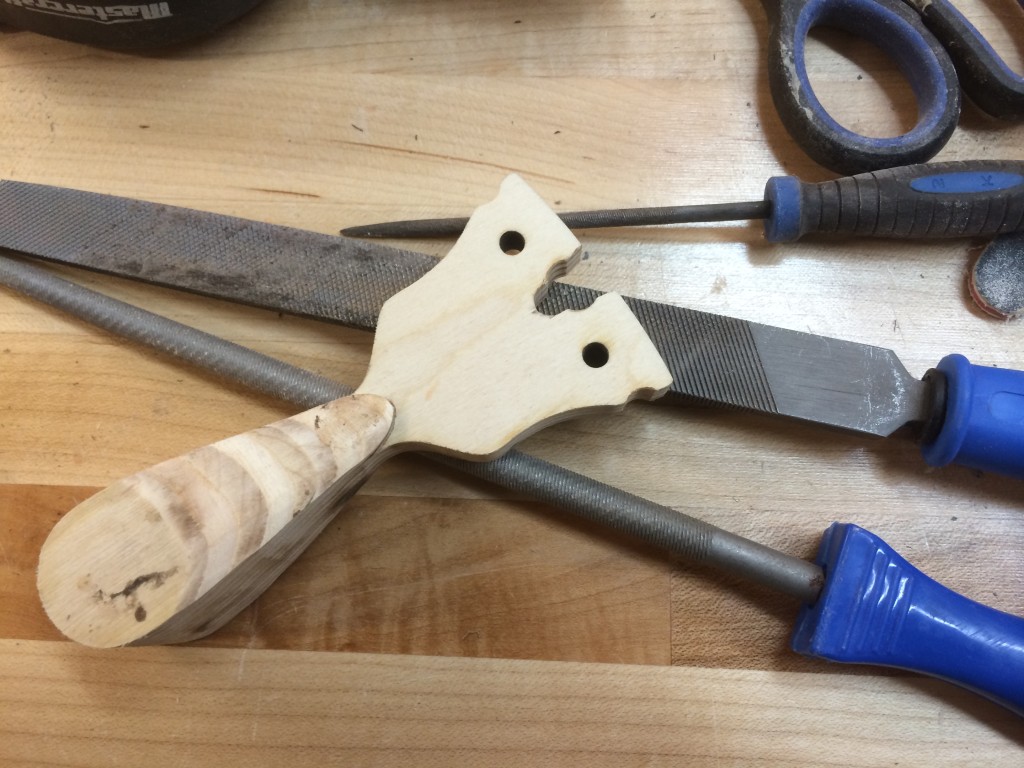
A few more swipes with a first cut file and the inside of the forks is cleaned up.
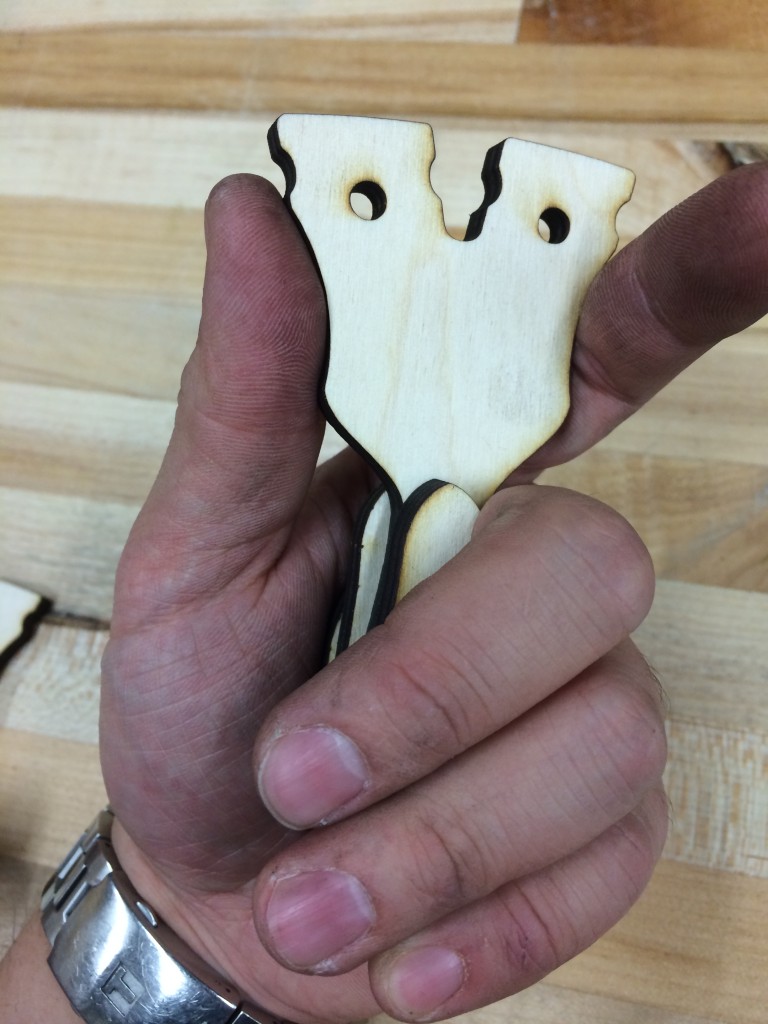
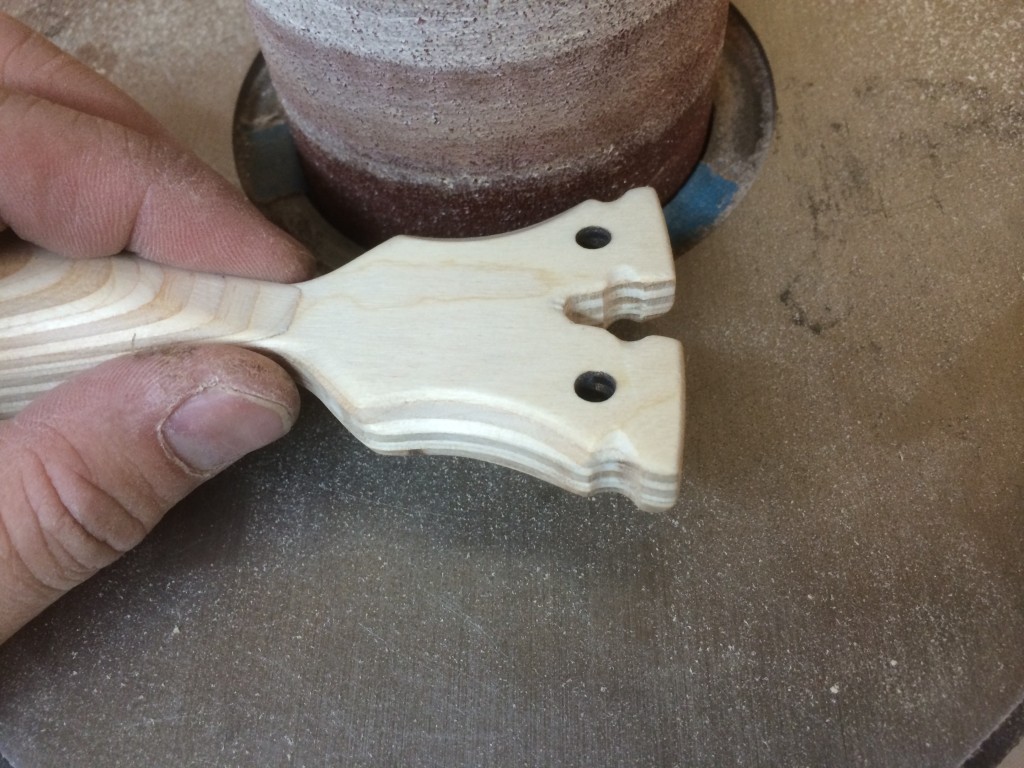
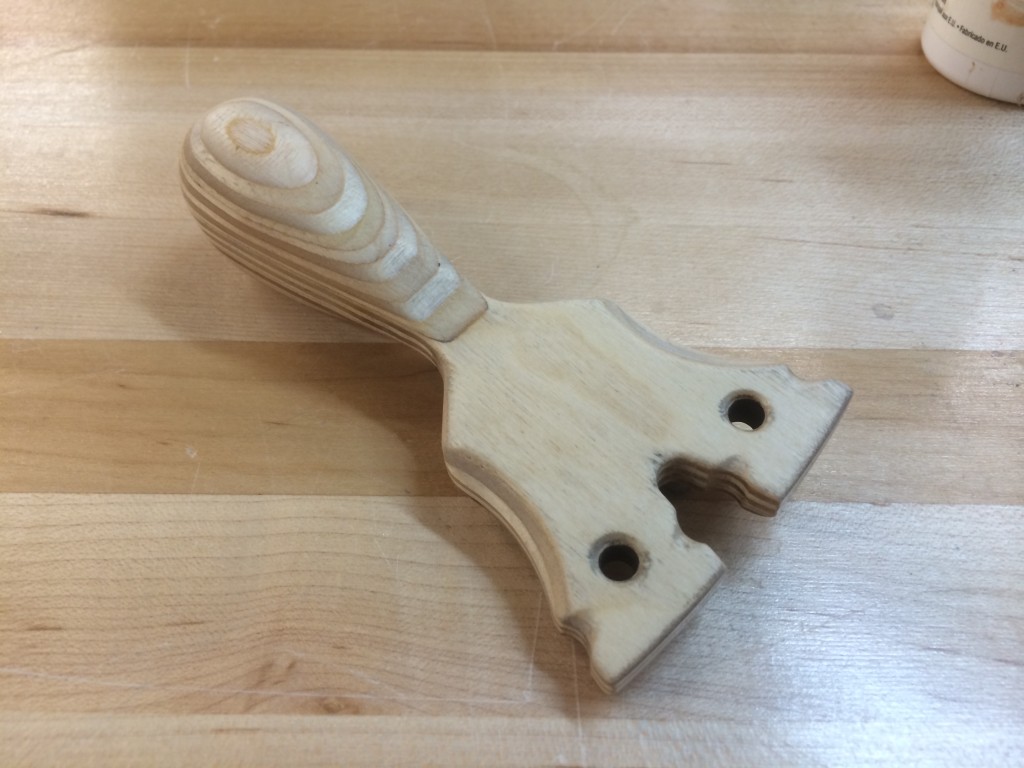
The hardest part of the build is shaping the palm swells so they are perfectly round. I used the belt sander again, rotating it like a drum stick. Rasps, files and sandpaper will do the same job.
Using some 100 grit nail files, the palm swell is blended into the core, making a seamless joint.
An optional machining step is to cut some scallops with a big 3″ drum into the finger grip area, but this can be done with a 1/2″ round file.
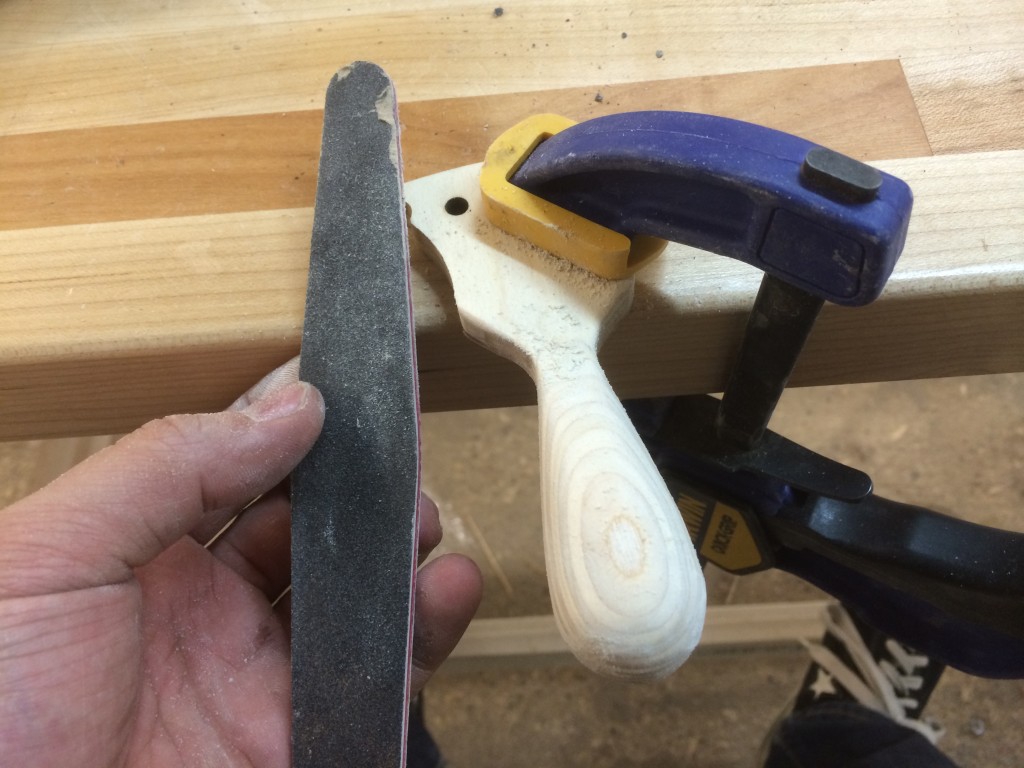
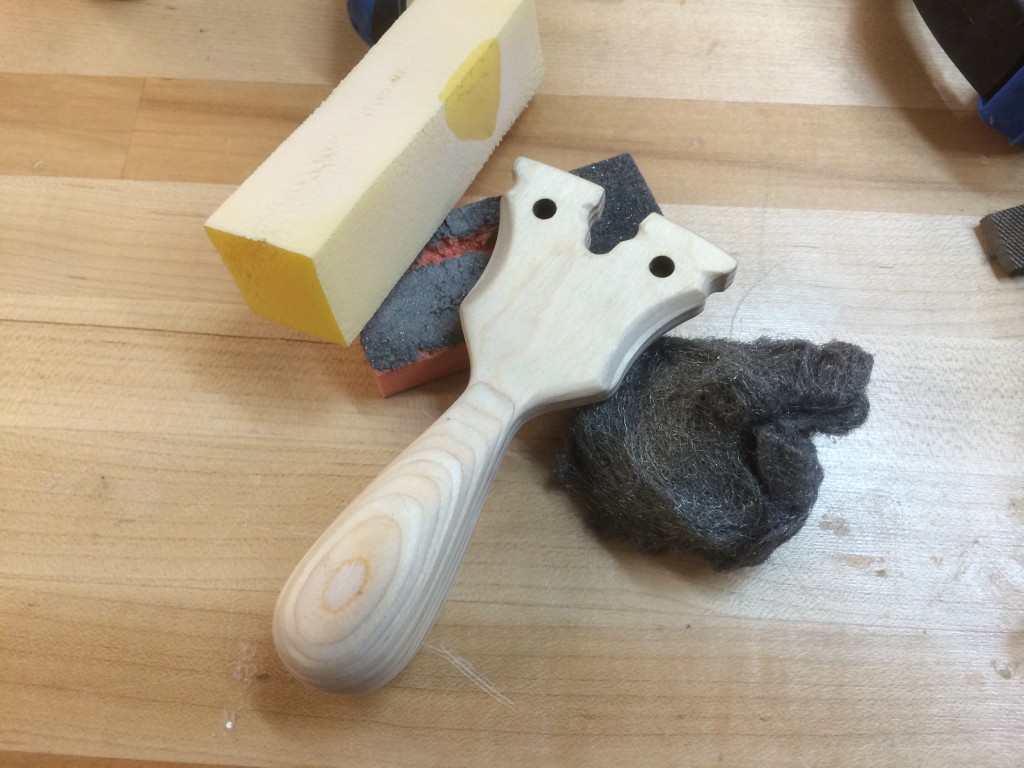
Now to finish it! A variety of 100 grit, 320 grit foam blocks and a final swipe with some steel wool to prep the surface for clear coat or oil.
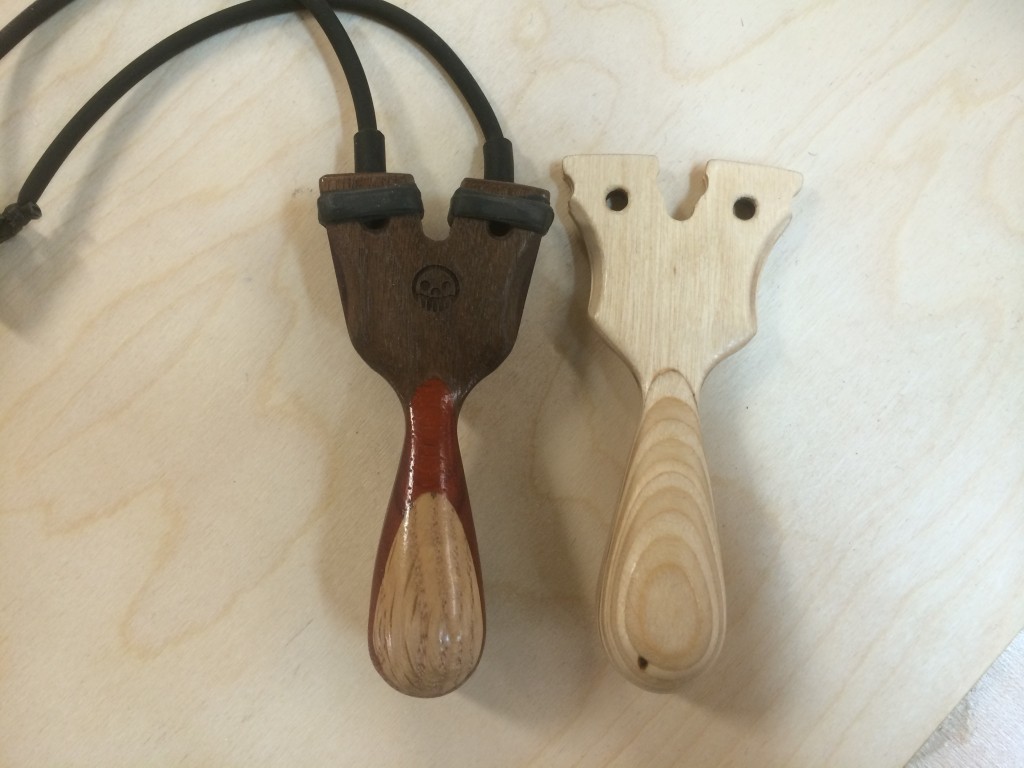
The one on the left is one designed by Magpie Slingshots and I replicated it to test out the scale. We worked in collaboration to come to the final design of the Wasply PFS.
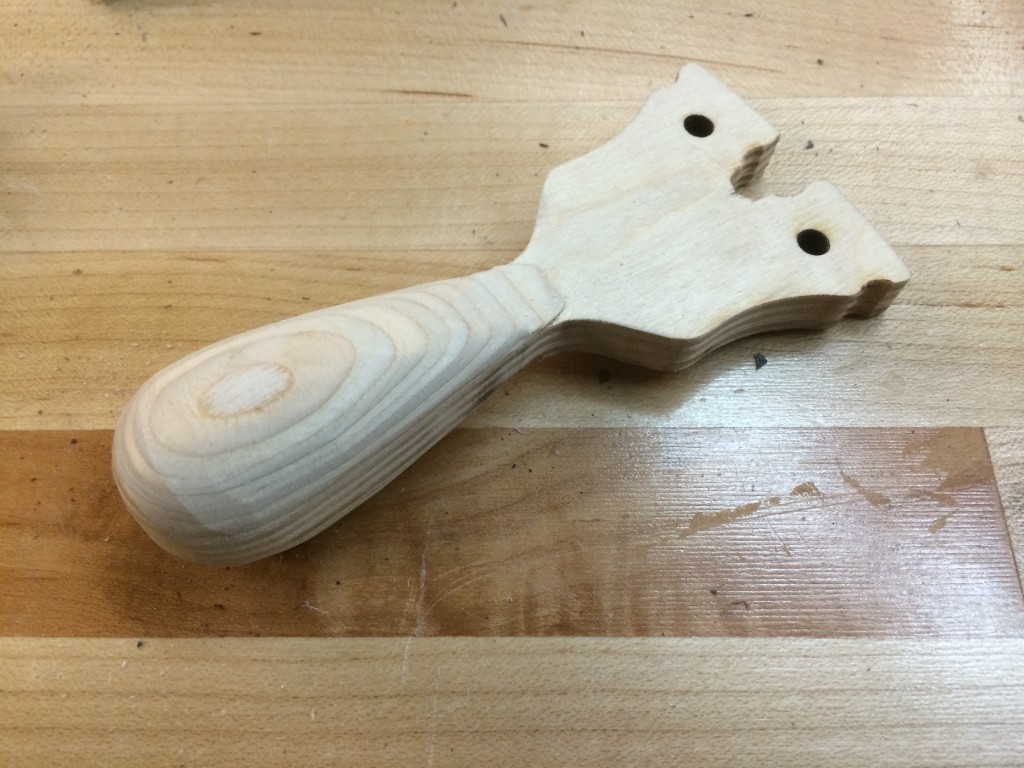
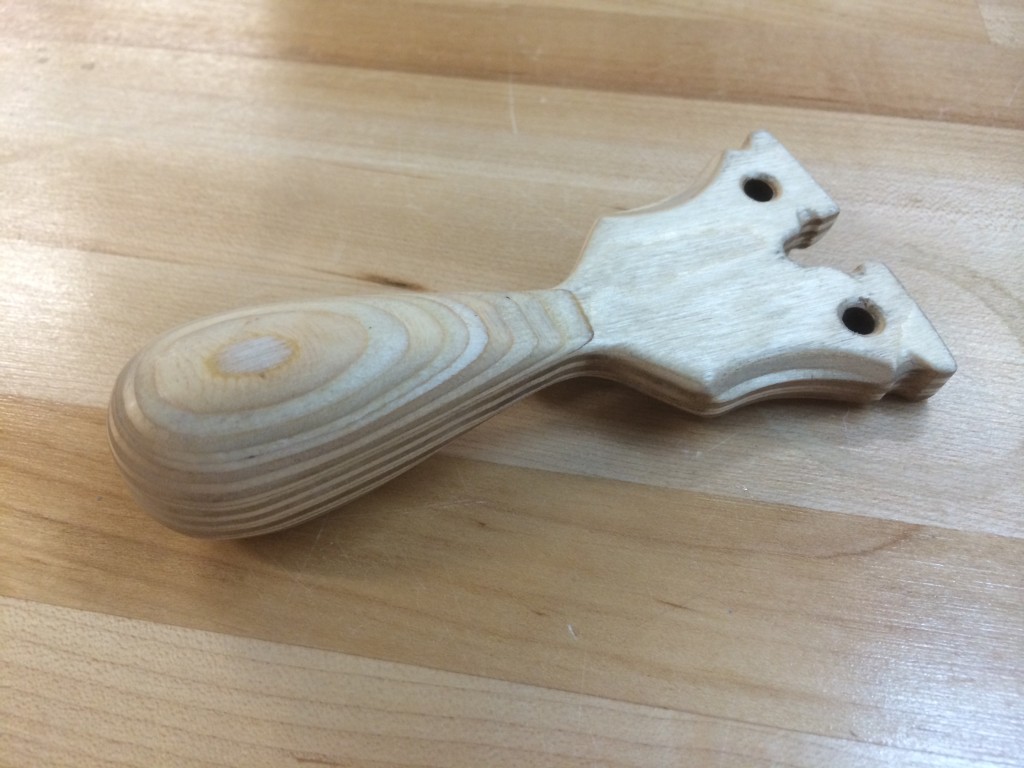
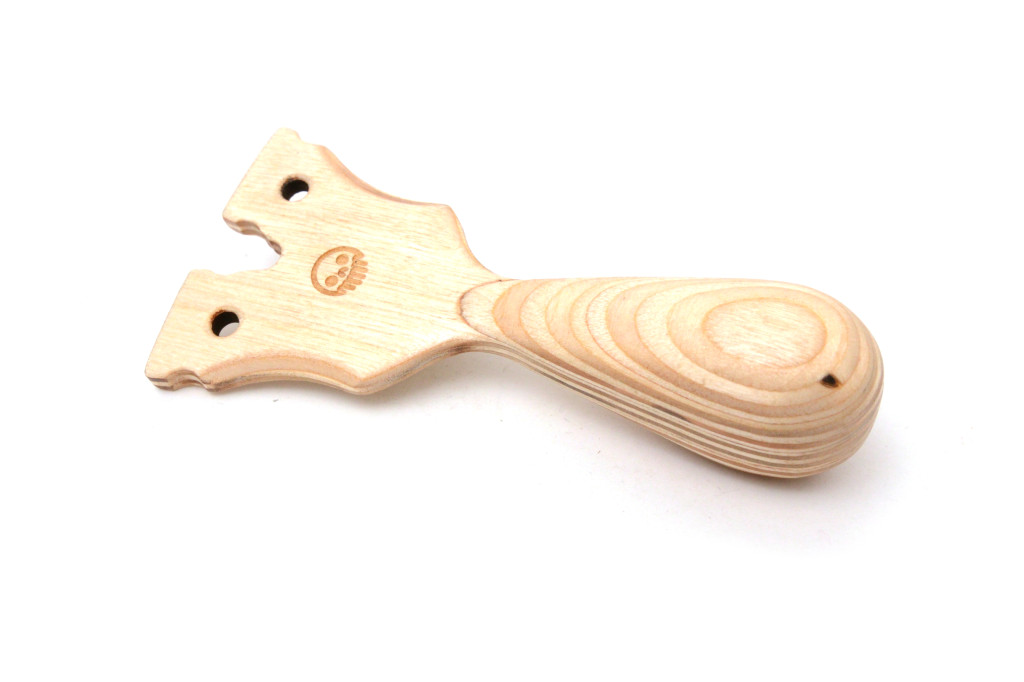
After a couple of coats of clear and some light buffing with the wool to get it a more matte finish, the Wasply PFS is done!
Thanks for reading and in case you missed it, you can get your Wasply PFS Maker kit at our store.


Fantastic idea .