buy isotretinoin nz This is a short tutorial and some would consider it a minor detail, but as they say, the devil is in those said details. In this Metro Made, I show you how to I cut band grooves in slingshot tips.
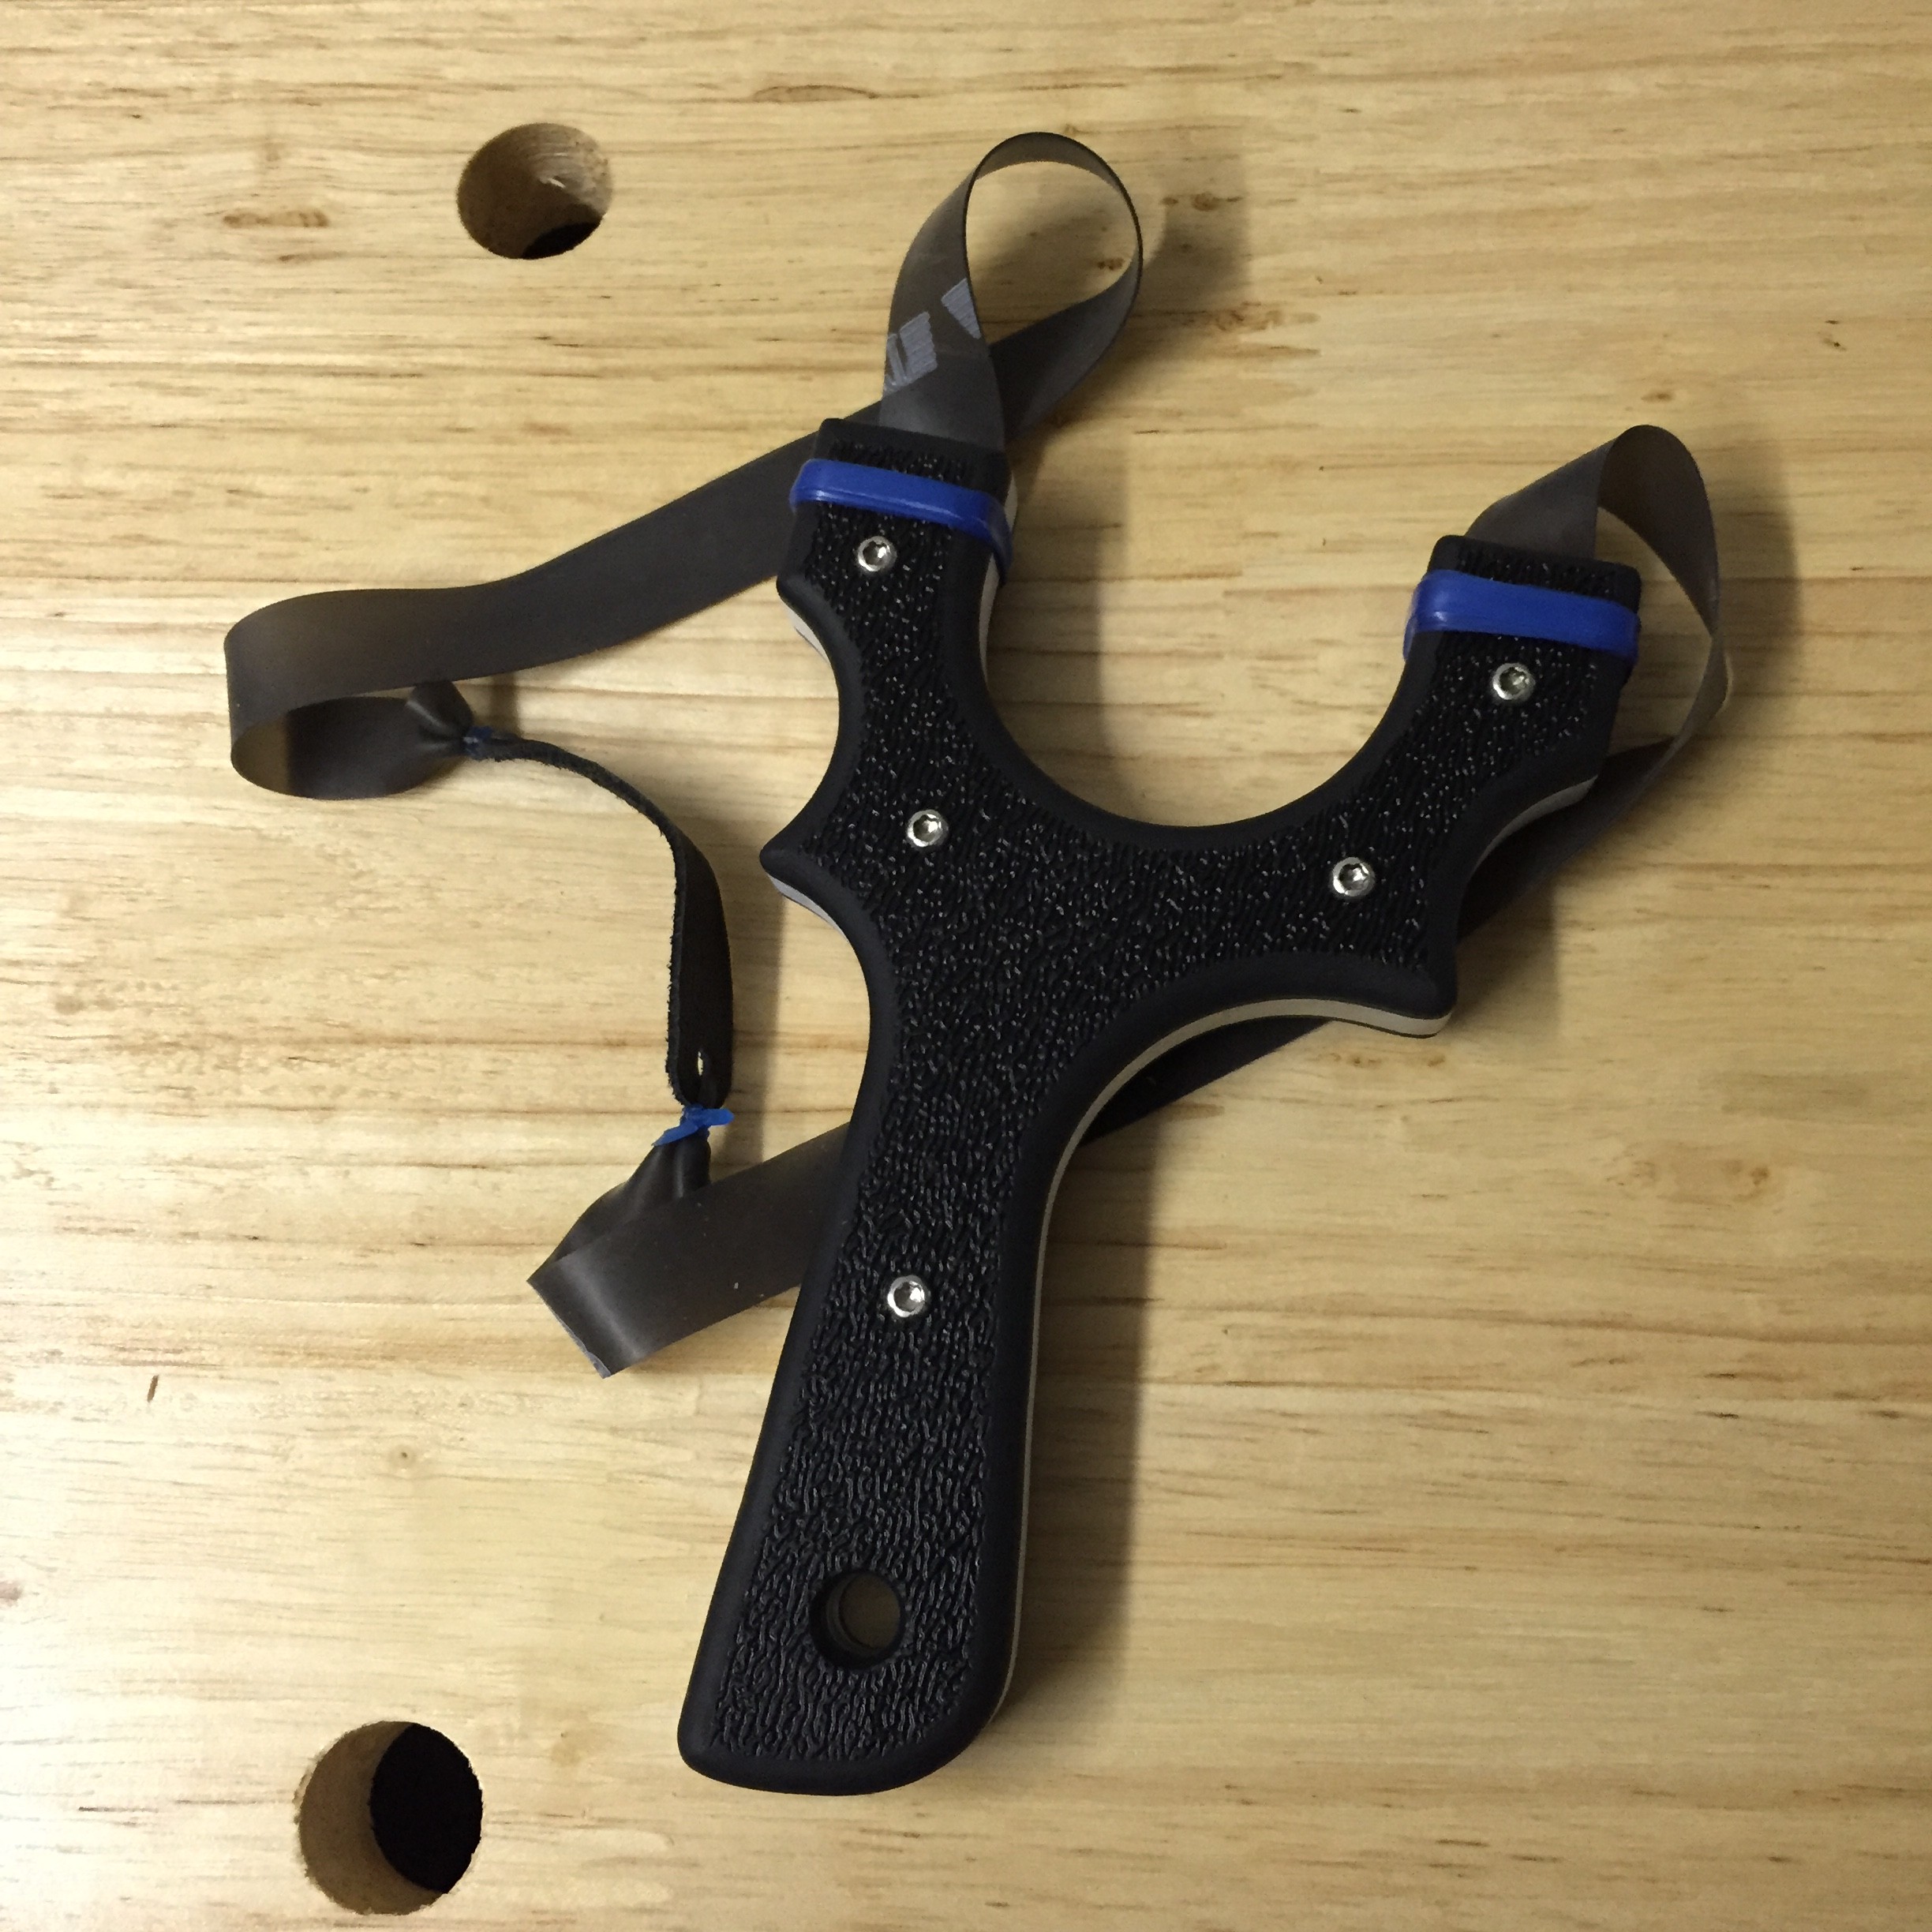
Band grooves are important as they aid in the attachment of bands when using the wrap and tuck method. The grooves also improve safety as they seat the band tying rubber and prevent it from slipping off the tips of the forks. Having evenly space and equally spaced band grooves improves the accuracy of the slingshot as the bands would be tied equally on the slingshot’s fork tips.
How far from the fork tips edge is completely up to you but I generally go with a minimum of 1/4″ish from the edge of the band groove to the tip. It really depends on what kind of bands you shoot, how much band attachment rubber you tend to use…but here’s what I like. I enjoy using single cuts of the thinner Therbands, blue & black, for a lighter draw and faster retraction, as such I don’t need much of a band groove, but I still need one there.
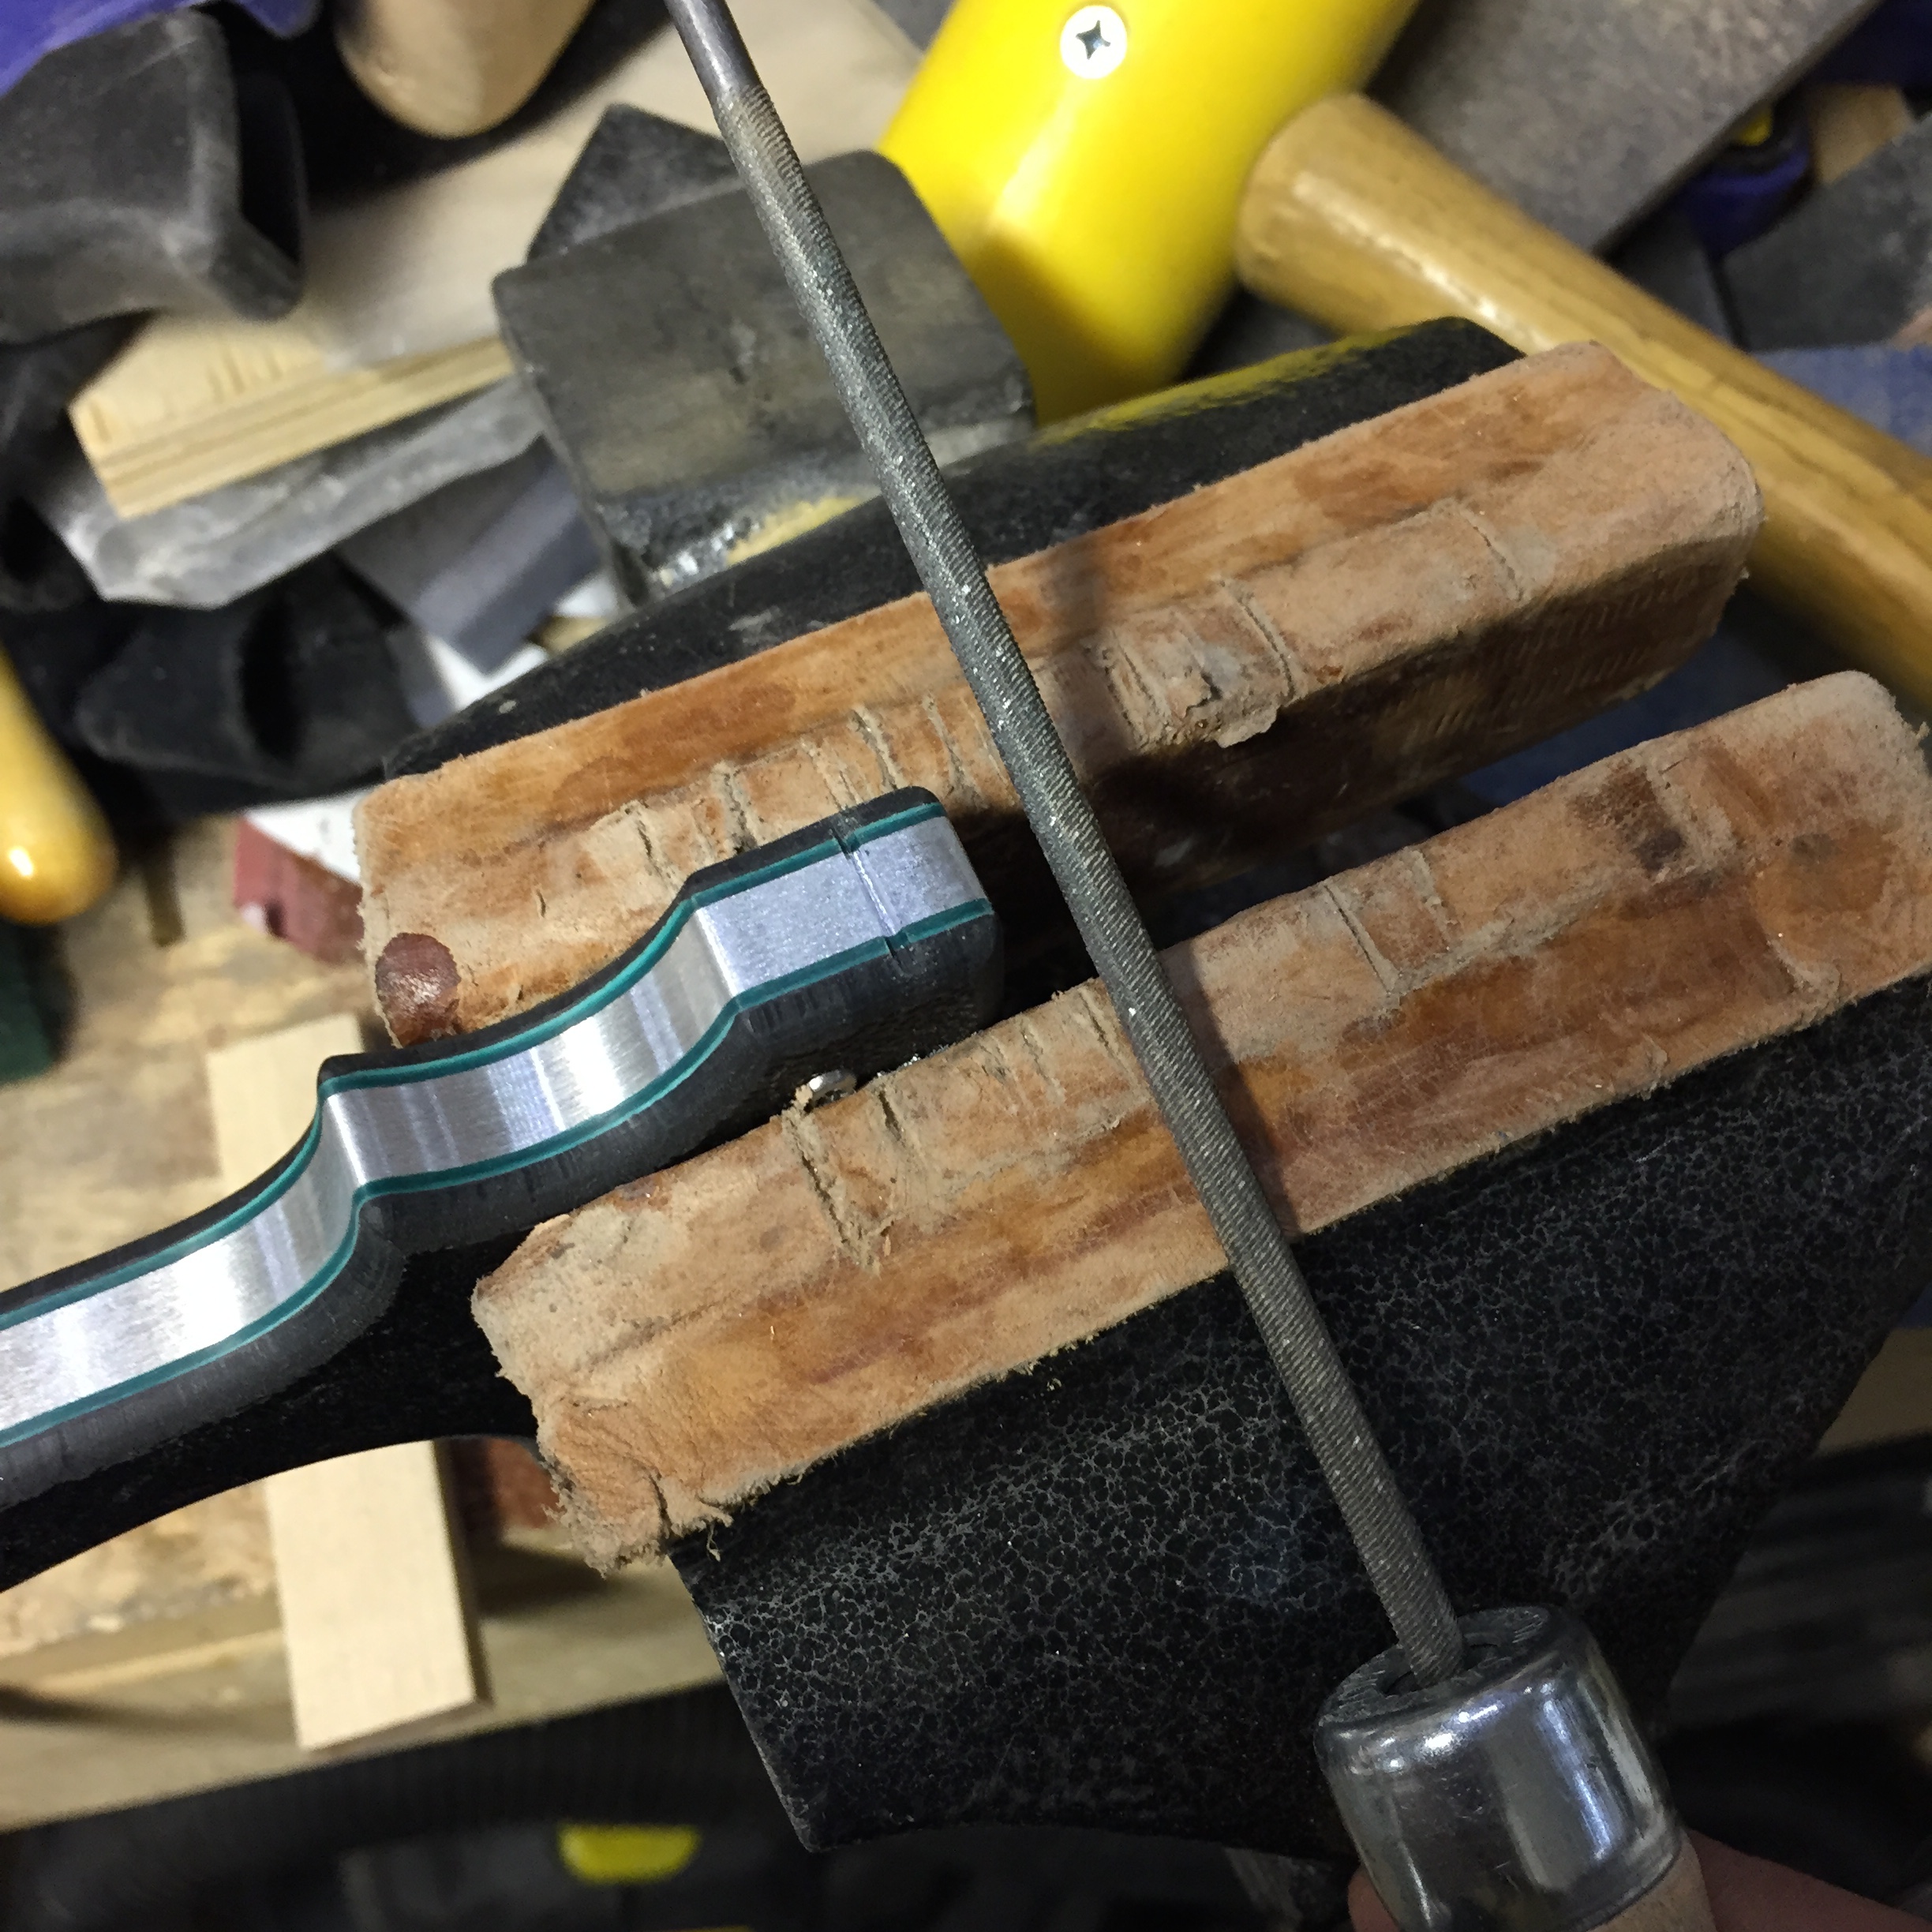
I begin by marking where my band groove’s center will be. To mark them evenly on all the sides of the fork tips with the same distance from the tips, I use my trusty drop compasses.
Here, I’ve used my blue lead to mark. Why blue? It’s the first drop compass I picked up.
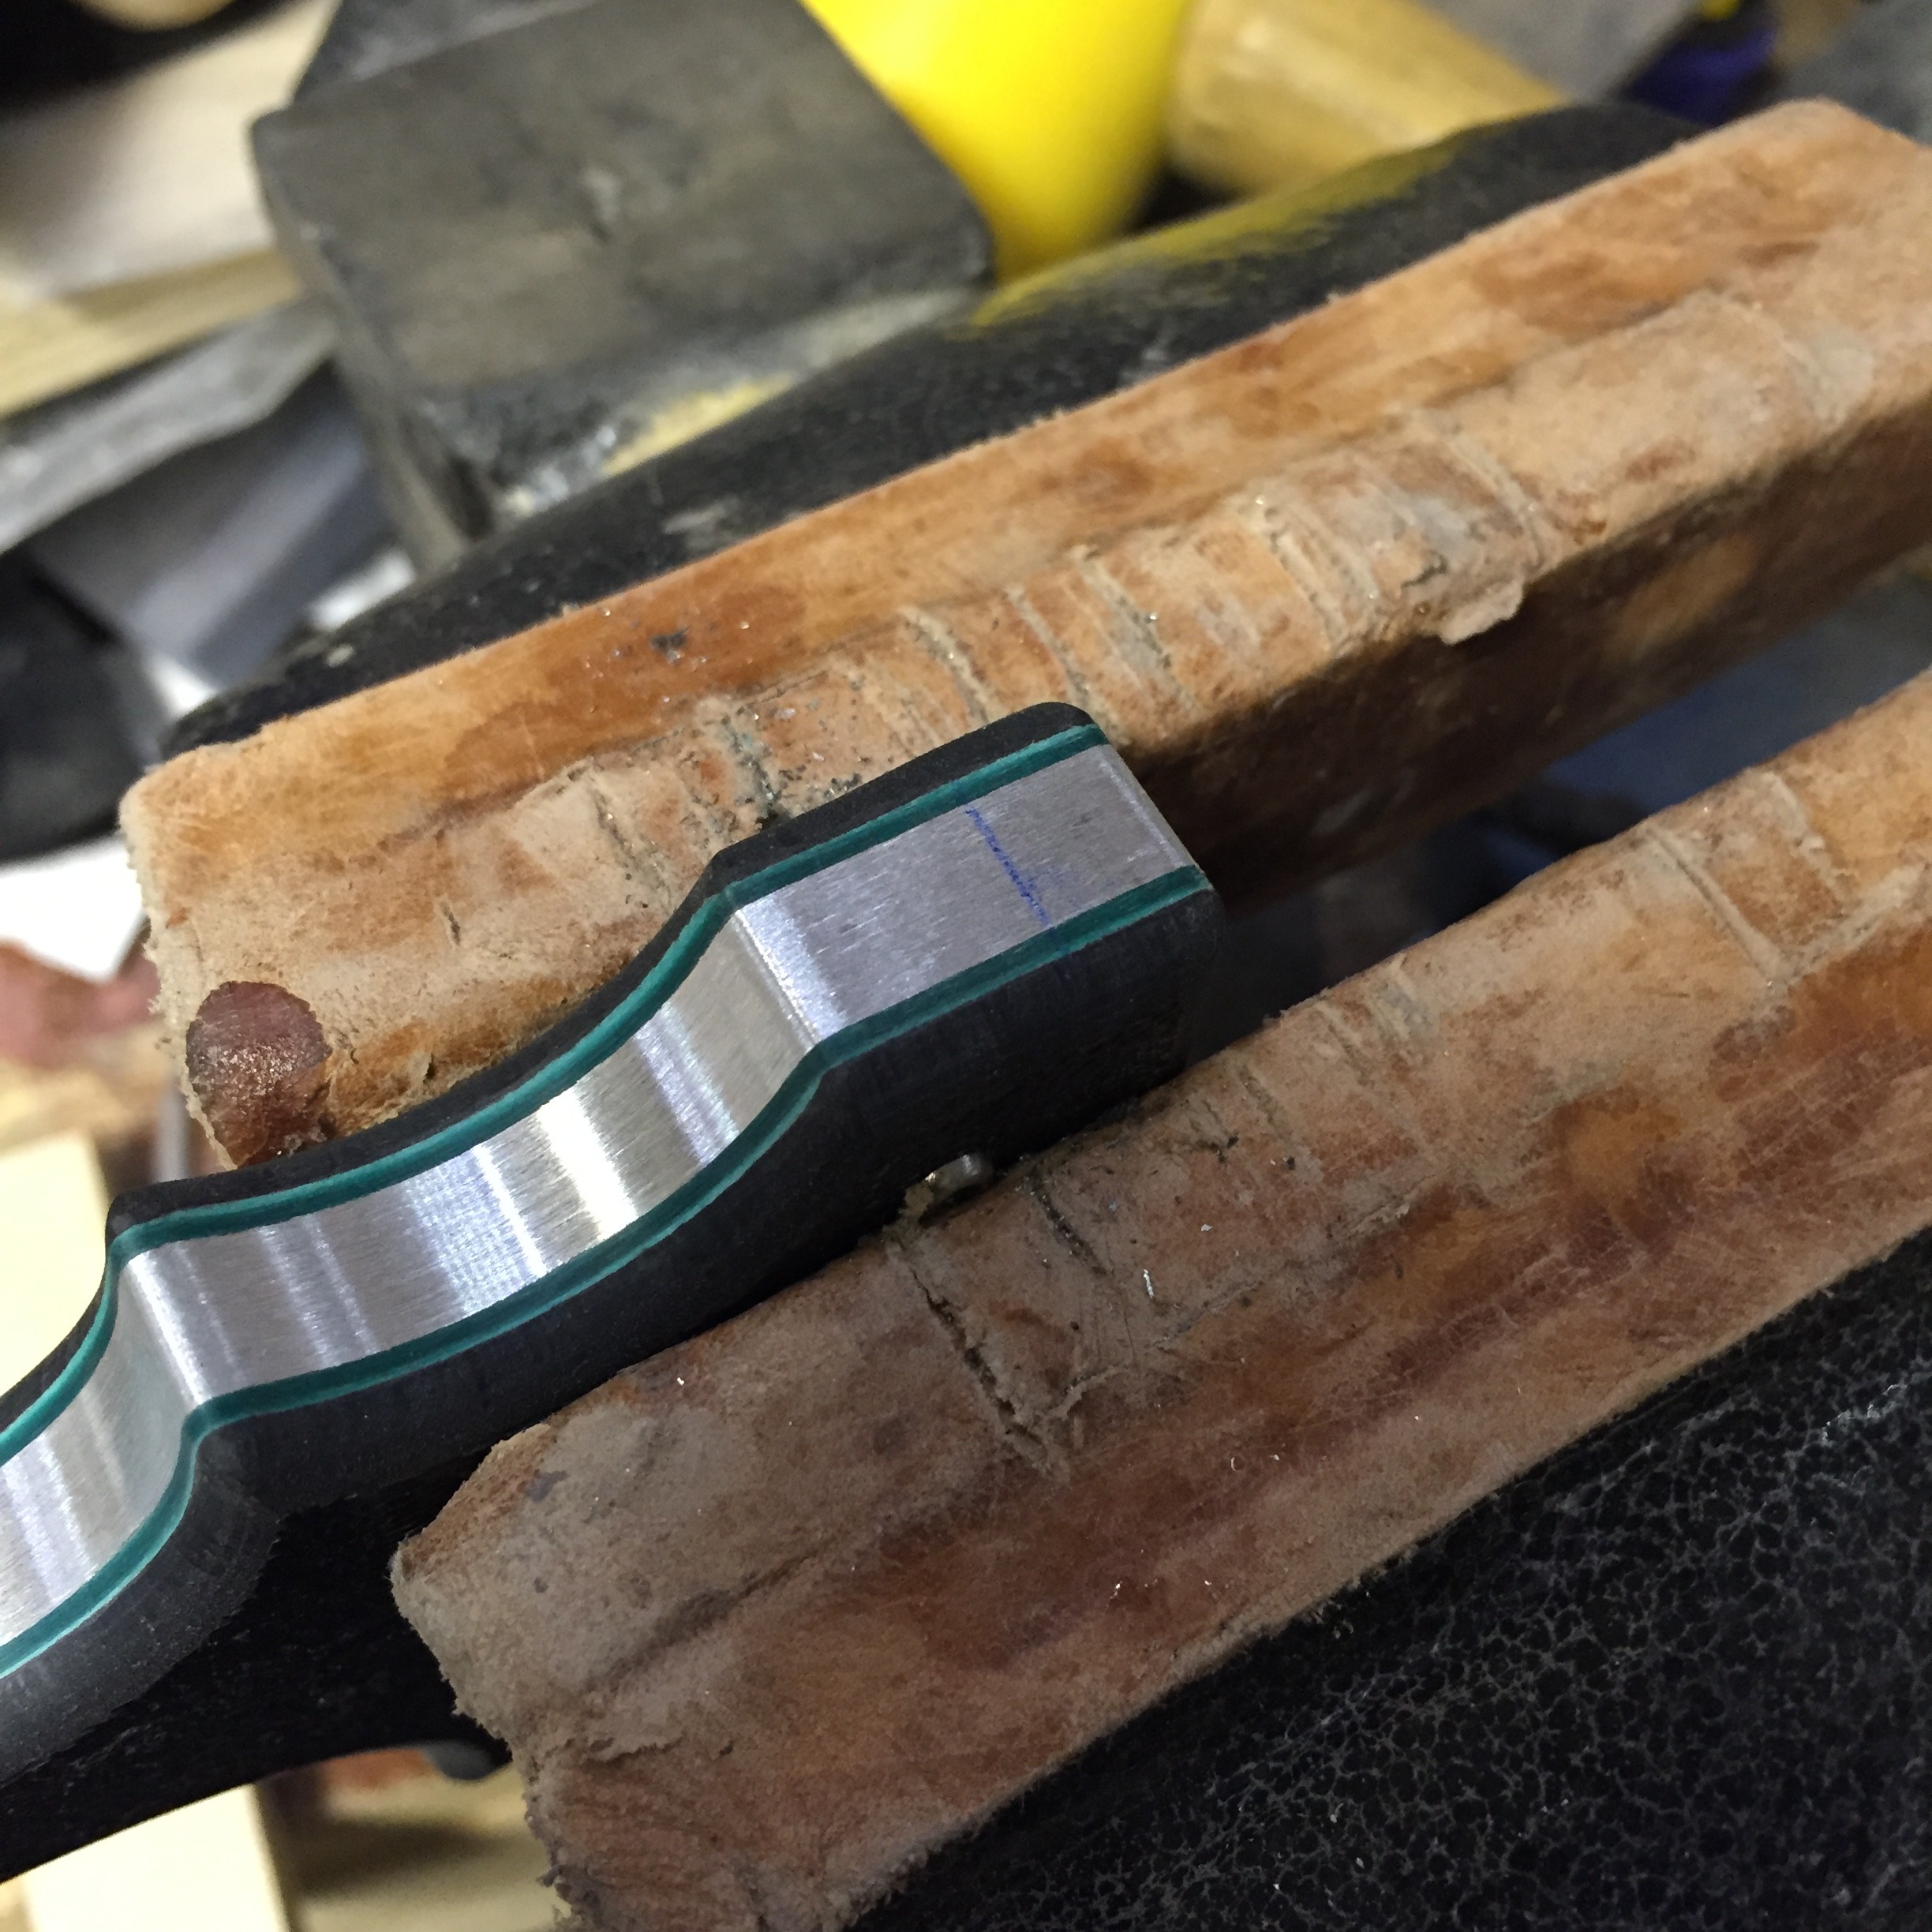
I use a very fine tooth razor saw and cut down the line. With the a lot of teeth per inch, the razor saw won’t cut much but the surface of the metal or wood, but the point isn’t to cut the through the tip, just to make the blue line indelible.
The blue line is no more, but replaced with a shallow, straight cut.
I then pick up a triangle file and seat one of the tips and pull 4-5 stokes to deepen the line into a shallow groove. You want to open up the material so that a round file will have a place to sit in and not skip around. I typically use a 1/8″ diameter round file but if you want a bigger one like a 3/16 or 1/4 groove, you may want to go a bit deeper with the triangle file to ensure the larger round is placed accurately.
Remember, slow is smooth, smooth is fast. You can check your work after each stroke or two, if you mess up, you can correct it.

Now for the real magic.
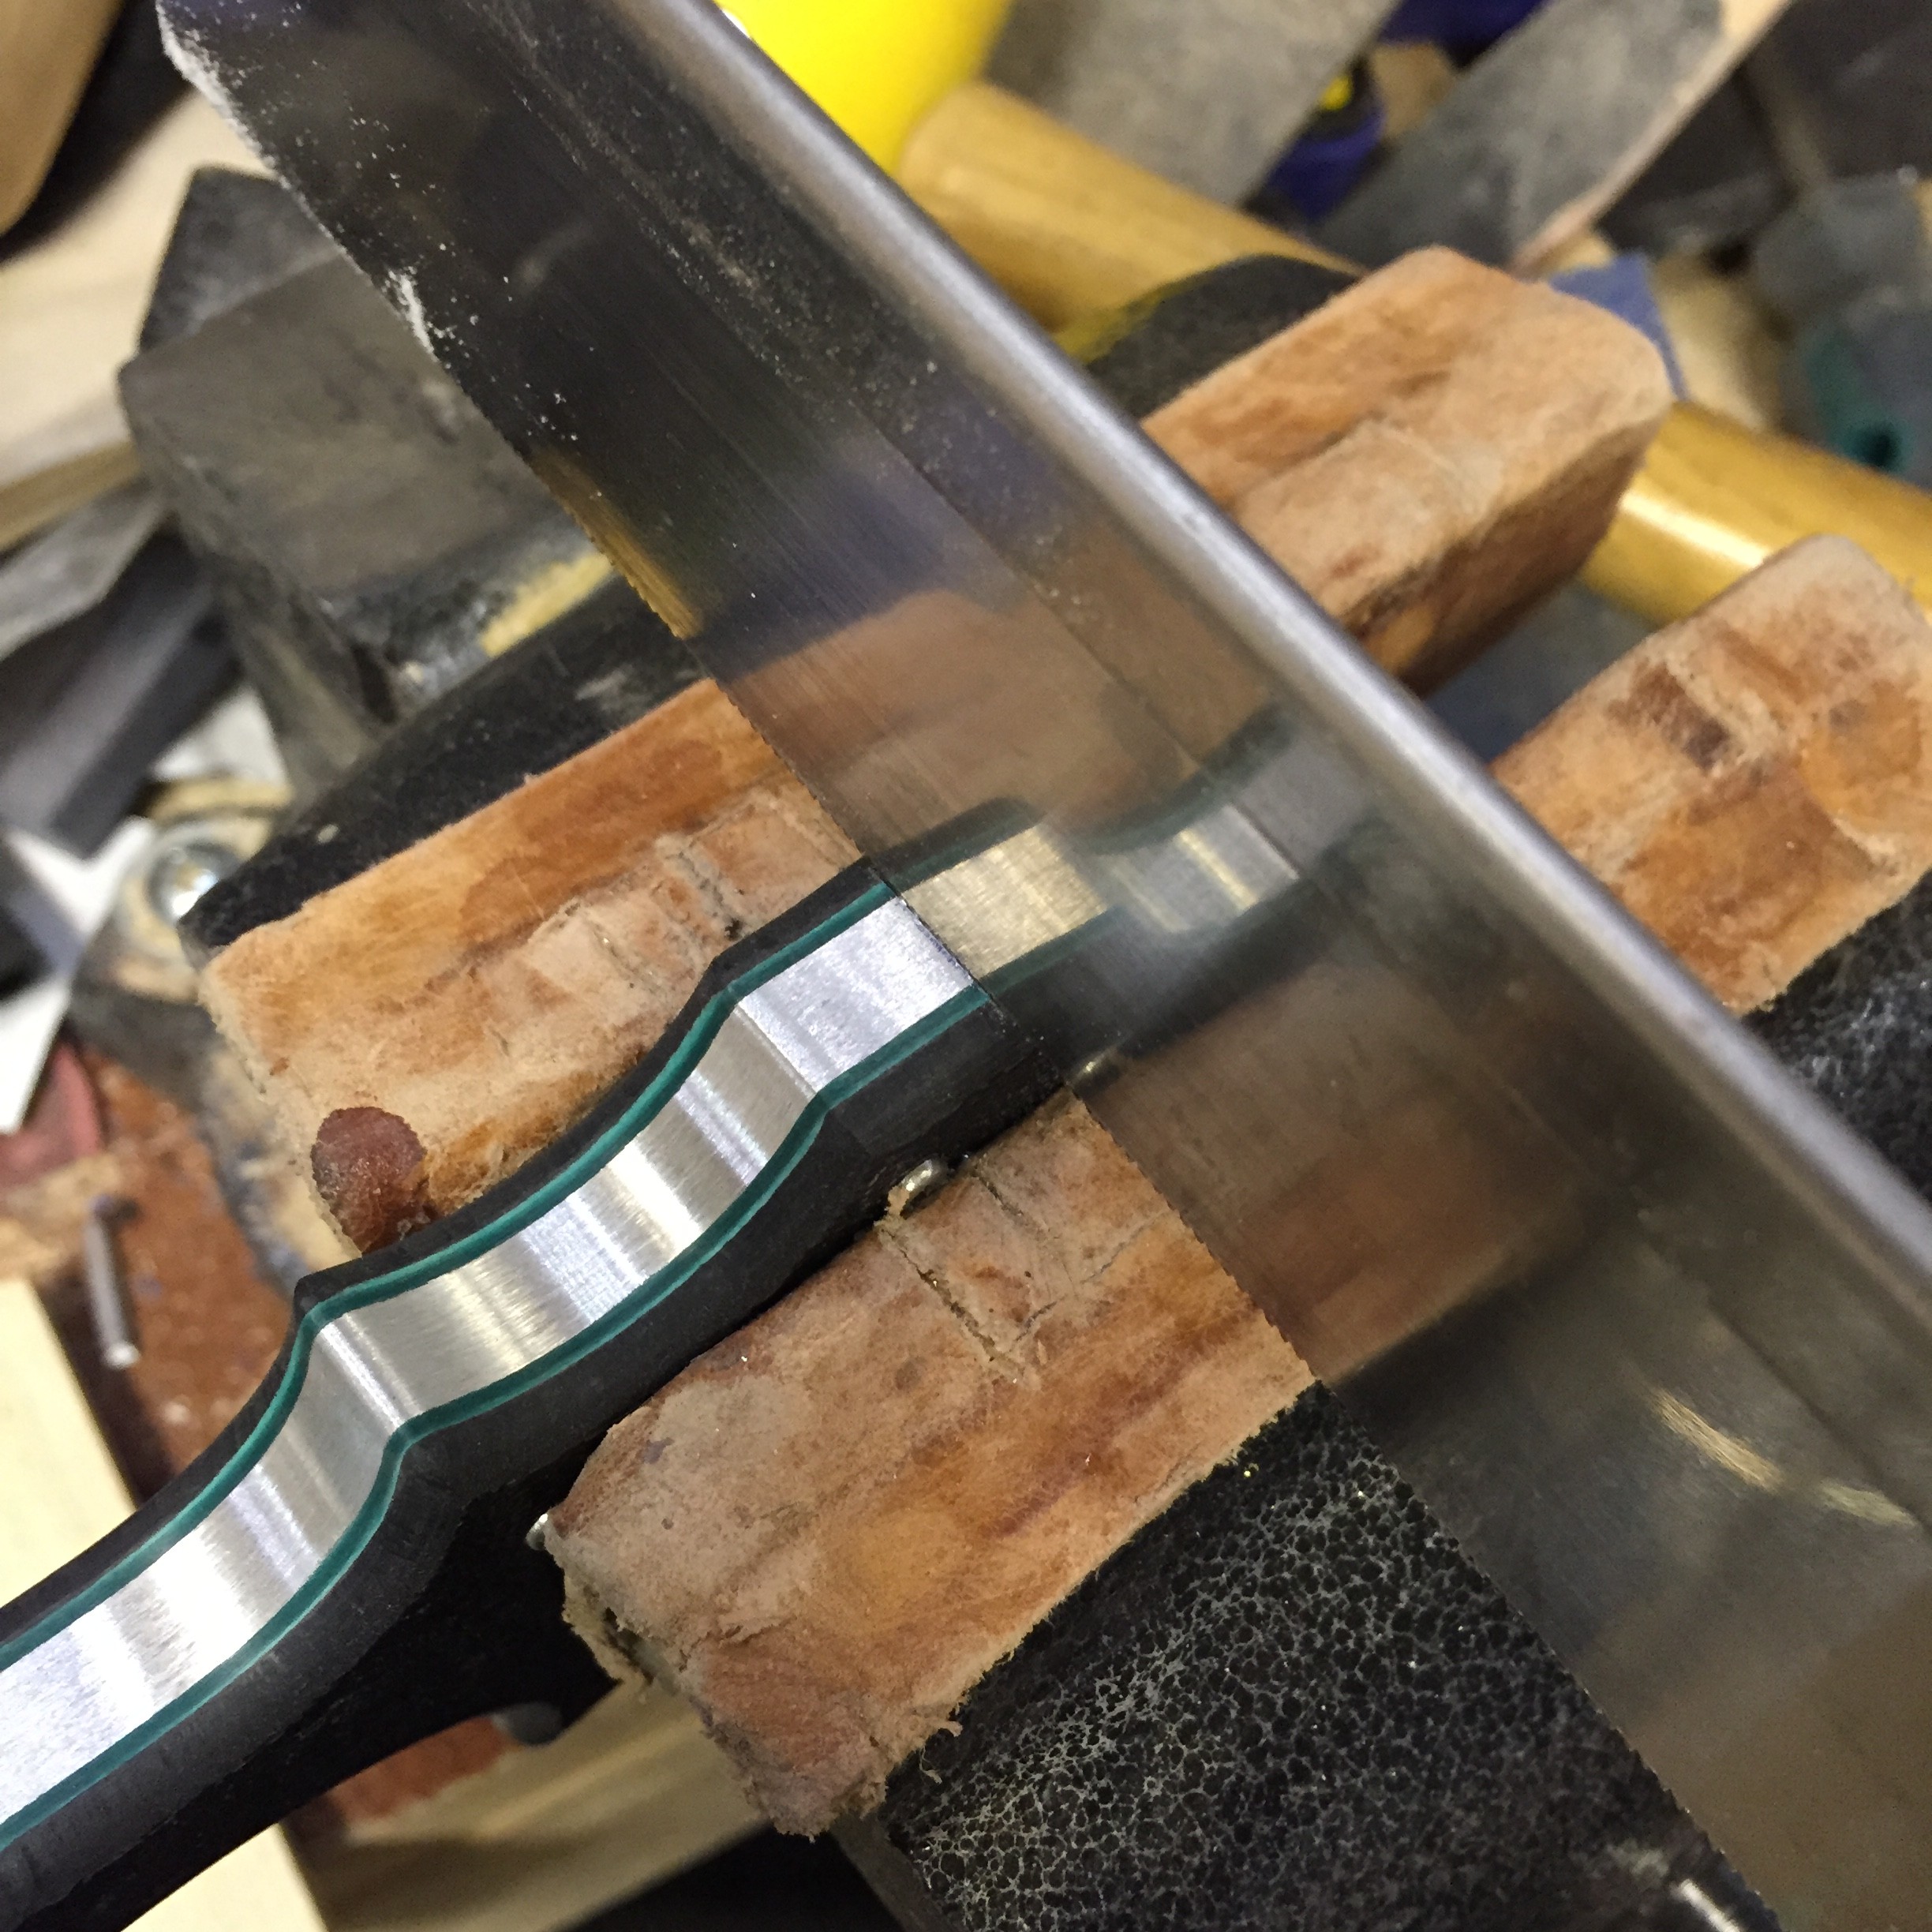
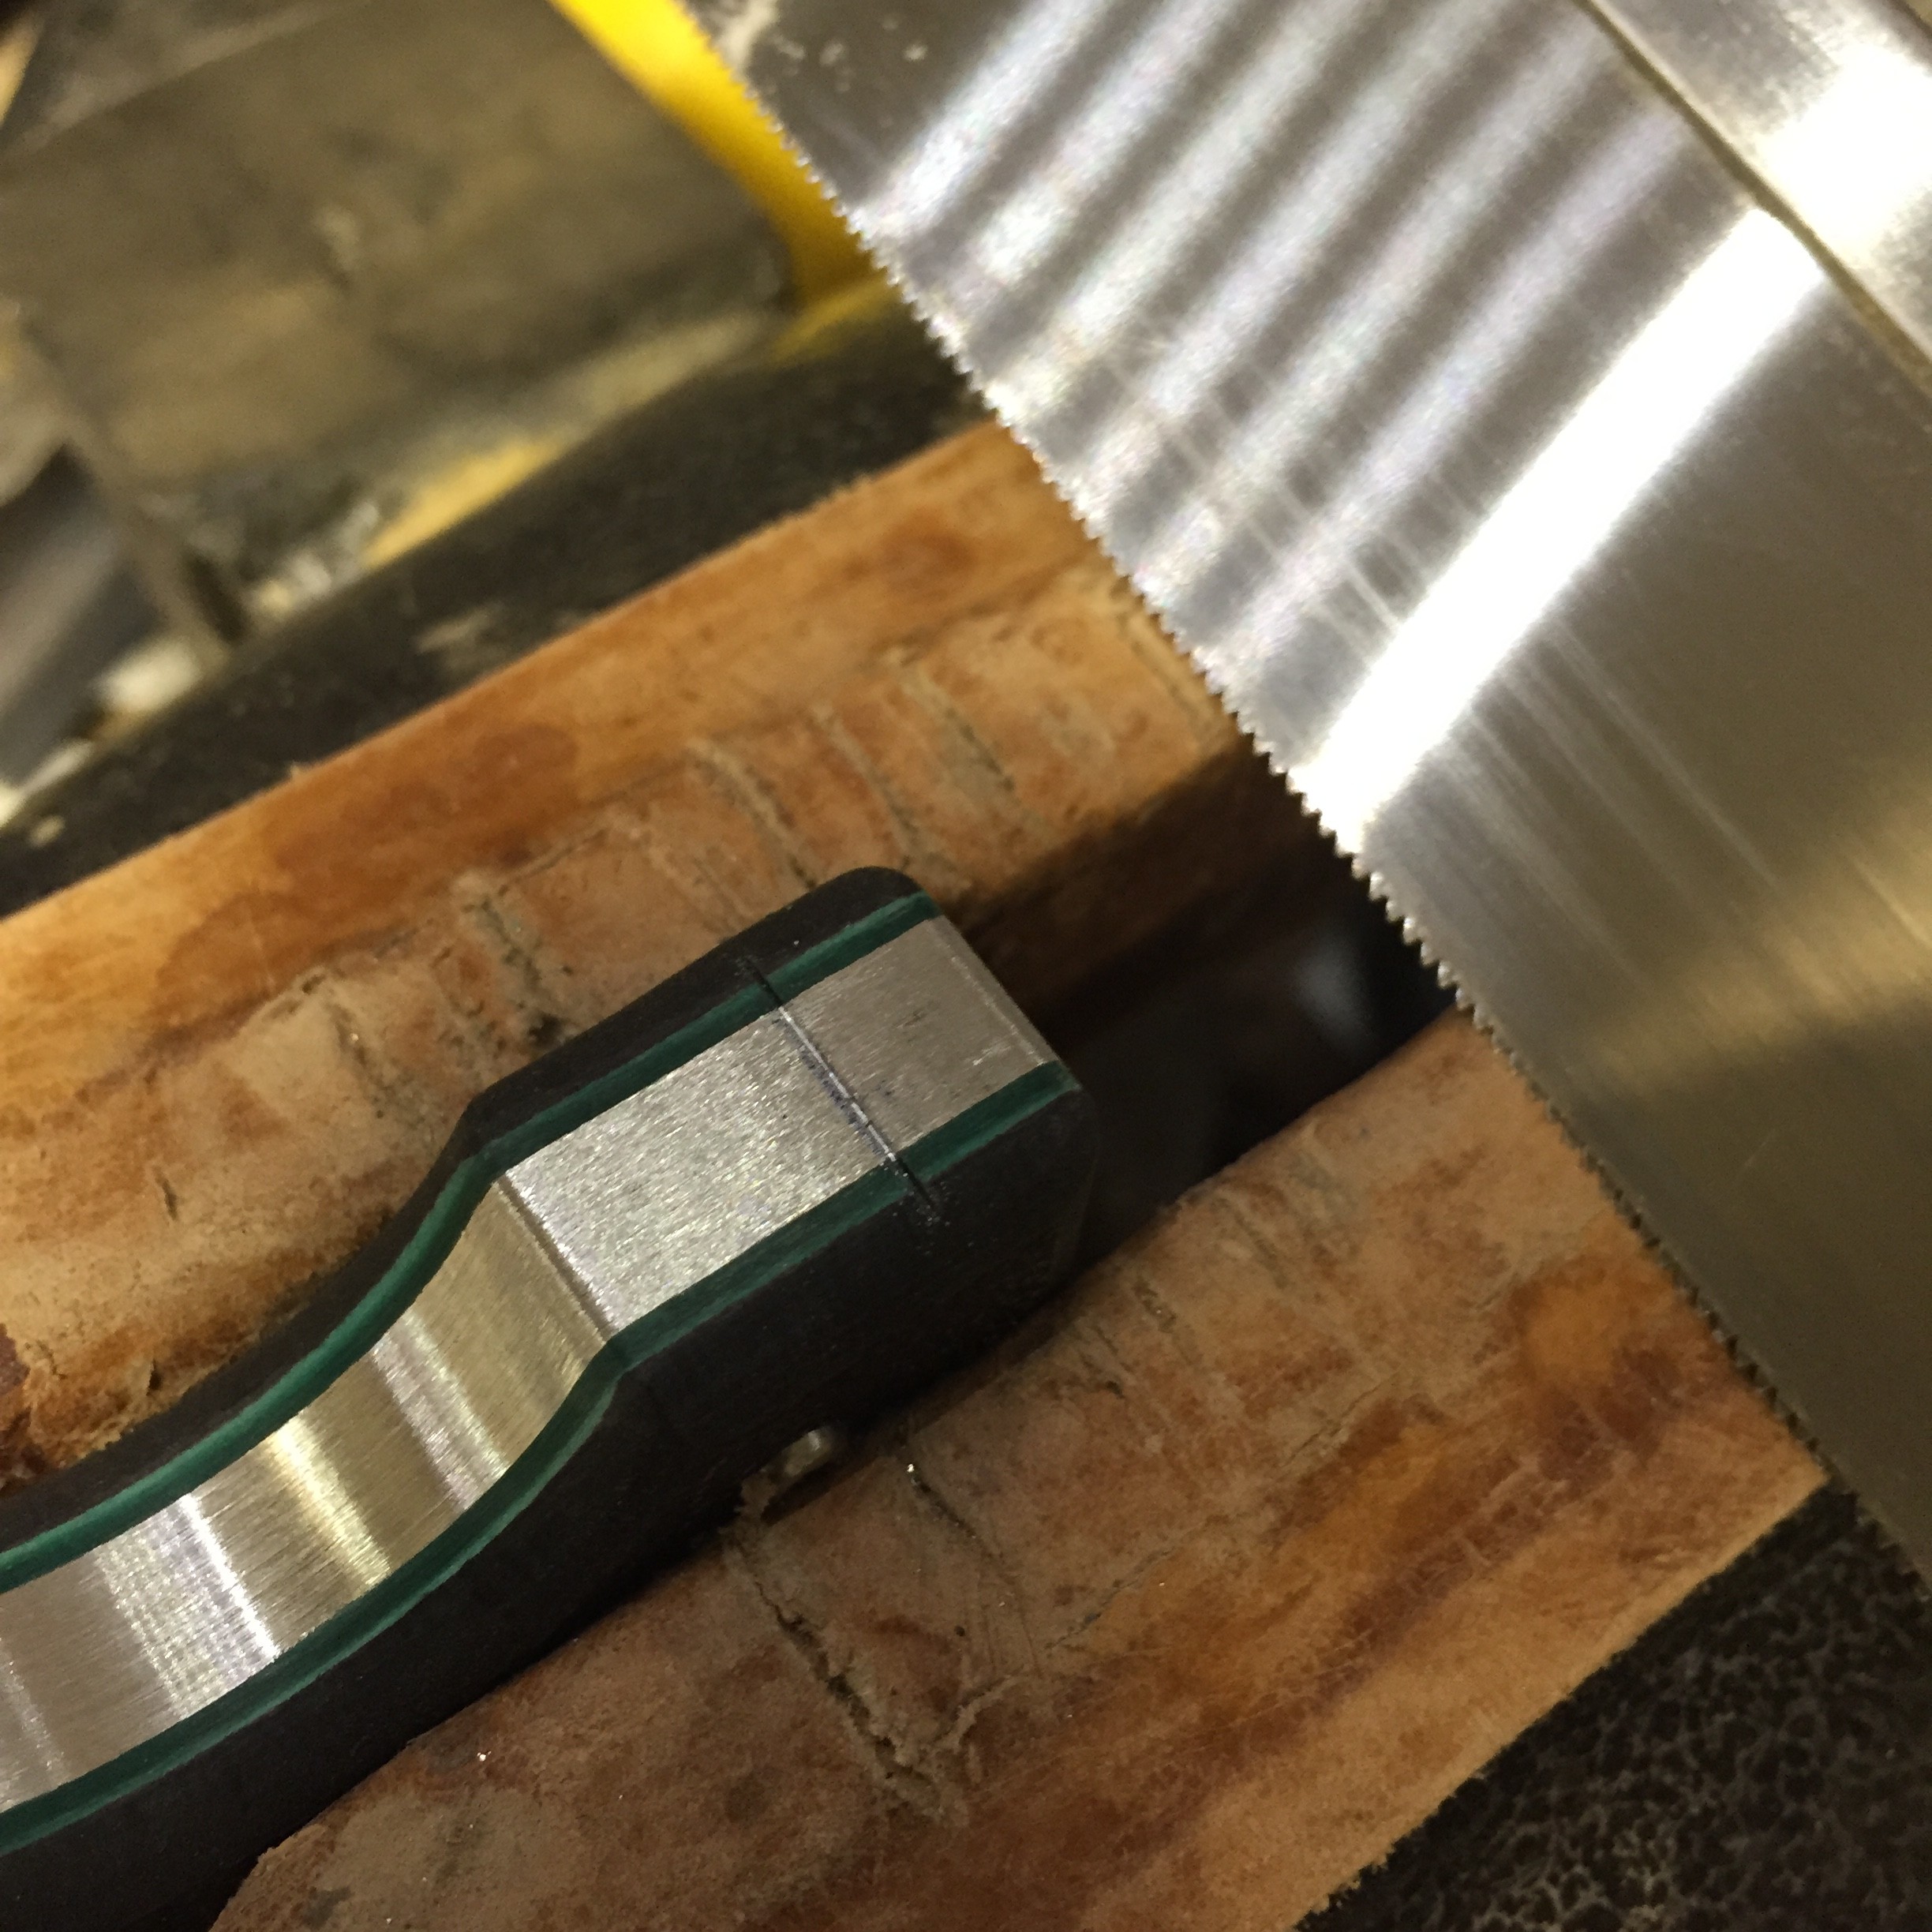
Use the round file to open up the channel to a round groove. I usually don’t go past 1/2 the depth of the file, approx 2/5 of the way. Again, slow is smooth, smooth is fast. Check your work as you go, if it’s deviated left or right, you can correct it.
After about 10-12 strokes with the file. If there is any material blowing out the back side, you can run the file in the opposite direction to clean it up.
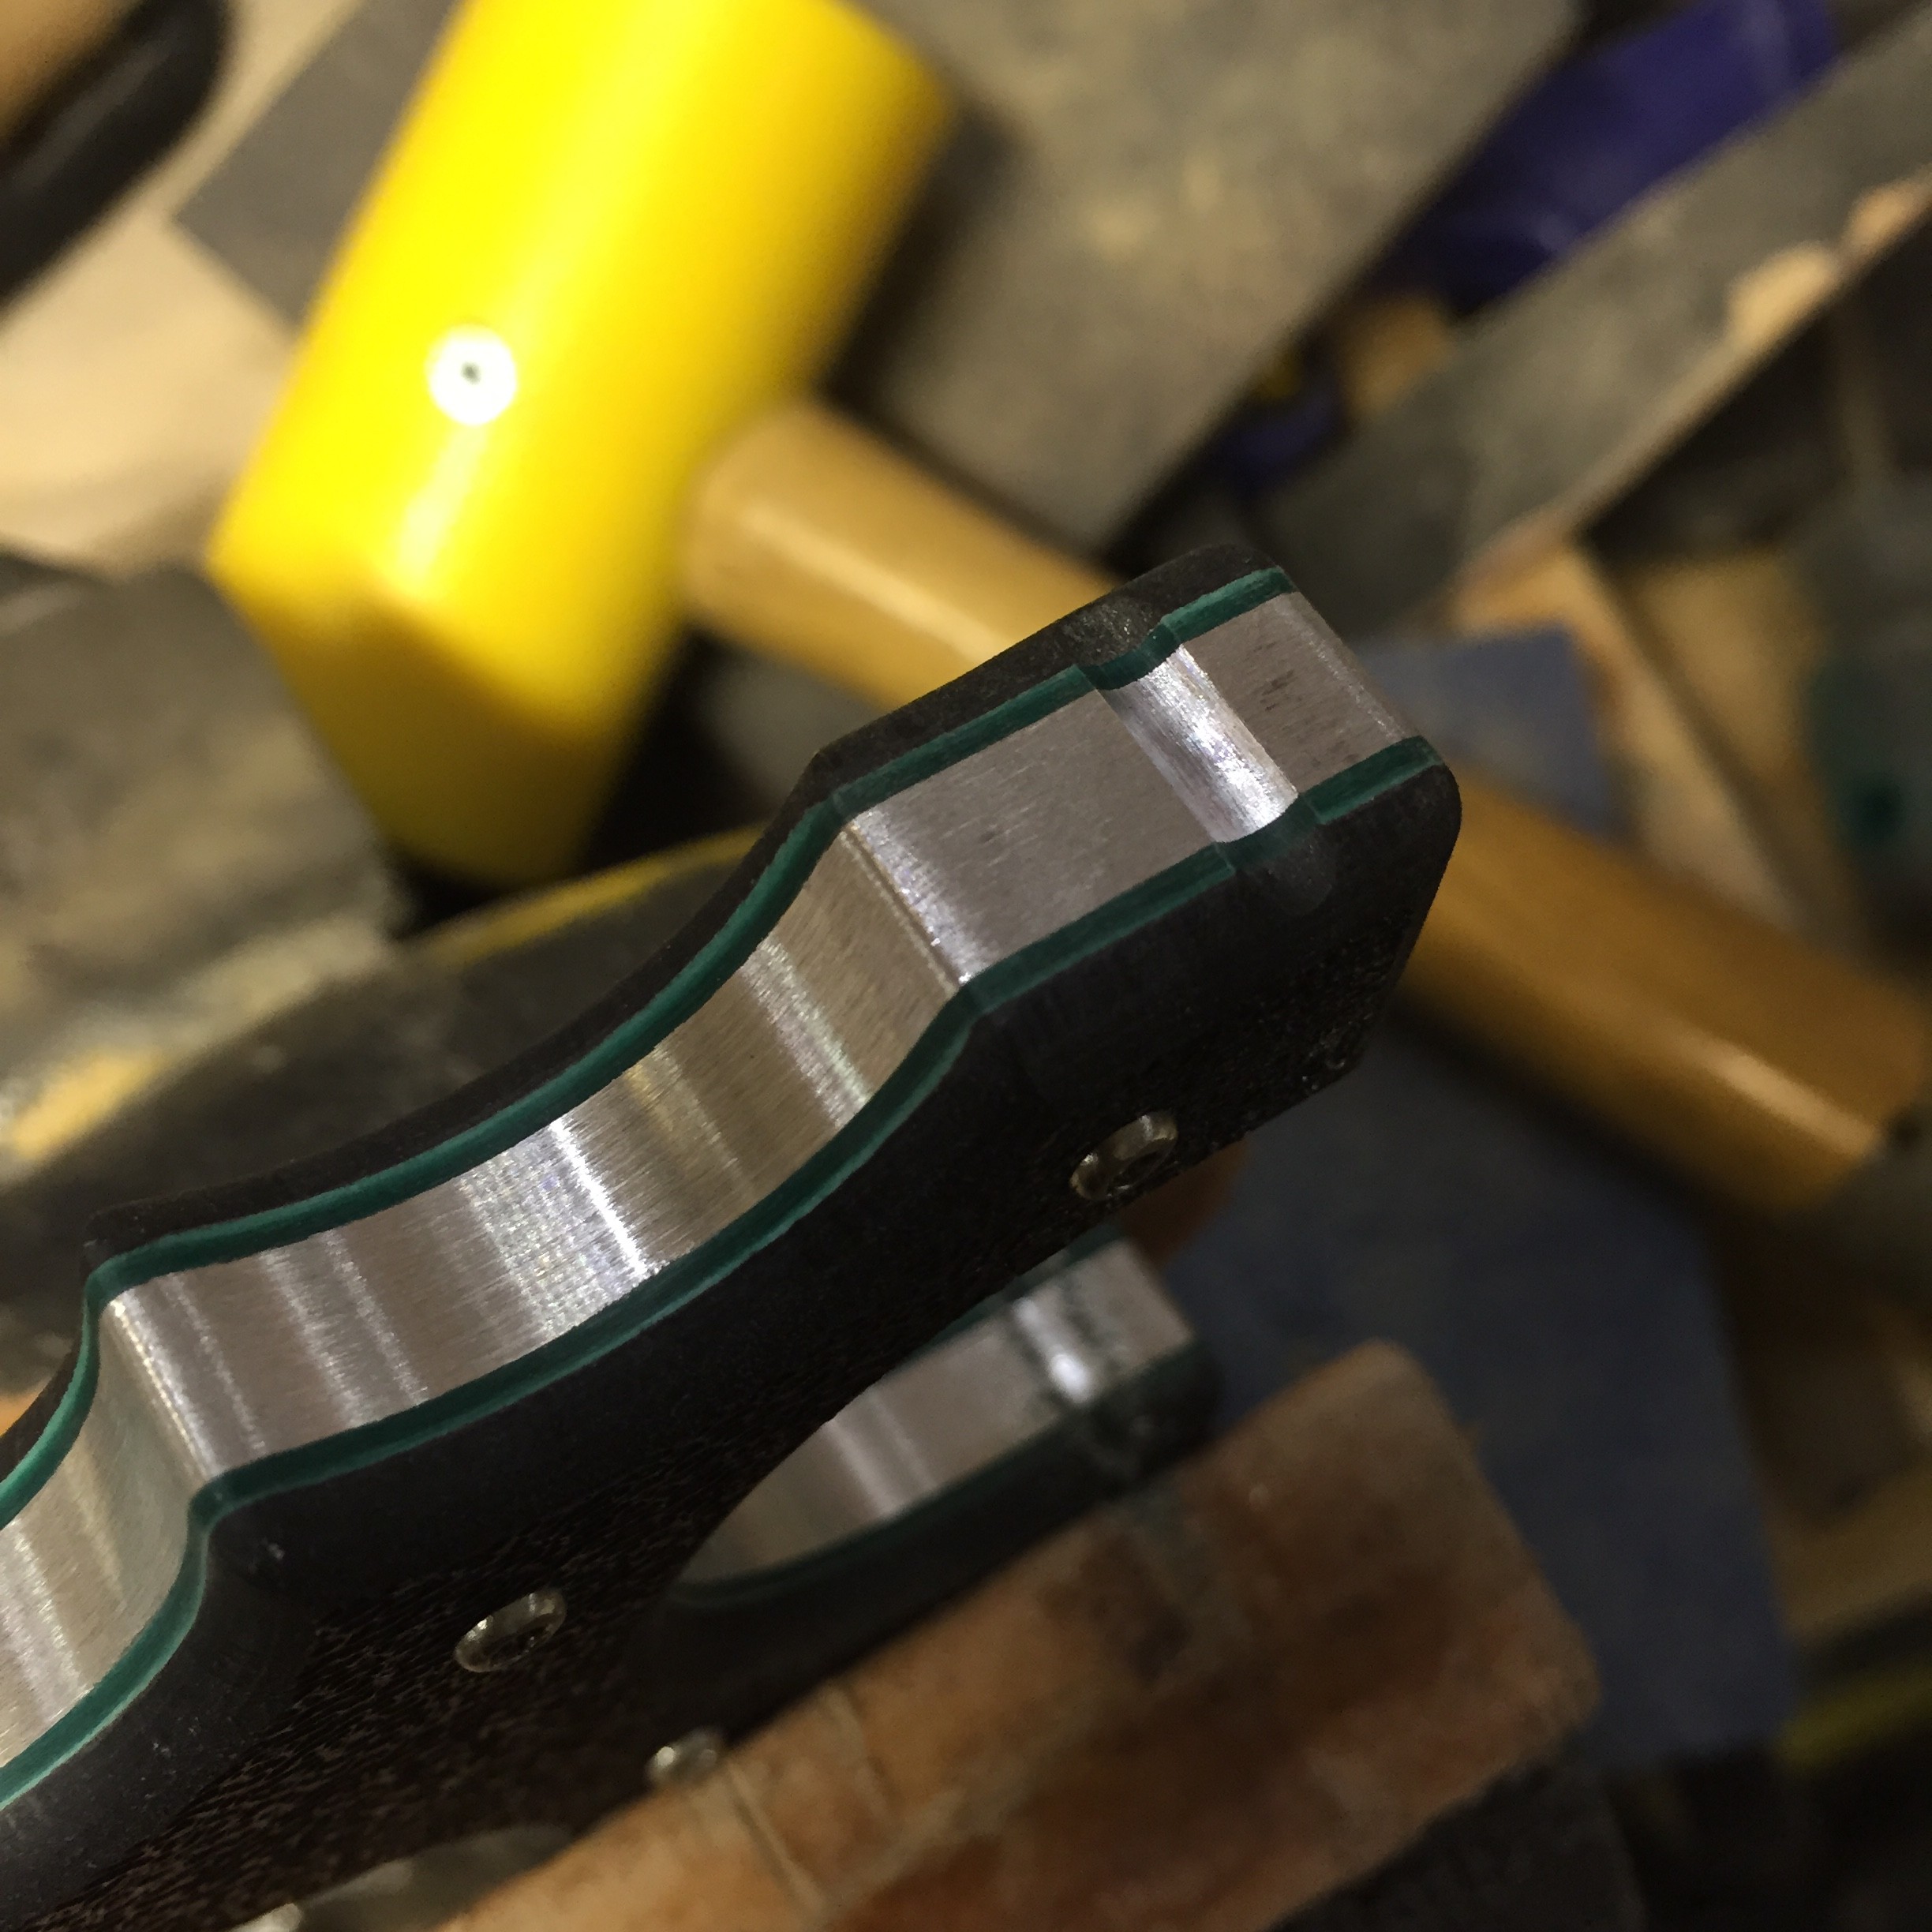
Now do this 3 more times and your band grooves are good to go!
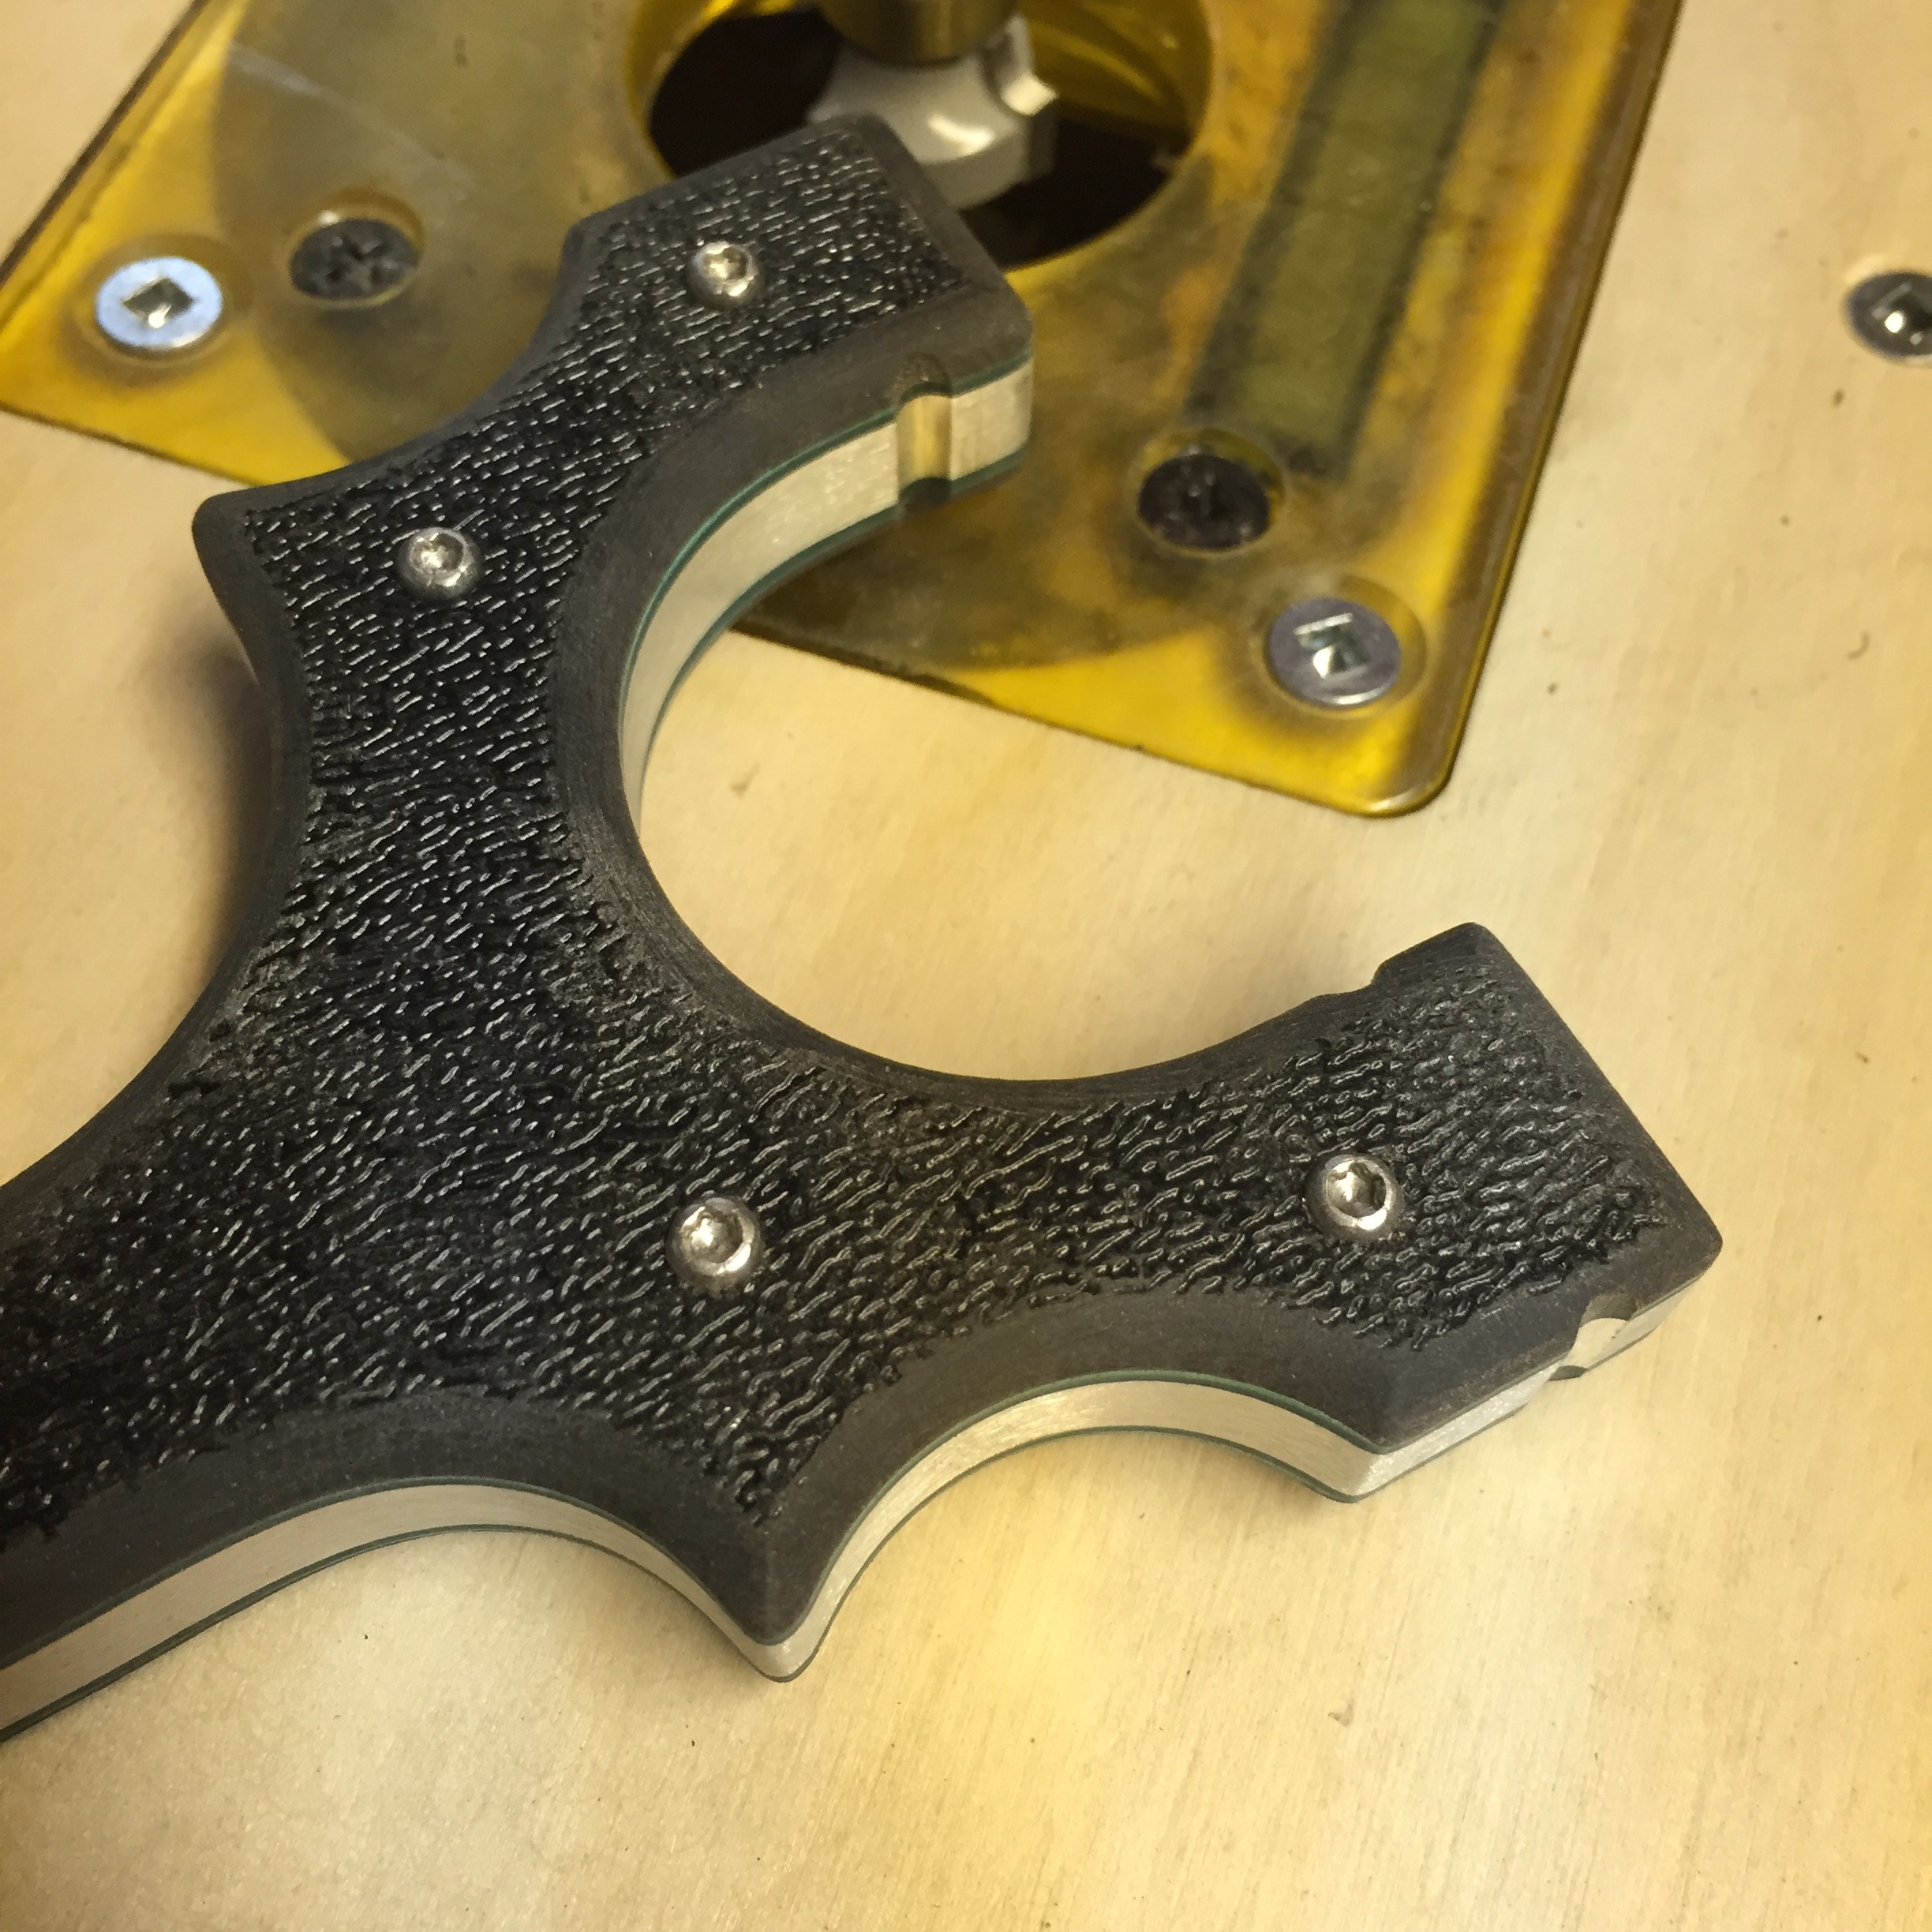
You could also do this to the front and back of the frames, but I usually don’t.
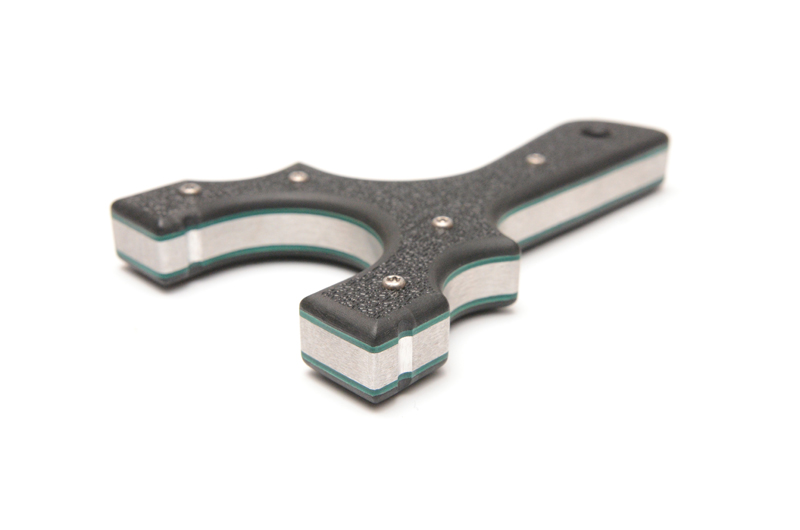
A better look at the whole package.
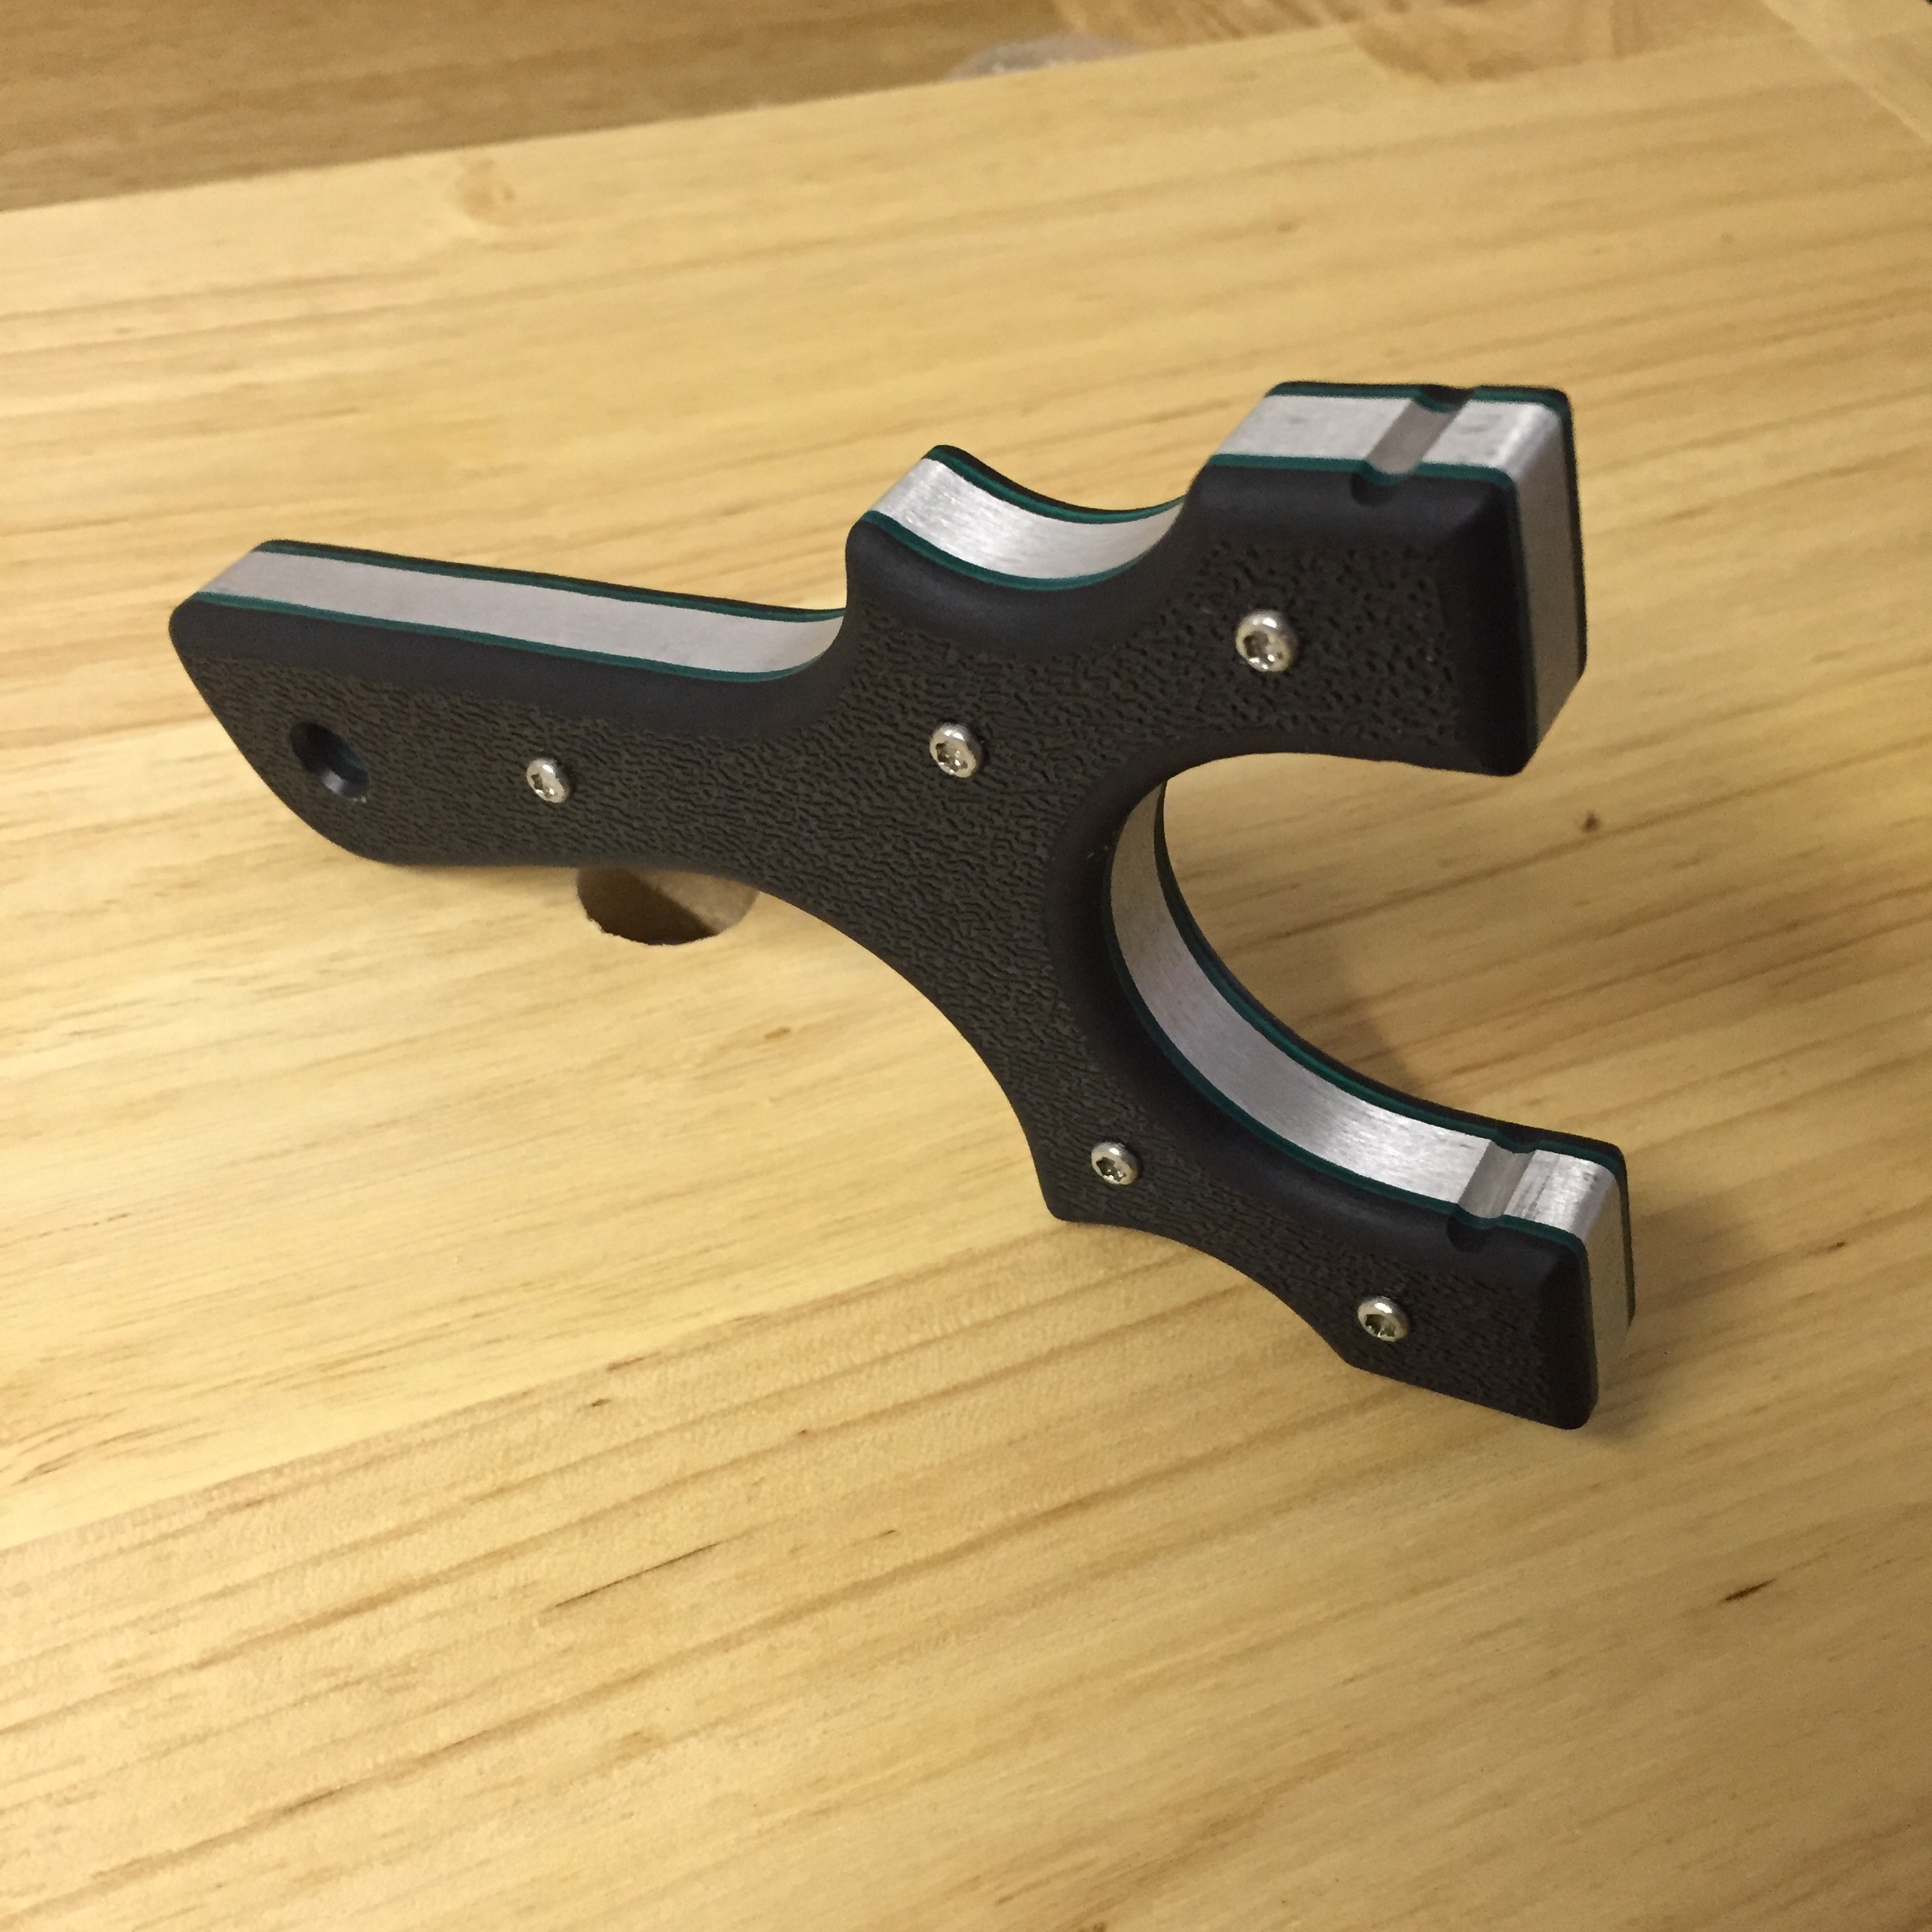
In case you were wondering, the frame is a new aluminum core we have yet to release, based on our Tyton design.
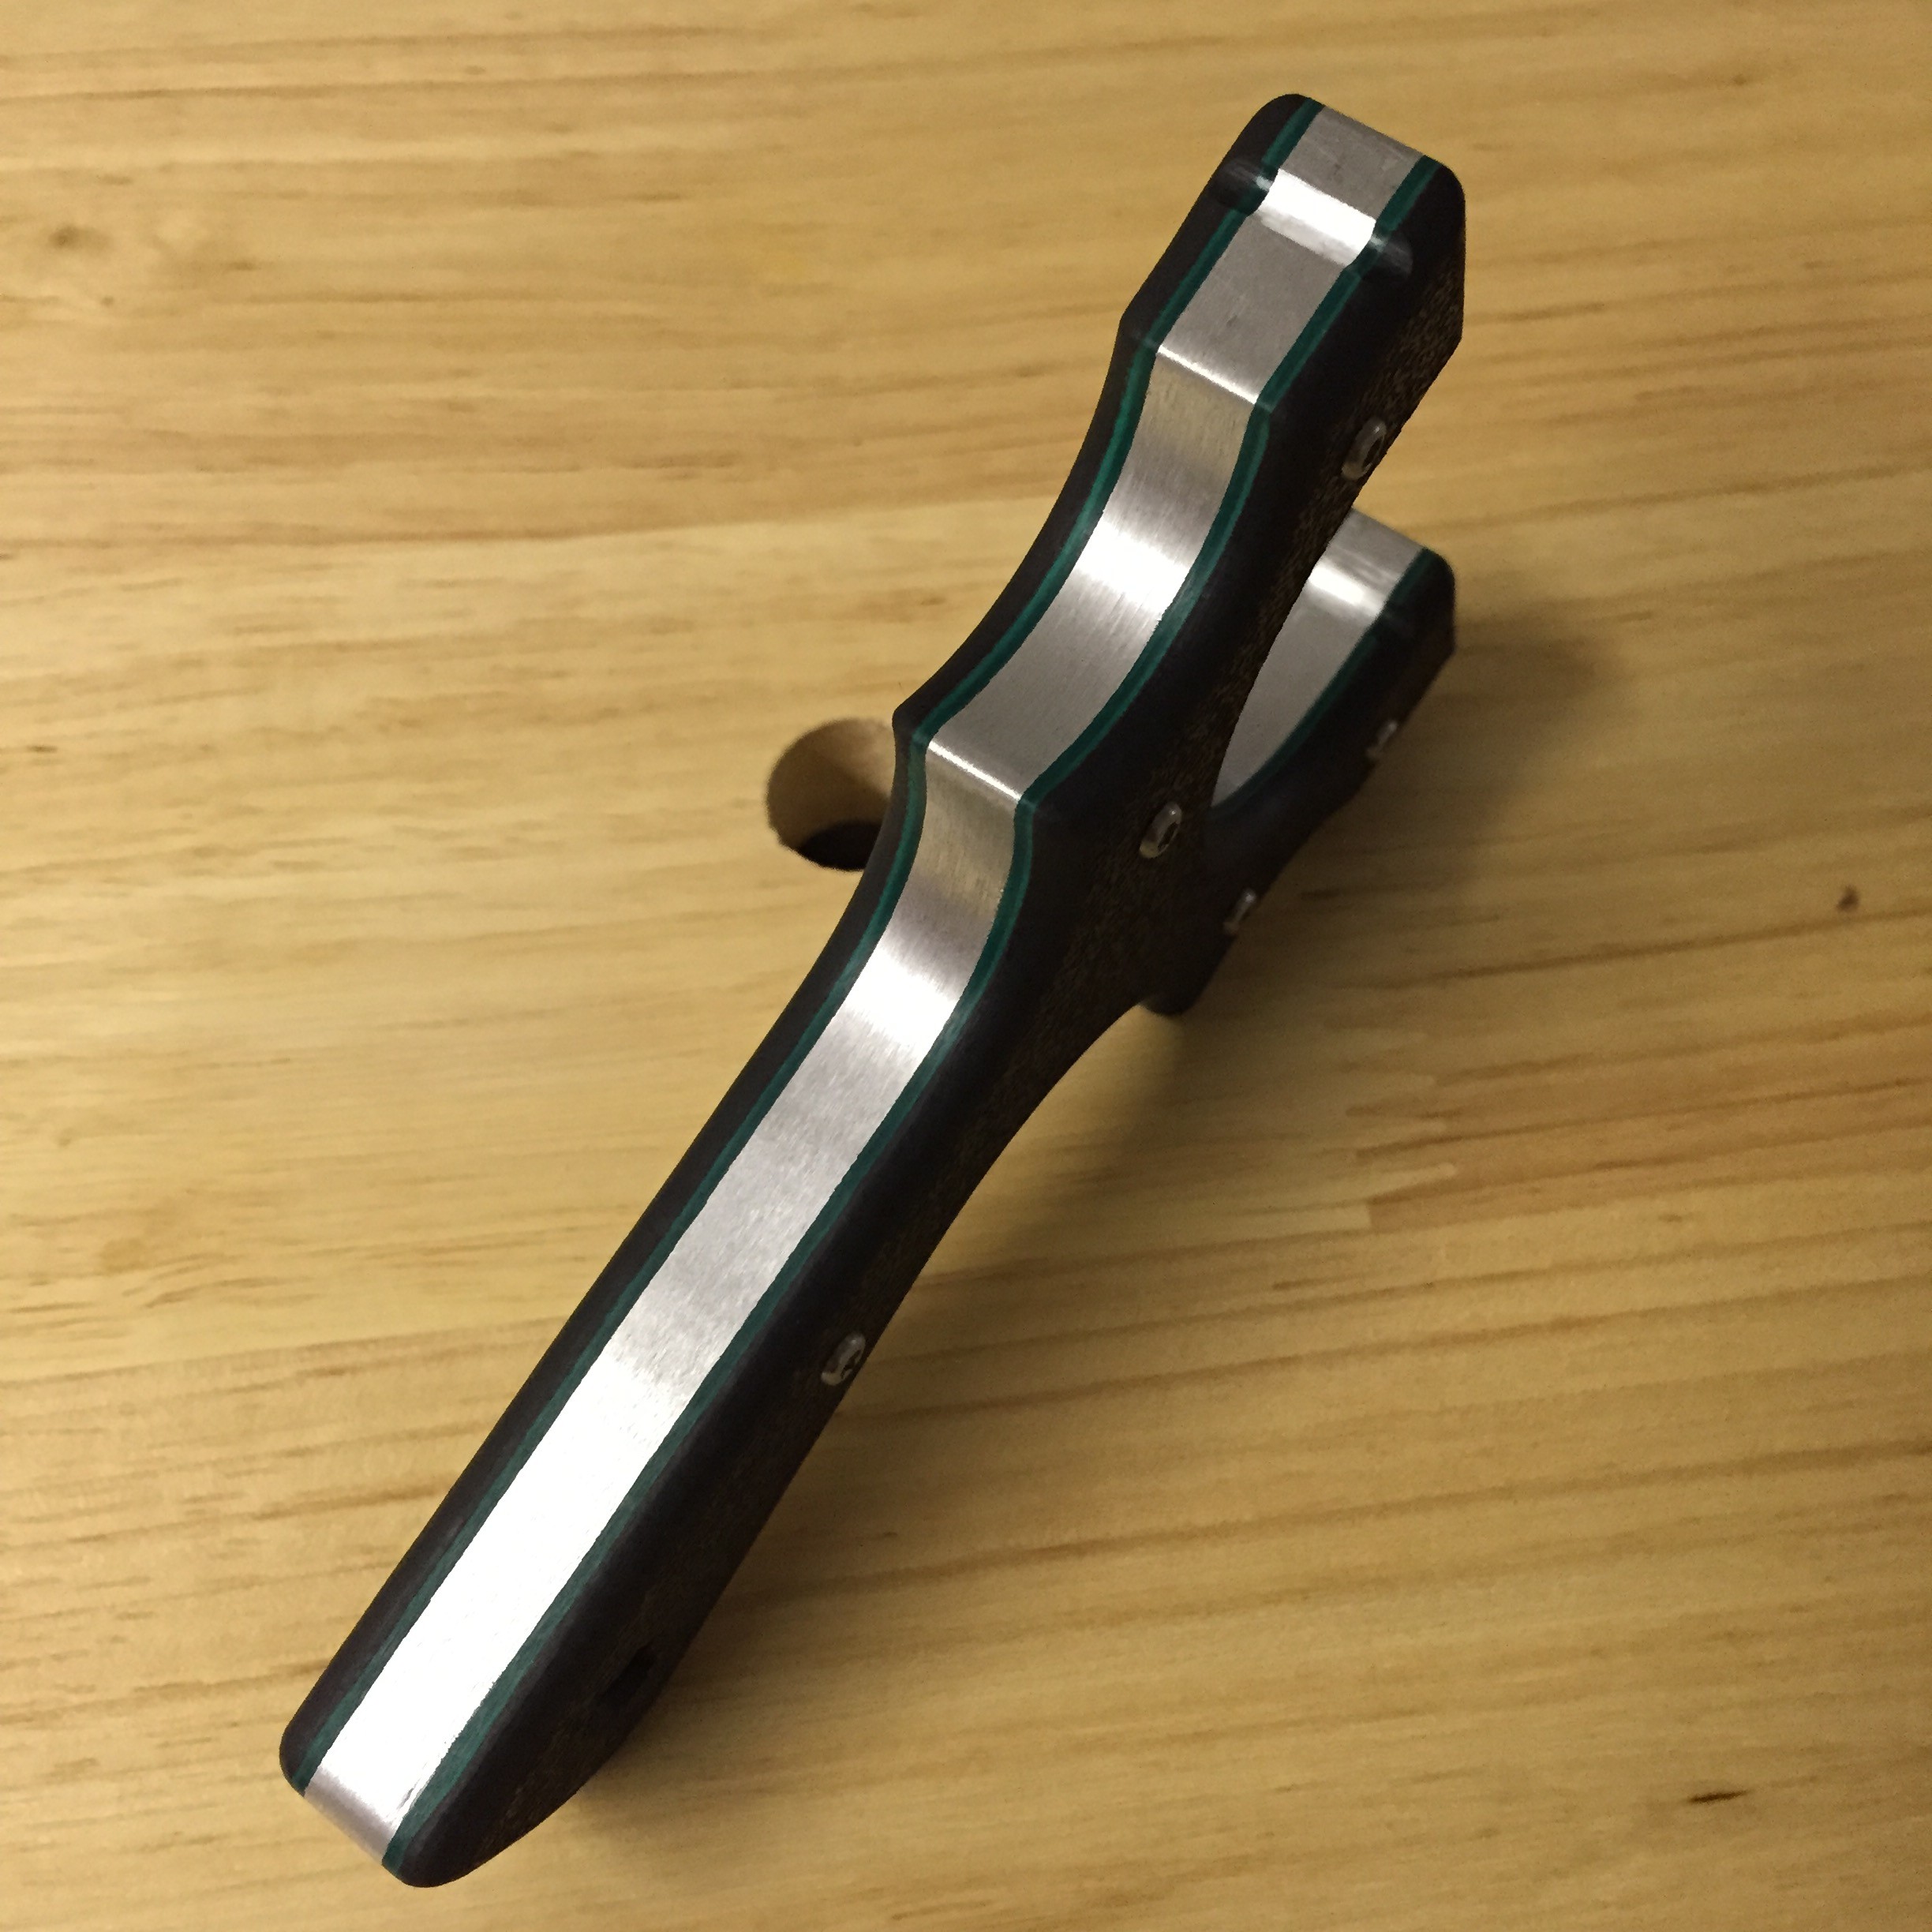
With some Theraband Black tied to it, a 15mm-10mm tapered cut at 7.5″ active length, my formula for deadly fast bb bands.
So that’s it.
A quick demo of how to cut accurate band grooves on pretty much any board cut style slingshot.
Thanks for reading!
-Eric