gabapentin 300 mg for dogs side effects I watch a lot of YouTube videos. I learn a LOT from them and they often spark a lot of ideas and make my list of ‘things to make’ longer than a giraffe’s necktie. I also subscribe to a lot of amazing youtube creators, a lot of times they are craftspeople who love to share and teach, but do not want the formality of a classroom. I often see interpretations of YouTube projects done by other YouTube creators.
This is a long winded introduction into our next project….the humble sanding block. The sanding block is the eraser of lines, the hider of mistakes, the last touch before going to paint, it is an essential tool with a lot of history. Simply, you can just take a block of any size, usually palm or grip sized and wrap a piece of sand paper around it and go to town. I wanted something a little cooler, a little more custom…a little more…Metro Grade.
So I went off to youtube to seek some inspiration.
I found Gough Custom knives, an Aussie residing in Canada with impressive skills and a workshop I lust after. His uber clean bladecraft is matched by his uber clean shop. In one of his videos, he goes over how he make HIS sanding block, which he uses to sand blade surfaces to sheen.
This was a great design to start from, but I needed to tweak it a bit to make it work for slingcraft. His design uses phenolic counter top material which is water proof because he wet sands his blades. I do not wet sand my projects, so I didn’t need to use that material, plus I have a lot of wood around the shop. I also didn’t want it to have hard, sharp edges, I wanted soft and forgiving because most slingshots are curved and have ample radii for a more comfortable fit. I also wanted to simplify the cutting and fitting of sand papers.
So….here were the list of things I wanted to have in my sanding blocks
1. Use a 1/4 sheet of standard 9″x11″ sheet of sand paper
2. Soft, forgiving sanding surface so it wouldn’t create flat spots
3. Be comfortable for two or handed use.
A 1/4 sheet of sand paper measures 4.5″x5.5″ so from that I derived my stock dimensions. I wanted it longer so I went with the 5.5″ dimension. This equated to a 6.5″ long x 1.5″ wide x .75″ thick block. I chose maple because it is a hard wearing material and it machines very well. I made two blocks because contrary to my list of demands for a sanding block, I still wanted one that was hard backed, with one edge square and one edge with a 1/4″ round corner.
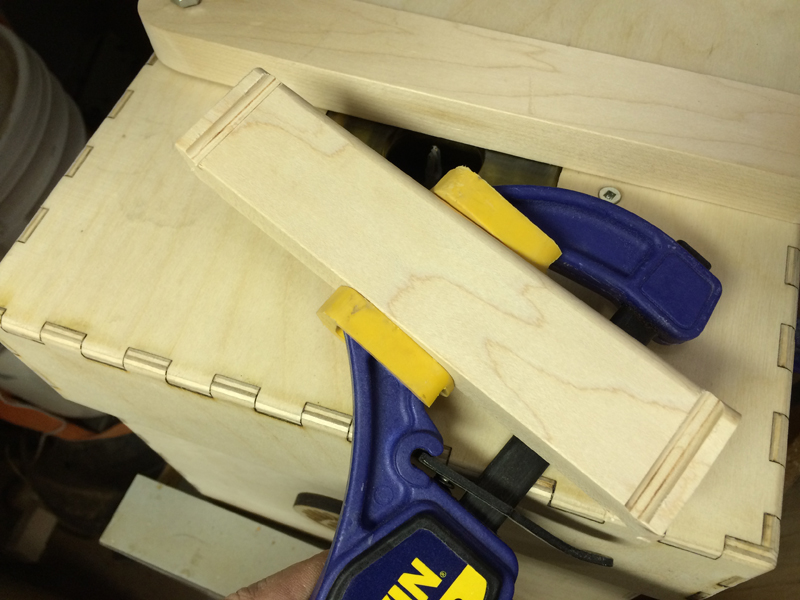
I started to make my block by using my router box with the 1/4″ round over bit. I wanted to try something because as much as I love routers, I also hate them because they are violent machines with GREAT potential for bodily harm. By clamping a quick grip clamp on the piece, I was about to hold onto it MUCH safer and provide better pressure when guiding it against the bearing. I must try this with a sling when the next one comes up. Back to the block, both edges were rounded over, as I mentioned, maple machines very well if you are smooth with your motions and your bit is clean (you should clean it with alcohol and a cotton swap after every job to clear the carbide from resin and gunk).
I then switch out the box and move in the other box with a 1/4″ corebox bit in it. The height is set to about 1/8″ depth. The fence is set so the channel created is 1/4″ from the edge. Again, using the quick grip clamp as a extra hand, I ran two slots up the back of the block. This will capture the dowel rods then it comes time for assembly.
Two identical rails run the length of the block.
Then changing grips and the fence set the same distance, two smaller channels are run on the ends, both on the top and bottom sides. This will capture the O-ring and hold the dowel rods in place, much like Gough’s design.
The channels on the top.
Then it was time for some filing. I could of run the edge into the bit one more time to get a channel, but a skinny edge doesn’t make for a good clean cut. Instead, I used a 1/4″ rasp and rounded out the corners of the channels, transitioning them into the edges. This is much like when I cut band grooves on slingshot fork tips, it was a very family motion for me.
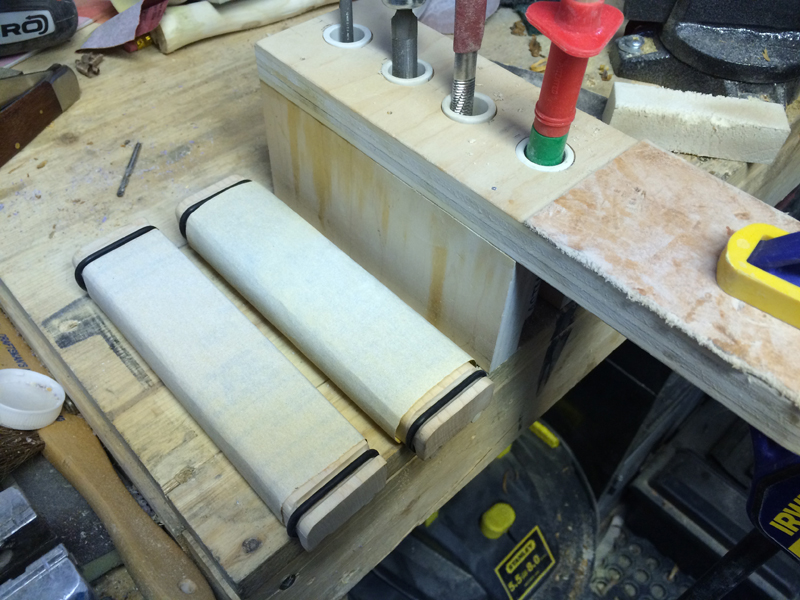
Two completed sanding blocks.
A little bit of sanding to get rid of the burrs and hairs left from the machining process and it’s off to assembly!
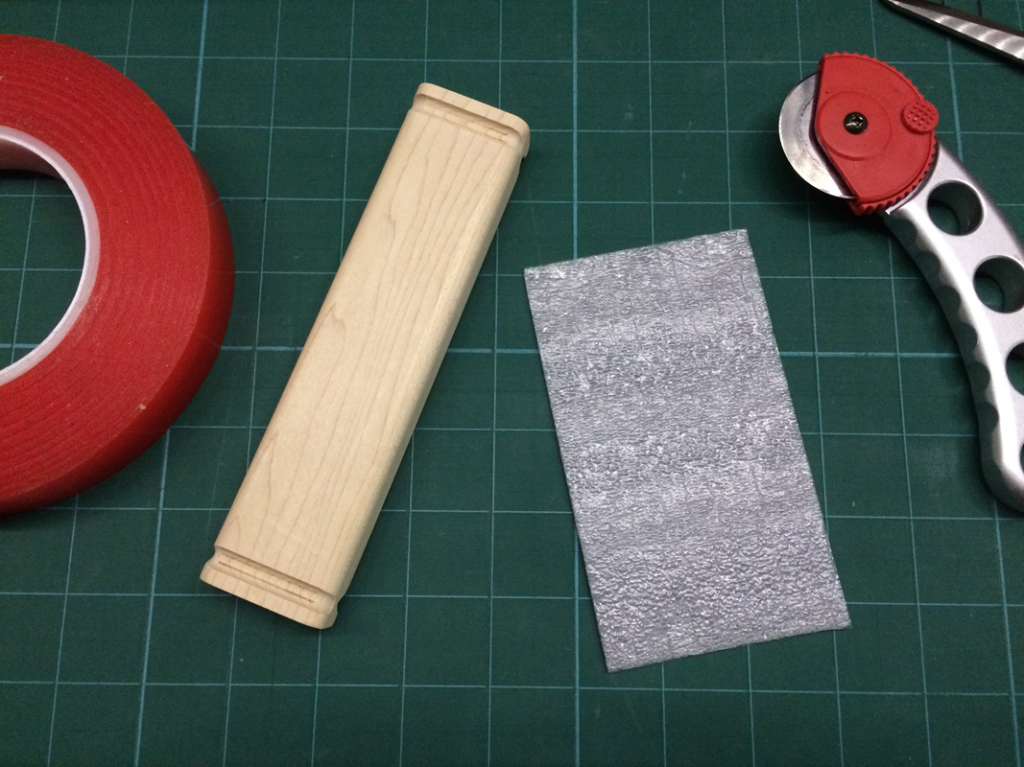
Criteria number 2 was to make the sanding surface soft and forging, like a sand sponge, but without the extra cost of a sanding sponge. To achieve this I needed to pad the surface. I thought I had some craft foam lying around, but I couldn’t find it. You could also use some thin cork but that is less forgiving than foam. I used some left over underlay for hardwood flooring from a renovation years ago. Cut to roughly a 5″x3″ rectangle.
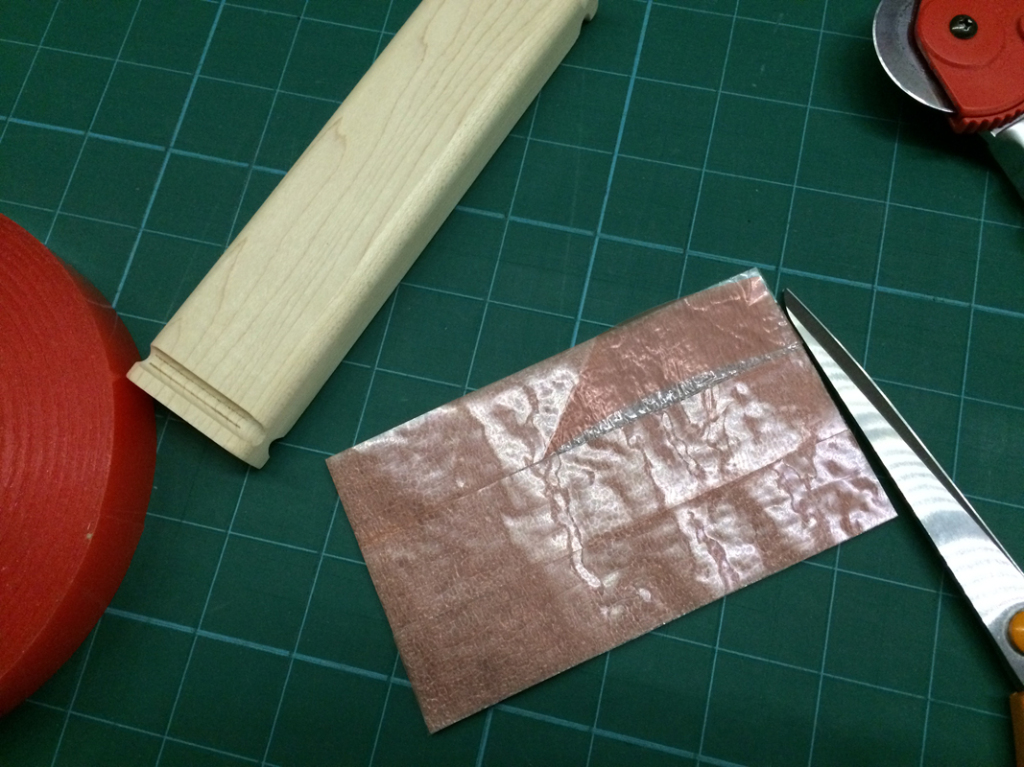
I backed this with a layer of super sticky 2 sided tape.
…and rolled it onto place. The other block is left bare, as I mentioned that sometime you DO need a hard backed sanding block.
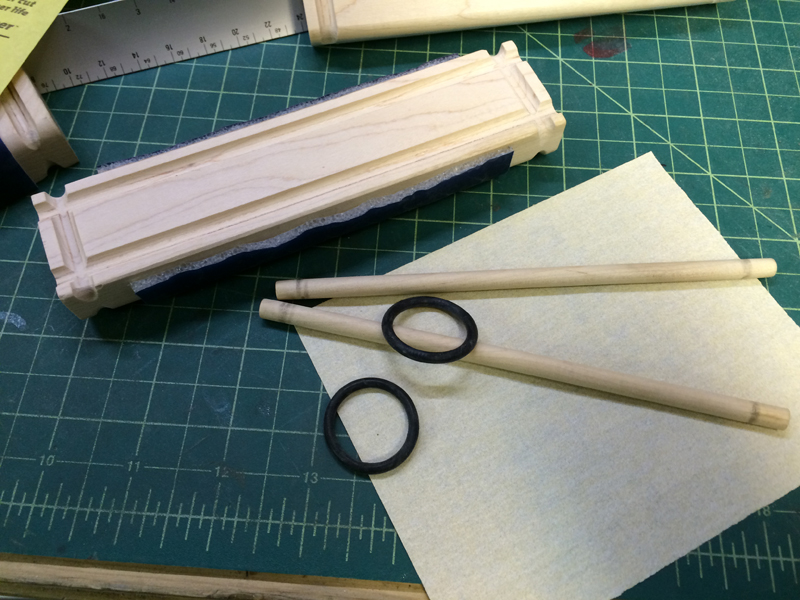
All that was left was to cut some 1/4″ dowels to length. Gough uses some aluminum rods, I usually have some but for some reason or another, I was out! Wood will do for now, they can always be replaced. Two large O-rings also make up the kit, as does the 1/4 sheet of sandpaper.
Assembly is pretty self explanatory, the rods fit into to channels and the O-rings hold them in place.
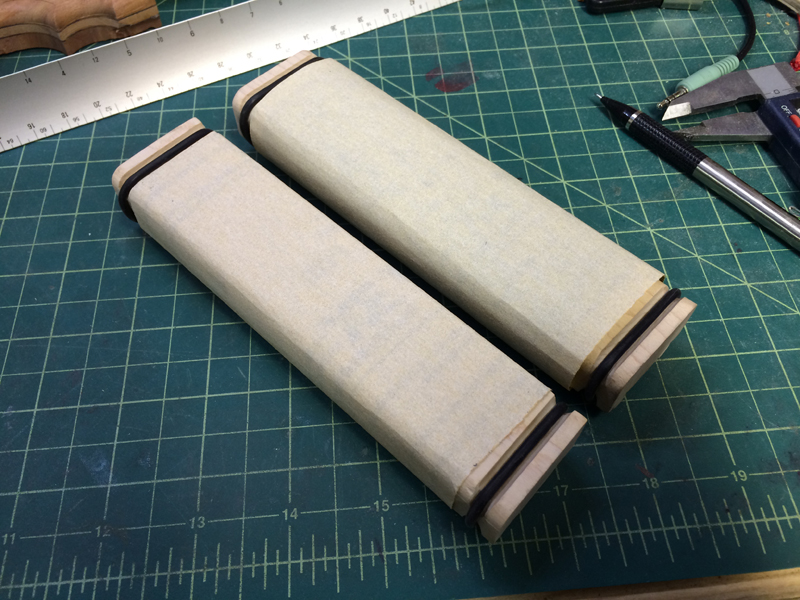
To mount the paper, one rod is moved over and the paper is placed onto the groove, then the dowel is rolled into the groove. No needing to cut the paper into weird sizes.
Done. Ready to sand!
Nice and tidy. The best part about this design is that you have 3 sides and 2 forgiving radii to use for sanding.
I went ahead and mounted paper on the hard edge one as well.
To test out the efficacy of it, I took three strokes with the sanding block on this apple fork.
Super smooth and no flat spots (and no premature wear on the paper)
I really like this design a lot and I think I am going to make a bunch more, for at least an 80, 220, 400 and maybe a 600. I also may make a round dowel version, but that’s for another Metro Made.
Thanks for reading and I hope you can get something out of this.
Be sure to subscribe to our YouTube channel! Metro Grade Vlog
Happy New Year and have a safe 2015 celebration!
-Eric










Nice, I also watch his videos.
Another good source for inspiration in the shop is John Heisz on youtube.