Shops that have skunkworks devisions will always try new things, one offs, tests and prototypes that often lead to very possible production ideas. In this ‘skunkworks’ post, I try to do a few things differently that will definitely make its way into some production slingshots.
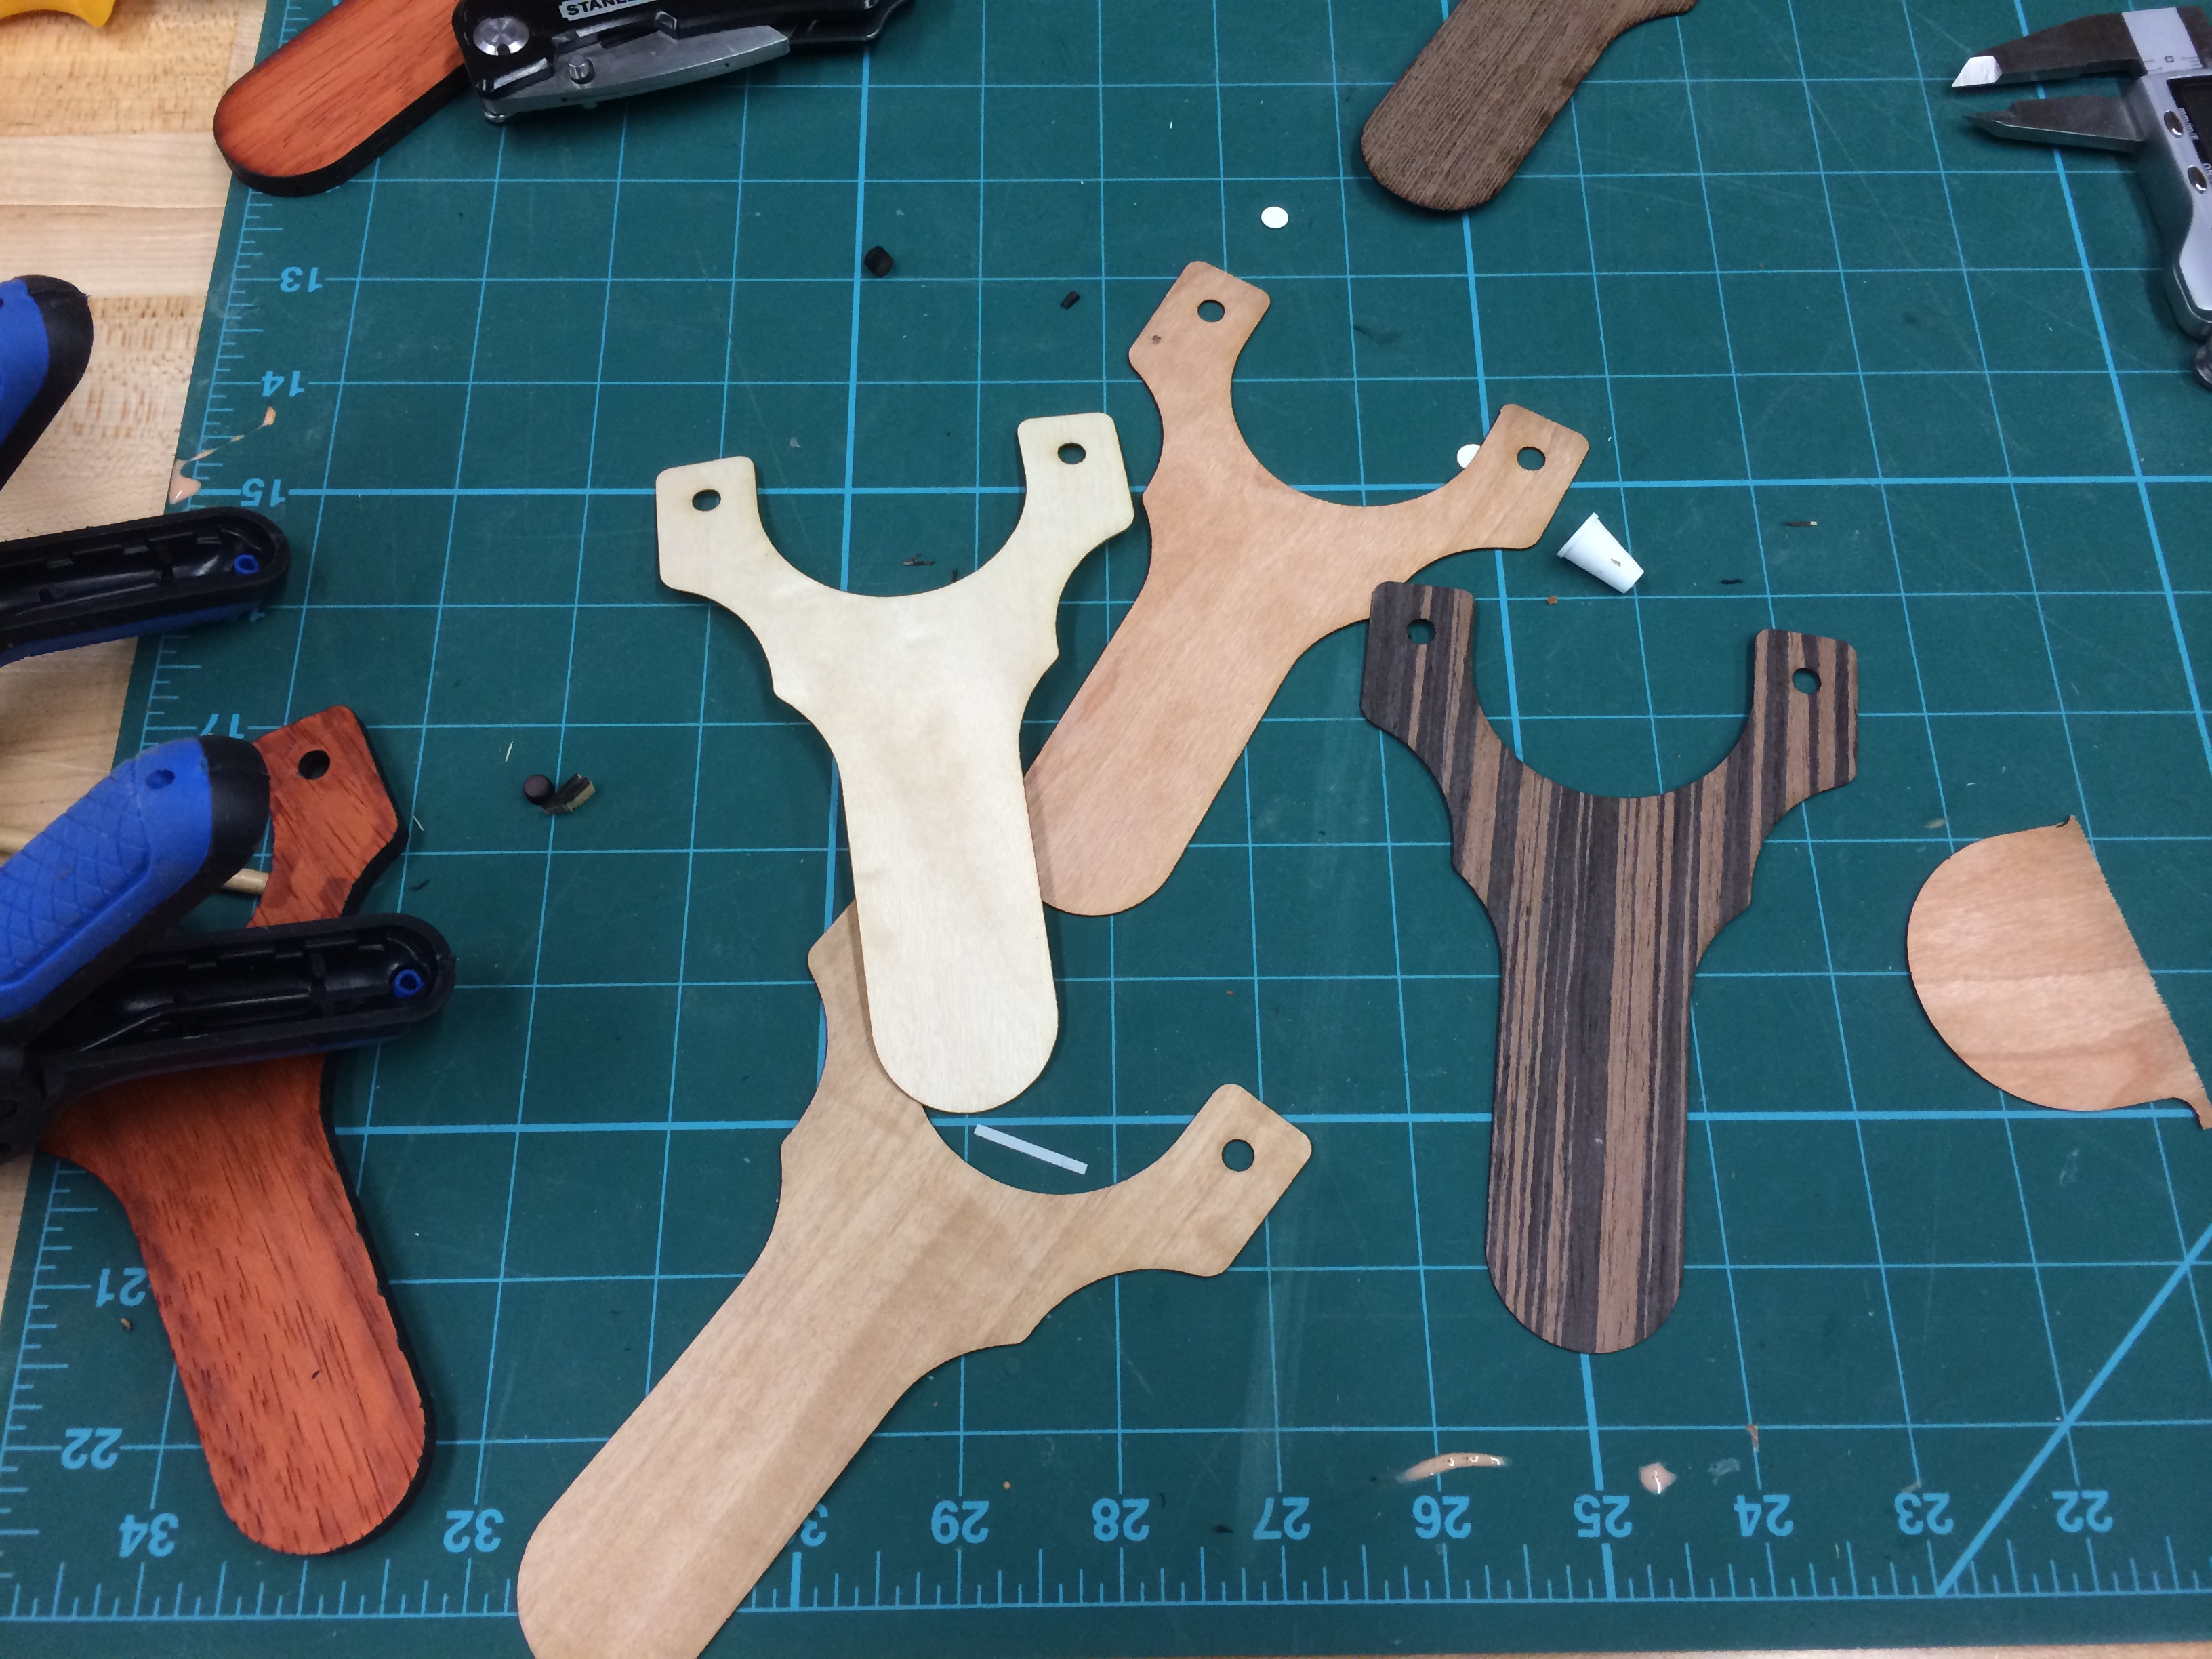
It’s much easier to test something when you have a solid frame to work on, quite literally. I took our SHUCKAPOW design and made up a 1/4″ Baltic Birch plywood core. From there, it was some quick work since the spacer veneers in between the layers would curl from the wet glue moisture. I have a lot of smaller pieces of exotic and hardwood veneers and it would take a life time of making slings to use them as small spacers between surface laminations, so I decided to try something new, skunkworks test #1: how to buy isotretinoin in malaysia surface veneer lamination.
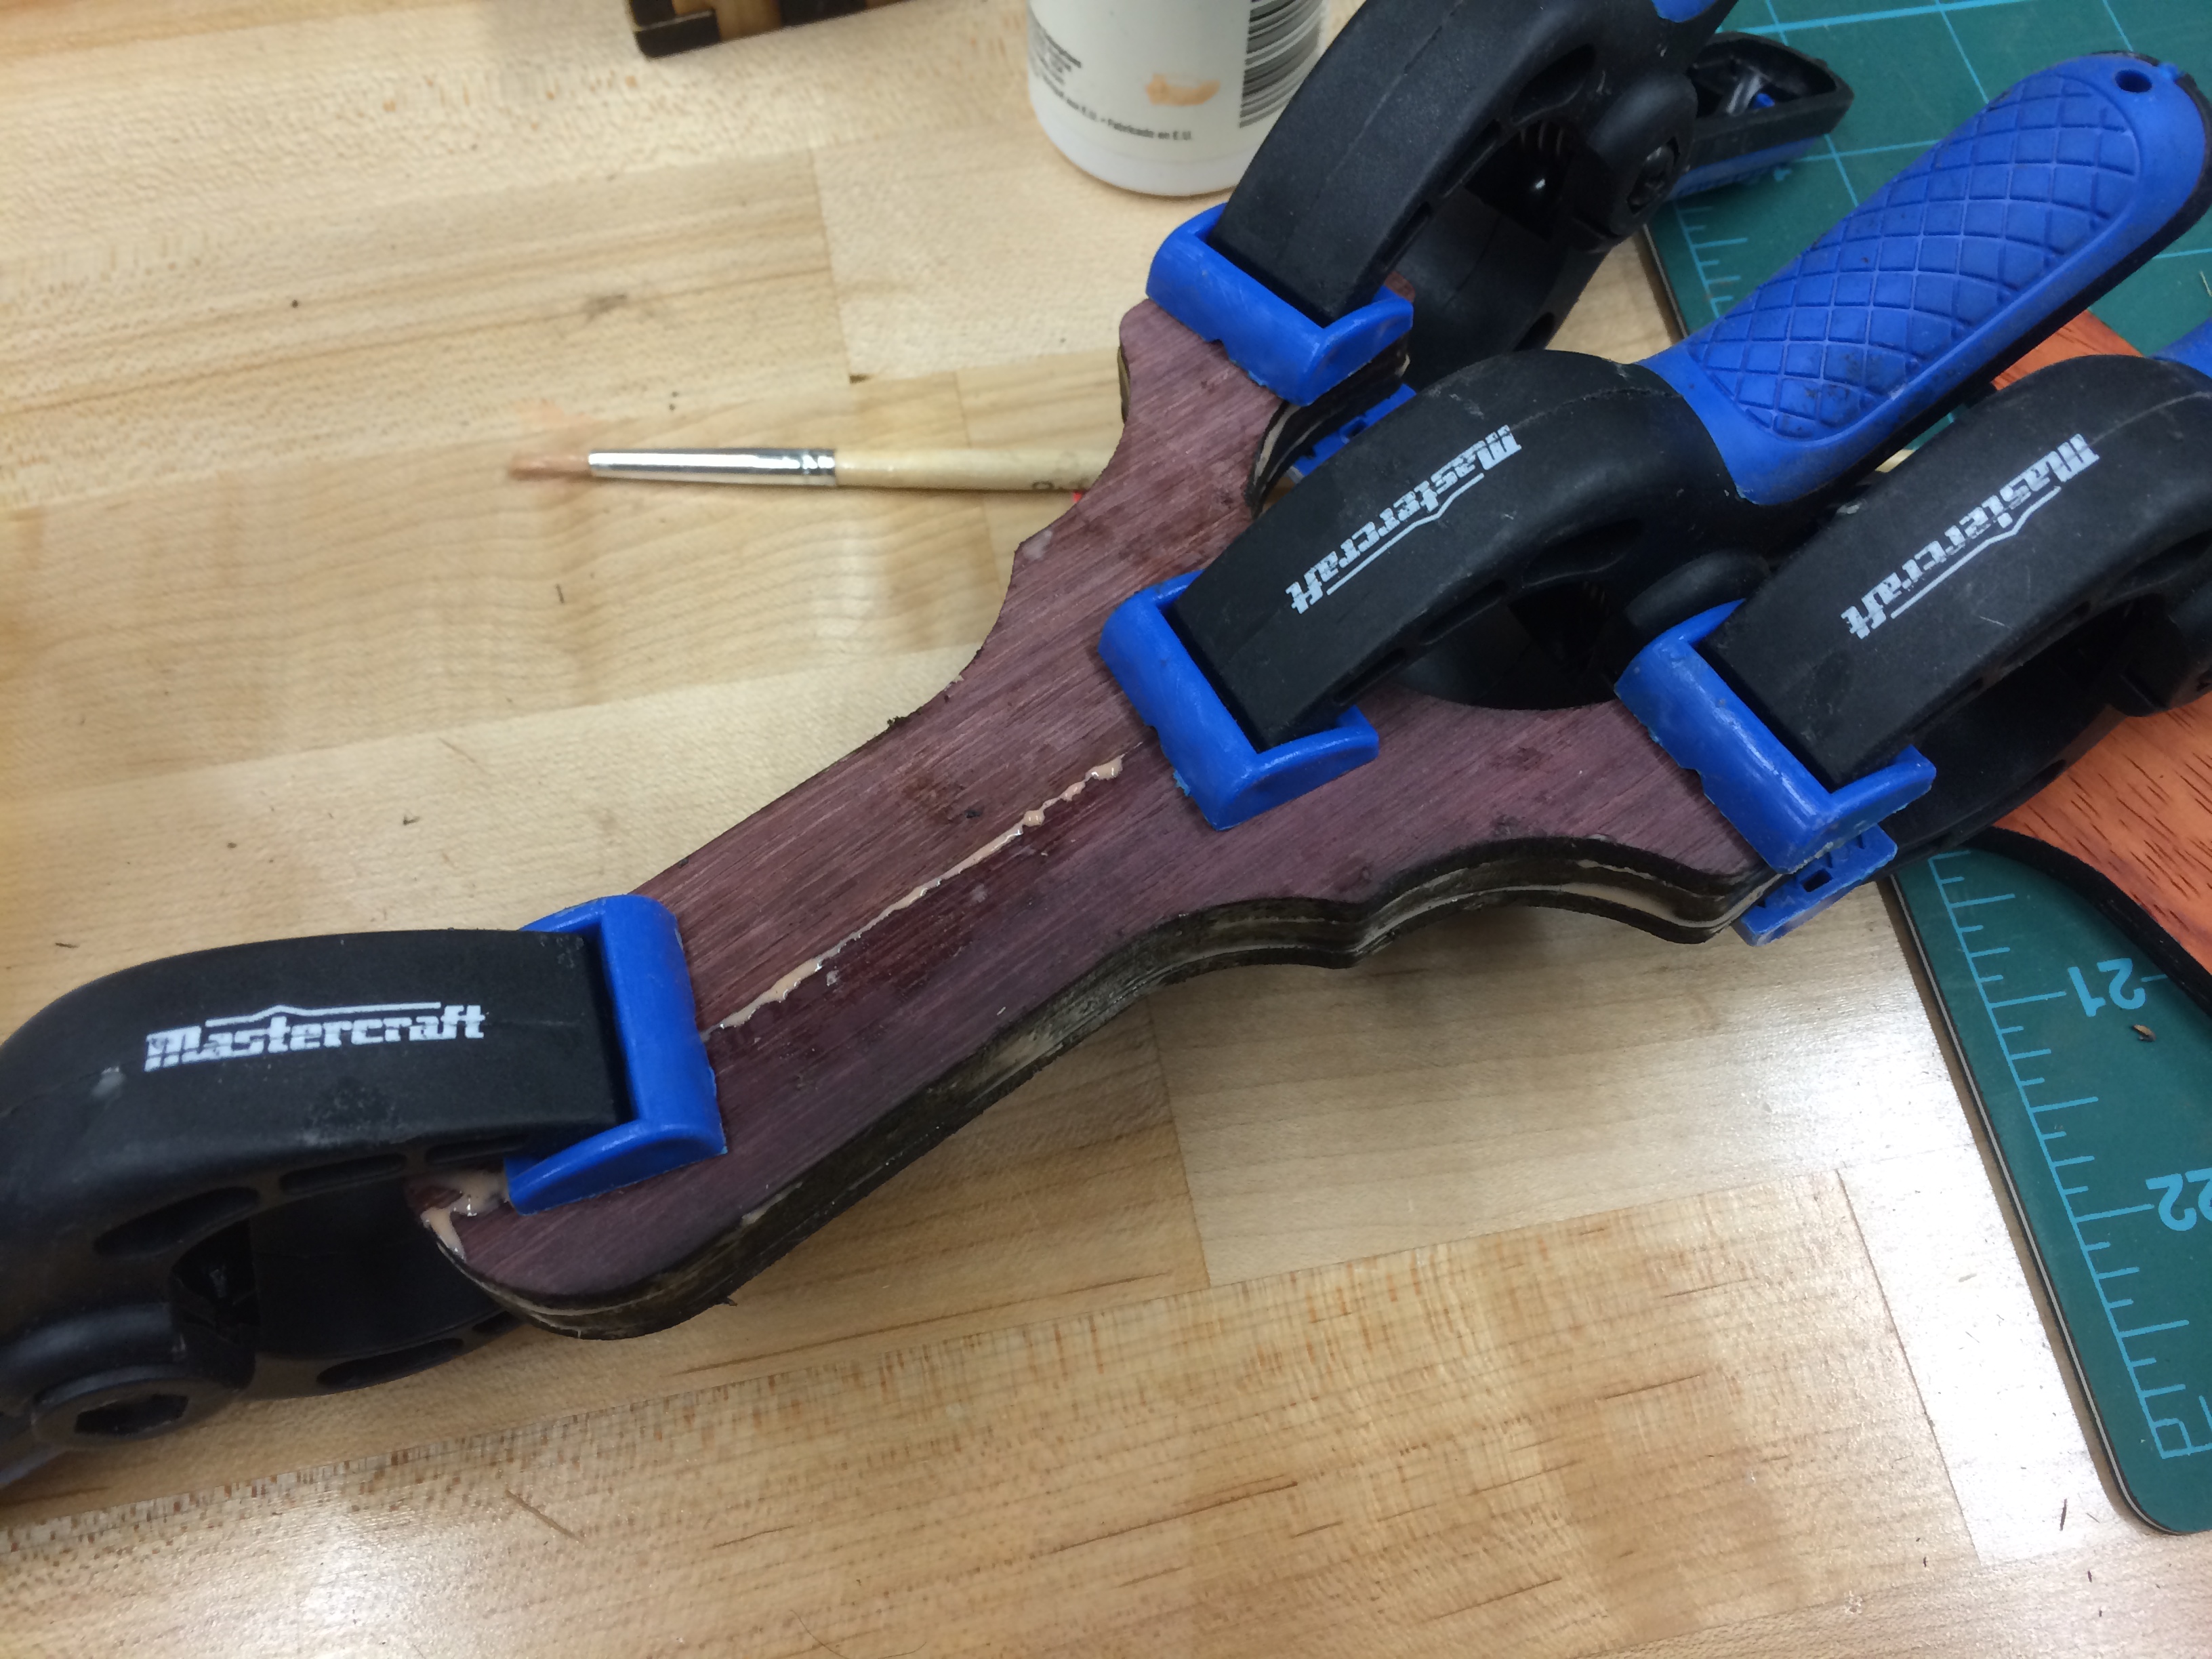
On top of the ply core, a layer of purple heart was laminated to both sides. This was left to try a bit before sanding down the surface.
In between the Paduak layers, I laser cut some maple veneer to contrast between the orange and purple. Again, left to set up a bit before sanding the face flat to receive the veneer.

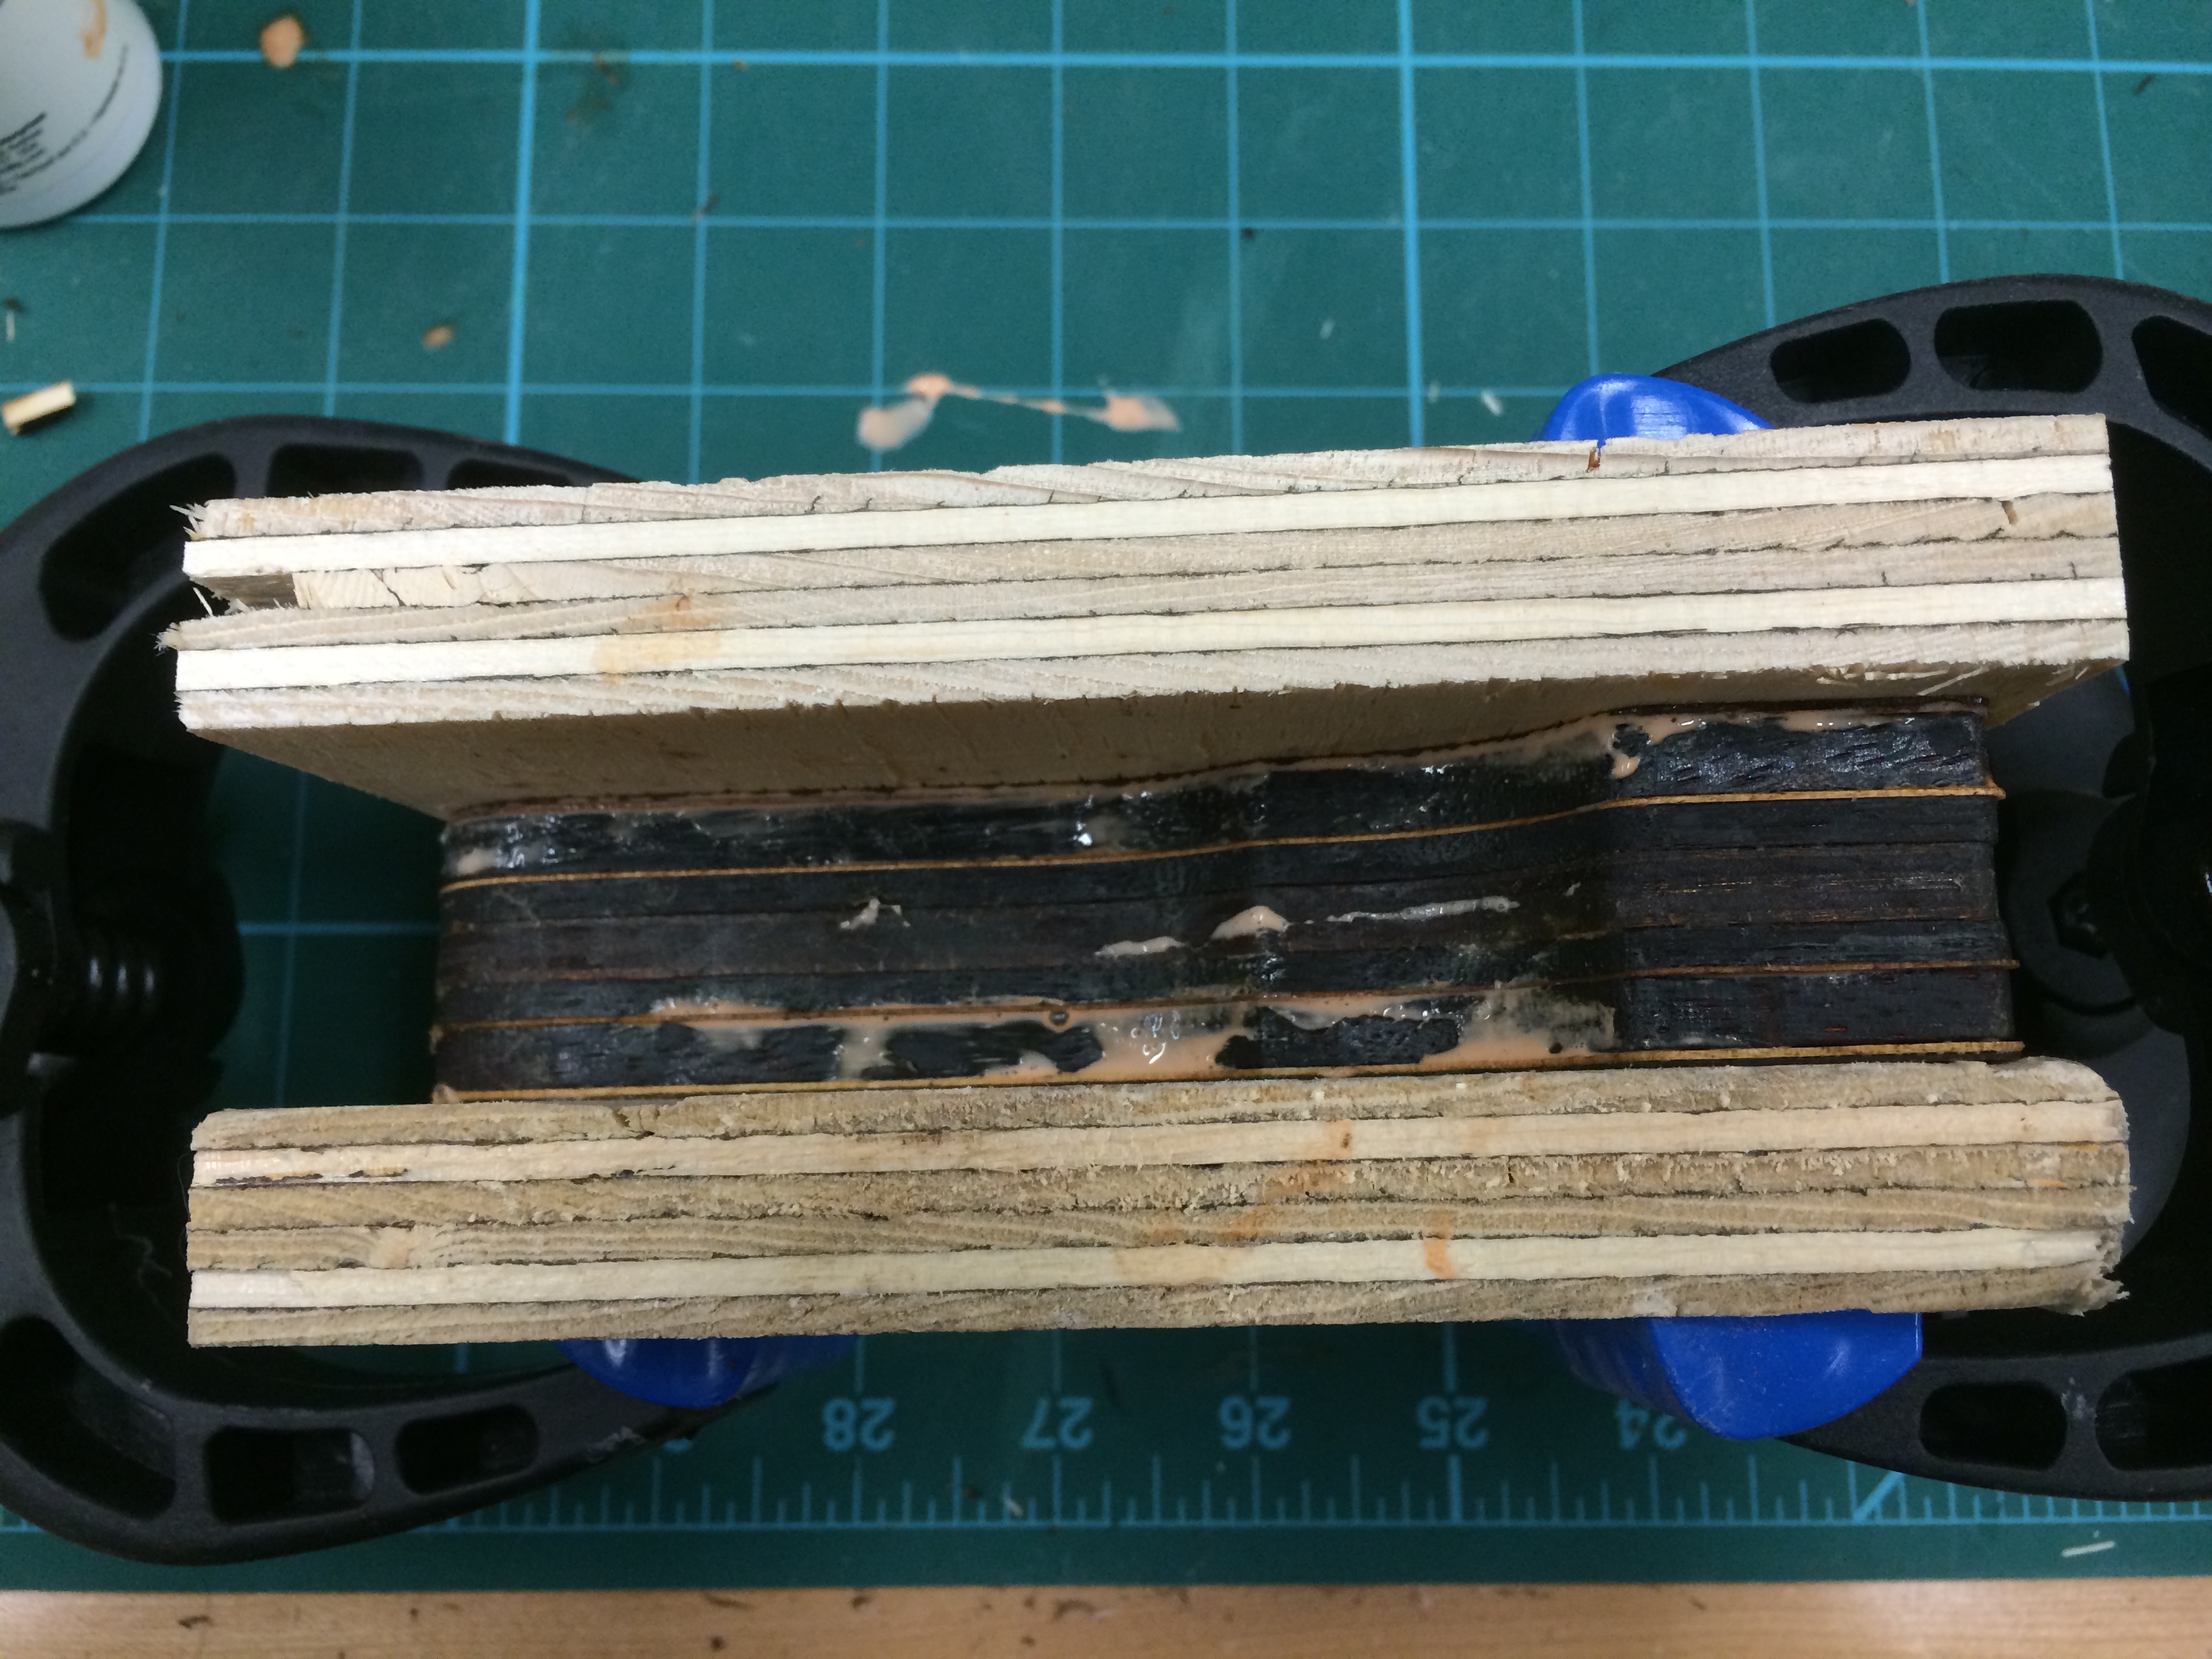
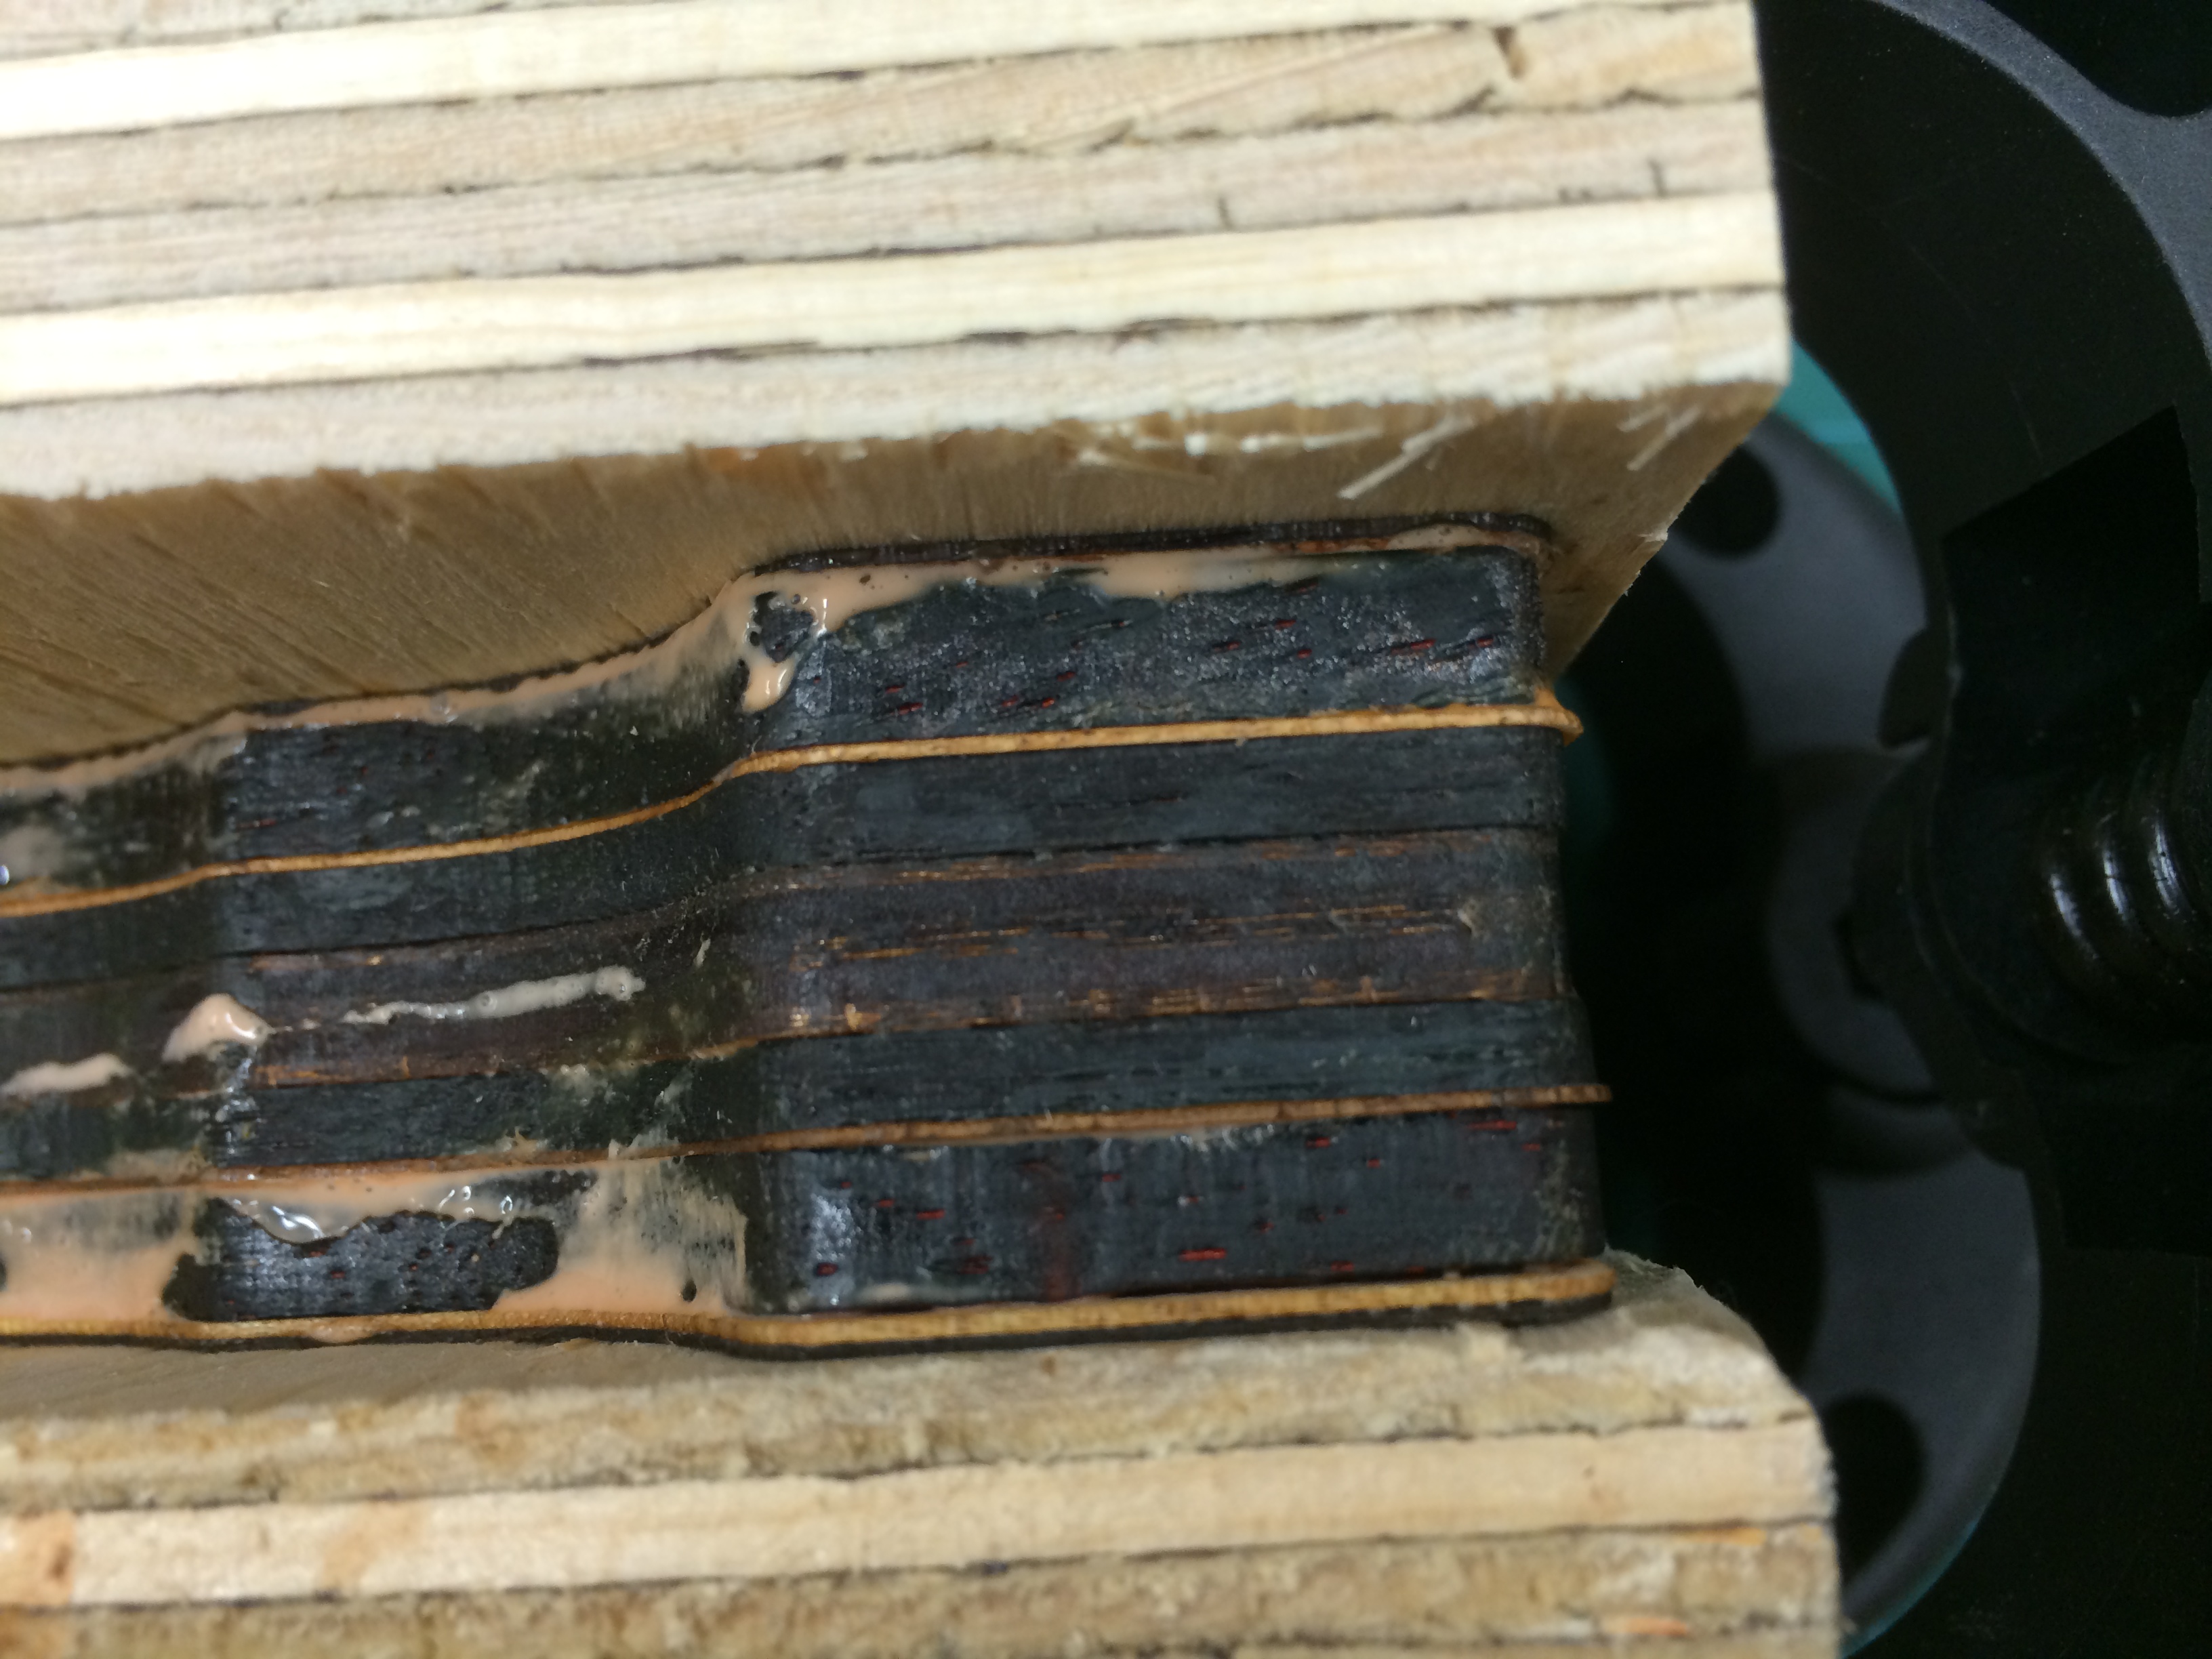
This is the entire sandwich. On one side is a layer of cherry/zebrawood veneer and on the other side birch/wenge. Two scrap plywood boards kept everything tight and under pressure. I actually leave this for a whole day to ensure a good bond between the veneer and woods.
It’s a bit of a mess, but the careful planning and forethought will pay off in the end.
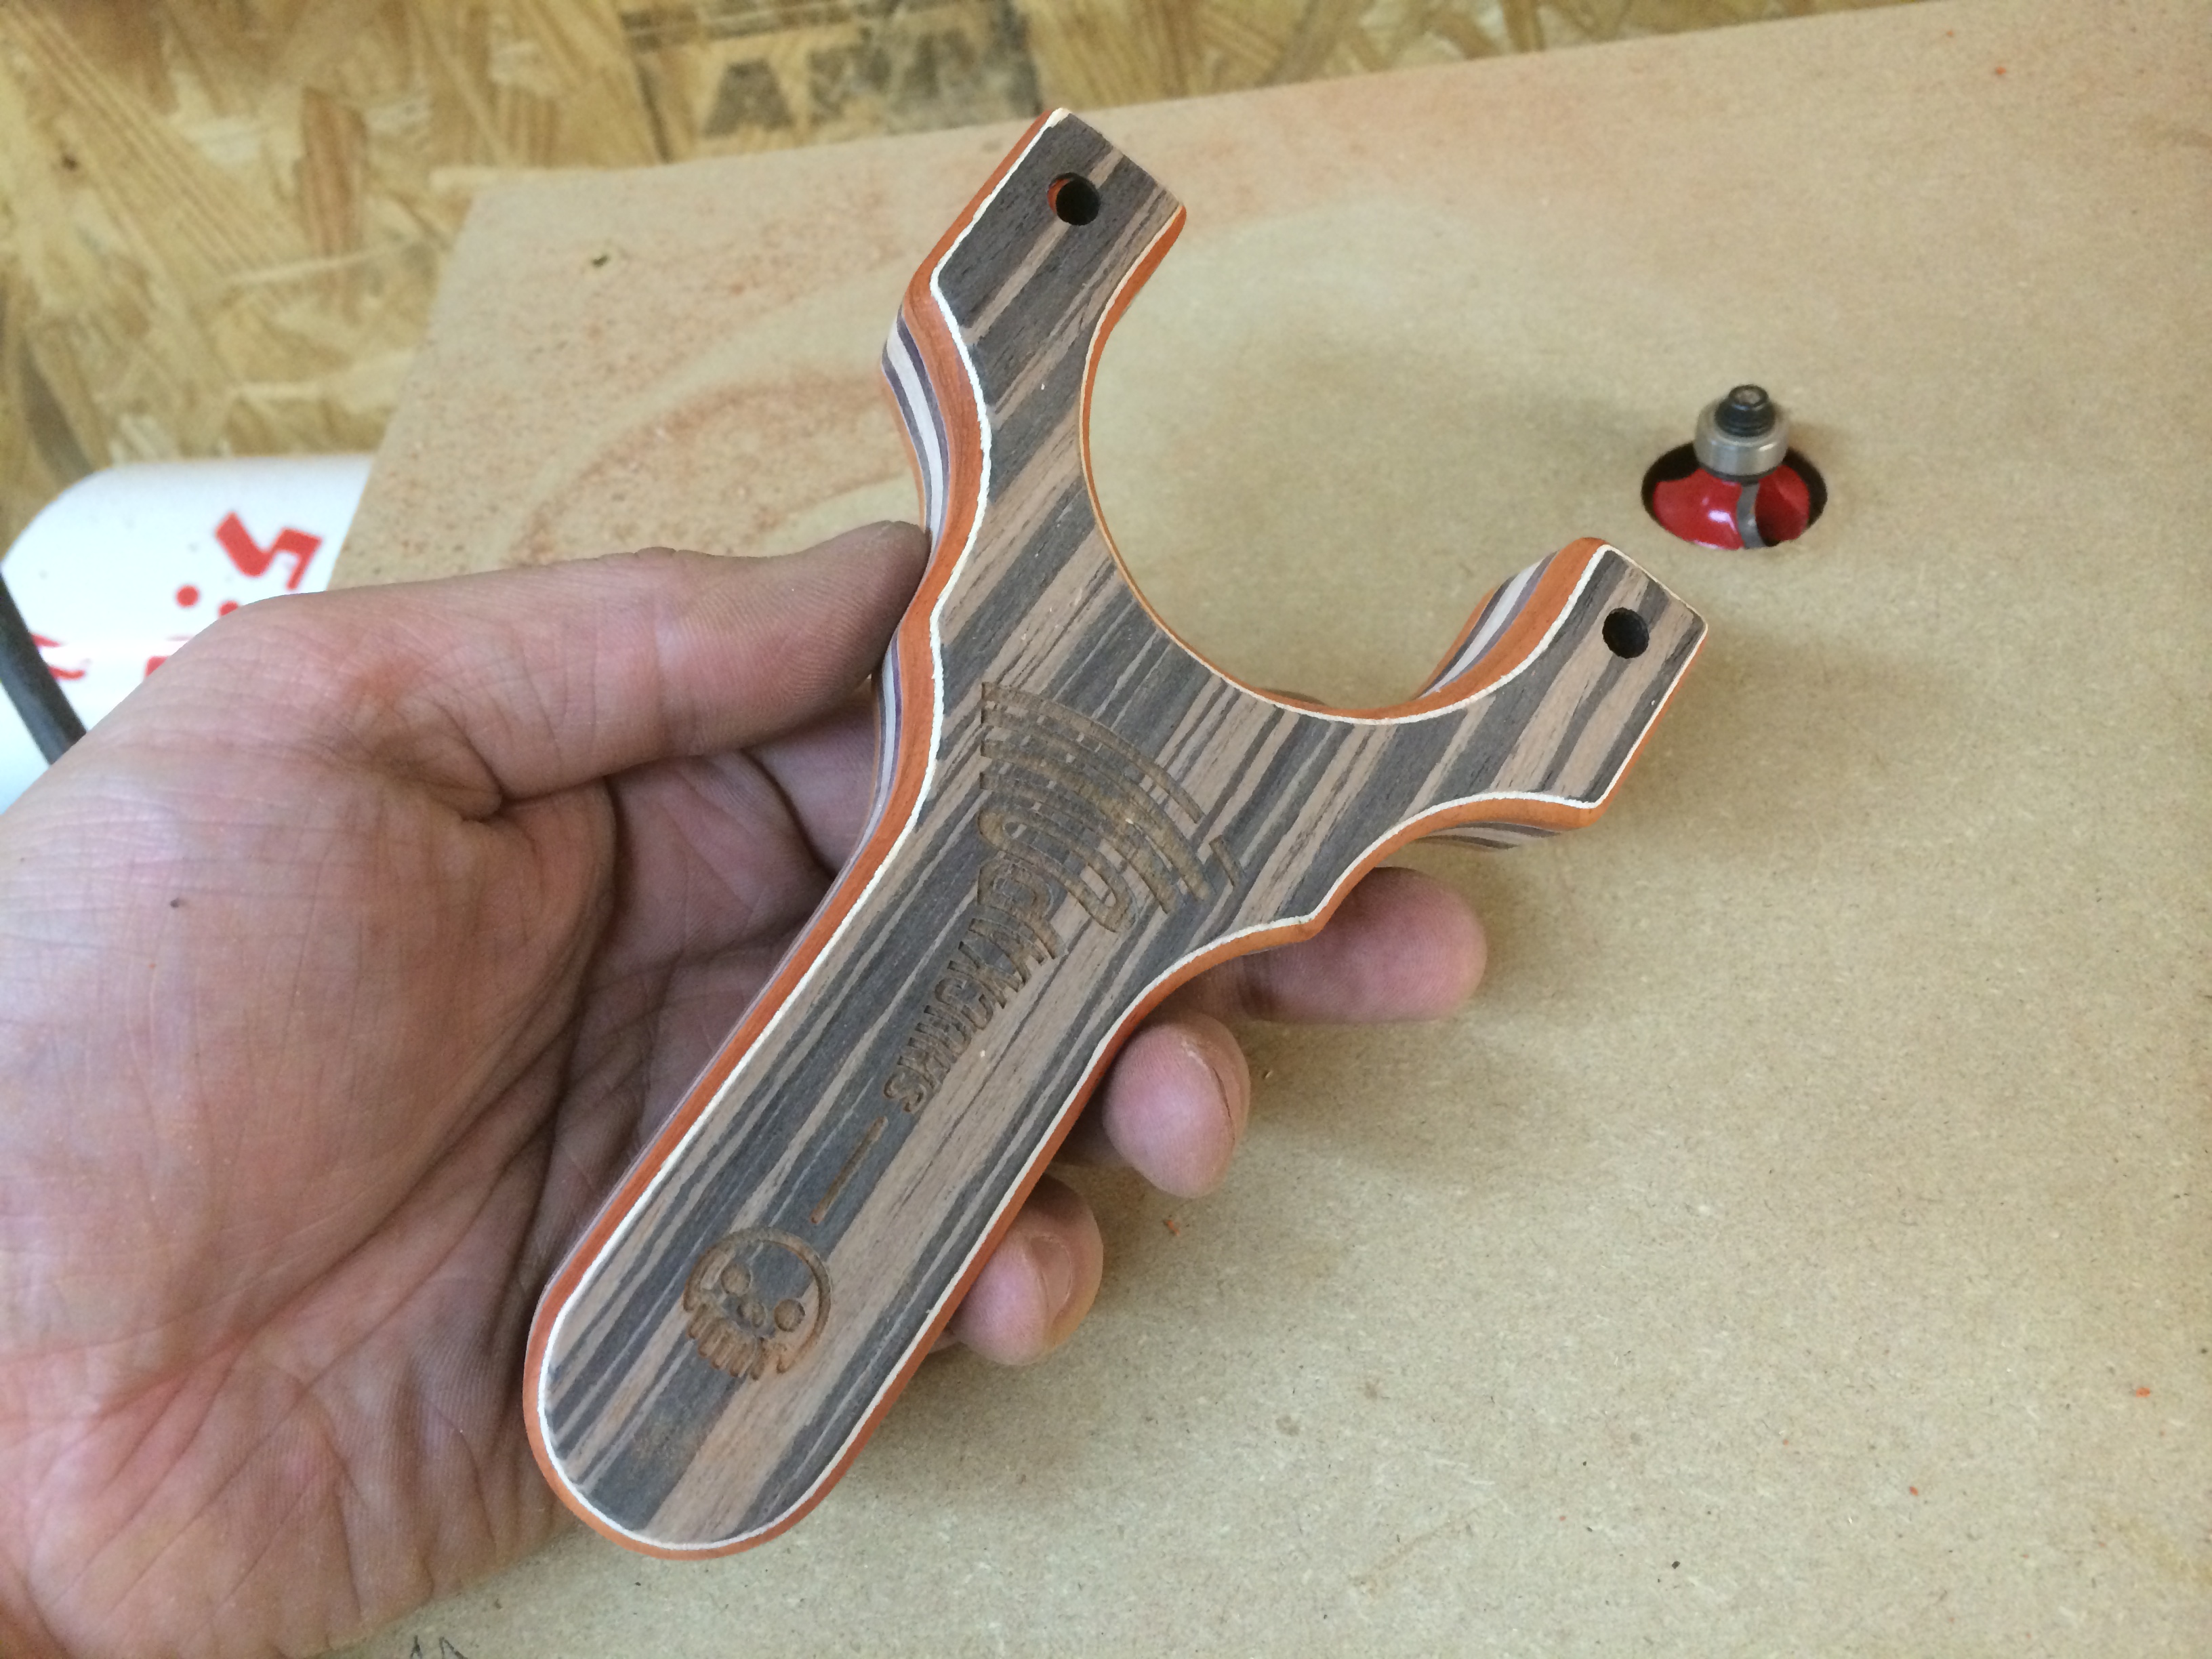
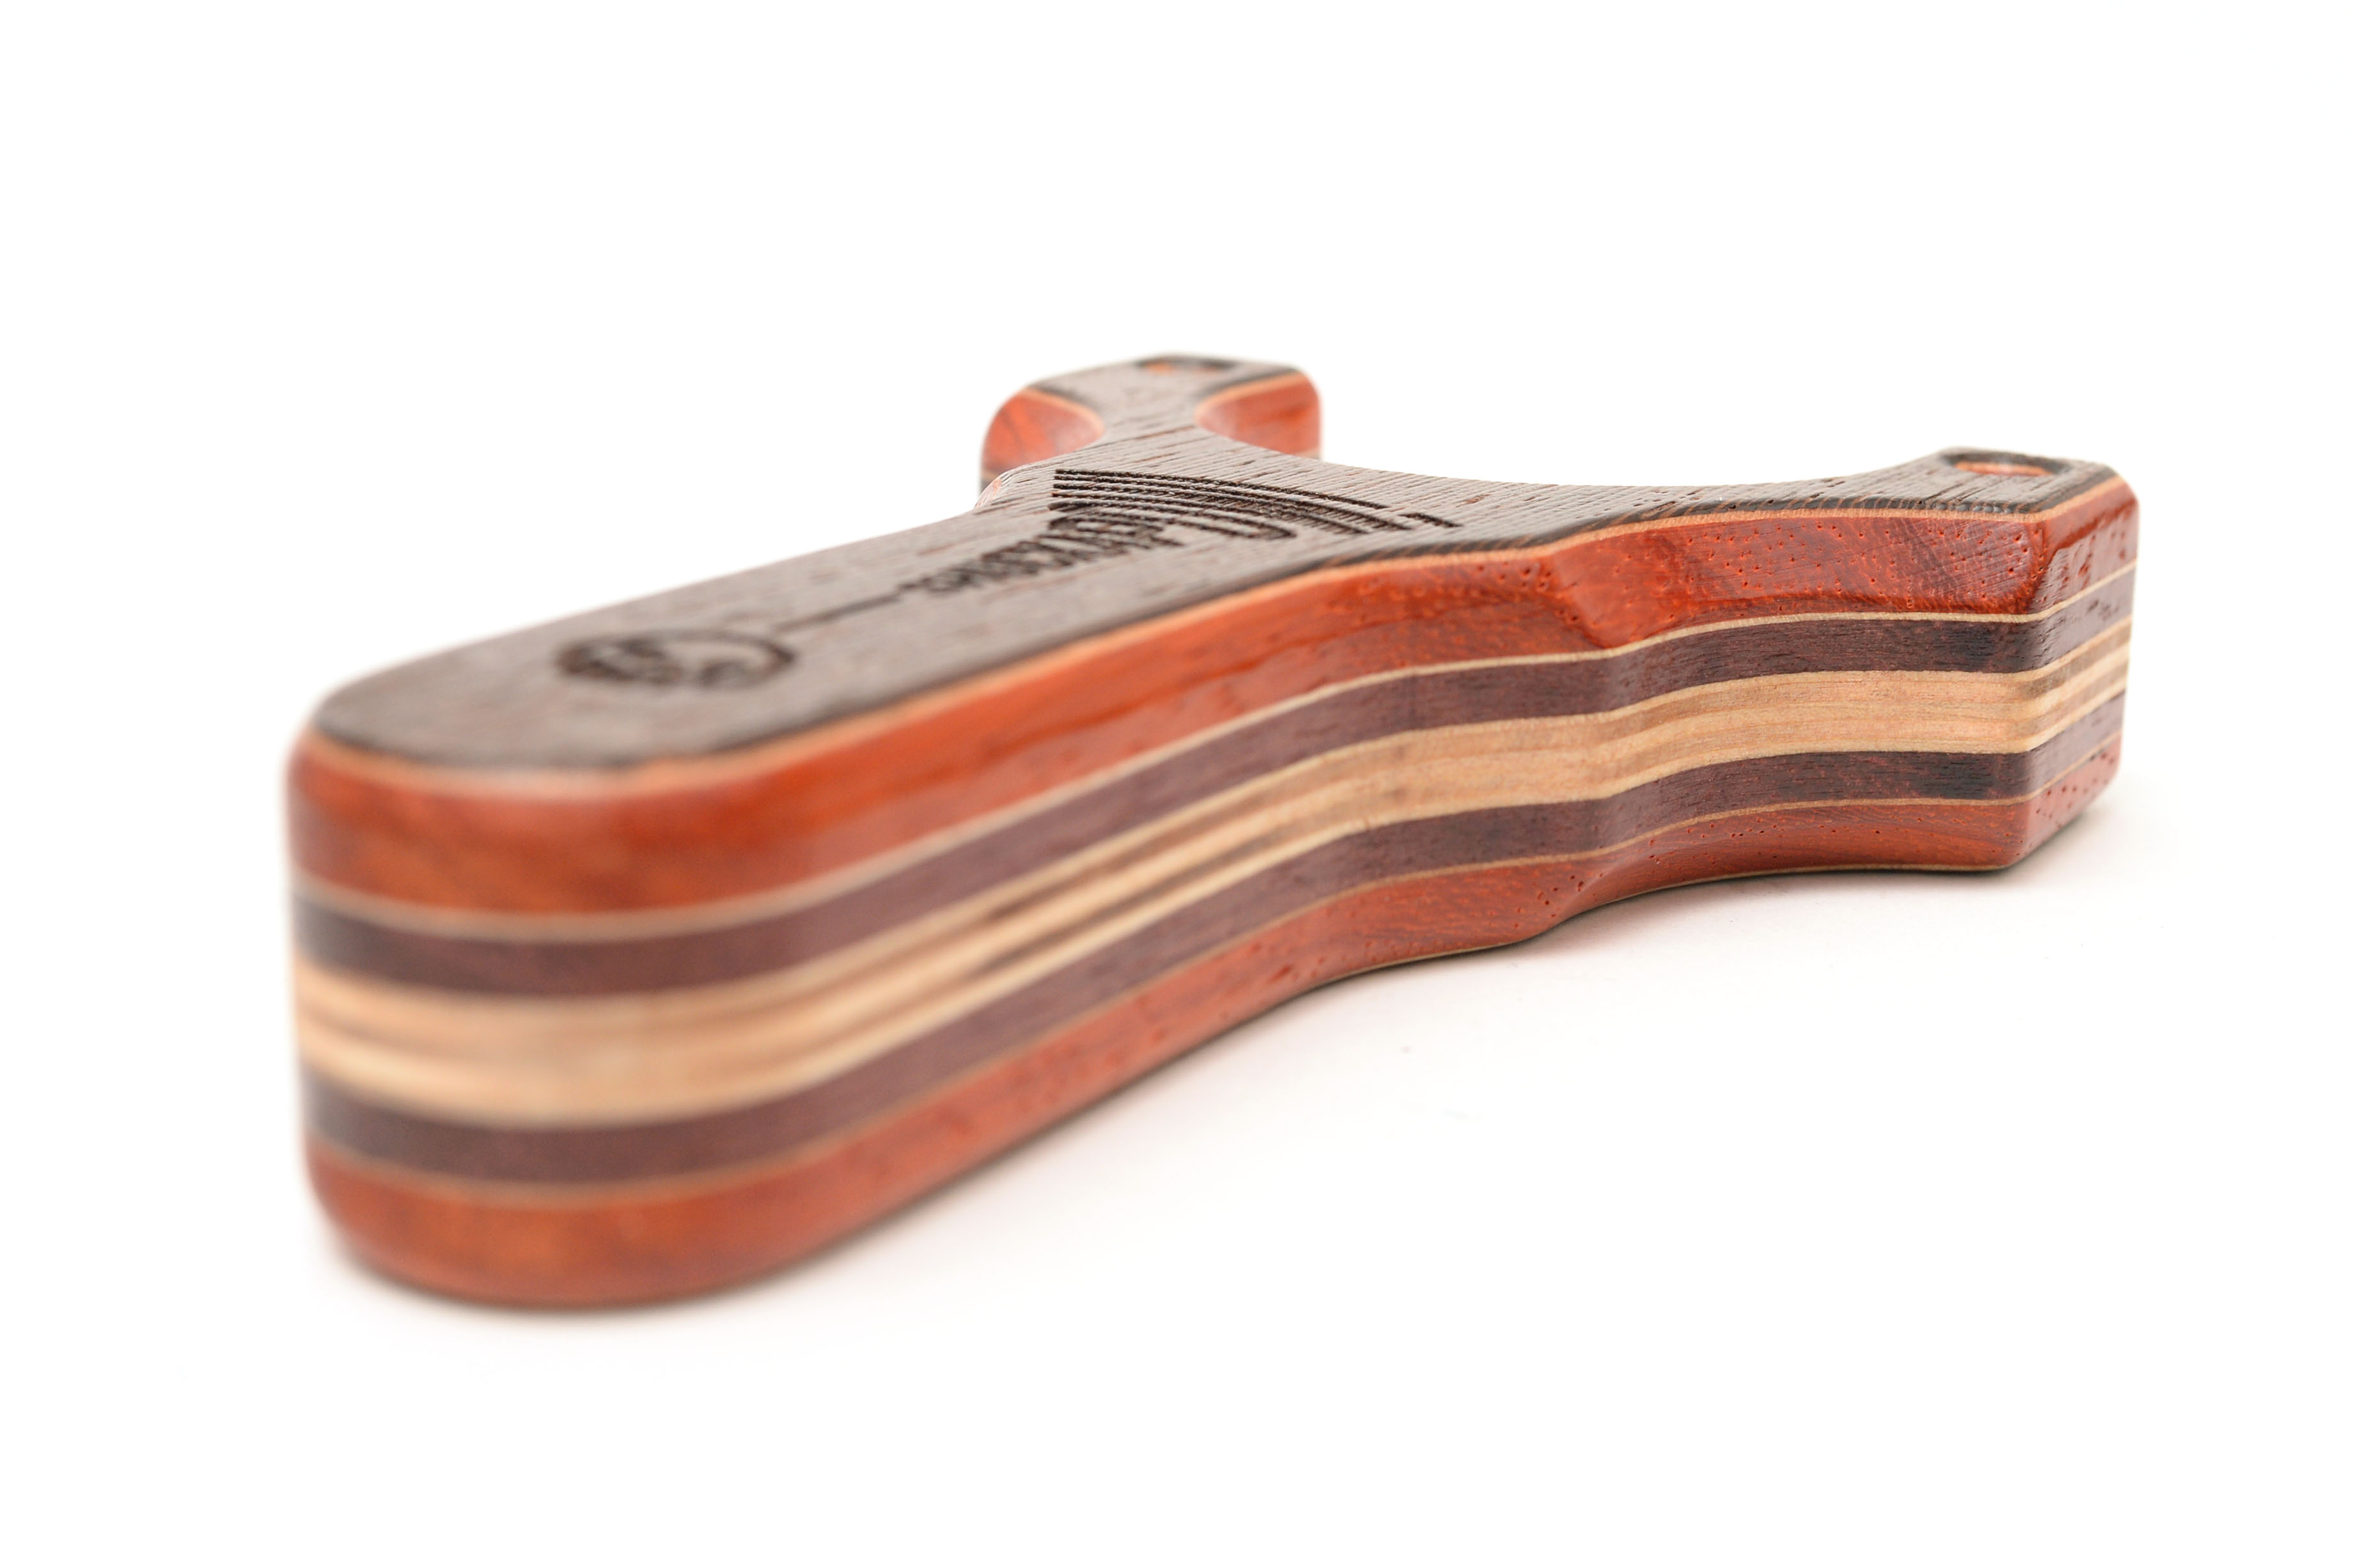
After curing, it was time to try skunkworks test 2: Gweru differential layer laser etching of the veneer. Using the laser set at a 20% higher power than usual, I try to vaporize the zebra wood to reveal the cherry underneath. Check!
Worked very well. I also want to note that I purposely used a more watery wood glue to bond the two veneers together to ensure that the layers are well set.

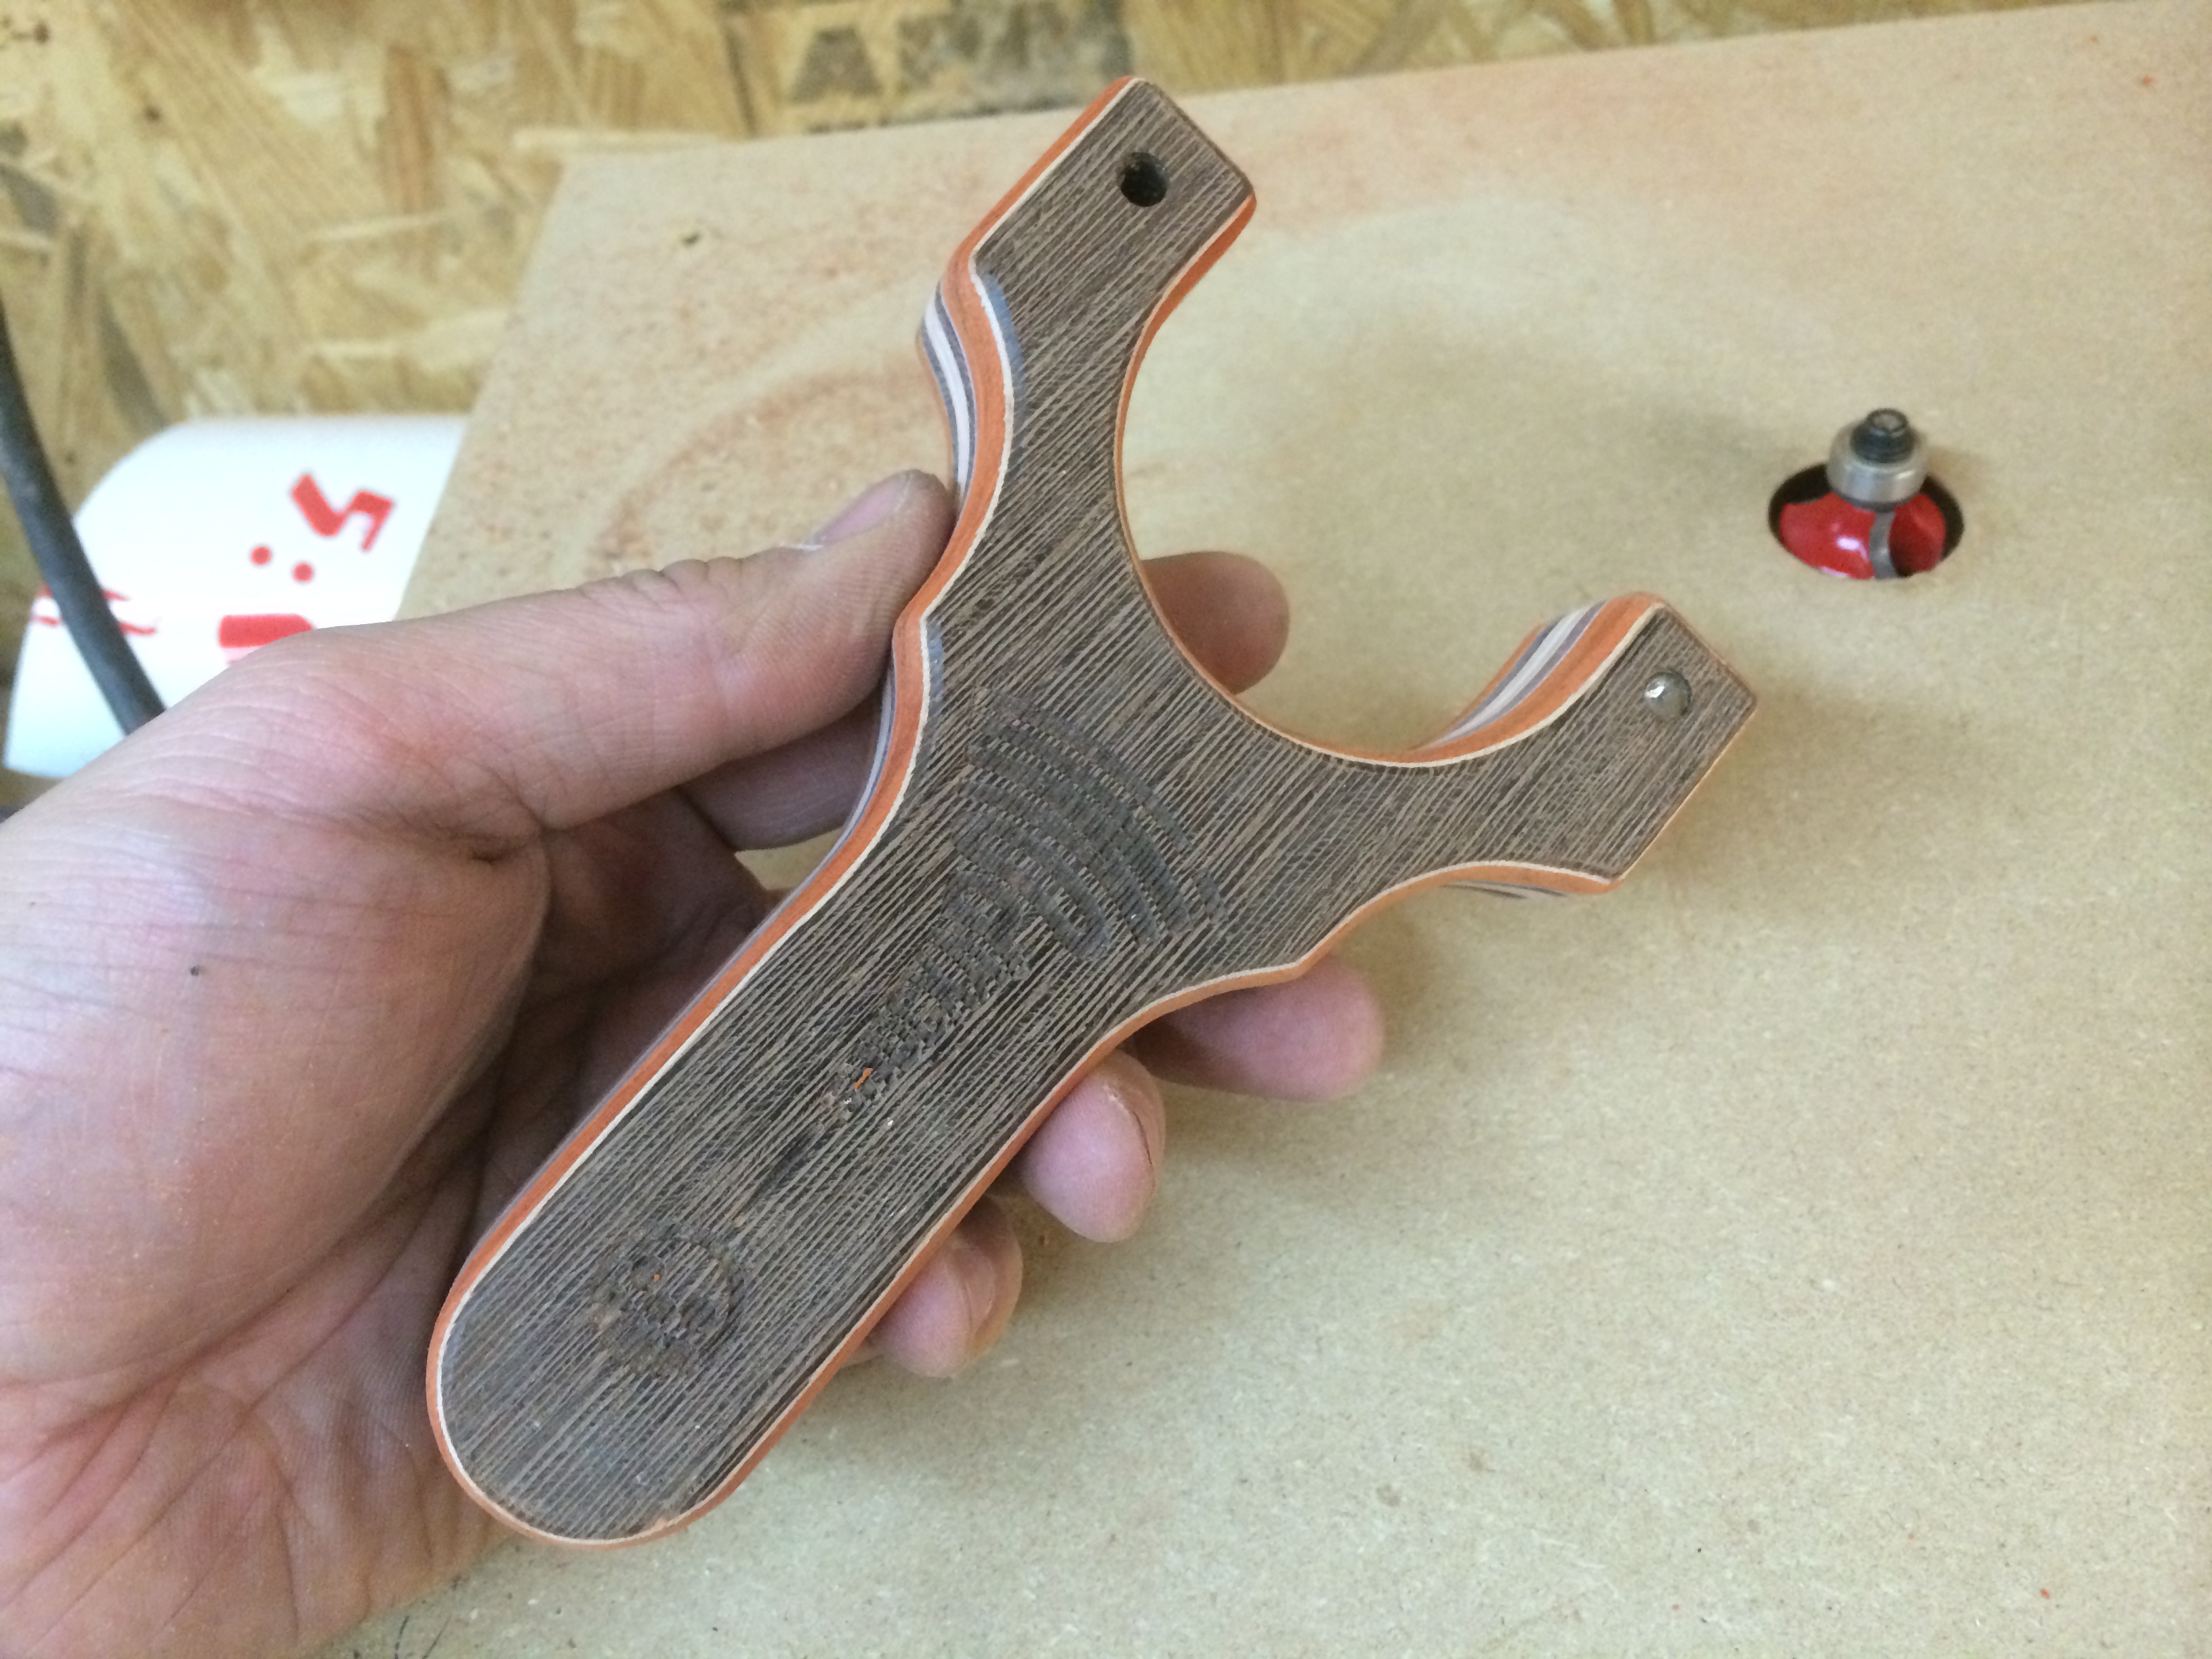
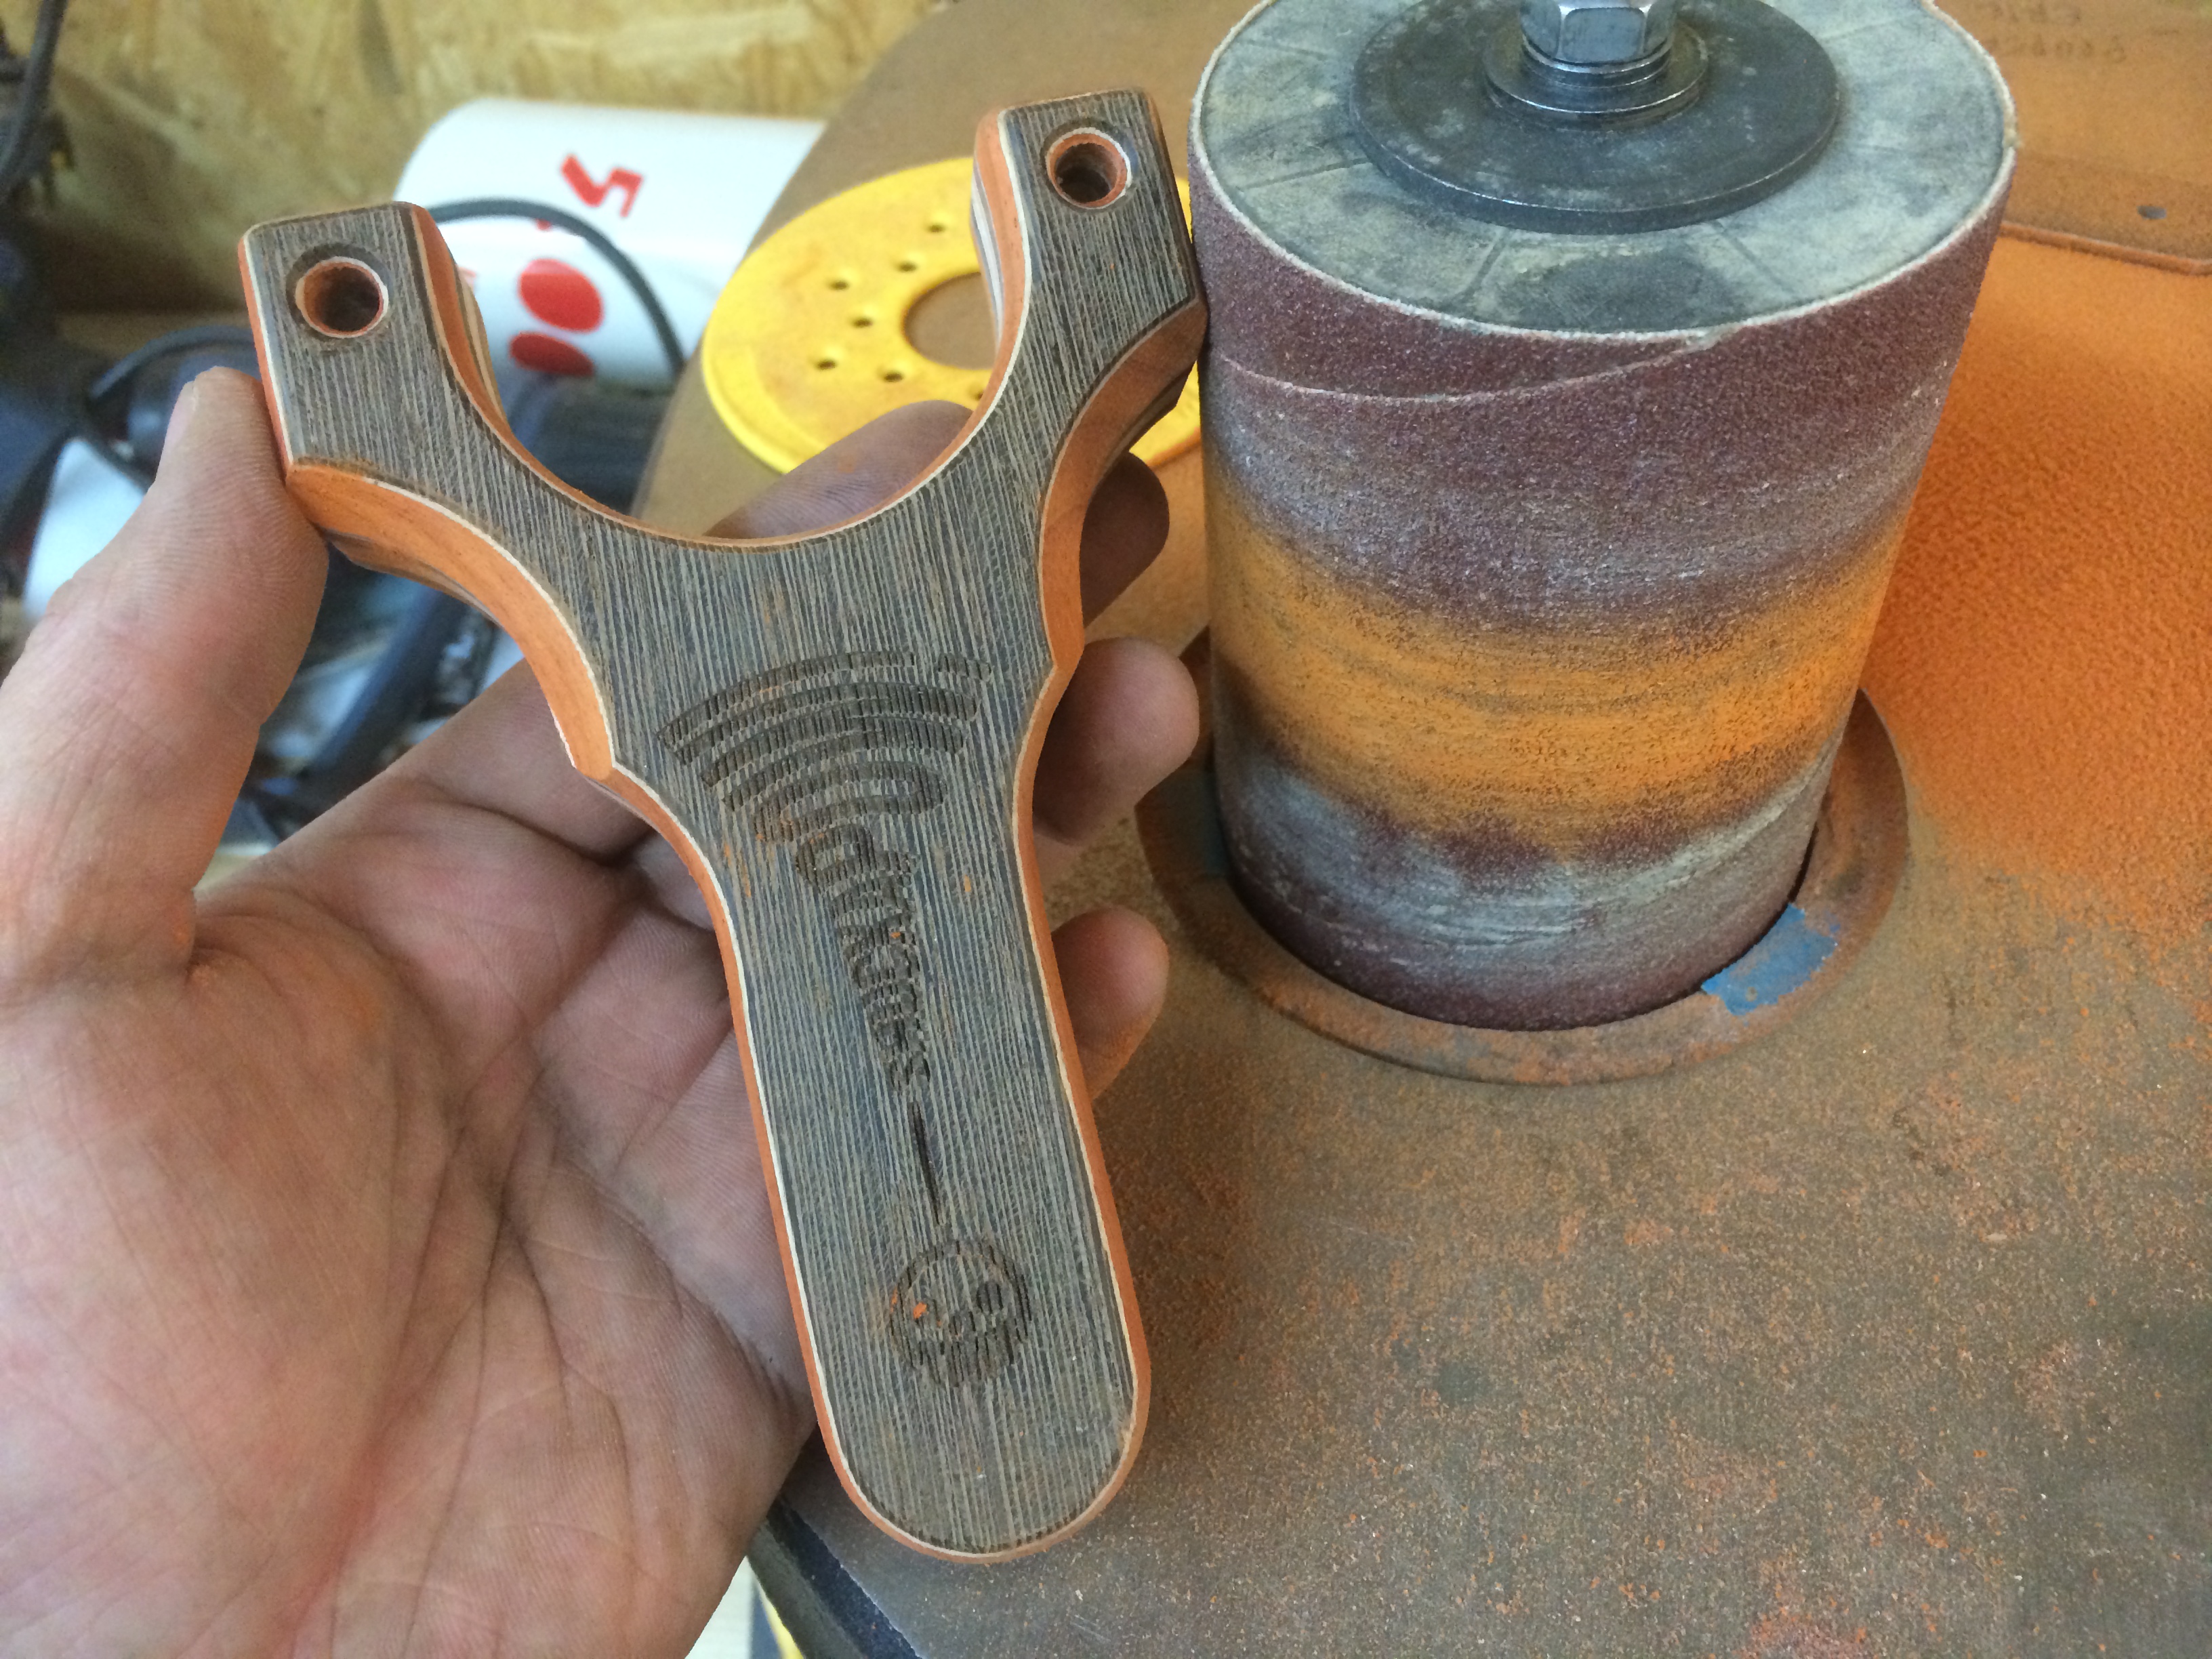
I do the same to the other side, but the Wenge is much harder than the Zebrawood, so there is only a different in texture and not colour. It is at this point I take the sling to the belt/disc sander and clean up the edges, revealing the sweet, sweet colour palette.
The spindle sander takes care of the rest of the burned edges and the insane amount of lay up work is showing it’s true “colours”.
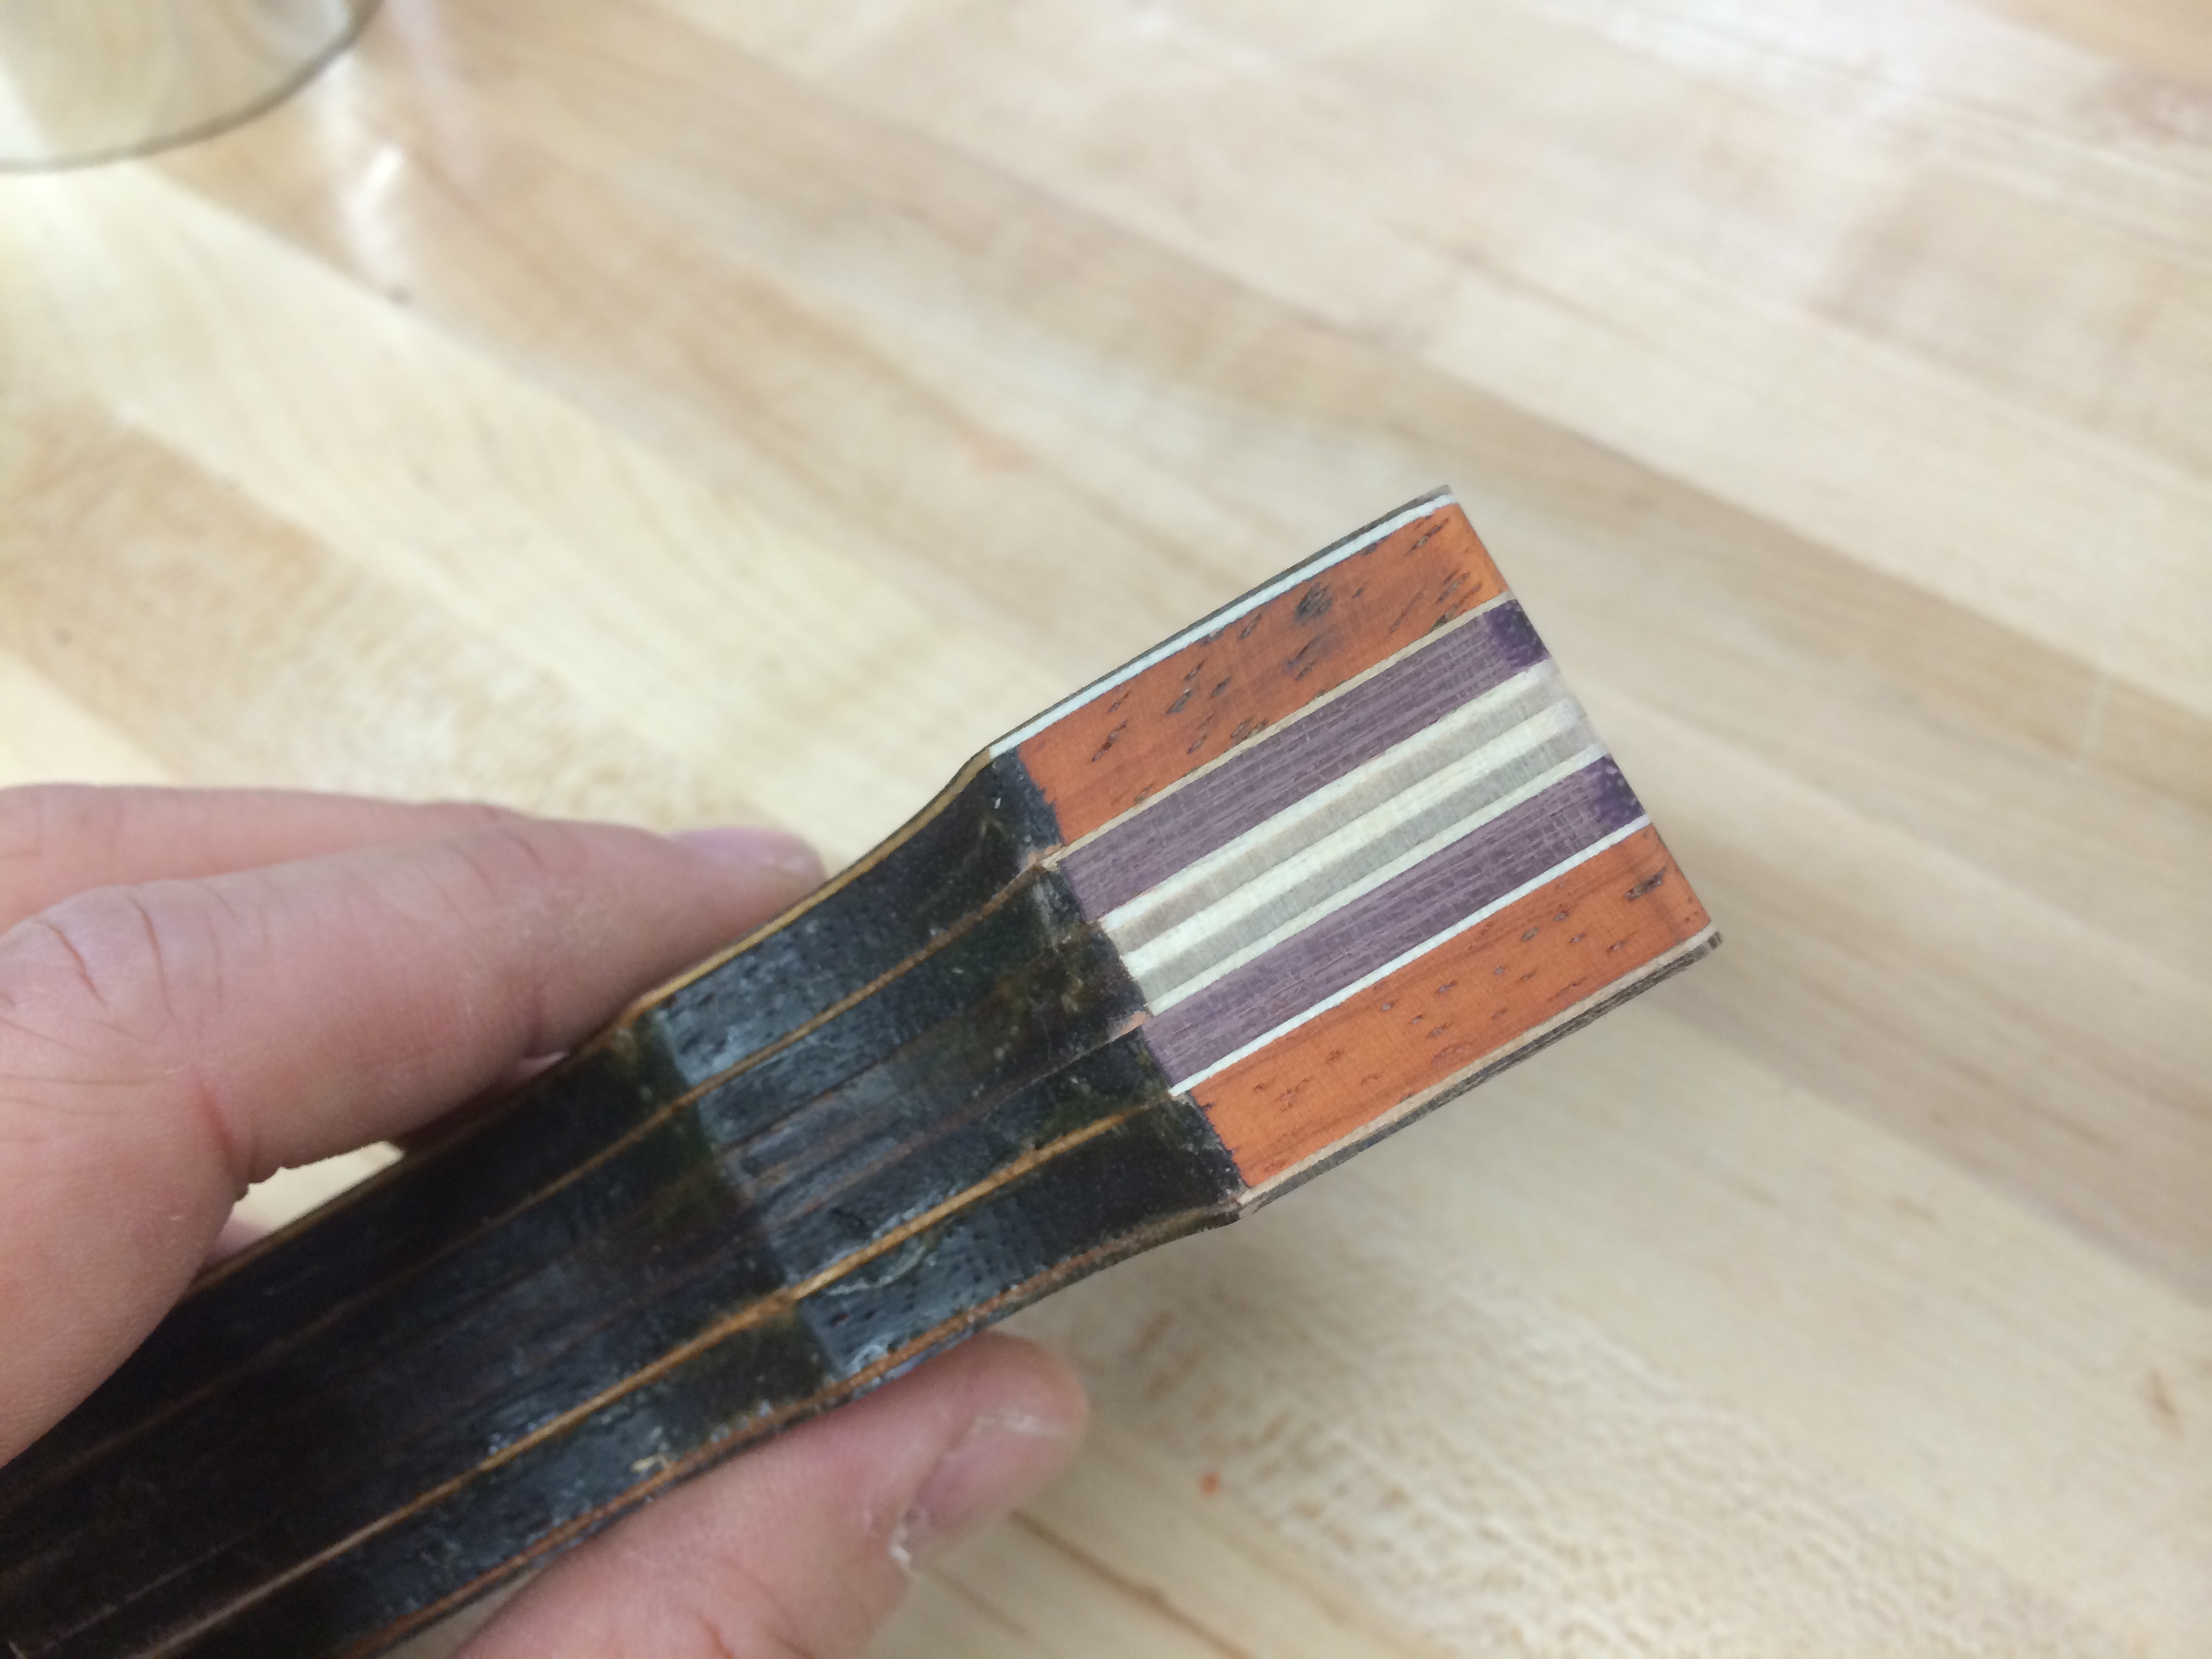
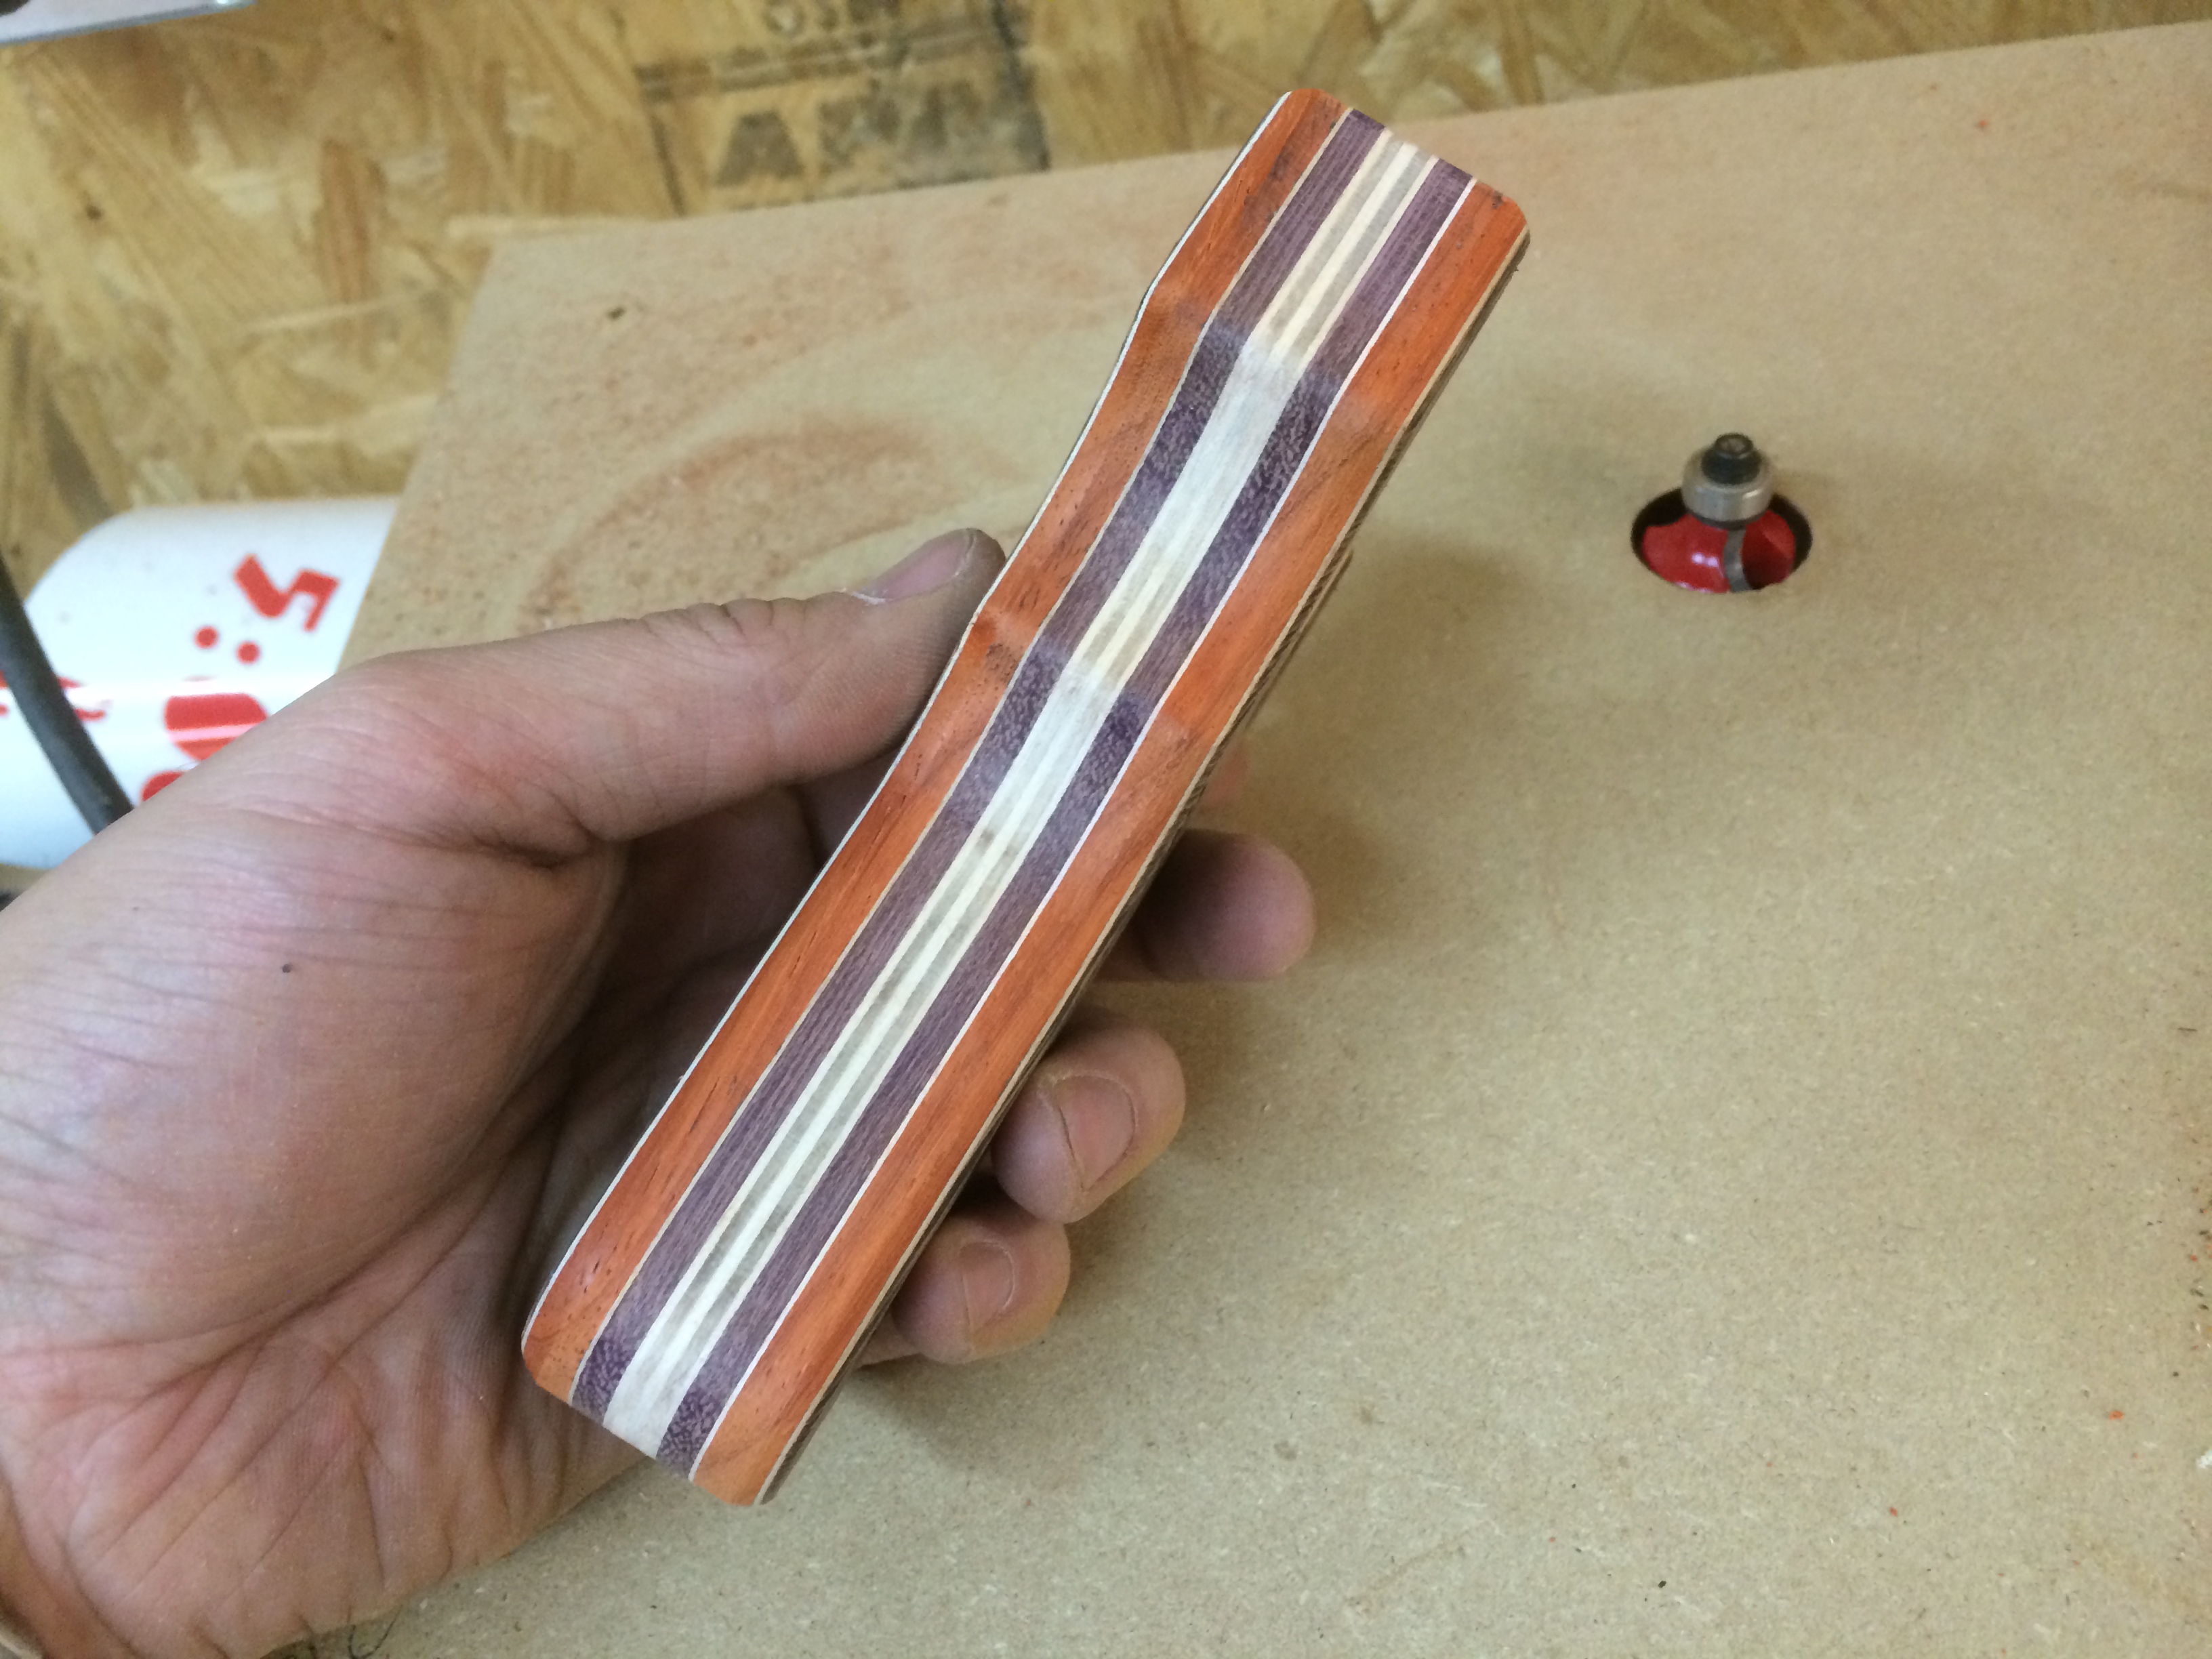
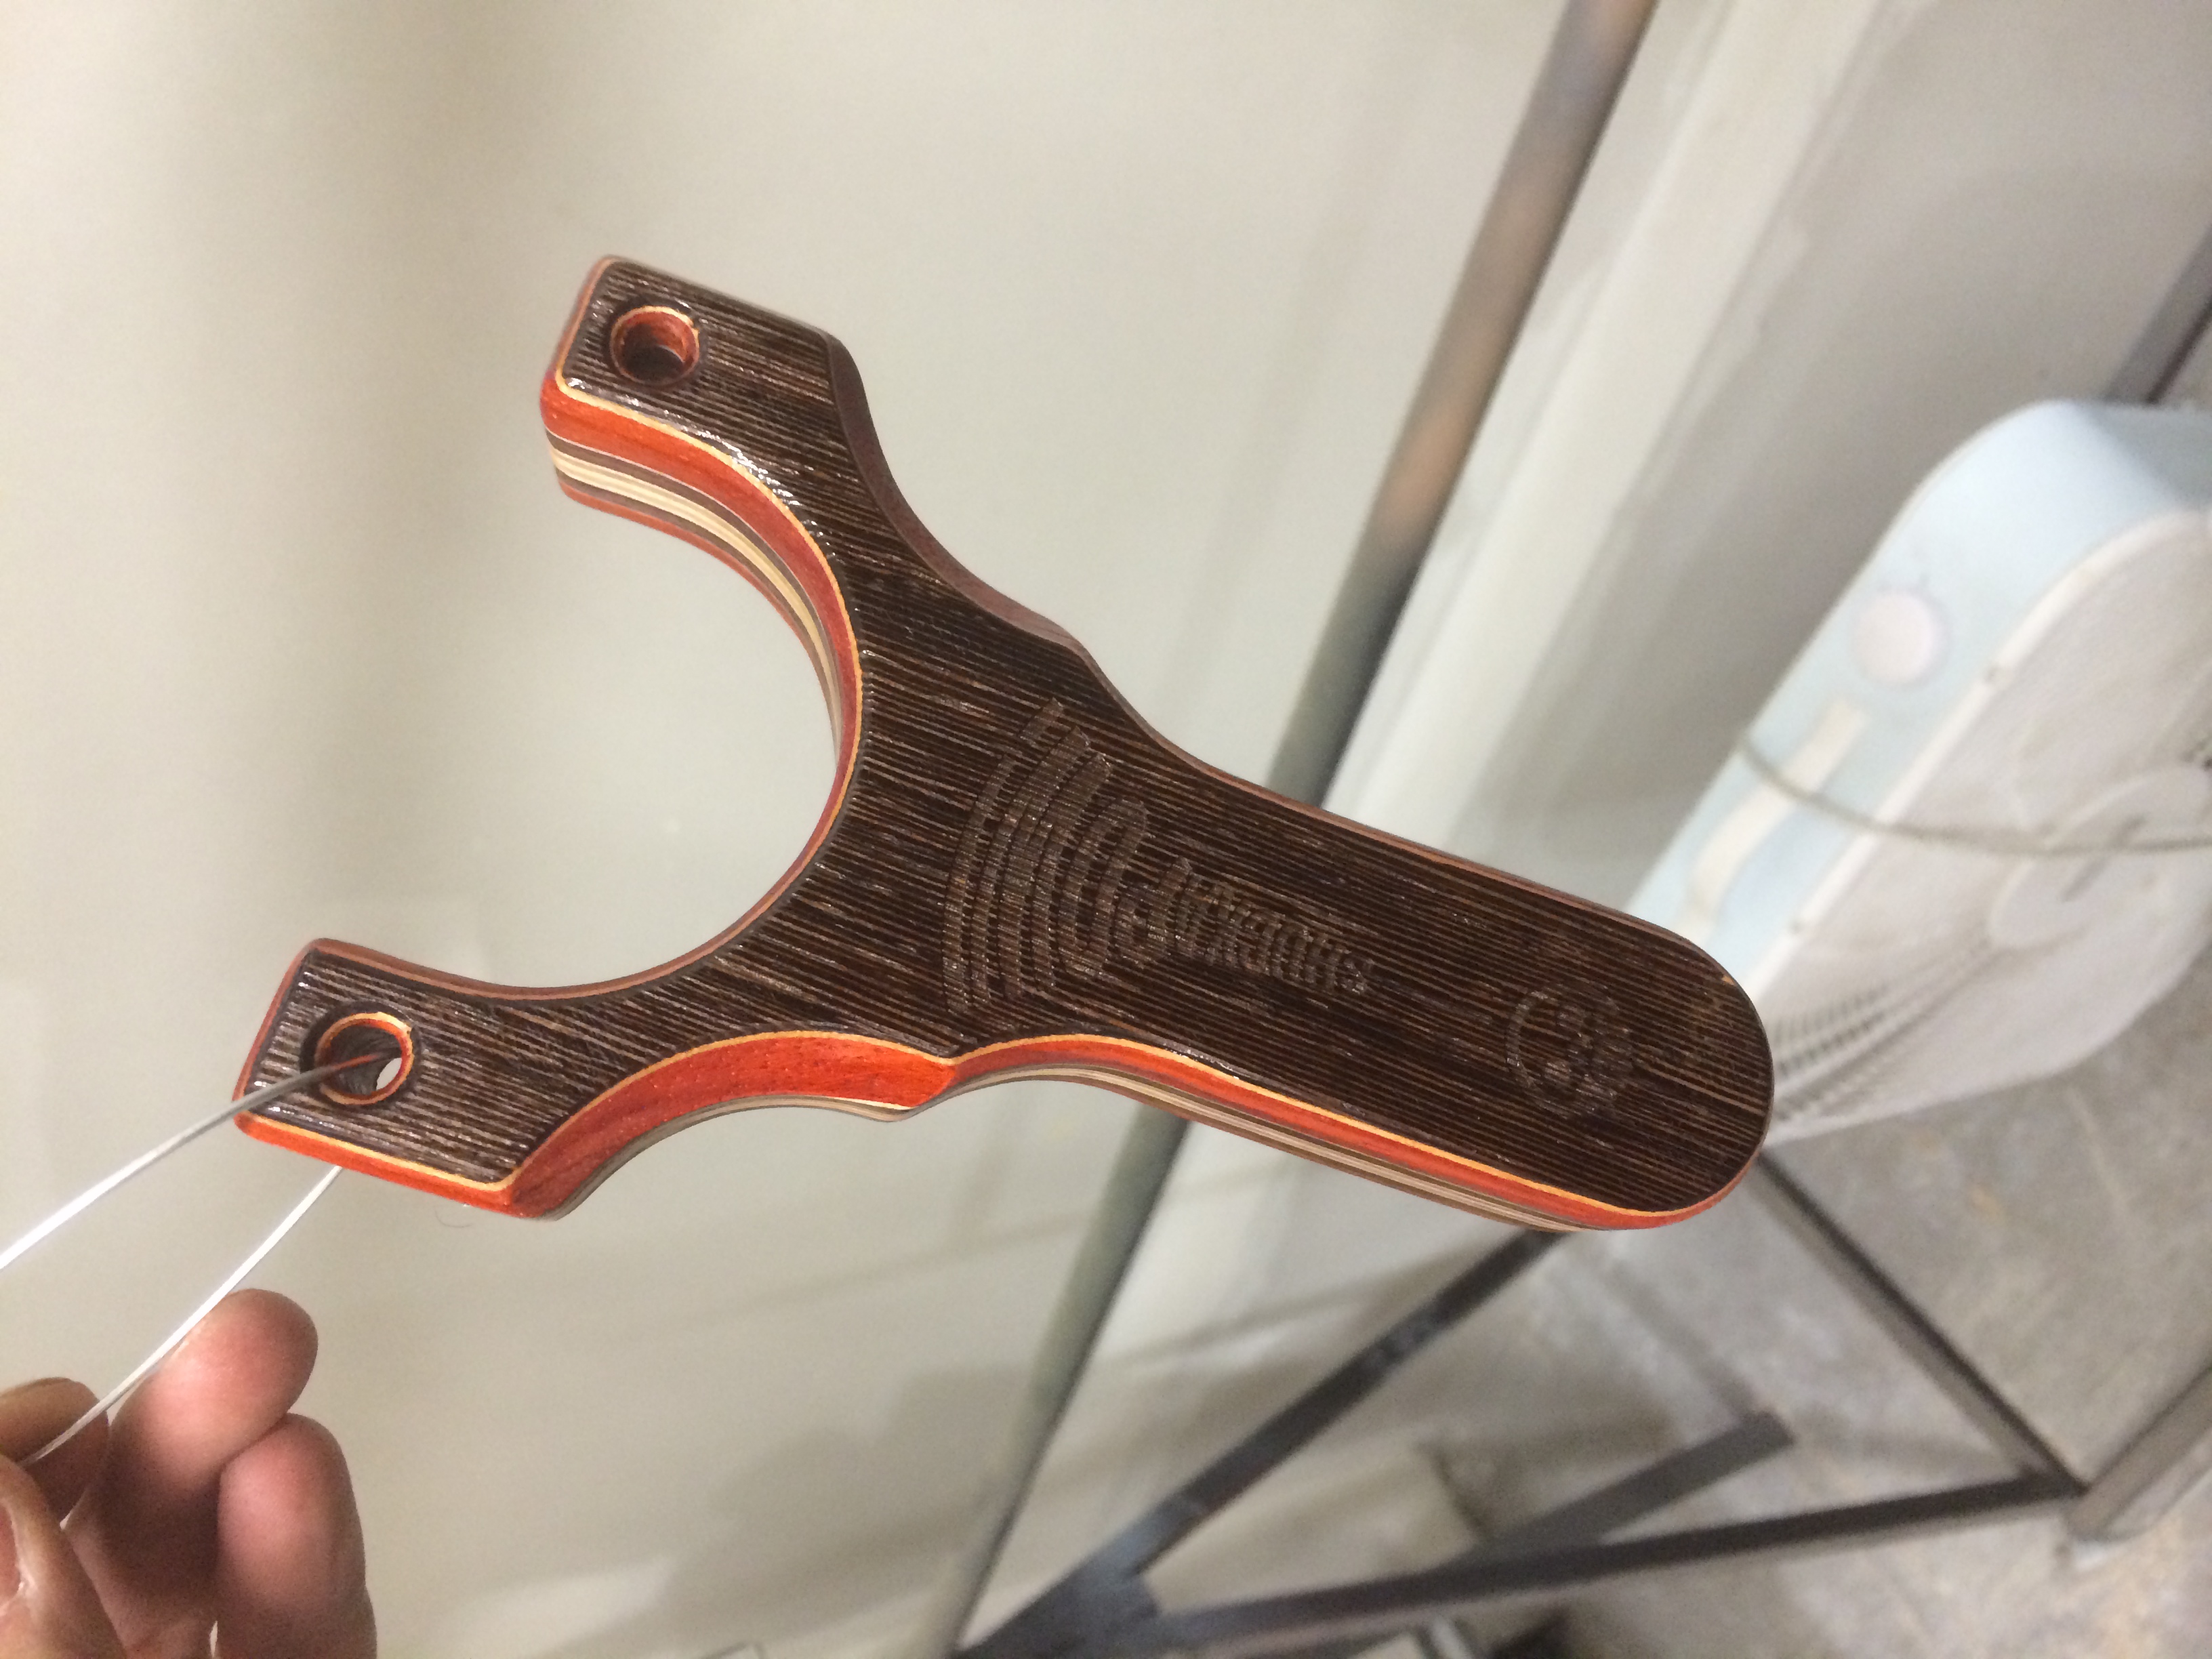
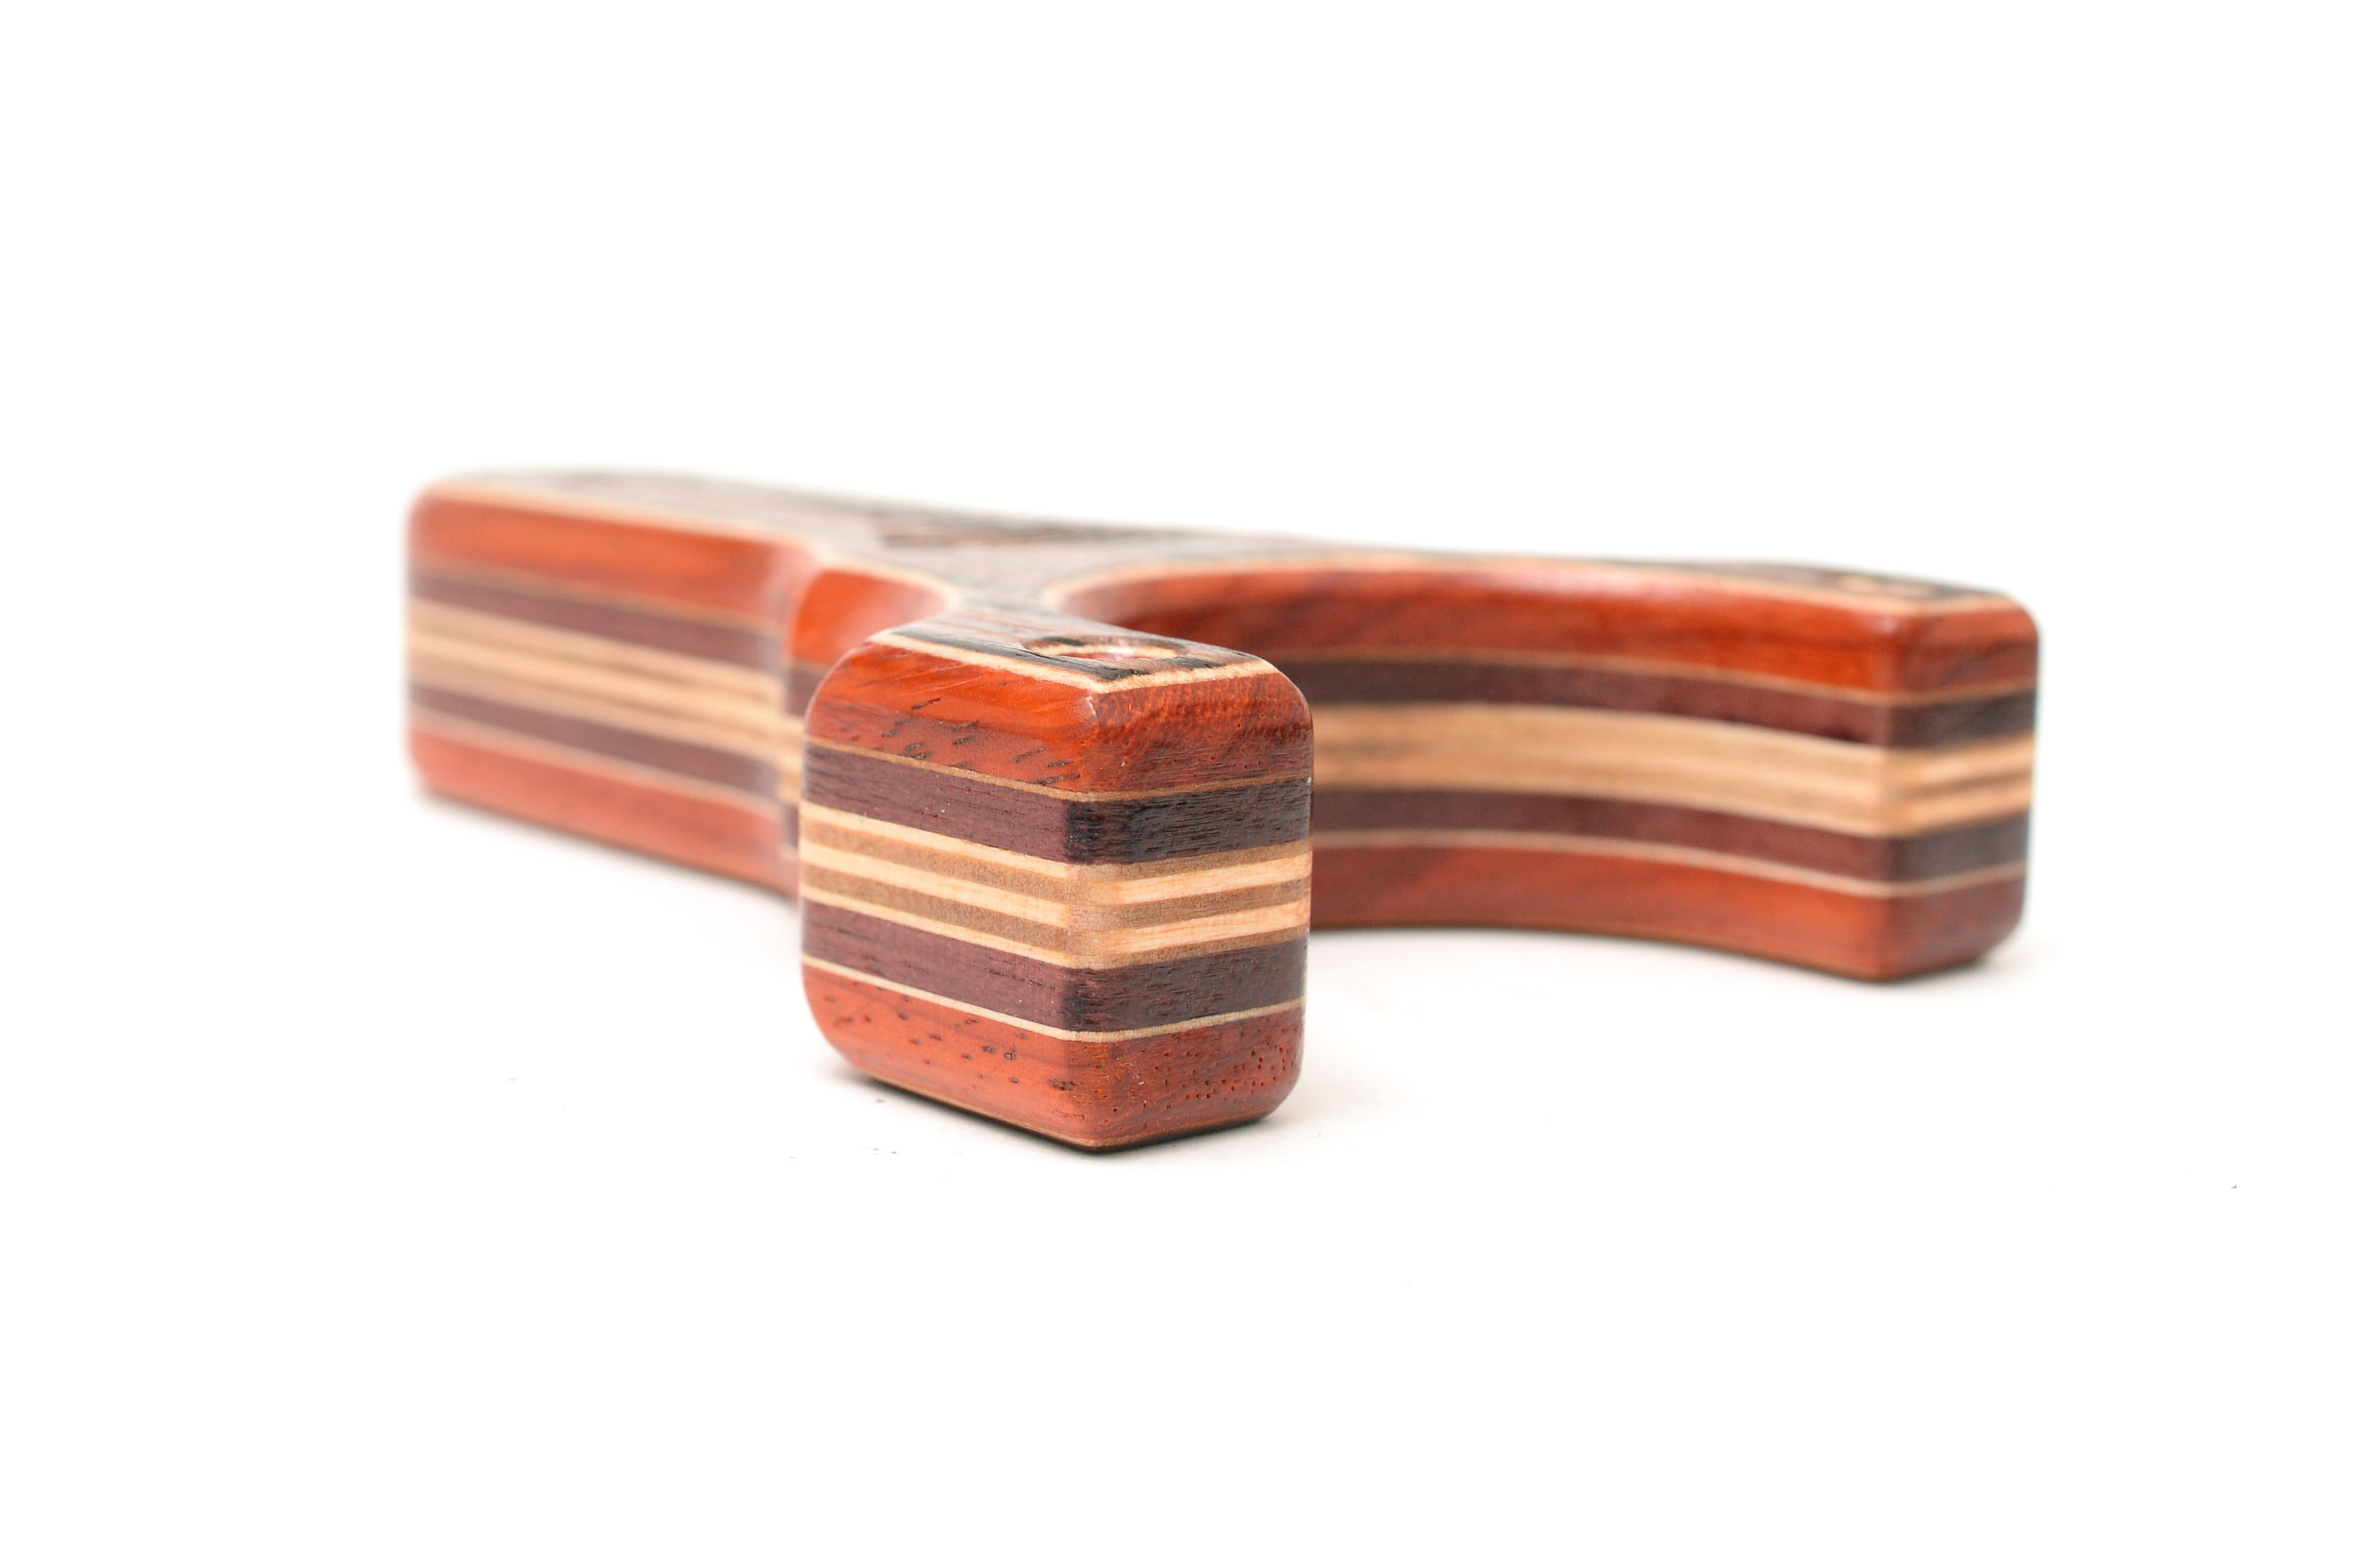
This is where a bit of experience comes in handy. Having made many slingshots with plywood before, I knew that underlying layers would show up once the edge was routed. A rim of orange surrounds the dark hardwood veneers, making me very pleased with the progress. The top two layers of light wood plus darkwood makes for a very clean and graphic contrast.
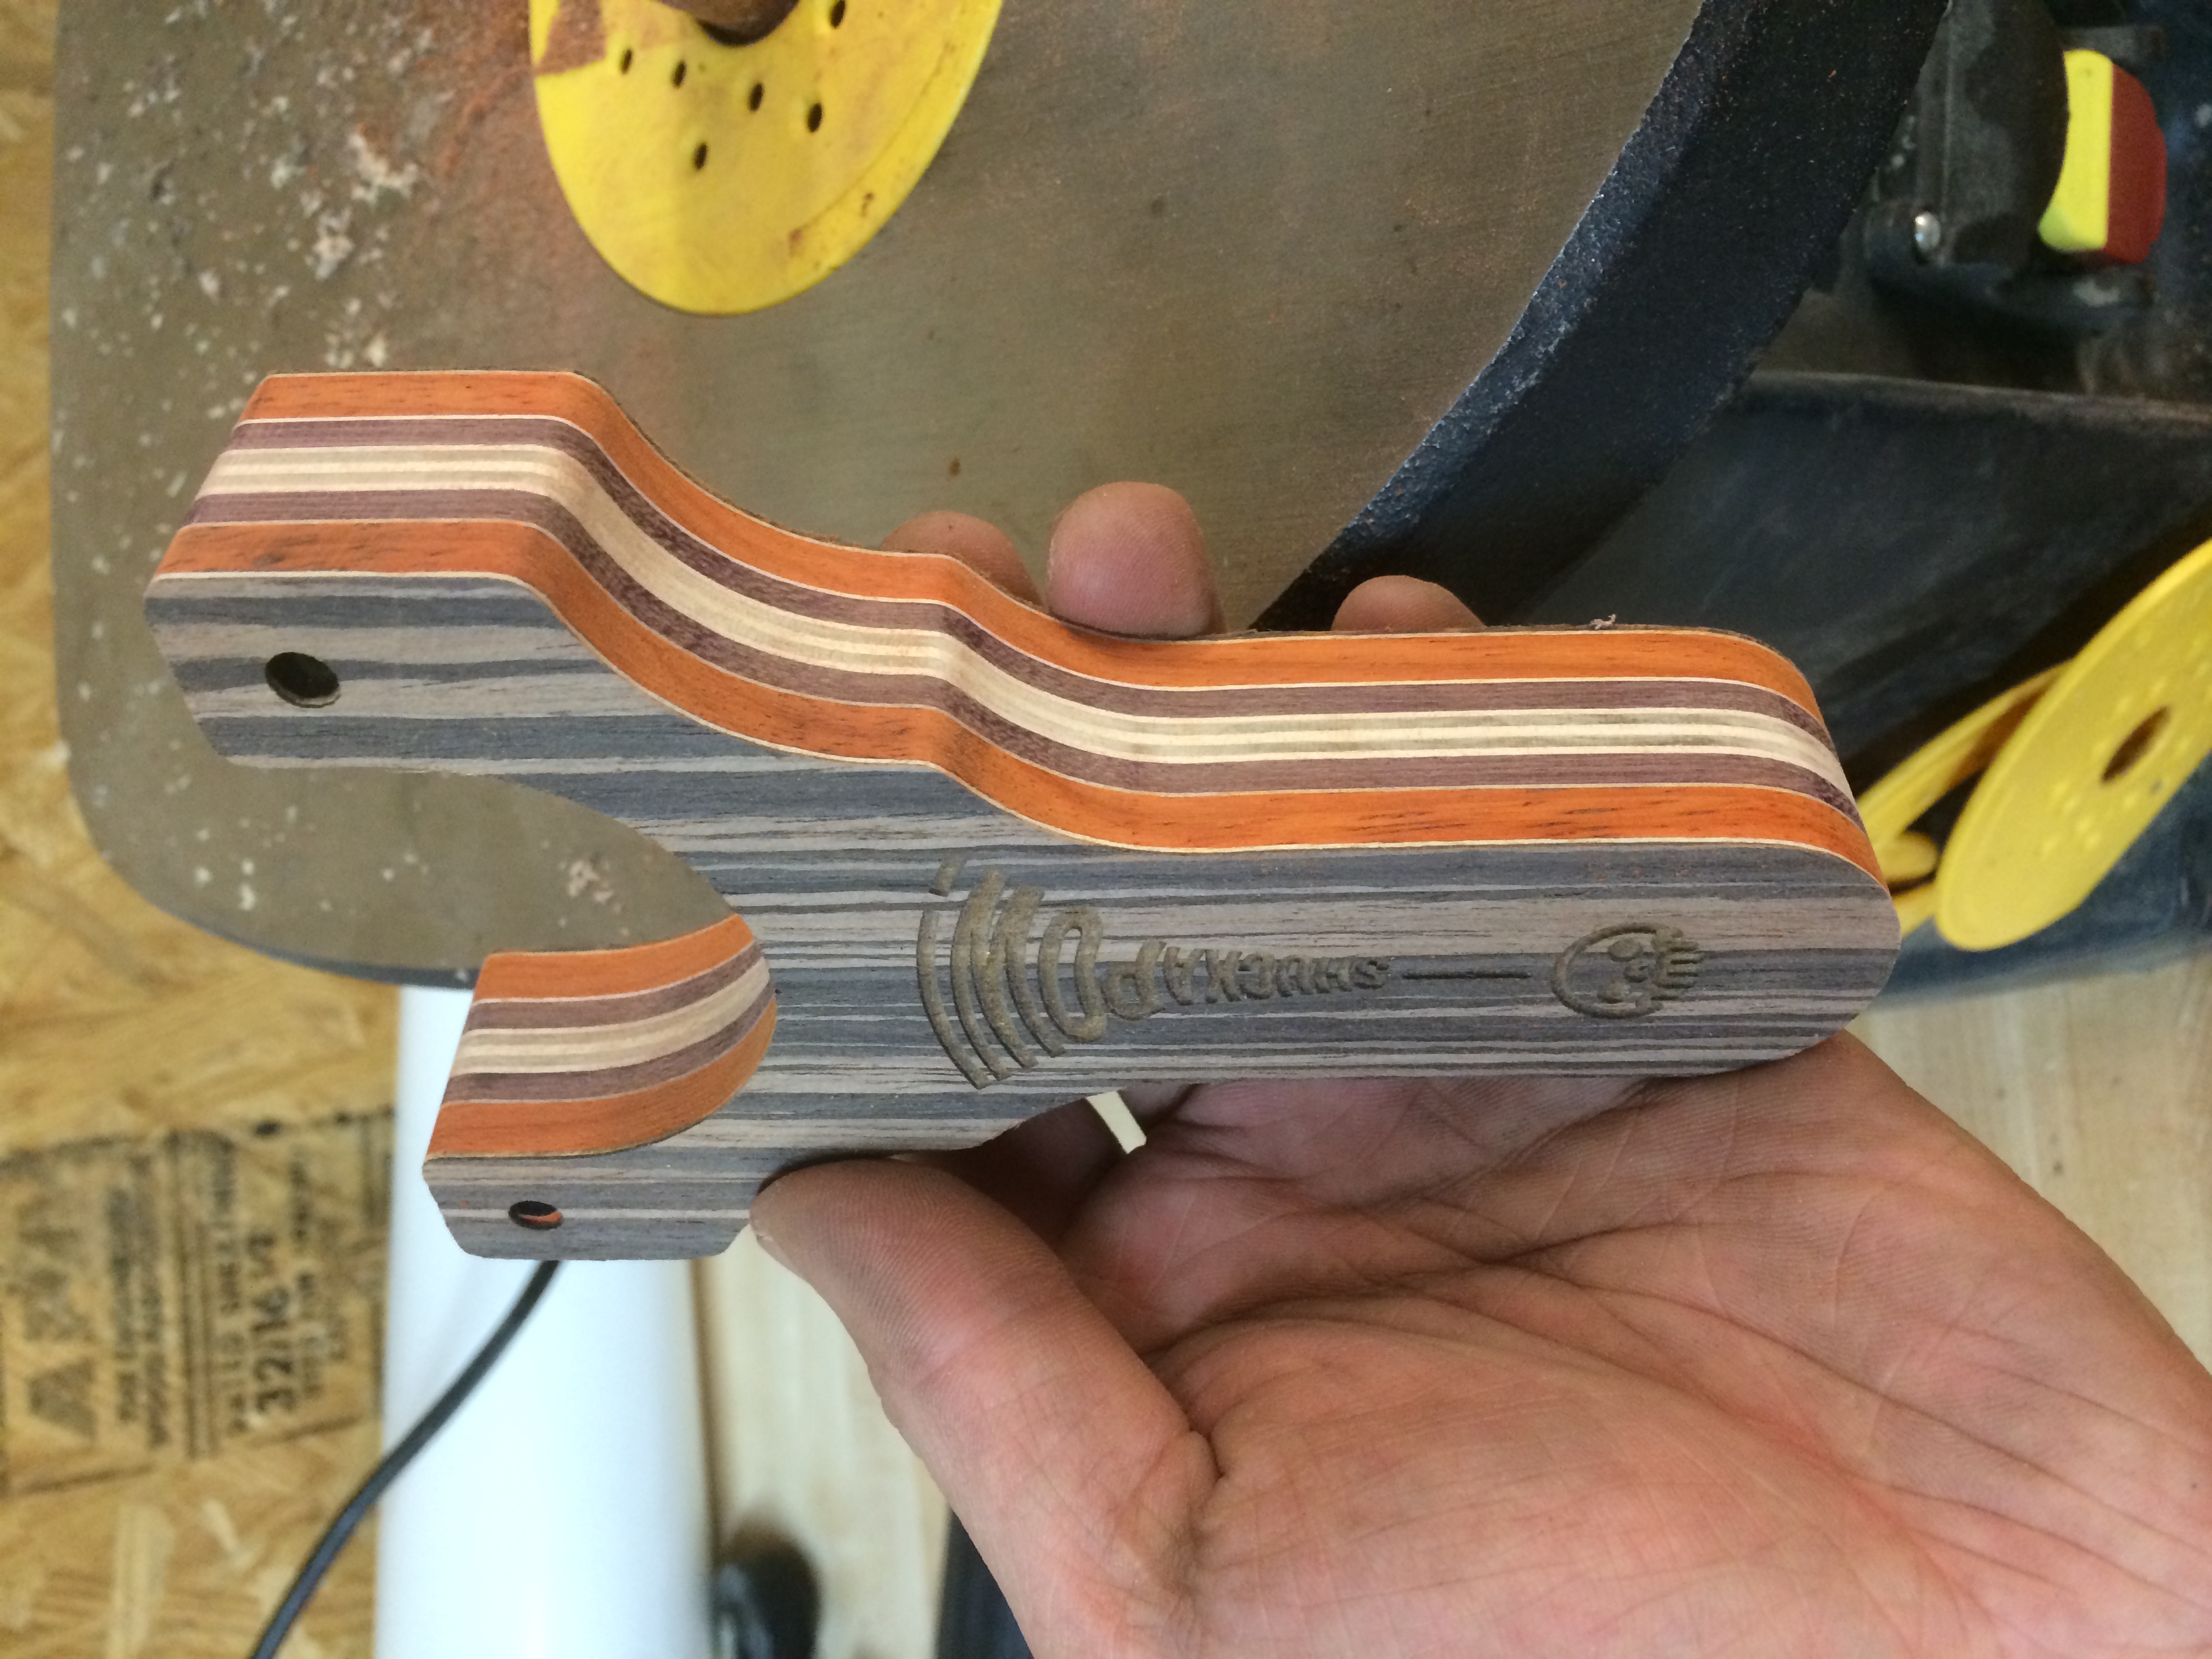
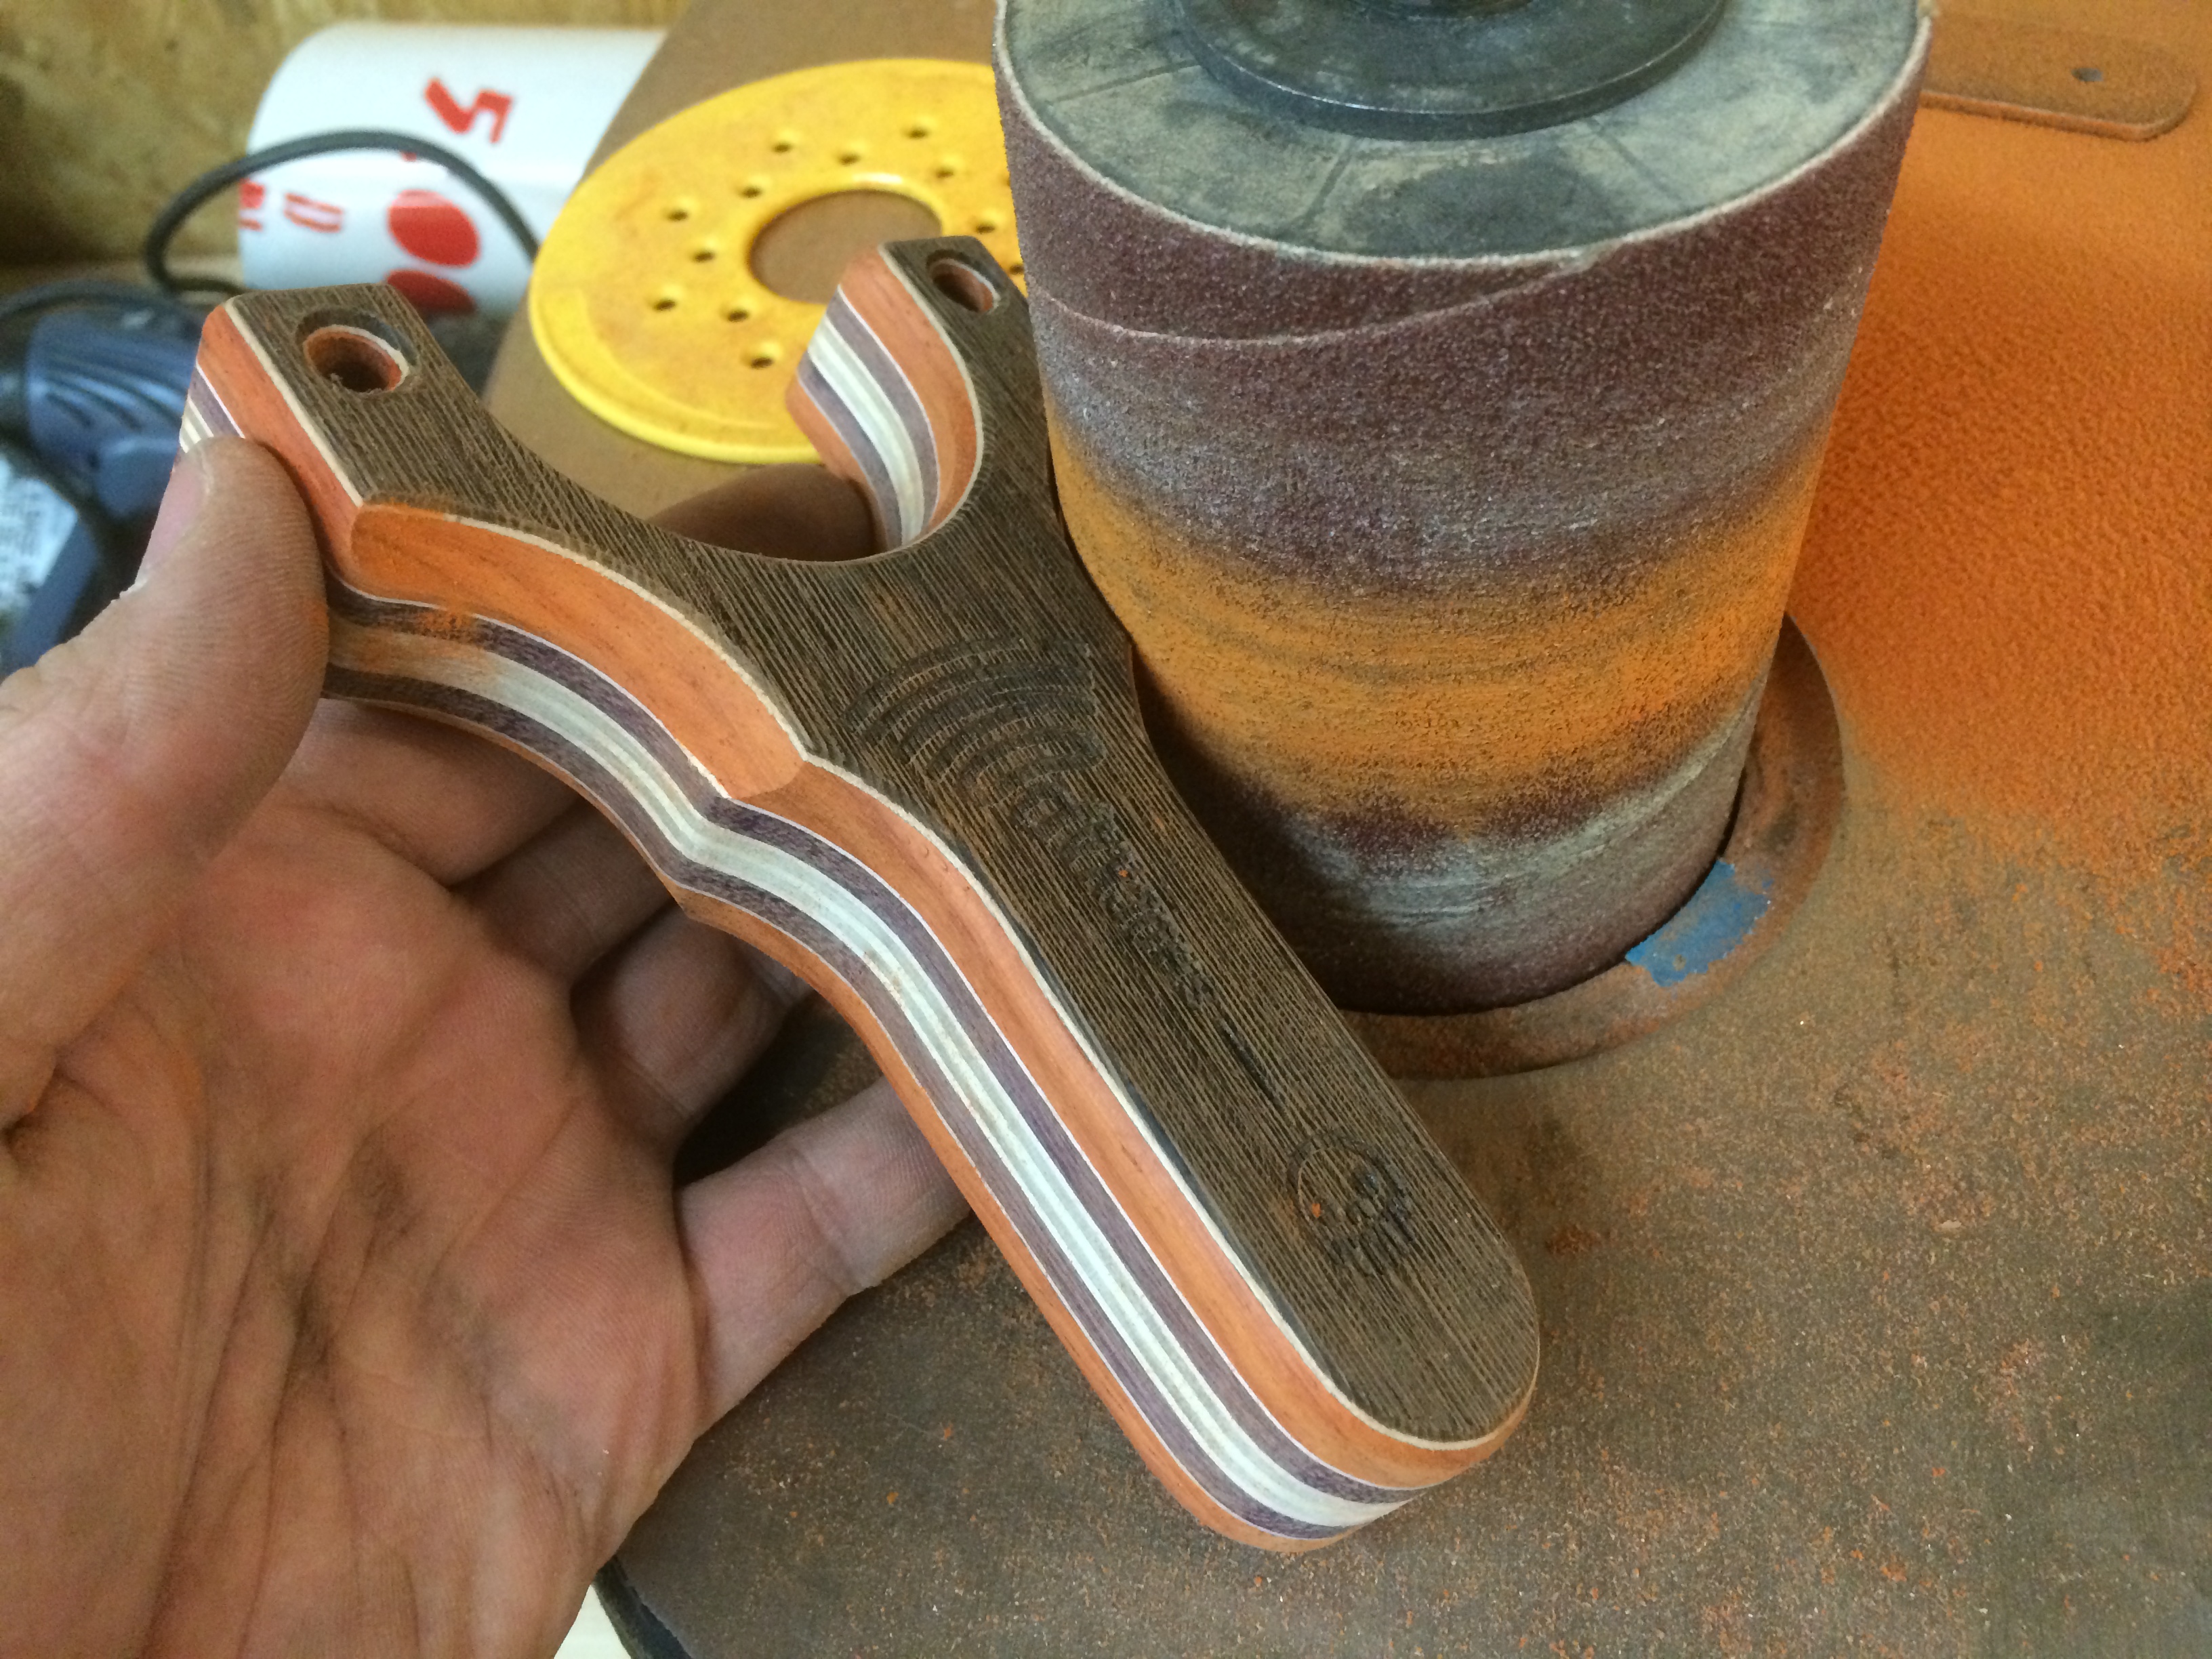
Skunkworks test #1: scalloped grip areas. I have seen this done on many beautiful slingshots from other makers, but I couldn’t figure out how to do it correctly until now. I finally figured out that if I took the biggest drum on the spindle sander, I could use the top layer as a guide as to how much to remove and the general angle of contacting the drum. The existing curve helped guide the process along and the 100 grit drum took off material in a hurry. Before this step, I drilled out the tube holes and counter sunk them too.

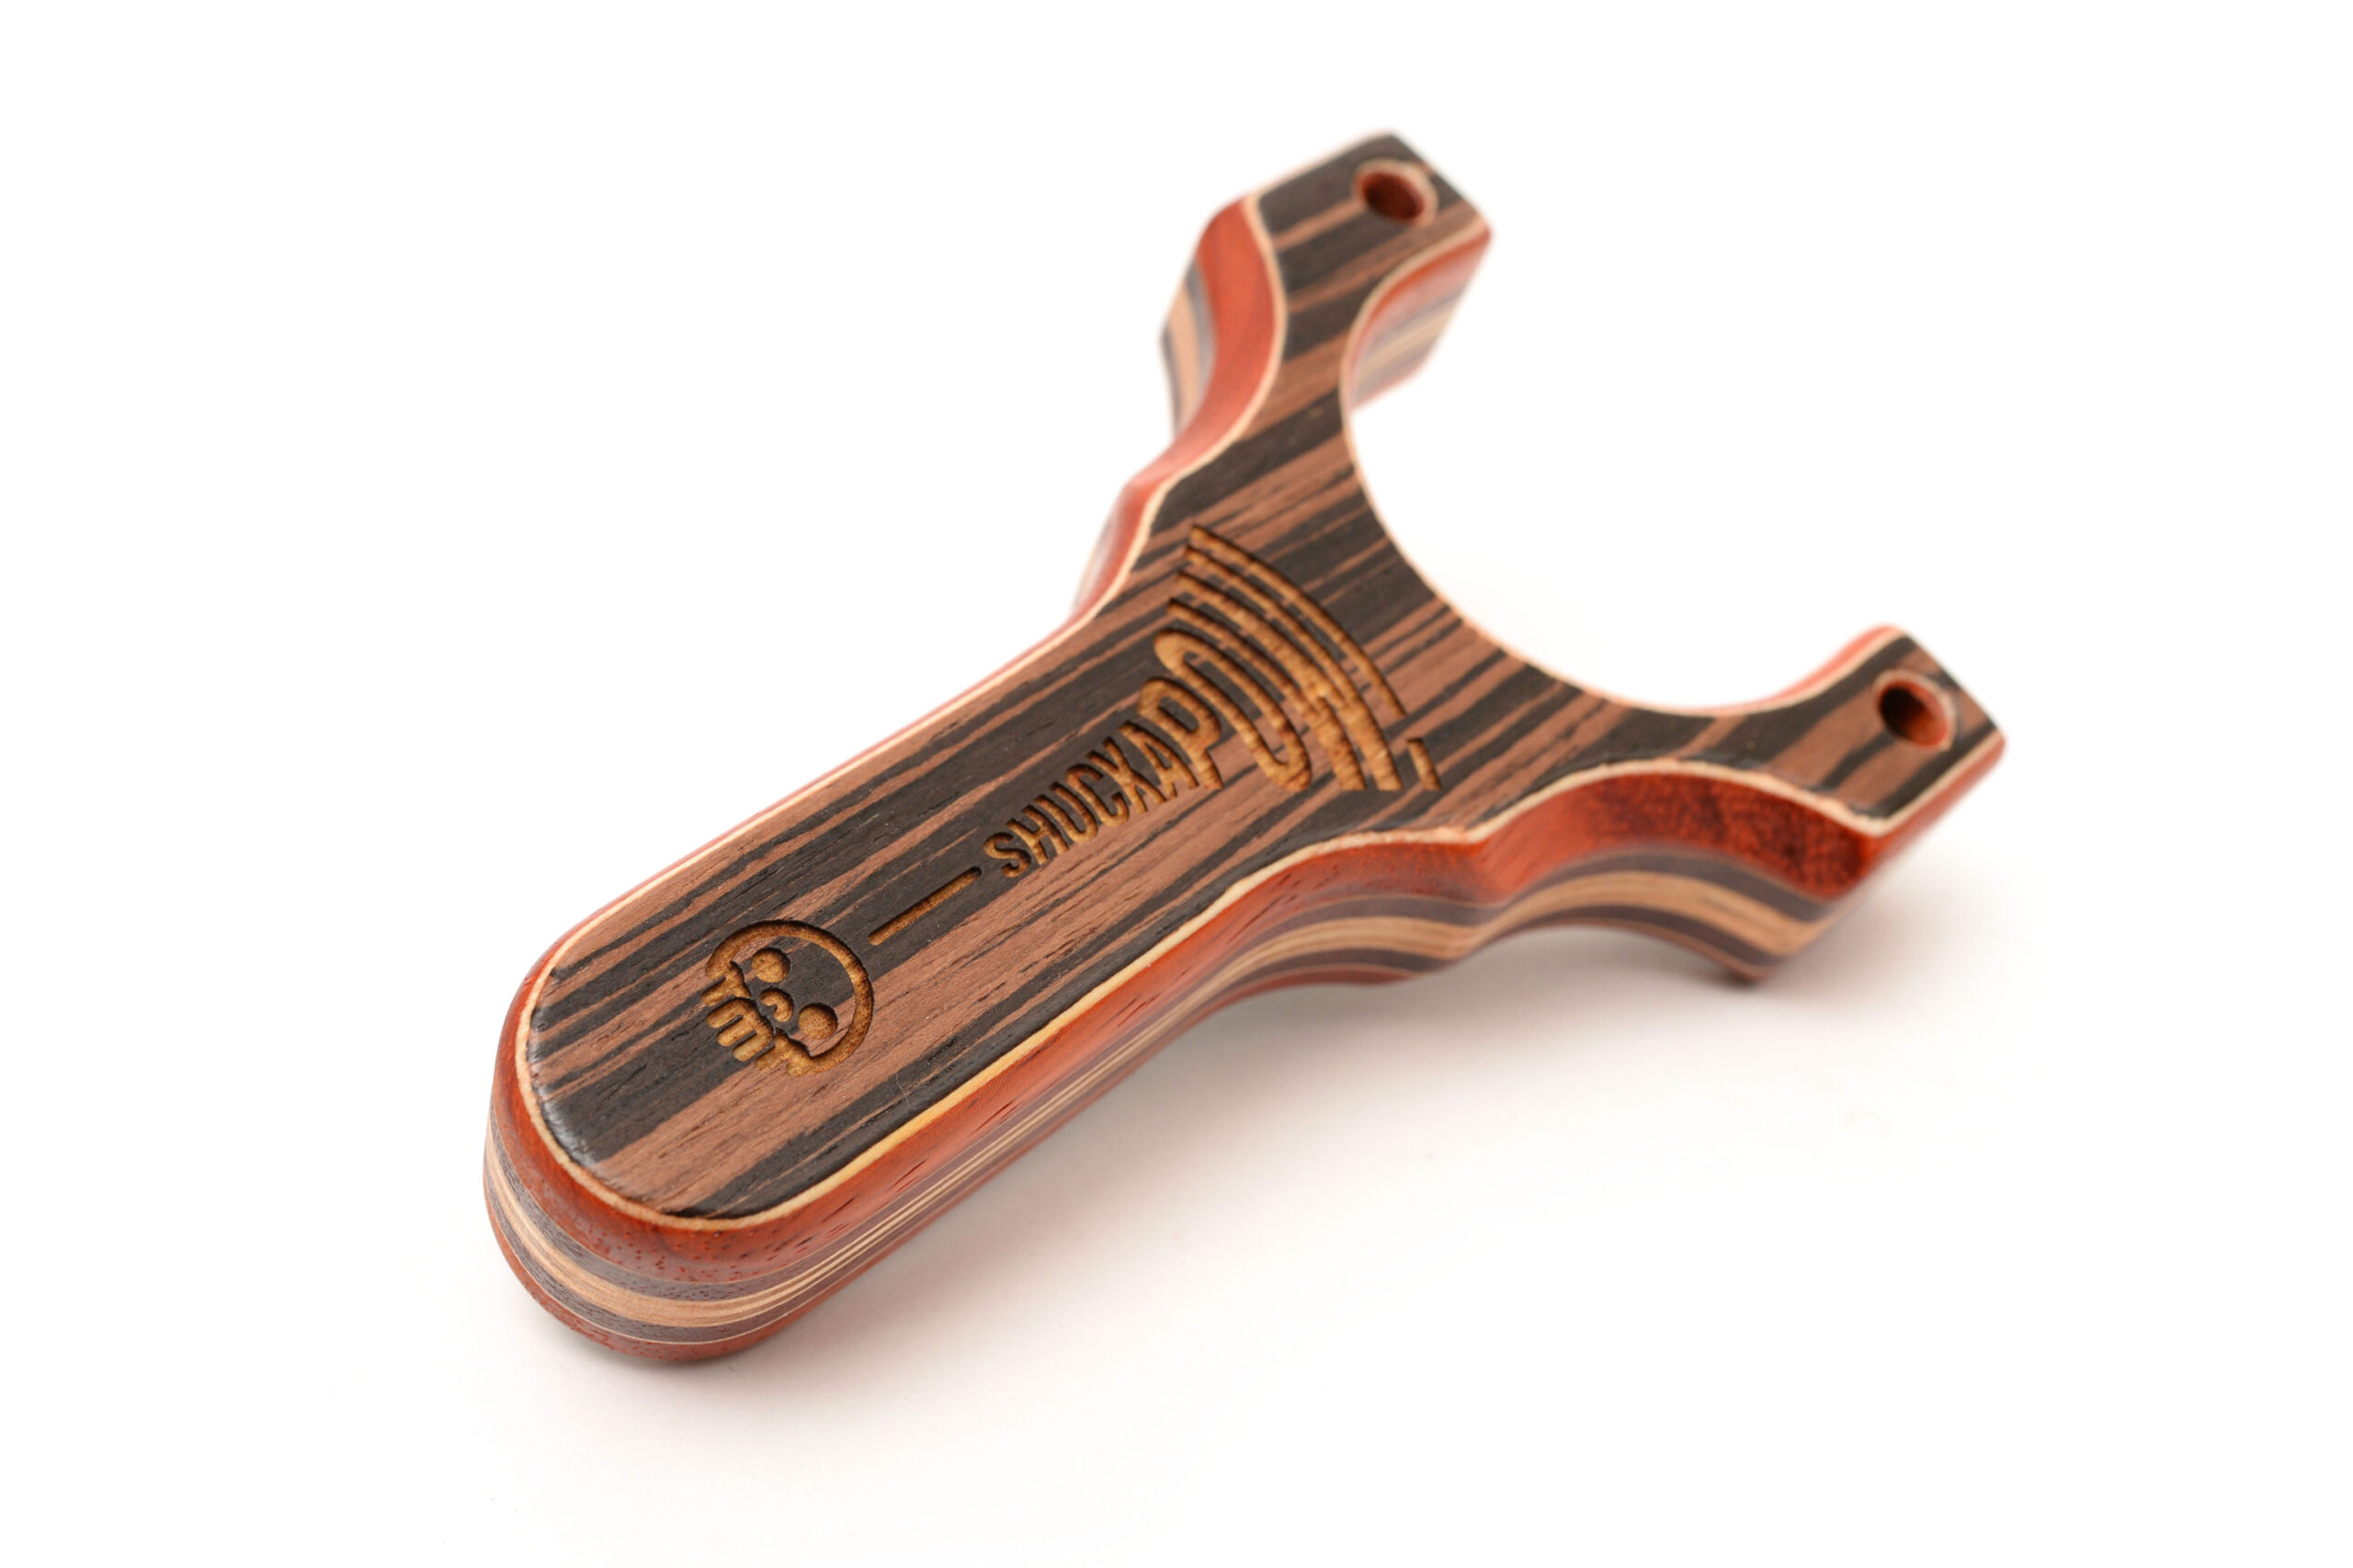
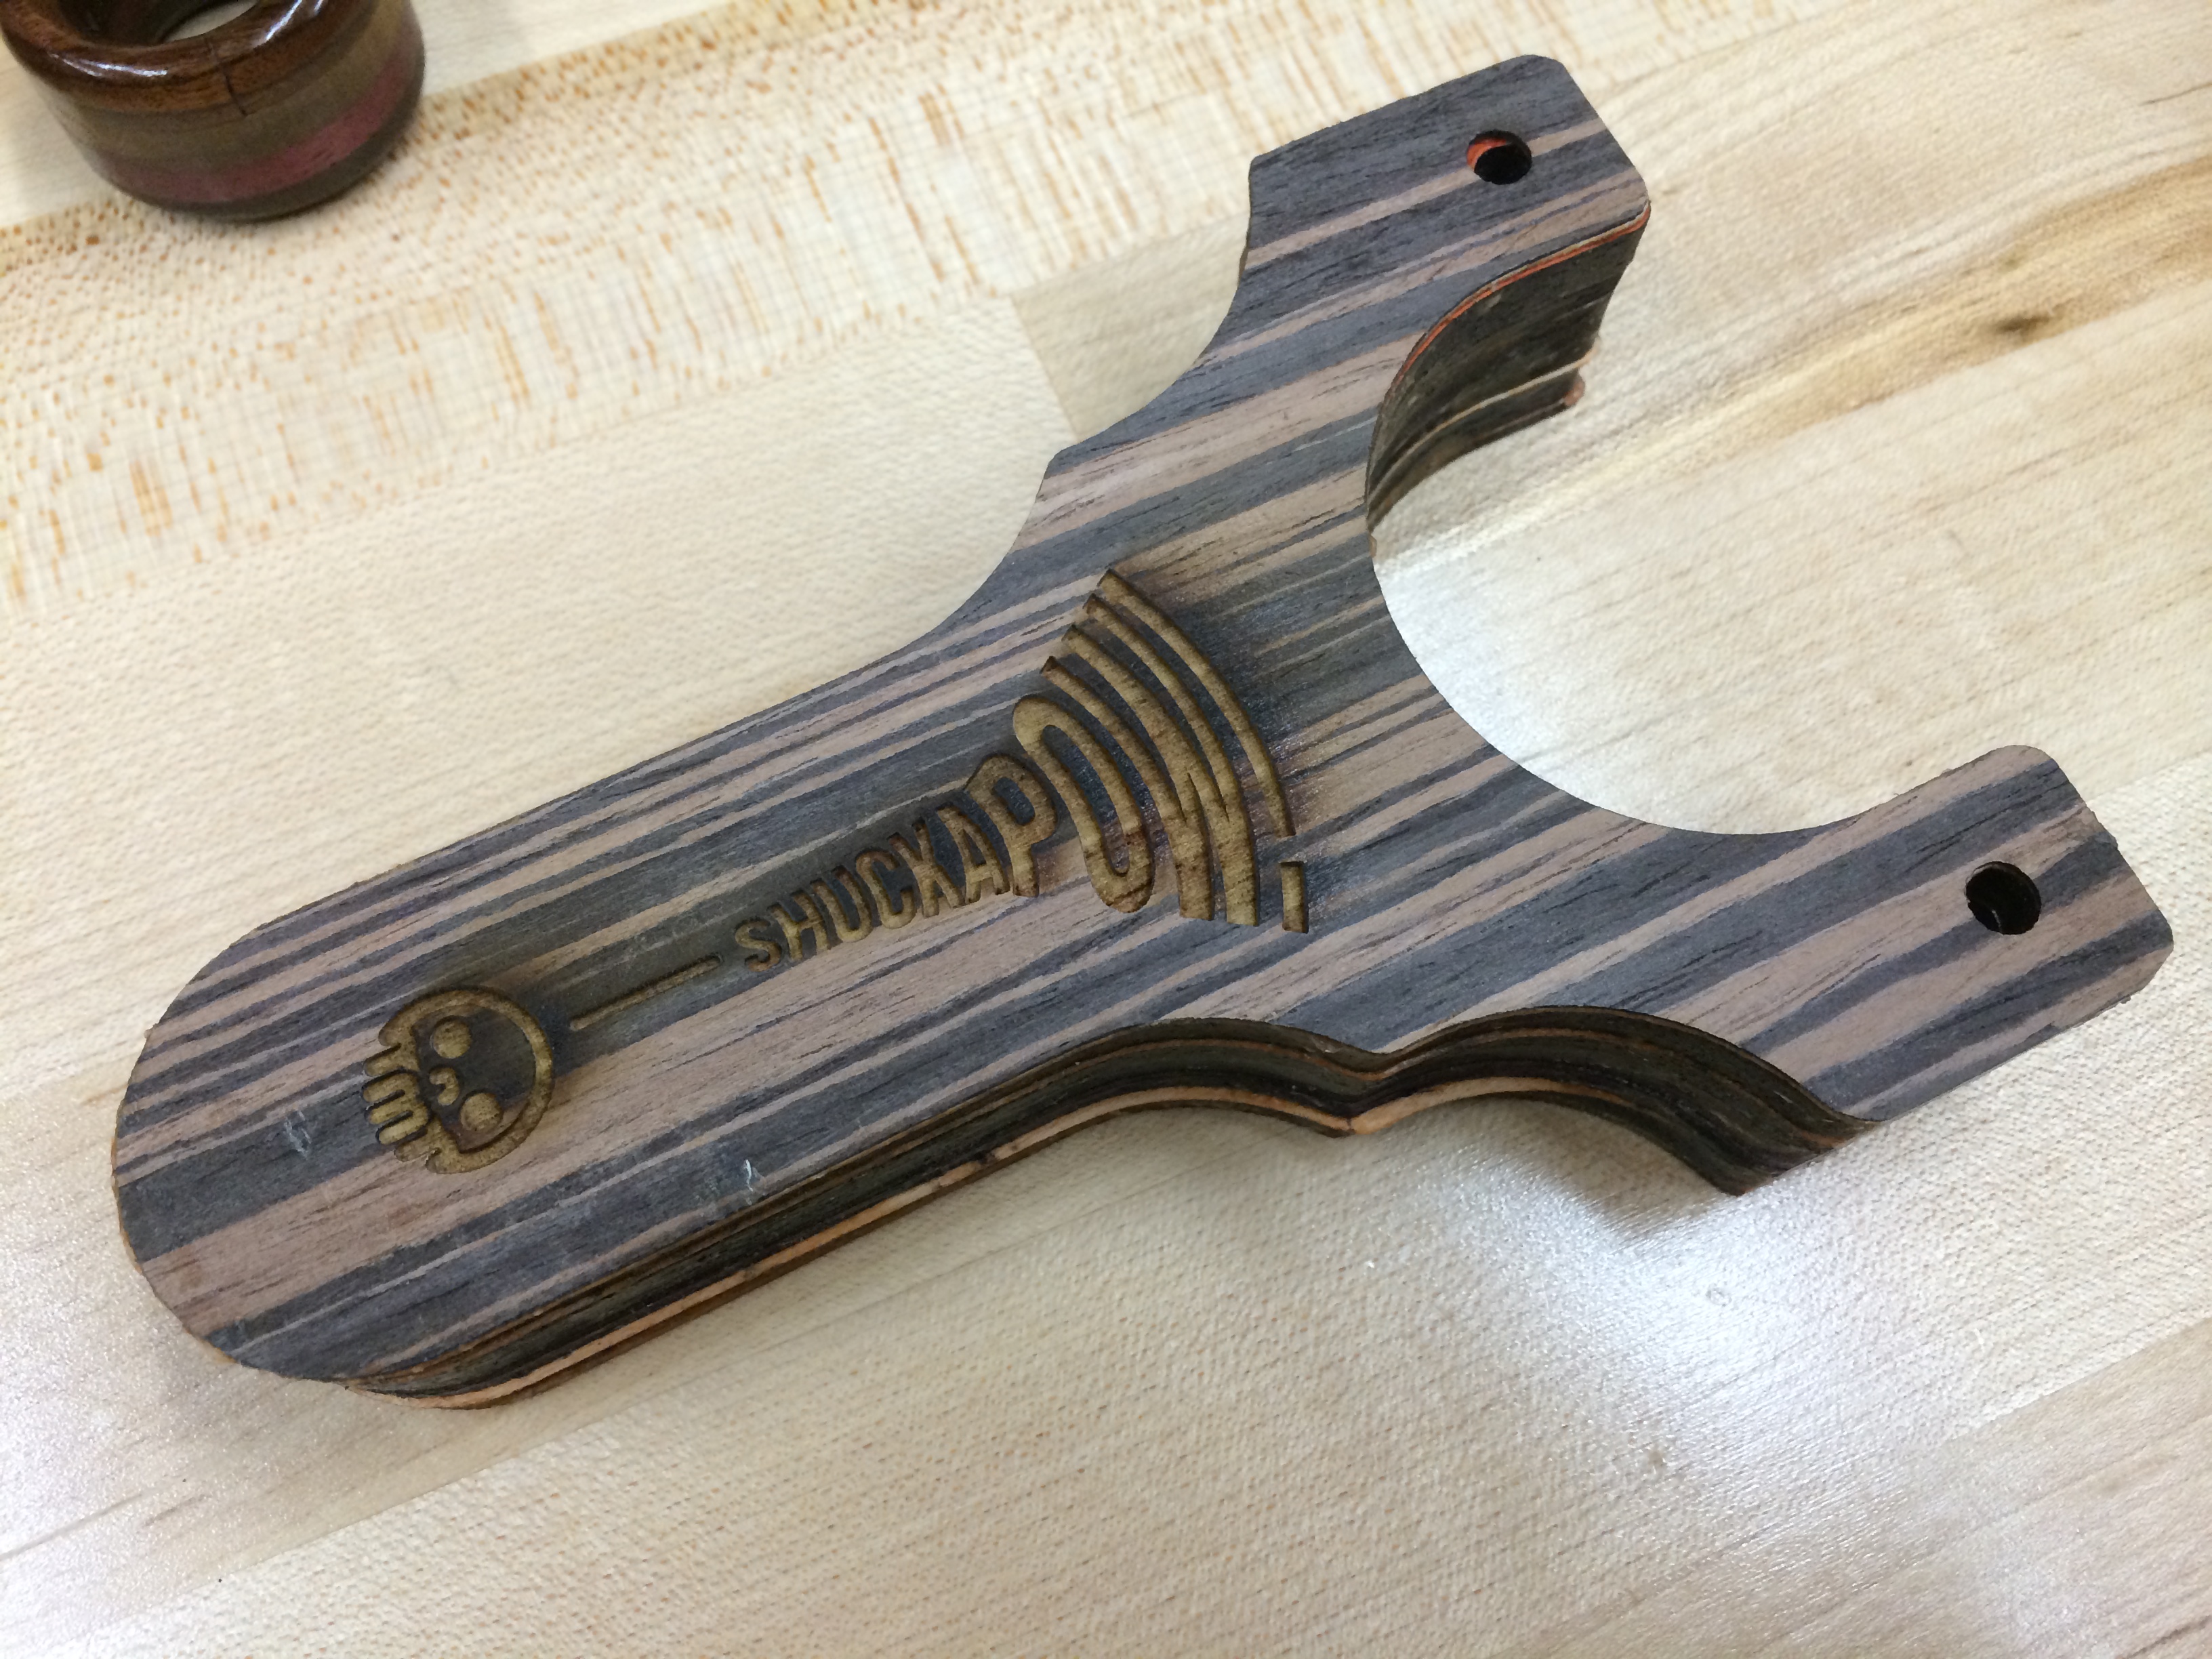
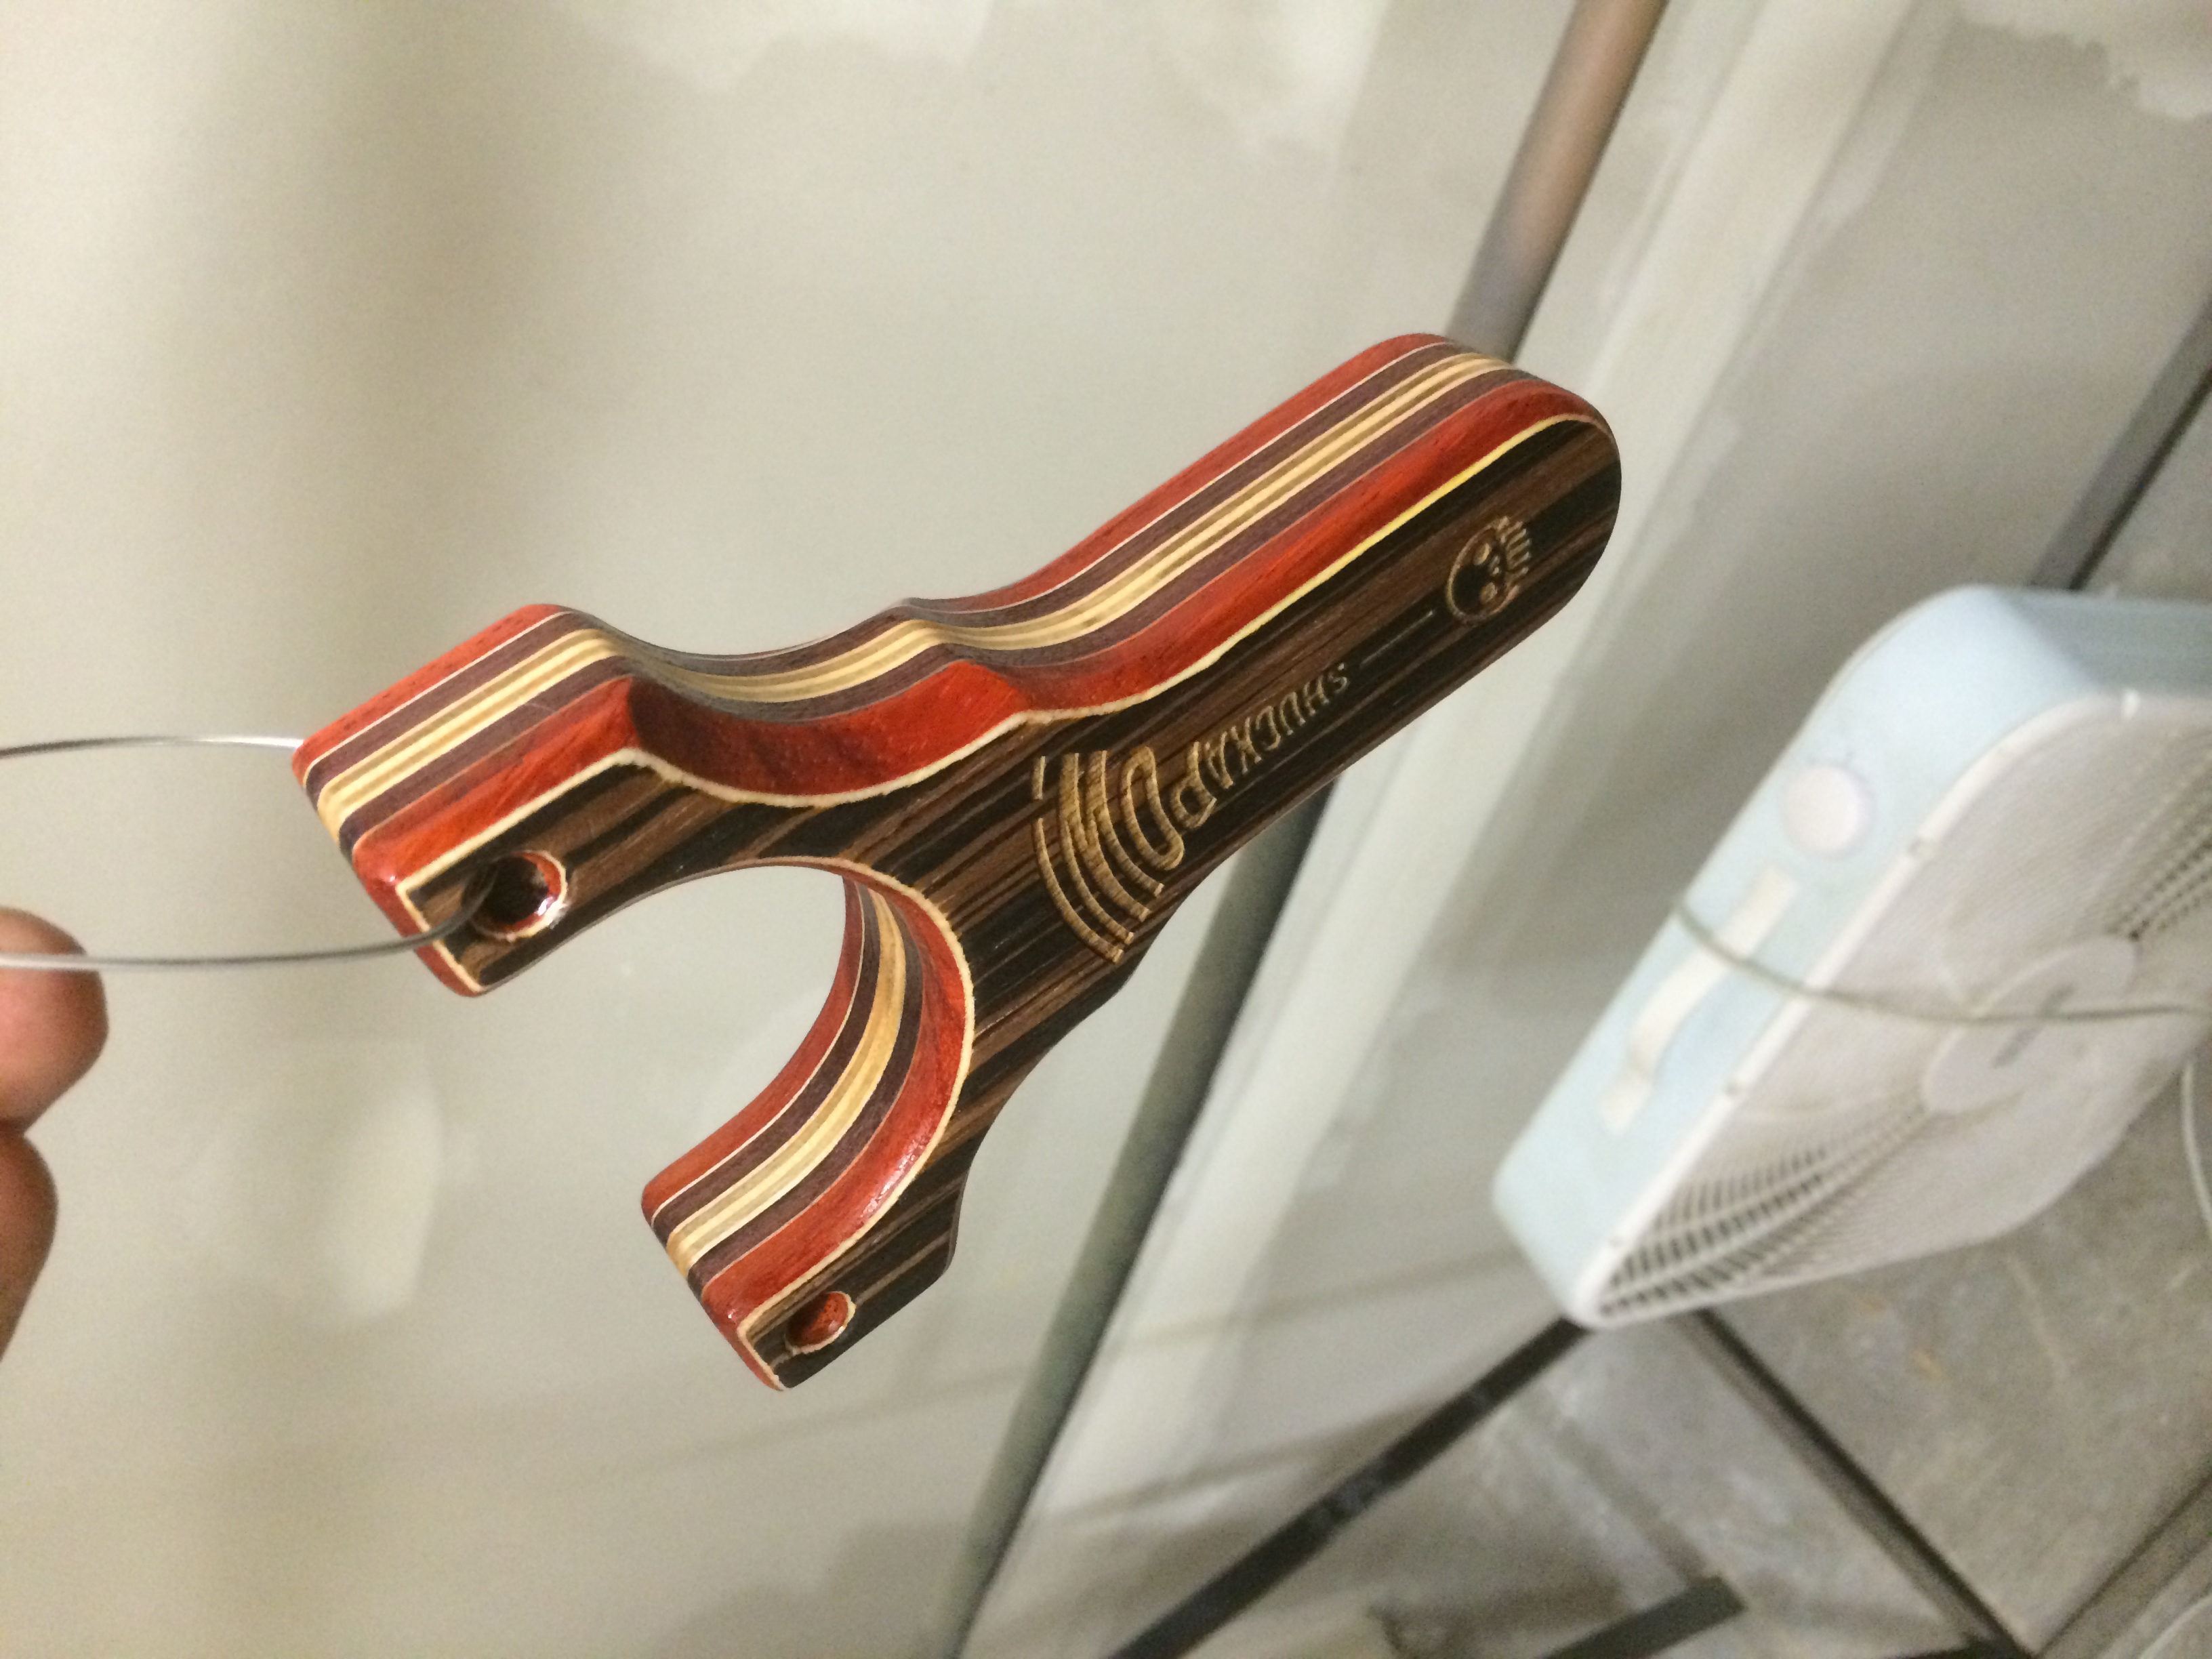
After all the major machining steps, it was time to give the Turkey Shuckapow the full sanding treatment. 100, 240, 600 and steel wool, the off to the paint booth for three coats of acrylic. The clear coat really brings out that differential veneer etching, the cherry shining through the zebra wood.
The Wenge side is much more subtle, but the whole point is use this as a test bed for some previously unused techniques.
After some cure time in front of fan, I quickly wipe it with some steel wool to take off some of the glare. Then it’s time for a close up!

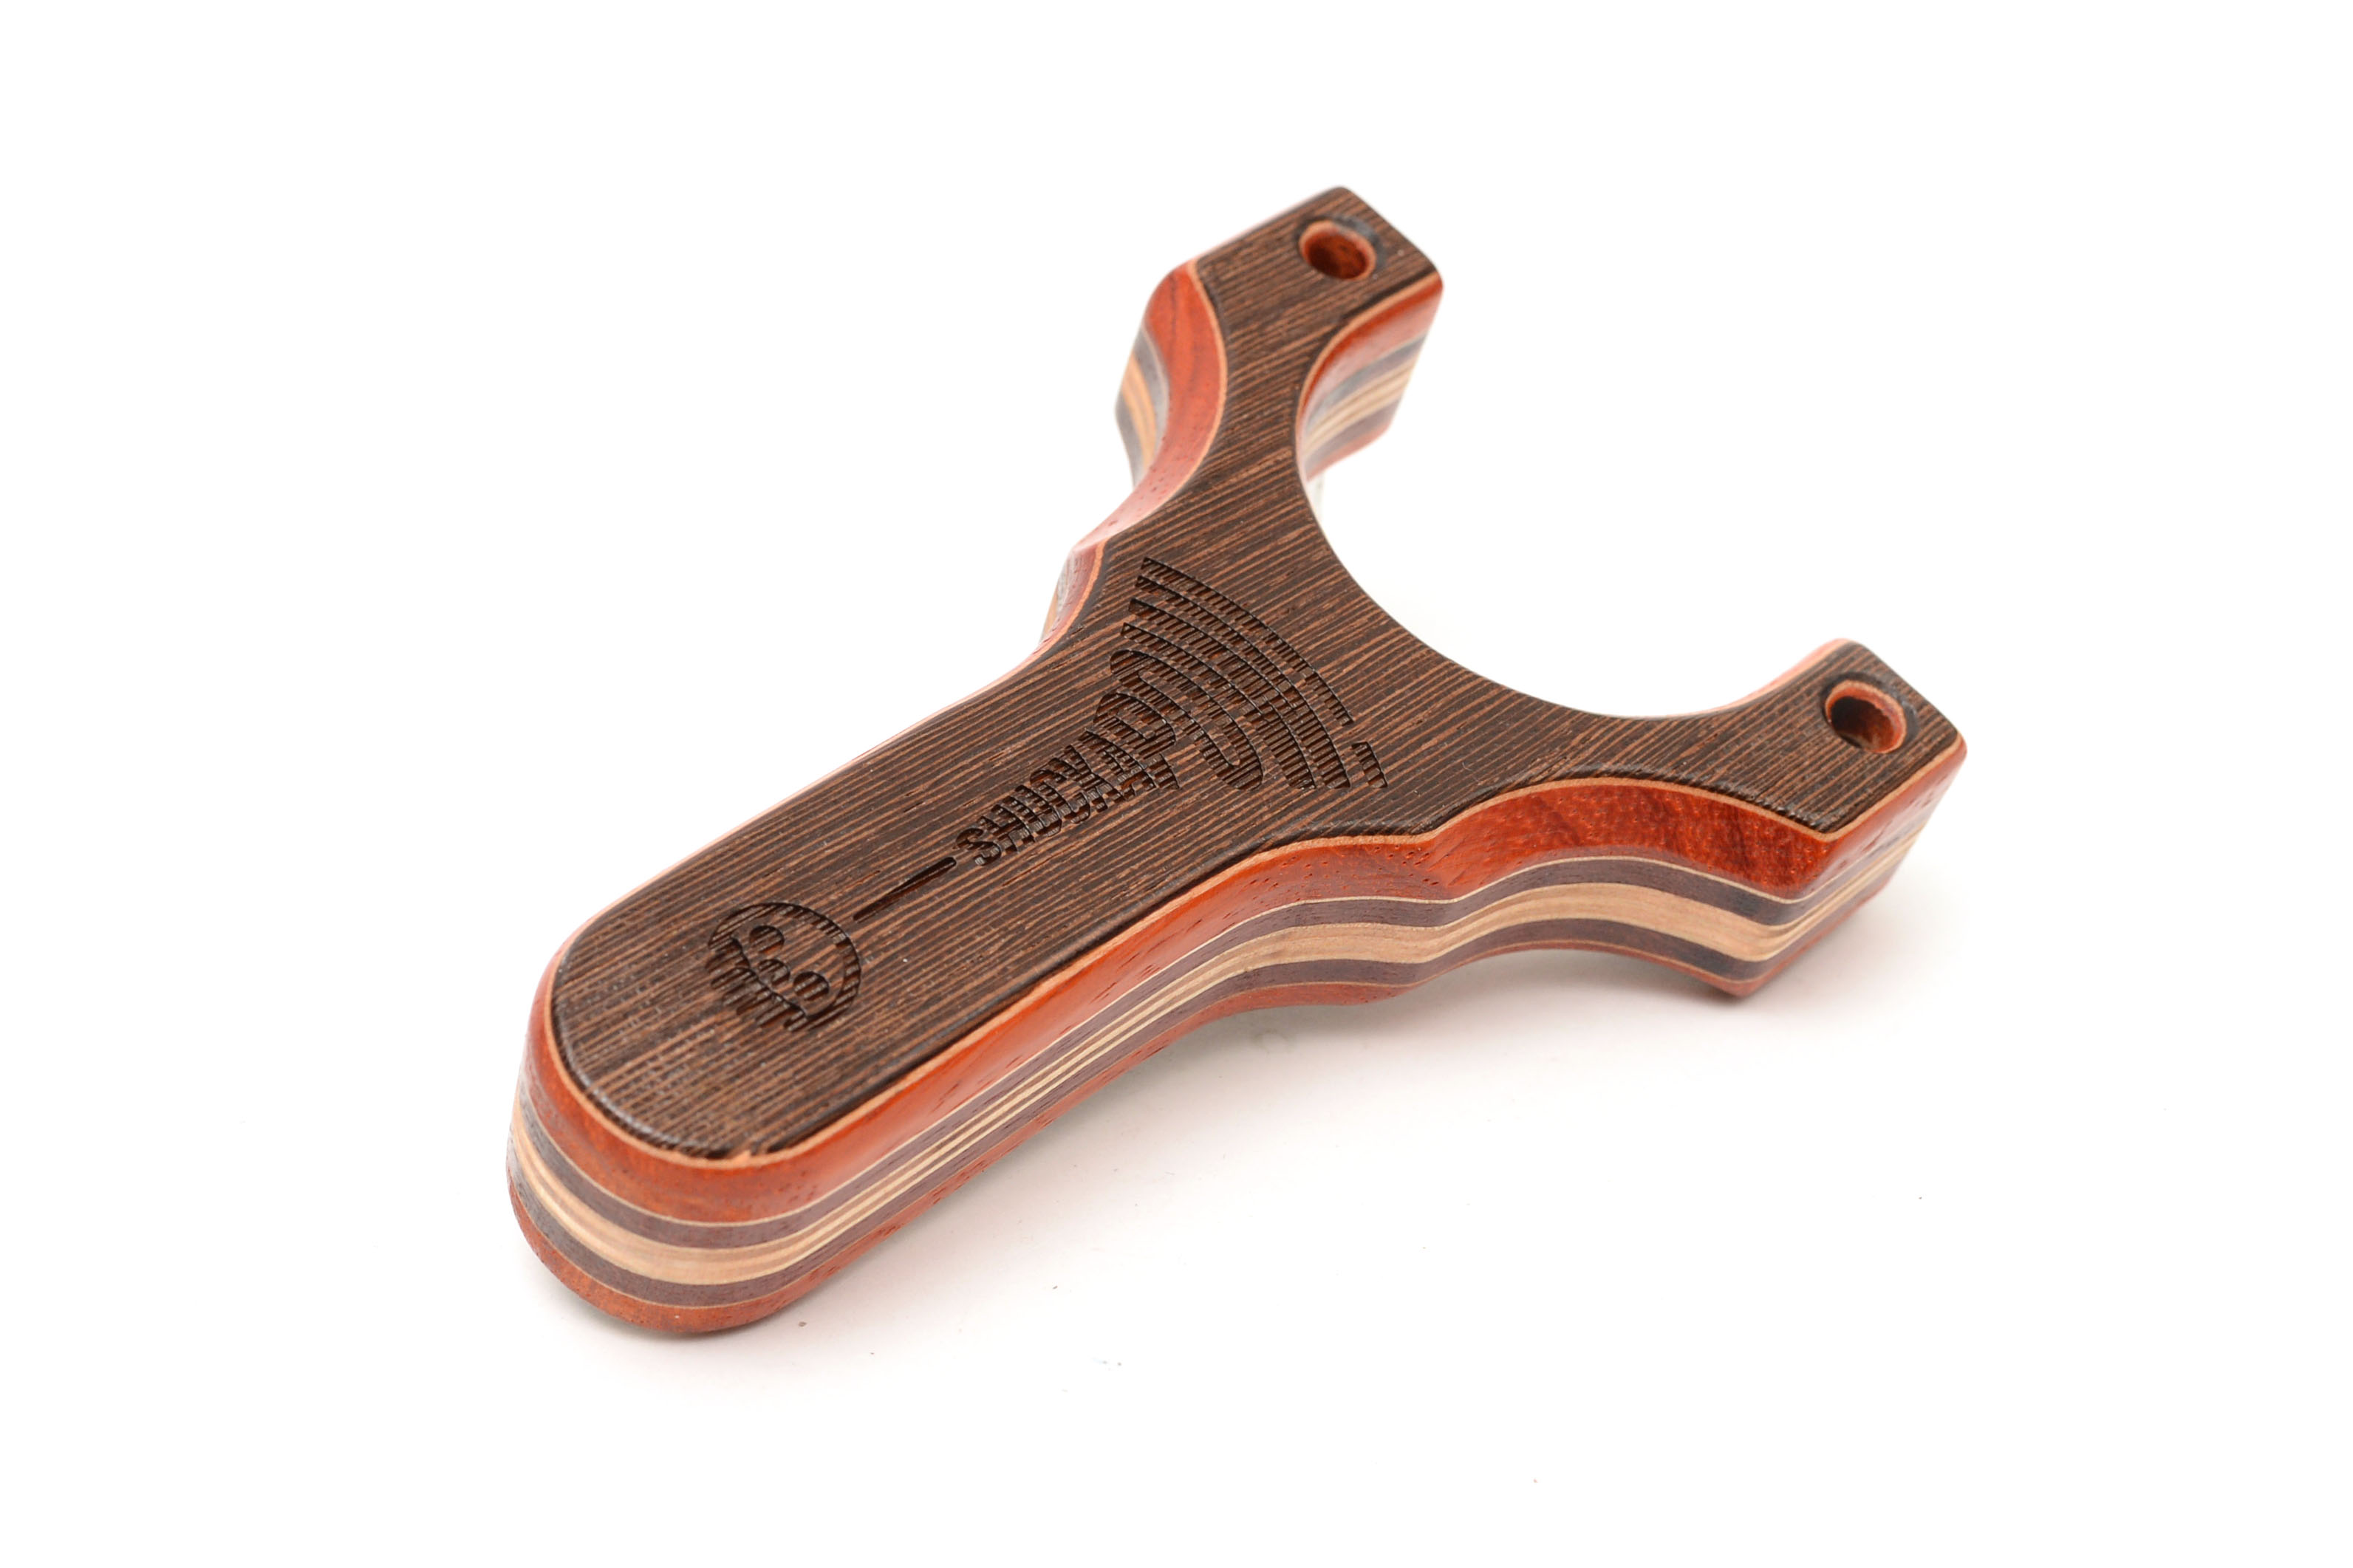
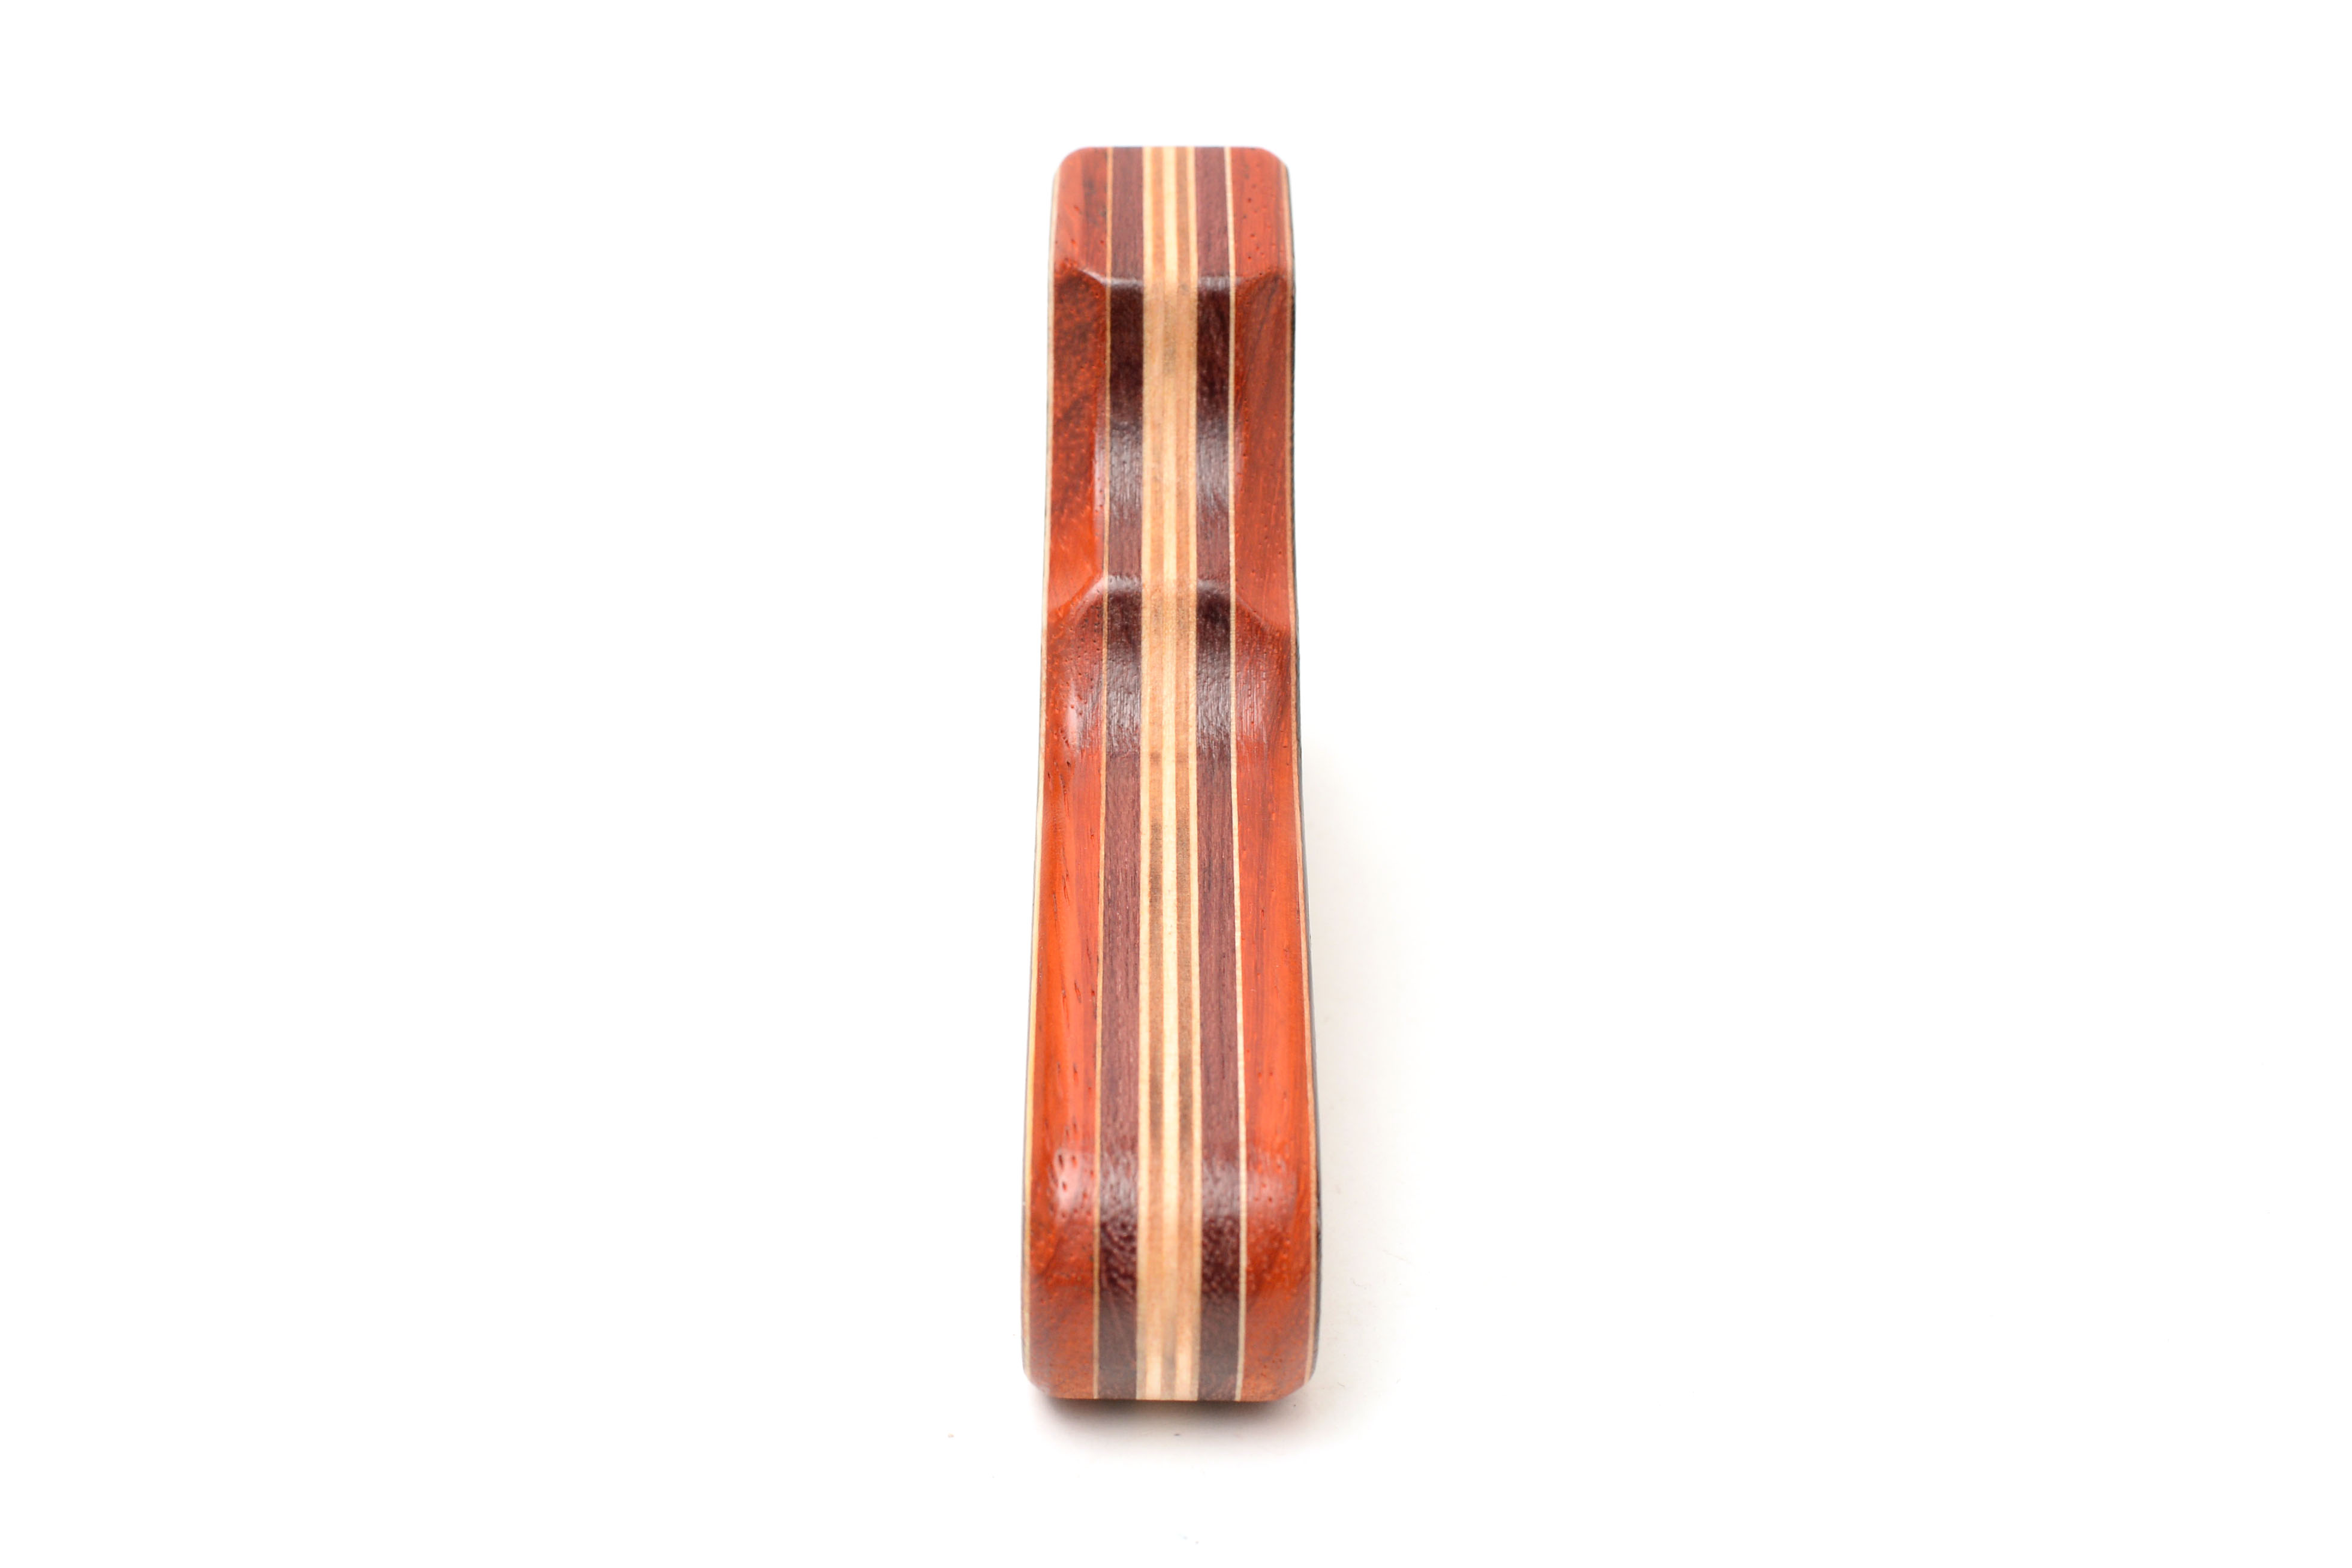
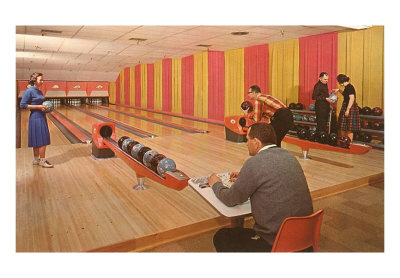
You are probably thinking…why did I name is the Turkey Shukapow? Because in the end, the colour, the shape, the lines, reminded me of a vintage 50’s bowling alley. What’s better than three strikes in a row? 10 dead centre shots with a custom slingshot.
Thanks for reading yet another long winded post…were you interested in HAVING it? Buy the Turkey Shuckapow here!
-Stay True-
-Eric