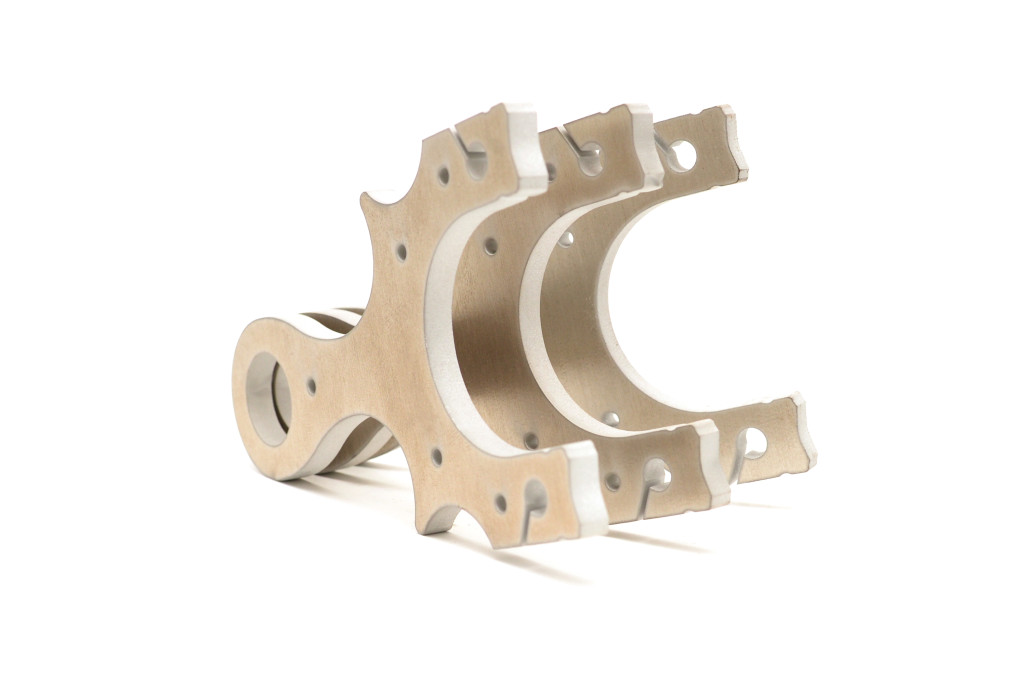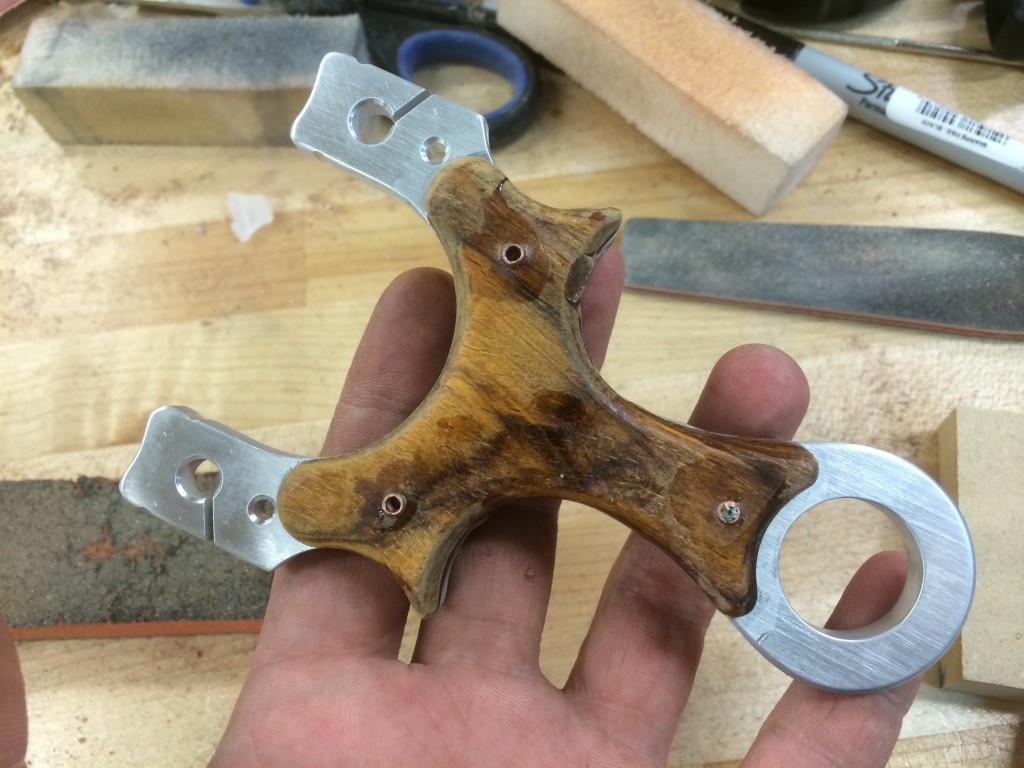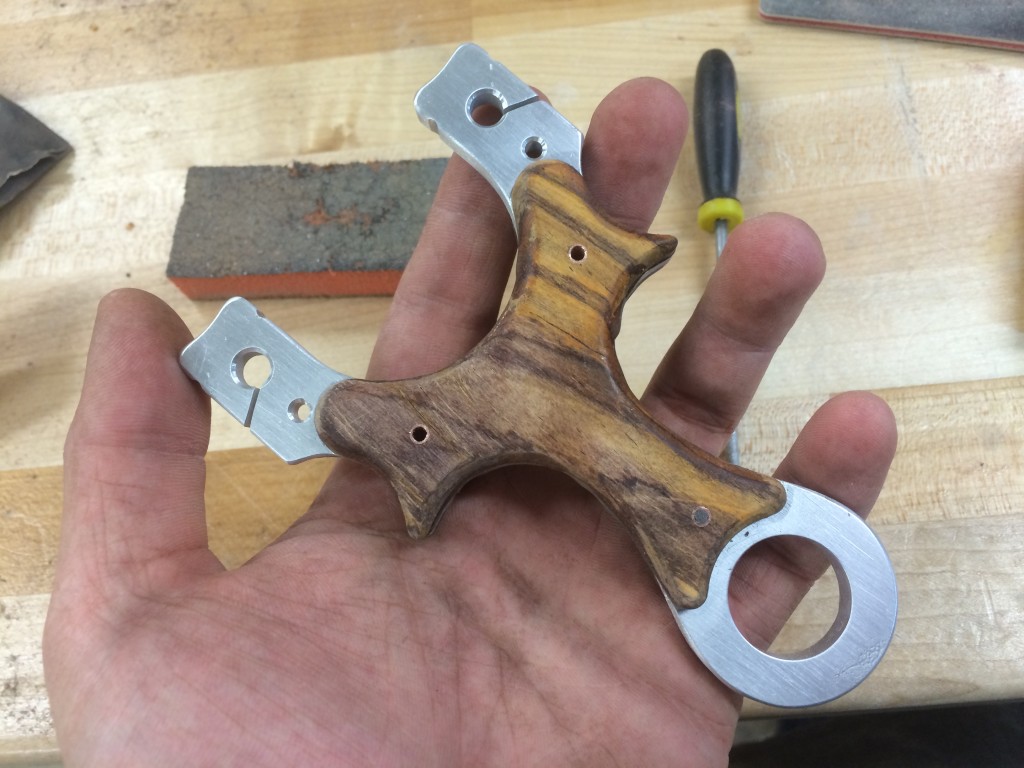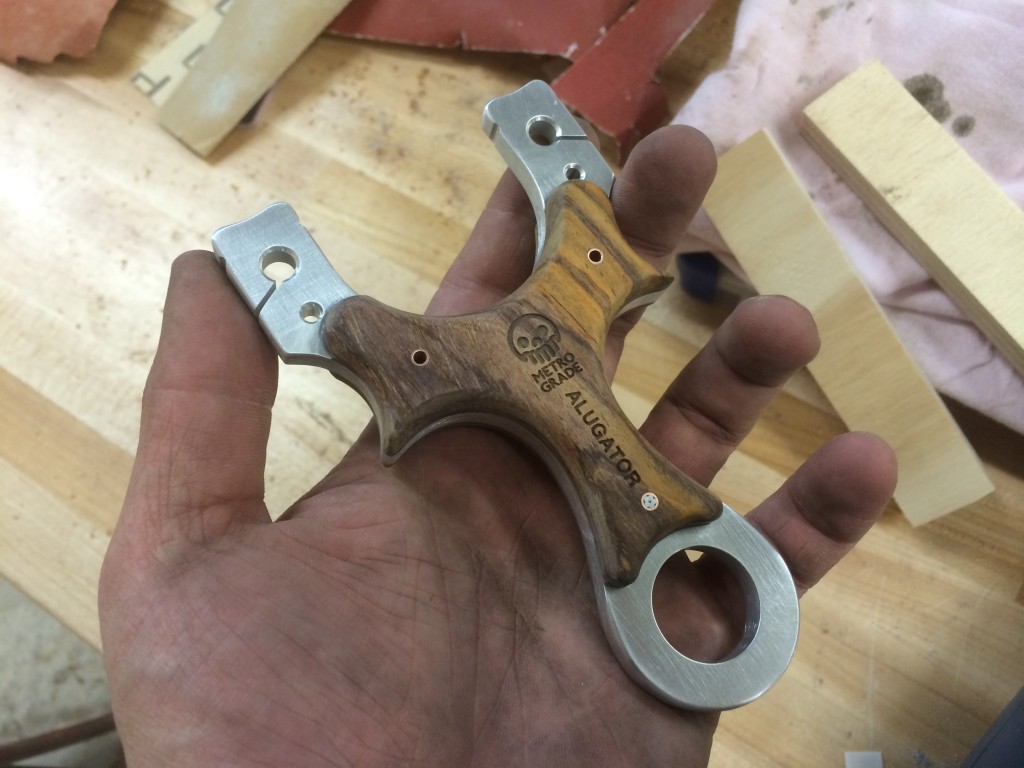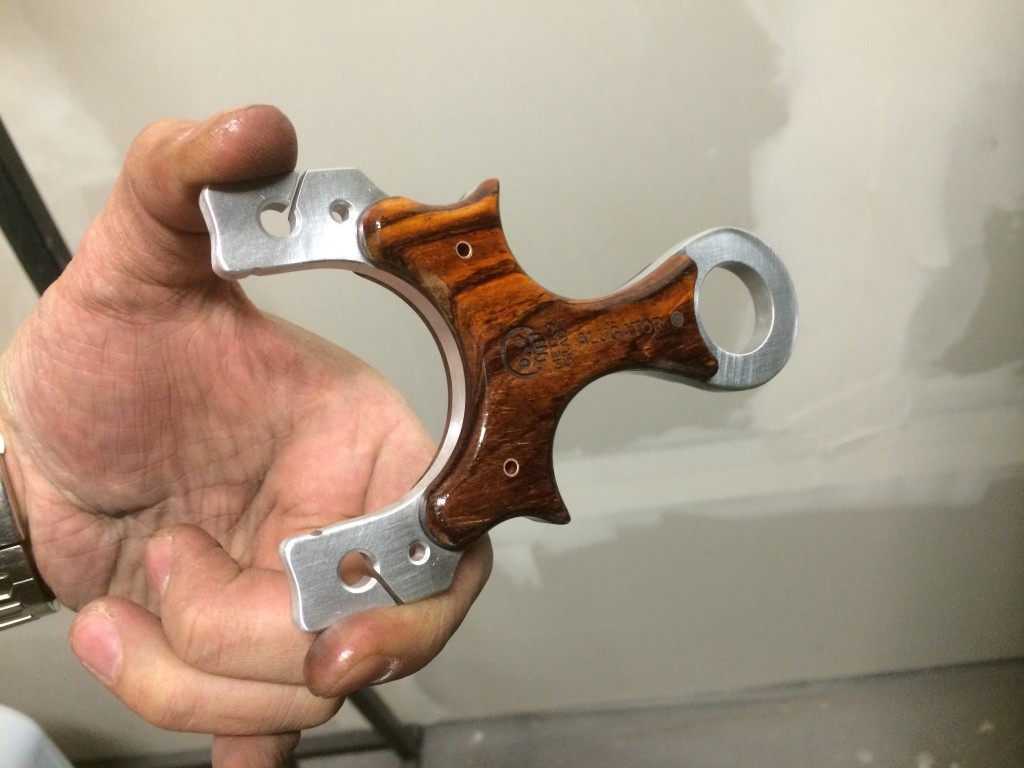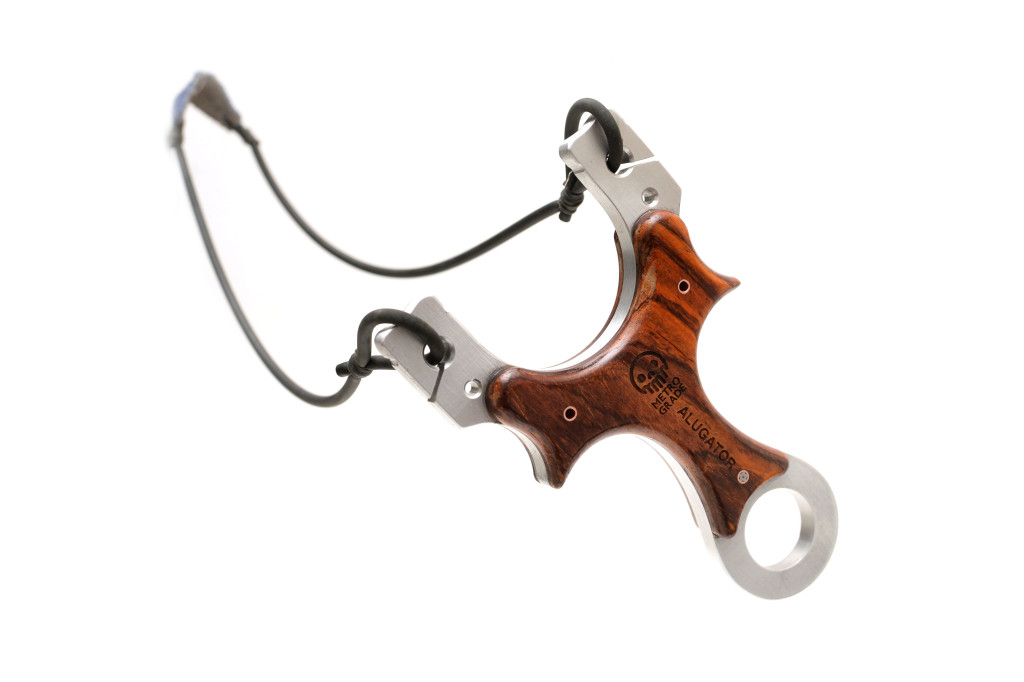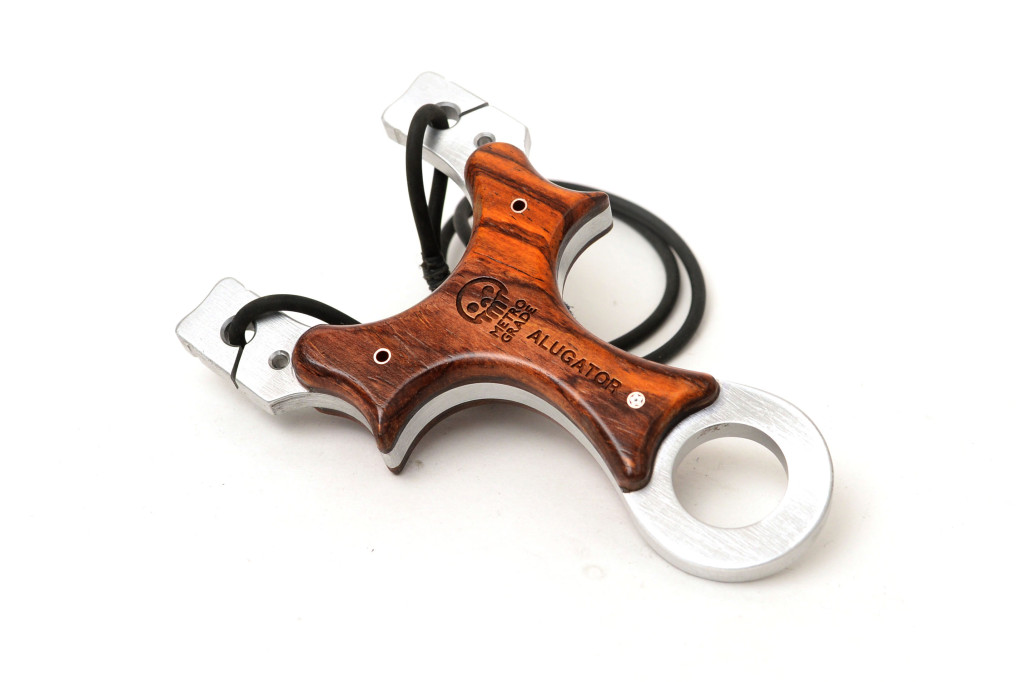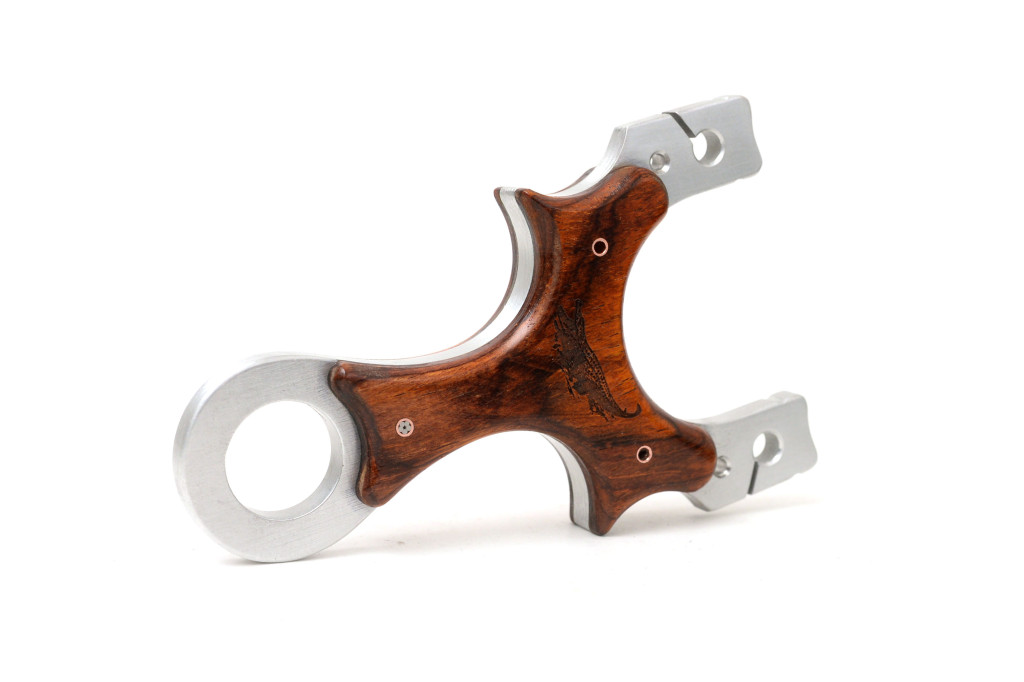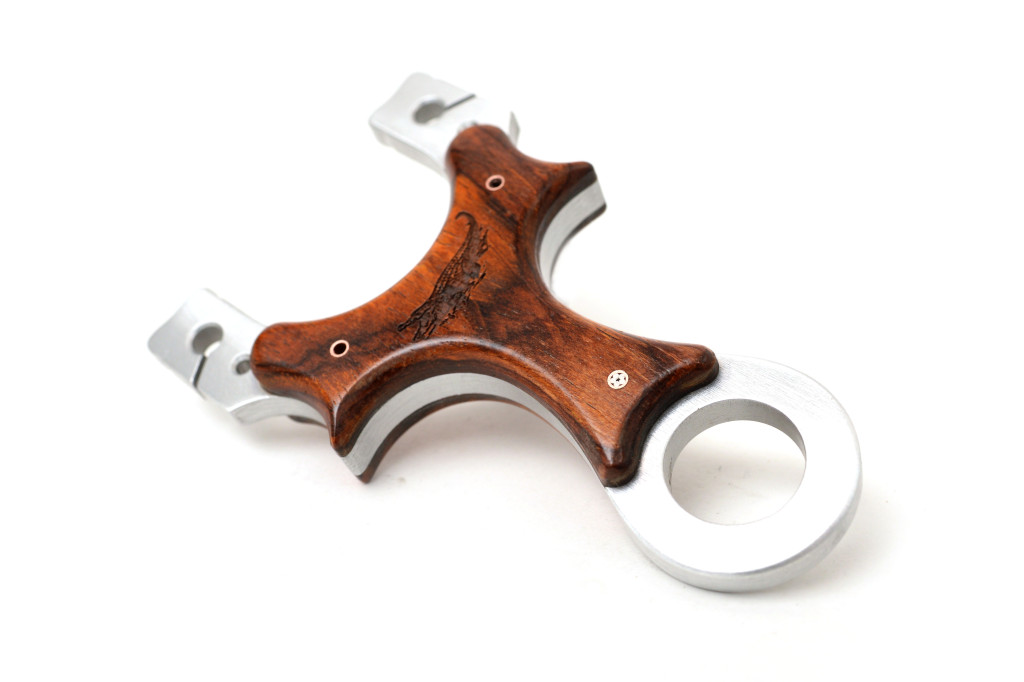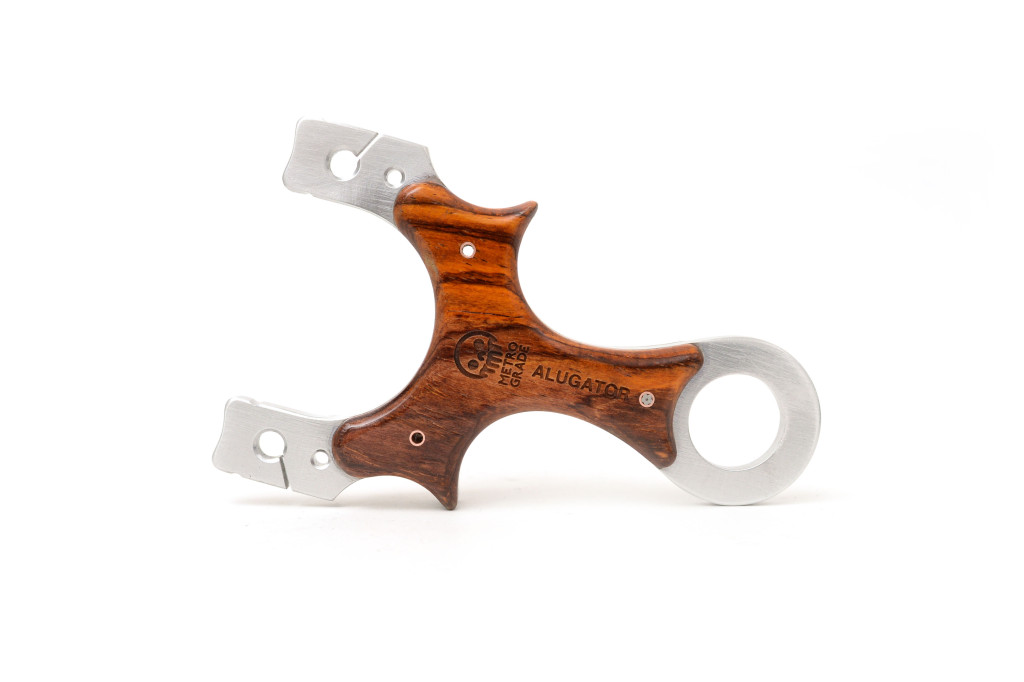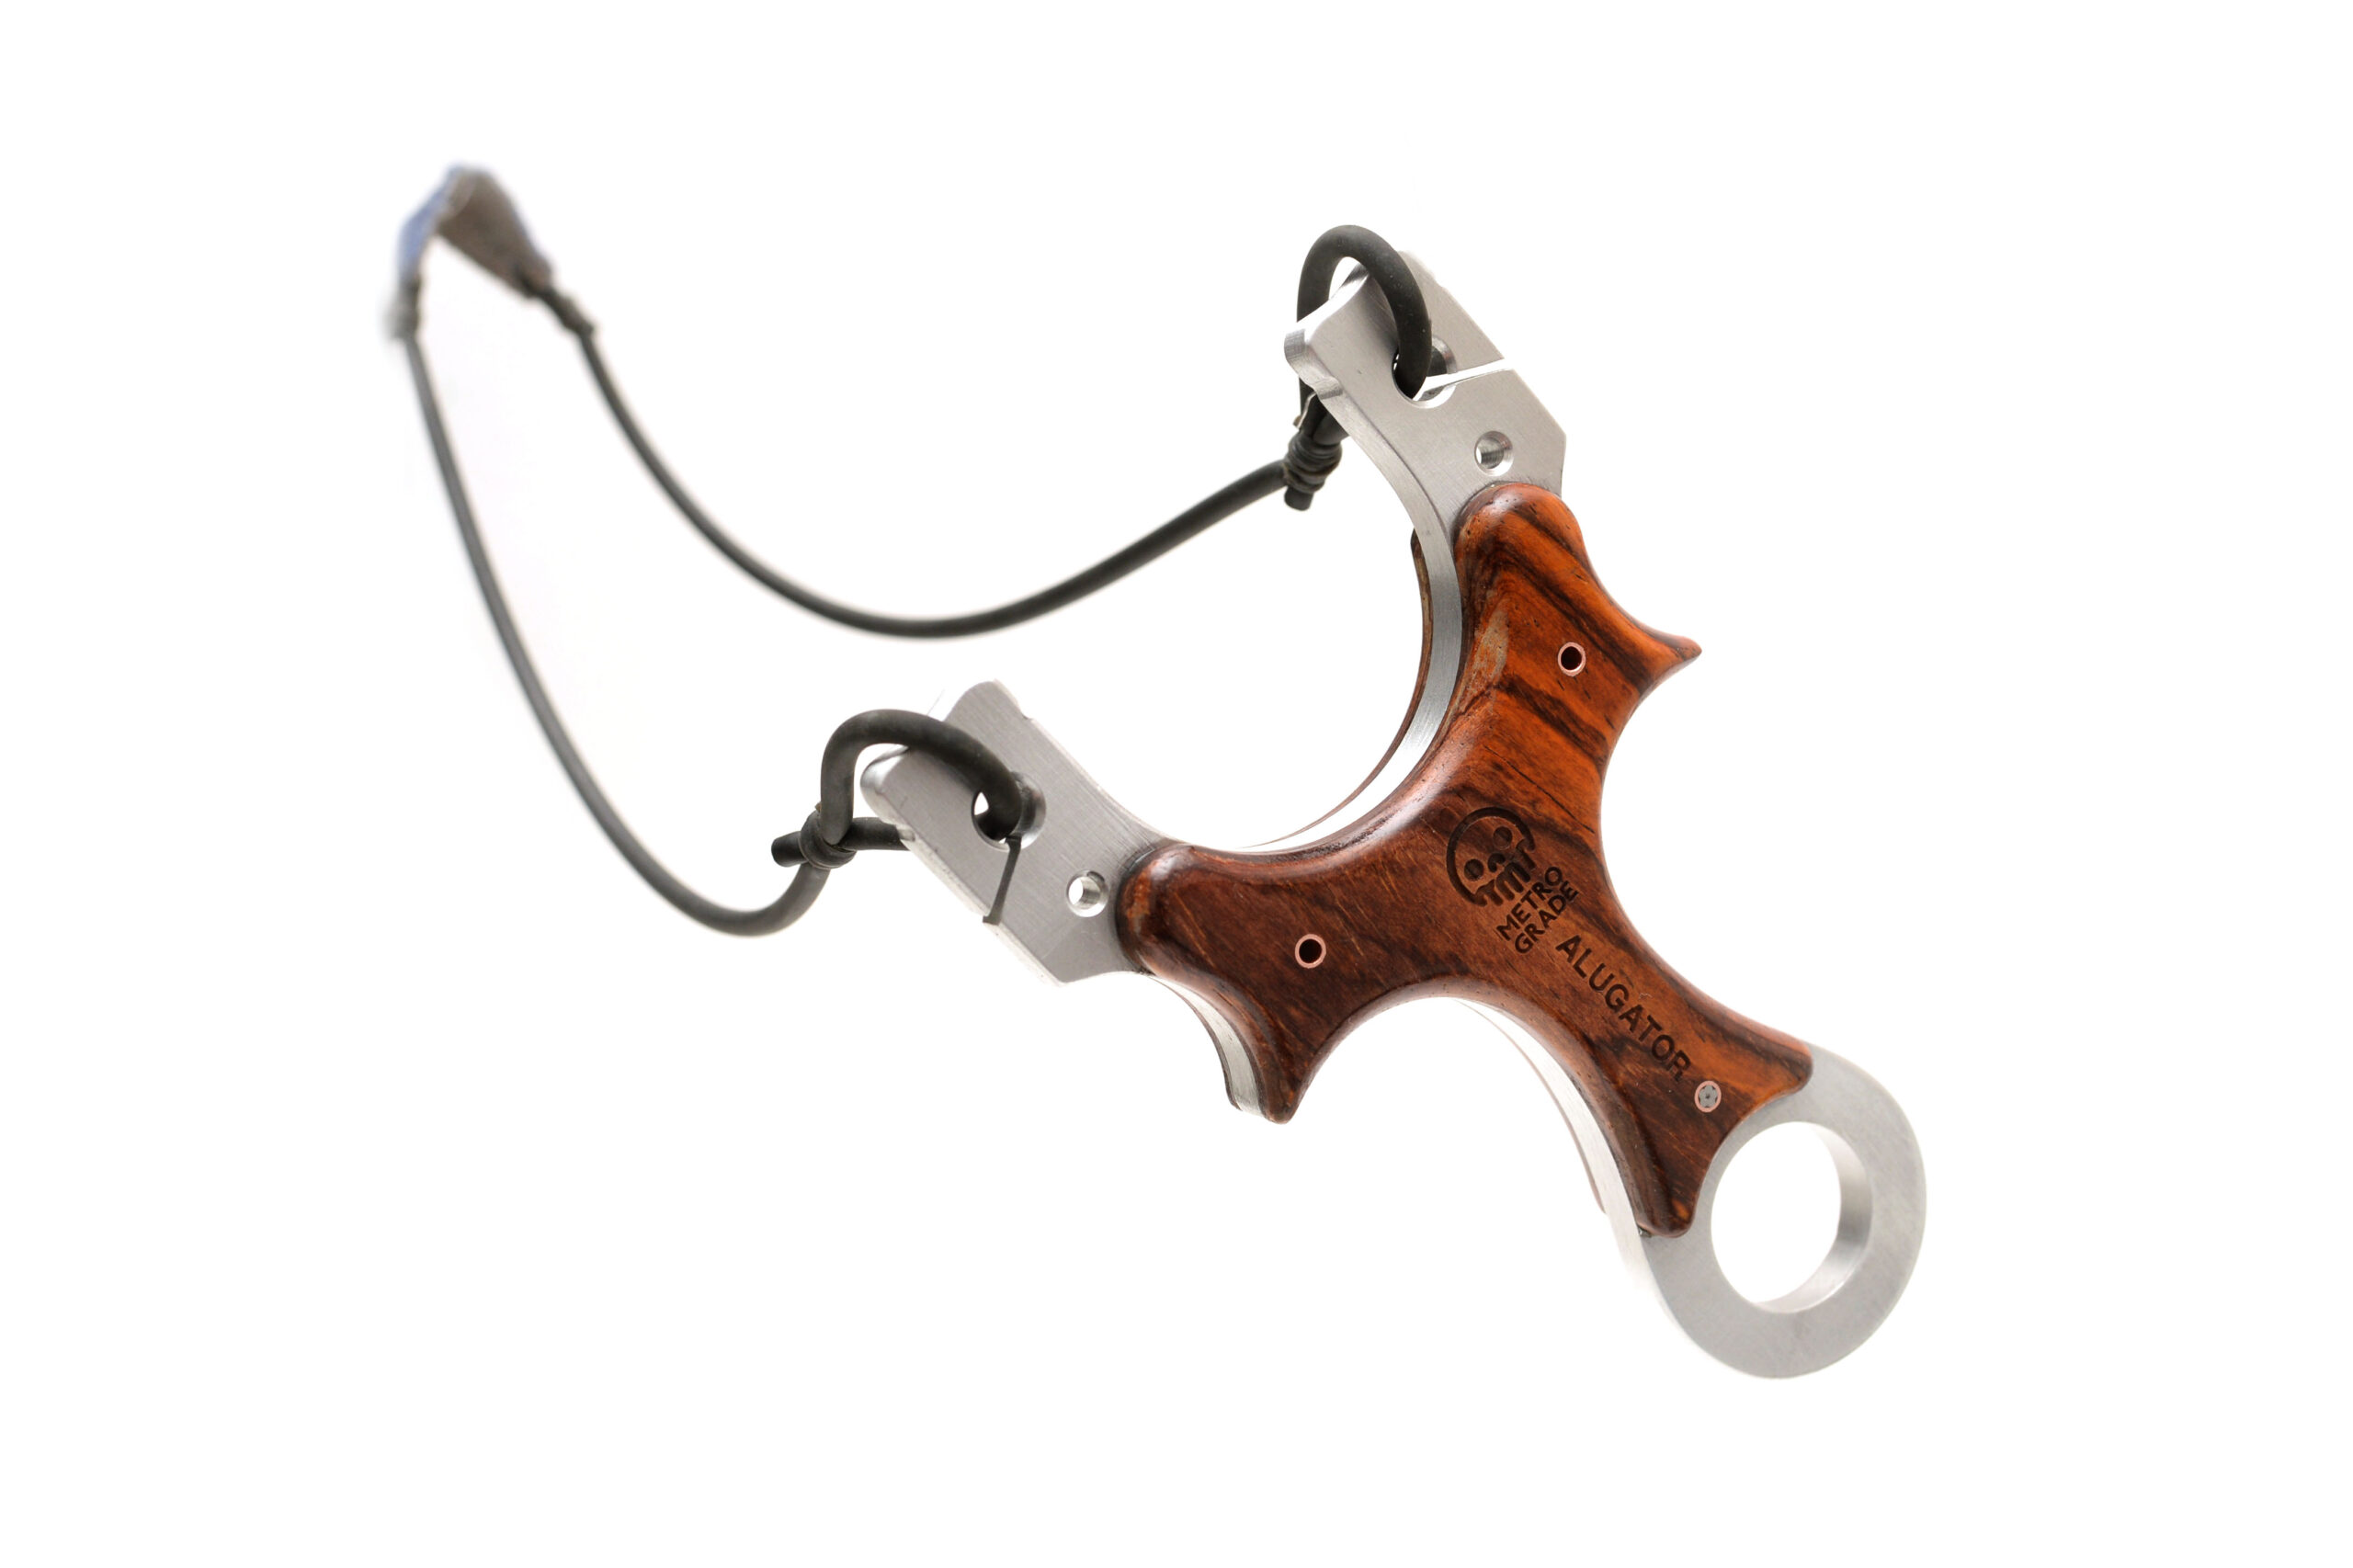
In this Metro Made post, I go through how I finished my first aluminum core slingshot: The Alugator.
Very recently a shipment of 6061 Aluminum 1/4″ Capuchin design came into the shop. These were specially designed to be stand alone slingshots after some finishing or other scale materials could be laminated on it. Aluminum is such a beautiful material finish and use, so I thought, why hide it all?
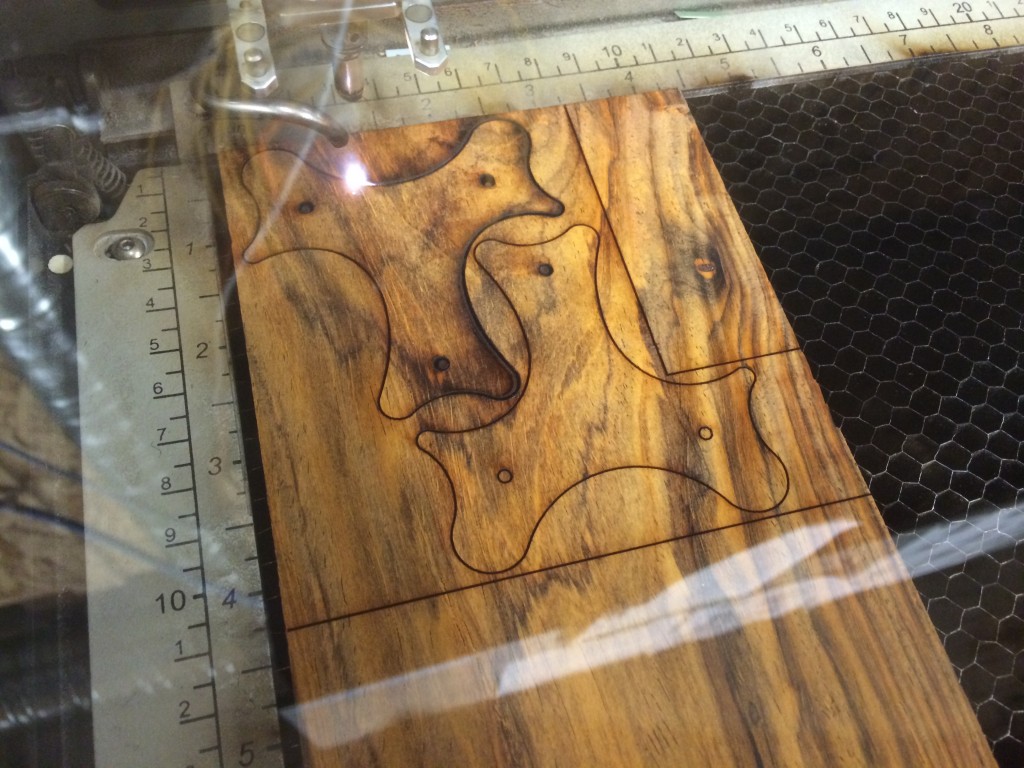
I started with a nice, freshly planed slab of Cocobolo wood, one of my favourite slingshot woods. Naturally oily and very hard, Cocobolo also as a dark, tight, swirly grain that is unlike anything. After designing and laying it out in Illustrator, I sent the job to the laser cutter, which faithfully cut out the shape.
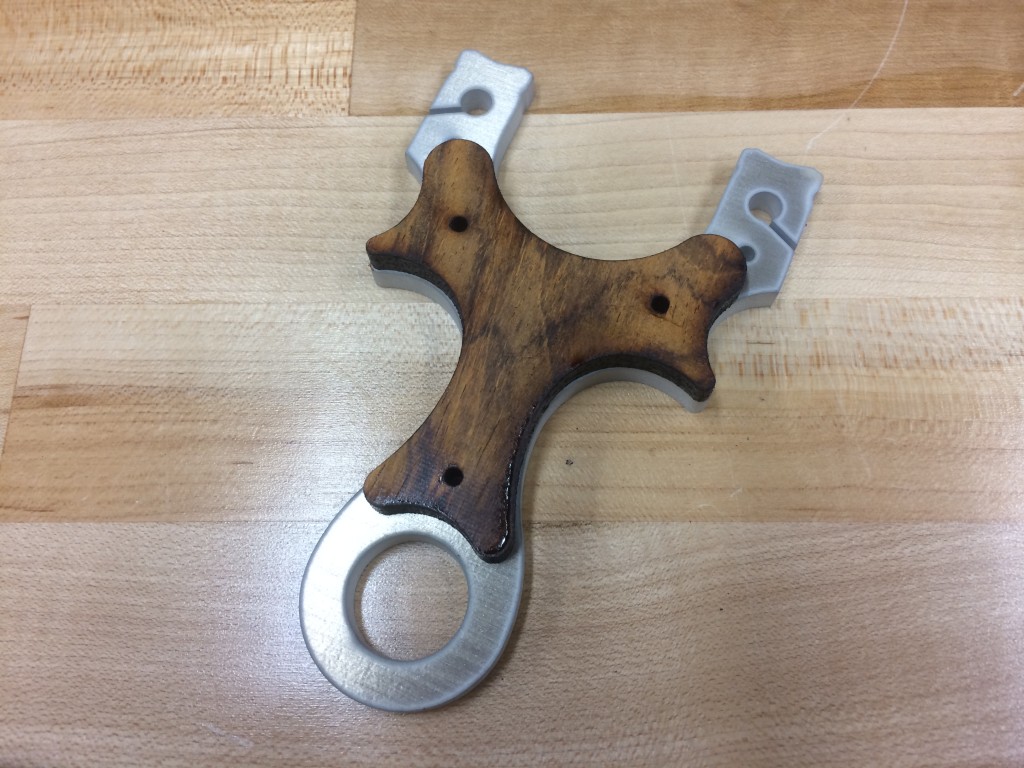
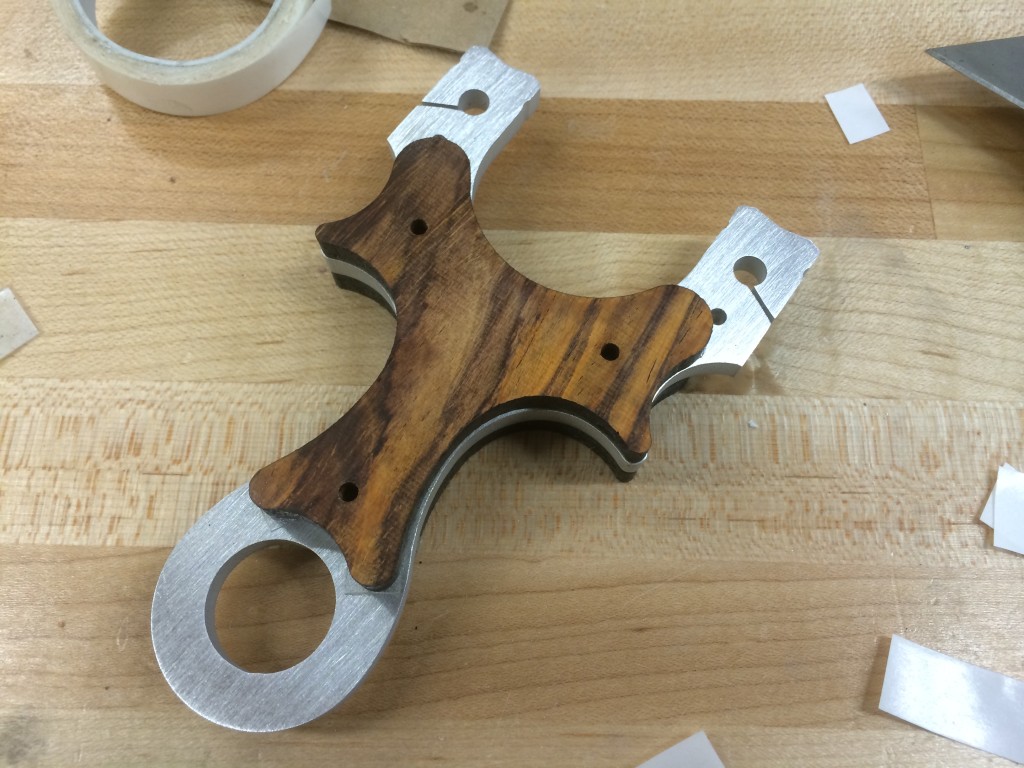
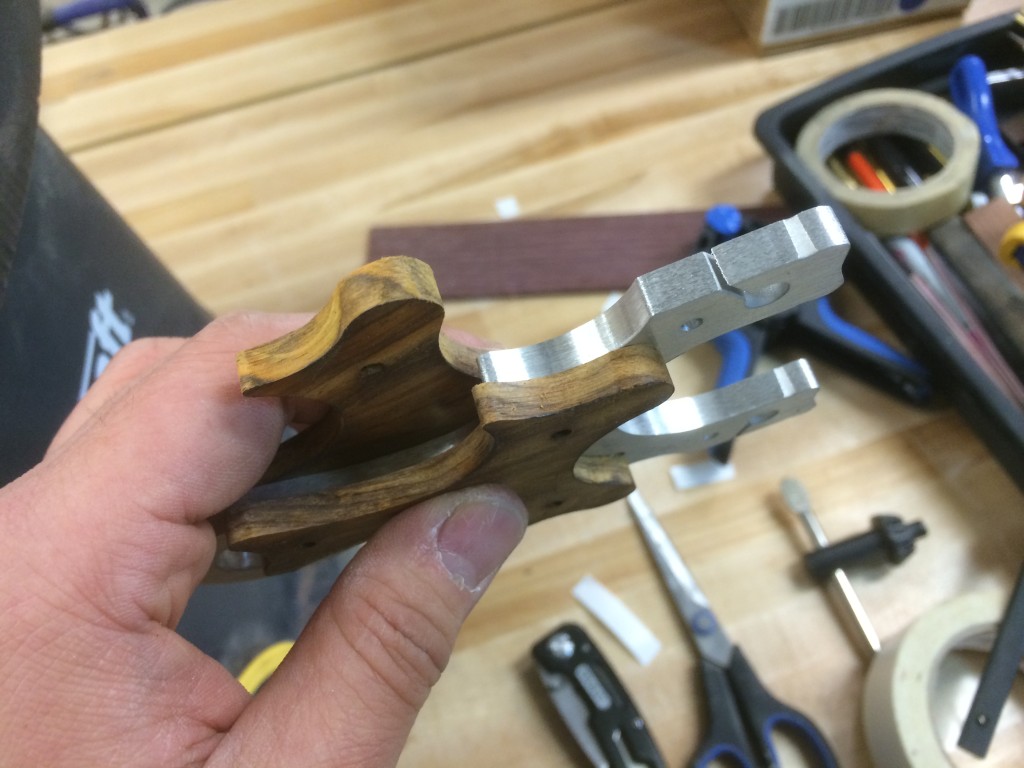
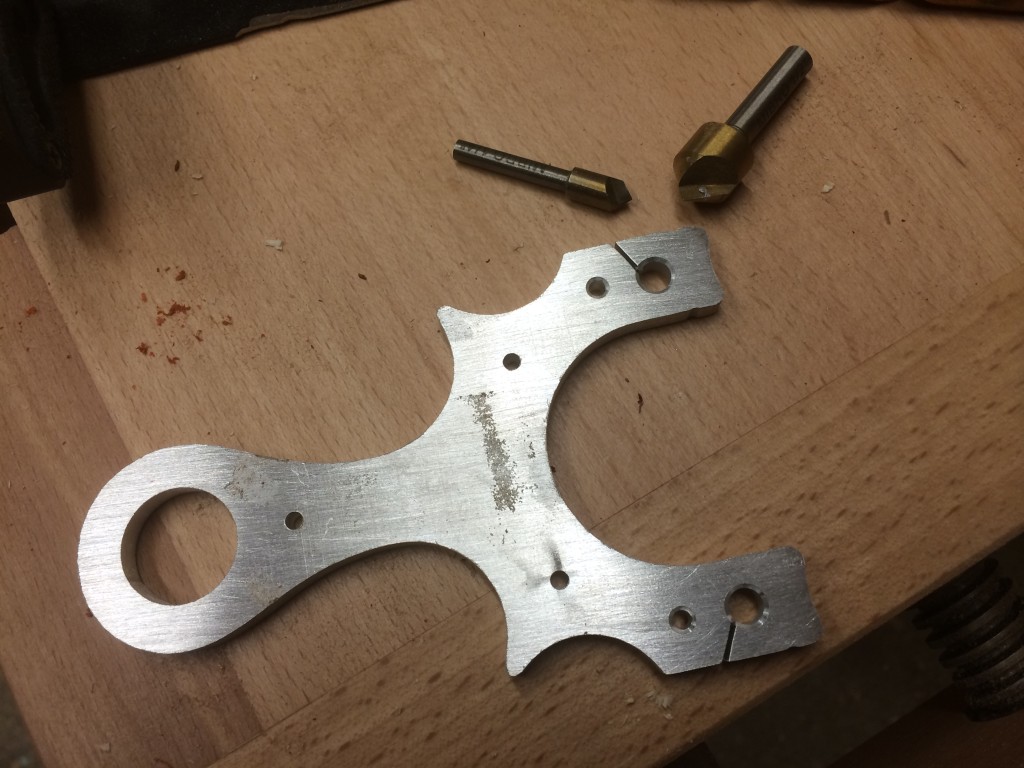
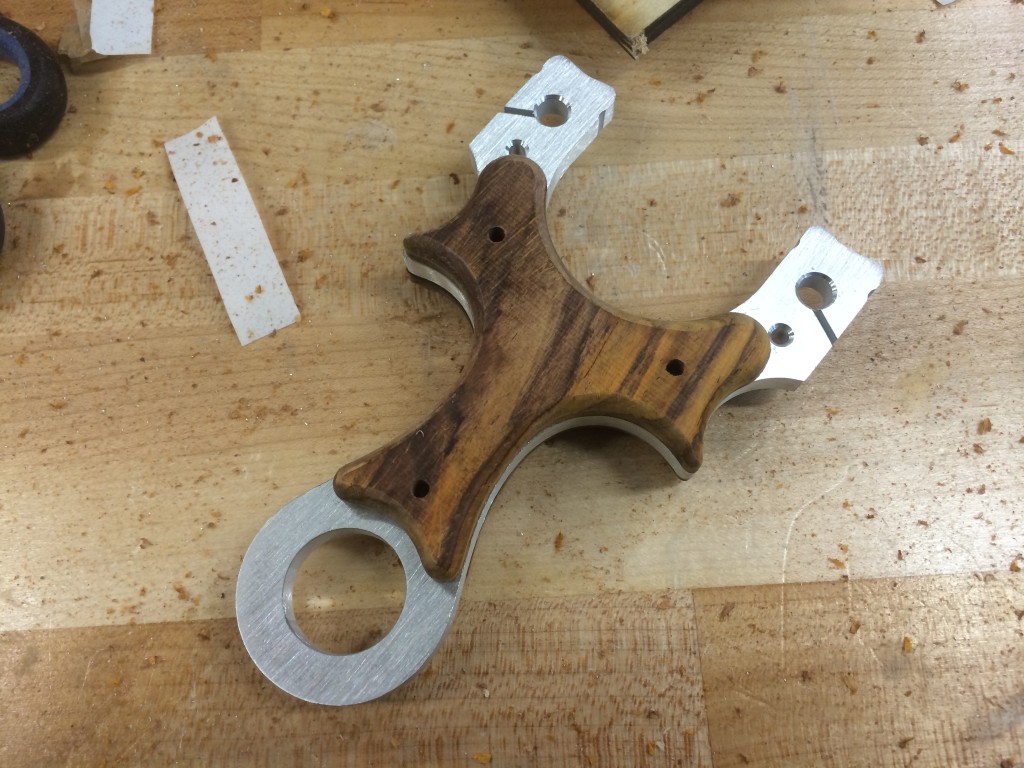
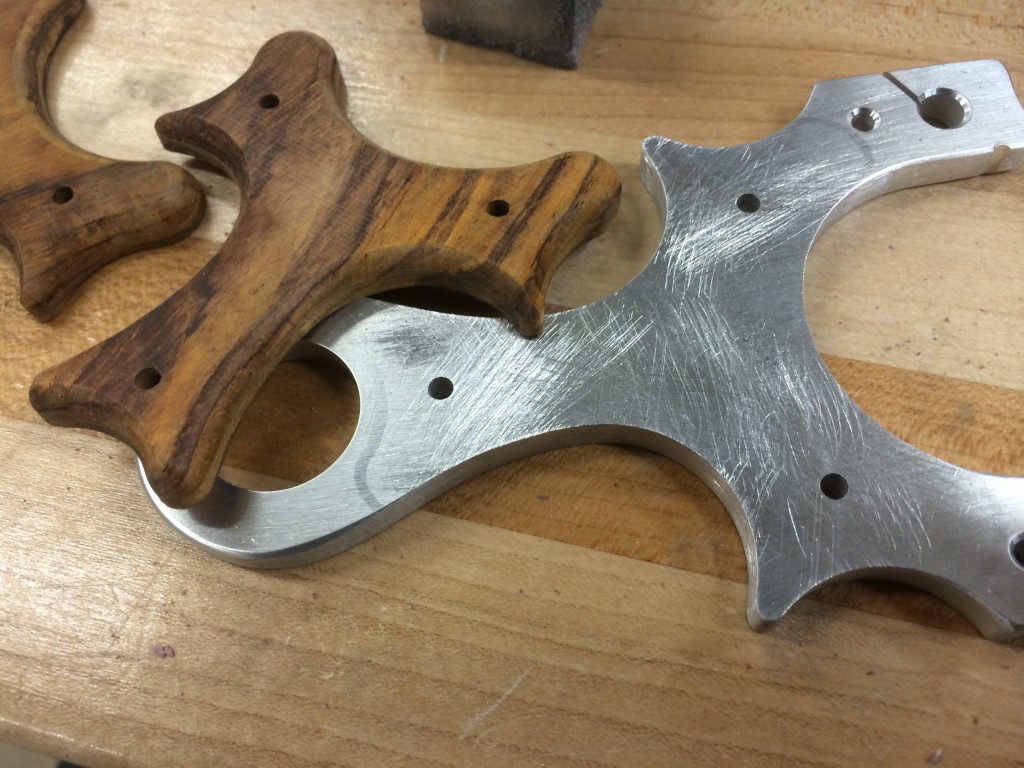
Mating metal with wood for the first time. The holes are undersized to .1″ so that I can drill it out to .125″ for the stabilizing pins.
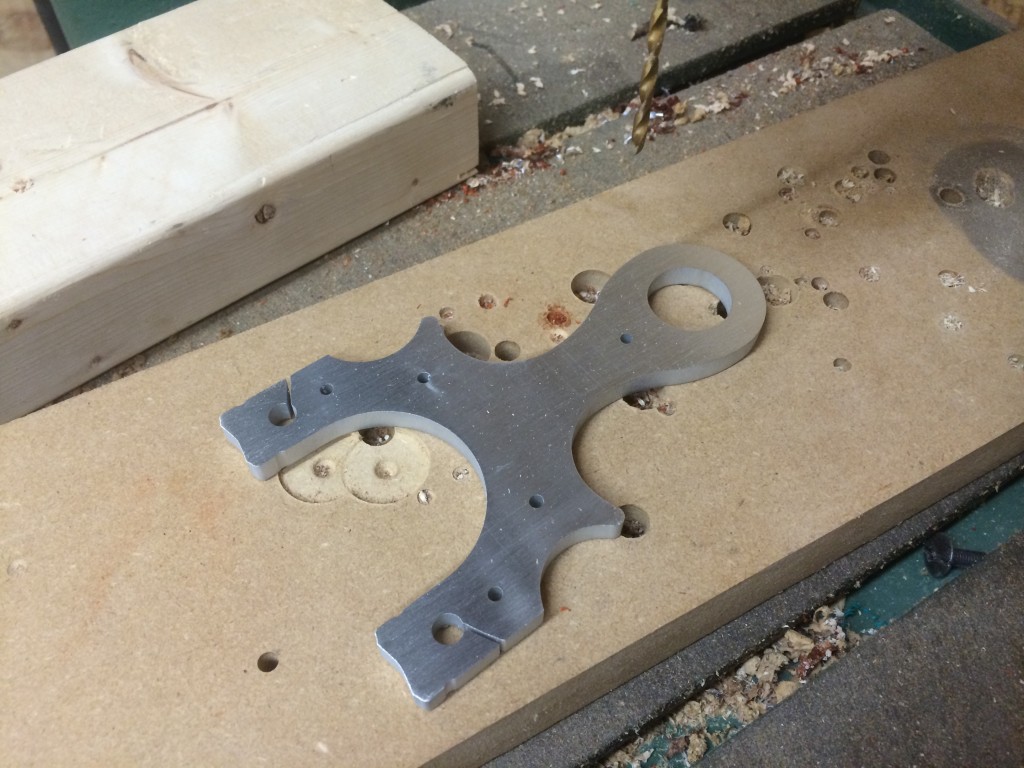
6061 is a nice crisp alloy, strong, but yields to HSS drill bits. The undersized holes on the water jet cut parts make for easy registration of the drill bit.
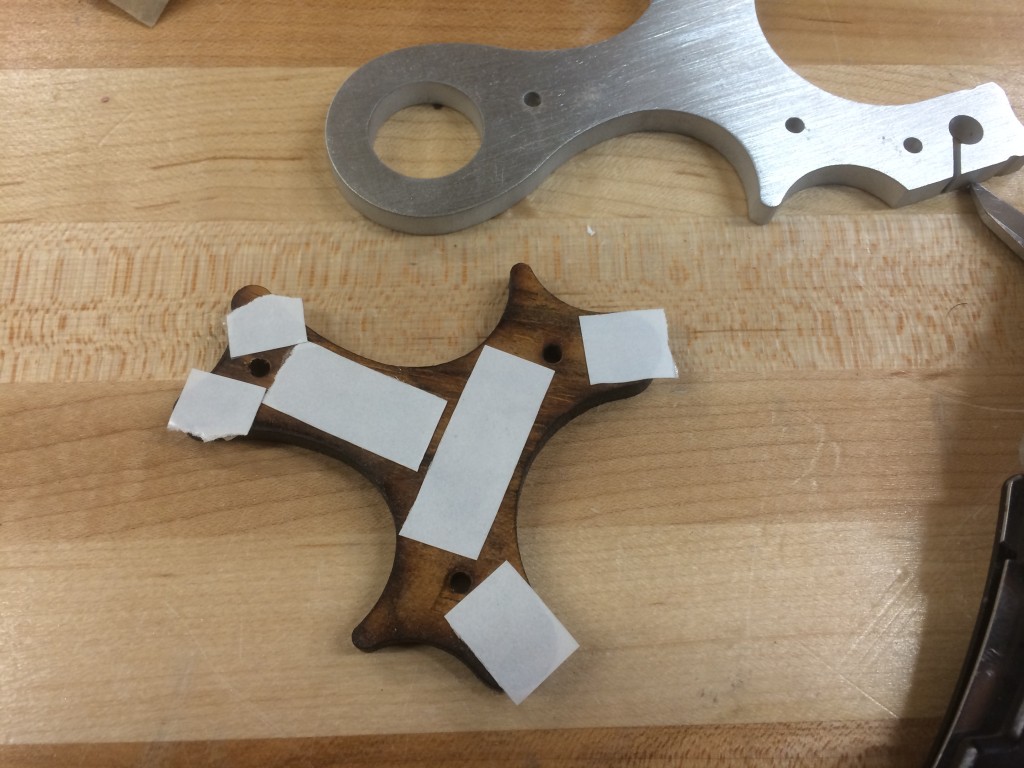
Applying some double sided tape to the scales so that they can be temporarily attached to the frame.
At this point, I am very excited….
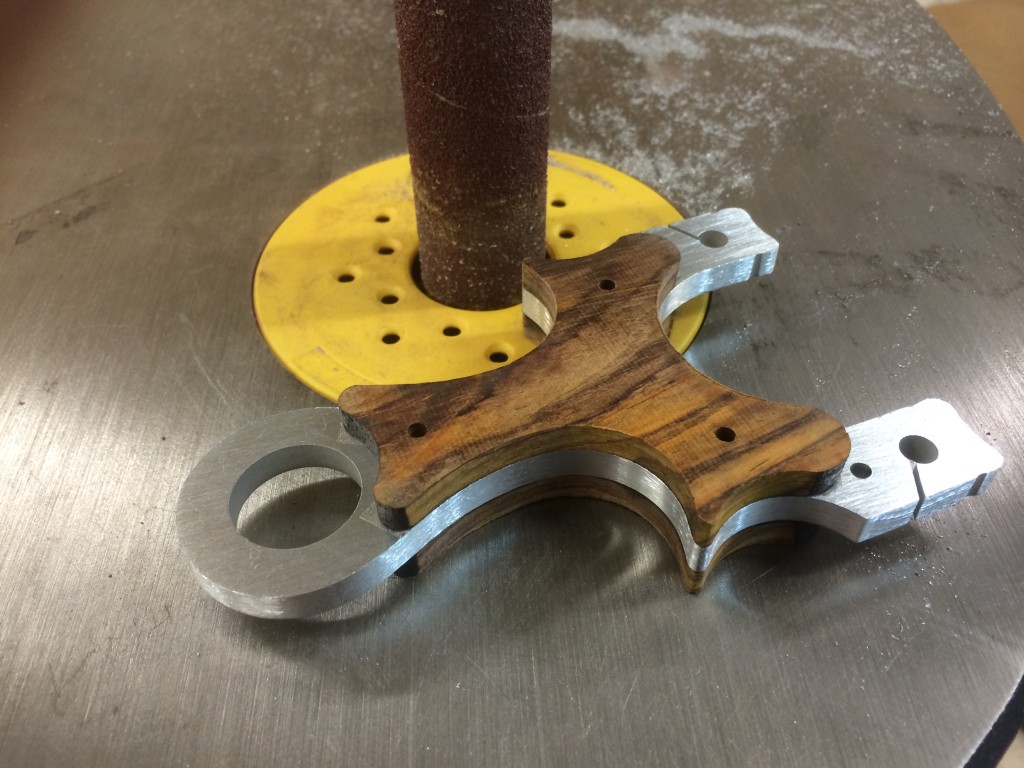
A 1.5″, 100 grit sanding drum takes care of about 90% of the sanding, making the scale flush with the frame.
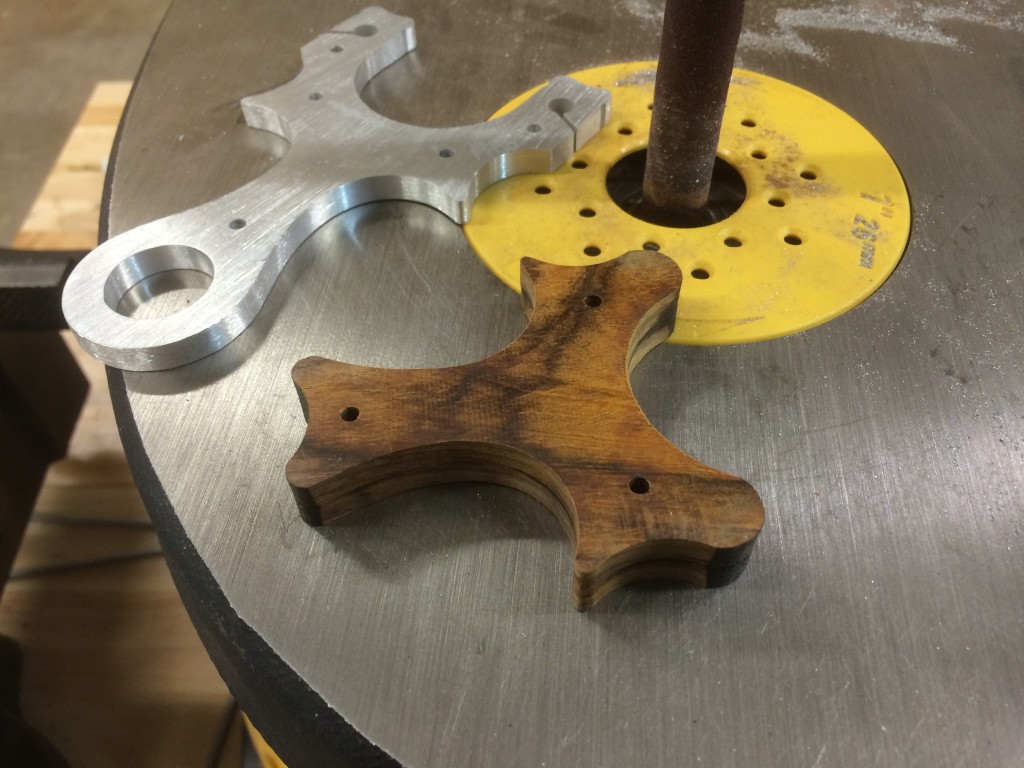
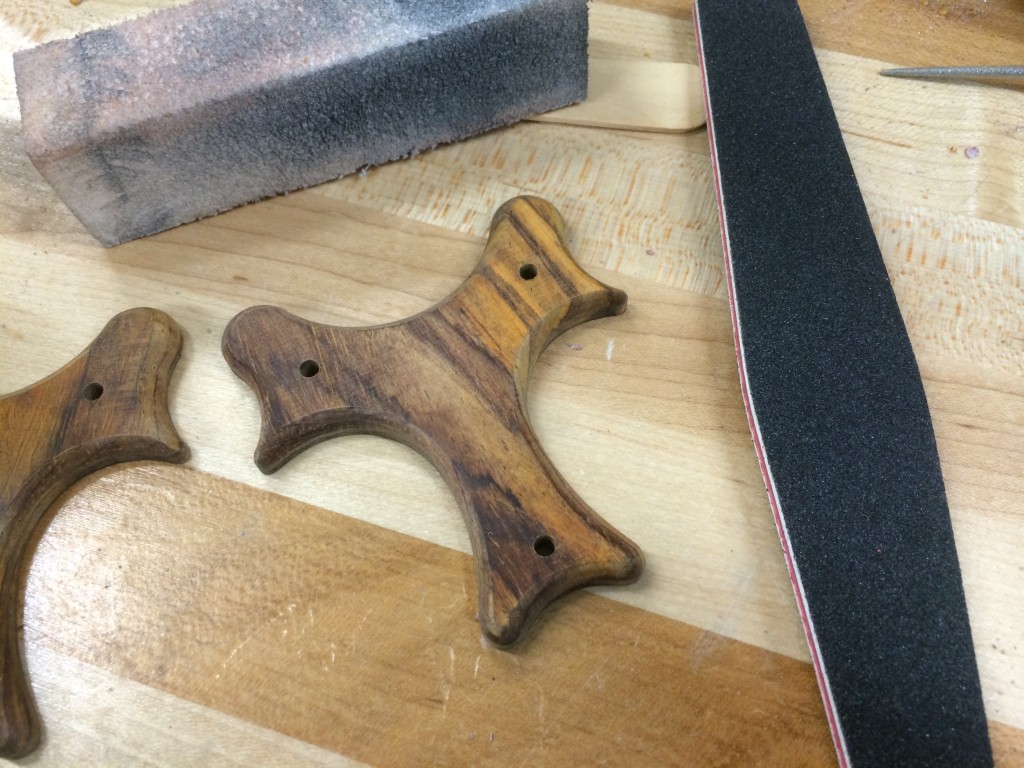
Once the edges of the frame were sanded, the scales were removed and the remaining edges inaccesible while mounted on the frame, were sanded flat. This removed the laser cutting burned edge.
All of the edges were sanded with a 240 grit sanding drum for an even, smooth face.
I went back to the laser cutter and cut out a 1/4″ Baltic birch plywood scale shape and mounted the scales on it with tape. This is necessary as the 1/4″ router bit needs a guide to ride on. At this point, I name the slingshot, the Alugator! The shape of the scale reminded me of a gator head.
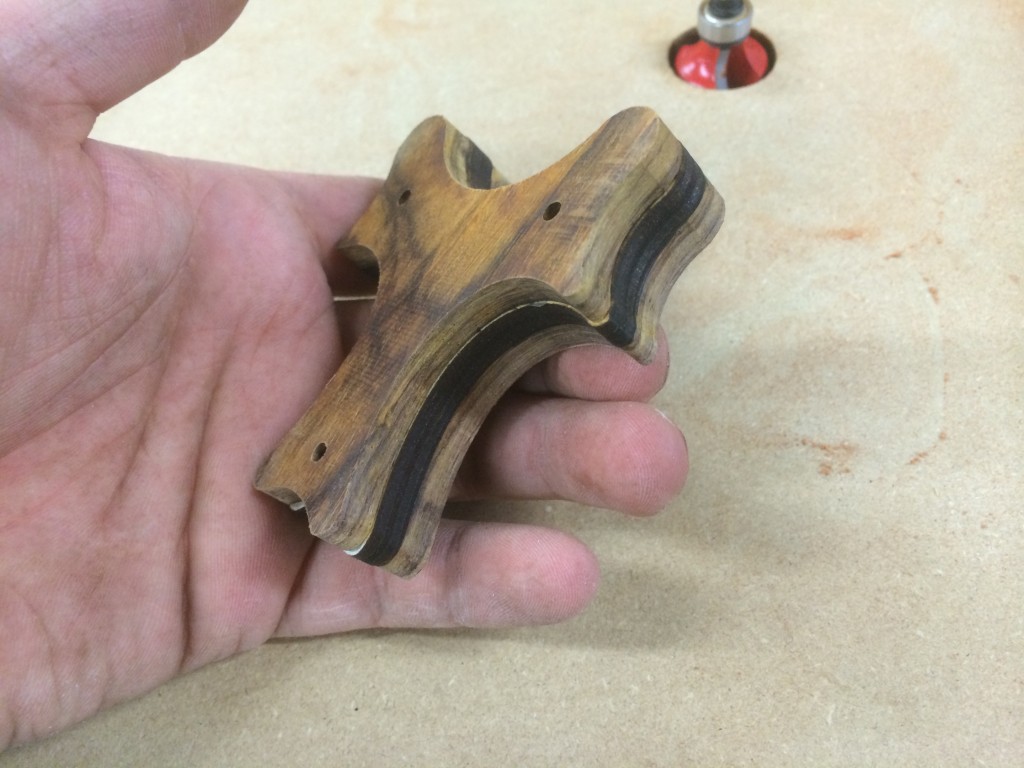
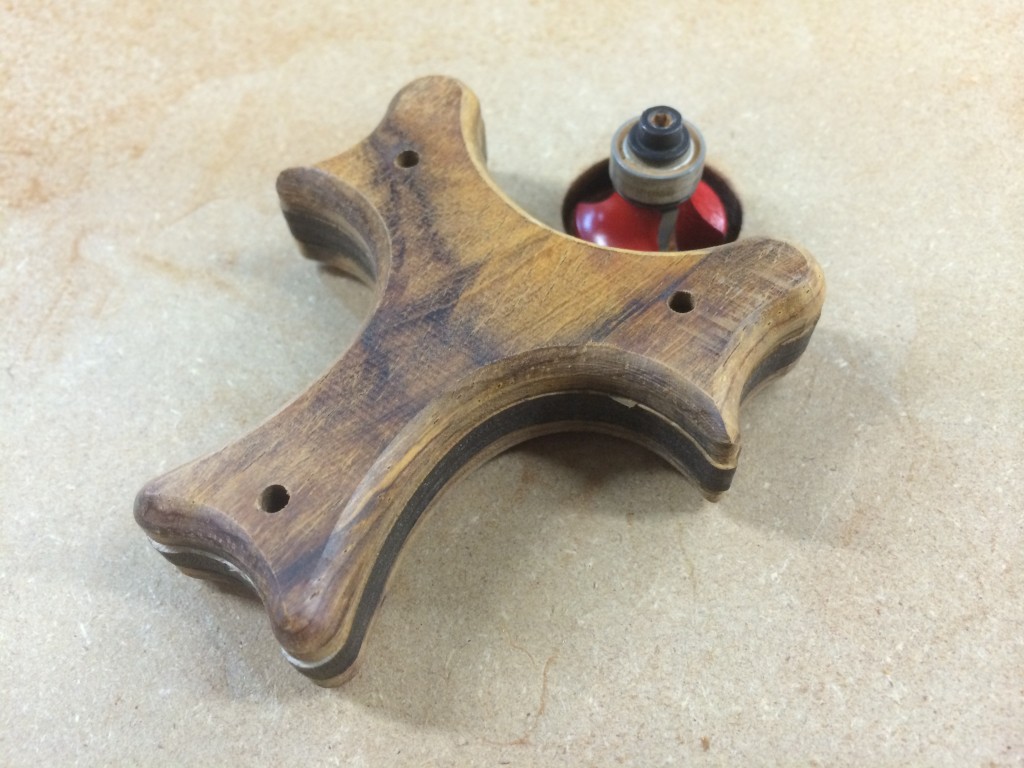
A quick pass on the router rounds all the edges.
I forgot to take a pic of the plywood but one of the edges of the tips was sanded just a bit to reveal a gap to push a pry tool into it. This helped separate the layers after I pressed them together to adhere the tape.
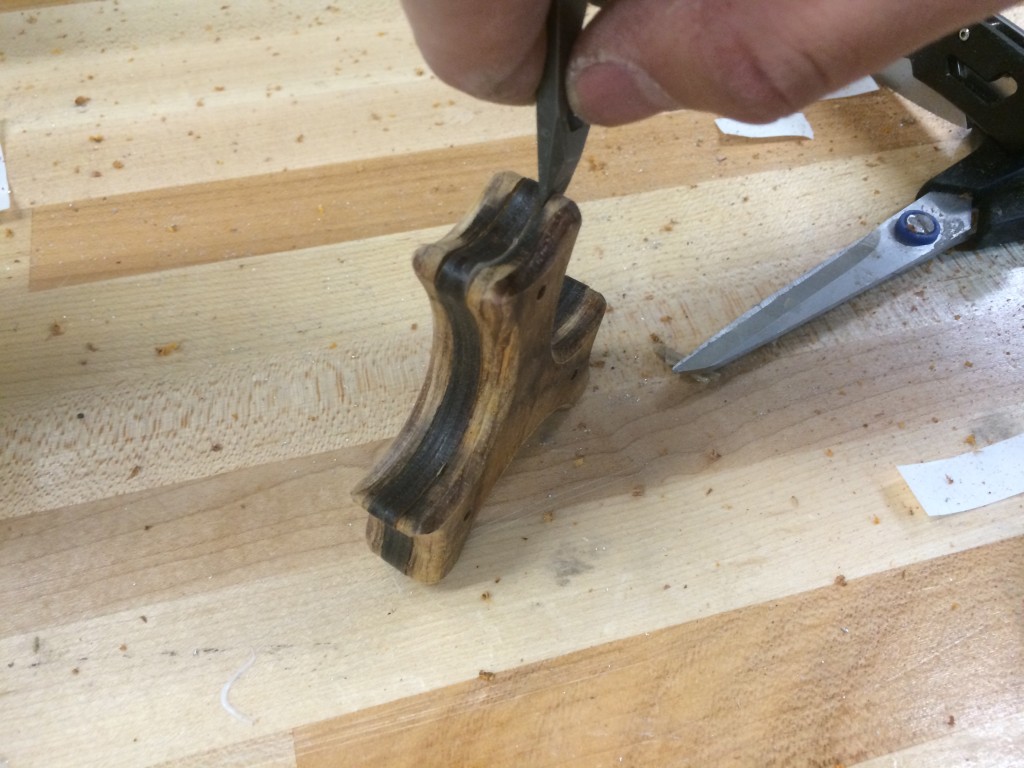
I turned my attention back to the frame. One pair of pin holes would be exposed so I used a tiny 1/4″ counter sink to make the hole look nicer, and a 1/4″ counter sink broke the edge of the tube hole.
Beginning to look like a sweet piece!
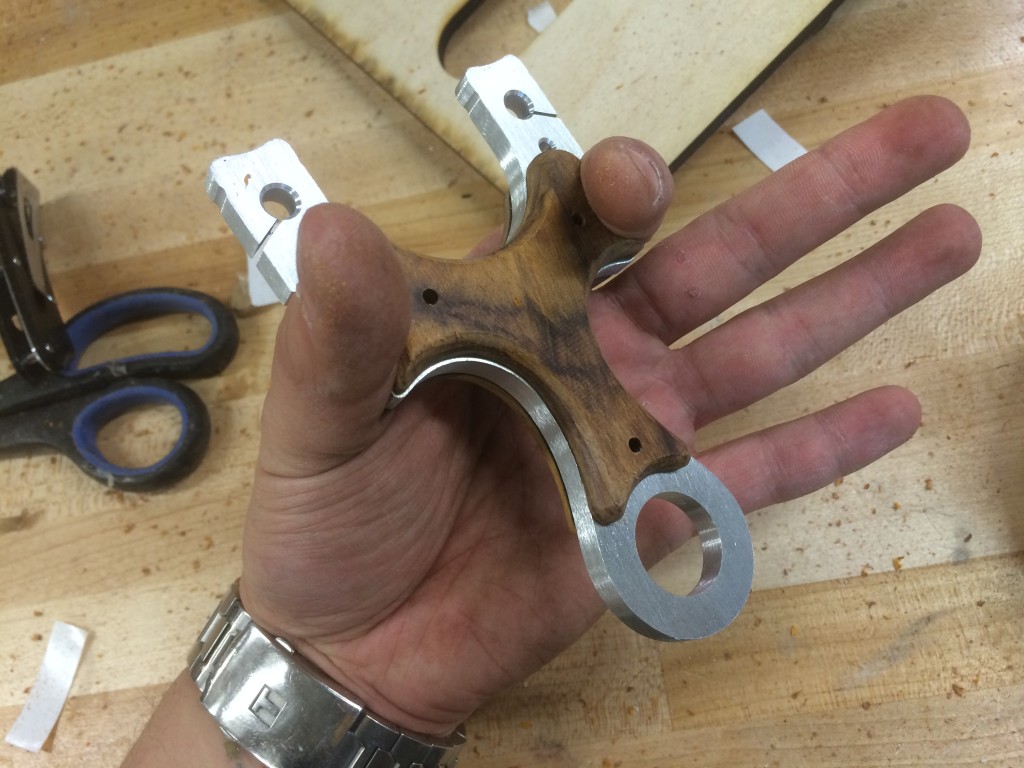
The grip is also very comfortable to hold.
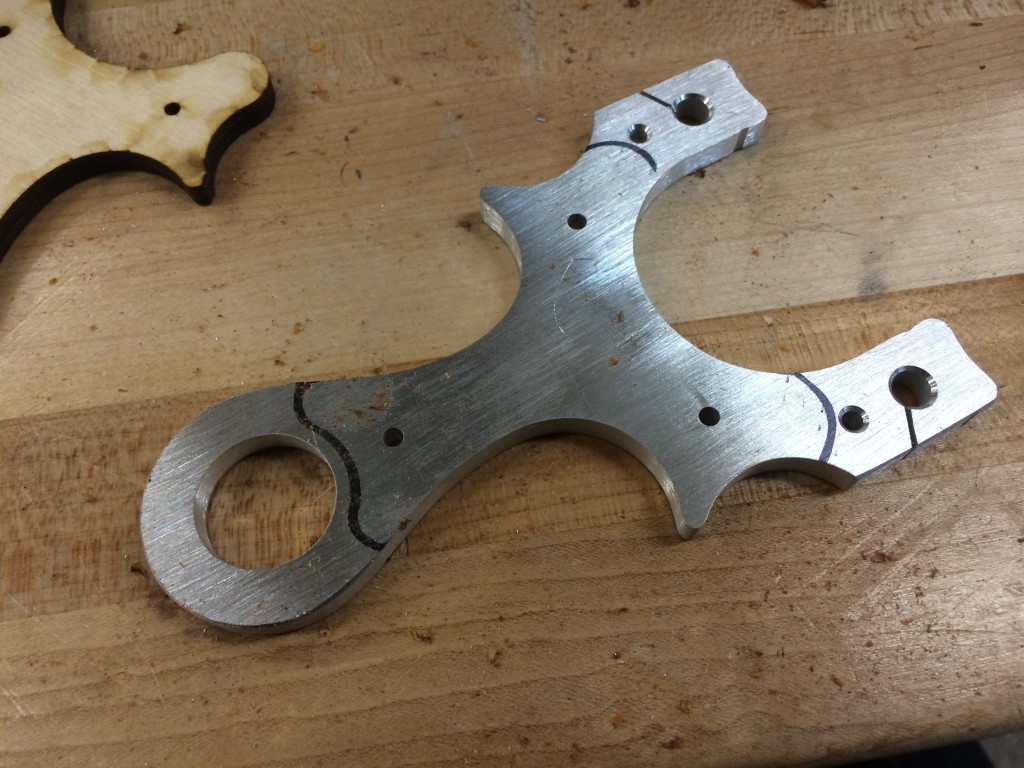
Using a marker, I trace the rough location of the scale position so I can chamfer the edges of the frame in the correct places. If I didn’t do this, I could accidentally ruin the smooth seam between the scale and the frame.
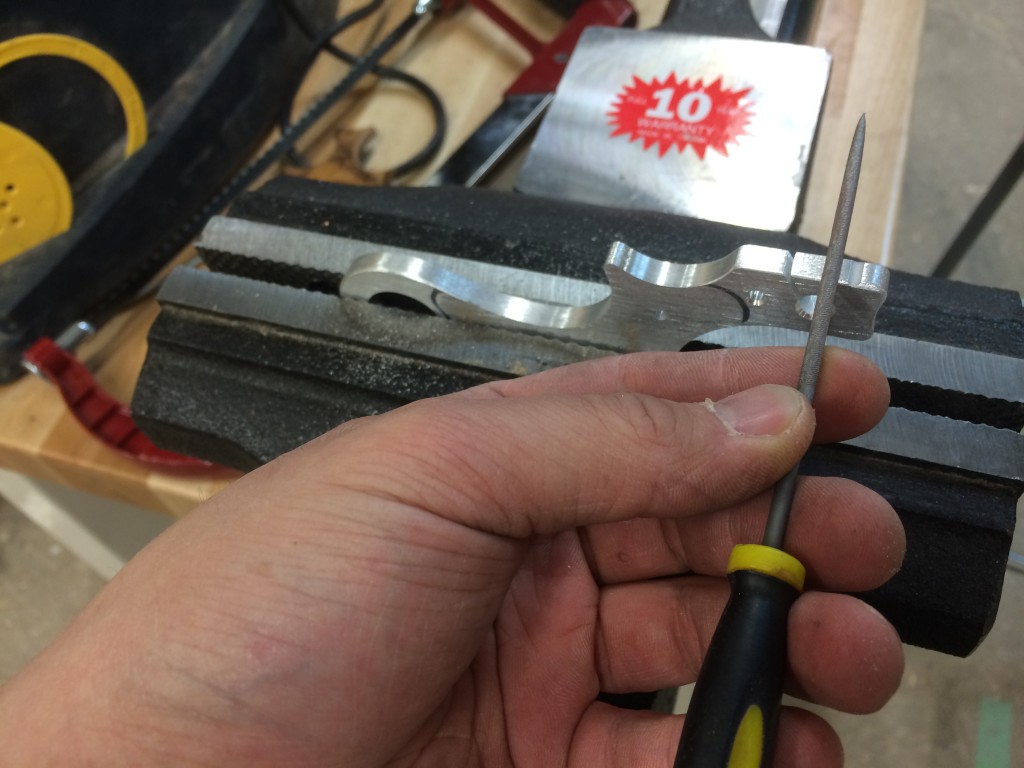
After knocking off the edges, I use a 1/8″ rail tail file to cut in the flat band attachment grooves.
I speed things up here only to be slowed down by the drying time of epoxy. Some heavy 40 grit sand paper roughened the mating surface.
Before epoxy, I finalize the shape of the scales.
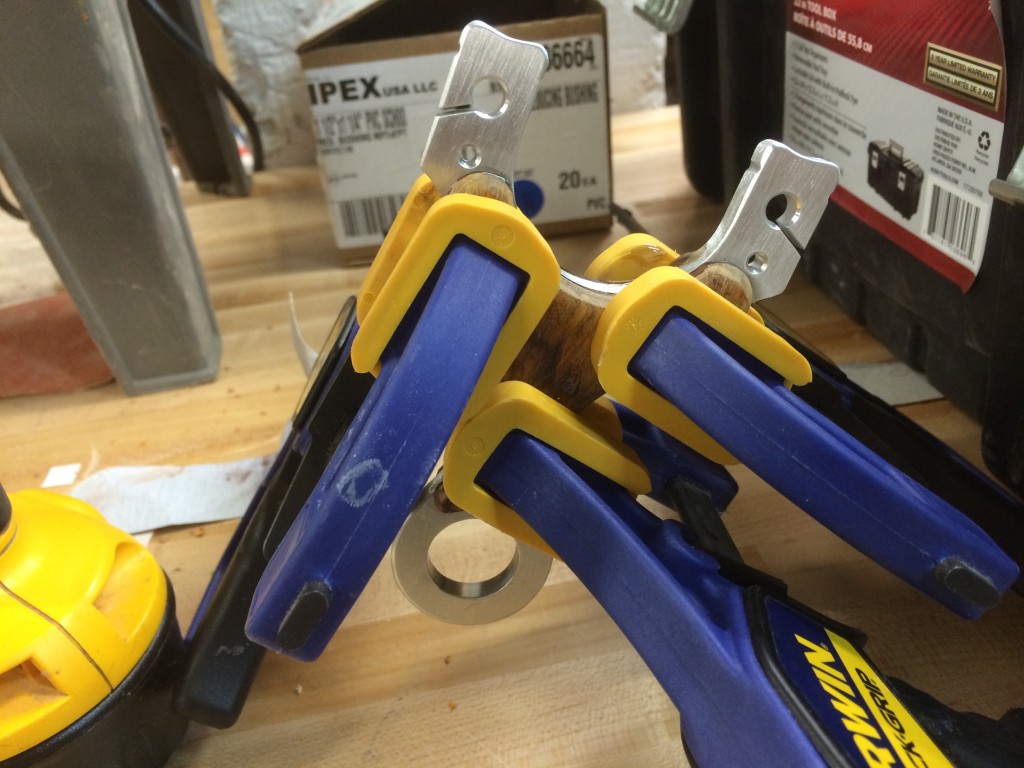
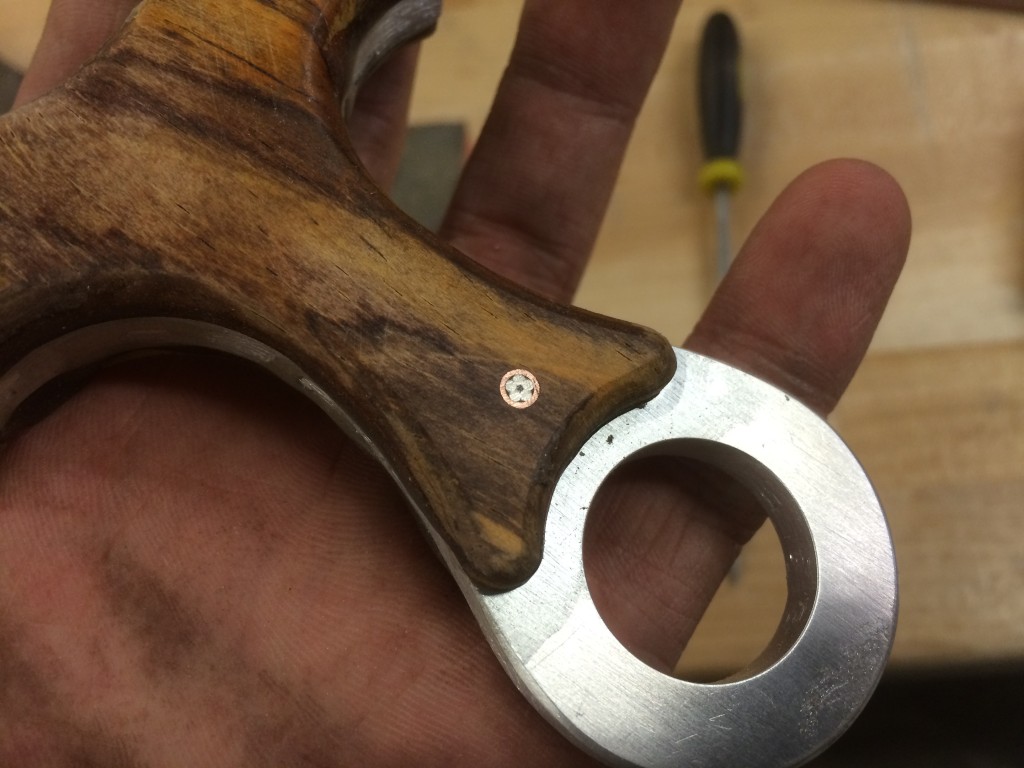
I couldn’t take any pics of the gluing process, since it required gloves and quick timing. I fed the copper tube and the mosaic pin into the frame before applying epoxy, then sandwiched the scales on. Pressure, provide by the clamps, squeezed out any excess epoxy. I used a few cotton swabs to mop up any excess epoxy that oozed out at the areas that I wouldn’t be able to get at with the spindle sander.
After an hour, the epoxy was hard enough to work on.
A couple of light passes on the belt sander erased the epoxy on the surface, revealing the mosaic pin and copper tubing.
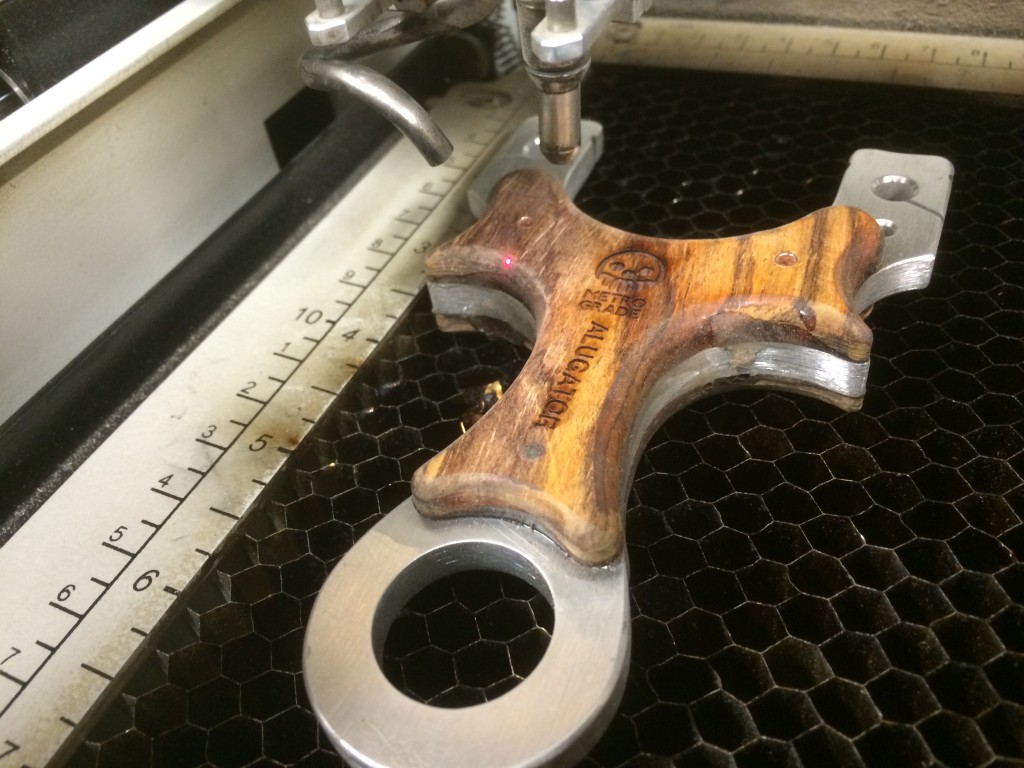
Using the pins as registration, the Metro Grade skull and the name, Alugator was laser etched into the surface.
The remaining epoxy was sanded off with the spindle sander and the exposed edges were quickly run over on the router.
After sanding the scales with 100, 240, 600 and then some 000 steel wool, it was time for three coats of acrylic sealer.
That’s it! Then it was off to the photoshop.
Expect many more aluminum core slings from us, we have a lot of them and we have a lot of cool wood and scale materials coming to the shop.
Thanks for reading!
-Stay True-
Eric
