
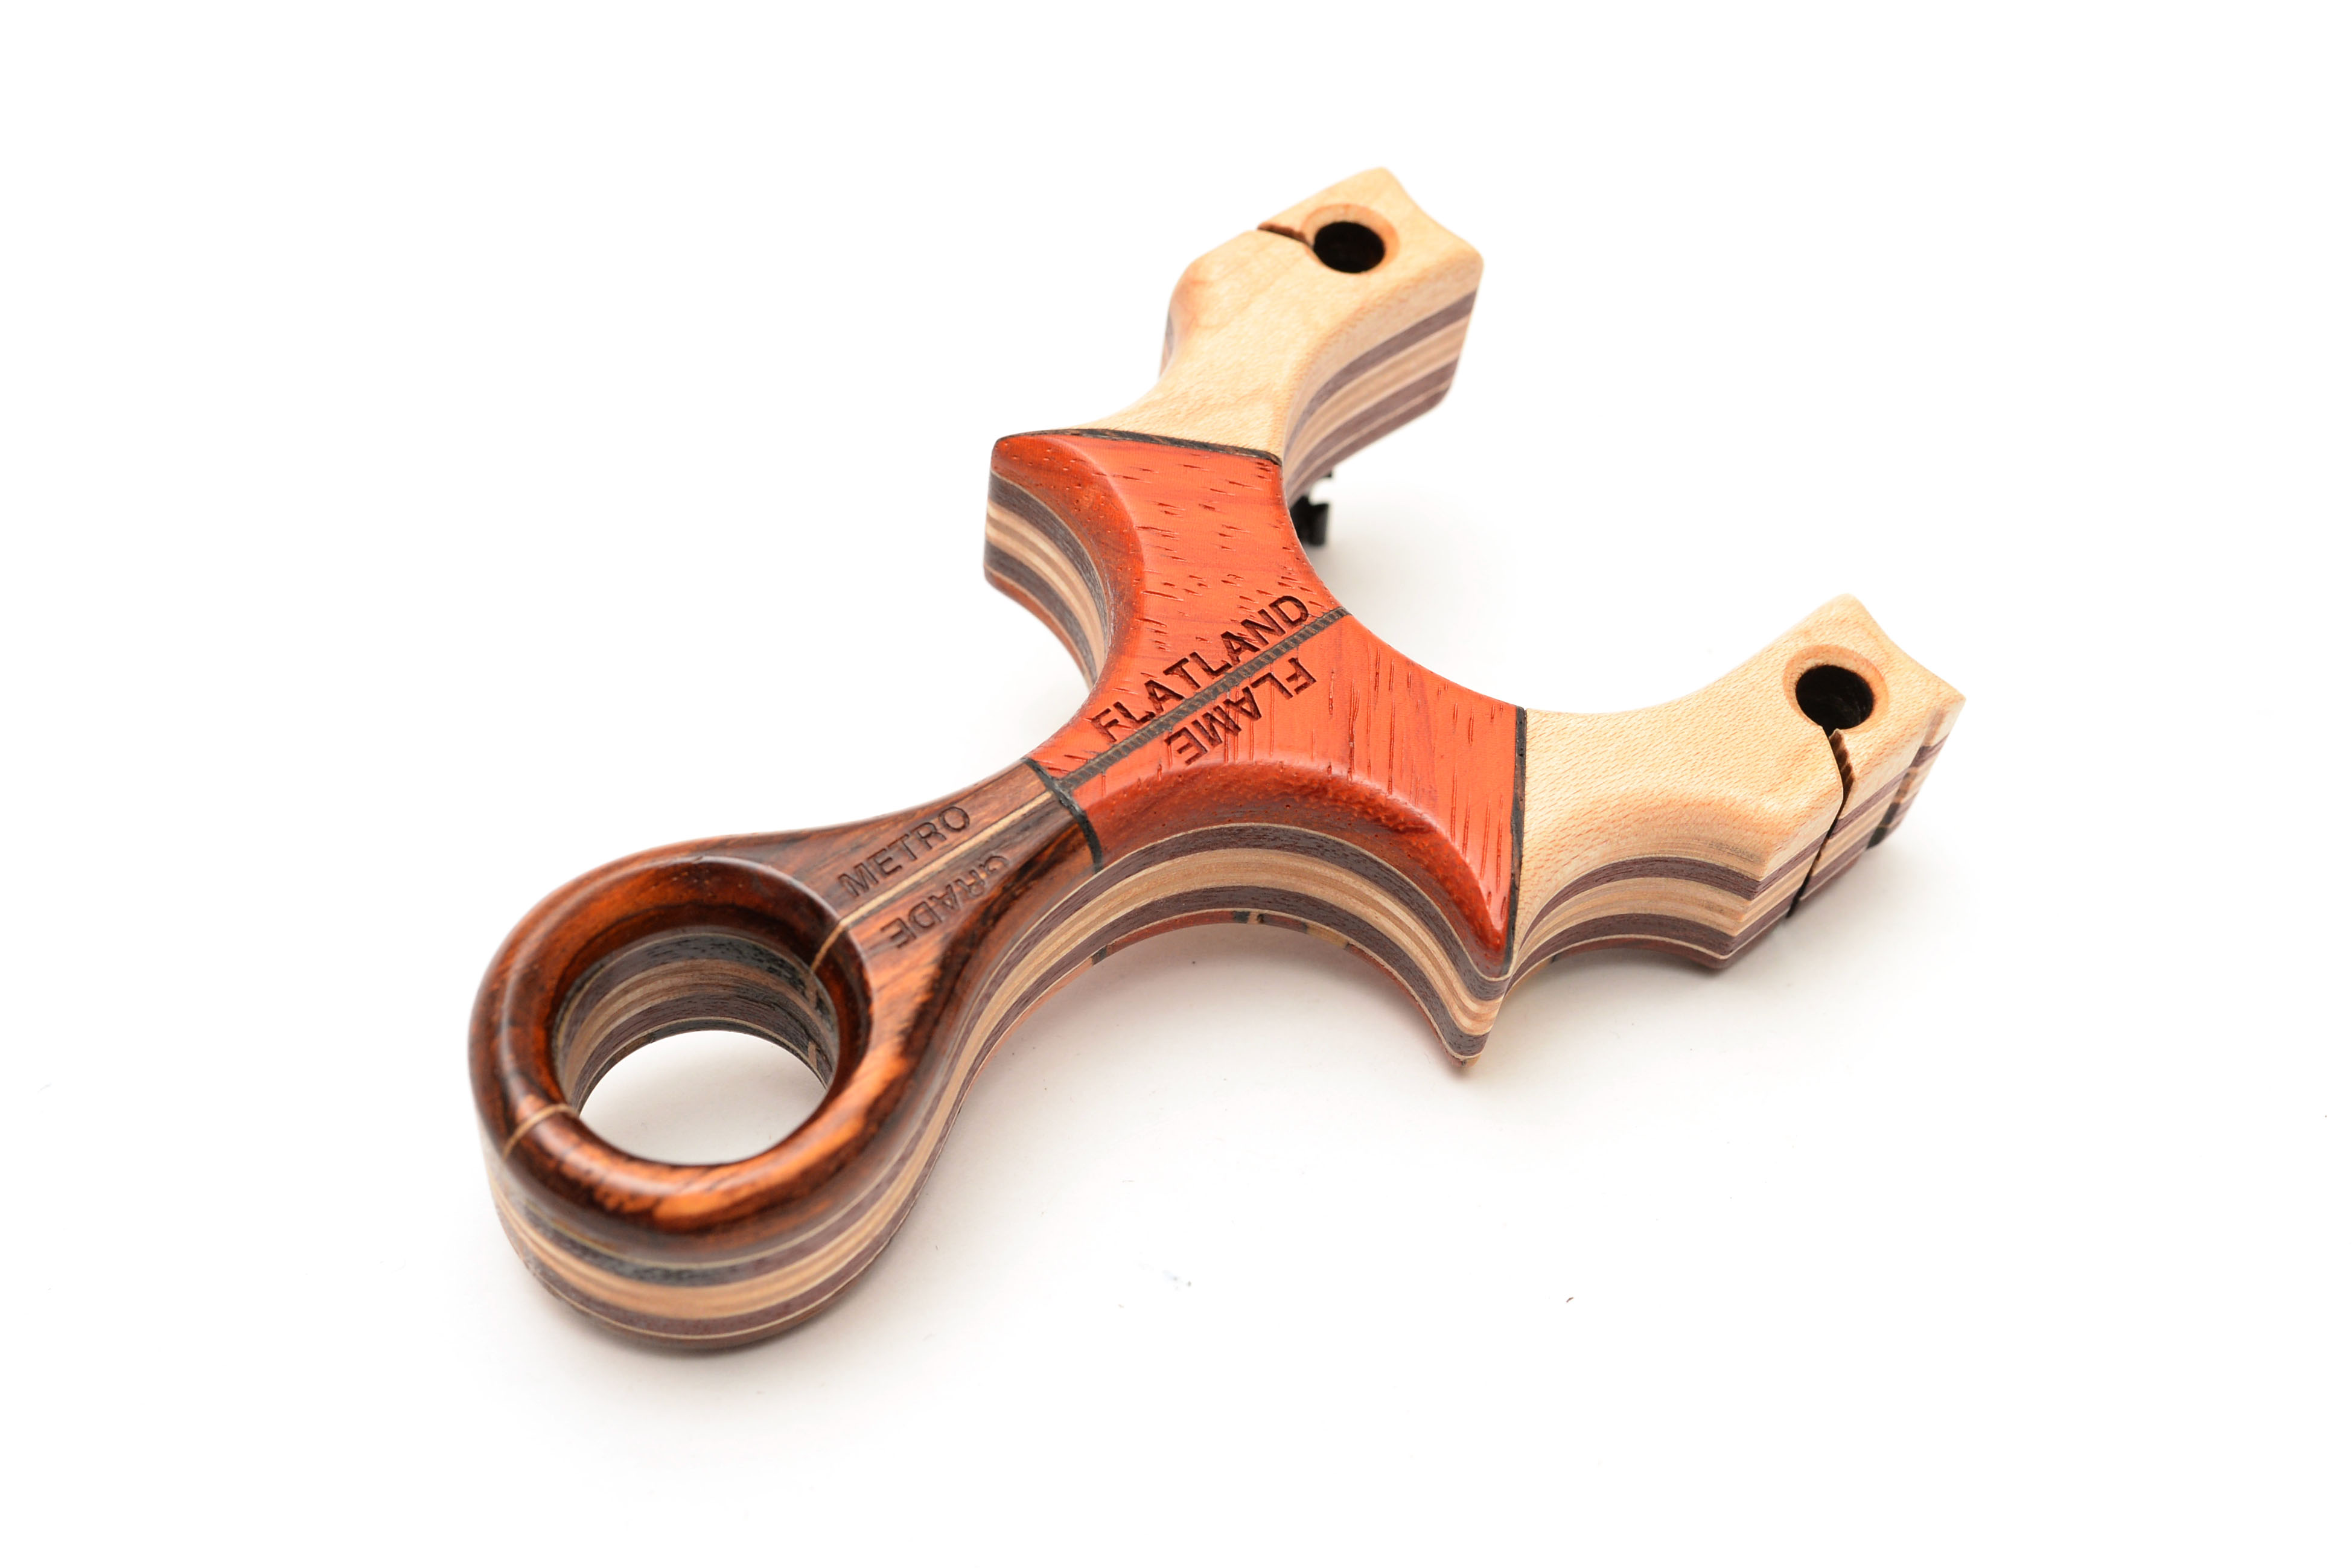
http://catherinecrouch.com//ffAA531.php When I was commissioned by Prairie Fire magazine to make a few slingshots for their annual fundraiser, I gladly accepted the challenge. This Metro Made documents the creation of the first of the two, the Flatland Flame.
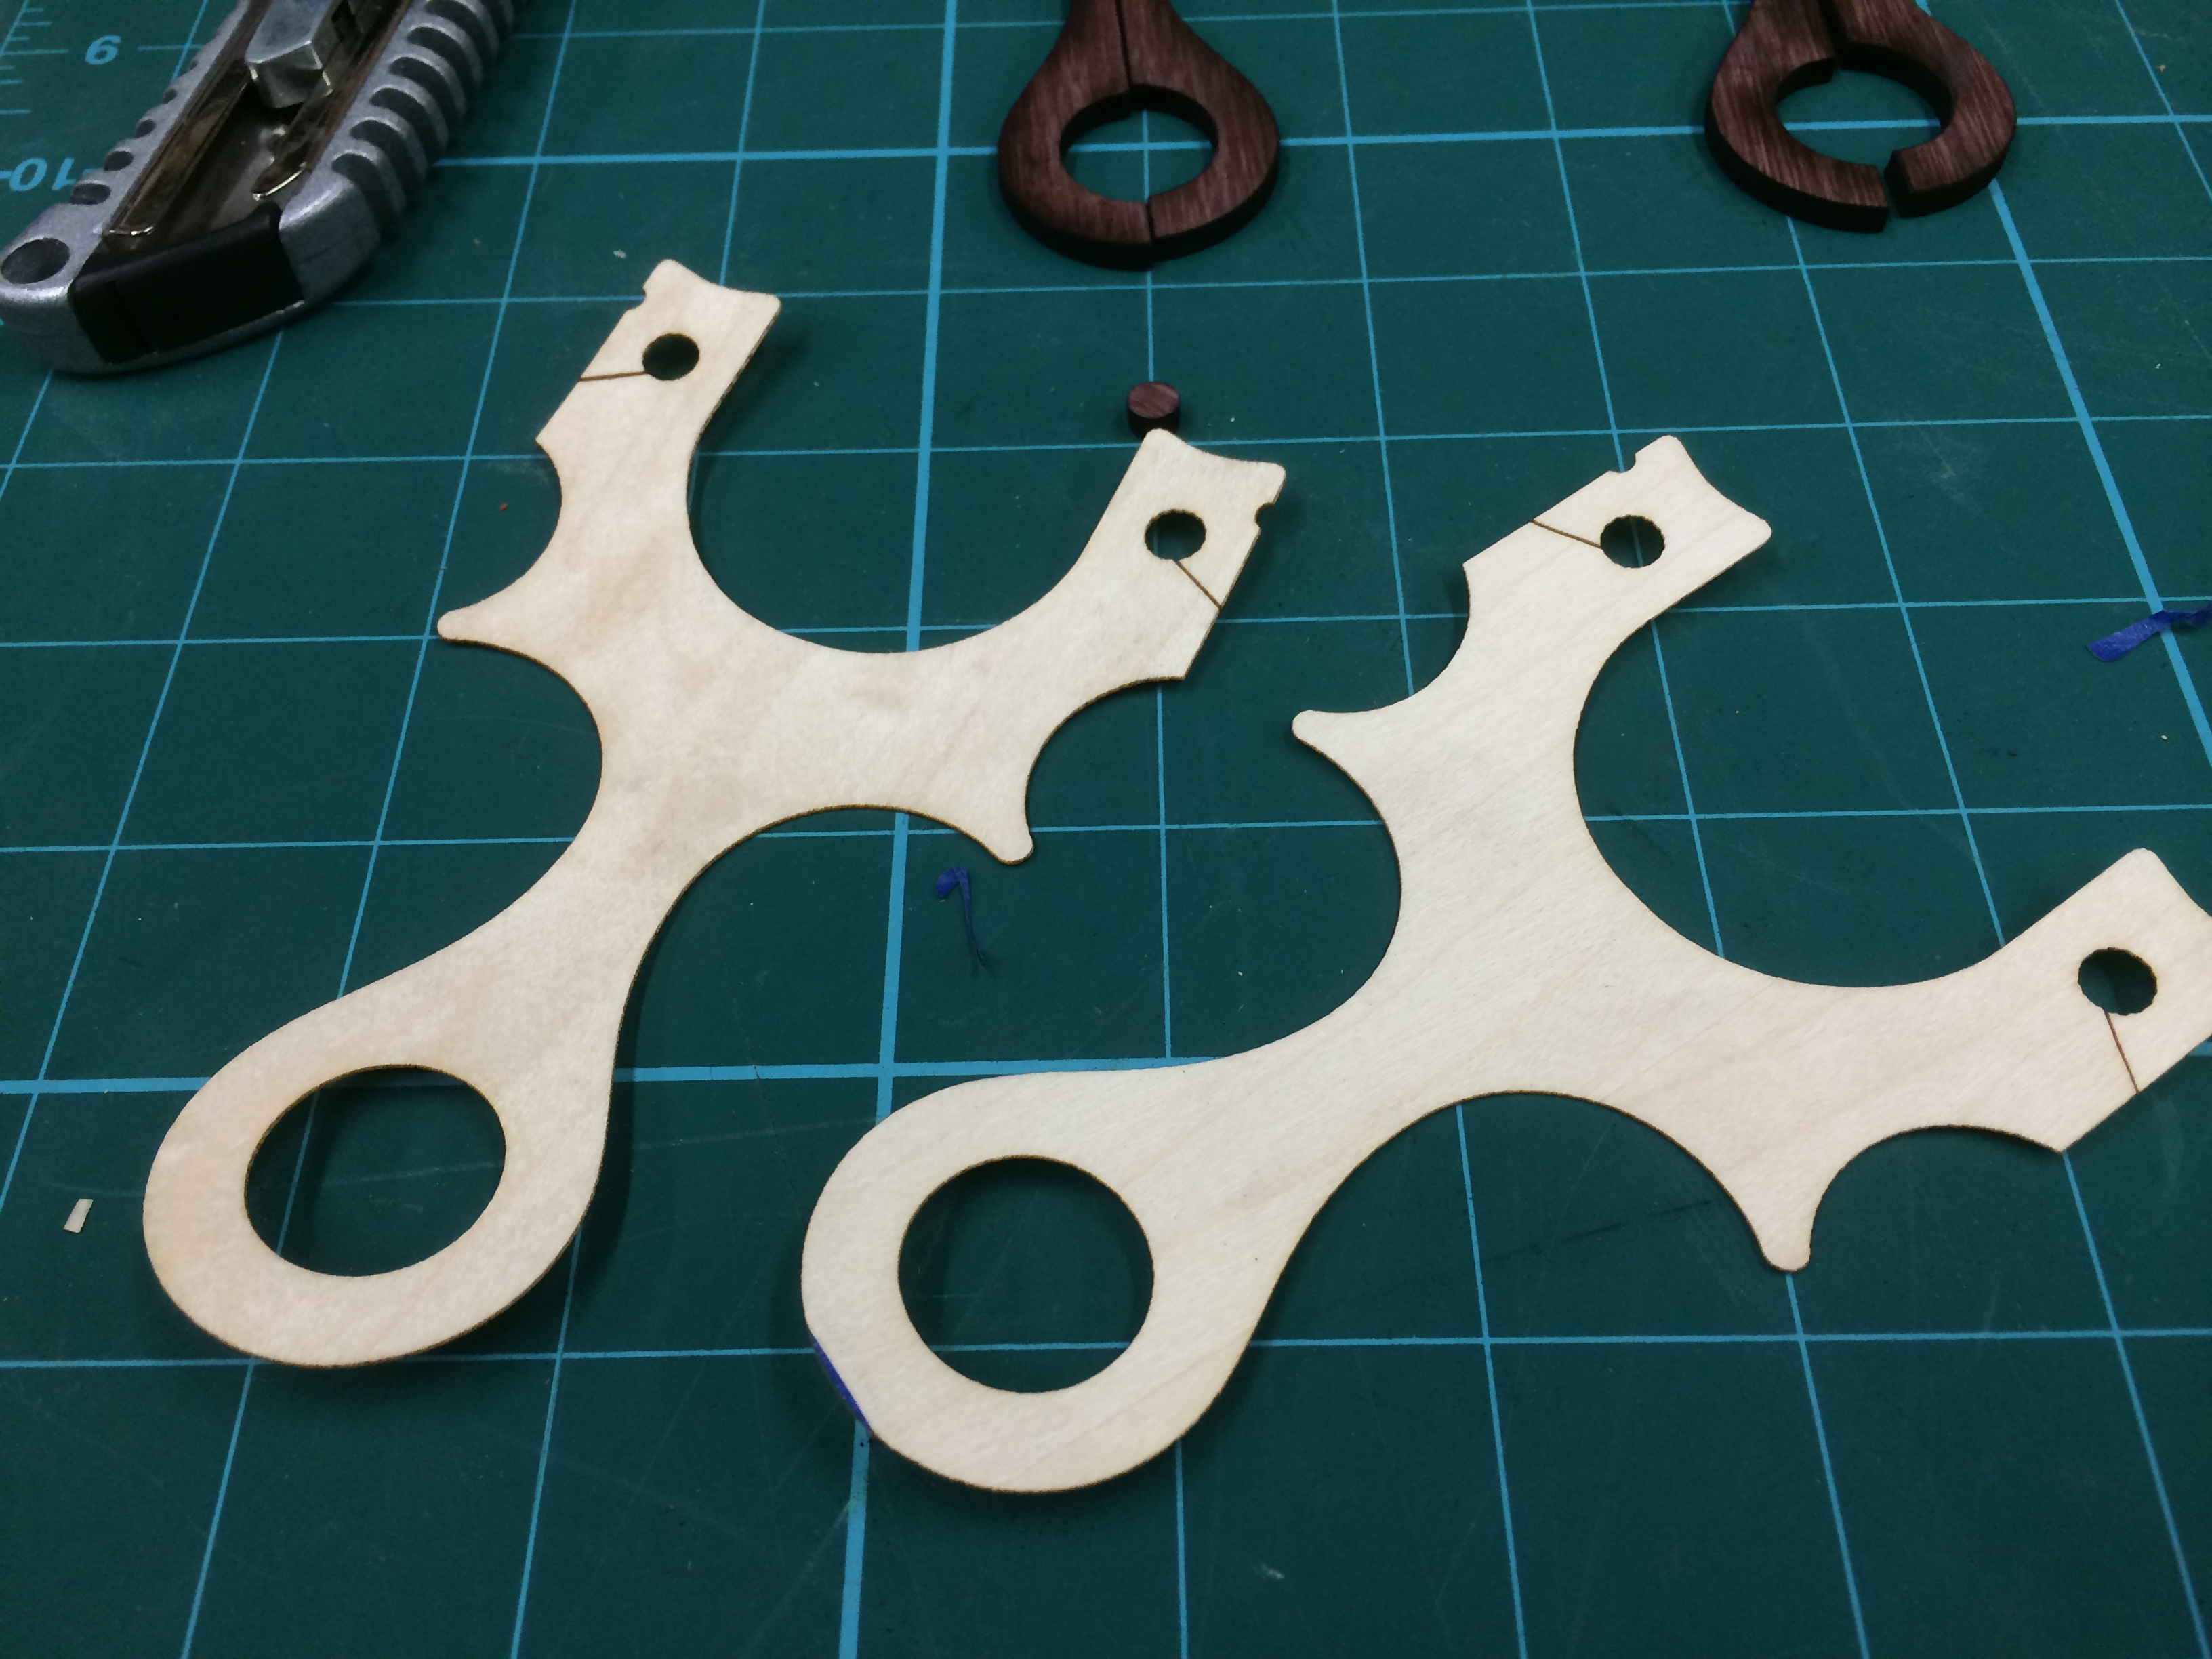
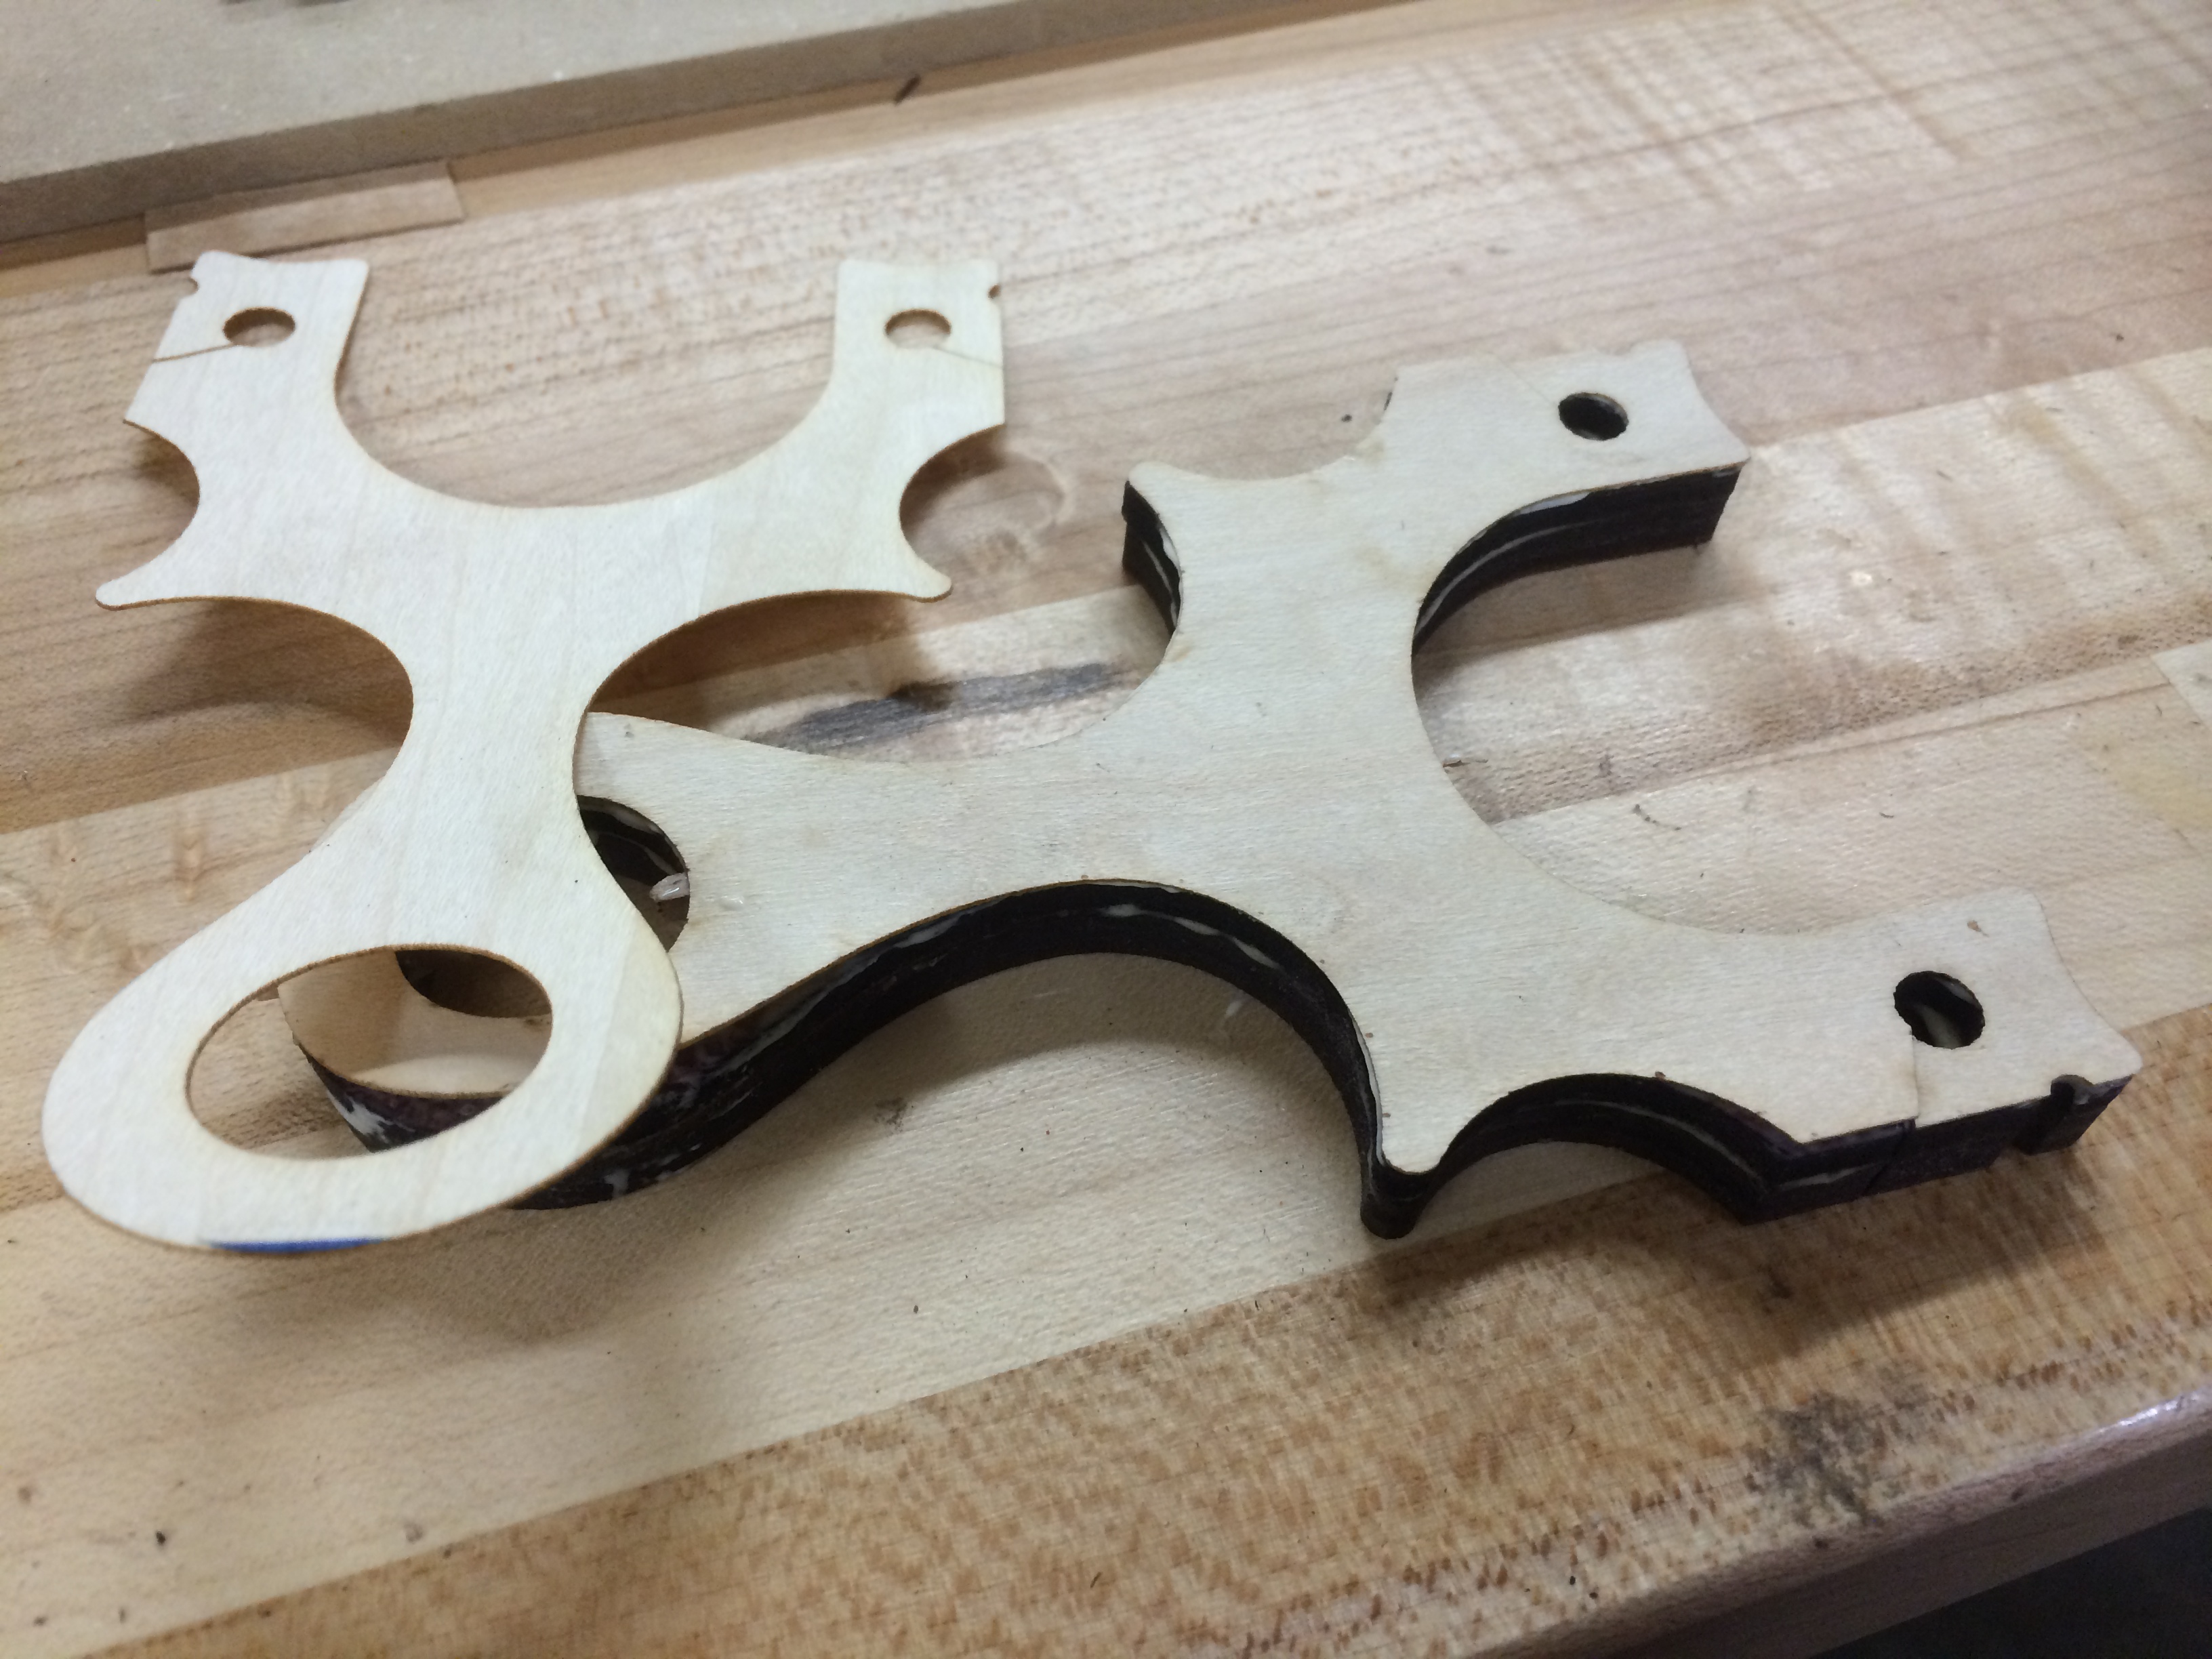
I started with a familiar design, the Harlequin Capuchin. Laser cut some 1/16″ thick purple heart slabs. Since the piece of purple heart I had was only 3″ wide, I had to split it up in halves.

To get a bit more contrast between the purple heart and laminated faces, some maple veneer was also cut.
Slowly, but surely, each piece of the puzzle was cut from various woods. Shown here is some Cocobolo, some Padauk and some Tulipwood.
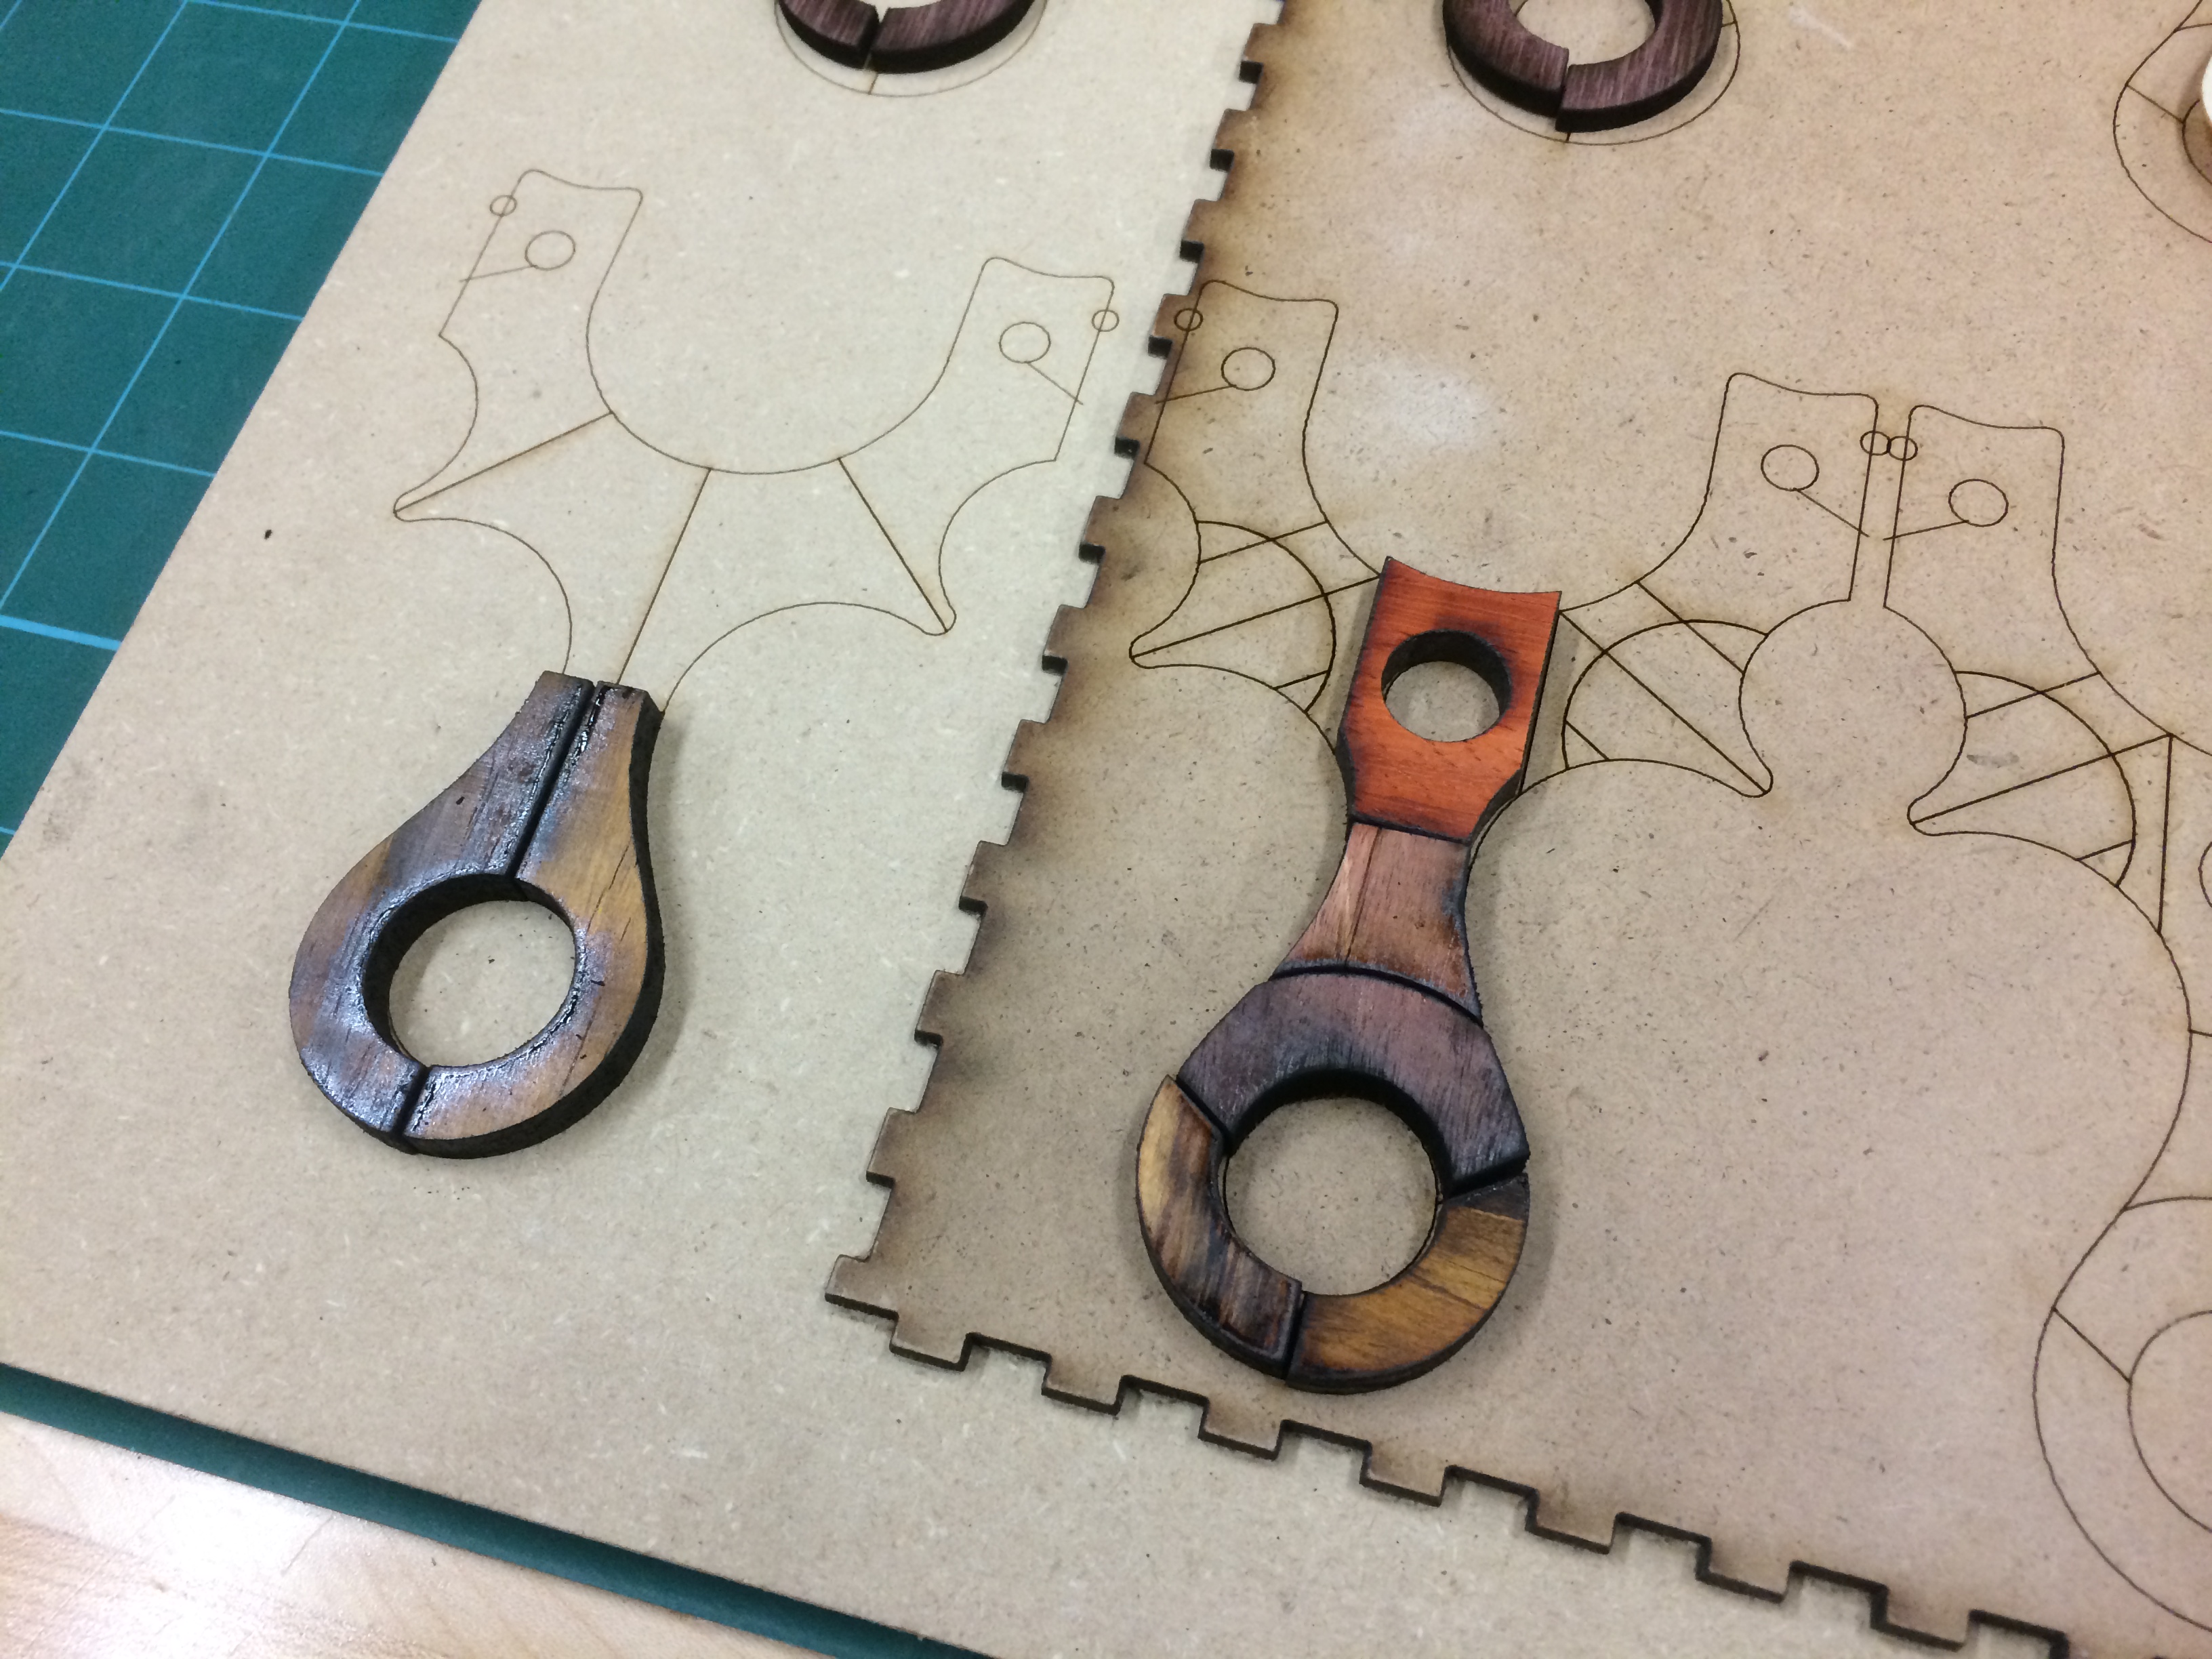
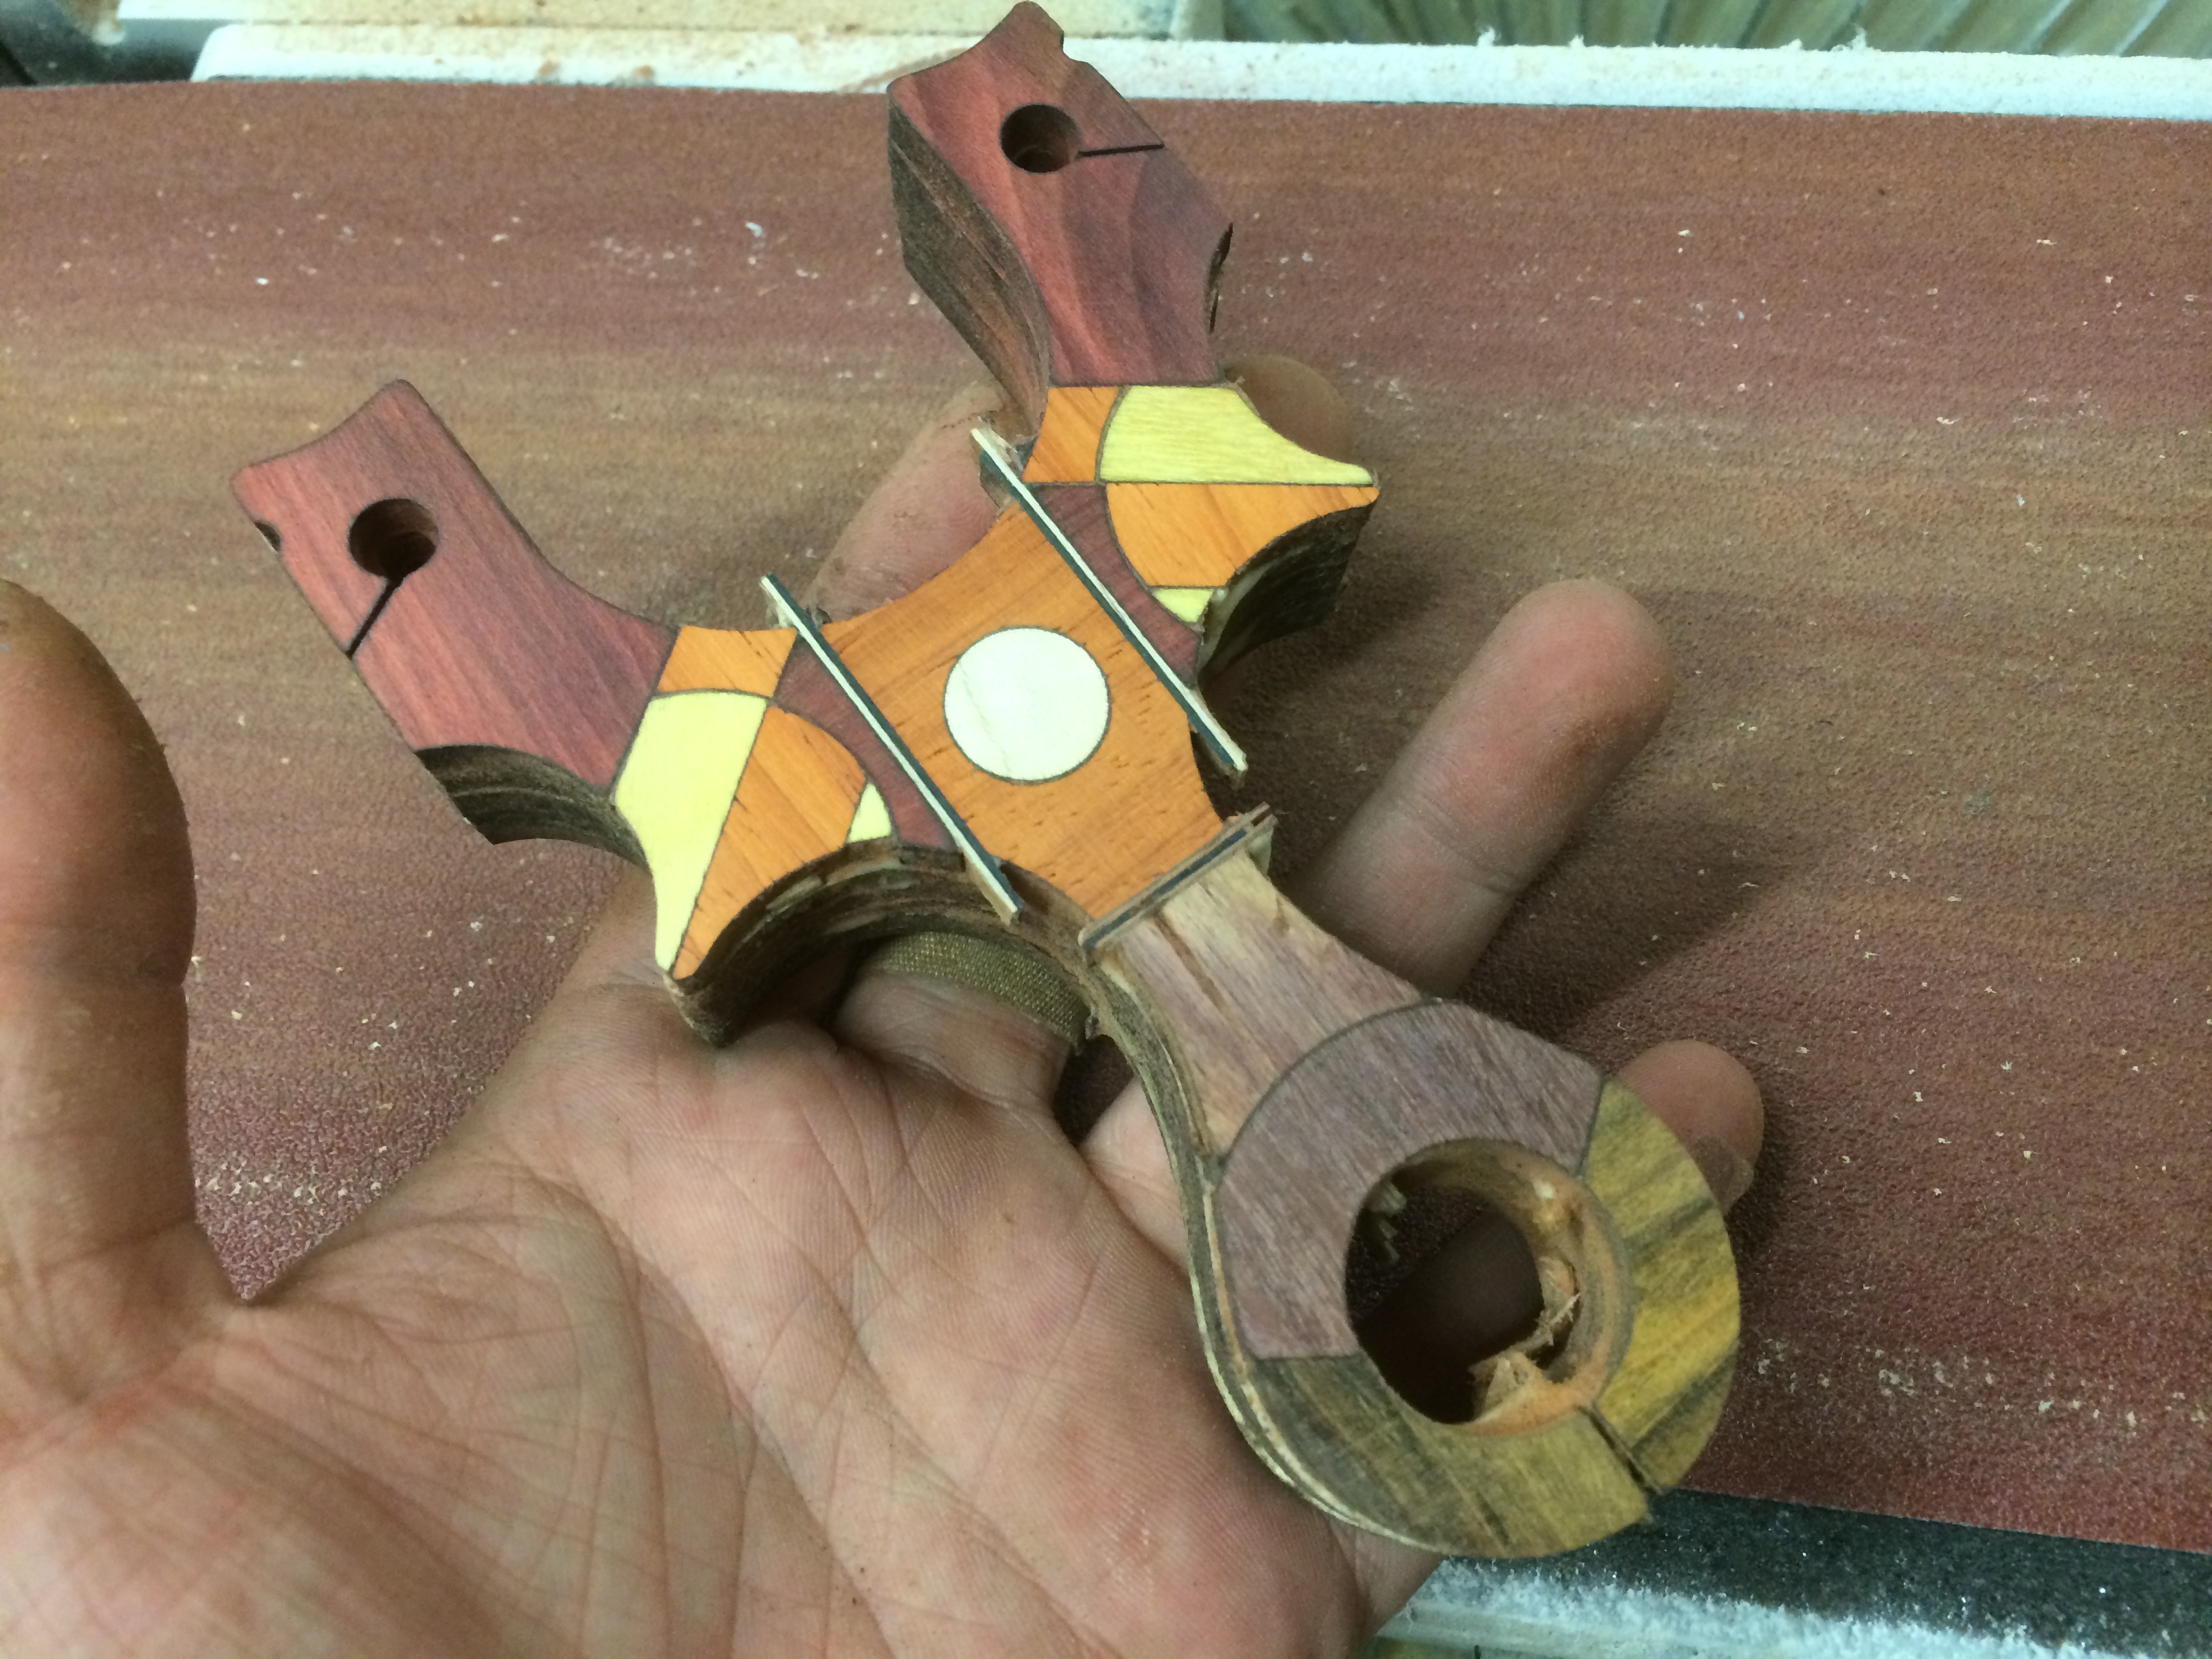
On the back side is Rock Maple and Padauk. To complete the main face, Chakte-Kok, Bloodwood, Yellow Heart and a maple circle.
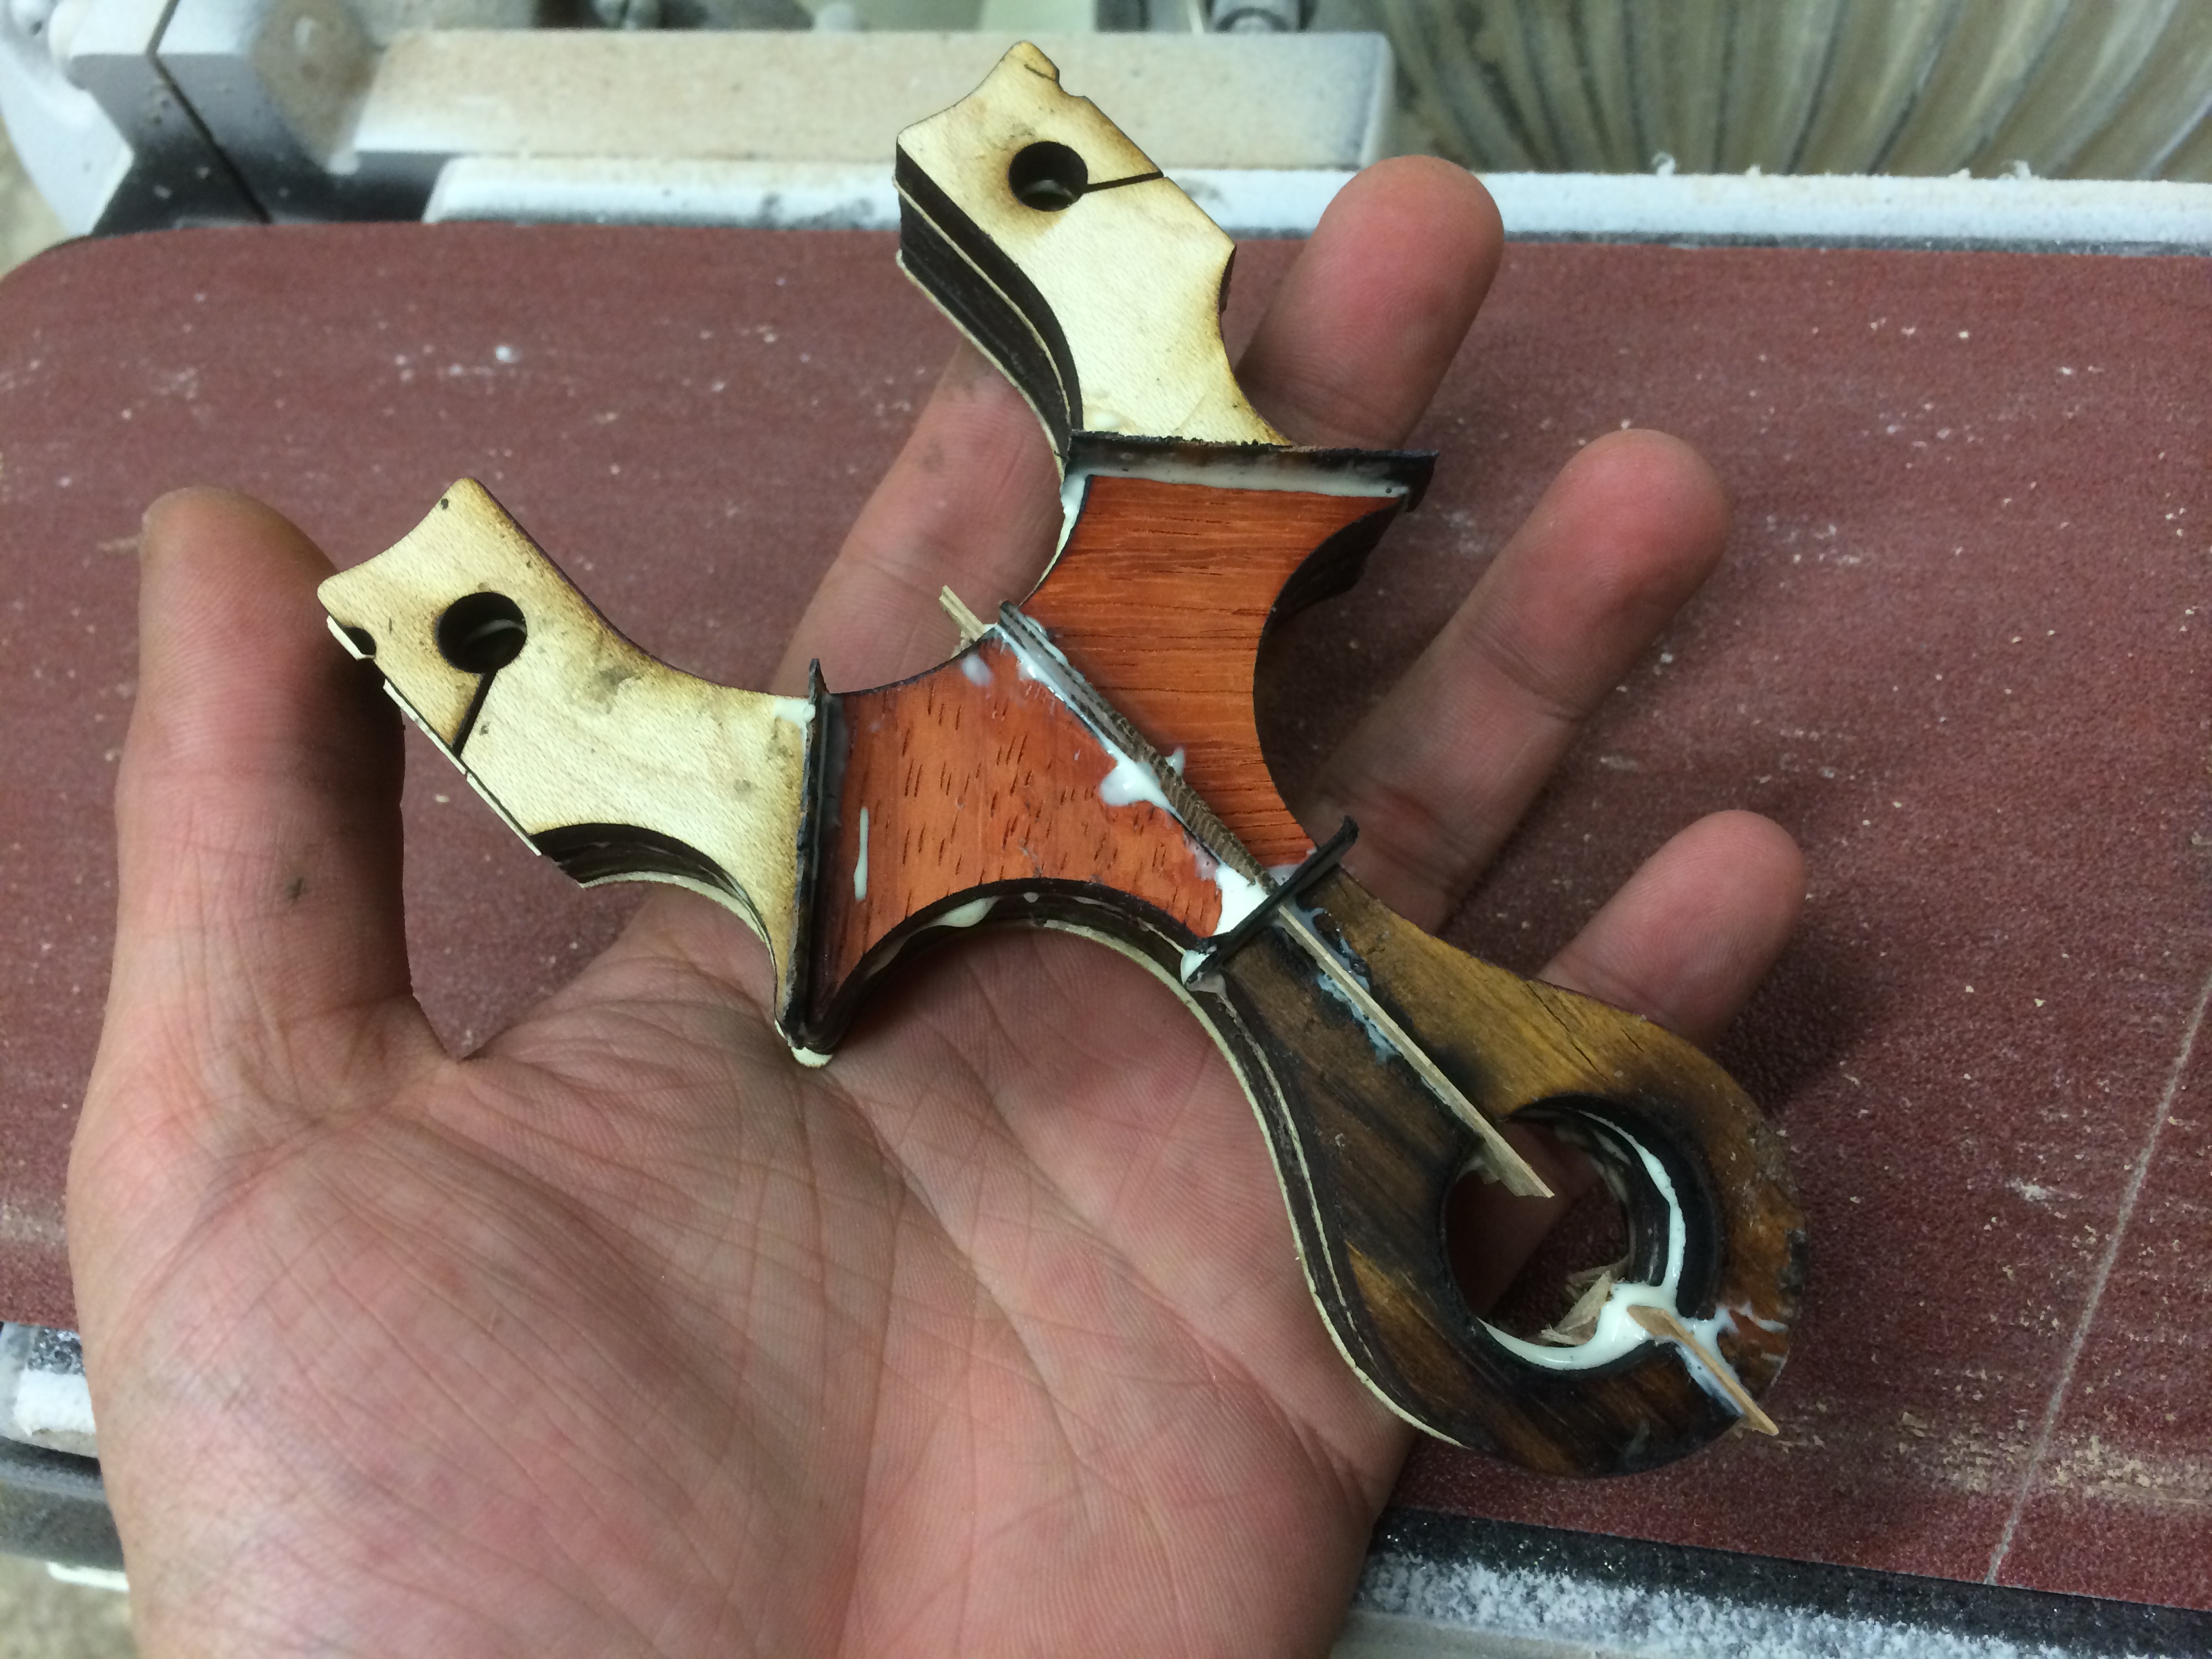
Now, the longest and hardest part of the build, the lay up. To start, the Purple Heart halves are glued to the plywood frame with some maple spacers.
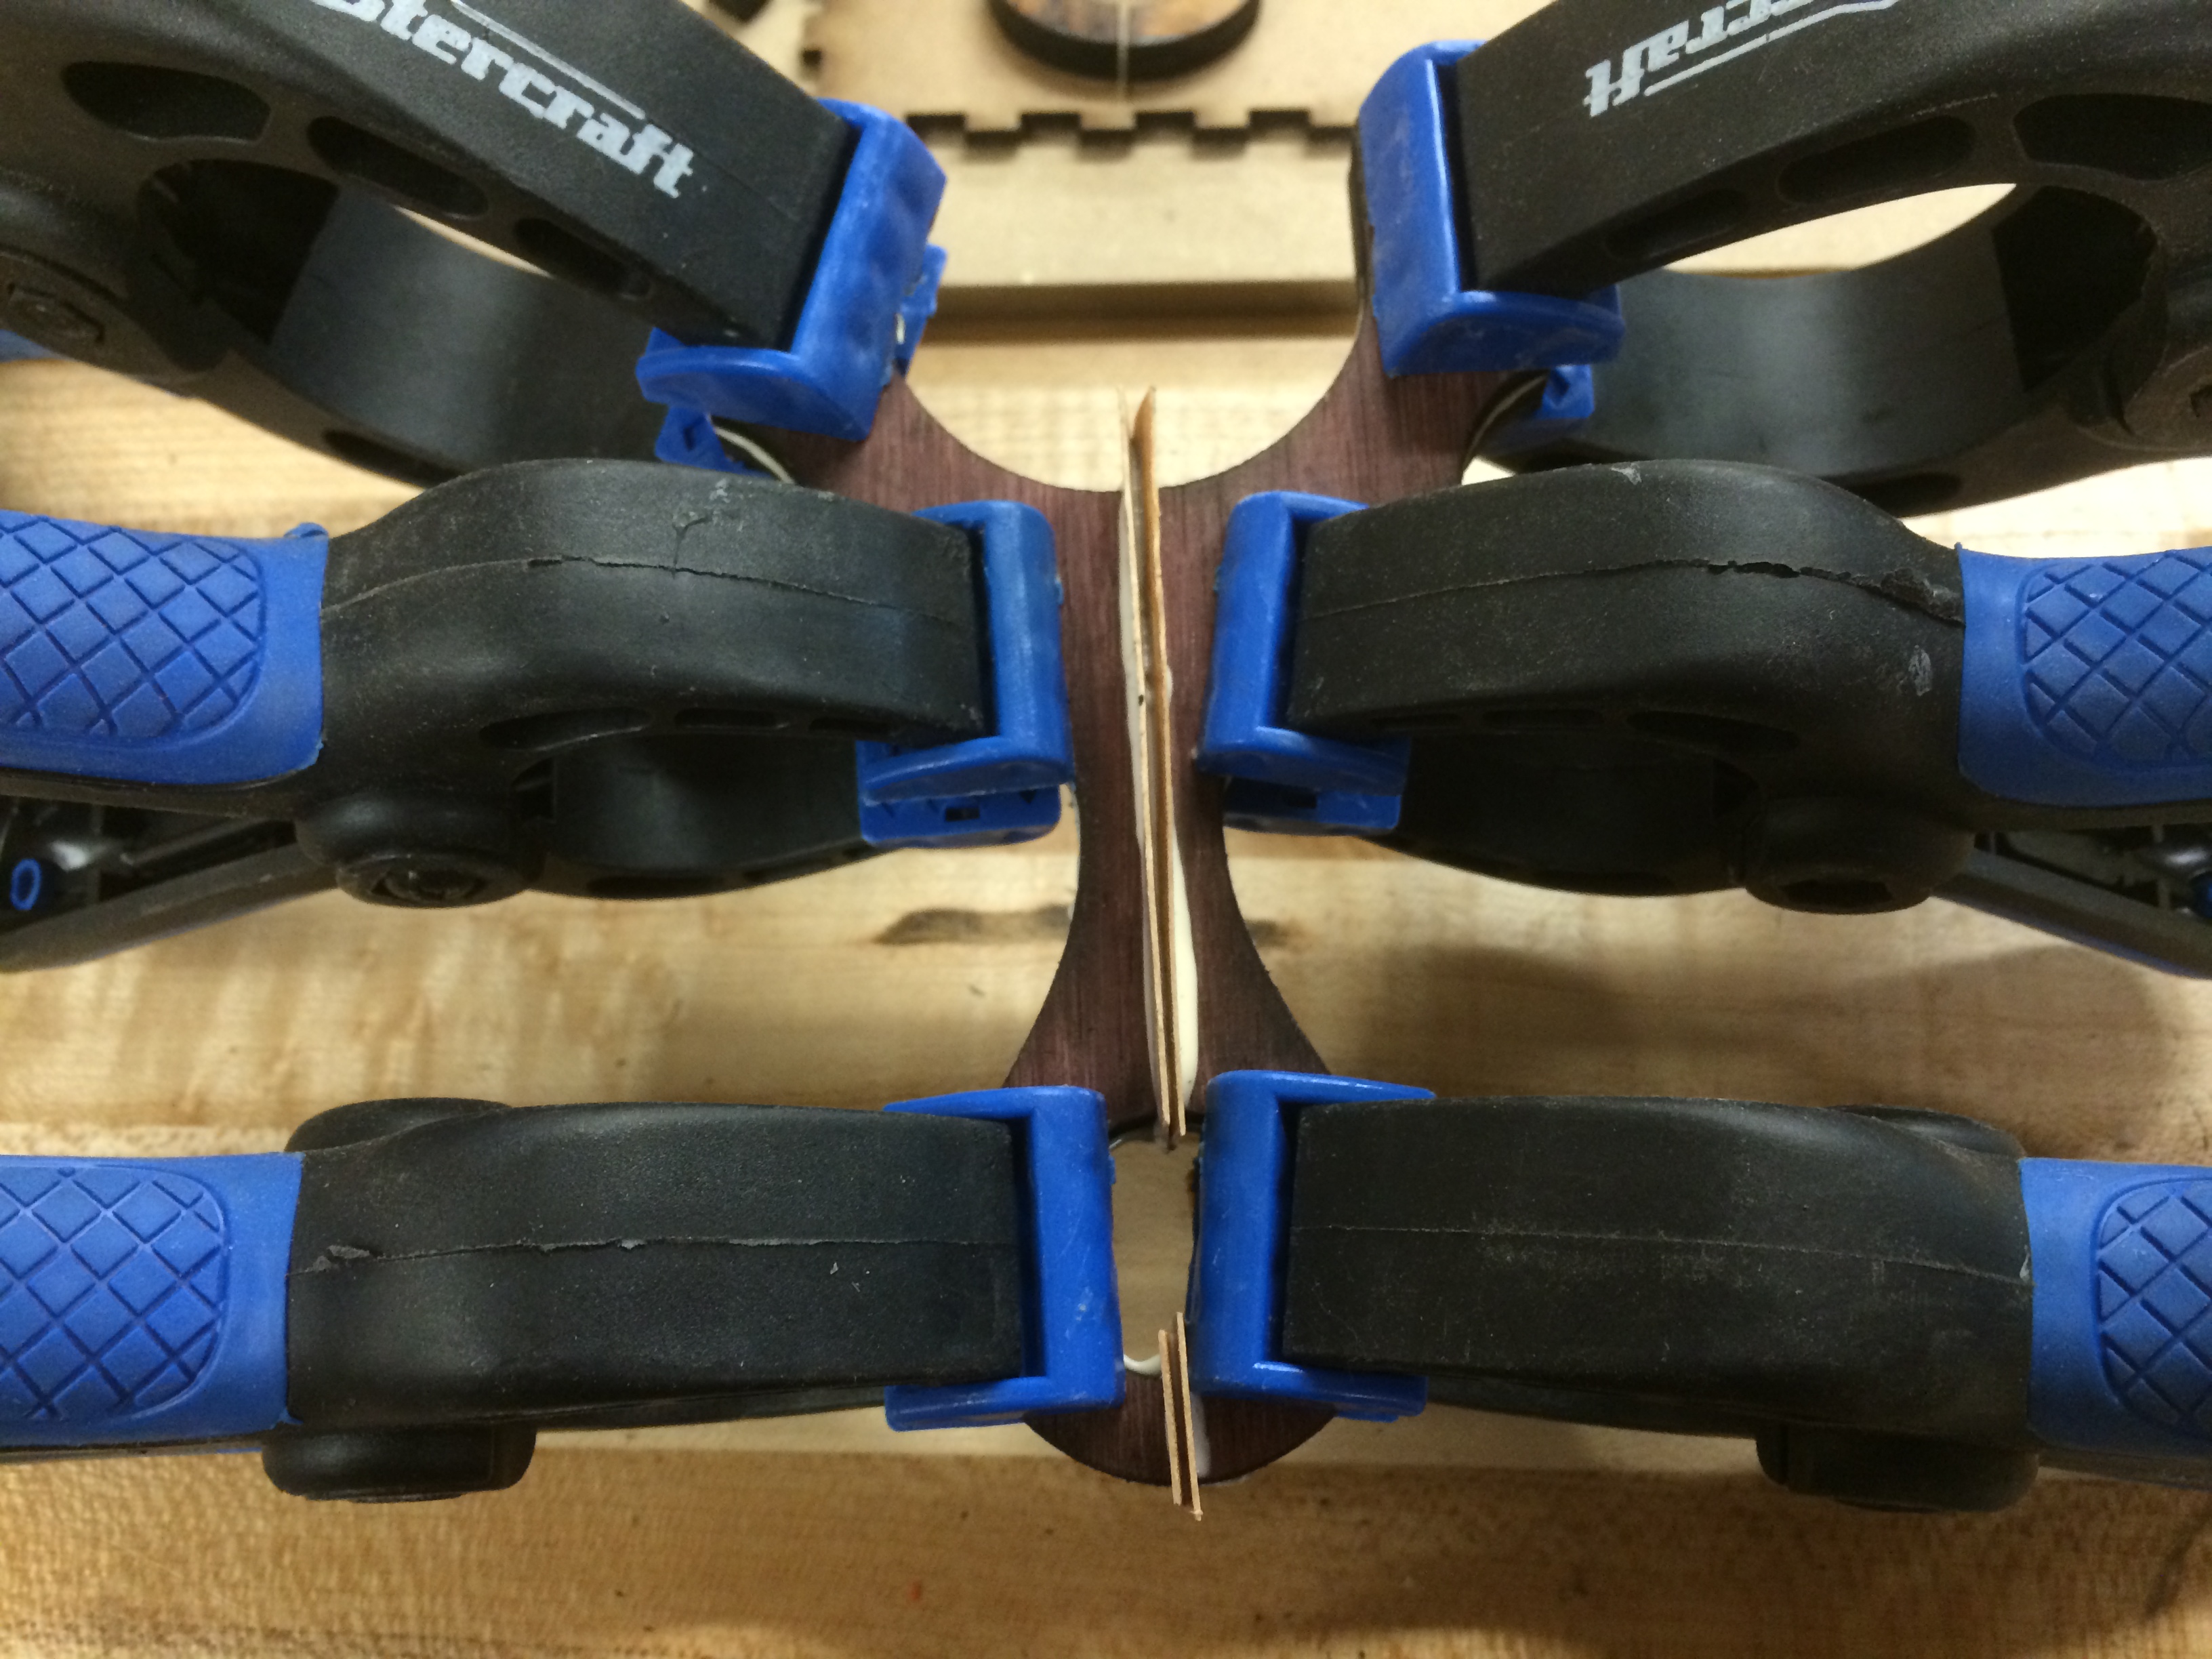
After about 15 minutes of compression, the veneer is sanded flat, ready to accept the next step.

The maple veneer spacer to complete the layer. This was repeated on the other side to mirror the wood pattern.
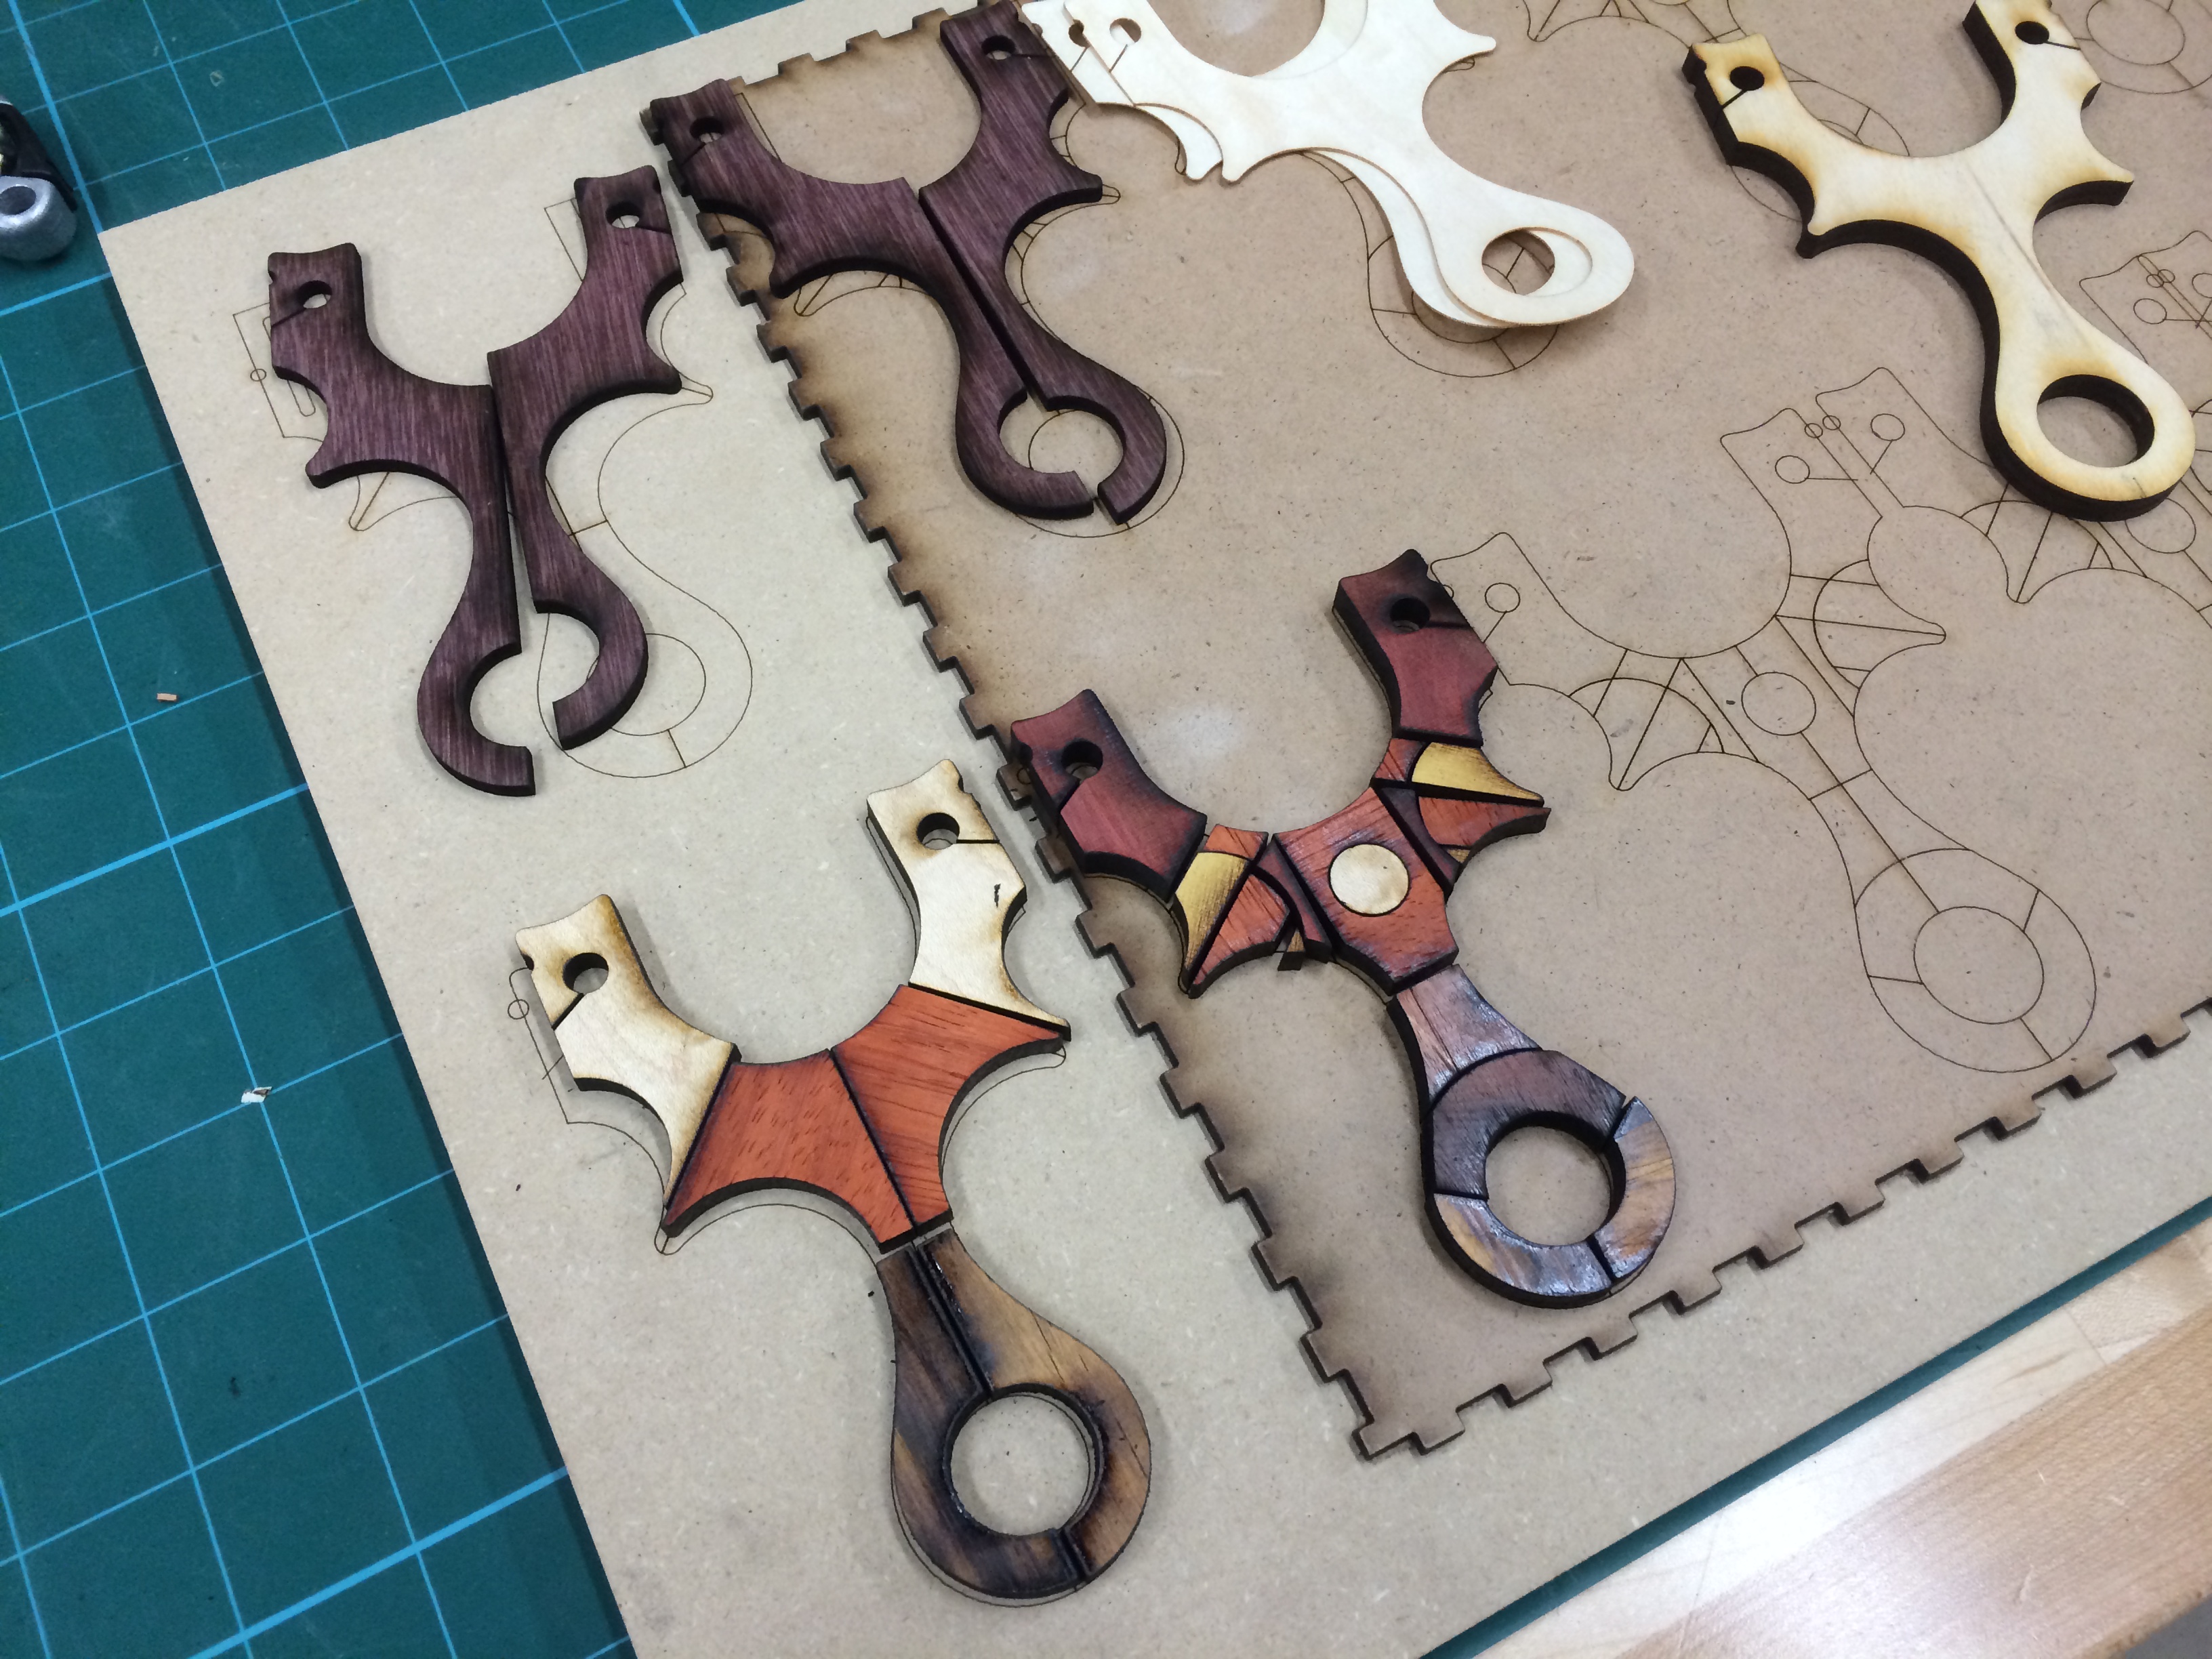
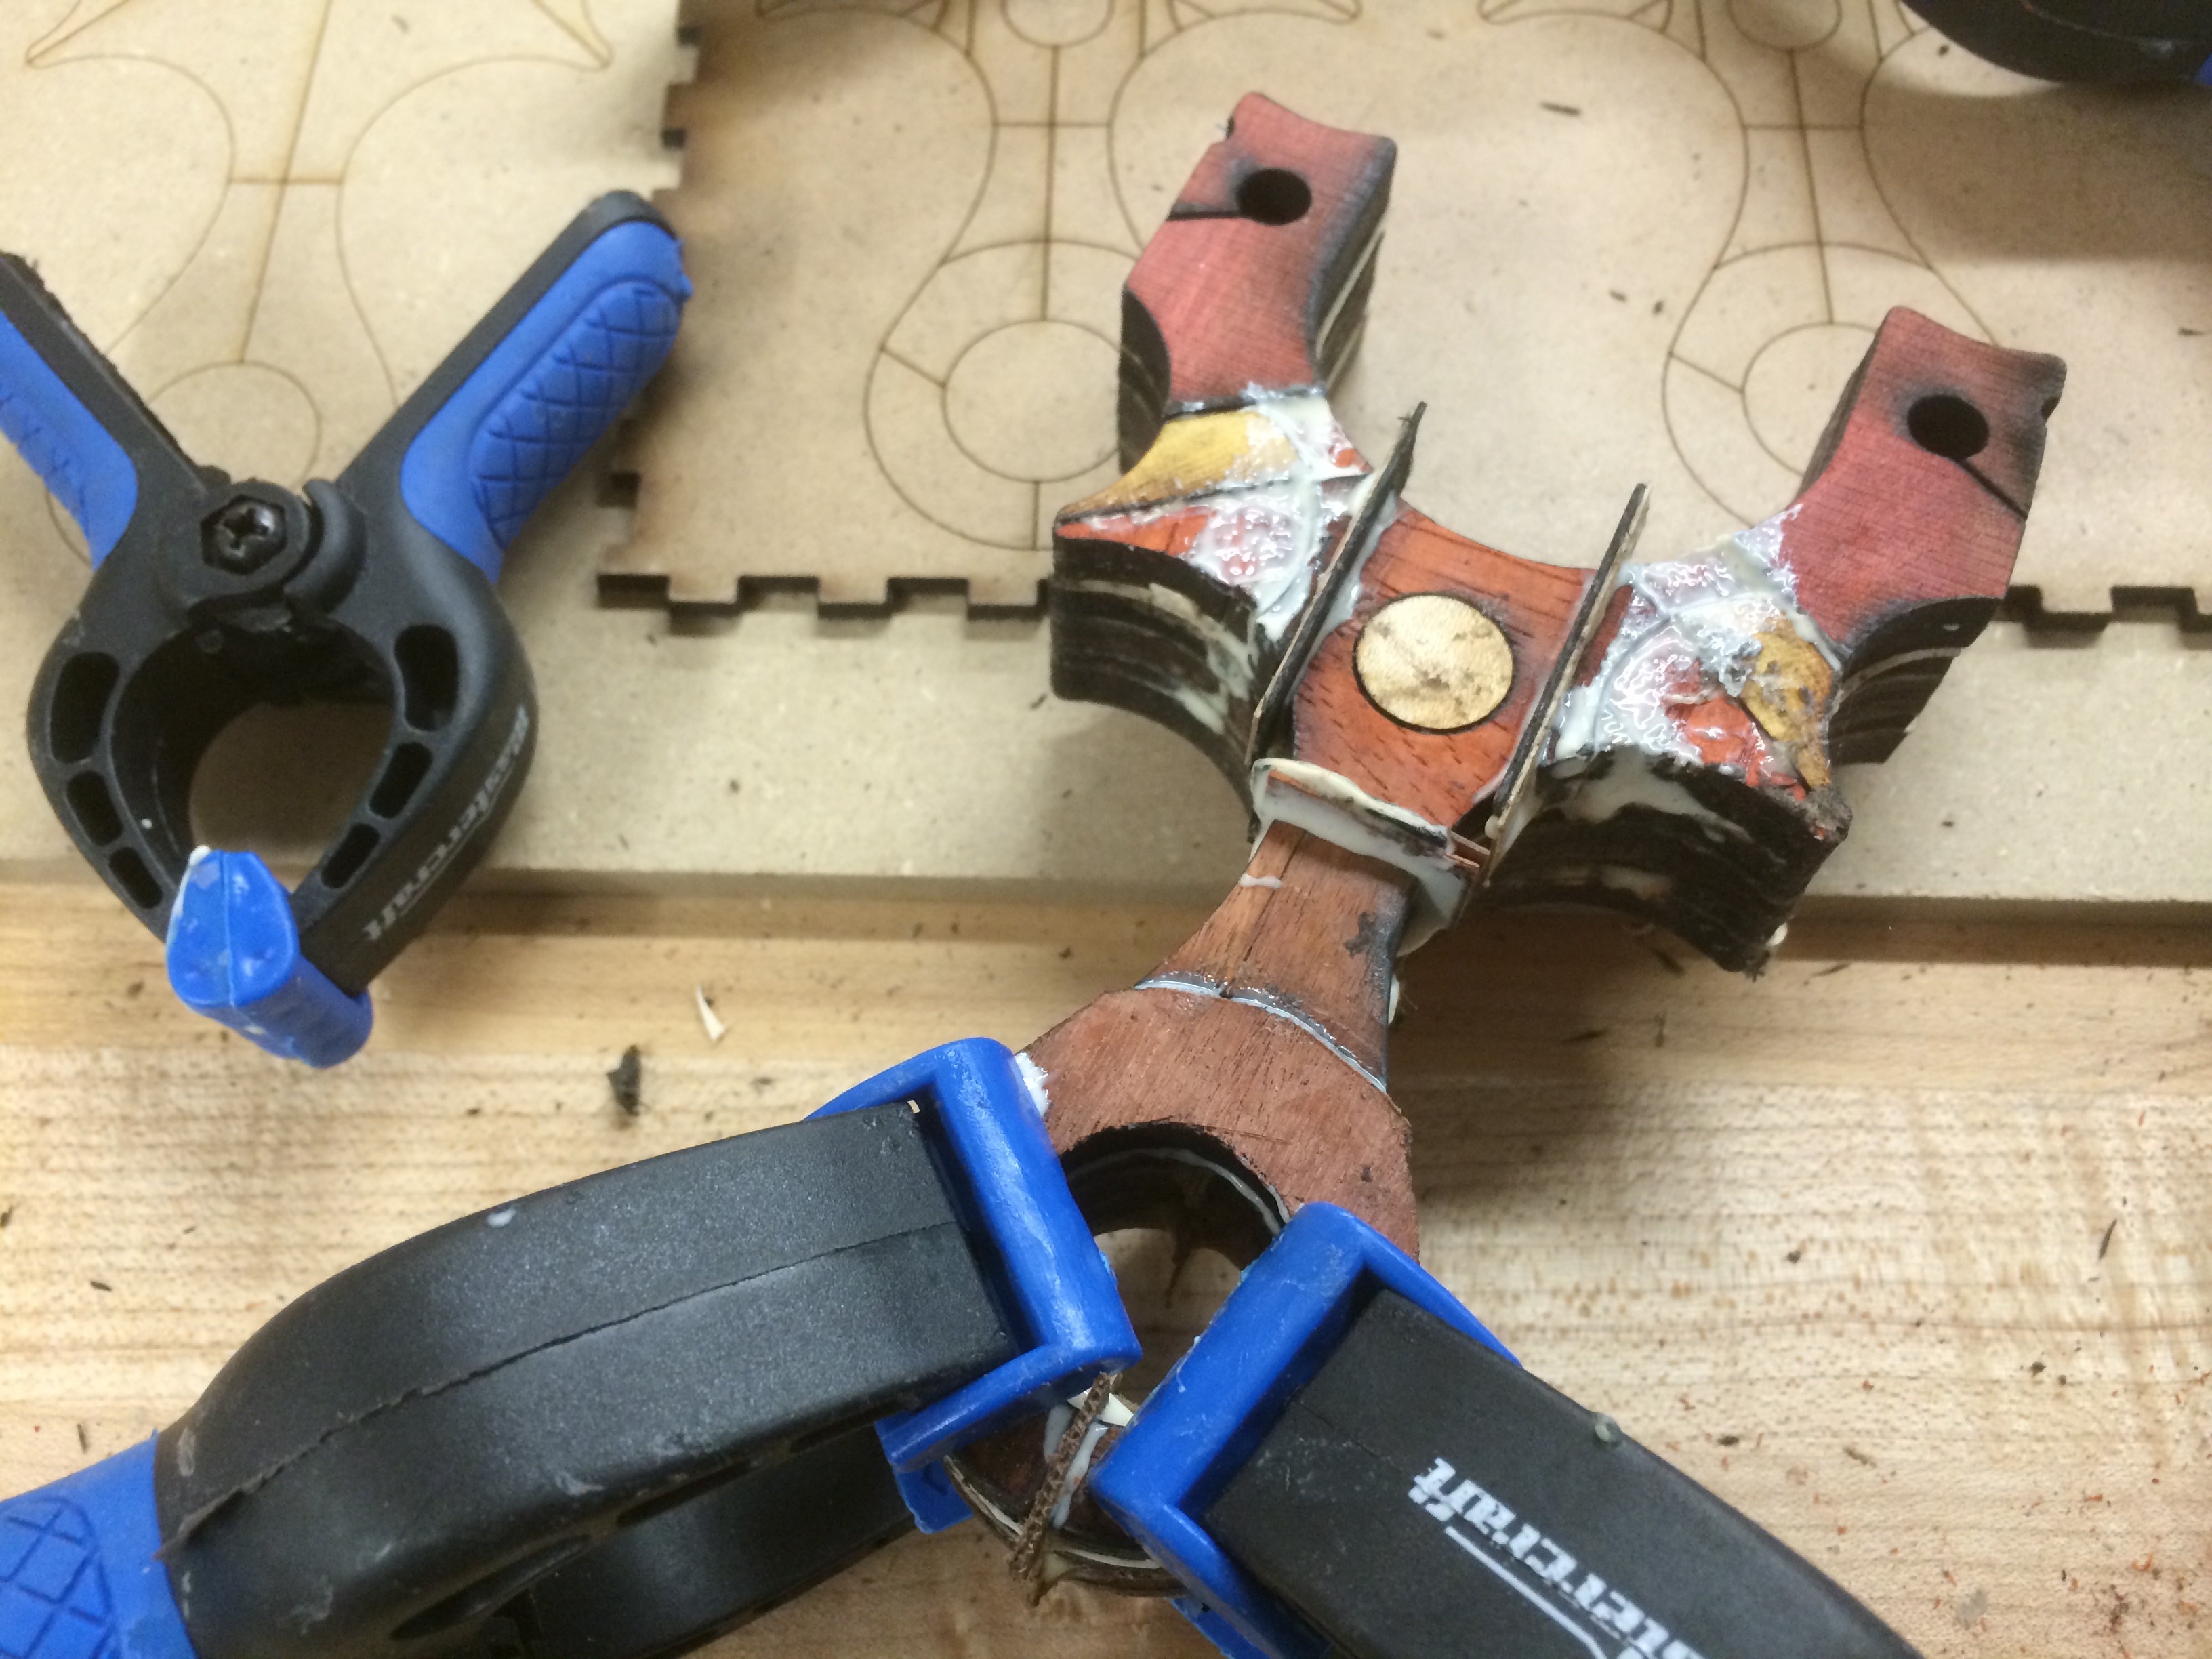
Like the original Harlequin Capuchin, I started with the simpler back side because it take less time to setup and dry. Zebrawood and Wenge spacers make a nice texture between the contrasting woods.

Finally laying up the last pieces of the back side, spaced by Ebony and more maple. Slightly less than 30 minutes later, the face was sanded flat and it was onto the main face.
It’s messy, but it’s the way it has to be….
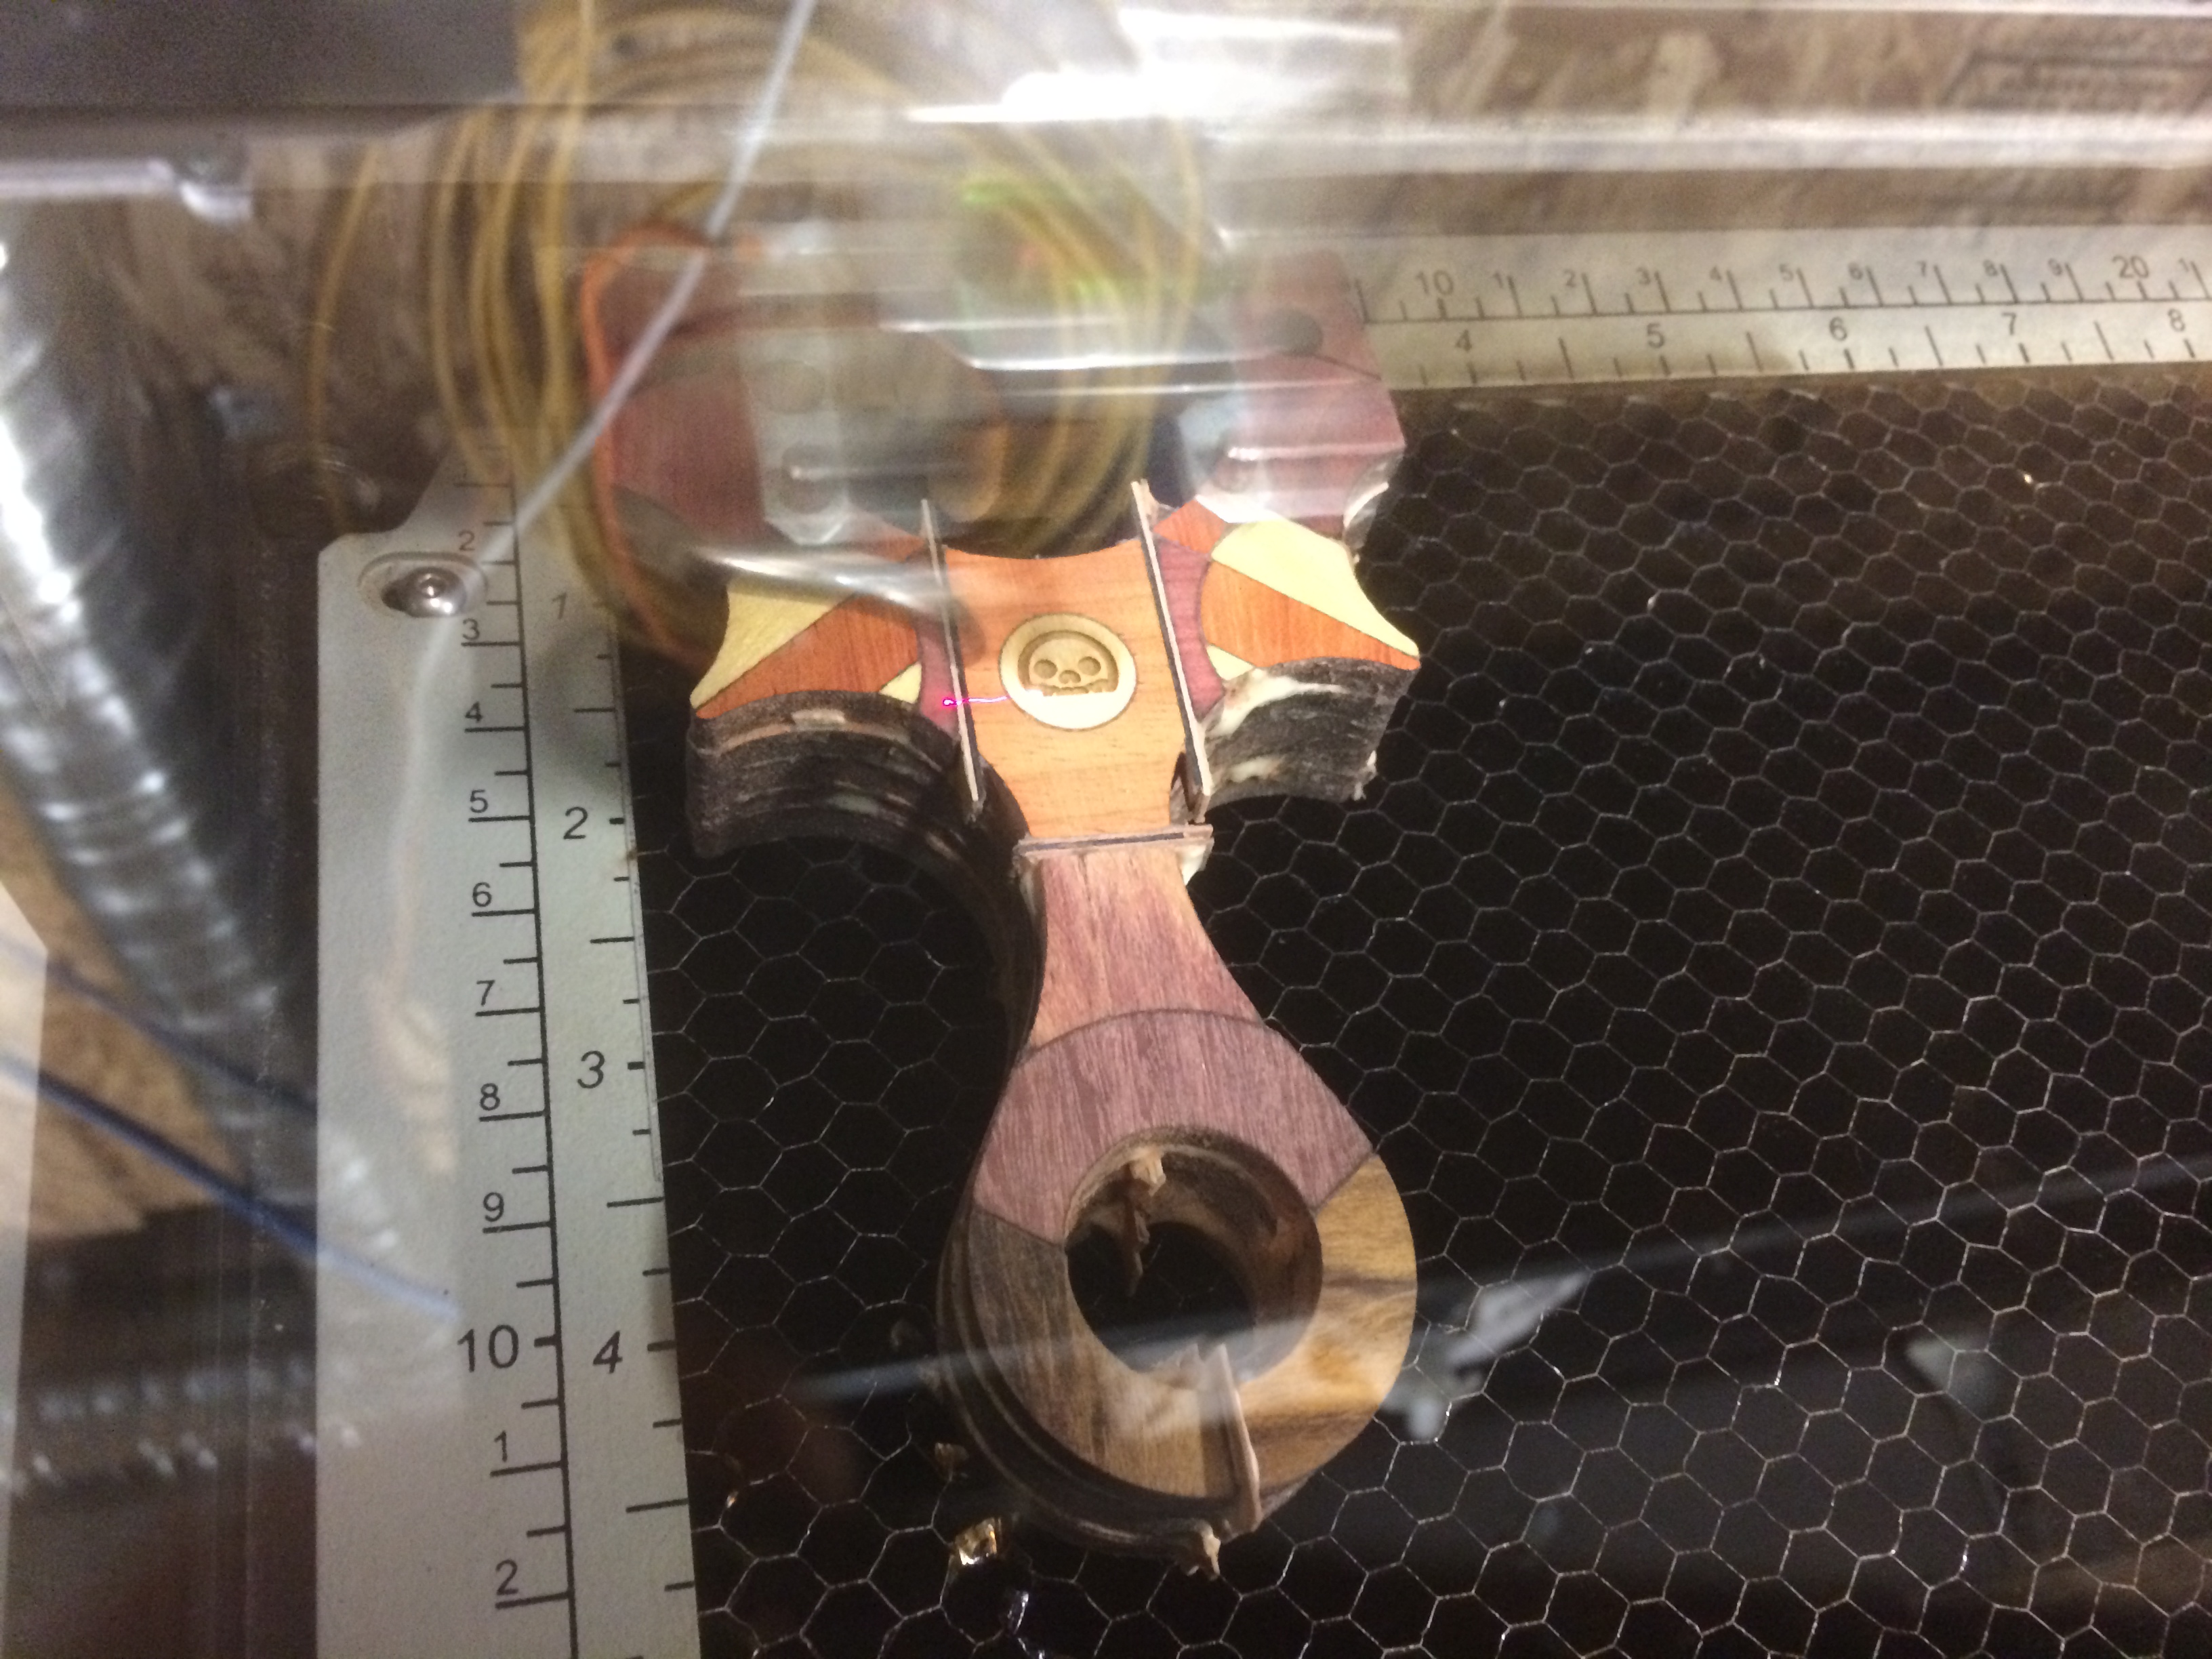
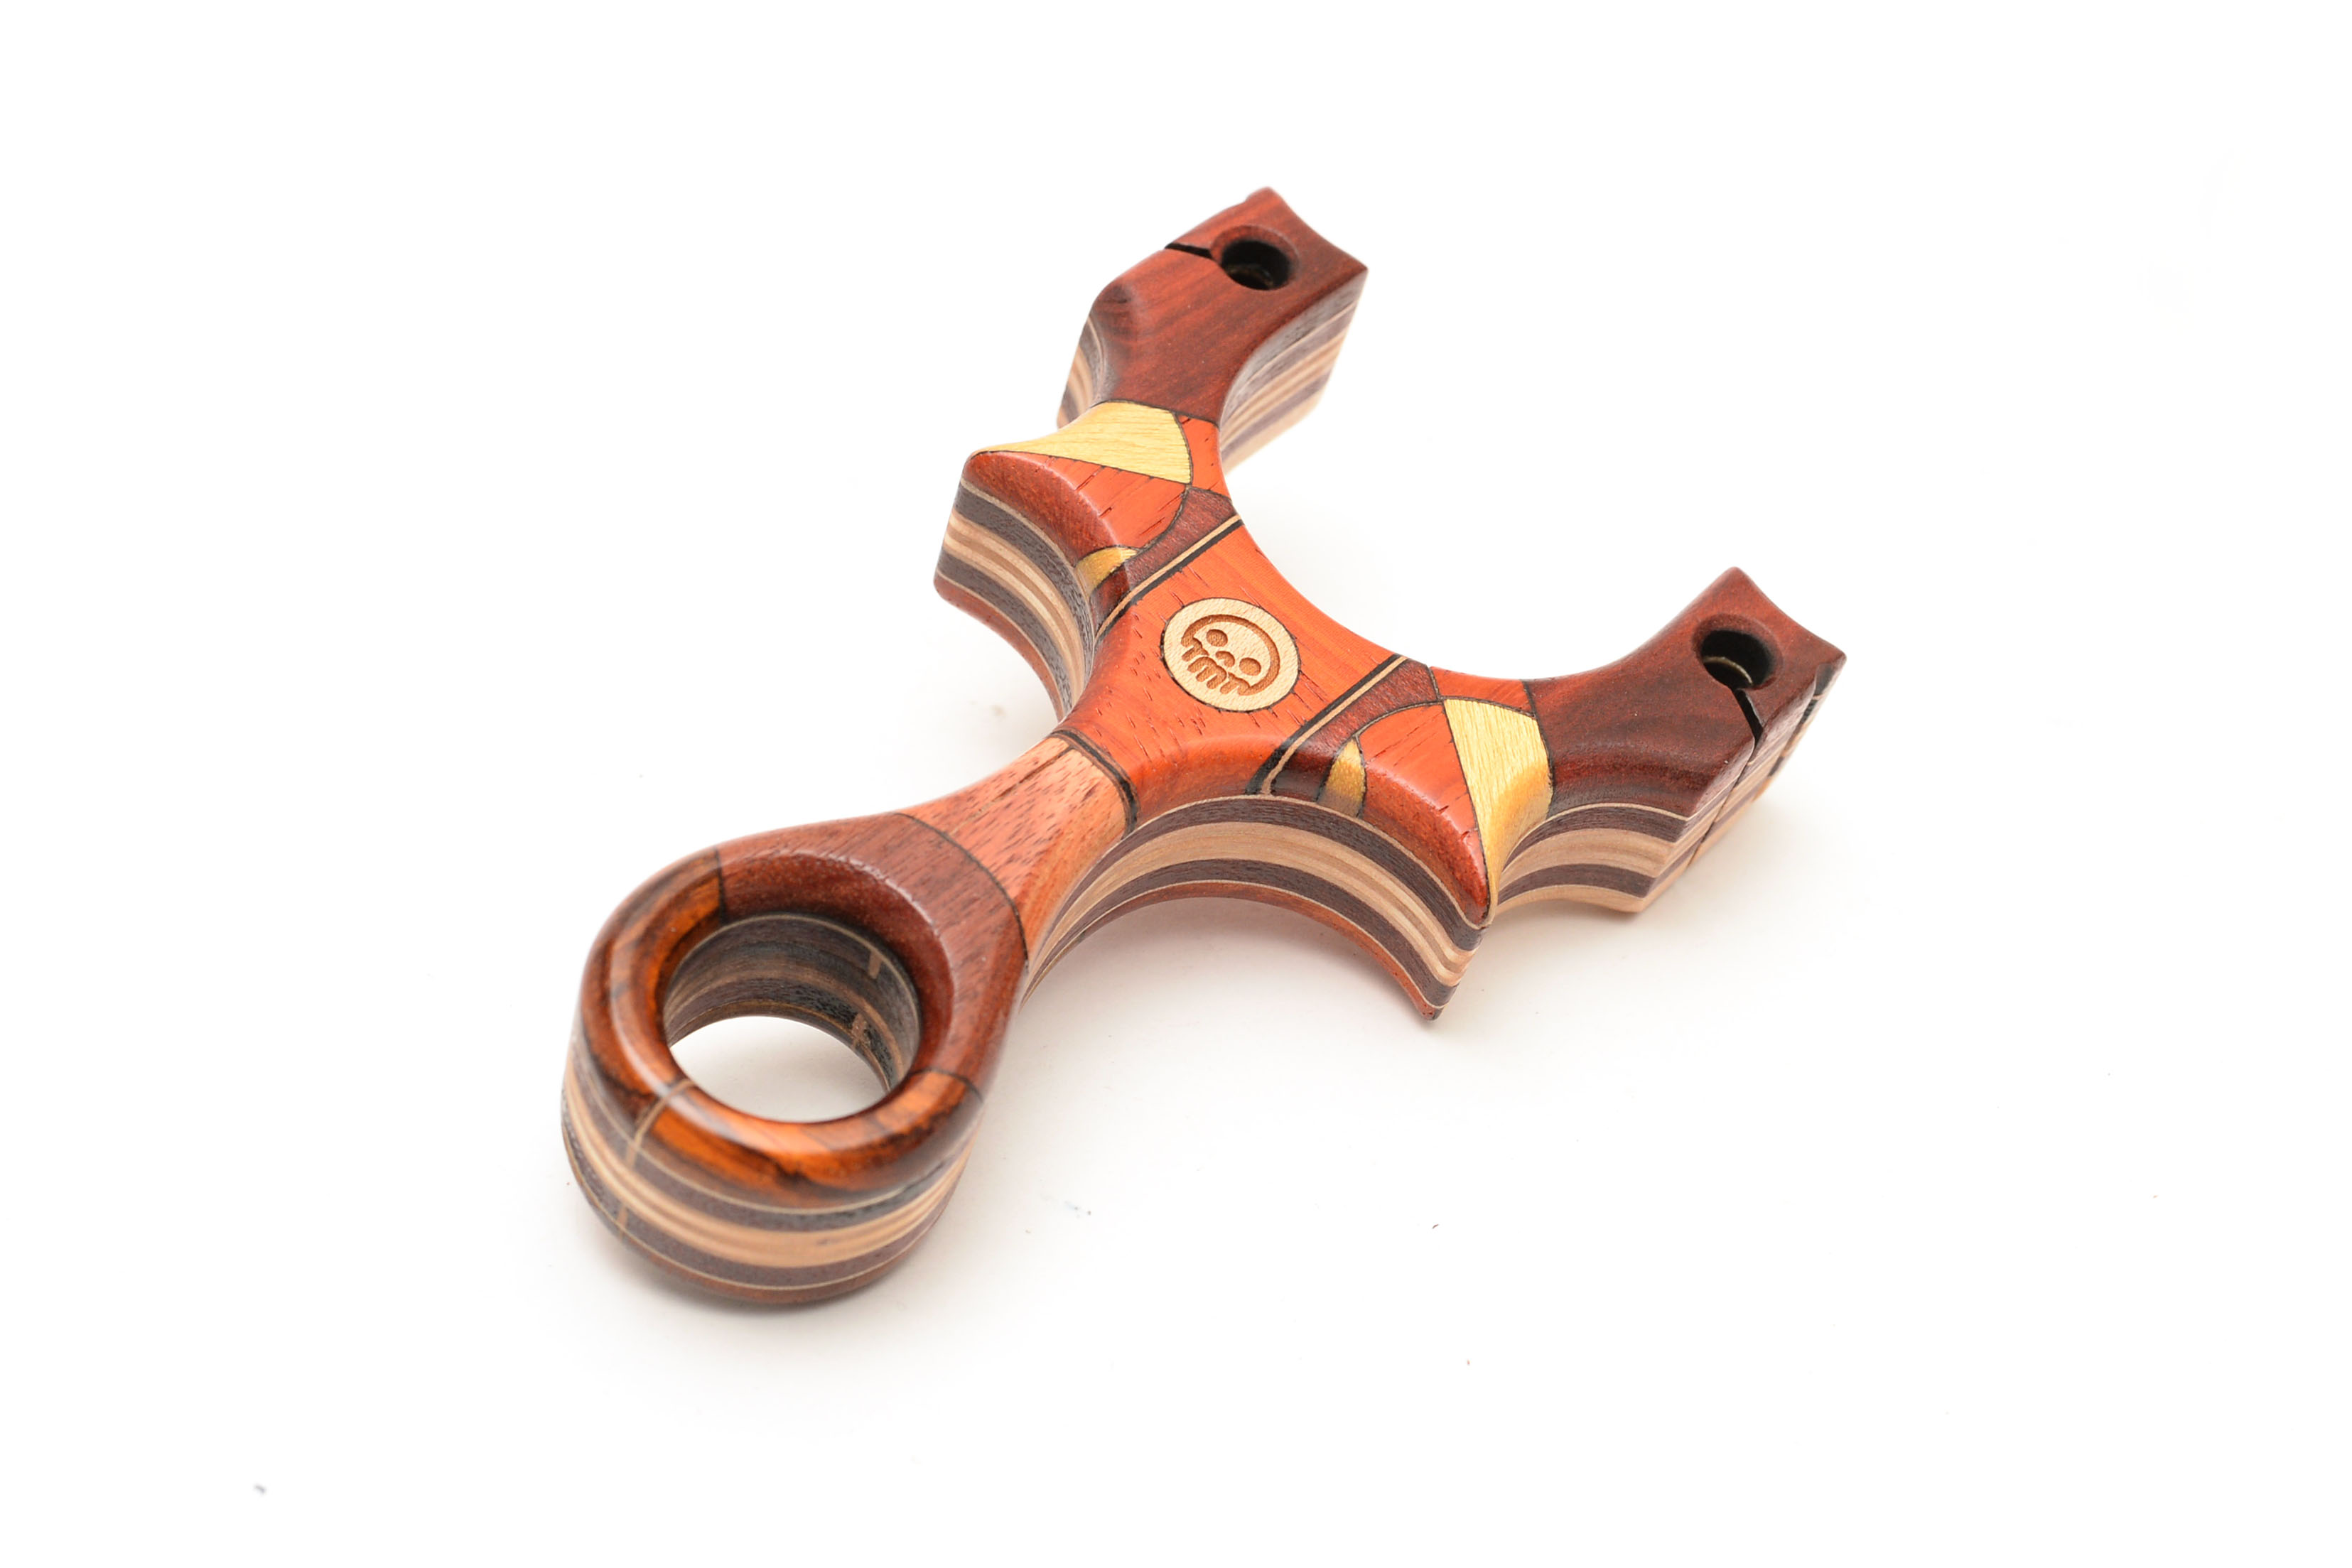
Another 30 minutes later, the face was ready to be flushed. Before more sanding, I moved back to the laser cutter to etch in some markings.
The Metro Made Skullthulu getting etched into the maple circle.
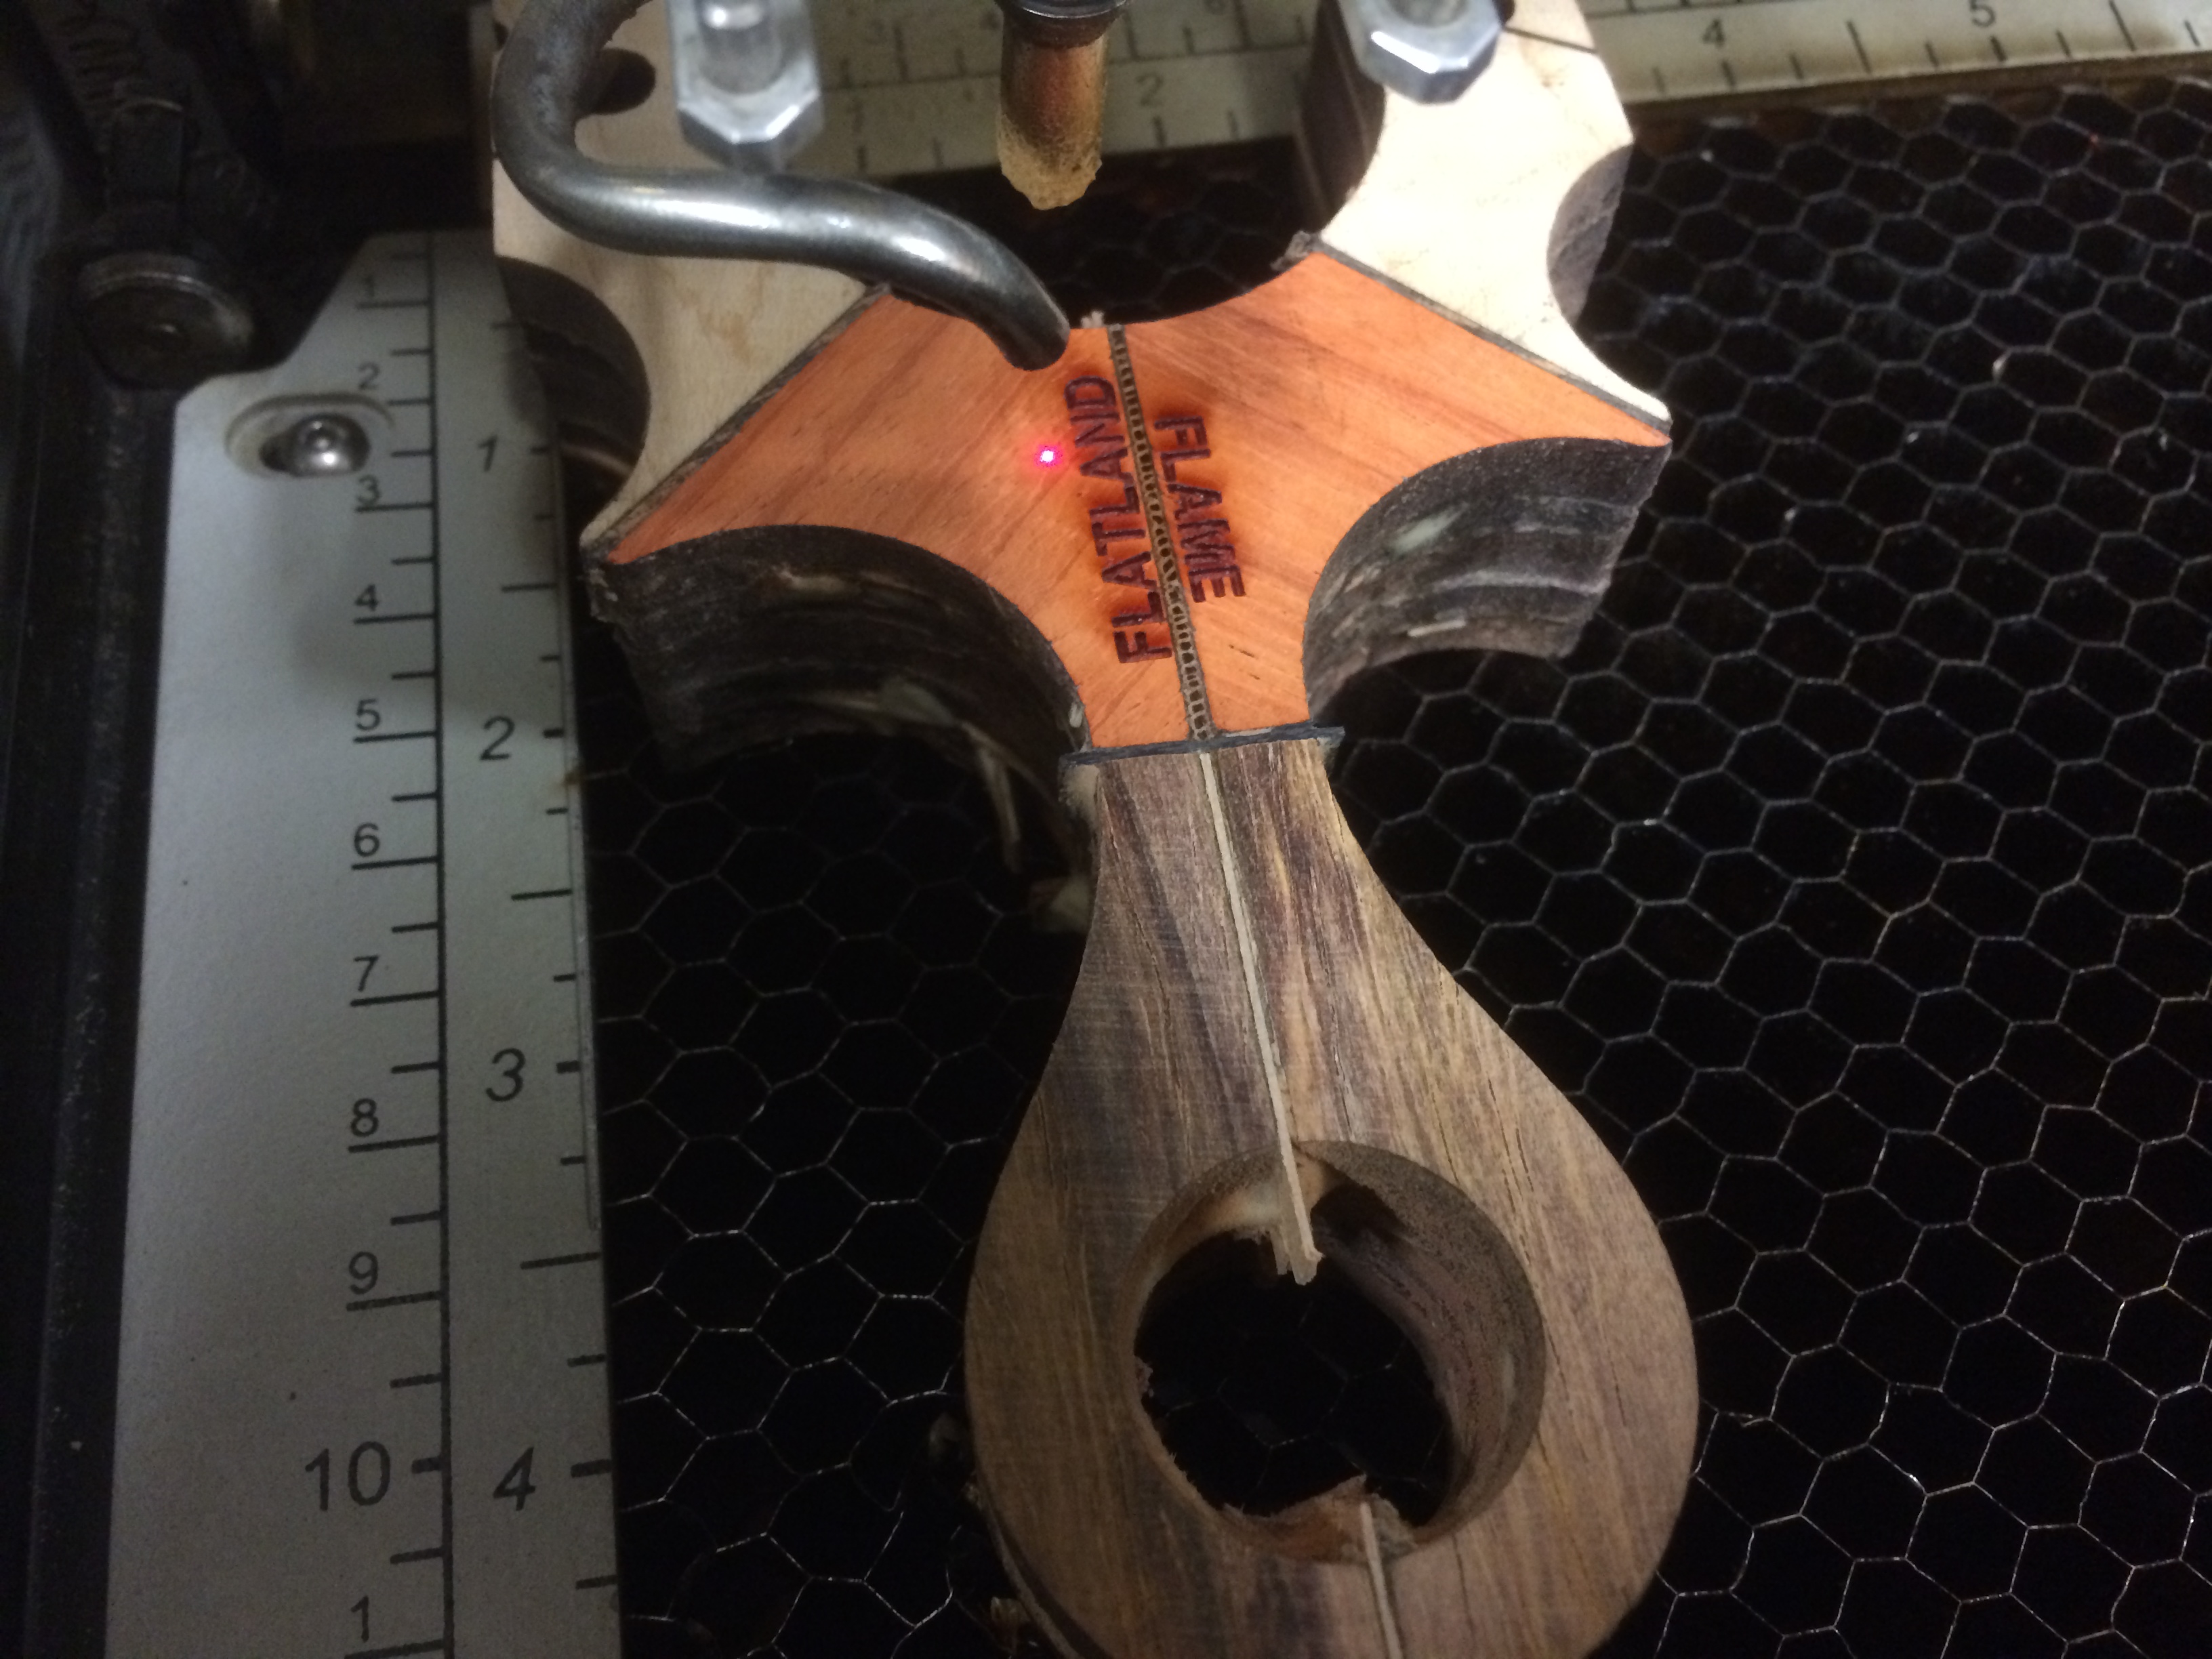
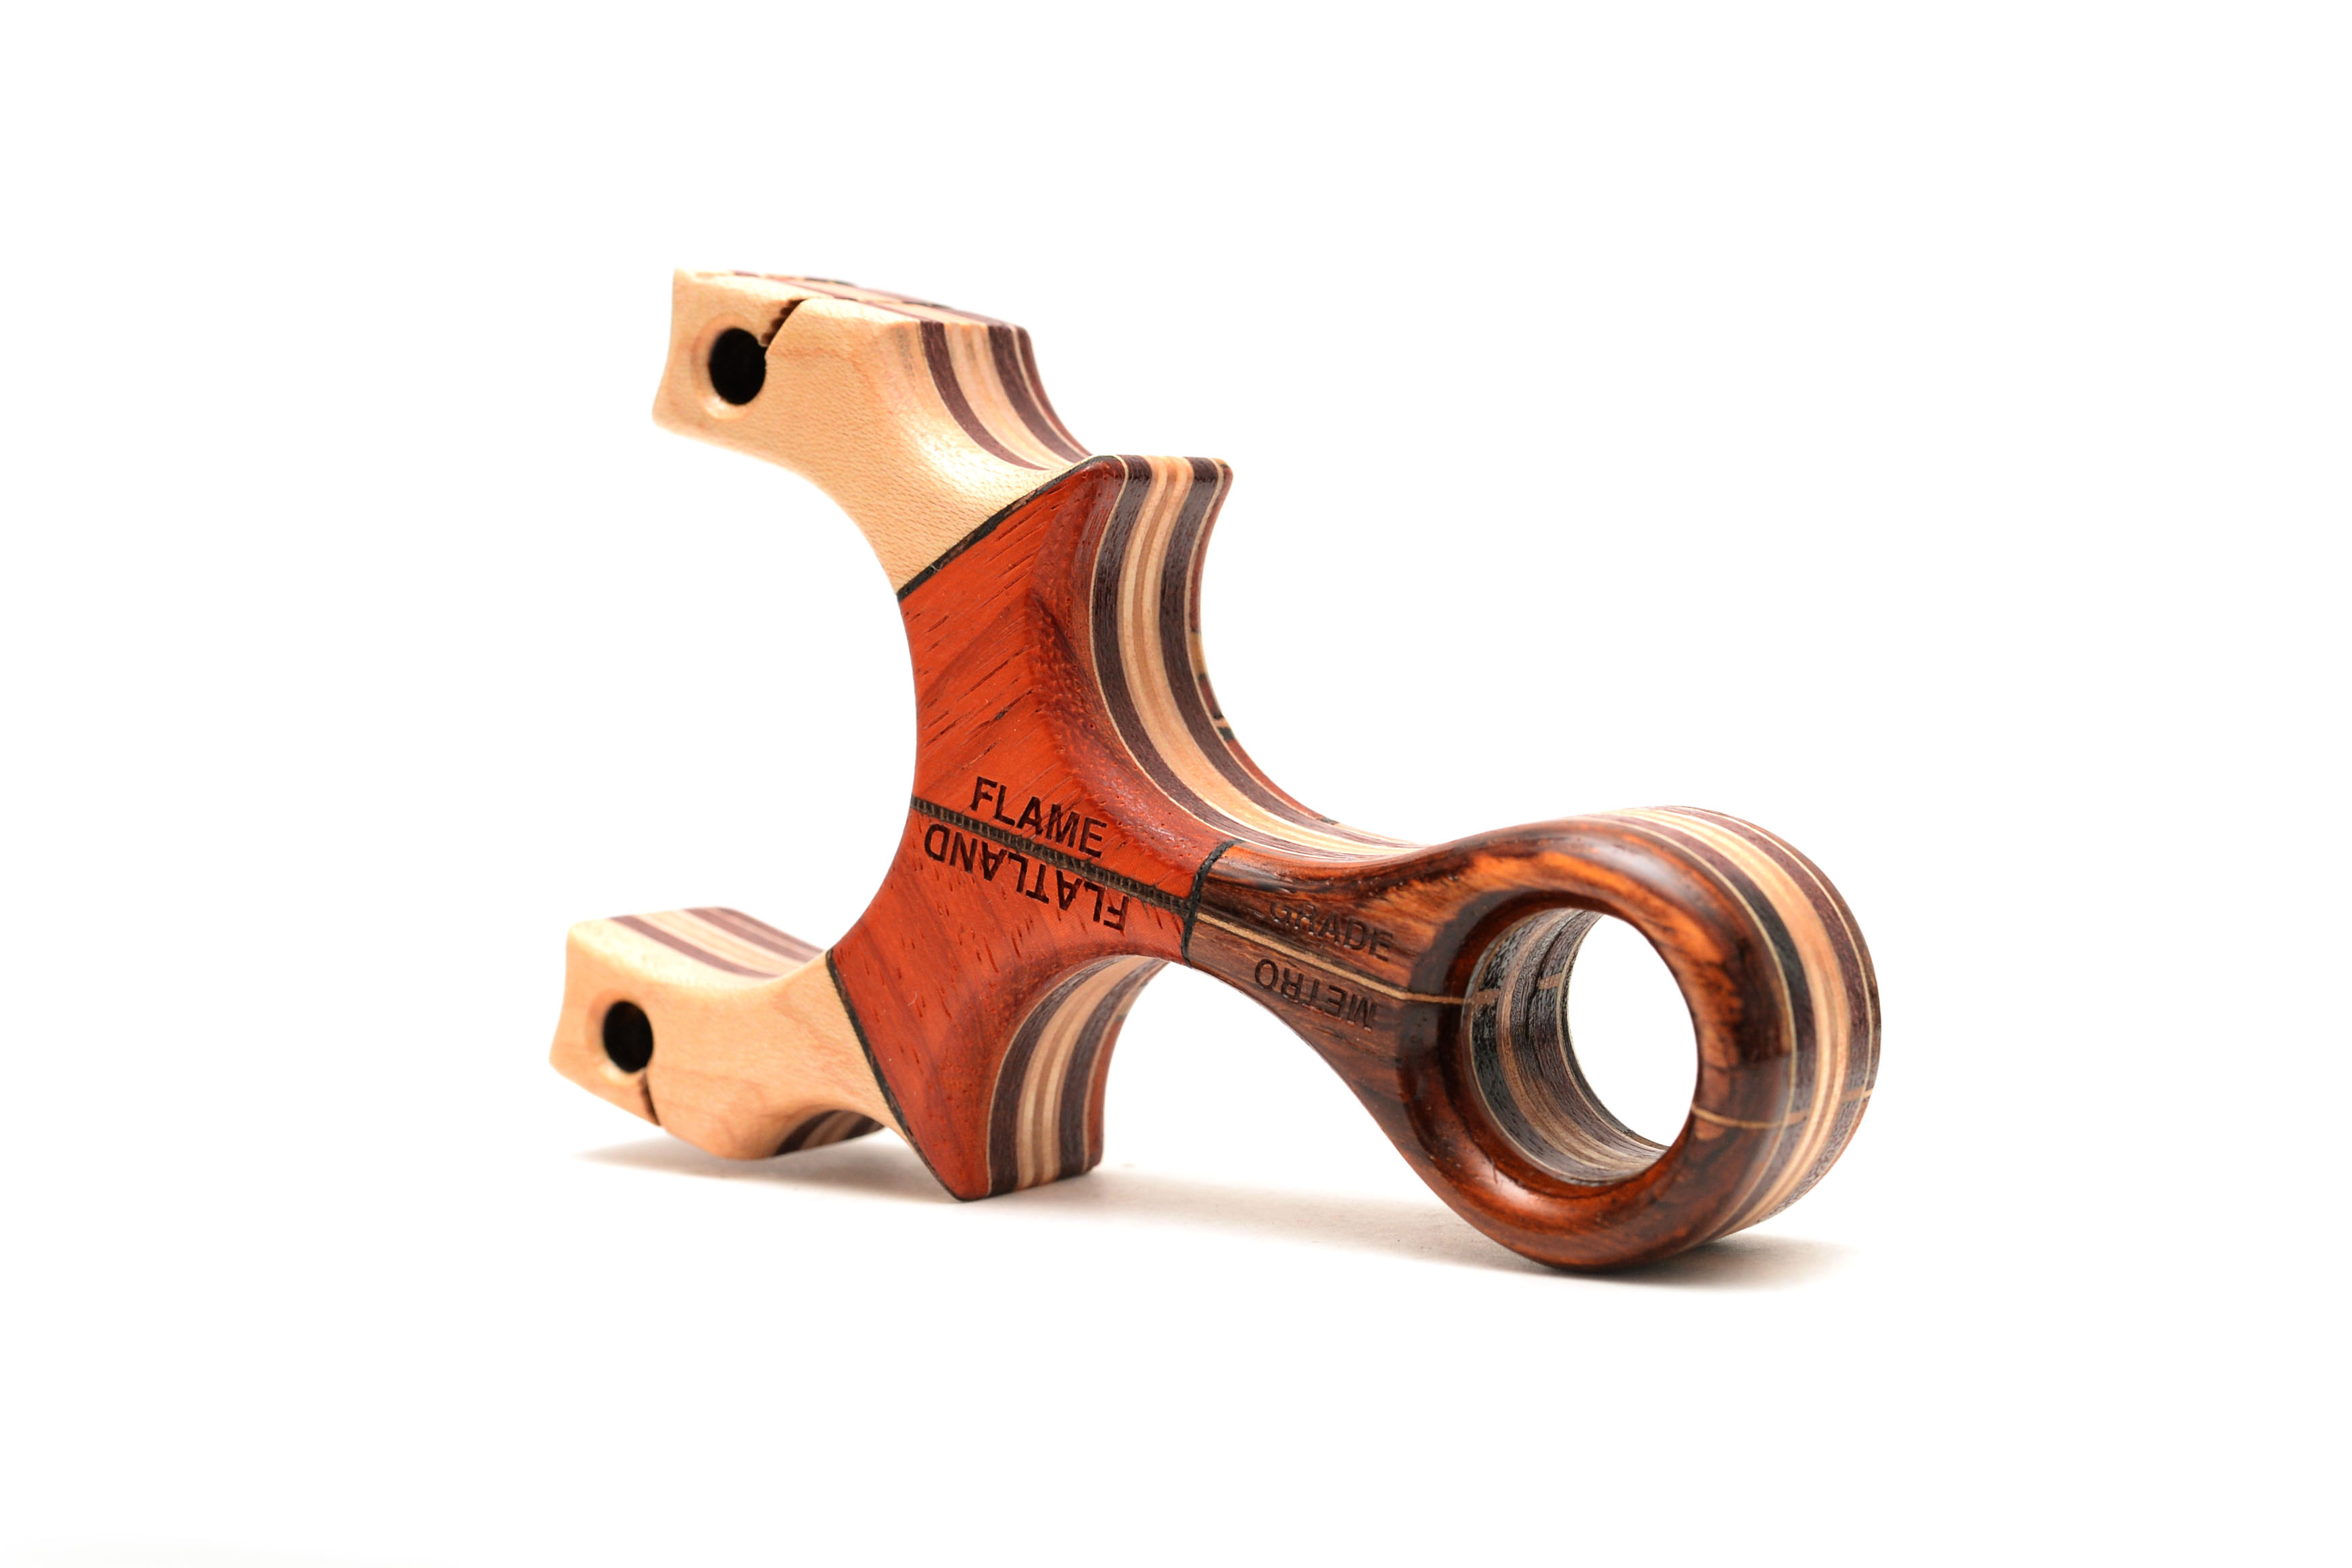
Flipping it over, the name of the sling etched.
Cleaning up the edges from the laser cut burning and refining the shape a bit.
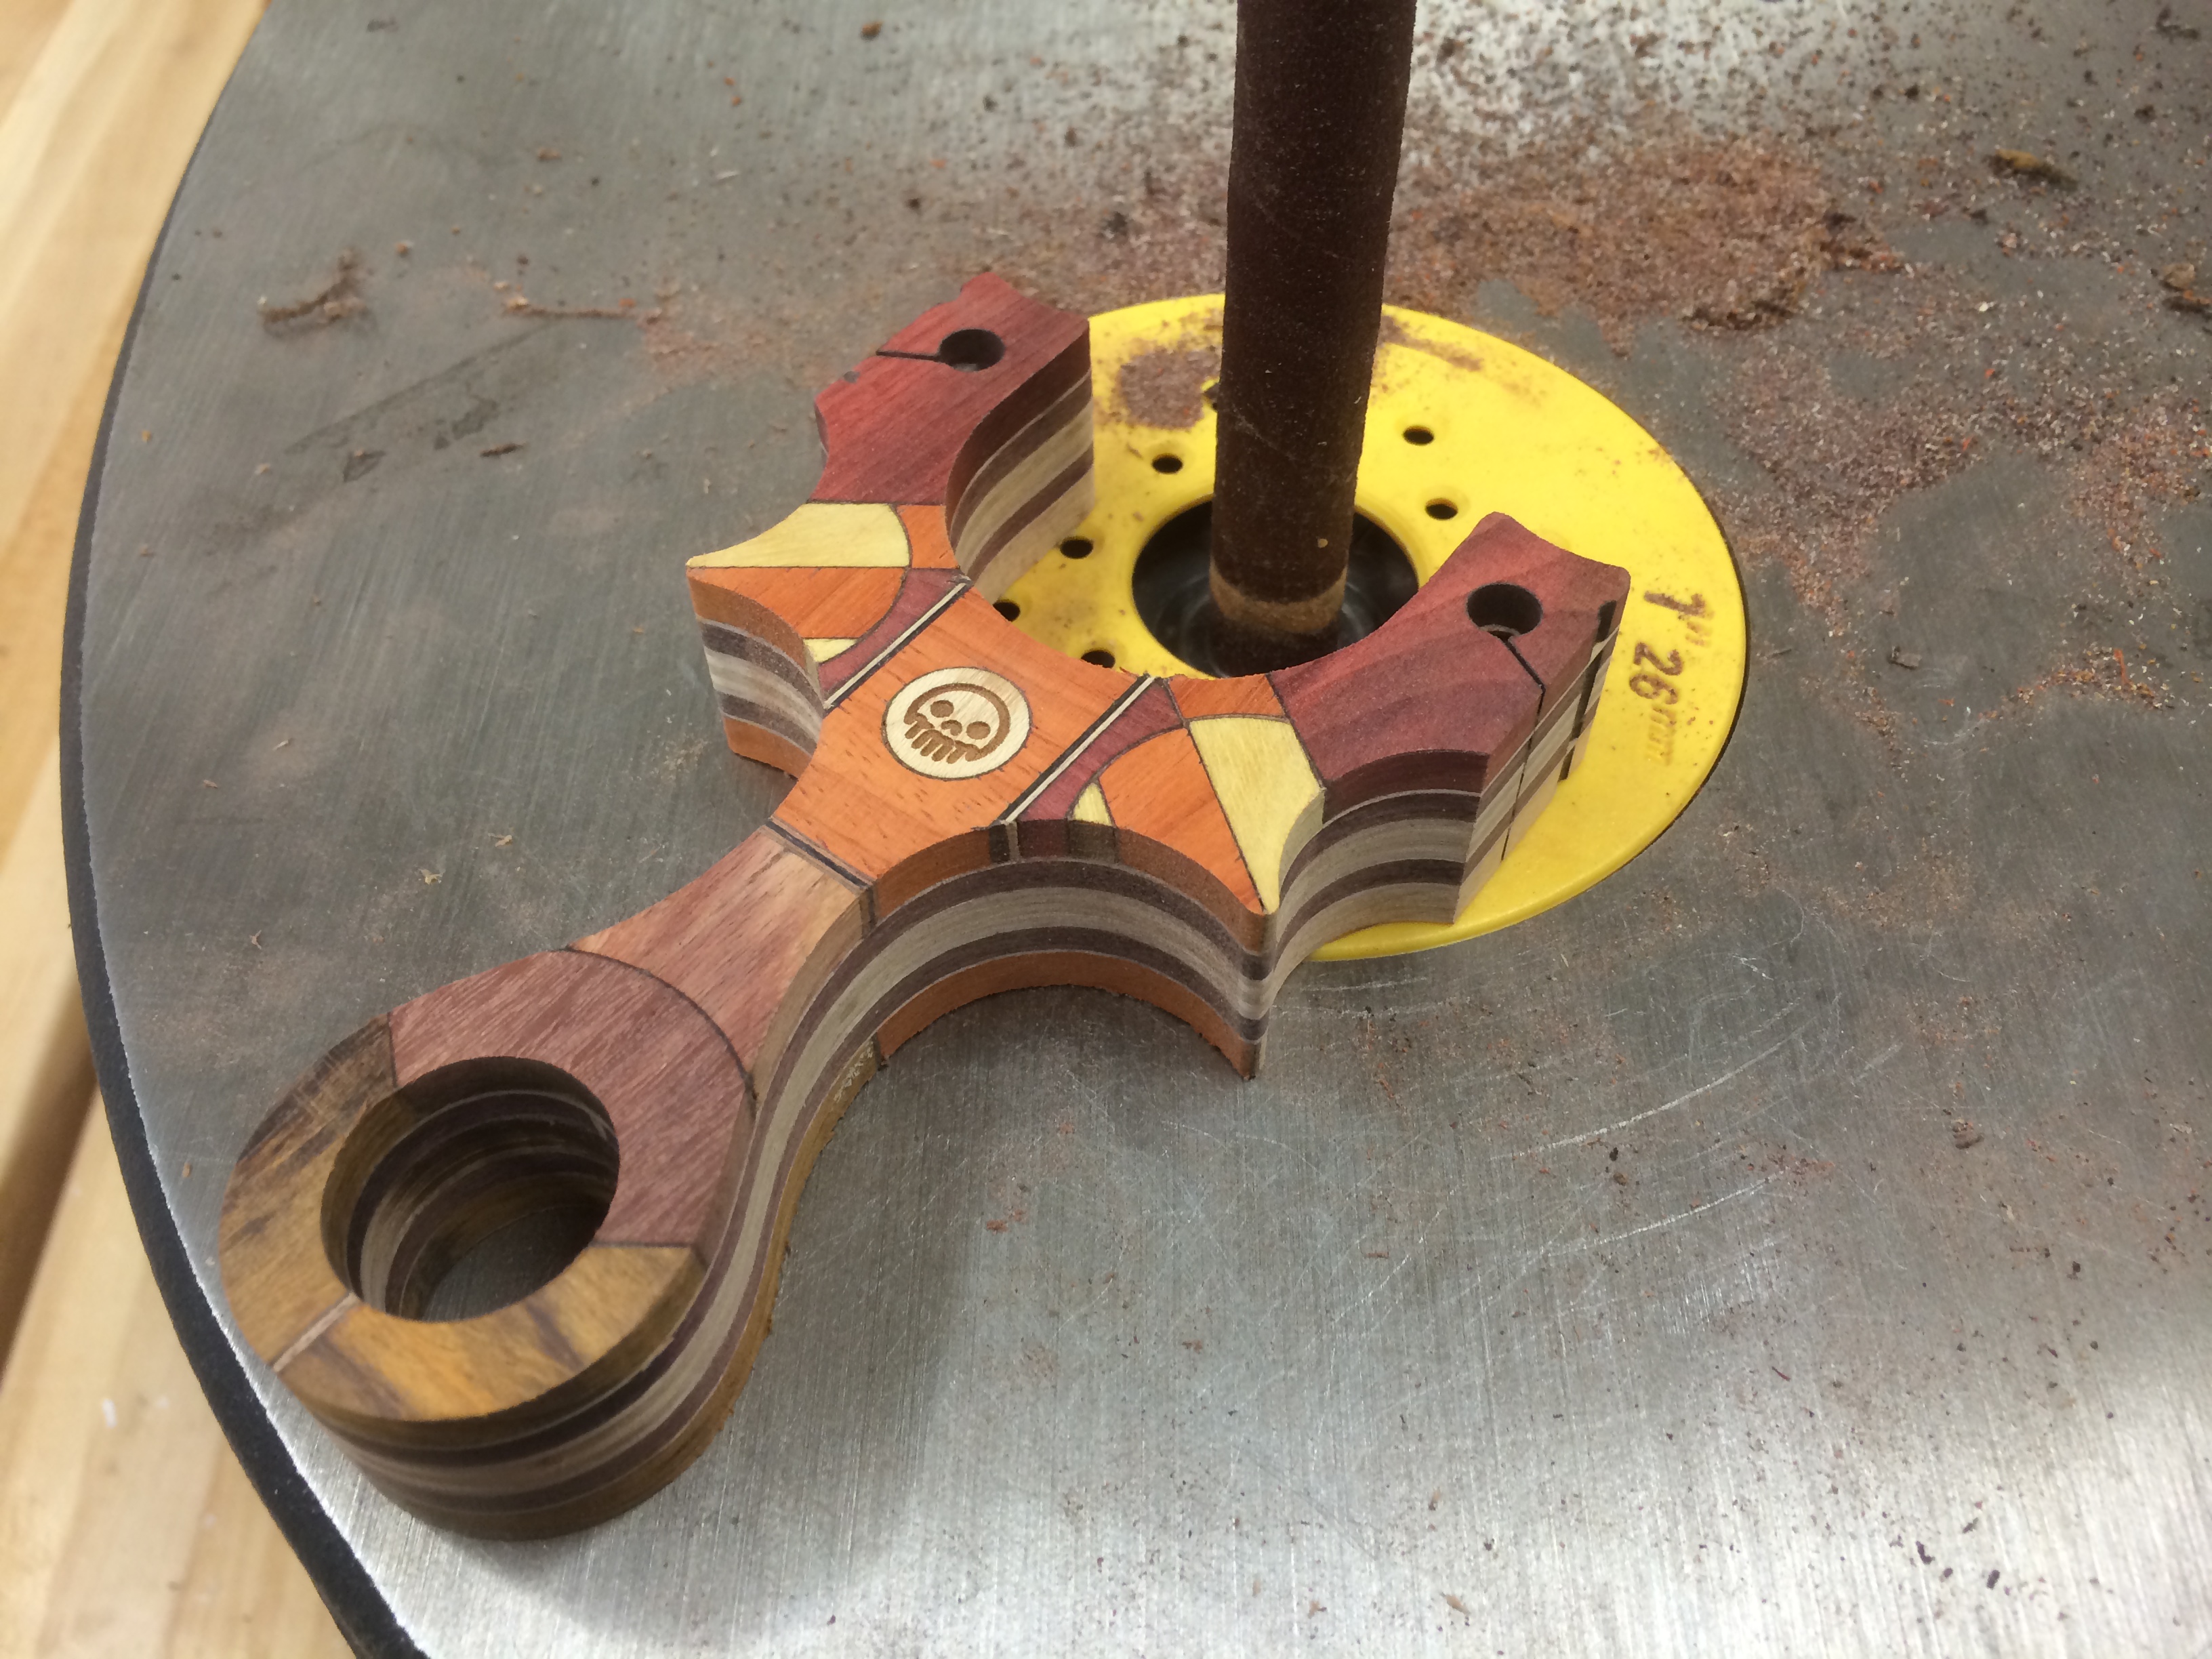

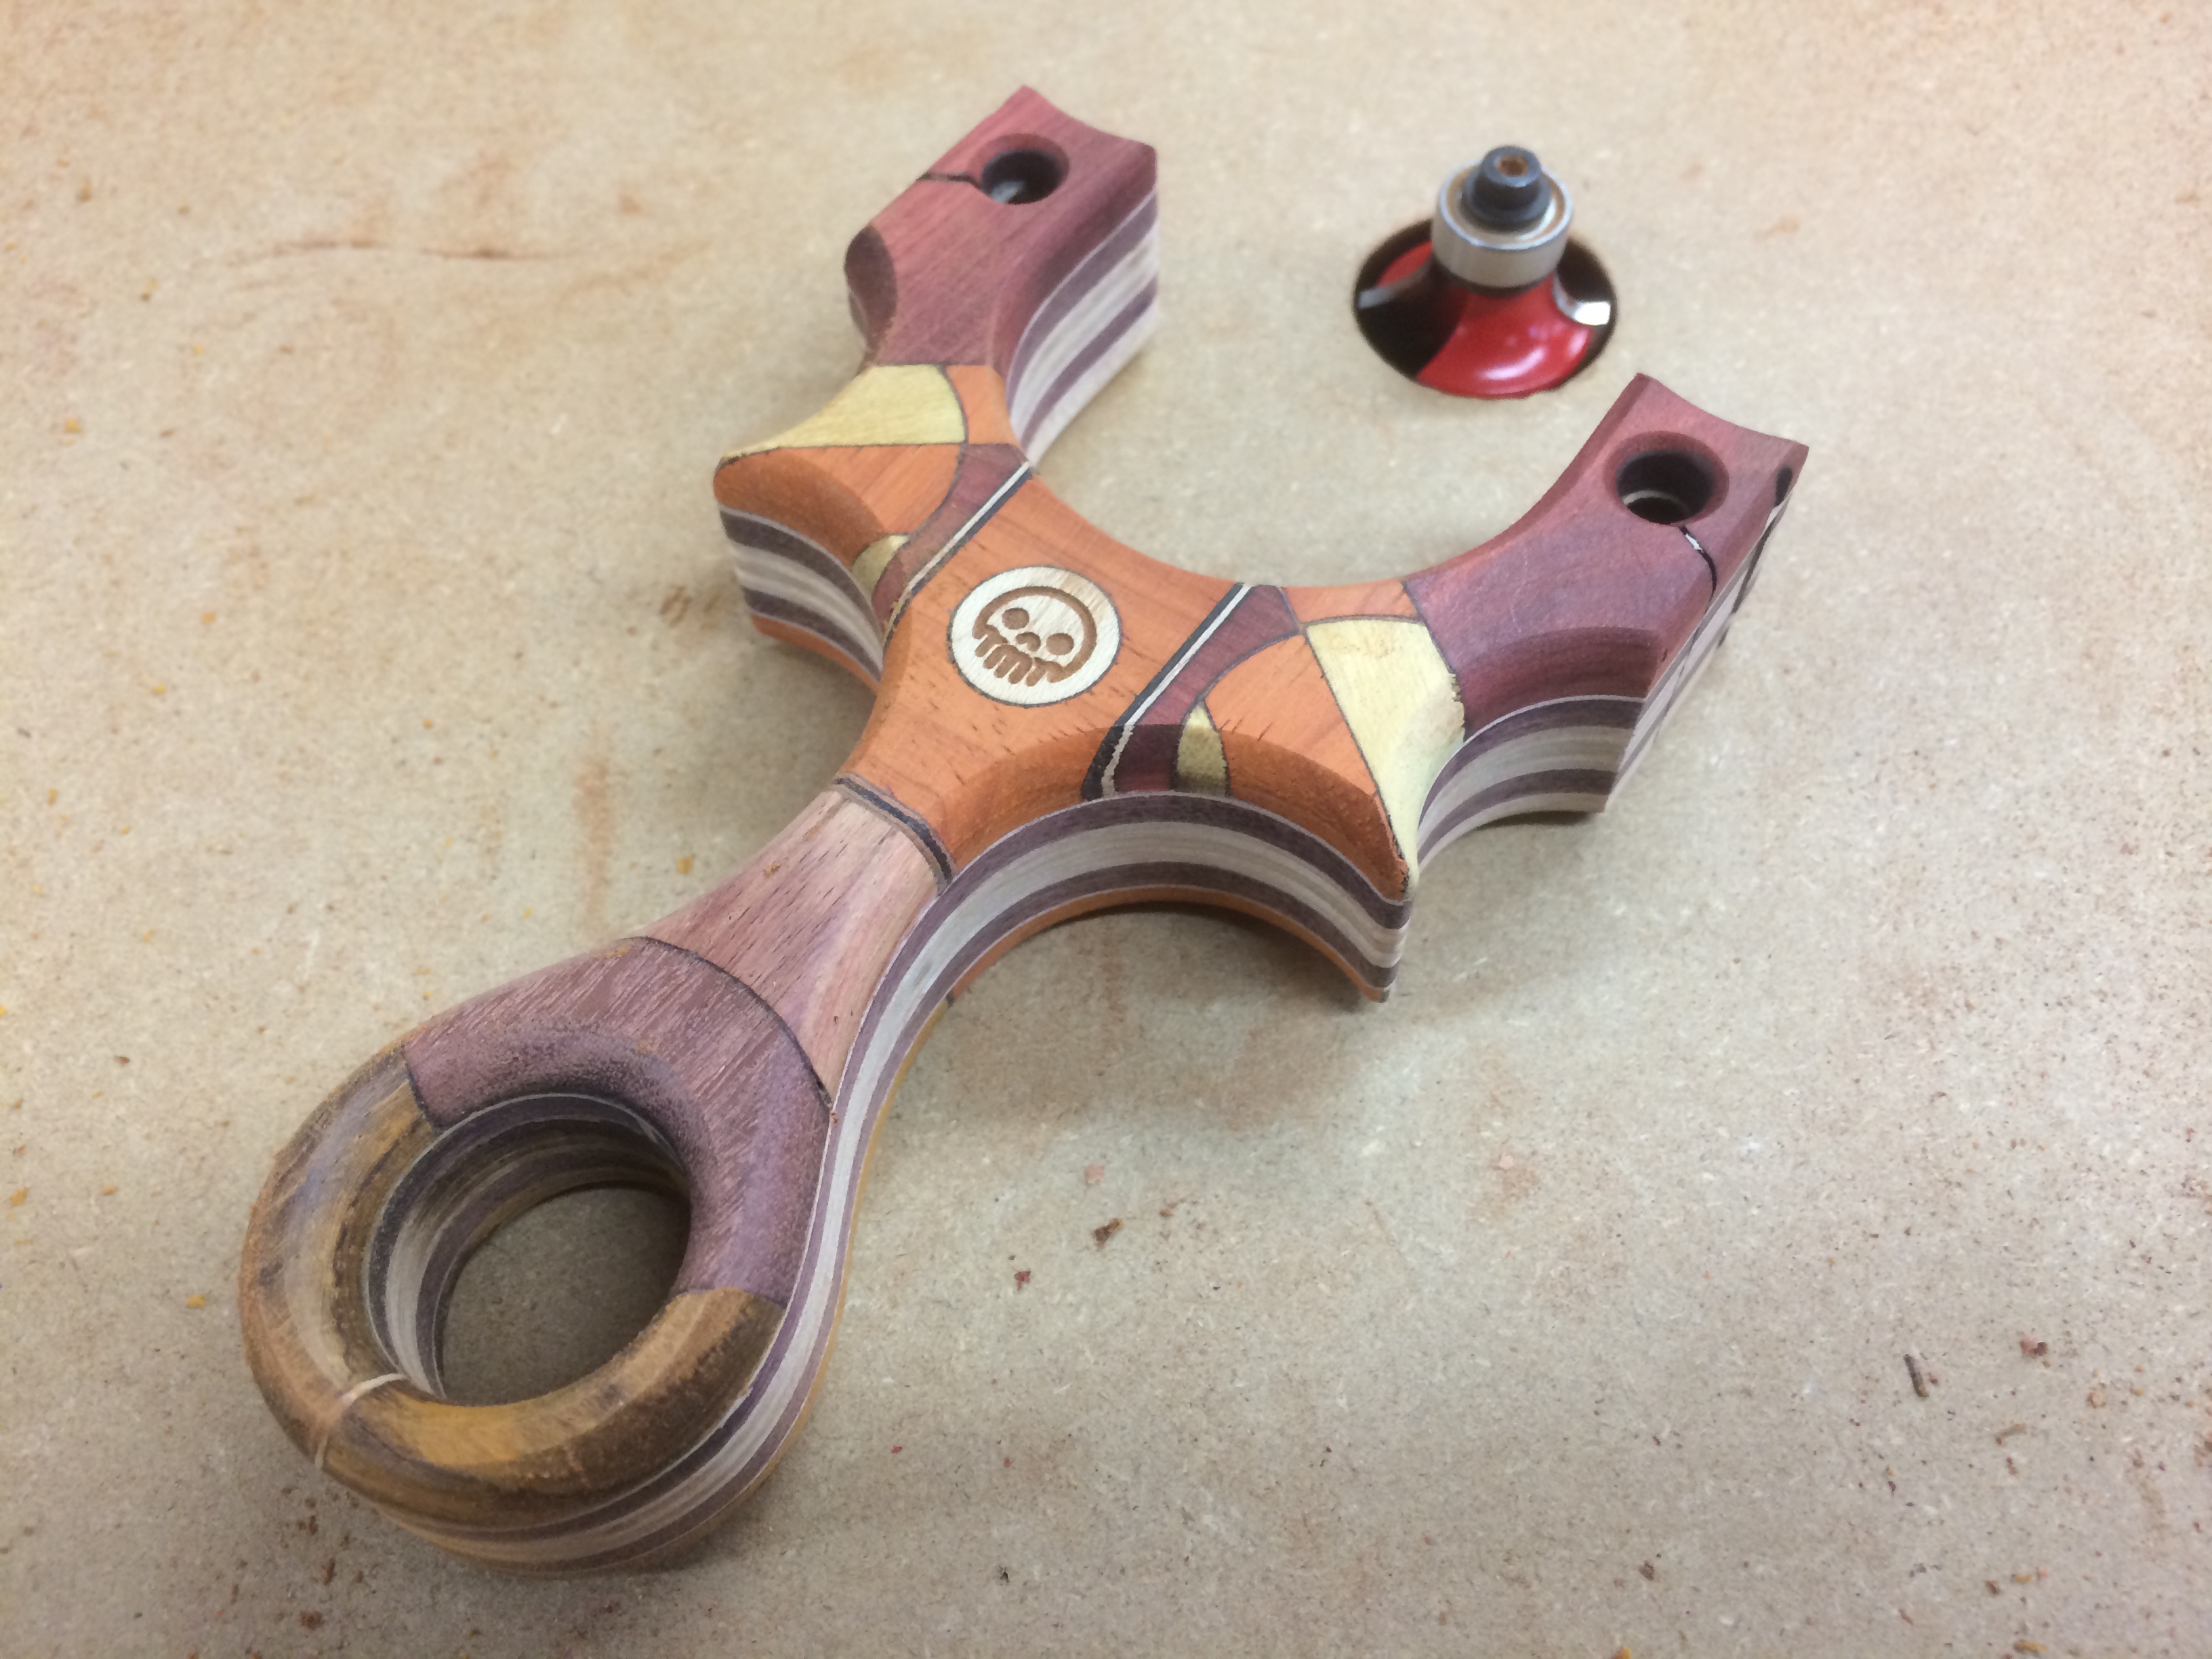
To relieve some pressure on the final round over, all the edges where taken down with a 1/8″ bit.
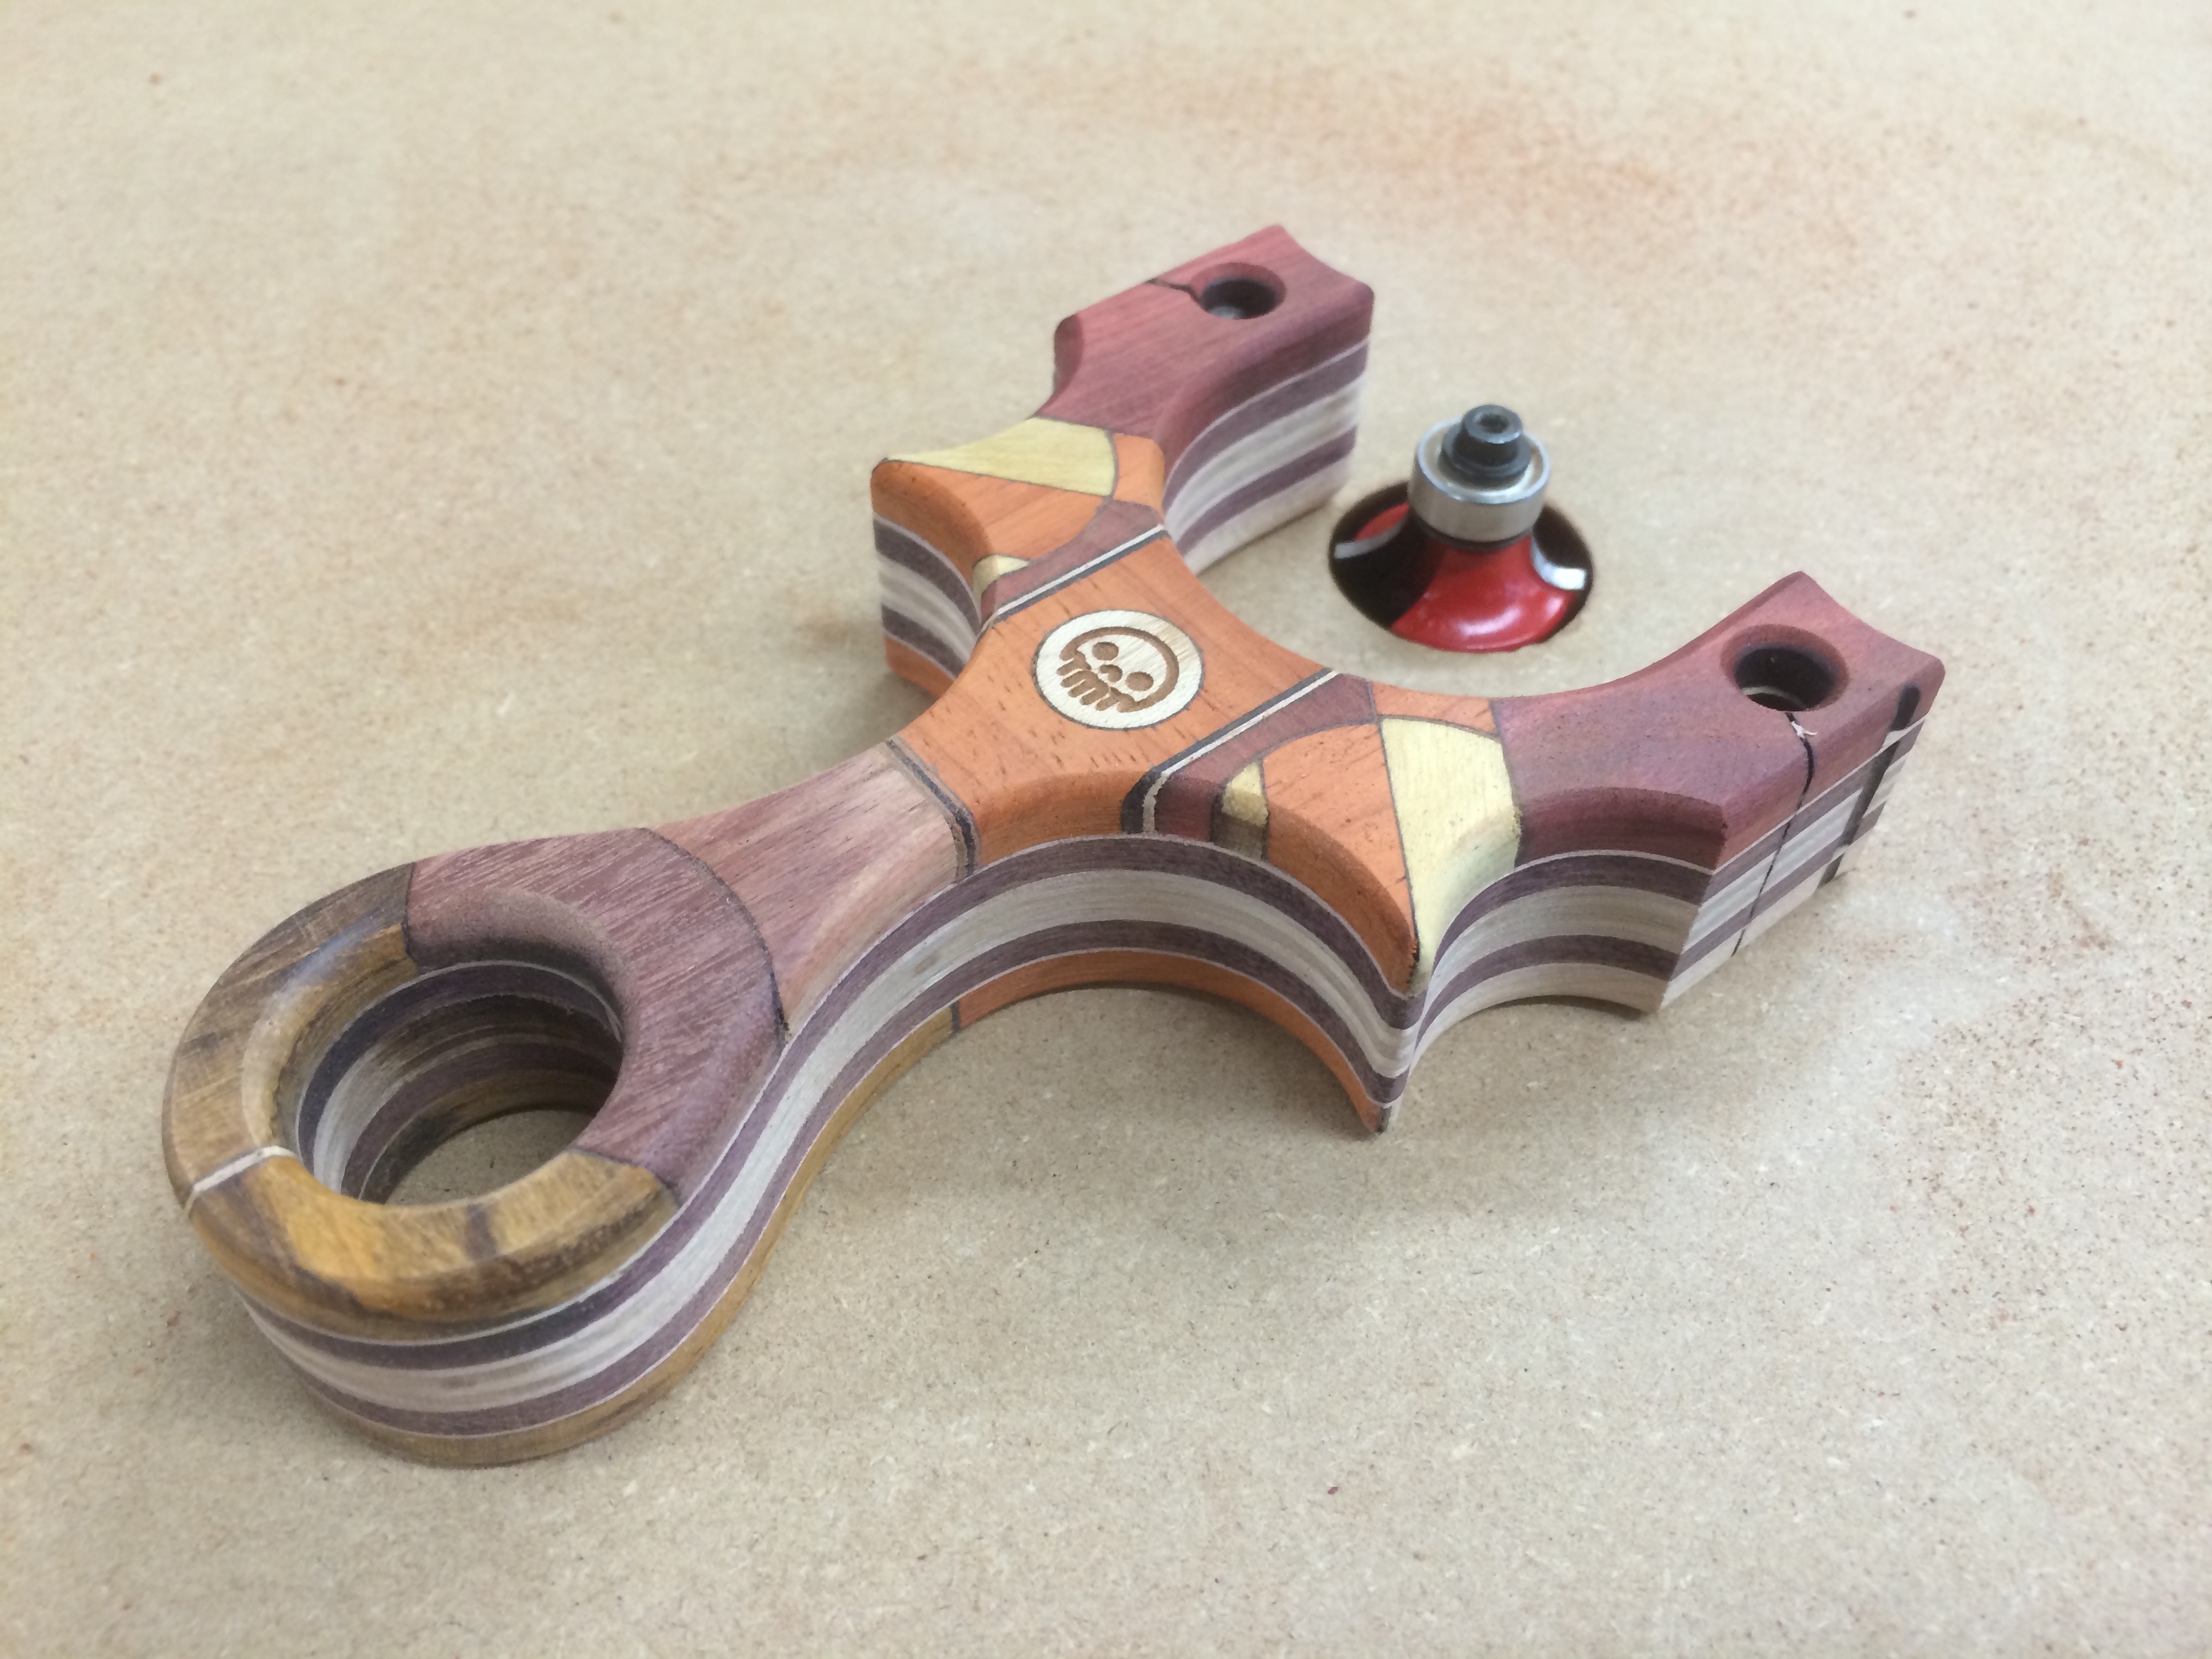
Like the Mesquito Supernatural, select edges are taken down with the 1/4″ bit.
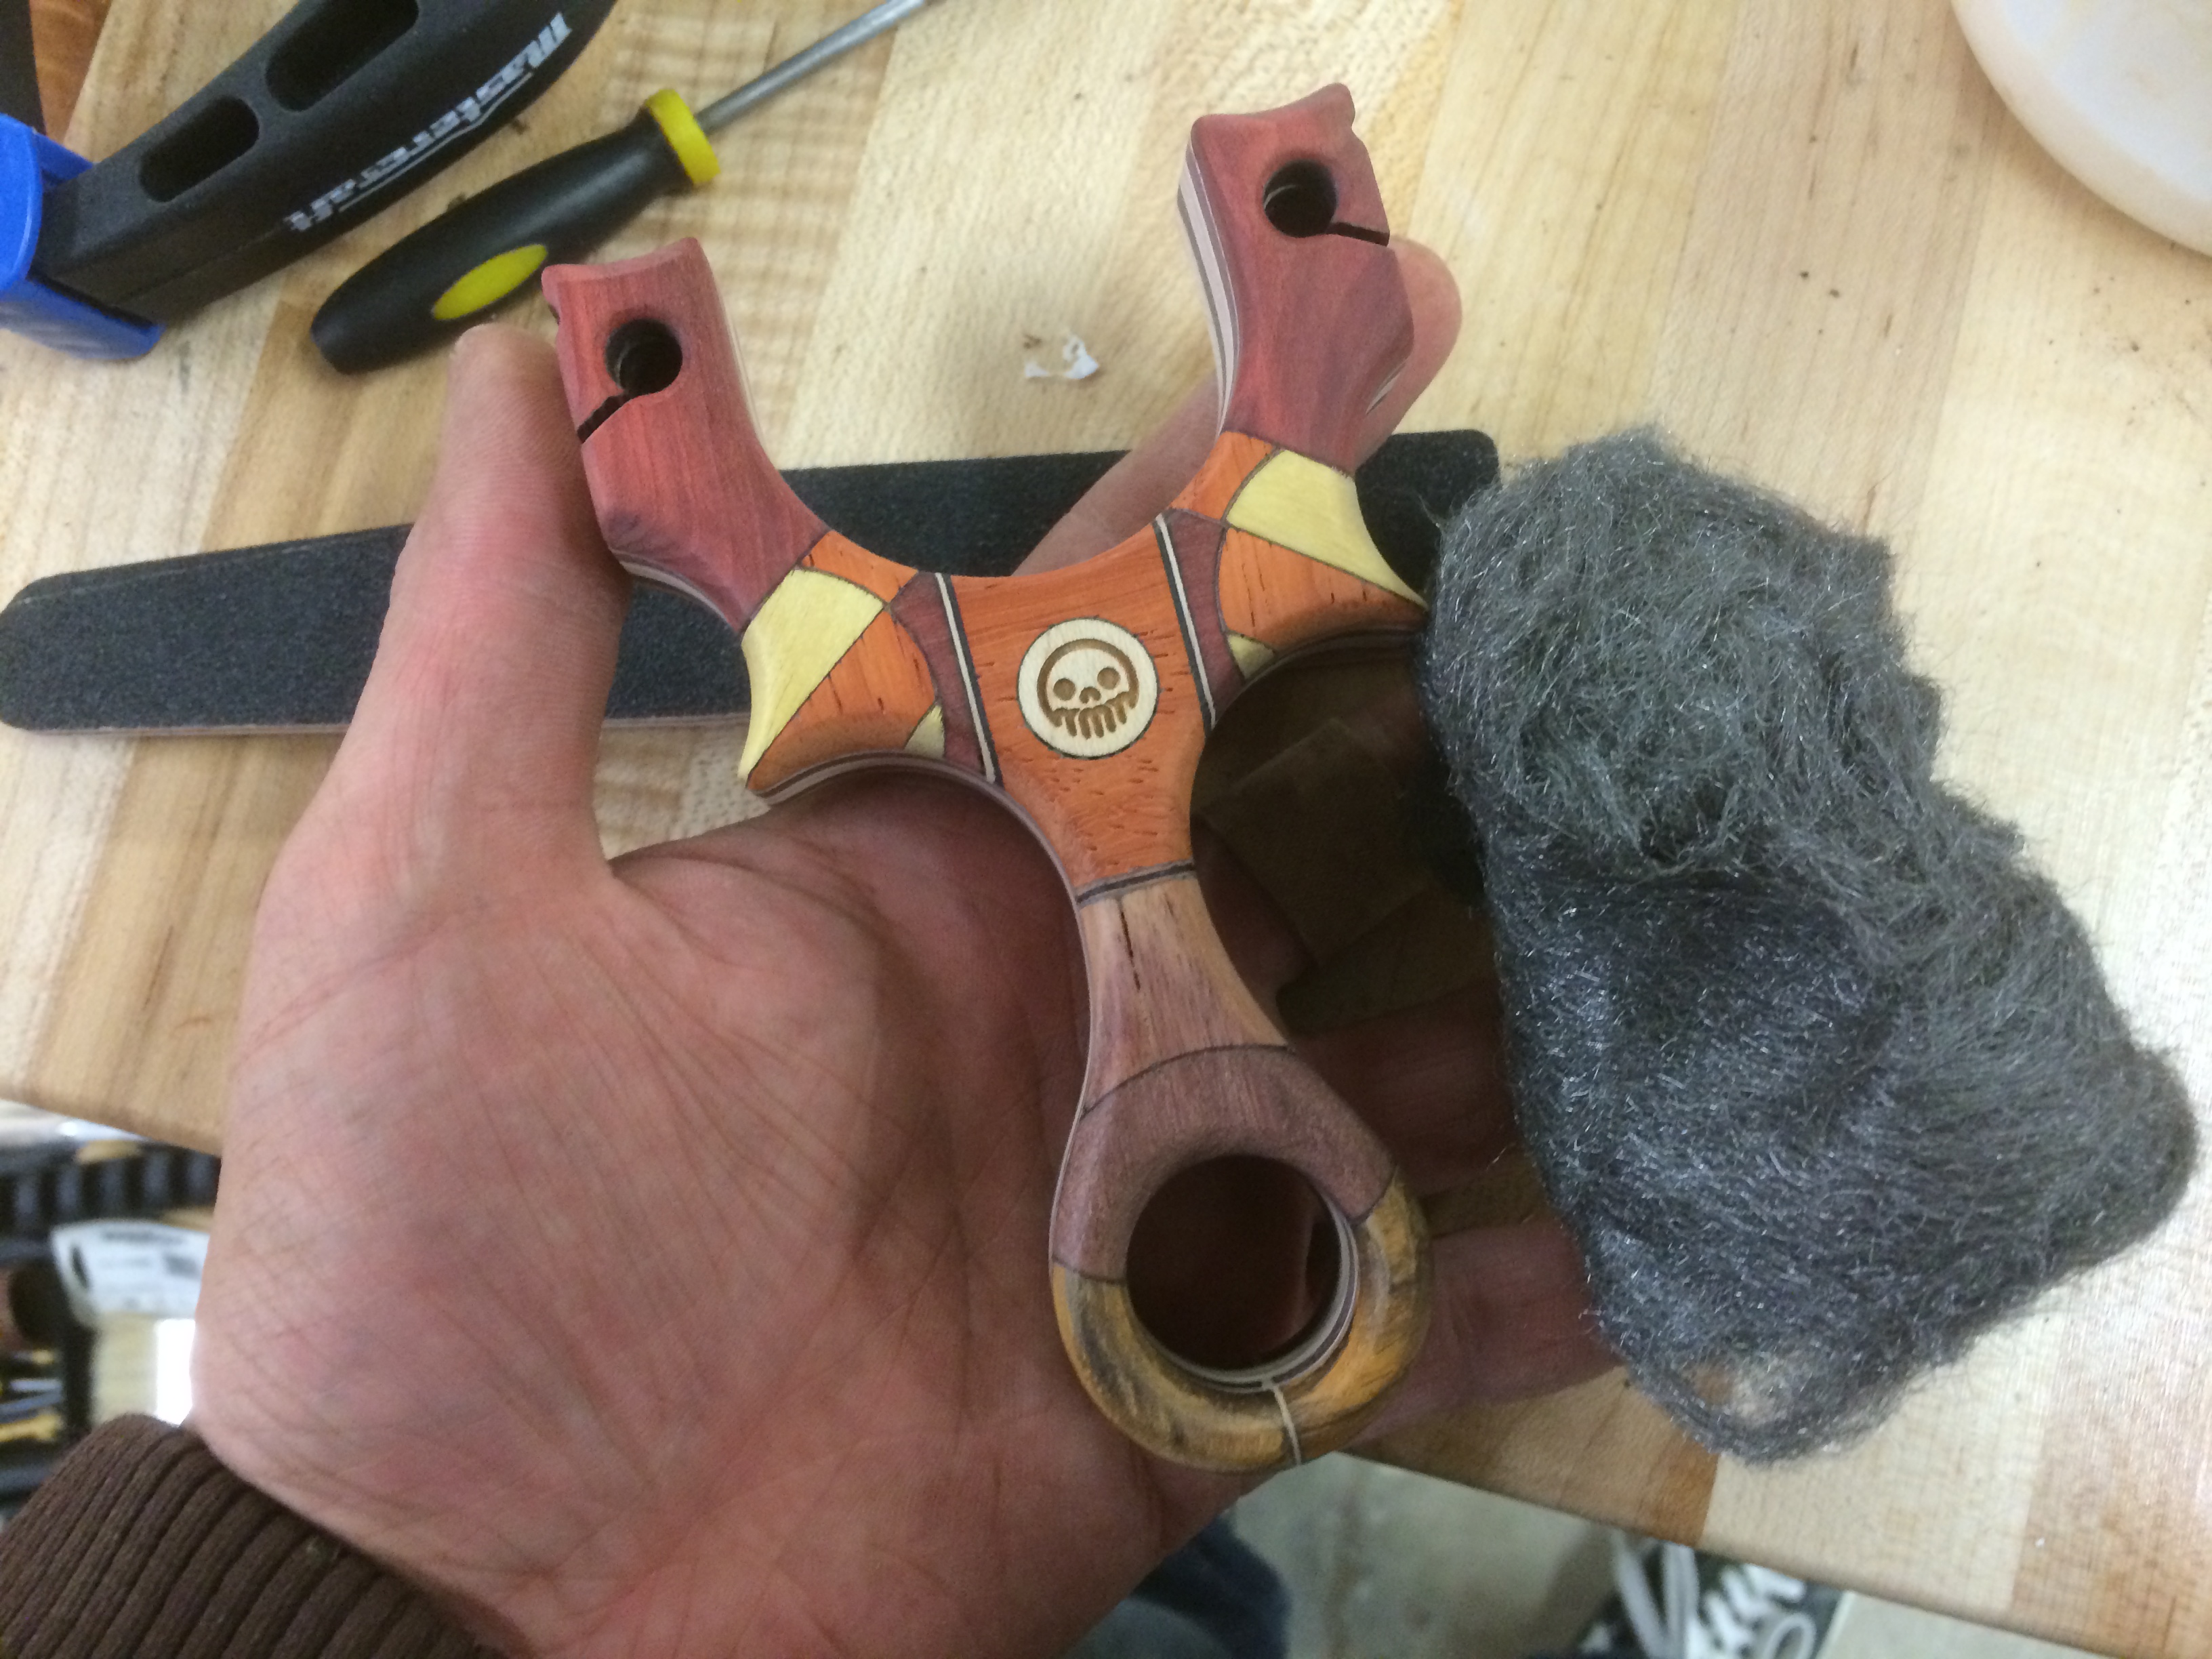
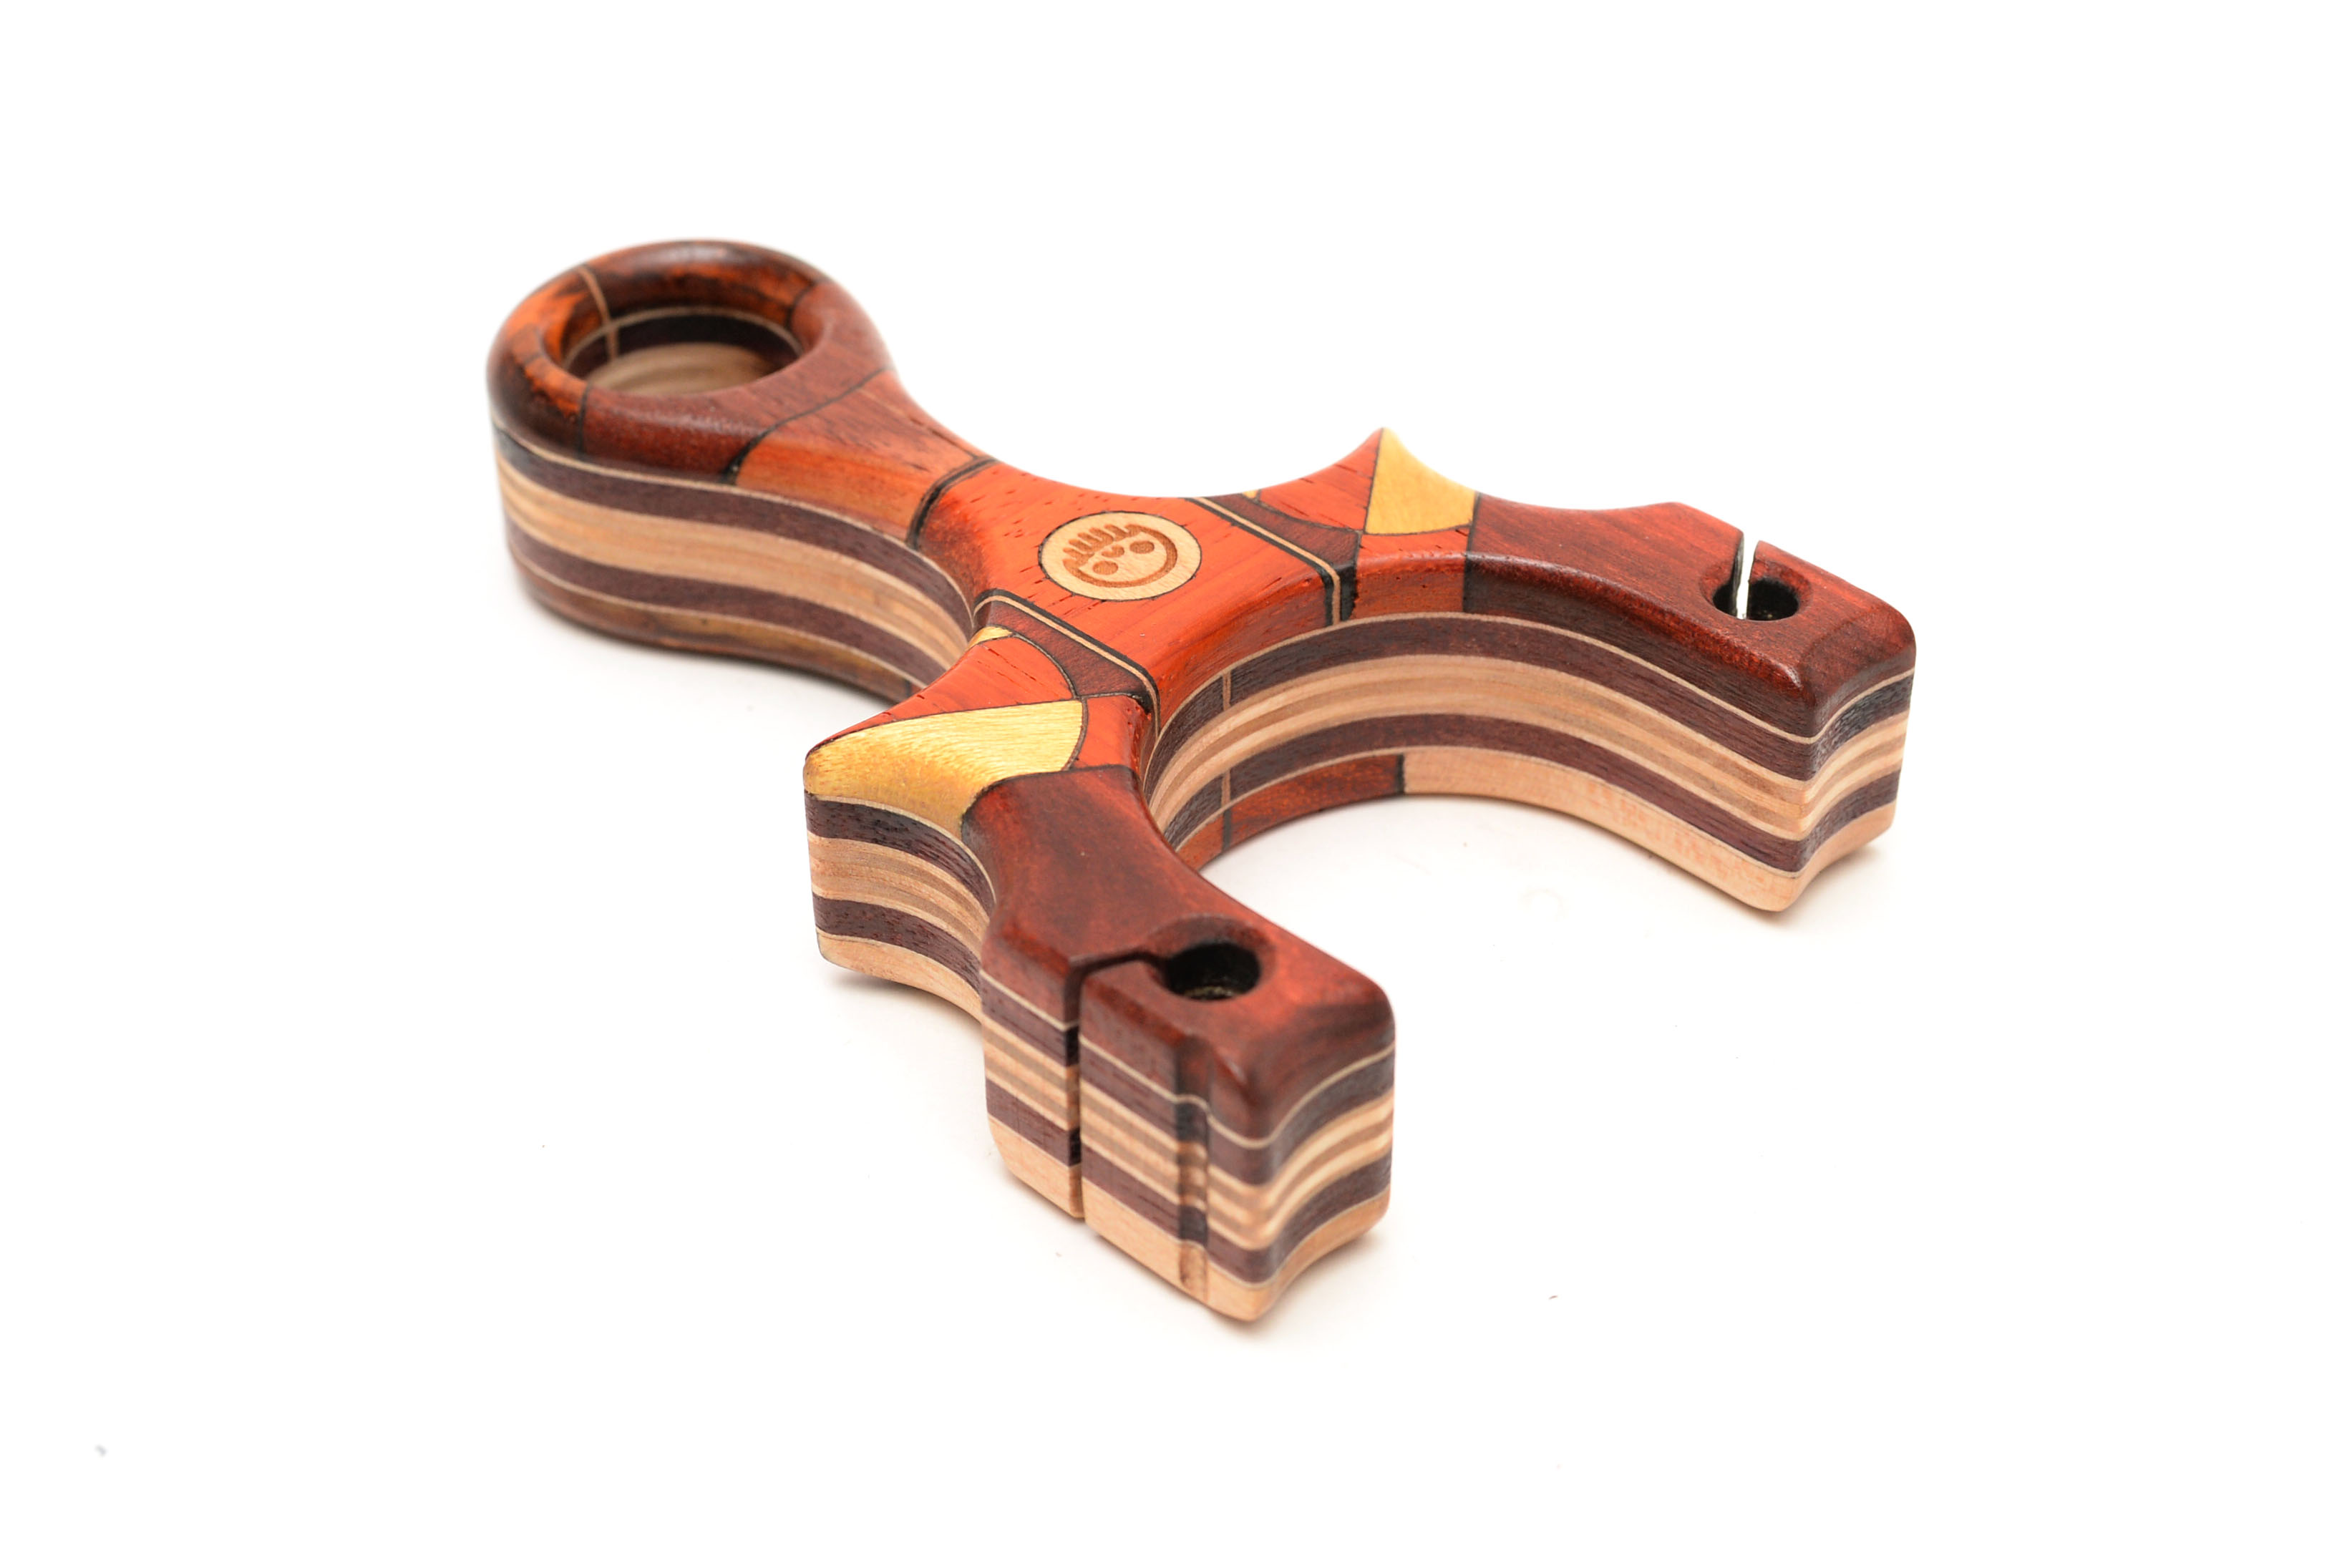
Sanding…lots of it. 100 grit nail file, 150 grit foam block, 240 foam block, 600 grit paper and a buffing with 000 steel wool. It’s the smoothest I’ve ever gotten wood to be.
2 coats of acrylic sealer and I washed my hands of this project.

The incredibly smooth surface thanks to the steel wool provided a perfect substrate for the sealer, the photos don’t lie.
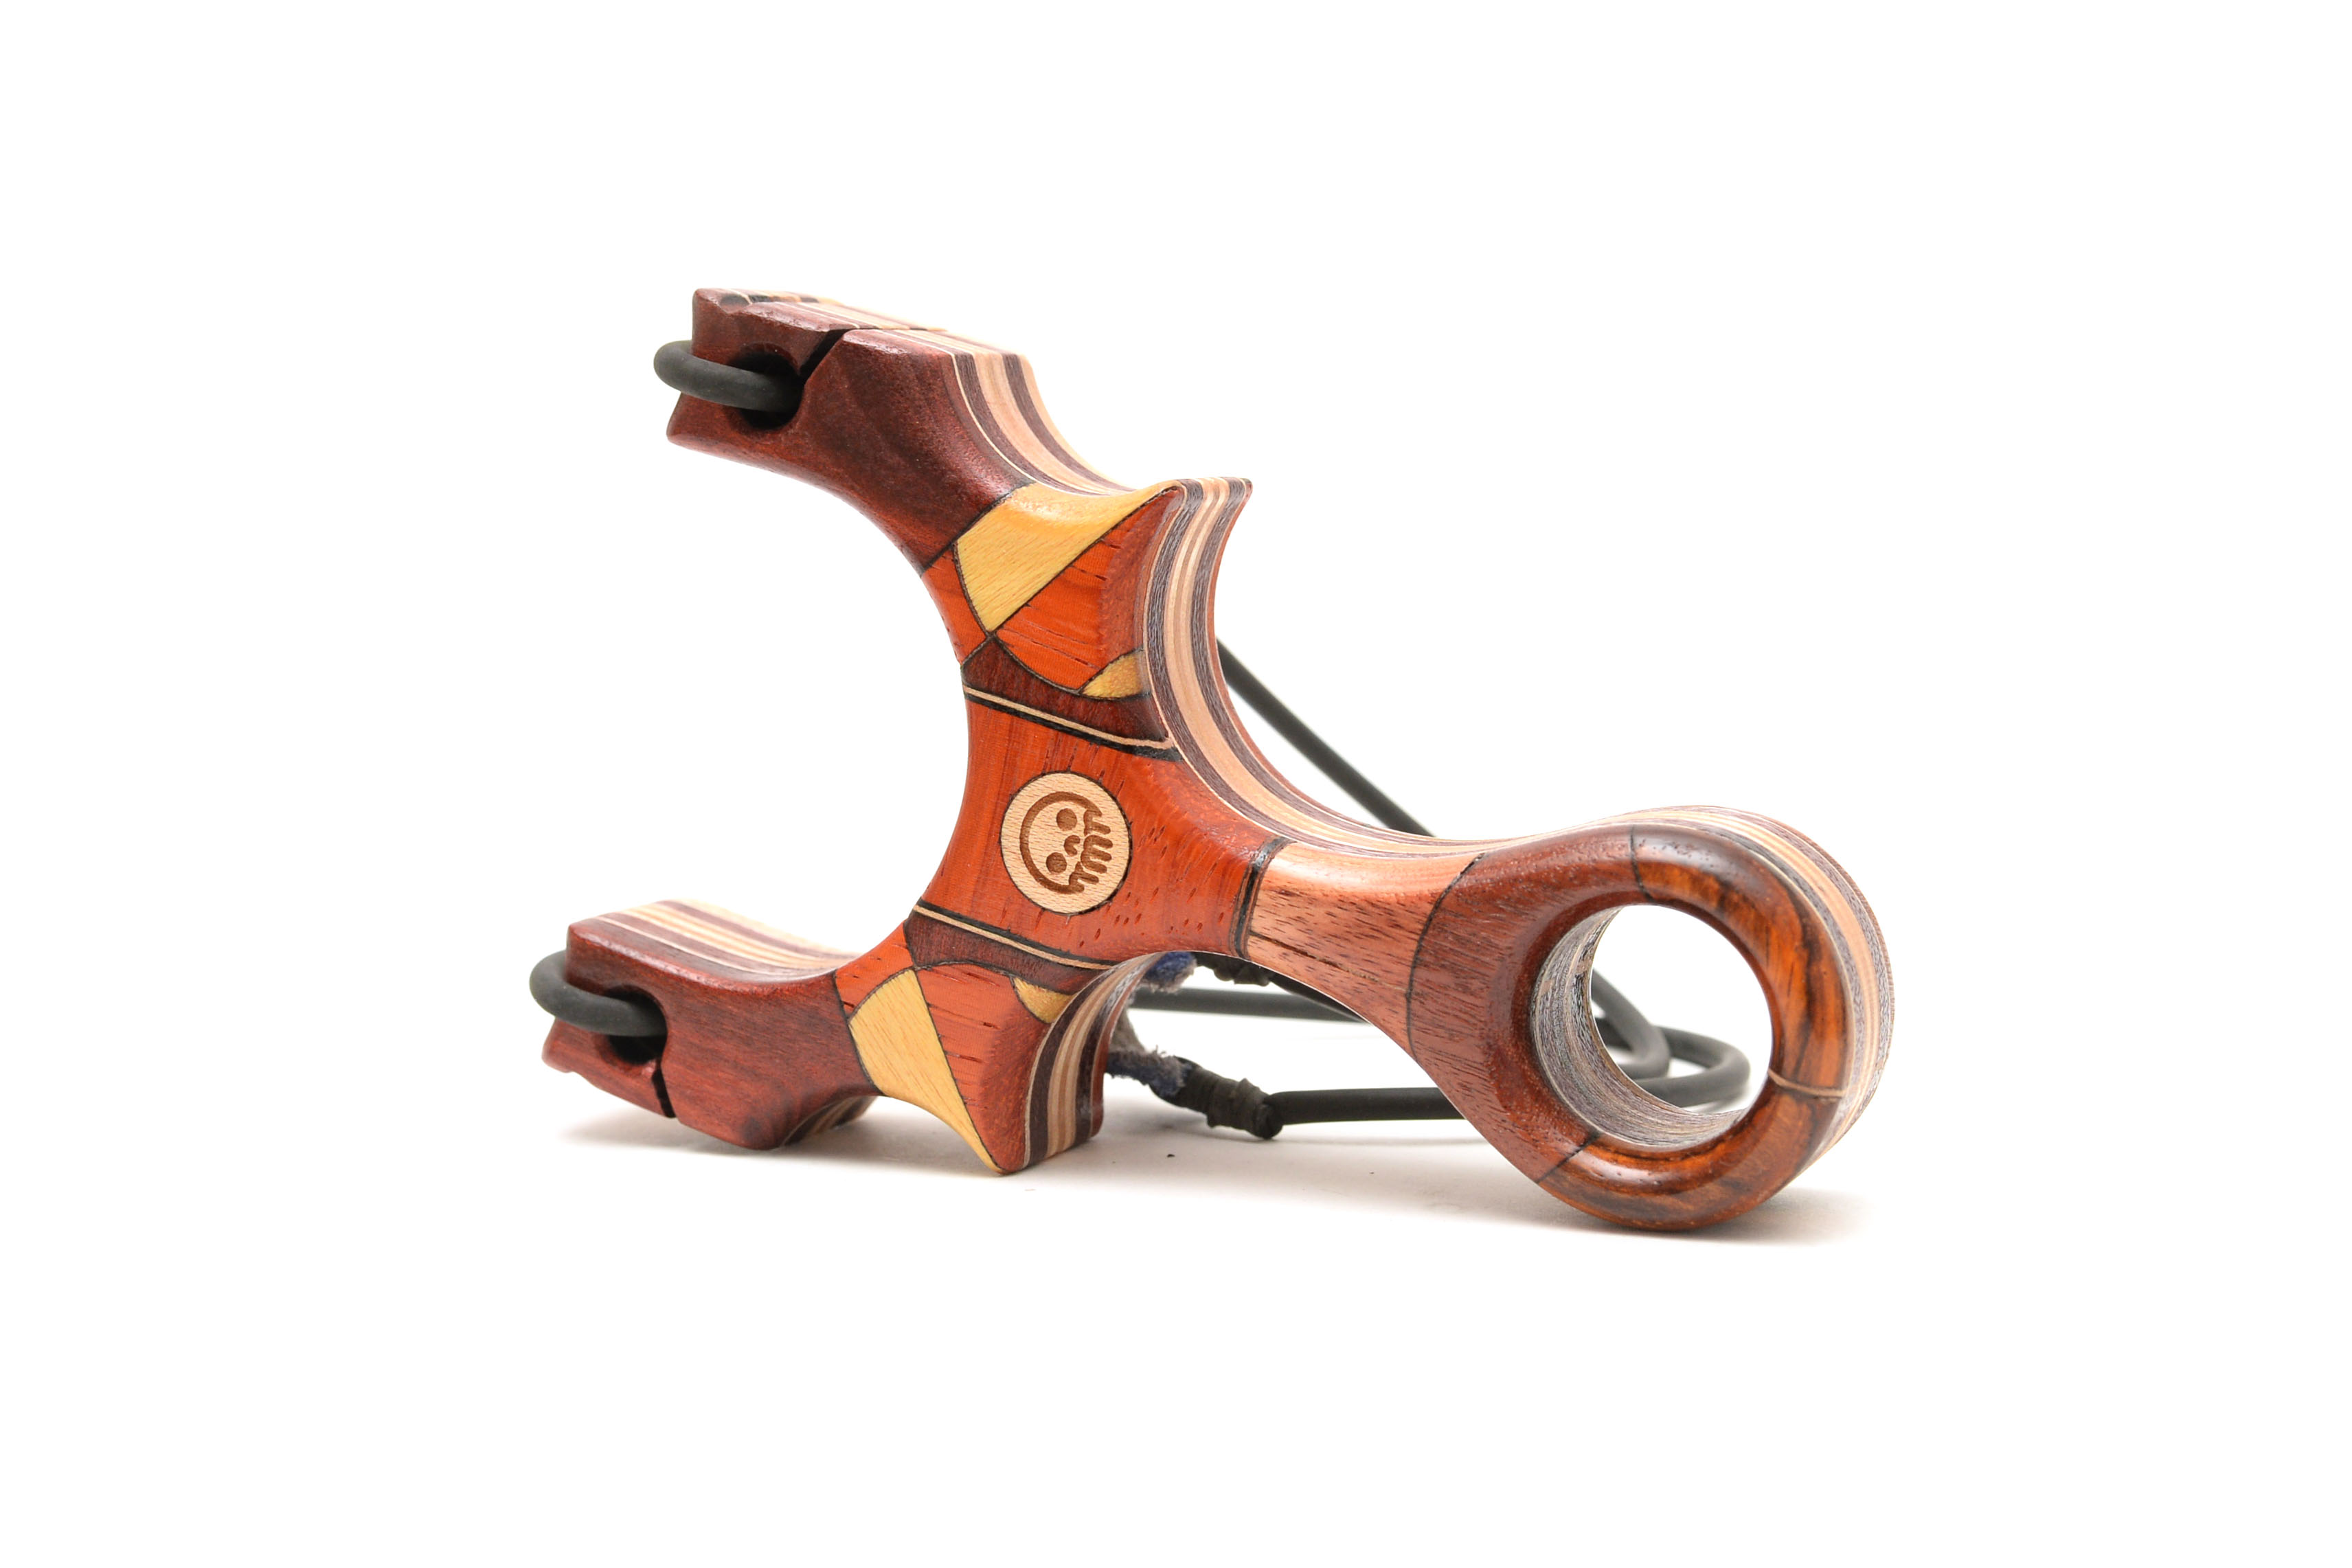


Yet another satisfying job done.
-Stay True-
Eric
Truly amazing work .
Absolutely fantastic end product.
Nick
Hi Eric,
Beautiful job! I like the colour combo on this one. I could recognize some woods, but I am wondering about the orange one in the middle of the slingshot.
Darren
It’s Padauk, it’s kind of chippy if you aren’t careful cutting it.
Very cool.