Posted on 3 Comments

Metro Made | The Wormhole Attachment (Lumbri Tyton Slingshot)

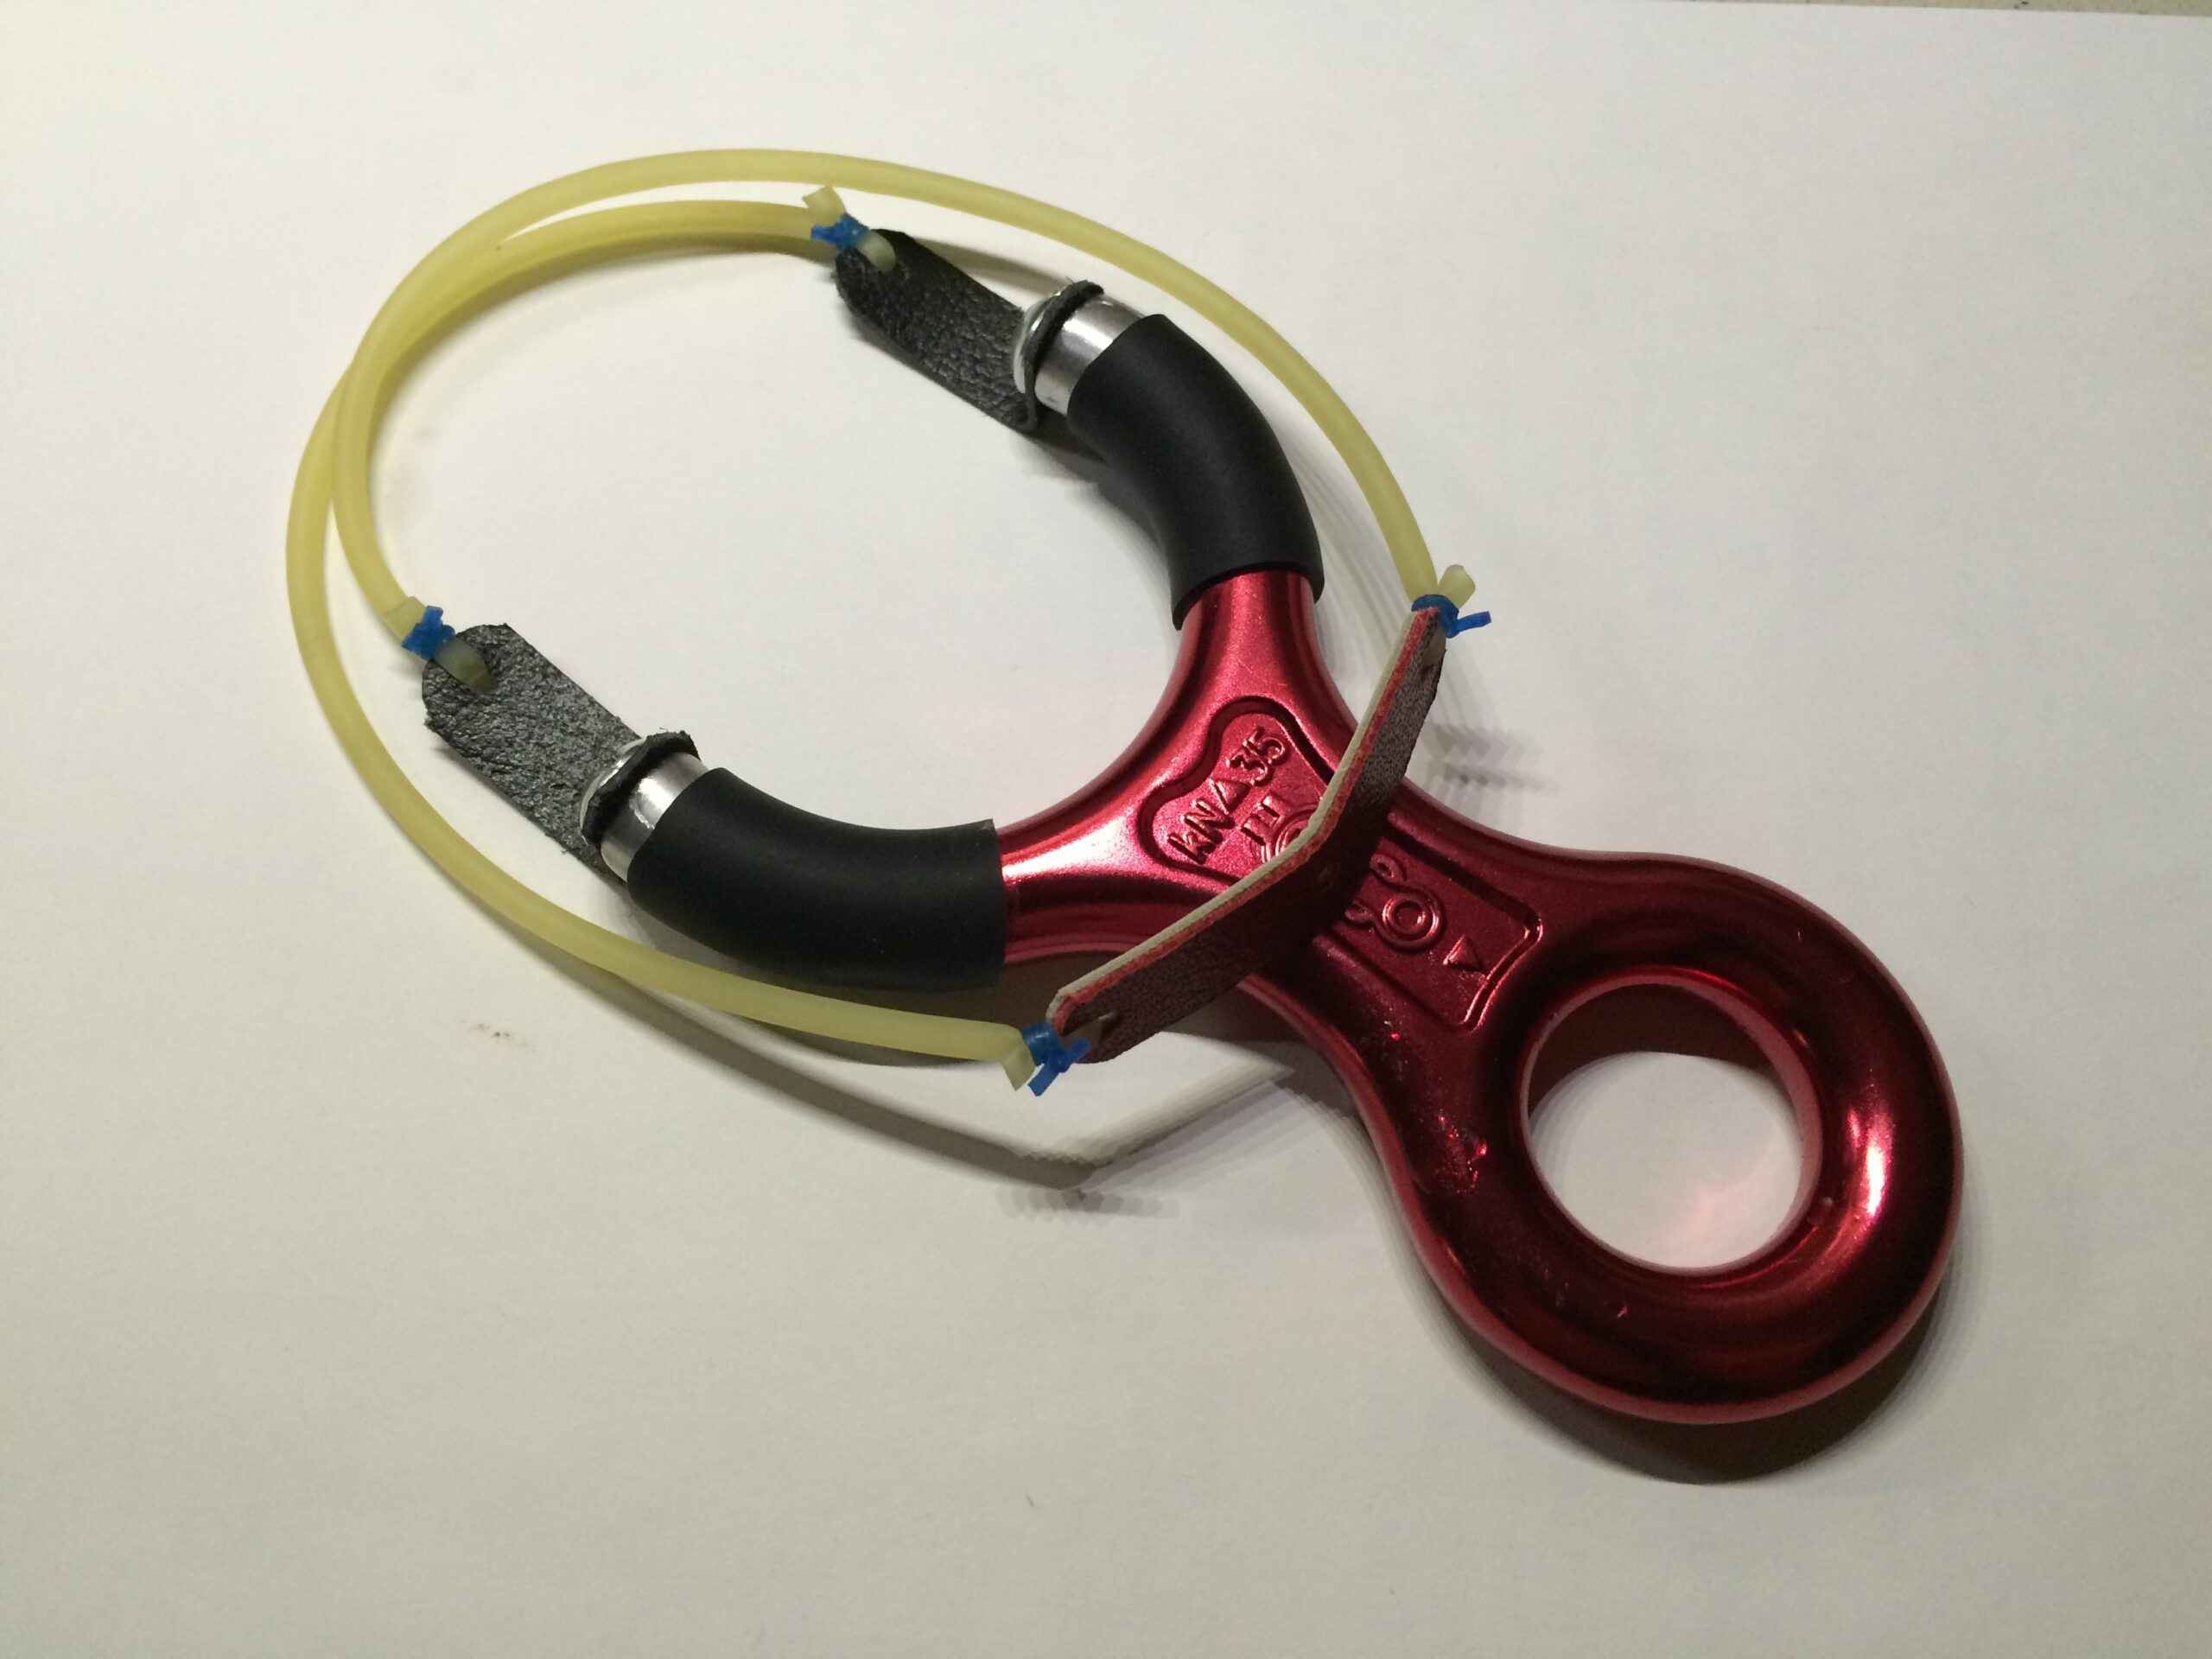
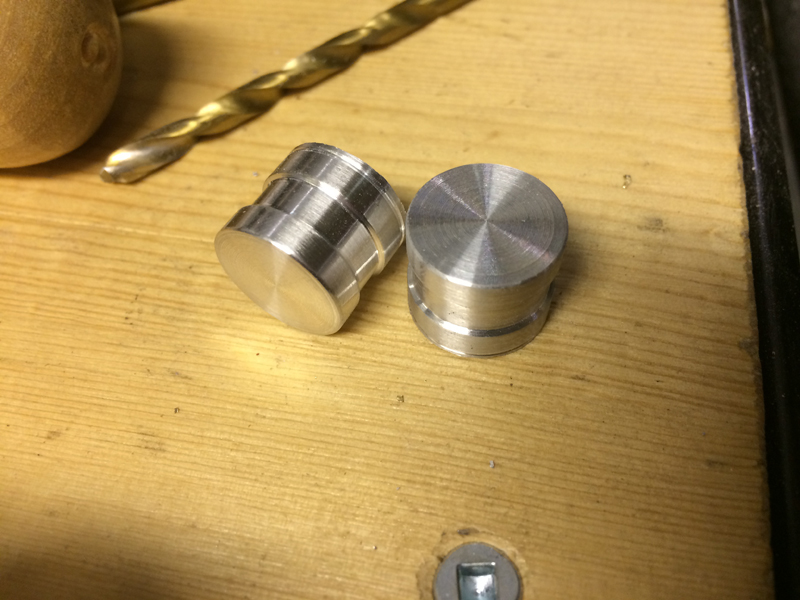
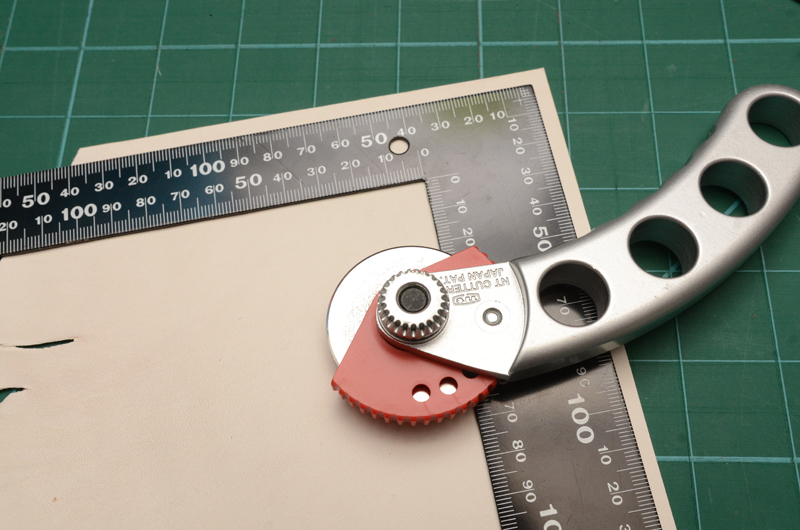
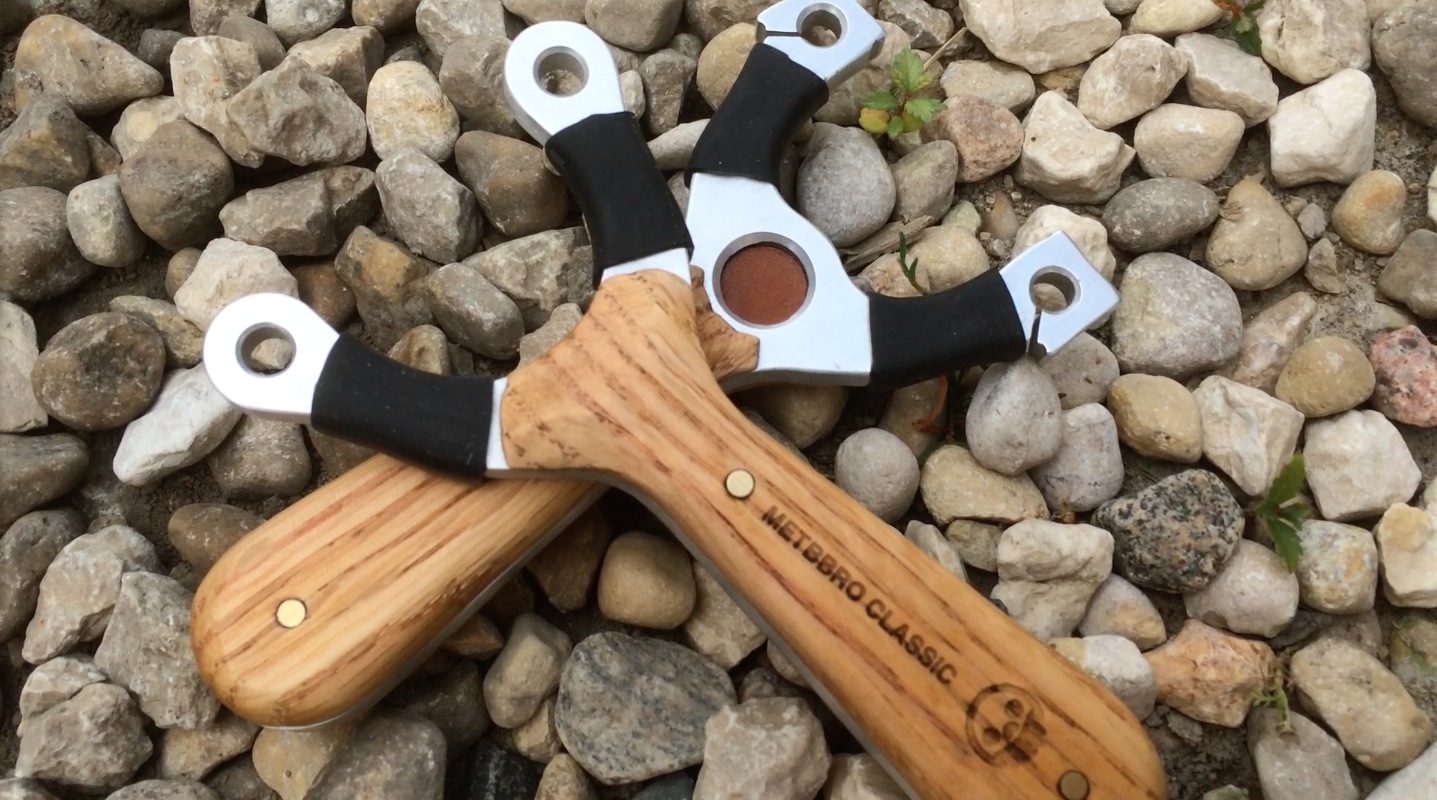
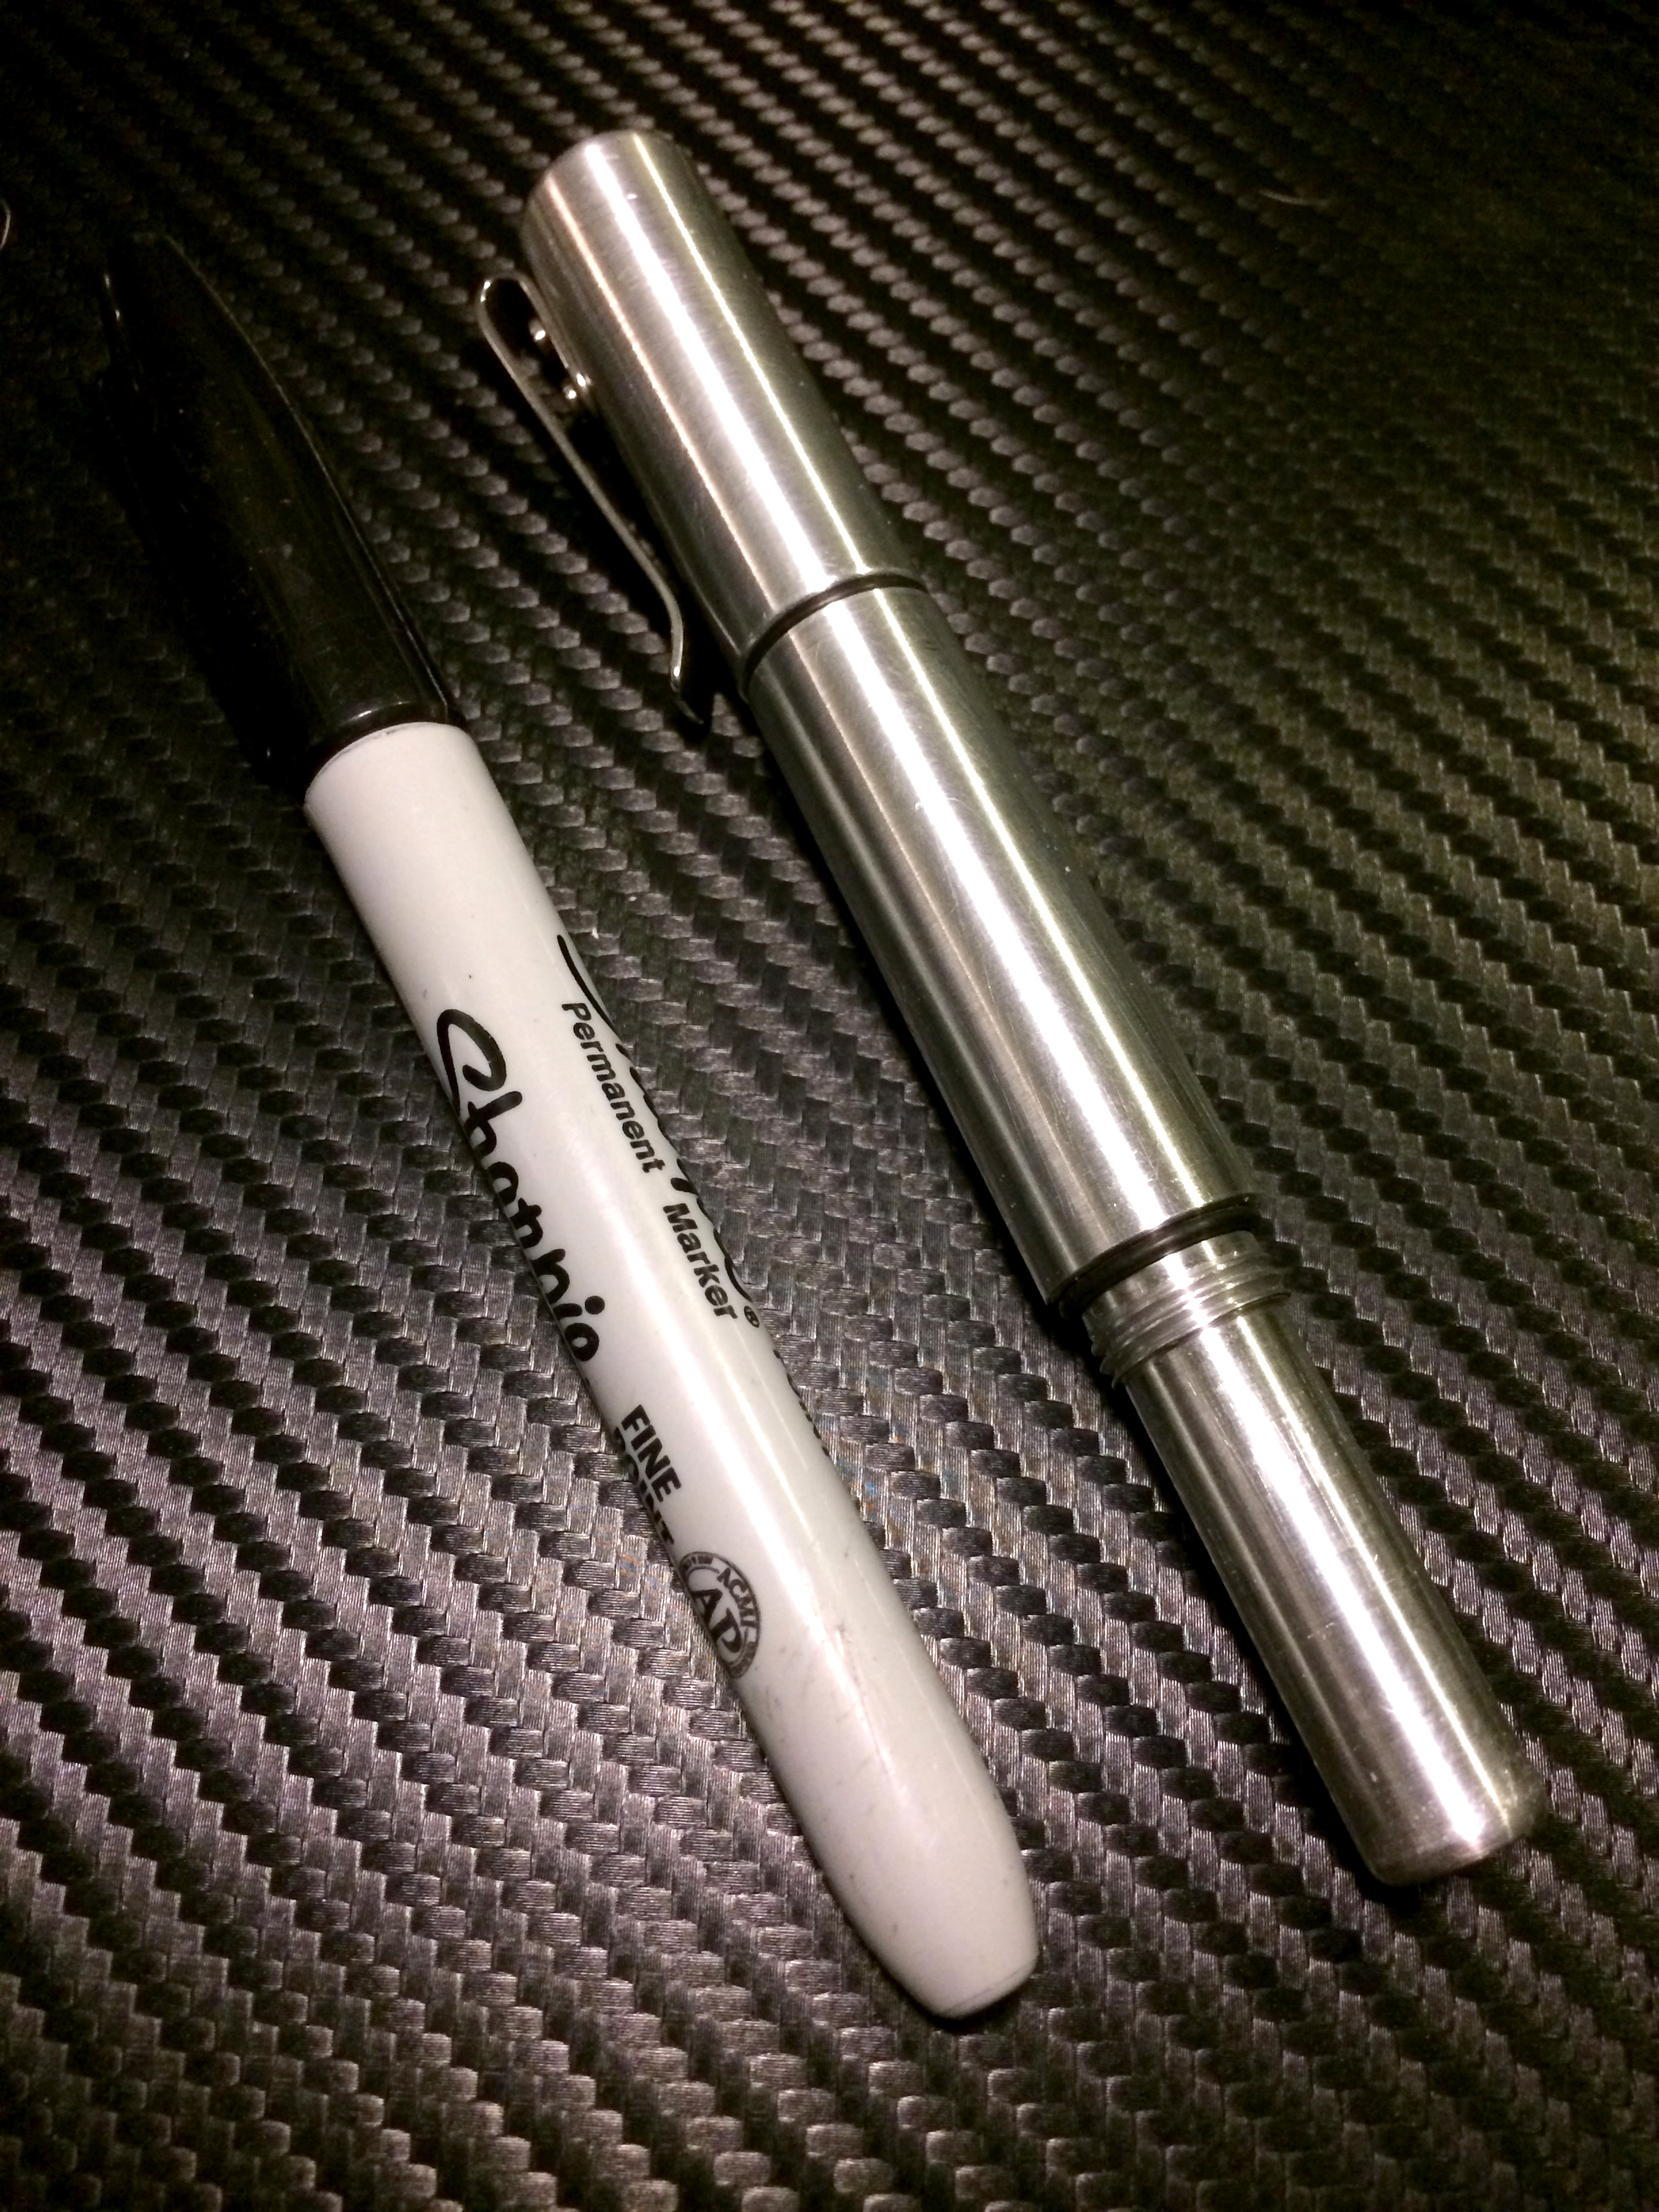
I recently bought a new Chinese cast aluminum slingshot called the Tiger Scorpion, while the attachment system wasn’t new (I have a few frames with the same style tip), the shape was kind of neat.

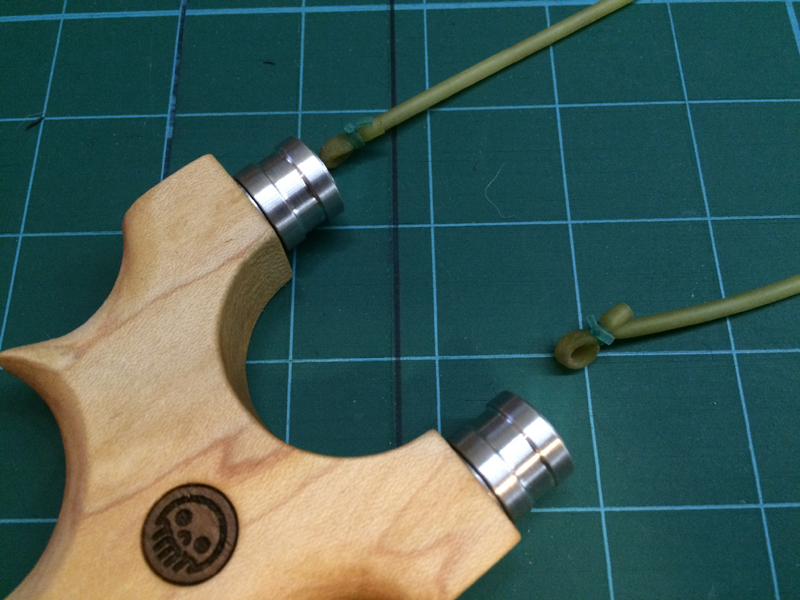
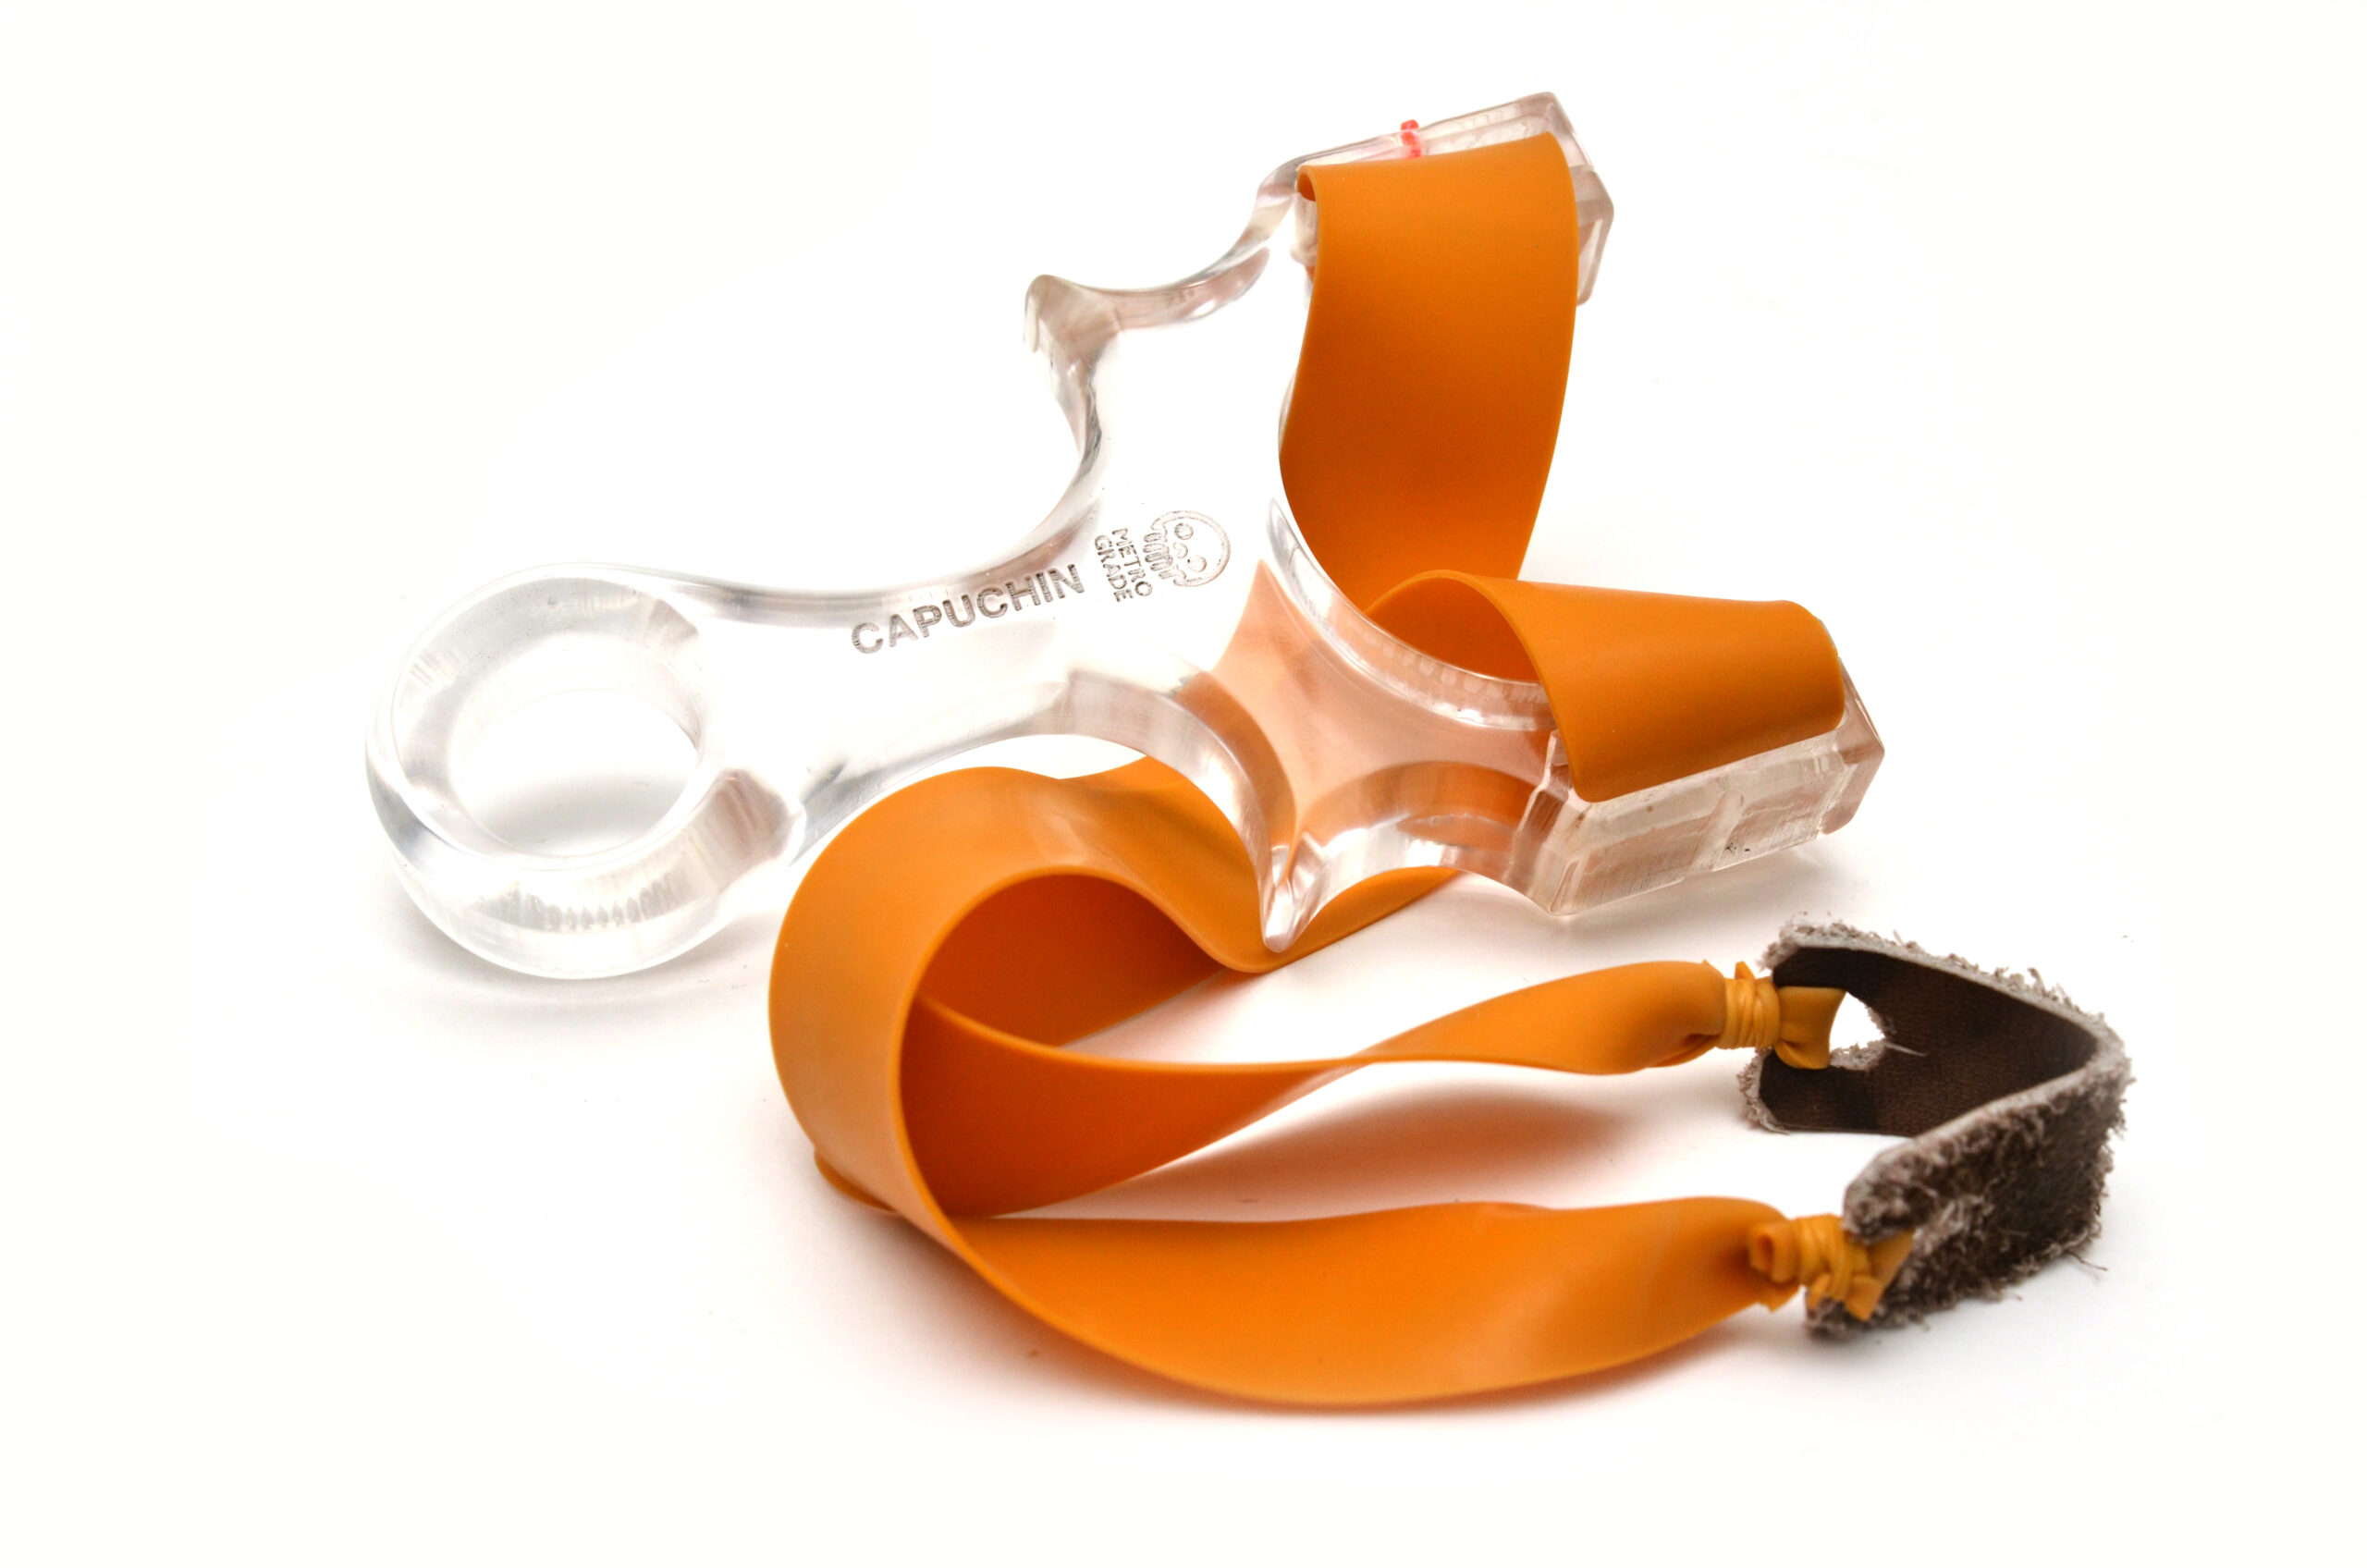
So I banded it up with some bb tubes and played around with shooting it..it was neat! I had set it up with a single tube with a ball in the tube end, then after one particular shot, the single tube slipped into the big hole as well as the small hole….bling..lightbulb. I quickly undid the bands and ‘wormed’ it through both the big and small holes, terminating at the small hole. Kind of like the Wave attachment.

IMG_2696

IMG_2697

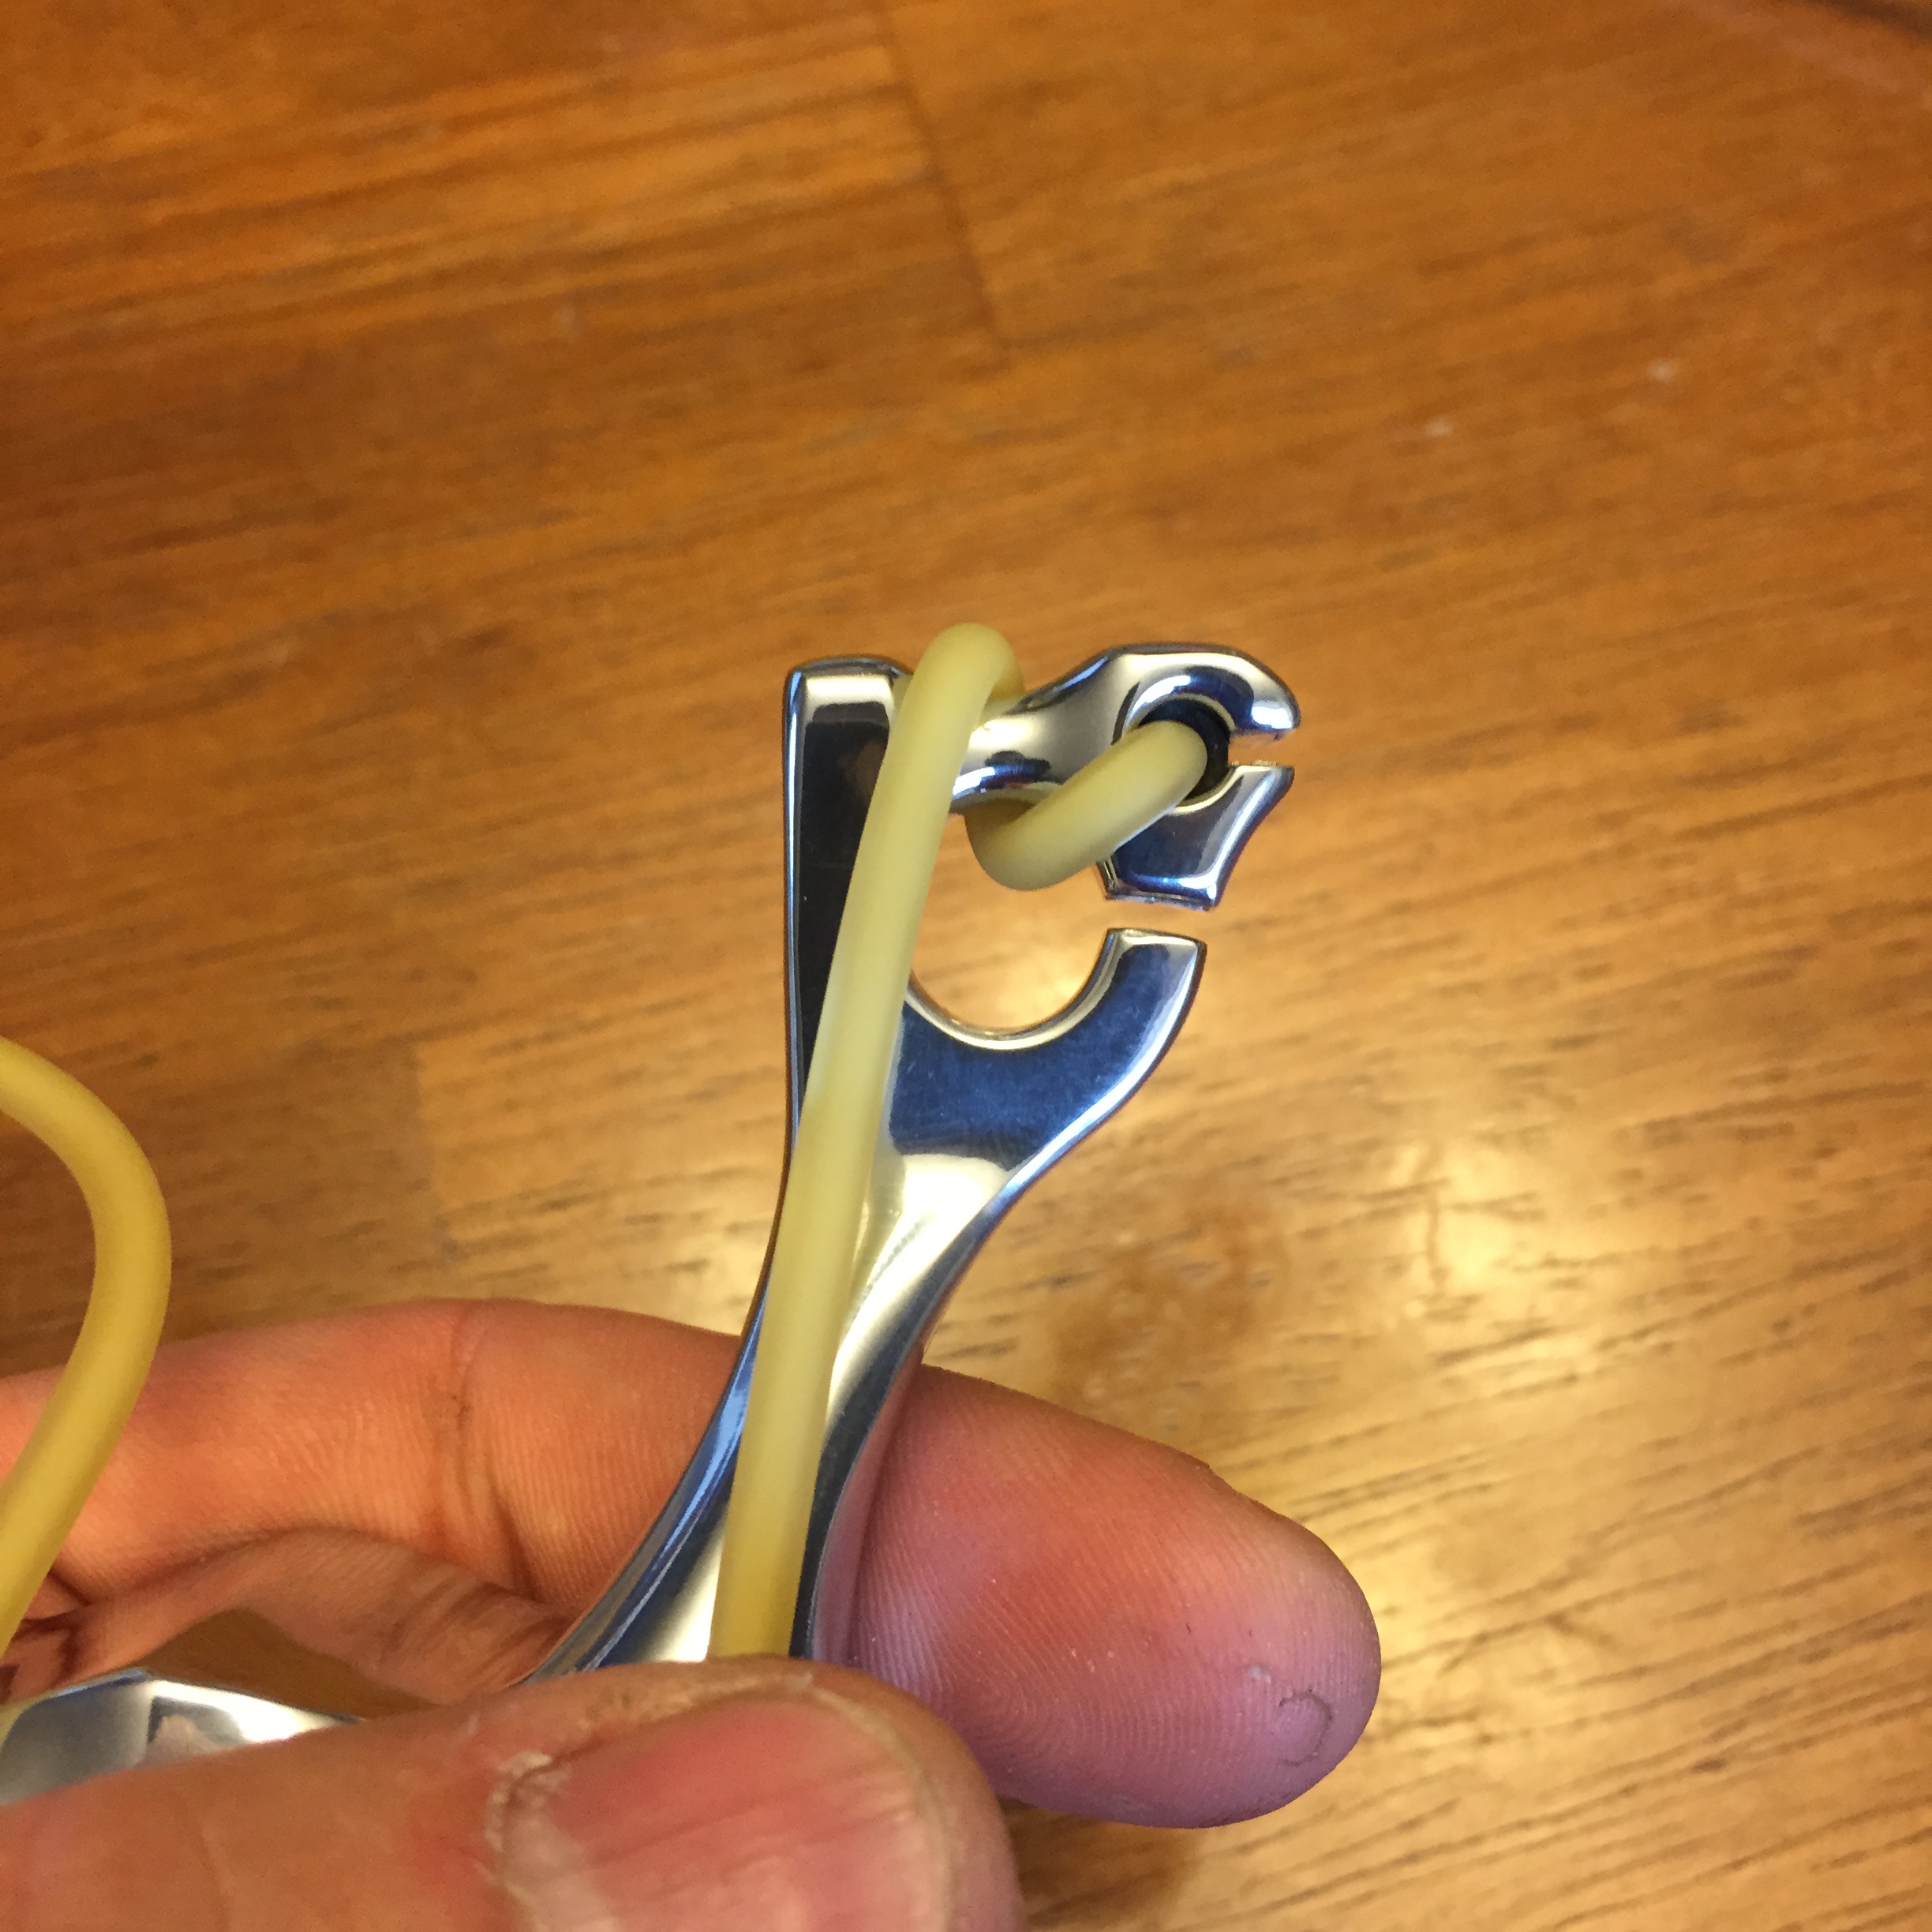
Boom, instant OTT single tube attachment…this got me thinking..the Tiger Scorpion, while cool, wasn’t 100% what I liked. What I do like is my Tyton. I have practically packed up everything to send to Peppermack of Cracked Pepper Cataplts, so when the urge and inspiration hit…I was nearly devastated, BUT I have never been so happy to have found two extra cores in my shop.

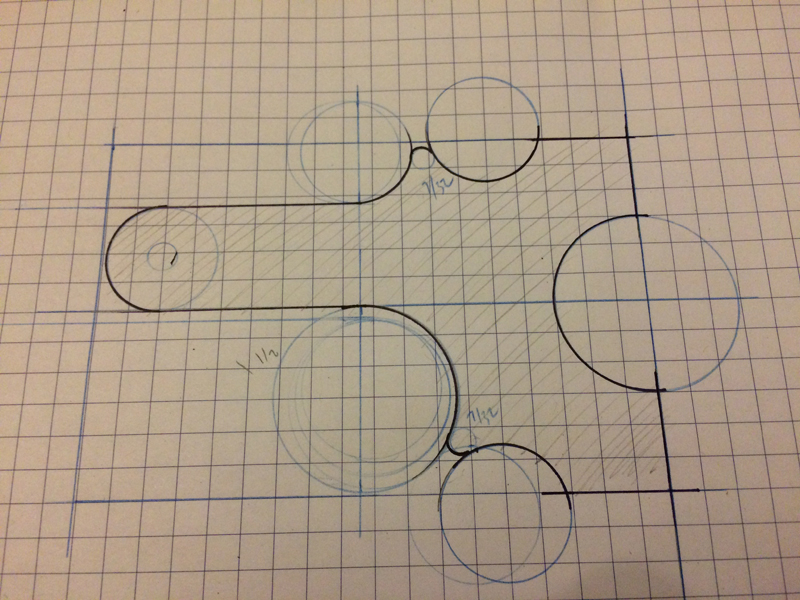
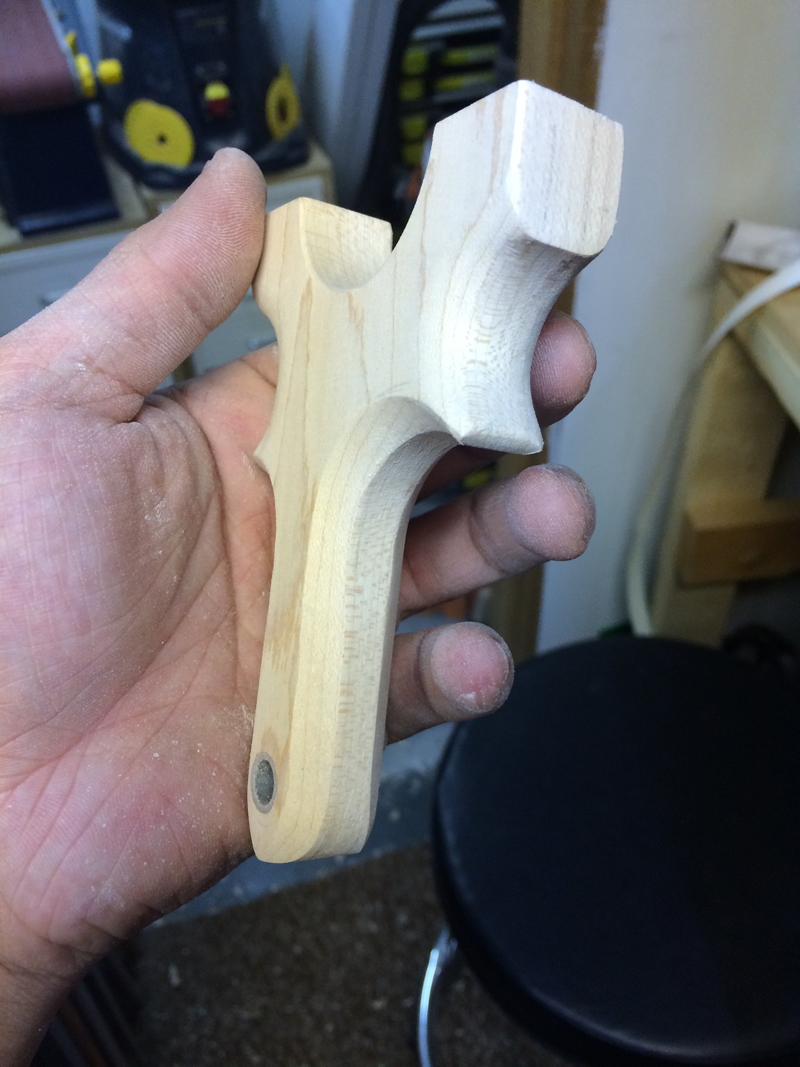
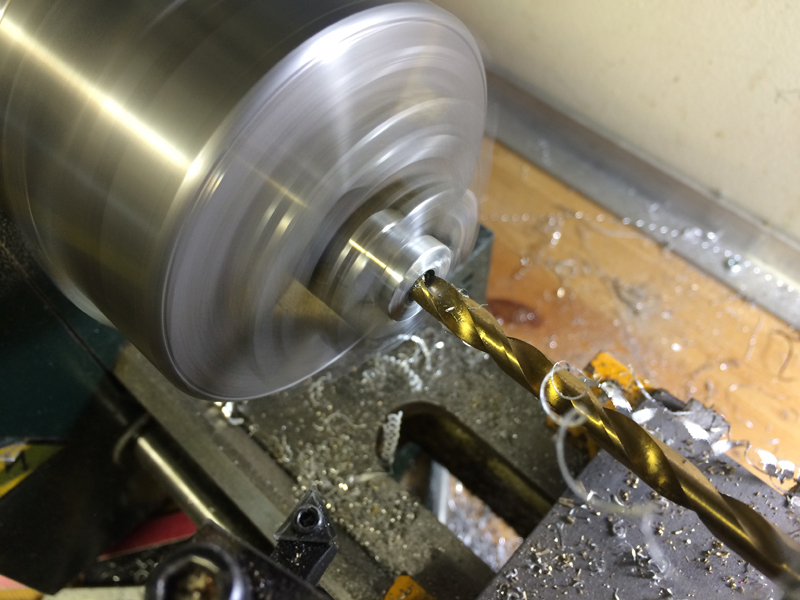
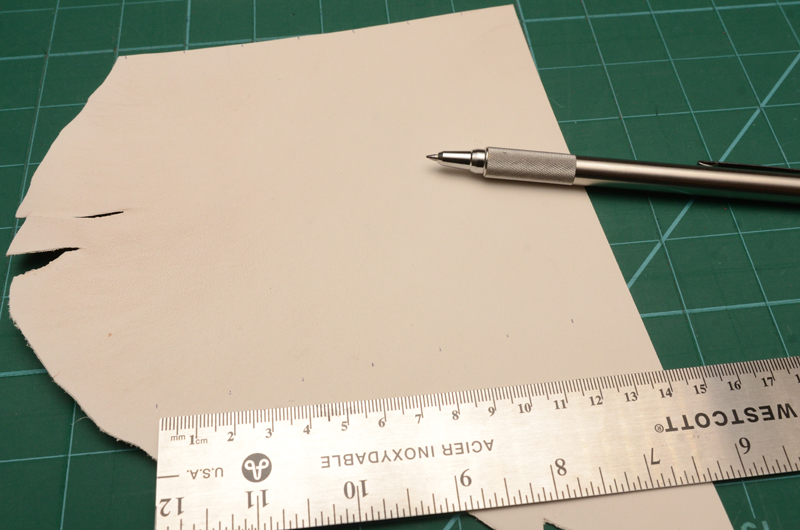
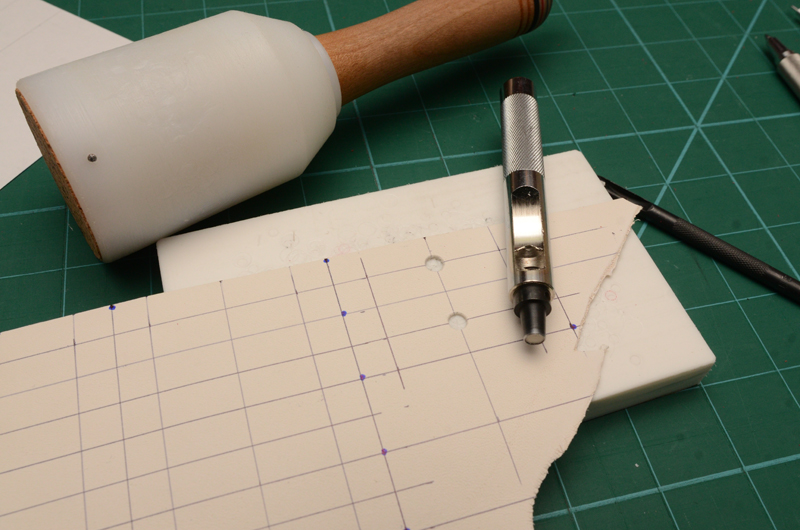
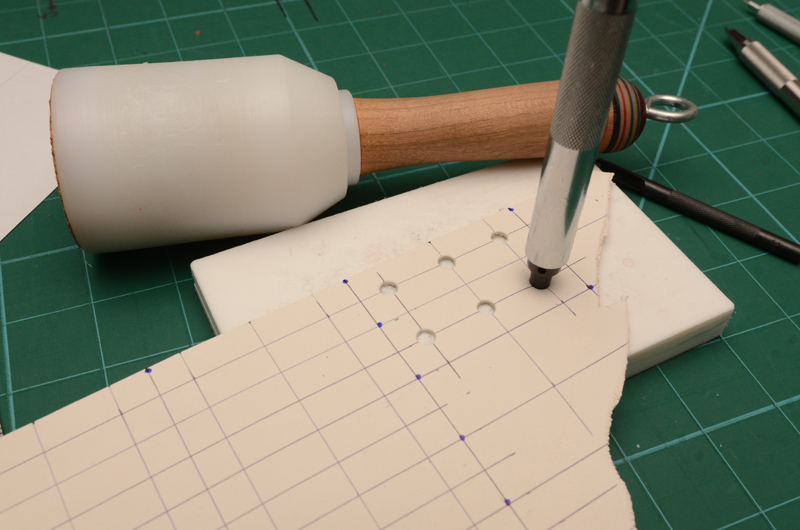
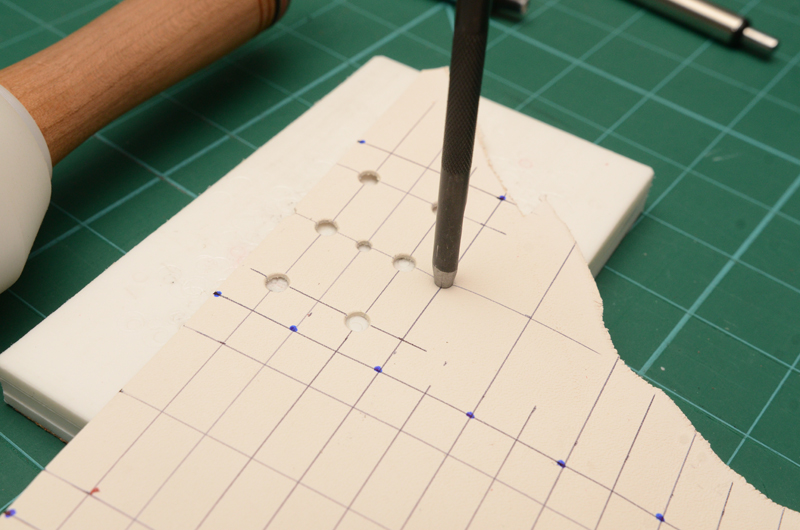
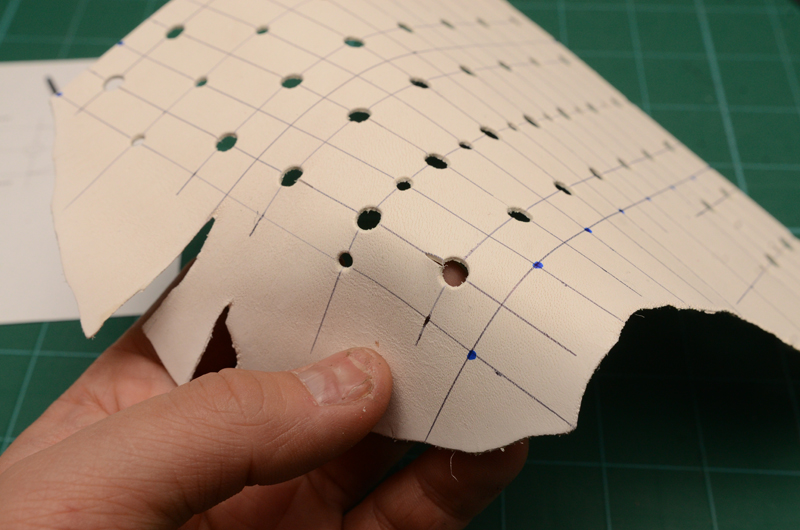
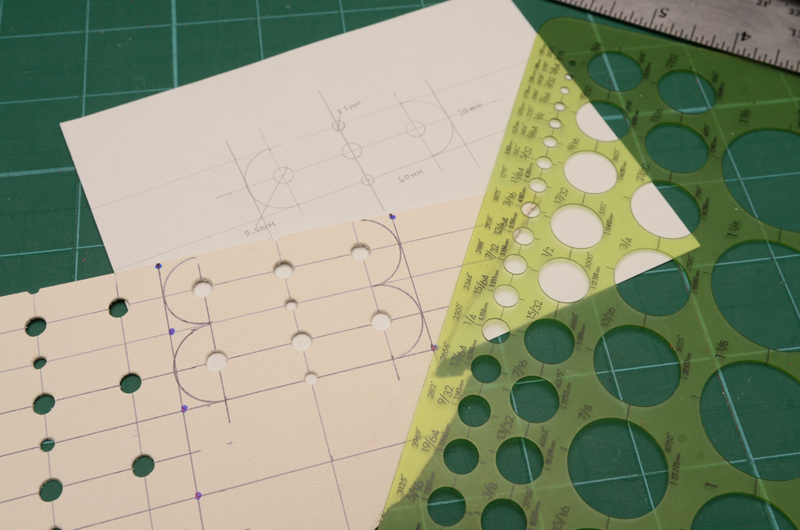
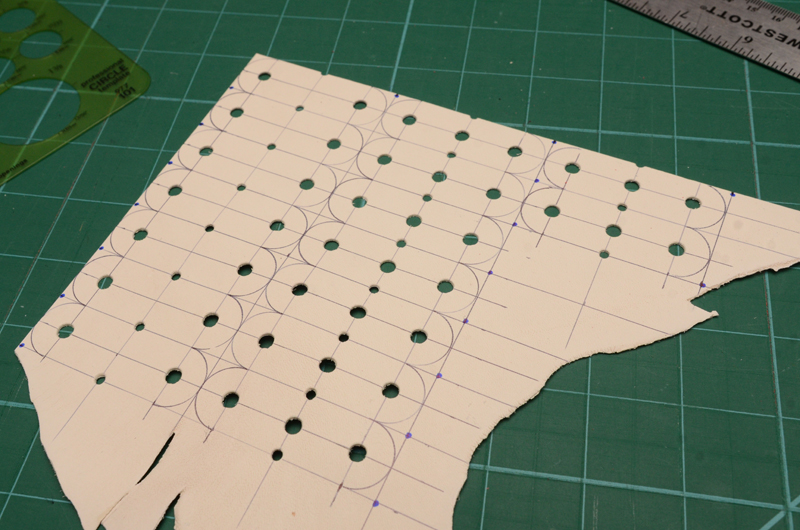
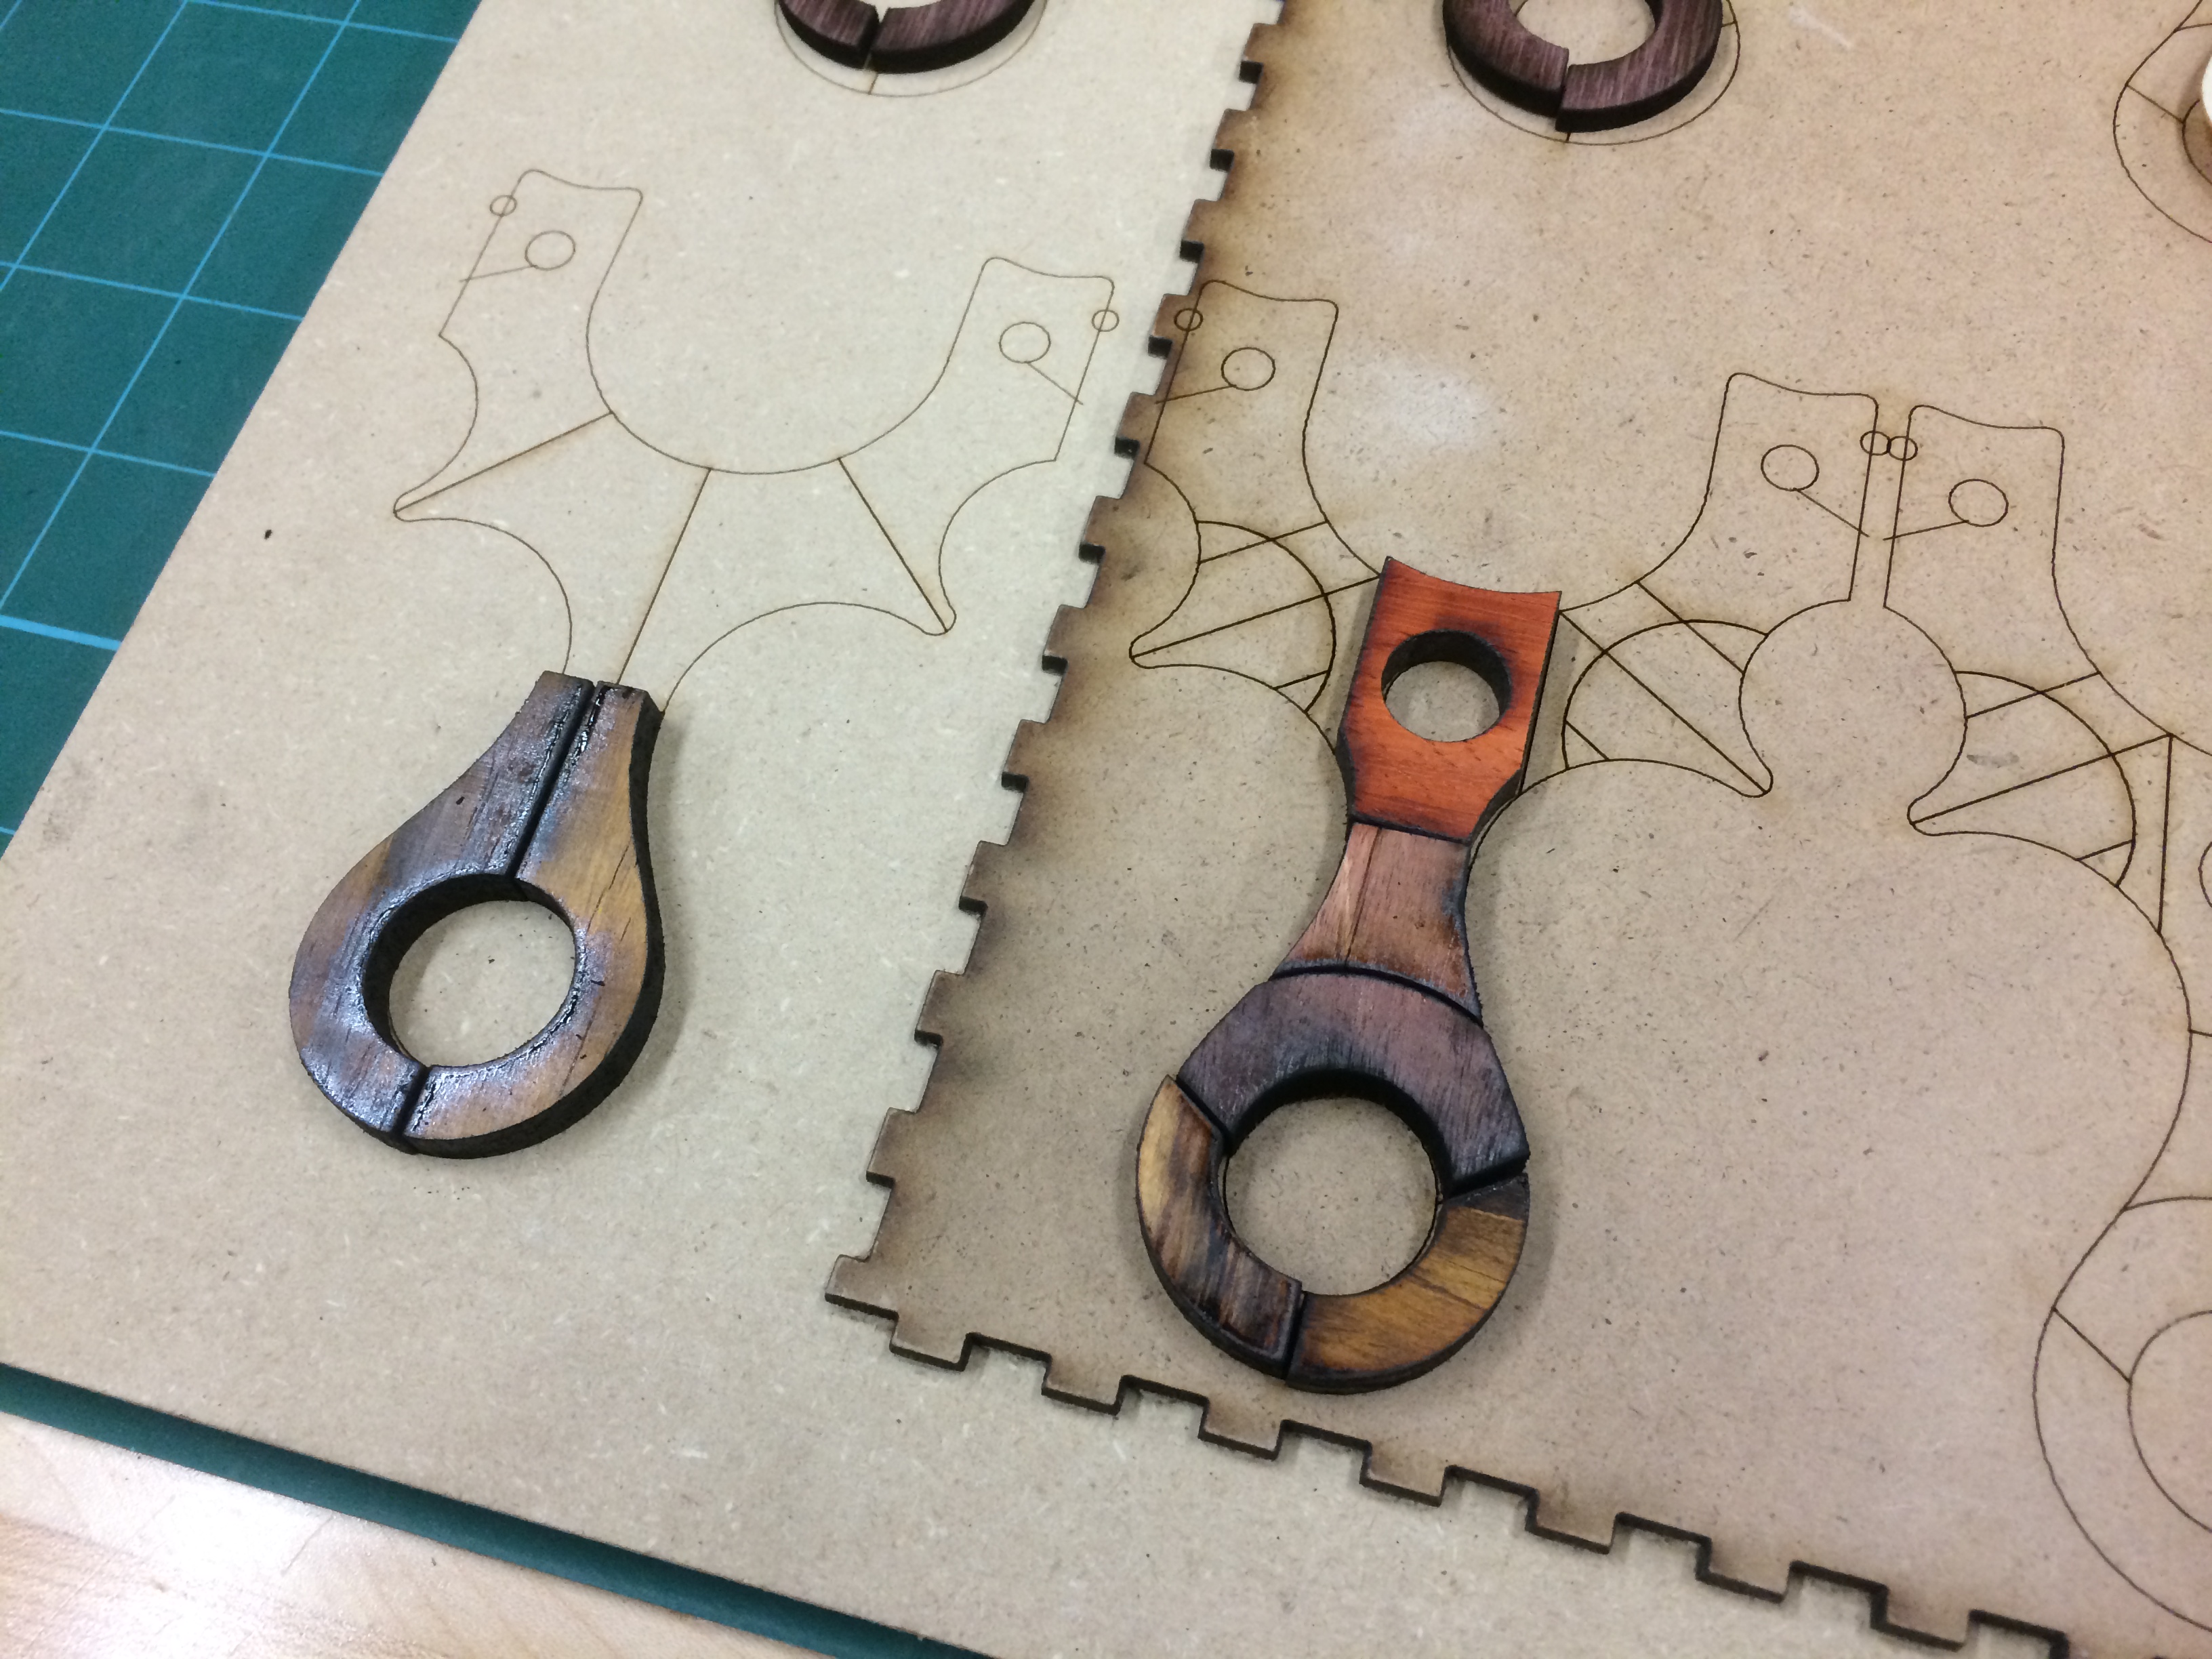
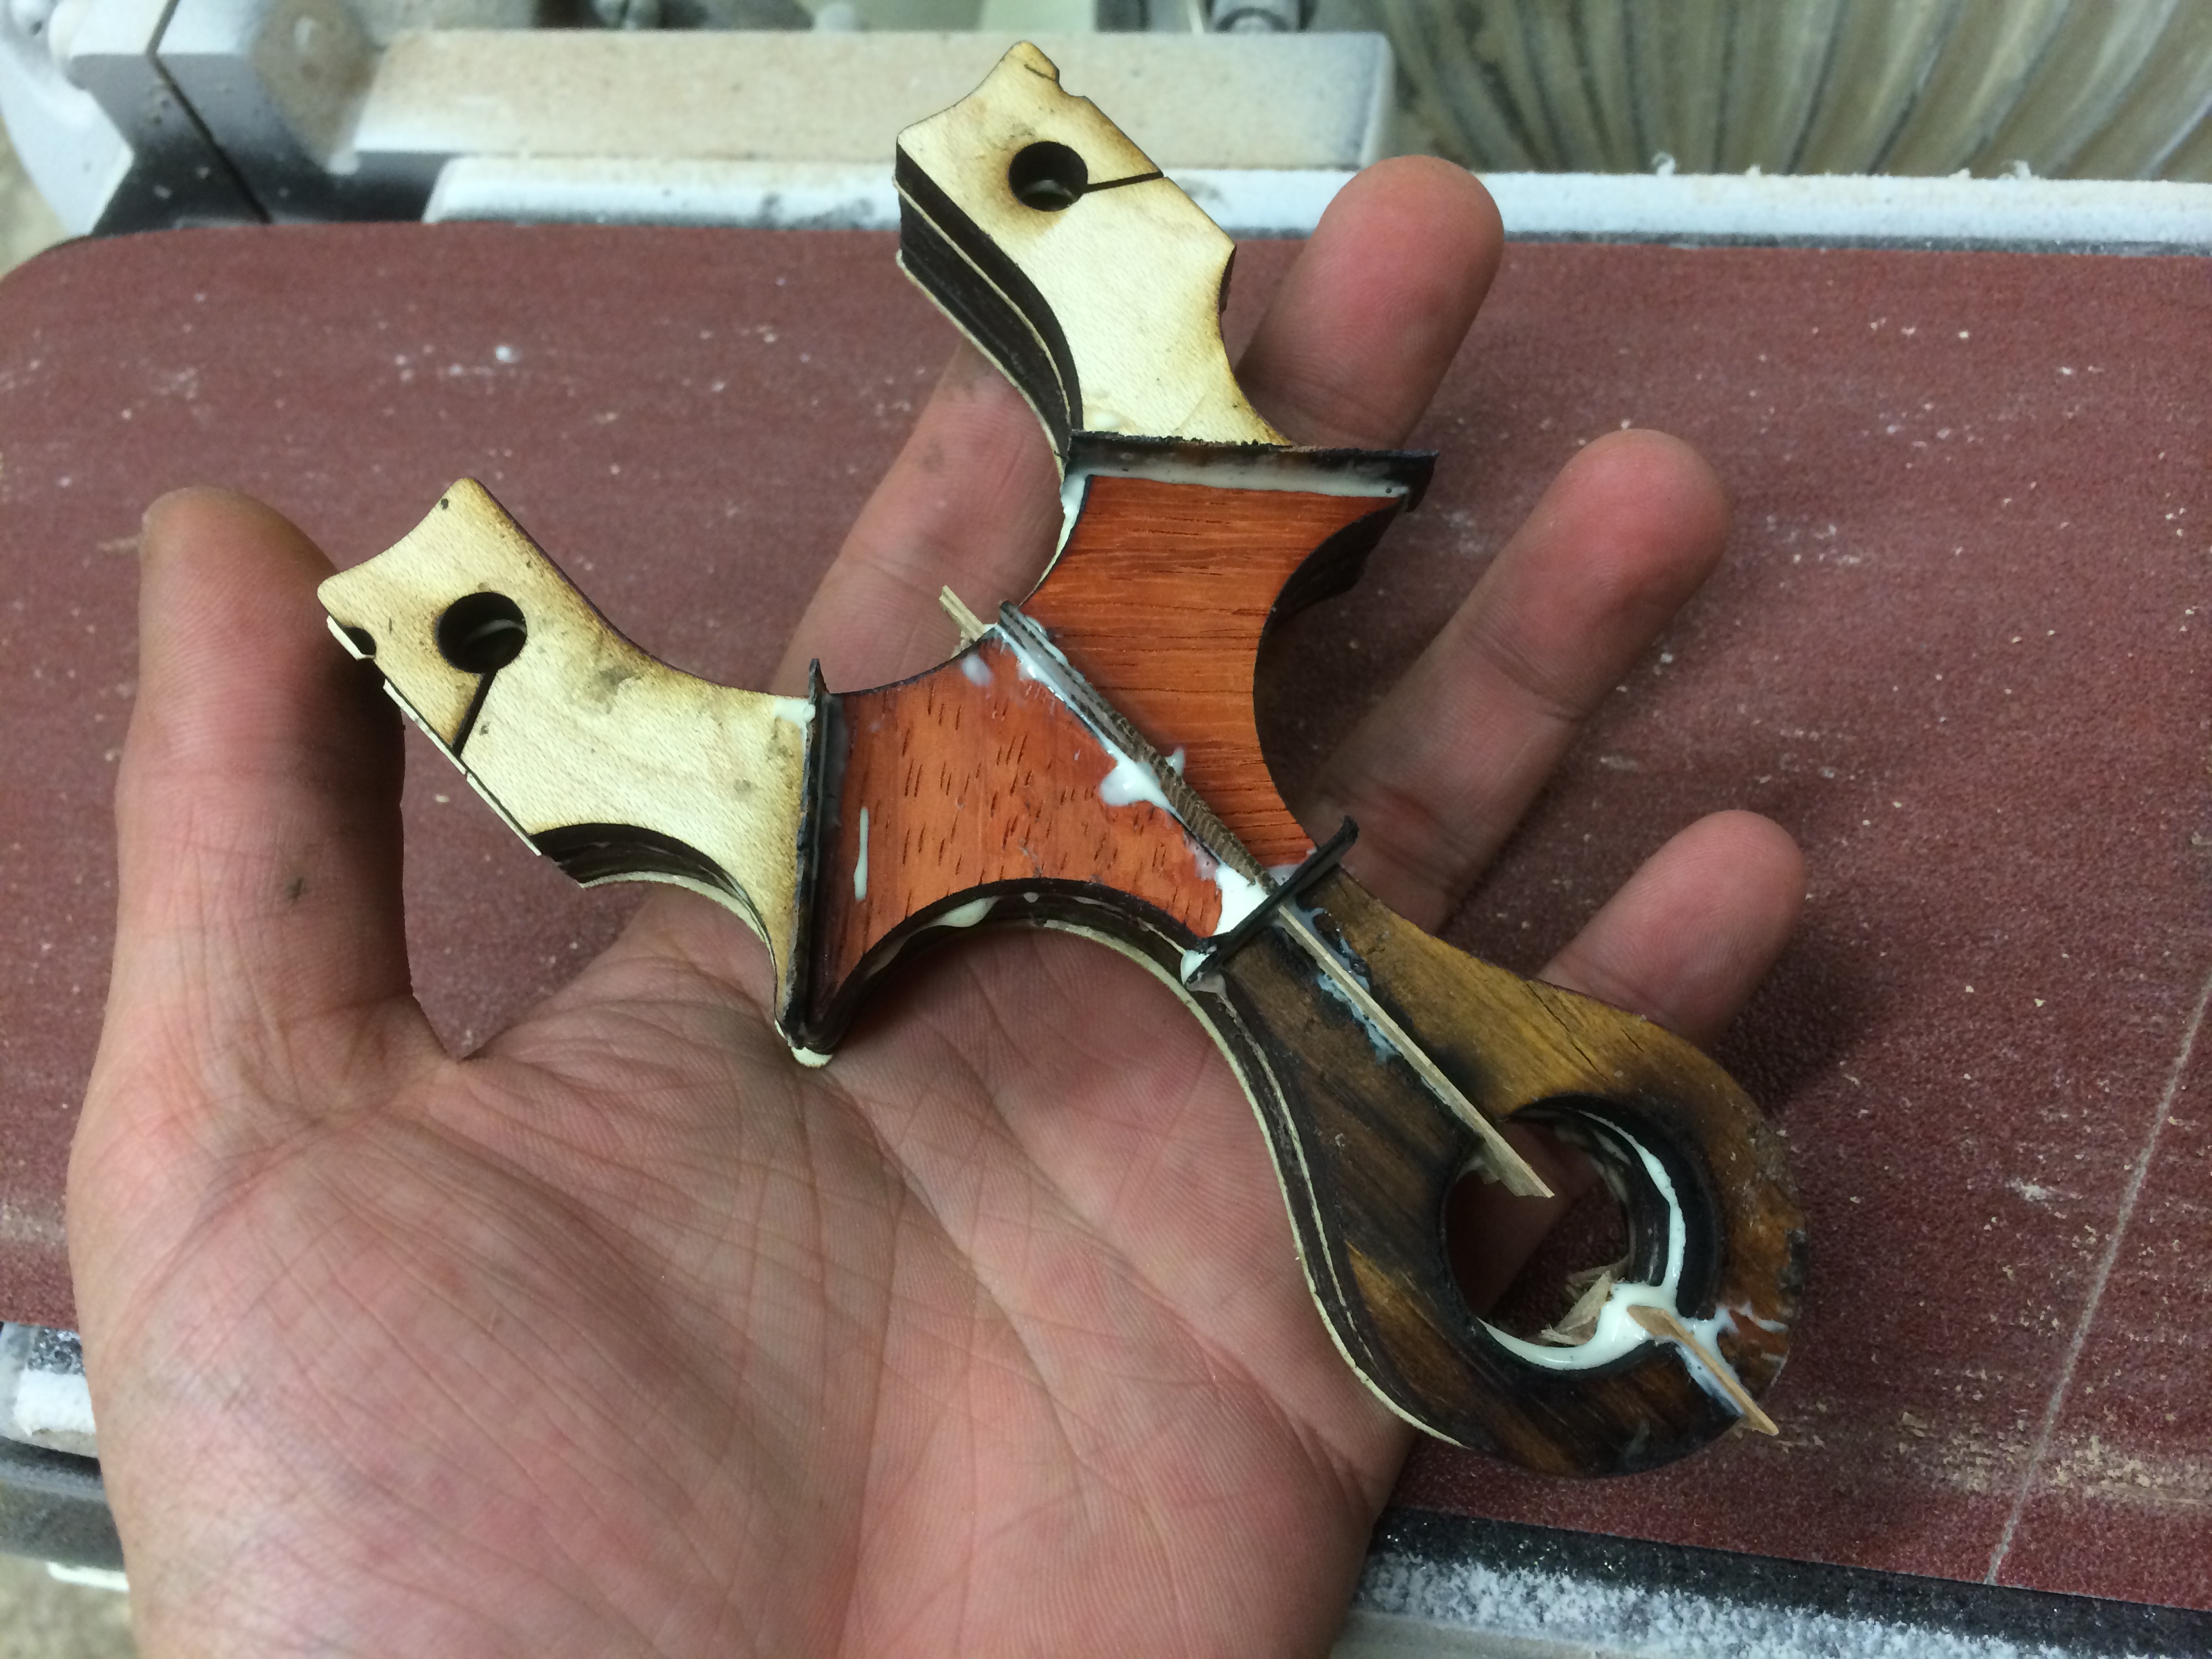
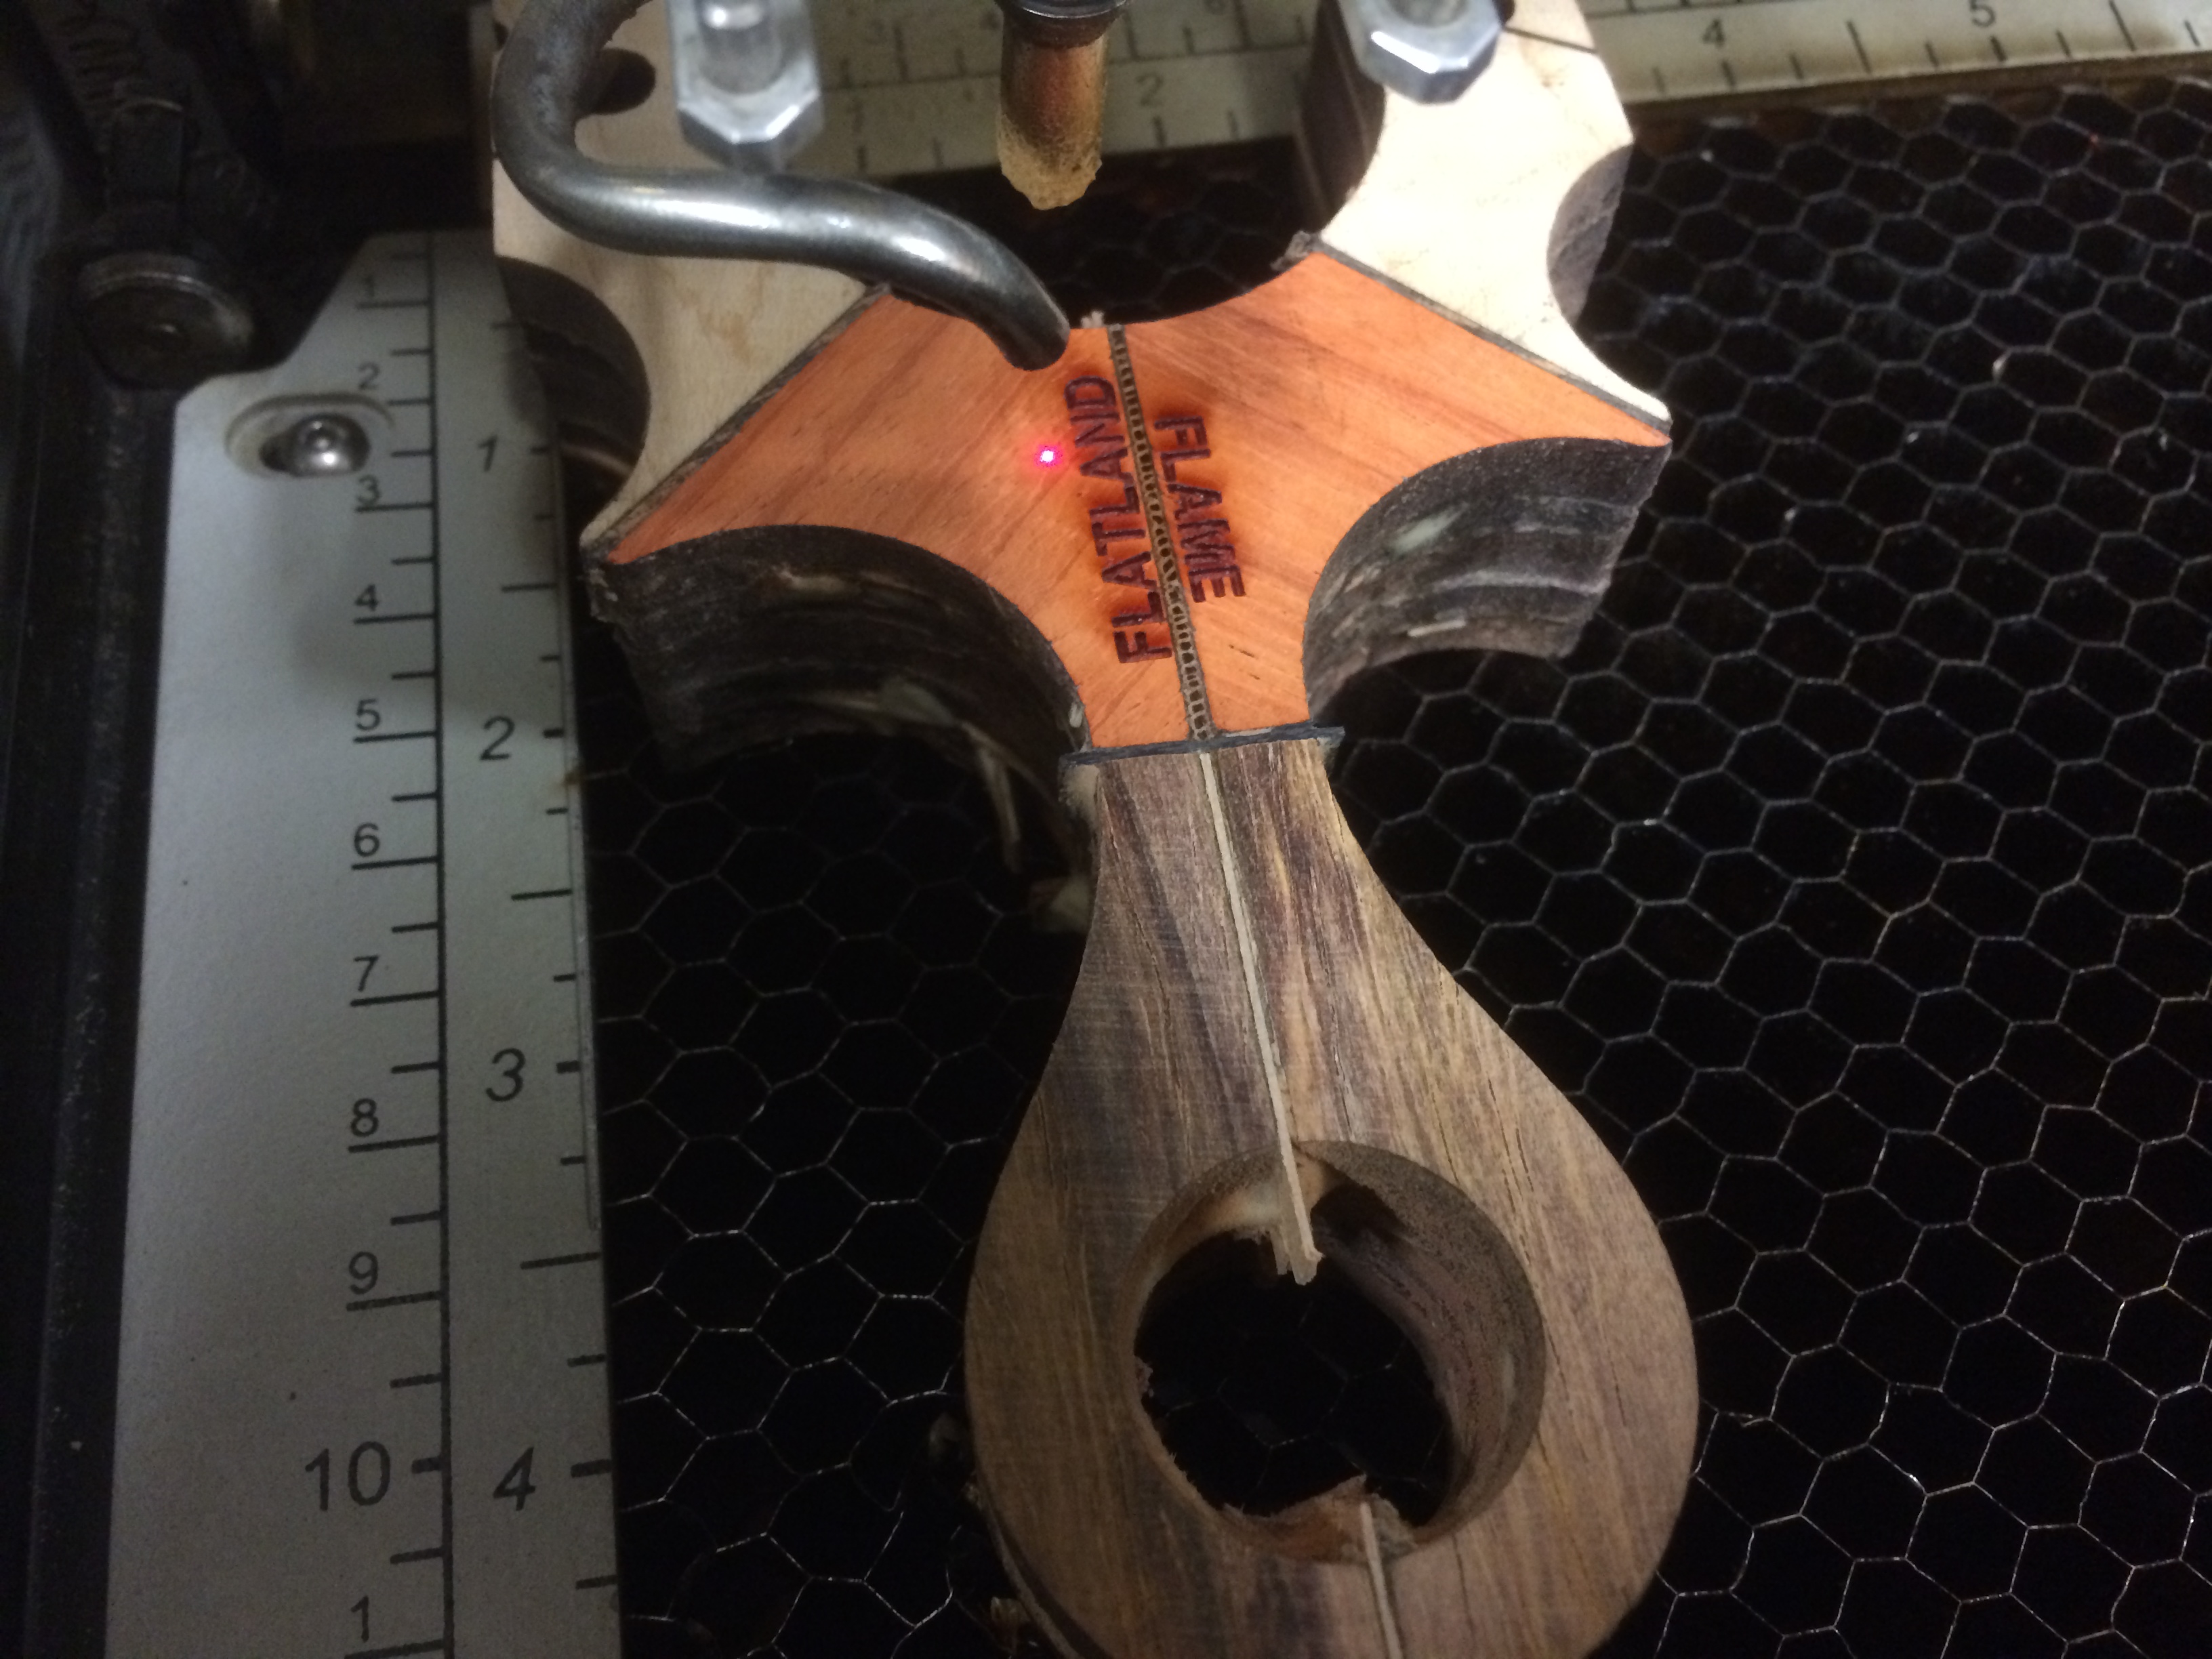
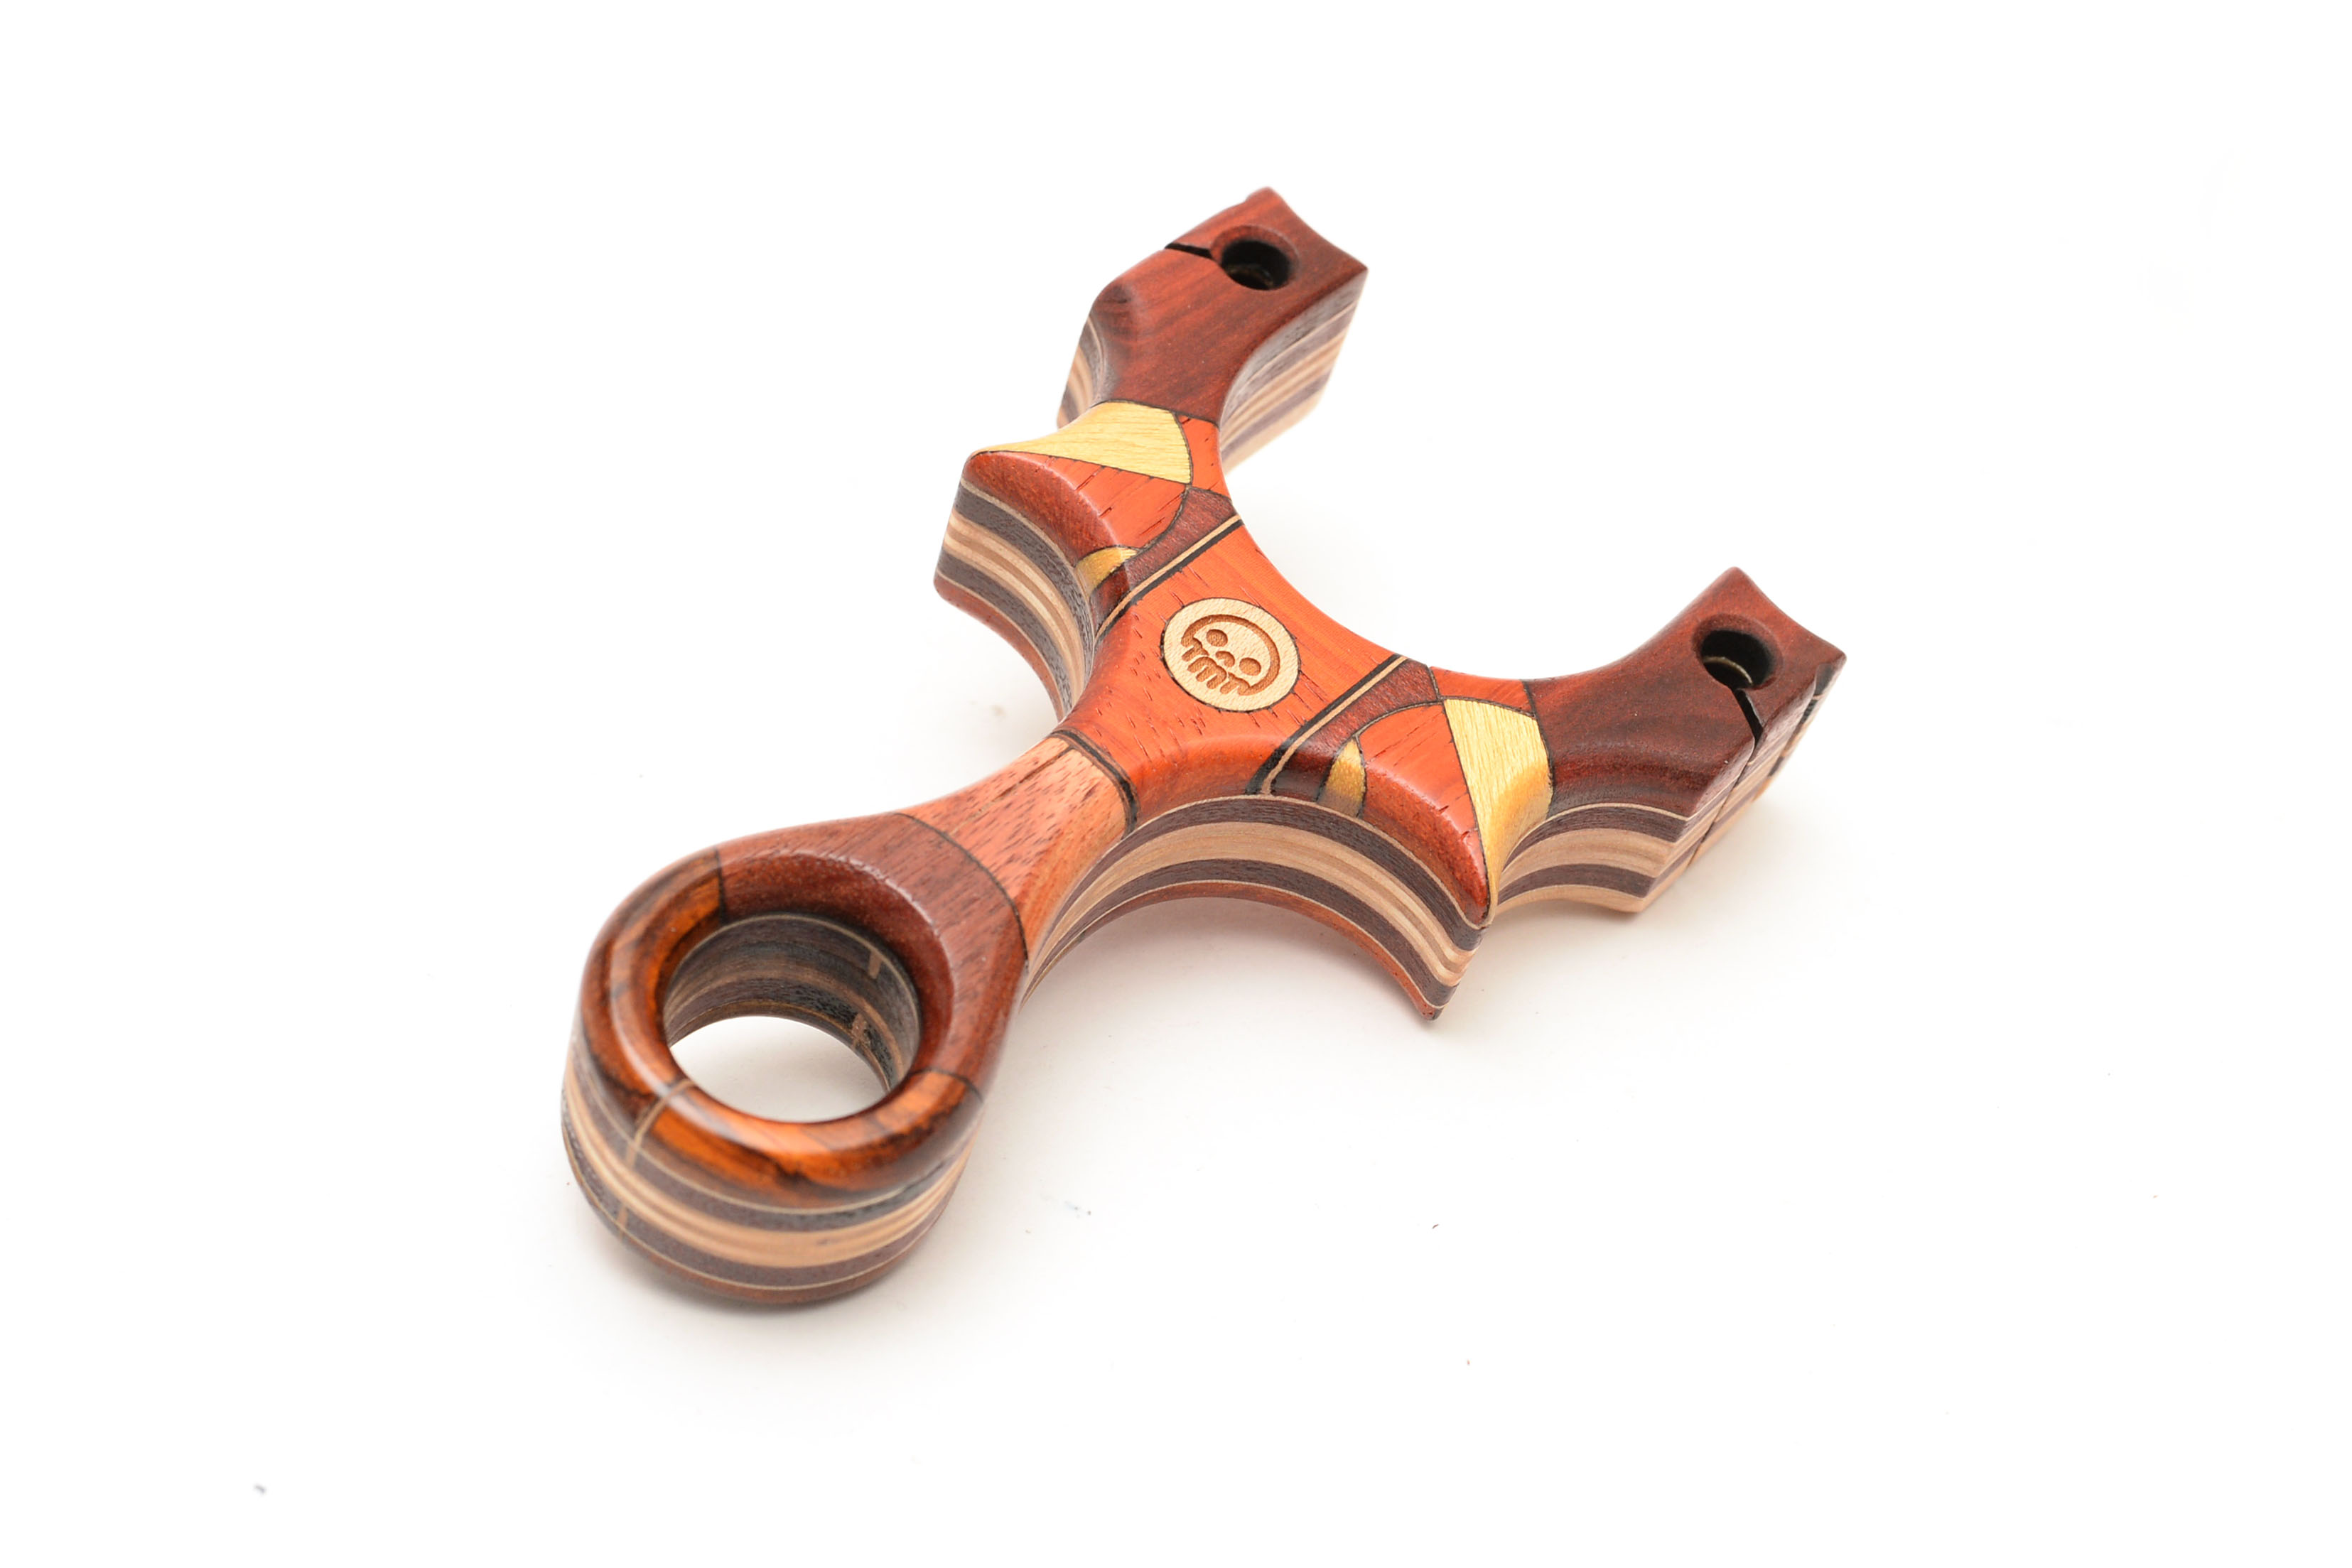
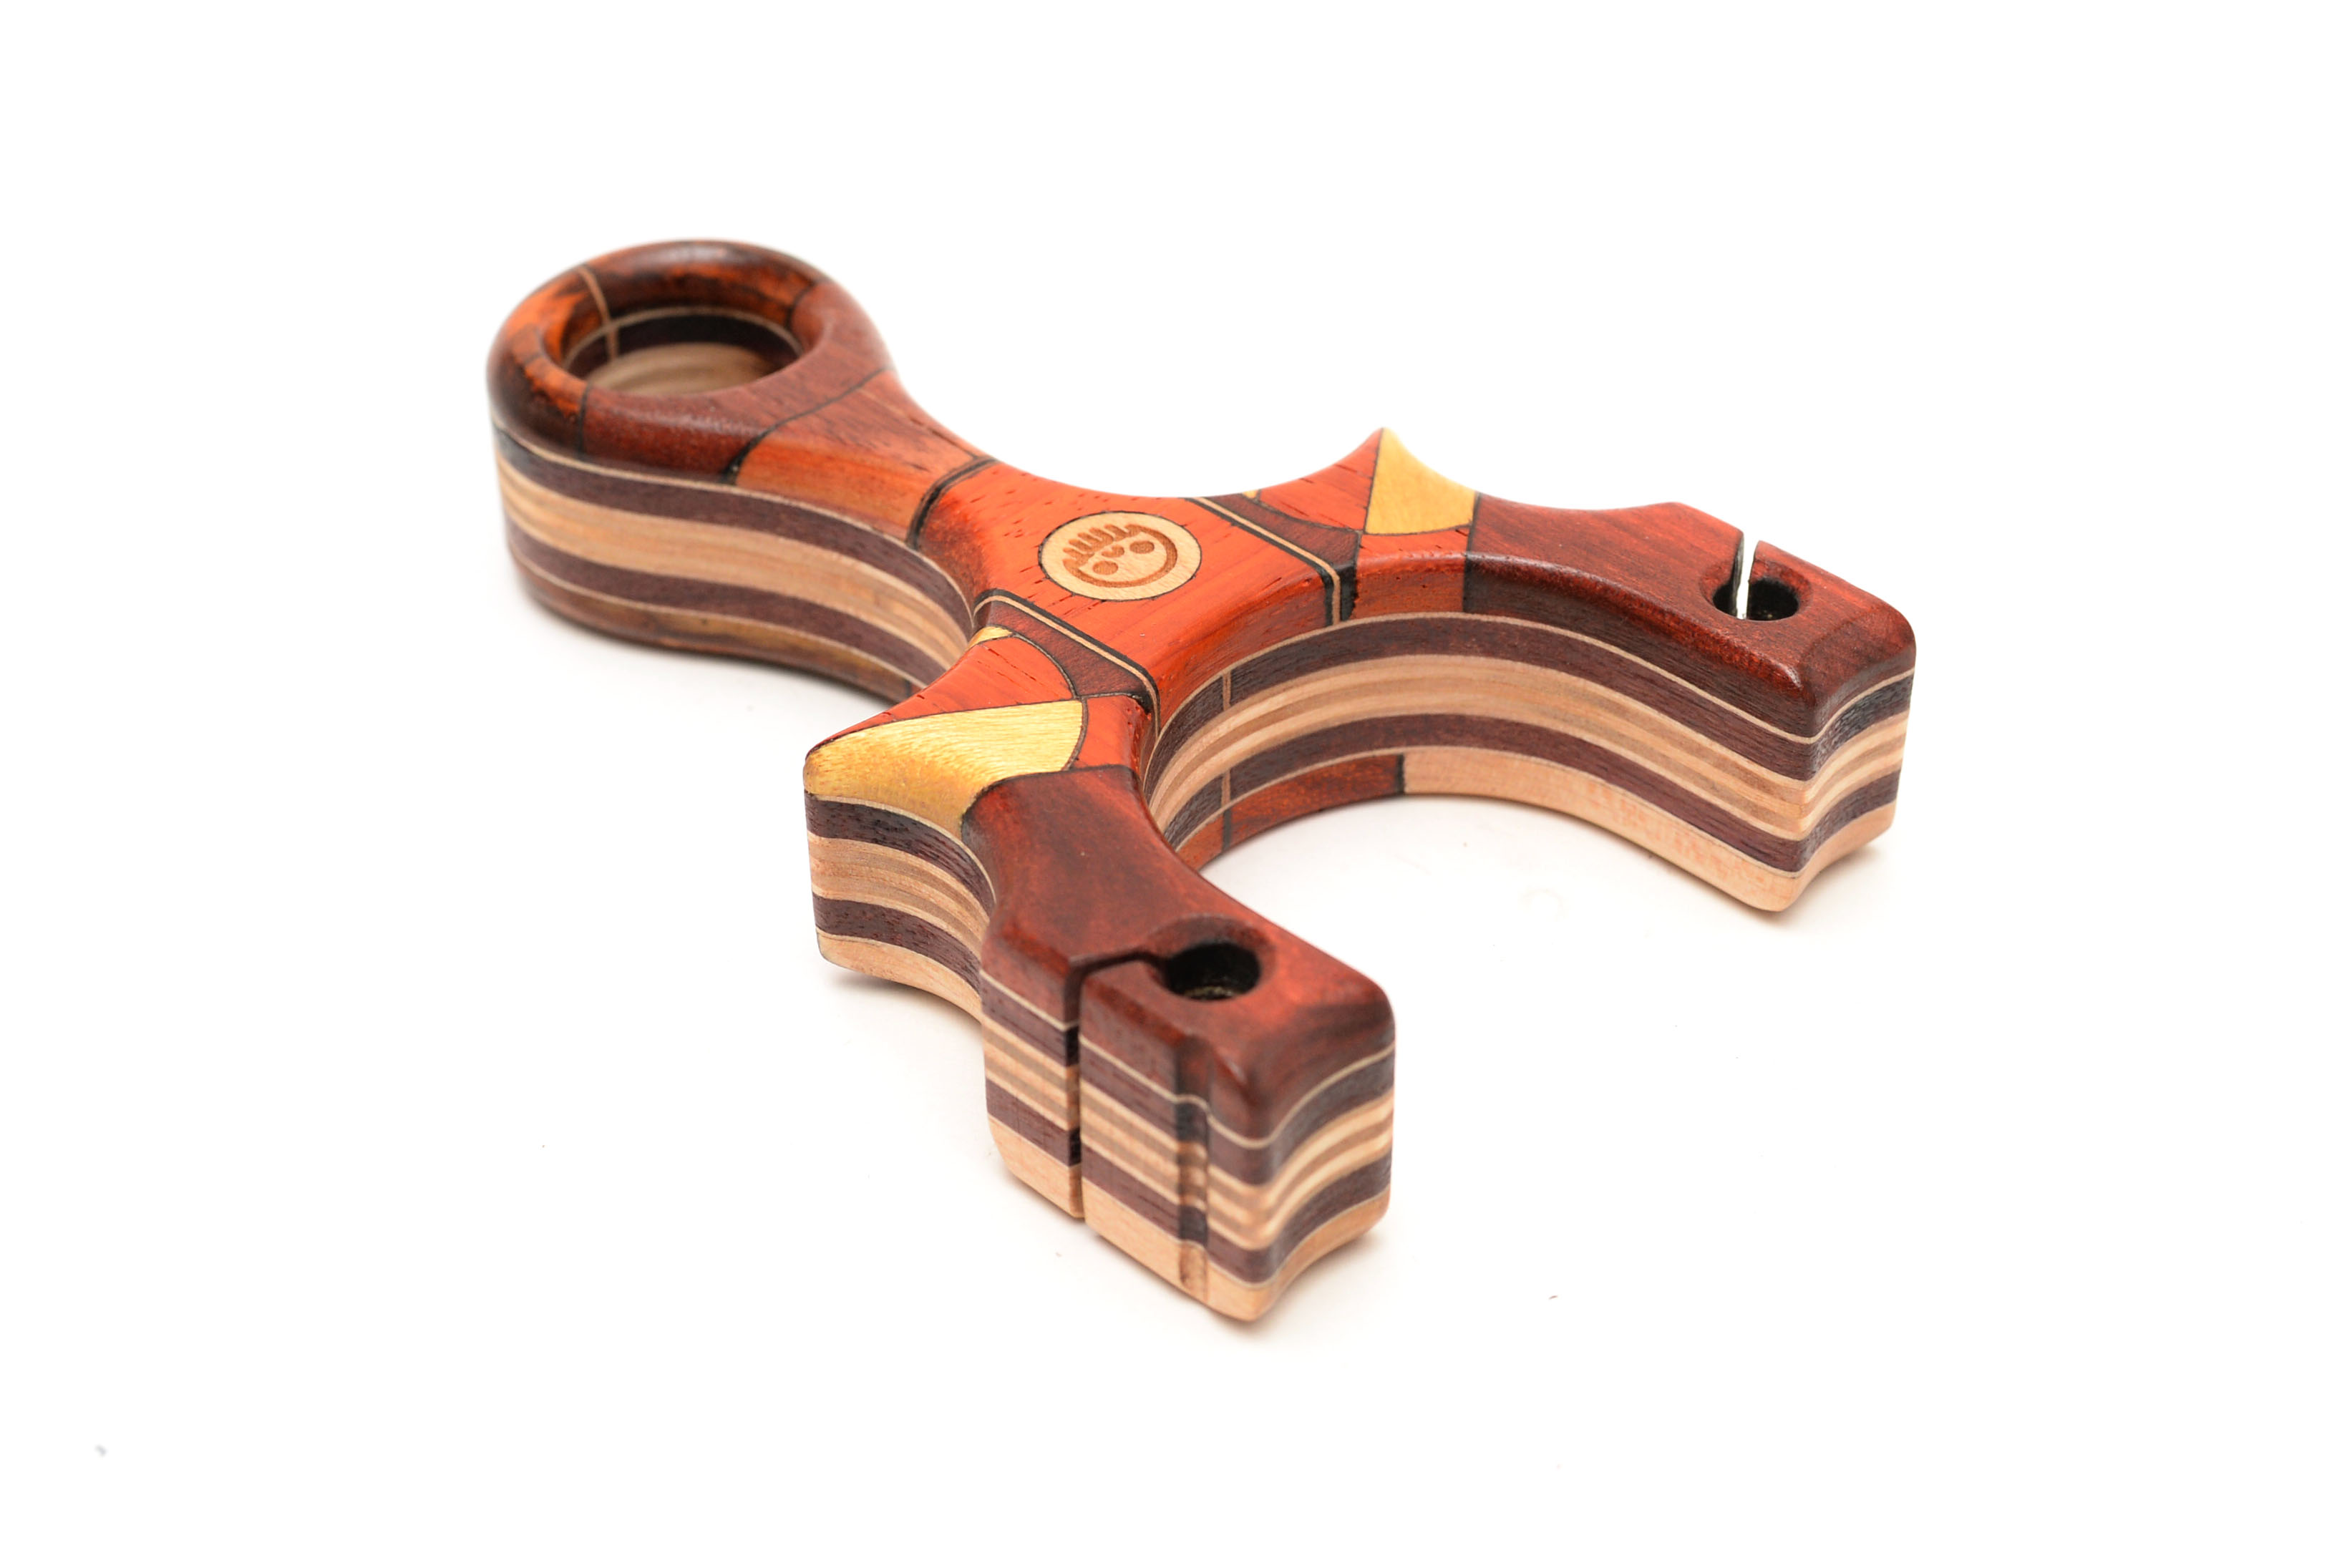
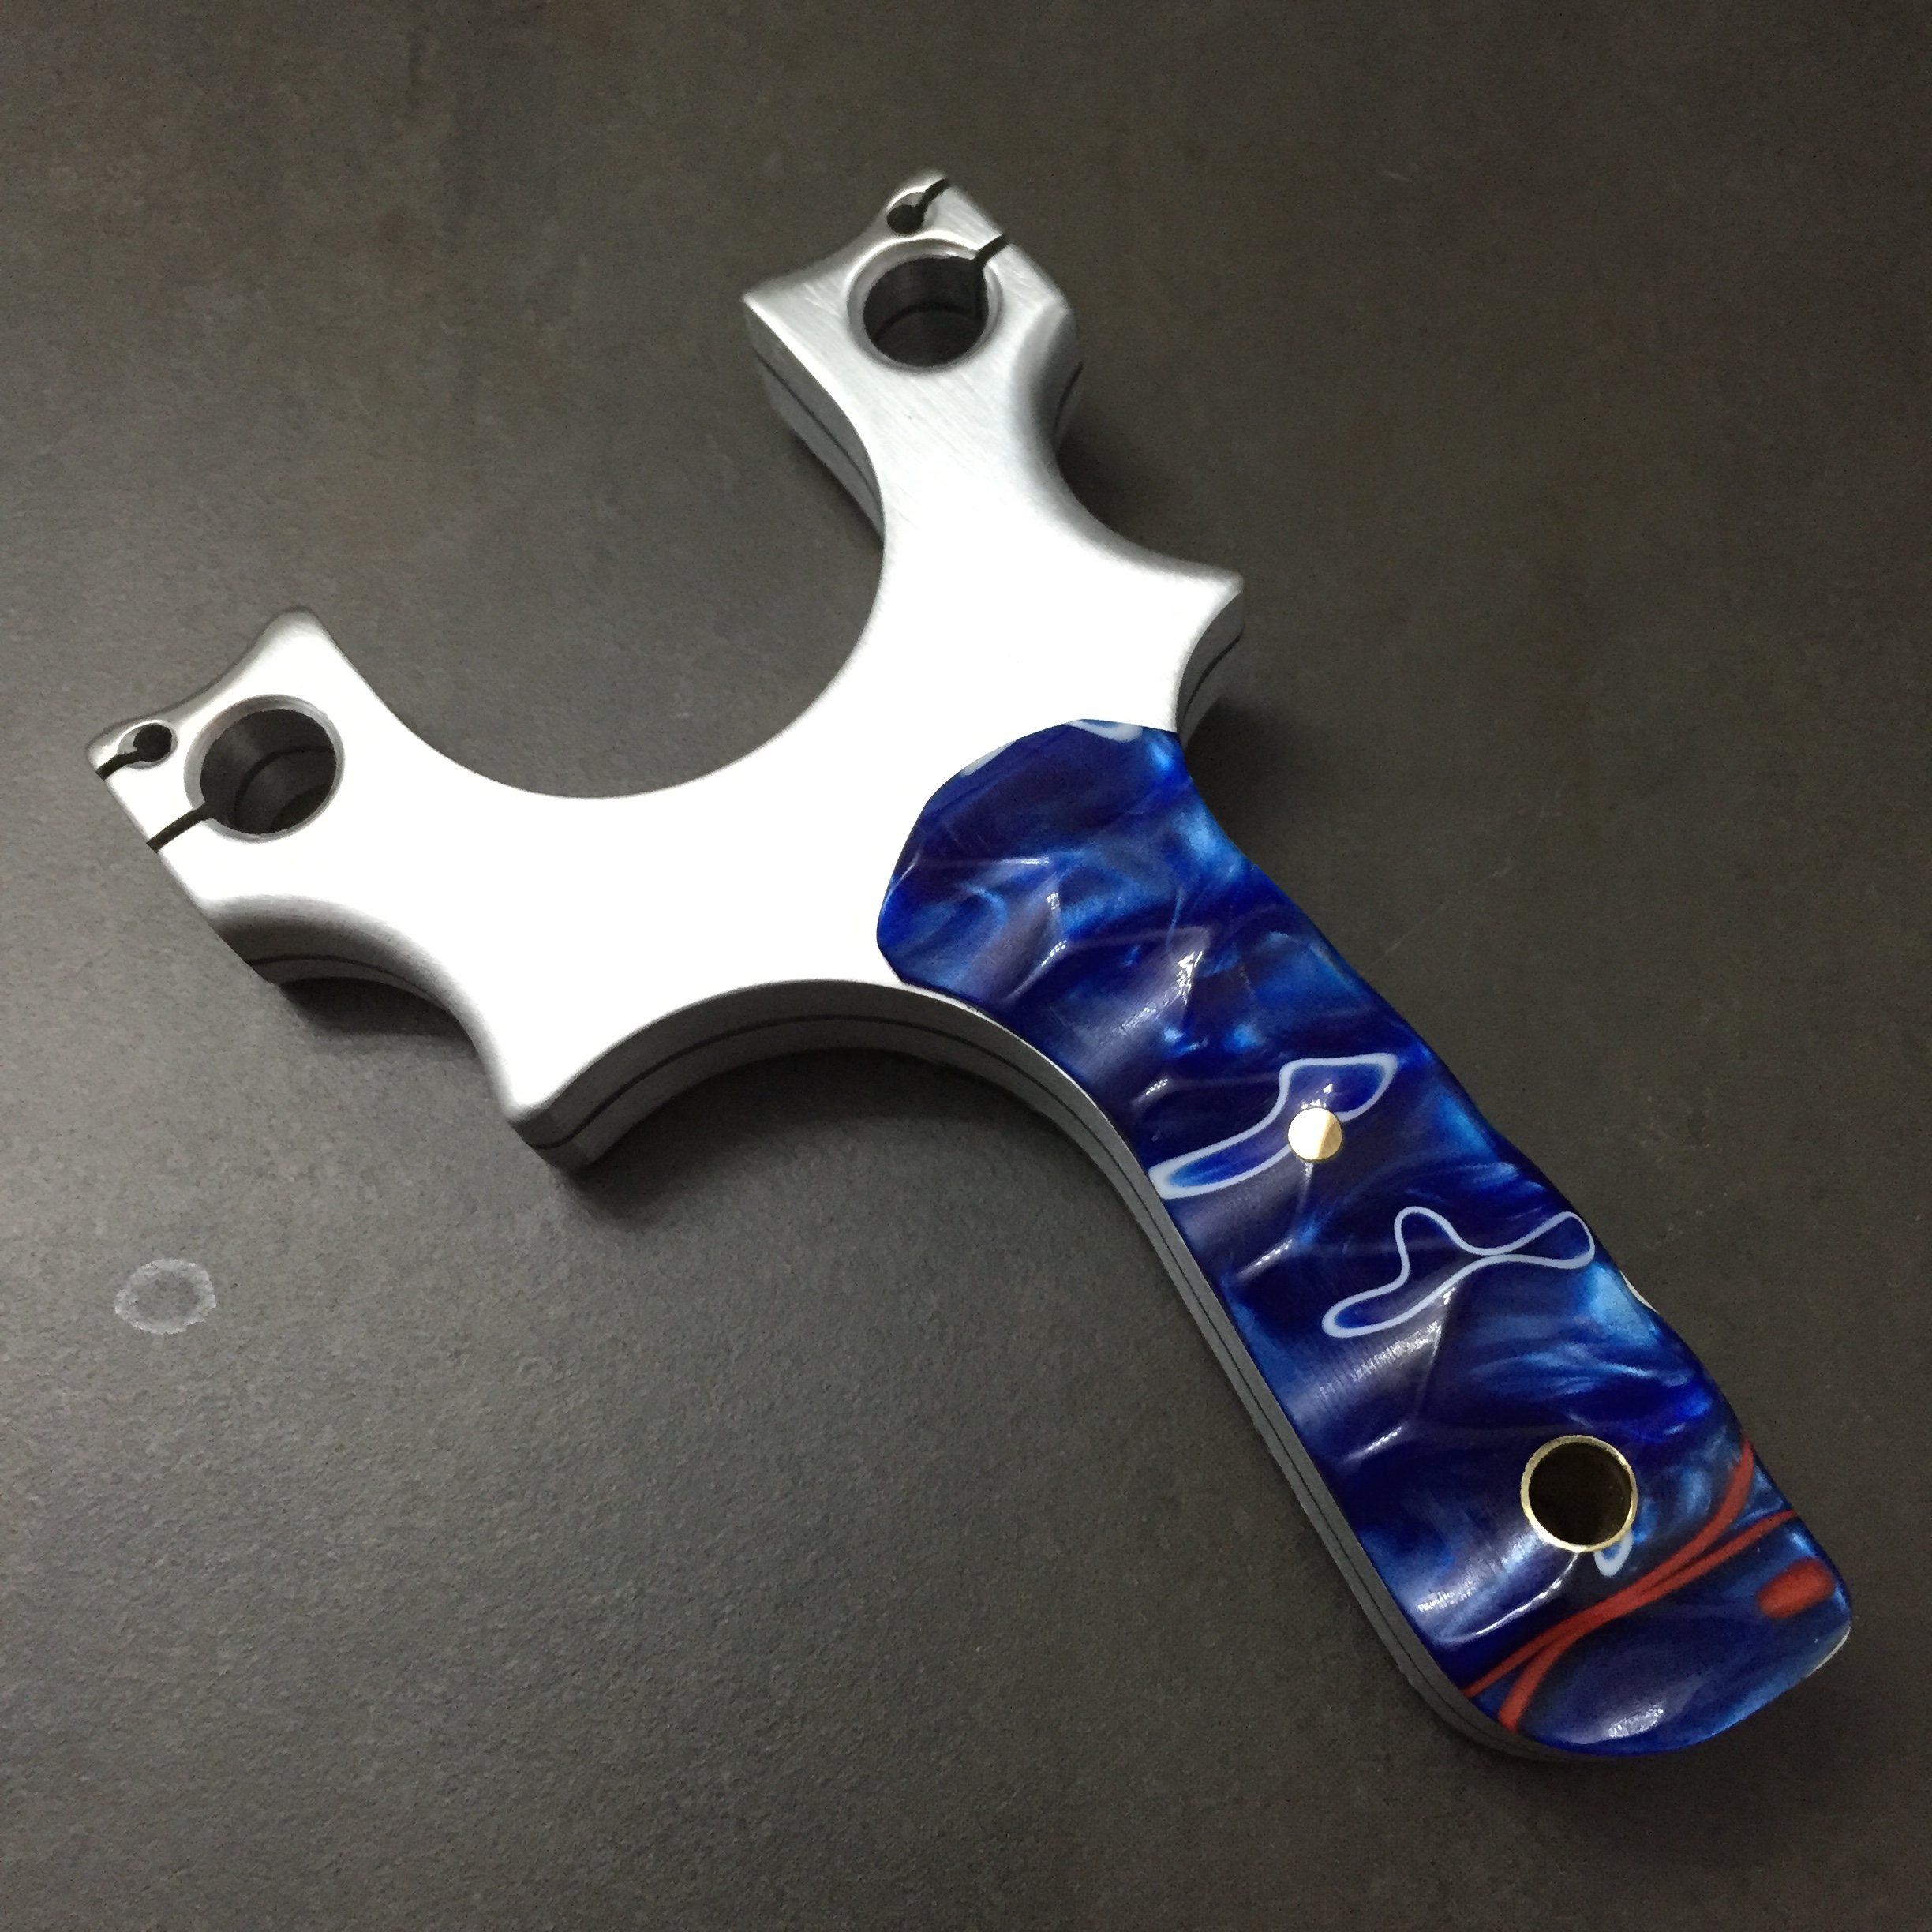
I took my digital file of the plain tipped Tyton frames I got cut for modding and discovered that there would be room for a big and small hole set up like the Tiger Scorpion, but what I wanted to do was make the smaller hole, even smaller than it was on the T/S so it would be more of a friction fit with no ball in tube needed. Thus the Wormhole attachment was born, and the namesake for this slingshot, the lumbricus terrestris: an earthworm.

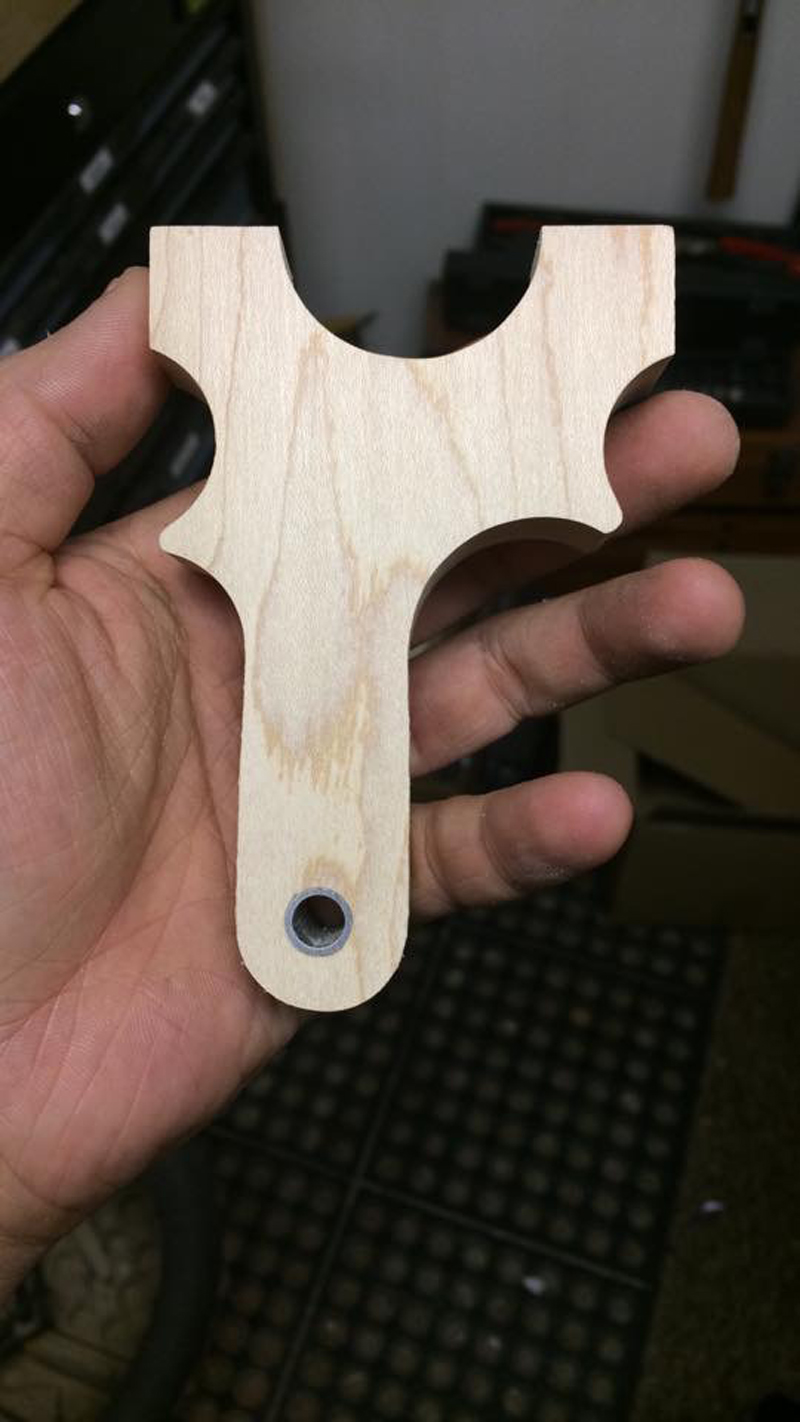
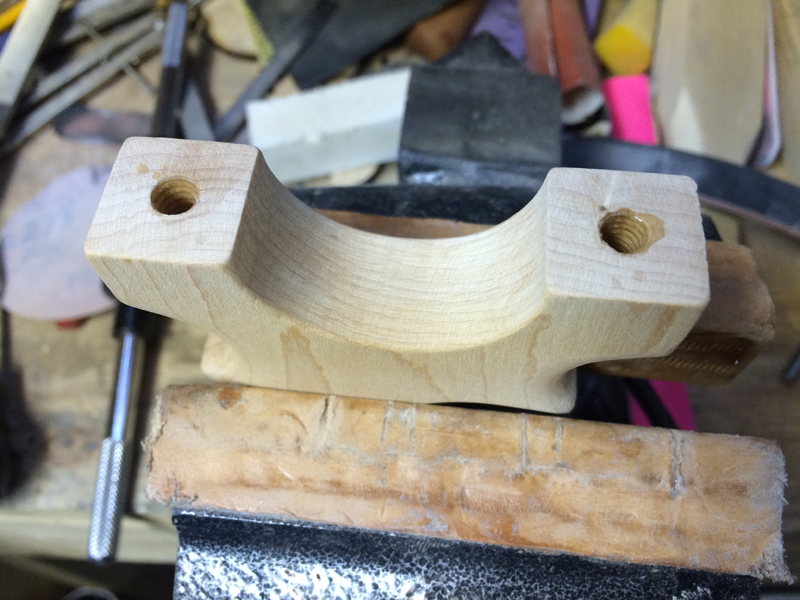
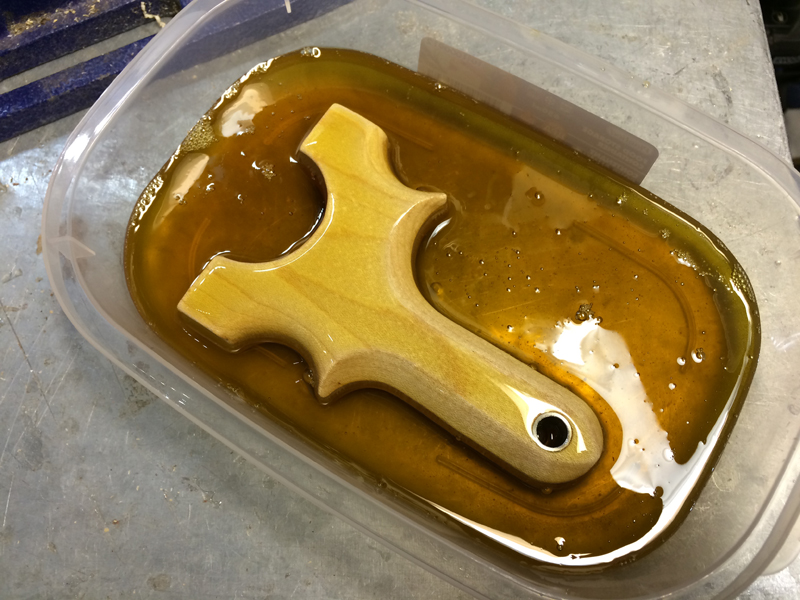
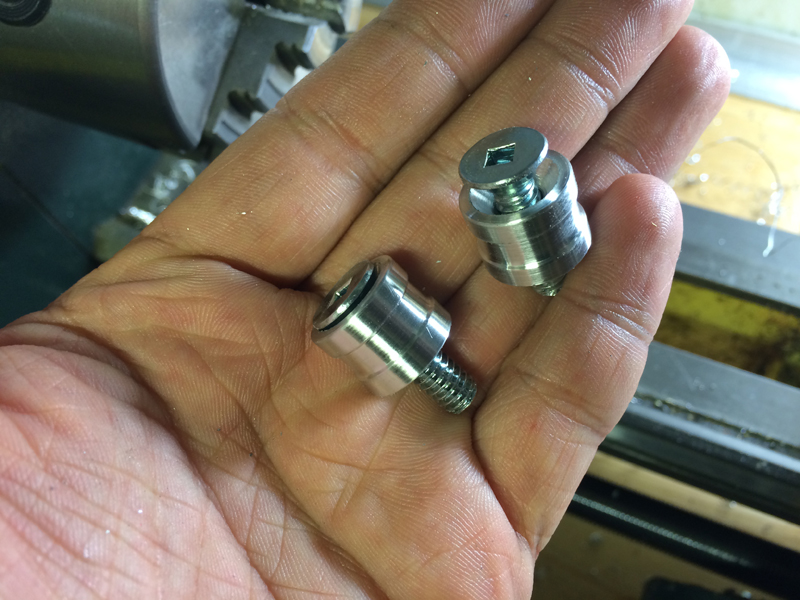
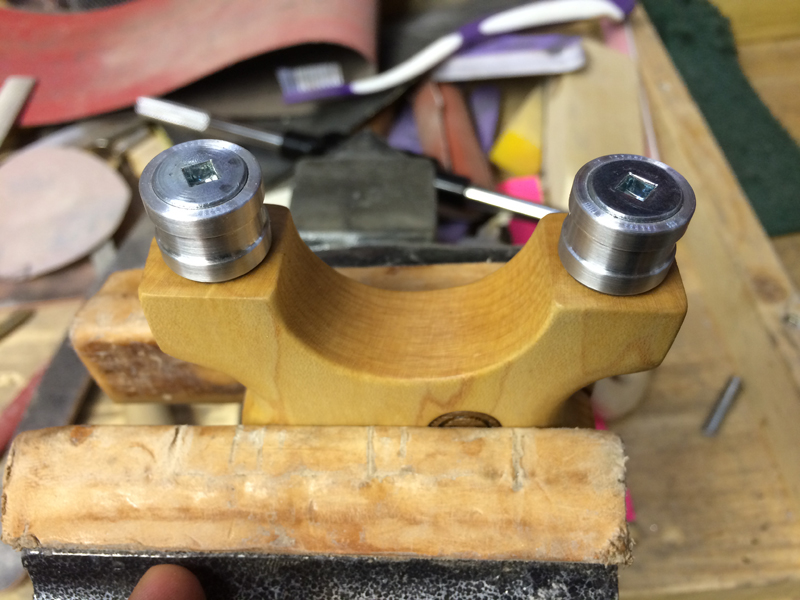
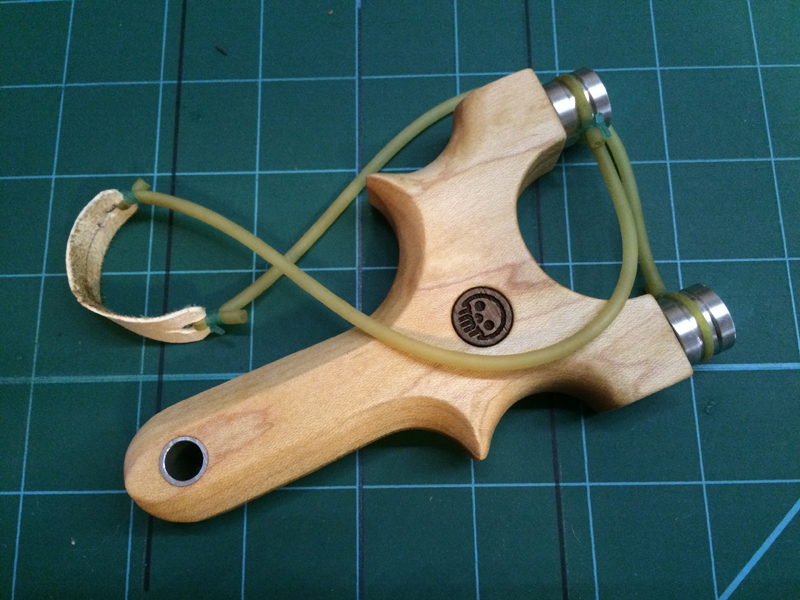
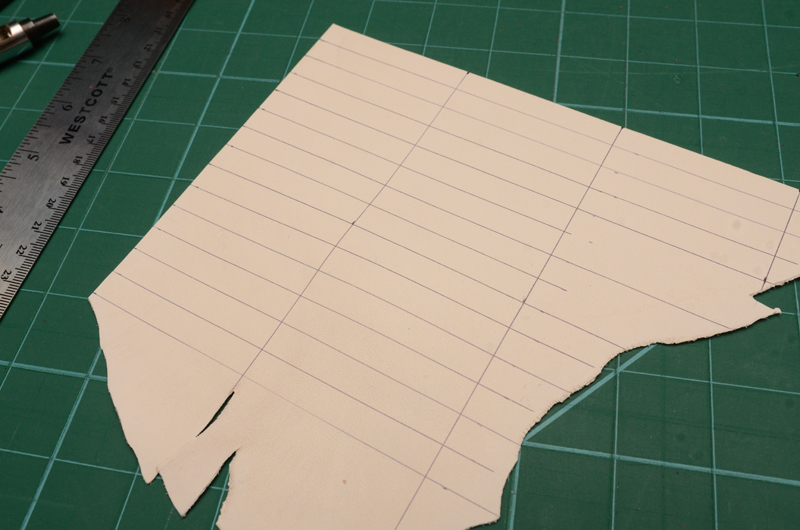
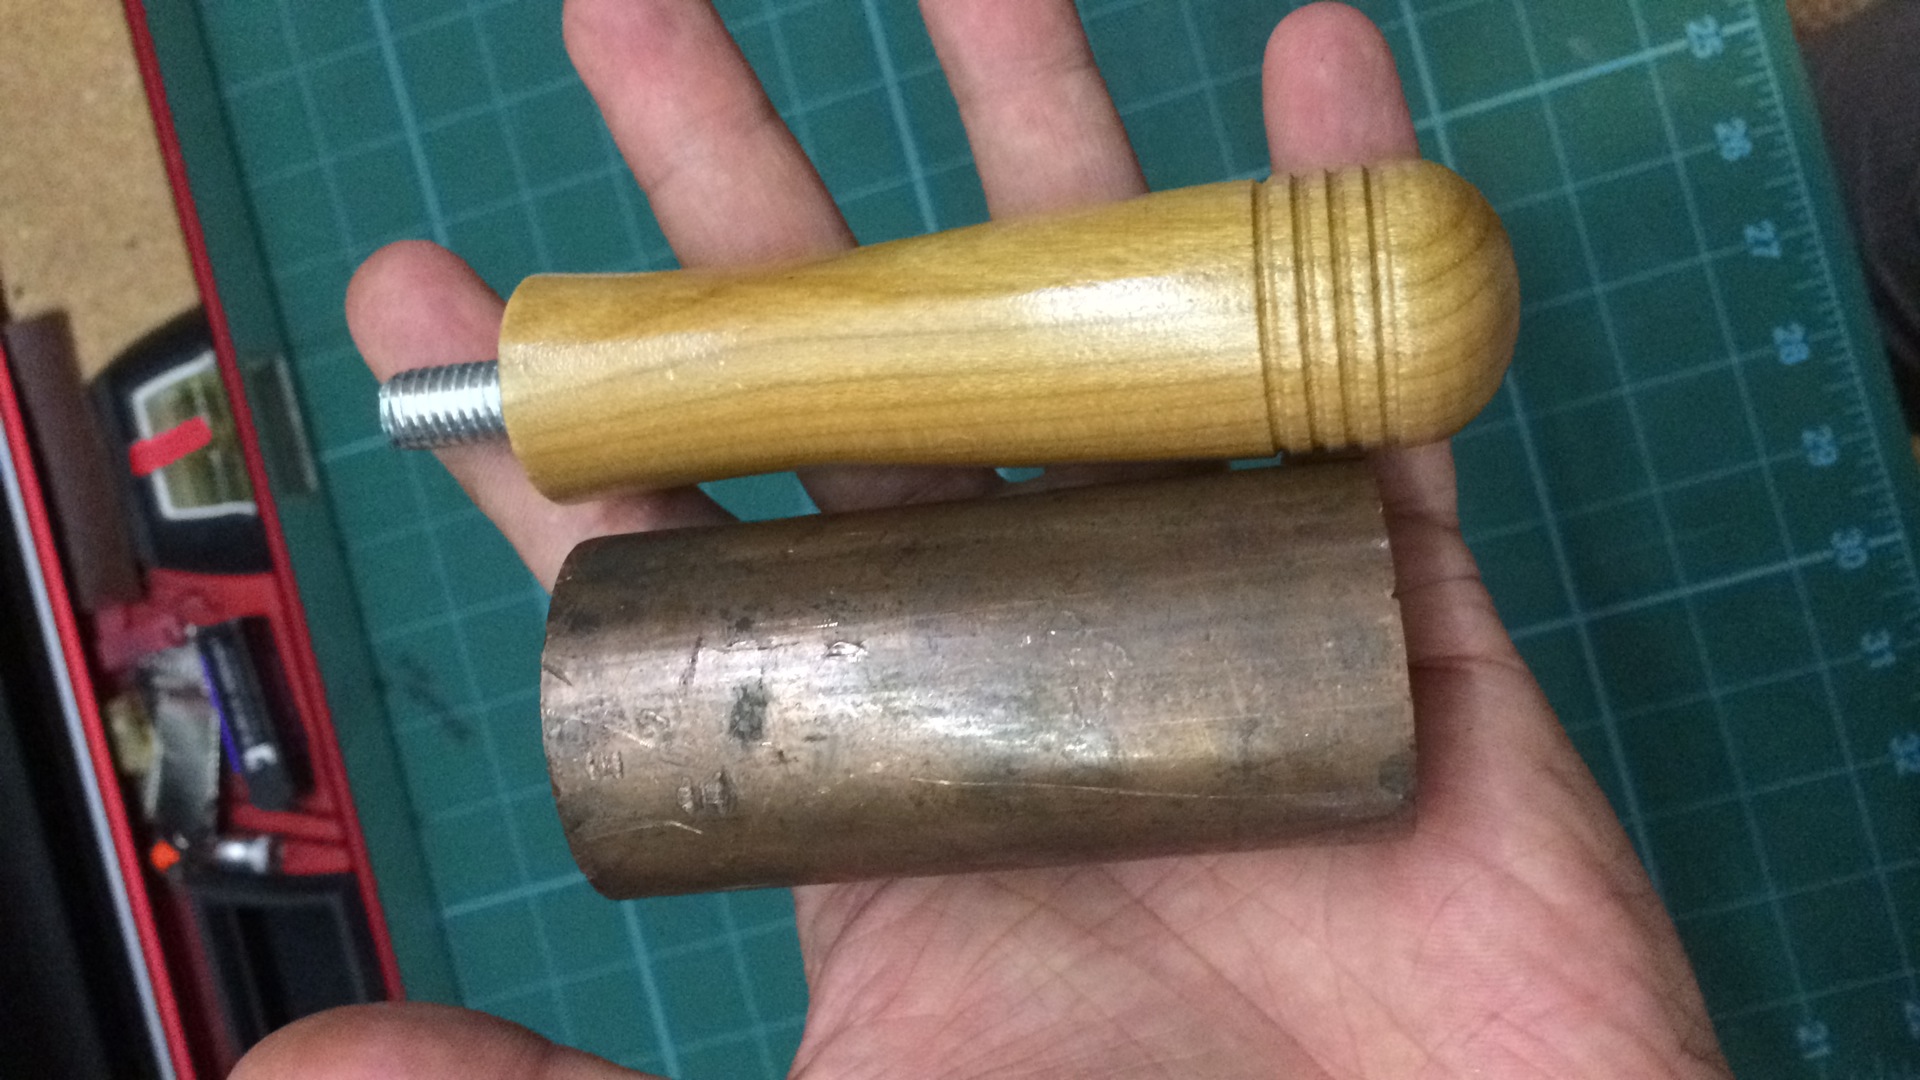
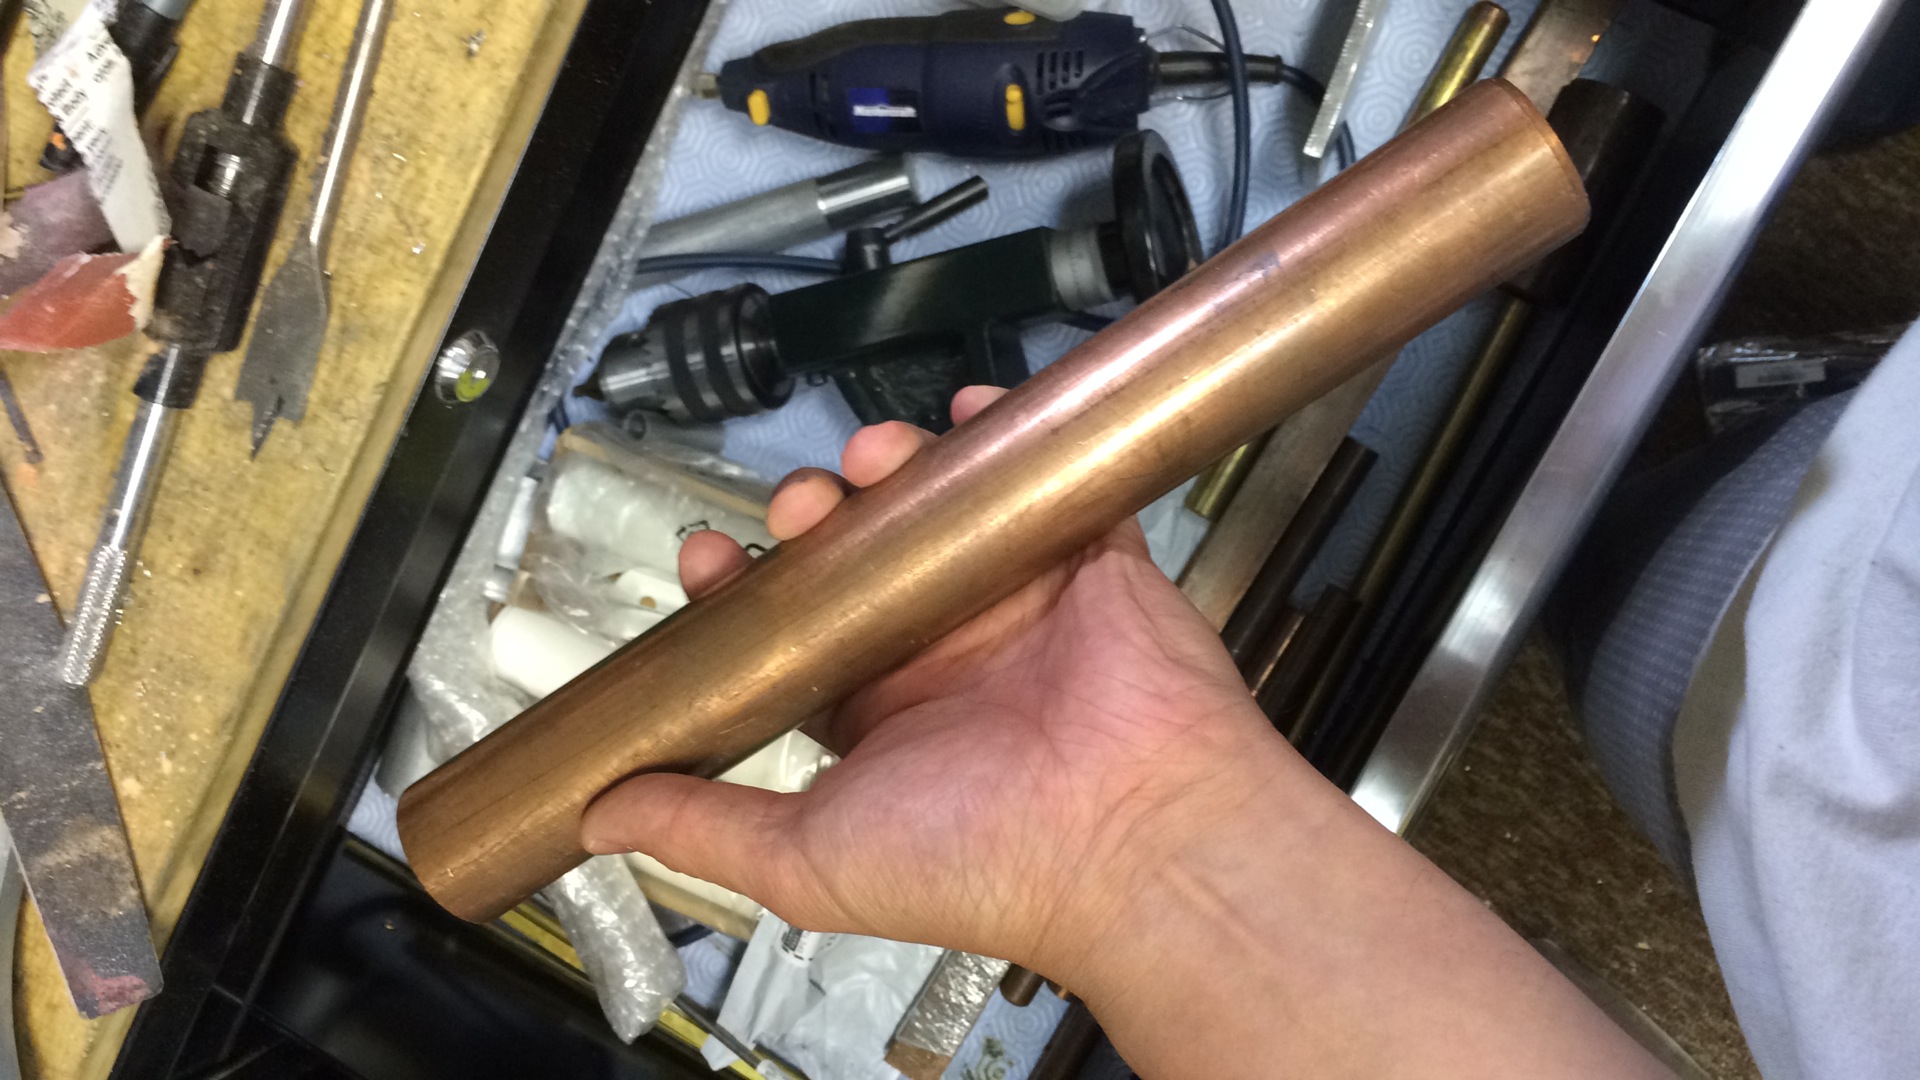
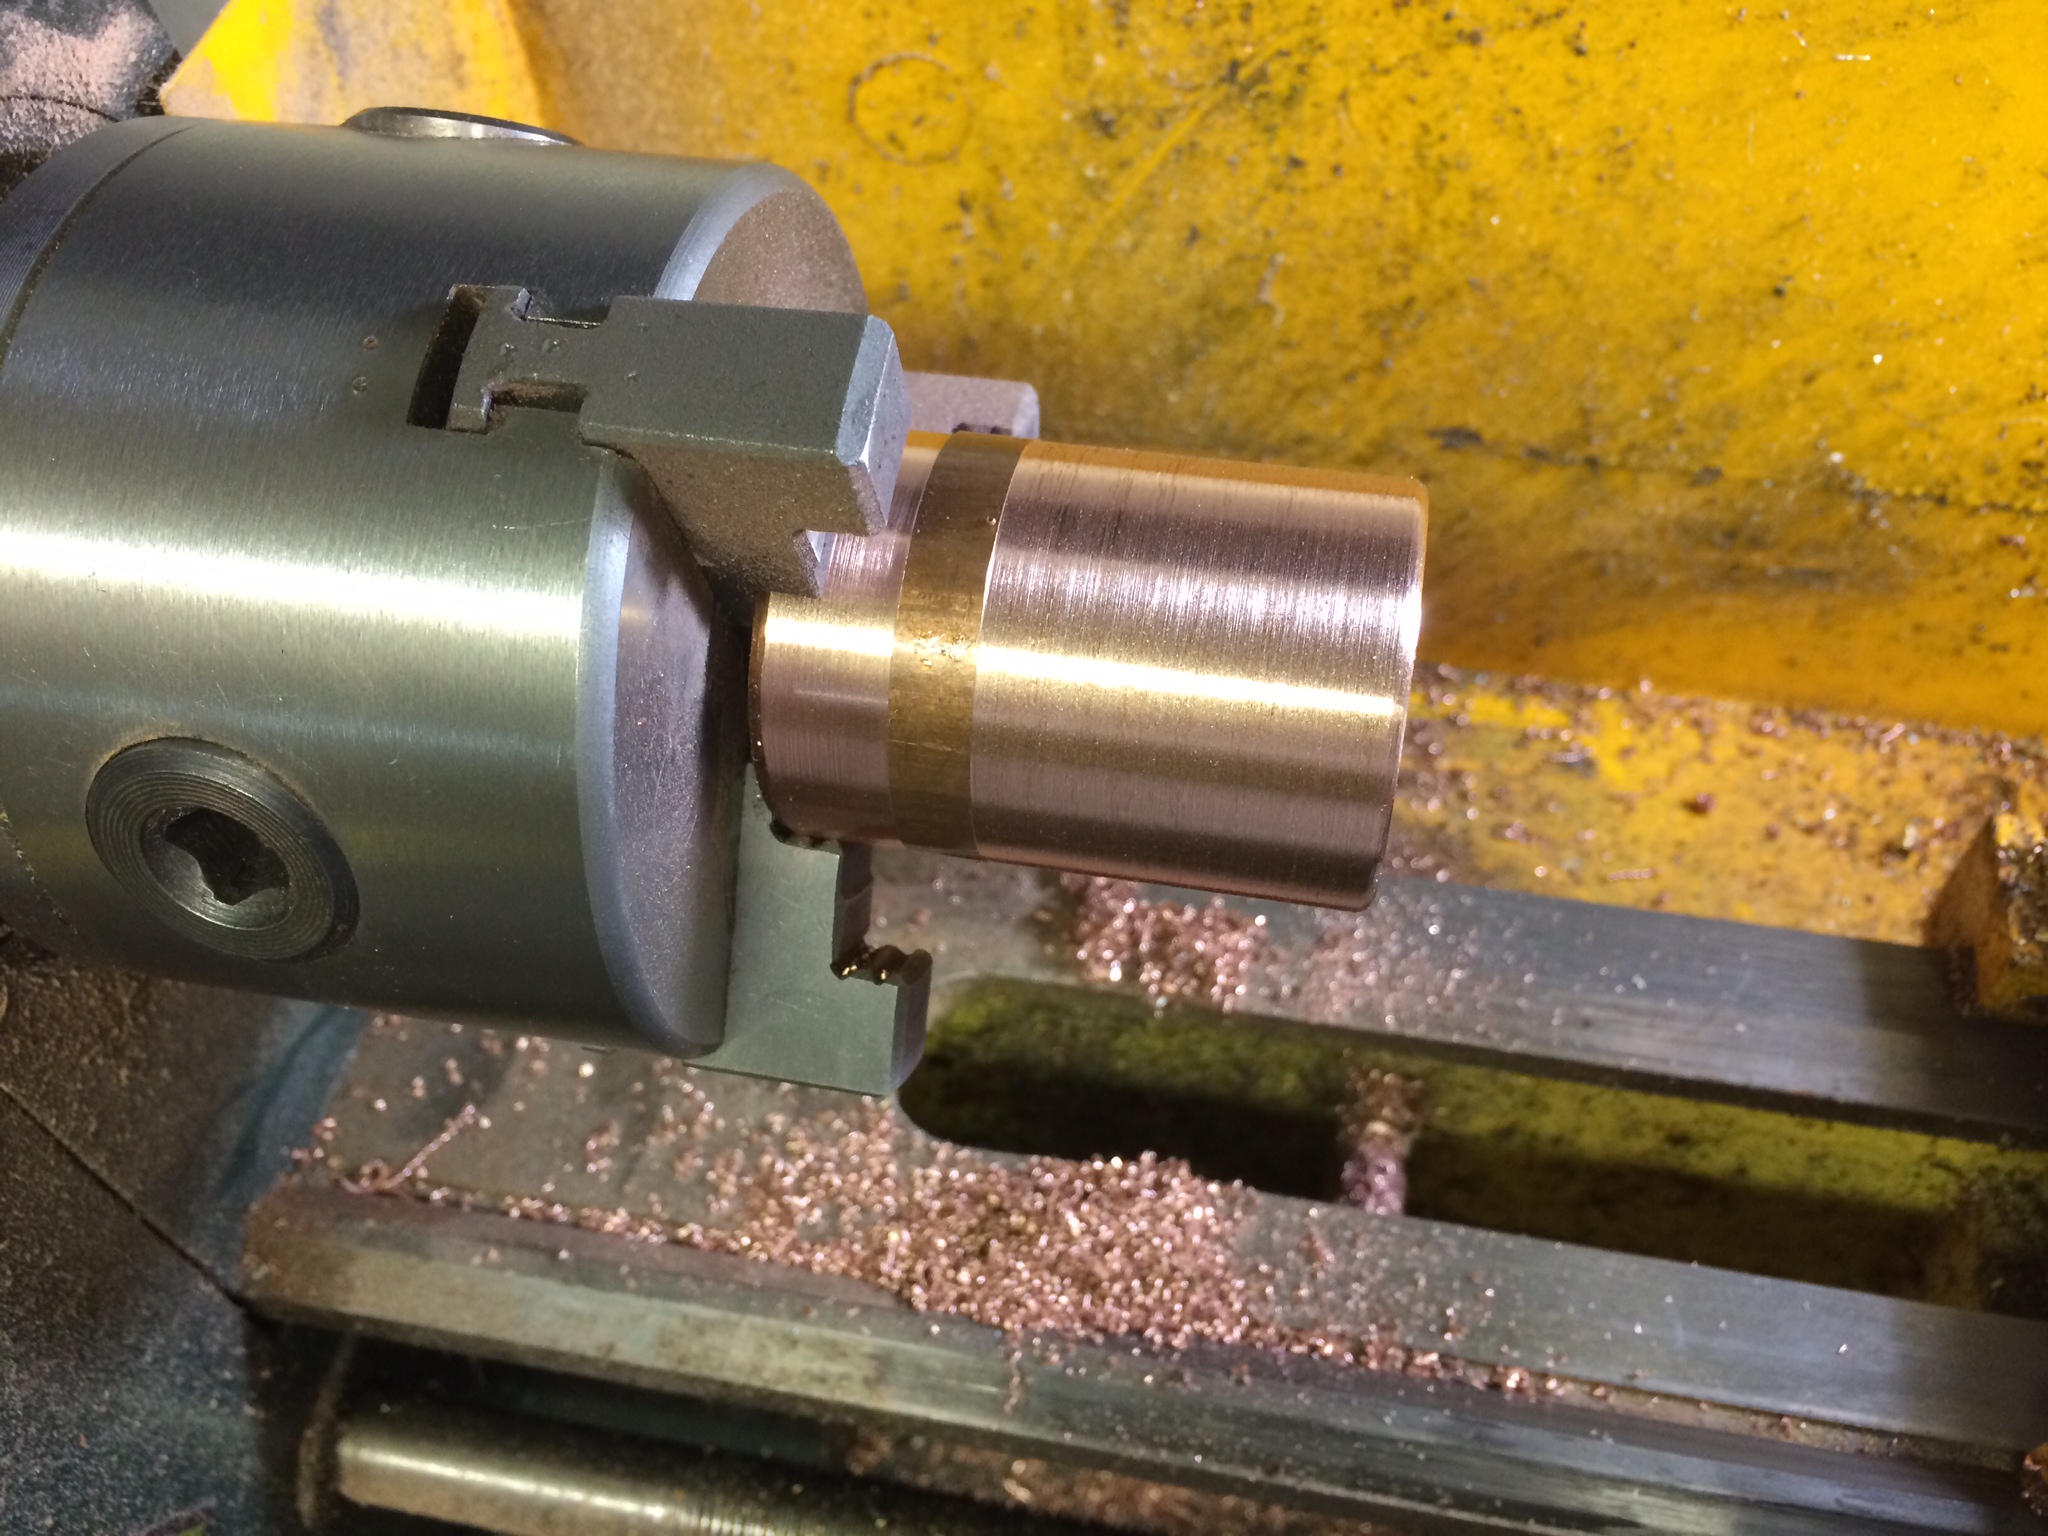
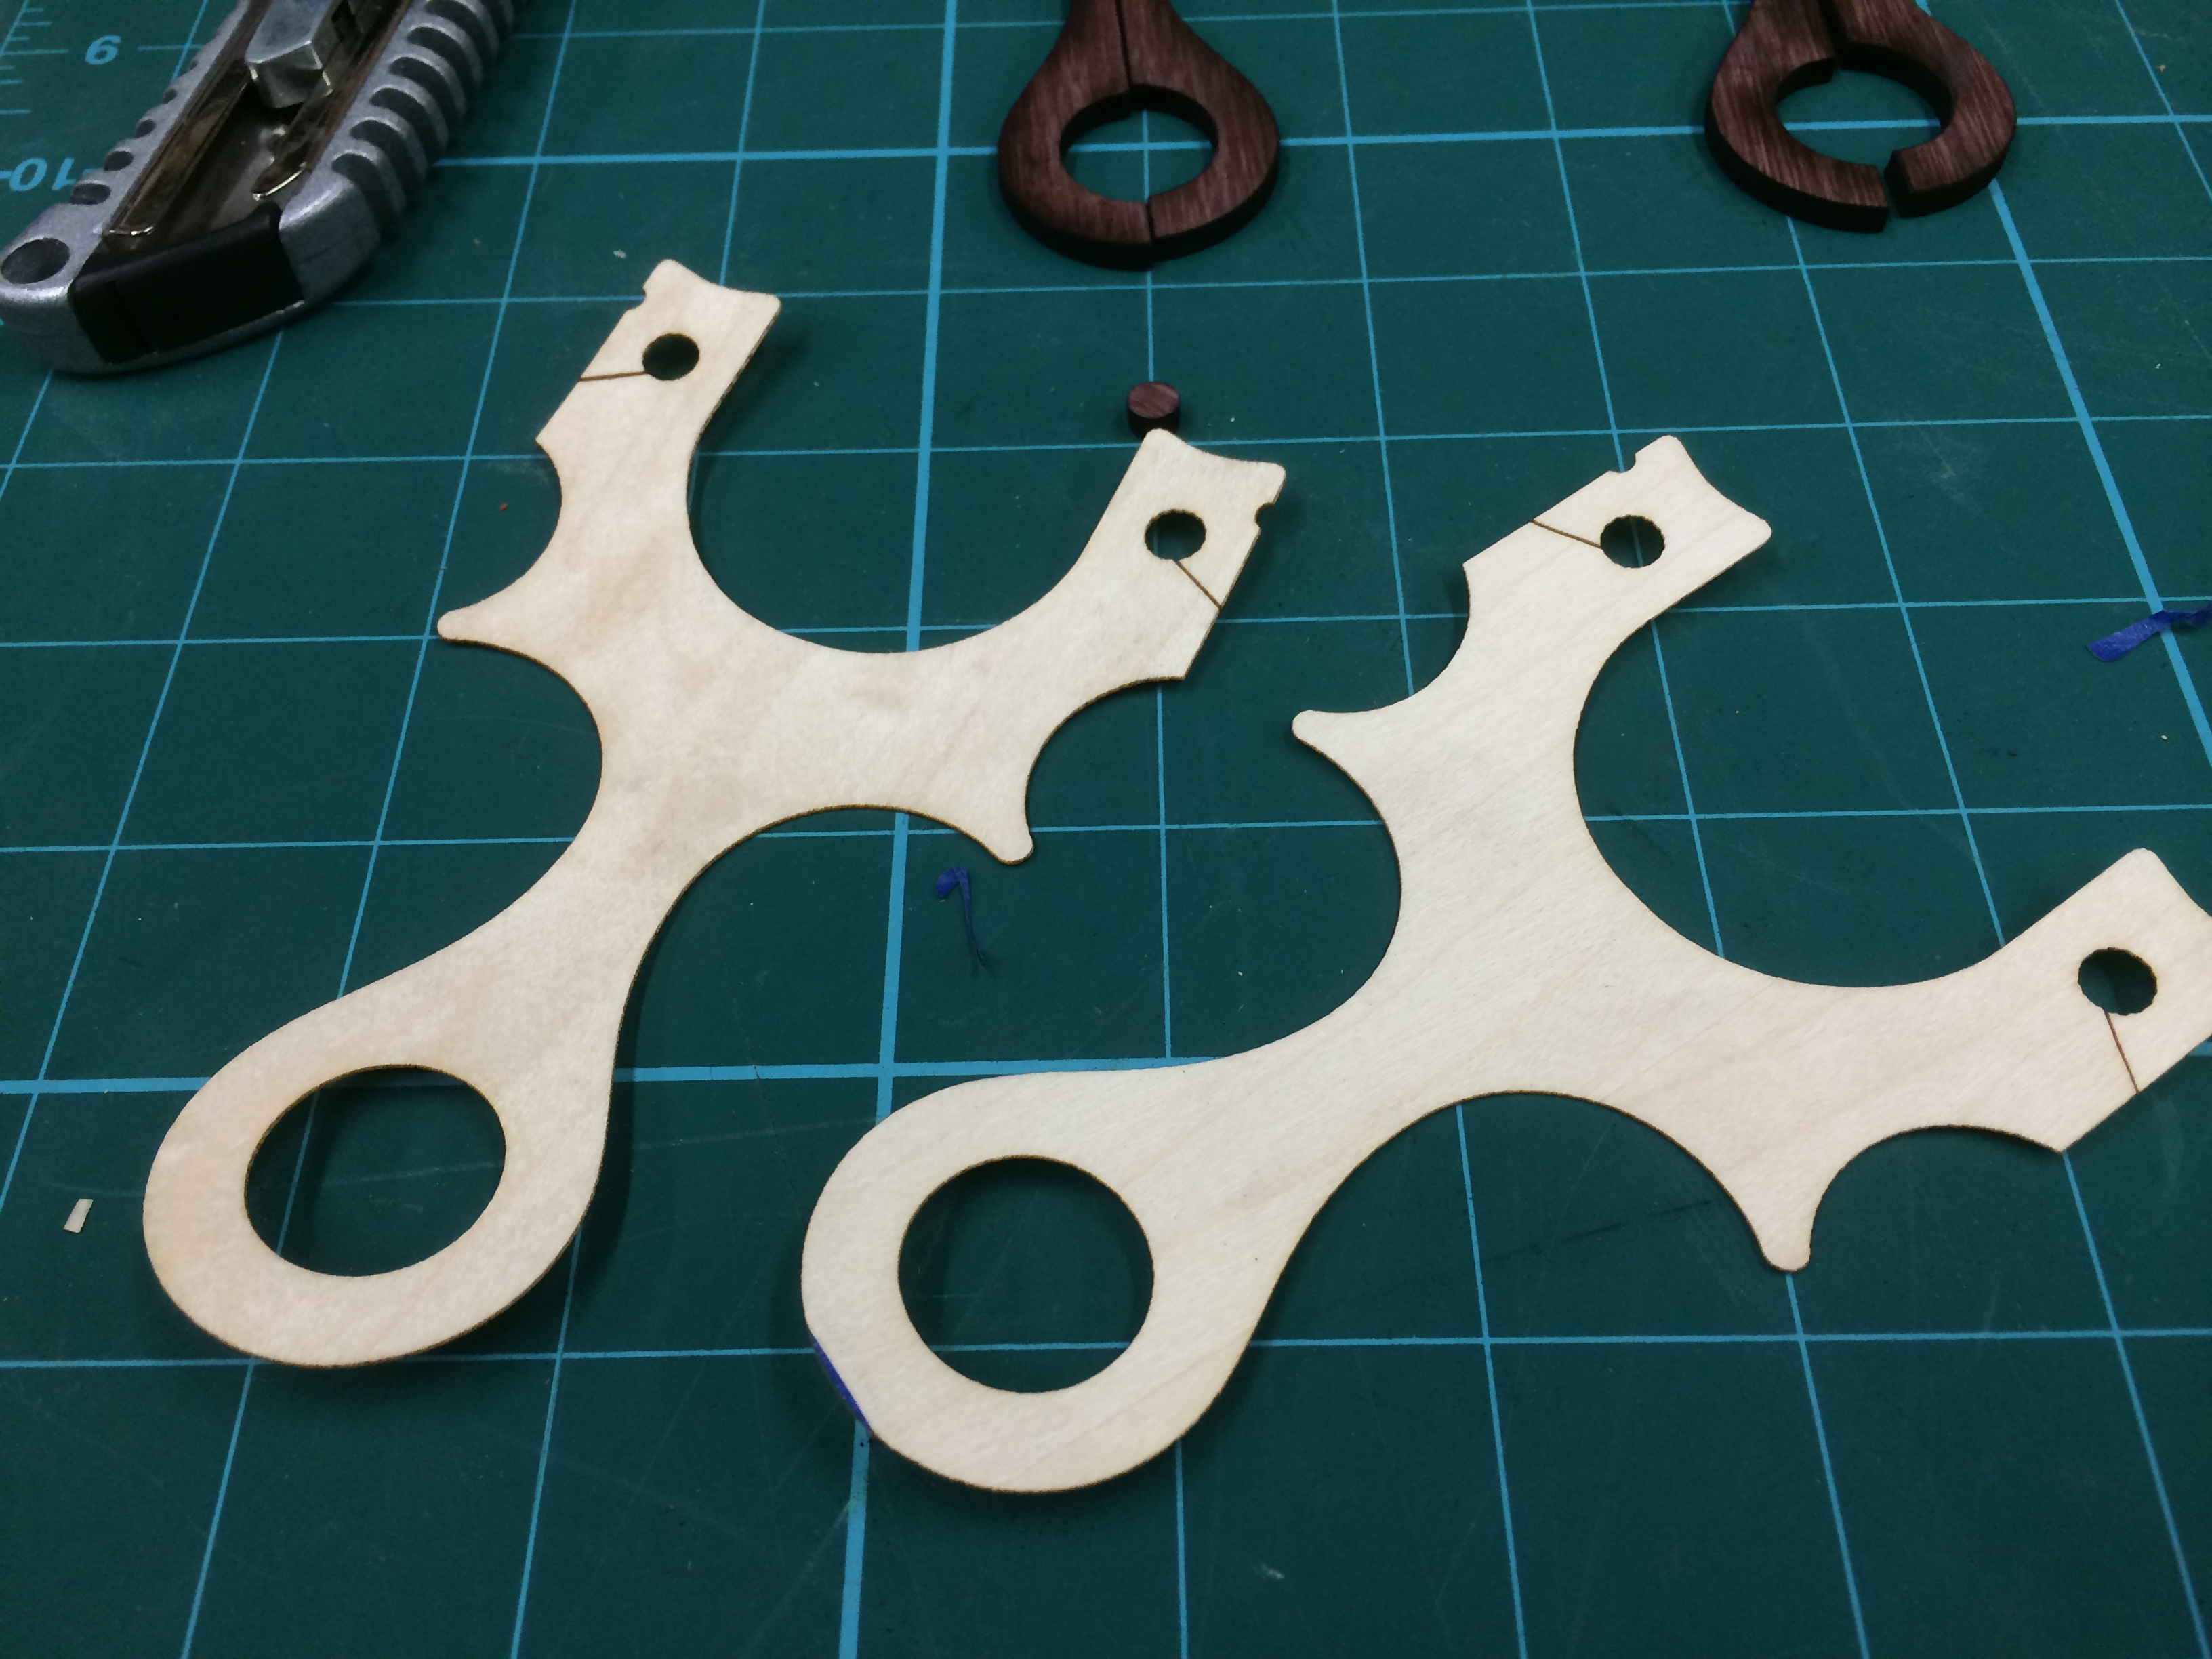
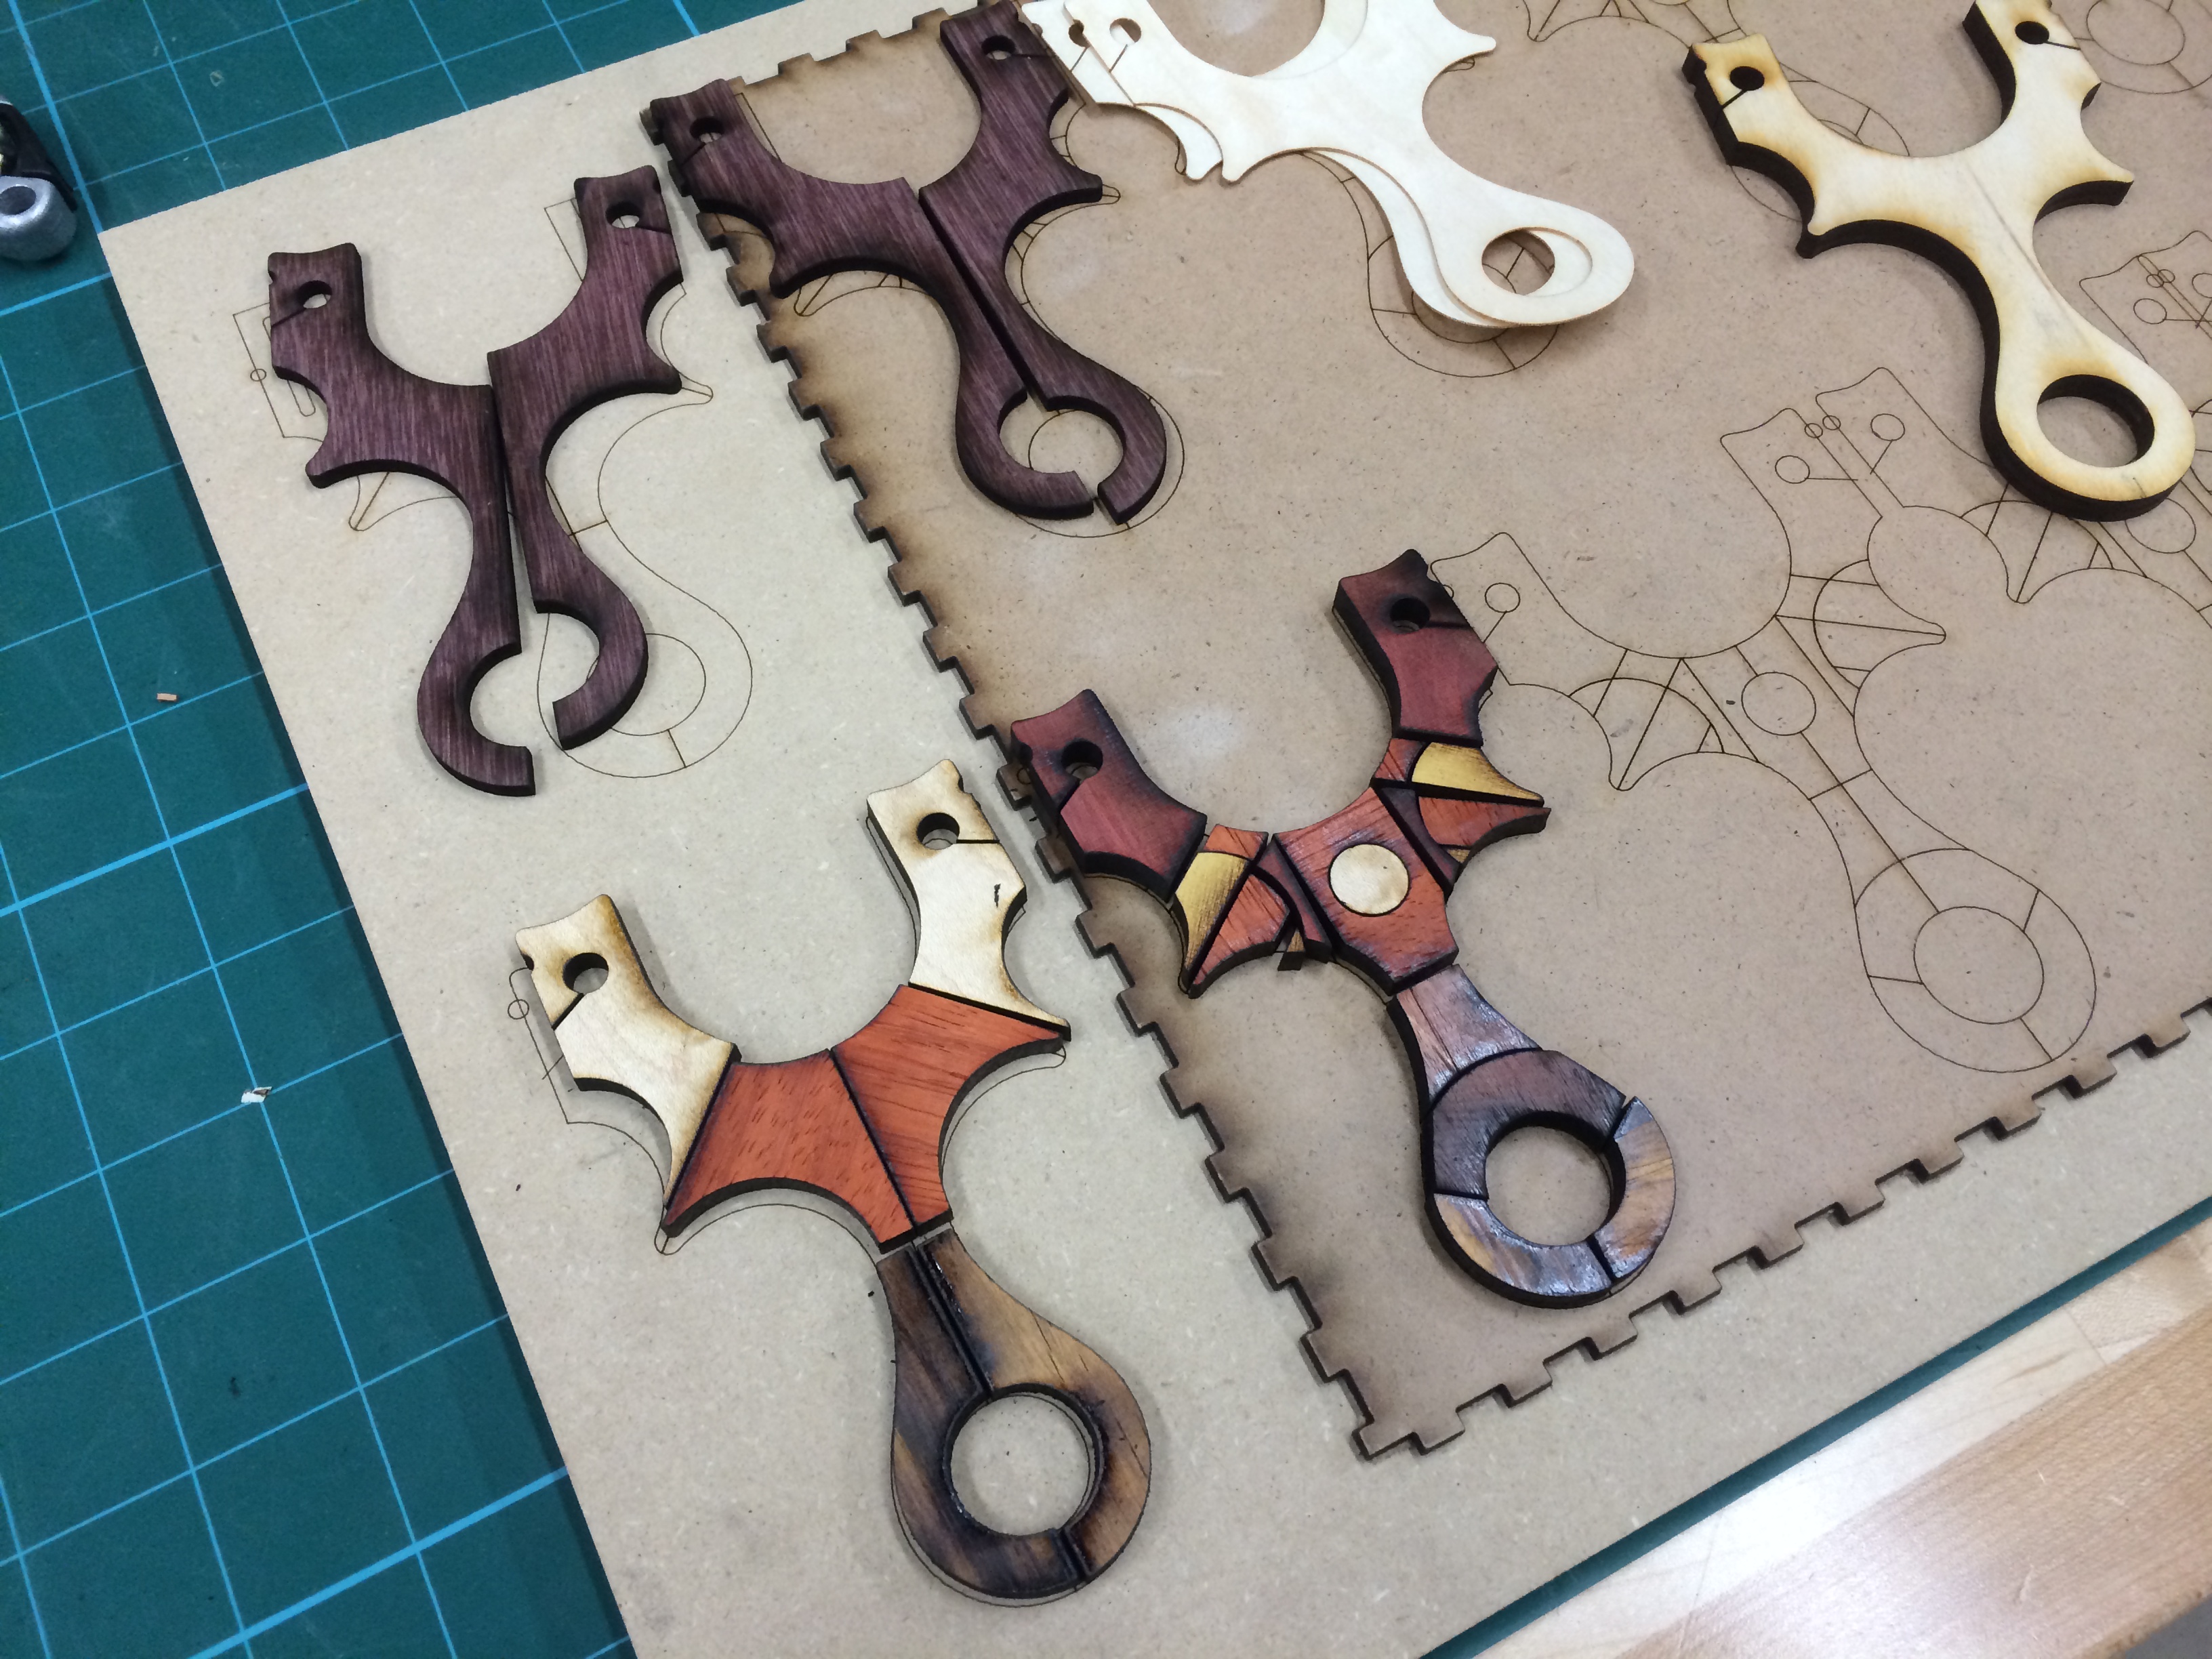
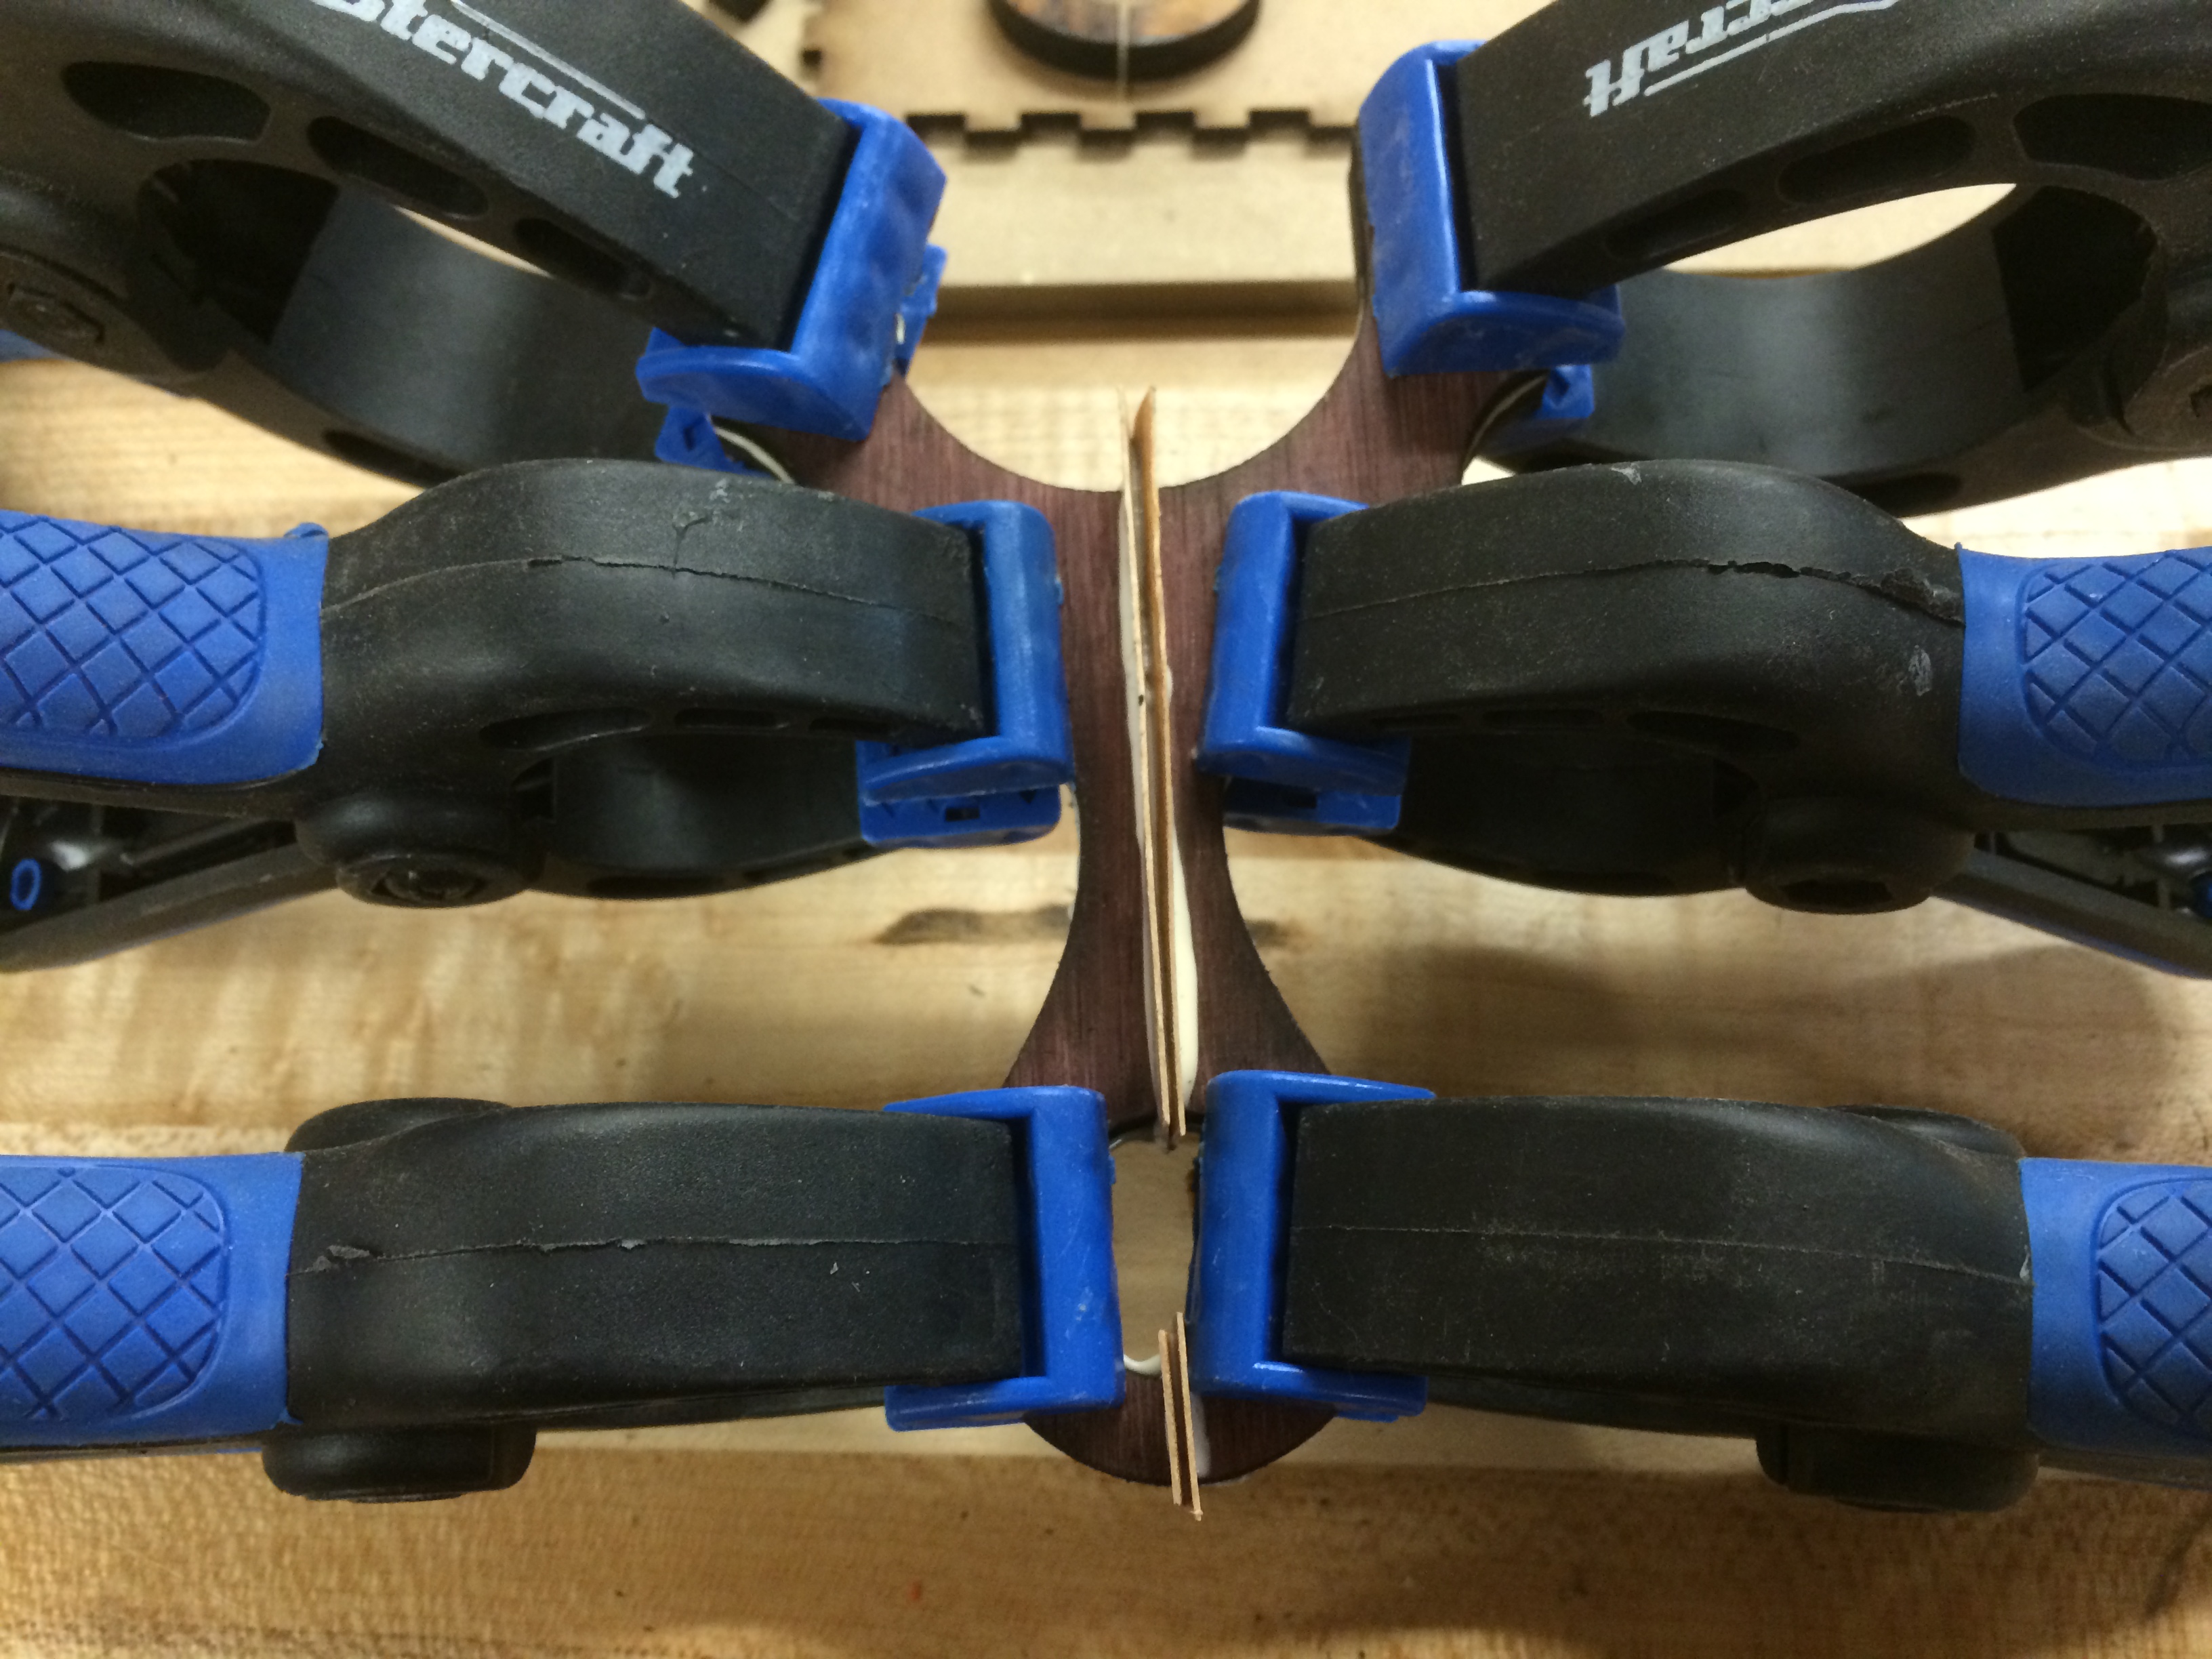
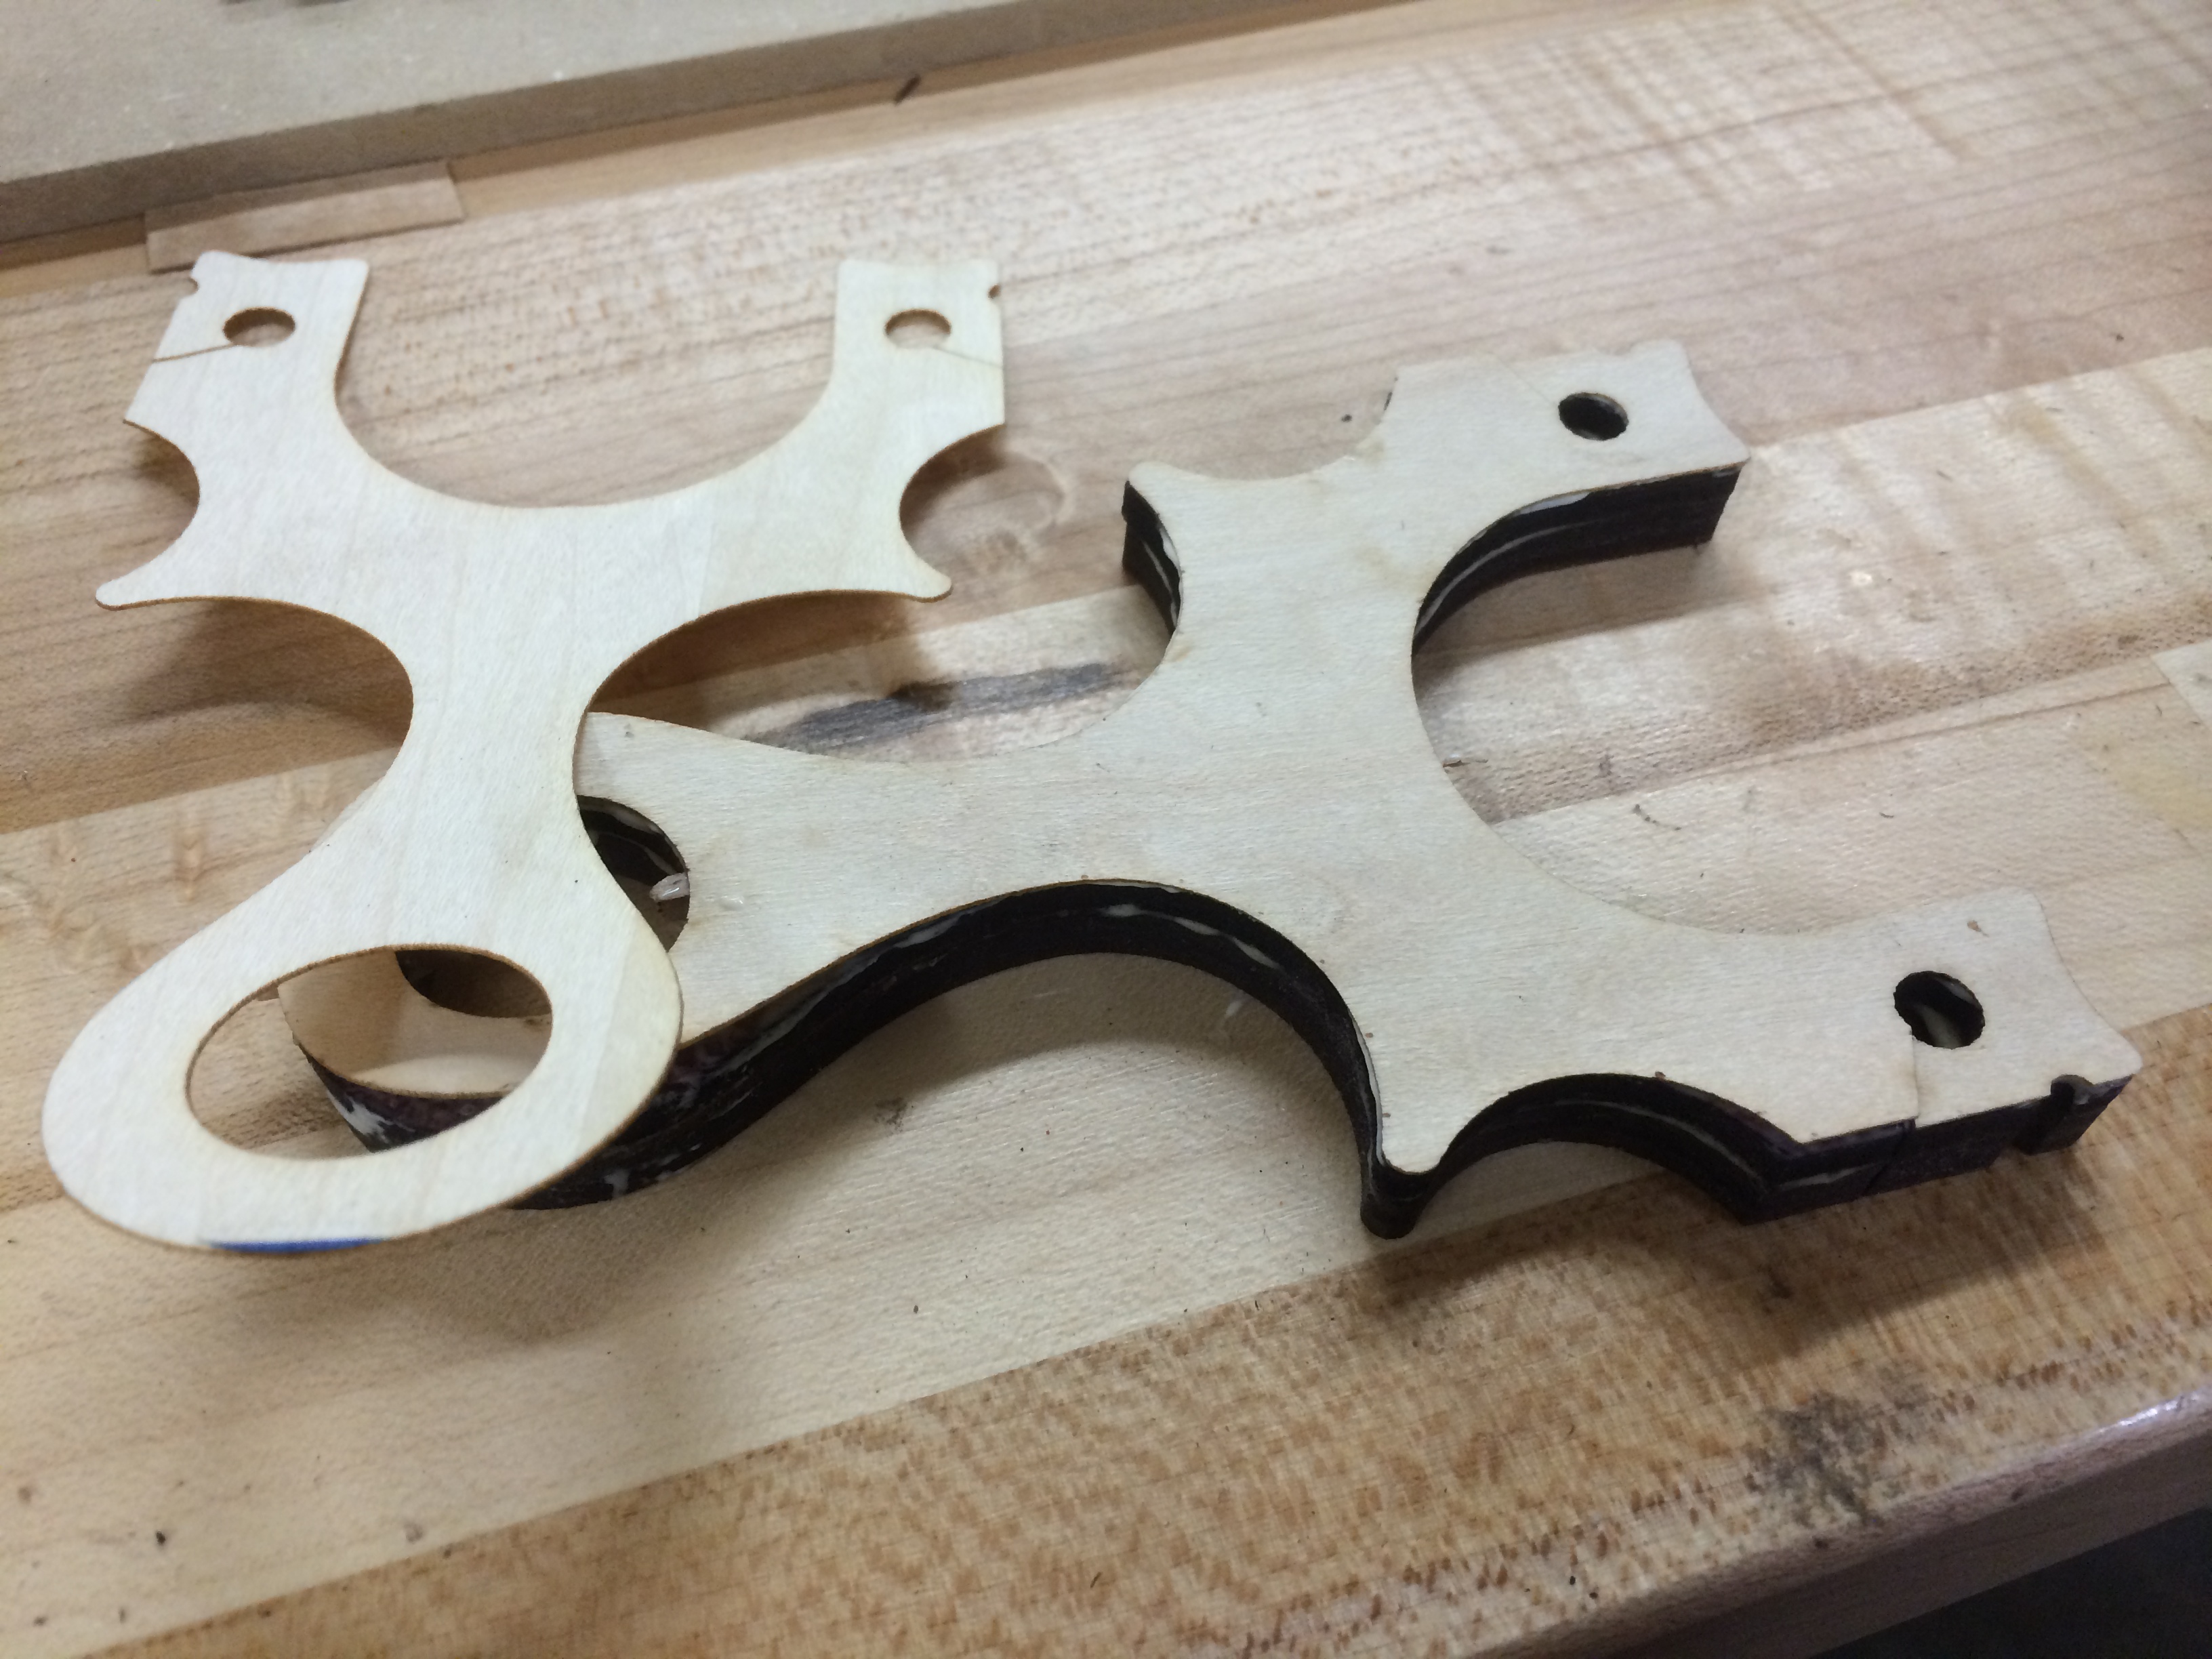
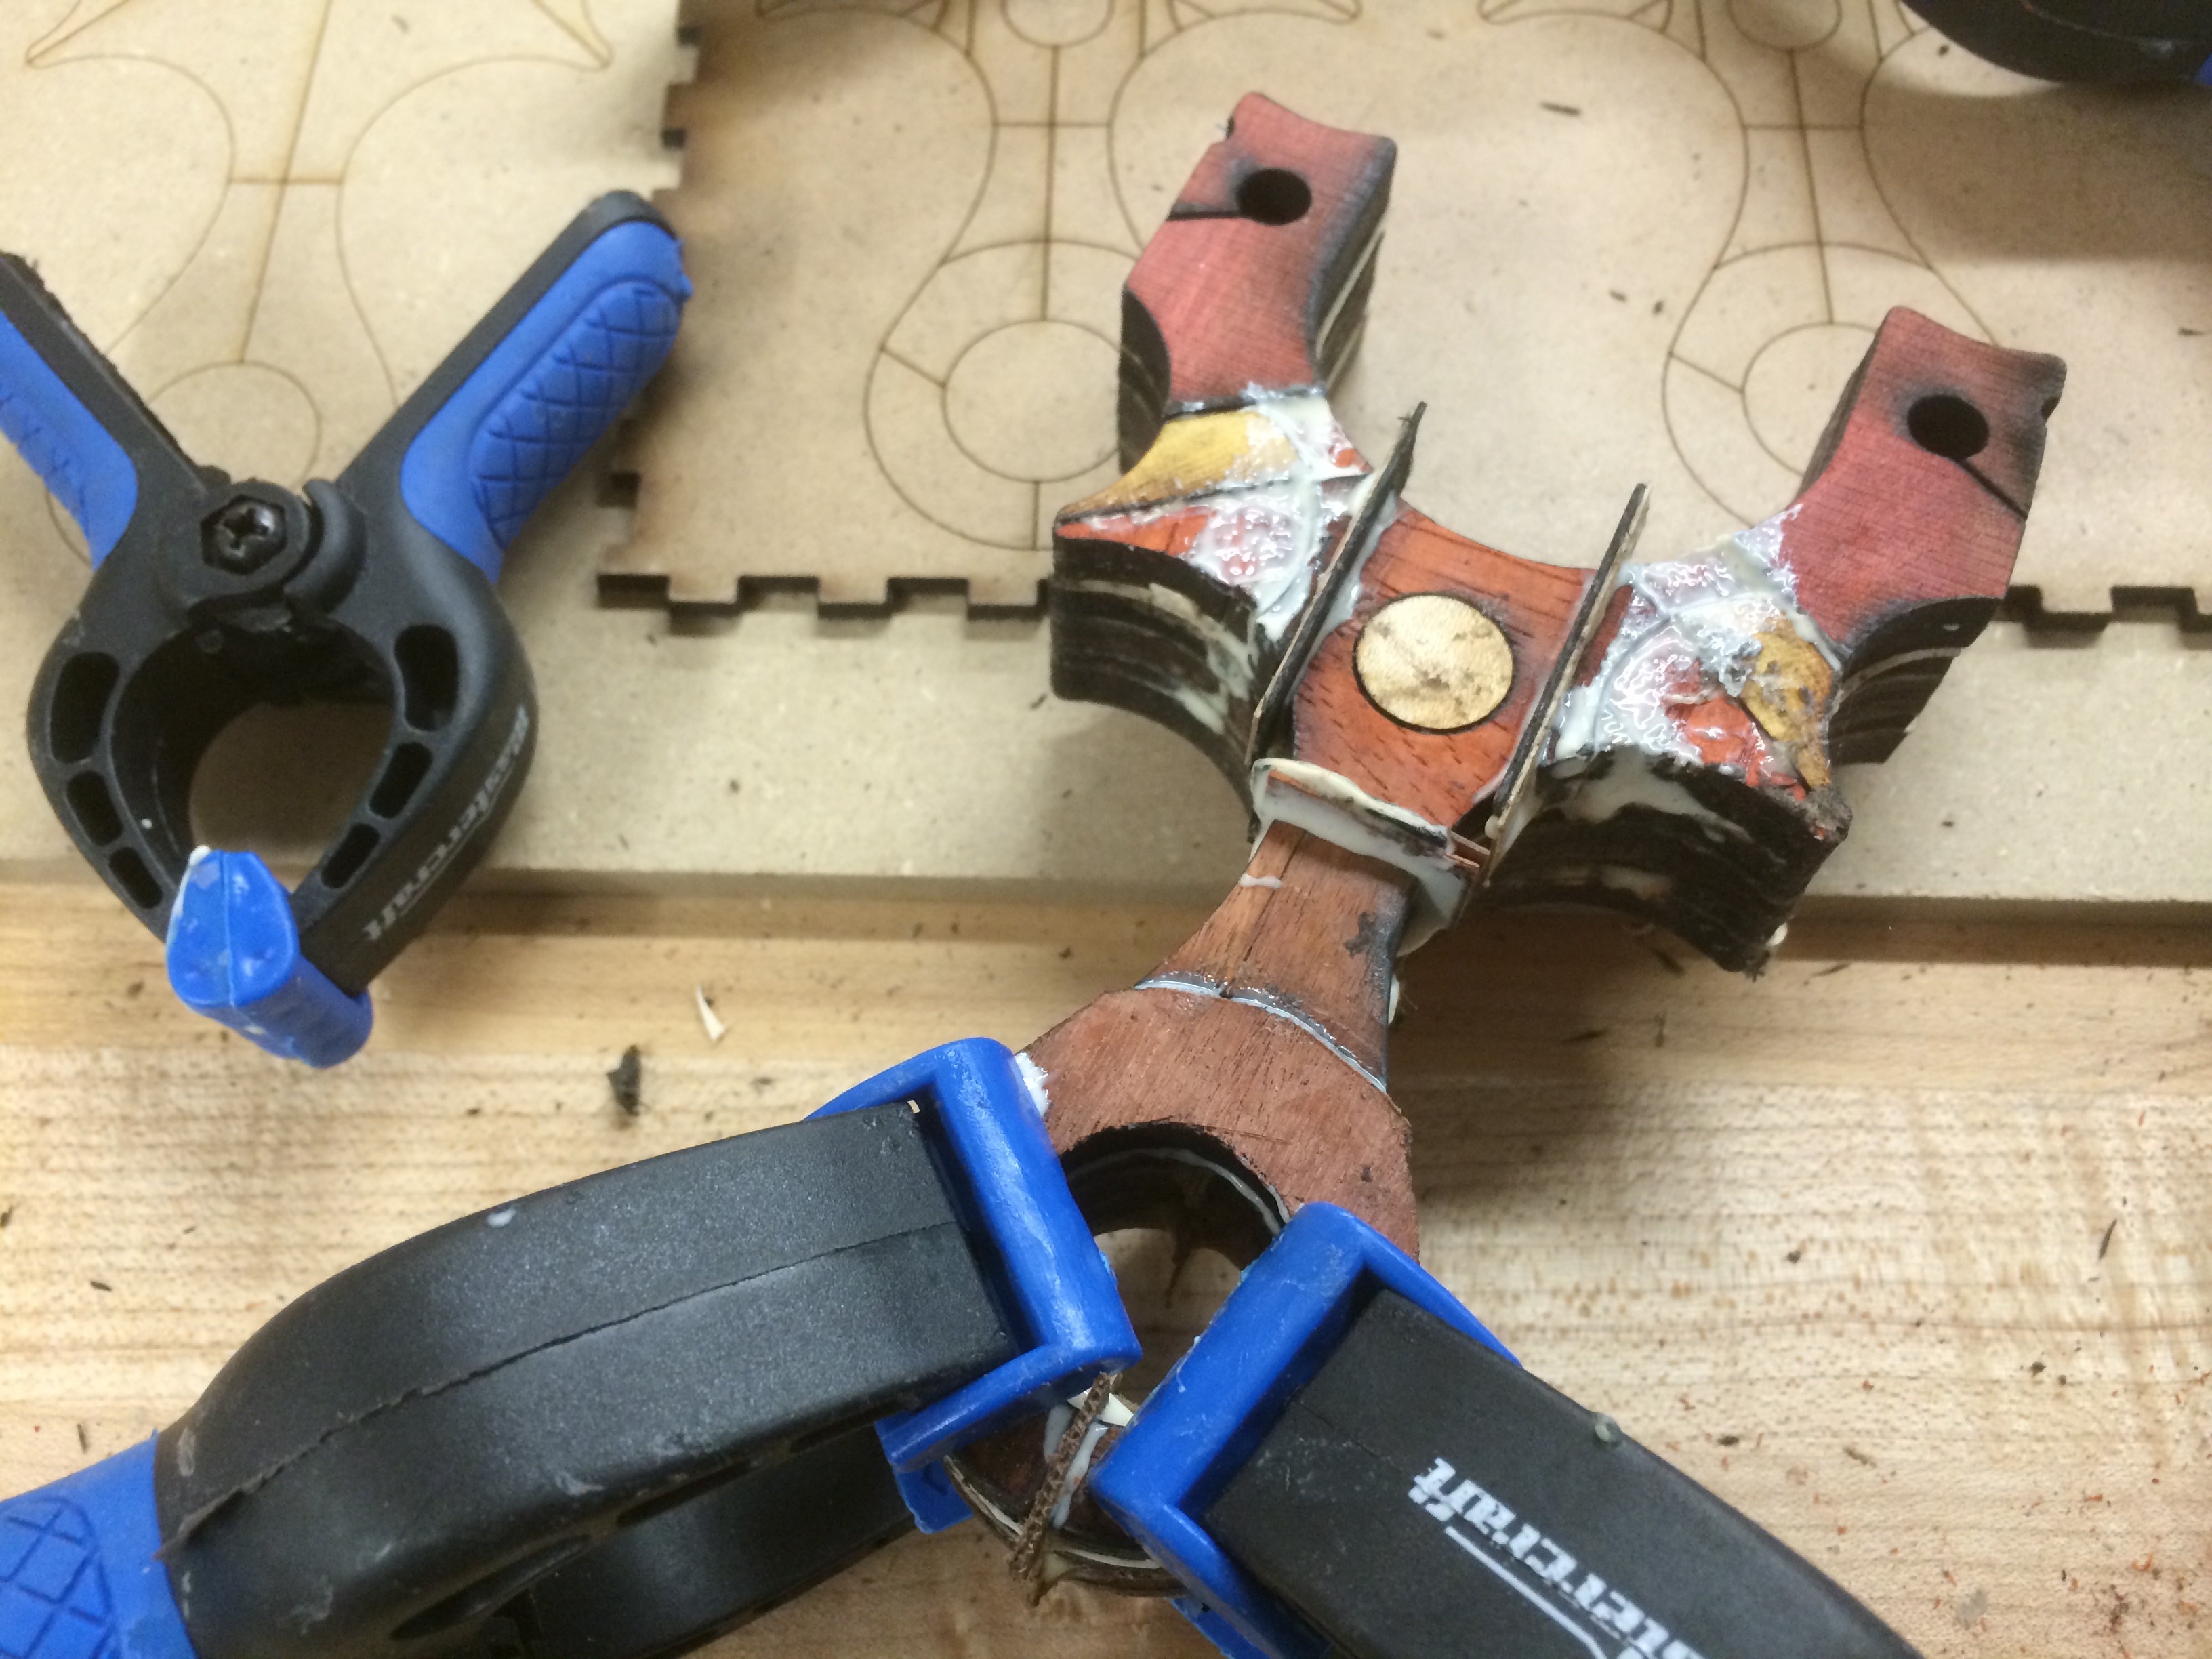
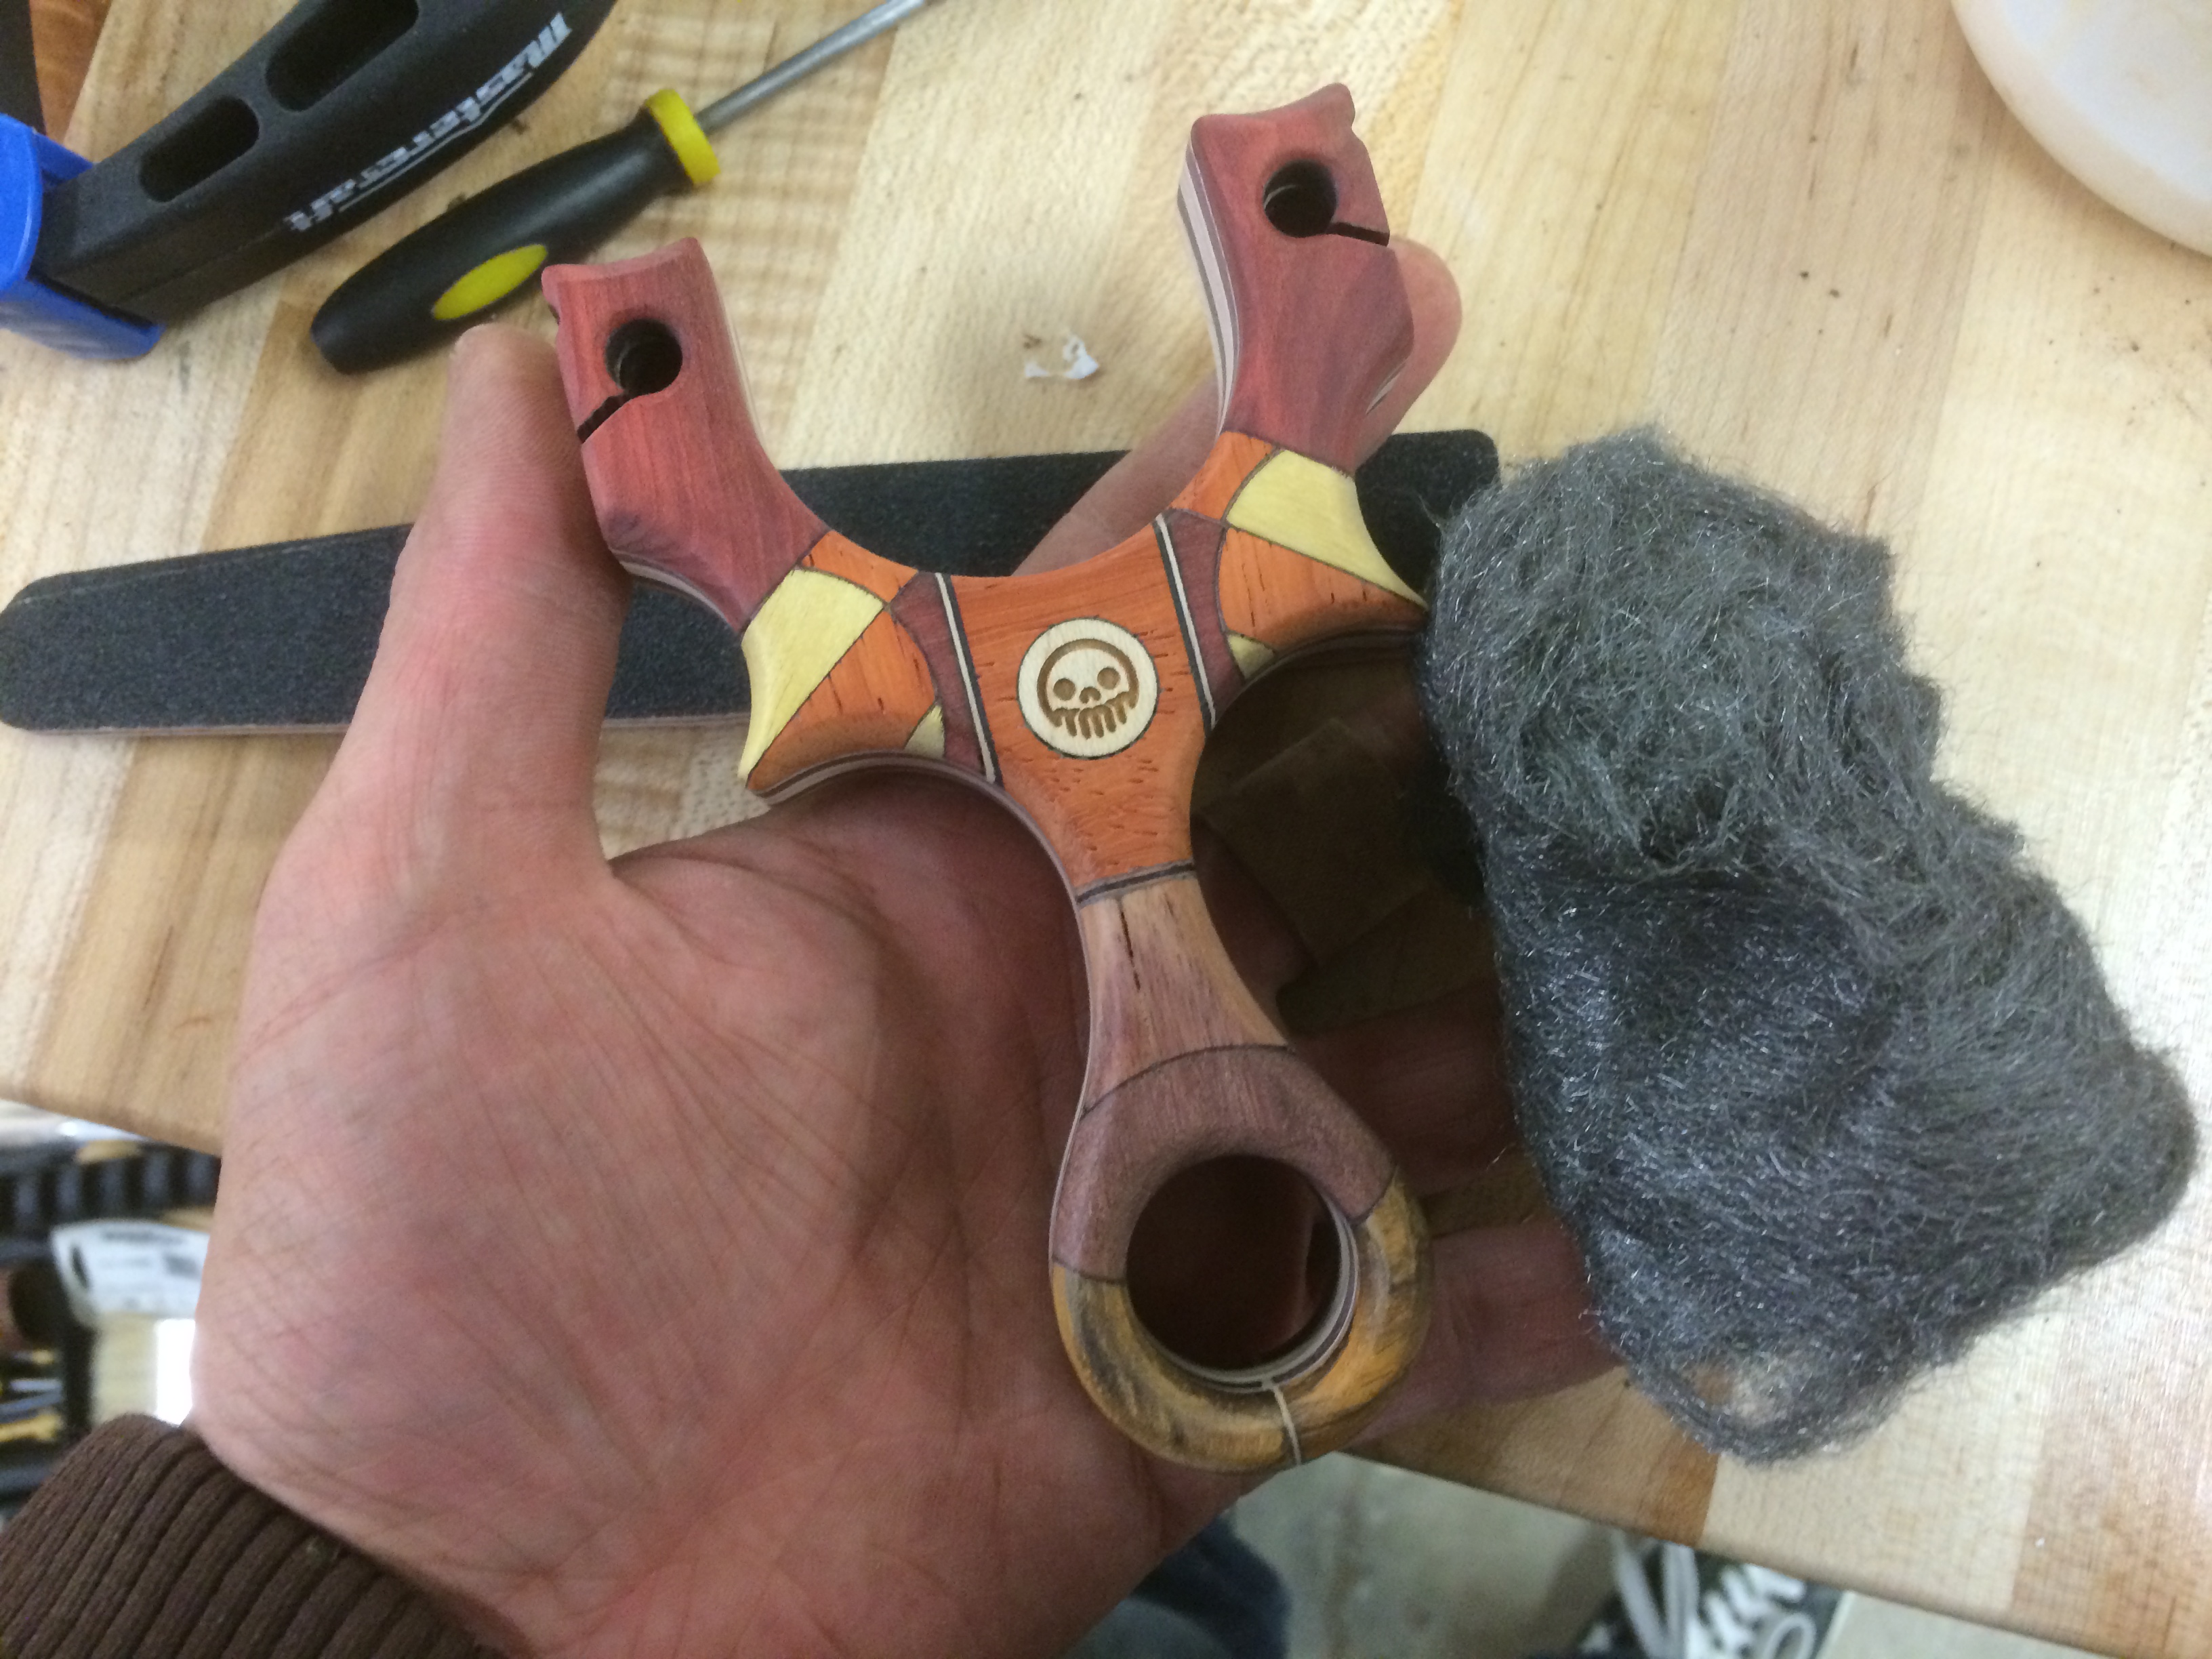
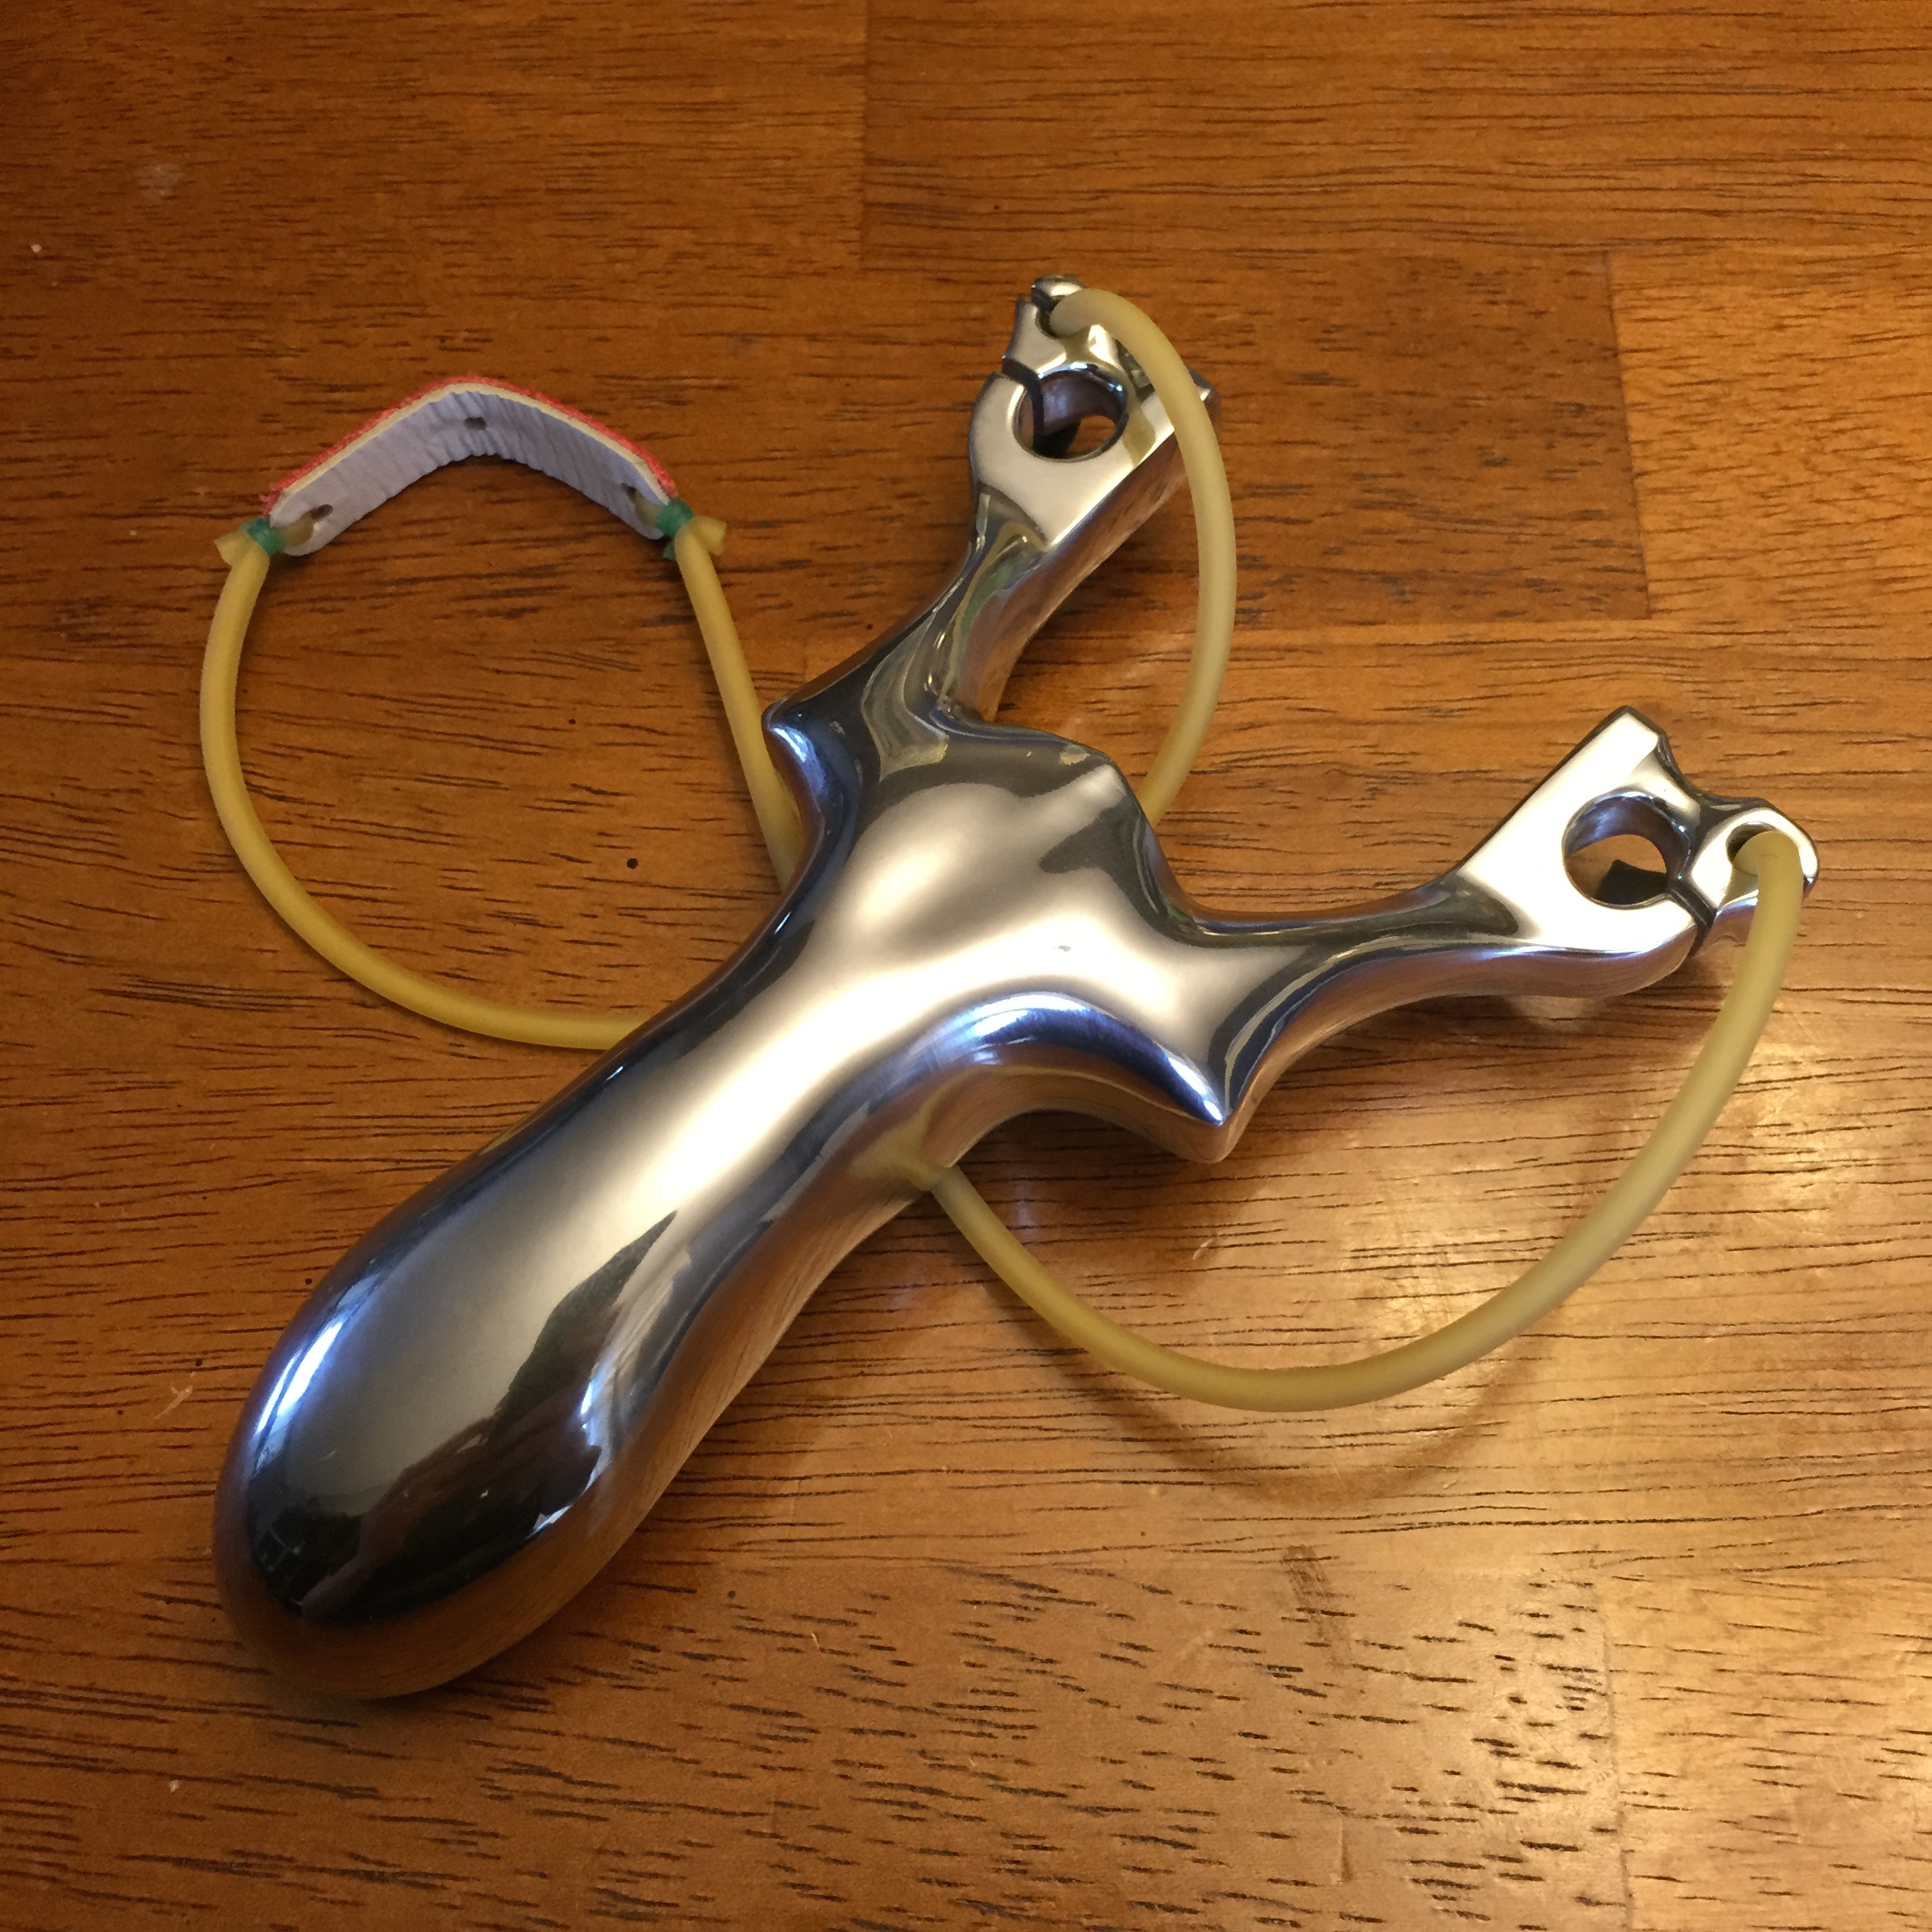
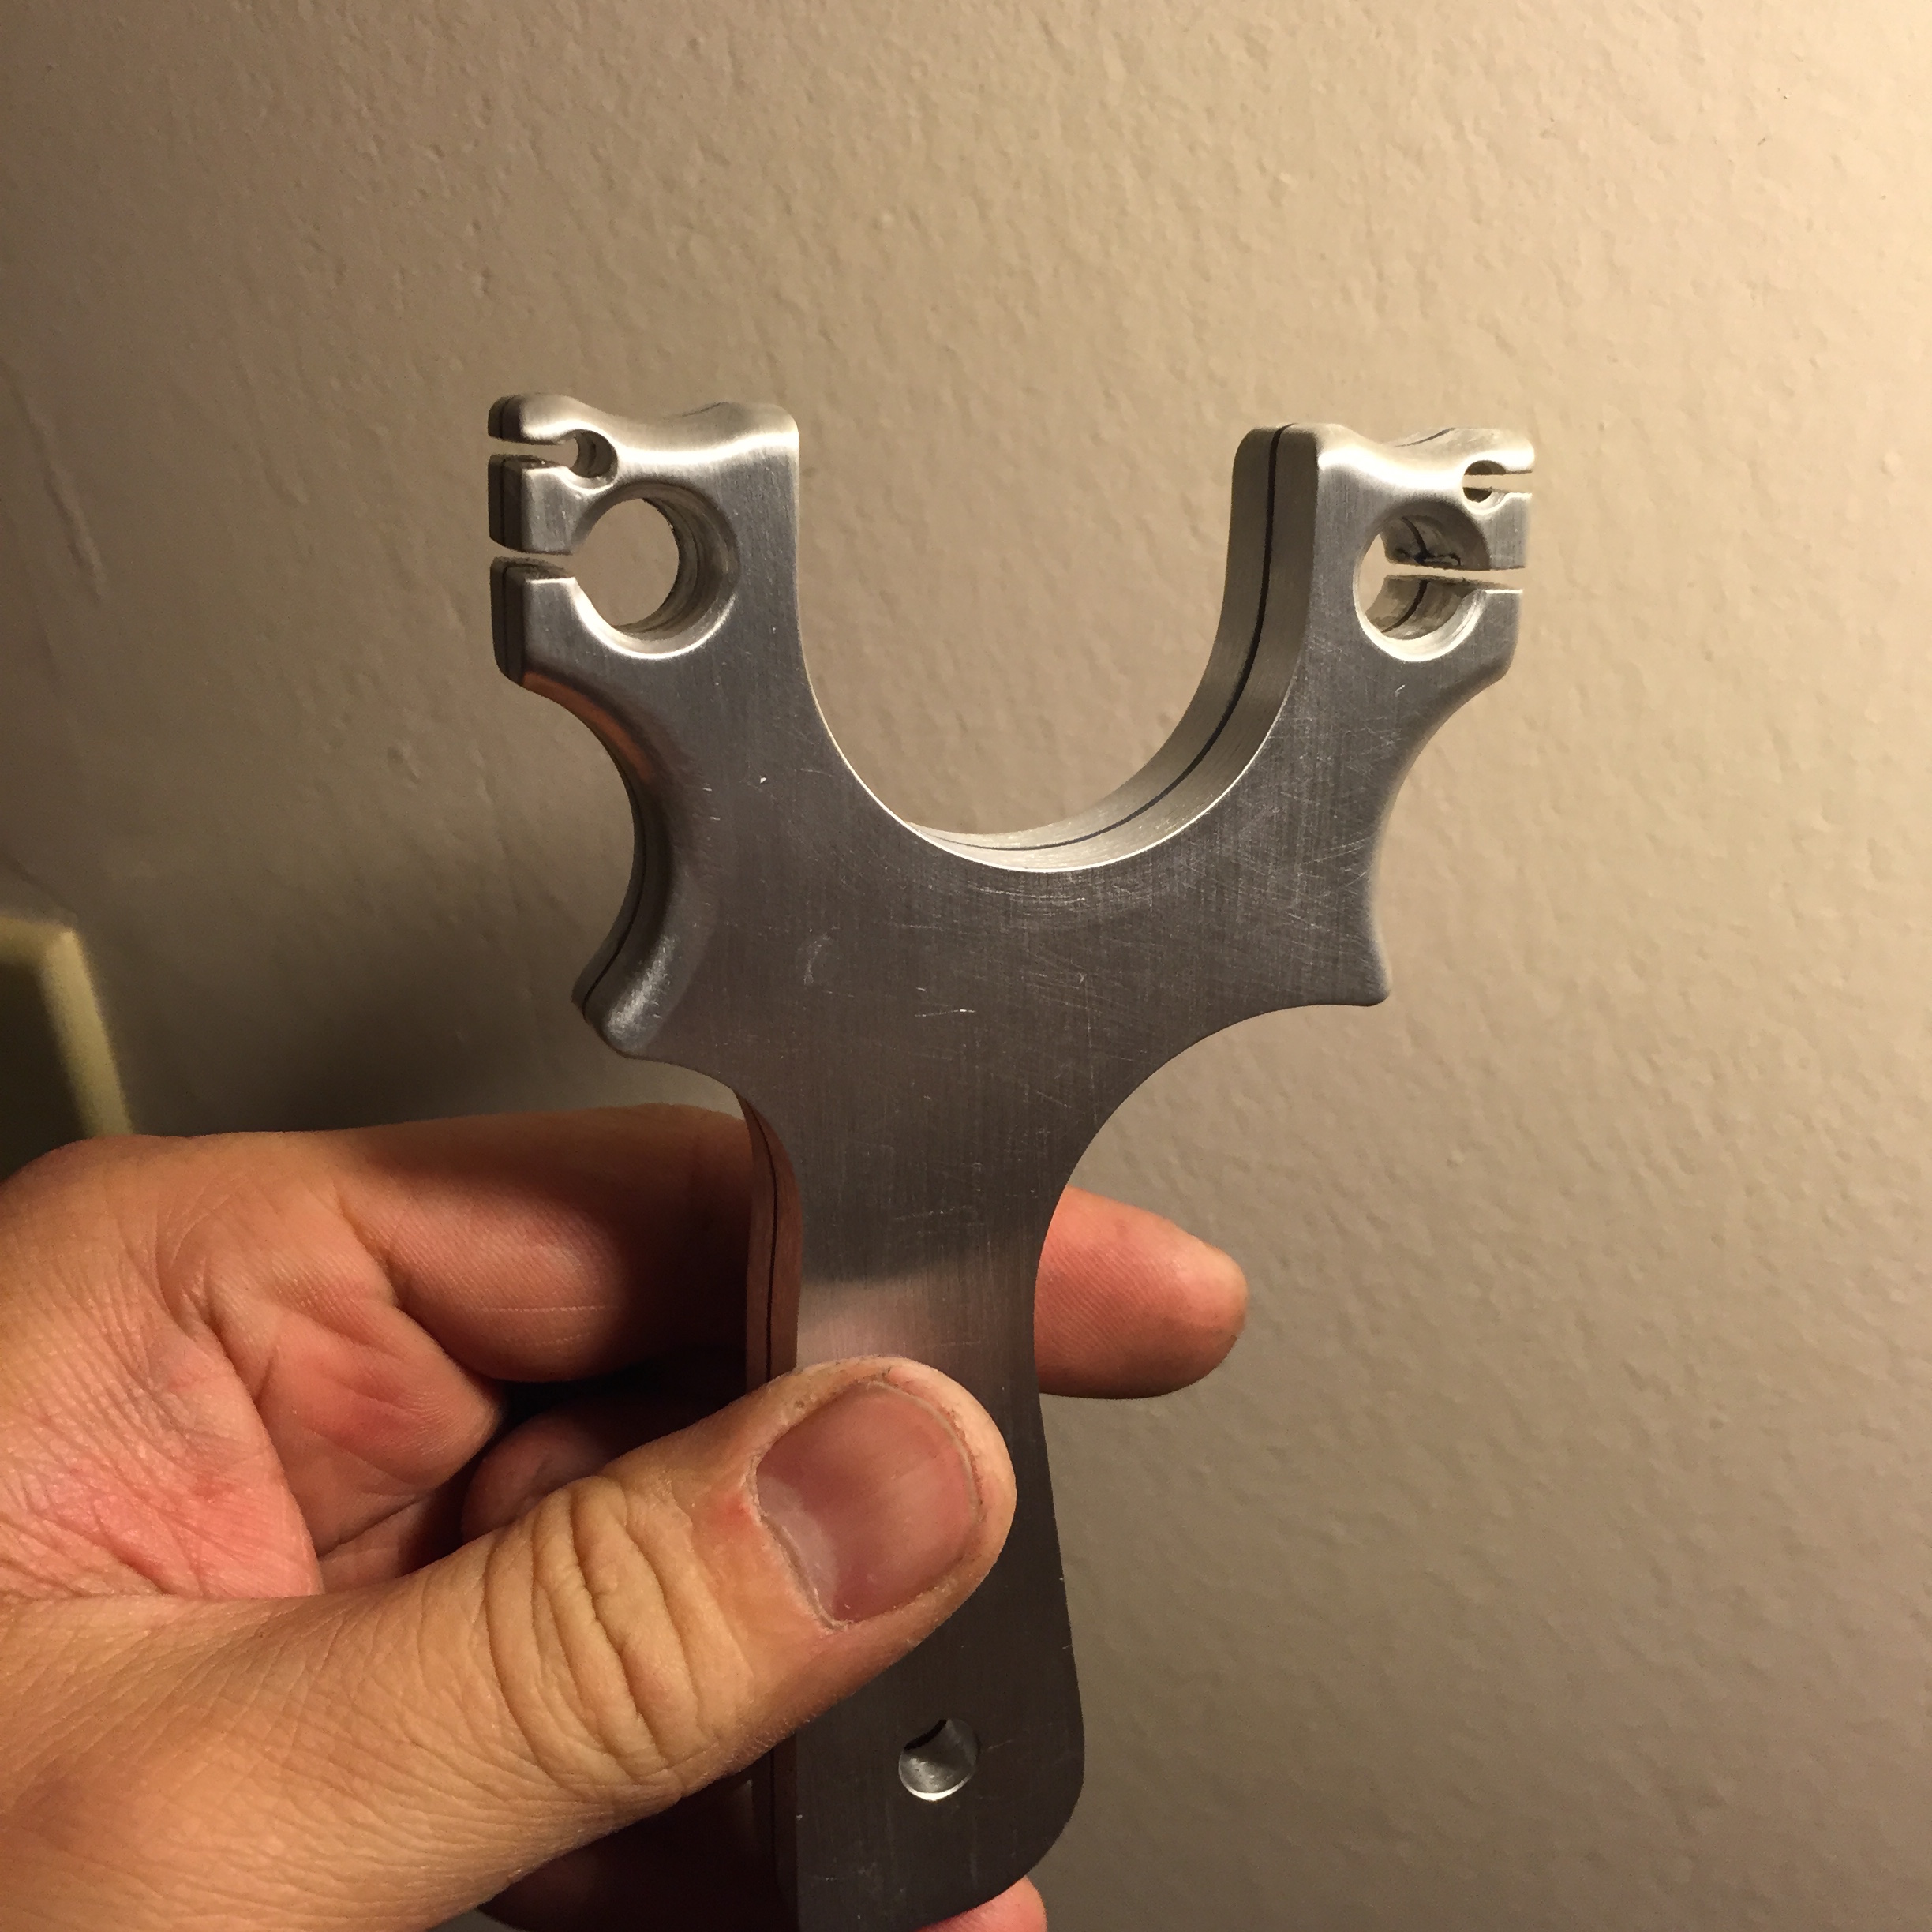
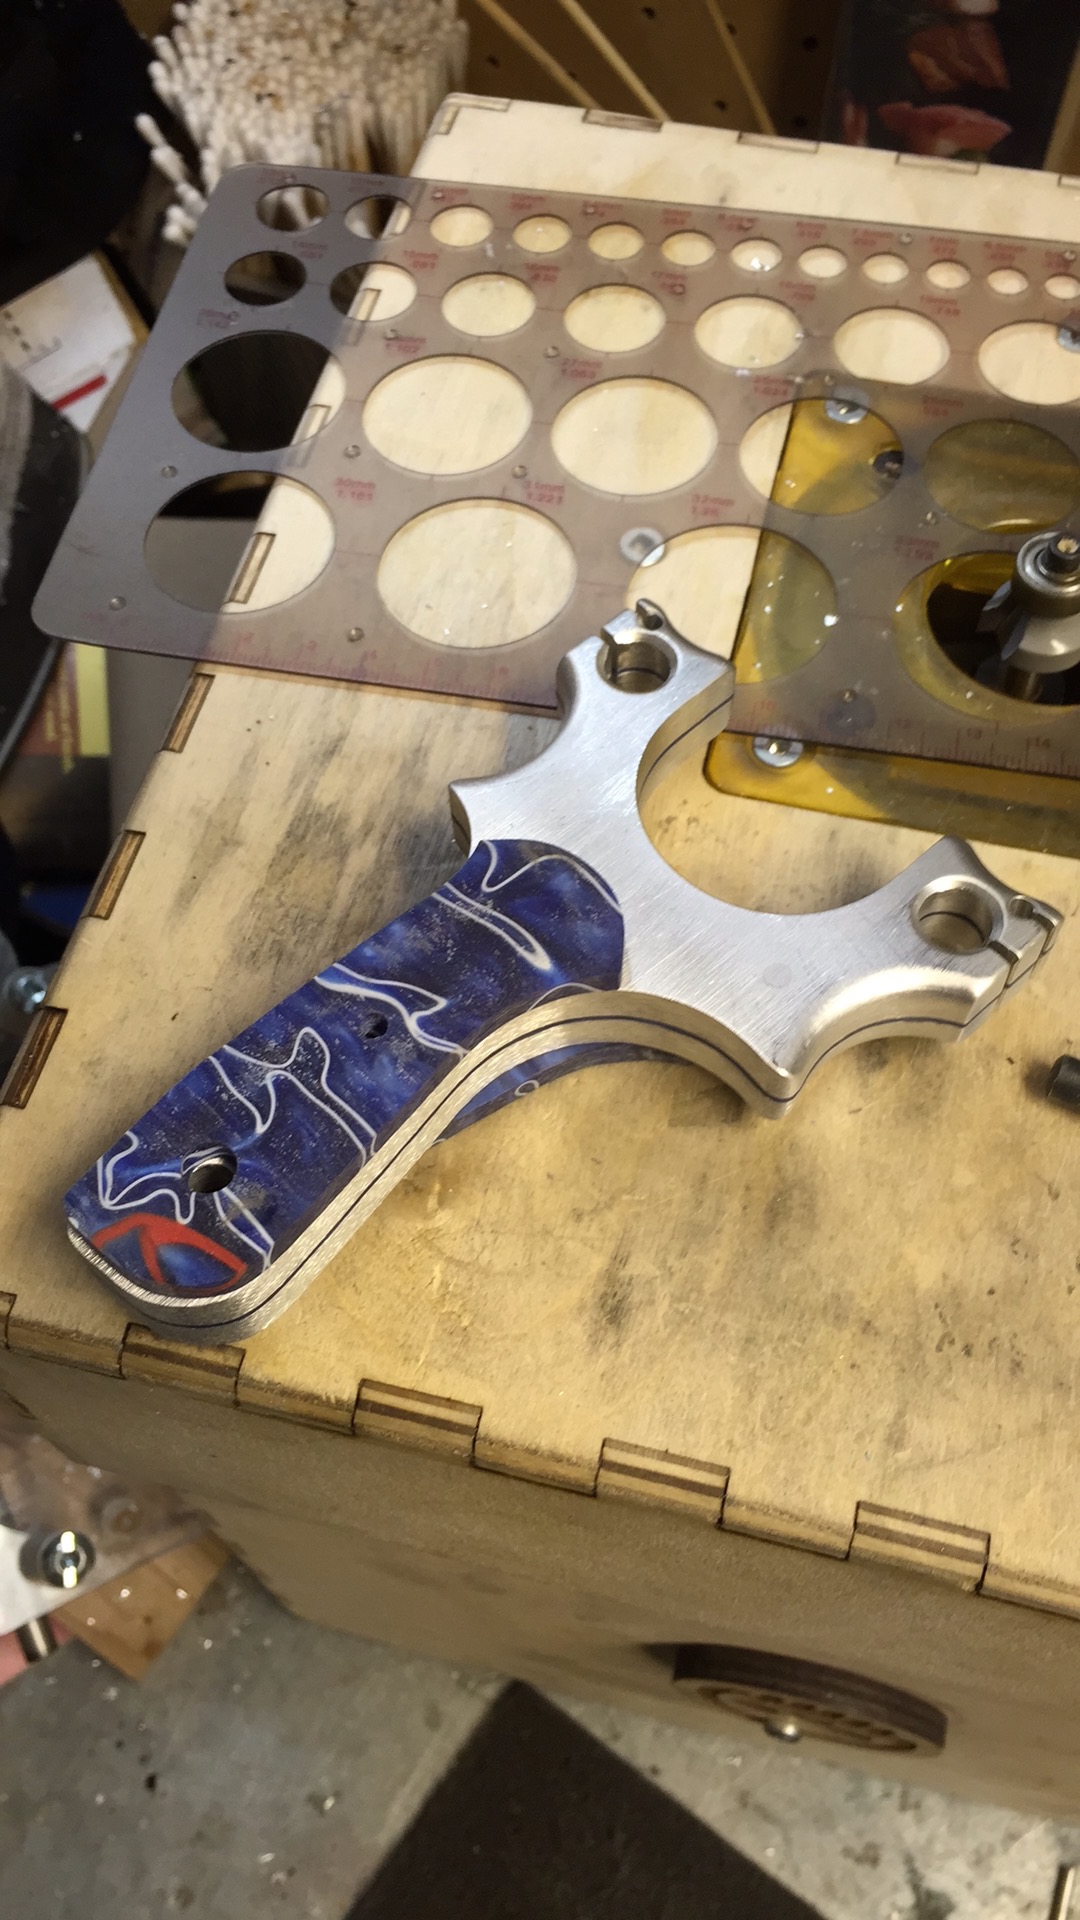
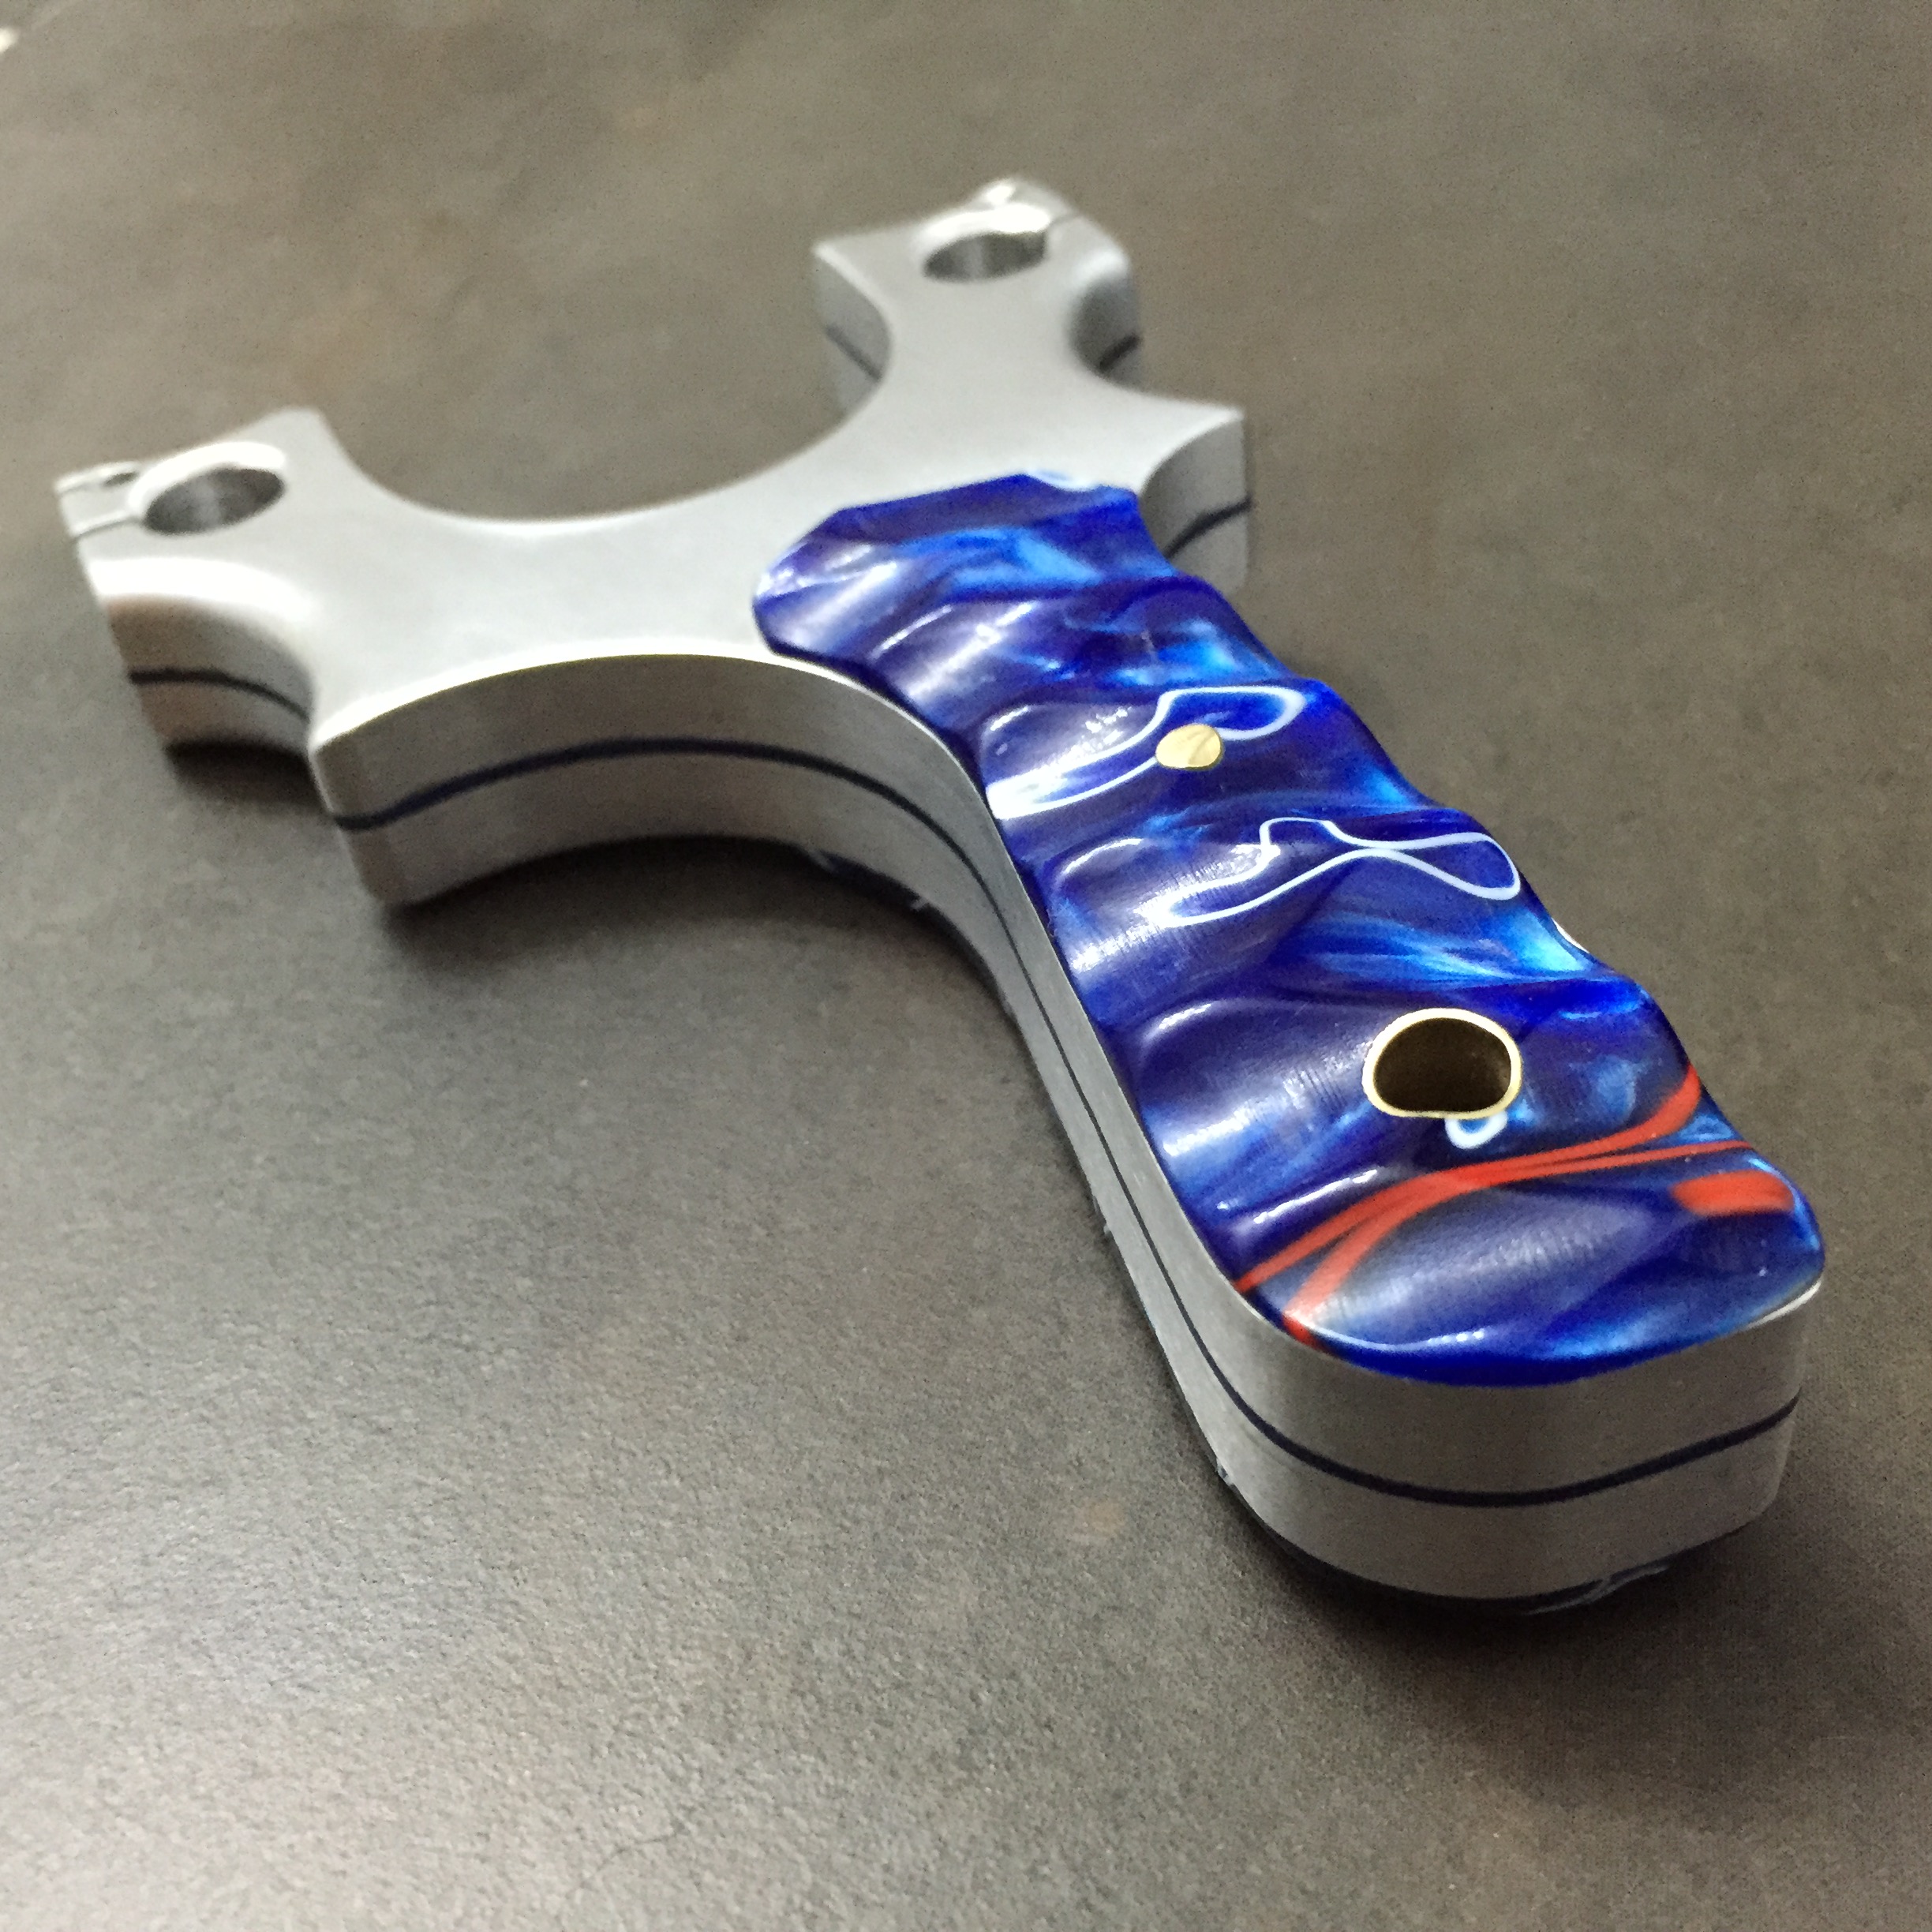
I started by gluing up two plain tipped Tyton frames with a blue spacer in the middle. I pinned the top two pin holes with aluminum and peened them into place before flush sanding the face.

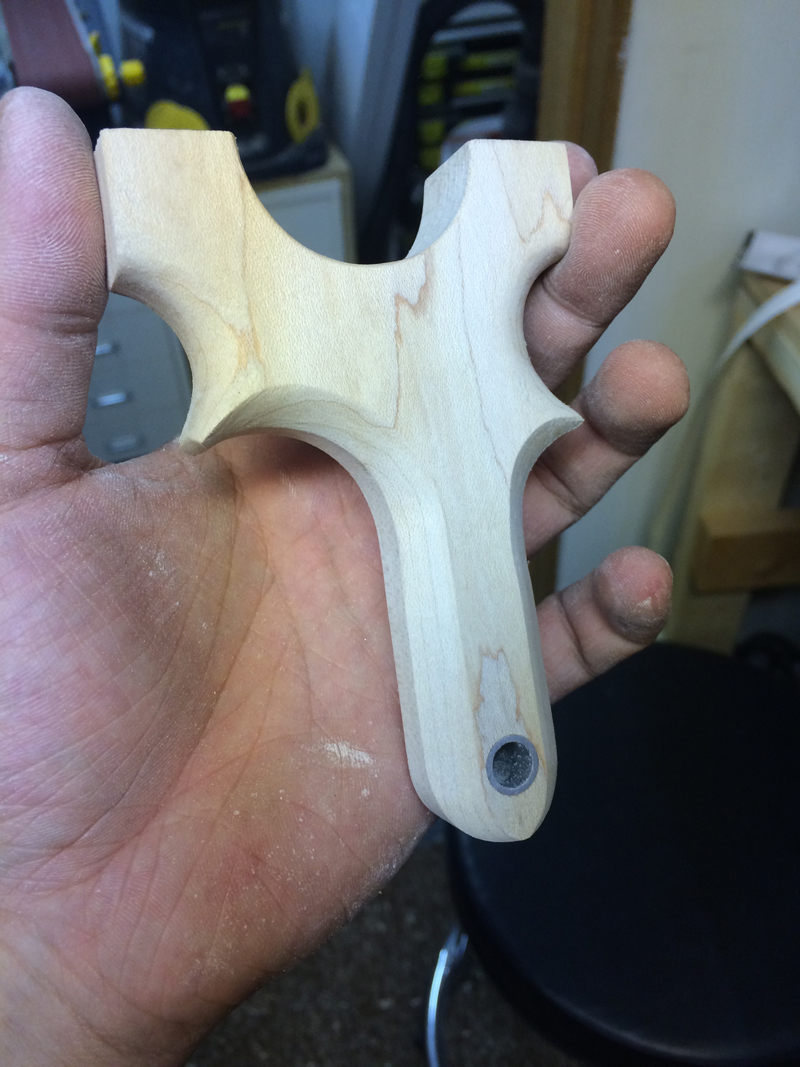
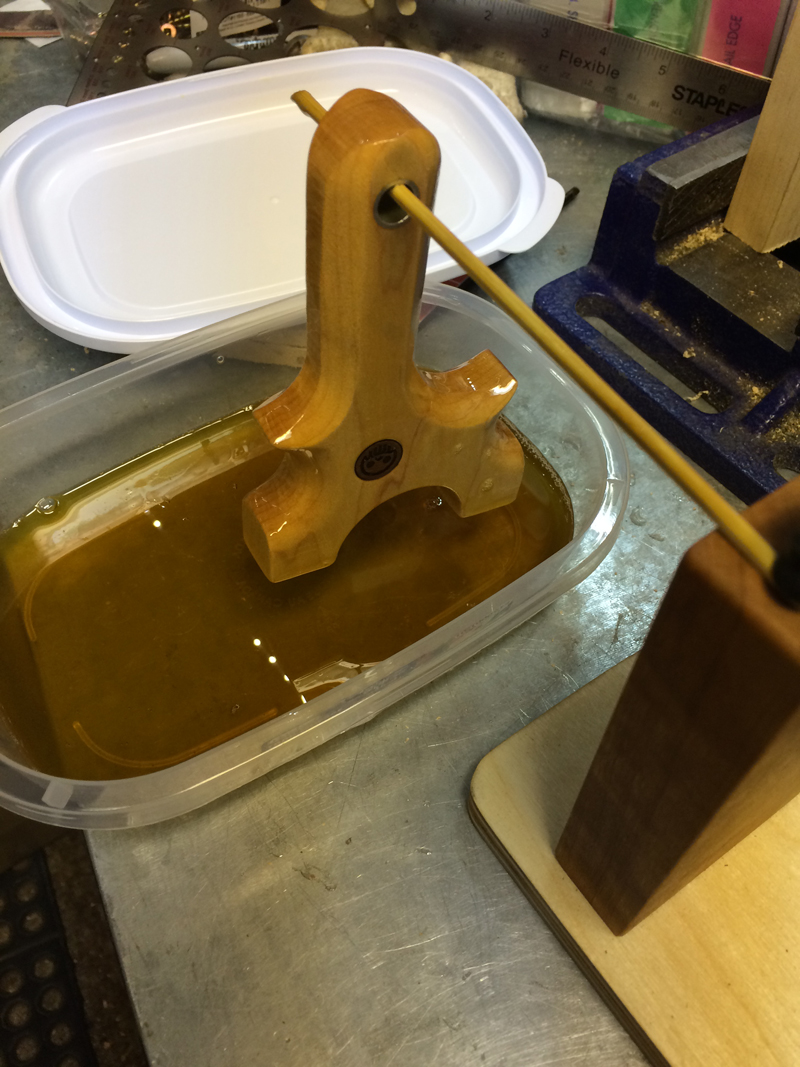
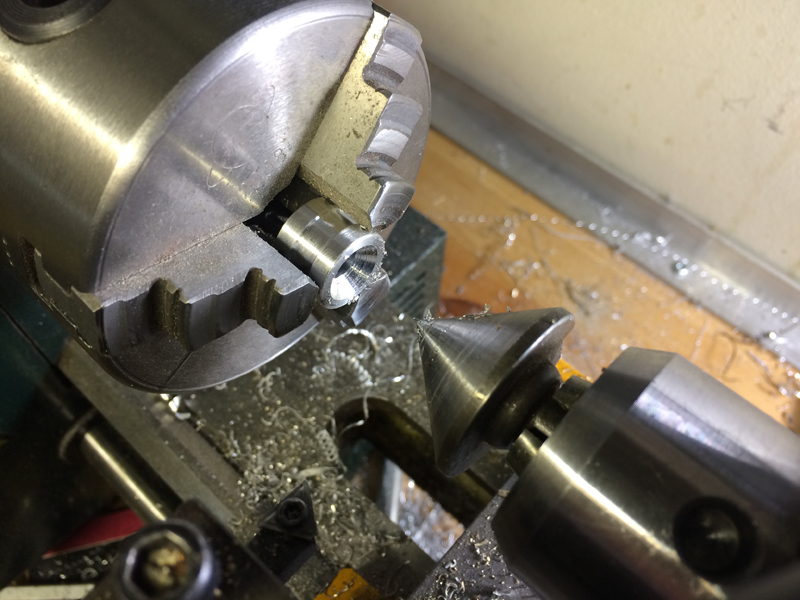
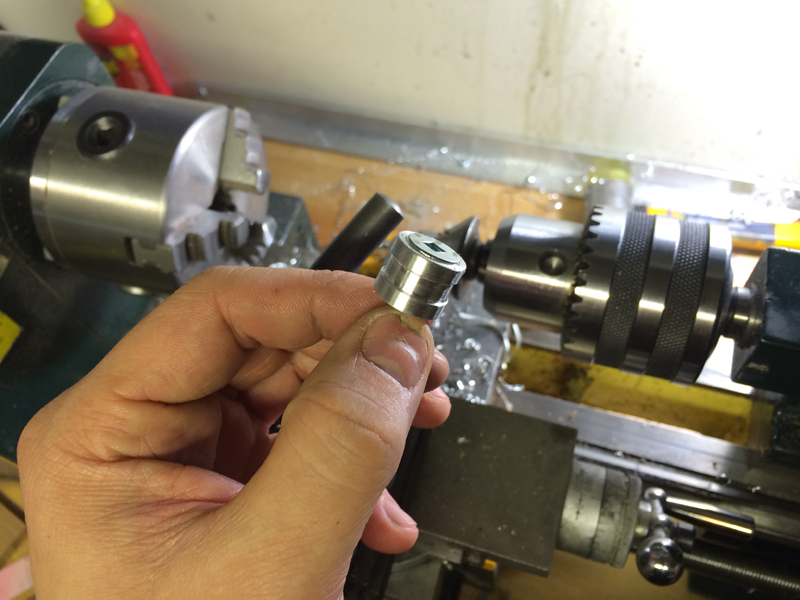
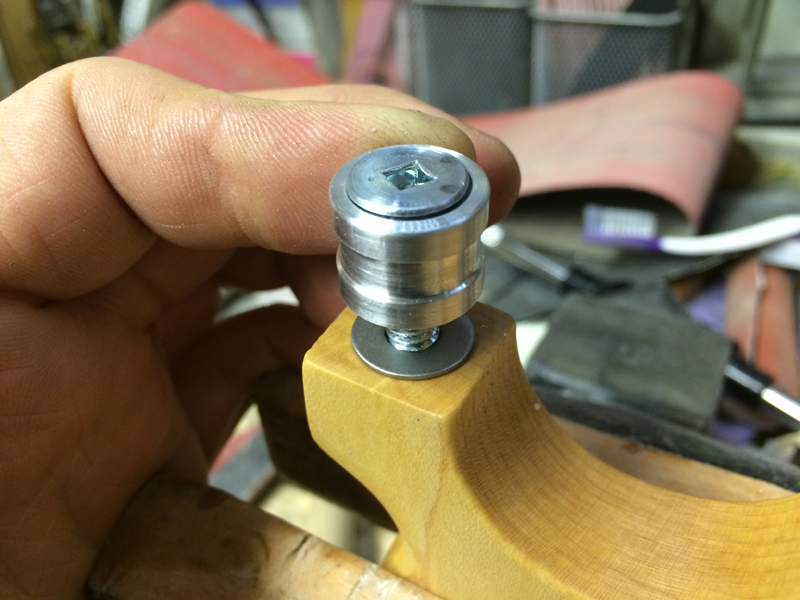
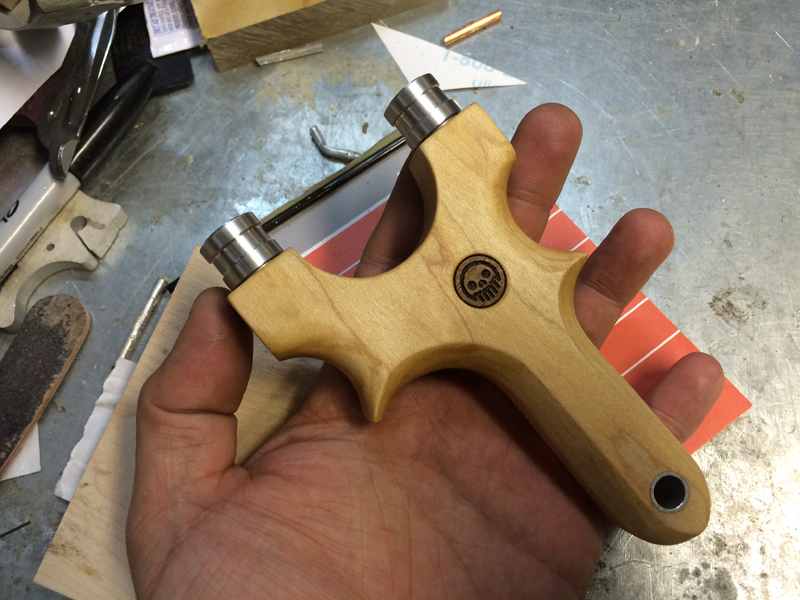
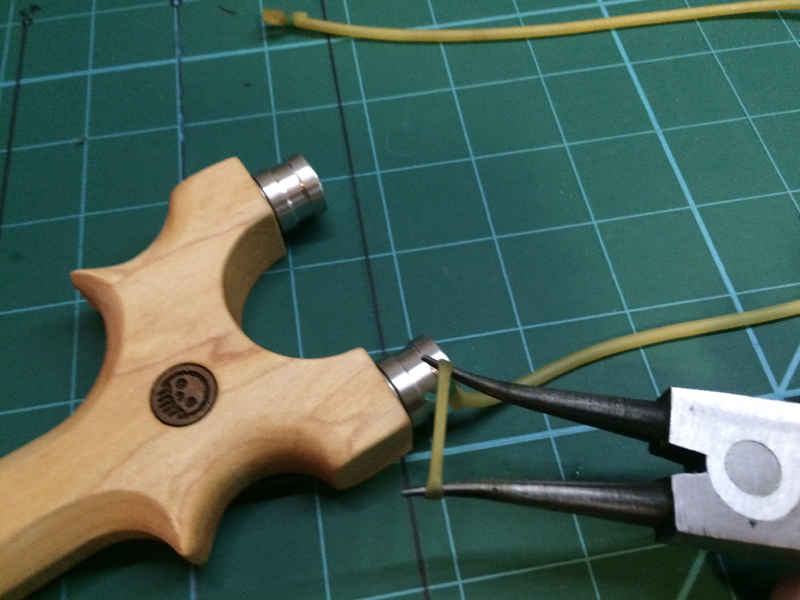
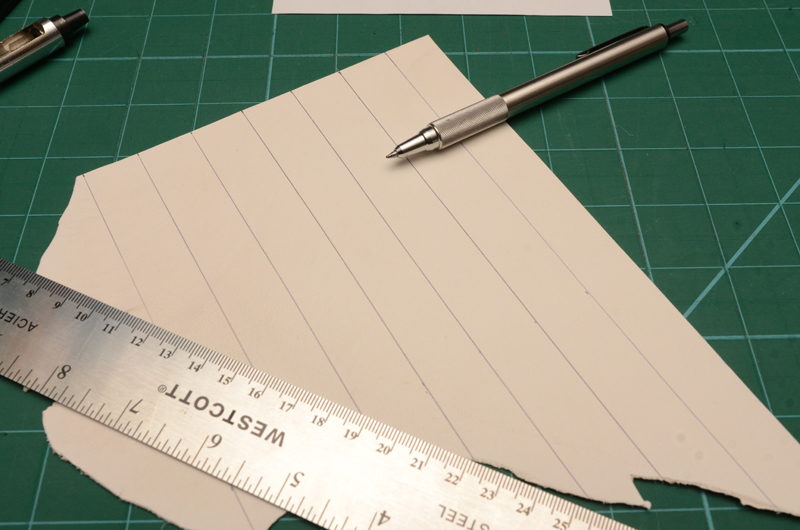
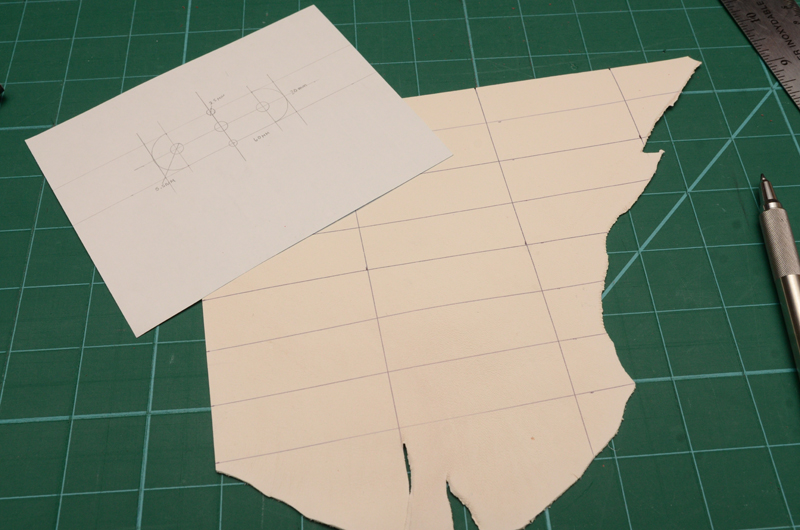
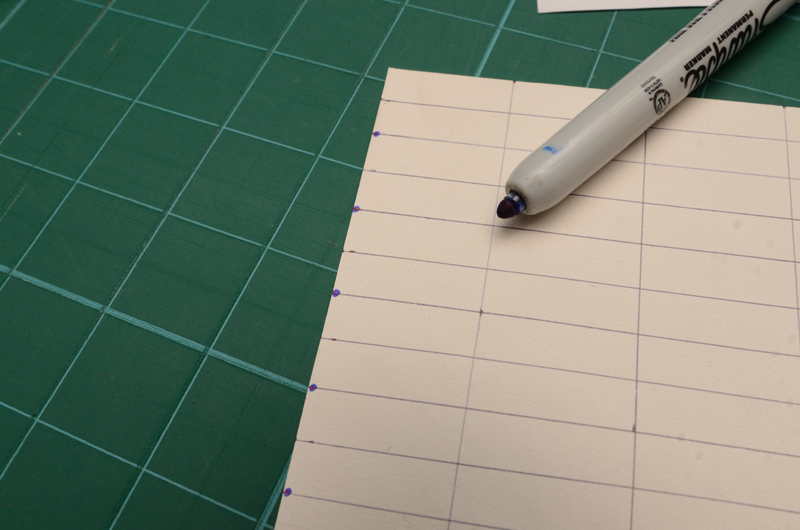
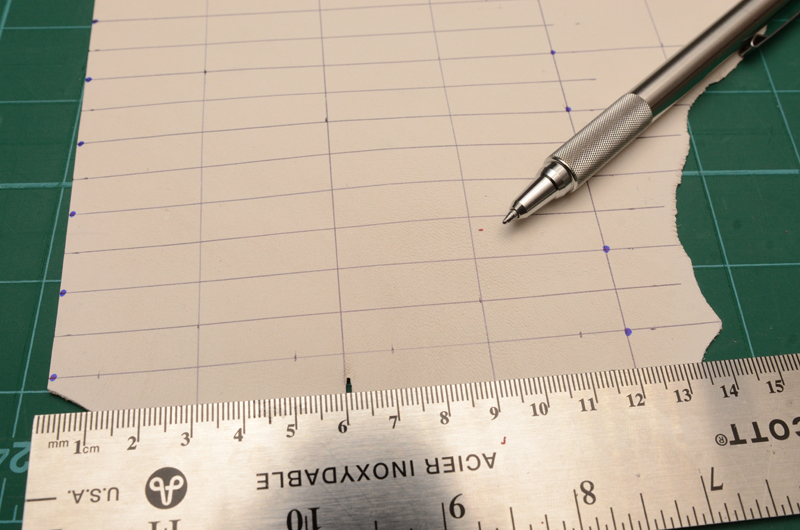
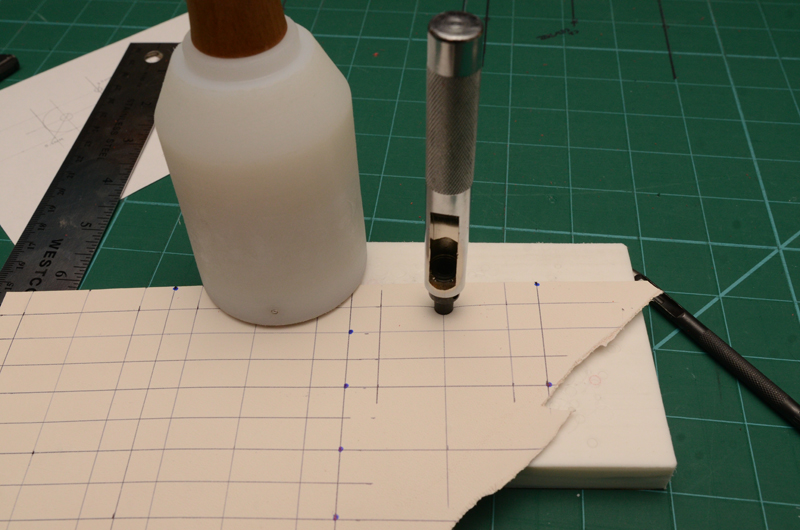
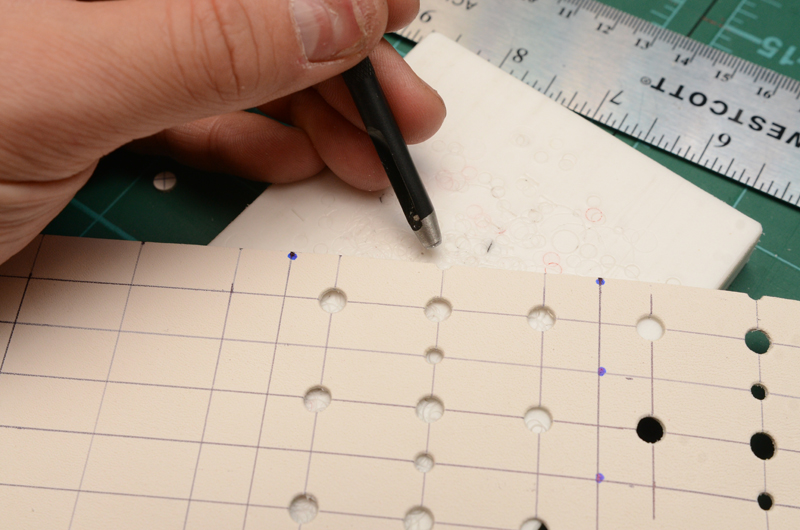
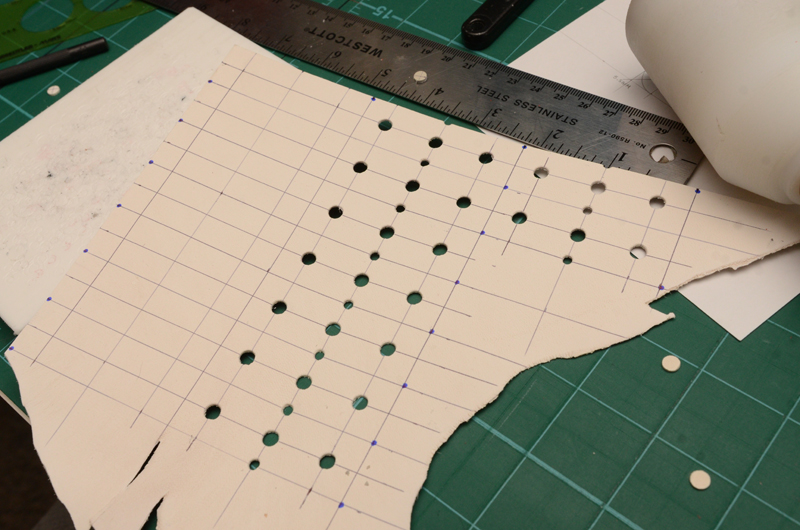
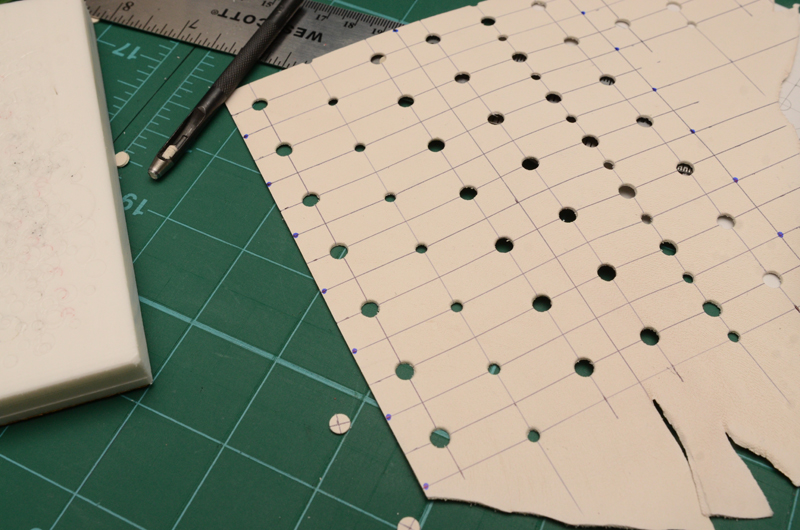
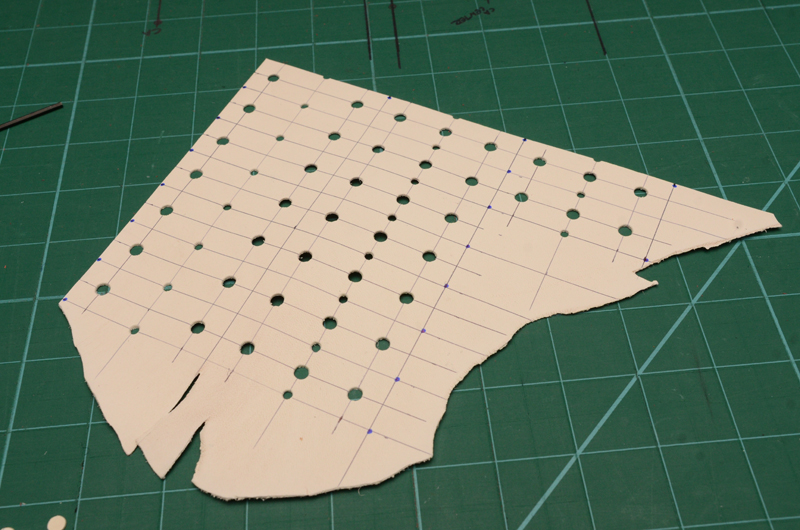
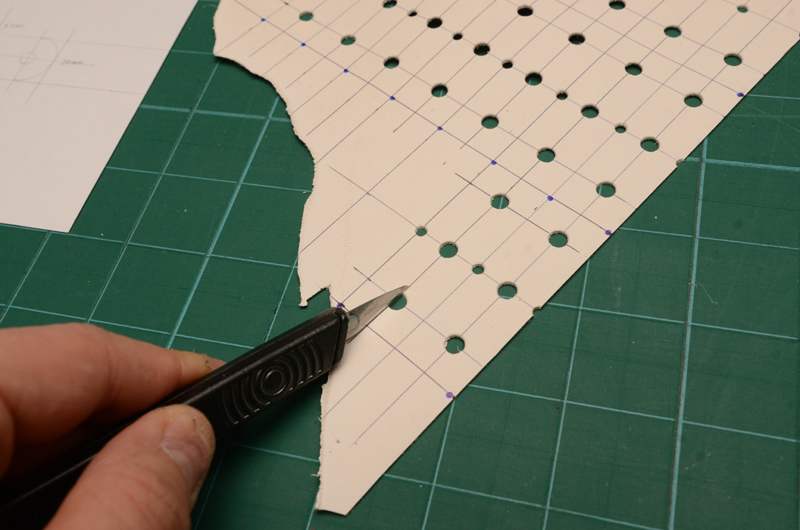
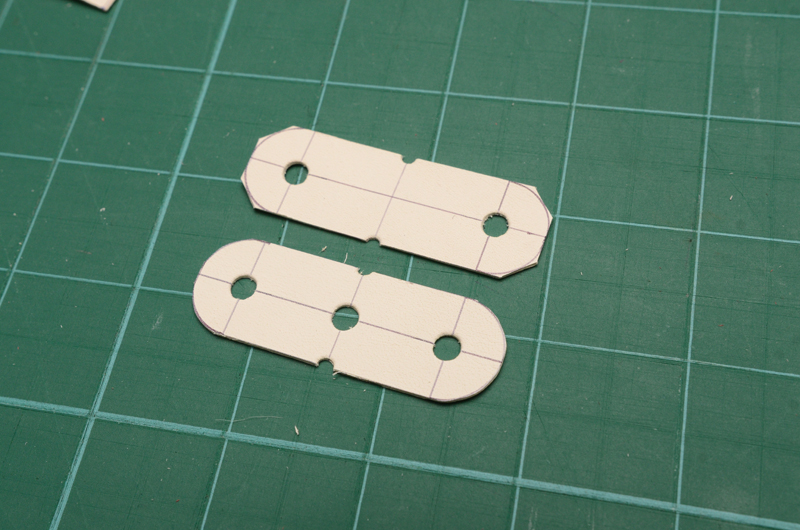
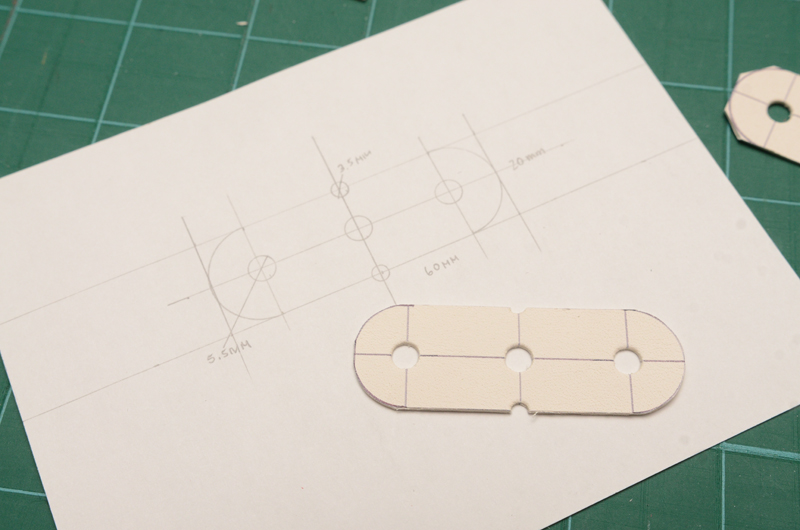
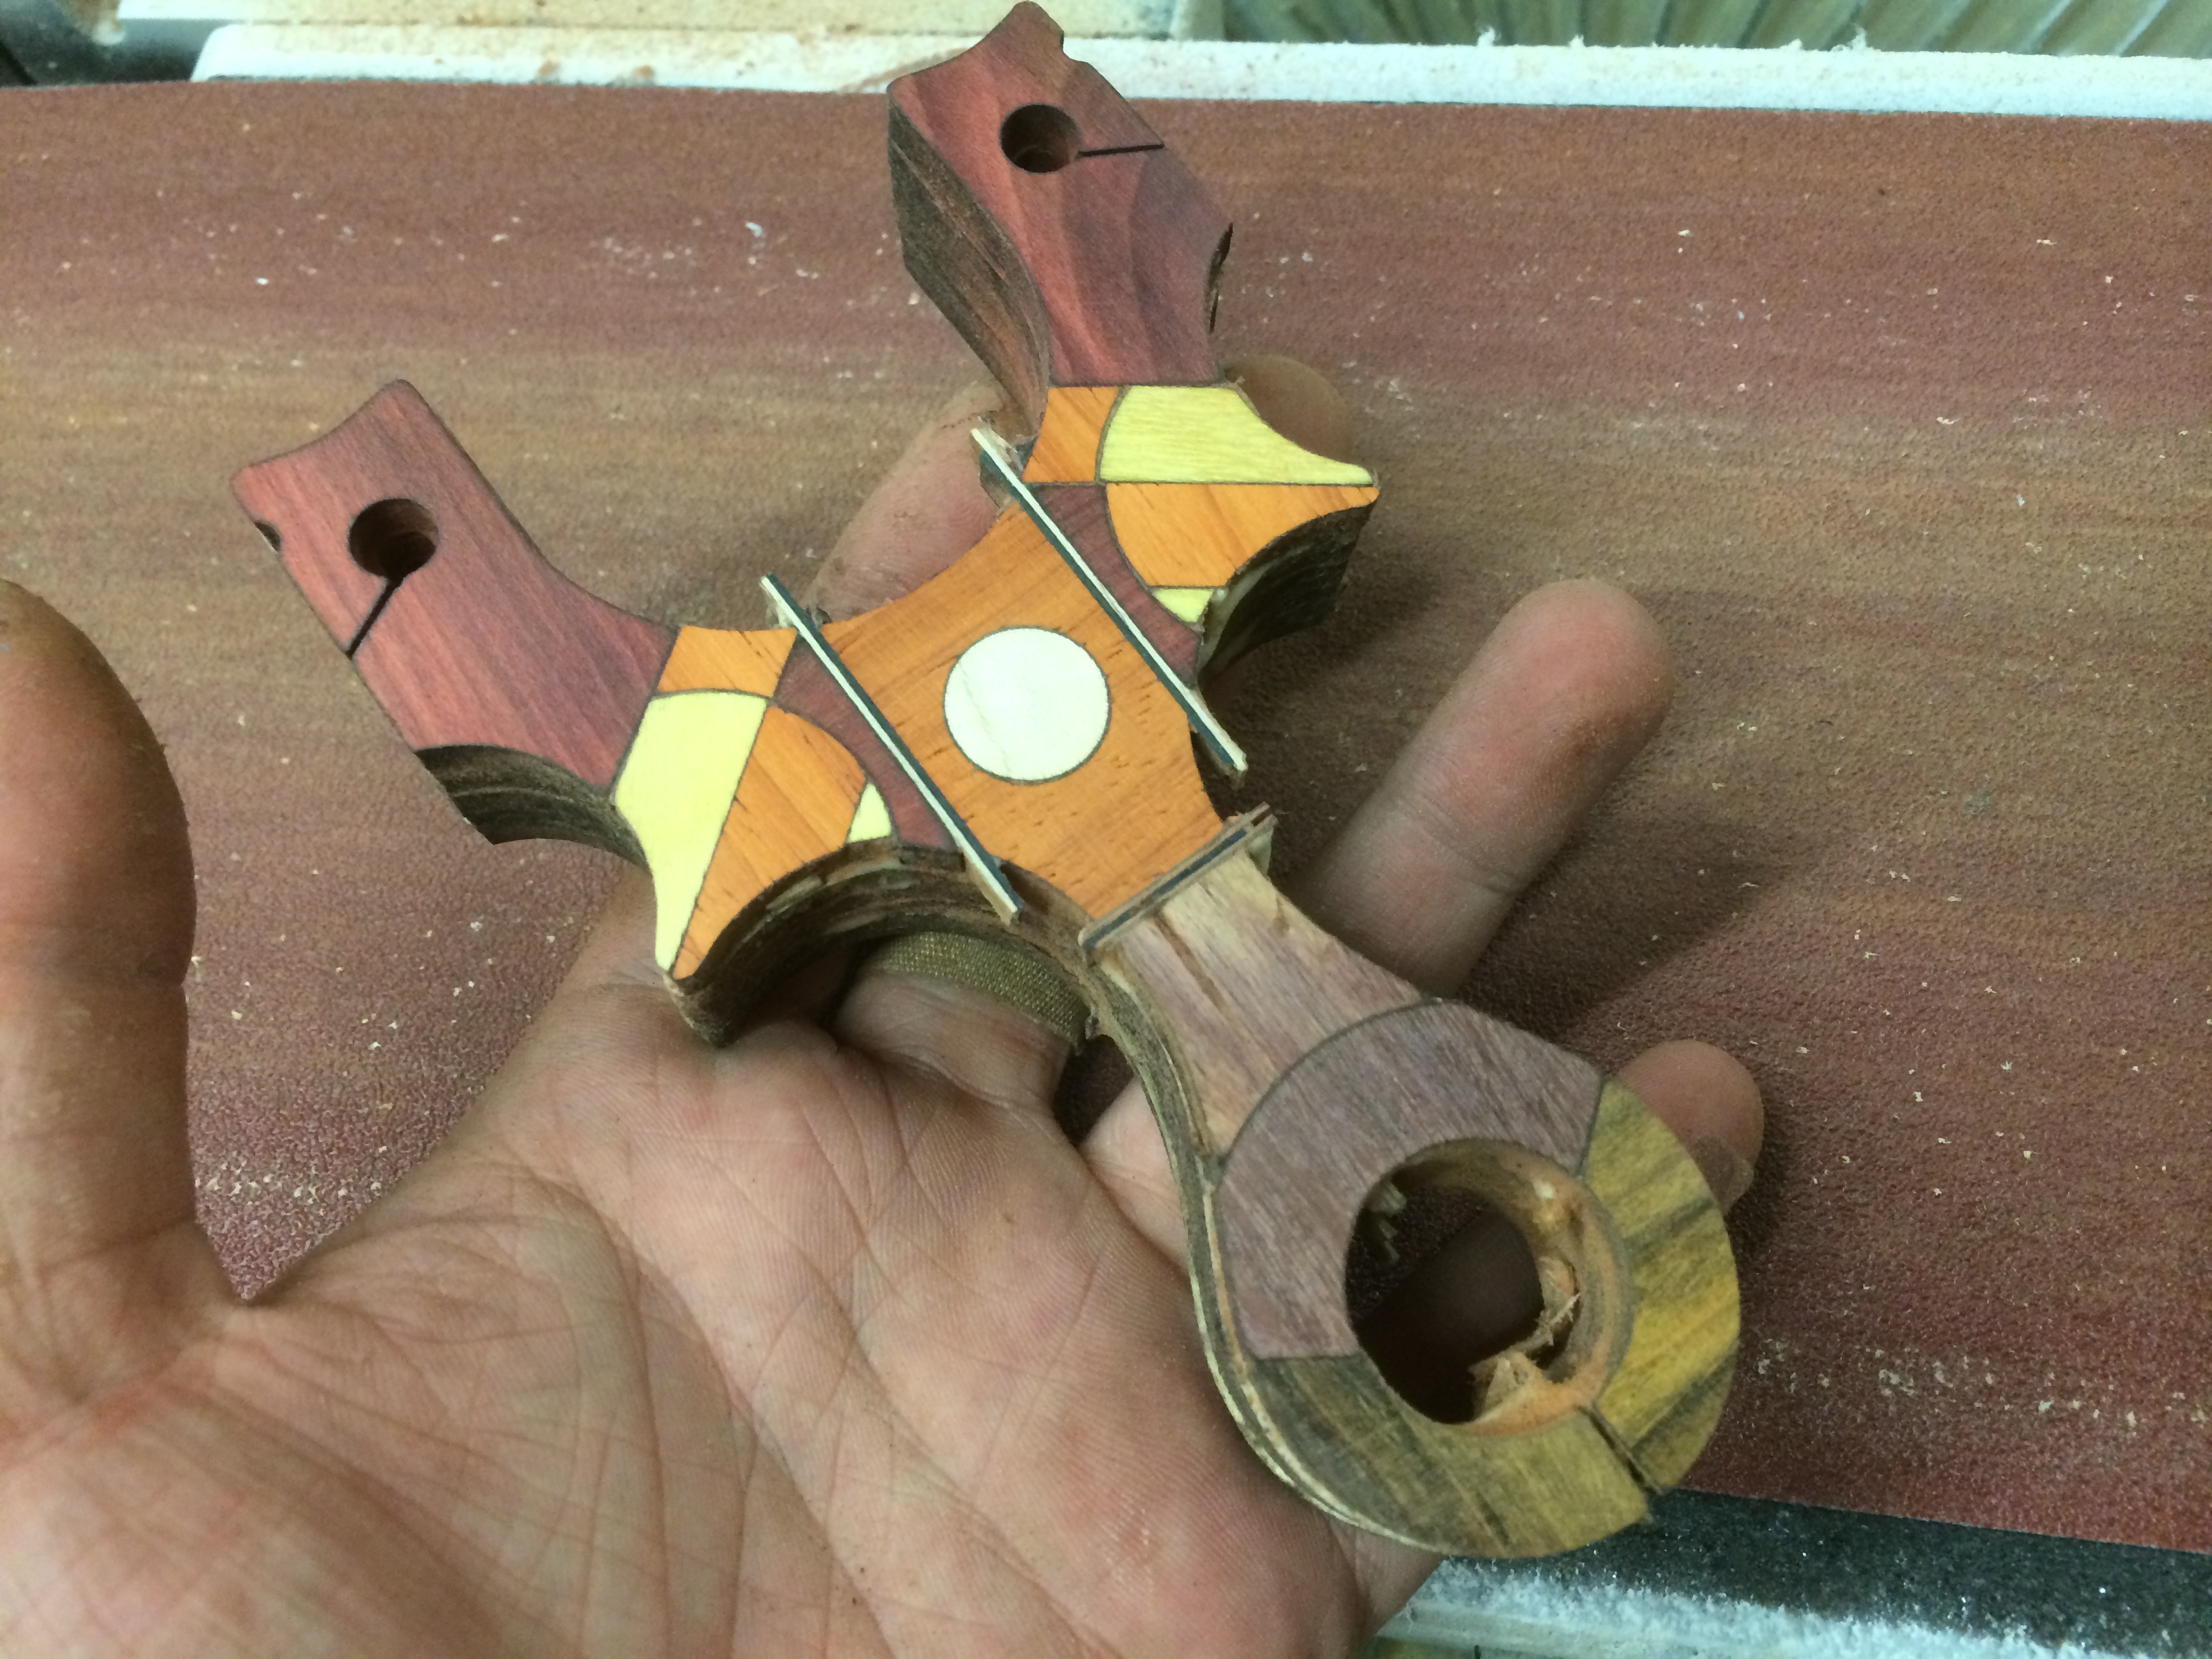
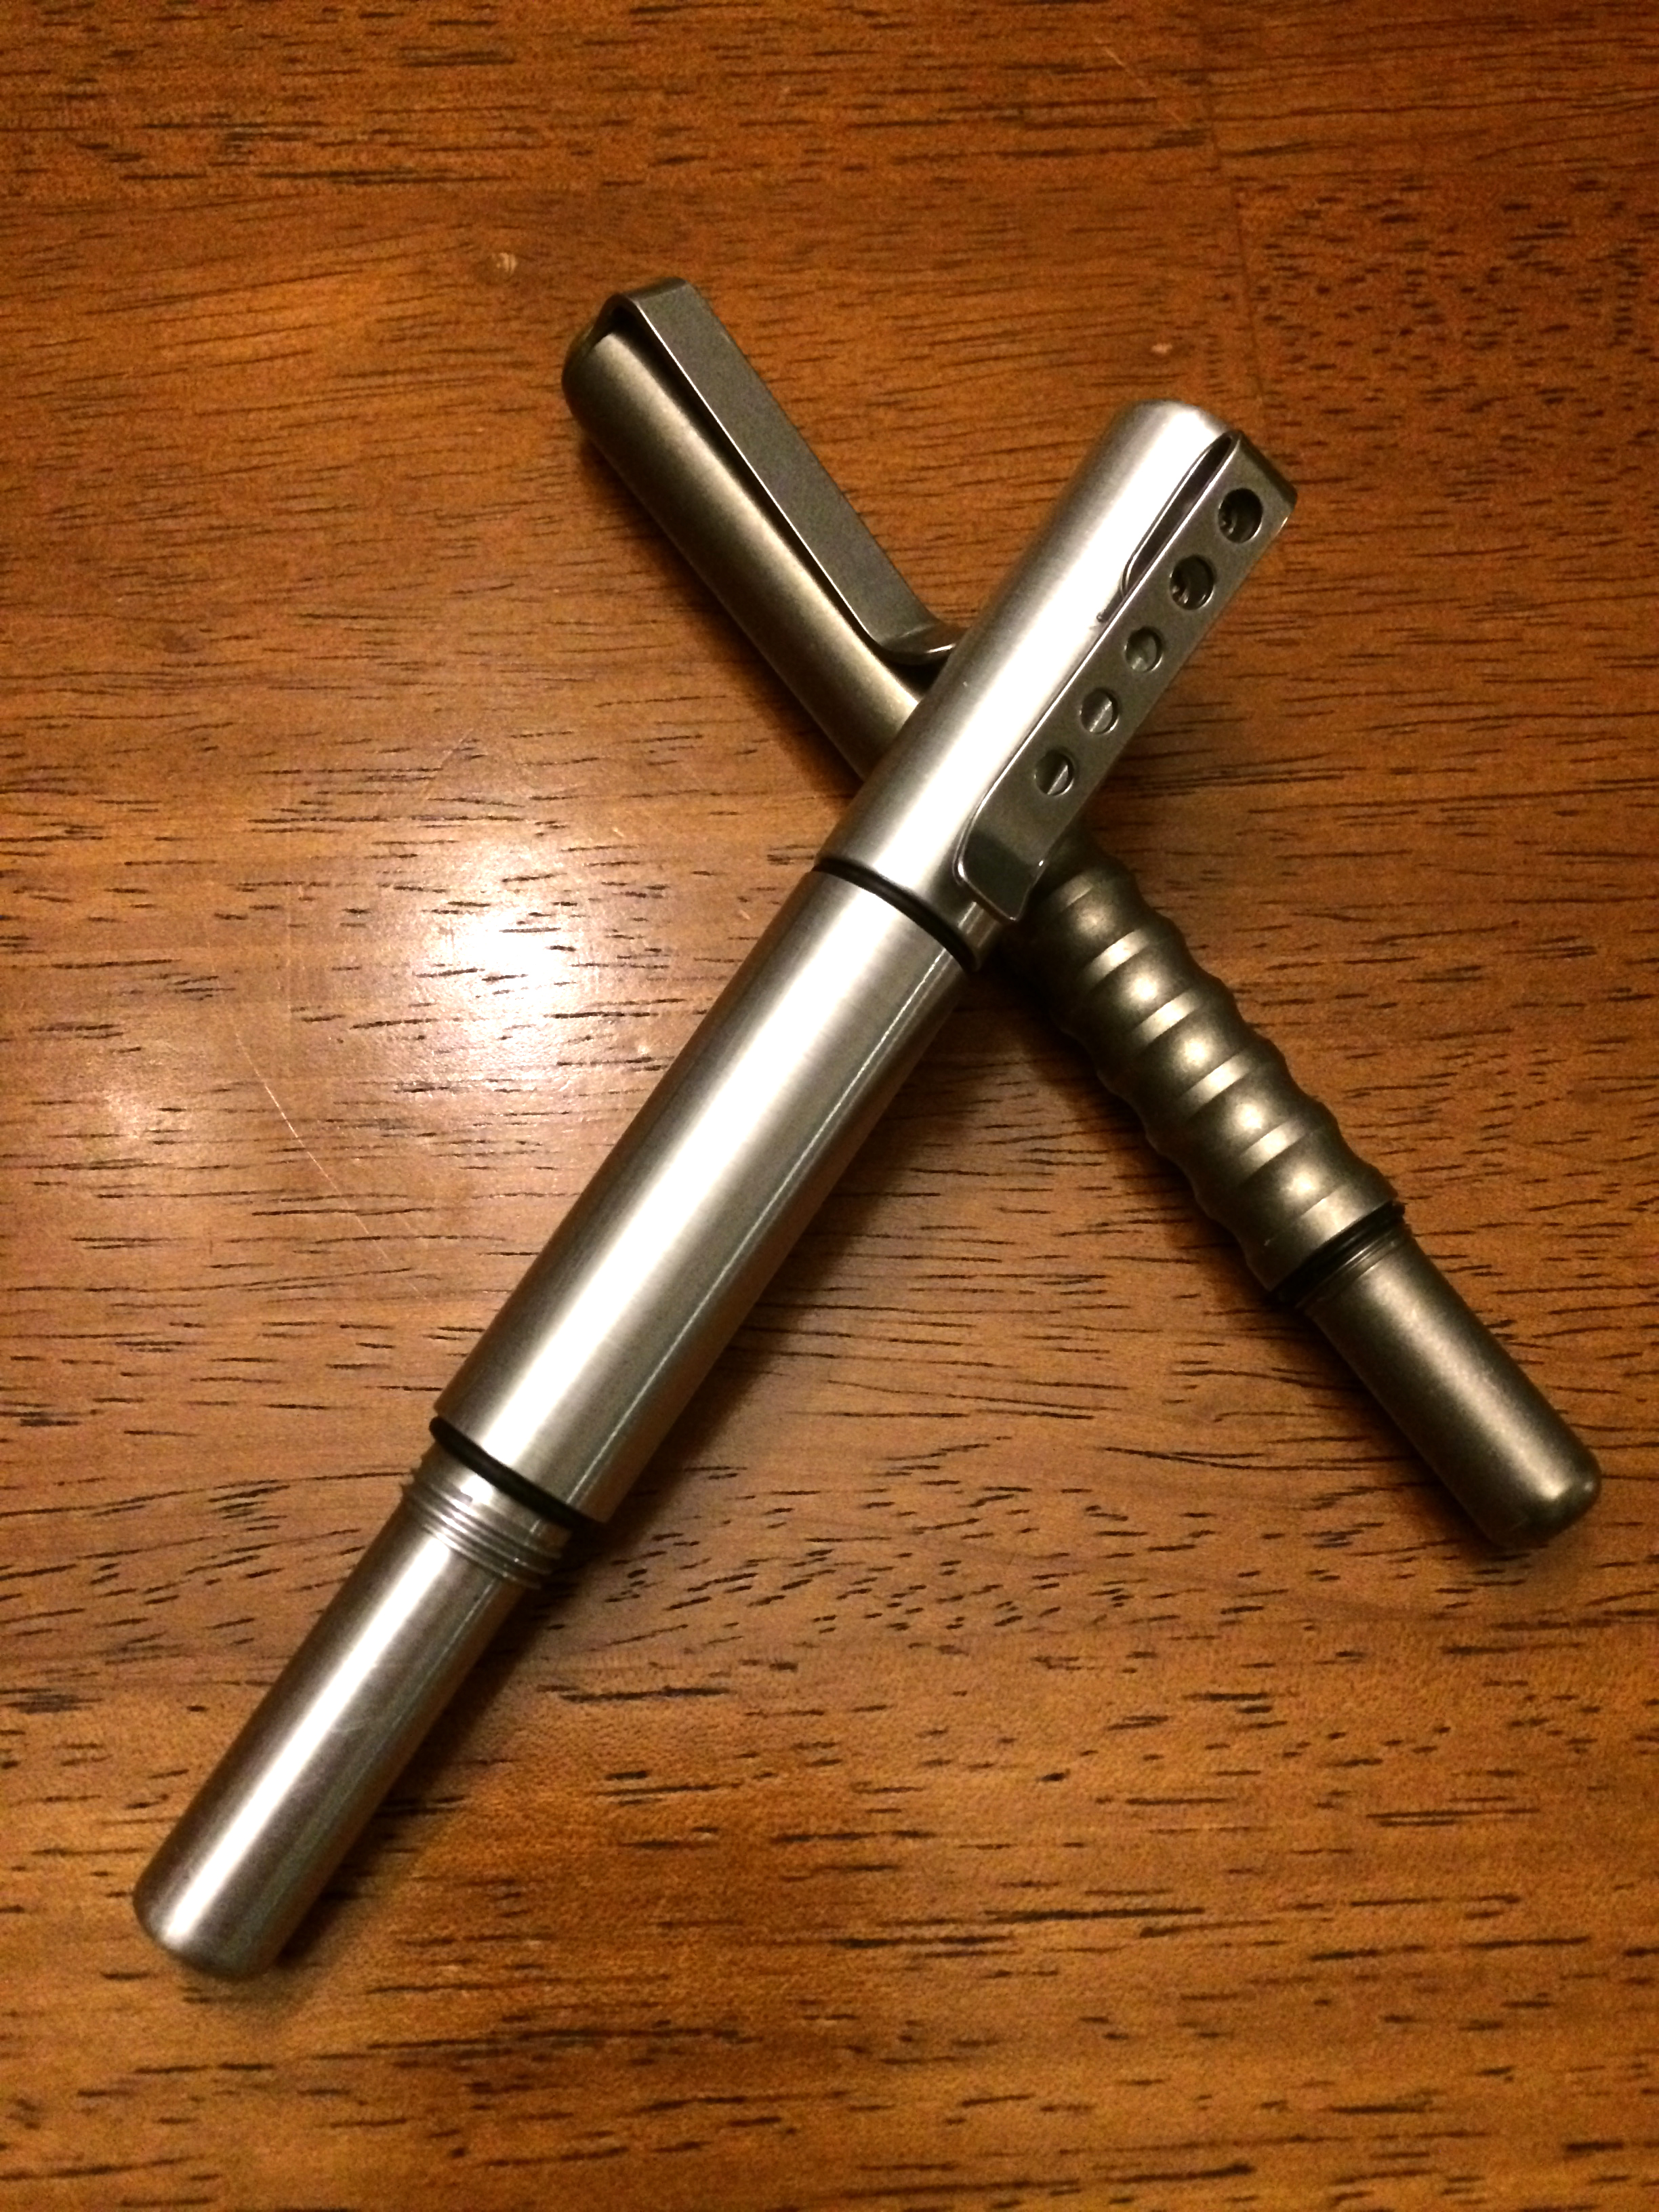
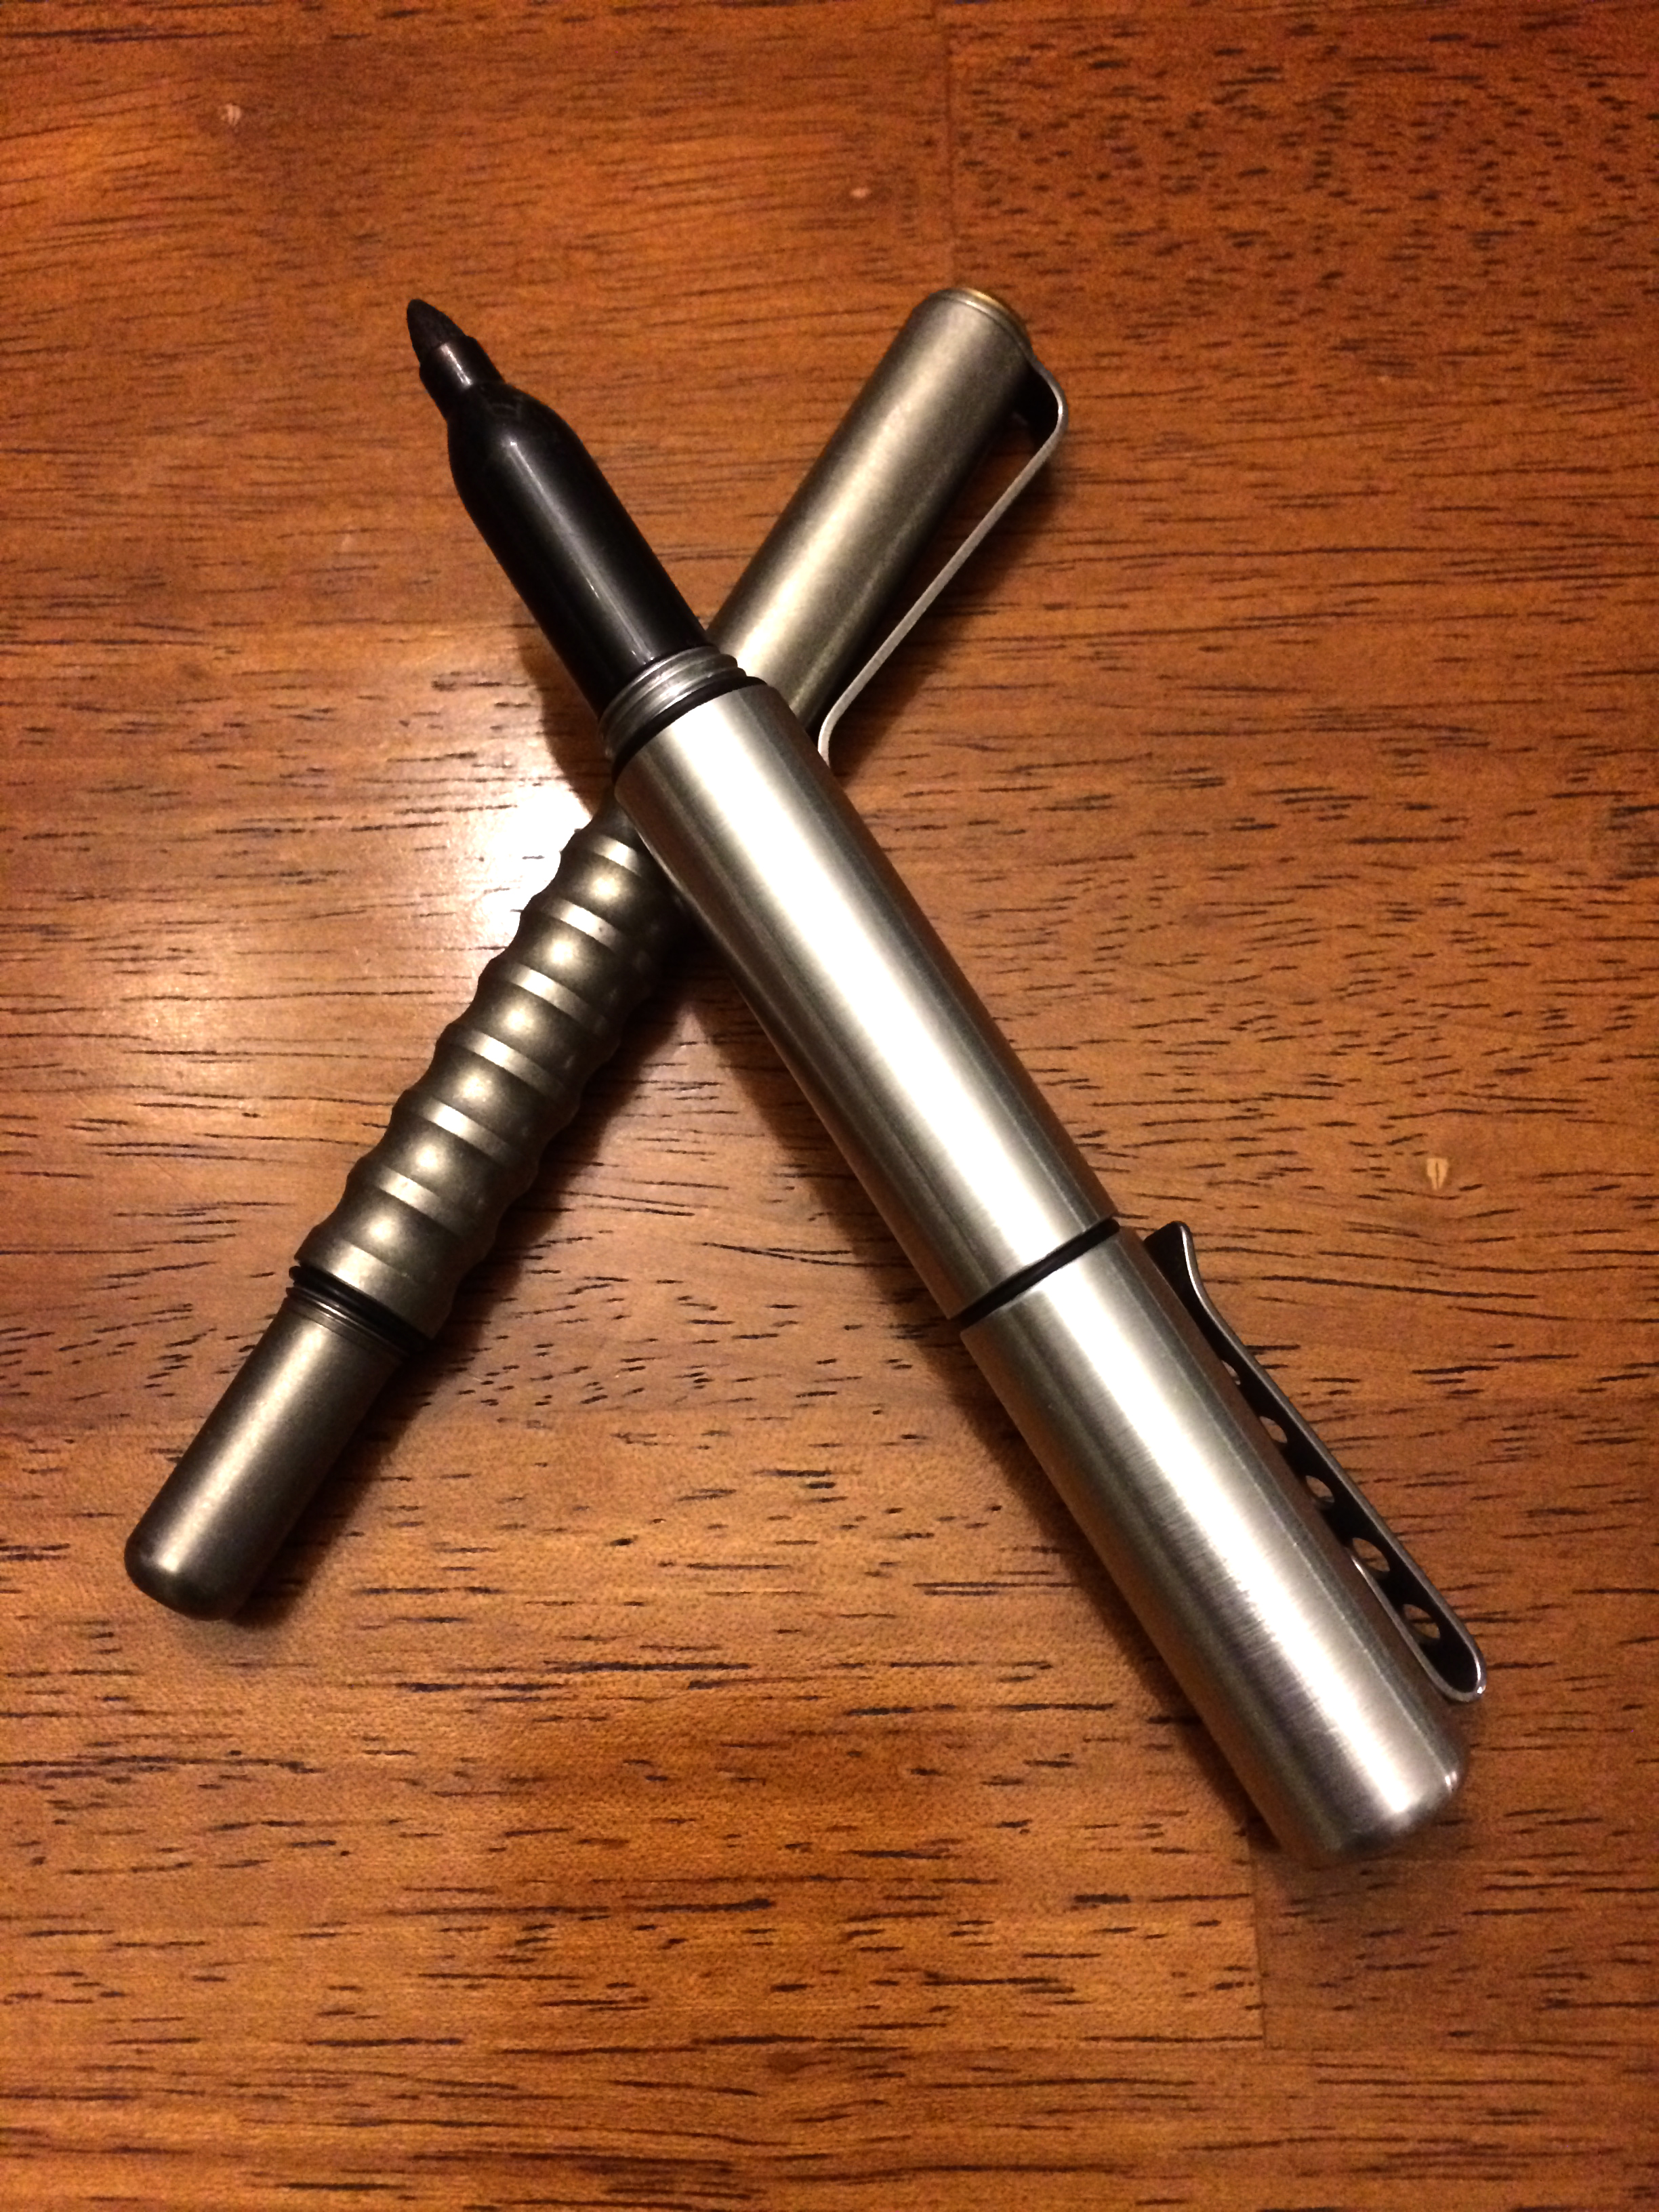
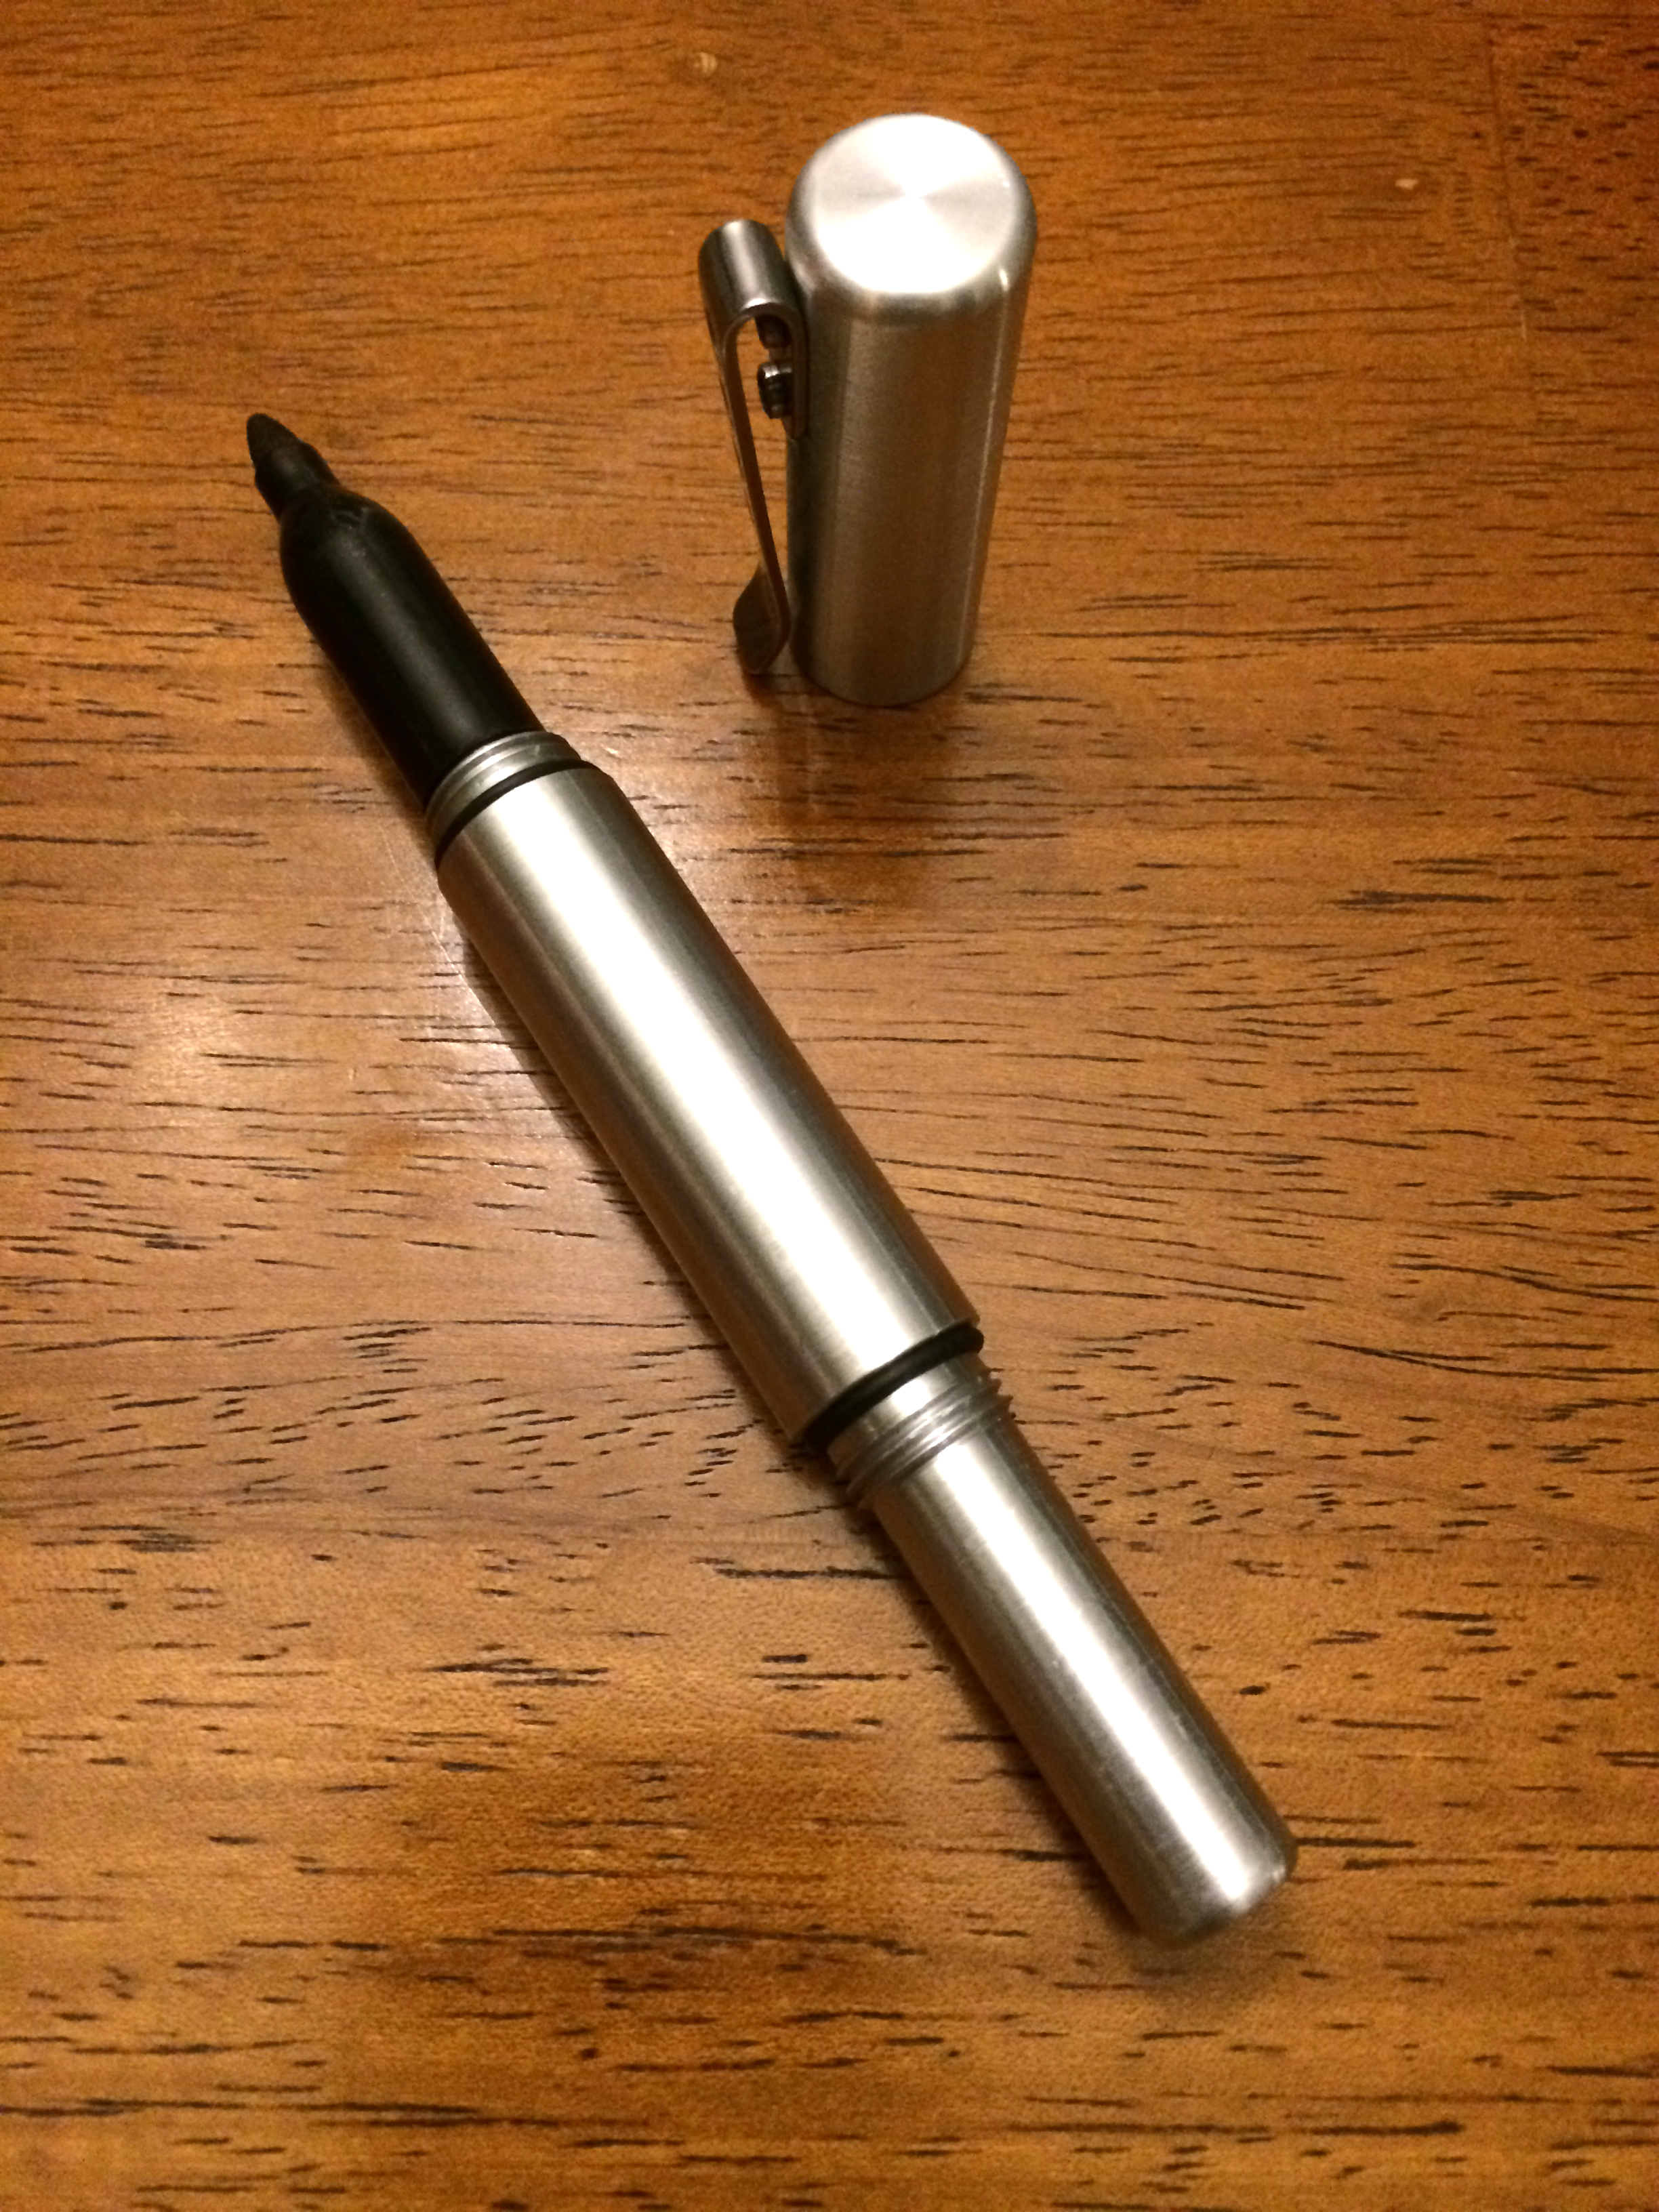
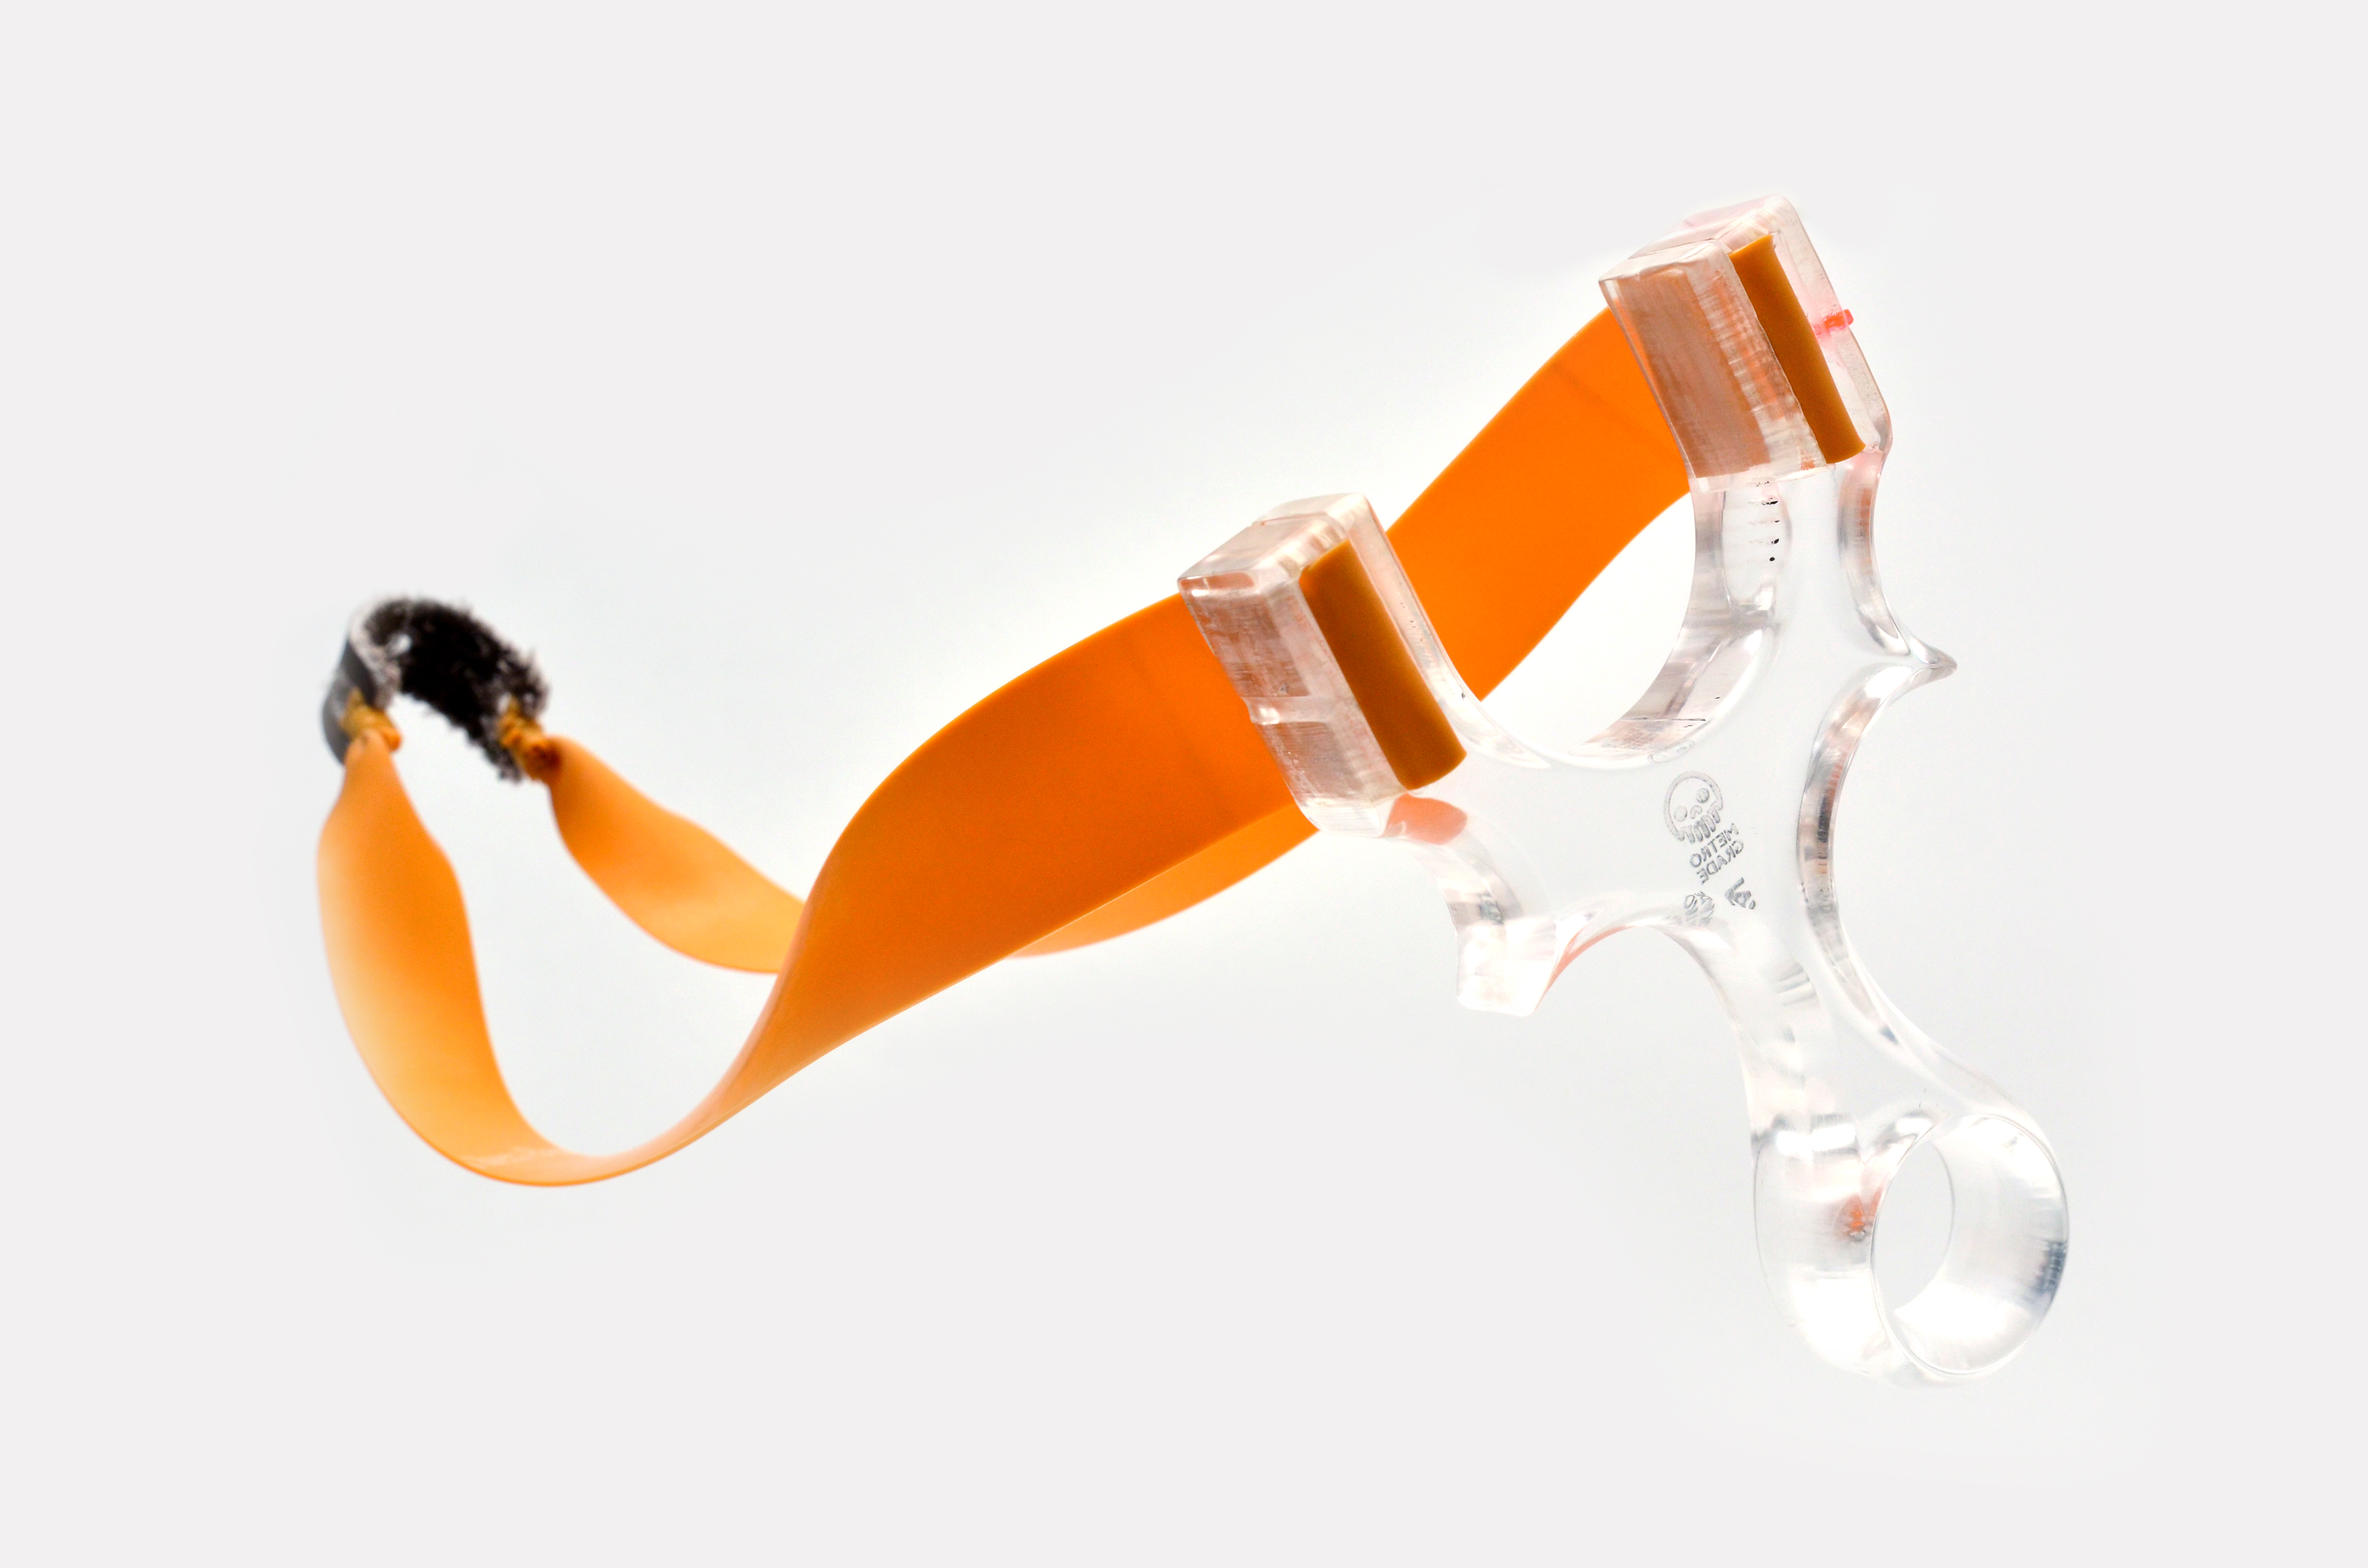
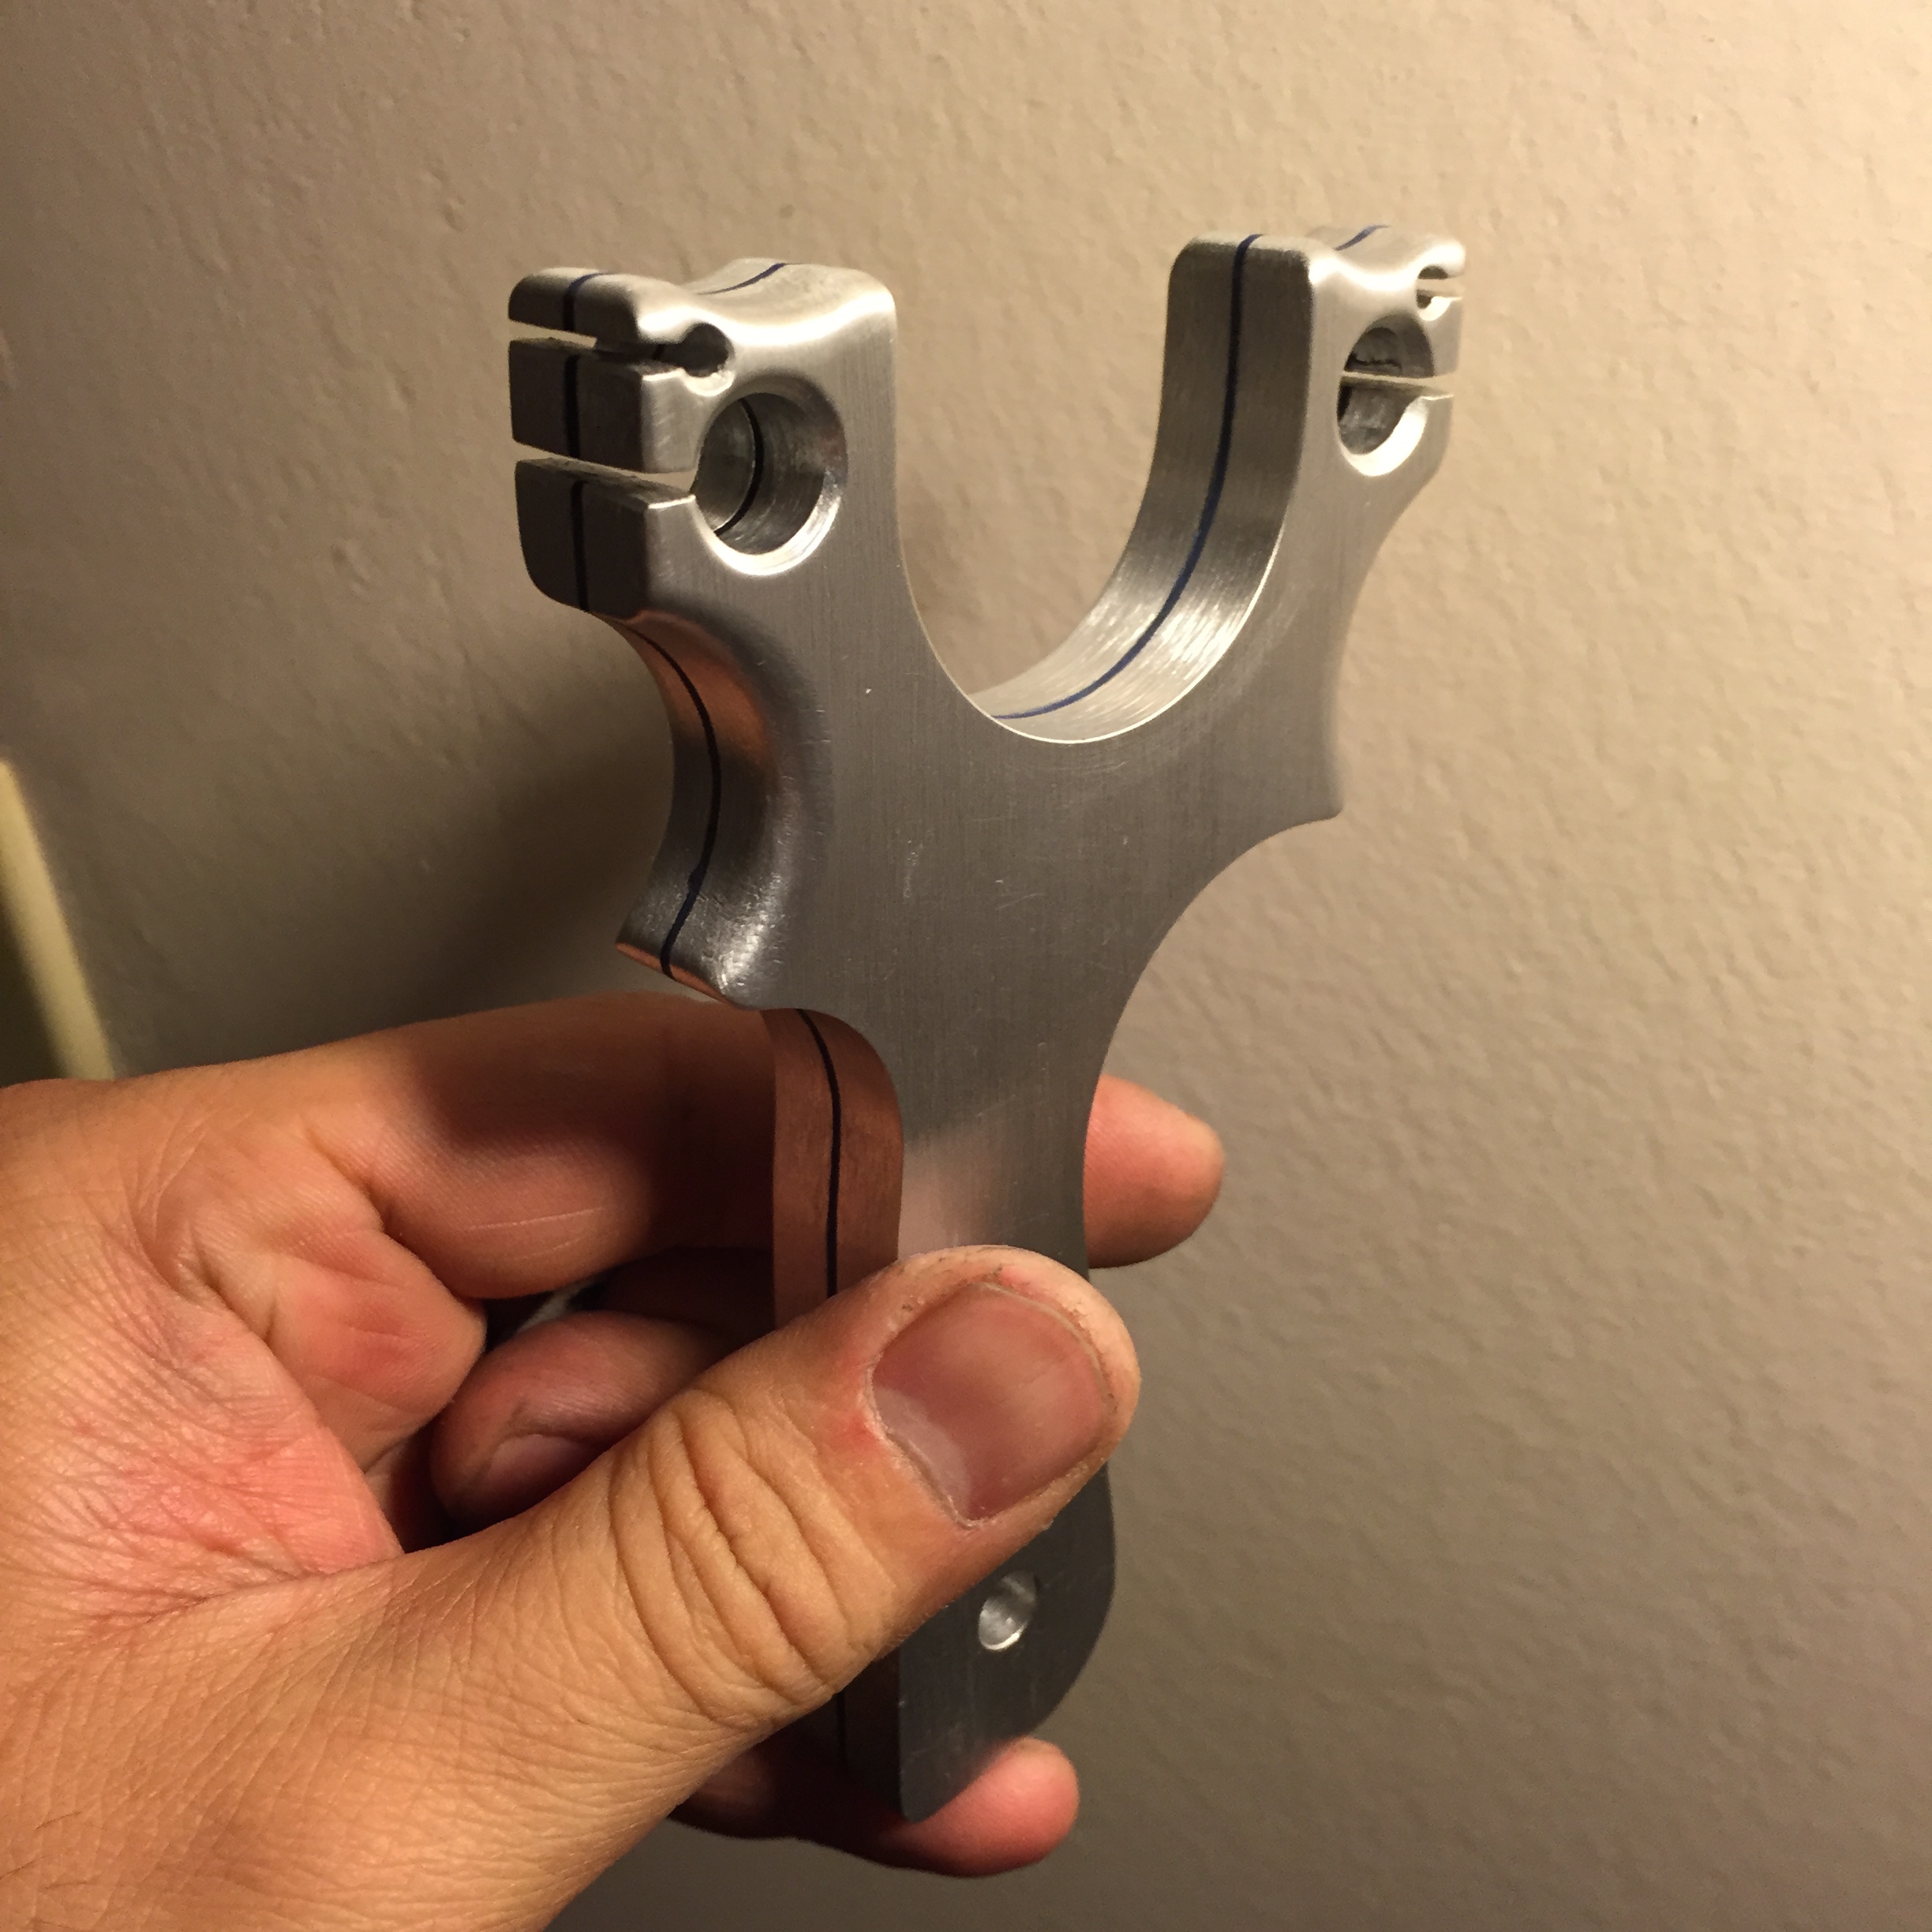
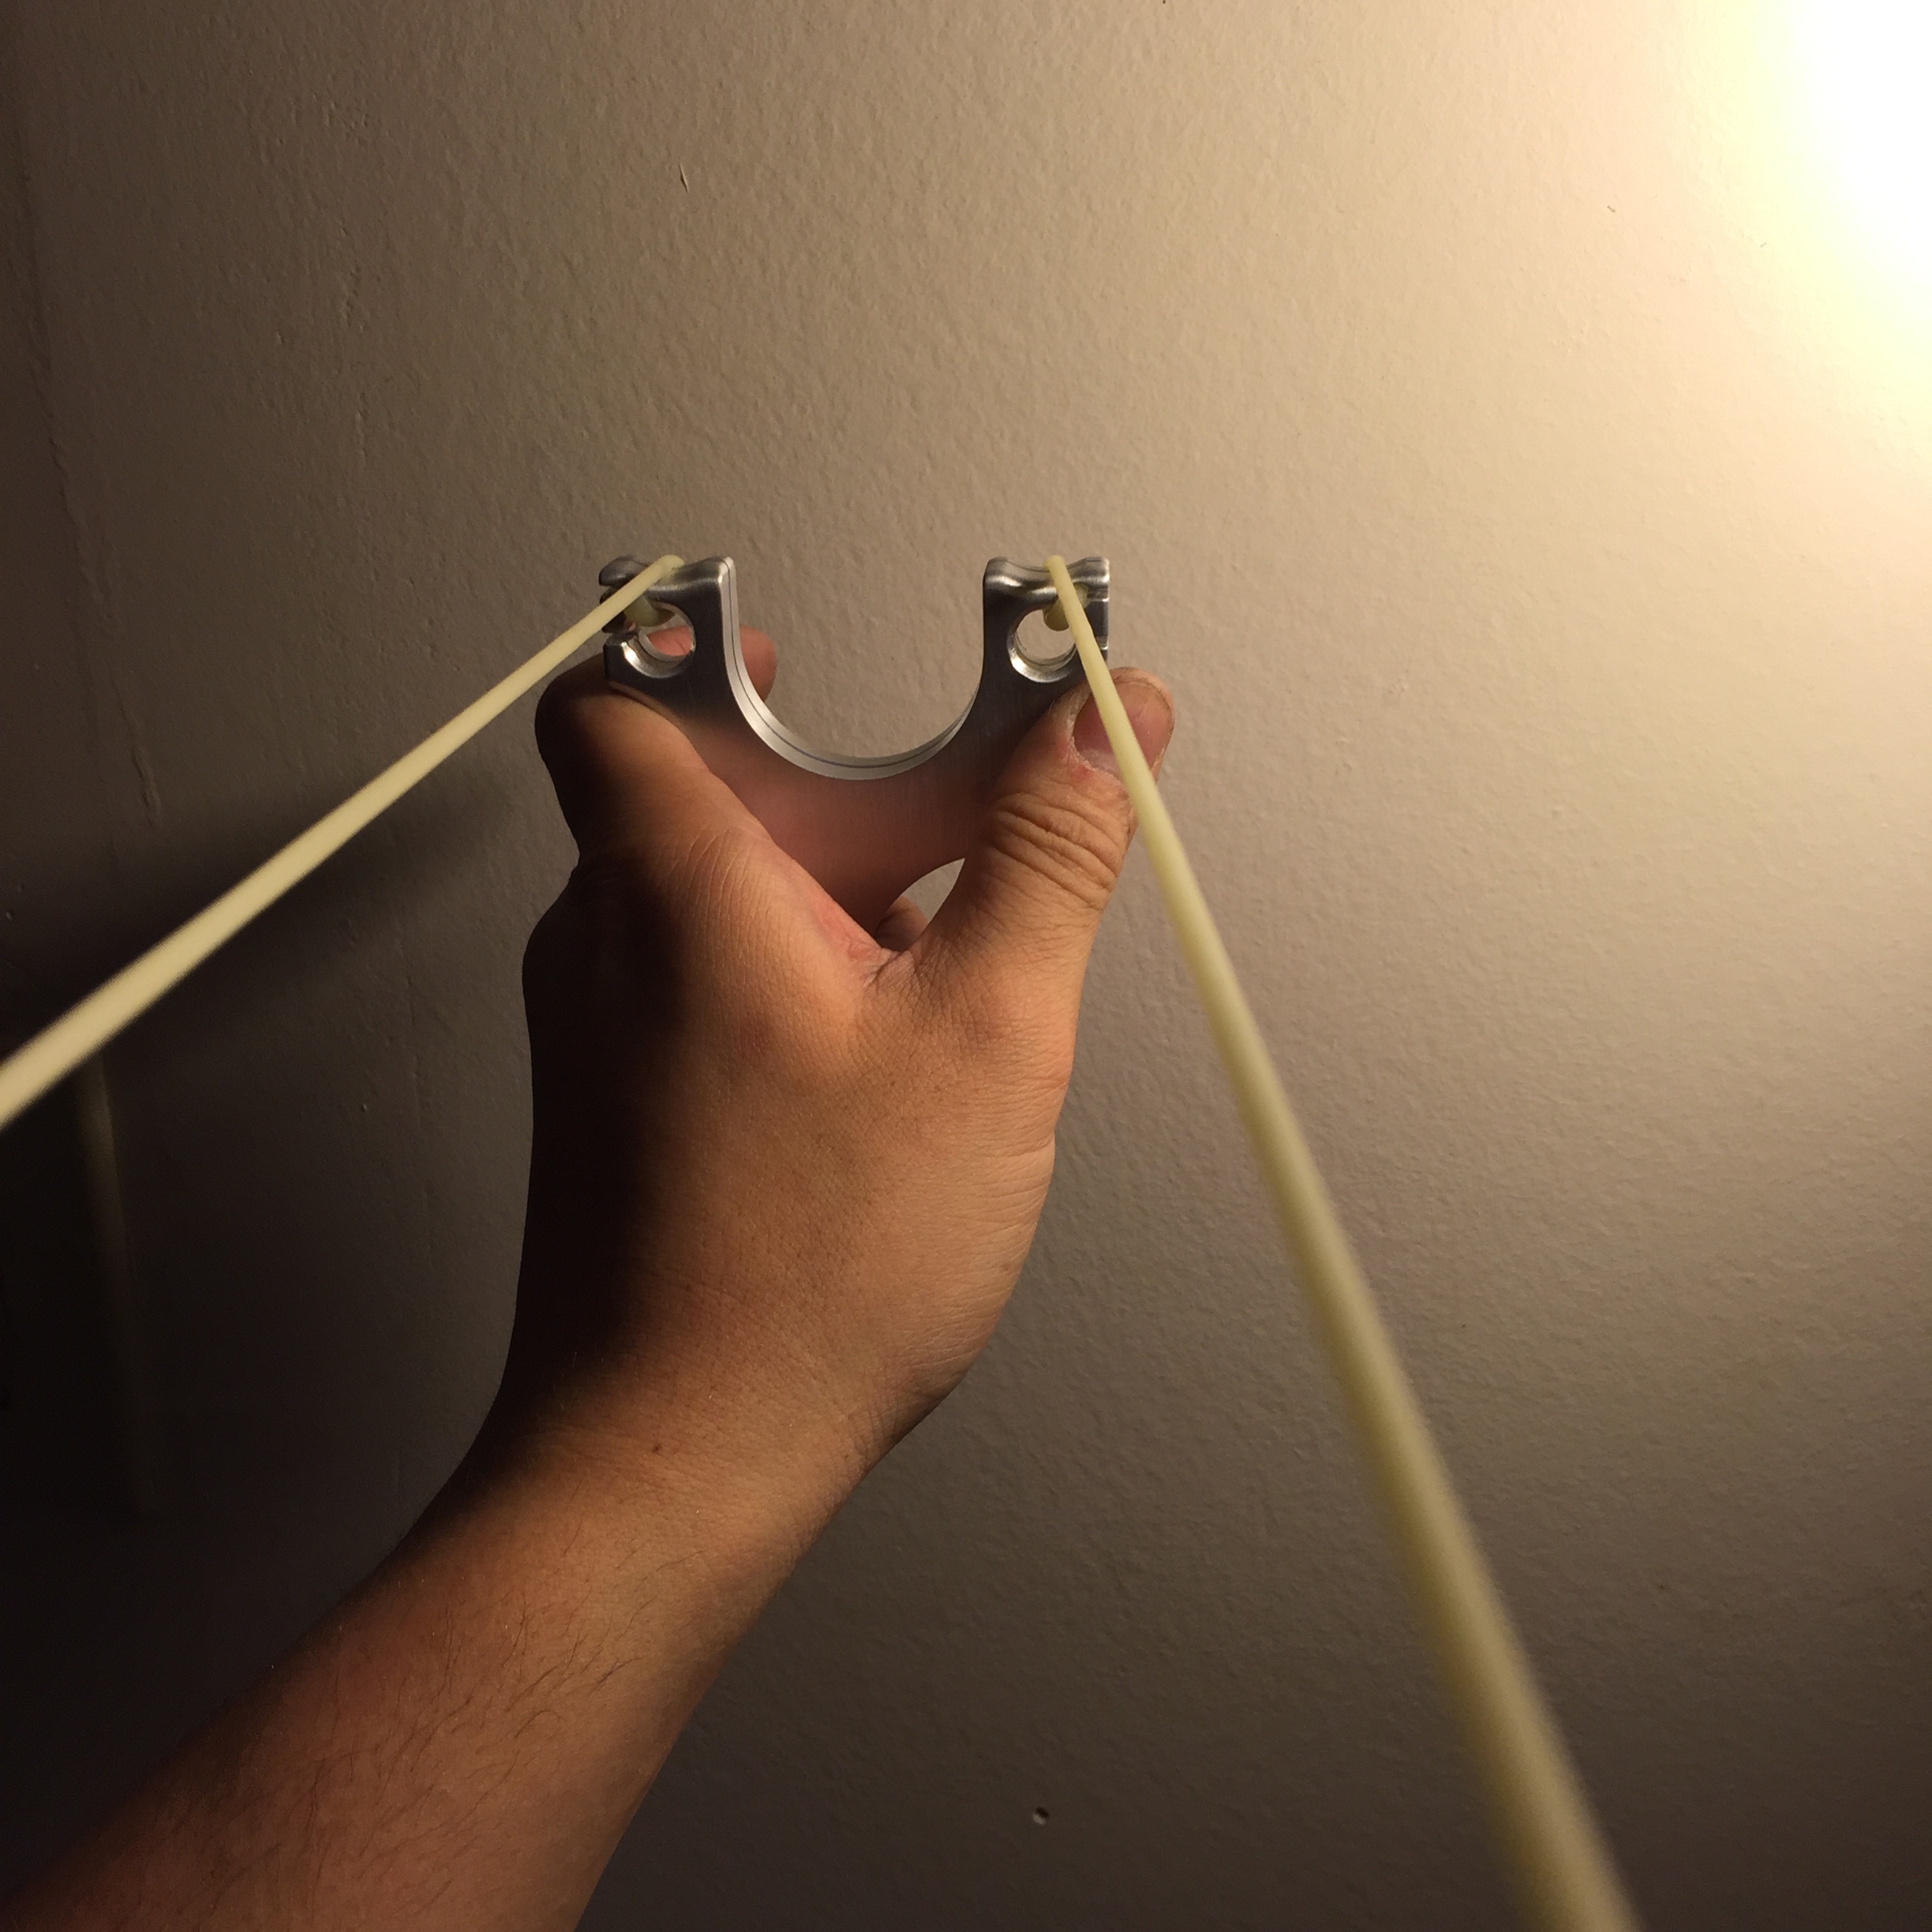
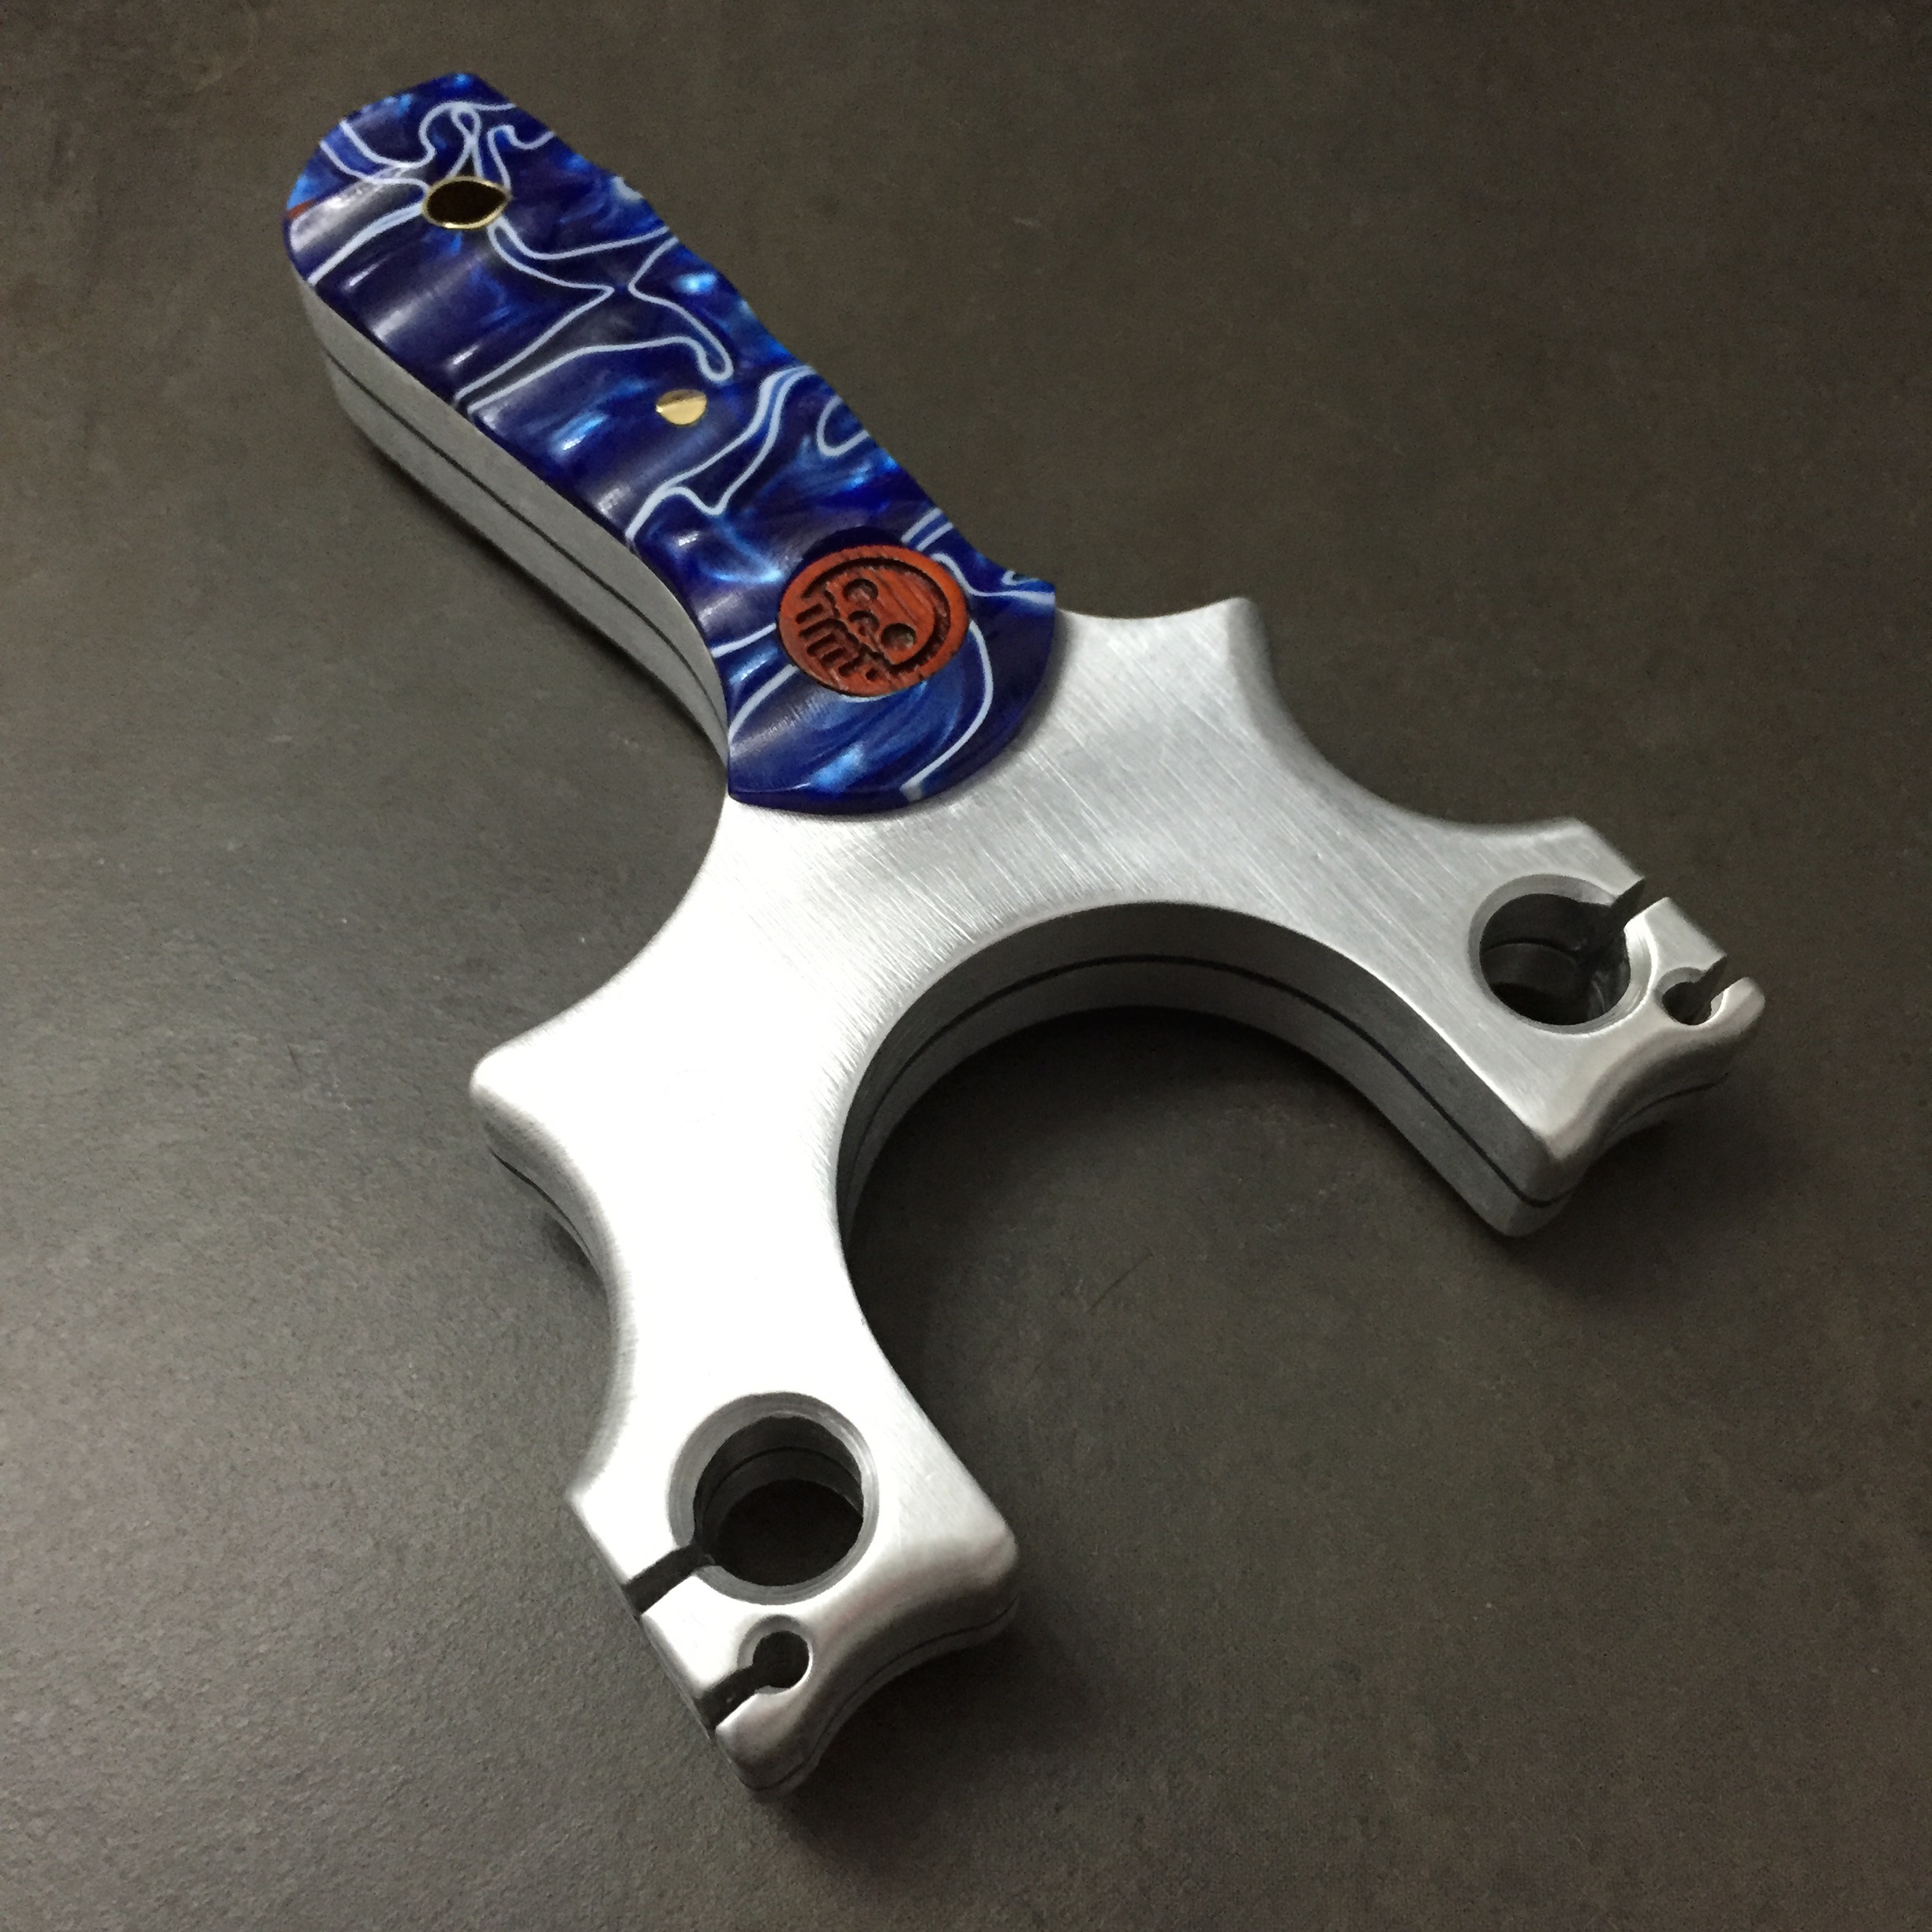
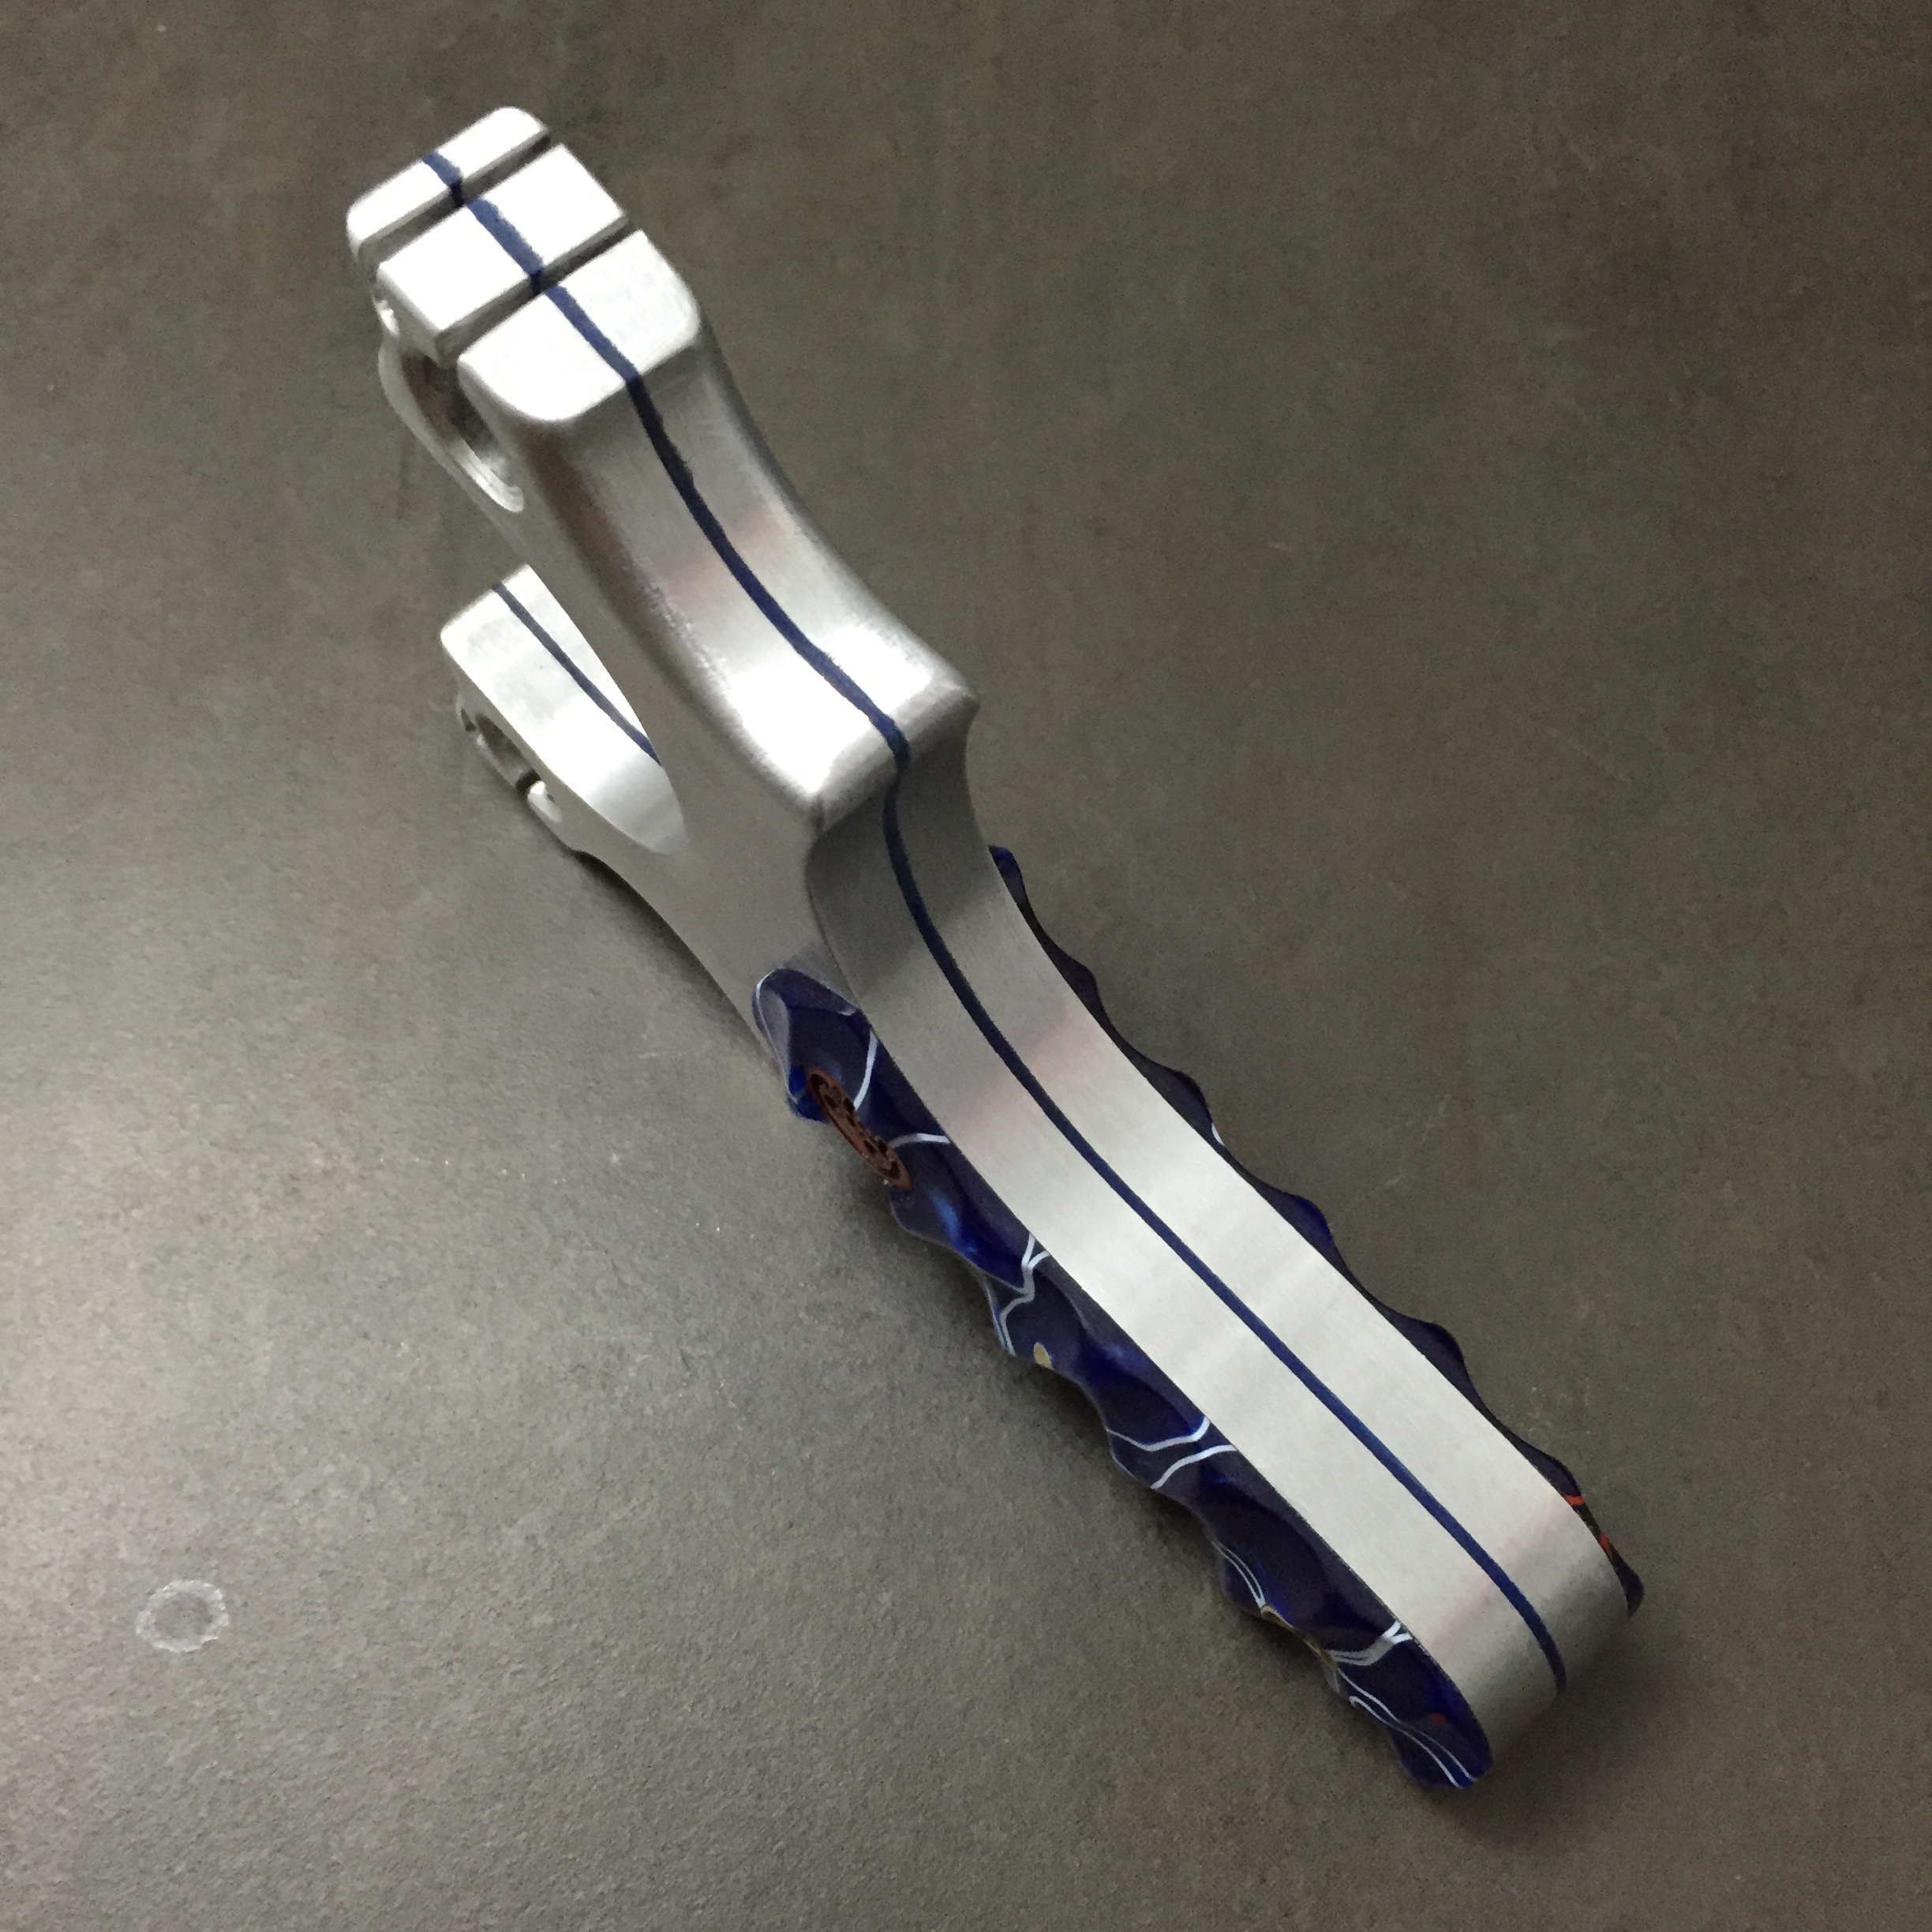
I layed out the new hole patterns, a big 5/16 and a smaller 3/32, with connecting channels to the outside of the fork tips. This would allow for single tubes or looped tubes if I fancied it. From there, I shaped the tips till they were rounded and a divot was filed into the top of the tips to center the bands. I also shaped the finger and thumb grooves like my other Tyton mods.

IMG_2699

IMG_2700

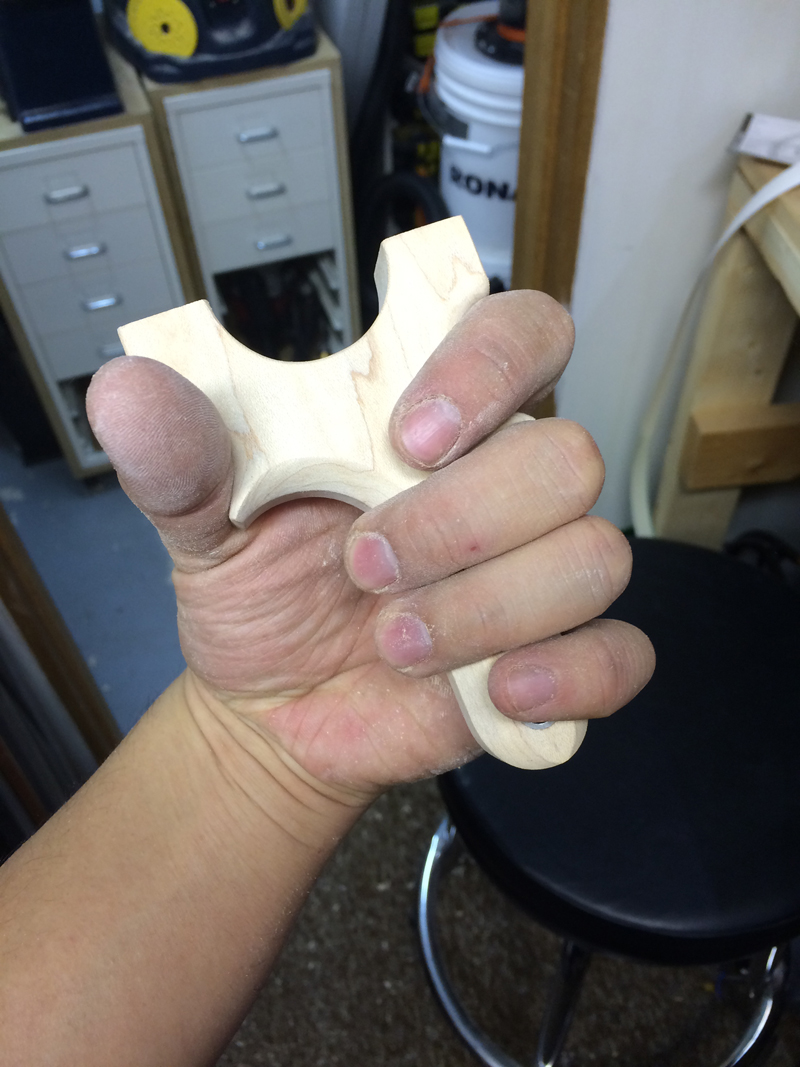
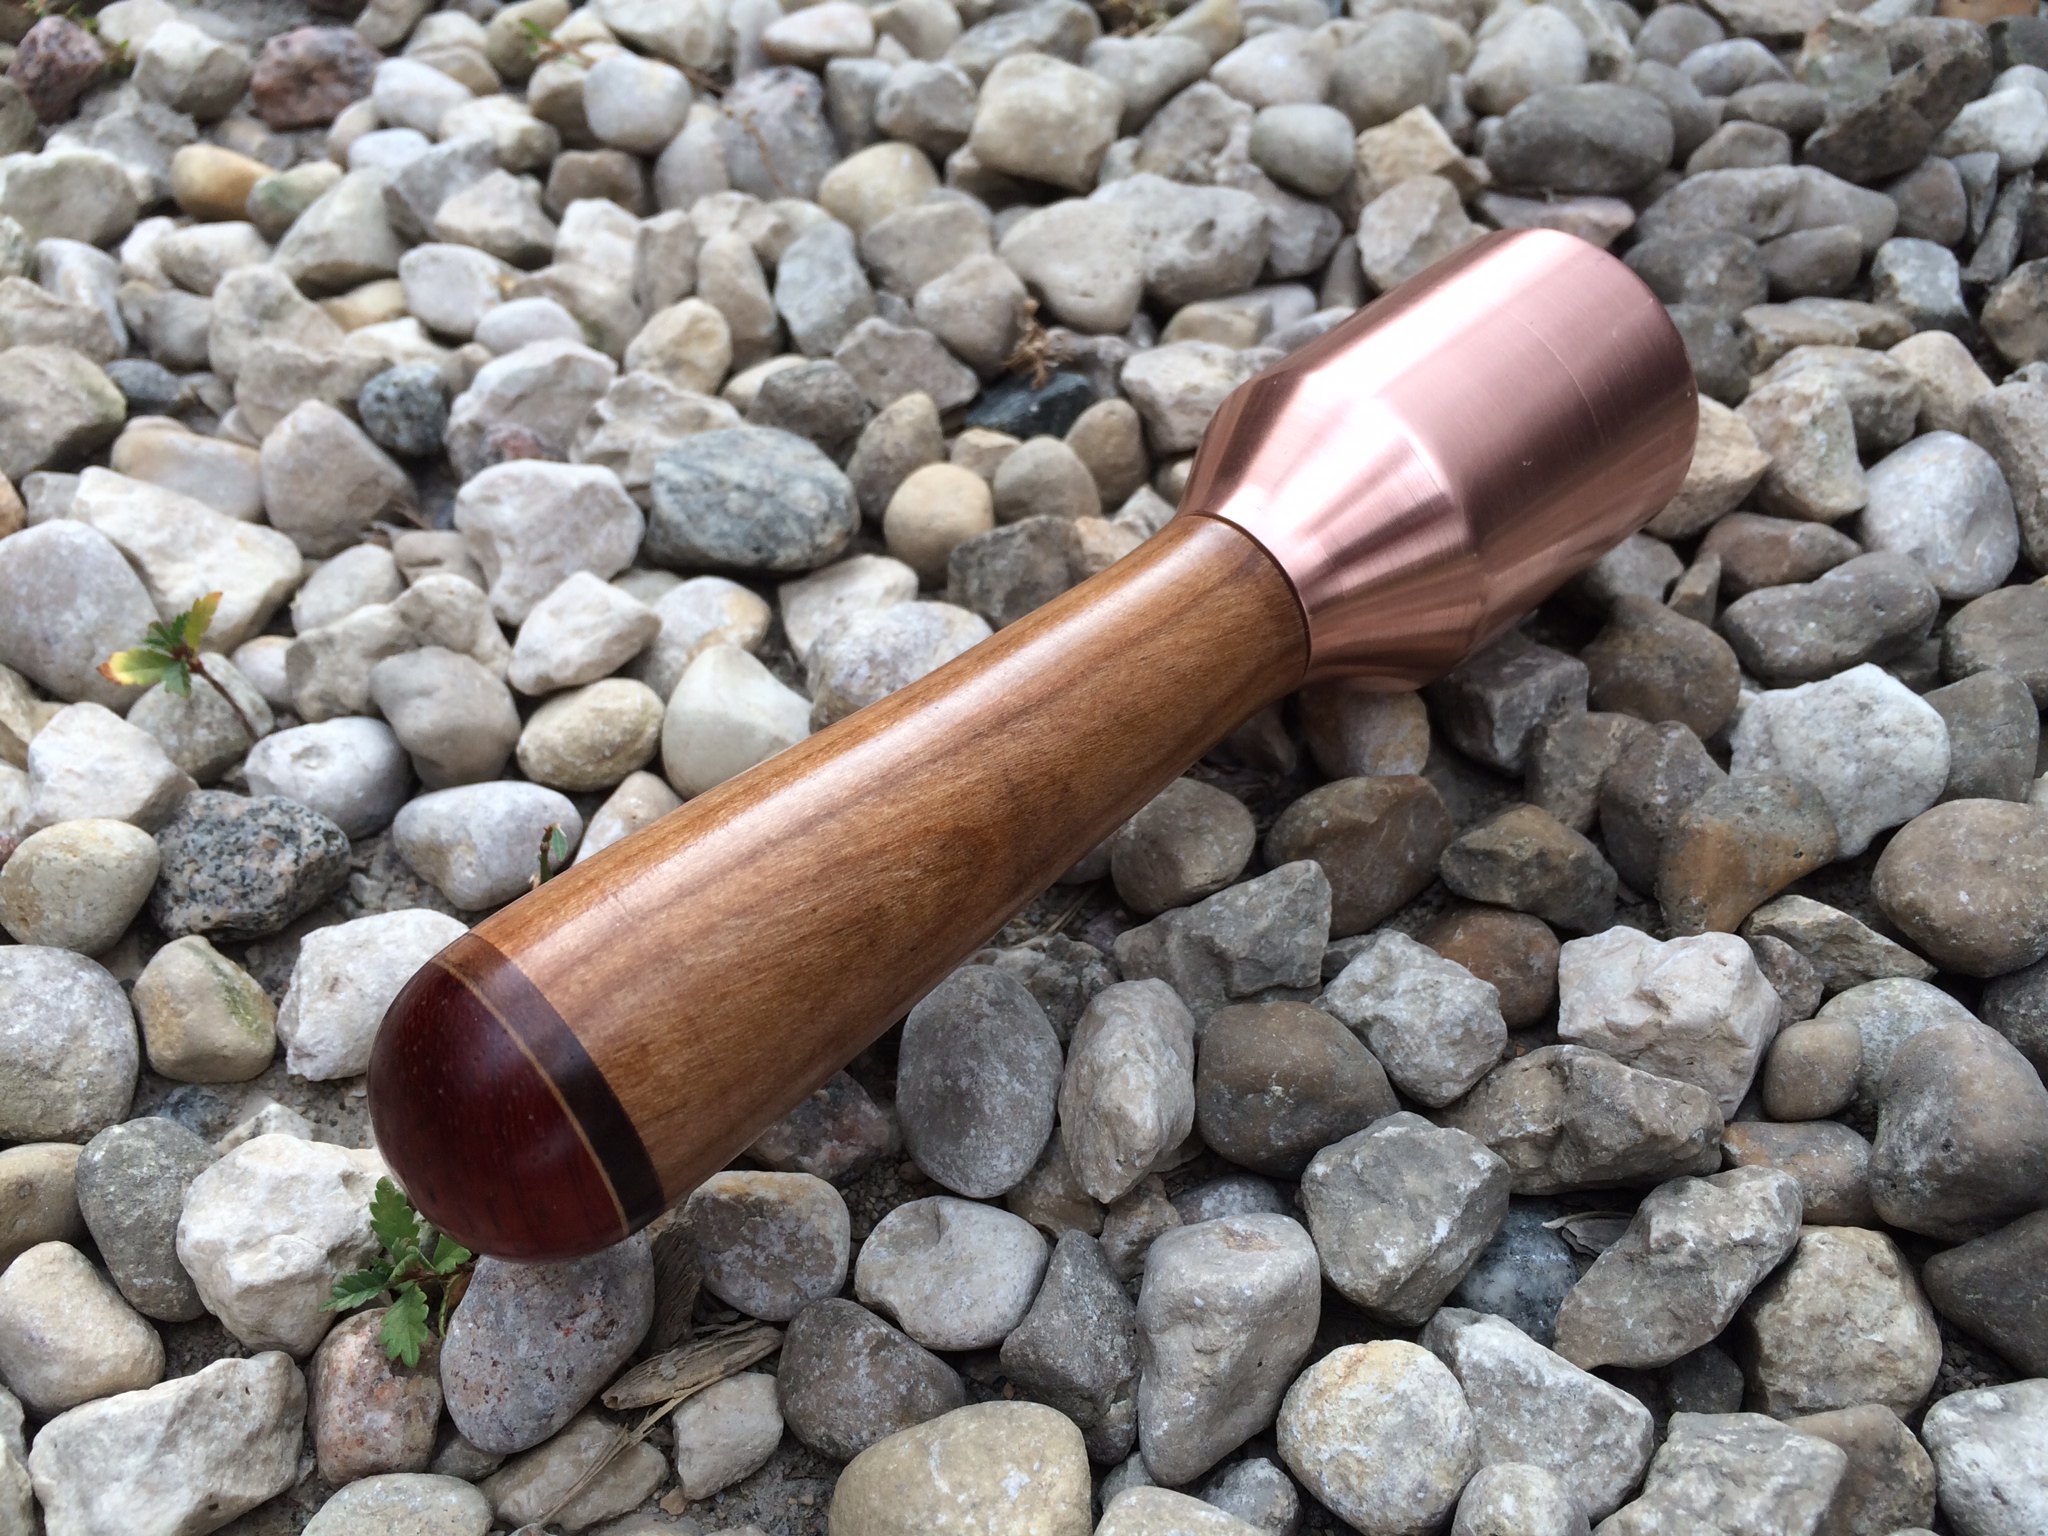
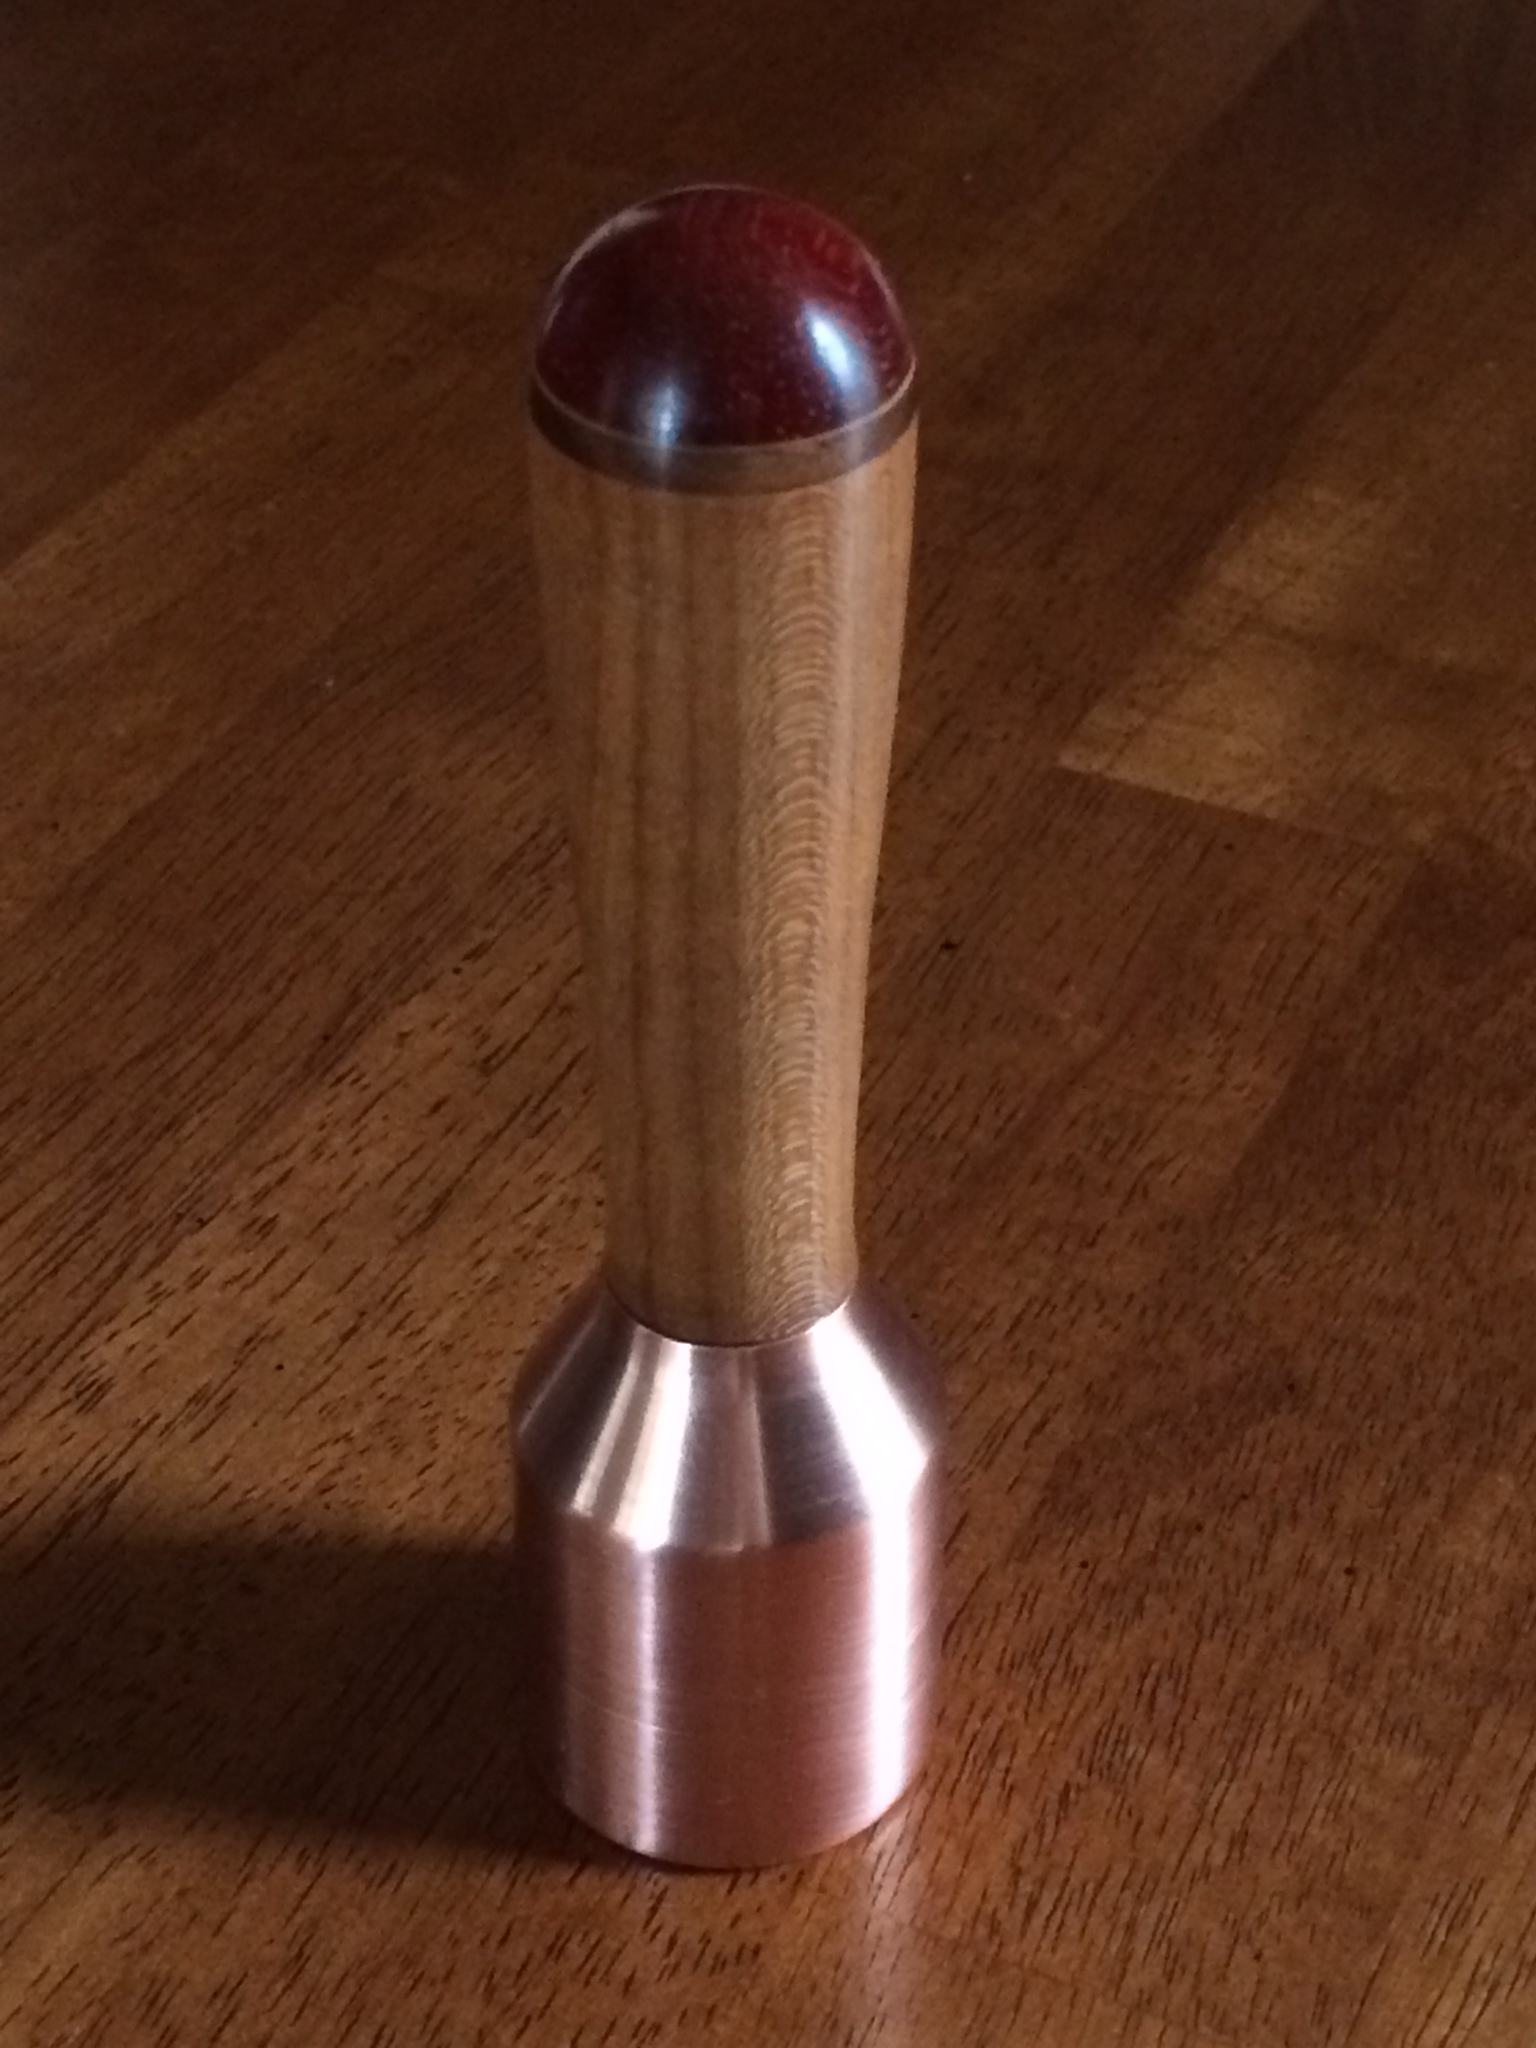
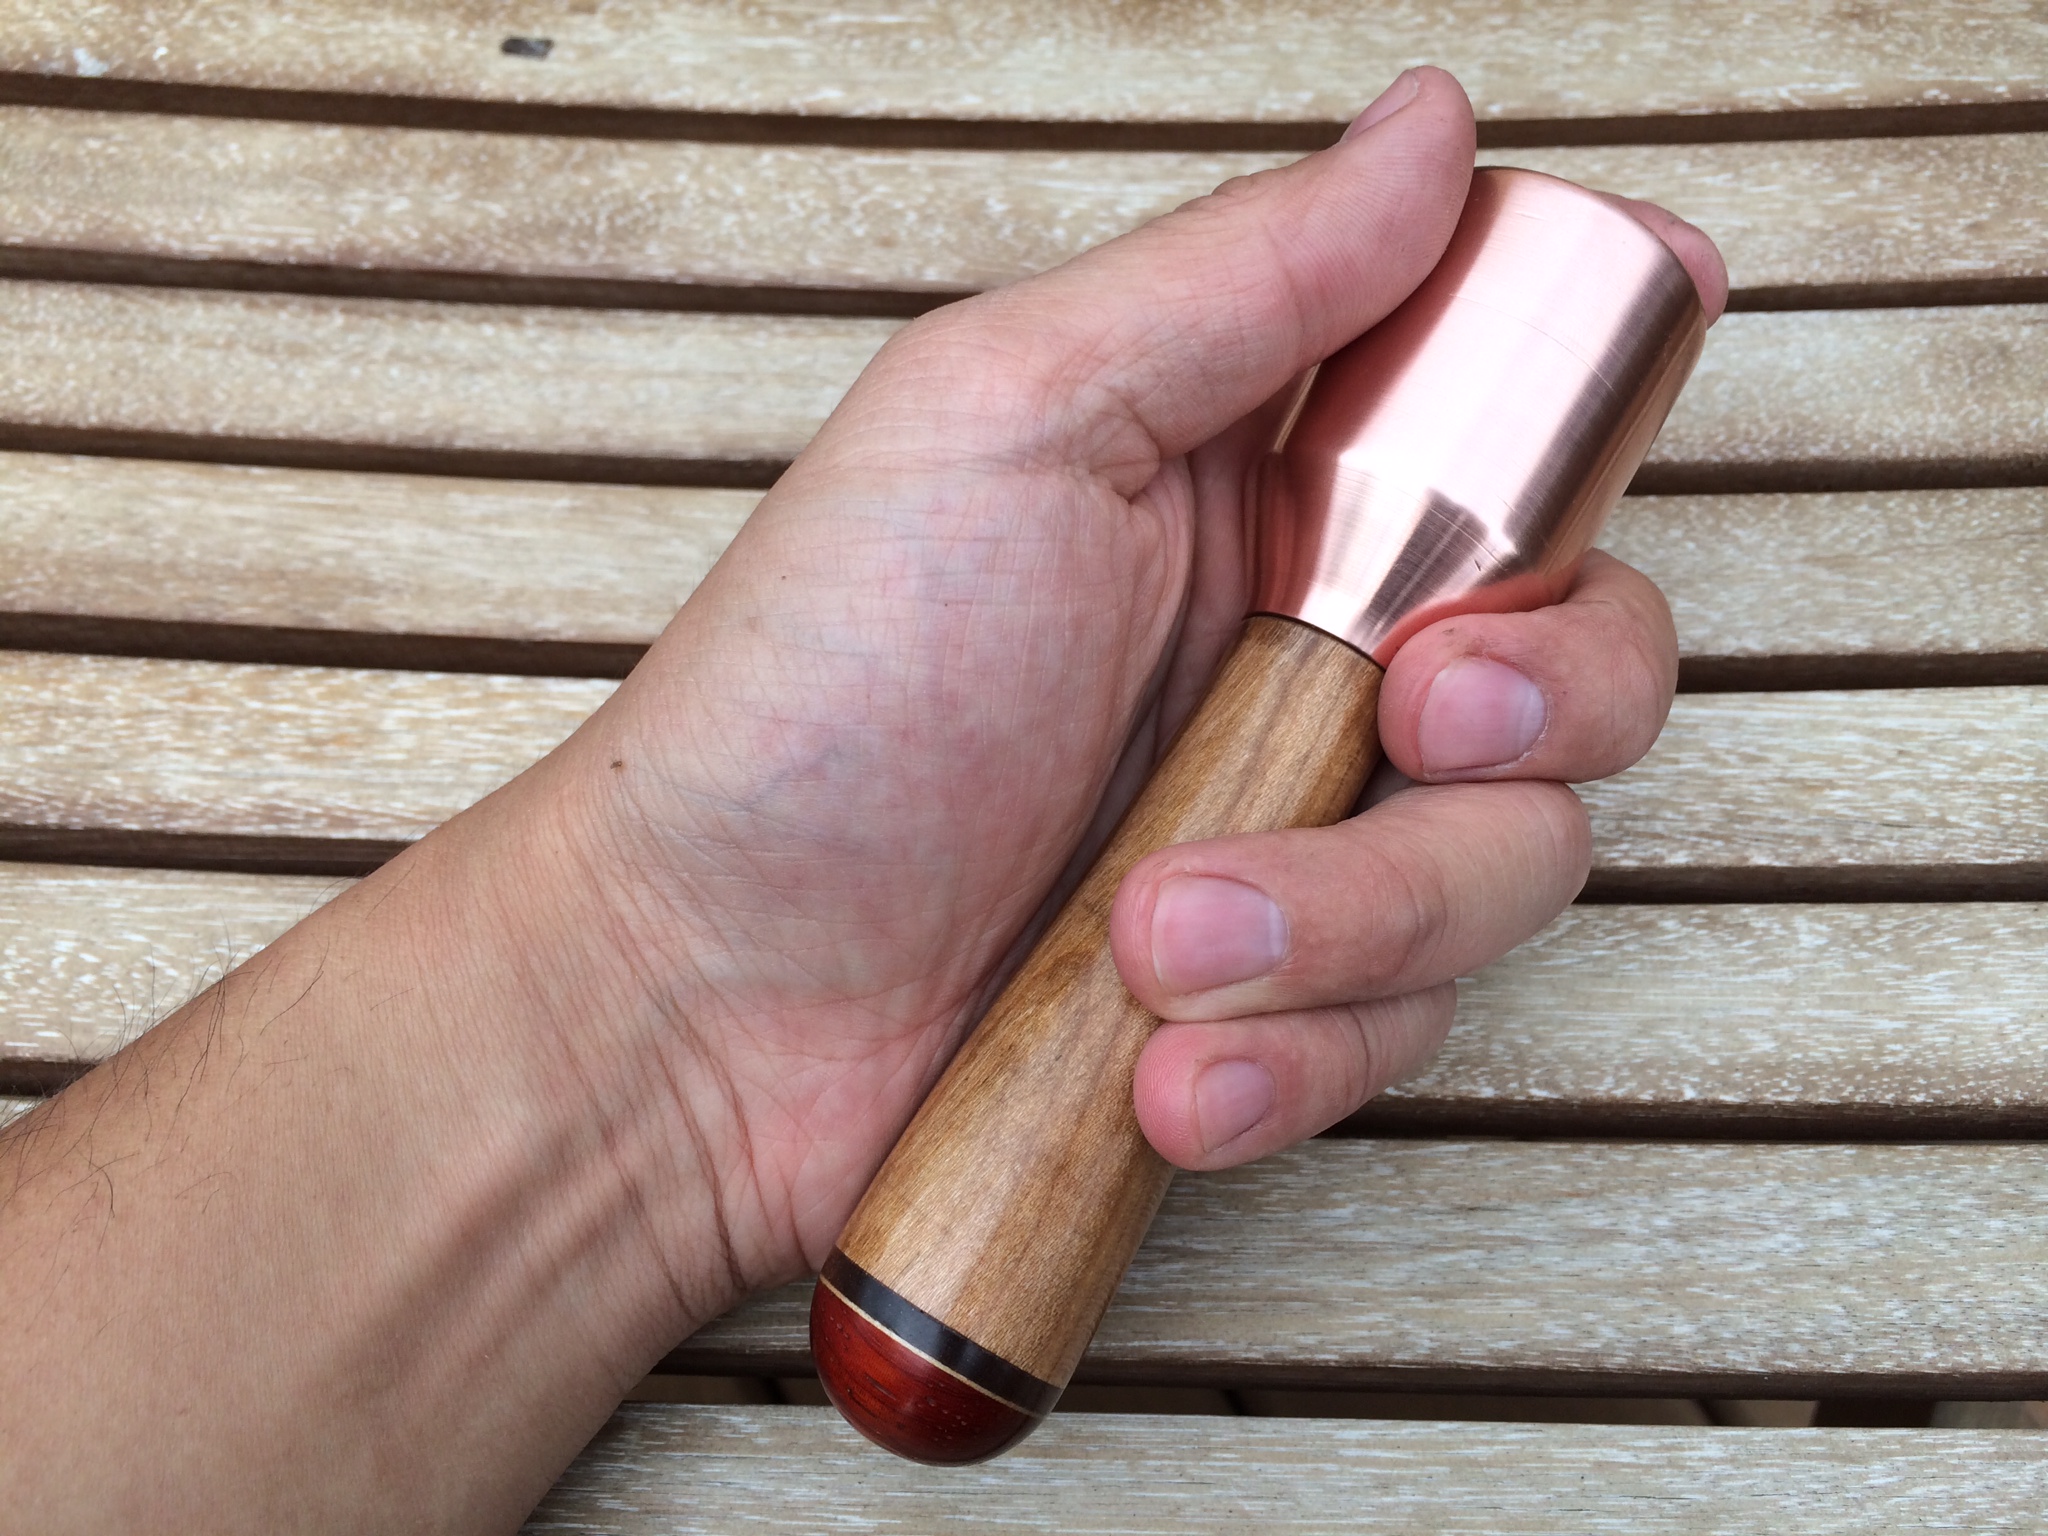
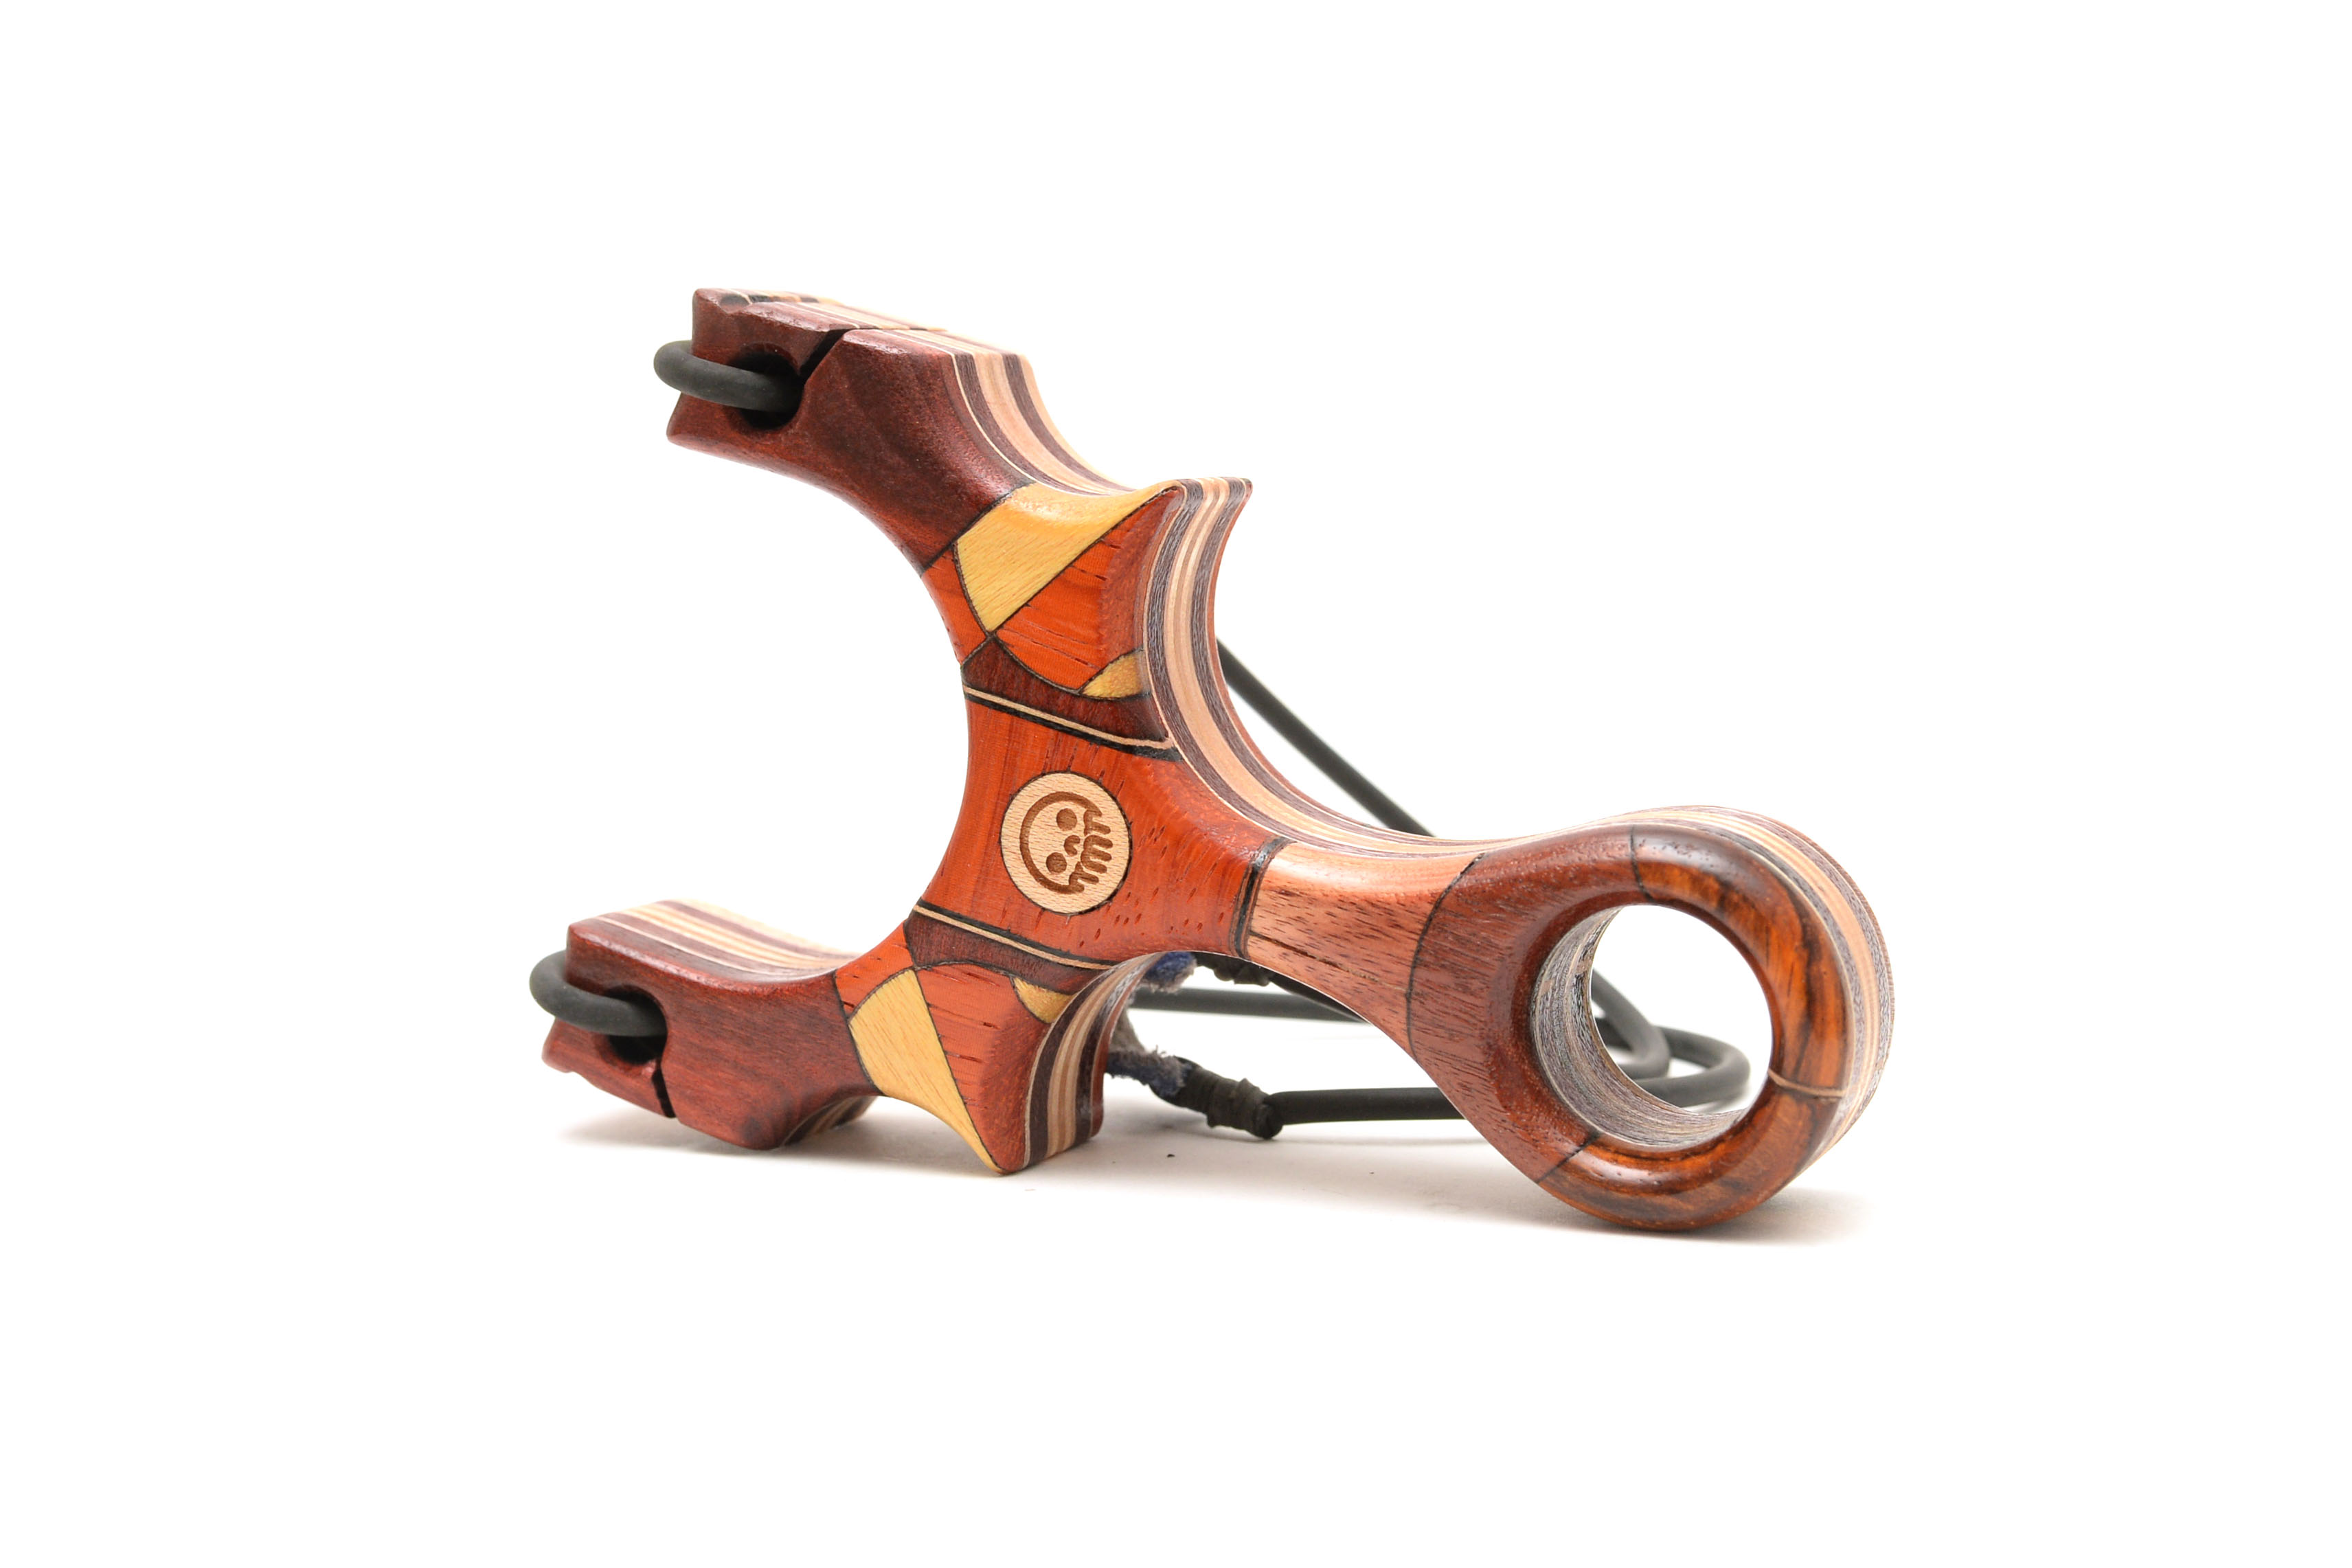
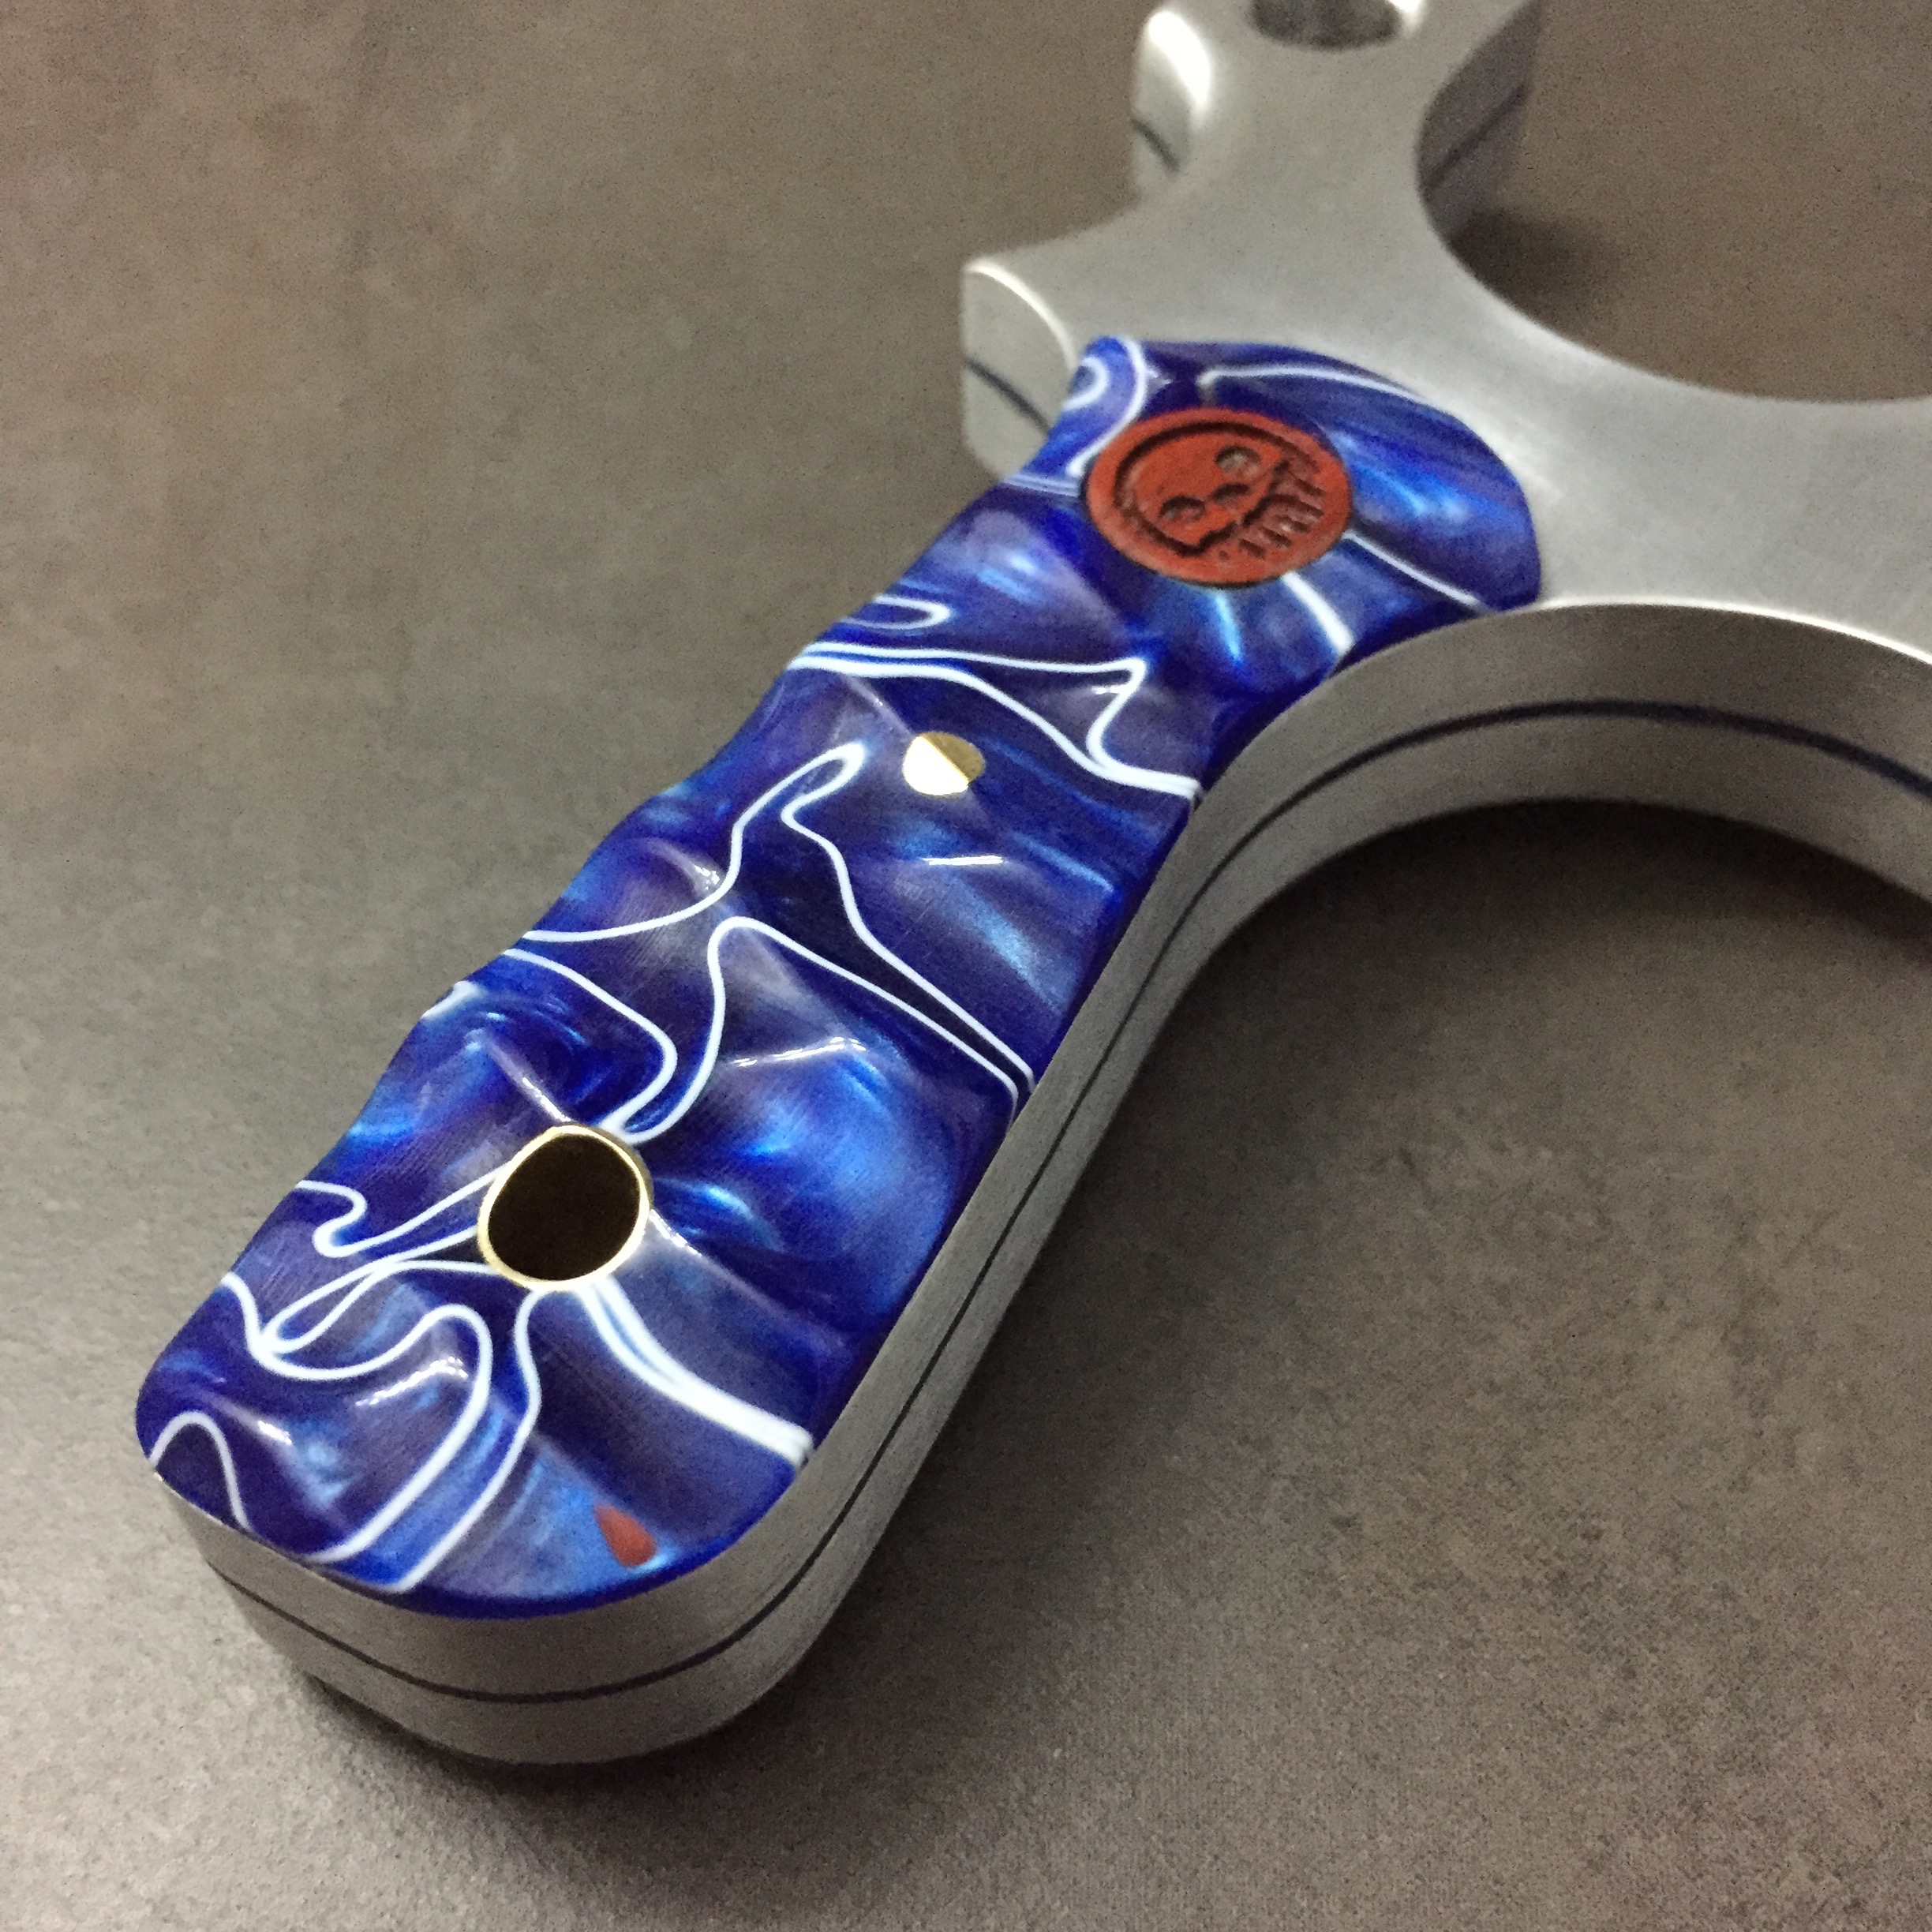
You can see here how the Worm attachment works. Since the band makes a 180 degree turn before rolling over the tips, there is no way the band will slip out.

IMG_2701

IMG_2703

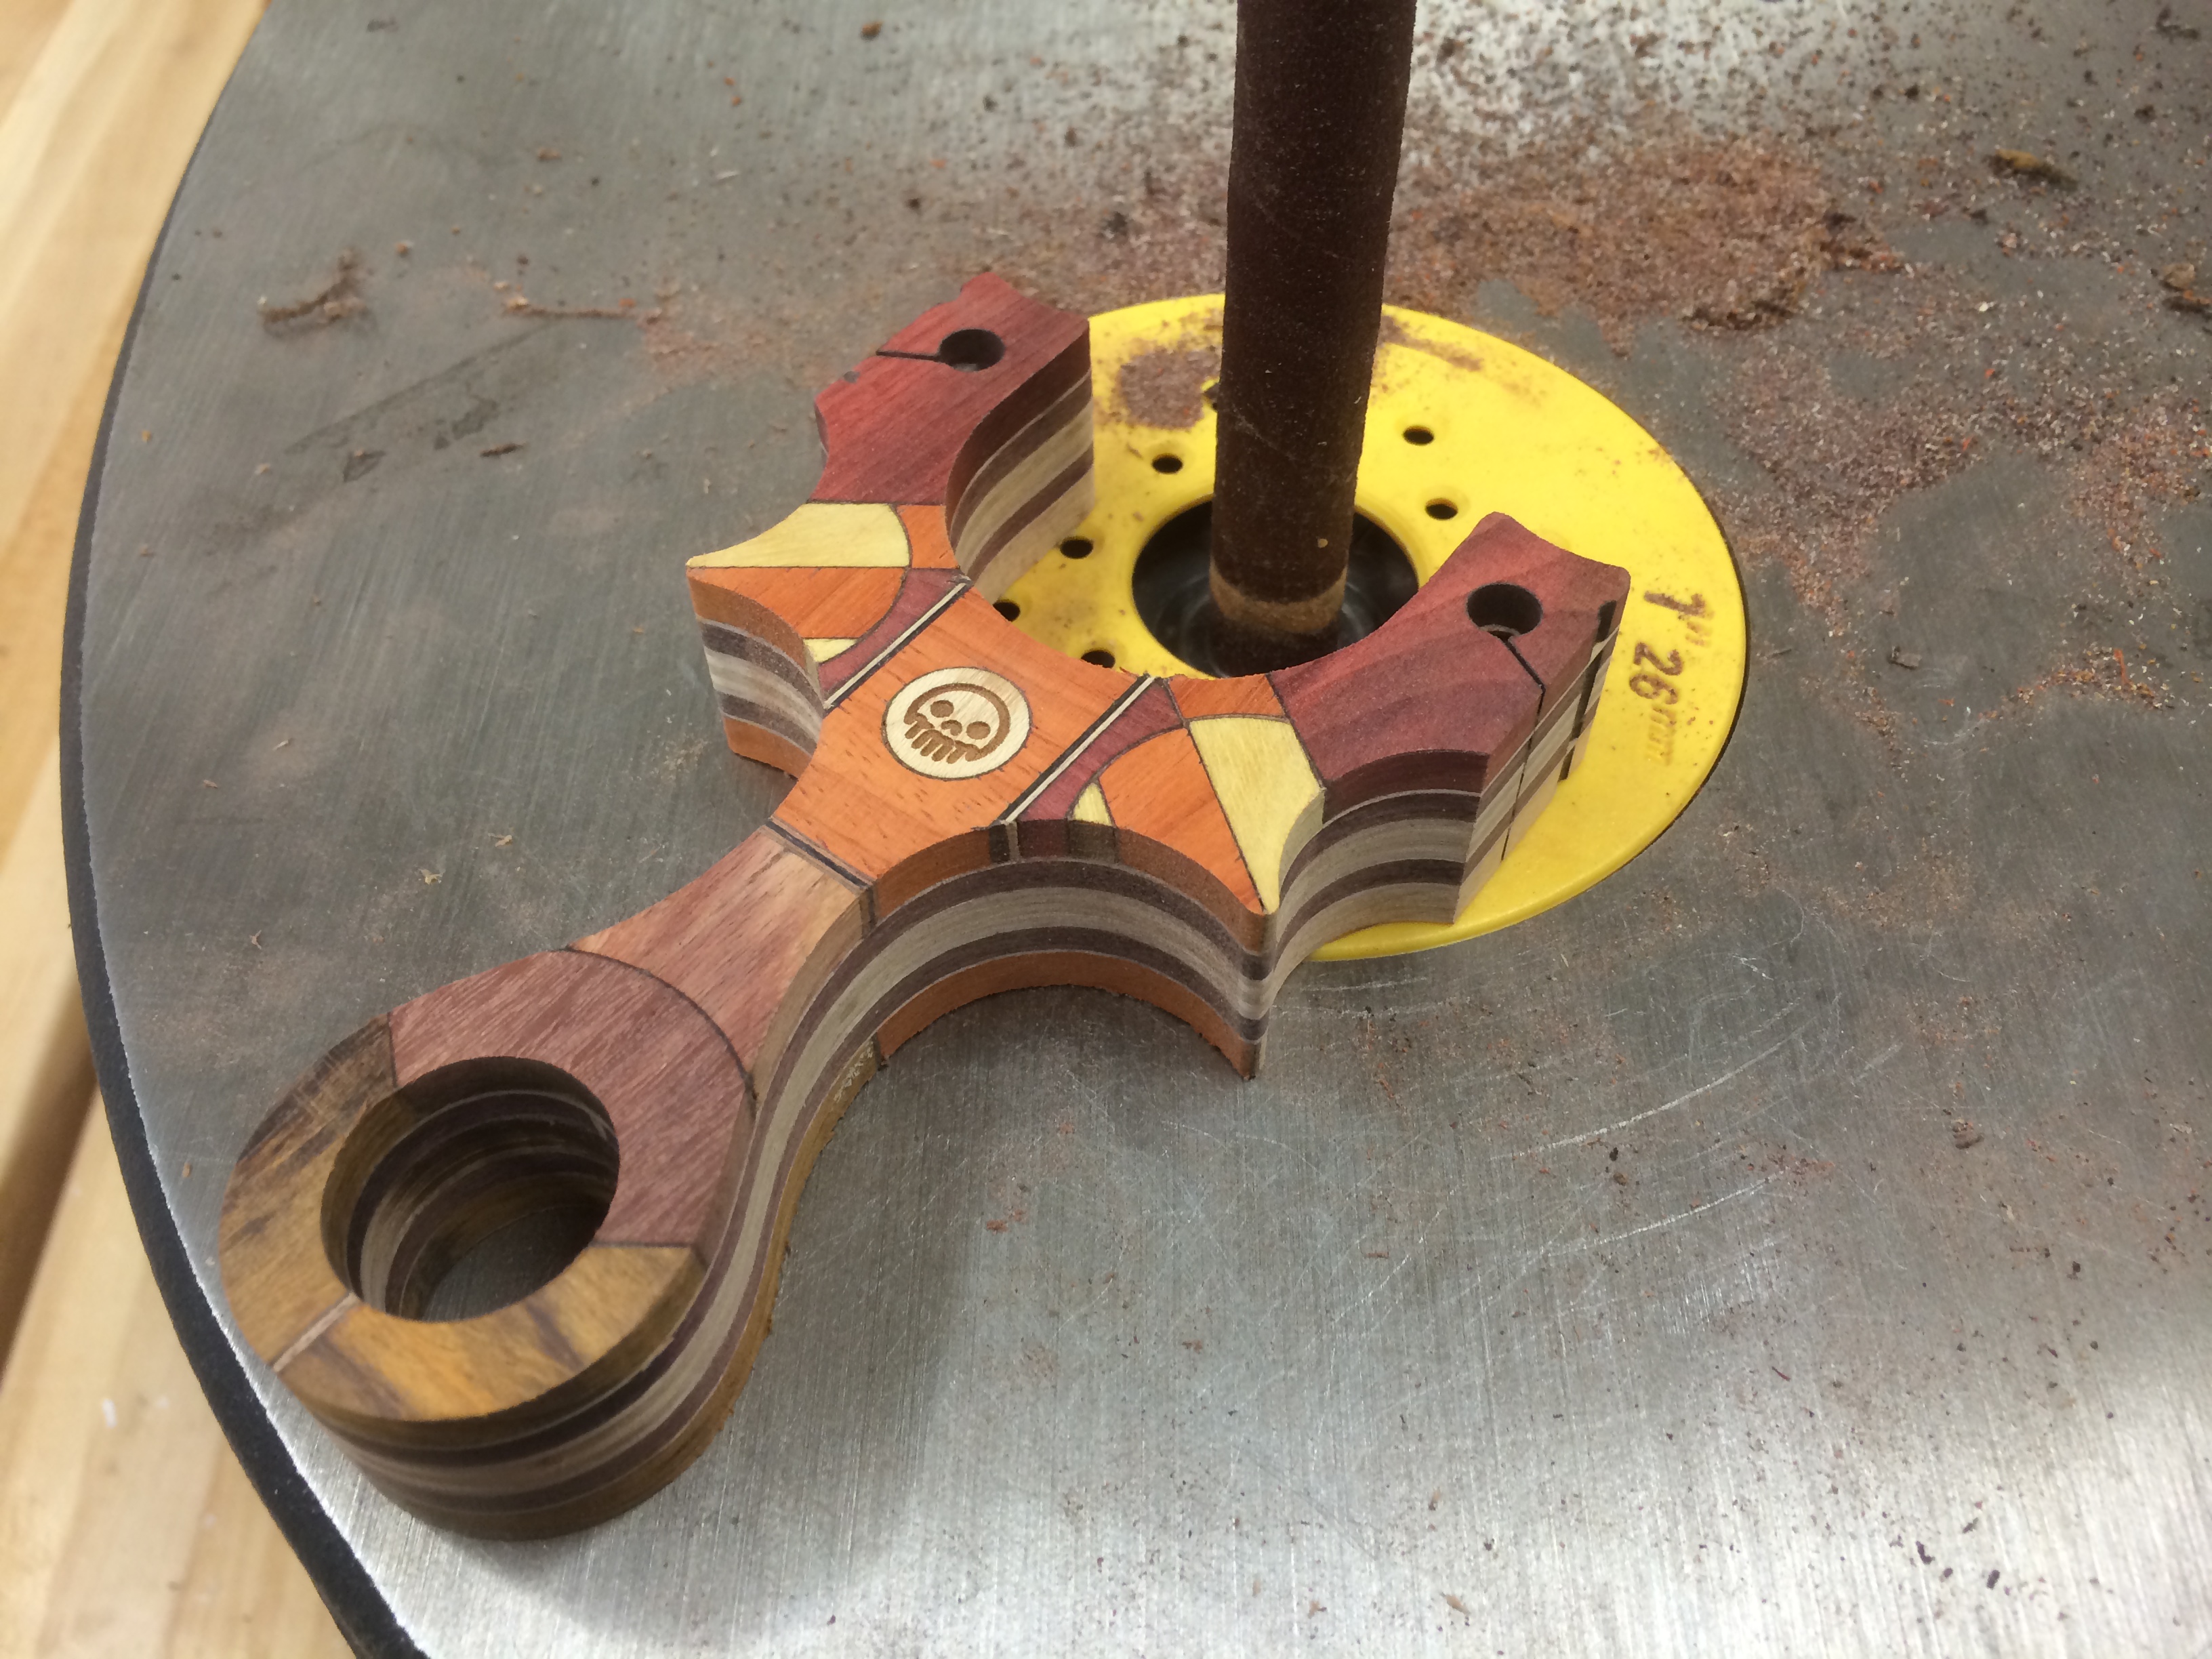
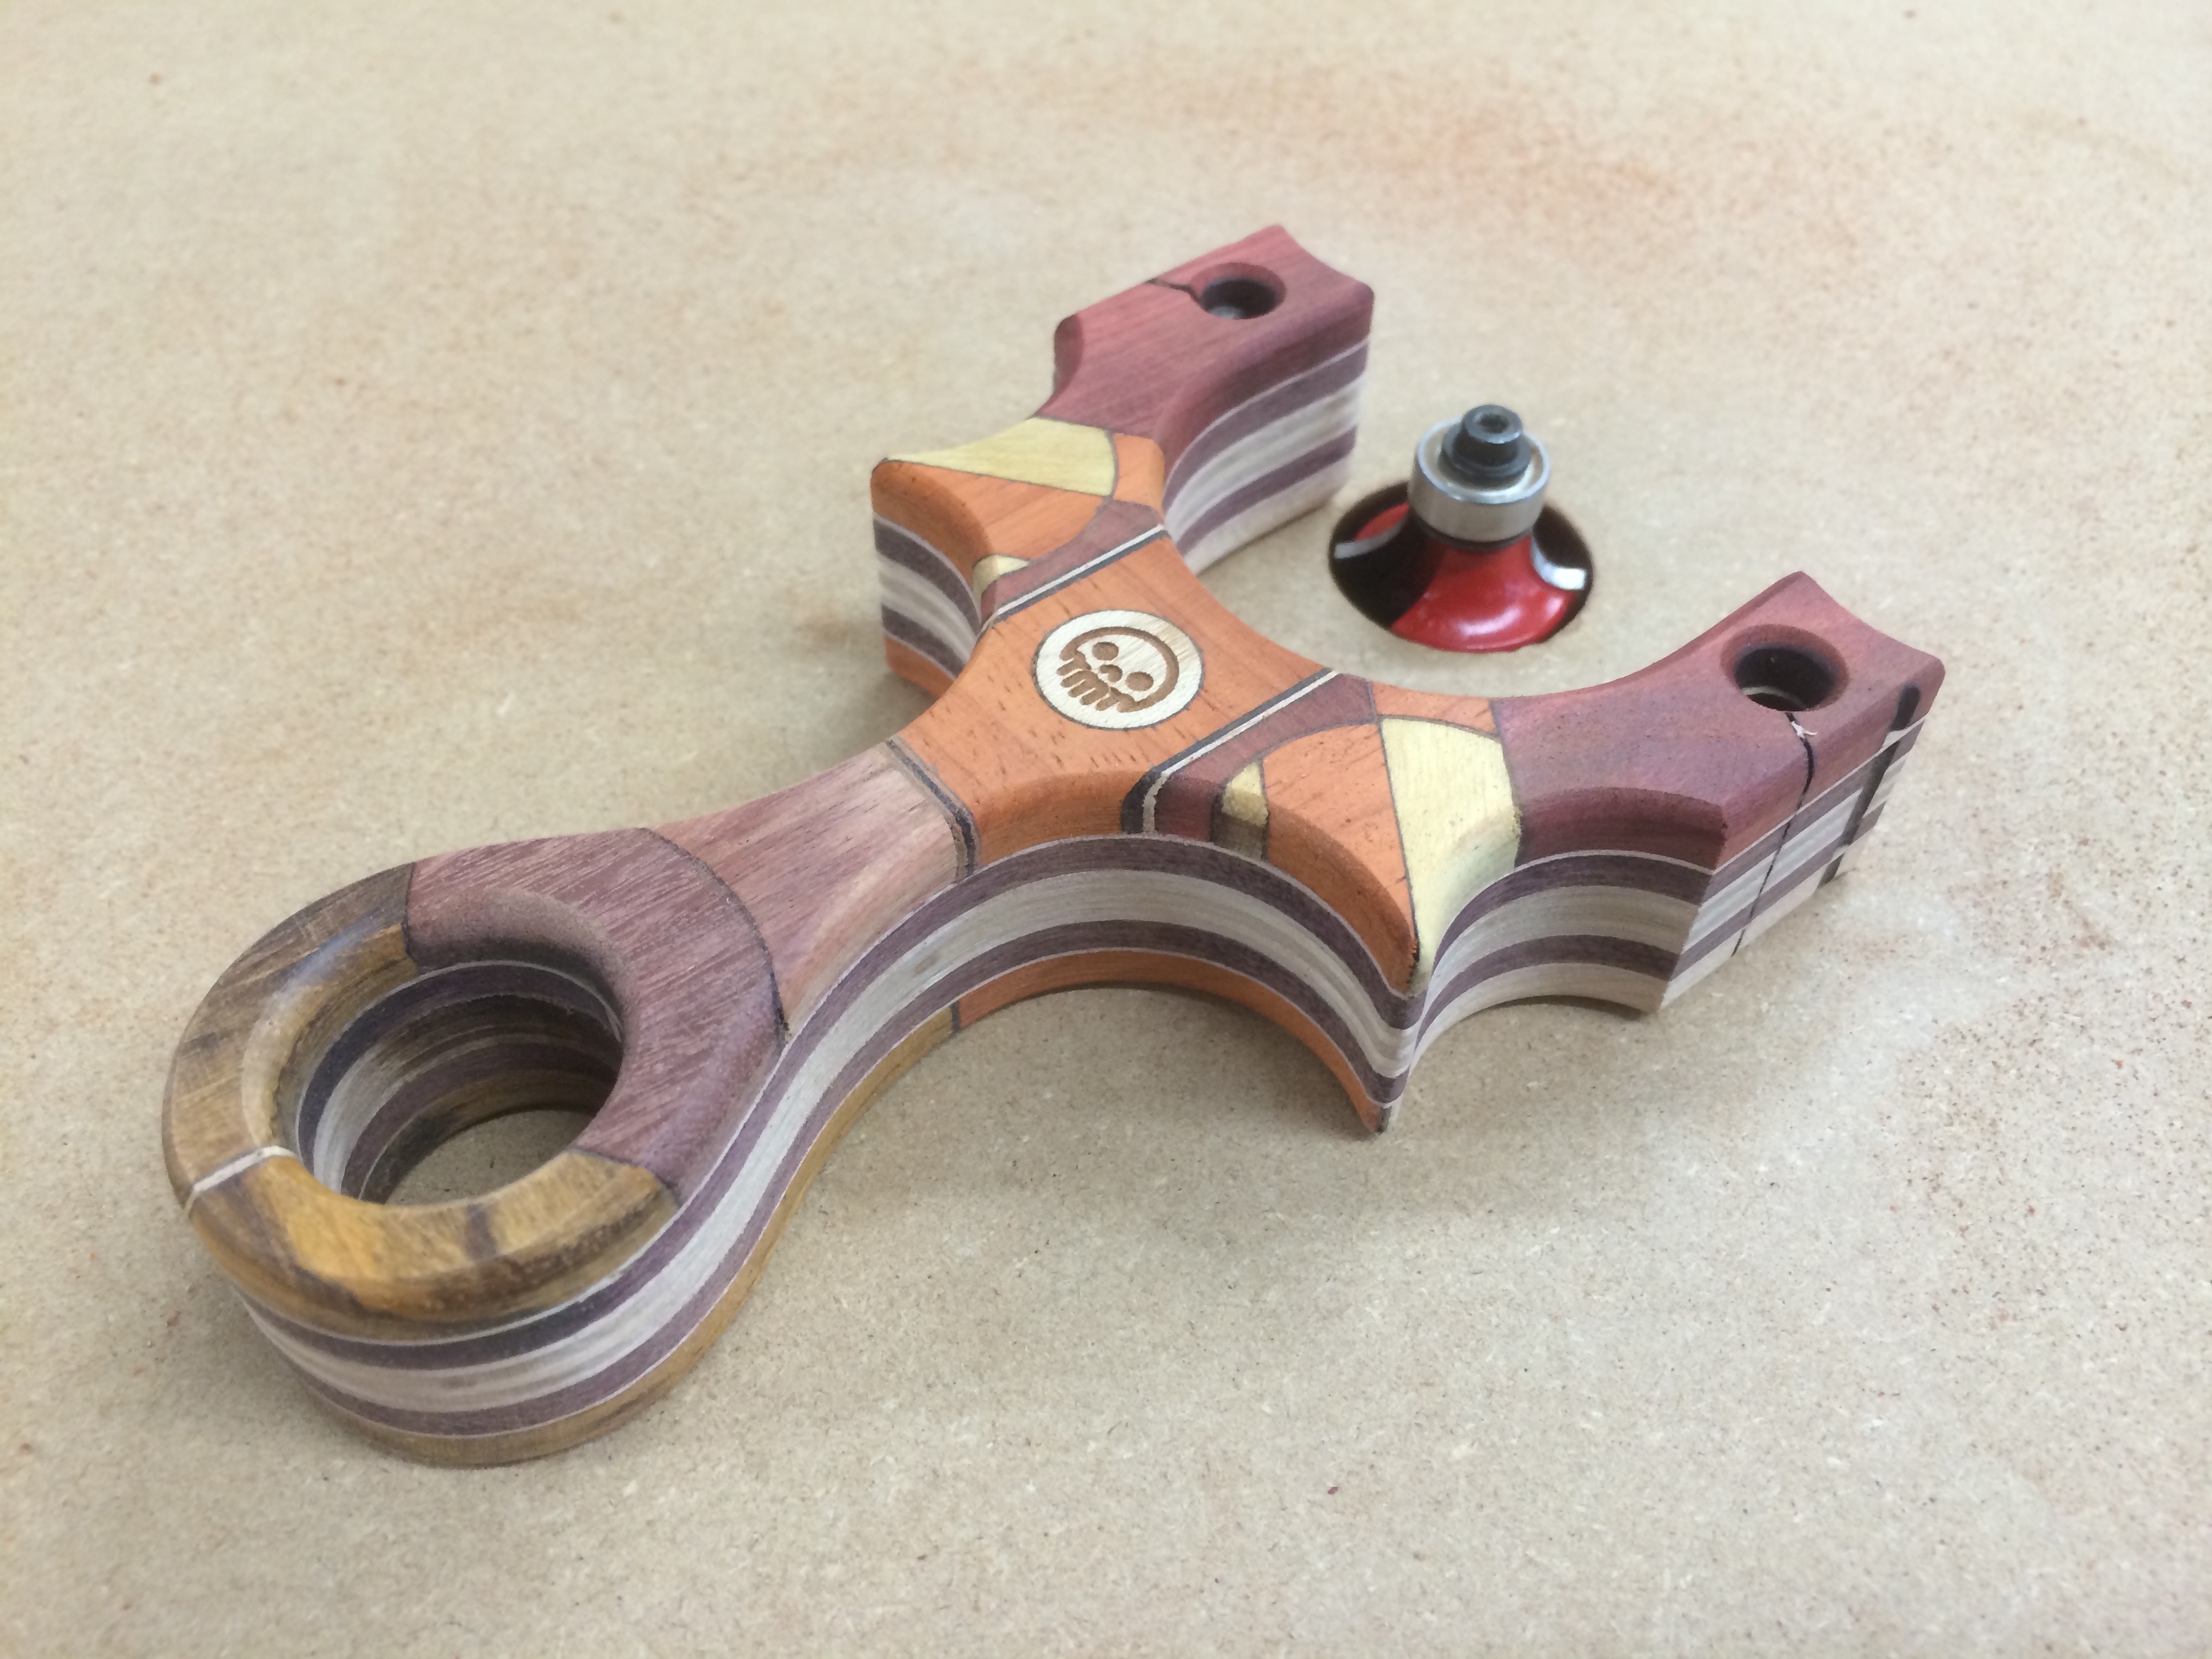
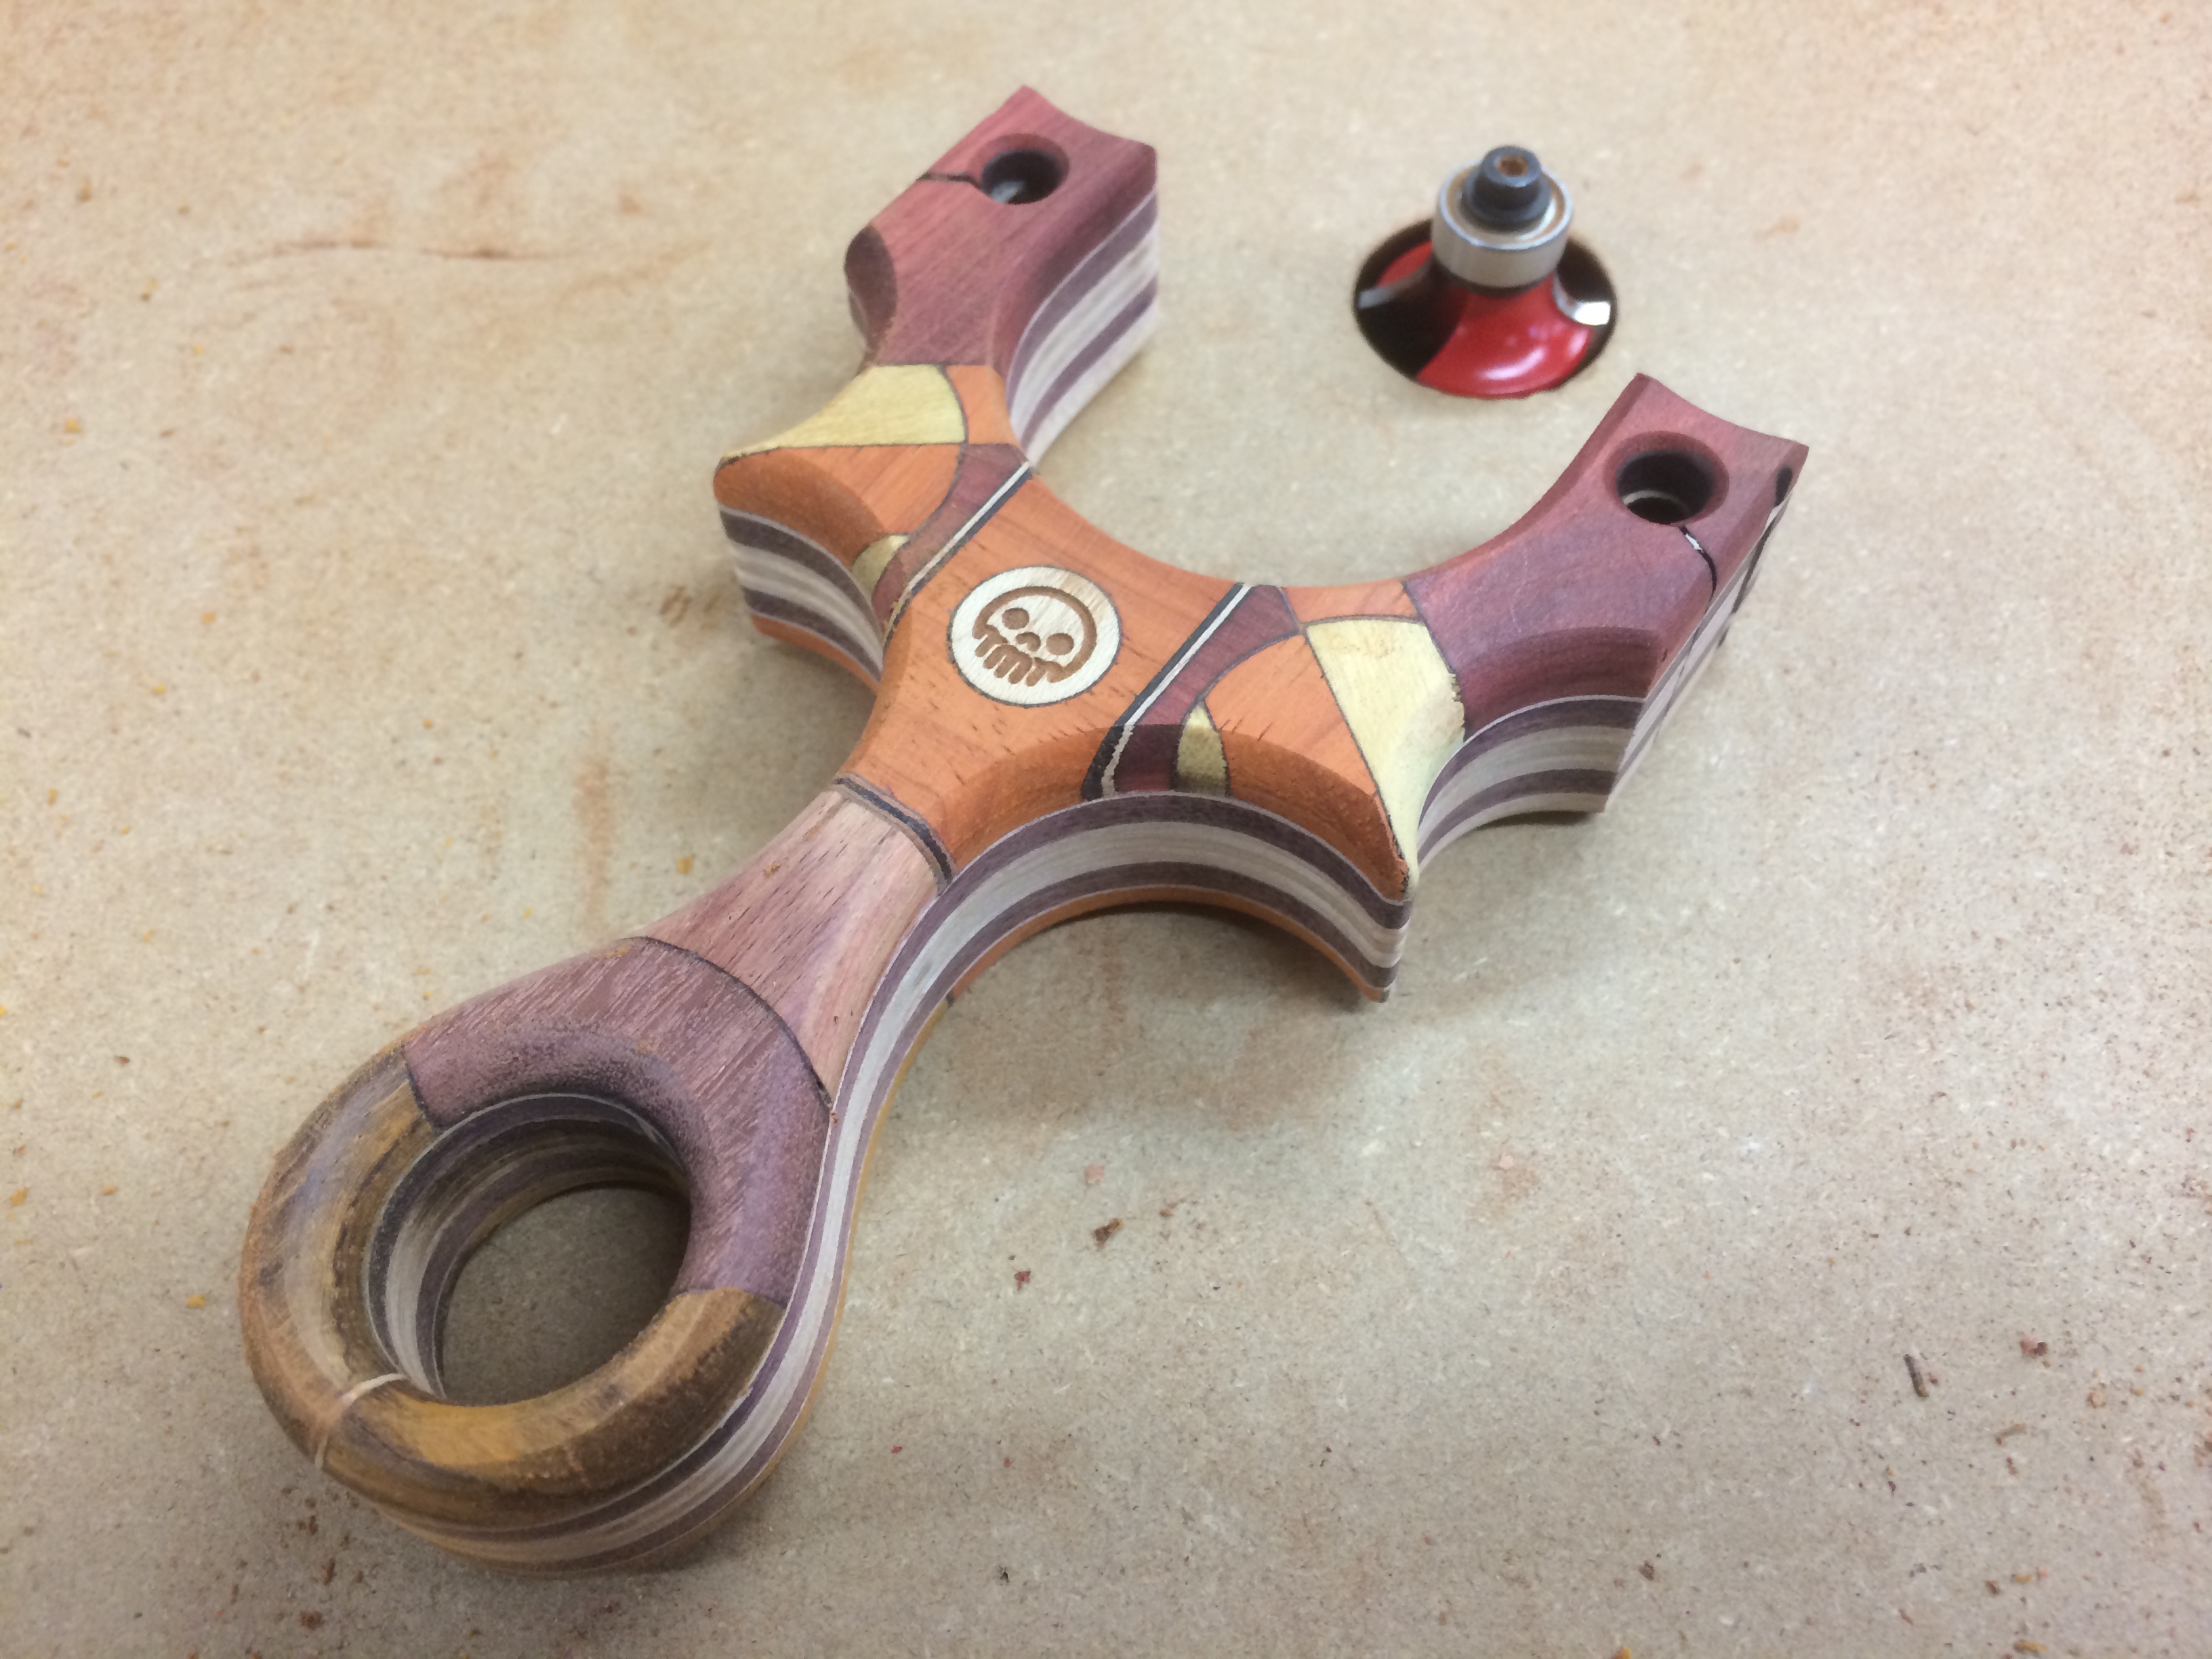
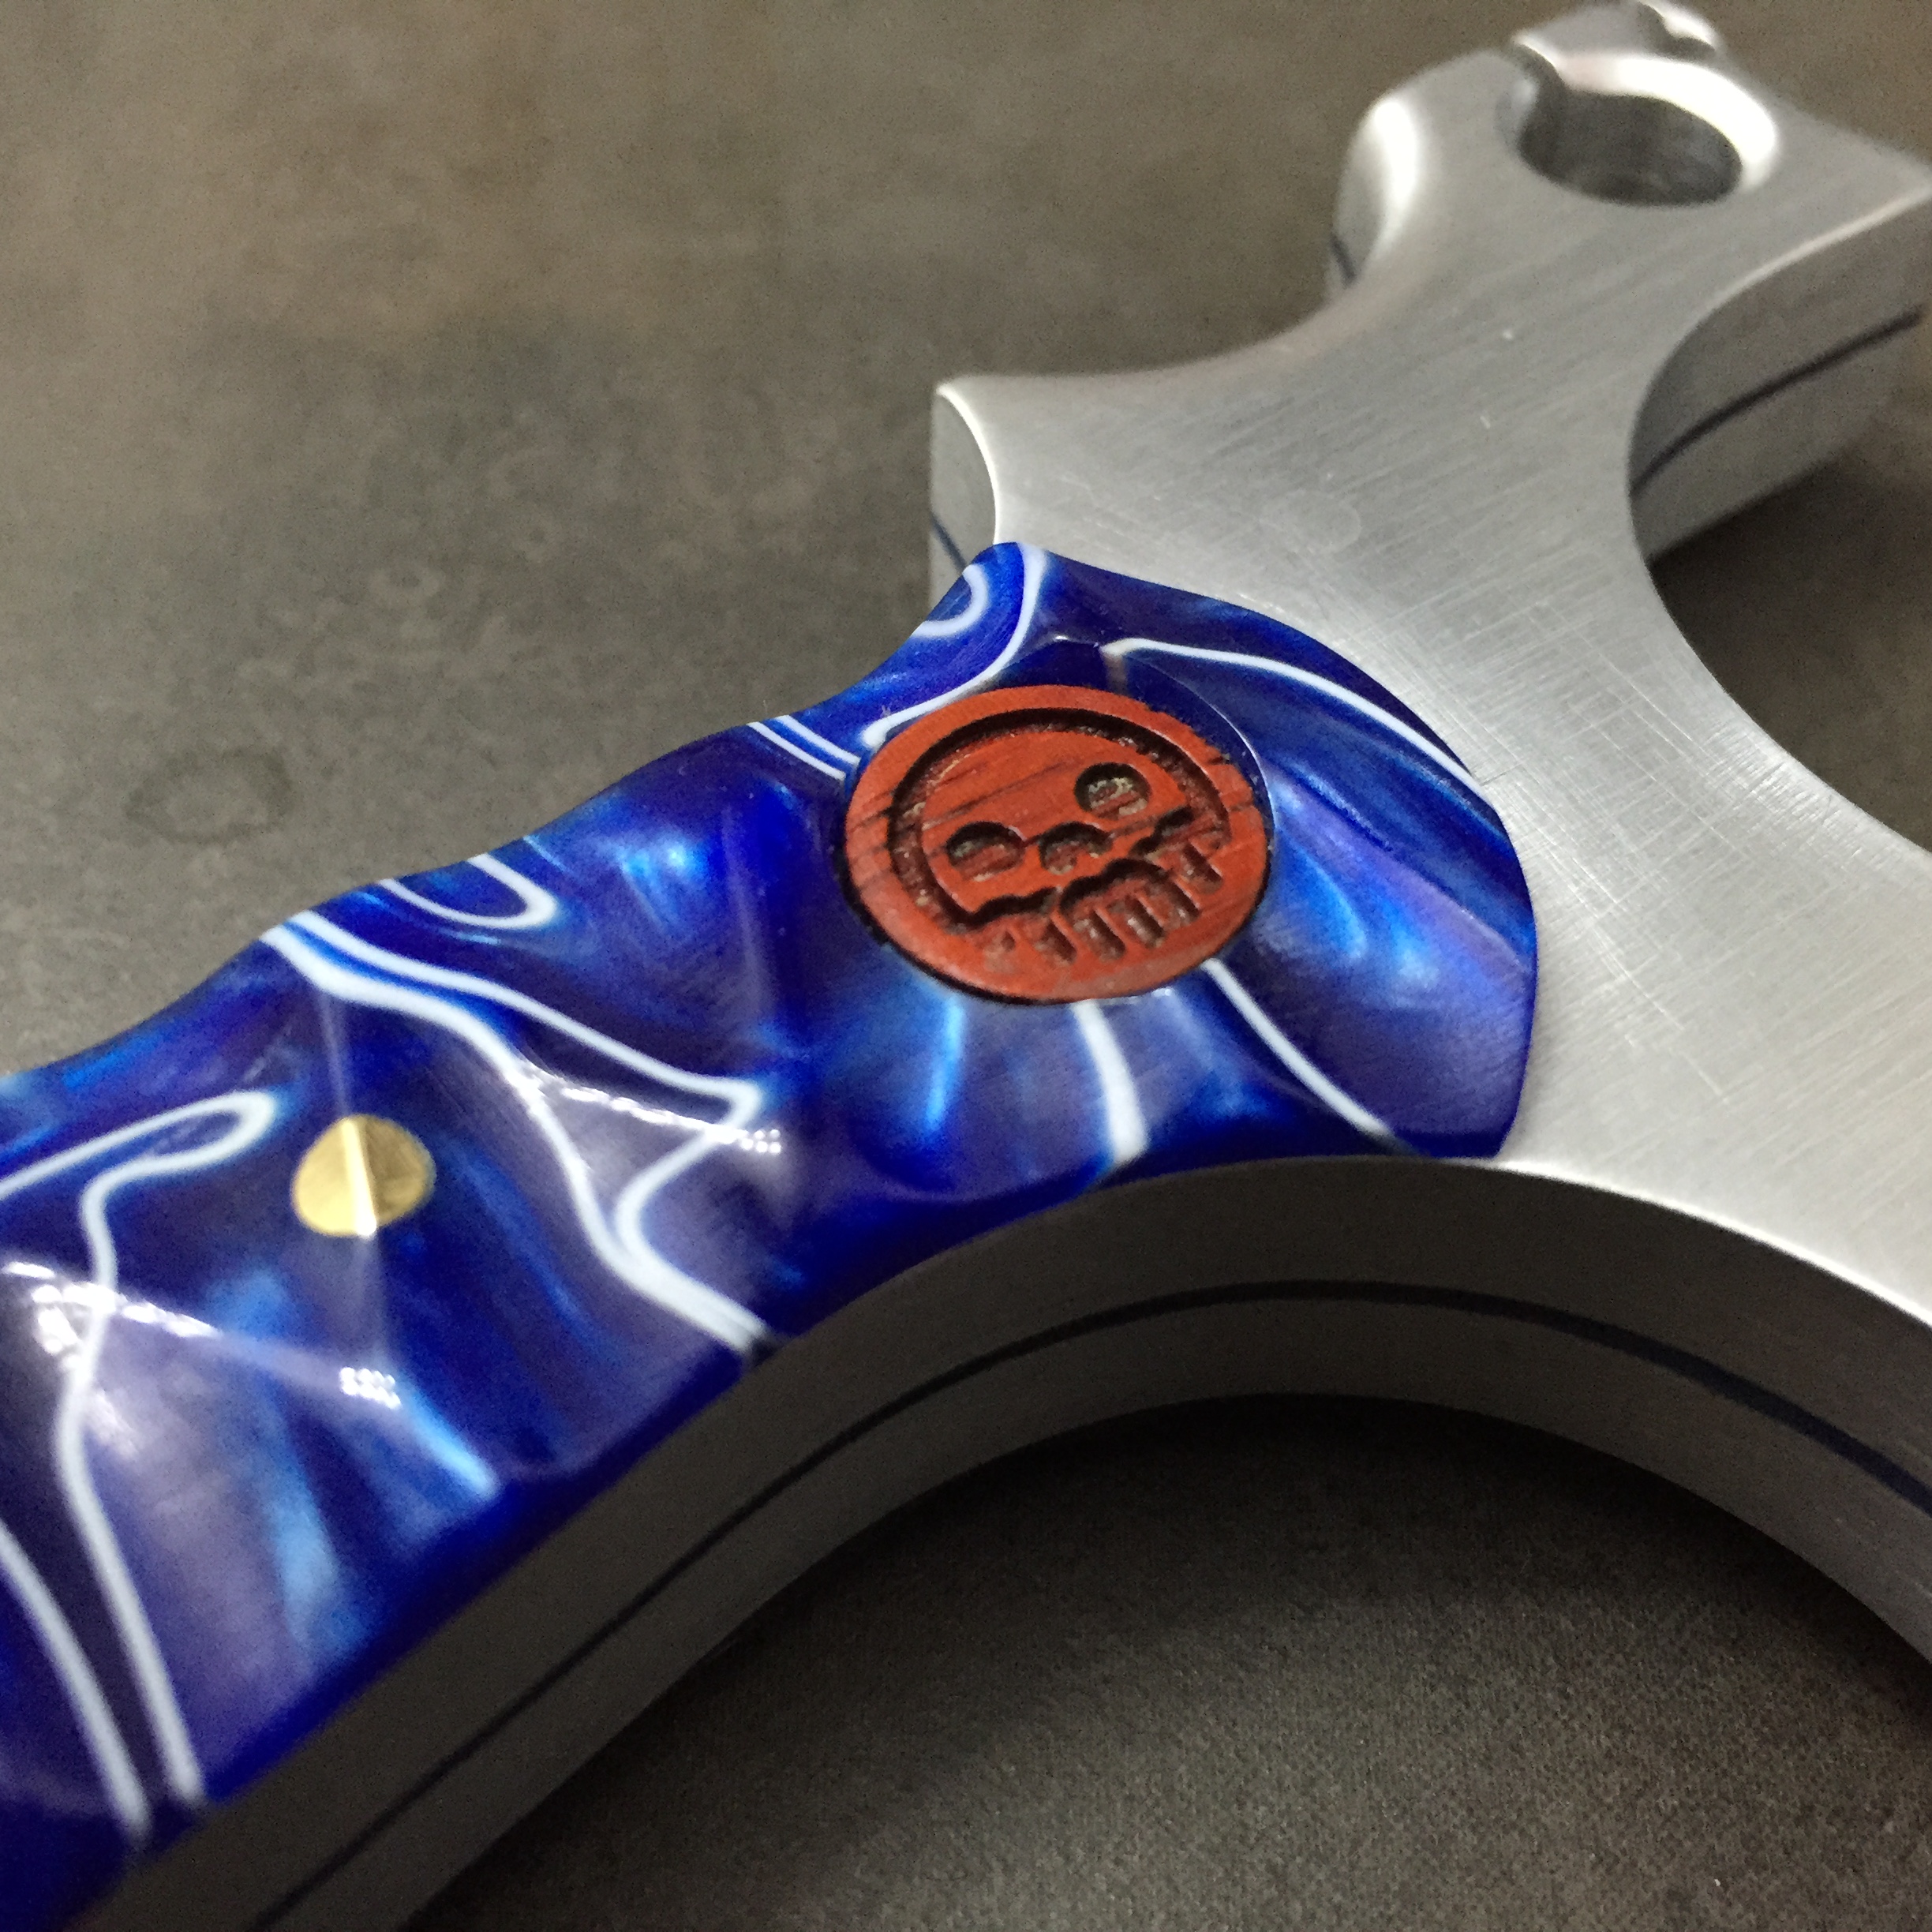
From there it was time to dress the Lumbri up! I shaped a small bit of ‘patriot’ pattern Kirinite. It was just wide enough to get to the base of the handle. After profiling it, I resawed it into to identical halves and flushed the faces. From there shaped and finsihed the front edge of the scale that touches the surface of the slingshot, like building a knife since you can’t access that area with out really damaging the surface of the slingshot.

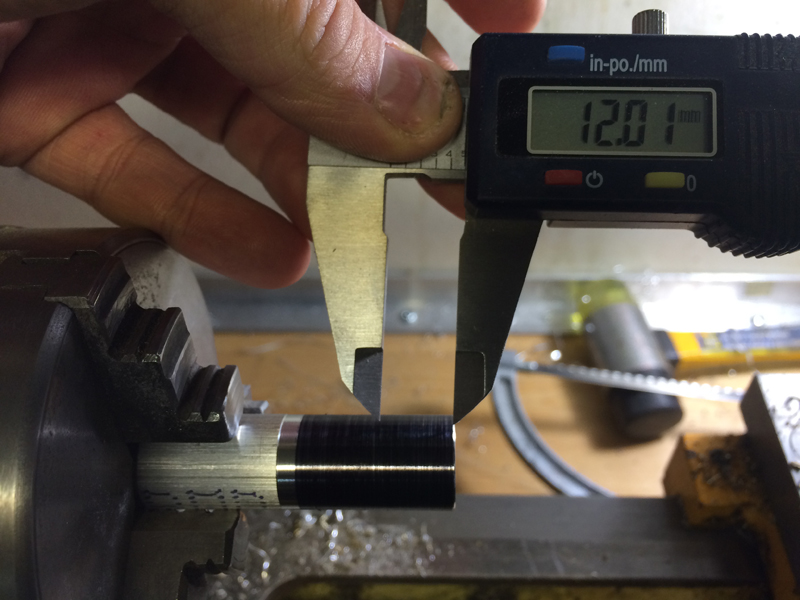
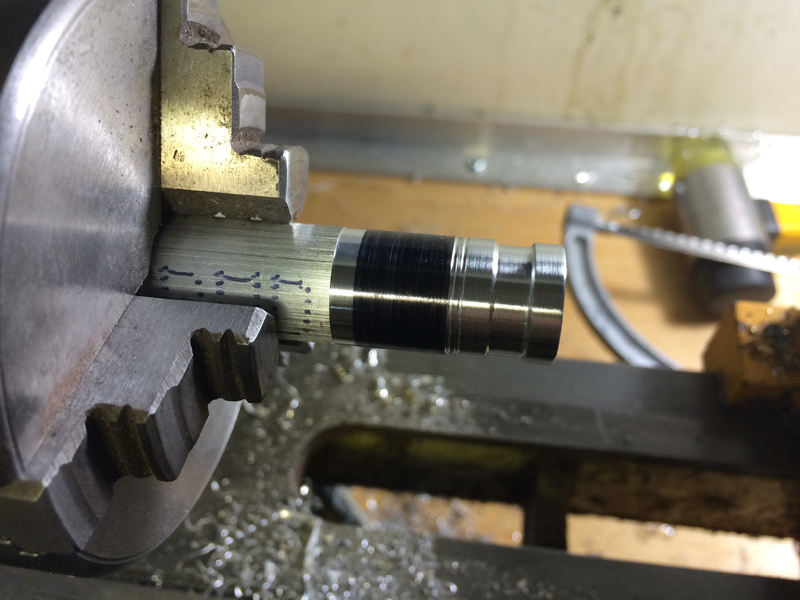
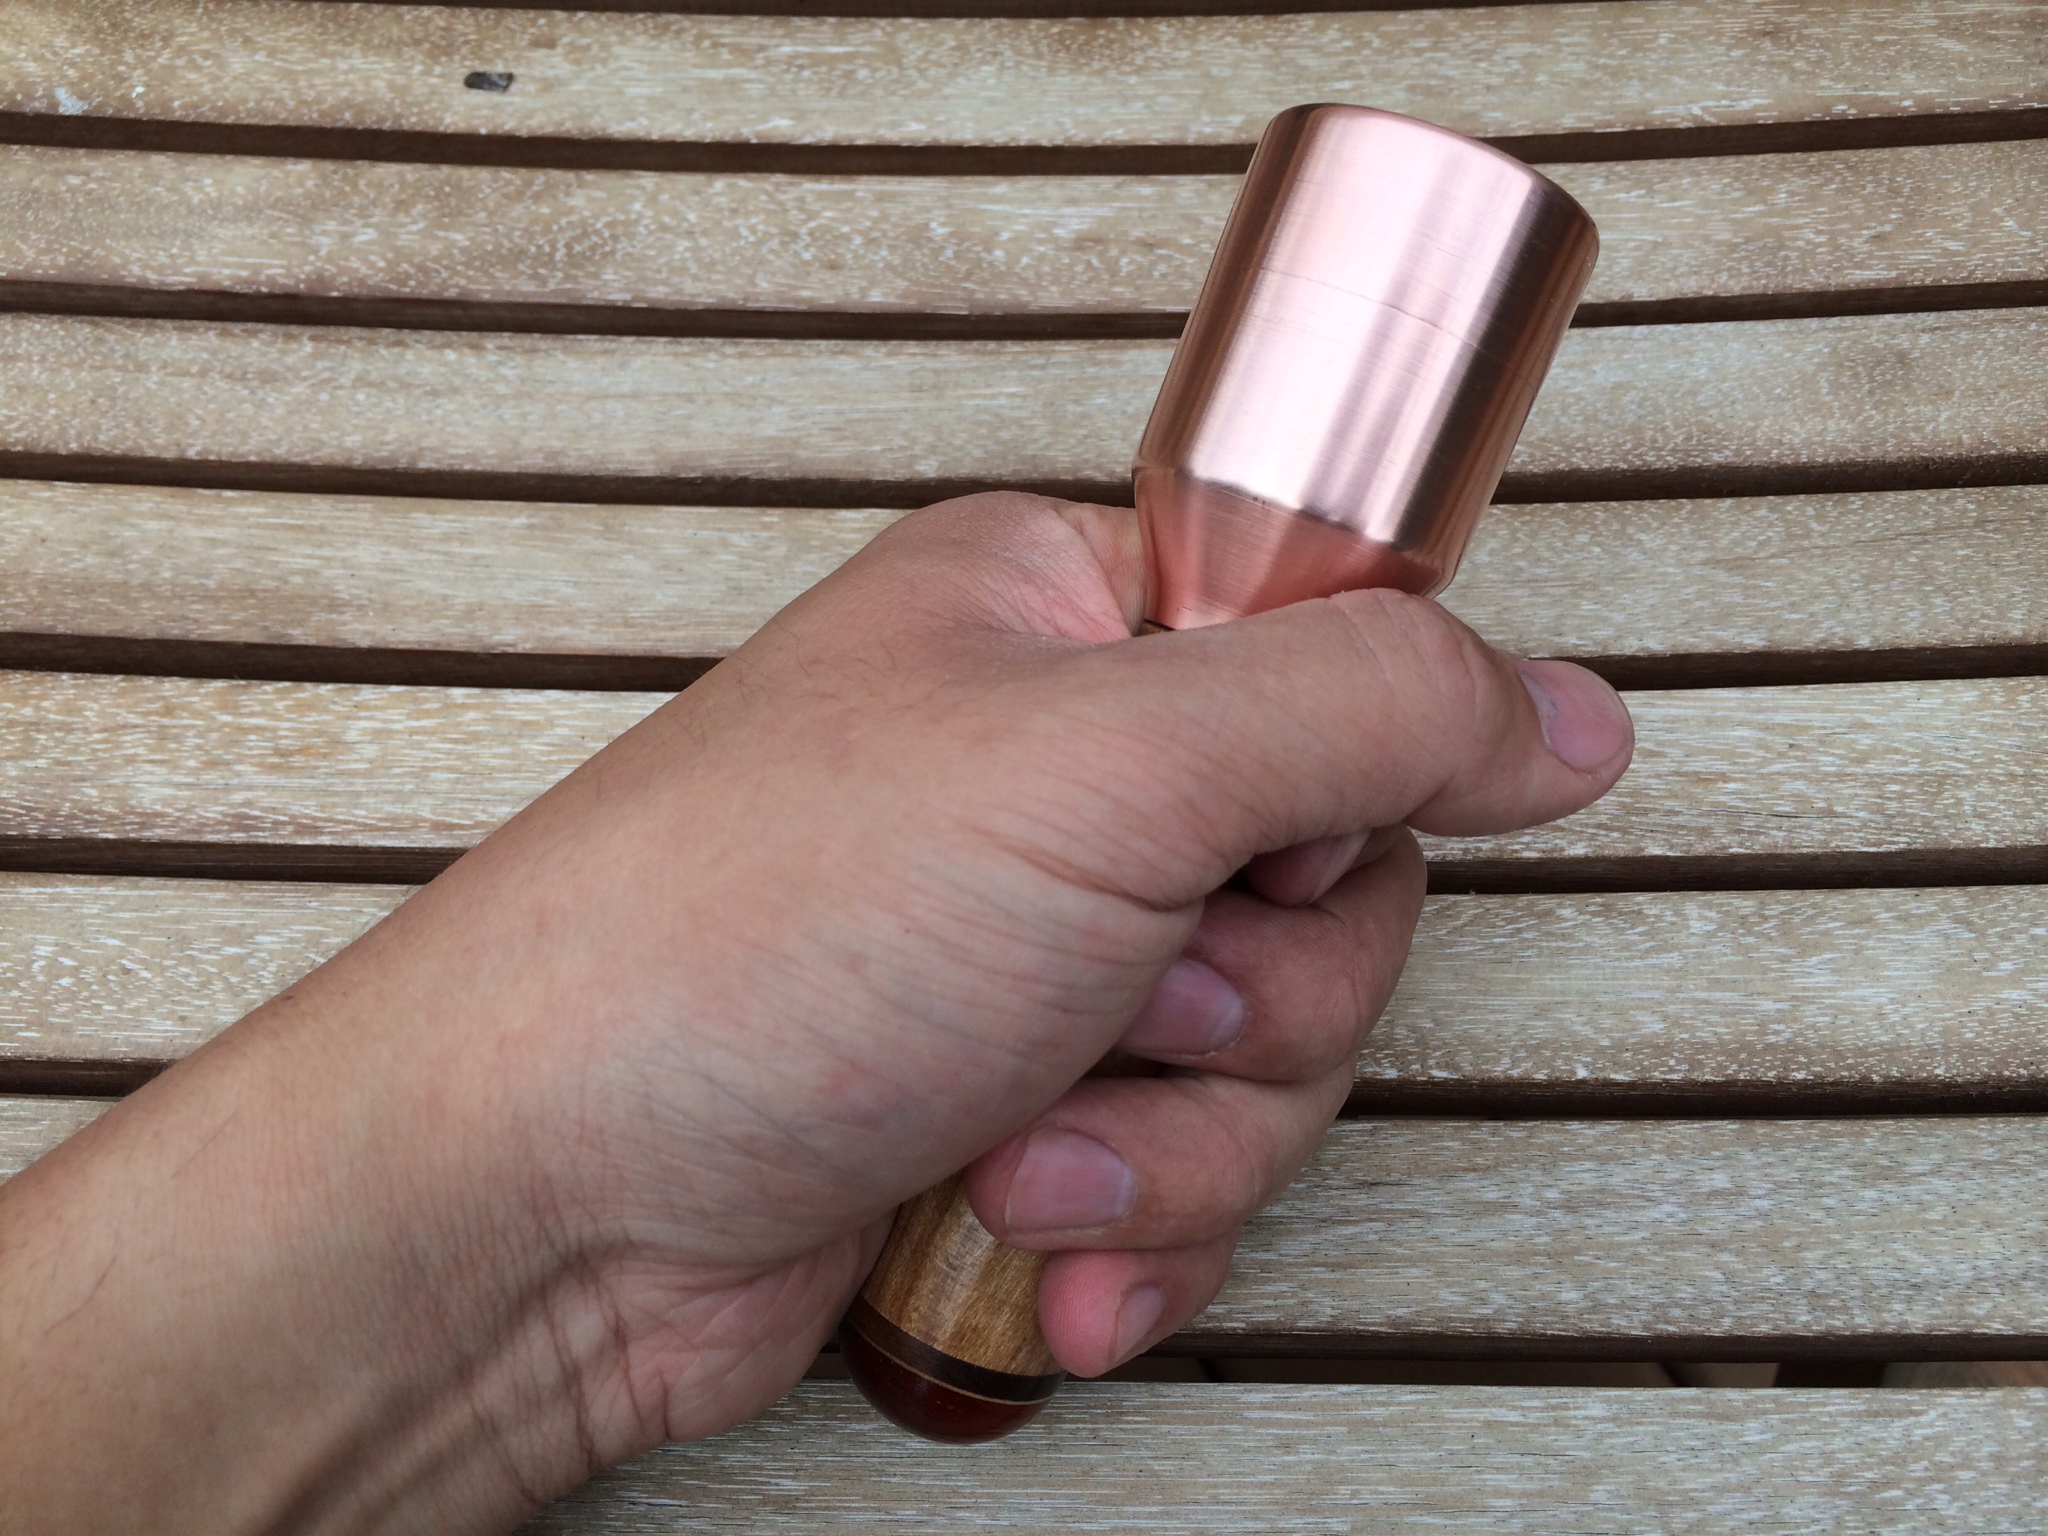
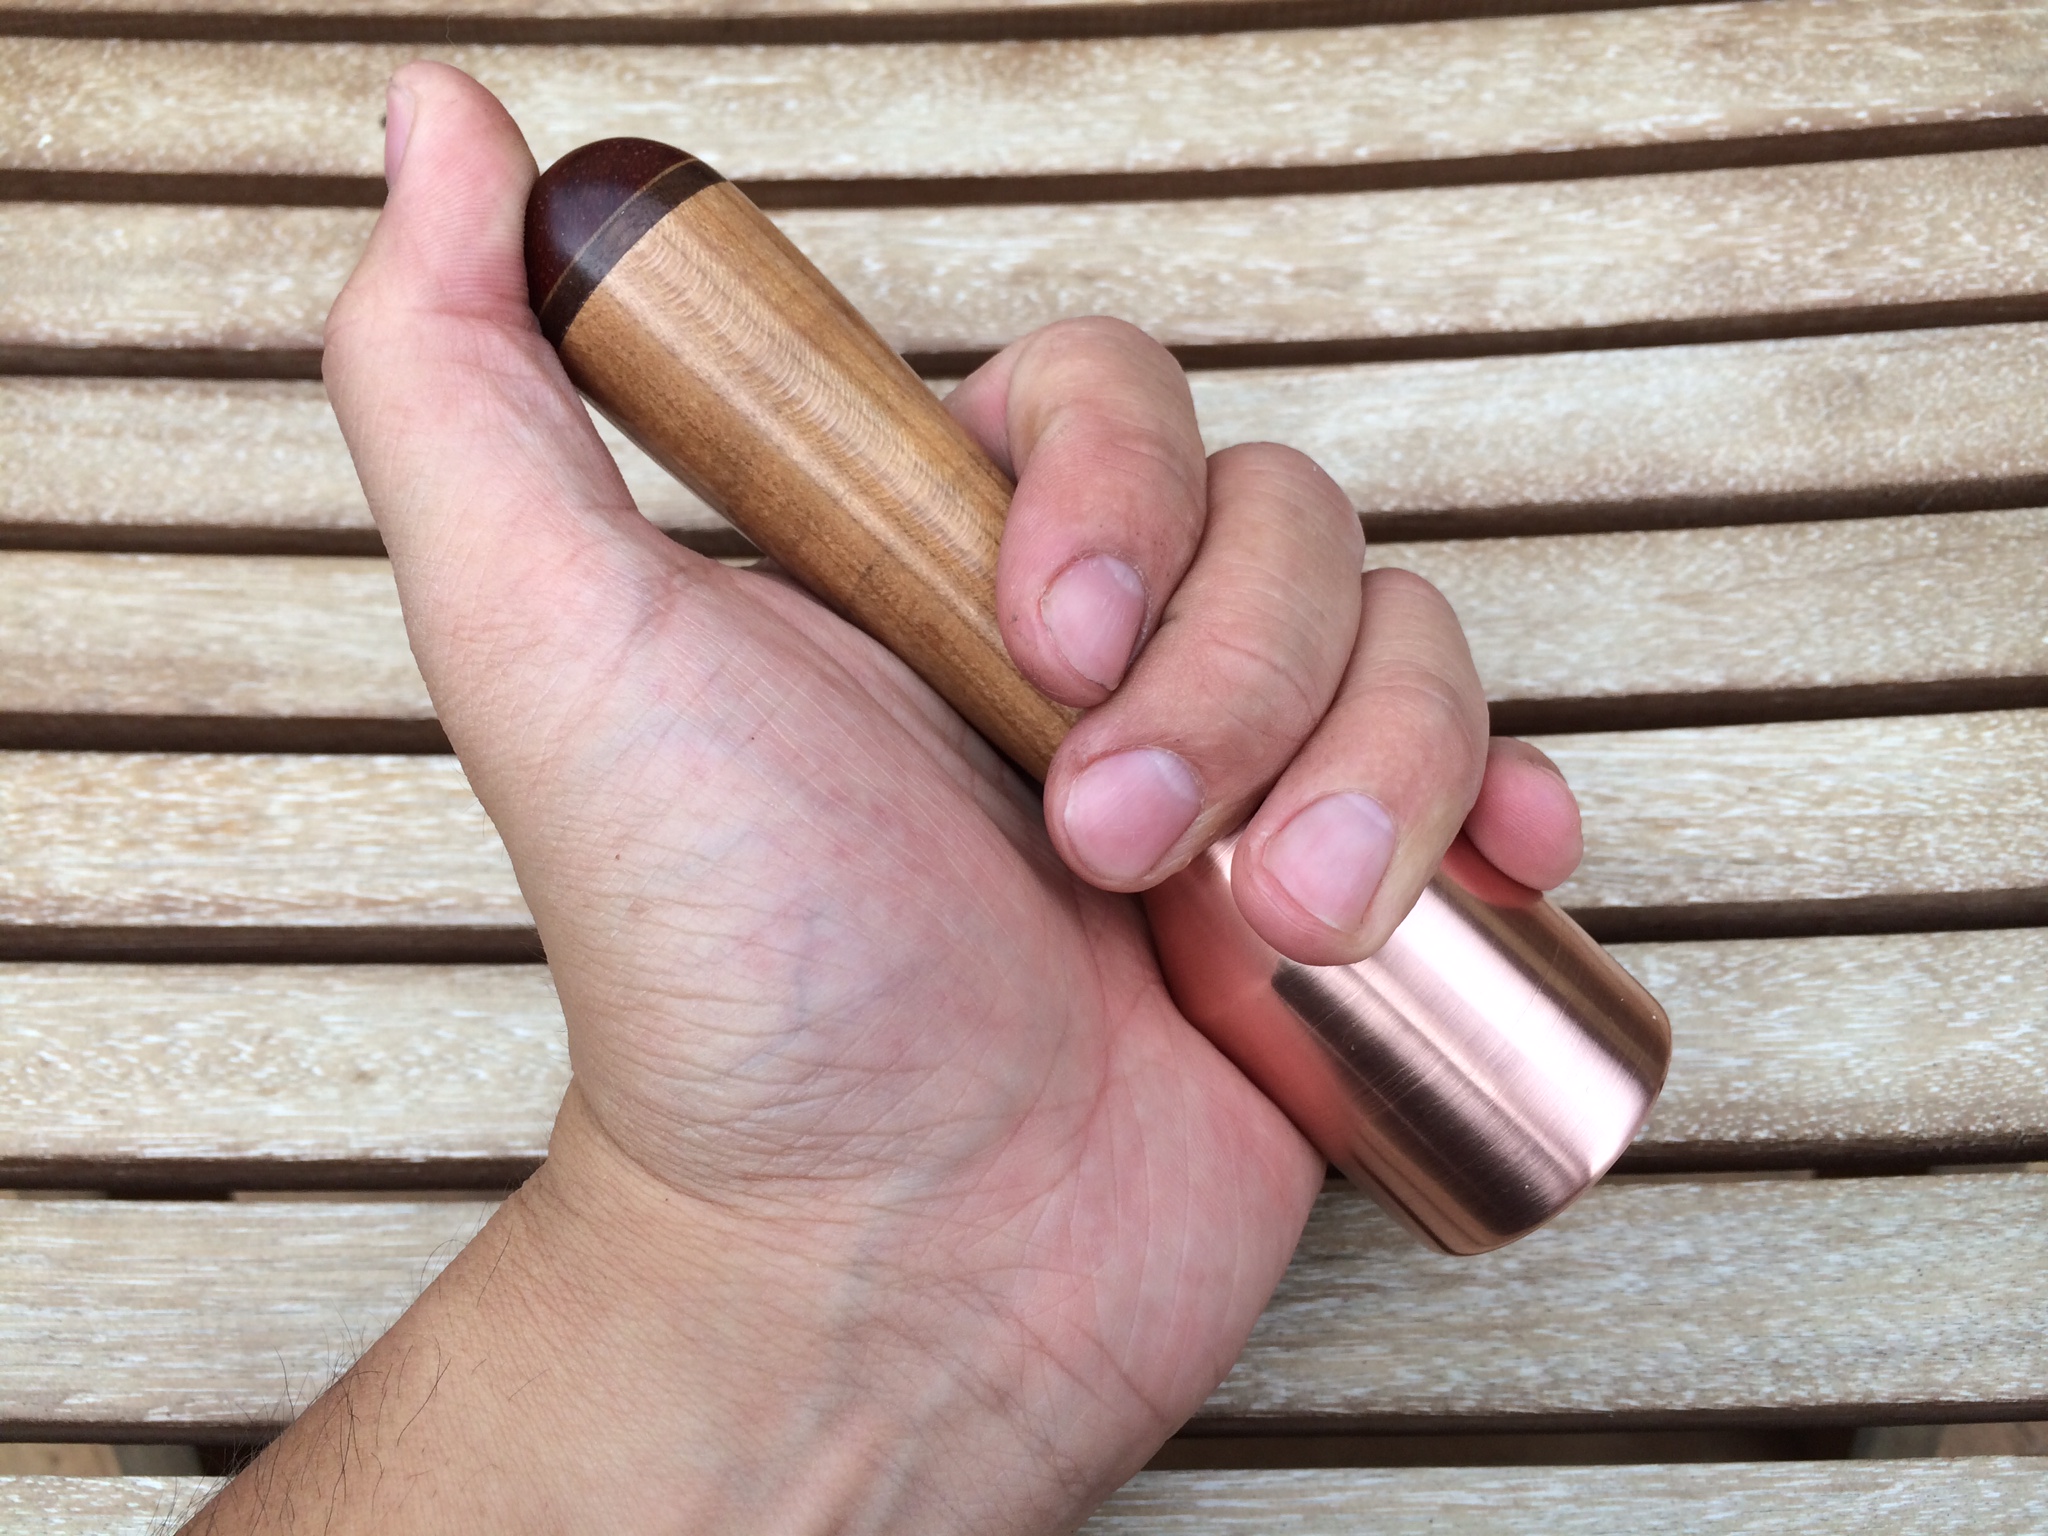
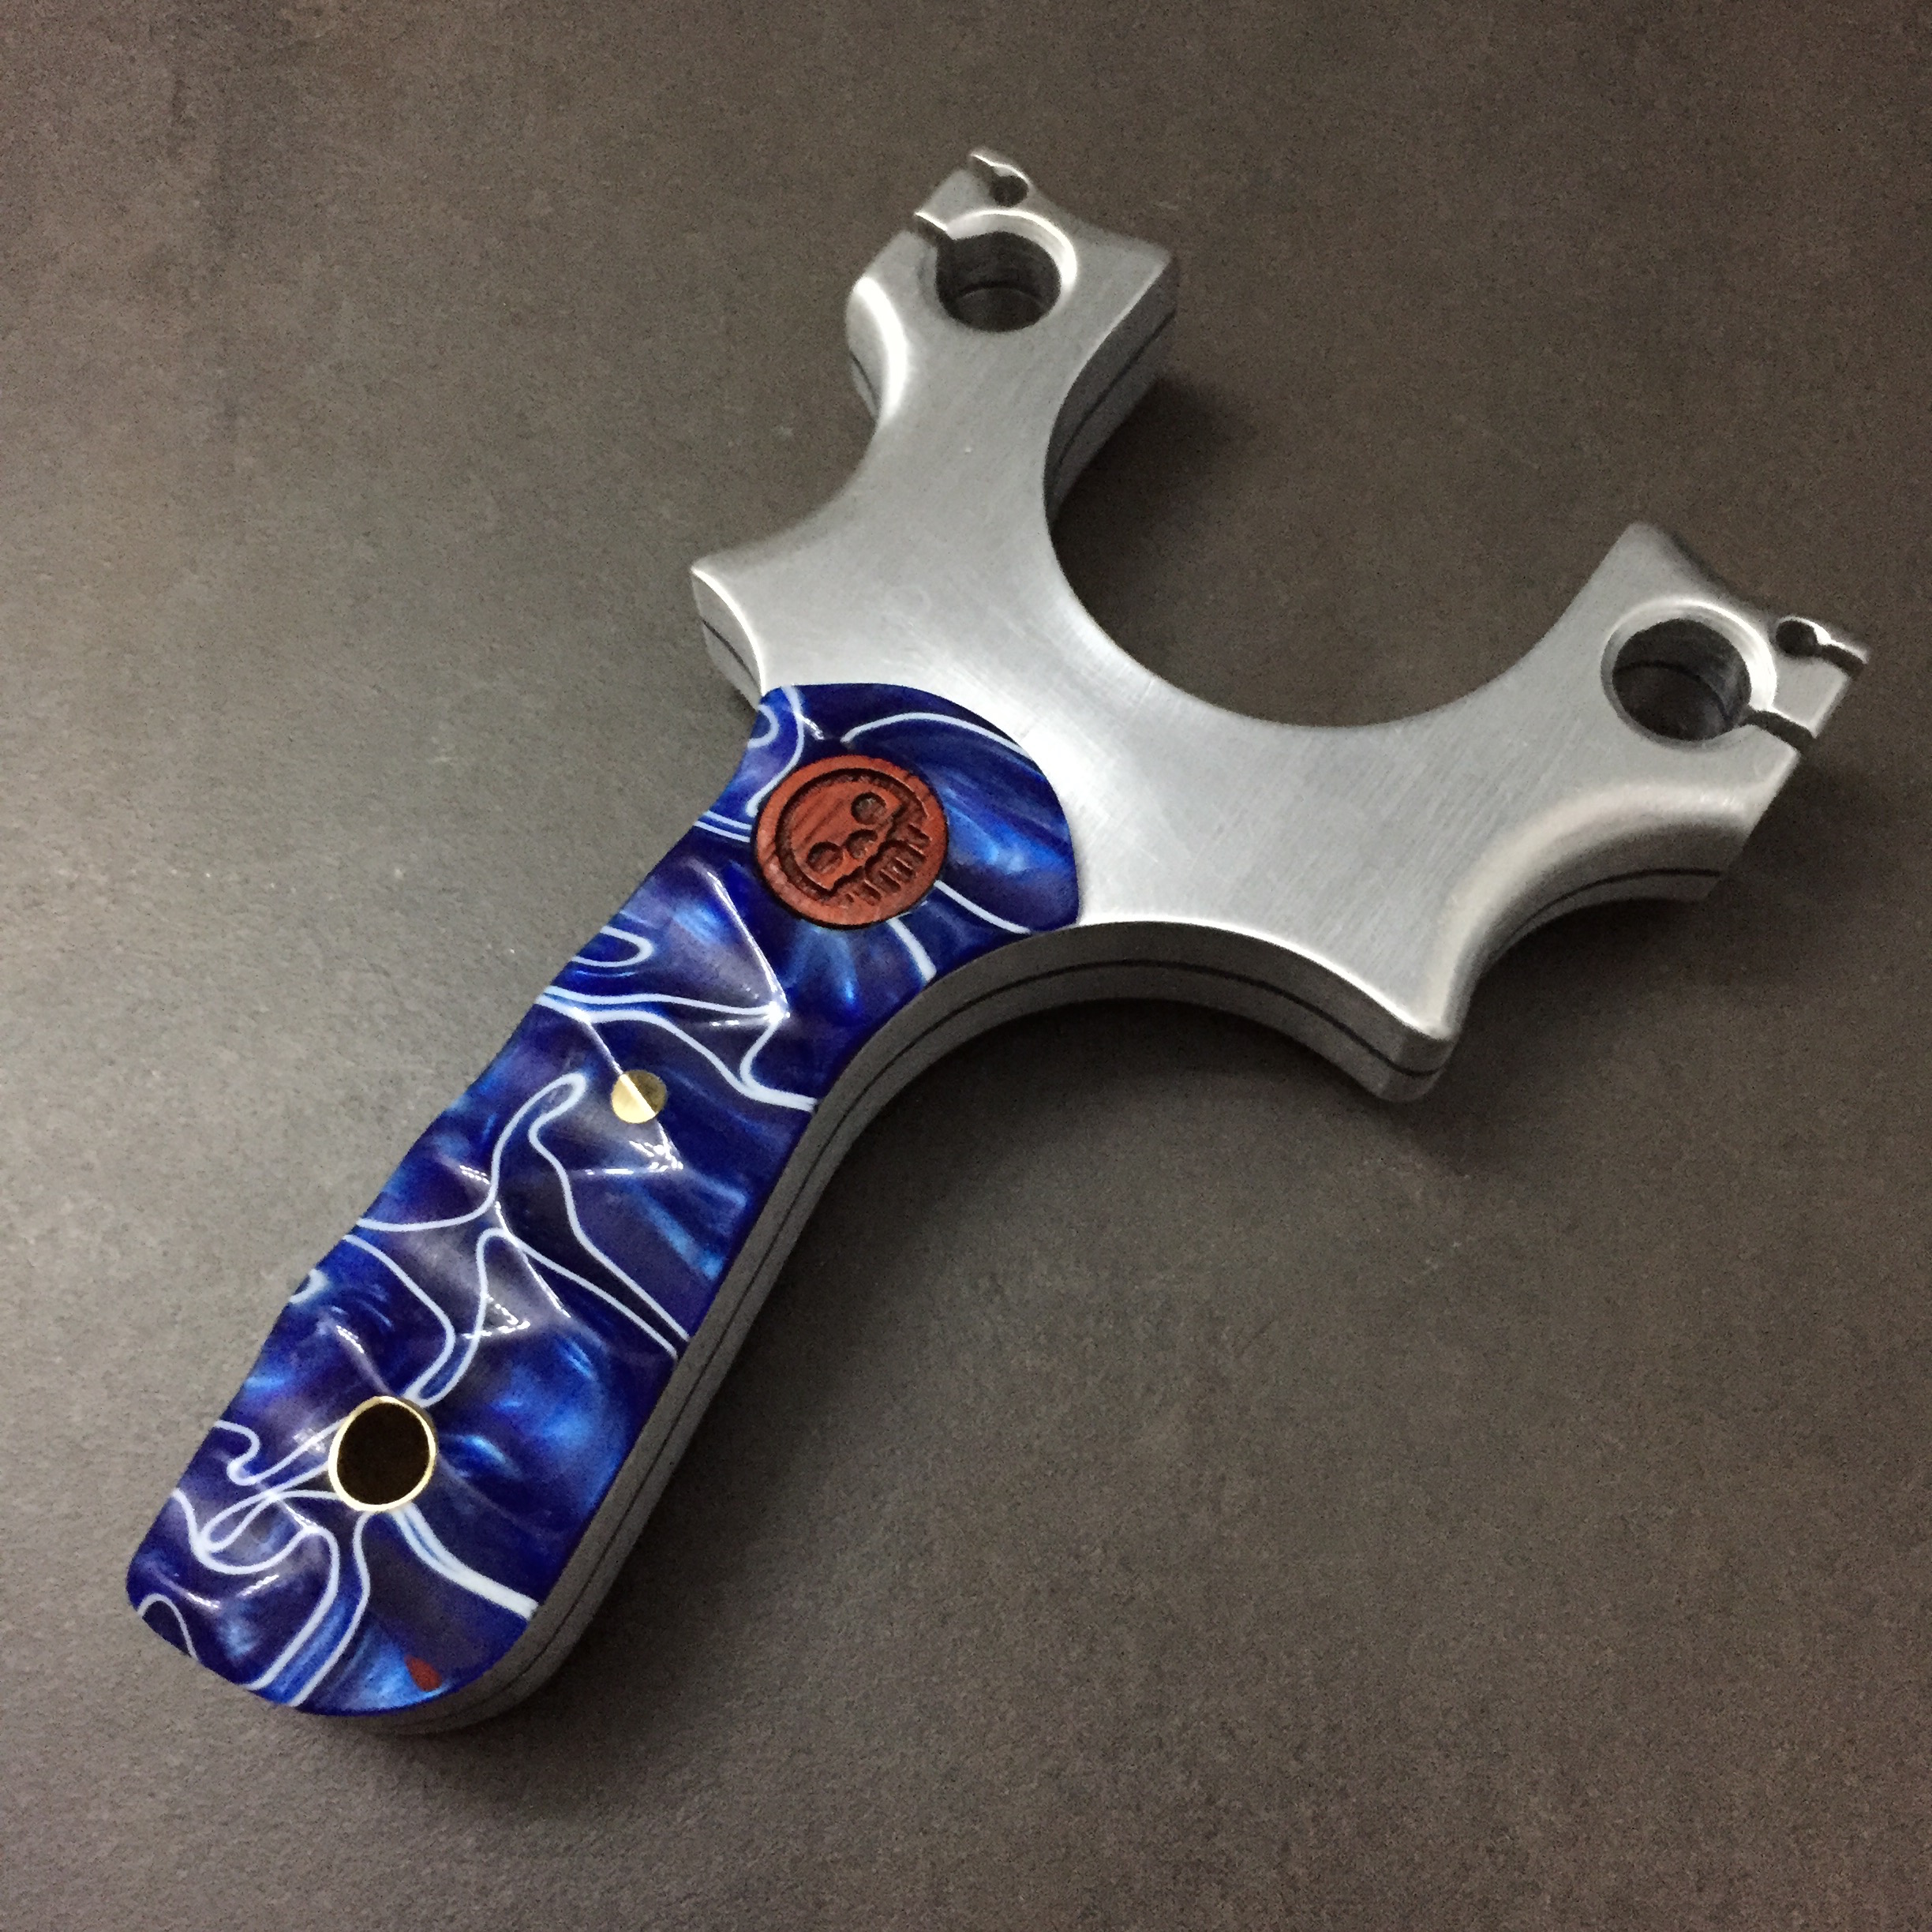
After fitting a 1/4 brass tube a 1/8 pin, I decided to try something I’ve seen 1000’s of times on custom knives, the very popular Anso texture pattern, an intersecting series of scalloped grooves. After plunging in for my first couple of grooves, I could already tell this was going to look sweeeeeet.

The Anso pattern is named after Jens Anso, an fellow industrial designer, custom knife and gear maker. Jens first did the pattern and has since been used on many custom knives and equipment. Here he is adding this trademark texture:

Rough cut and shaped scales.

IMG_2704

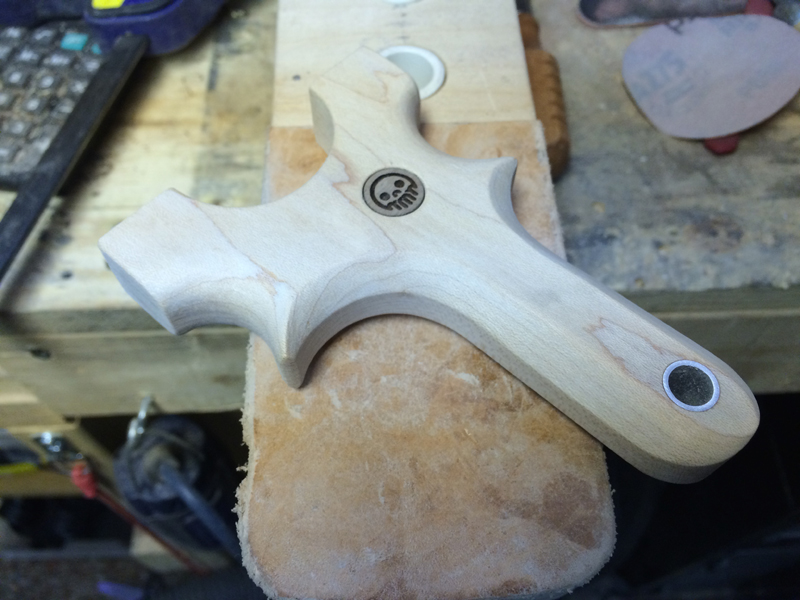
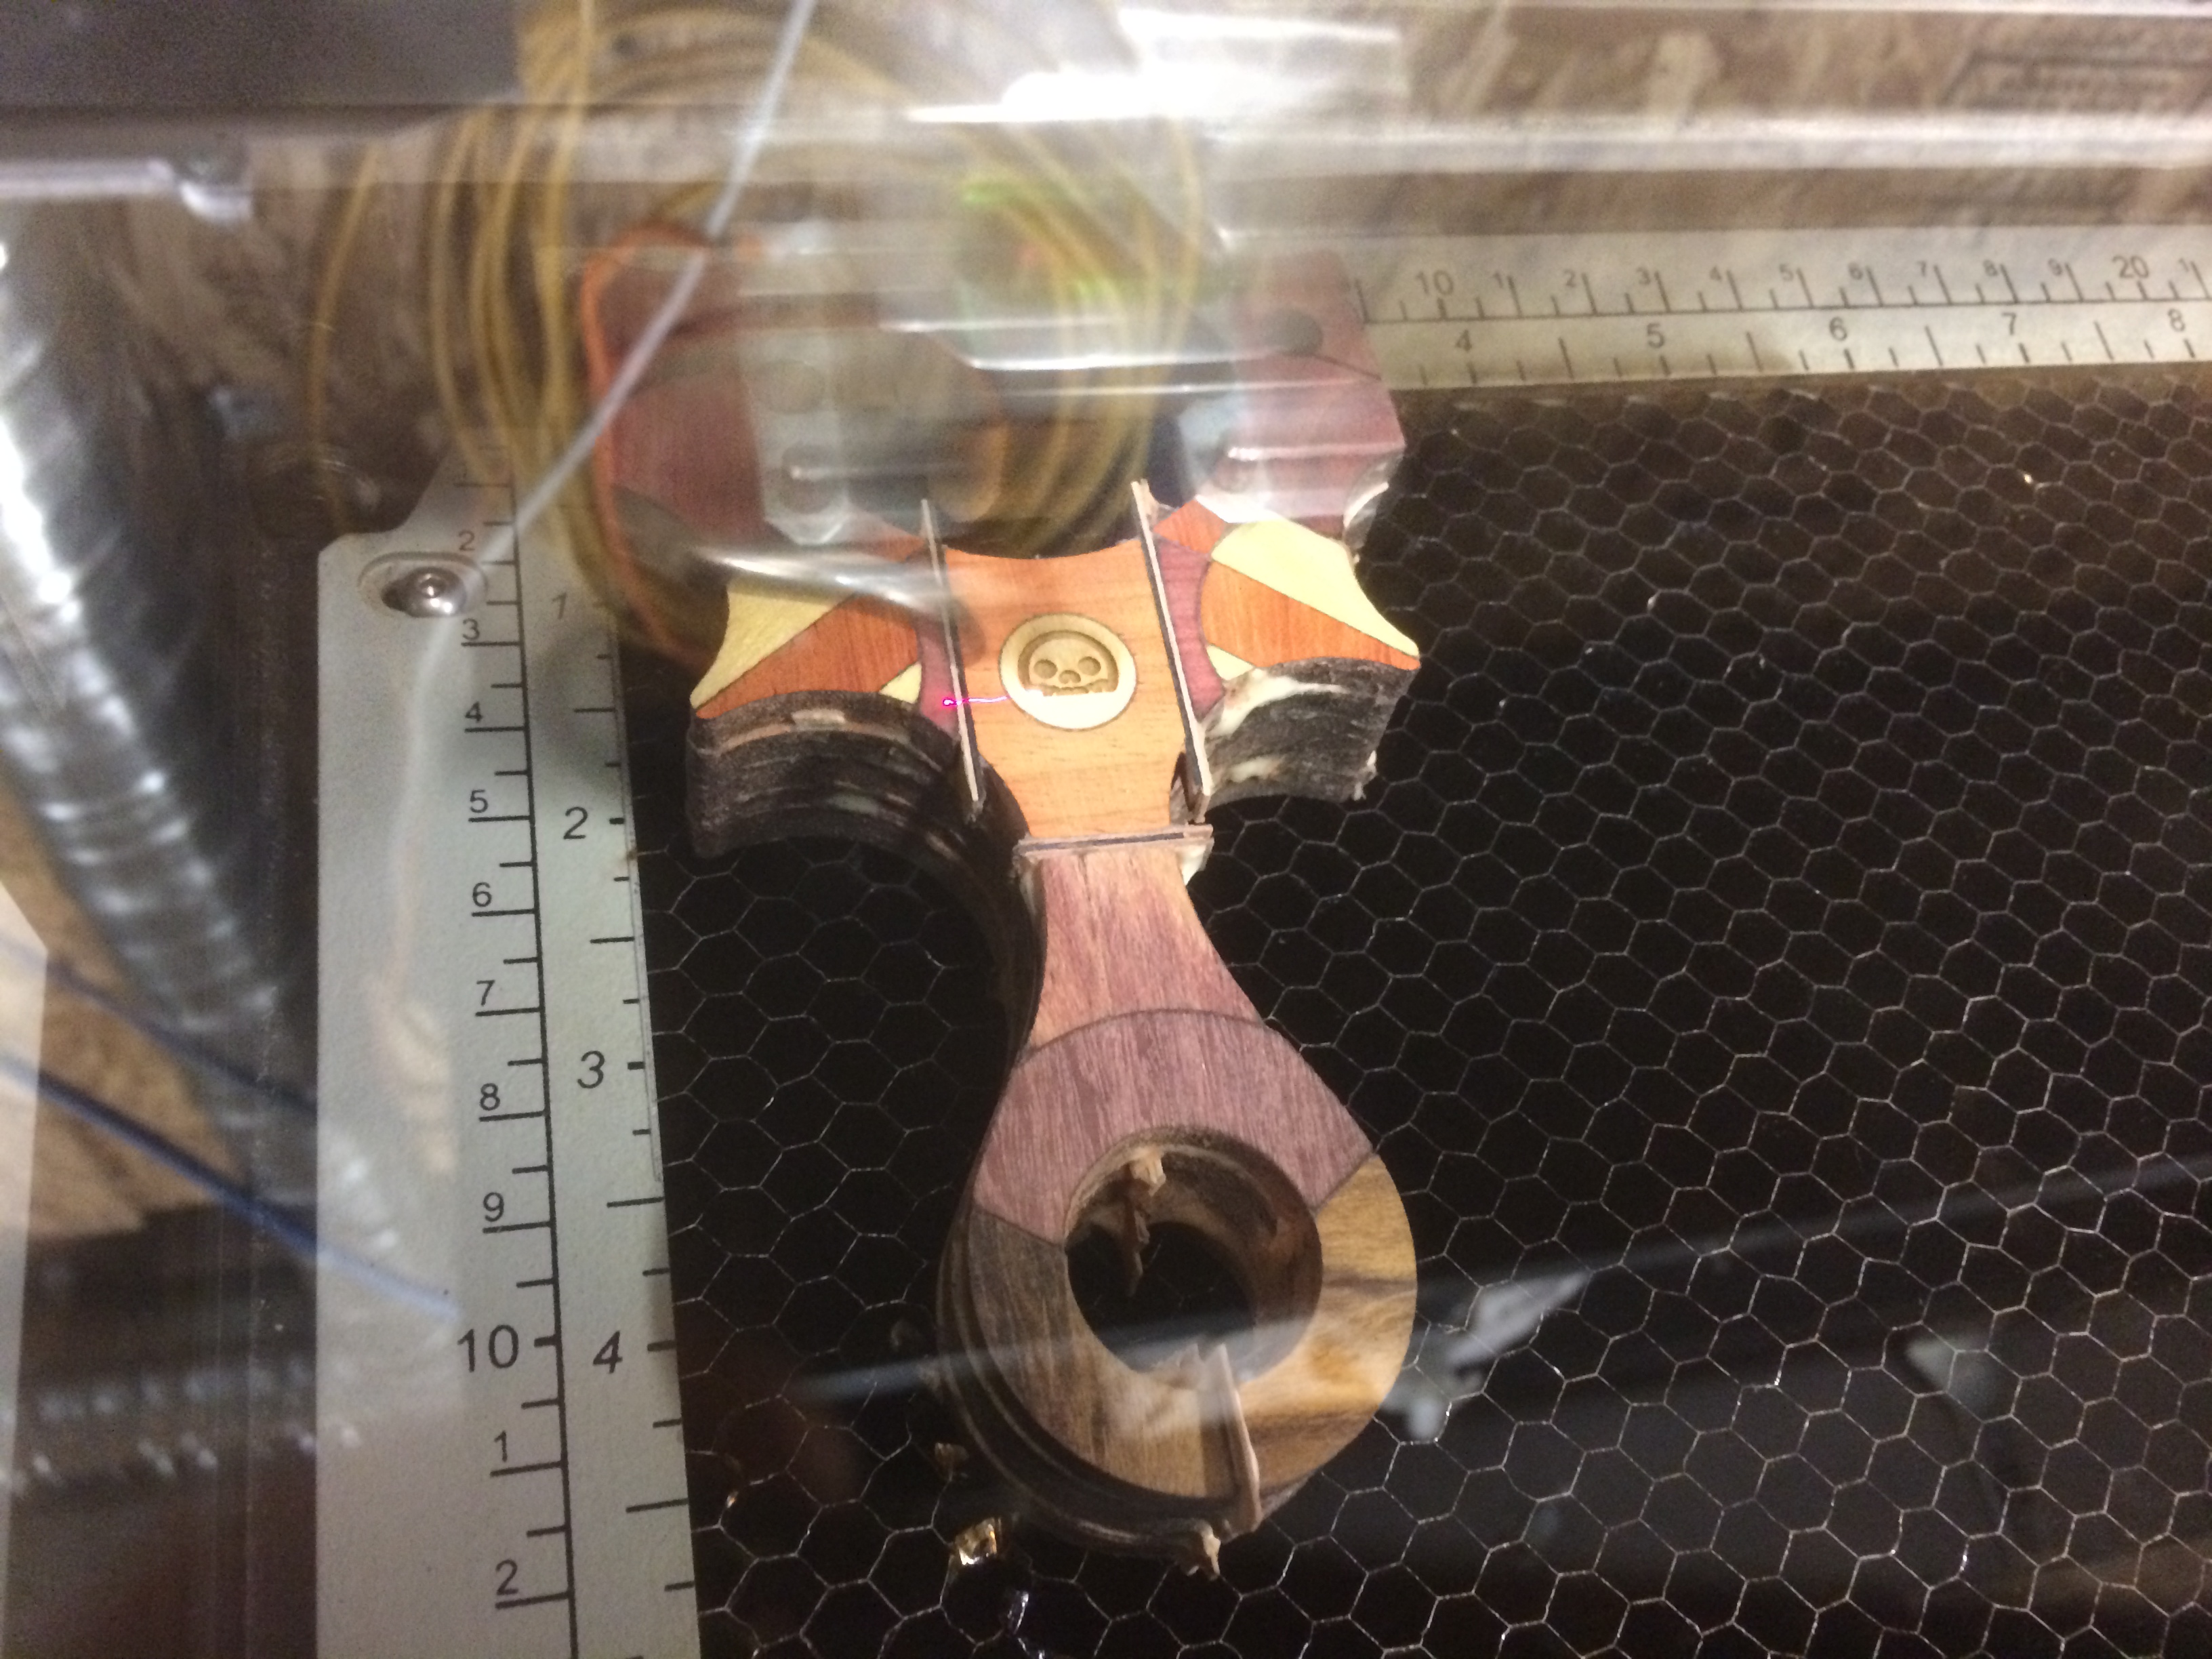
The rest are final pics, I didn’t want to ruin my work flow as the dust from the Kirinte is heavy and gets EVERYWHERE. In the end, I buffed the scales and matt finished the aluminum. I also added a Paduak makers mark and coated it in superglue to seal it up.

IMG_2708

IMG_2709

IMG_2710

IMG_2711

IMG_2712

IMG_2713

IMG_2714

Thanks for stopping! See you at ECST 2015!


-Metro


Posted on 1 Comment

Metro Made | Tap & Tab Figure 8 Descender Slingshot Build

buy ivermectin scabies online I am back! 

January and February kicked my butt.

After what feels like an eternity, I return to the shop for a short build and an alternative take on the popular climbing figure 8 descender hardware. The last time I tackled one of these, it was more of a TTF, tubes affair. This time around, I do a little bit more machining to achieve an even more refined version of the classic slingshot shape.

Posted on 2 Comments

Metro Made | Rotating Tip Ergo Slingshot

accutane for cheap It was time to try something new, something exciting, something….with moving parts. Slingshots aren’t known for moving parts, but it was time to try it out. Rotating fork tips aren’t something I came up with but I did want to take a stab at it and try to make a deadly accurate BB shooter.

I started by designing a shape that is a smaller frame than usual. A pinch grip style with some beefy fork tips. This would be cut from 3/4″ maple so I knew it wouldn’t be a problem for structural integrity. The plan is to drill a hole straight down into the fork tips, tap it when a thread and screw in some machined sleeves.

IMG_0683

After transferring the pattern onto a 3″ wide board of maple, it was cut out and sanded to the profile. A 1/2″ aluminum lanyard hole was epoxied into place.

IMG_0684

IMG_0684b

After shaping the grip area with some generous curves, the handle was shaped with some nice crisp chamfering.

IMG_0685

IMG_0686

IMG_0687

A 1/2″ pocket was drilled into the face with a Fortsner bit and a walnut maker mark button was pressed and glued into place.

IMG_0688

Now the tricky part, holding the frame in a drill press vice two 7/32″ holes were drilled into the tips. These holes where then tapped with a 1/4-20 tap. After removing the tap, thin cyanoacrylate glue was dripped onto the threads to strengthen them. After the glue cured, the threads were chased with the tap again and more glue was dripped in.

IMG_0689

After the glue was fully cure, the frame was dropped into a bath of boiled linseed oil for a 25 minute soak.

IMG_0690

IMG_0691

Two coats of light polyurethane sealer was wiped on. This was left to dry for some time.

IMG_0696

Now that the frame was done, it was time to make the business end of the slingshot, the rotating tips. The rotating tips’ concept is that the bands would rotate on the axis of the fork tips, eliminating the abrasion it would normally experience when the rubber retracts into the frame.

We start by facing some 5/8″ 6061 aluminum.

IMG_0703

The tips are going to be 12mm high with a groove of 4mm to help the bands seat themselves nicely on the center.

IMG_0704

The toughest part about making rotating tips of this kind is making two identical ones.

IMG_0705

Rechucking the tips after parting them off the stock, it was faced and the a centerdrill was used to help start the hole.

IMG_0706

Then a 1/4″ hole was bored straight through the tip.

IMG_0707

Using a big single flute counter sink, the tips were chamfered so that the machine screws would nest inside for a cleaner look. IMG_0708

Exhibit A…machine screw seated and clean look achieved.

IMG_0709

Rinse and repeat.

IMG_0710

Now it was time to screw tips into place, adding a drop of super glue into the threads to make sure the machine screw would not back out again. A thin washer was added to decrease friction and make the action smoother. The screw’s pressure was tuned so that the tips would rotate but not wiggle.

IMG_0711

Again to the other side. In case you were wondering, the screws screw into the fork tips about 5/8″.

IMG_0712

And we are done! Time tom make up some bands.

IMG_0713

A band set with some very small loops made up…

IMG_0714

A pair of ring expander pliers help stretch the loop out so they could be fixed over the tip.

IMG_0715

And we are done!

IMG_0716

I am happy to report that the rotating tips not only look super cool, but they also work REALY well.

Some quick shooting of the Capuchin RT with the same aluminum rotating tips.

Thanks for reading another Metro Made!

Happy Holidays!

-Eric

Posted on 4 Comments

Metro Made | How to make a slingshot pouch

While showcasing at the Toronto Mini Maker Faire, we got asked time and time again “how accurate are these slingshots?”. I always answered, it’s as accurate as you want it to be, meaning you have to put in the time in practicing and training. The best slingshot in the world is the one you have in your hand. Proper pouch grip, pouch draw, pouch position and pouch release are among the most difficult thing to master, but there are still things you can make to help you shoot more accurately.

This Metro Made is about pouch making. Not the kind that you put stuff in, but the kind you tie rubber to and whip through the forks of a slingshot loaded with your ammo of choice.

Let’s start off with the tools and materials. You will need:

  • Sacrificial surface to punch into (mine is a 4×6 piece of UMWPE)
  • Self healing mat
  • Steel ruler
  • Thin line pen (ball point is best)
  • A large and a small hole punch (I use a 5.5mm and a 3.5mm)
  • Mallet (I am using the Death Rattle Mallet)
  • Scalpel or a sharp Xacto knife
  • Ammo choice (3/8″ steel in this case)
  • Leather (more on this)
  • Optional: Rotary Cutter
  • Optional: Right angle square
  • Optional: Drafting Circle Template

MAR_1930

Once we’ve gathered all the materials and tools, it’s time to design a pouch. There are a few factors to consider when designing a pouch:

  • What kind of rubber is going to be tied to it?
  • What ammo is going to be used?
  • How big are your fingers?

I’ve chosen 3/8″ steel balls as my ammo, and to shoot the heavy 3/8″ ammo, you need to use a medium amount of rubber which means there will be a lot of pressure around the tie hole. The ammo needs to sit inside a folded pouch nicely, not to spill over the sides but also not too much leather since the more weight there is in the pouch, the slower the shot. As mentioned, there will be at least one layer of medium weight rubber attached to these pouches, so the area surrounding the pouch tie hole needs to be beefy enough not to blow out. Also, the thickness of the rubber needs to be taken into consideration.

This all translates into the design on paper. The length is 60mm, which when folded in half nests the 3/8″ steel ball nicely and my fingers would be just touching the rubber ties. The width is 20mm which is a balance between cradling the ammo and allowing for a beefy rubber tie hole. To make this simple, the ammo centring hole is the same as the pouch tie holes on either end. The two smaller holes will be made with the smaller punch which aids in the memory of the leather to be folded in the right way.

MAR_1931

Now that the design is setup, it’s time to select a leather. It has to be a balance of good stiffness, but also supple, not too thick, not too thin and has to be low stretch. I have selected a nice white kangaroo section, which is known for it’s low stretch, high strength properties. Single sides, chrome finish cow hide is also good. Leather finished for upholstery  is also good, you want something in between 1.5-2.5mm in thickness. Here I’ve used a right angle square to give myself two edges to work from.

MAR_1932

Leather has grain and depending on where it came off the animal, will stretch more or less. Belly cuts stretch more while leather from the back will stretch much less. What you want to do is test your leather and pull it slightly to find you which direction you want your pouches to be laid out on. The direction with the less stretch should be the LONG side of the pouch, this will make the pouch last longer and deform less as it is used.

I’ve already tested this leather and started to mark out the first lines, the ticks are spaced 20mm apart. This will form the height of the pouch.

MAR_1933

Taking great care to line up the ticks, lightly draw in the lines so they are accurate and straight.

MAR_1934

Now to measure out 60mm increments, these will divide the leather into rectangles.

MAR_1935

Again, carefully scribe in the lines.

MAR_1936

Now to divide the 20mm into 10mm/10mm. This is how the center hole and the pouch ties holes will be located. Sample process, measure out, carefully trace the line in.

MAR_1937

At this point, it’s going to get messier as more lines are put down. So use a marker to put dots on the  lines you will use to cut. They differ from the registration/location lines.

MAR_1938

Marking the vertical cut lines.

MAR_1939

On the initial drawing, the center of the pouch tie holes are 10mm from the edge, so mark, align and draw in those center lines. The same goes for the center hole, it is 30mm from either end.

MAR_1940

Now comes the hardest part, punching the holes. Using the lines like cross hairs, line up the punch and wack away. This is the center hole.

MAR_1941

The center holes punched on the two.

MAR_1942

Now punch the outside tie holes.

MAR_1943

After punching out the outside tie holes, take the small punch and line it up in the other cross hair that was made. This will form the little divot to aid pouch folding in half.

MAR_1944

For the outside edges, just line up half the punch and wack. This will cut a semi circle out.  MAR_1945 MAR_1946

Repeat until the whole thing is punched out.

MAR_1947

I chose not to put center holes in this line, but I still put the side divots in.

MAR_1948

The hole sheet done now.

MAR_1949

This is an optional step, using the scalpel/Xacto blade, cut into a slot on the inside line of the pouch tie hole. This will make pulling the folded bands or tubes easier.

MAR_1950


As seen on the hole closest to the camera.

MAR_1951

This step is also optional, but makes the pouch that much more clean in the end. Use a drafting circle template to mark a half circle on the outside of the pouch, like the original drawing.

MAR_1953

Repeat until all of the circles are drawn in.

MAR_1954

How, using the knife, carefully cut the pouches in to length wise strips. This allows for a more accurate cut.

MAR_1955

MAR_1956

After slicing them into strips, each pouch can be separated into sections. This can be done with a knife or scissors.

MAR_1957

After all that careful planning, the left over scrap and the semi finished pouches. At this pouches are serviceable, but it’s nice to have them finished on the edges.

MAR_1958

There are two different ways to do this…I am sure there are more but these are the simplest ways. The first way is to cut using sharp scissors, the semi circle that we drew on the pouch.

MAR_1959


The 2nd way is even simpler, just cut off the corners at 45 degrees.

MAR_1960

Comparing the drawing to the real thing.

MAR_1961

So that’s the short and tall of how to make a slingshot pouch. This obviously isn’t the ONLY way to do it, but I encourage you to try out different shapes, lengths, thicknesses etc until you find what works for you. I still prefer the precision of a laser cut pouch, but not everyone can get access to such high tech equipment.

Thanks for reading!

Next up, cutting bands and assembling a band set!

Posted on Leave a comment

Metro Made | Copperhead Carving Mallet

I have been getting back into tooling mode lately, collecting and acquiring hand tools and finding ways to make them uniquely mine. In this Metro Made, I craft a carving chisel based on a classic brass headed carving mallet.

Lets being by looking at the inspiration…the wood handle. I went to my local Lee Valley tools to pick up a set of Milled-Tool files and I looked over at the discount table. Low and behold, there were boxes upon boxes of discontinued handles. For literally $.25, I could get a full finished, cherry wood handle with a nice 5/16 threaded row already installed into it. I had no idea what I was going to use them for, but I bought them all.

After doing some research into a nice design for my own metal head carving mallet, I came across an archived image from Veritas tools, Lee Valley’s house brand. The same handle appeared, I knew I was on to something.

15K0501s1

Some more research later, I find what I feel would be a good design, I love how the neck of the brass flows into the handle with no transition or break line. I didn’t know if I could get that tight of a fit, but I would try my best. The image is also from Lee Valley’s archives. This is currently sold as the “Journeyman’s Carving Mallet”.

blow_73C67541-5056-9C00-64EFCA02F86EEC24

I didn’t have any 1.5″ brass stock, but I did have some 1.5″ Tellurium Copper. Tellurium Copper is awesome, unlike the 99.9% pure copper, the added alloy of Tellurium makes it machinable and very hard. This is a hunk of it for scale.

IMG_8445

I cut off 2″ from this 12″ rod and chucked it up on the lathe.

IMG_8446

I mixed up the order of operations, in hind sight I should of machined the ‘face’ of the mallet first entirely and then chuck it up again on the otherside. Instead, I faced on side and tapped 5/16 thread into it. The handle already had an attached 5/16 bolt which made this project so much easier to deal with.

IMG_8447

I tapered the head at 30 degrees and took off the cooper until it almost met with the wood. From there, I used a half round file to manually blend the wood and copper till they made the a similar seamless transition. Before I finished the whole handle, I added some end cap detail by laminating some walnut and paduak spaced with maple veneers. Purely decorative, but sure makes it nice and custom.

The handle was then spun and using 80, 120, 240, 400, 600 and some steel tool, I prepped the surface to accept 4 coats of super glue. Having it already on the lathe made applying the super glue finish easy as I spun the handle very slowly. I hit the surface again with the steel wool to even out the glue.

I pulled a painters trick and used some bunched up news paper and turning the handle at it’s fastest speed to buff it to a very even shine. It feels like a pool cue.

IMG_8448

IMG_8449

IMG_8450

The end result is a copperhead carving mallet with a weight of just over 1Lb or 465 grams. Plenty of heft, but thanks to the small handle, incredibly controllable.  IMG_8452

IMG_8453

IMG_8454

I love the end product so much that I want to make a smaller one, maybe 1/2 or 1/3 pound to compliment each other.

Thanks for reading!

-Eric

Posted on Leave a comment

Metro Made | Oak Metbro Unishot and Classic

Since the launch of the new Metbro line, they have garnered a small following of slingers wanting to try out the old school feel but with some modern aesthetics. This Metro Made is about finishing a pair of Metbros, a Classic and a Unishot with some old growth oak, brass pins and a leather insert for the thumb pad.

Want to make one? Check out our Maker category.

Metro Grade Goods Maker Category


Posted on 4 Comments

Metro Made | Flatland Flame

When I was commissioned by Prairie Fire magazine to make a few slingshots for their annual fundraiser, I gladly accepted the challenge. This Metro Made documents the creation of the first of the two, the Flatland Flame.

I started with a familiar design, the Harlequin Capuchin. Laser cut some 1/16″ thick purple heart slabs. Since the piece of purple heart I had was only 3″ wide, I had to split it up in halves.

IMG_7783

To get a bit more contrast between the purple heart and laminated faces, some maple veneer was also cut.

IMG_7784

Slowly, but surely, each piece of the puzzle was cut from various woods. Shown here is some Cocobolo, some Padauk and  some Tulipwood.

IMG_7785

On the back side is Rock Maple and Padauk. To complete the main face, Chakte-Kok, Bloodwood, Yellow Heart and a maple circle.

IMG_7786

Now, the longest and hardest part of the build, the lay up. To start, the Purple Heart halves are glued to the plywood frame with some maple spacers.

IMG_7787

After about 15 minutes of compression, the veneer is sanded flat, ready to accept the next step.

IMG_7788

The maple veneer spacer to complete the layer. This was repeated on the other side to mirror the wood pattern.

IMG_7789

Like the original Harlequin Capuchin, I started with the simpler back side because it take less time to setup and dry. Zebrawood and Wenge spacers make a nice texture between the contrasting woods.

IMG_7790

Finally laying up the last pieces of the back side, spaced by Ebony and more maple. Slightly less than 30 minutes later, the face was sanded flat and it was onto the main face.

IMG_7791

It’s messy, but it’s the way it has to be….

IMG_7792

Another 30 minutes later, the face was ready to be flushed. Before more sanding, I moved back to the laser cutter to etch in some markings.

IMG_7793

The Metro Made Skullthulu getting etched into the maple circle.

IMG_7794

Flipping it over, the name of the sling etched.

IMG_7795

Cleaning up the edges from the laser cut burning and refining the shape a bit.

IMG_7796

IMG_7797

To relieve some pressure on the final round over, all the edges where taken down with a 1/8″ bit.

IMG_7798

Like the Mesquito Supernatural, select edges are taken down with the 1/4″ bit.

IMG_7799

Sanding…lots of it. 100 grit nail file, 150 grit foam block, 240 foam block, 600 grit paper and a buffing with 000 steel wool. It’s the smoothest I’ve ever gotten wood to be.

IMG_7800

2 coats of acrylic sealer and I washed my hands of this project.

IMG_7801

The incredibly smooth surface thanks to the steel wool provided a perfect substrate for the sealer, the photos don’t lie.

MGG Flatland Flame banded


MGG Flatland Flame back hero


MGG Flatland Flame back


MGG Flatland Flame banded


MGG Flatland Flame Face


MGG Flatland Flame hero 2


MGG Flatland Flame Hero


MGG Flatland Flame laminate 2


MGG Flatland Flame laminate


MGG Flatland Flame tube hole


Yet another satisfying job done.

-Stay True-

Eric


Posted on 1 Comment

Metro Made | The Delta Marker

In my day to day, I carry a pen and a Sharpie marker. I don’t remember when I started doing this but as soon as I wake up in the morning and get my day started at the shop, I always put those two things my my left pocket. I feel weird not having them and they really make up the core of my EDC items.

My most recent acquisition is the beautifully made titanium version of Jason Hui’s Alpha pen, which was a successfully funded Kickstarter project. Jason’s an insanely crafty guy, designing and manufacturing flashlights under his moniker, Darksucks. His low volume, high quality produces ooze style and class for the discerning gear guy/girl. His Alpha pen uses the finest of refills, the Mont Blanc felt tipped fine liner. At $4-5 each, the pen matches the pricey and beautifully writing capabilities of the refill.

Having a medium size collection of higher end custom pens, one of my greatest wishes was for someone to make a beautiful Sharpie marker holder. I’ve been waiting for someone on Kickstarter or other crowdfunding platform to make one, but no one seems to want to take up the challenge. Sharpie does make a stainless steel marker but the design leaves so much to desire and the refilled are fairly expensive given the relative short lifespan of a marker.

I finally broke down and spent some time in front of my lathe and made one. This is turned entirely from 5/8″, 6160 aluminum bar stock and using very commonly sized imperial HSS drill bits. The clip is from a Sanrenmu knife that seats itself into a flat spot milled into the face of the cap.

MGG Delta Marker Plans

Delta Marker internals

Basically, it’s a sleeve that accepts the grip, tip and ink well sponge of a regular sized Sharpie fine tipped marker. Extracting this is pretty easy, just bend the plastic body of the maker till the body separates from the grip. Then slide it into the Delta body and press down with the plastic cap. This seats the “refill” fully into the new home.

I call it the Delta Marker.

Delta Marker carbon 2

Delta Marker carbon 1


Why Delta?

Well, it’s no match for The Alpha pen, and it’s not refined enough to be a Beta so, it’s the Delta marker. It is also based off of Jason’s design, using his cap posting design ad well as the capping design, so it’s only natural to follow his naming convention. The only thing missing is the shallow scallops on the body, to do this I would need a round insert holder, which I broke some time ago.

I also wanted it to seal, so I added a groove at the base of each 1/2 fine thread for an o-ring. This did two things, it won’t allow the nib from drying out, but it also engages the cap when torqued on a bit so it won’t accidentally come apart in my pants or shirt pocket. I actually came about this epiphany when the Alpha pen came apart in my pocket a few times, so I put a few, really small o-rings meant for a AAA flashlight seated at the base of each thread. Lucky for me, Jason designed a relief for the threads, which meant there was a groove for the o-rings to seat. Mine are much less precise, but they don’t need to be since the o-rings I used are much thicker to generate a better seal.

Just a quick note, these are not for sale, it was a personal challenge and this blog is a place for me to present final, in progress, experimental as well as failed projects. It’s not often something comes together so nicely on the first try, but thanks to Jason’s design, a lot of the guess work is done for me.

Here are some table top shots, under the Delta Marker is the Alpha pen.

Delta Marker alpha pen1

Delta Marker alpah pen 2

Delta Marker cap

Thanks for making it all the way to end of another long winded, designer rage fuelled build. I am really happy with the Delta Marker and it will serve me well until I can get this design in CAD and possible CNC this.

-Eric


Posted on 3 Comments

Metro Made | Video – Plexiglass Capuchin Slingshot

Acrylic Plexiglass is one of materials that has so many uses and finishes that it’s hard to miss when used correctly.

Often mistaken for polycarbonate (Lexan), Plexiglas isn’t the bullet proof plastic, it’s the hard, semi strong material that can be made completely clear again after being machined. Unlike Polycarbonate plastic, acrylic CAN be cut with a laser, which is how what we used to cut the outside profile of this slingshot.

PlexiGlass Capuchin Hero

How’d we do it? It’ll all become clear very soon…..

Want this slingshot? WIN IT!

Go to the Metro Grade Facebook Group : Here

Like, comment and share the post about the video. When we reach 300 likes, we’ll pick a random winner from that comment list and give this away!