Kishtwār I have been getting back into tooling mode lately, collecting and acquiring hand tools and finding ways to make them uniquely mine. In this Metro Made, I craft a carving chisel based on a classic brass headed carving mallet.
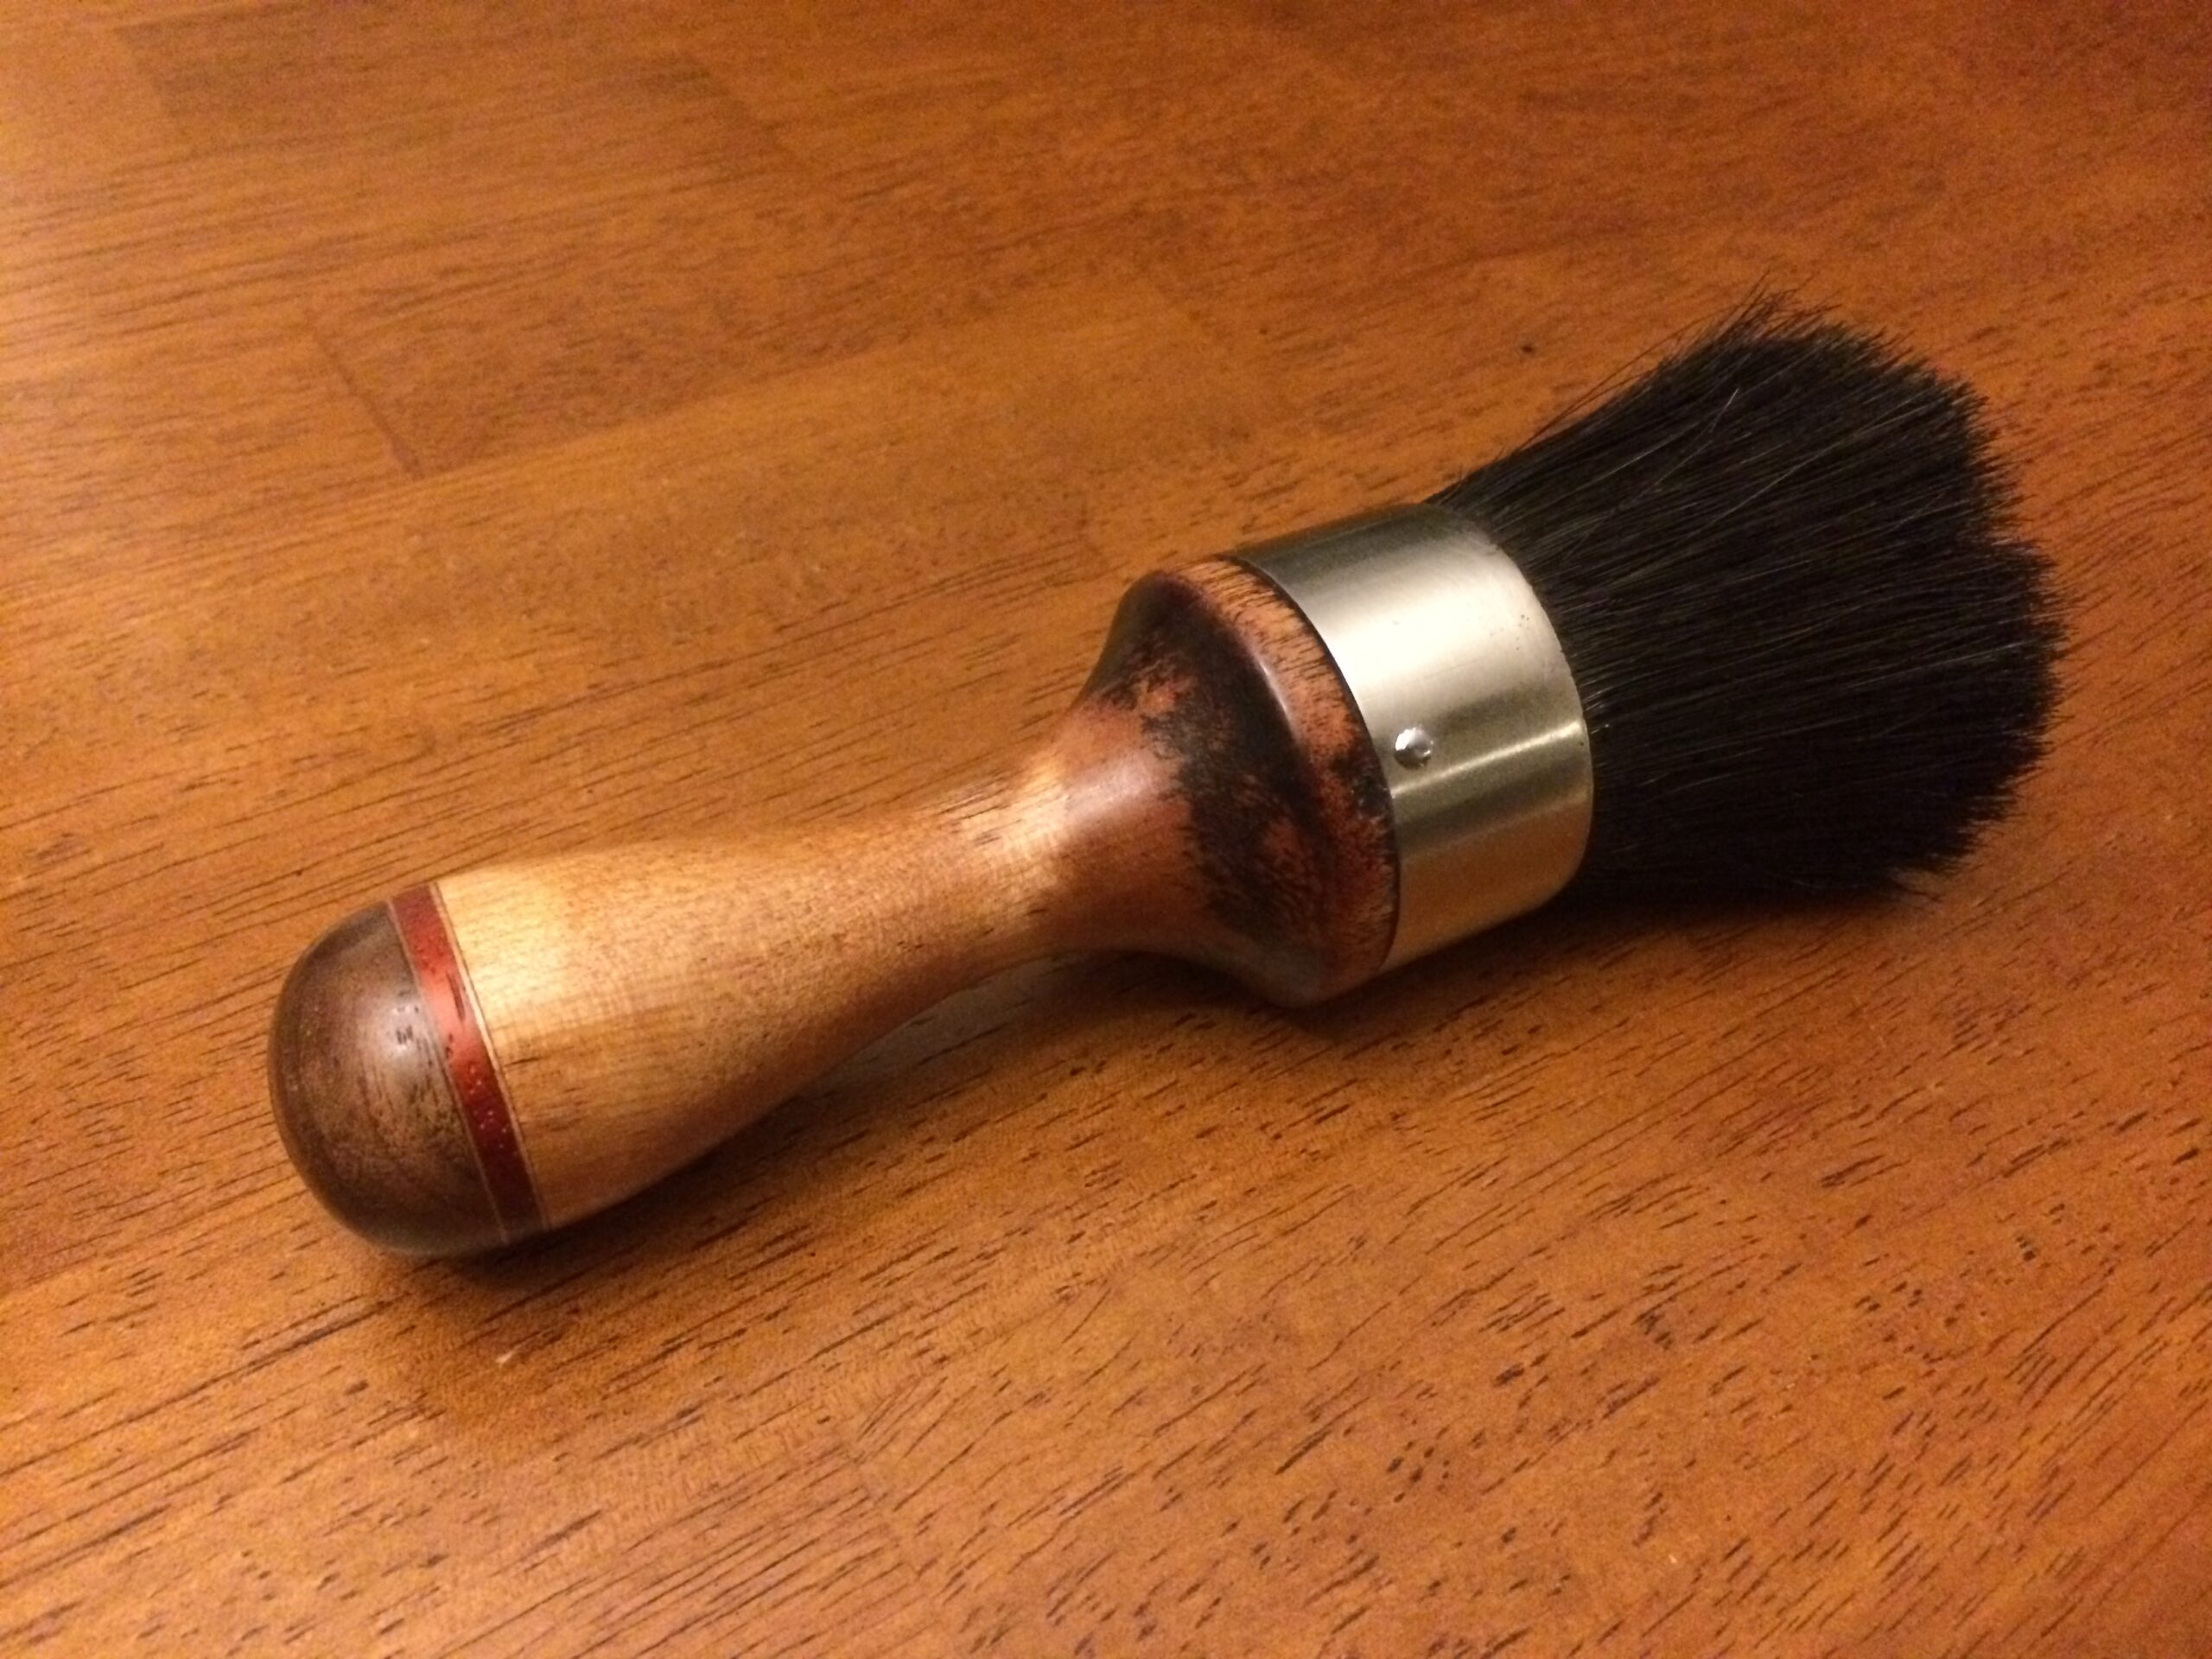
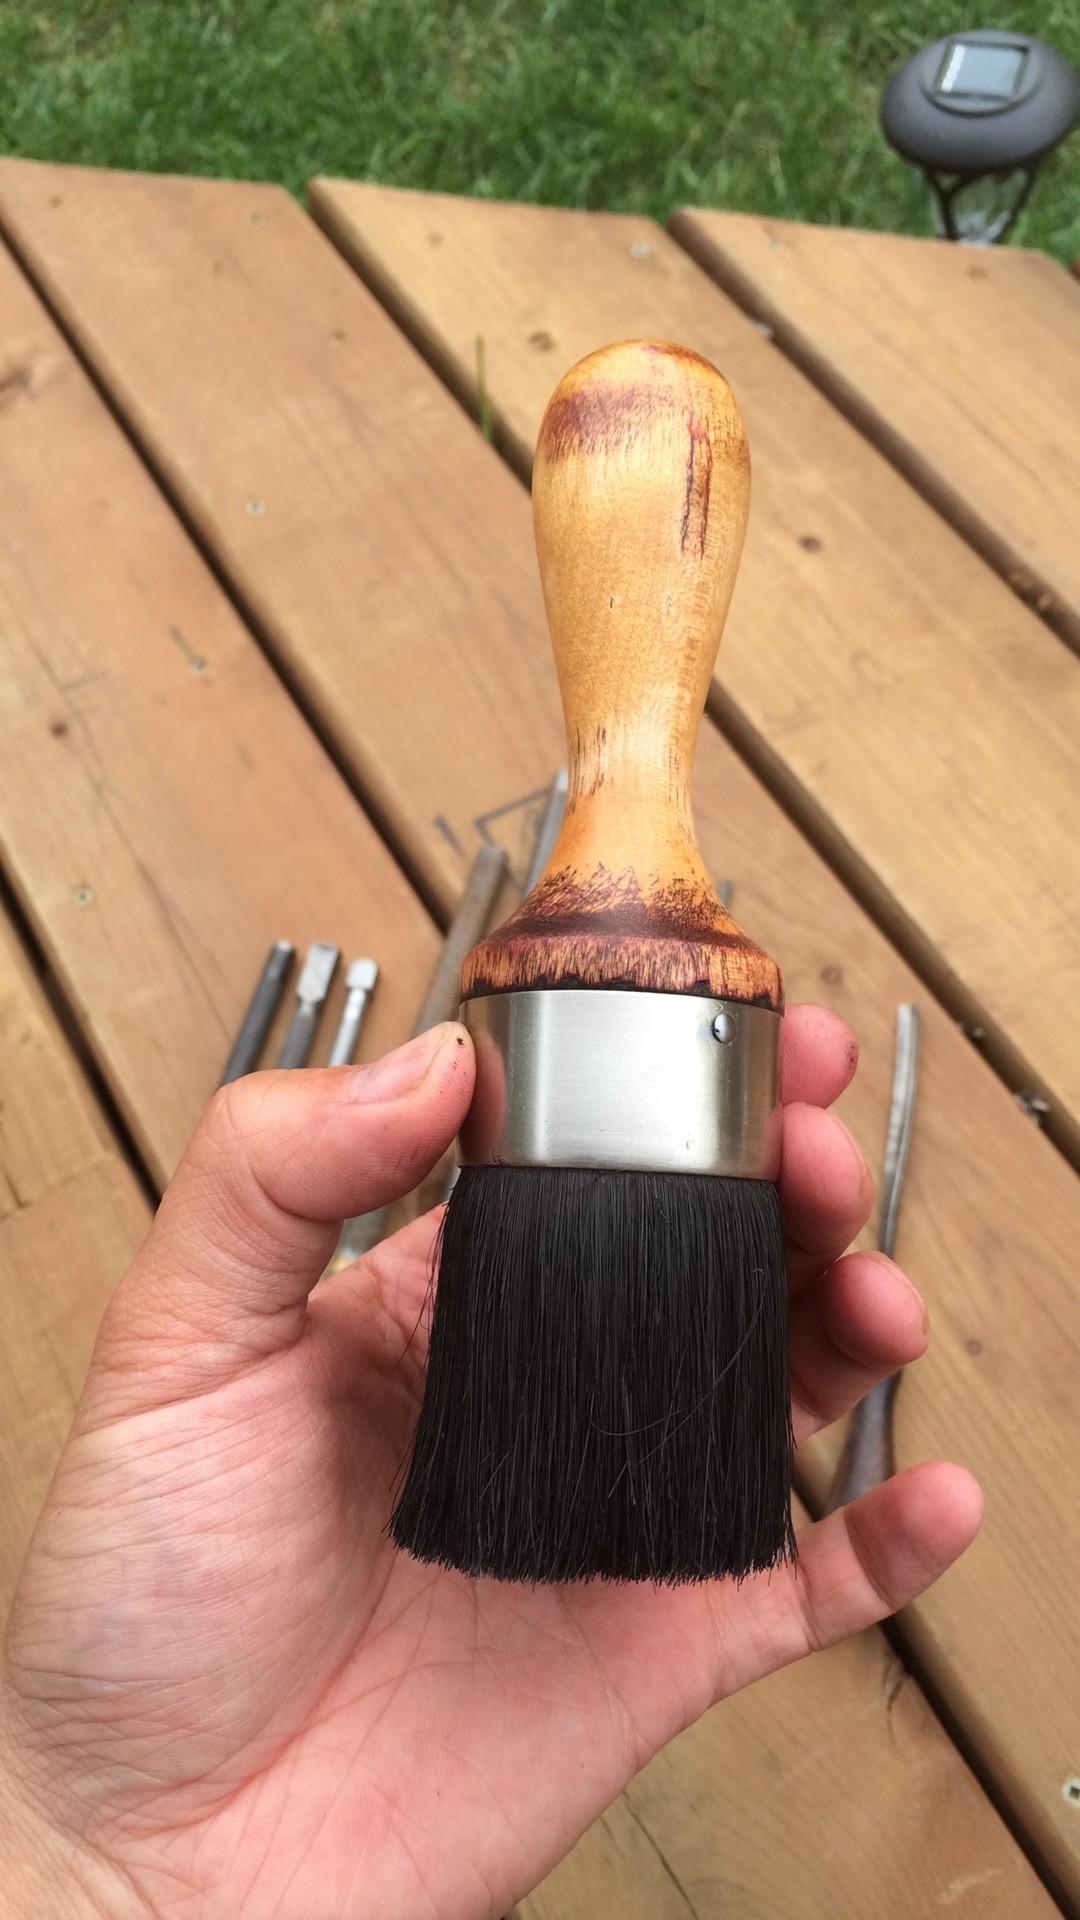
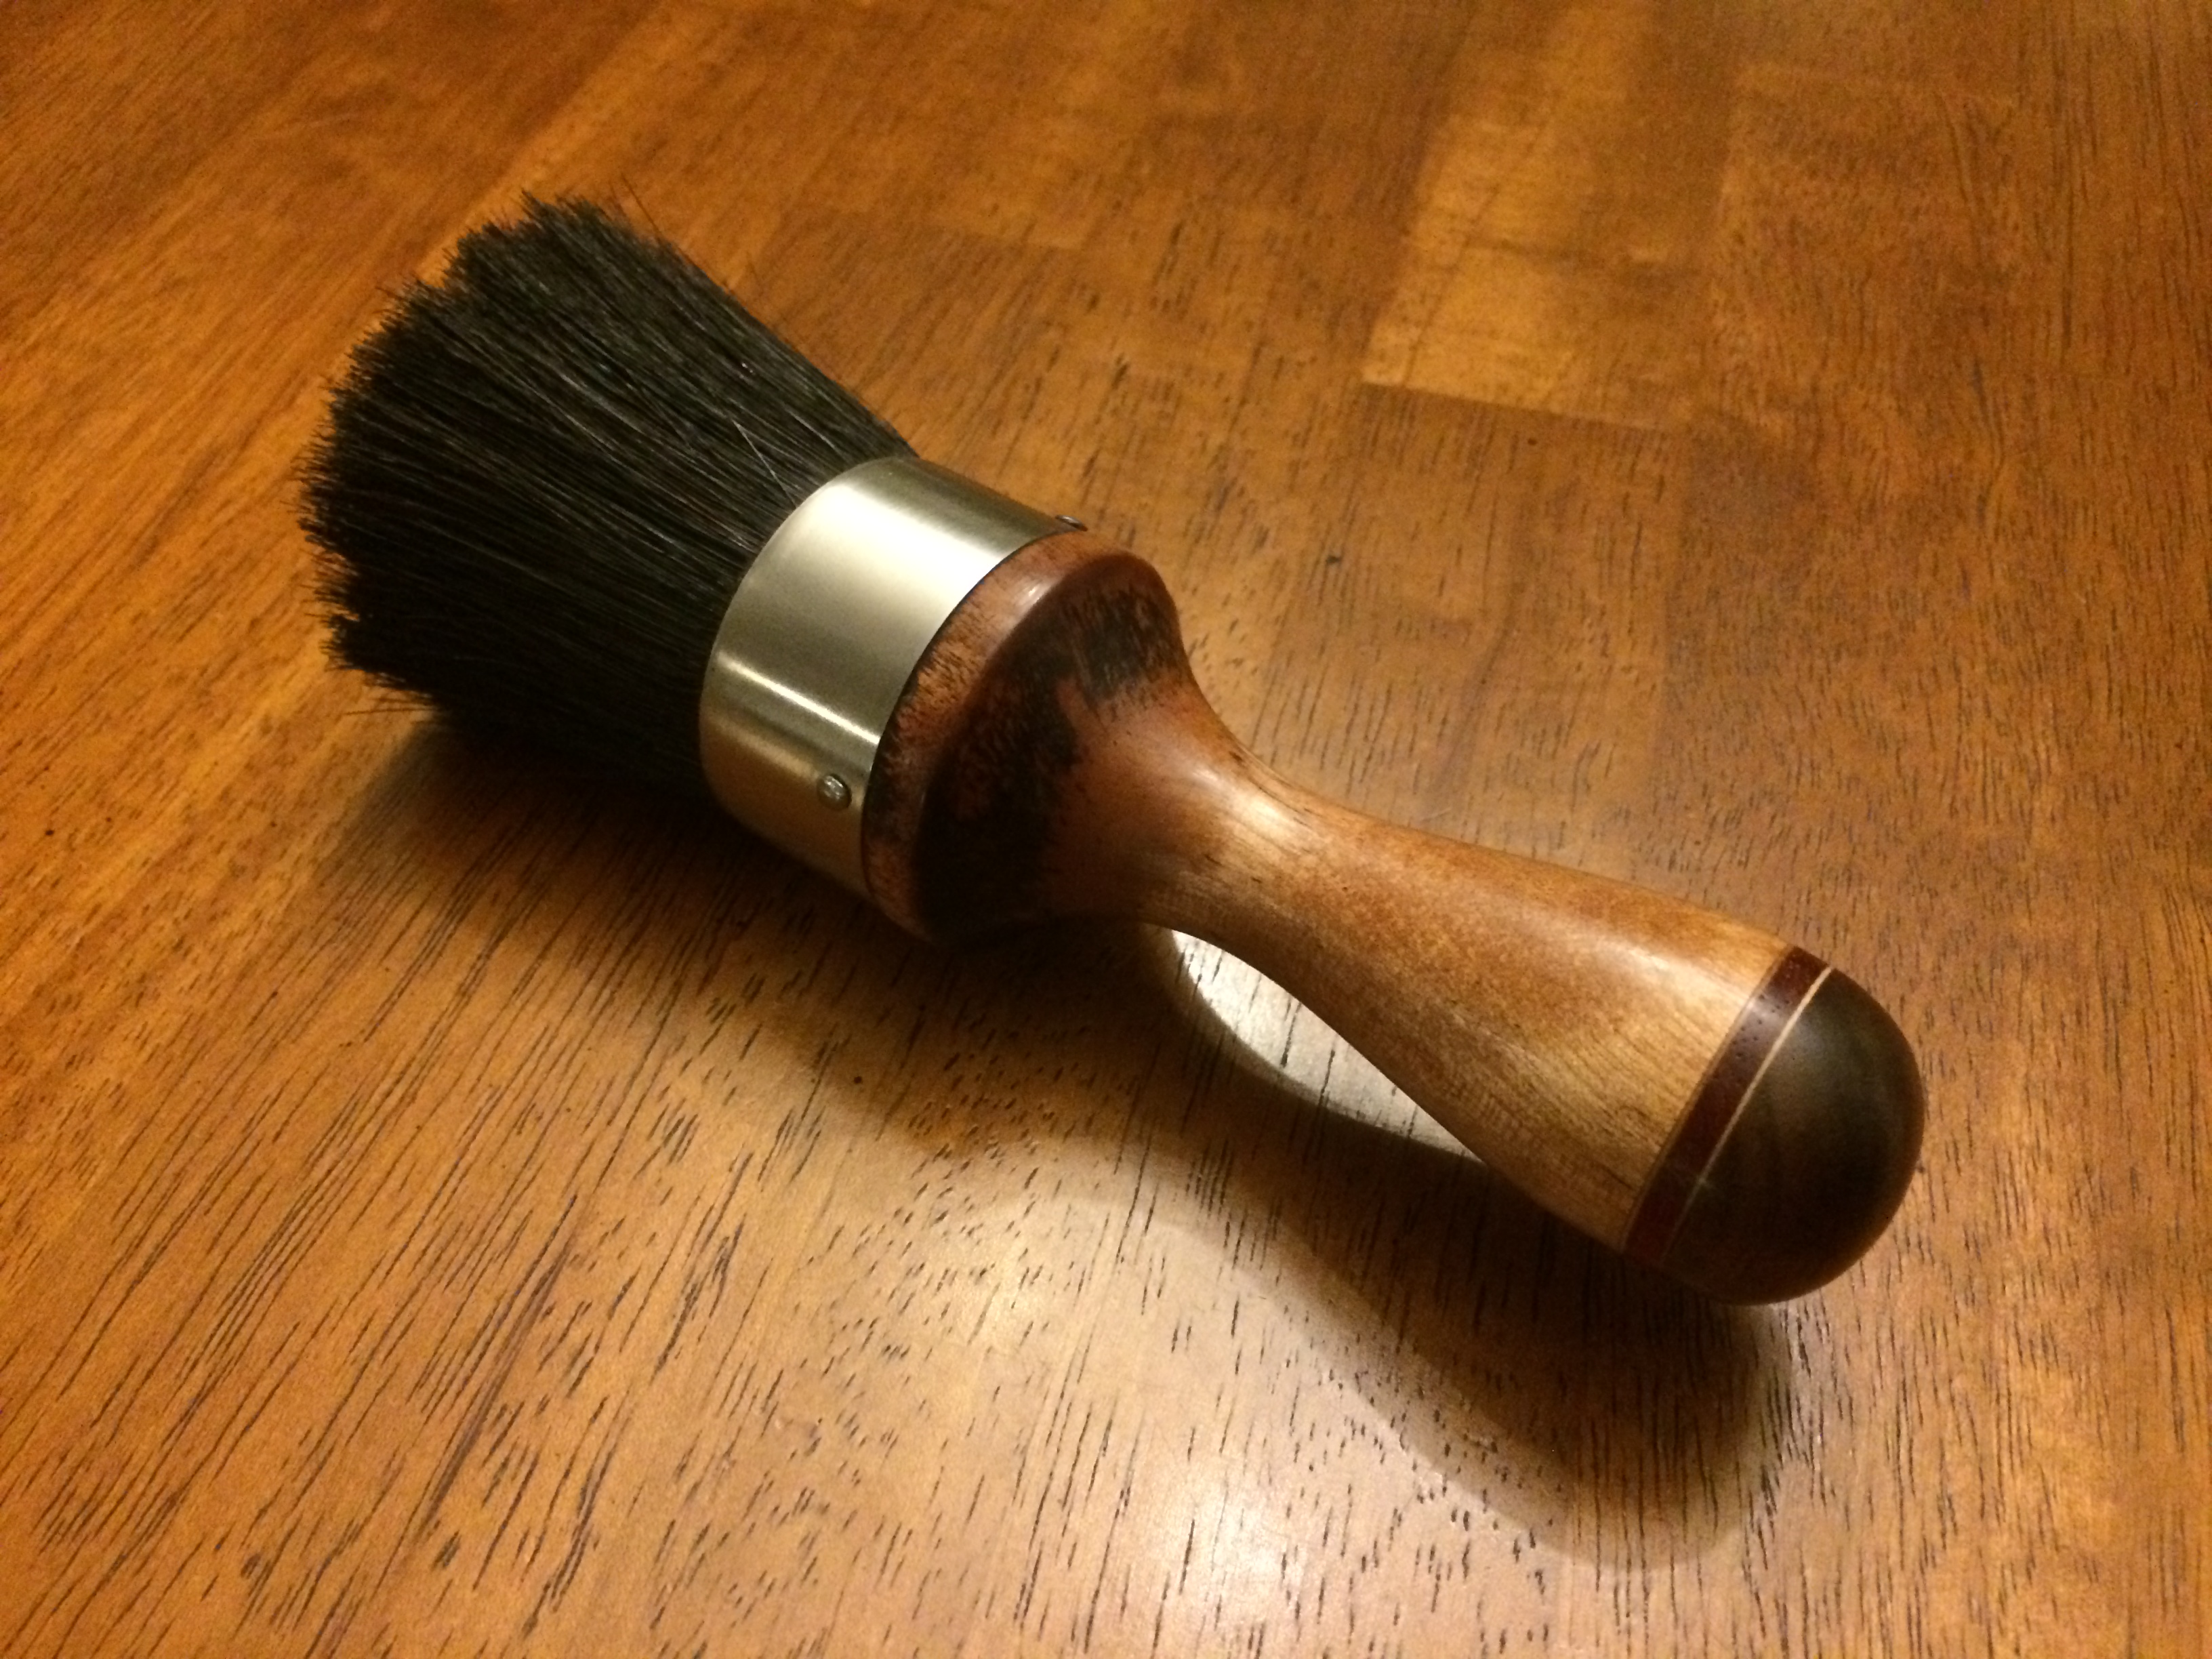
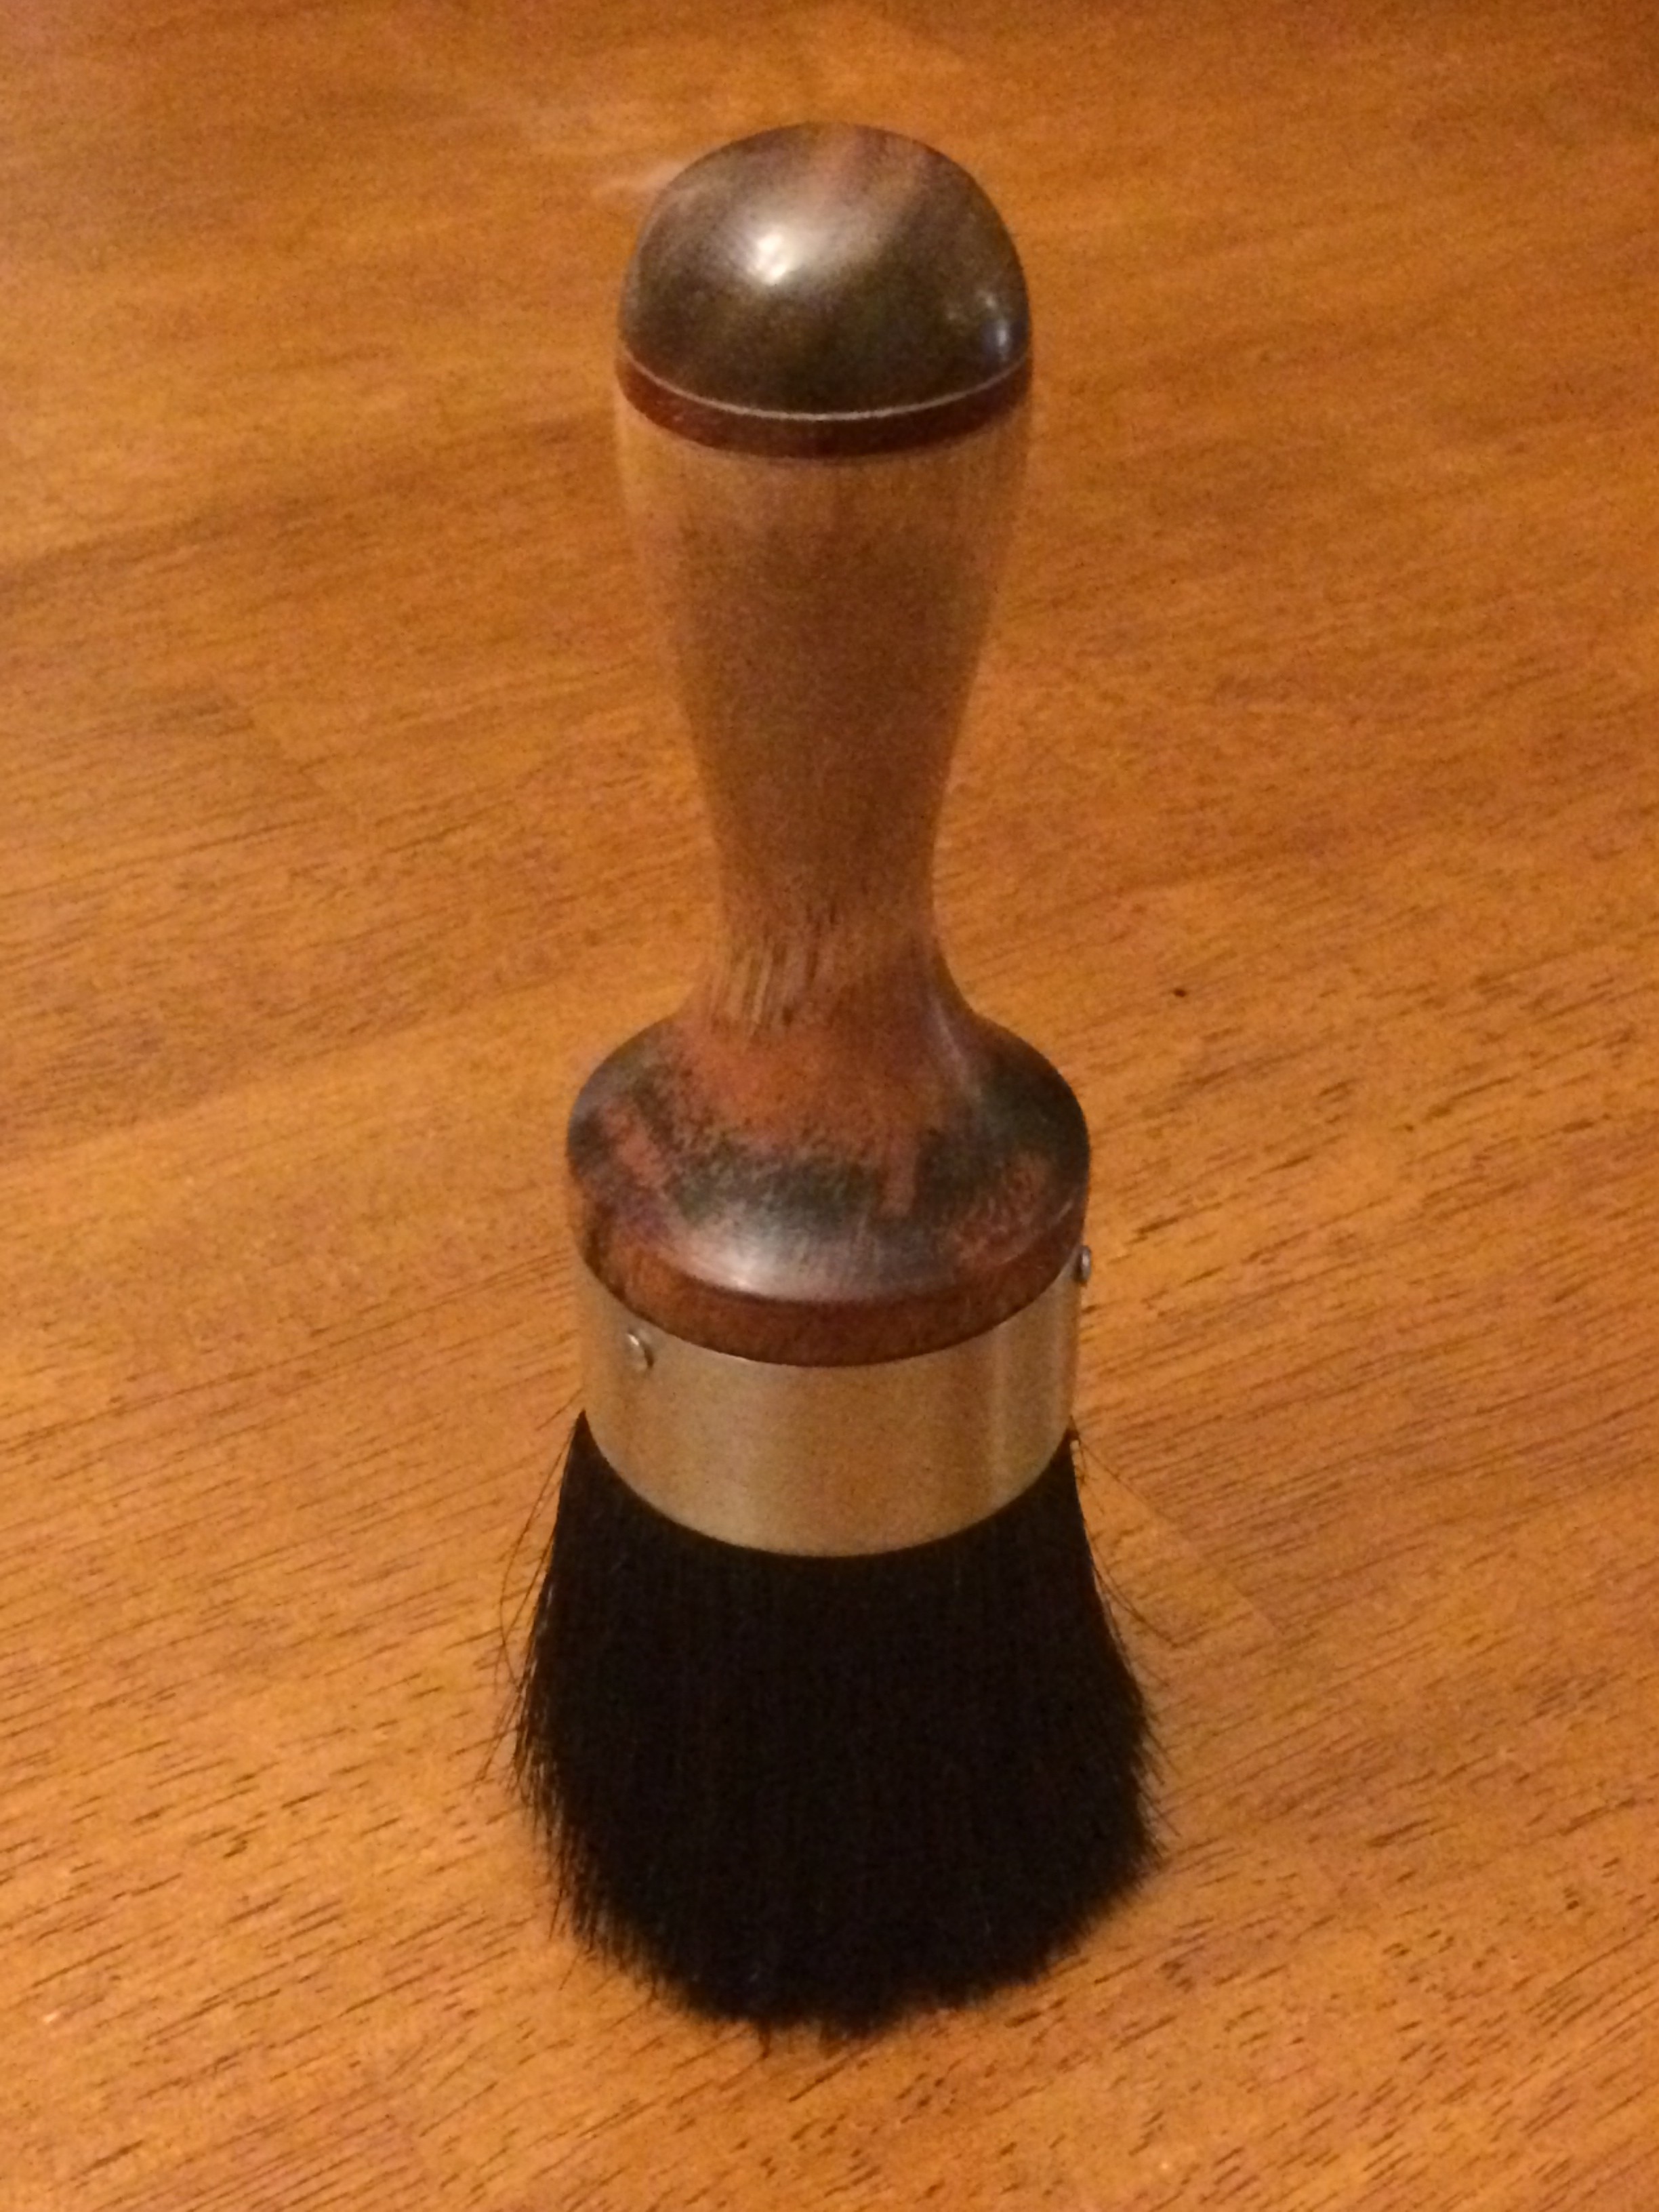
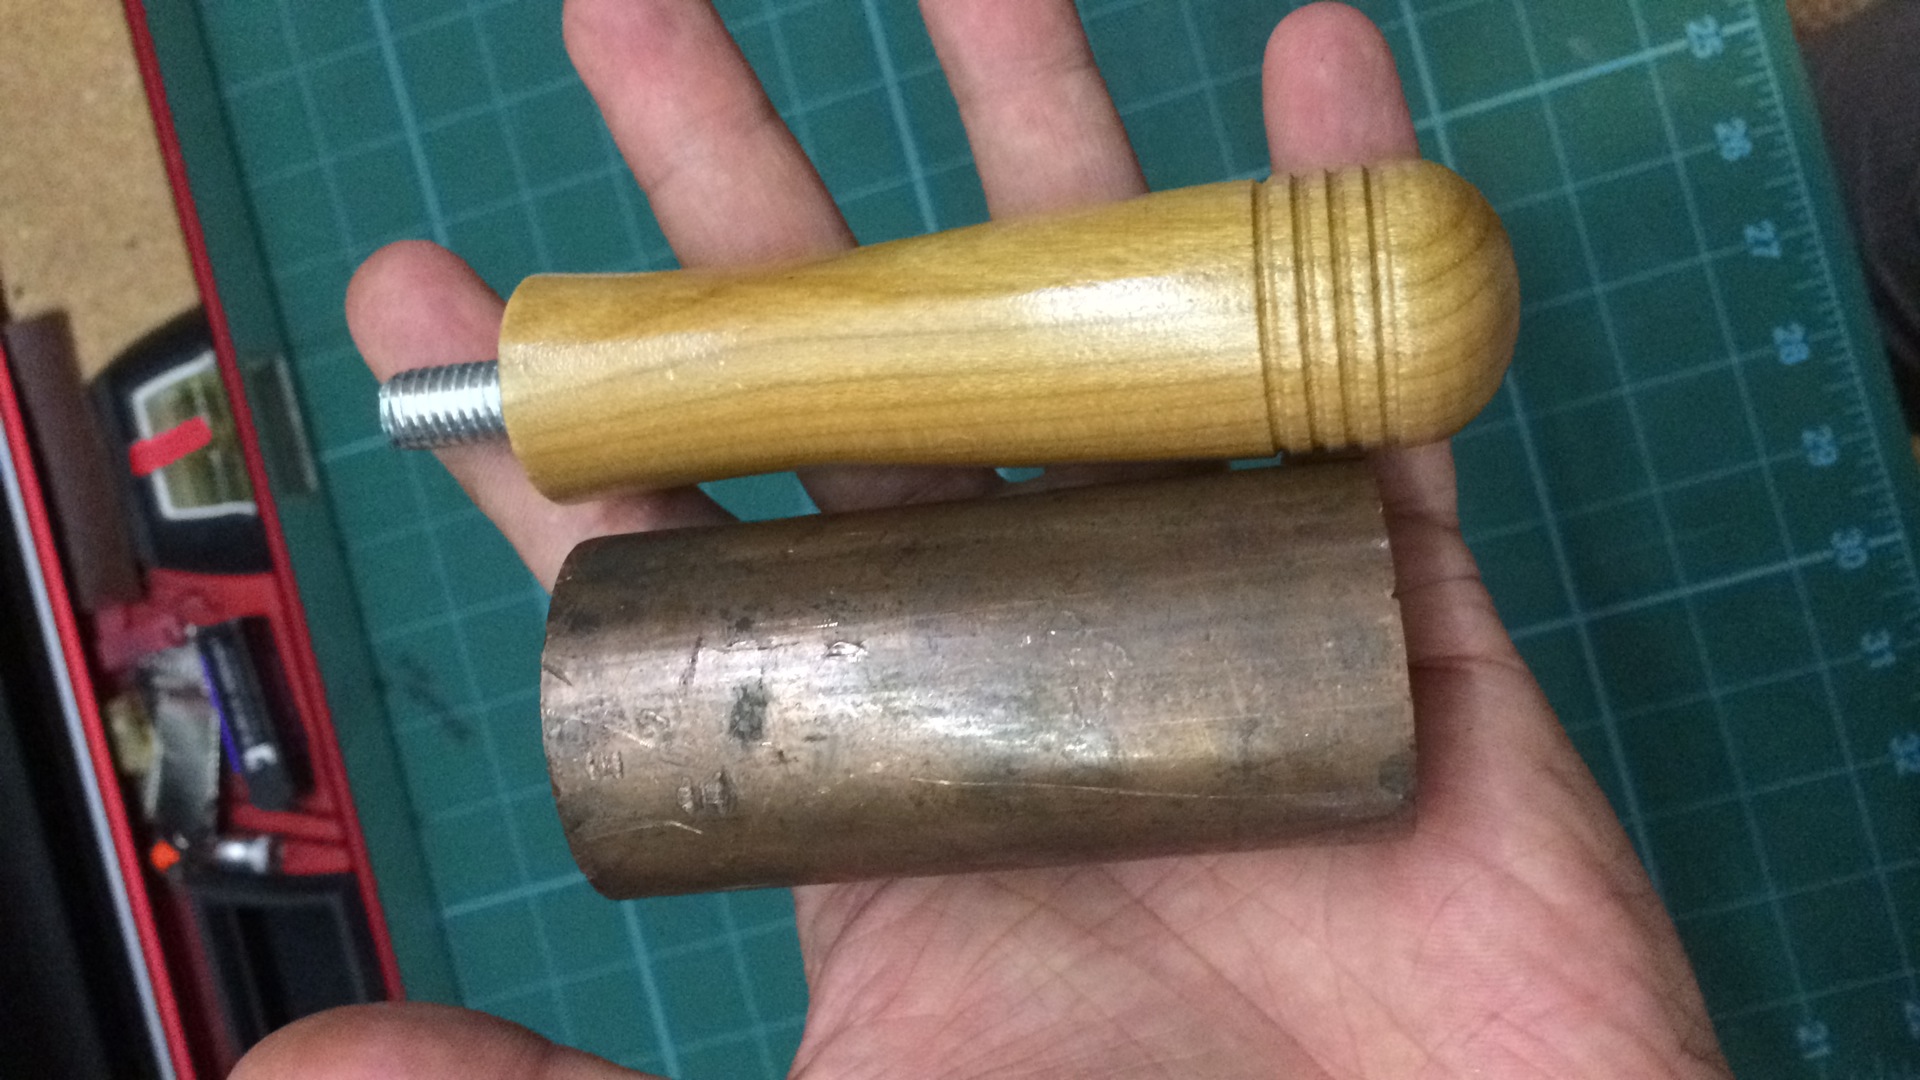
Lets being by looking at the inspiration…the wood handle. I went to my local Lee Valley tools to pick up a set of Milled-Tool files and I looked over at the discount table. Low and behold, there were boxes upon boxes of discontinued handles. For literally $.25, I could get a full finished, cherry wood handle with a nice 5/16 threaded row already installed into it. I had no idea what I was going to use them for, but I bought them all.
After doing some research into a nice design for my own metal head carving mallet, I came across an archived image from Veritas tools, Lee Valley’s house brand. The same handle appeared, I knew I was on to something.

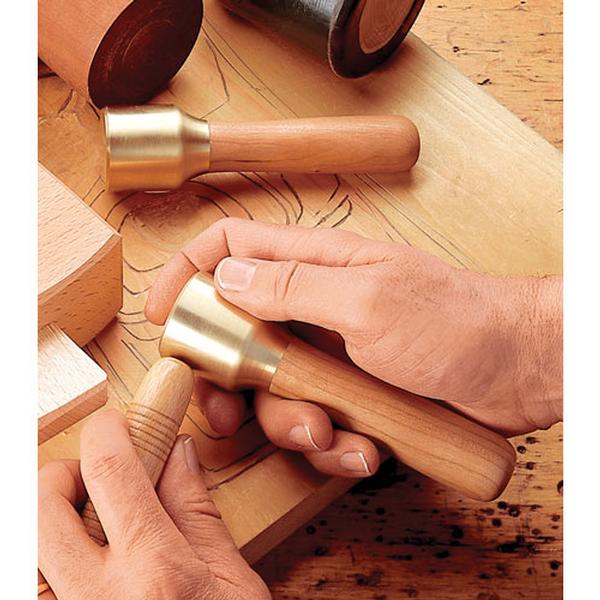
Some more research later, I find what I feel would be a good design, I love how the neck of the brass flows into the handle with no transition or break line. I didn’t know if I could get that tight of a fit, but I would try my best. The image is also from Lee Valley’s archives. This is currently sold as the “Journeyman’s Carving Mallet”.
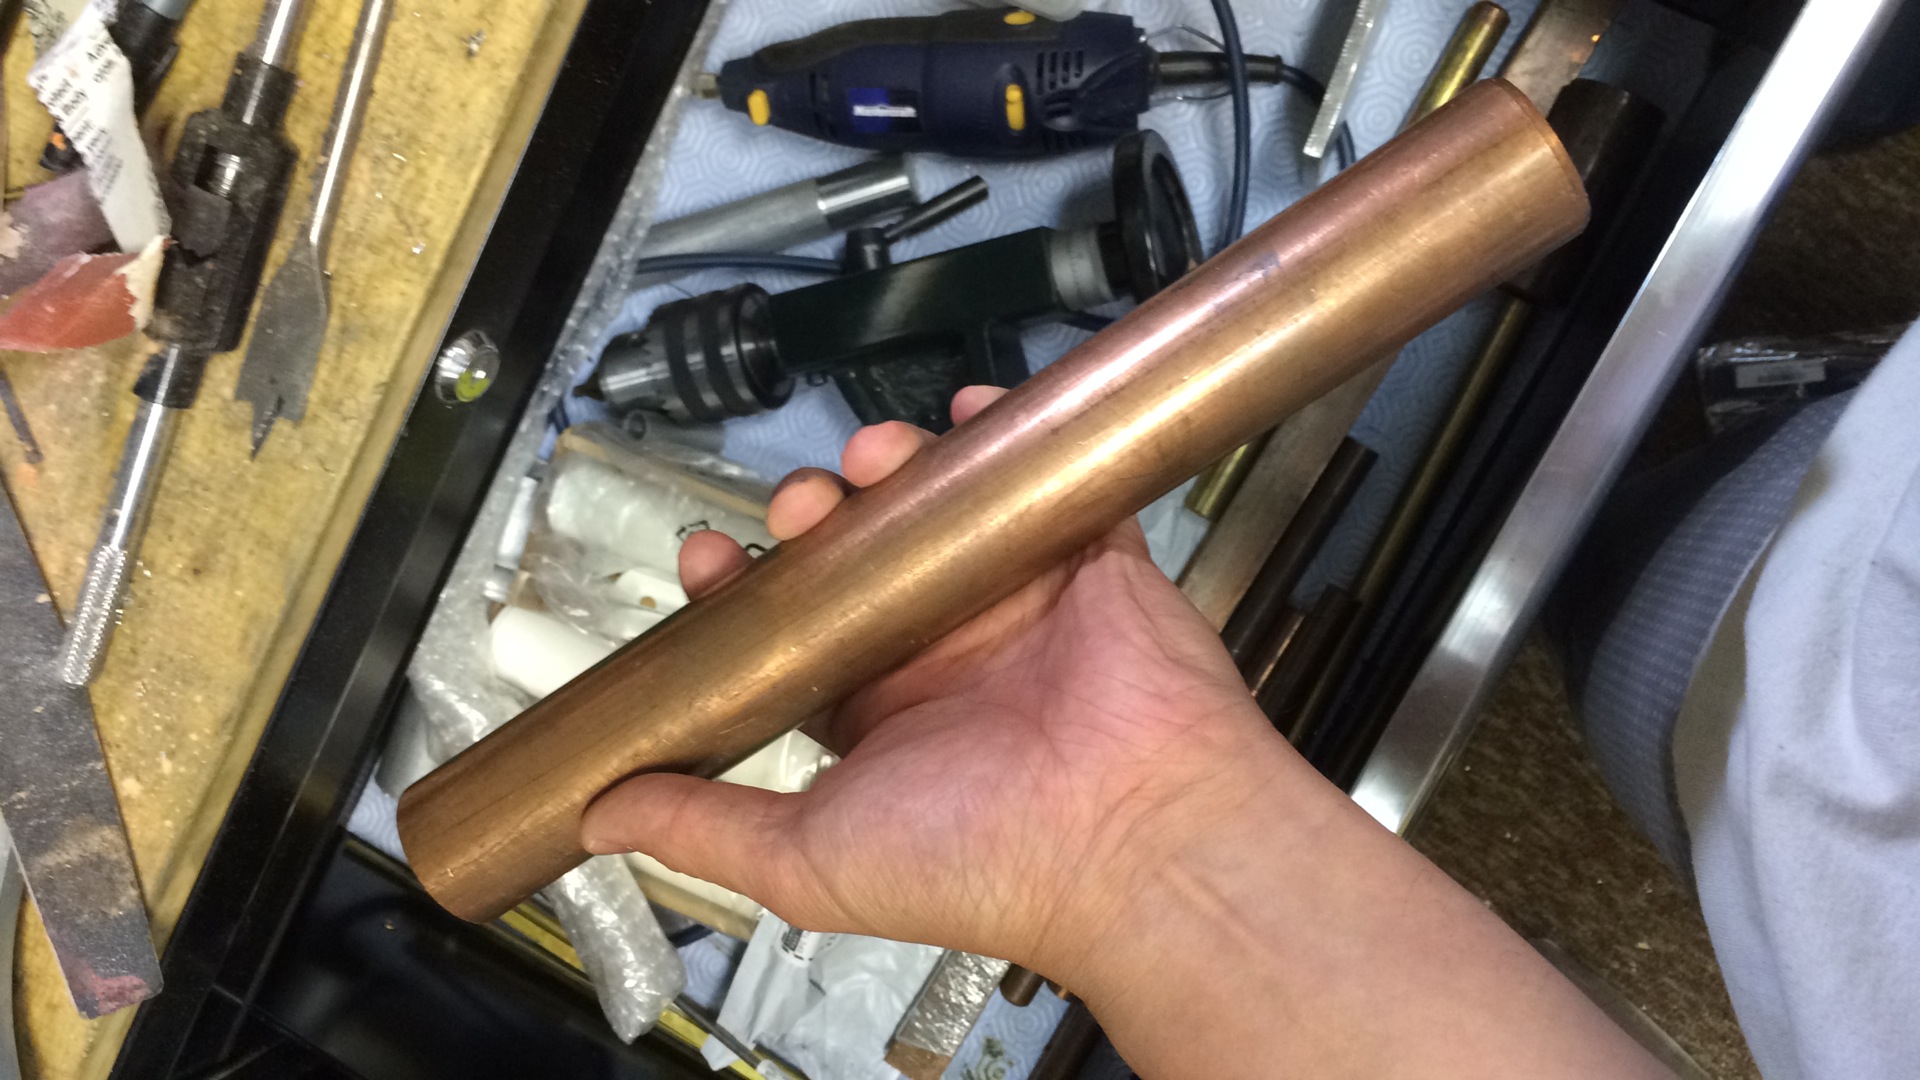
I didn’t have any 1.5″ brass stock, but I did have some 1.5″ Tellurium Copper. Tellurium Copper is awesome, unlike the 99.9% pure copper, the added alloy of Tellurium makes it machinable and very hard. This is a hunk of it for scale.
I cut off 2″ from this 12″ rod and chucked it up on the lathe.
I mixed up the order of operations, in hind sight I should of machined the ‘face’ of the mallet first entirely and then chuck it up again on the otherside. Instead, I faced on side and tapped 5/16 thread into it. The handle already had an attached 5/16 bolt which made this project so much easier to deal with.
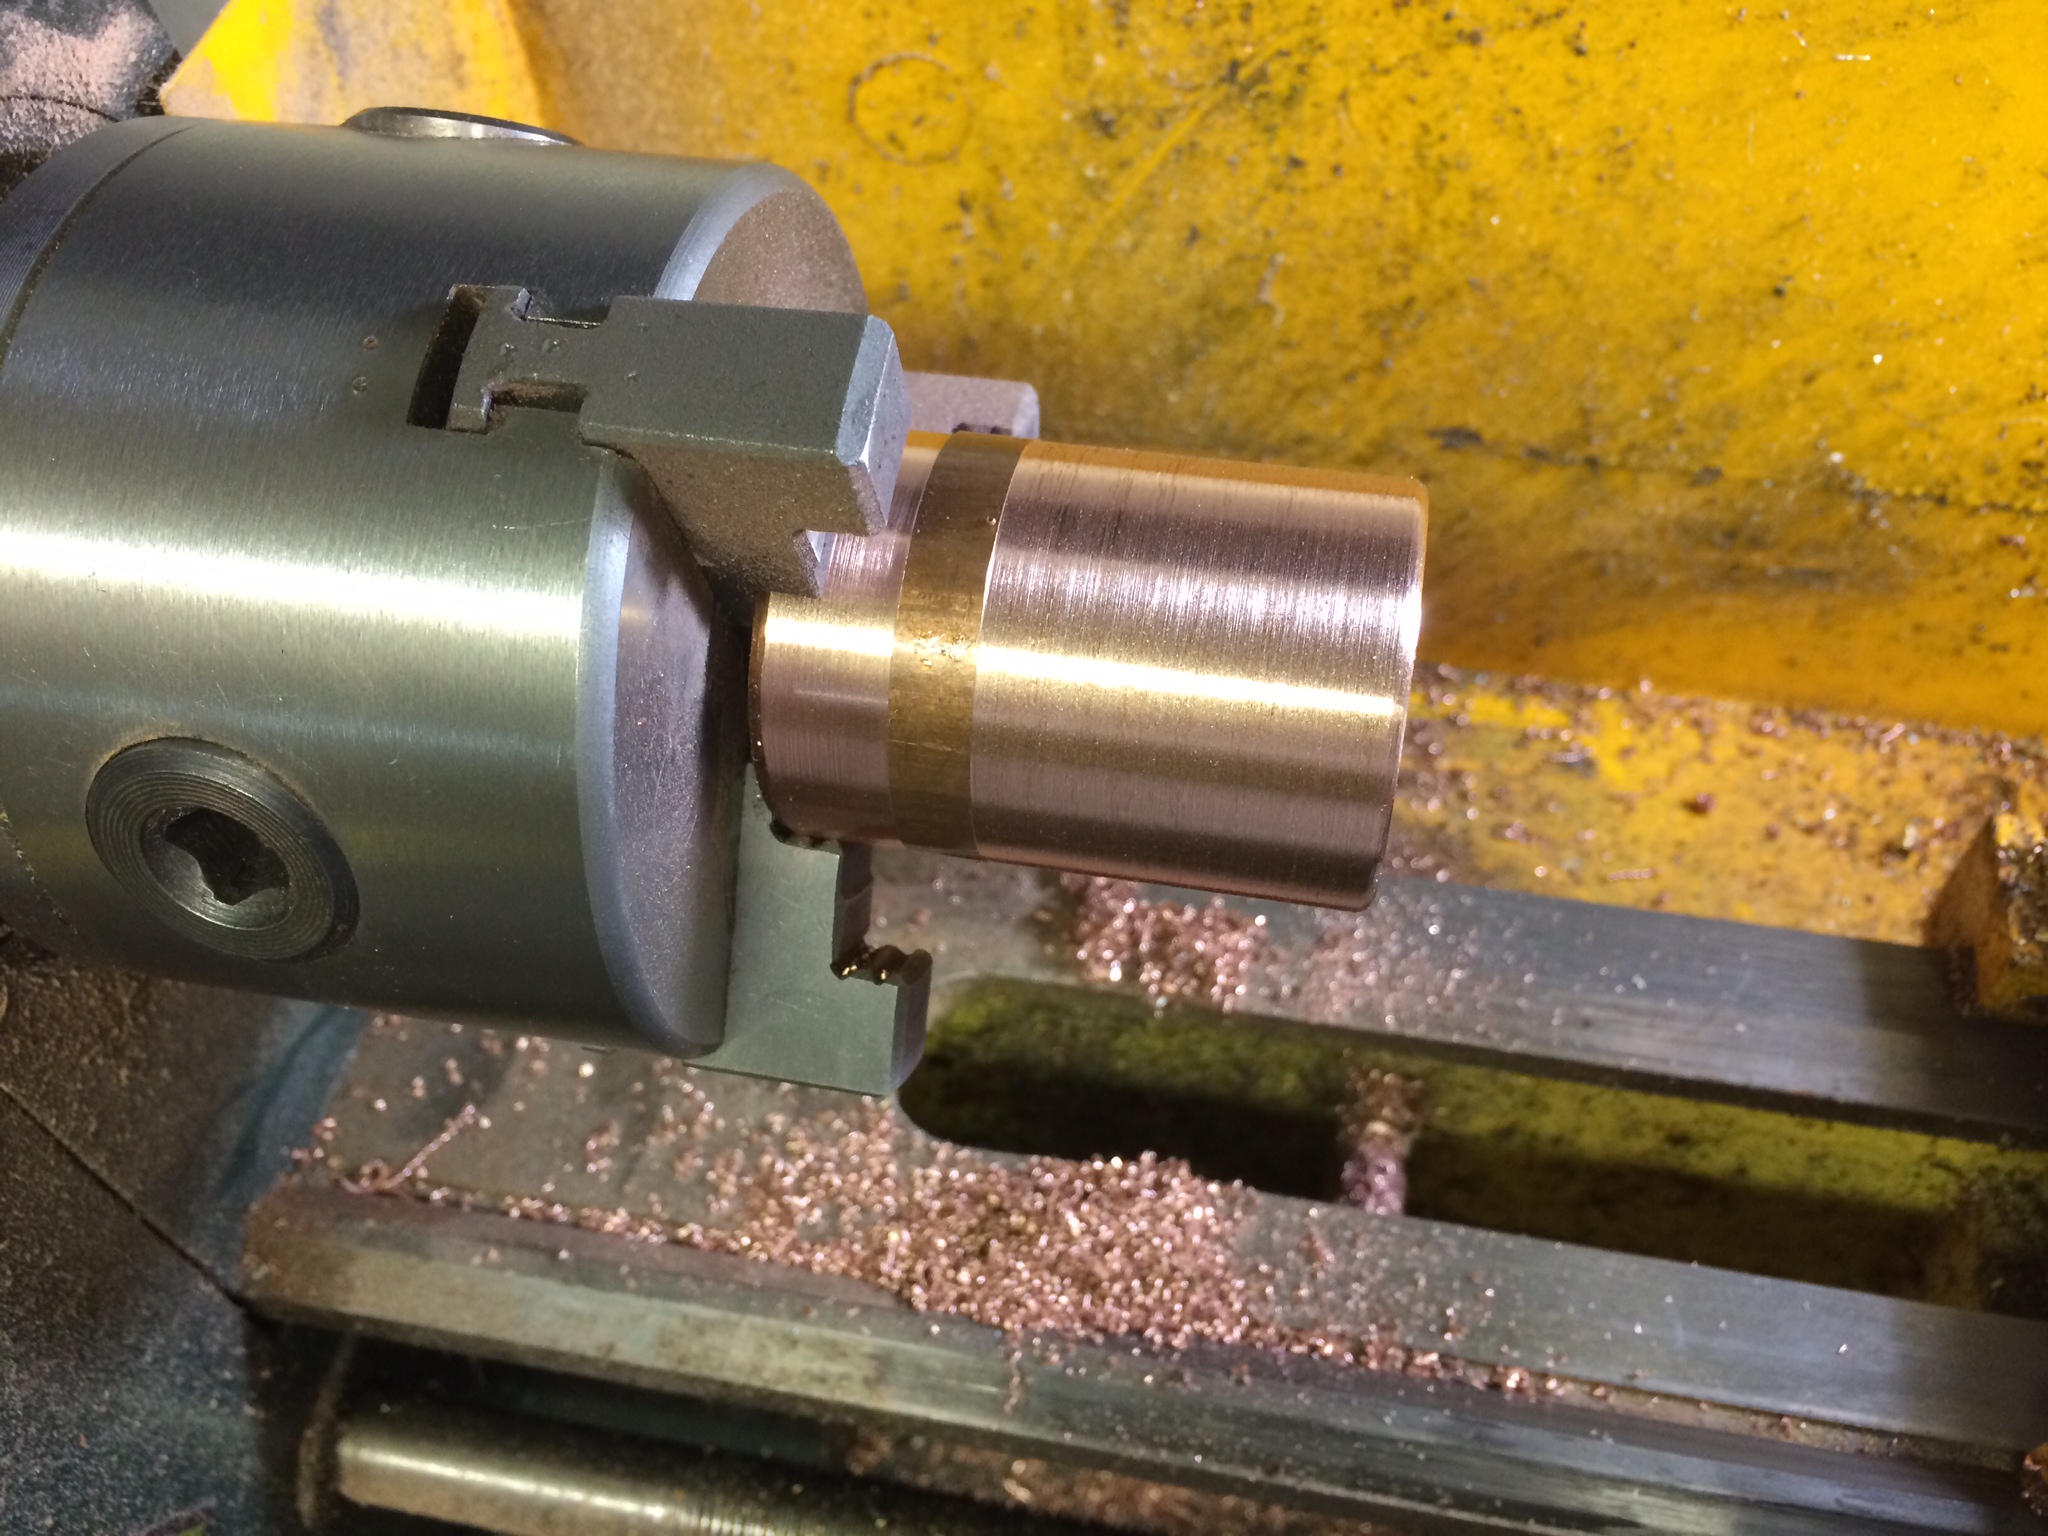
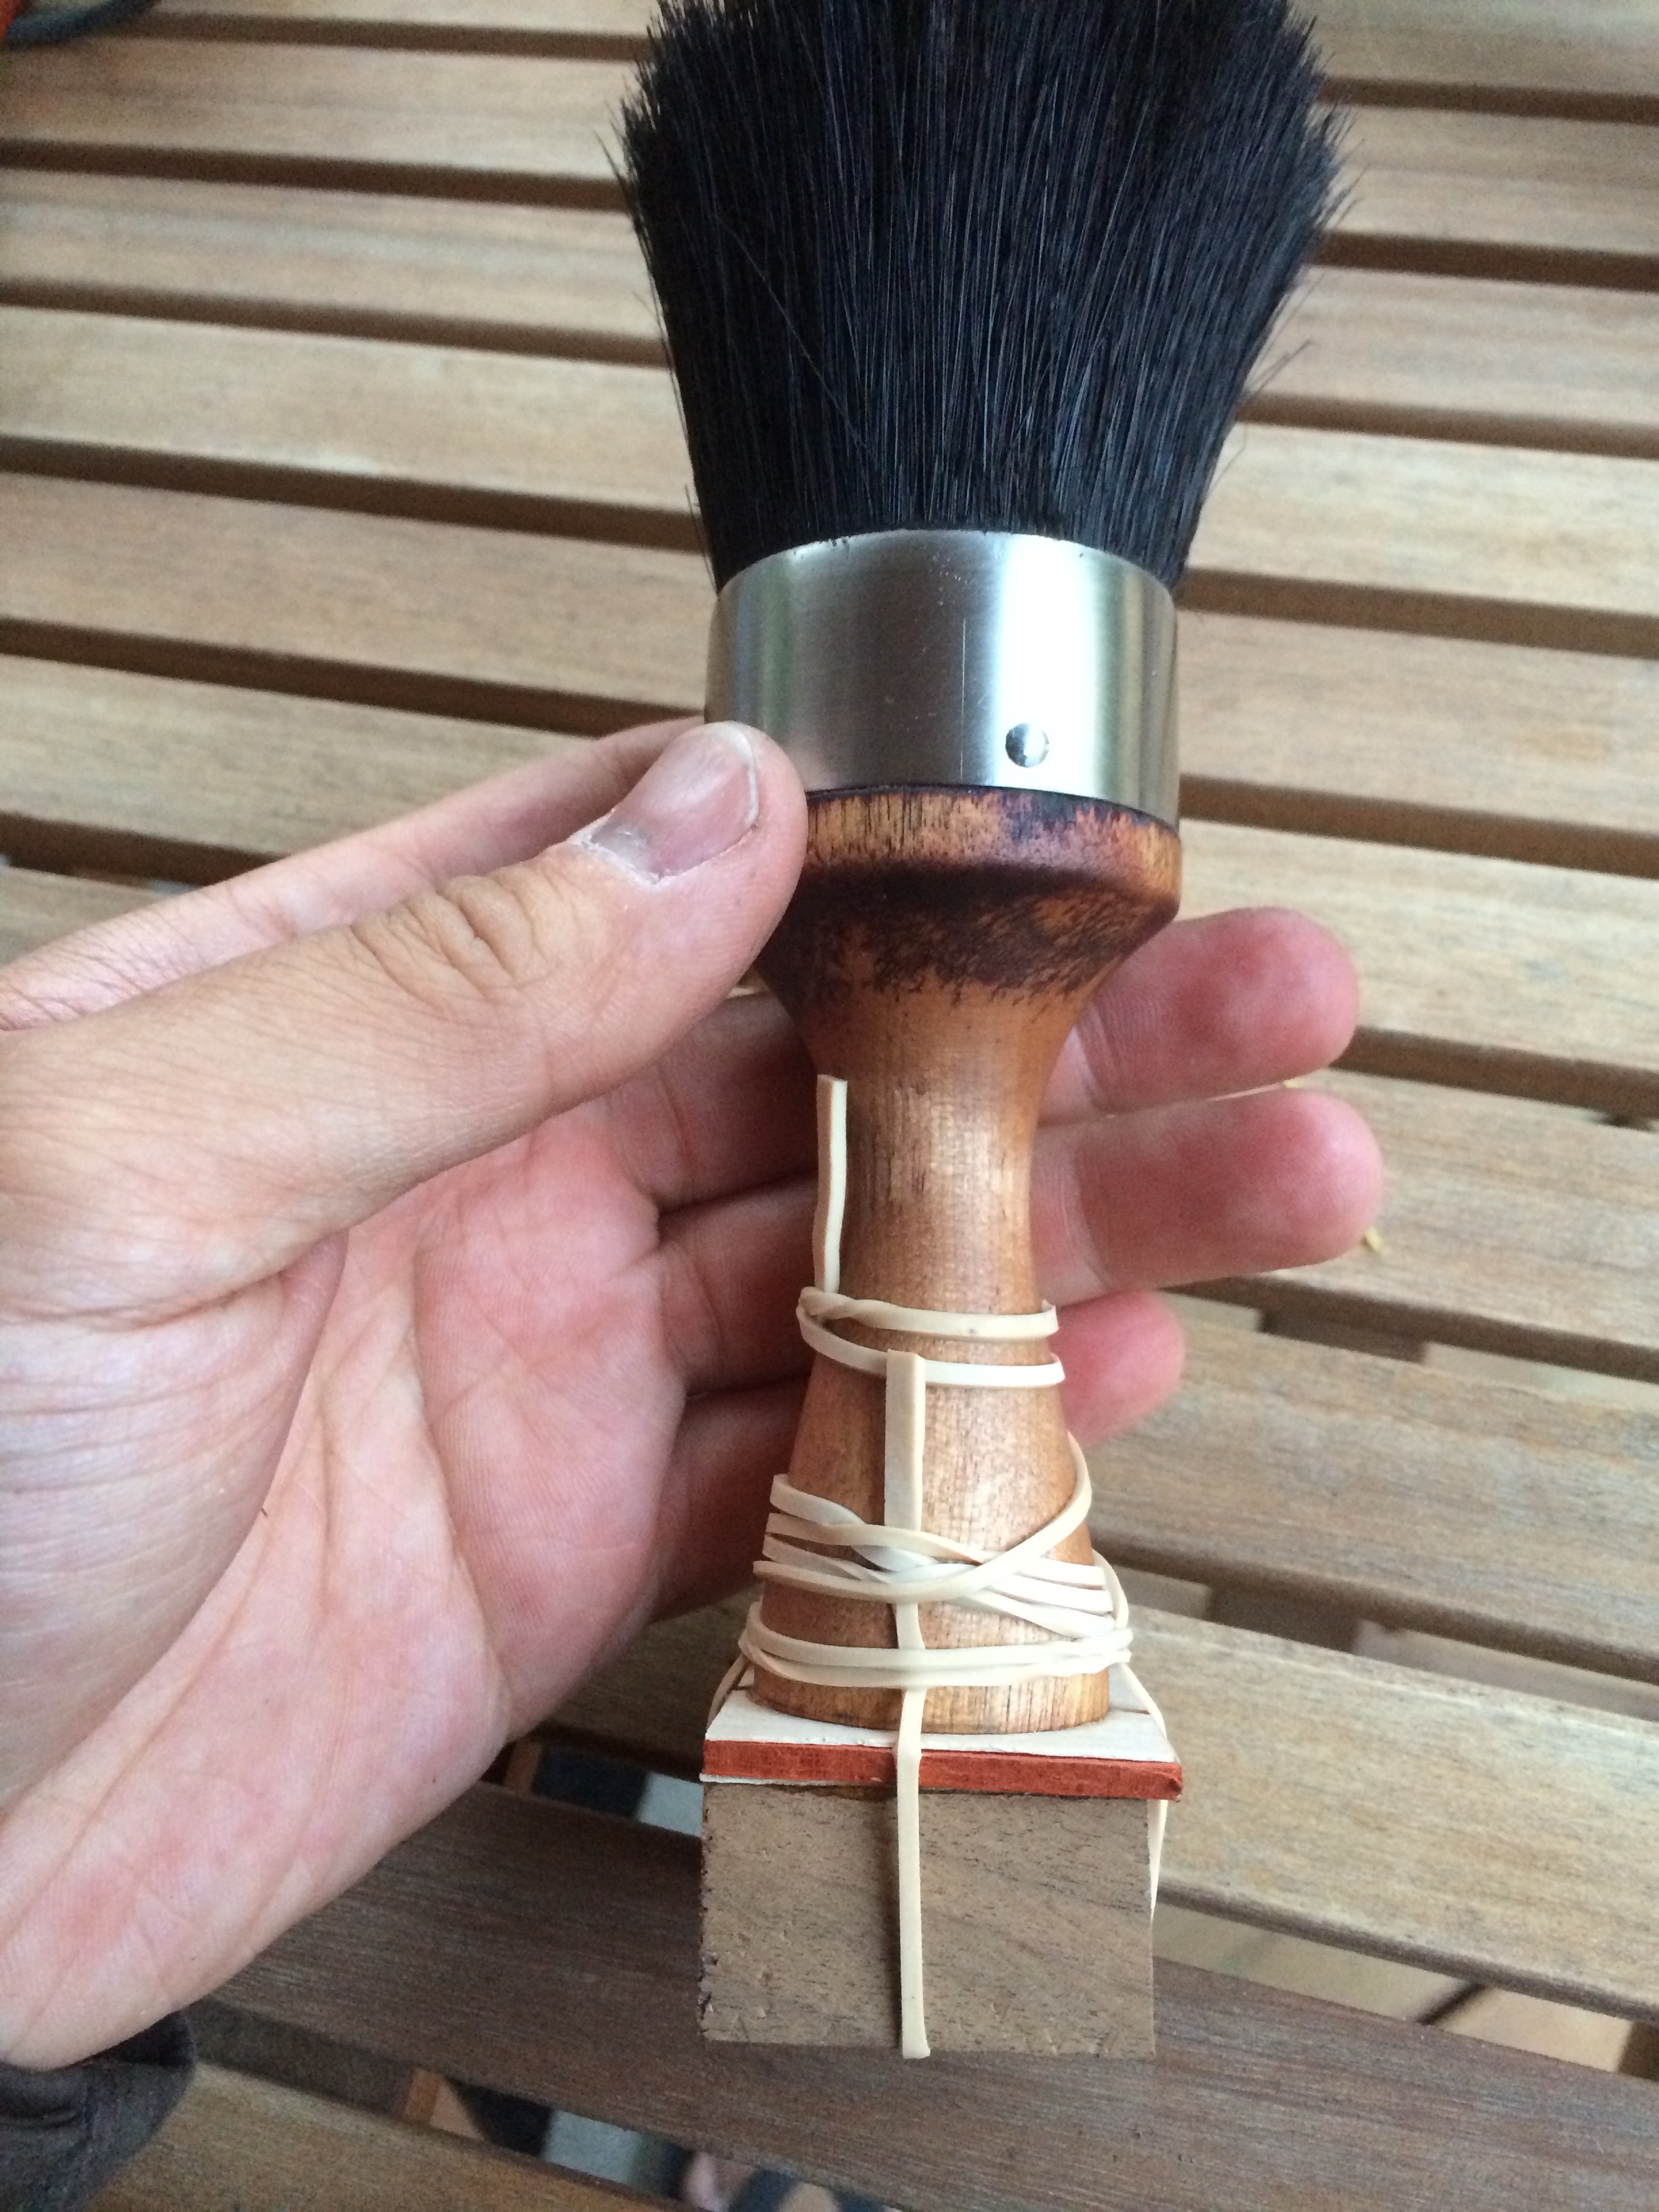
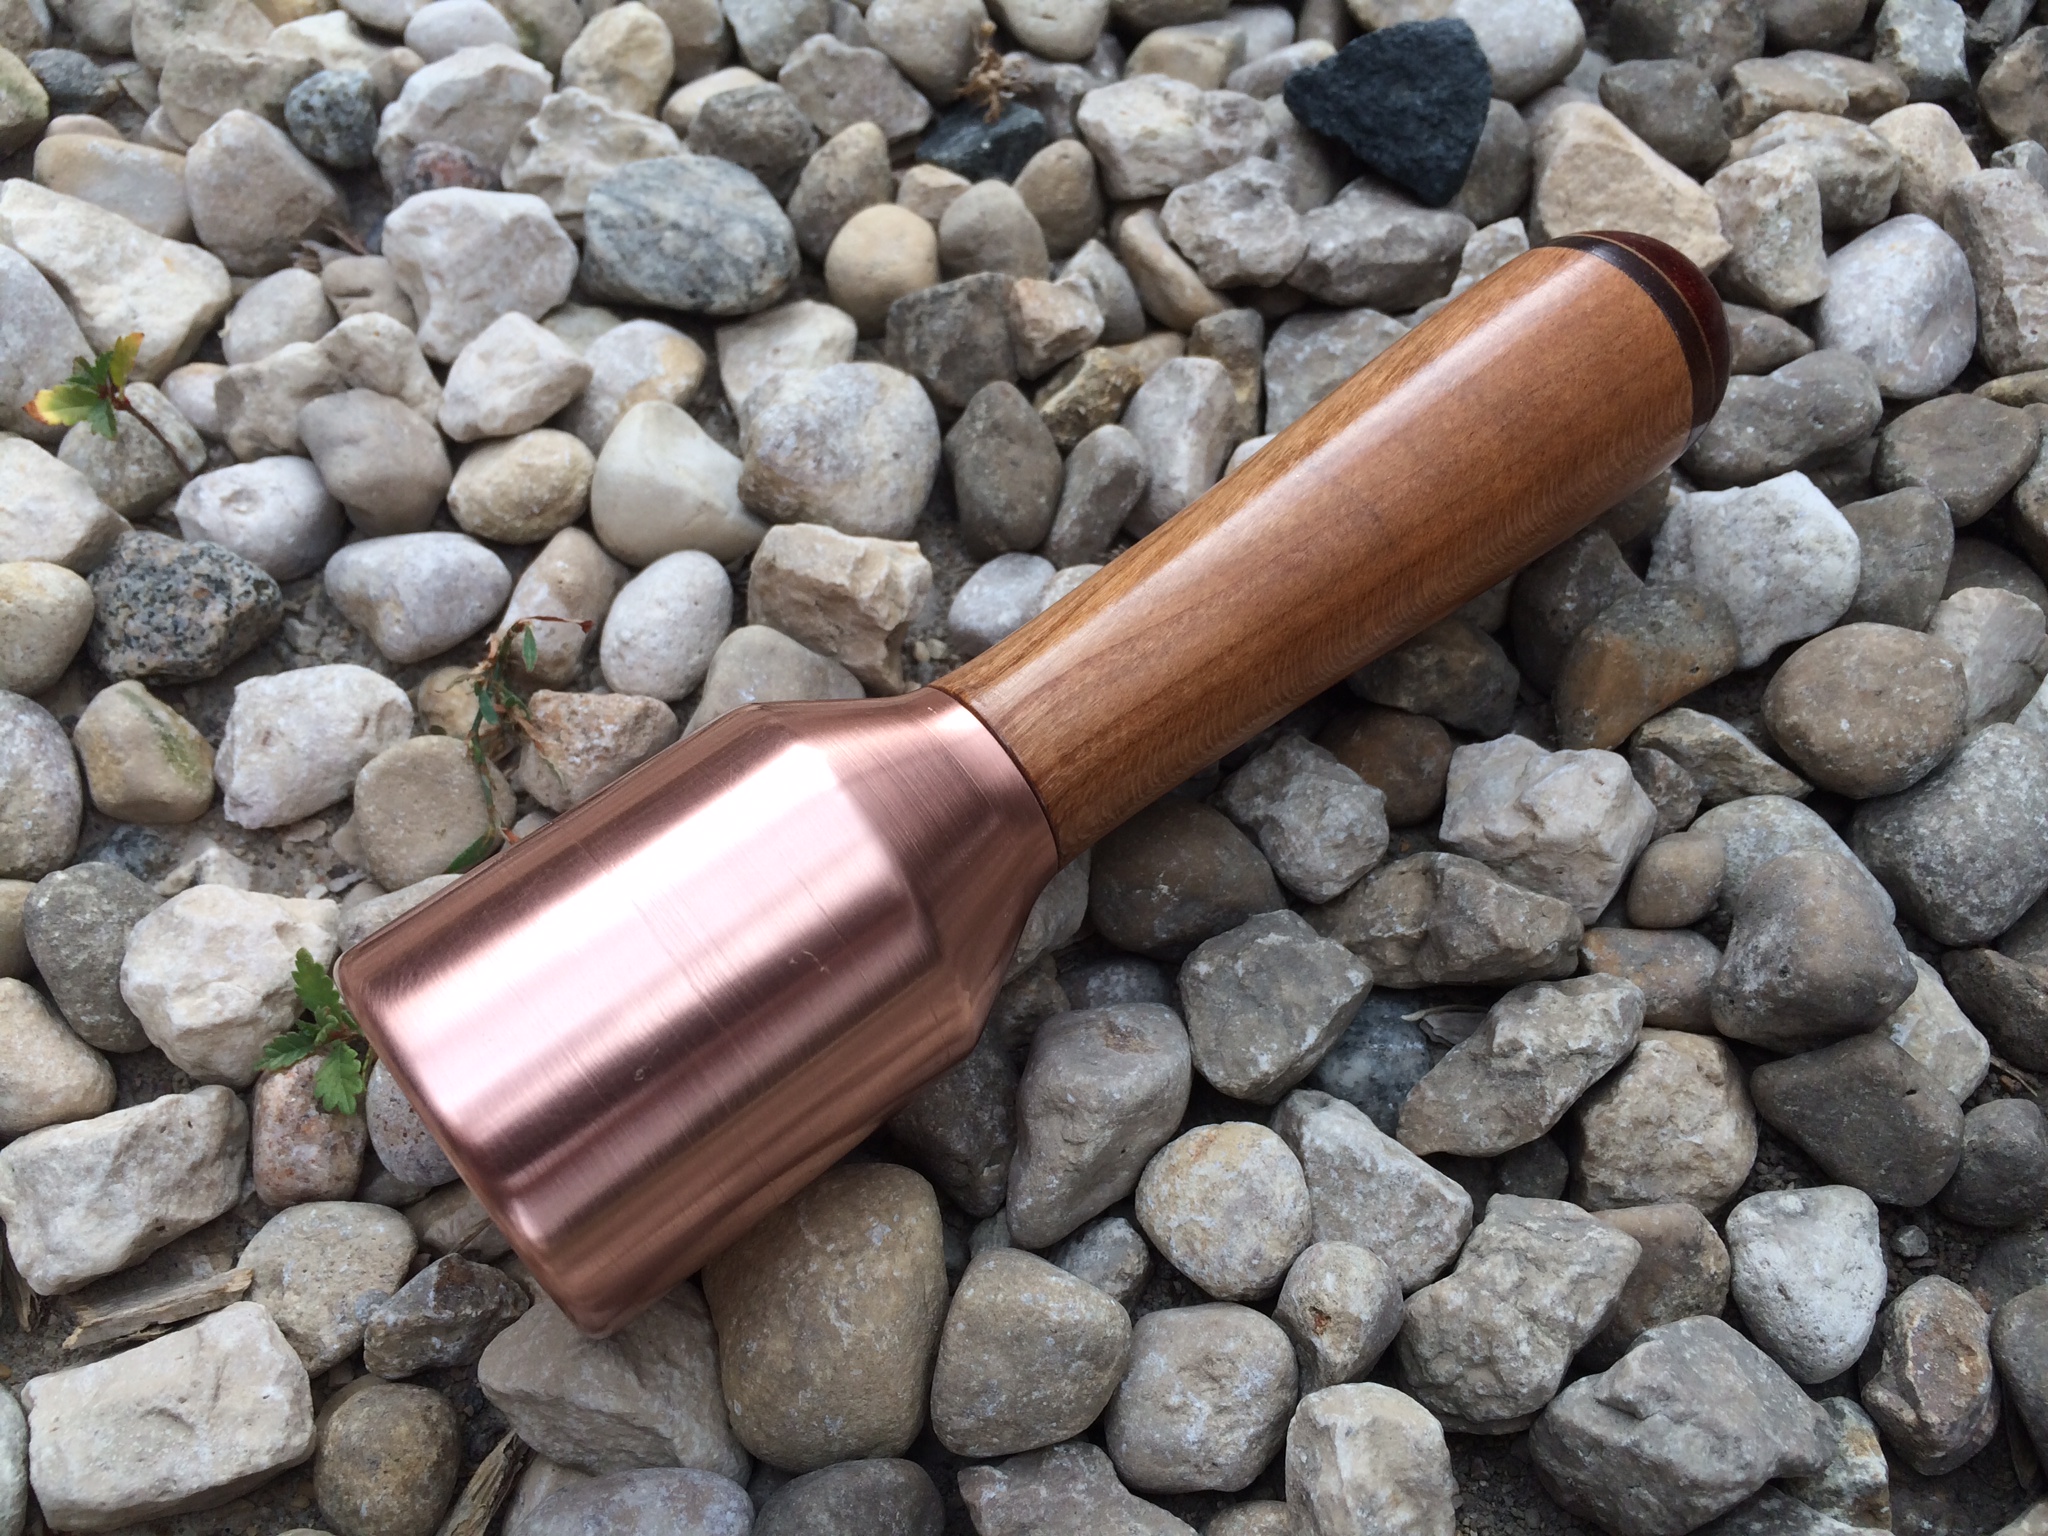
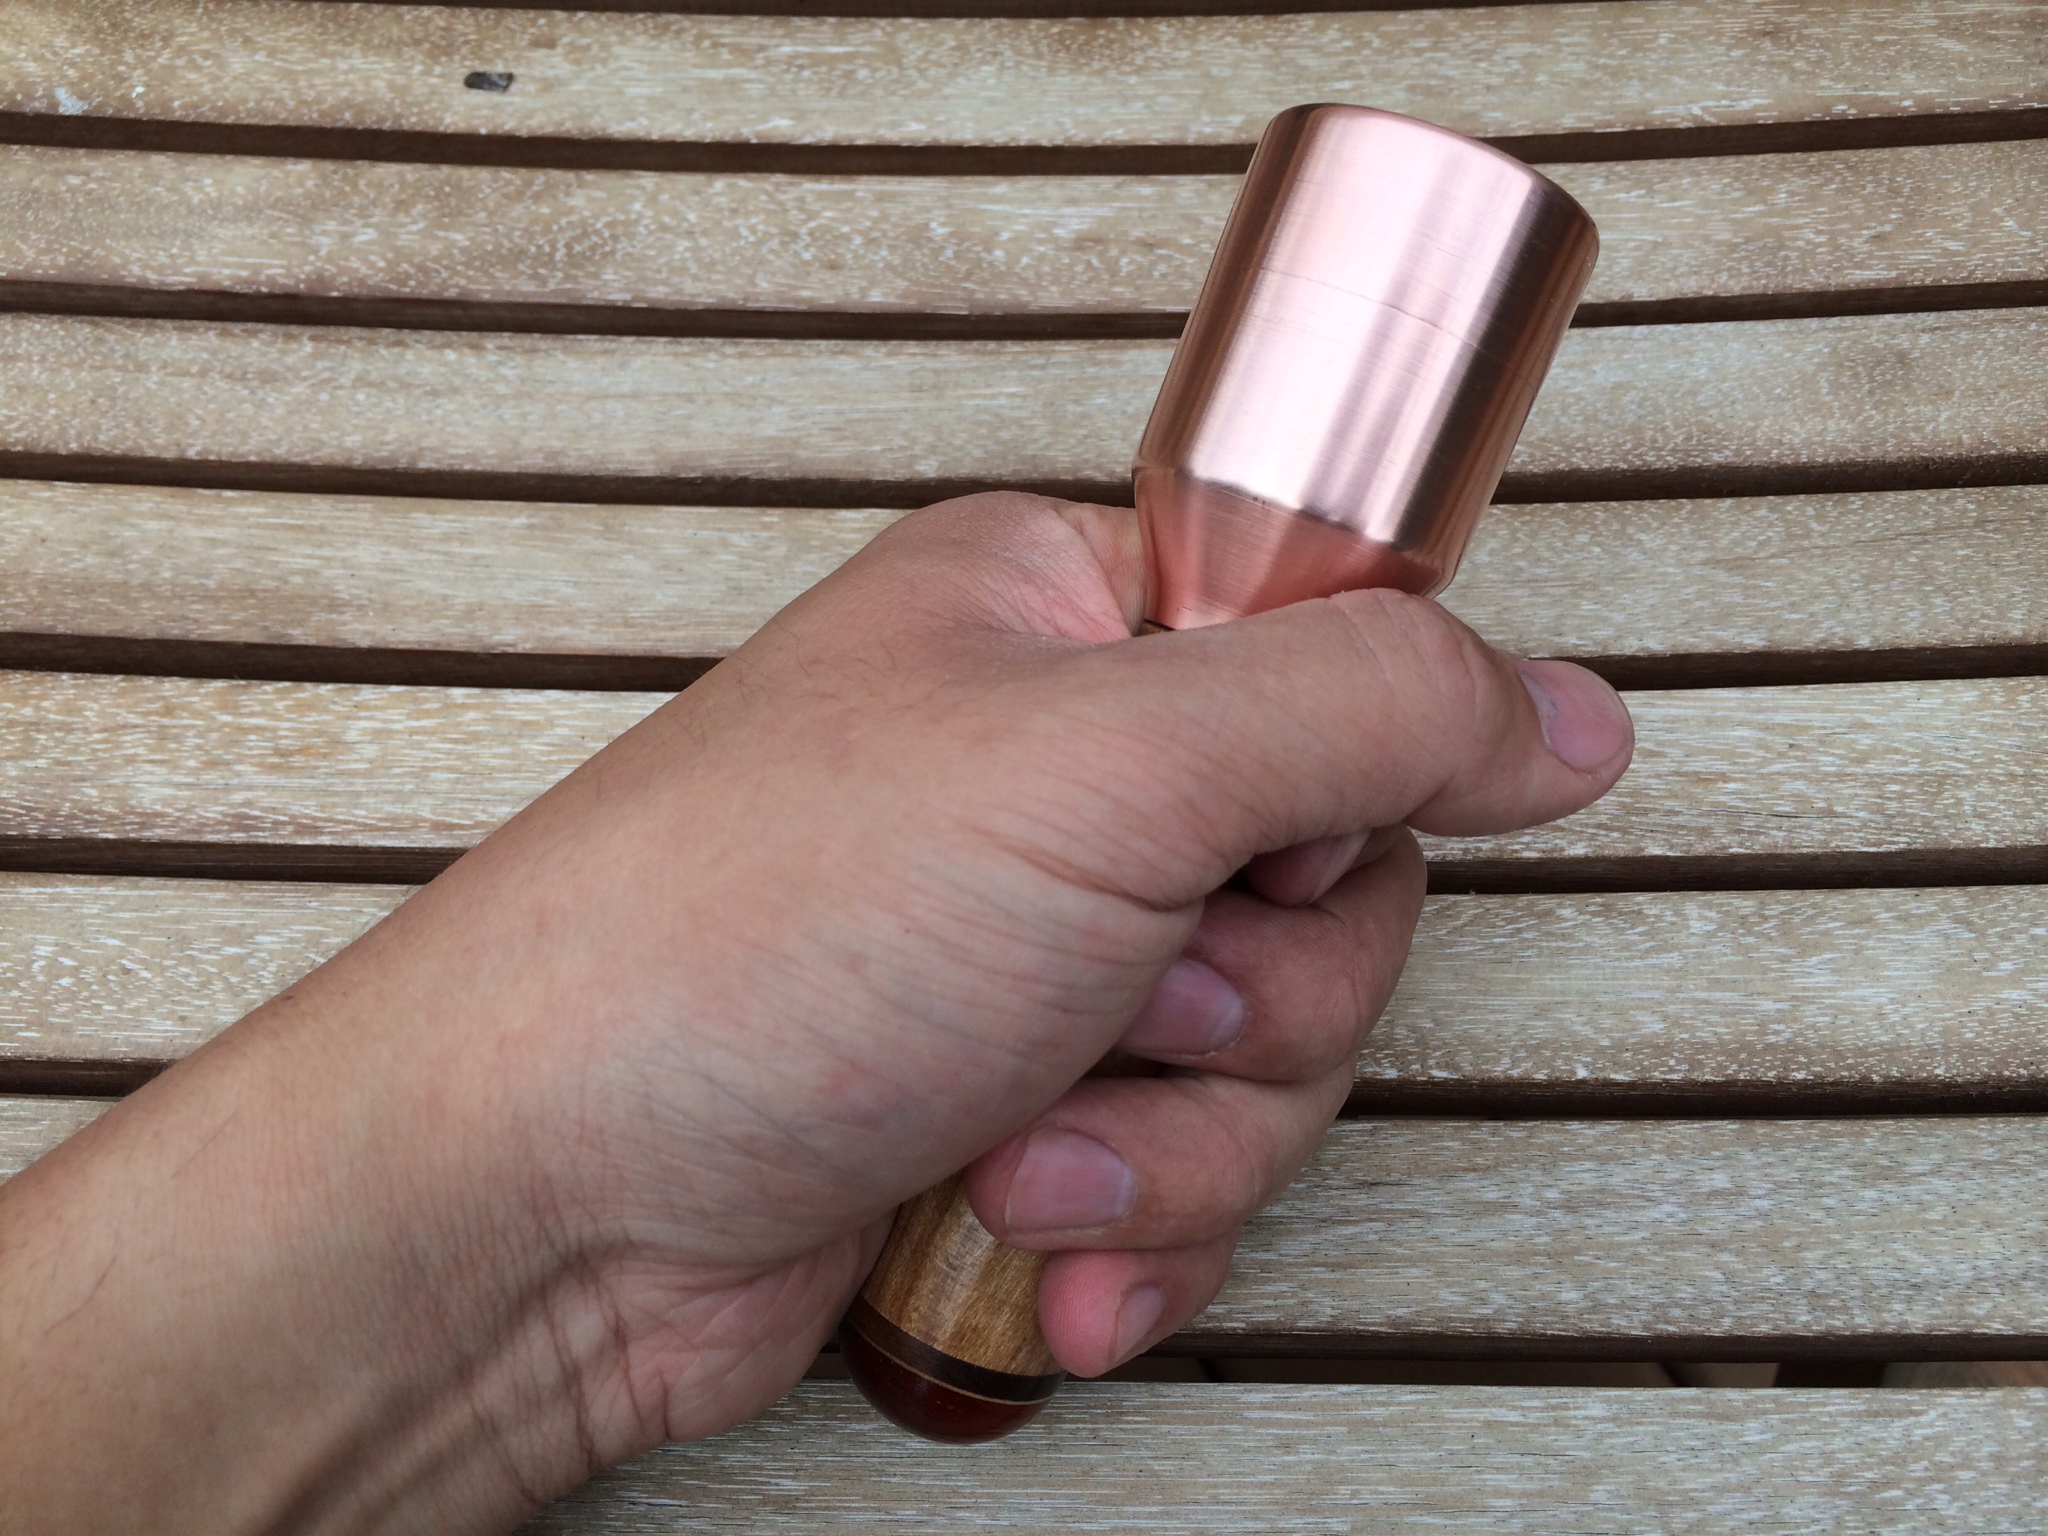
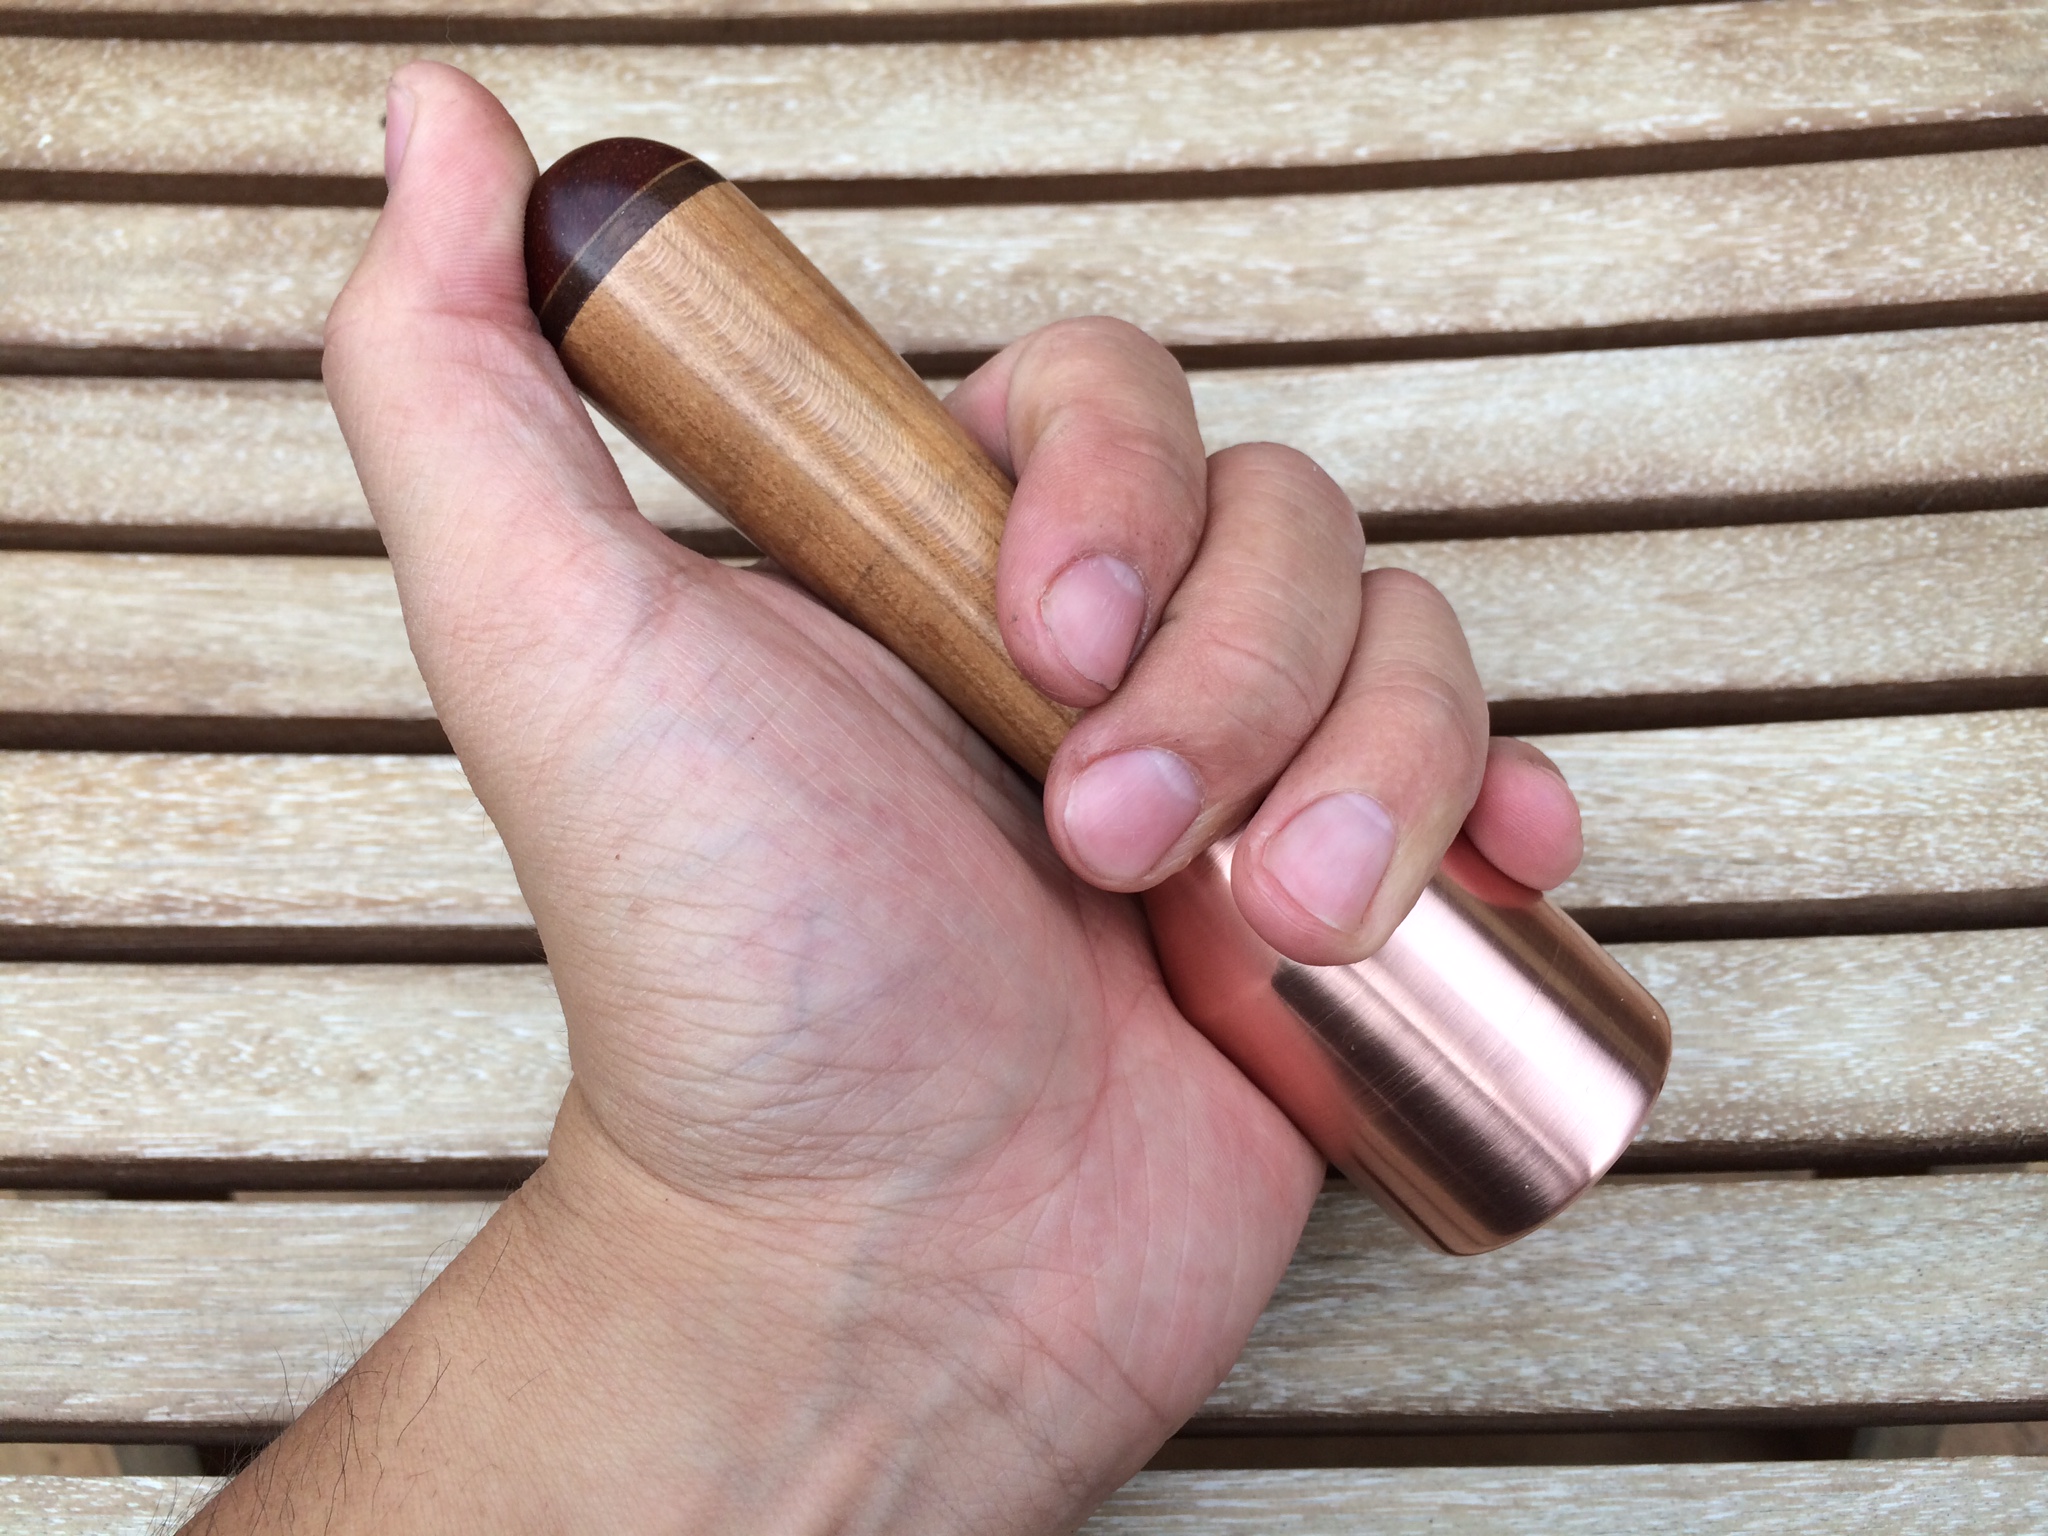
I tapered the head at 30 degrees and took off the cooper until it almost met with the wood. From there, I used a half round file to manually blend the wood and copper till they made the a similar seamless transition. Before I finished the whole handle, I added some end cap detail by laminating some walnut and paduak spaced with maple veneers. Purely decorative, but sure makes it nice and custom.
The handle was then spun and using 80, 120, 240, 400, 600 and some steel tool, I prepped the surface to accept 4 coats of super glue. Having it already on the lathe made applying the super glue finish easy as I spun the handle very slowly. I hit the surface again with the steel wool to even out the glue.
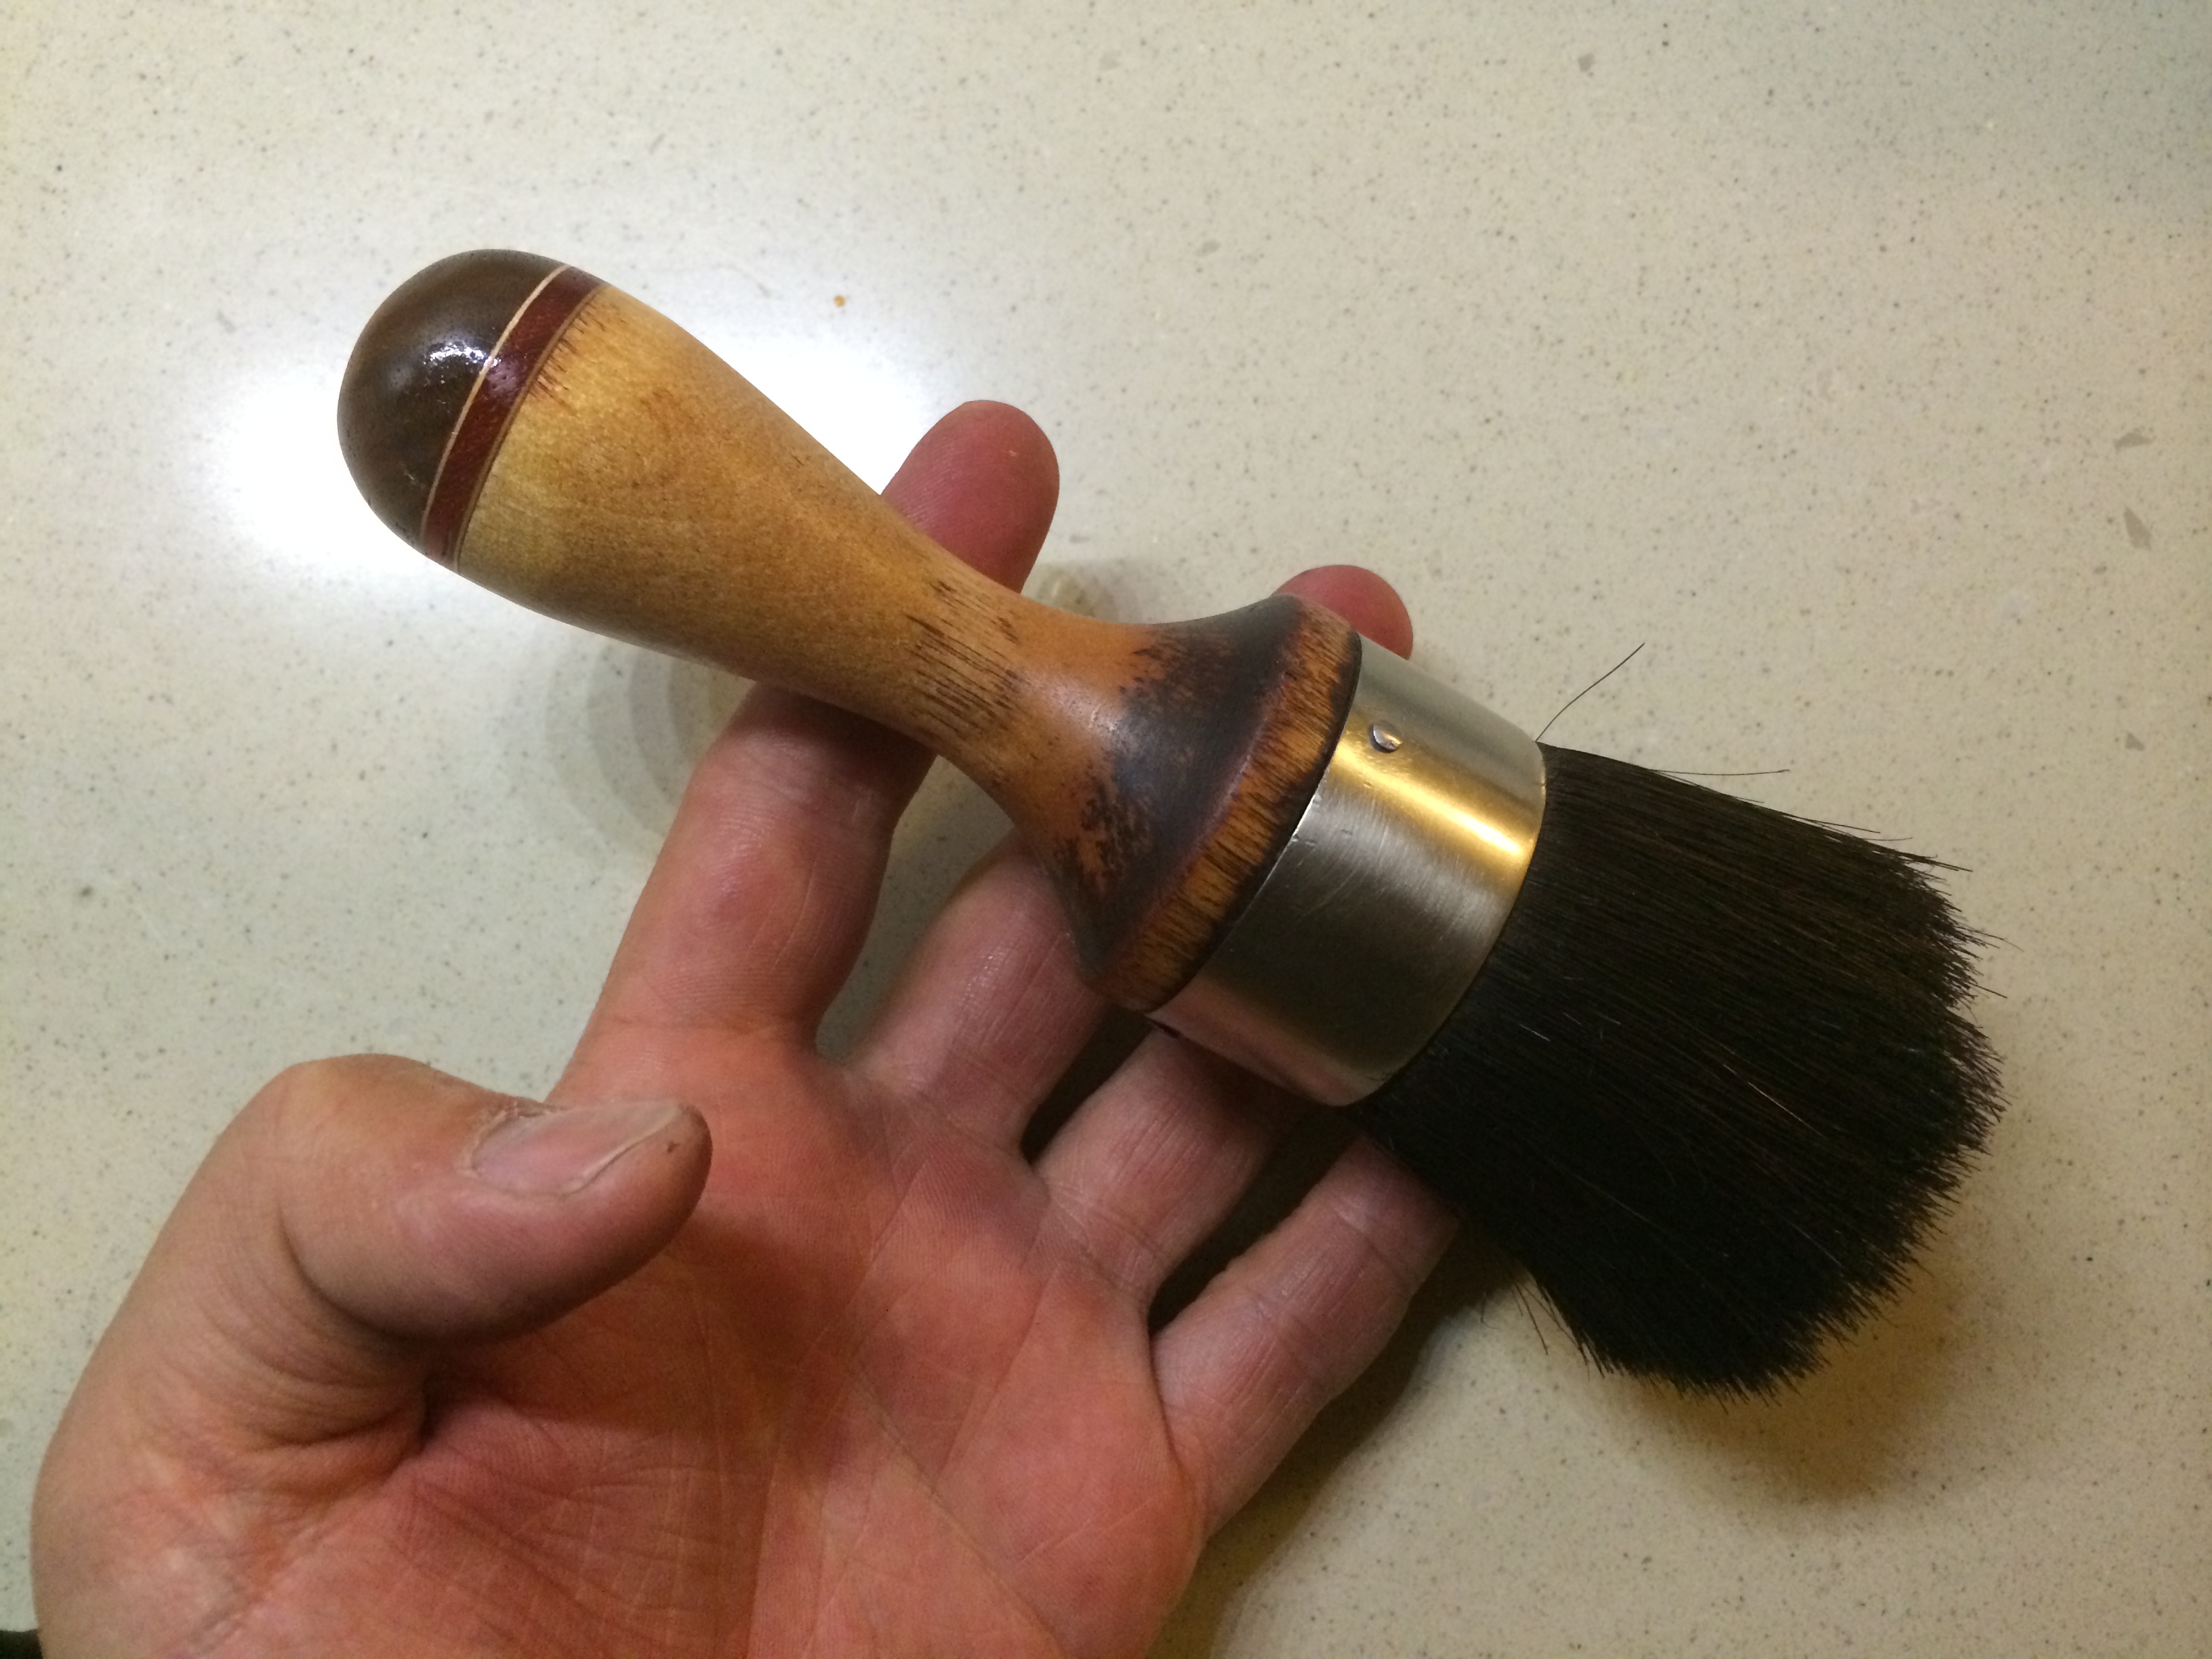
I pulled a painters trick and used some bunched up news paper and turning the handle at it’s fastest speed to buff it to a very even shine. It feels like a pool cue.
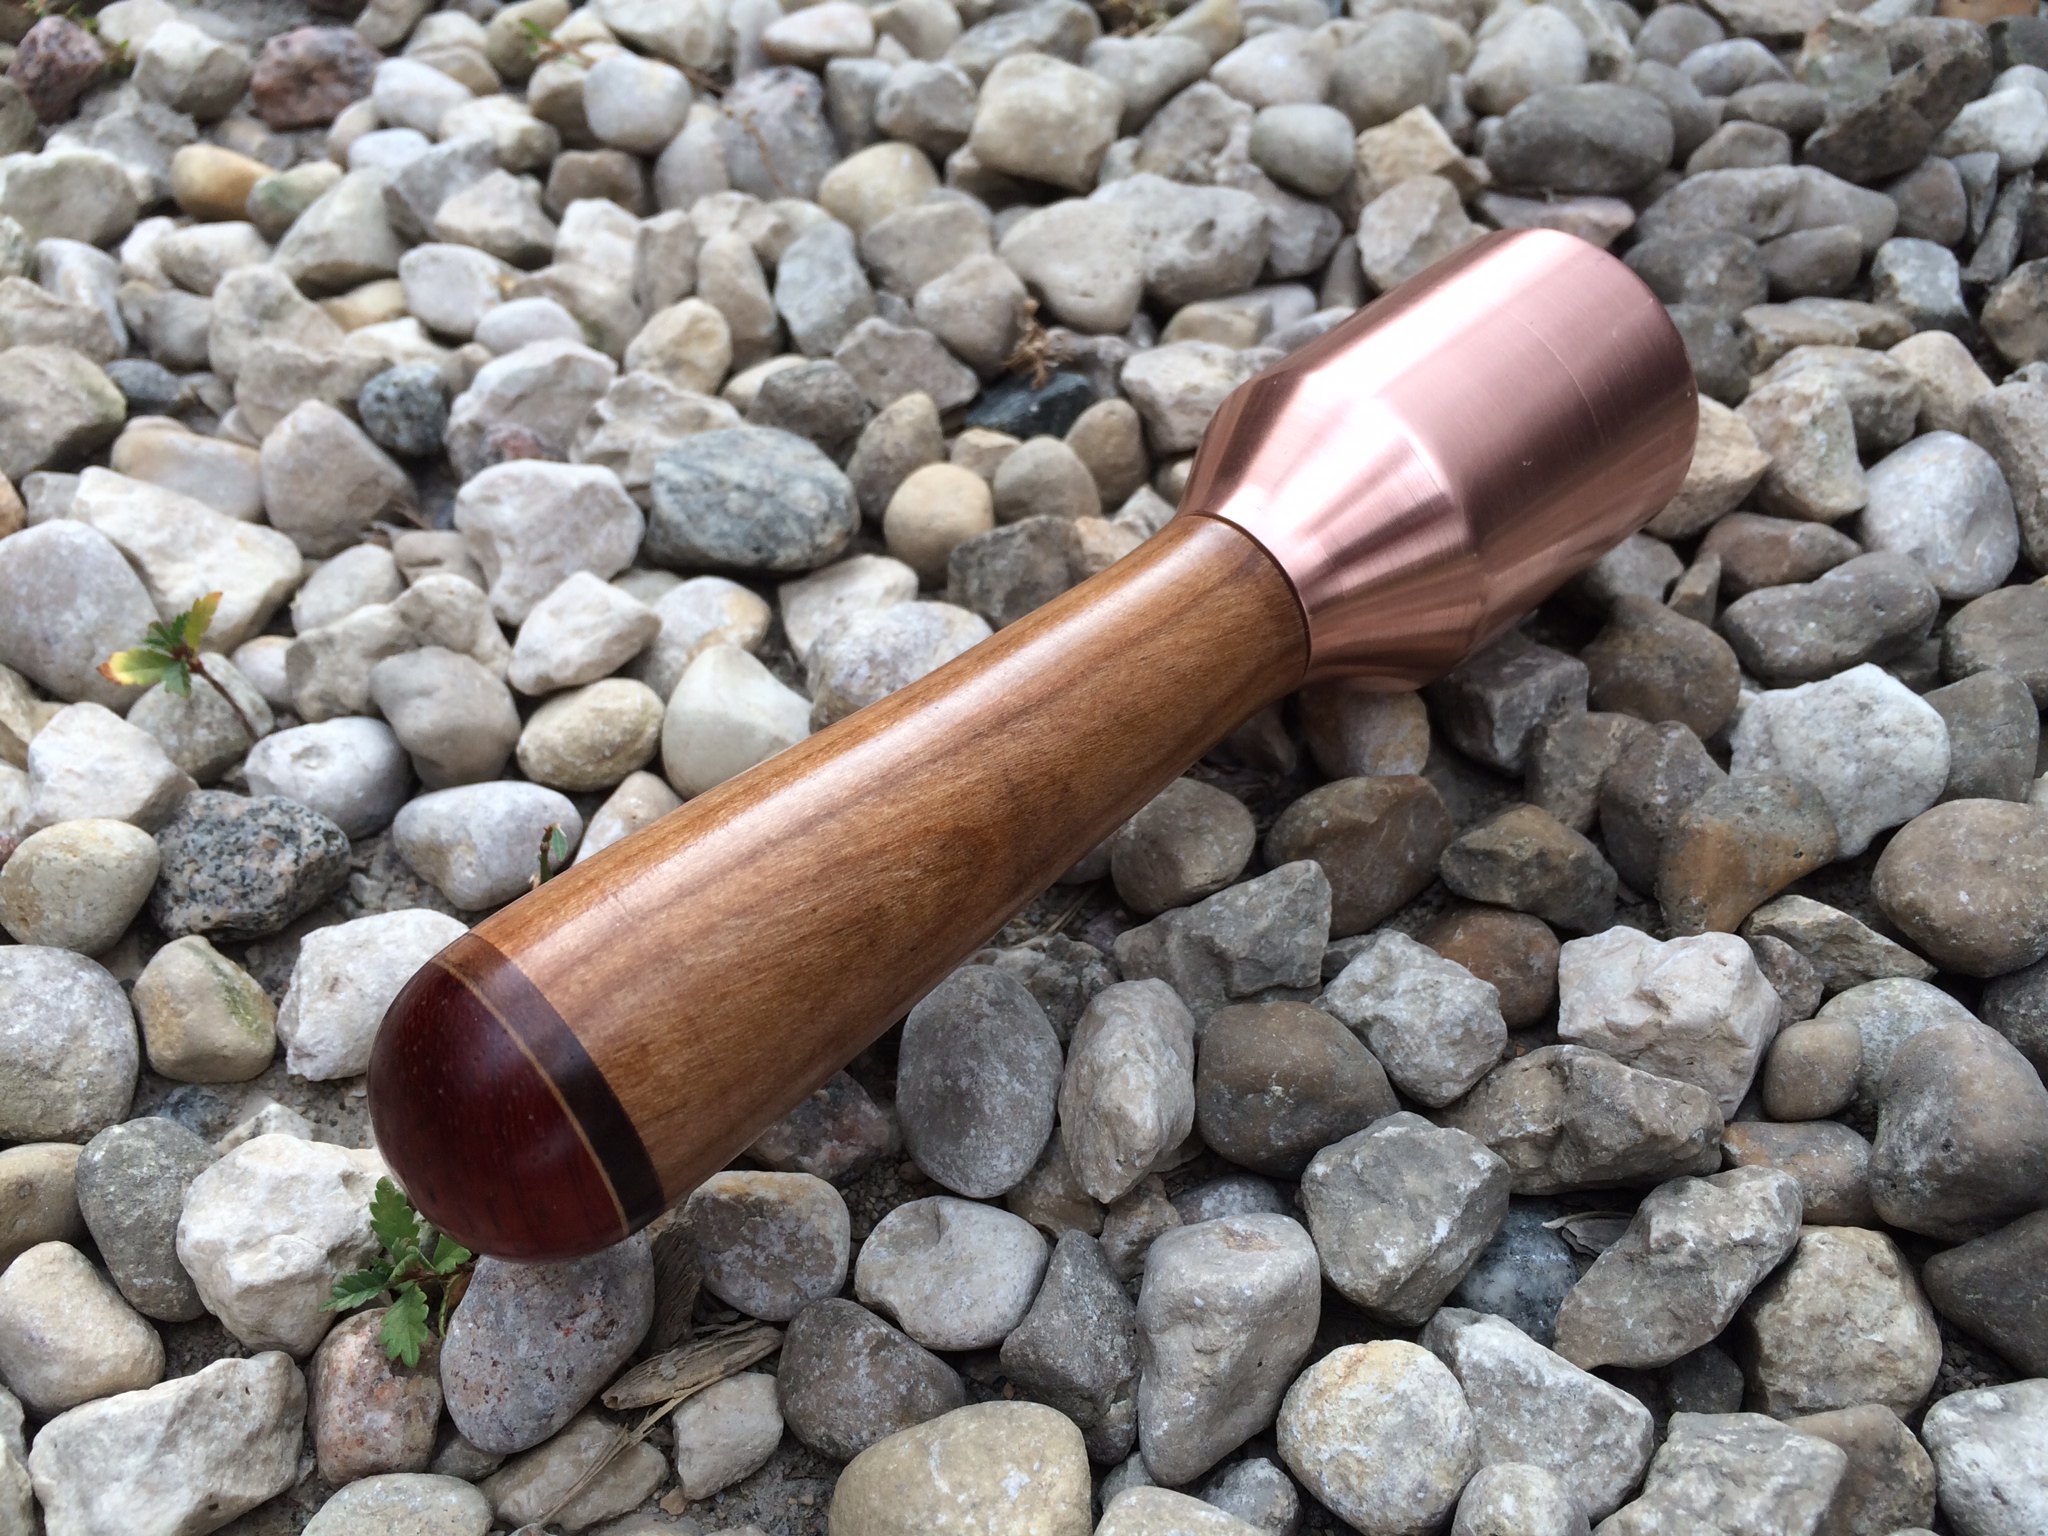
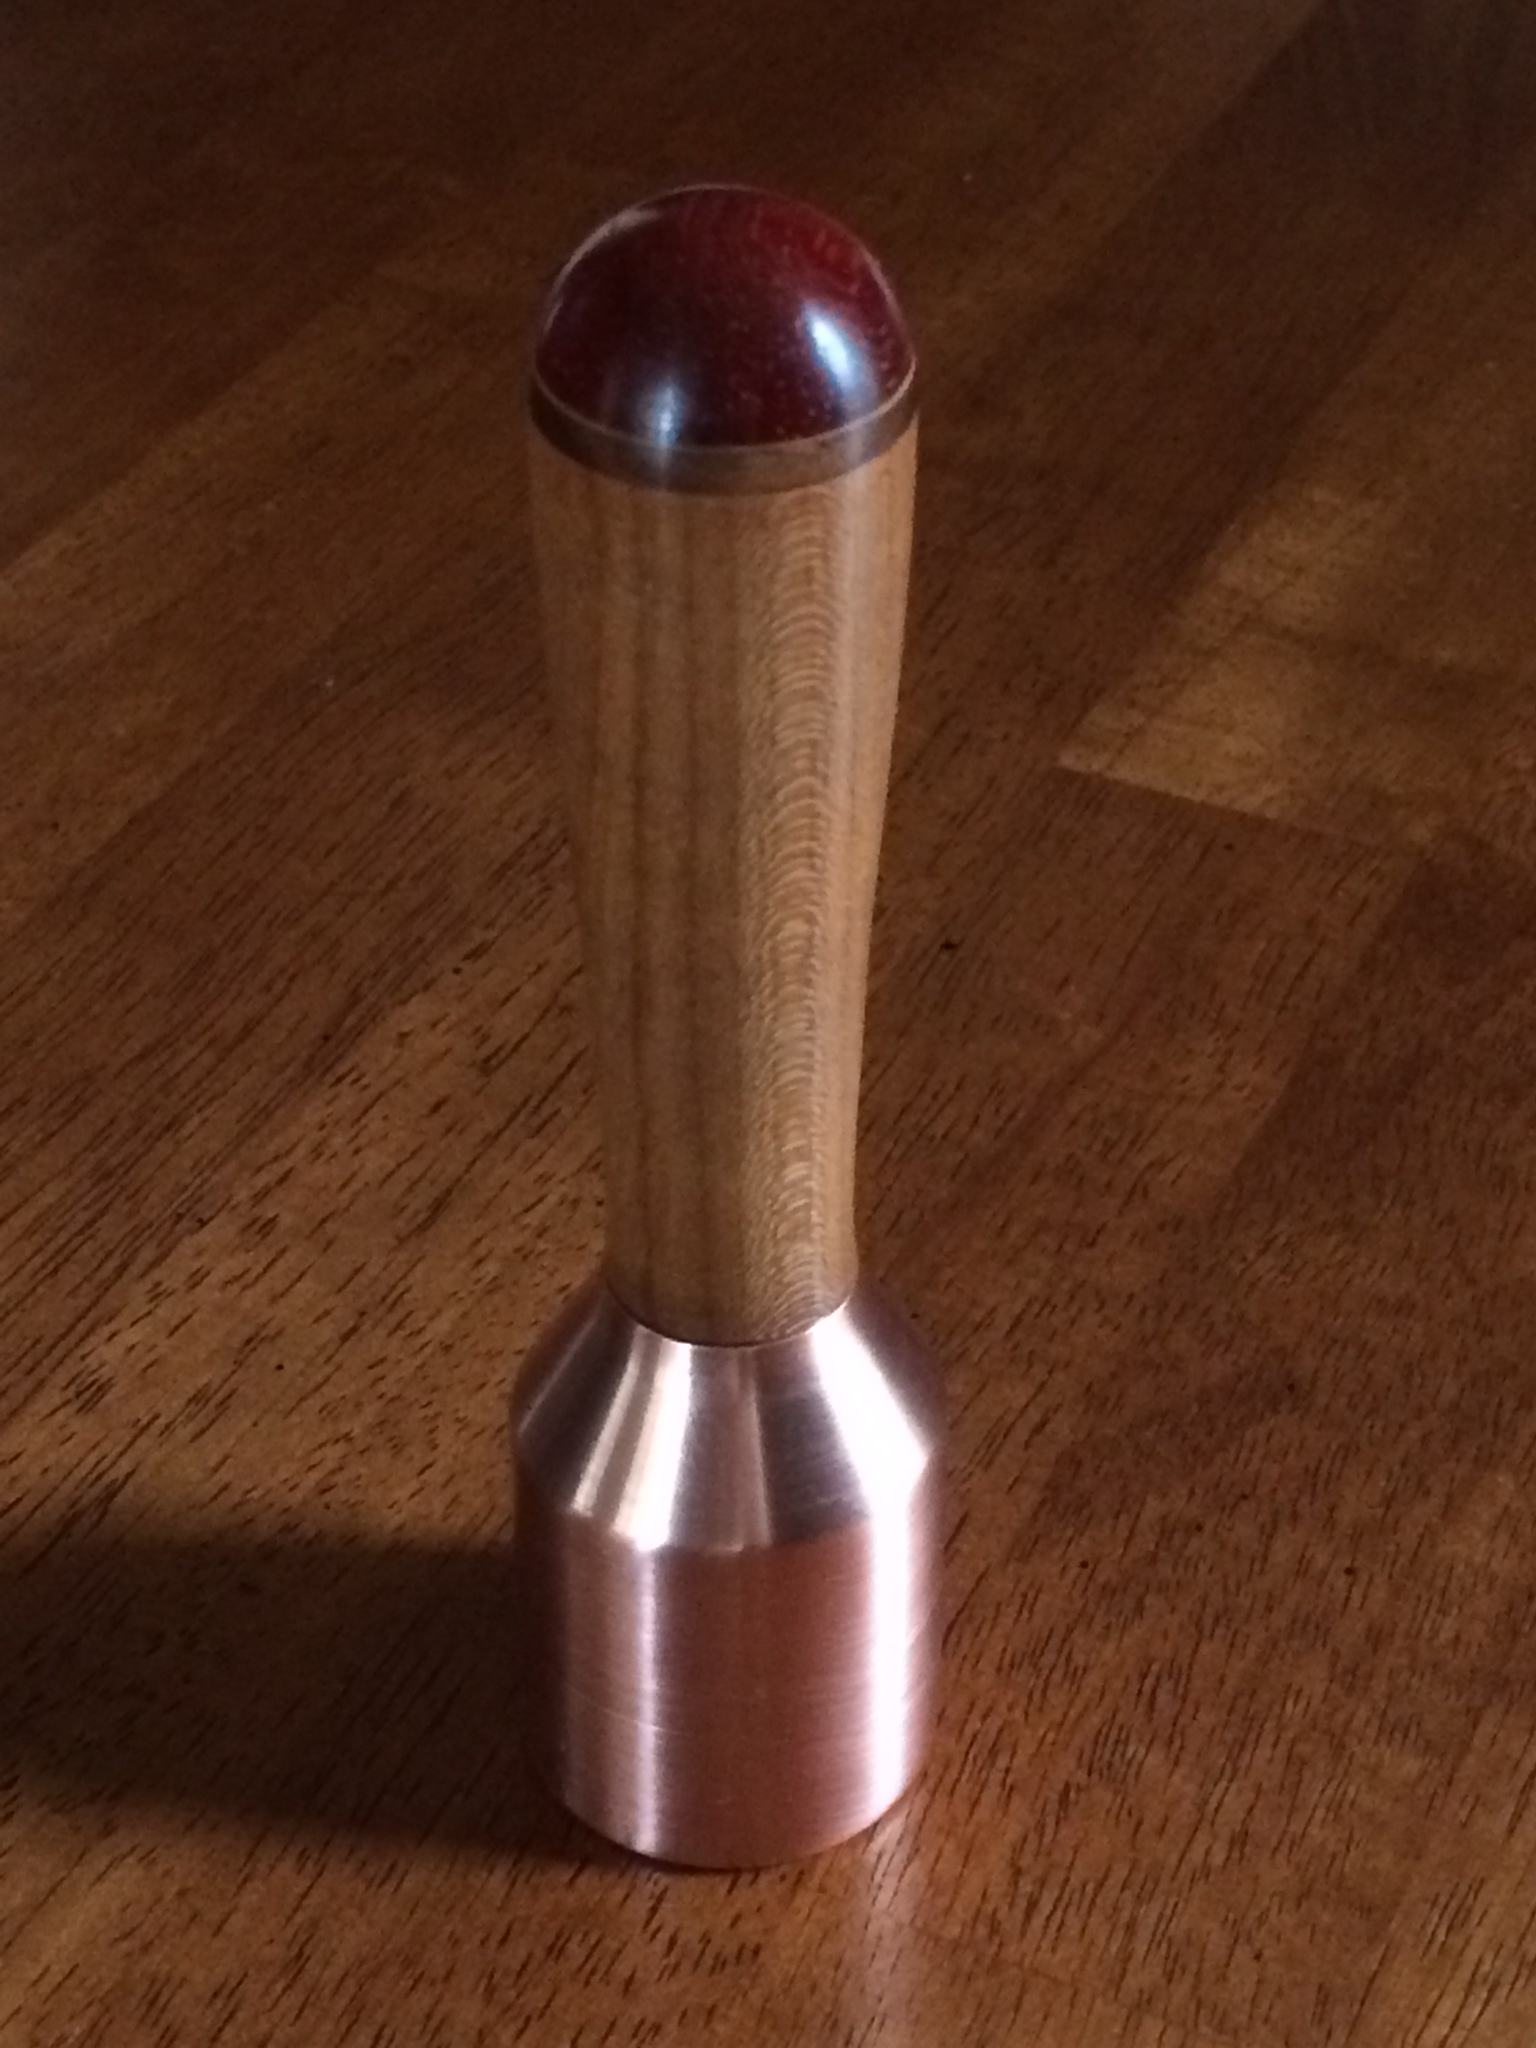
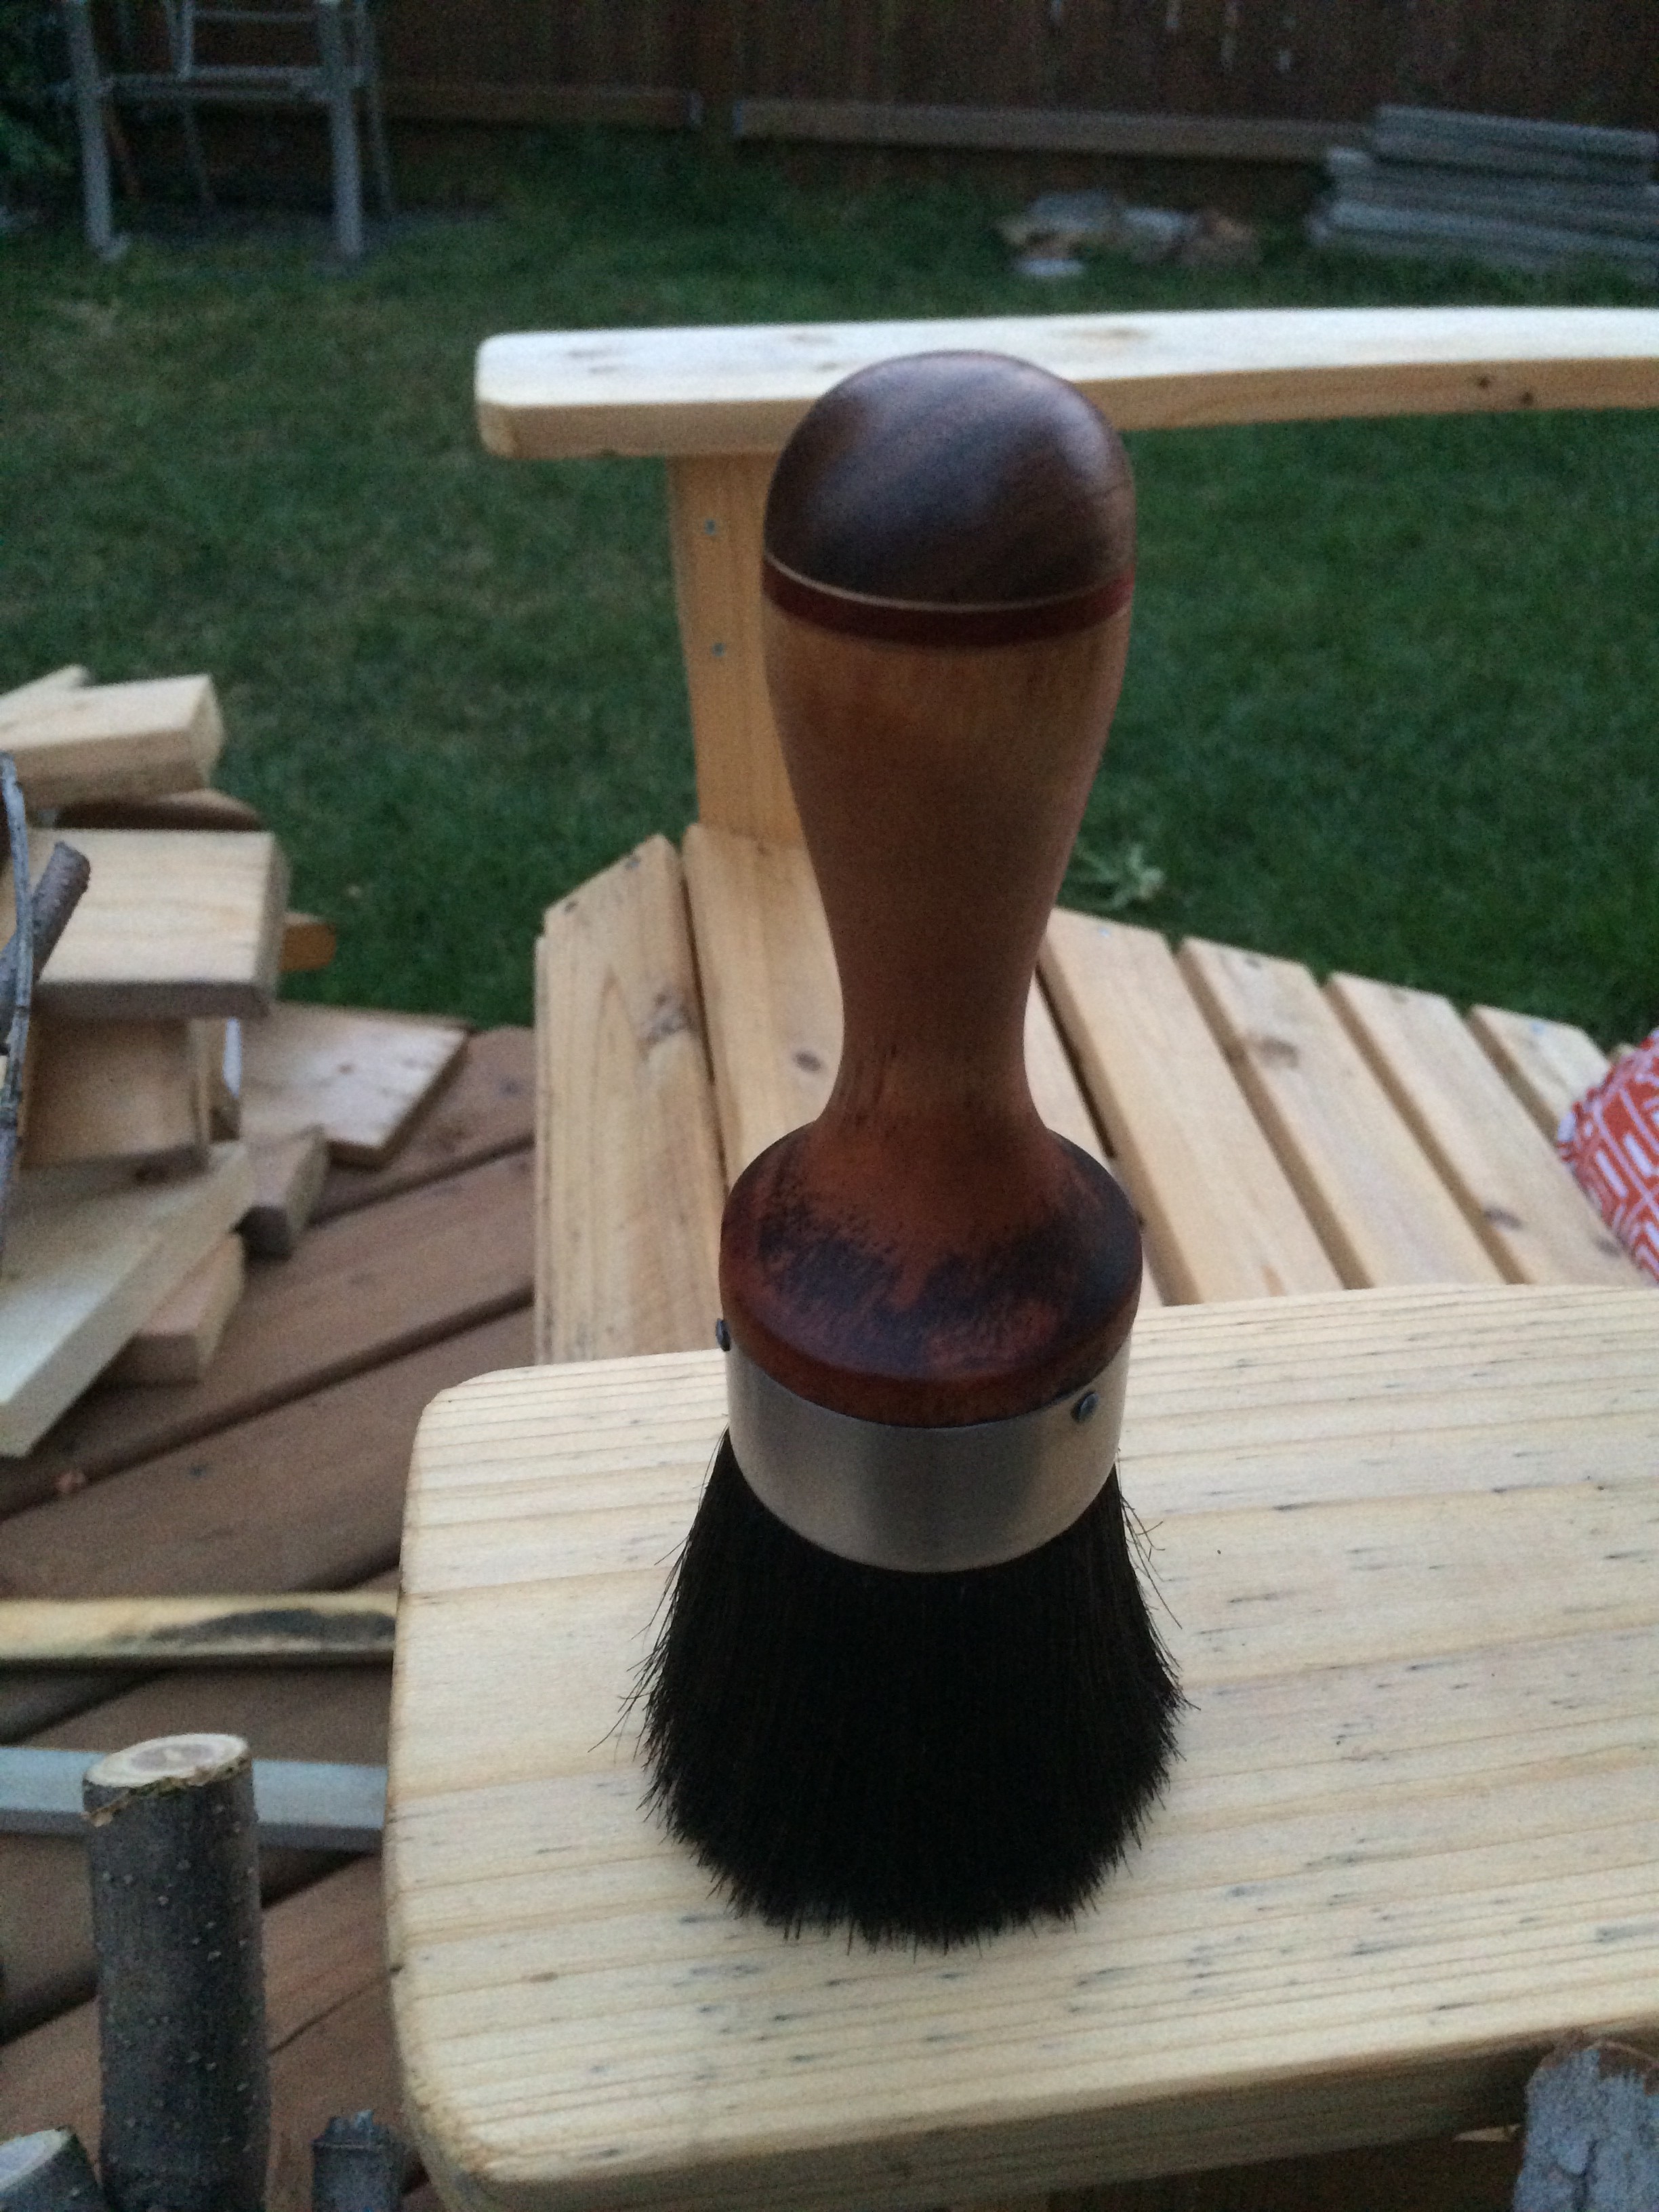
The end result is a copperhead carving mallet with a weight of just over 1Lb or 465 grams. Plenty of heft, but thanks to the small handle, incredibly controllable. 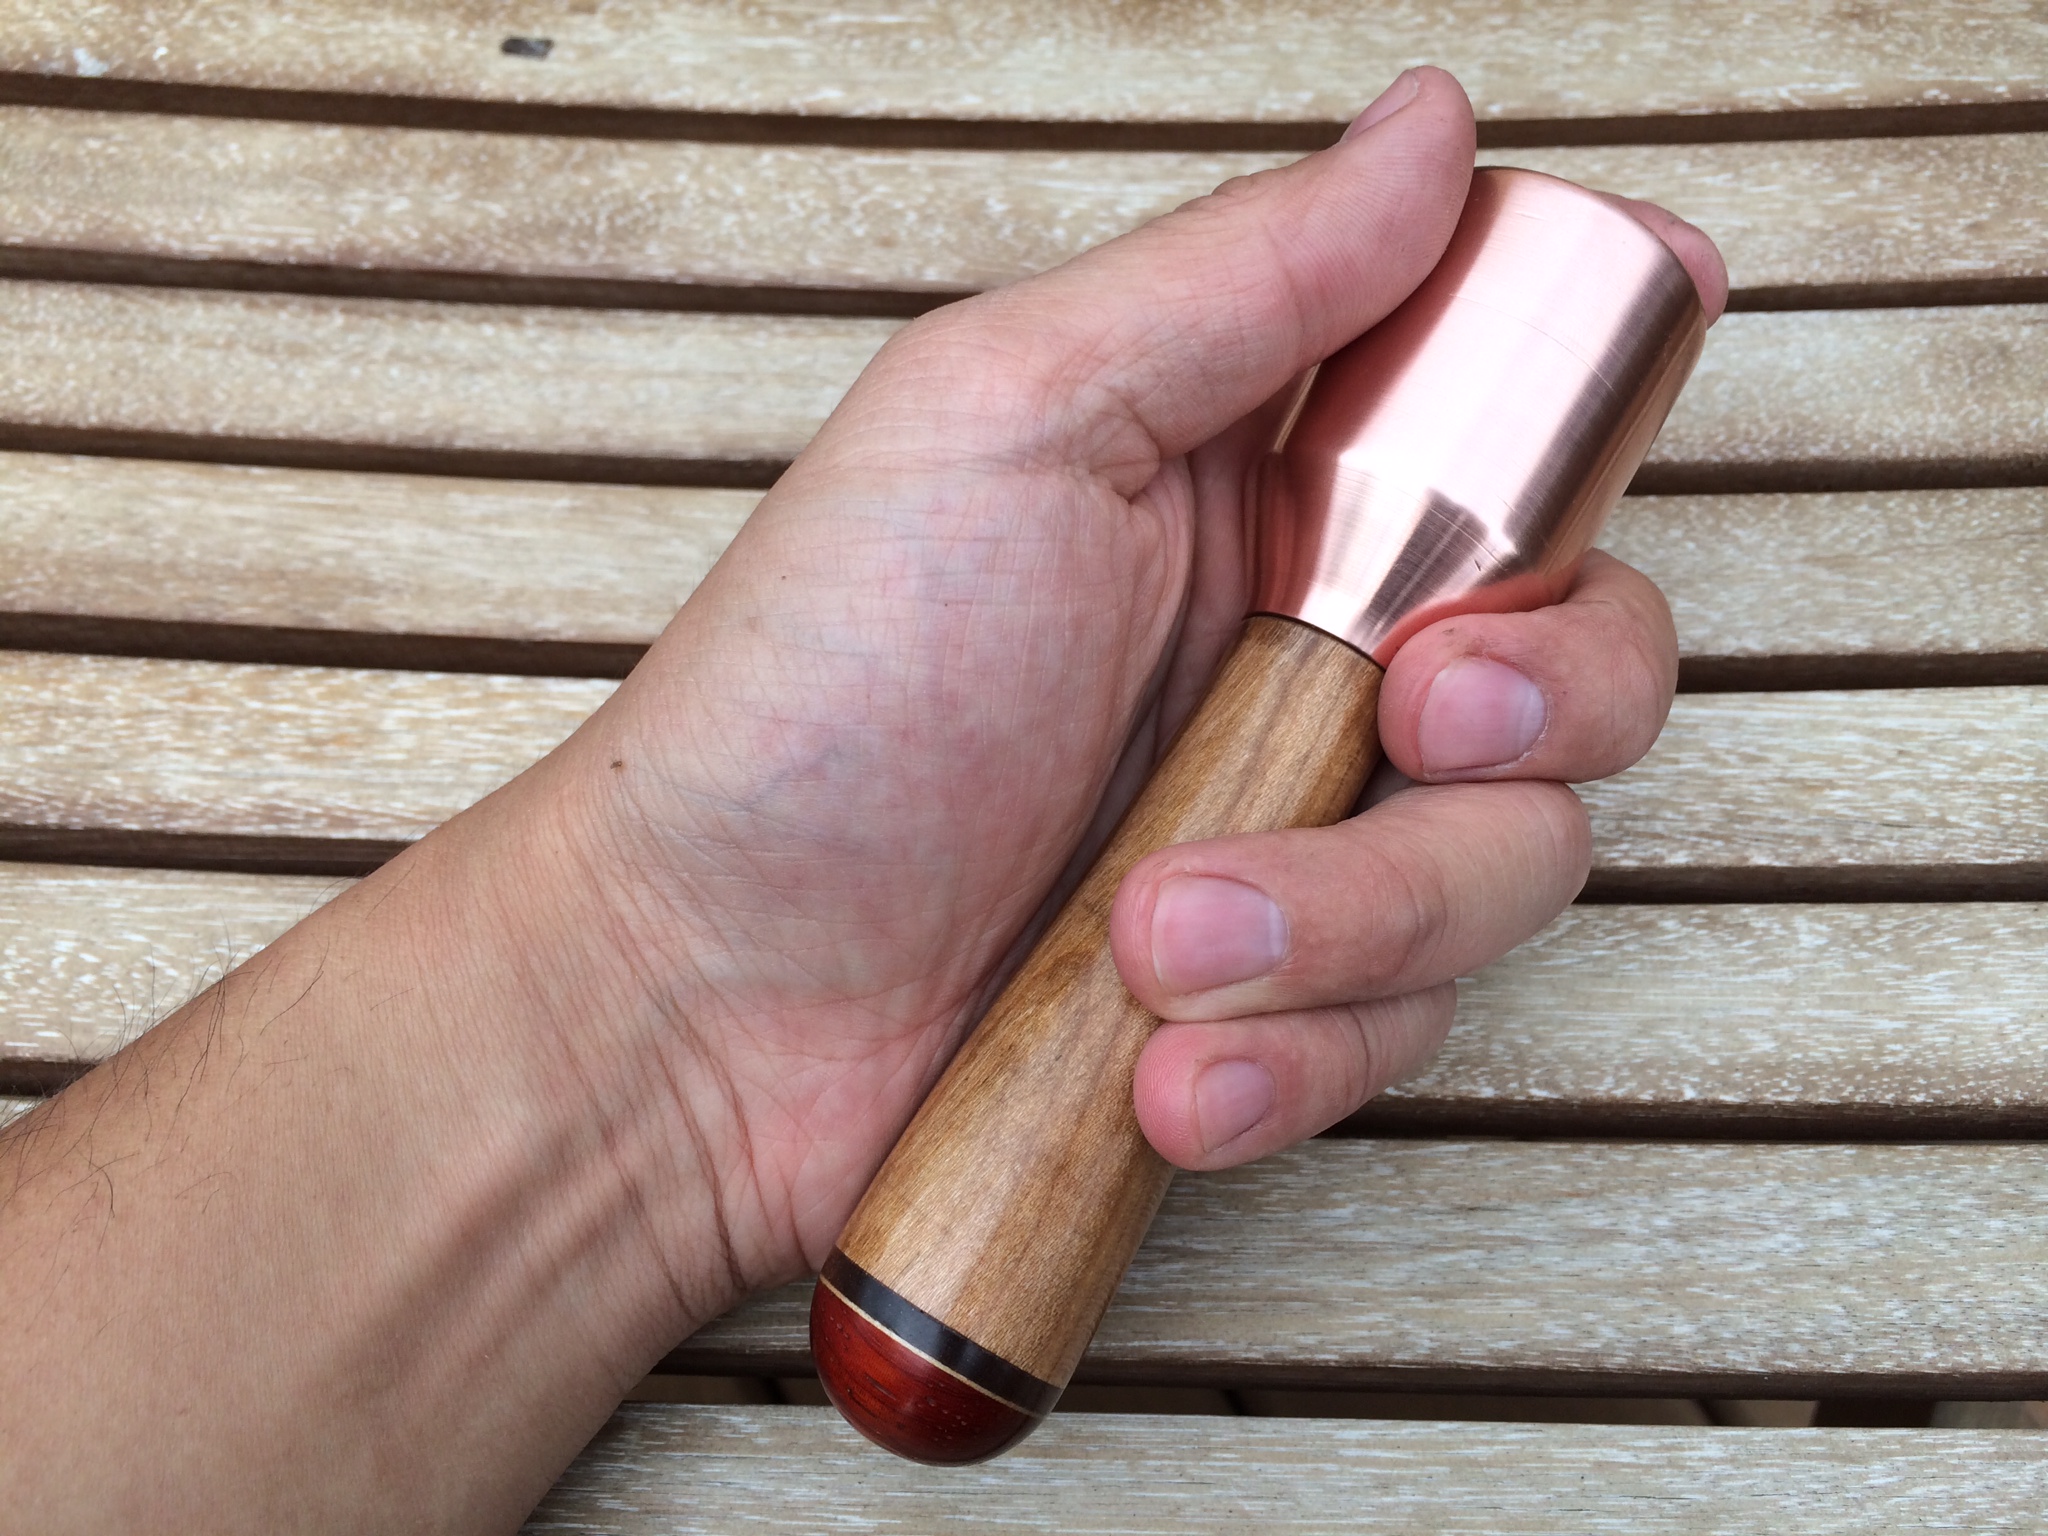
I love the end product so much that I want to make a smaller one, maybe 1/2 or 1/3 pound to compliment each other.
Thanks for reading!
-Eric