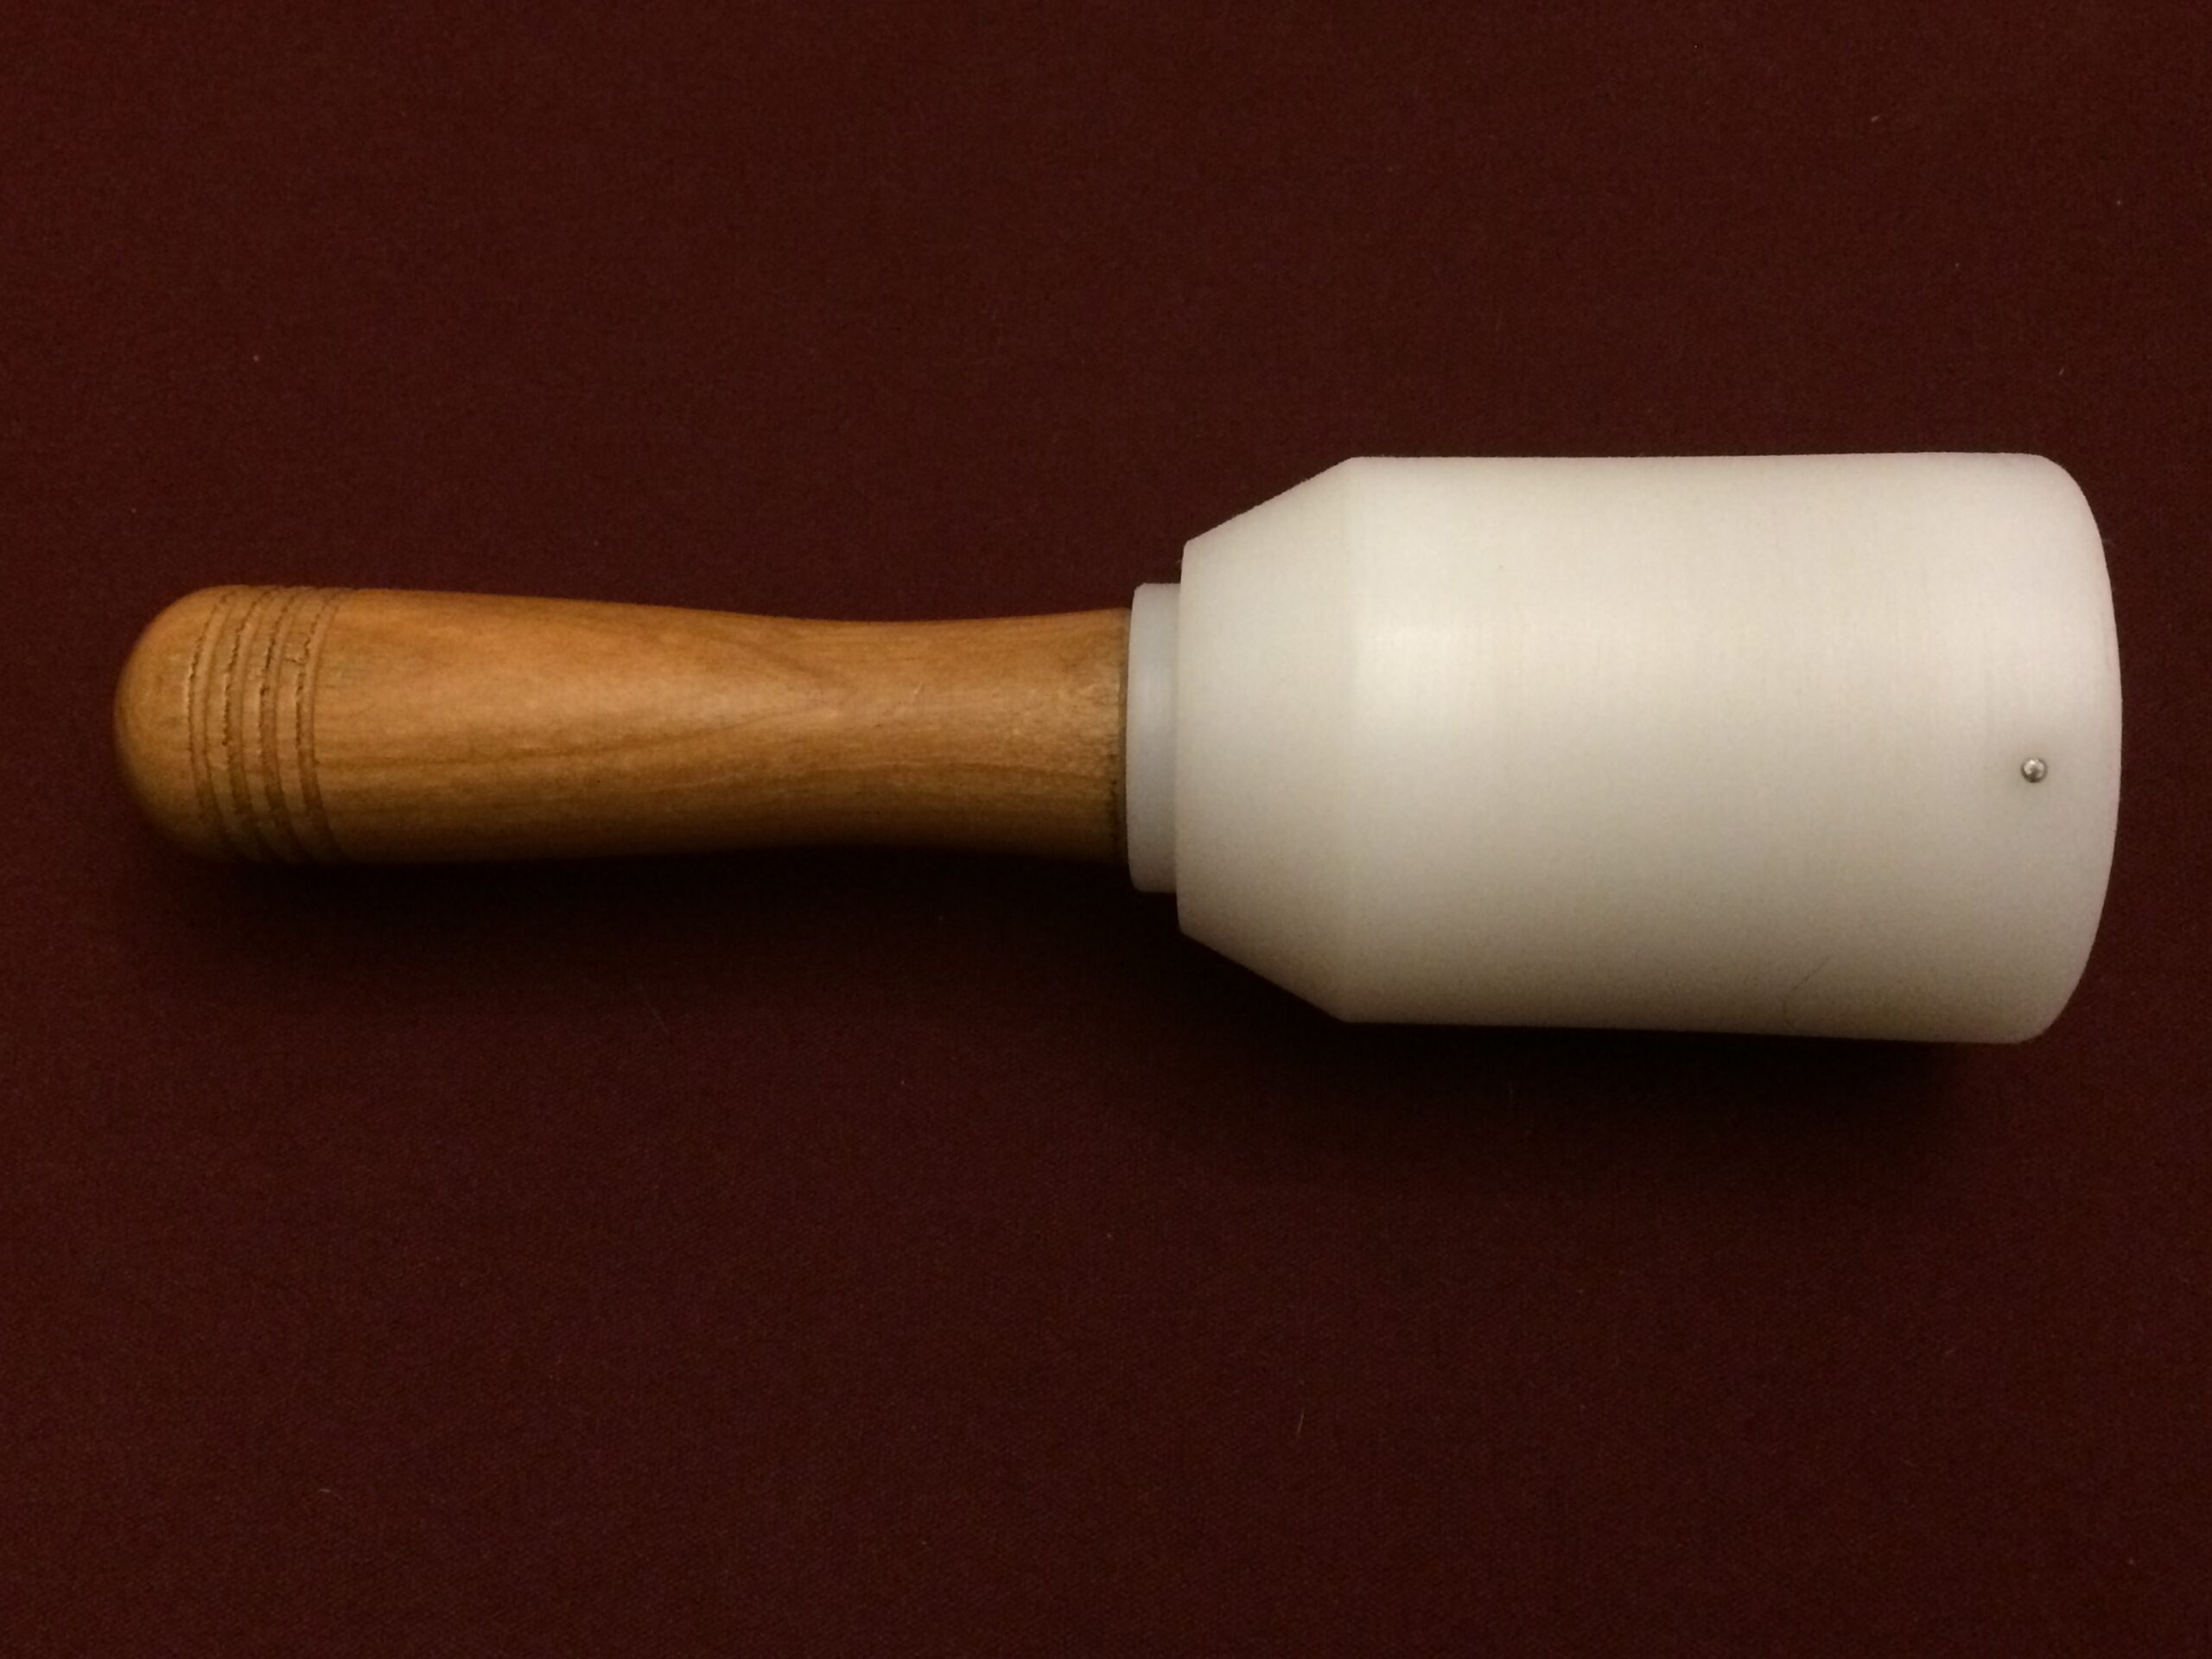
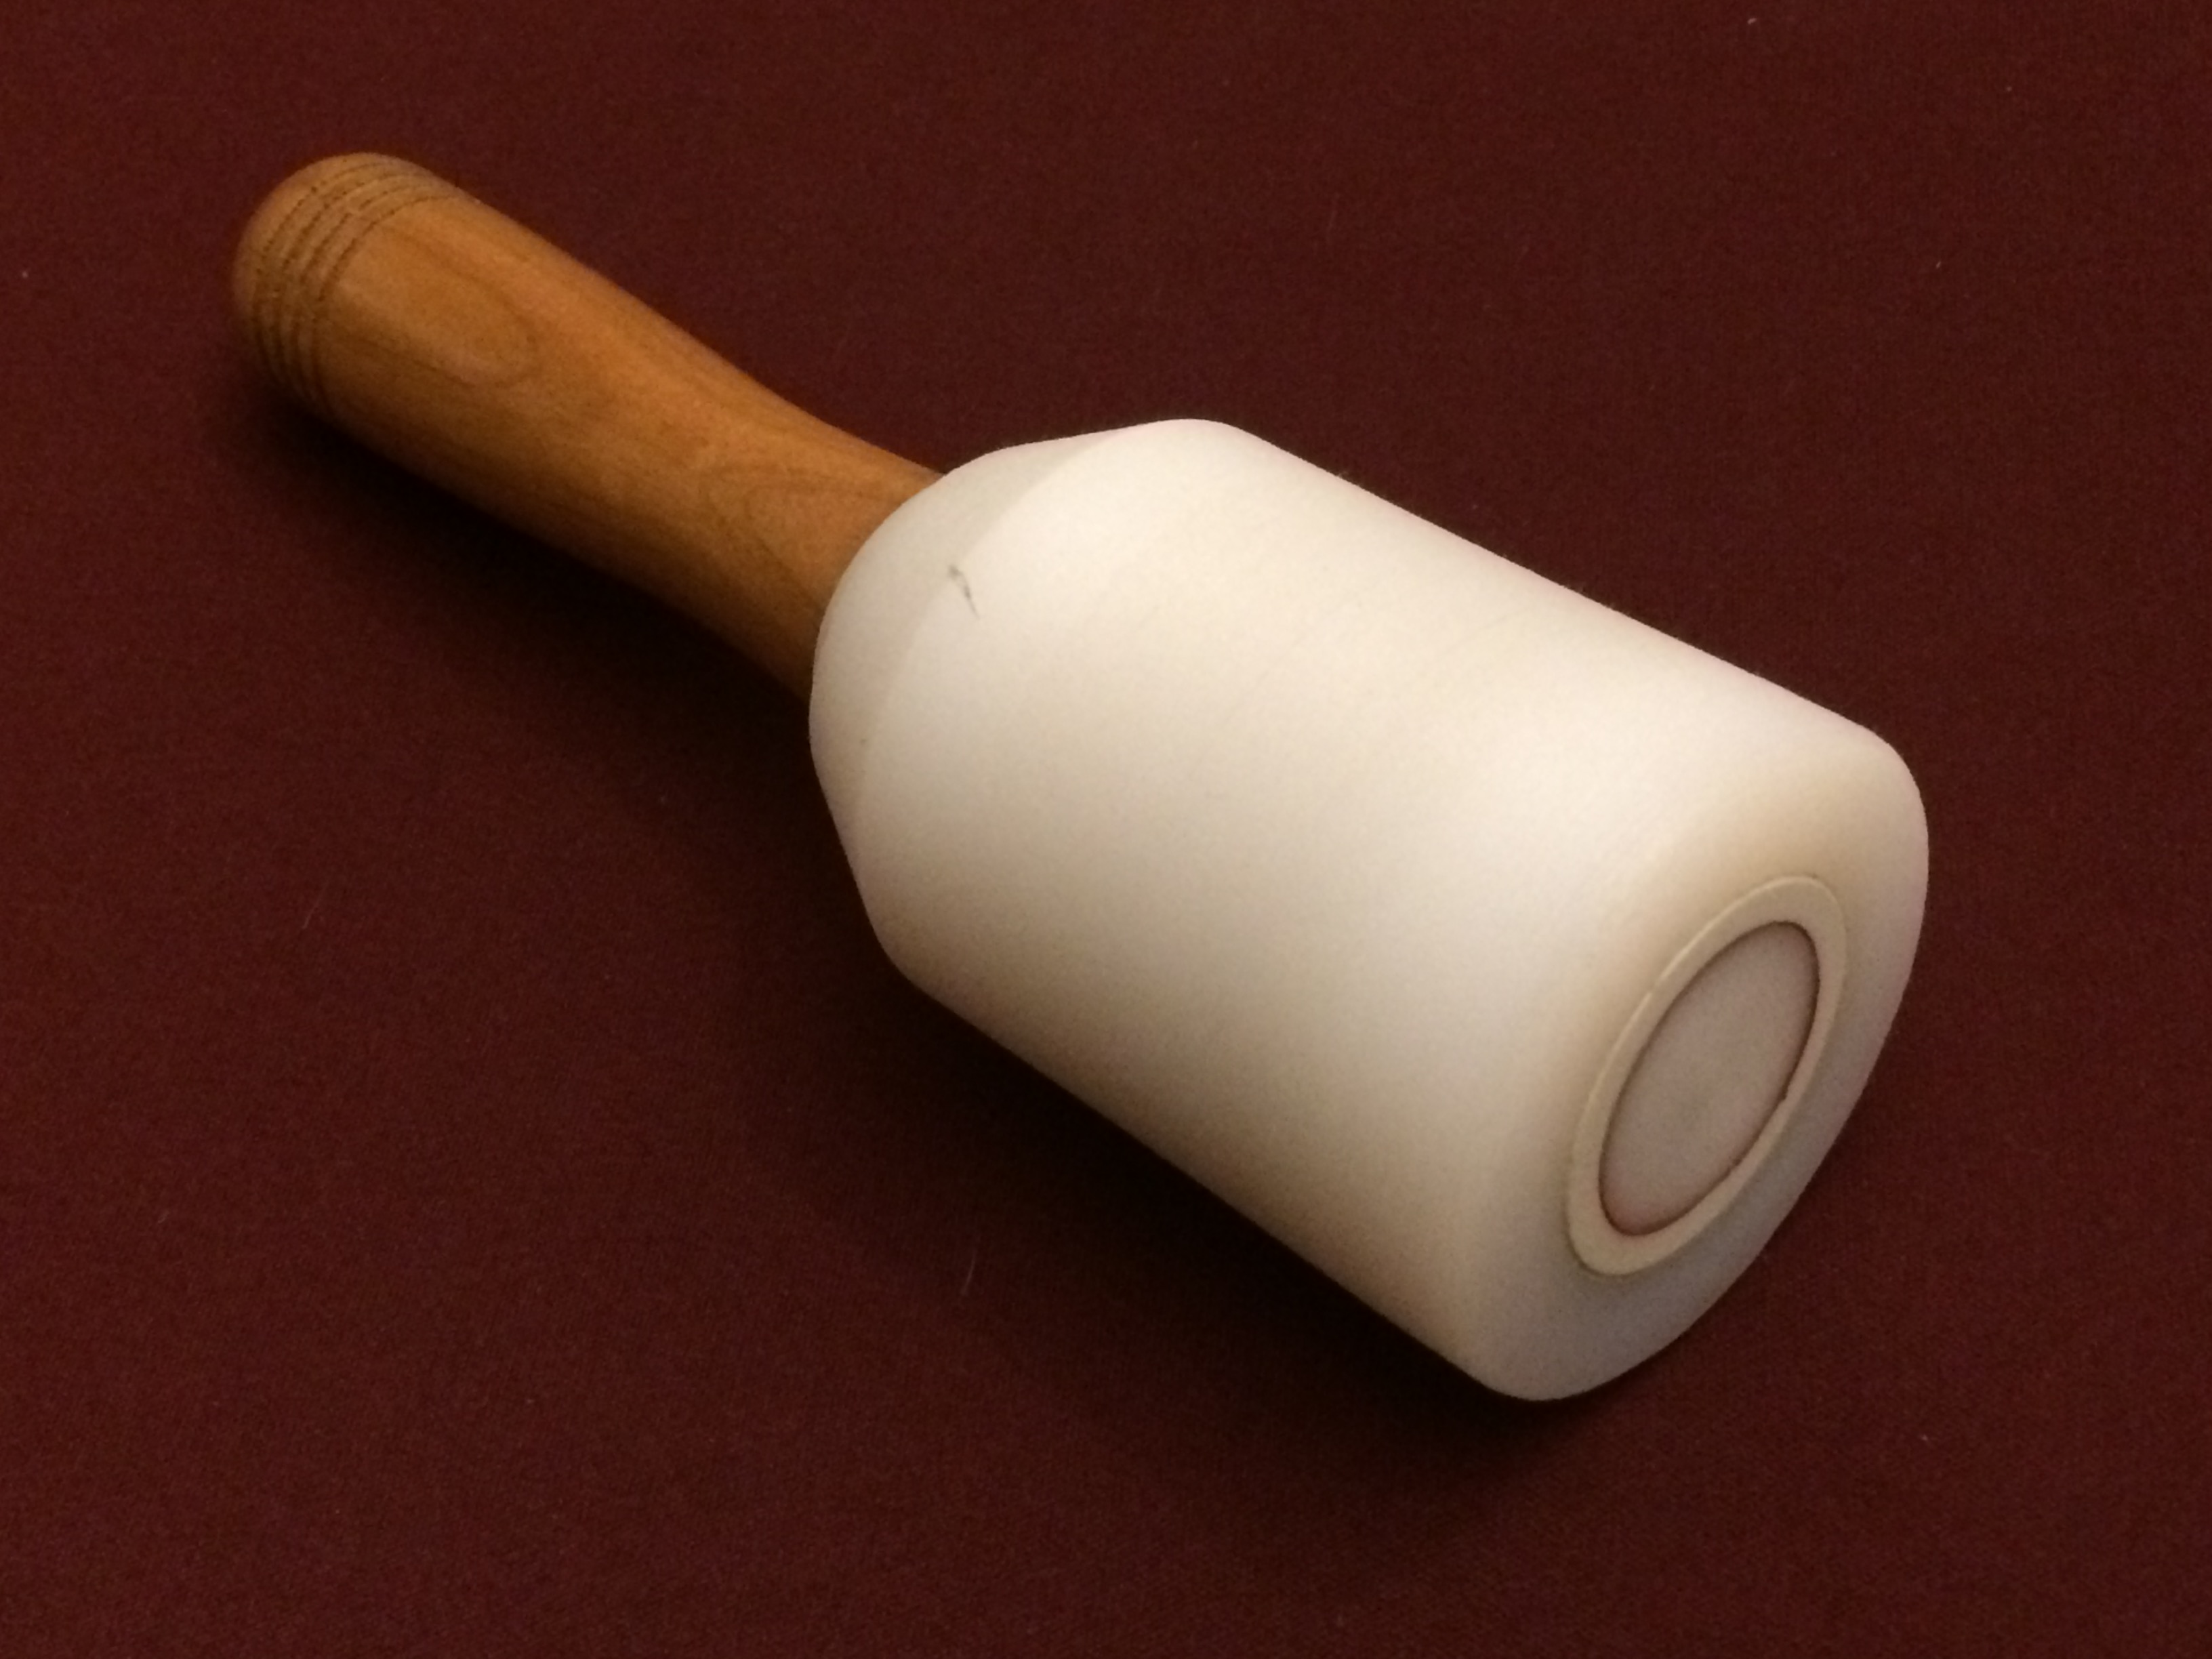
up-and-down In this Metro Made, we set out eyes on yet another tool, the humble leather working mallet. I punch hundred’s of holes each week to slide metal clips into place or buttons snaps. For a long while, I used a simple 10″ long traditional mallet made from nylon.
I wanted something more compact and…of course, custom made for my workflow. I really enjoy using my Copperhead mallet, so much that I wanted a bigger, soft head version for strike leather punches. I call it the Death Rattle…you’ll know why soon enough.
buy prednisone dogs Let’s go!
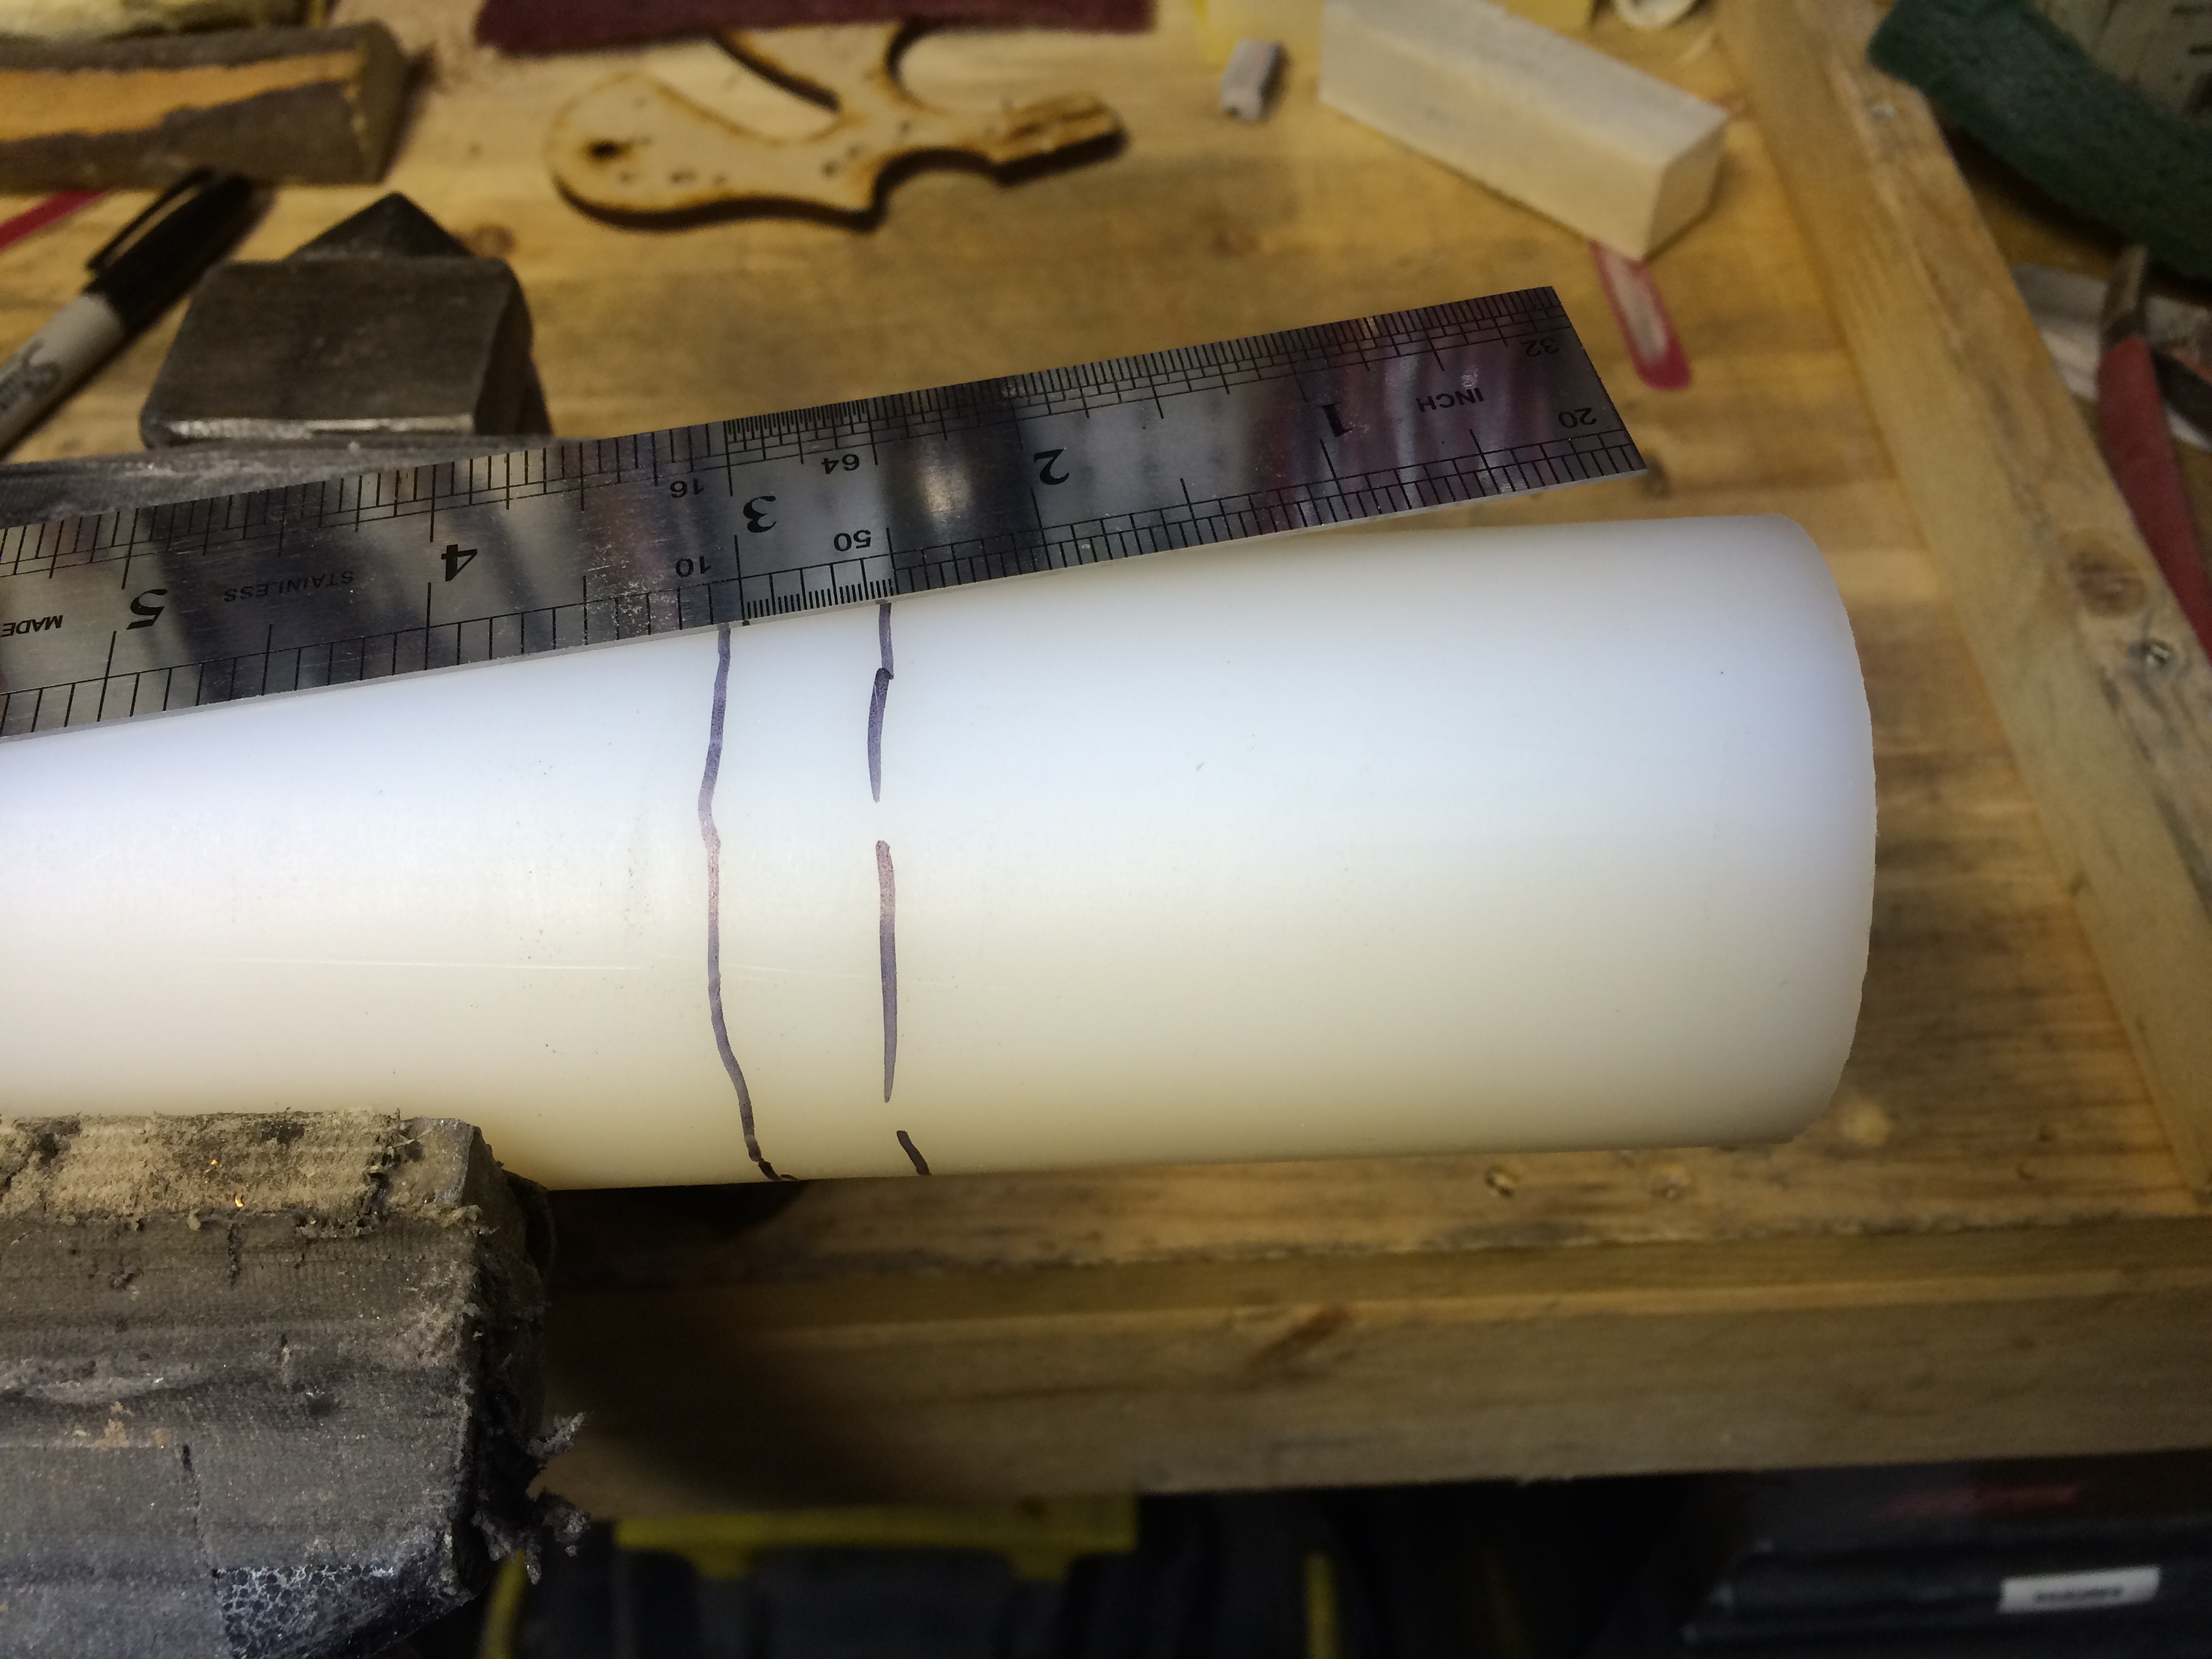
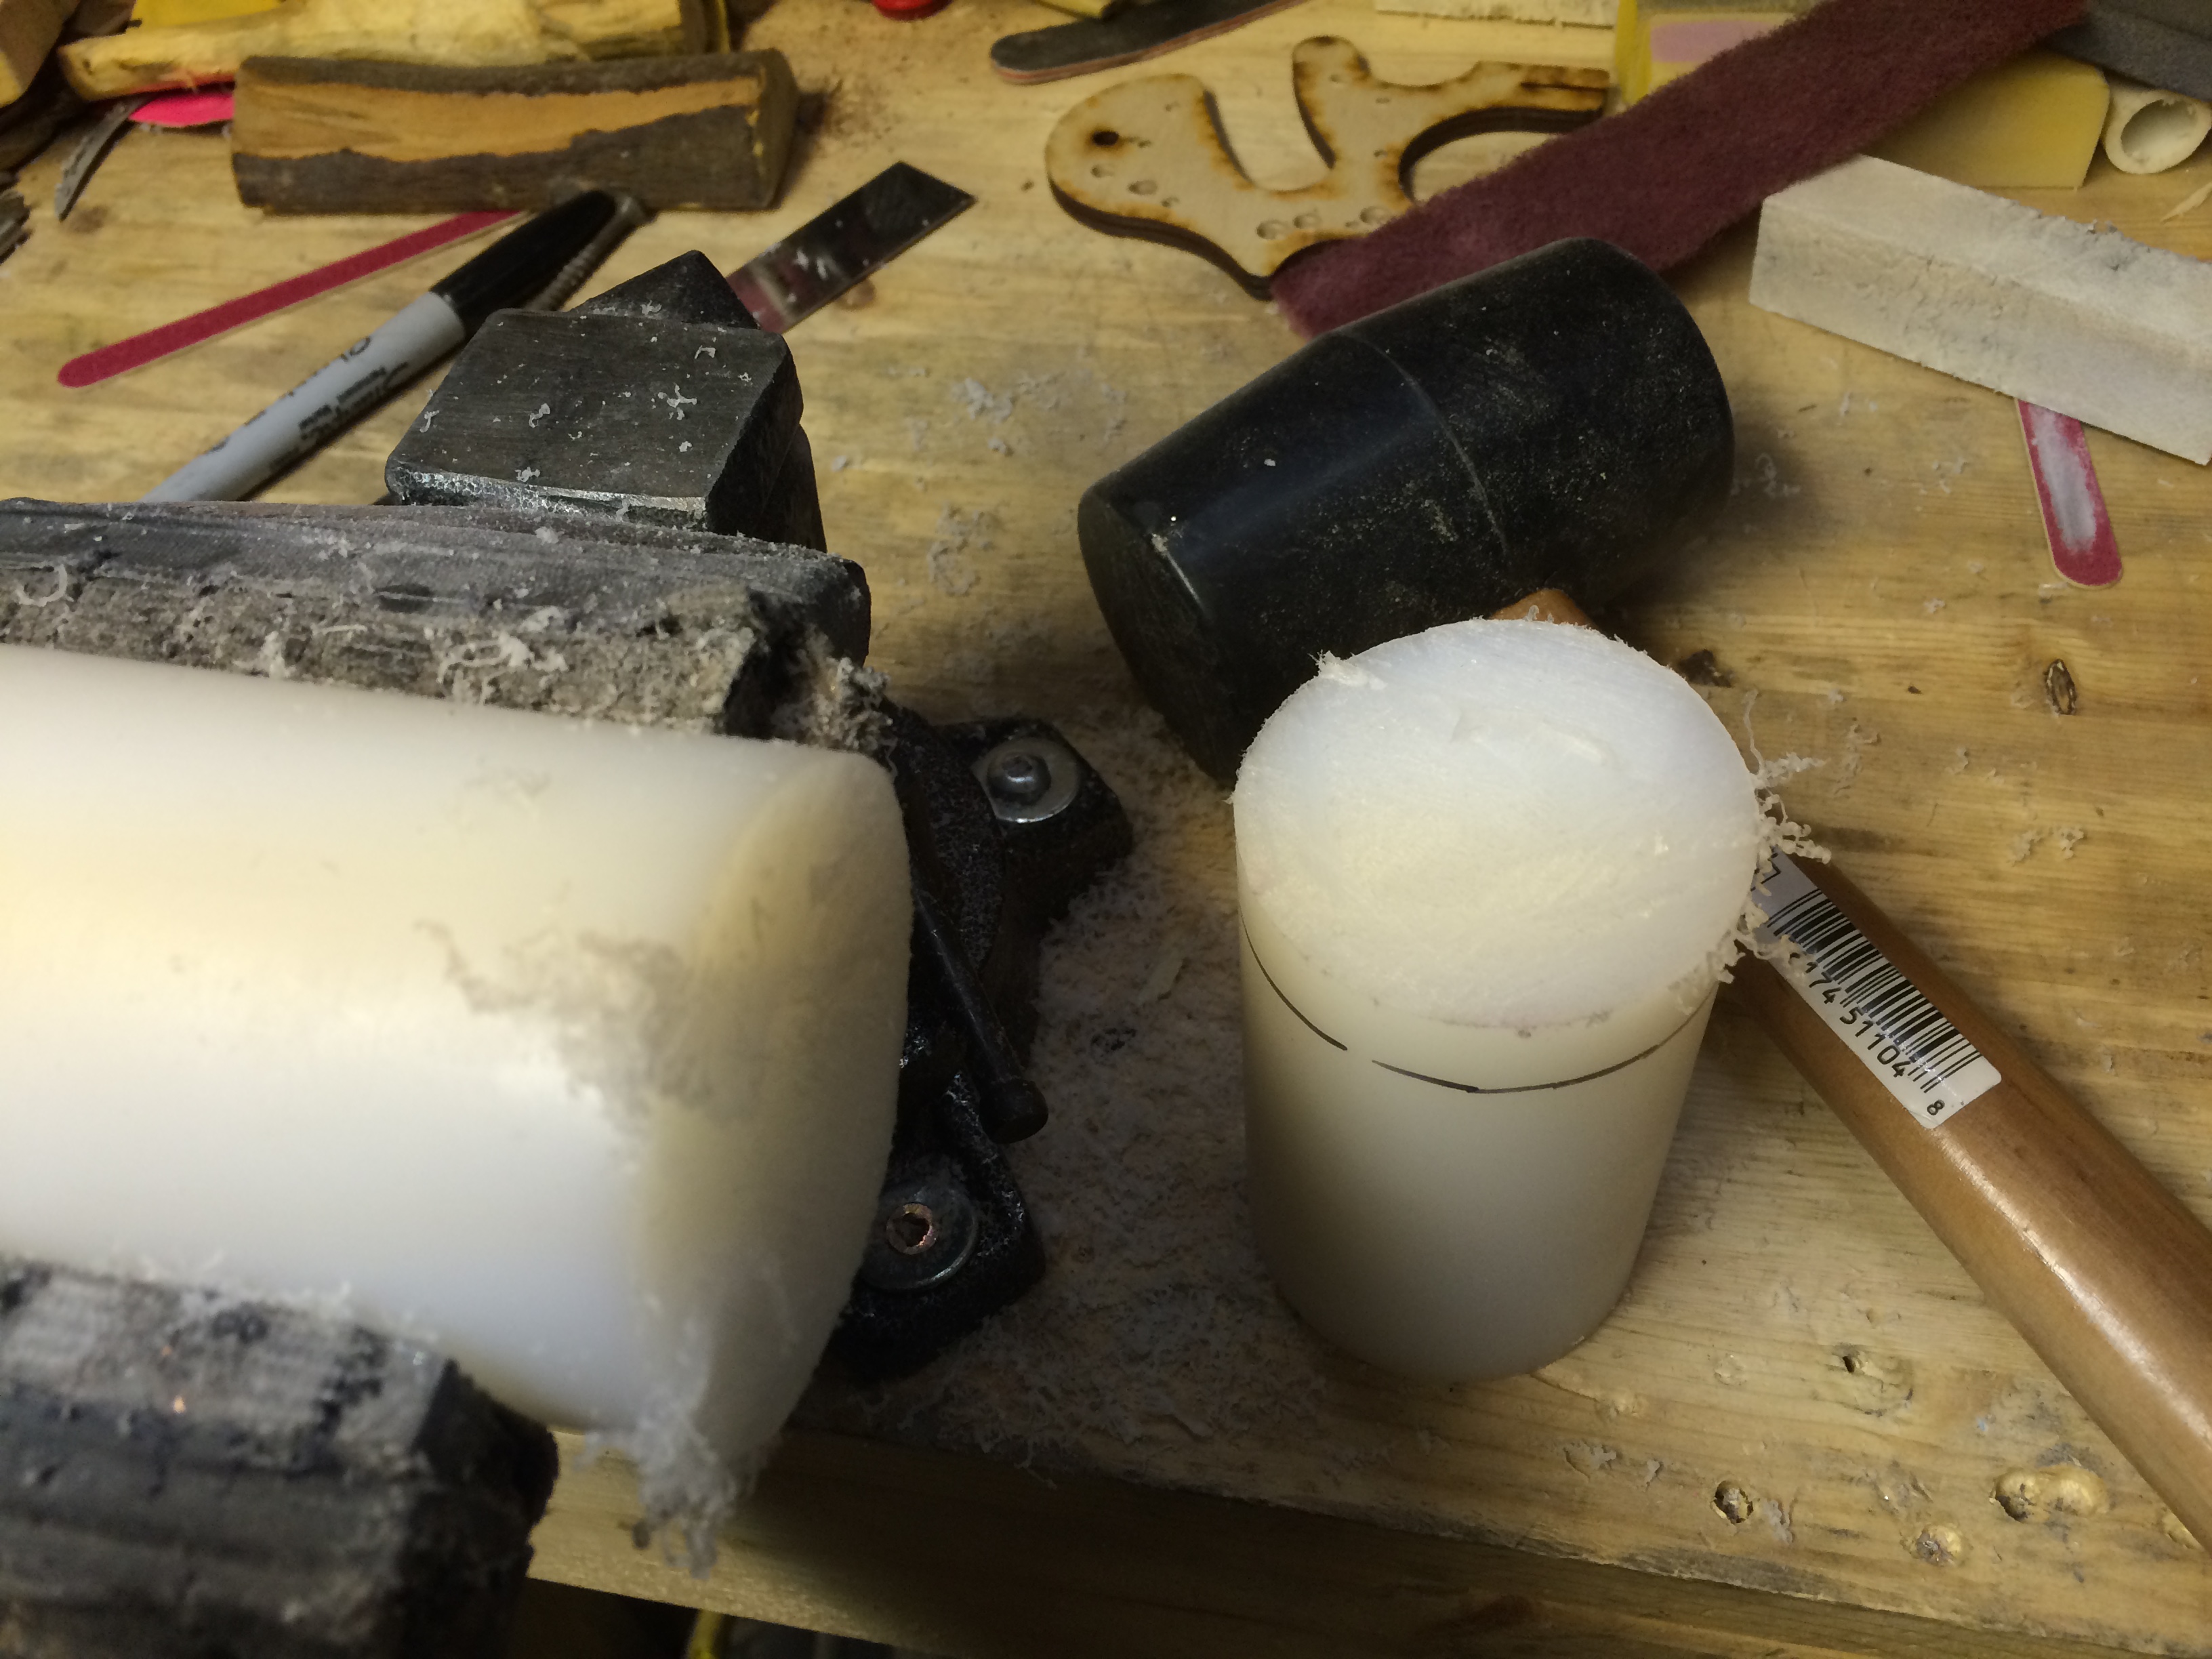
First, let’s cut the stock for hammer striking head. Some 2.5″ diameter Ultra High Molecular Weight Polyethylene will do the trick, no silly nylon or HDPE, this stuff is the bees knees in terms of weight and durability. A healthy 3.5″ was cut off from the log.
This stuff was tough, even with my most aggressive wood saw, it took quite a lot of work to make it cut.
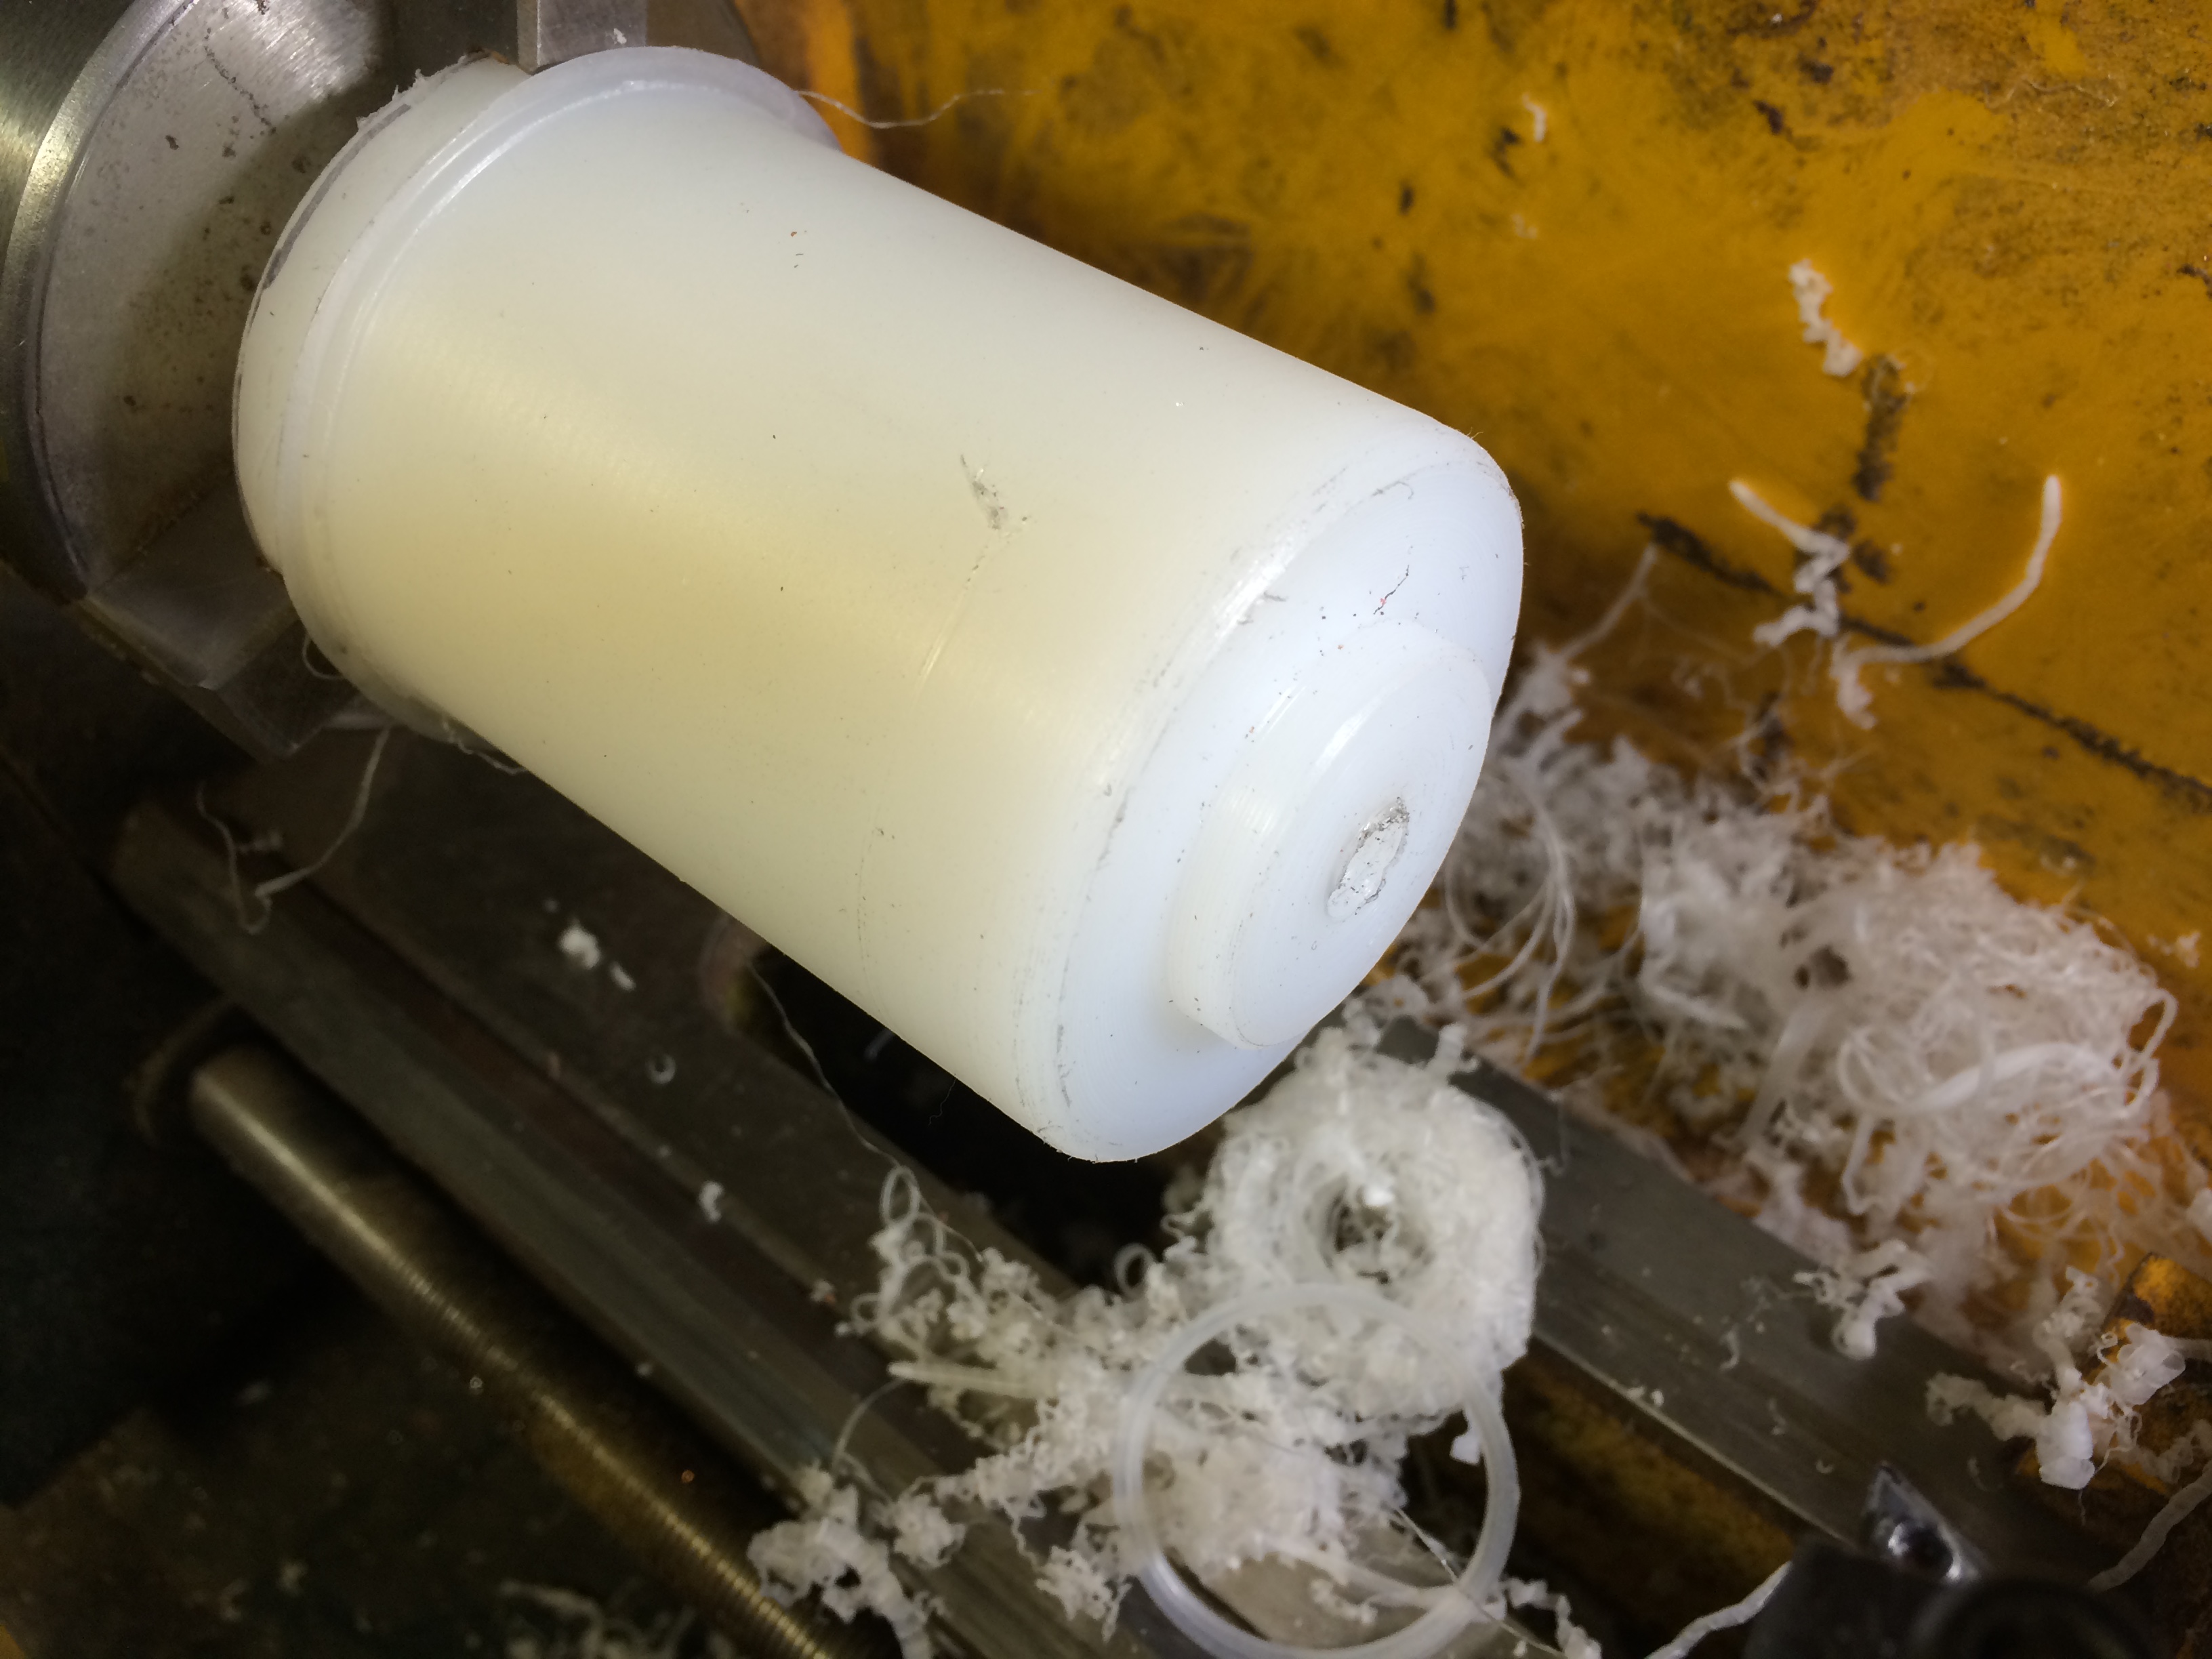
Now time for the real work…the piece was chucked up on the lathe. It JUST fit on the mini lathe. This is the most dangerous step, with the uneven surface of the saw cut face, it could catch the tool and bounce right out of the jaws. I wanted to face the end so as to flip is over to get a better grip on the material.
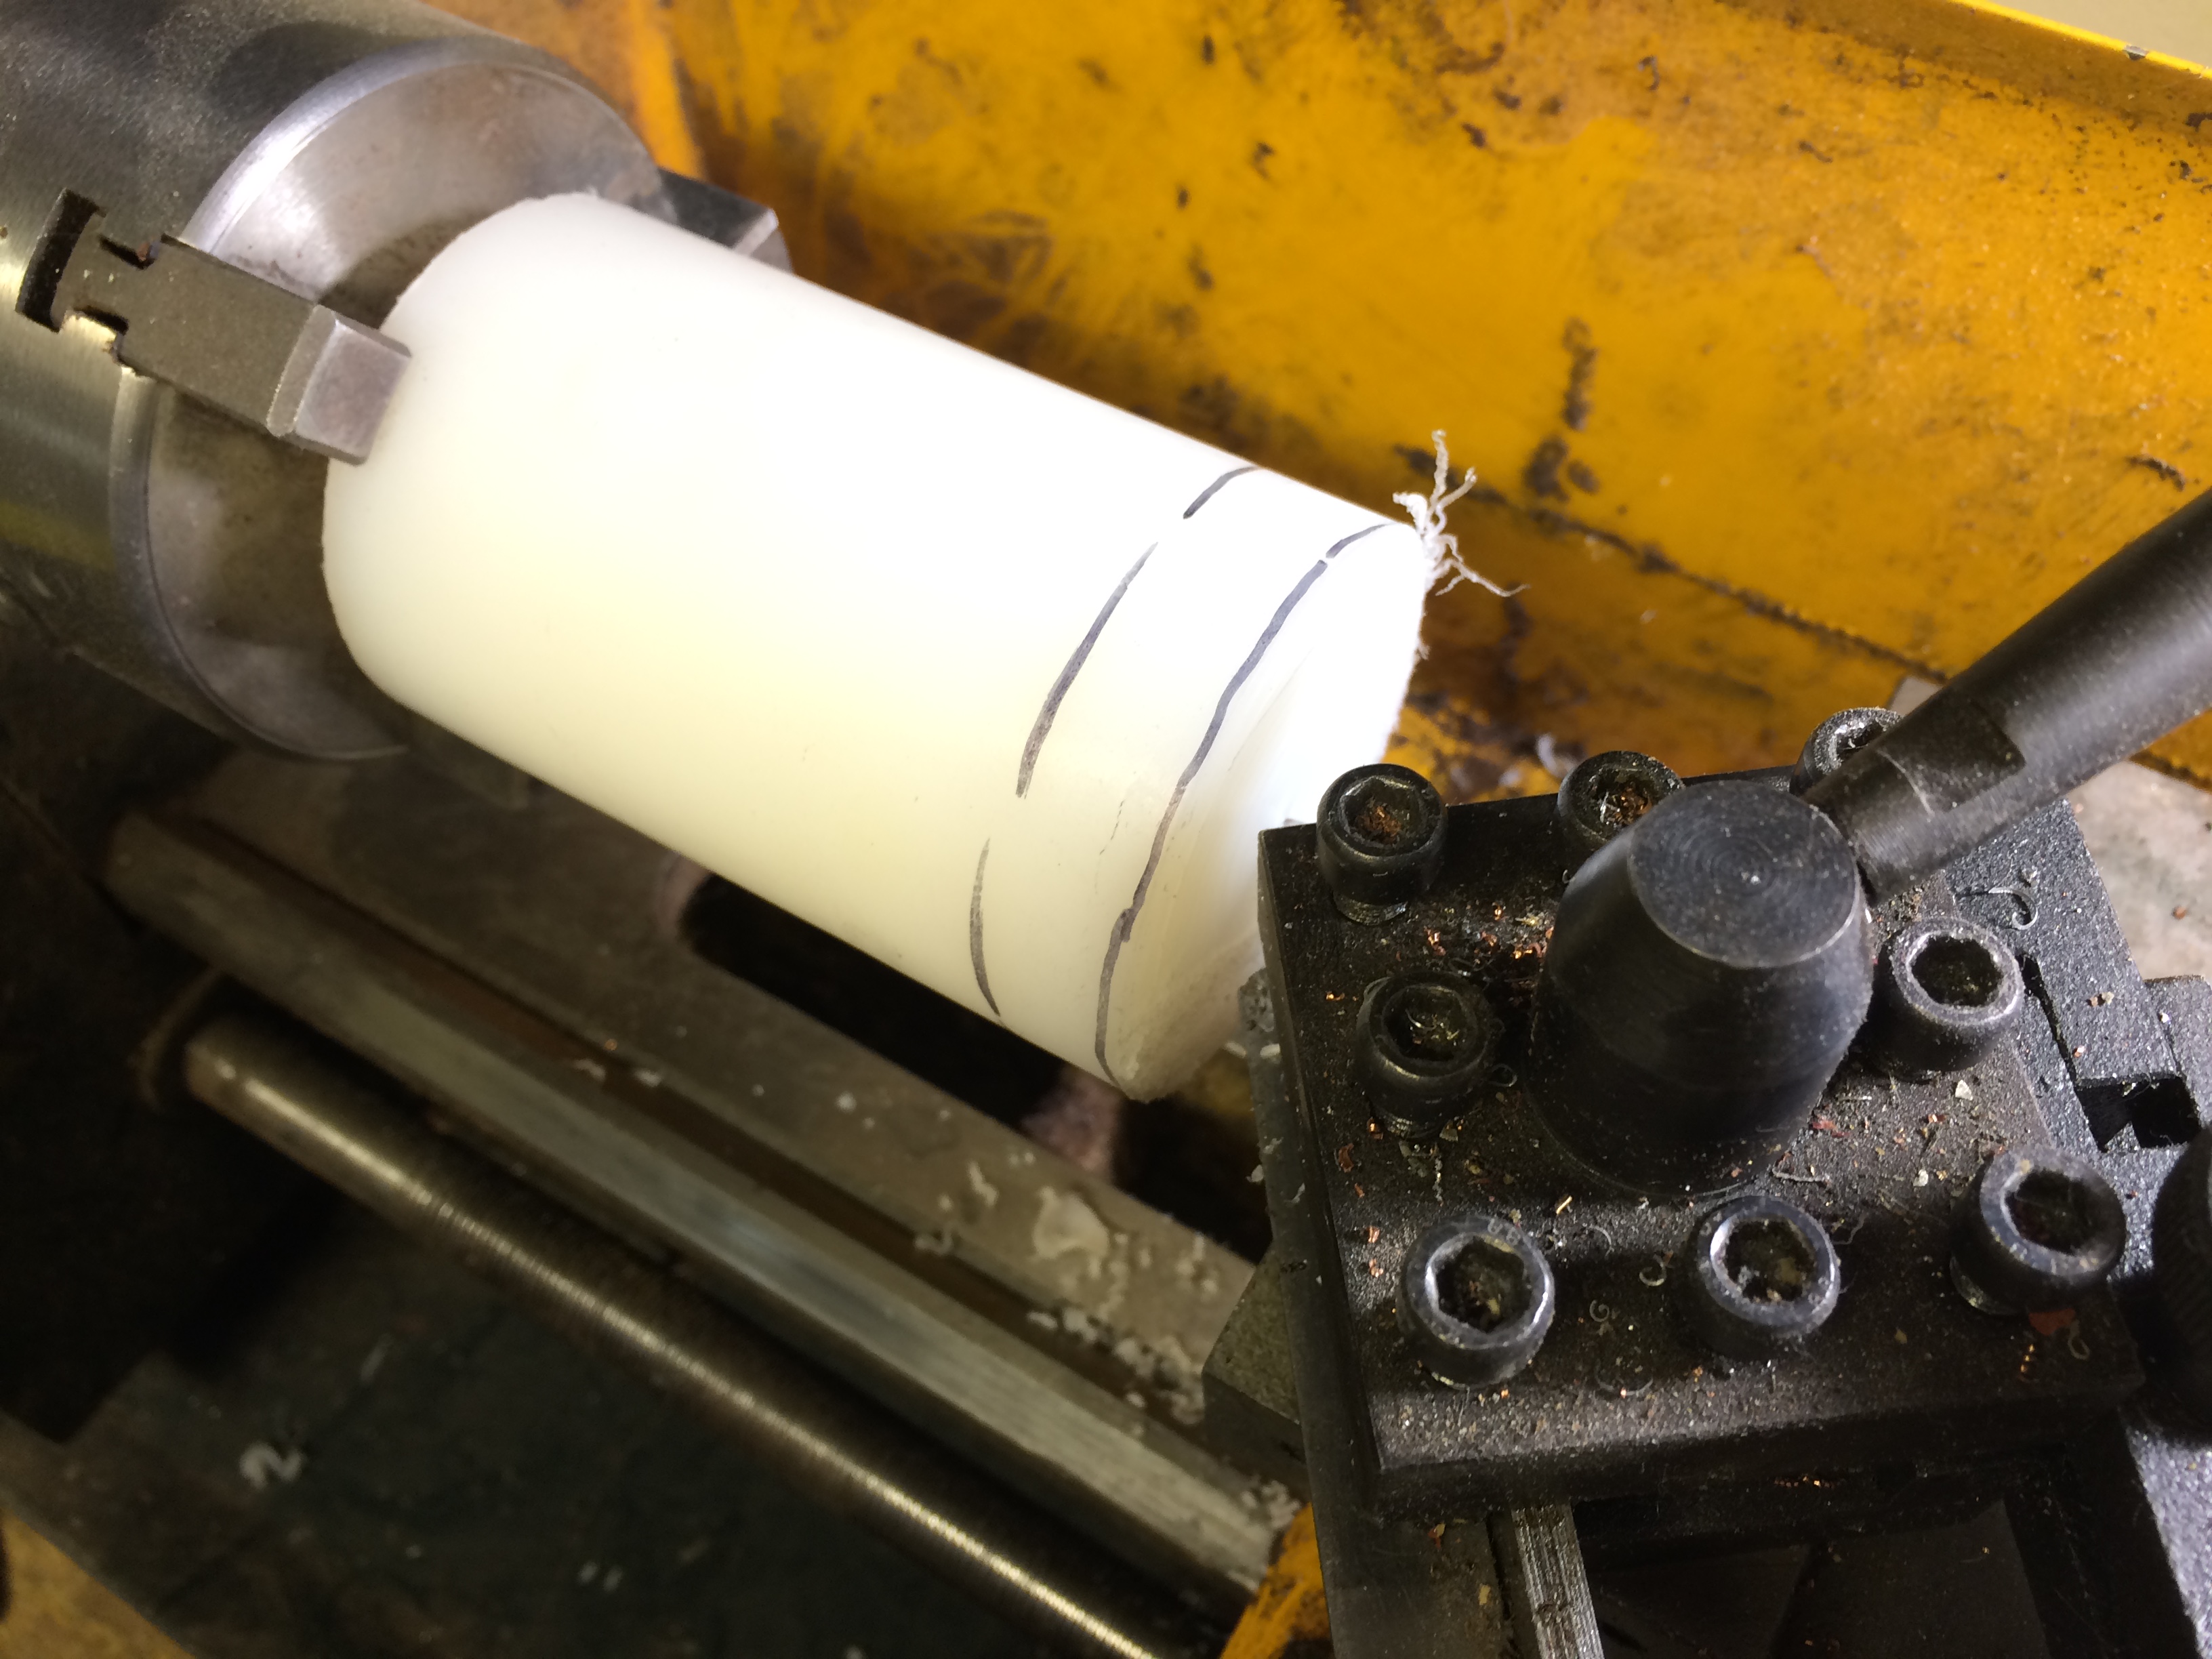
After many, many light passes, the first surface is faced and flush.
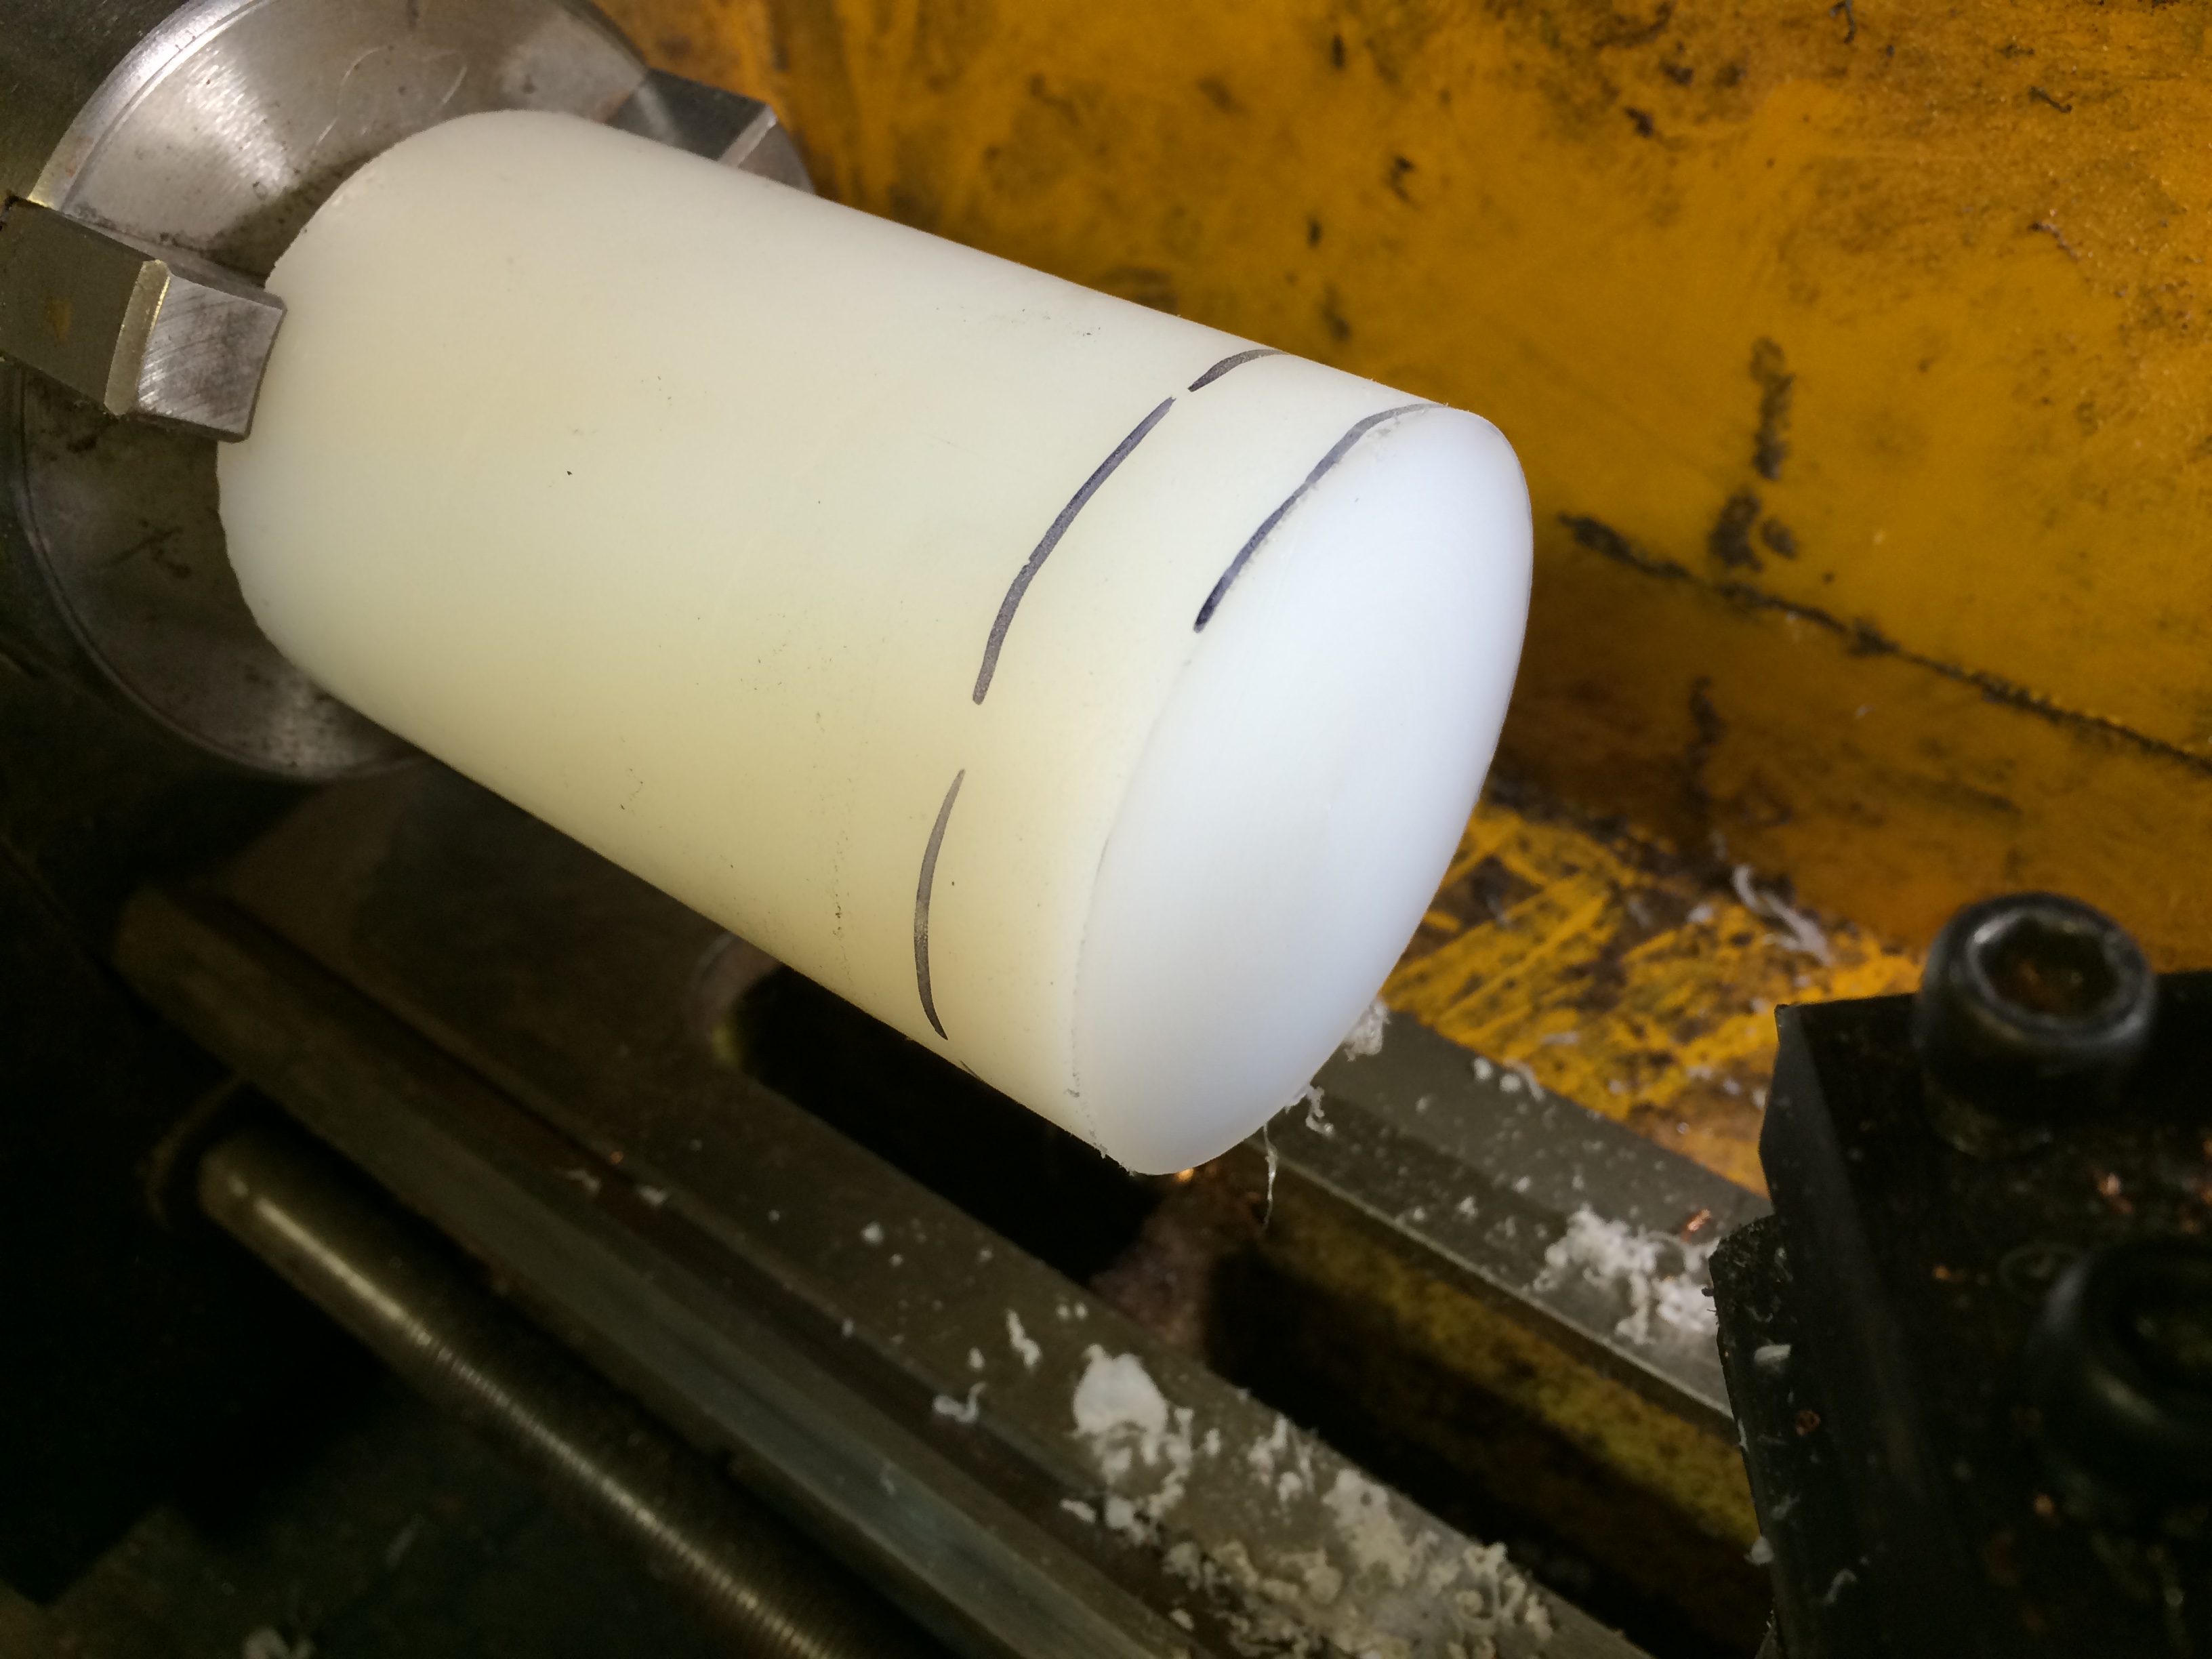
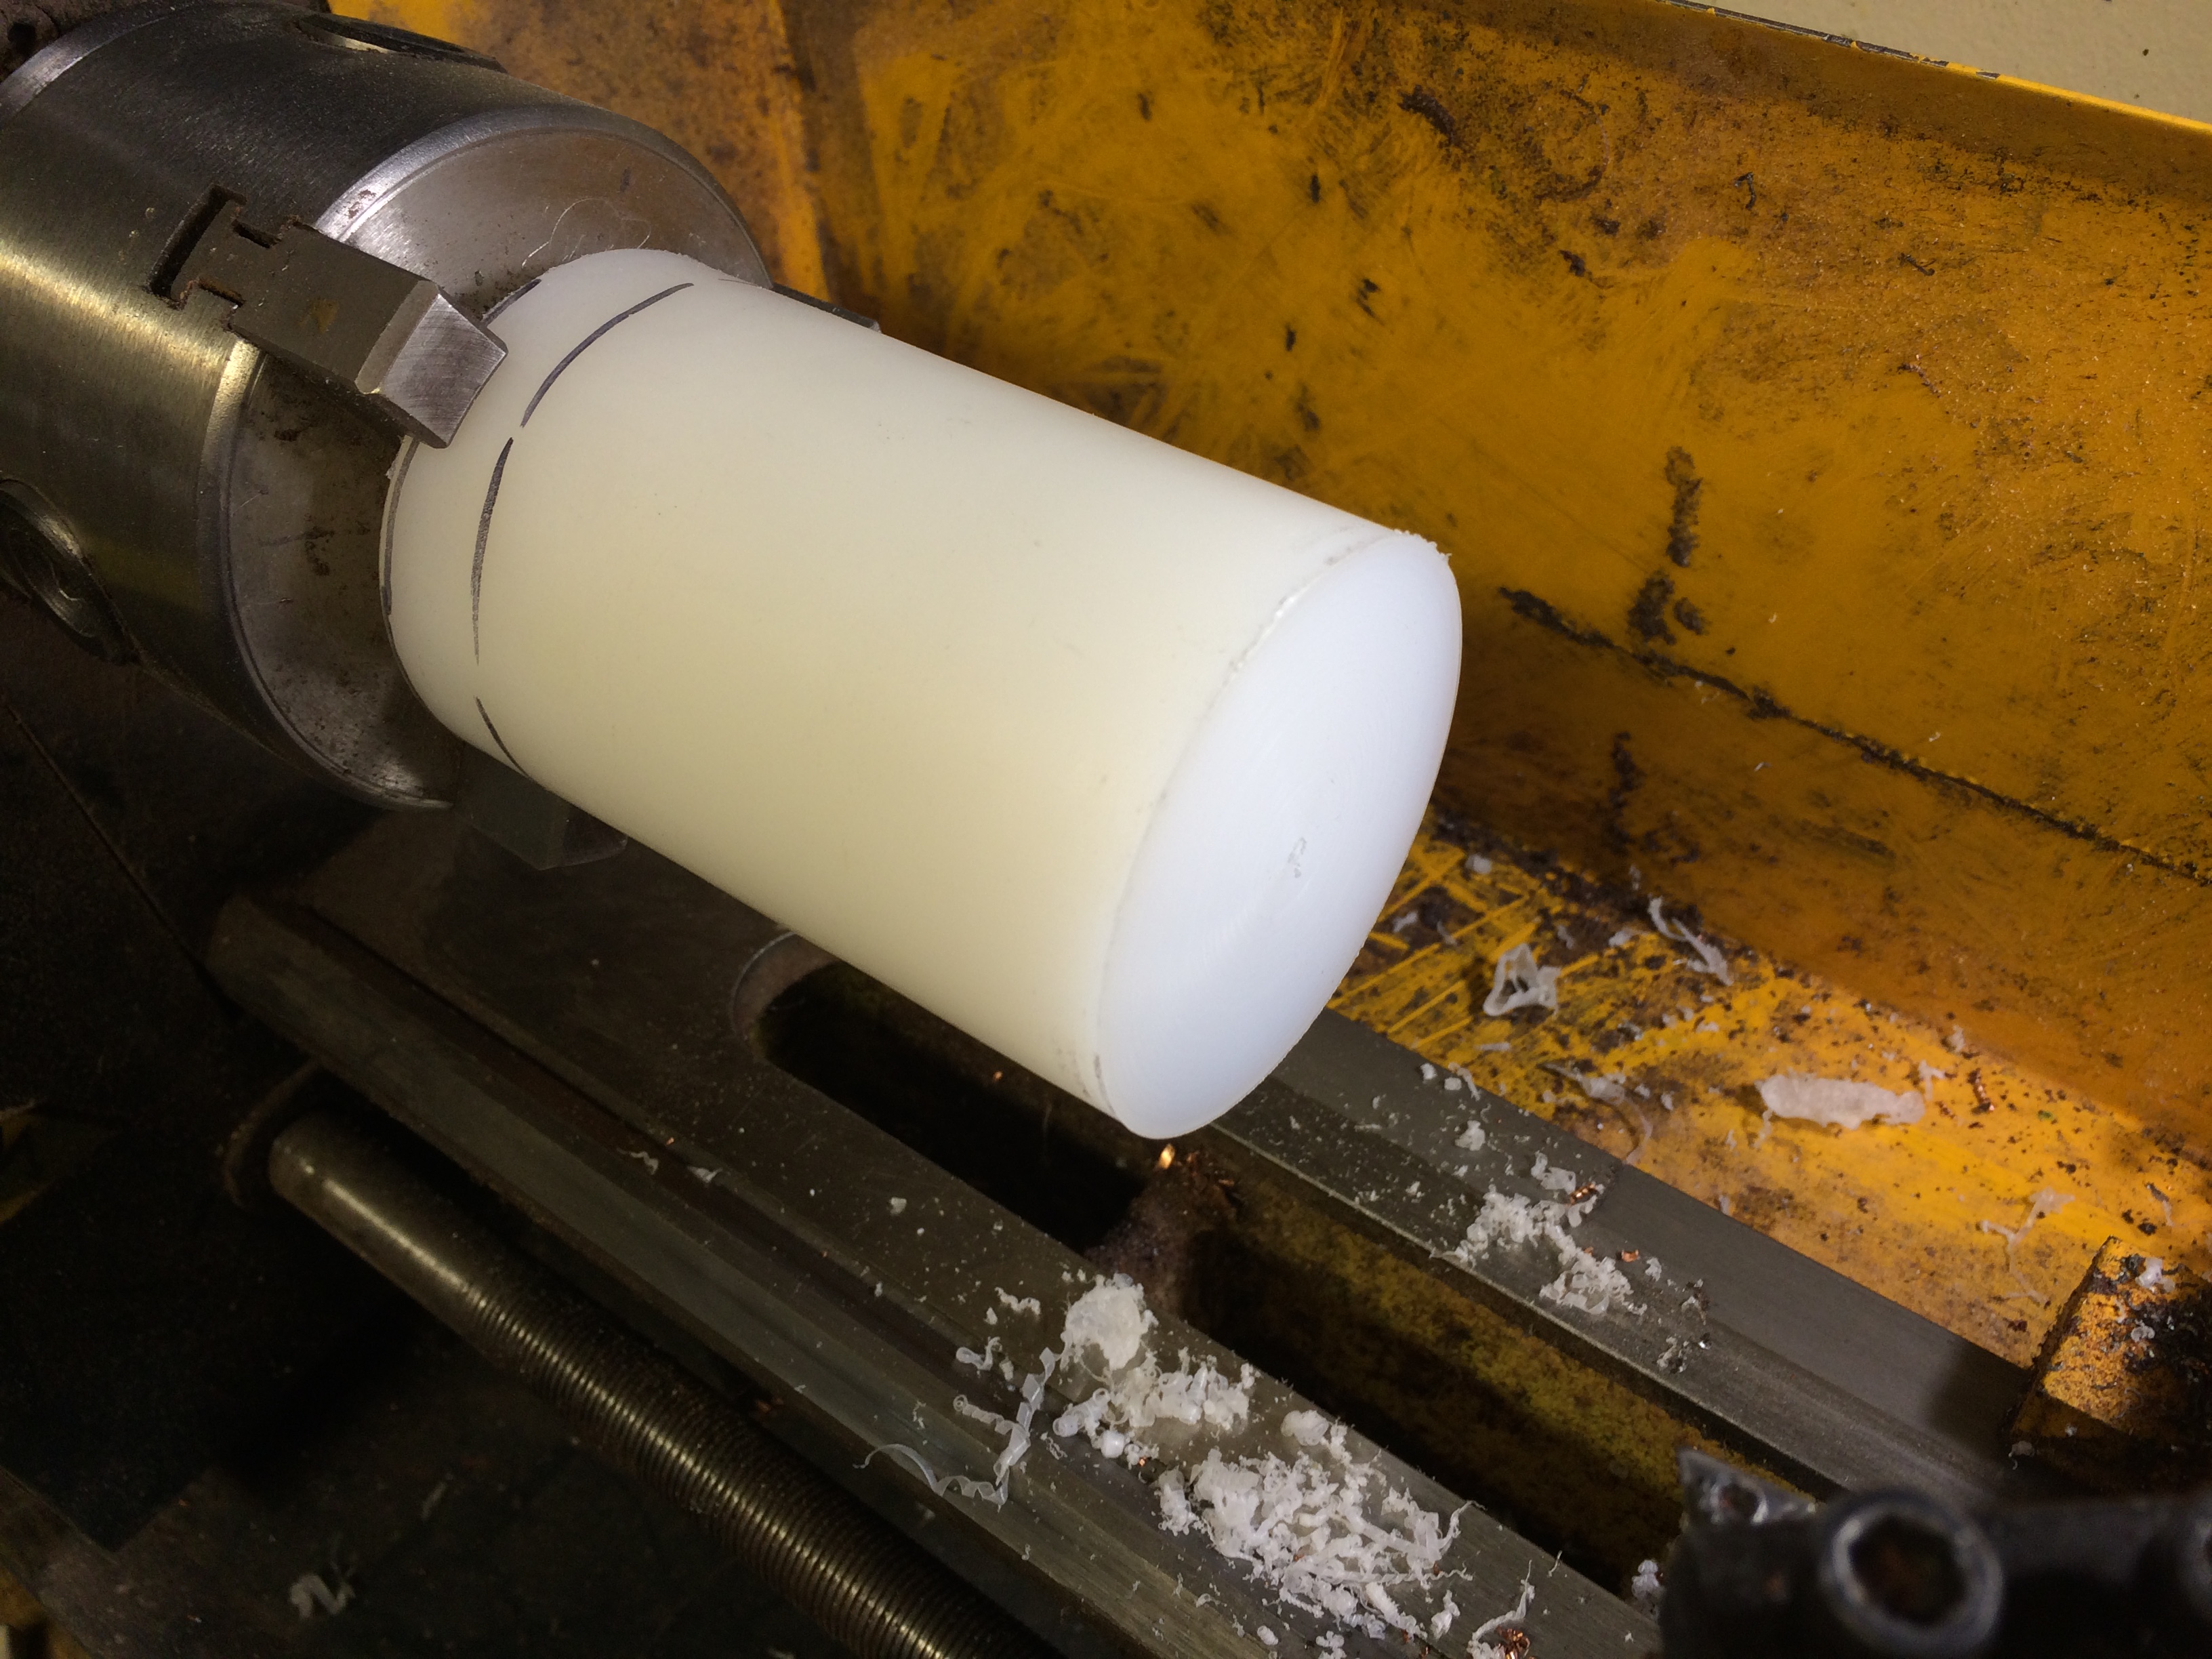
Flipping it over, the other side was much safer to face. If my lathe was bigger, this wouldn’t of been such a hassel.
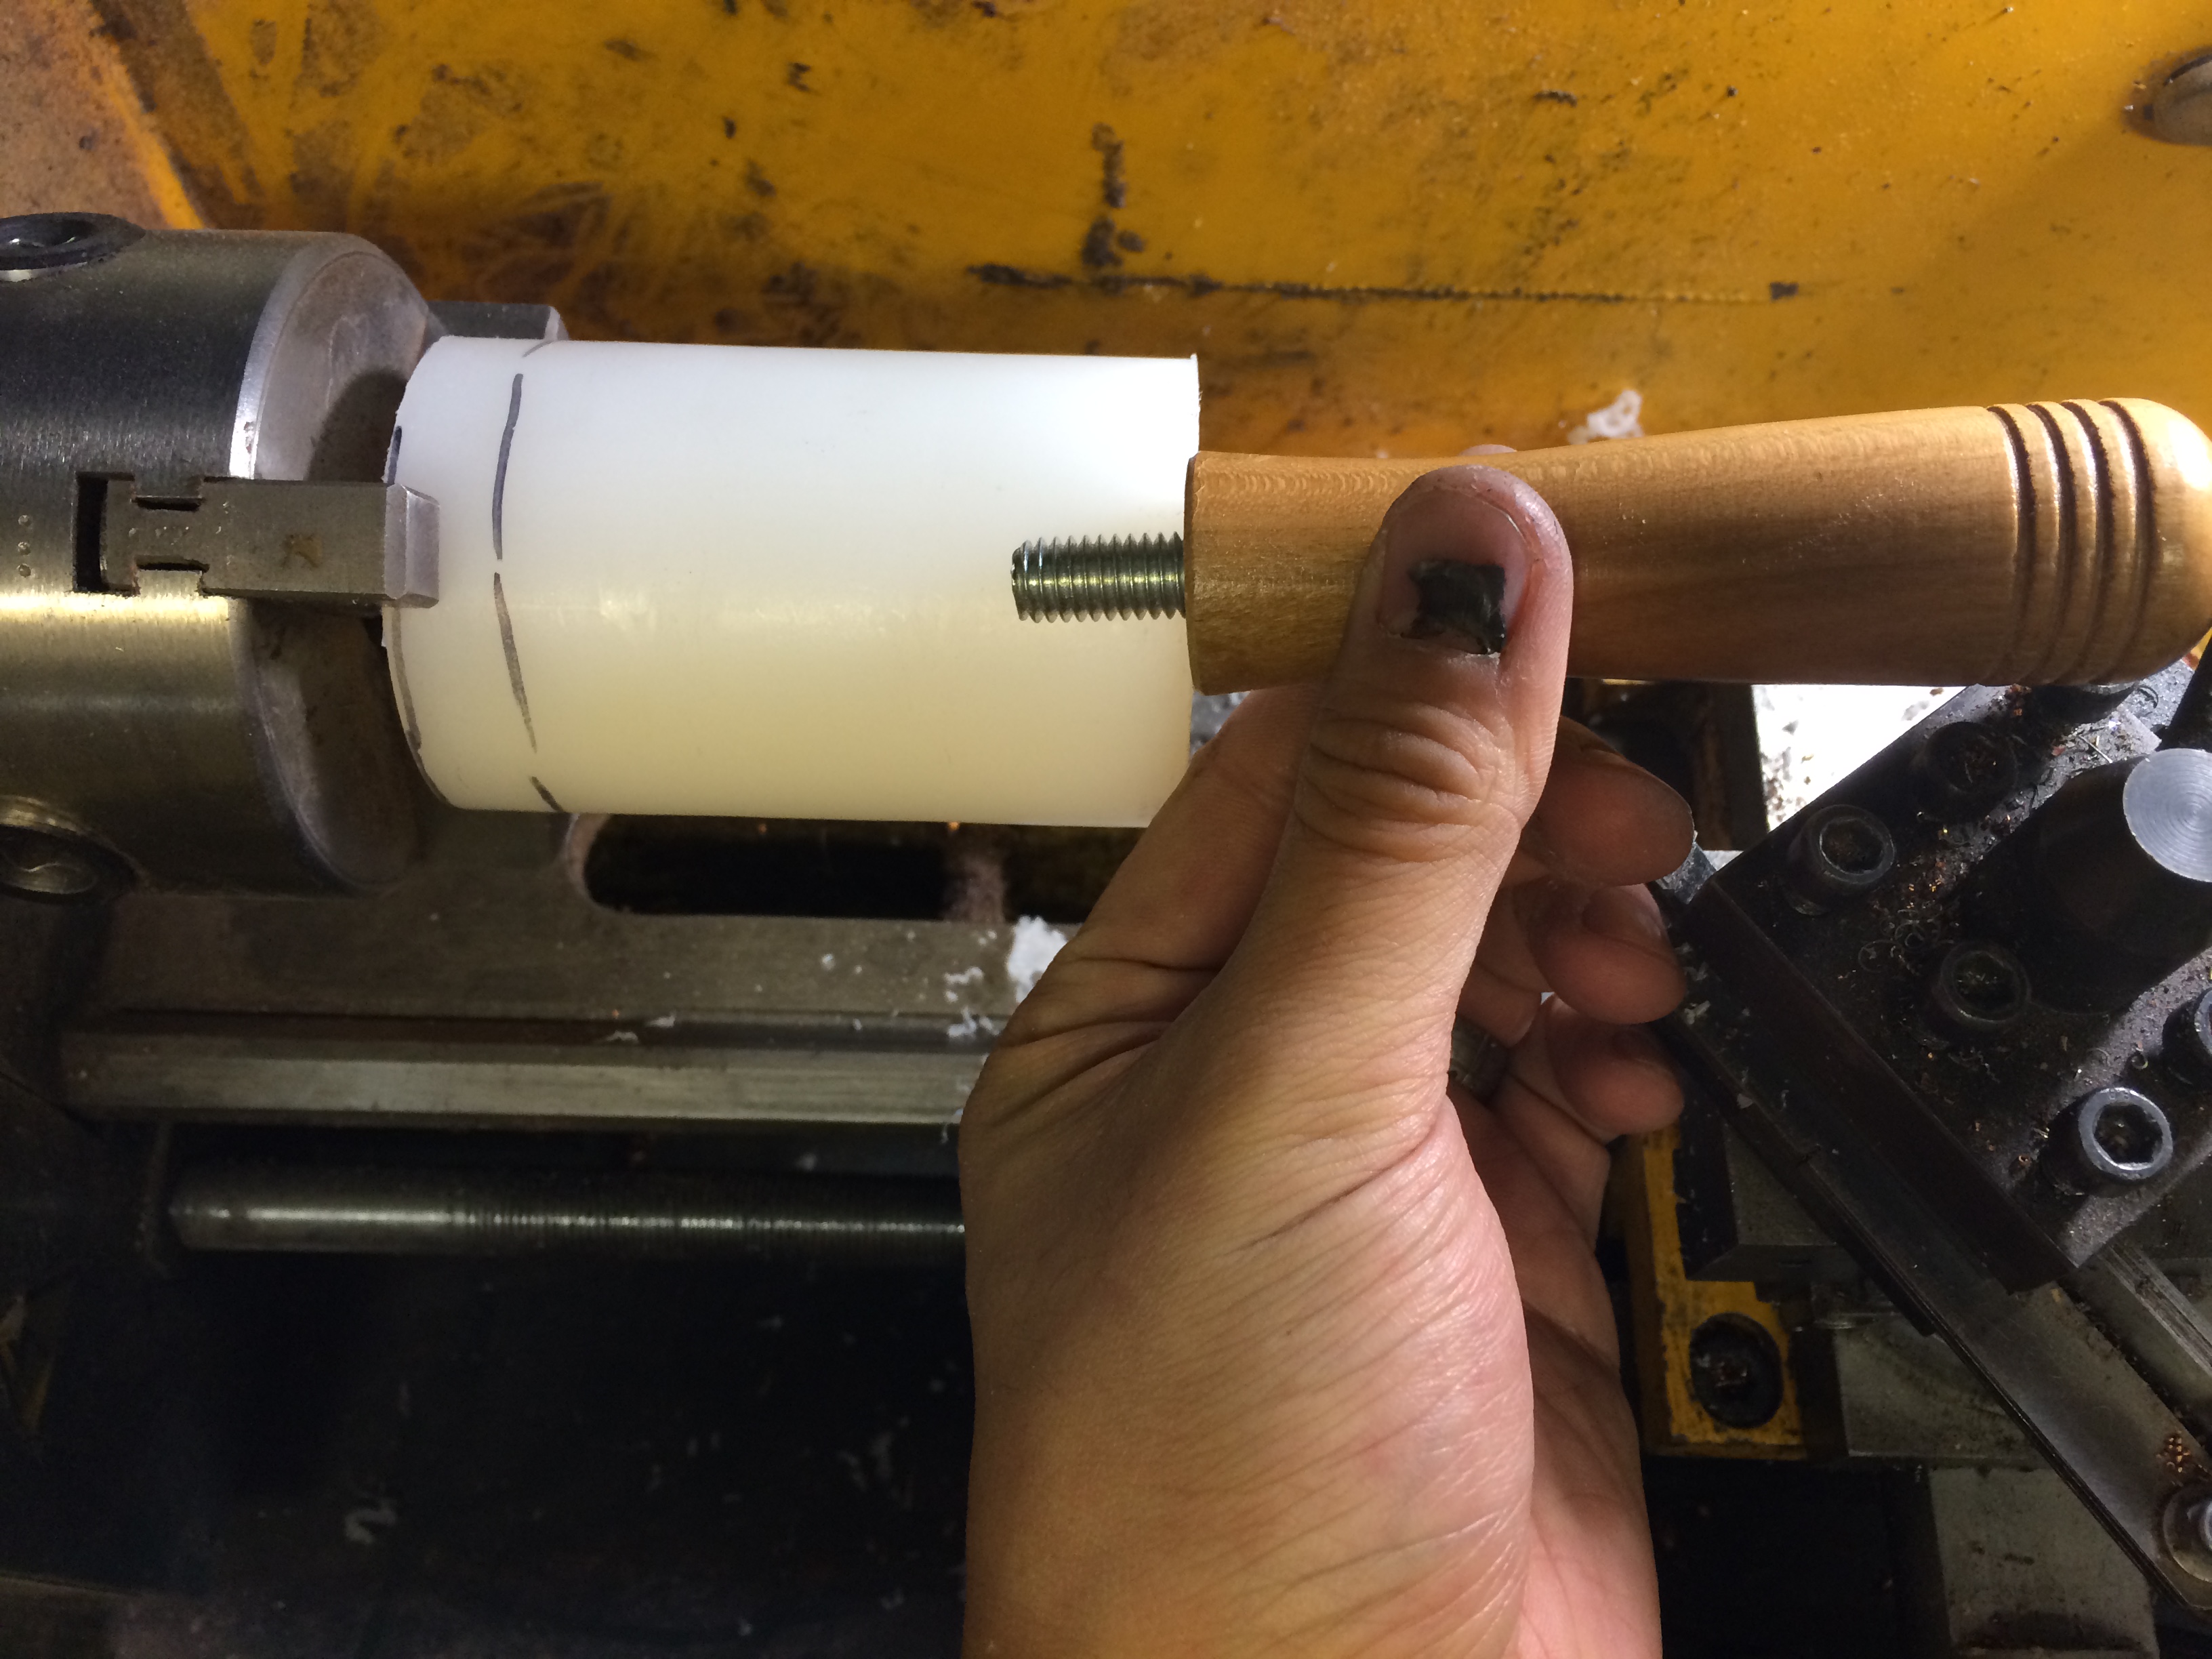
I managed to buy a bunch of tool handles from Lee Valley tools for a scant price of $.50 each. They came all ready to go with a 5/16 fine thread rod. This is the same handle I used for the Copperhead Mallet, so it may look familiar to you frequent readers. Here I eyeball up how far I need to make the threads.
UHMWPE may be tough, but it yields to drill bits quite nicely. A fat centerdrill is used to get the hole started.
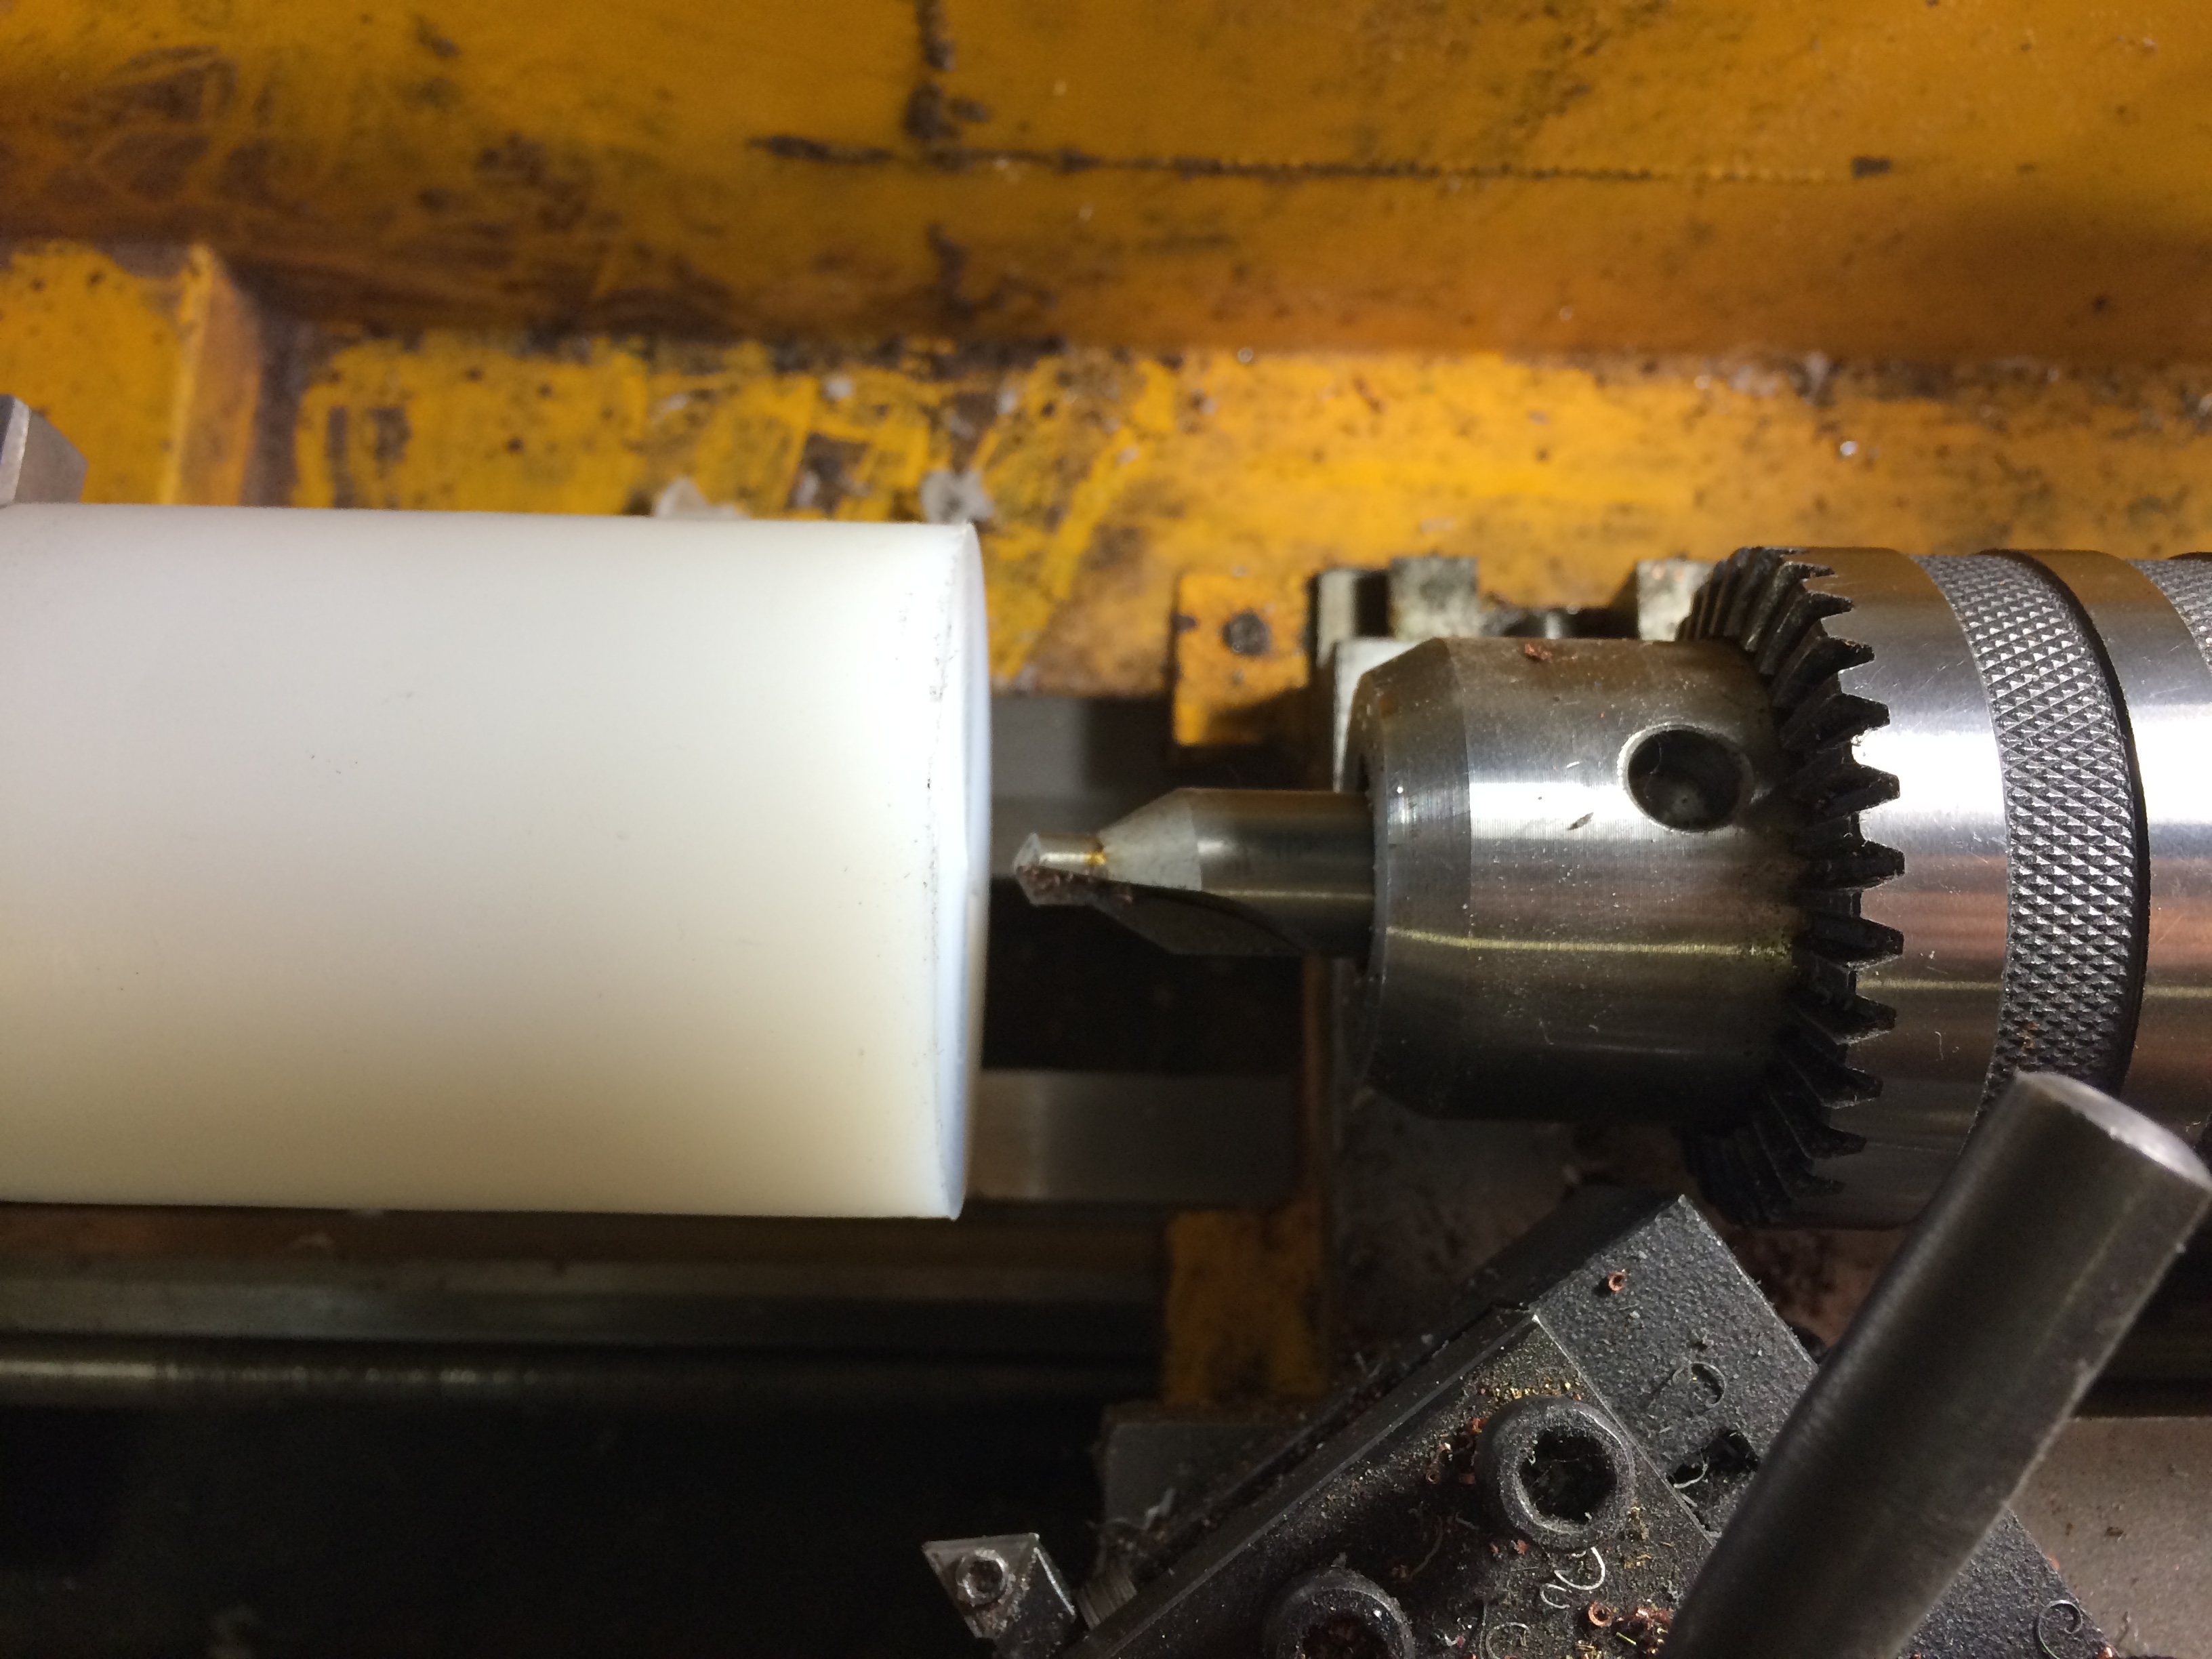
Then a 5/16″ was drilled 1″ in. This allowed for the tapered tap to get far enough in to make a nice clean set of threads.

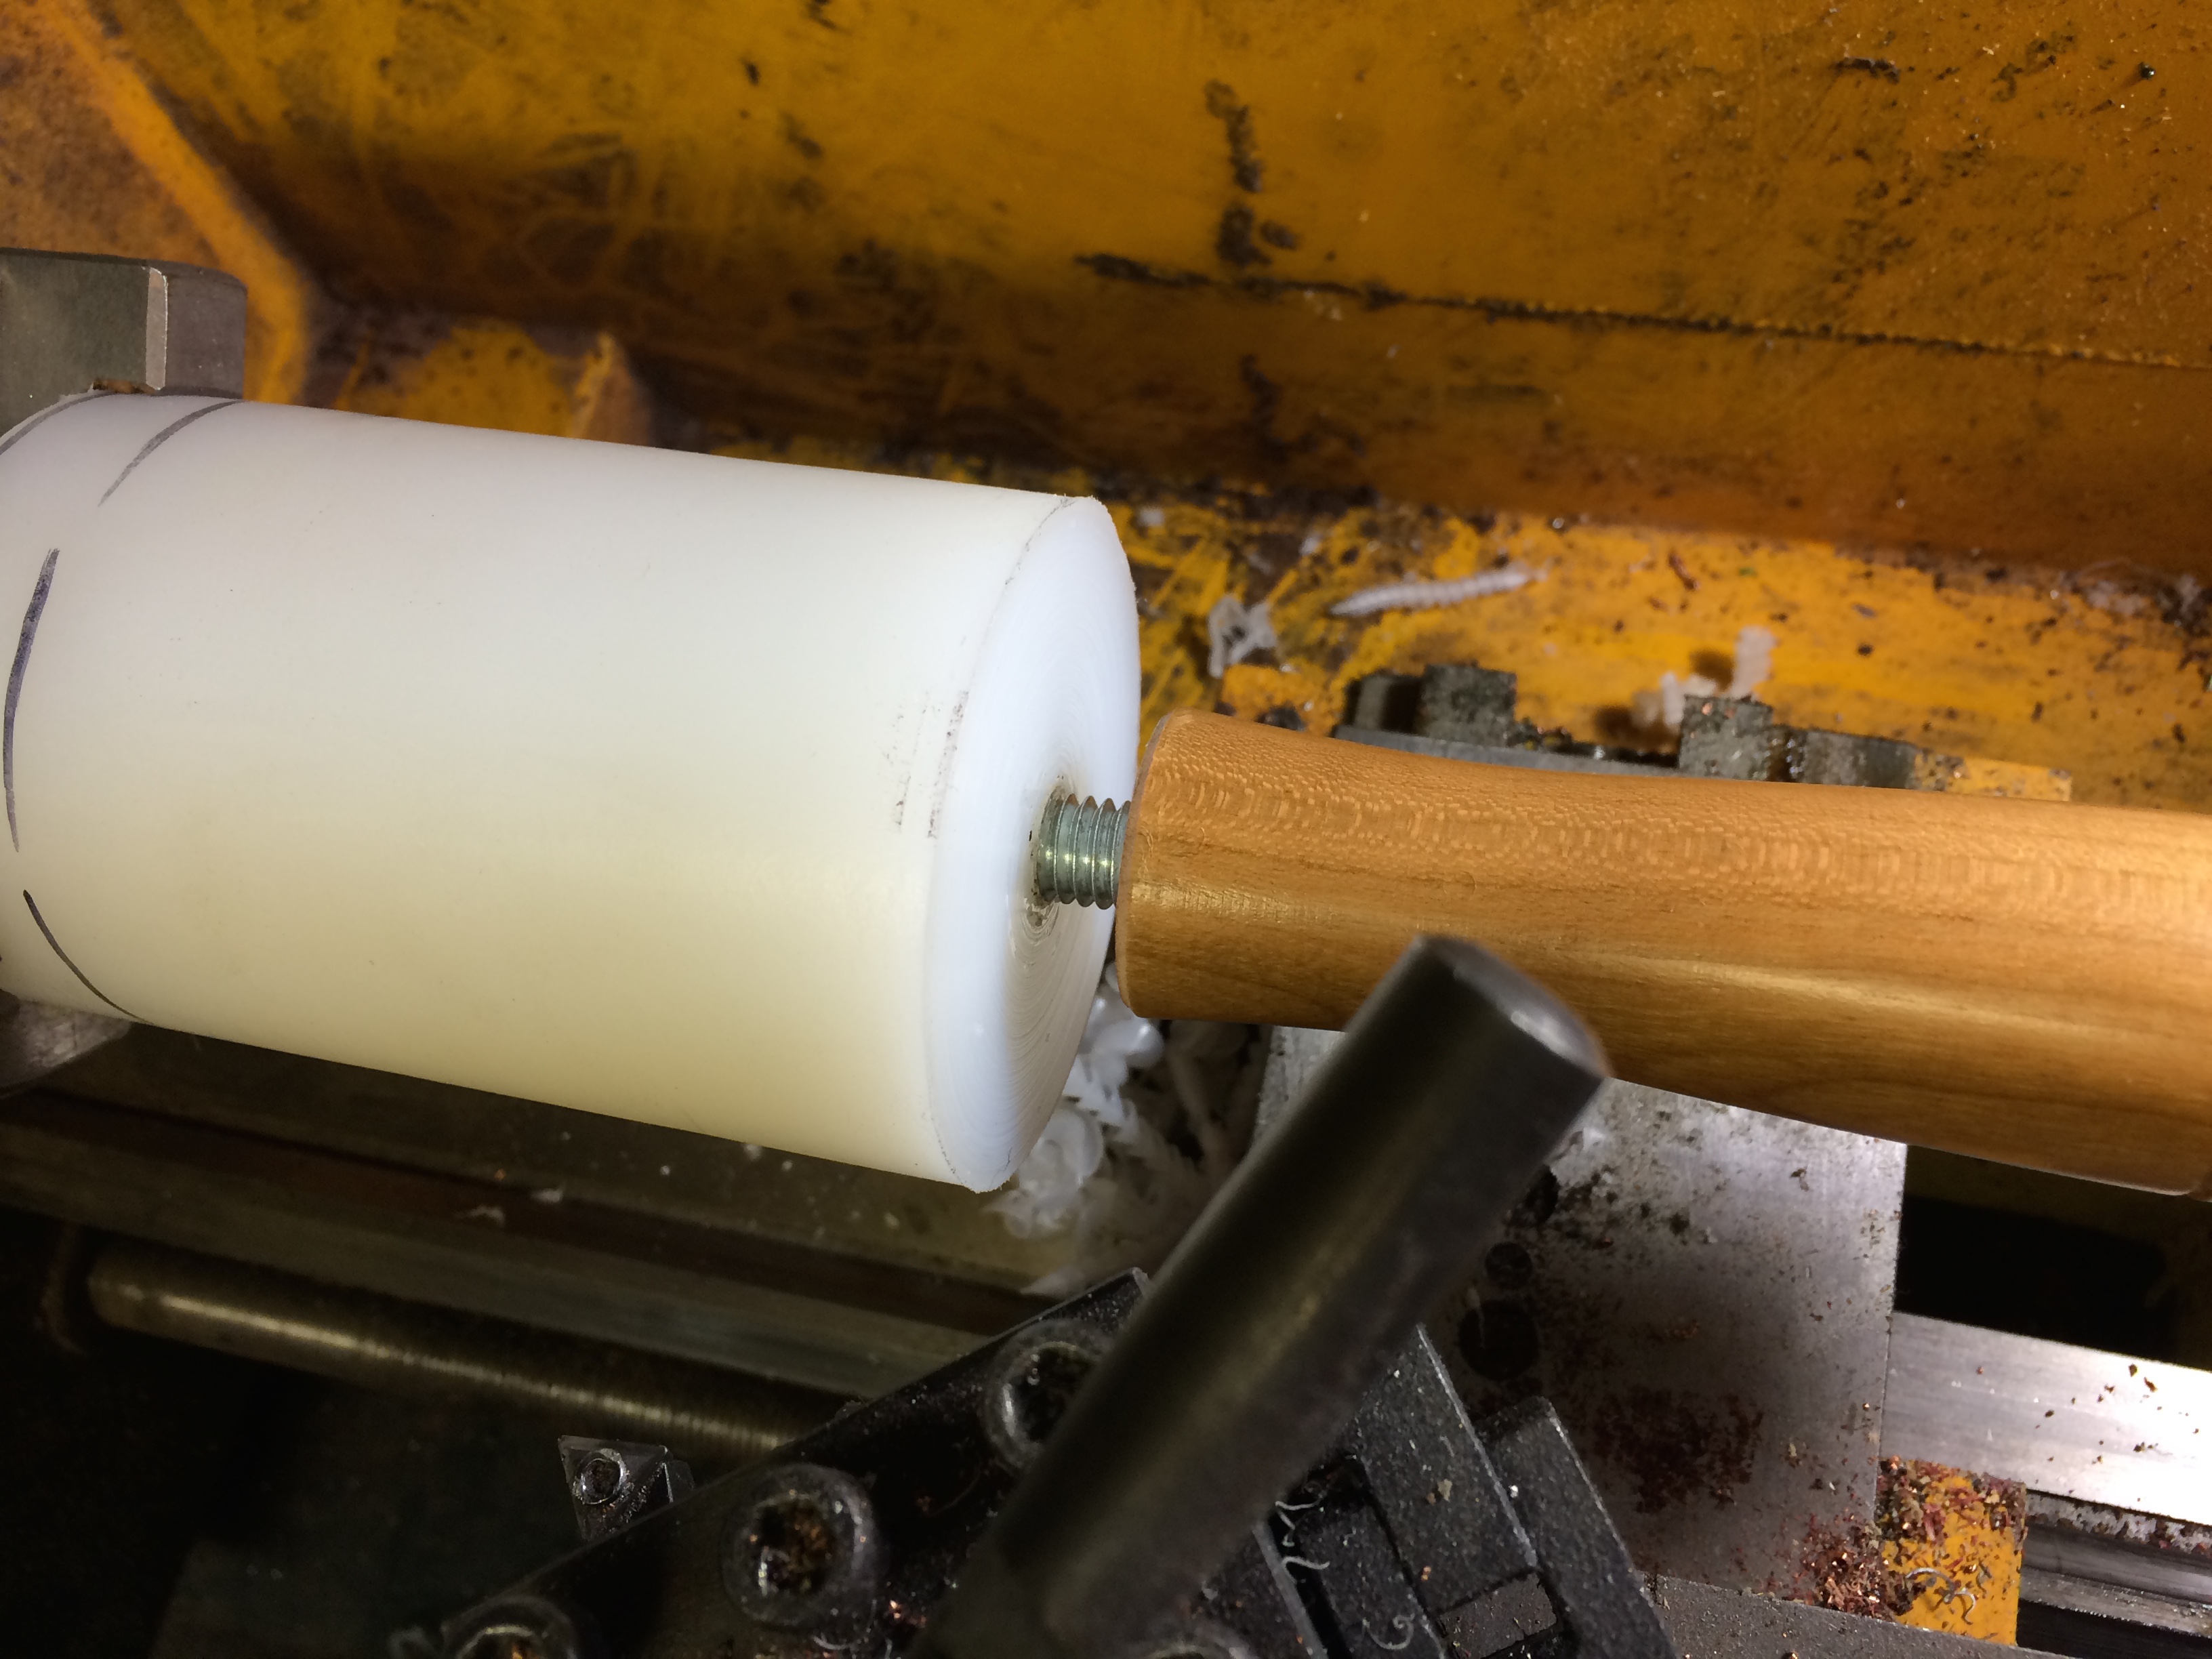
Test fit and we a basic hammer. I could leave it like that, but where’s the fun in that!?
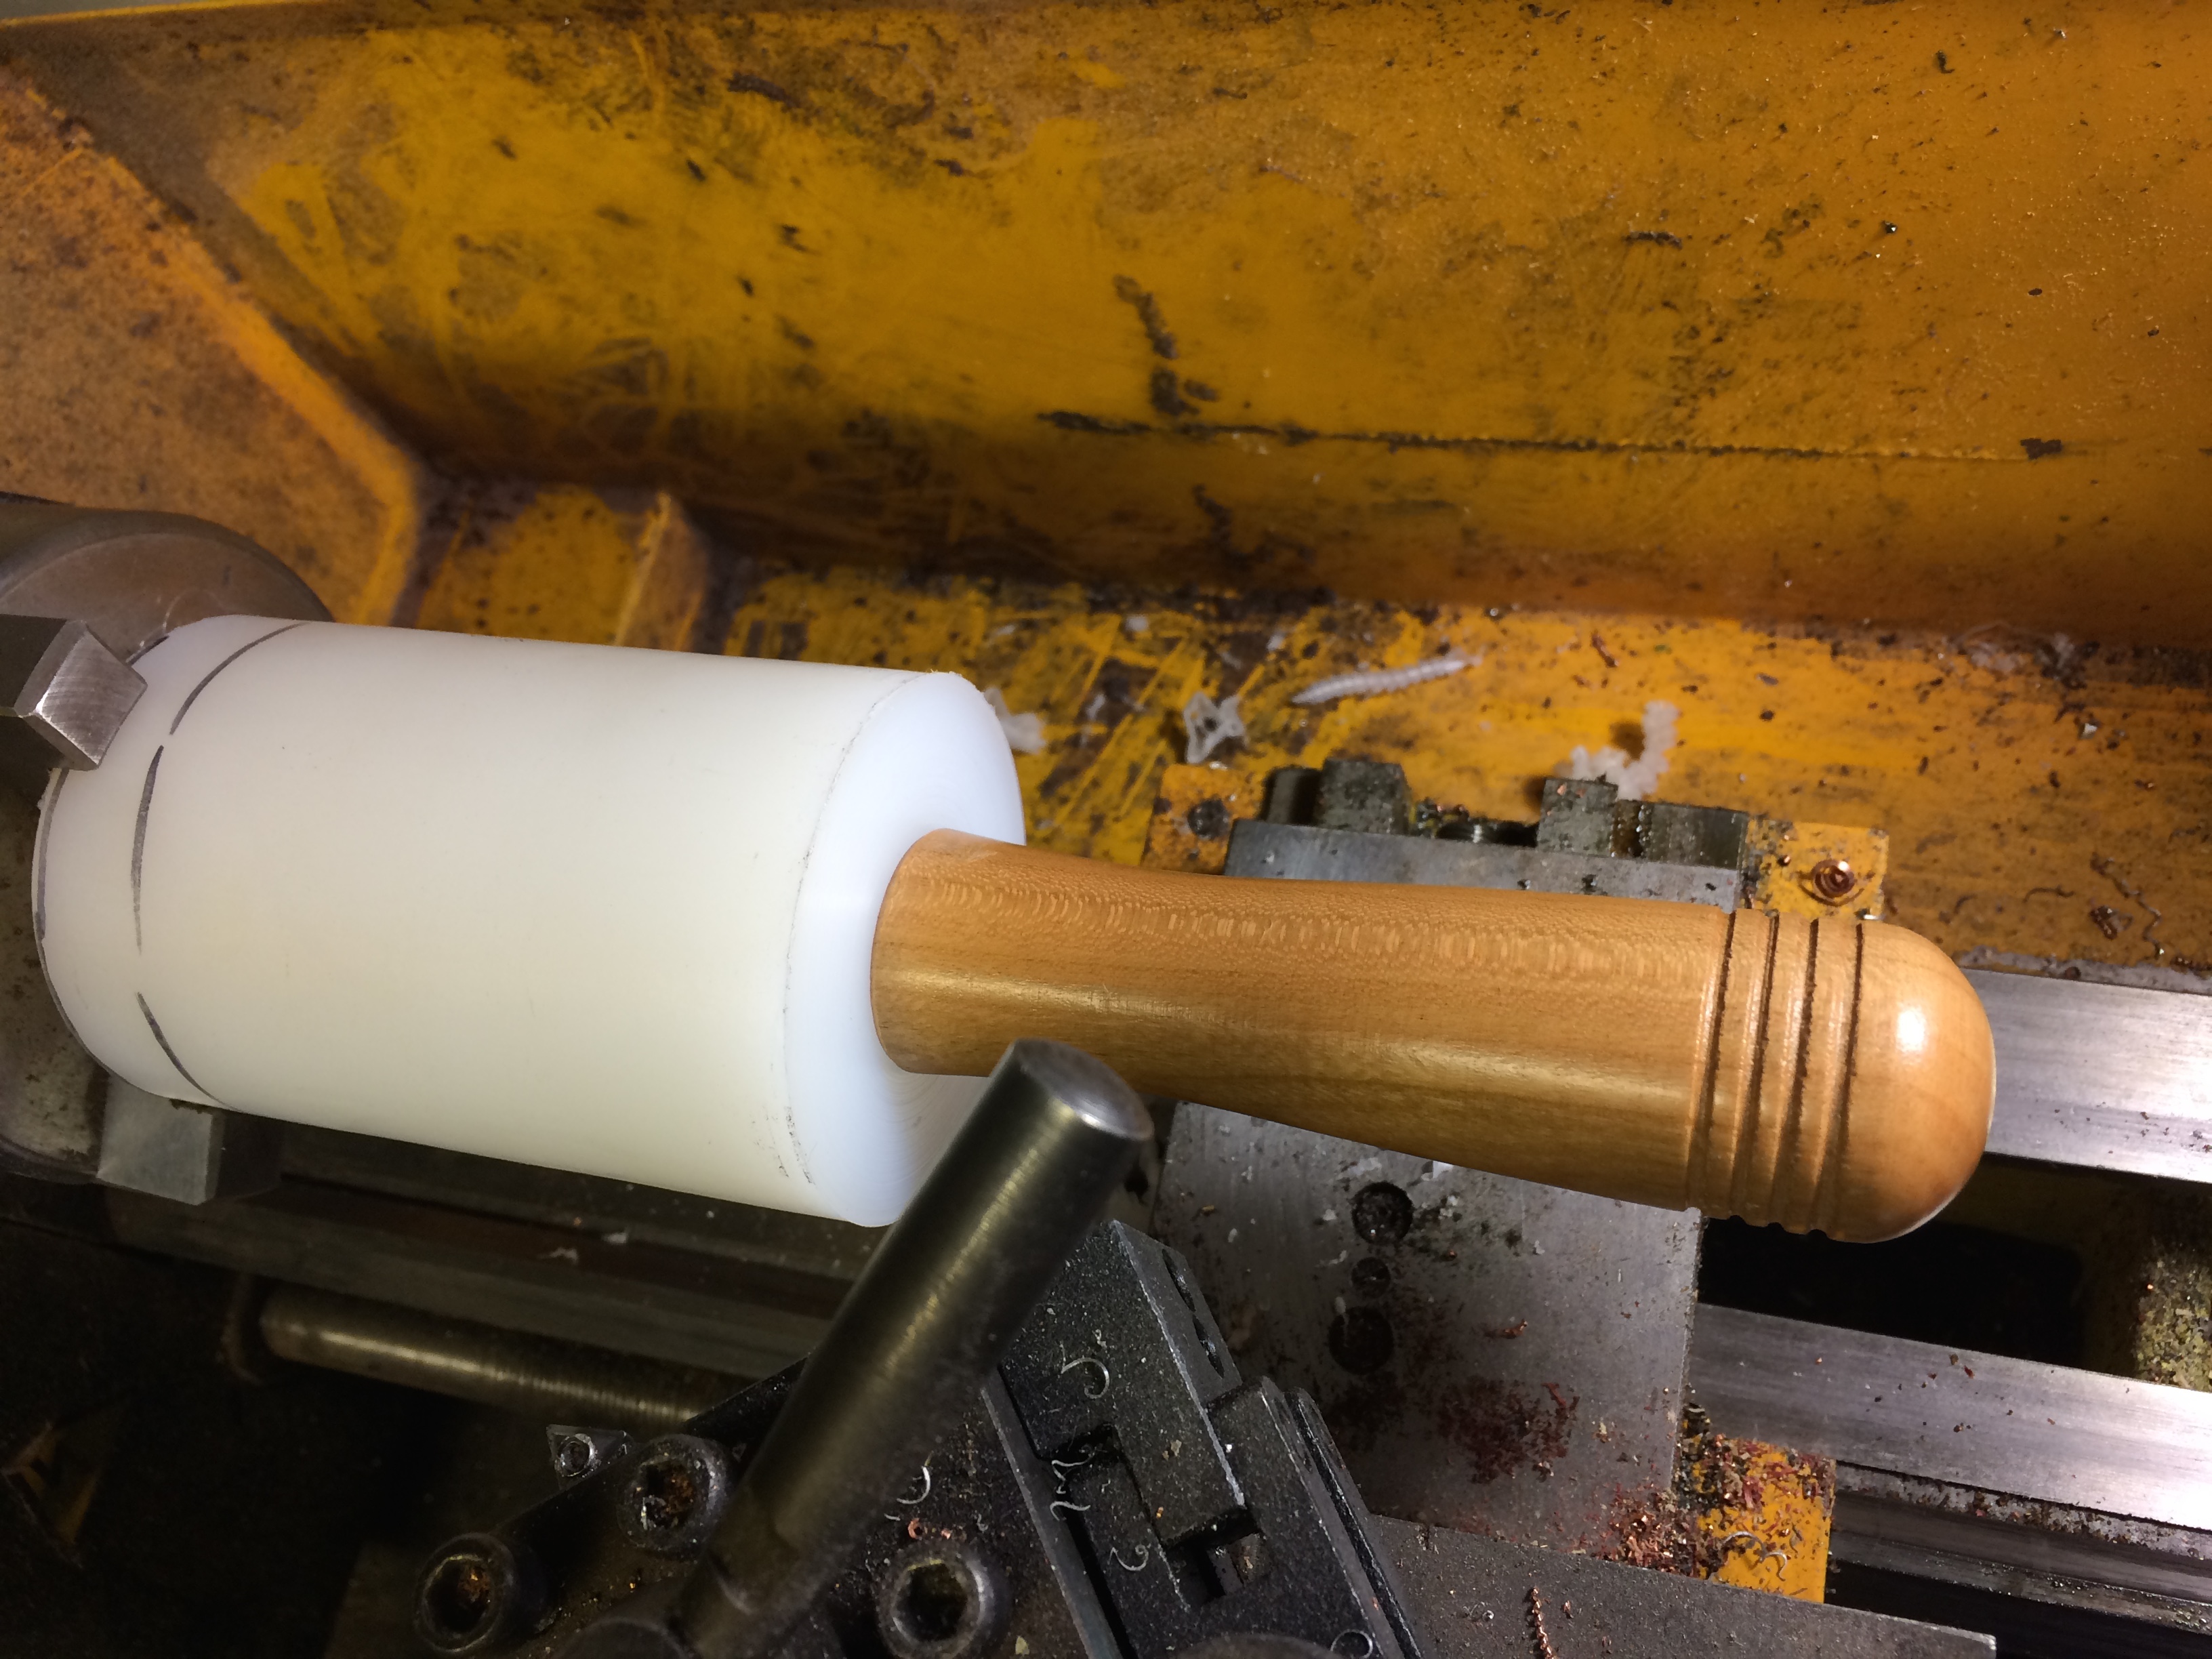
Fully seated.
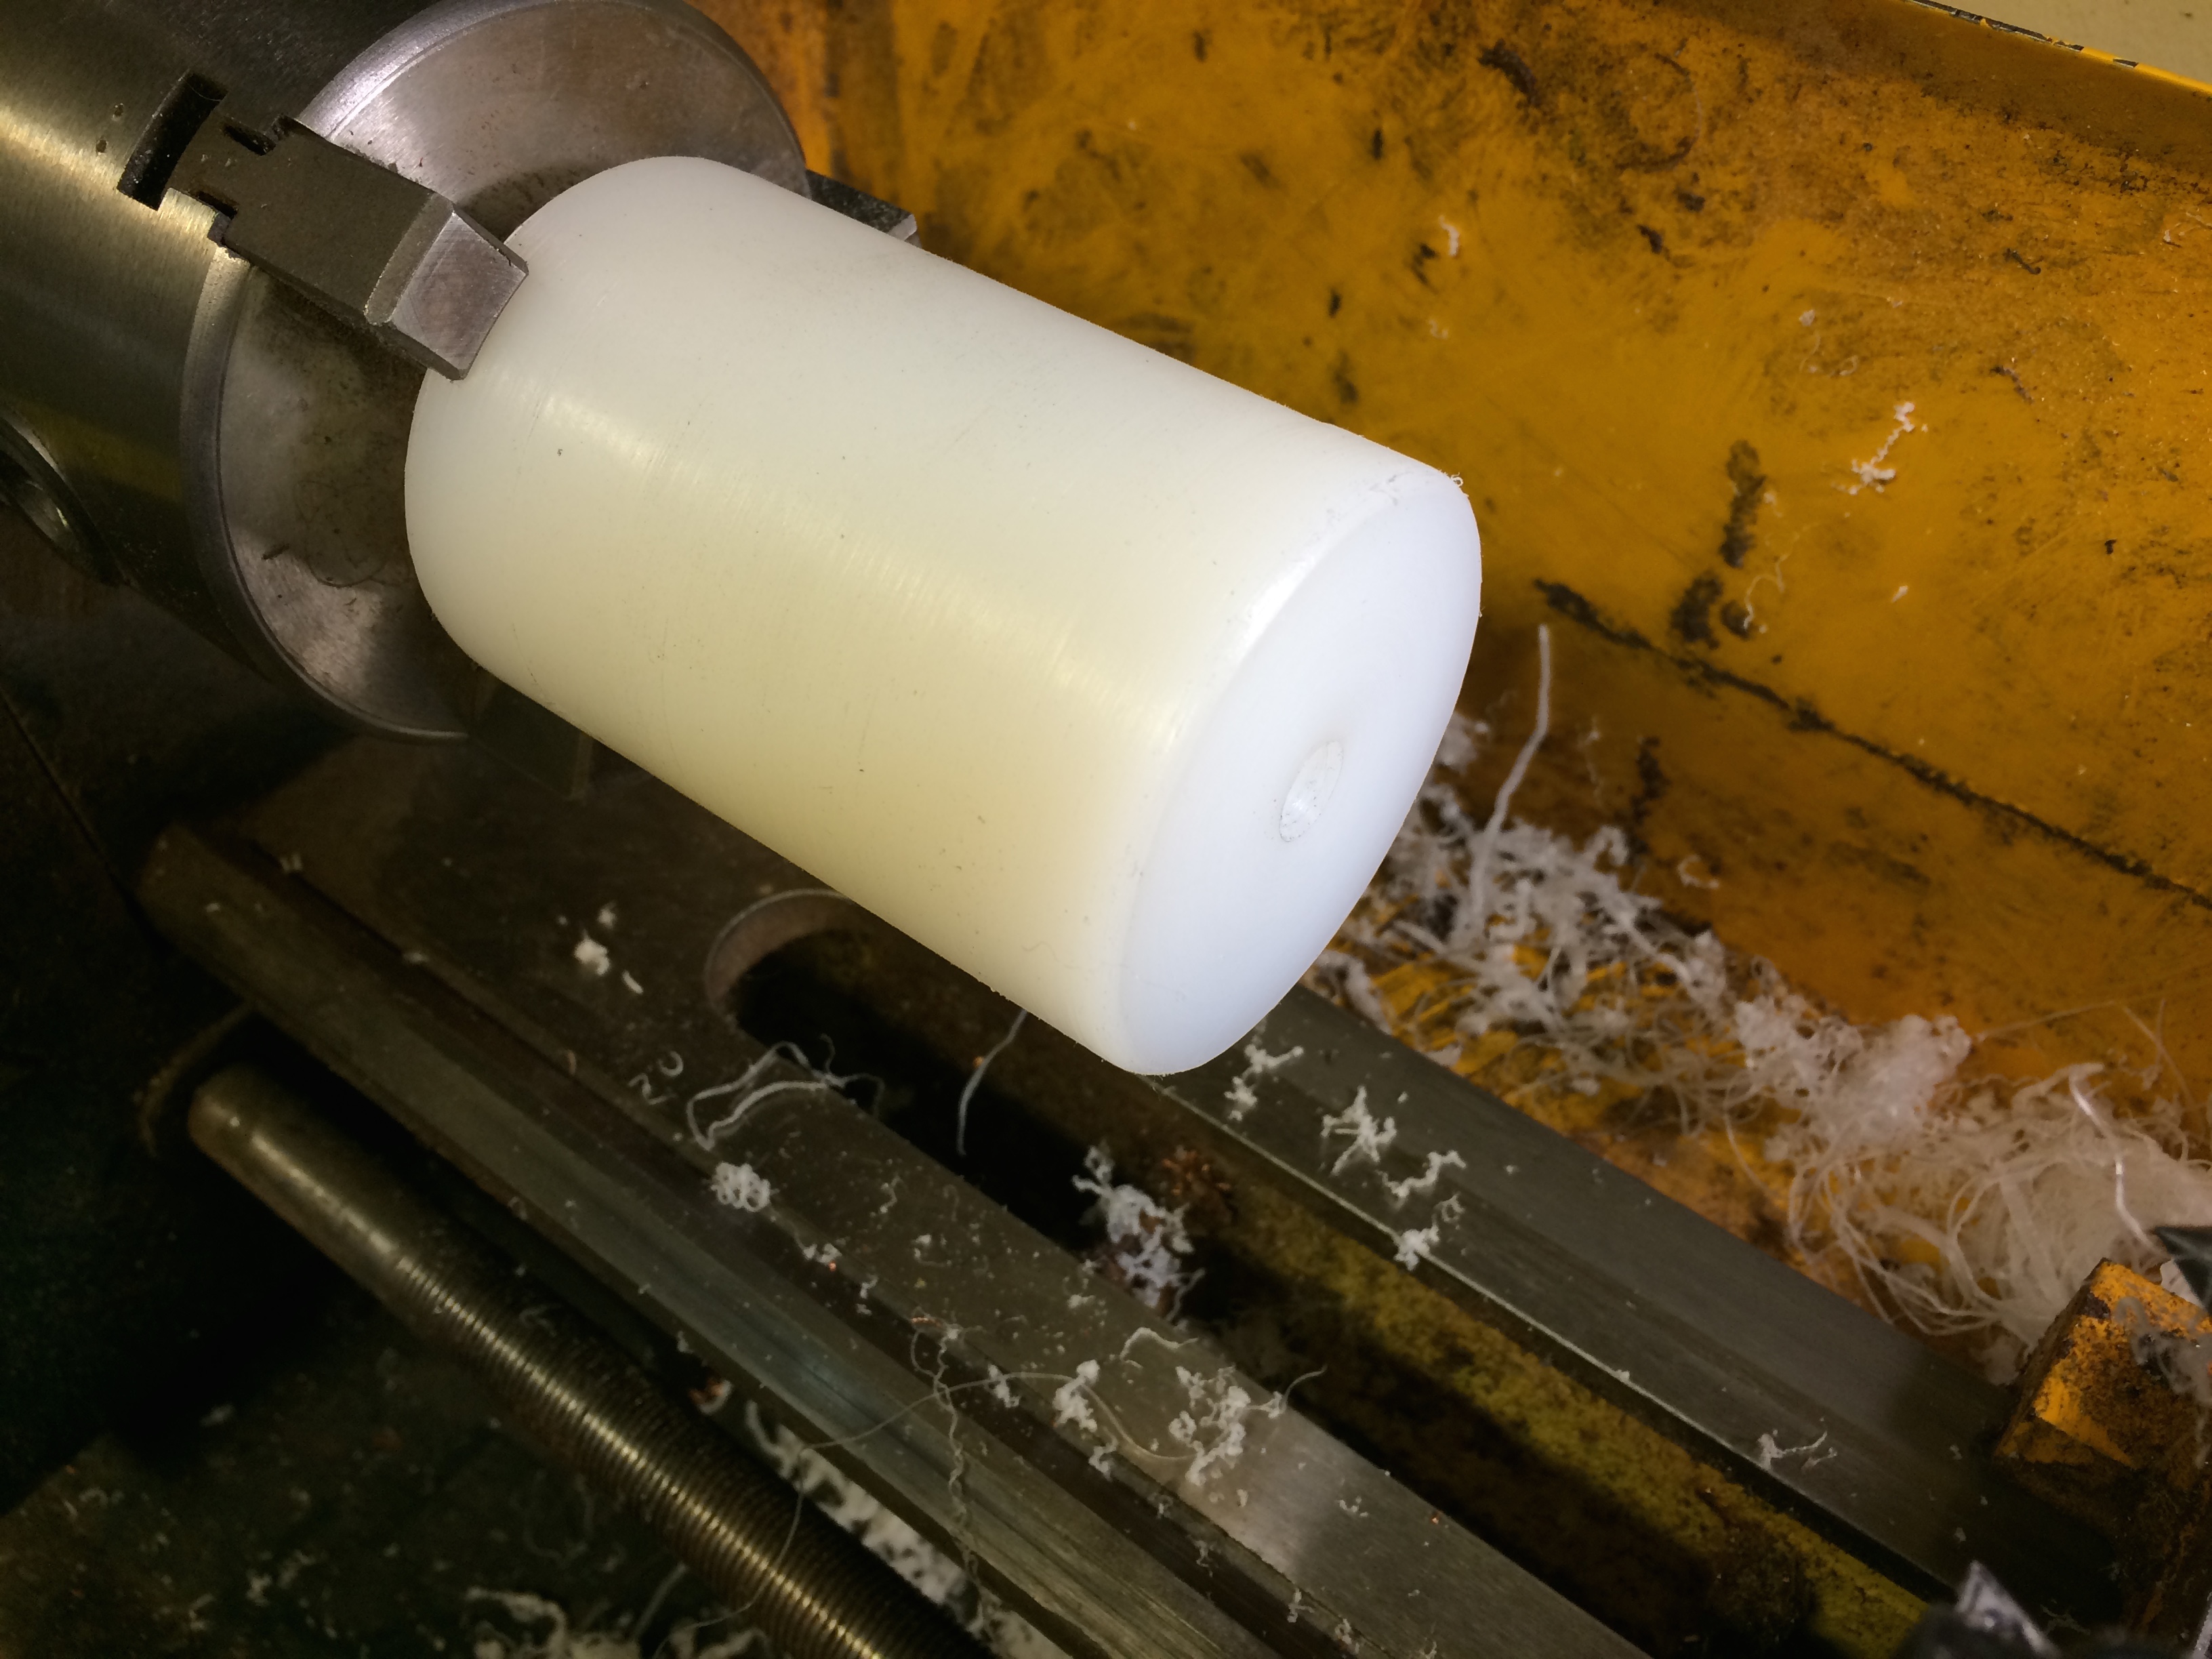
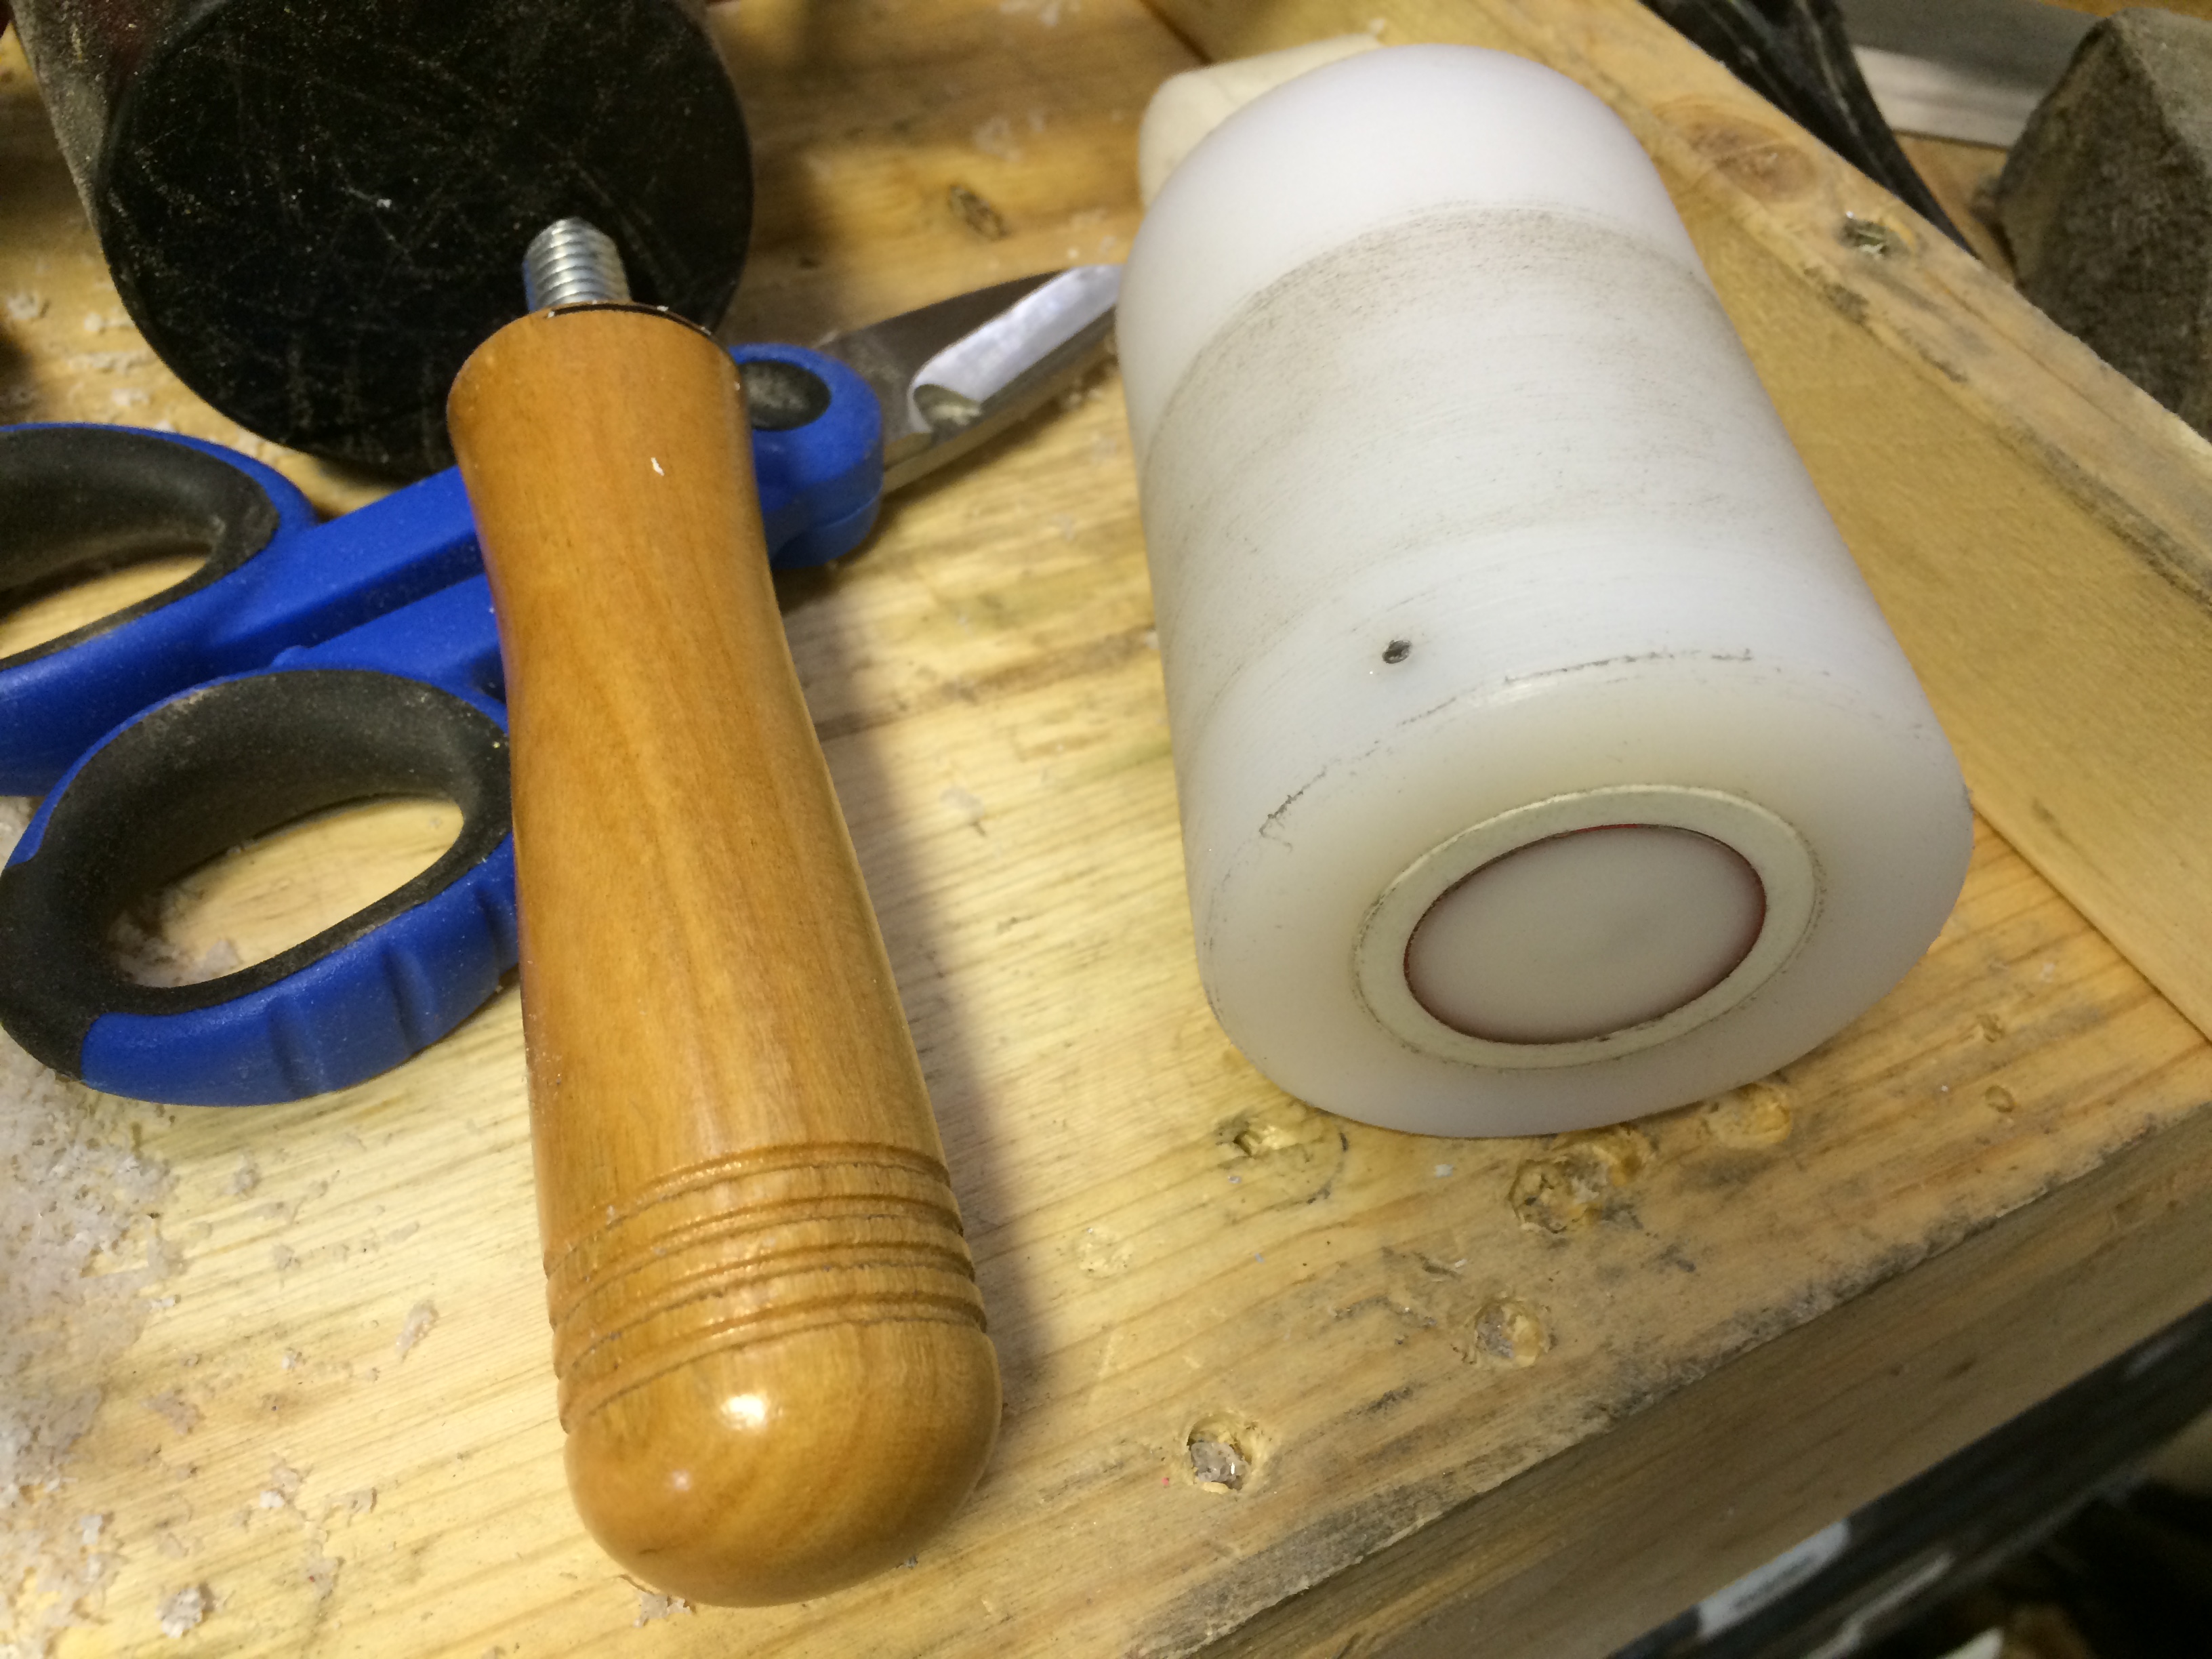
I then turn a tenon on the so the handle has something visual to sit on. I also face the outside edge, this isn’t needed but it’s nice to have a fresh face to start off with. I don’t show it, but the work was supported by a live center point on the tail stock.
Then flip is over to finish the facing of the outside surface.

One fresh surface.
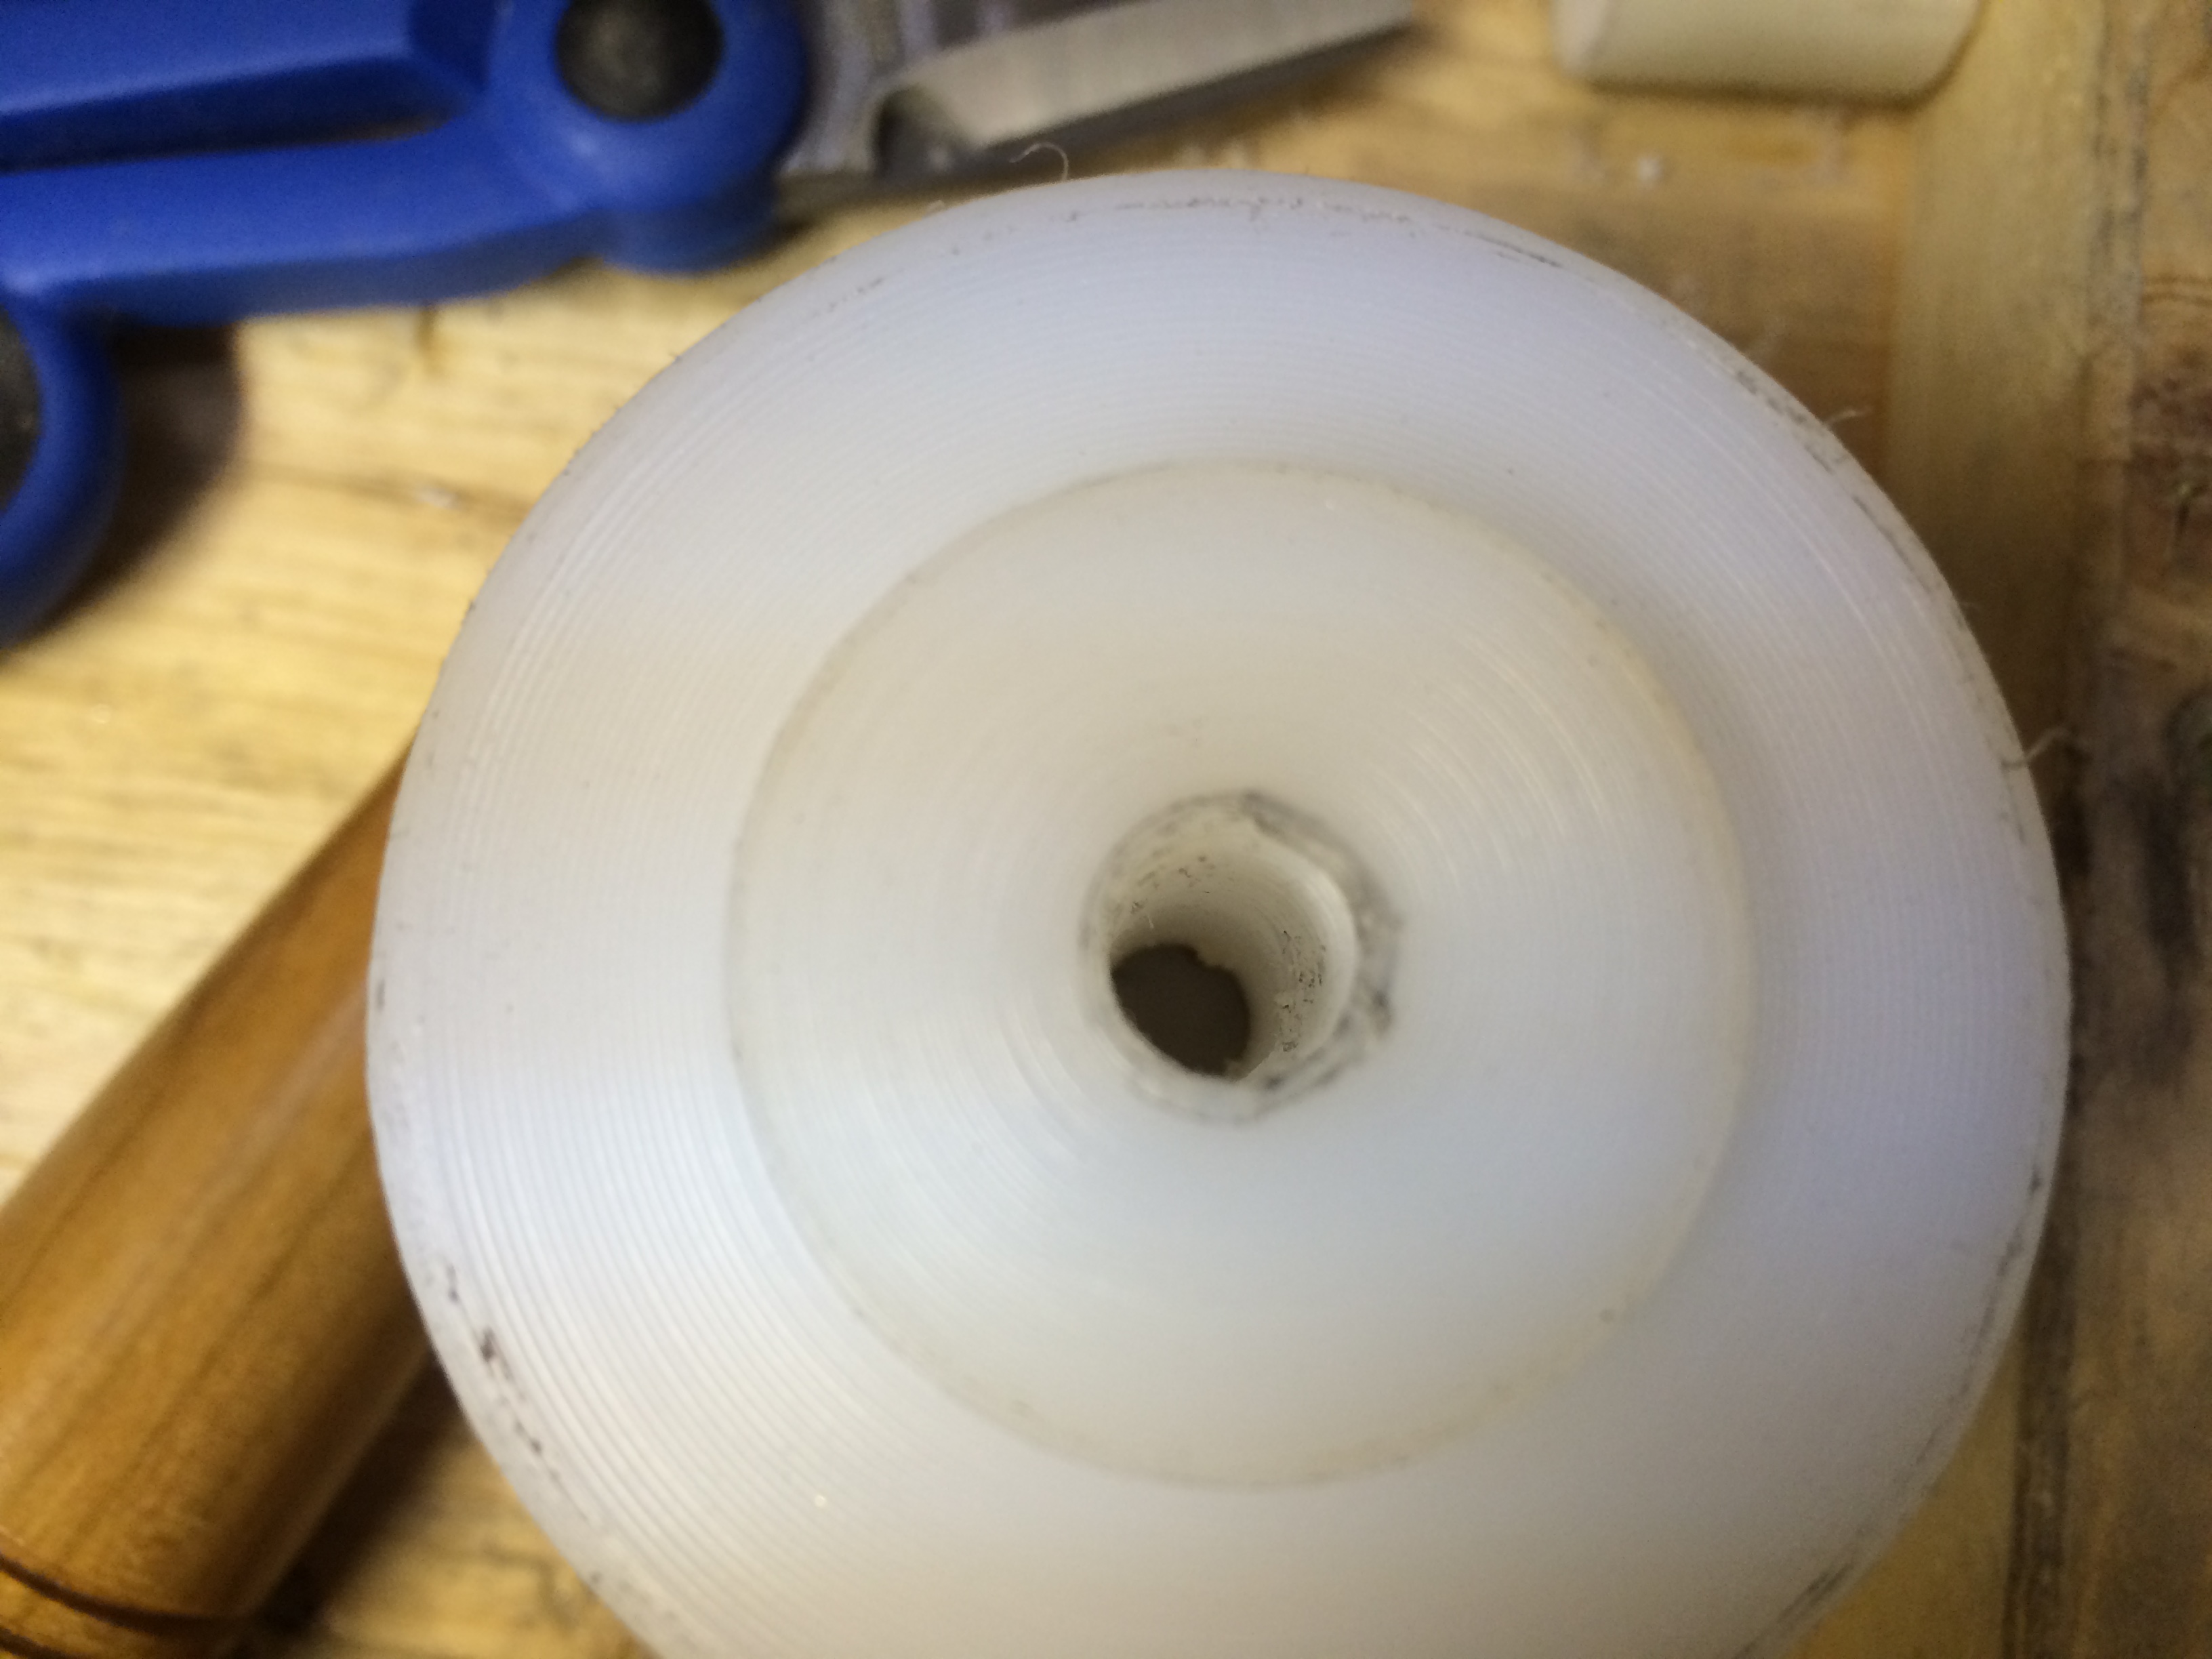
This was the hardest part of the operation, and this is also why I called this the Death Rattle. The plan is to hollow out the mallet, fill it with steel shot and plug it. I use a 1.25″ Forstner bit to hog out the inner material about 2″ deep.
Another test fit. I’ll chamfer the end towards the handle for comfort later.
Time to make the plug. I made a small mistake and used the 1.25″ Forstner bit instead of the 1″, but I found a fix that worked out well. That is a ring of 1″ ID, 1.25″ OD schedule 40 PVC pipe. It’s a near perfect fit and will need to be pressed into place.
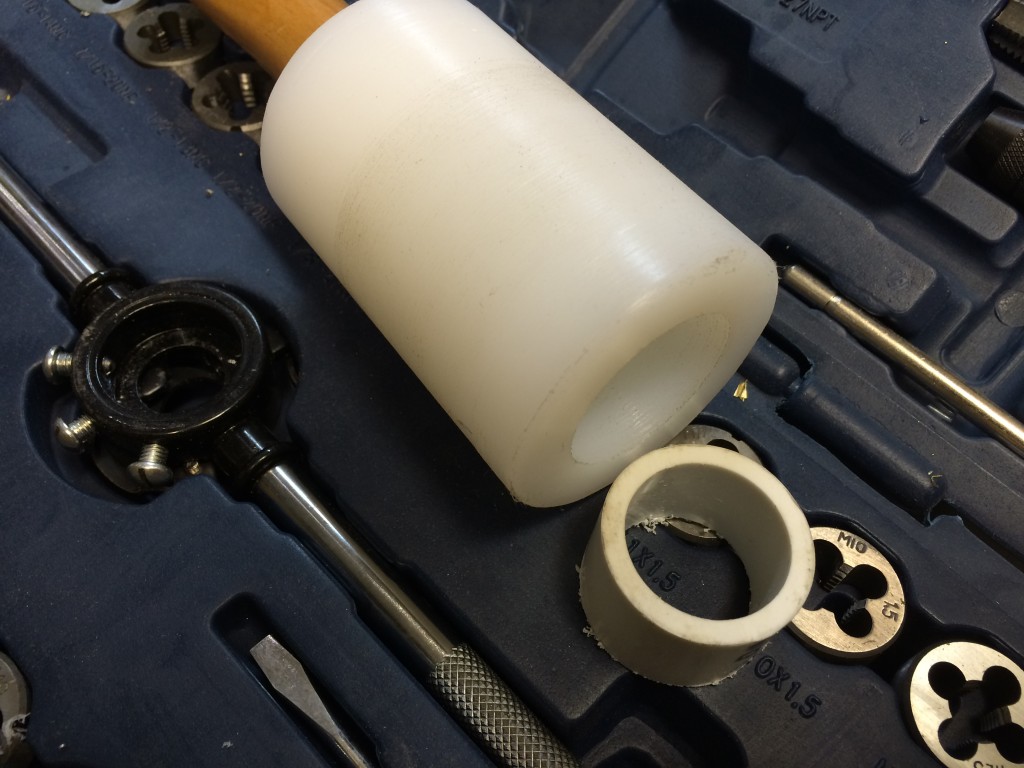
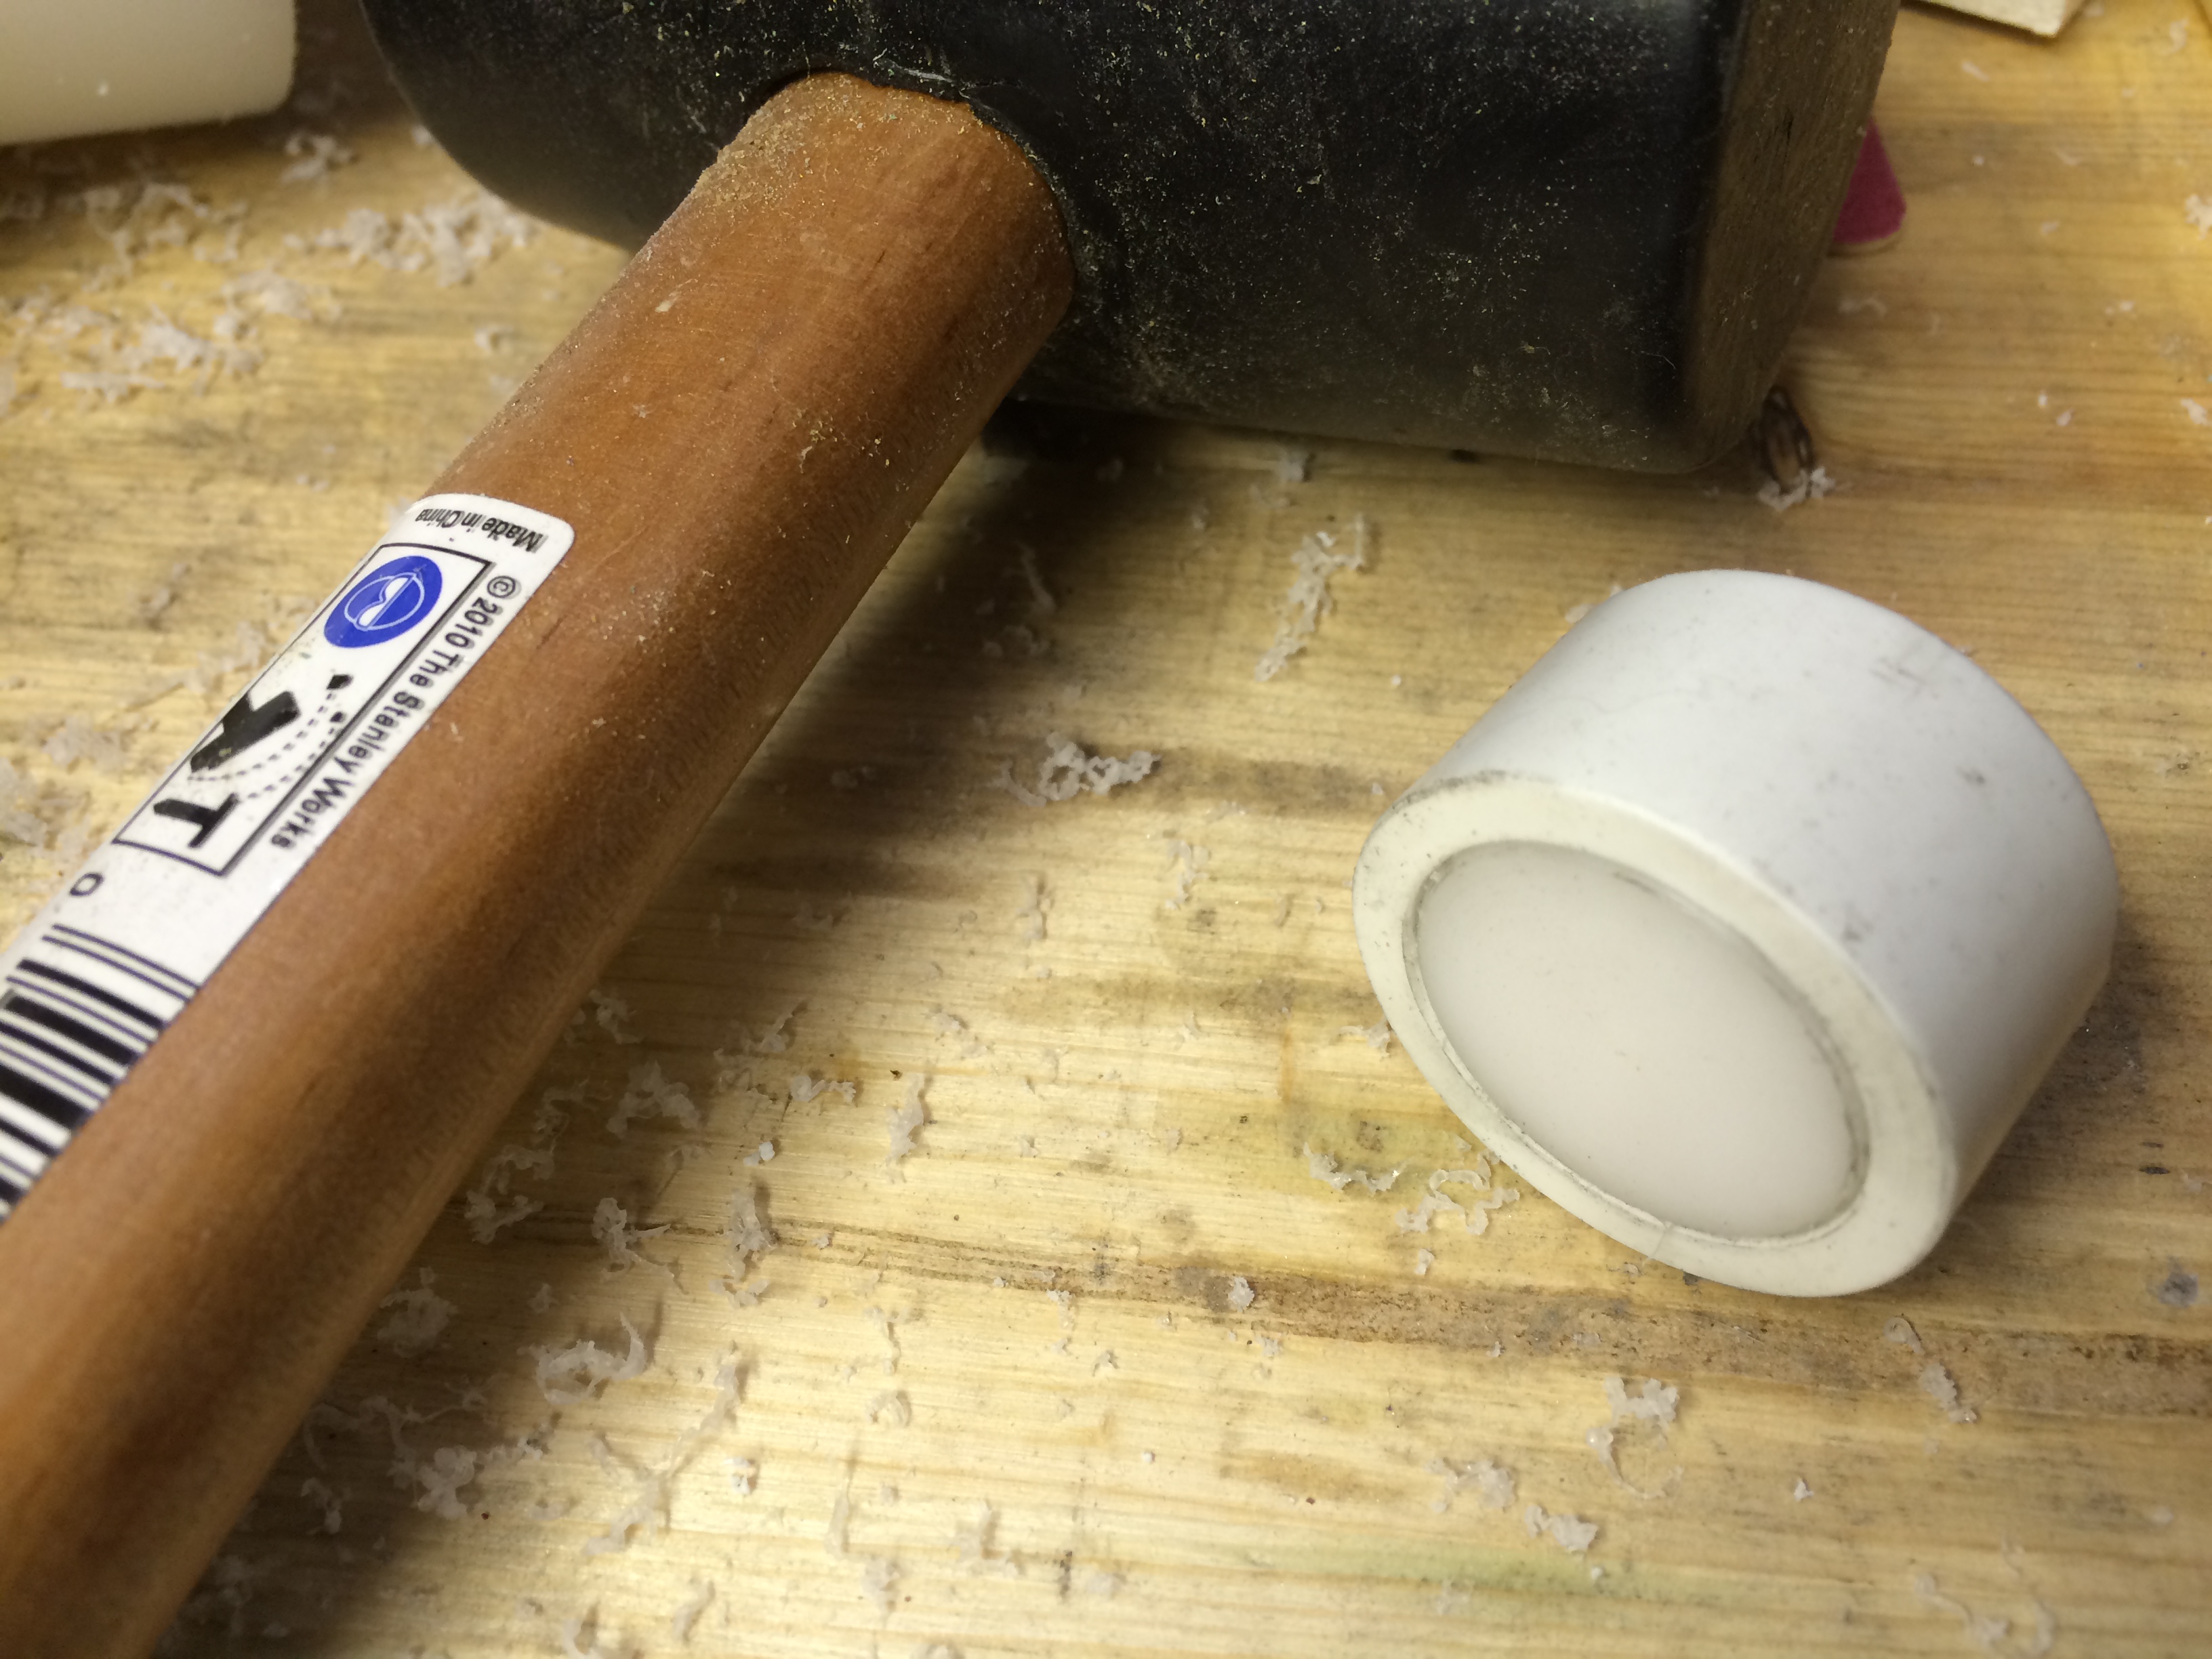
Once I had the spacer, I cut off and machined a bit of 1″ nylon rod to use a s plug.
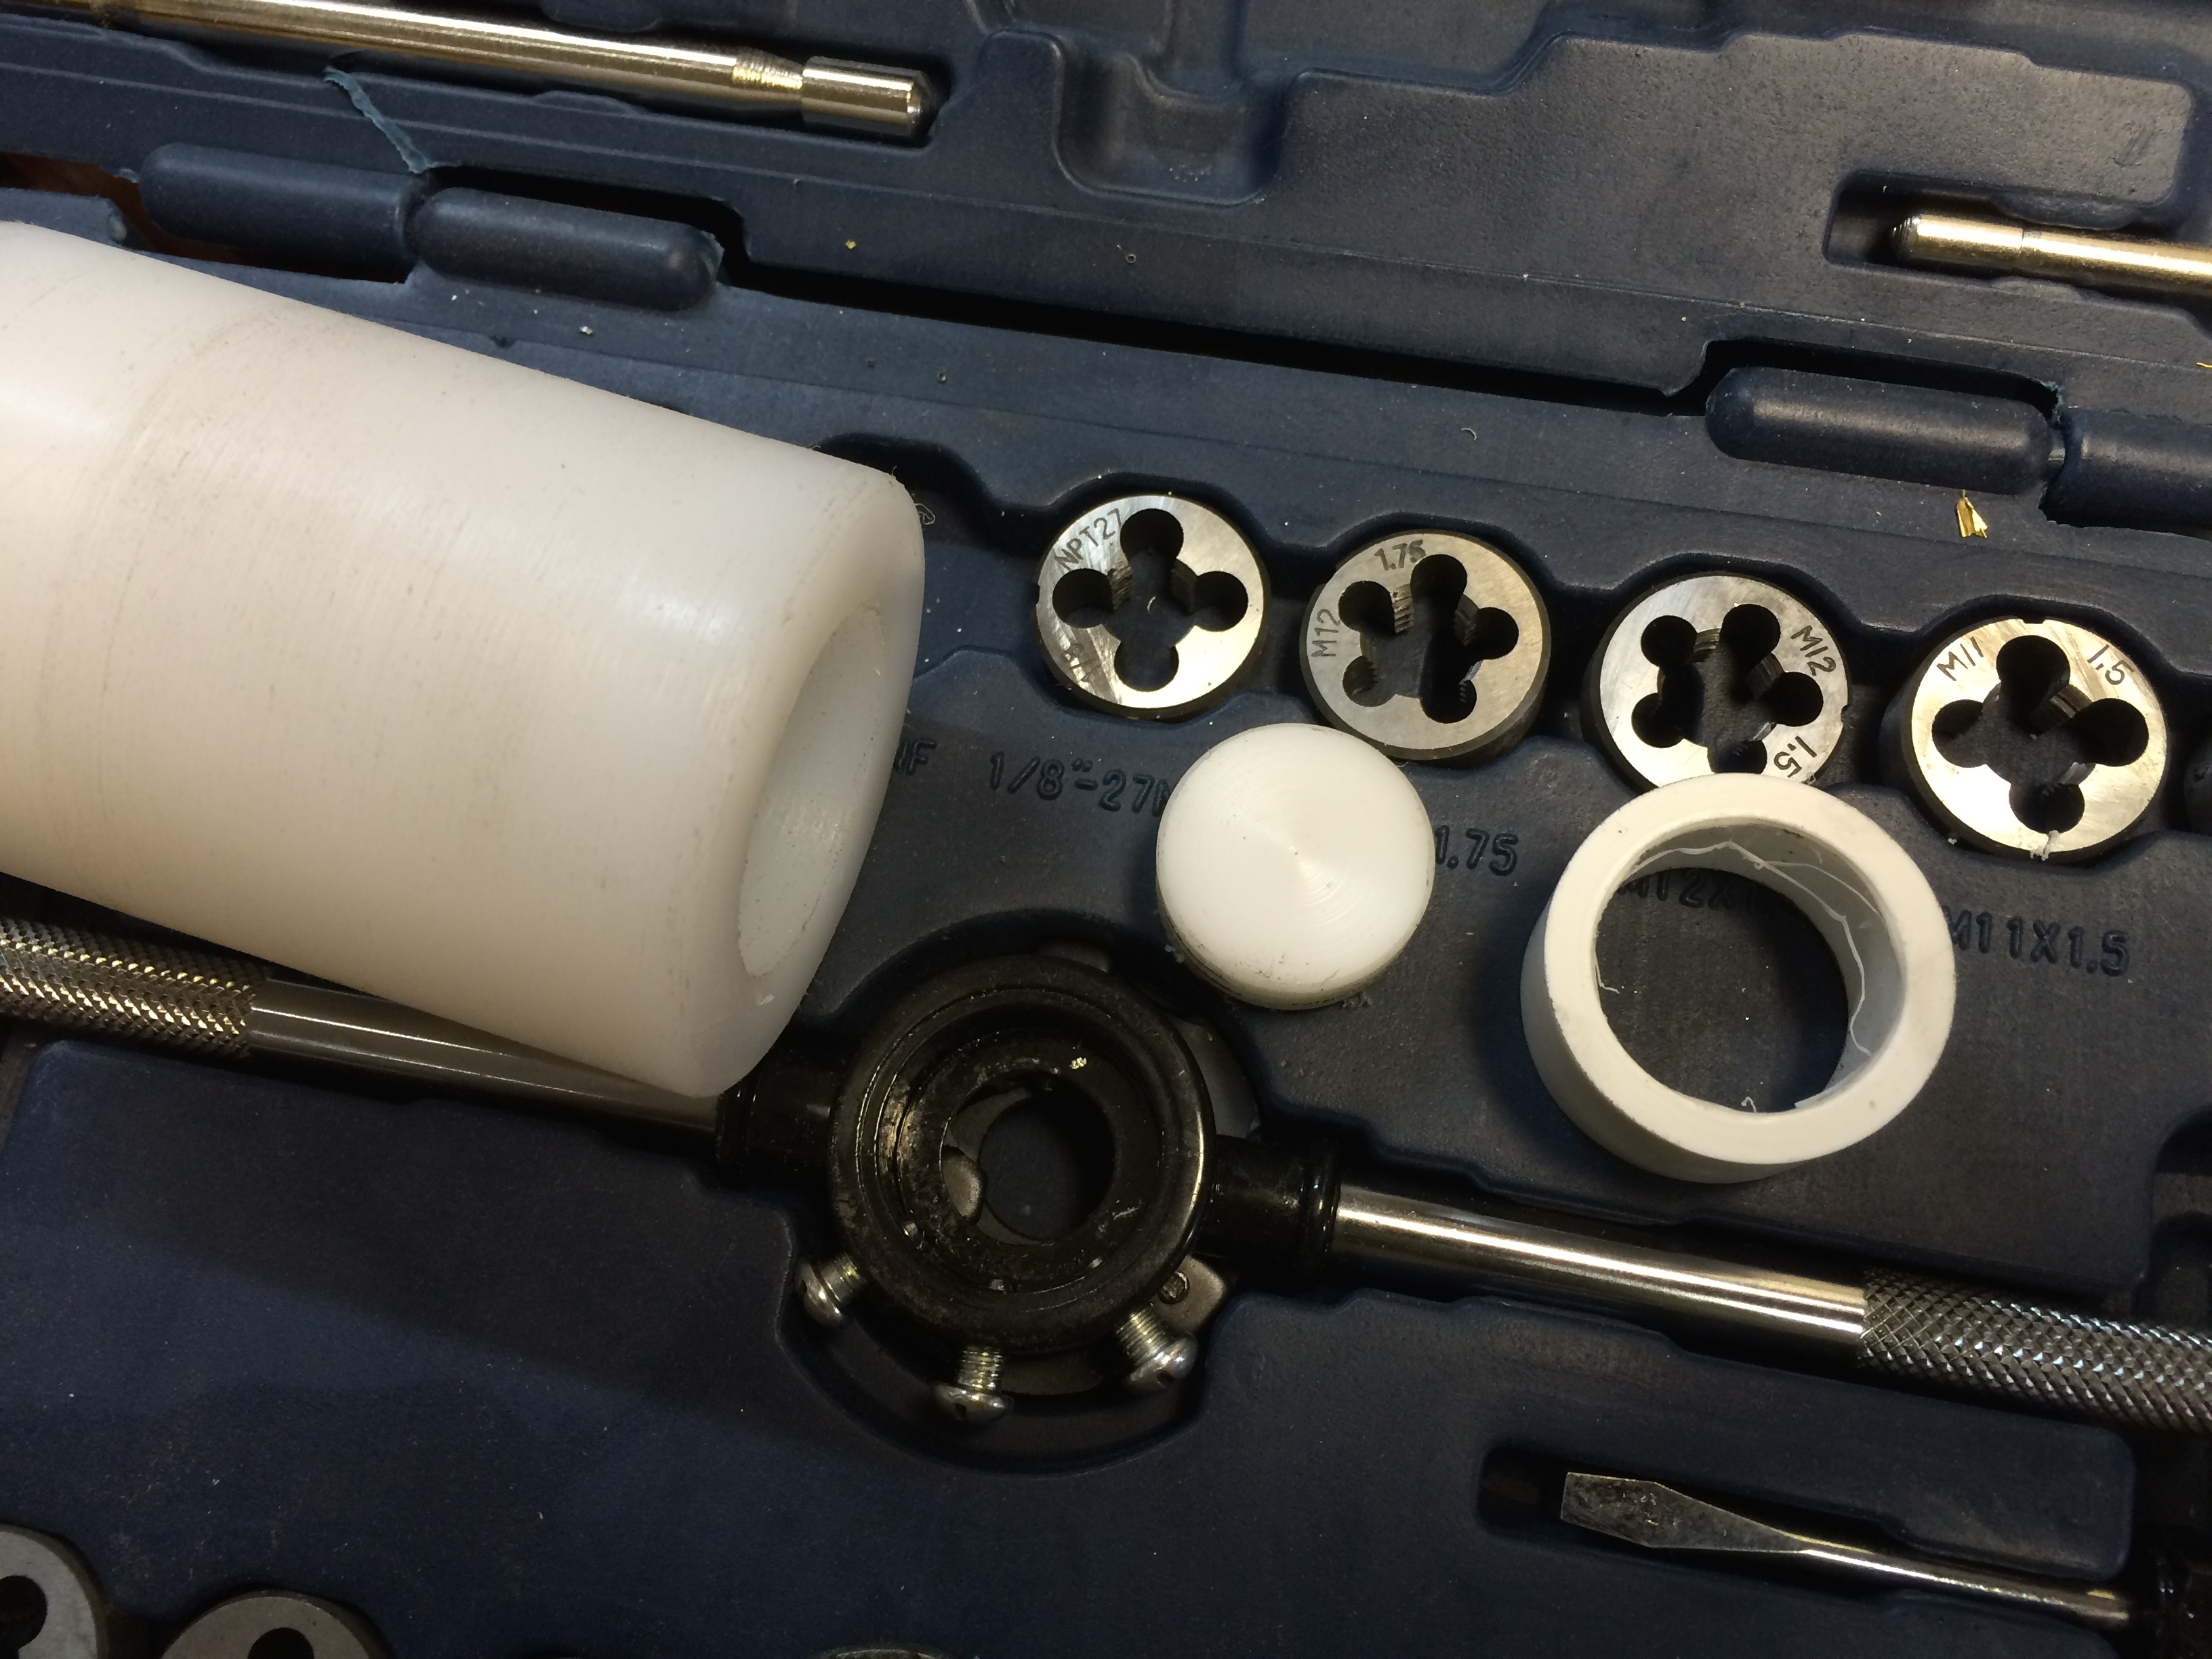
The fit was a tiny bit loose, so I wound two wraps of electrical tape onto the nylon lug and hammered/pressed it into place.
To avoid separation, a 1/32 hole was drilled and counter sunk with a 1/16 bit a small nail was driven into place.

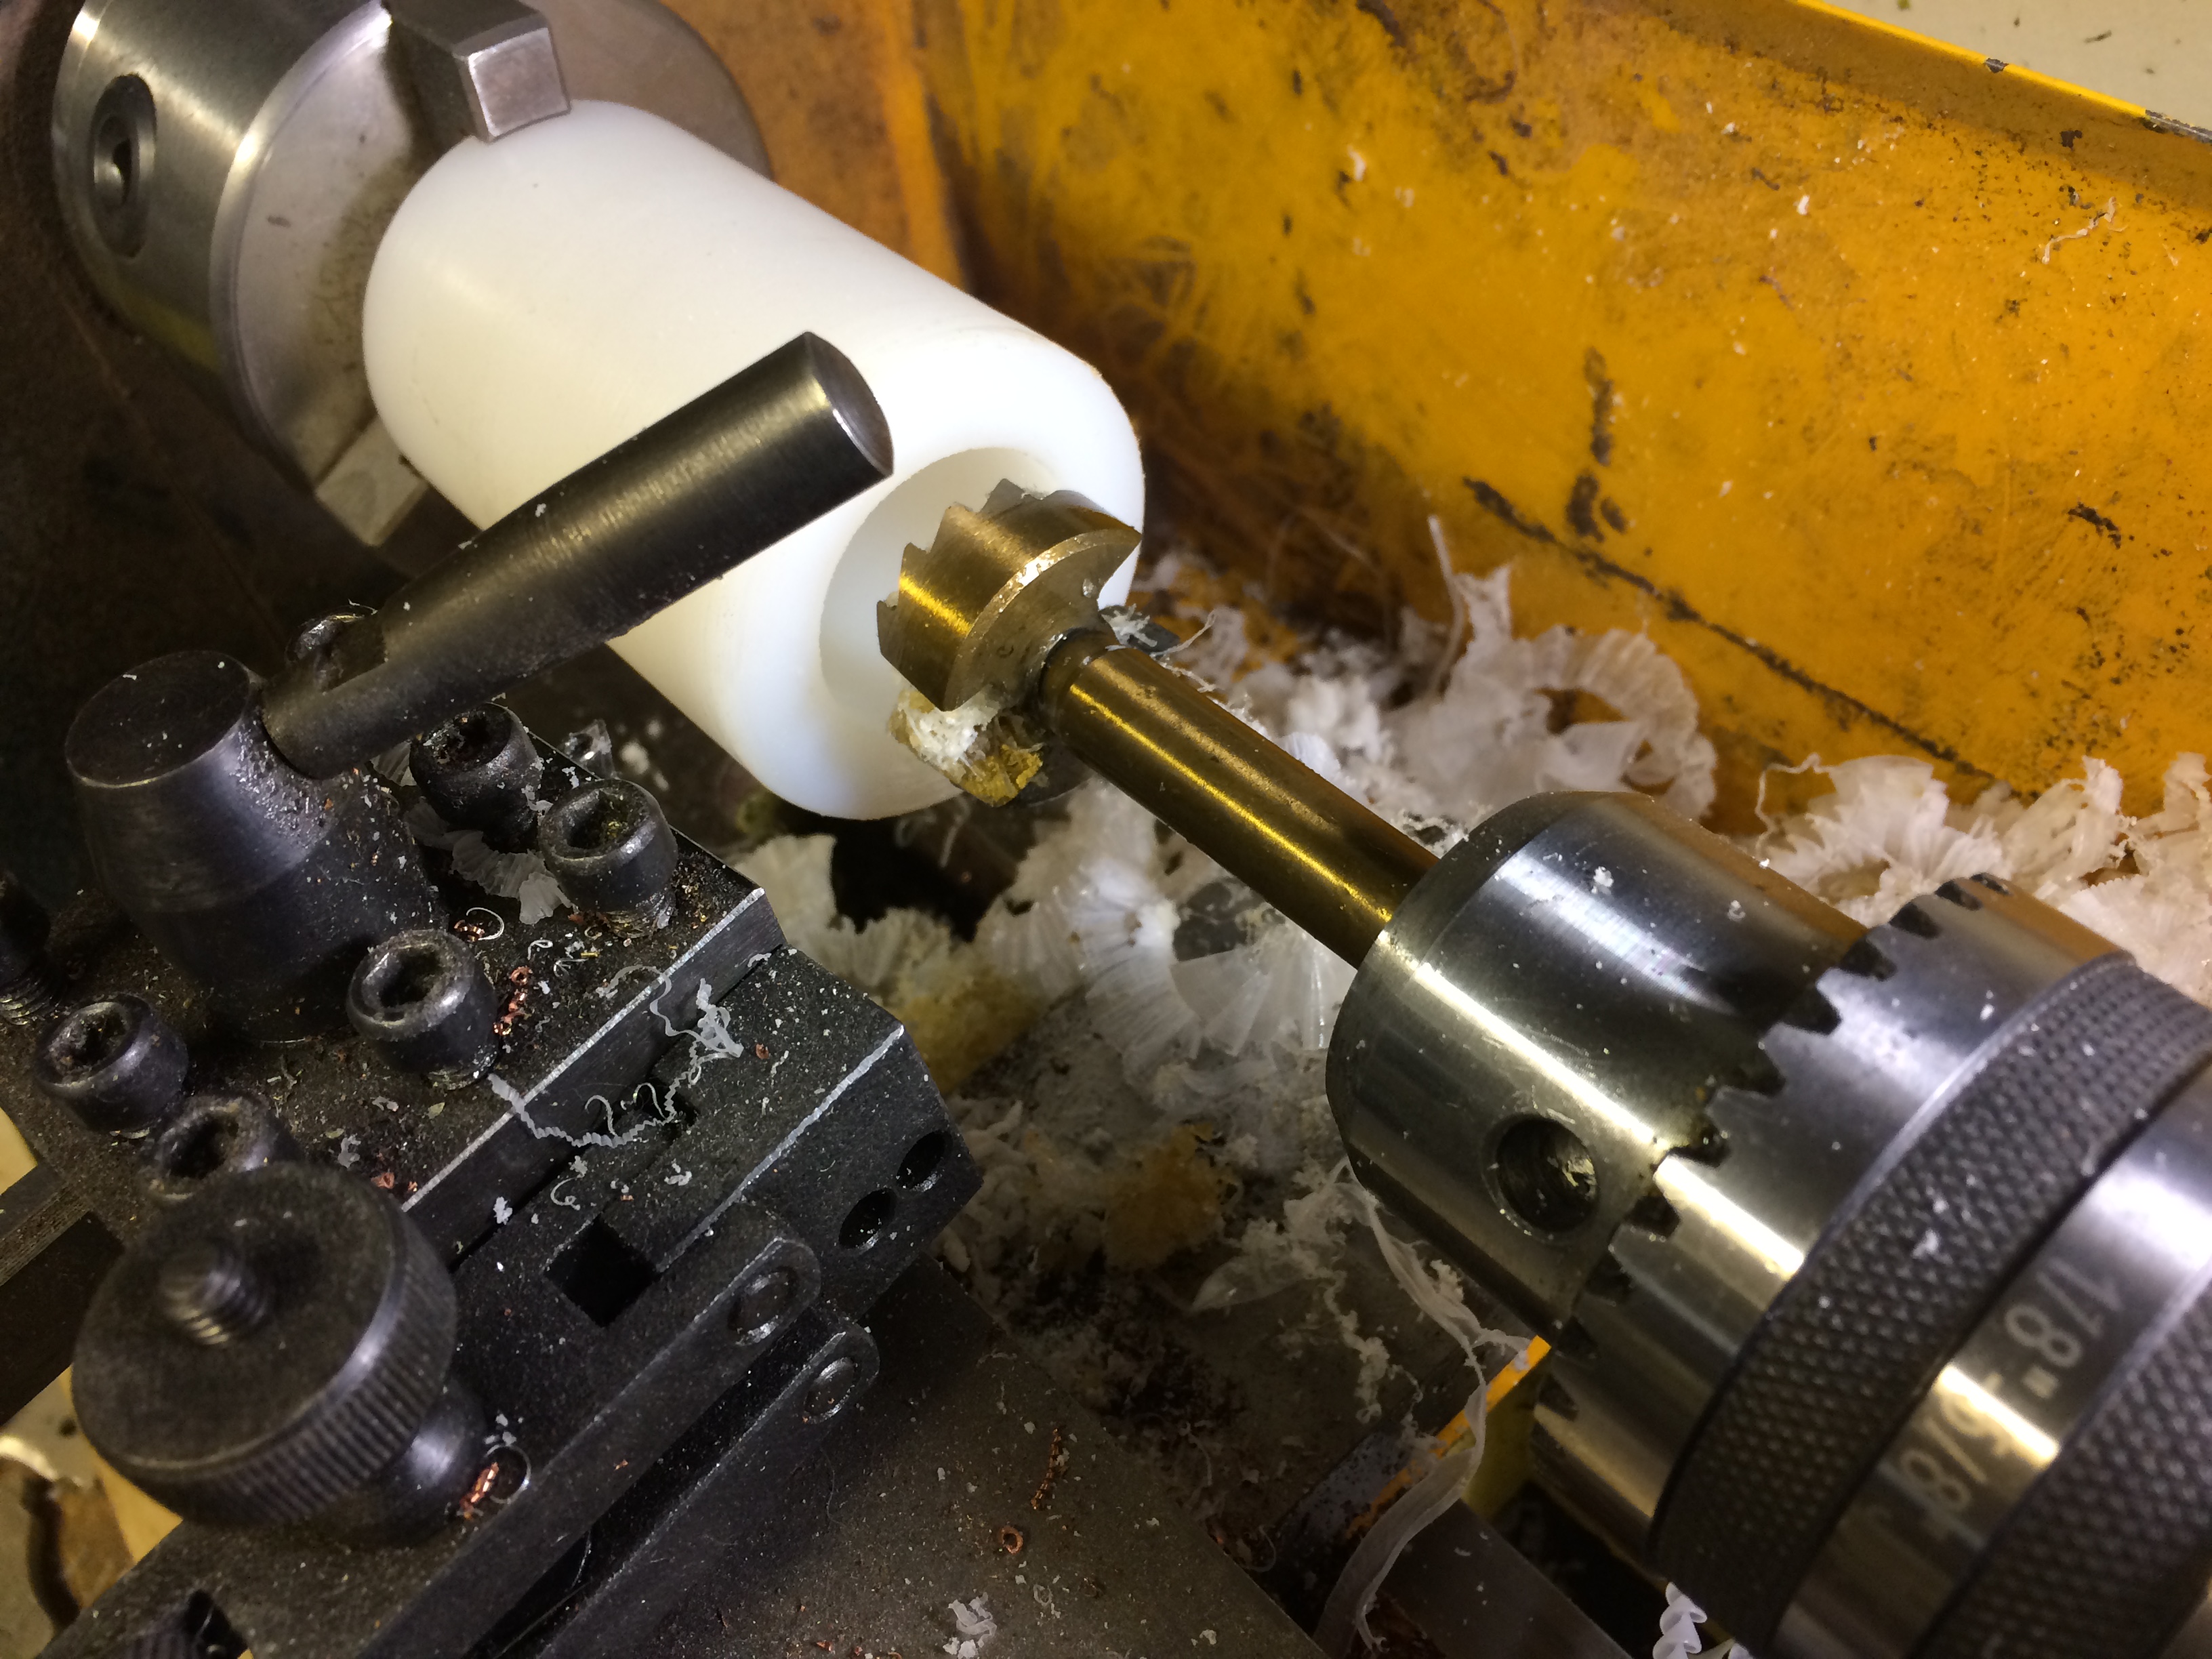
Chucked the plug with pvc sleeve into the lath again and faced it so it was one unit, then pressed it into the hammer head. The same hole set and nail was driven in to pin it place. The fit was pretty tight to begin with, but this is just for added security.
I had forgot to mention, the tapped hole was drilled clean through into the now void chamber so that I can pack in the steel shot though it. That way, there was no need to fiddle with the plug and getting the exact amount of shot in it. I can tune it later if needed by removing or adding more steel shot or sand.
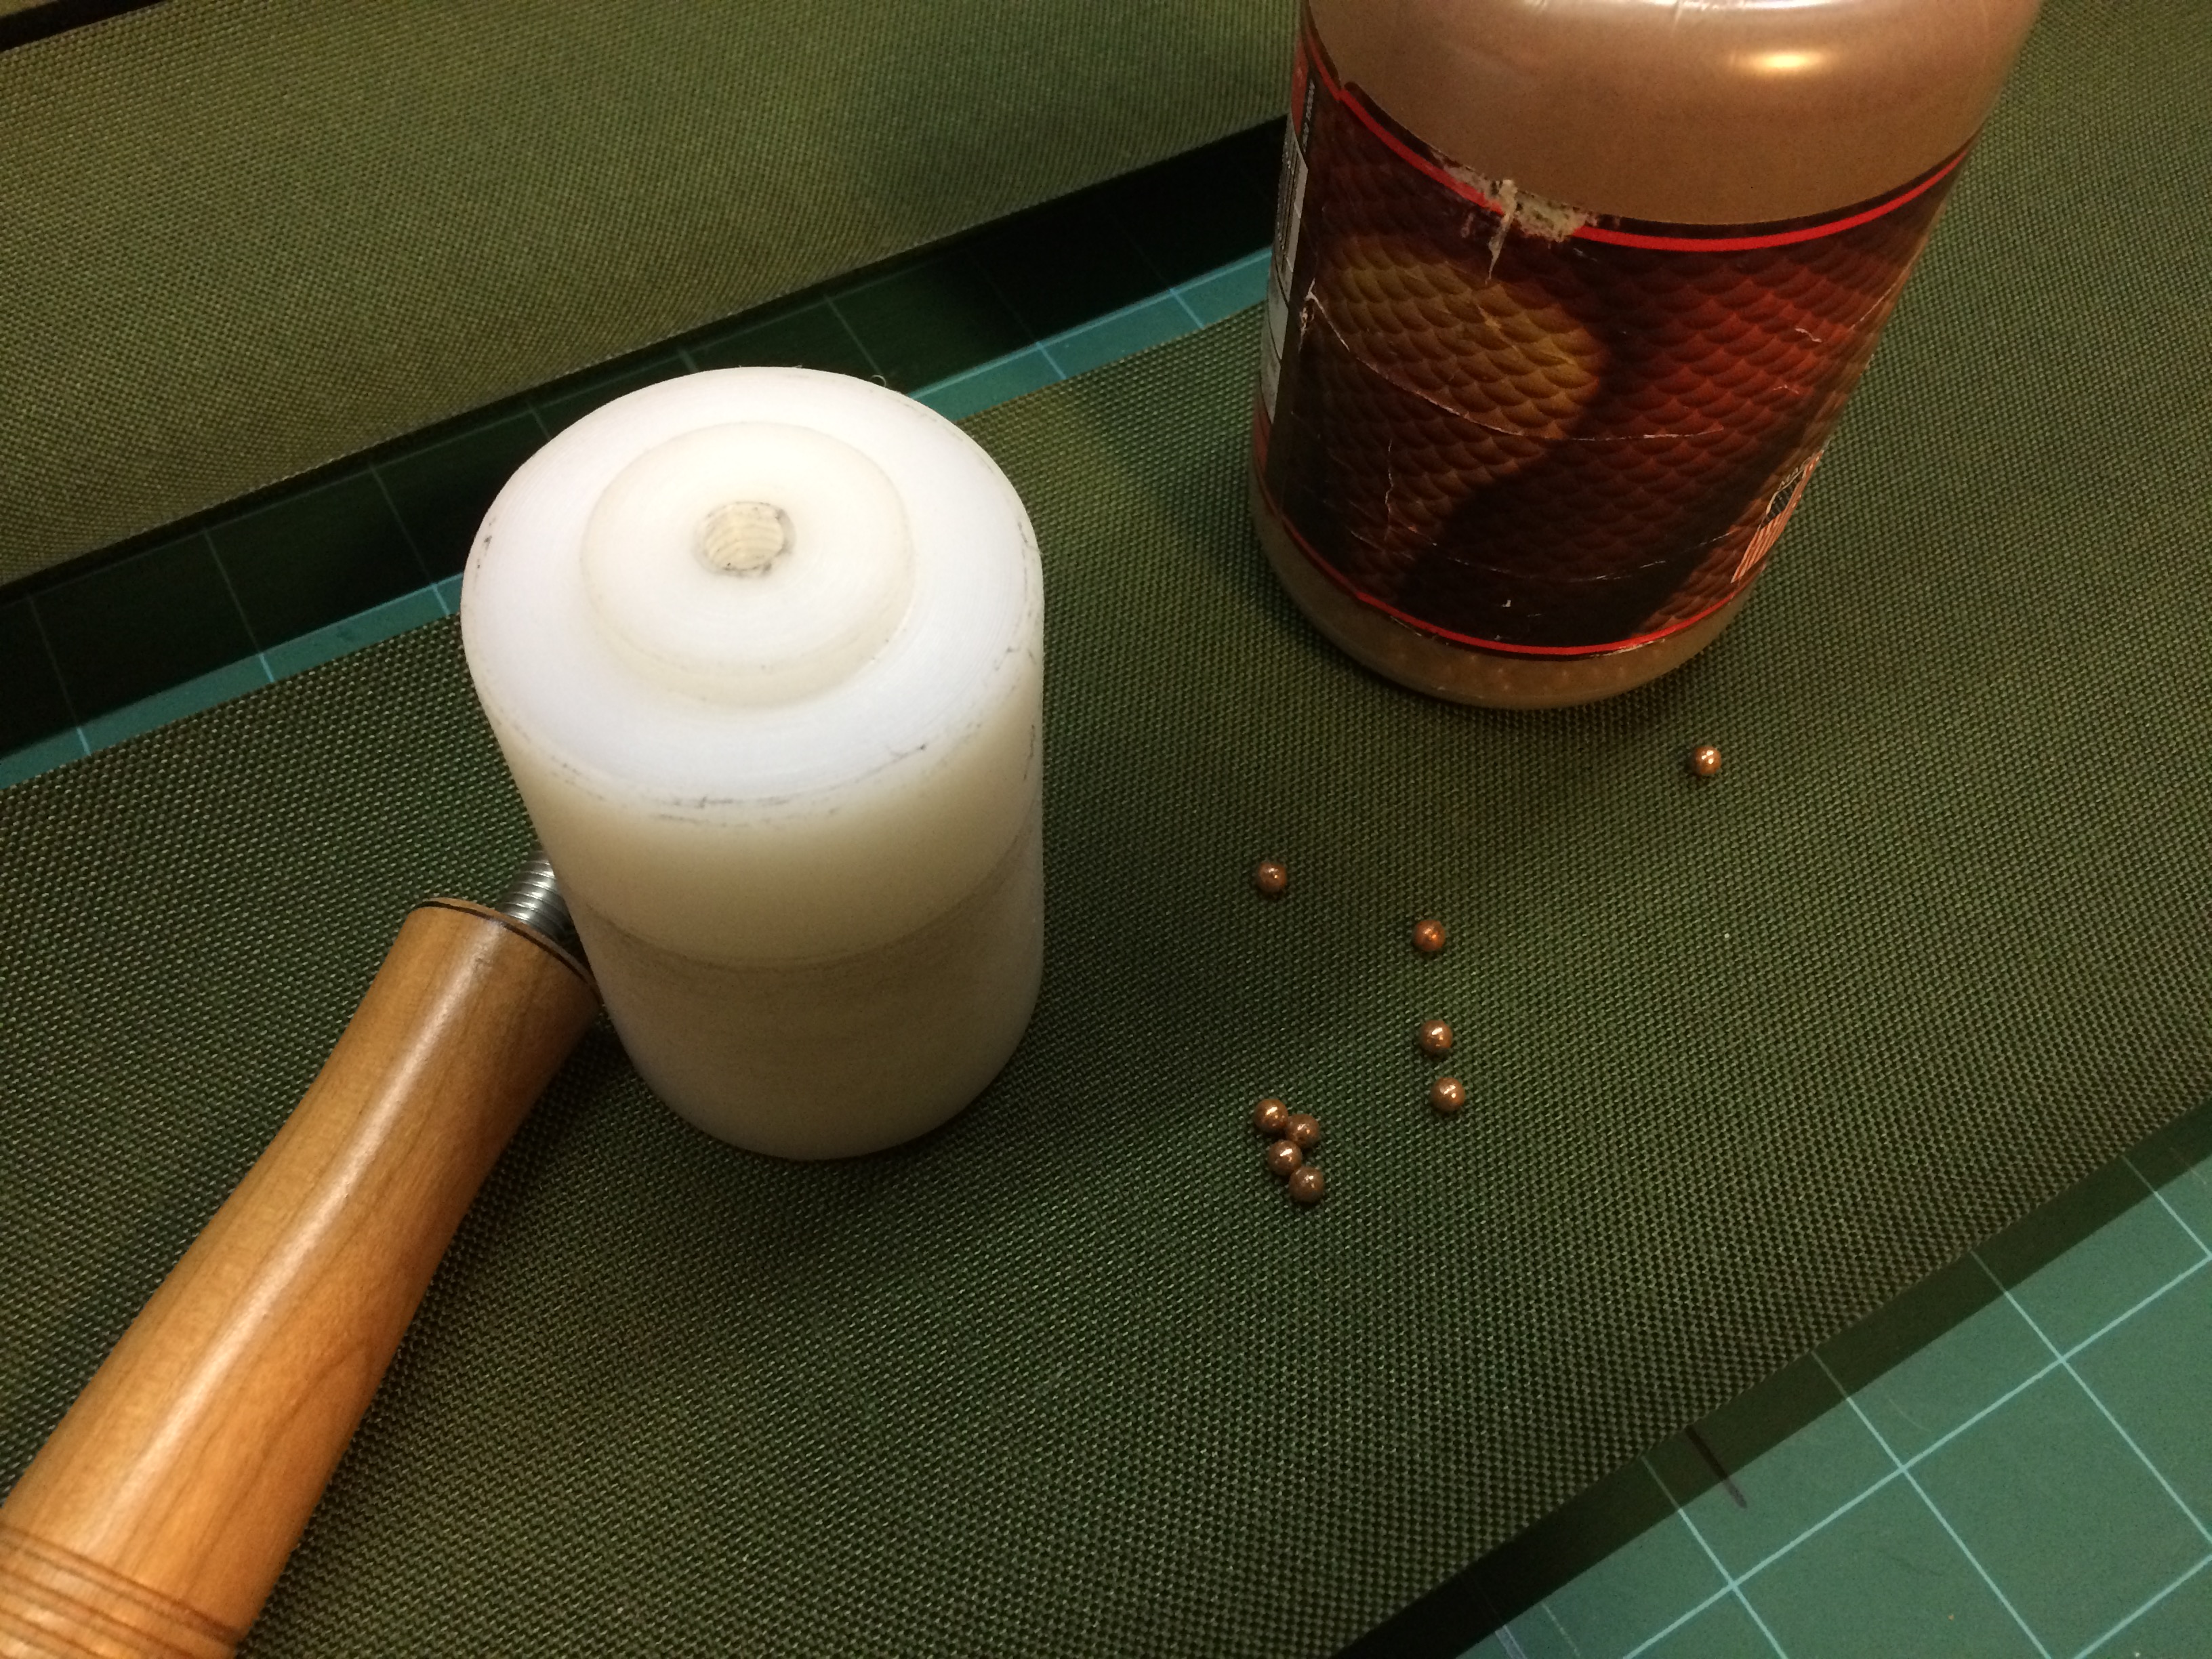
Now to fill it with .177 BBs. A bottle of these are so cheap, they make great ammo AND weights. Slowly but surely, the chamber fills up and there is a tiny rattle sound from the micro voids. Now you get it…it’s called the Death Rattle for a reason.
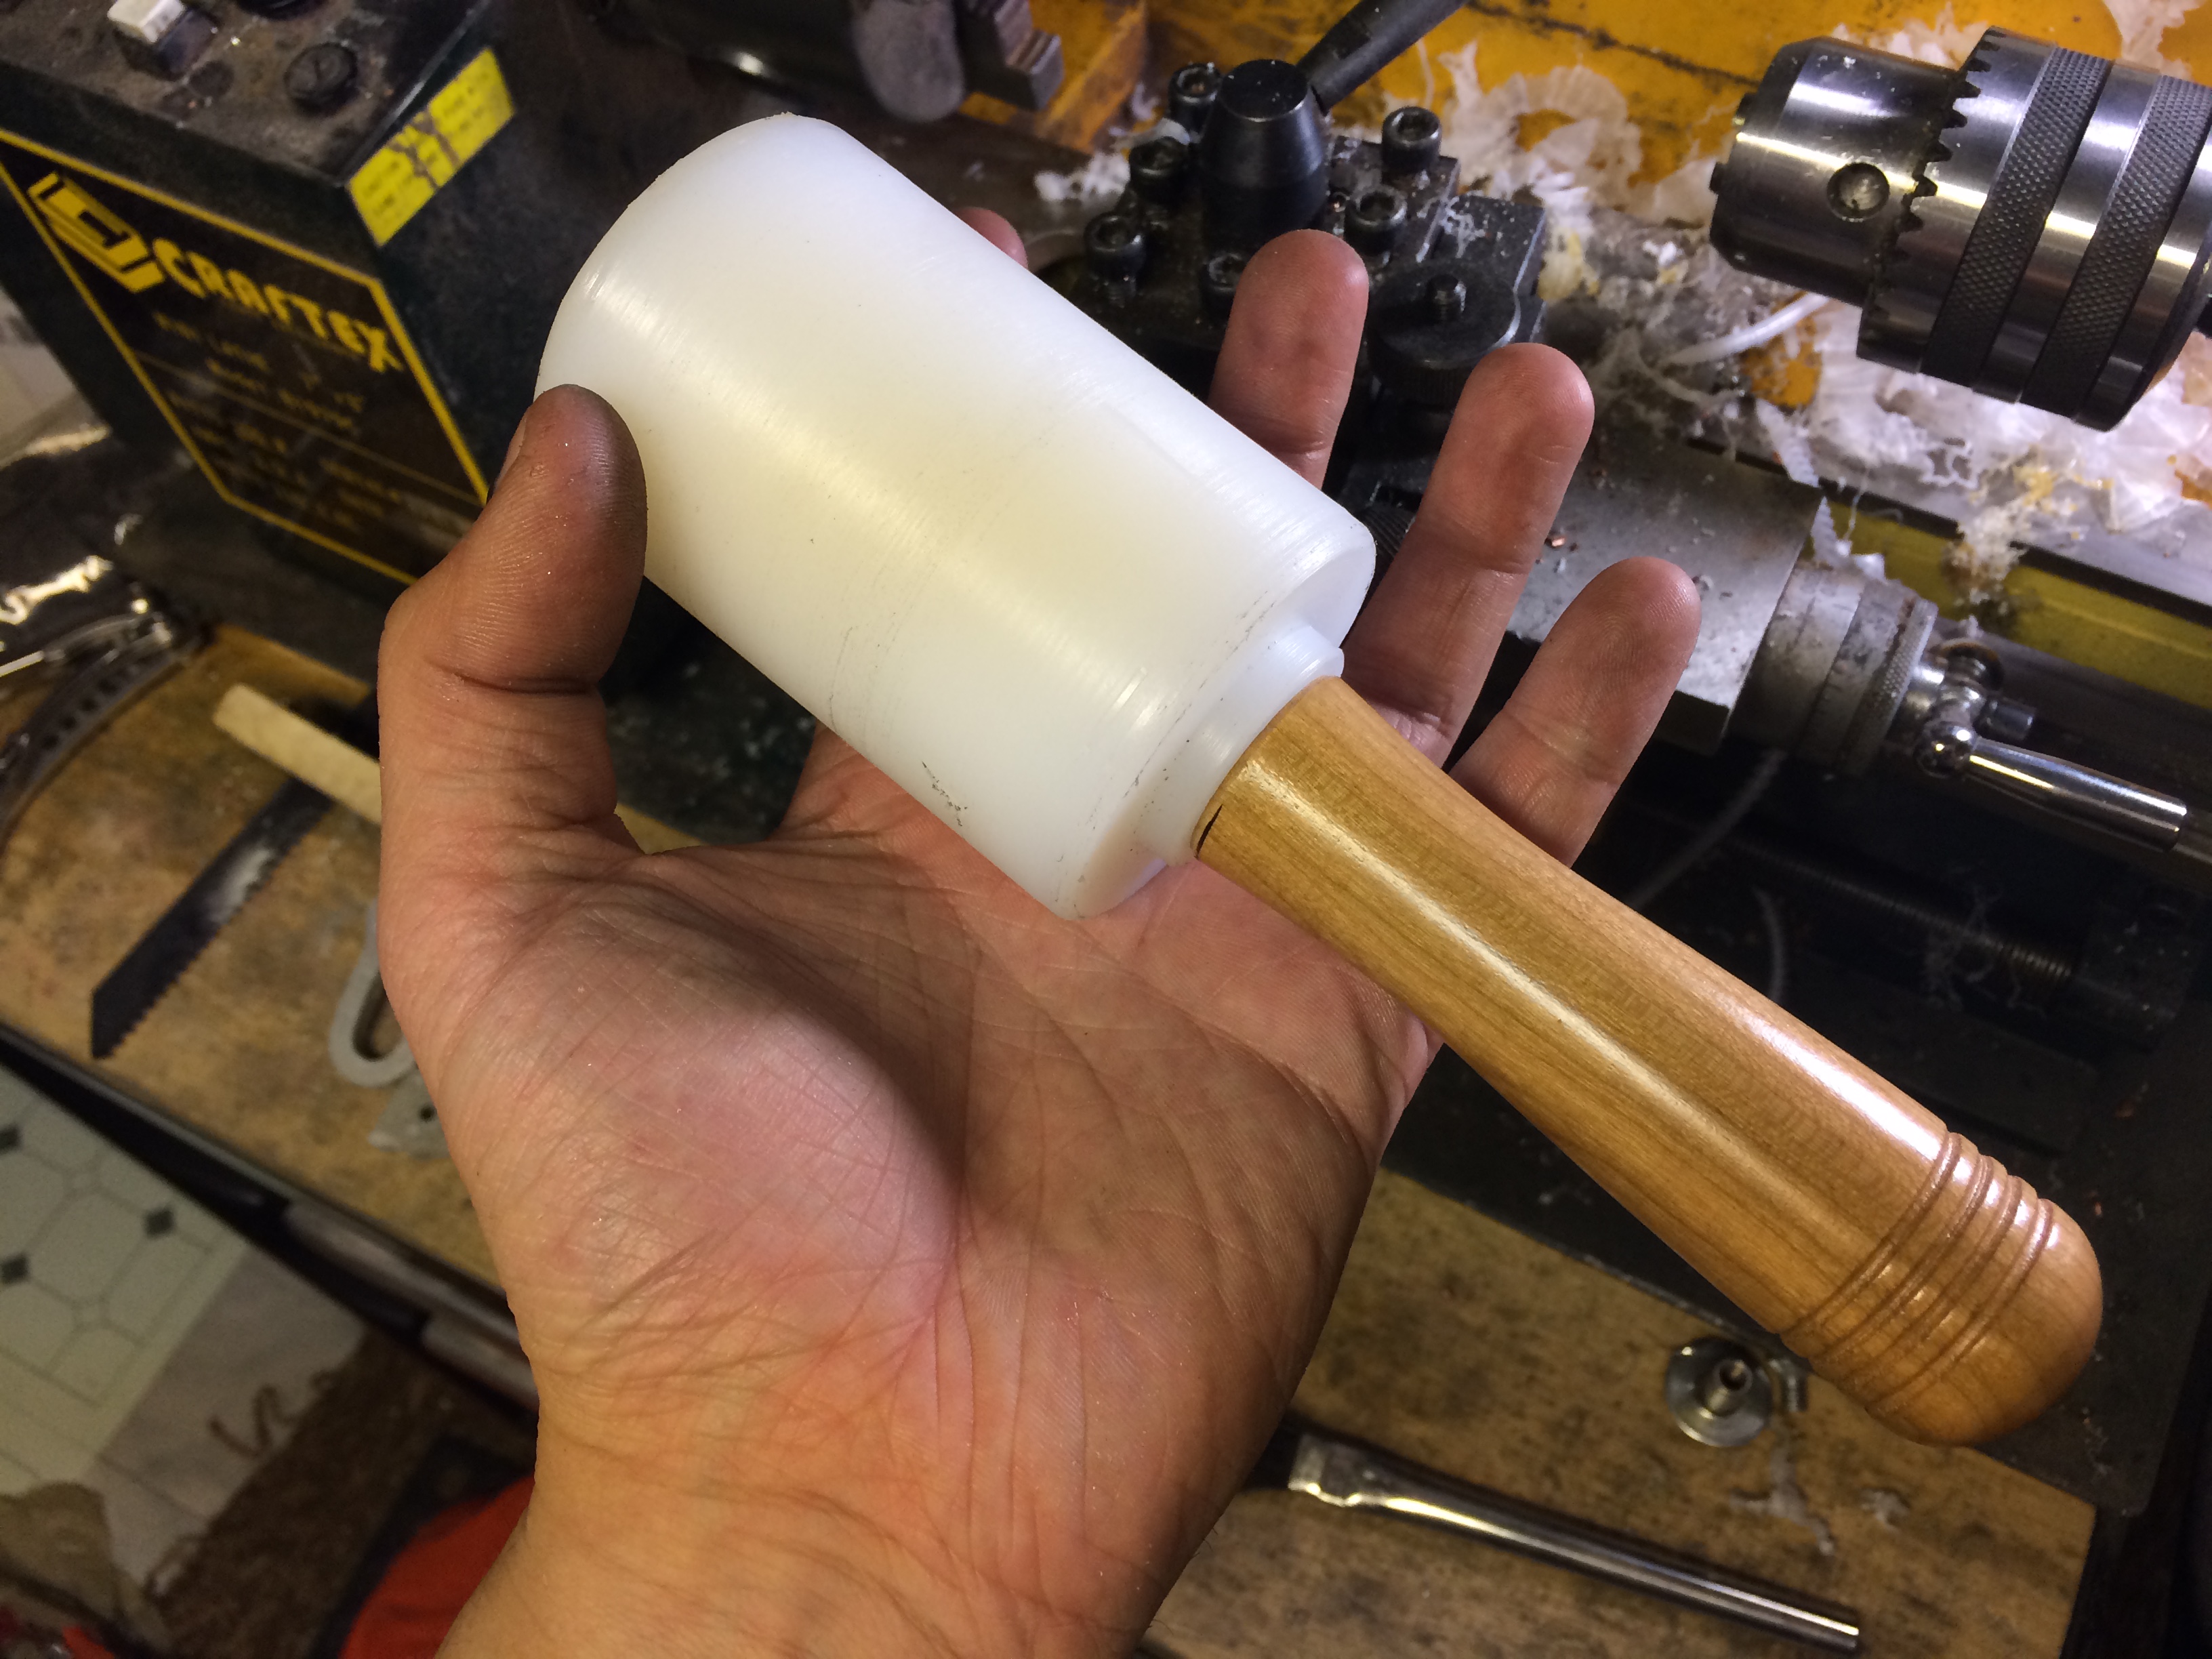
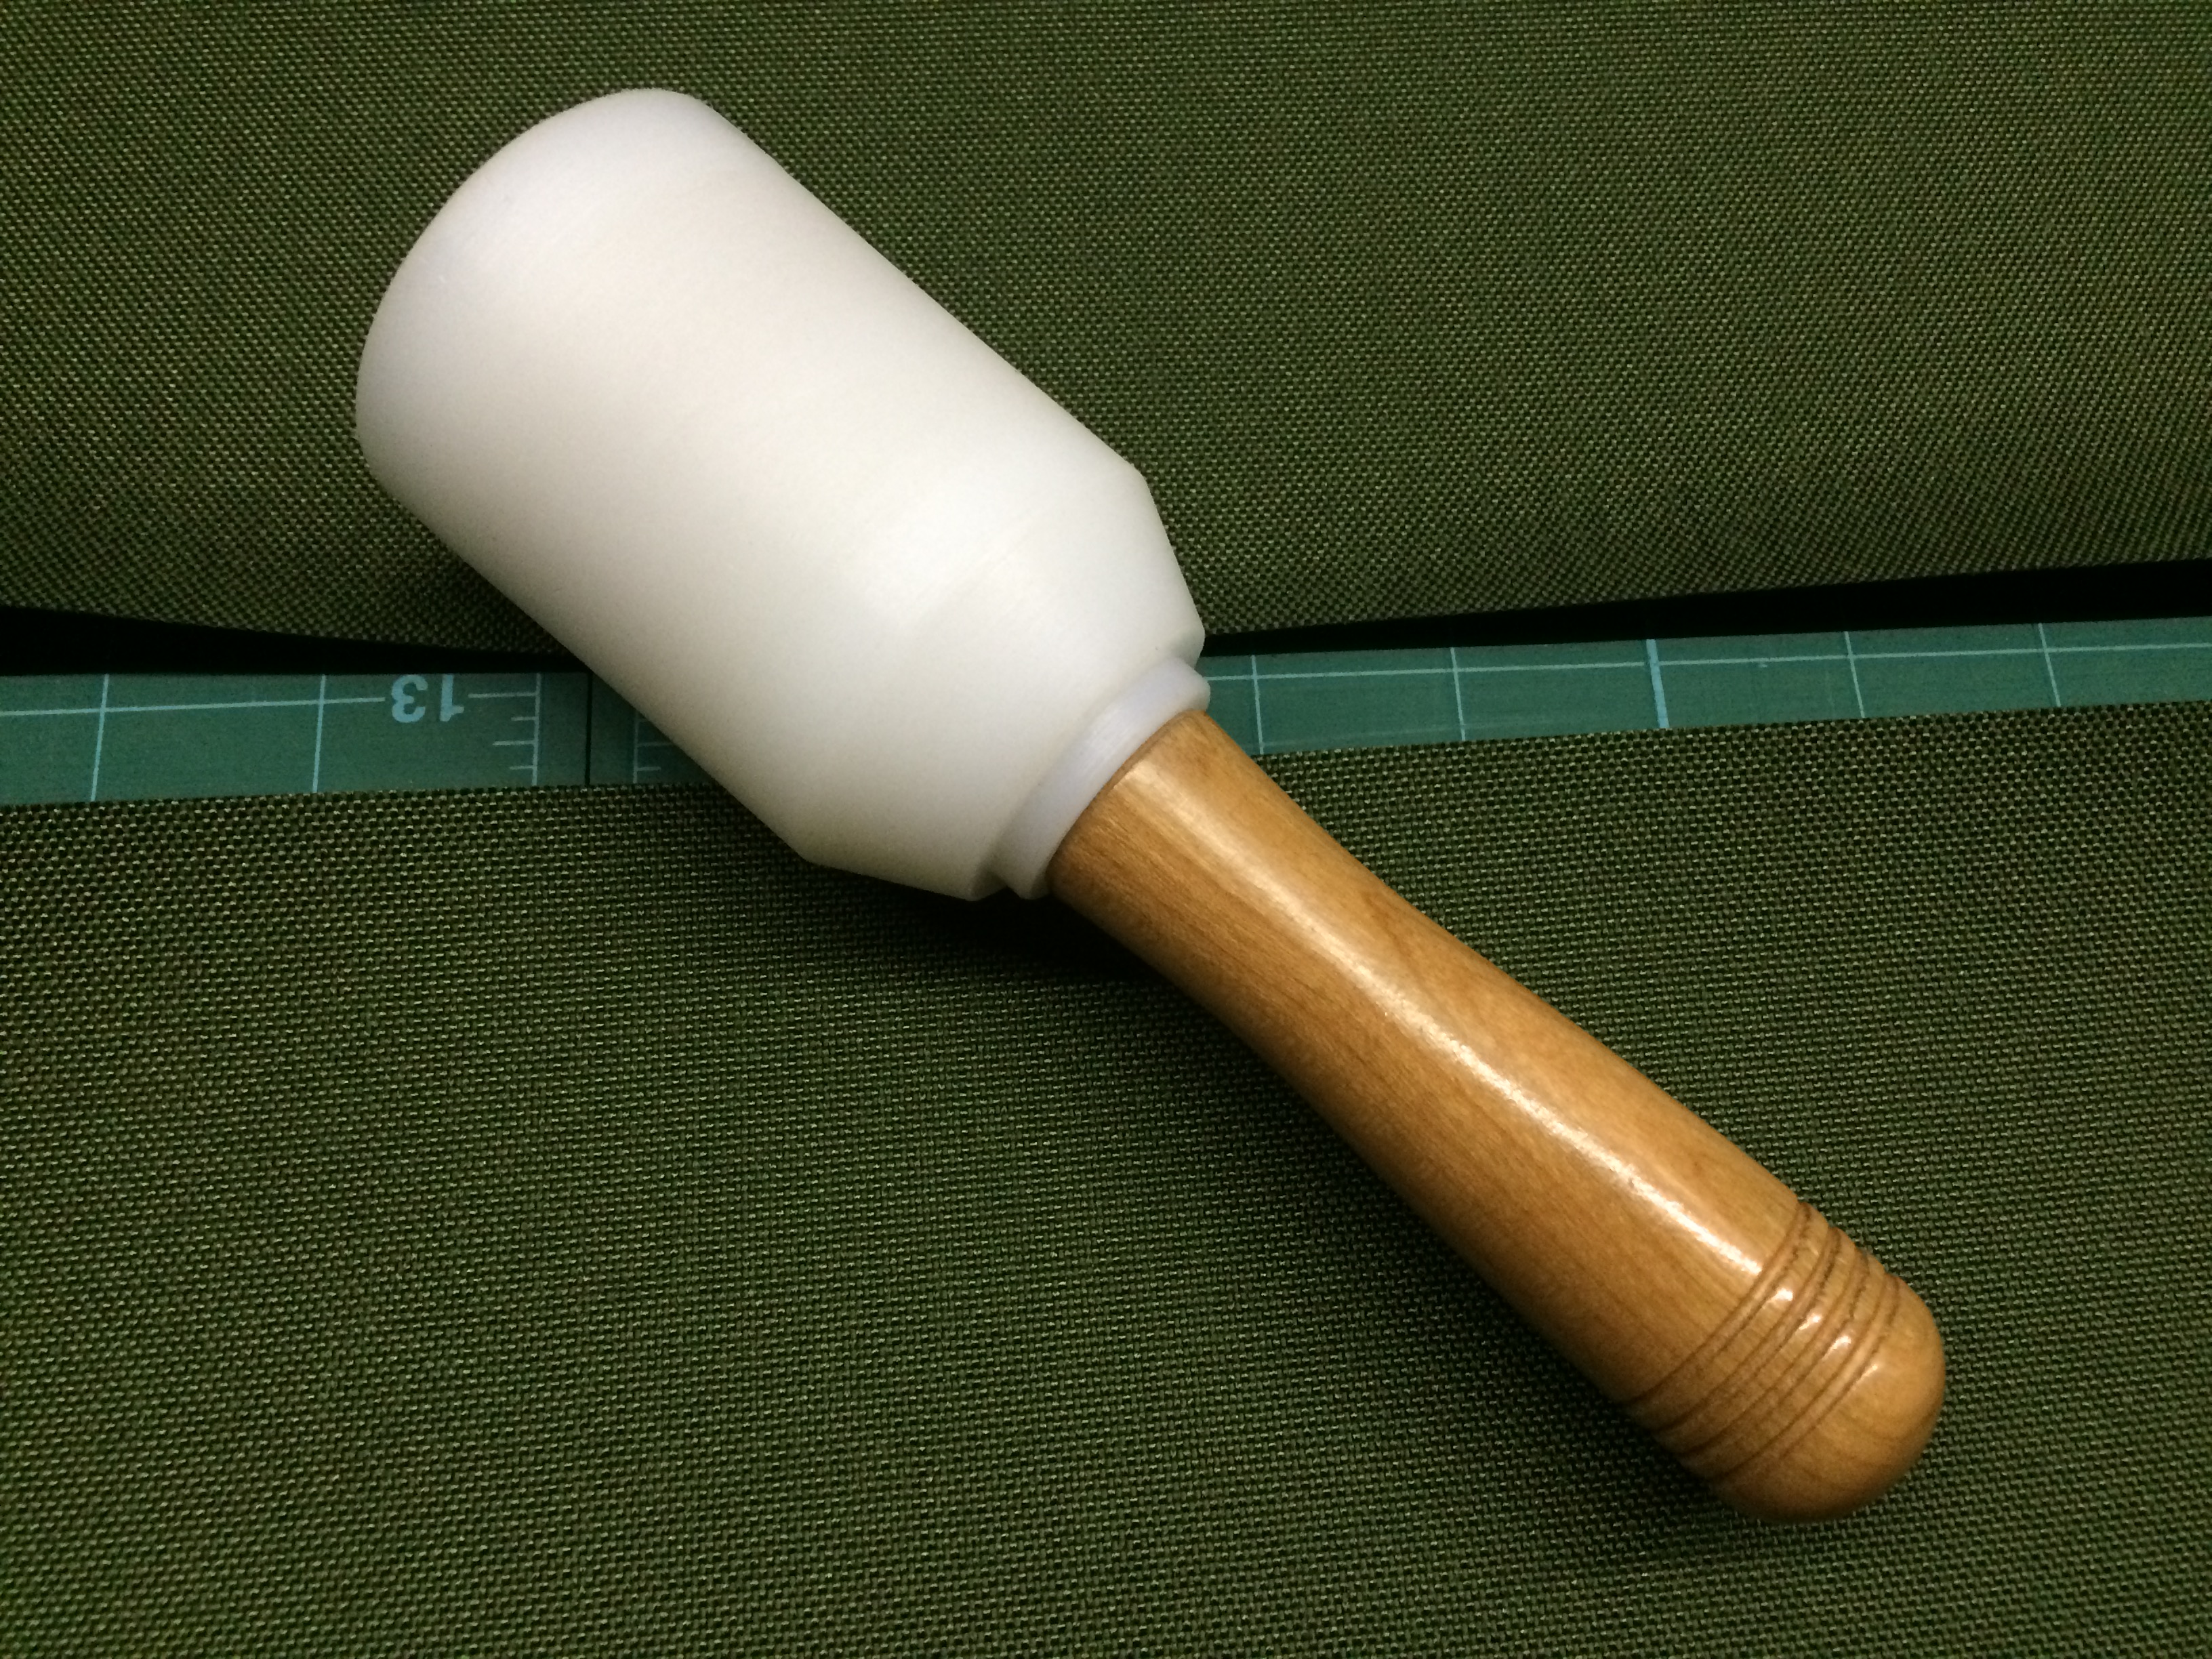
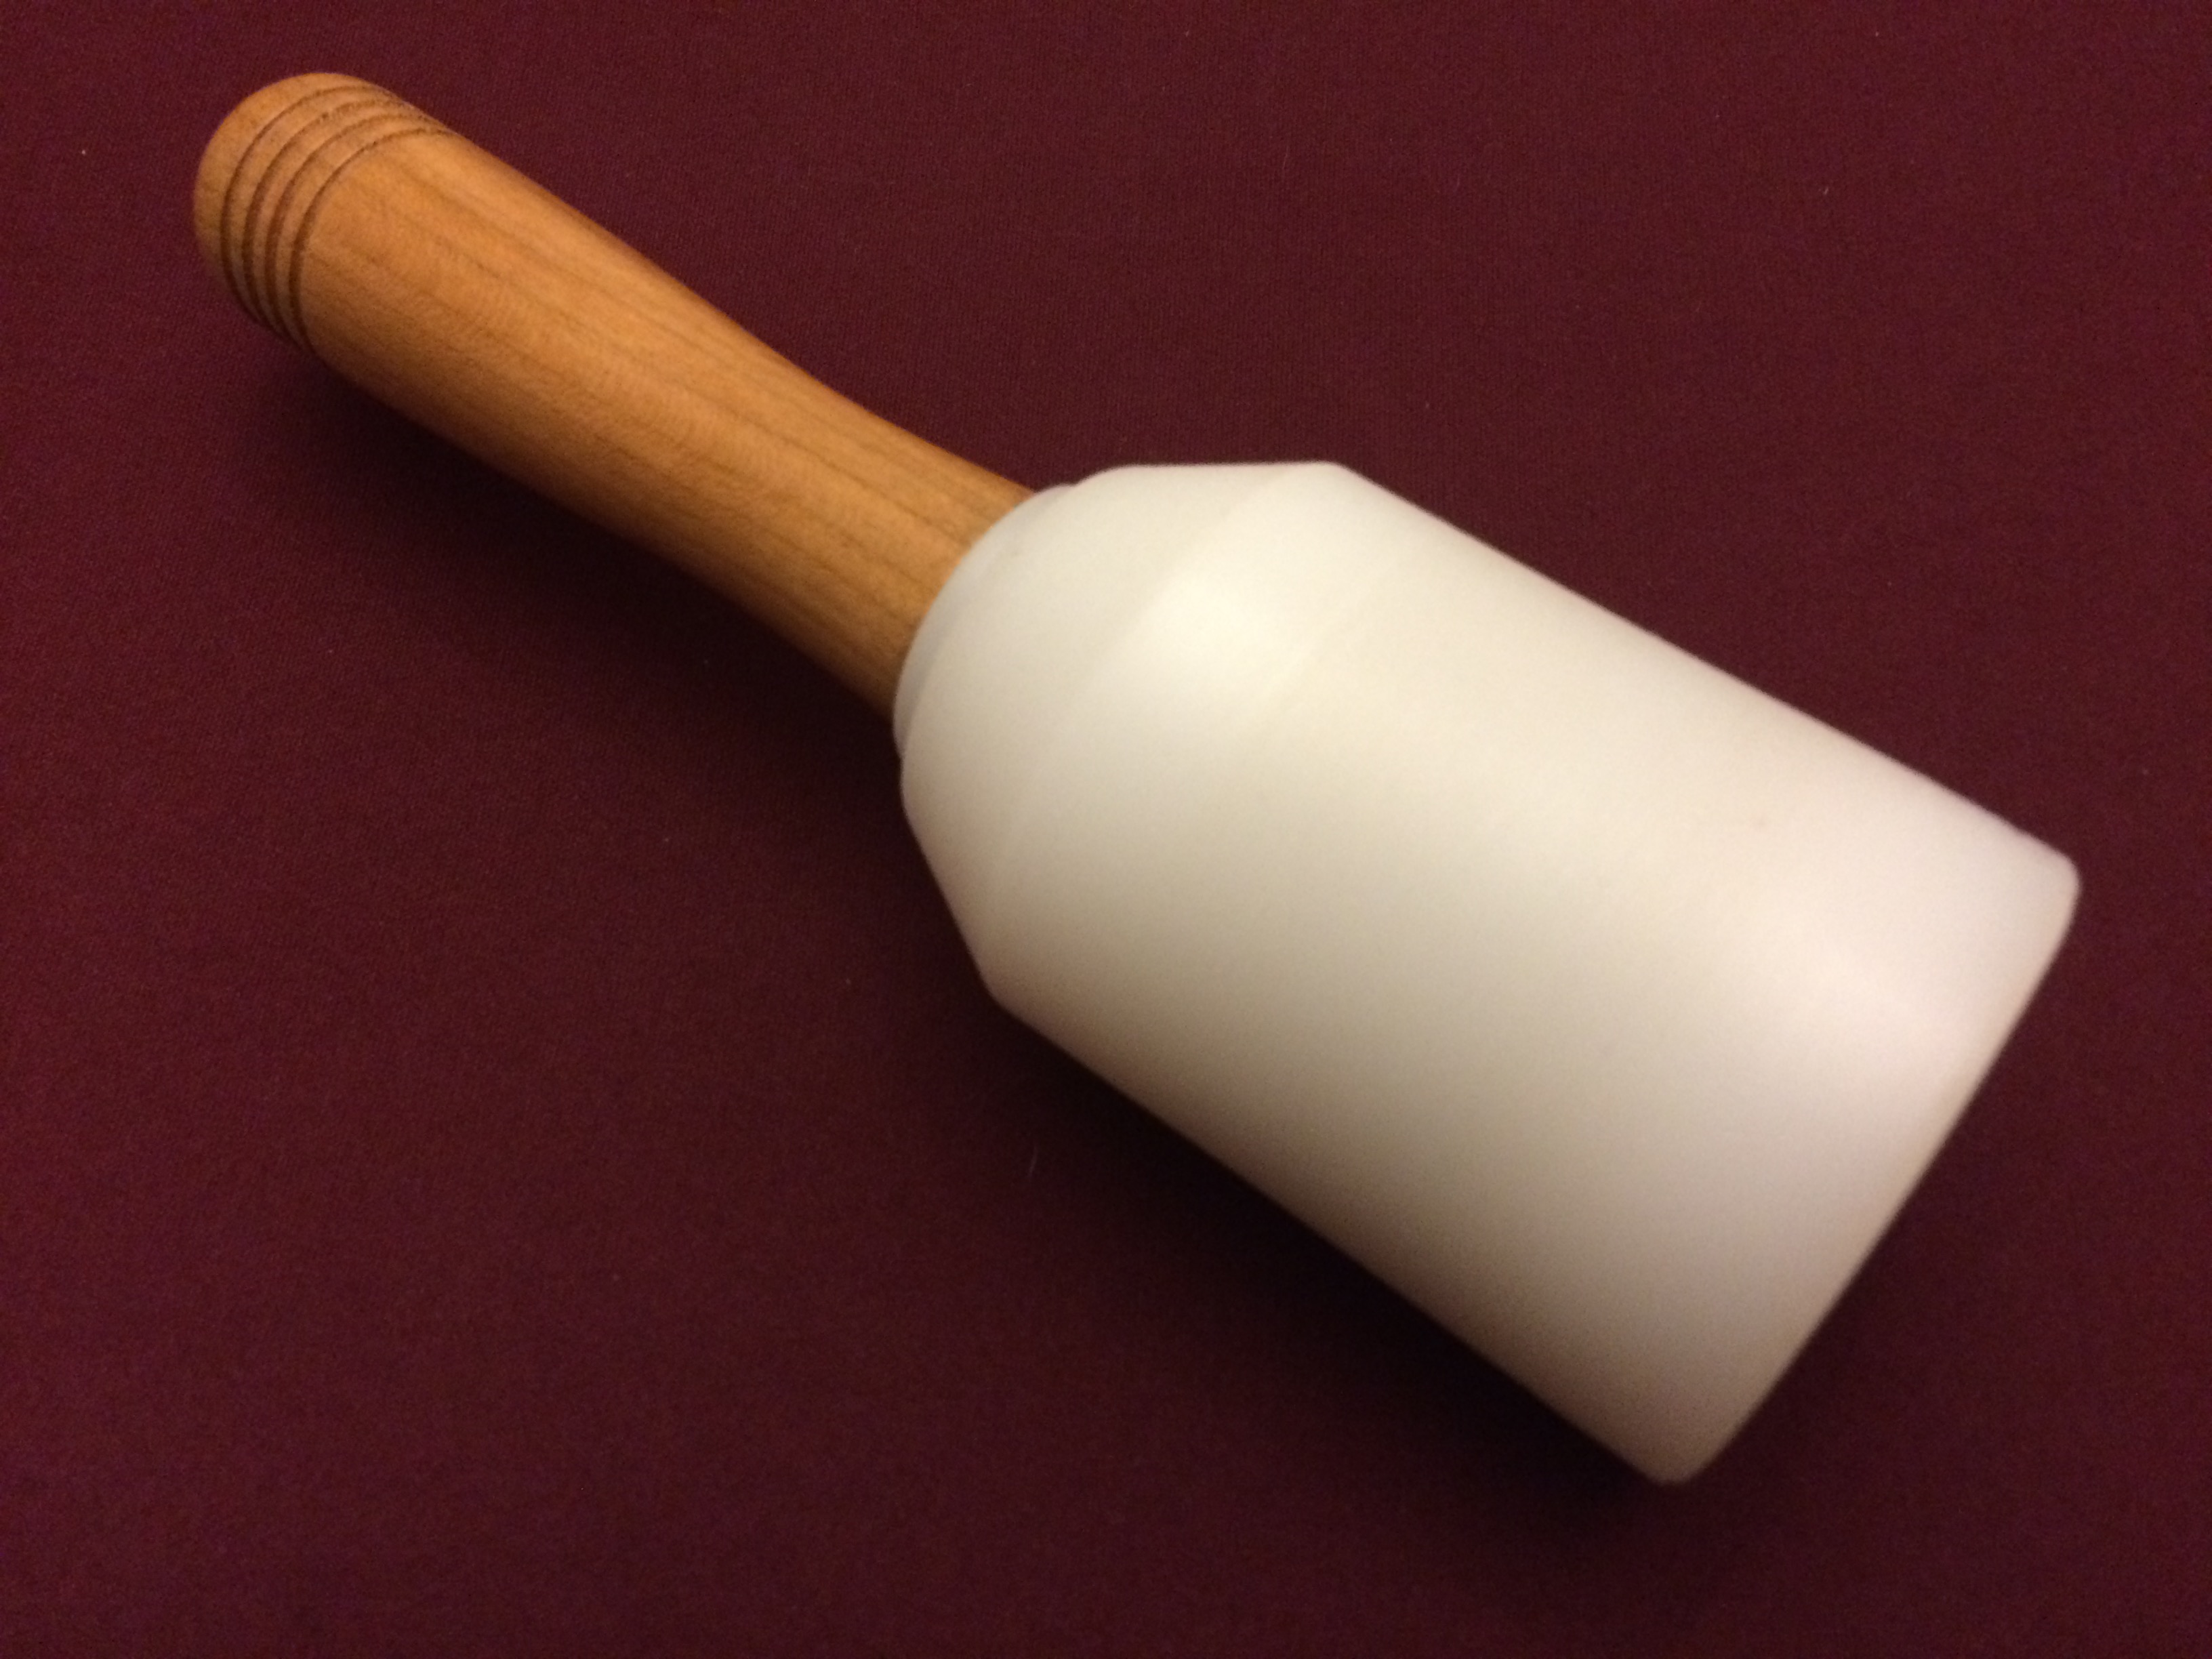
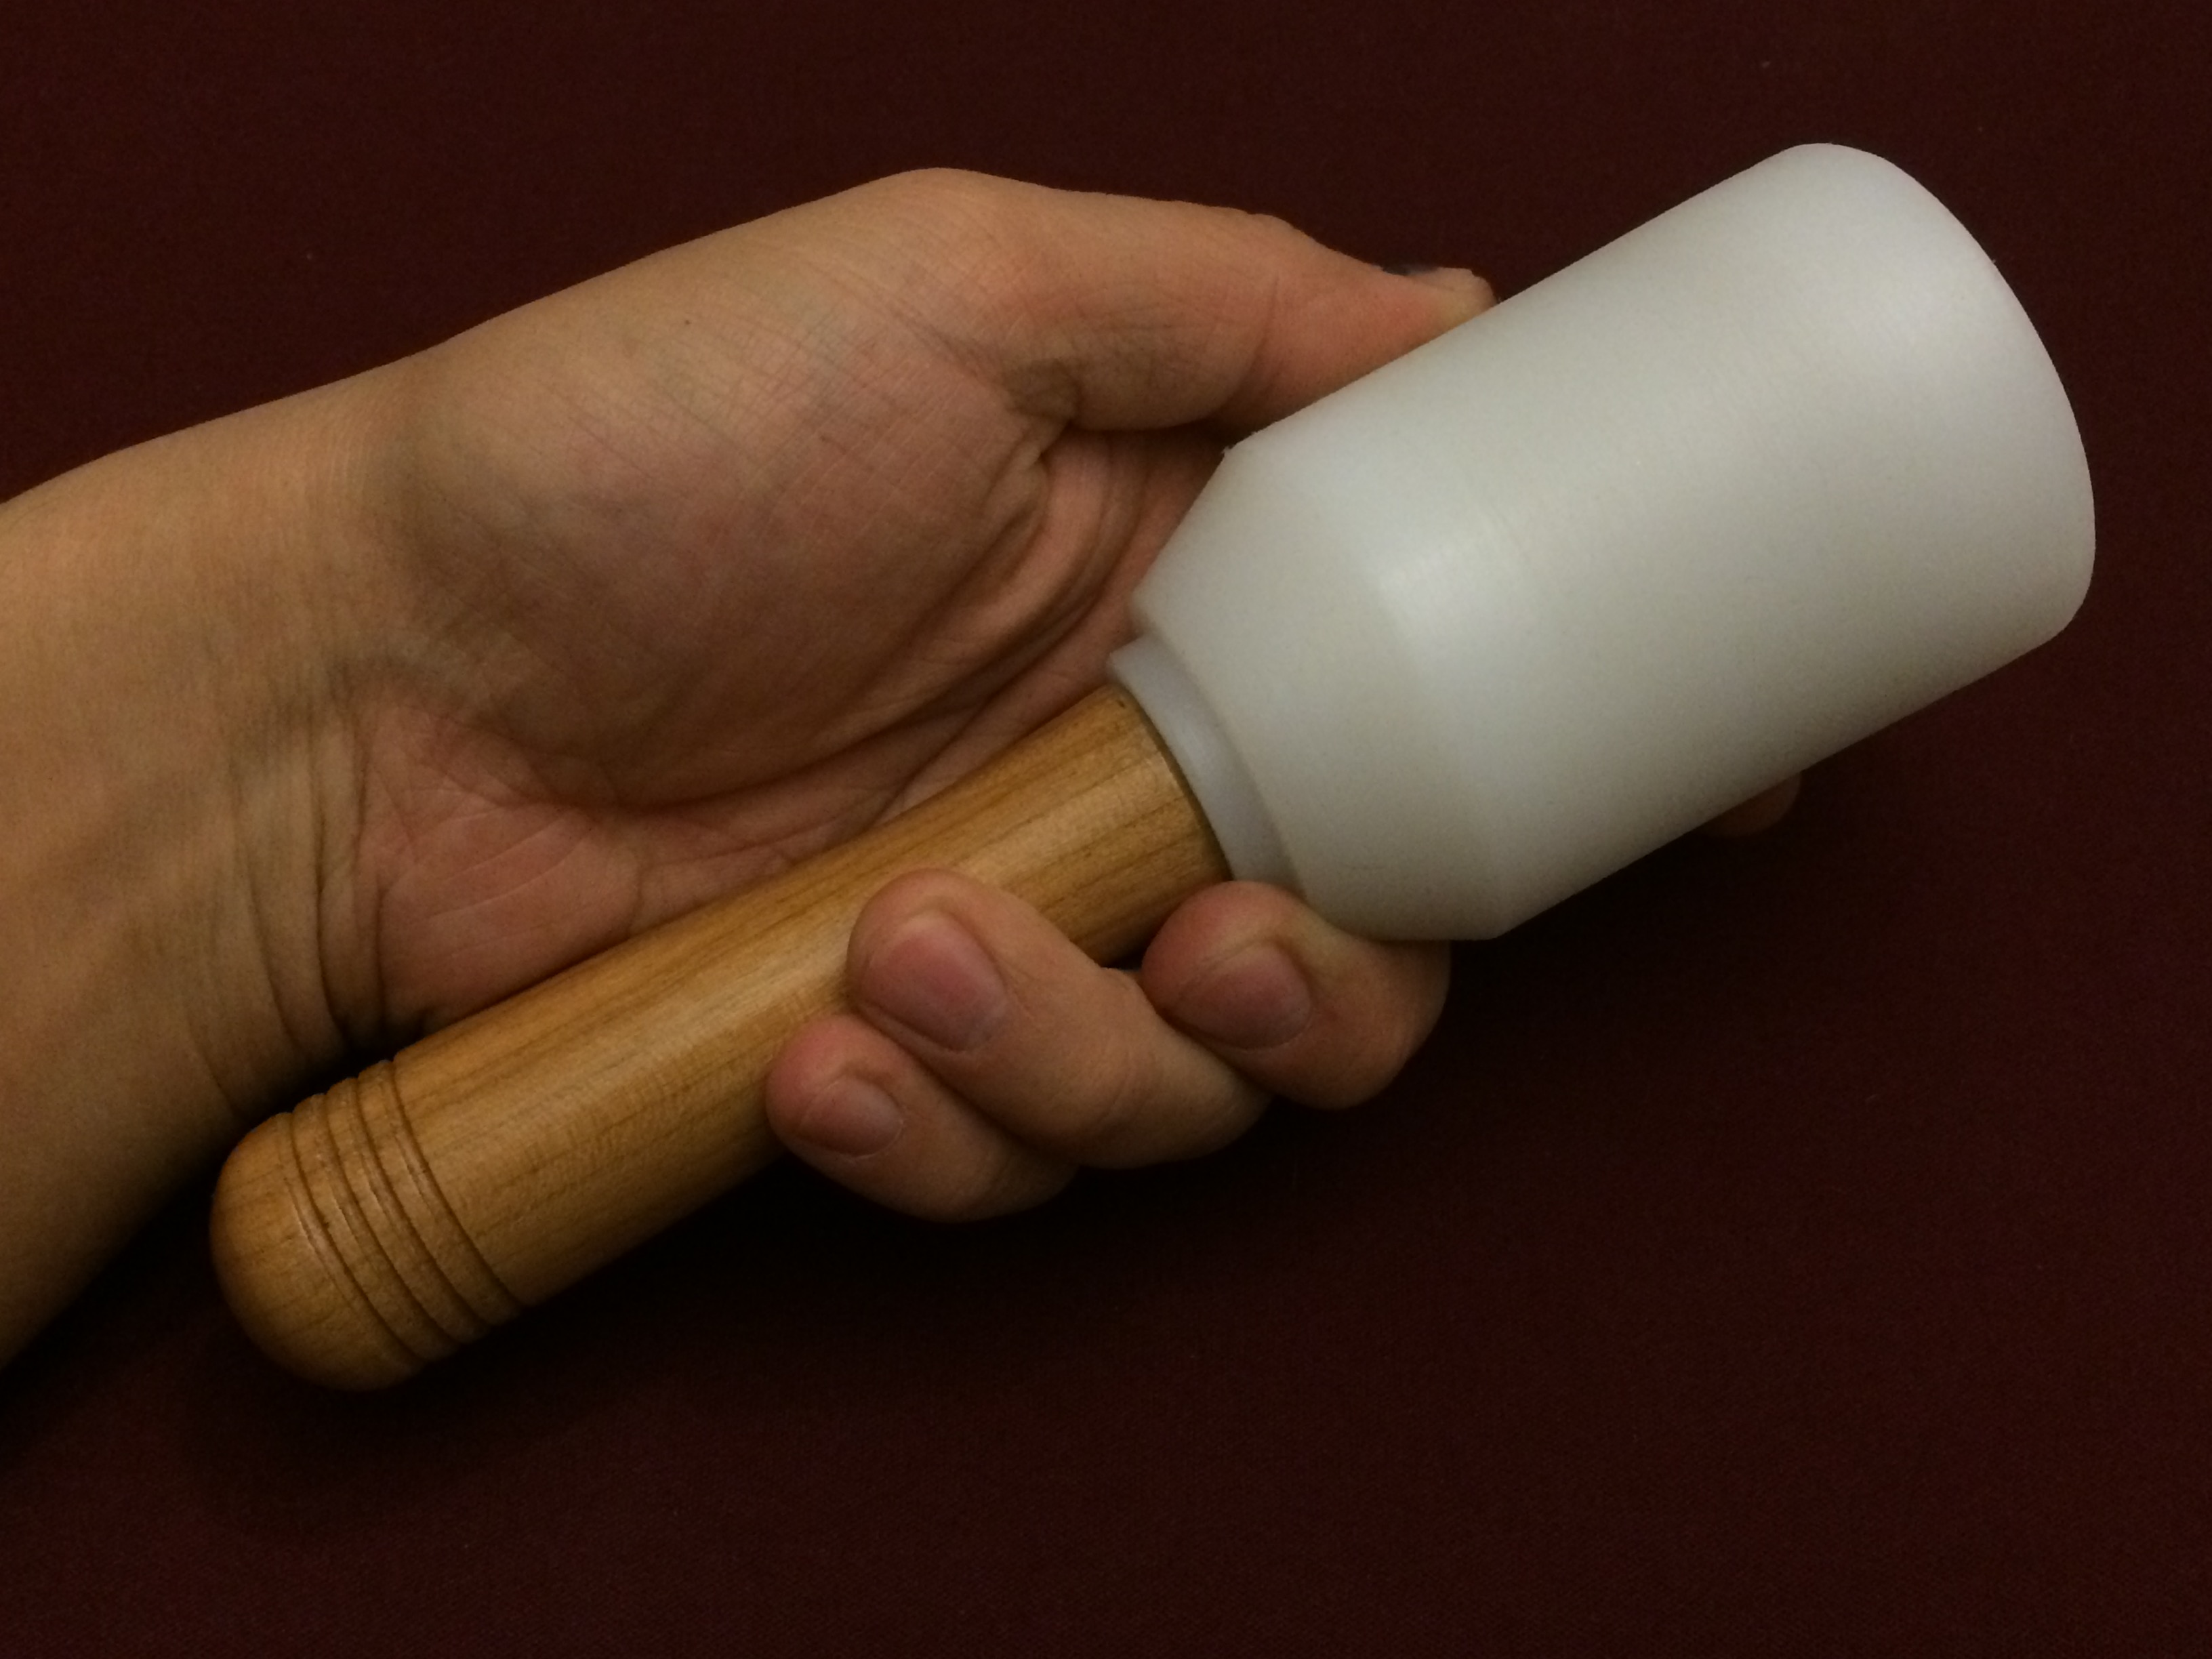
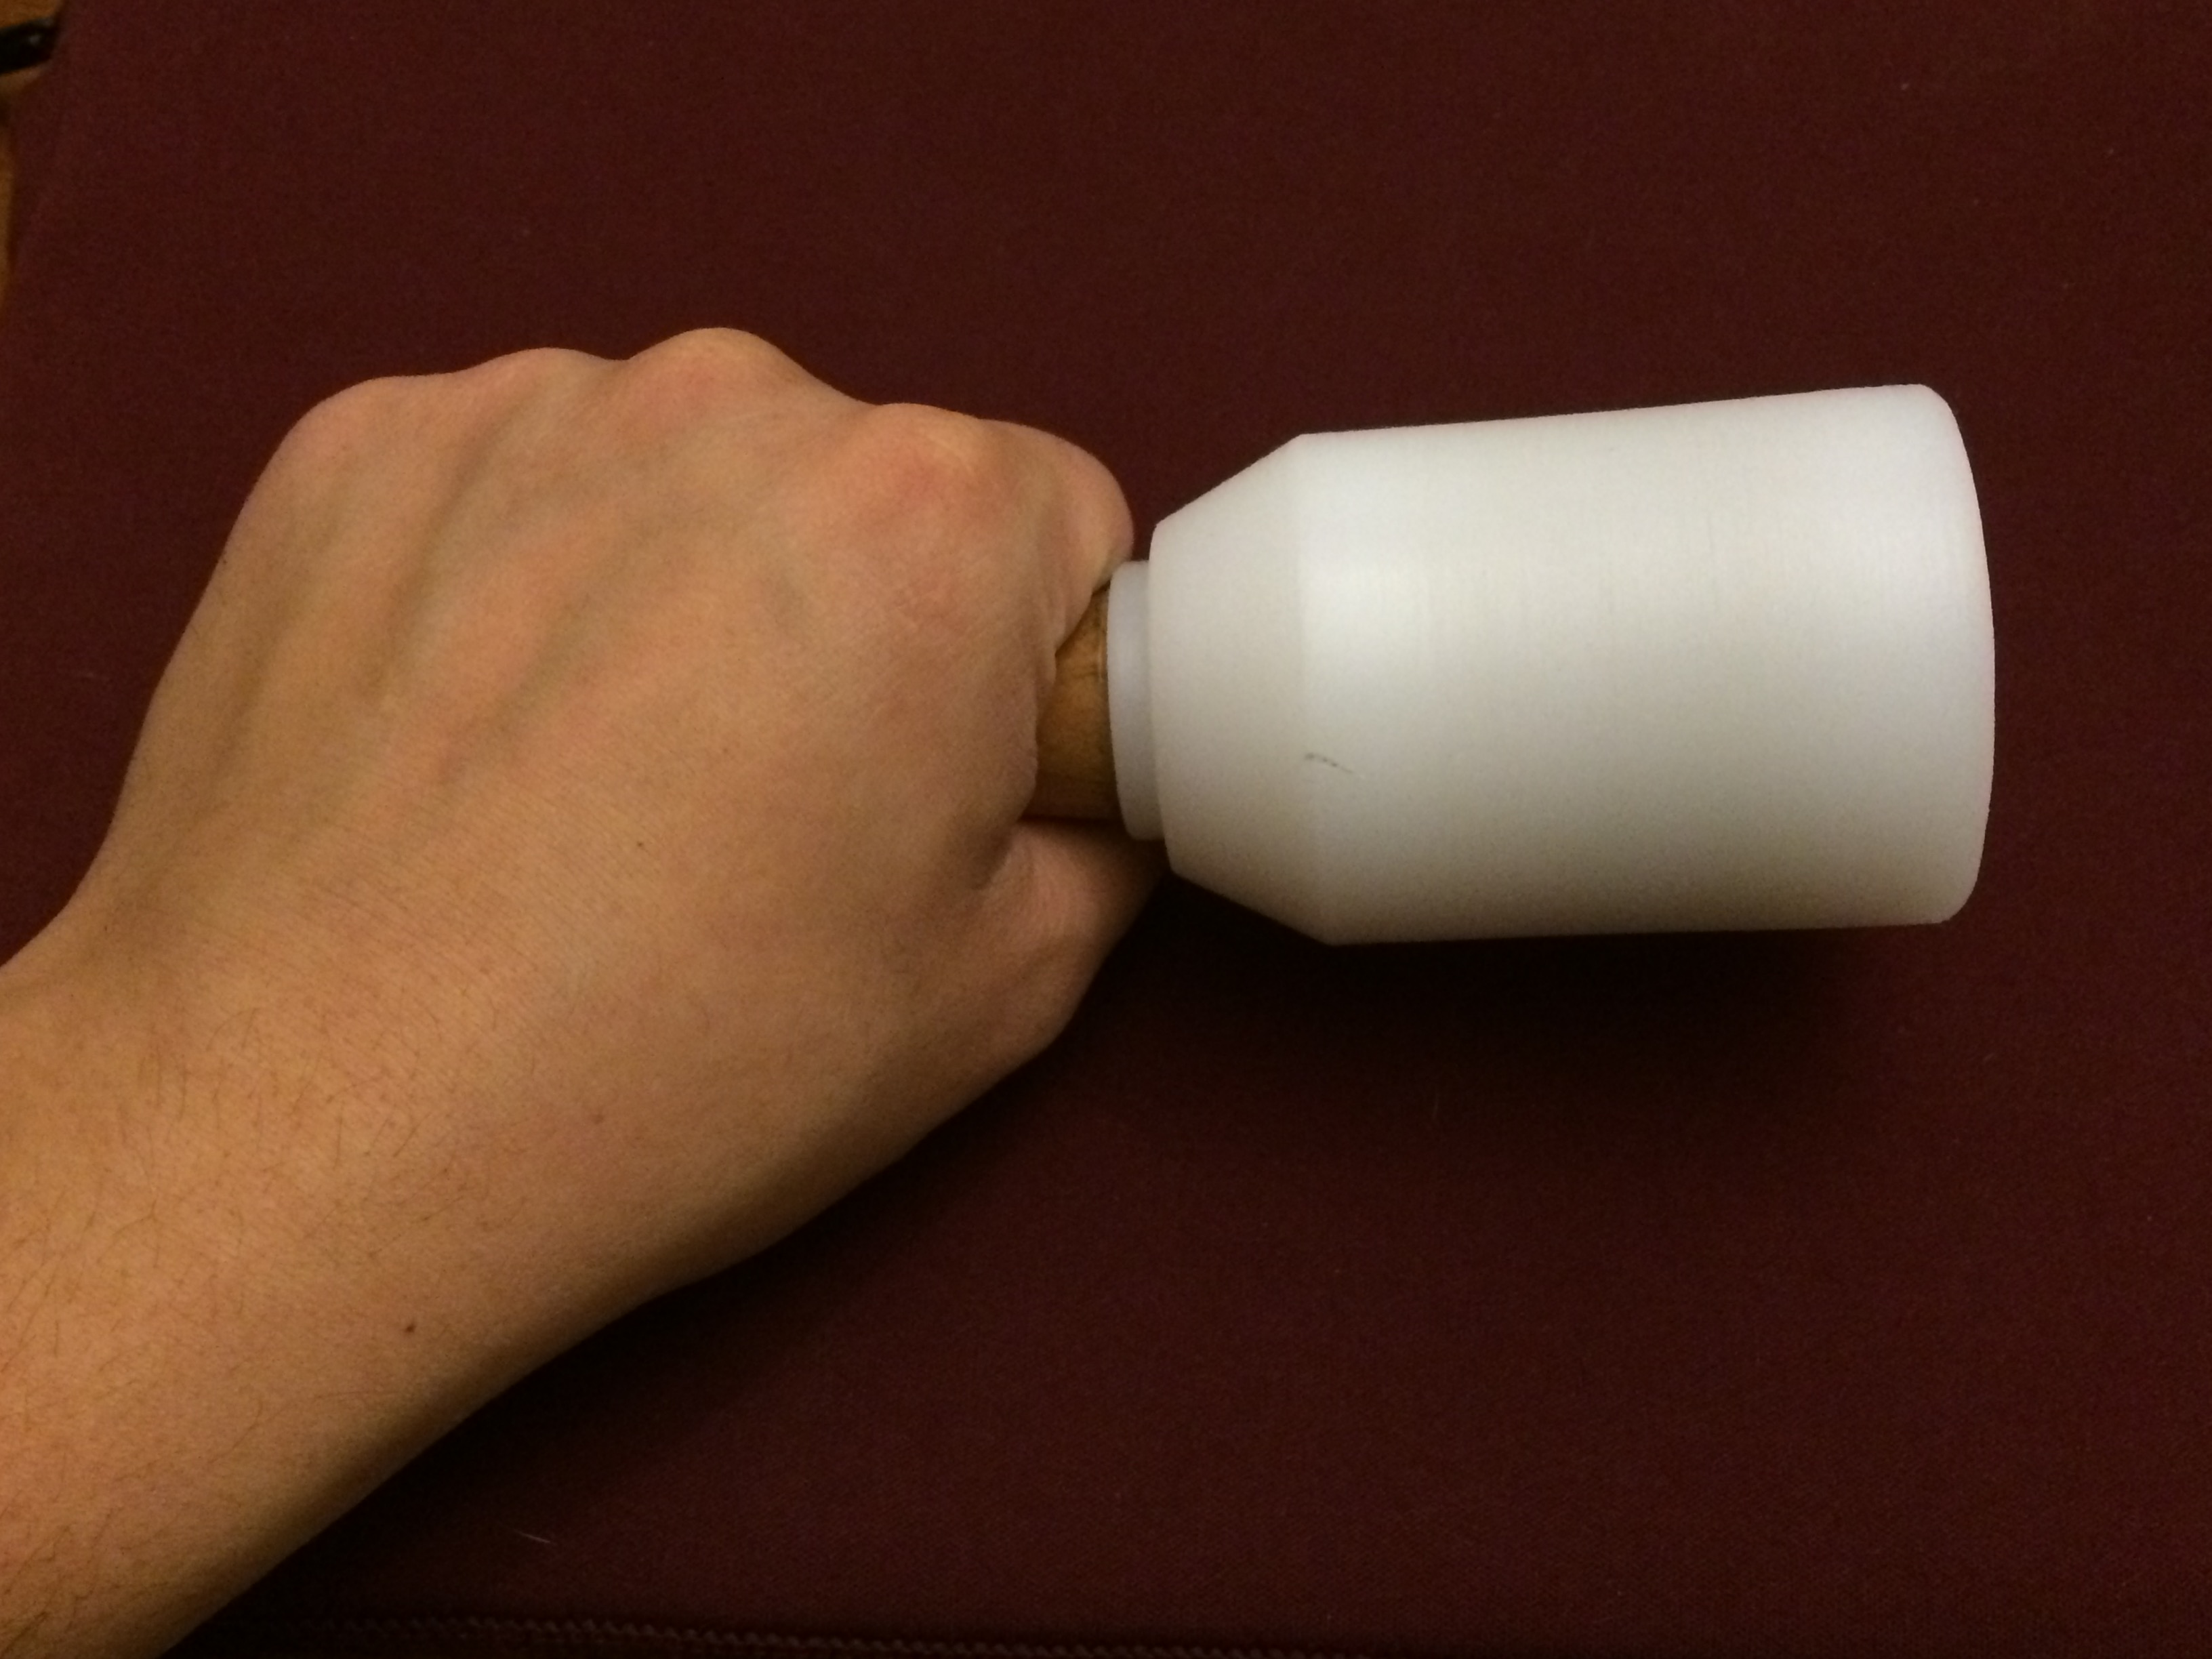
Once it was filled up, handle replaced onto it, the feeling wasn’t right. Then I remembered I was going to chamfer the bottom edge. So back on the lathe it went to receive a 30 degree bevel. Now I can choke up on the it if needed. The final weight is just over 10 ounces which makes it a weight to swing and hit a punch without much effort.
—
I may revisit the handle and give it a nice end cap detail. I also may add a eye bolt on the end of the handle to hang this up on a peg, but for now, she’s serviceable and ready to smack some tools!

Thanks for reading once again and don’t forget…Christmas isn’t that far away.
-Stay True-
-Eric