http://czechinthekitchen.com/2021/09/01/ahhh-its-september-how-the-hell-did-that-just-happen/amp/ It was time to try something new, something exciting, something….with moving parts. Slingshots aren’t known for moving parts, but it was time to try it out. Rotating fork tips aren’t something I came up with but I did want to take a stab at it and try to make a deadly accurate BB shooter.
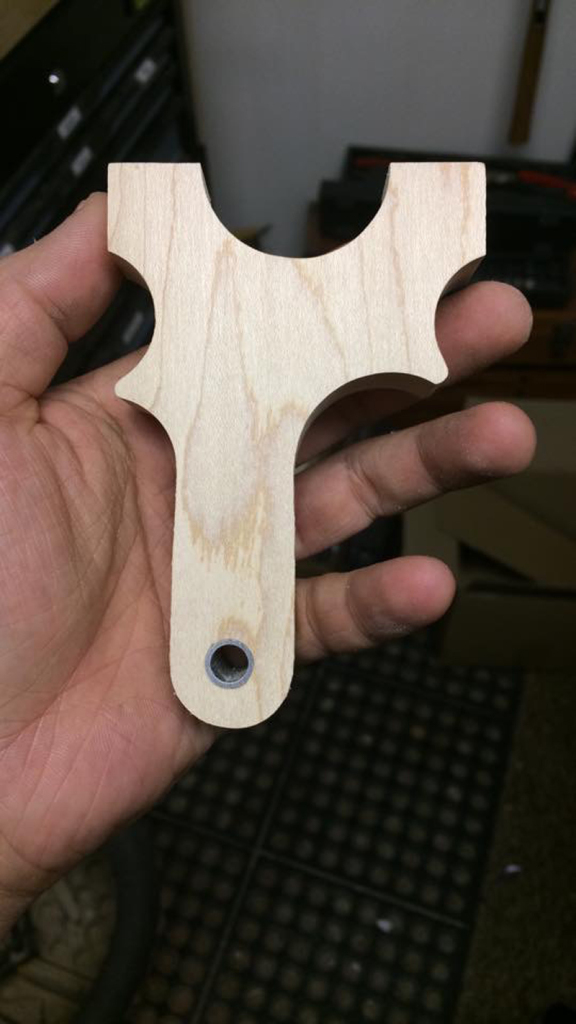
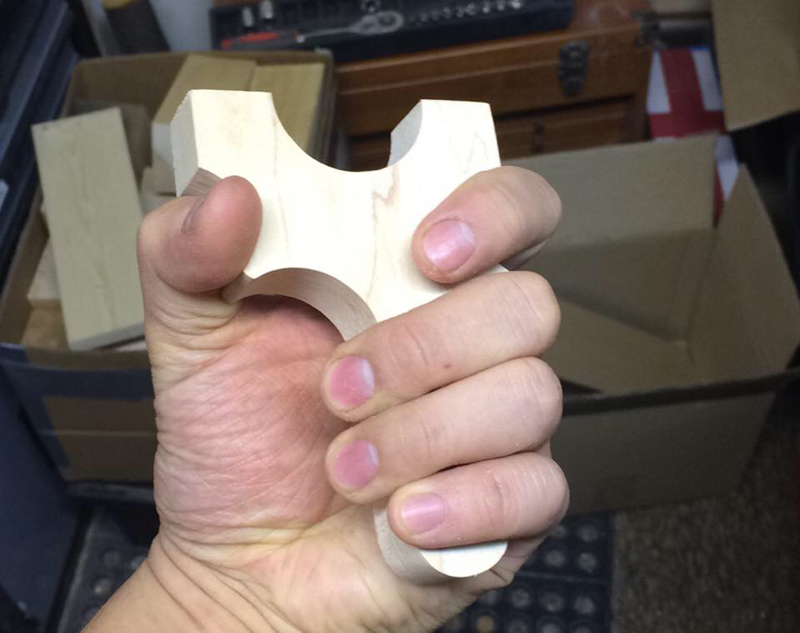
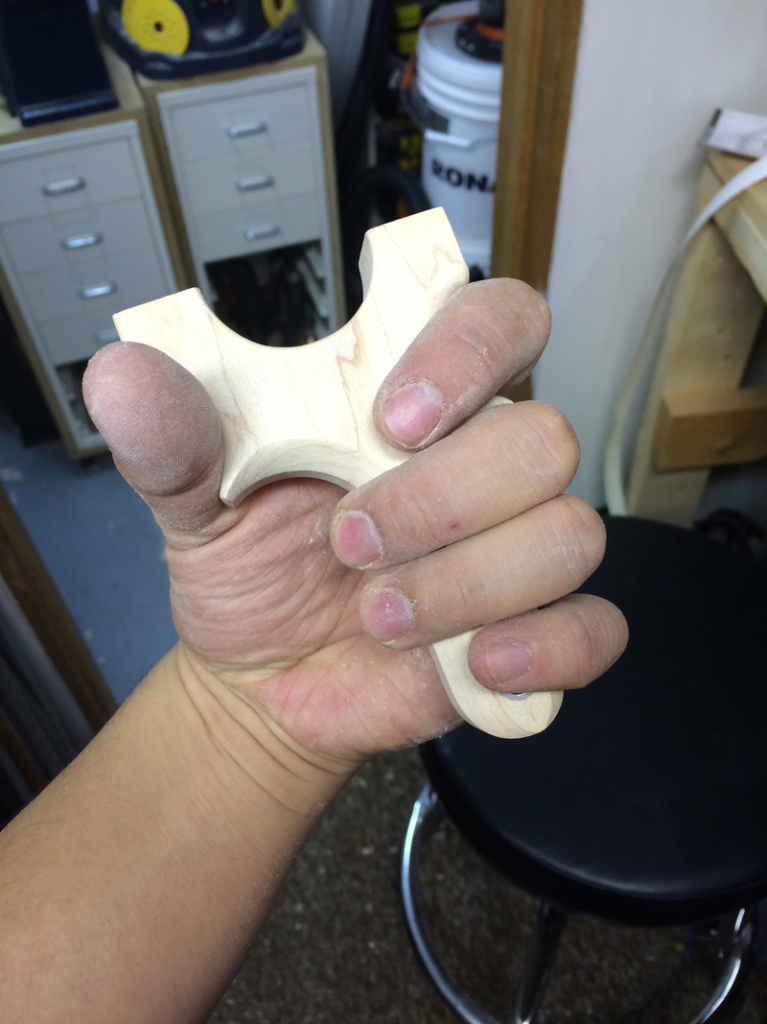
I started by designing a shape that is a smaller frame than usual. A pinch grip style with some beefy fork tips. This would be cut from 3/4″ maple so I knew it wouldn’t be a problem for structural integrity. The plan is to drill a hole straight down into the fork tips, tap it when a thread and screw in some machined sleeves.
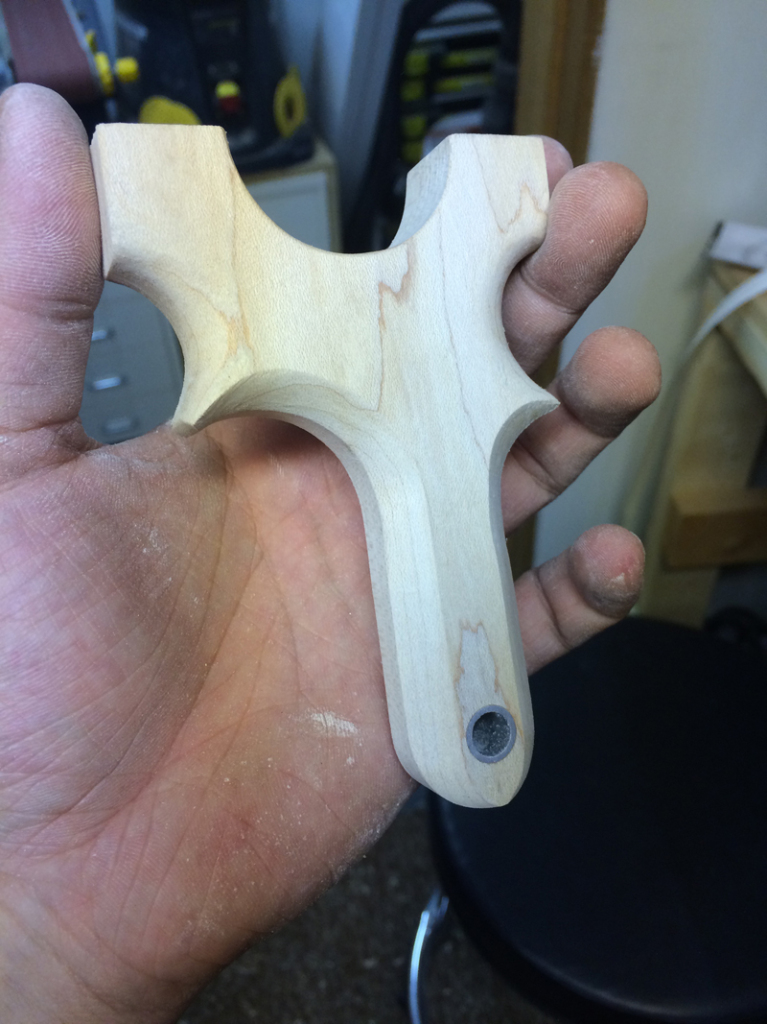
After transferring the pattern onto a 3″ wide board of maple, it was cut out and sanded to the profile. A 1/2″ aluminum lanyard hole was epoxied into place.
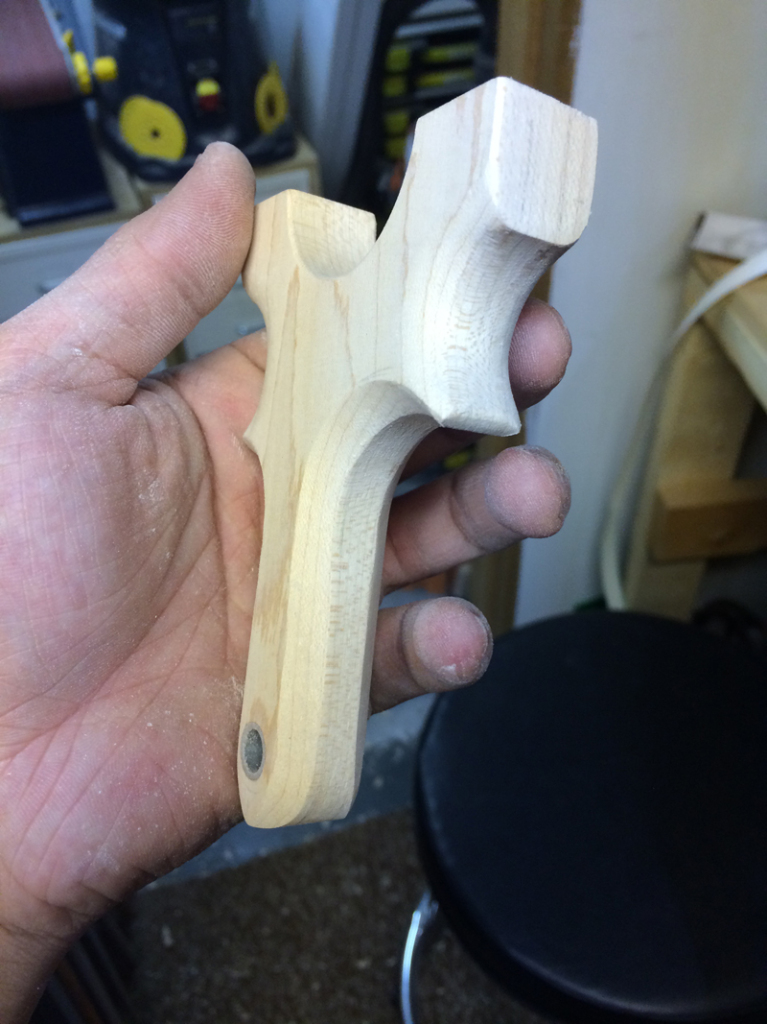
After shaping the grip area with some generous curves, the handle was shaped with some nice crisp chamfering.
A 1/2″ pocket was drilled into the face with a Fortsner bit and a walnut maker mark button was pressed and glued into place.
Now the tricky part, holding the frame in a drill press vice two 7/32″ holes were drilled into the tips. These holes where then tapped with a 1/4-20 tap. After removing the tap, thin cyanoacrylate glue was dripped onto the threads to strengthen them. After the glue cured, the threads were chased with the tap again and more glue was dripped in.
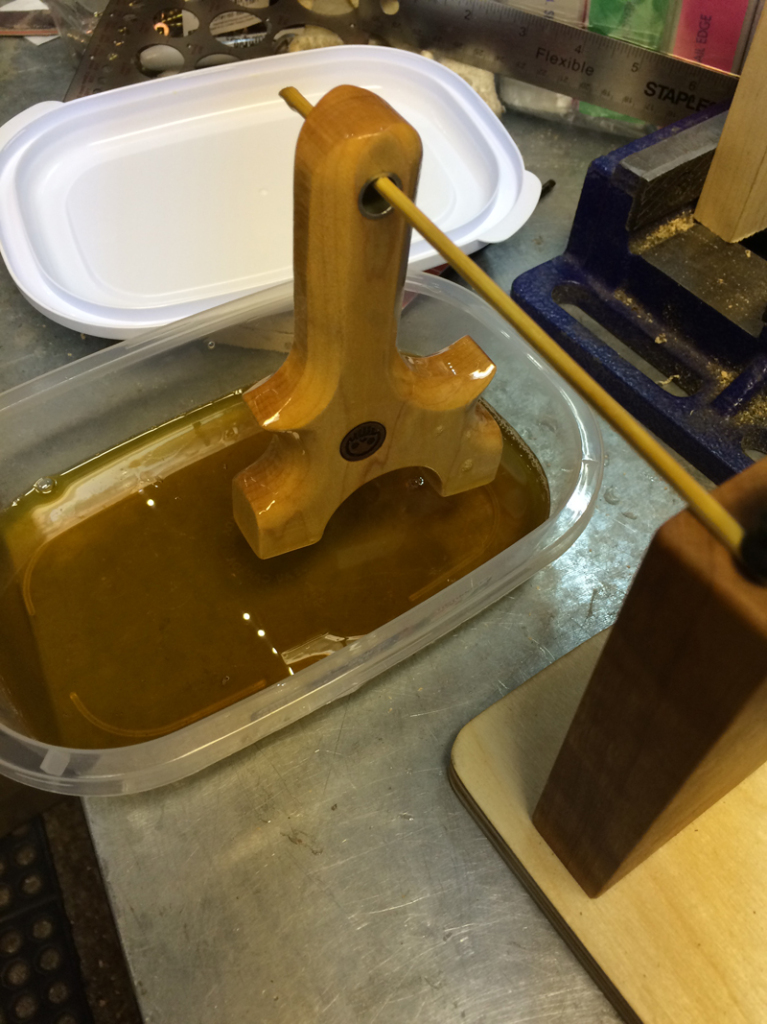
After the glue was fully cure, the frame was dropped into a bath of boiled linseed oil for a 25 minute soak.
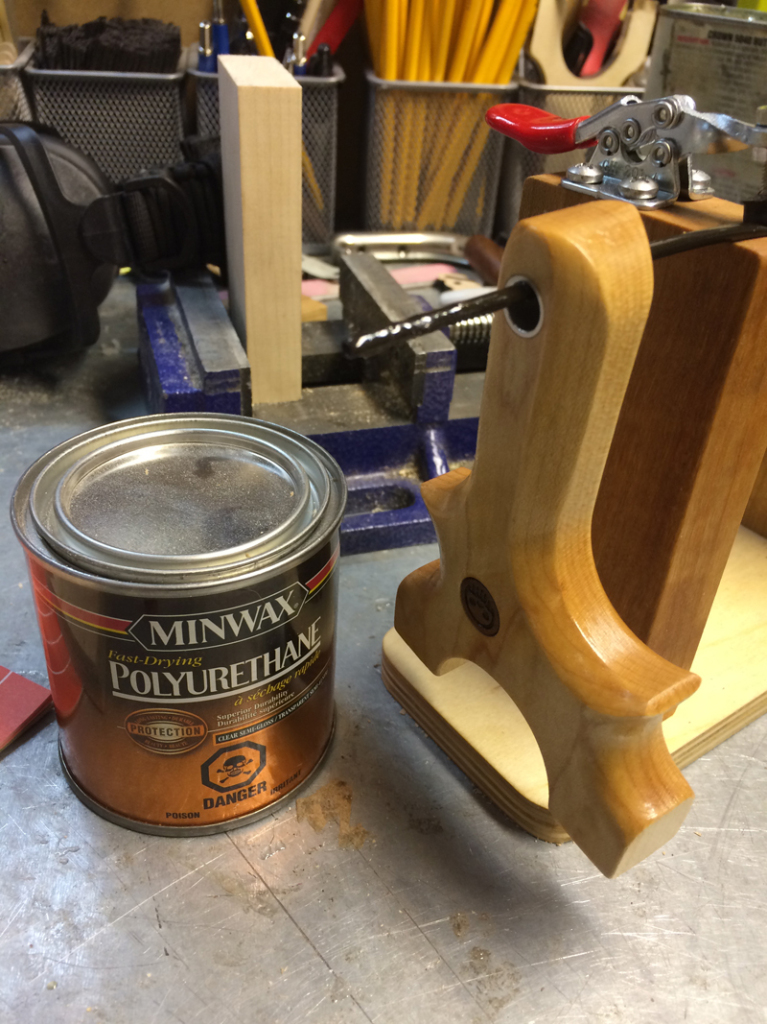
Two coats of light polyurethane sealer was wiped on. This was left to dry for some time.
Now that the frame was done, it was time to make the business end of the slingshot, the rotating tips. The rotating tips’ concept is that the bands would rotate on the axis of the fork tips, eliminating the abrasion it would normally experience when the rubber retracts into the frame.
We start by facing some 5/8″ 6061 aluminum.
The tips are going to be 12mm high with a groove of 4mm to help the bands seat themselves nicely on the center.
The toughest part about making rotating tips of this kind is making two identical ones.
Rechucking the tips after parting them off the stock, it was faced and the a centerdrill was used to help start the hole.
Then a 1/4″ hole was bored straight through the tip.
Using a big single flute counter sink, the tips were chamfered so that the machine screws would nest inside for a cleaner look. 
Exhibit A…machine screw seated and clean look achieved.
Rinse and repeat.
Now it was time to screw tips into place, adding a drop of super glue into the threads to make sure the machine screw would not back out again. A thin washer was added to decrease friction and make the action smoother. The screw’s pressure was tuned so that the tips would rotate but not wiggle.
Again to the other side. In case you were wondering, the screws screw into the fork tips about 5/8″.
And we are done! Time tom make up some bands.
A band set with some very small loops made up…
A pair of ring expander pliers help stretch the loop out so they could be fixed over the tip.
And we are done!
I am happy to report that the rotating tips not only look super cool, but they also work REALY well.
Some quick shooting of the Capuchin RT with the same aluminum rotating tips.
Thanks for reading another Metro Made!
Happy Holidays!
-Eric

