buy Lyrica in uk A few weeks ago, I was fortunate to come across some new materials gifted to me by a fellow slingshot crafter, something called GPO3. GPO3 is a loose fill fibreglass composite, commonly used to insulate electrical installations. Like all things that are flat and tough, most times knife makers will use it to graft onto their handles. GPO3 has a nice consistent red colour throughout with some subtle, long fibrous texture.
When I got my hands on it, I didn’t know what to do with it, use it as a core, use it as a scale material. I had a few thicknesses, 1/4″, 1/8″ and a 1/16″ stock. I finally go to making something, using the 1/4″ as a core, call it an experiment. GPO3 is strong enough to be a stand along slingshot as the long fibres combine for a very tough composite with very little flex.
What came out of the experiment was this:
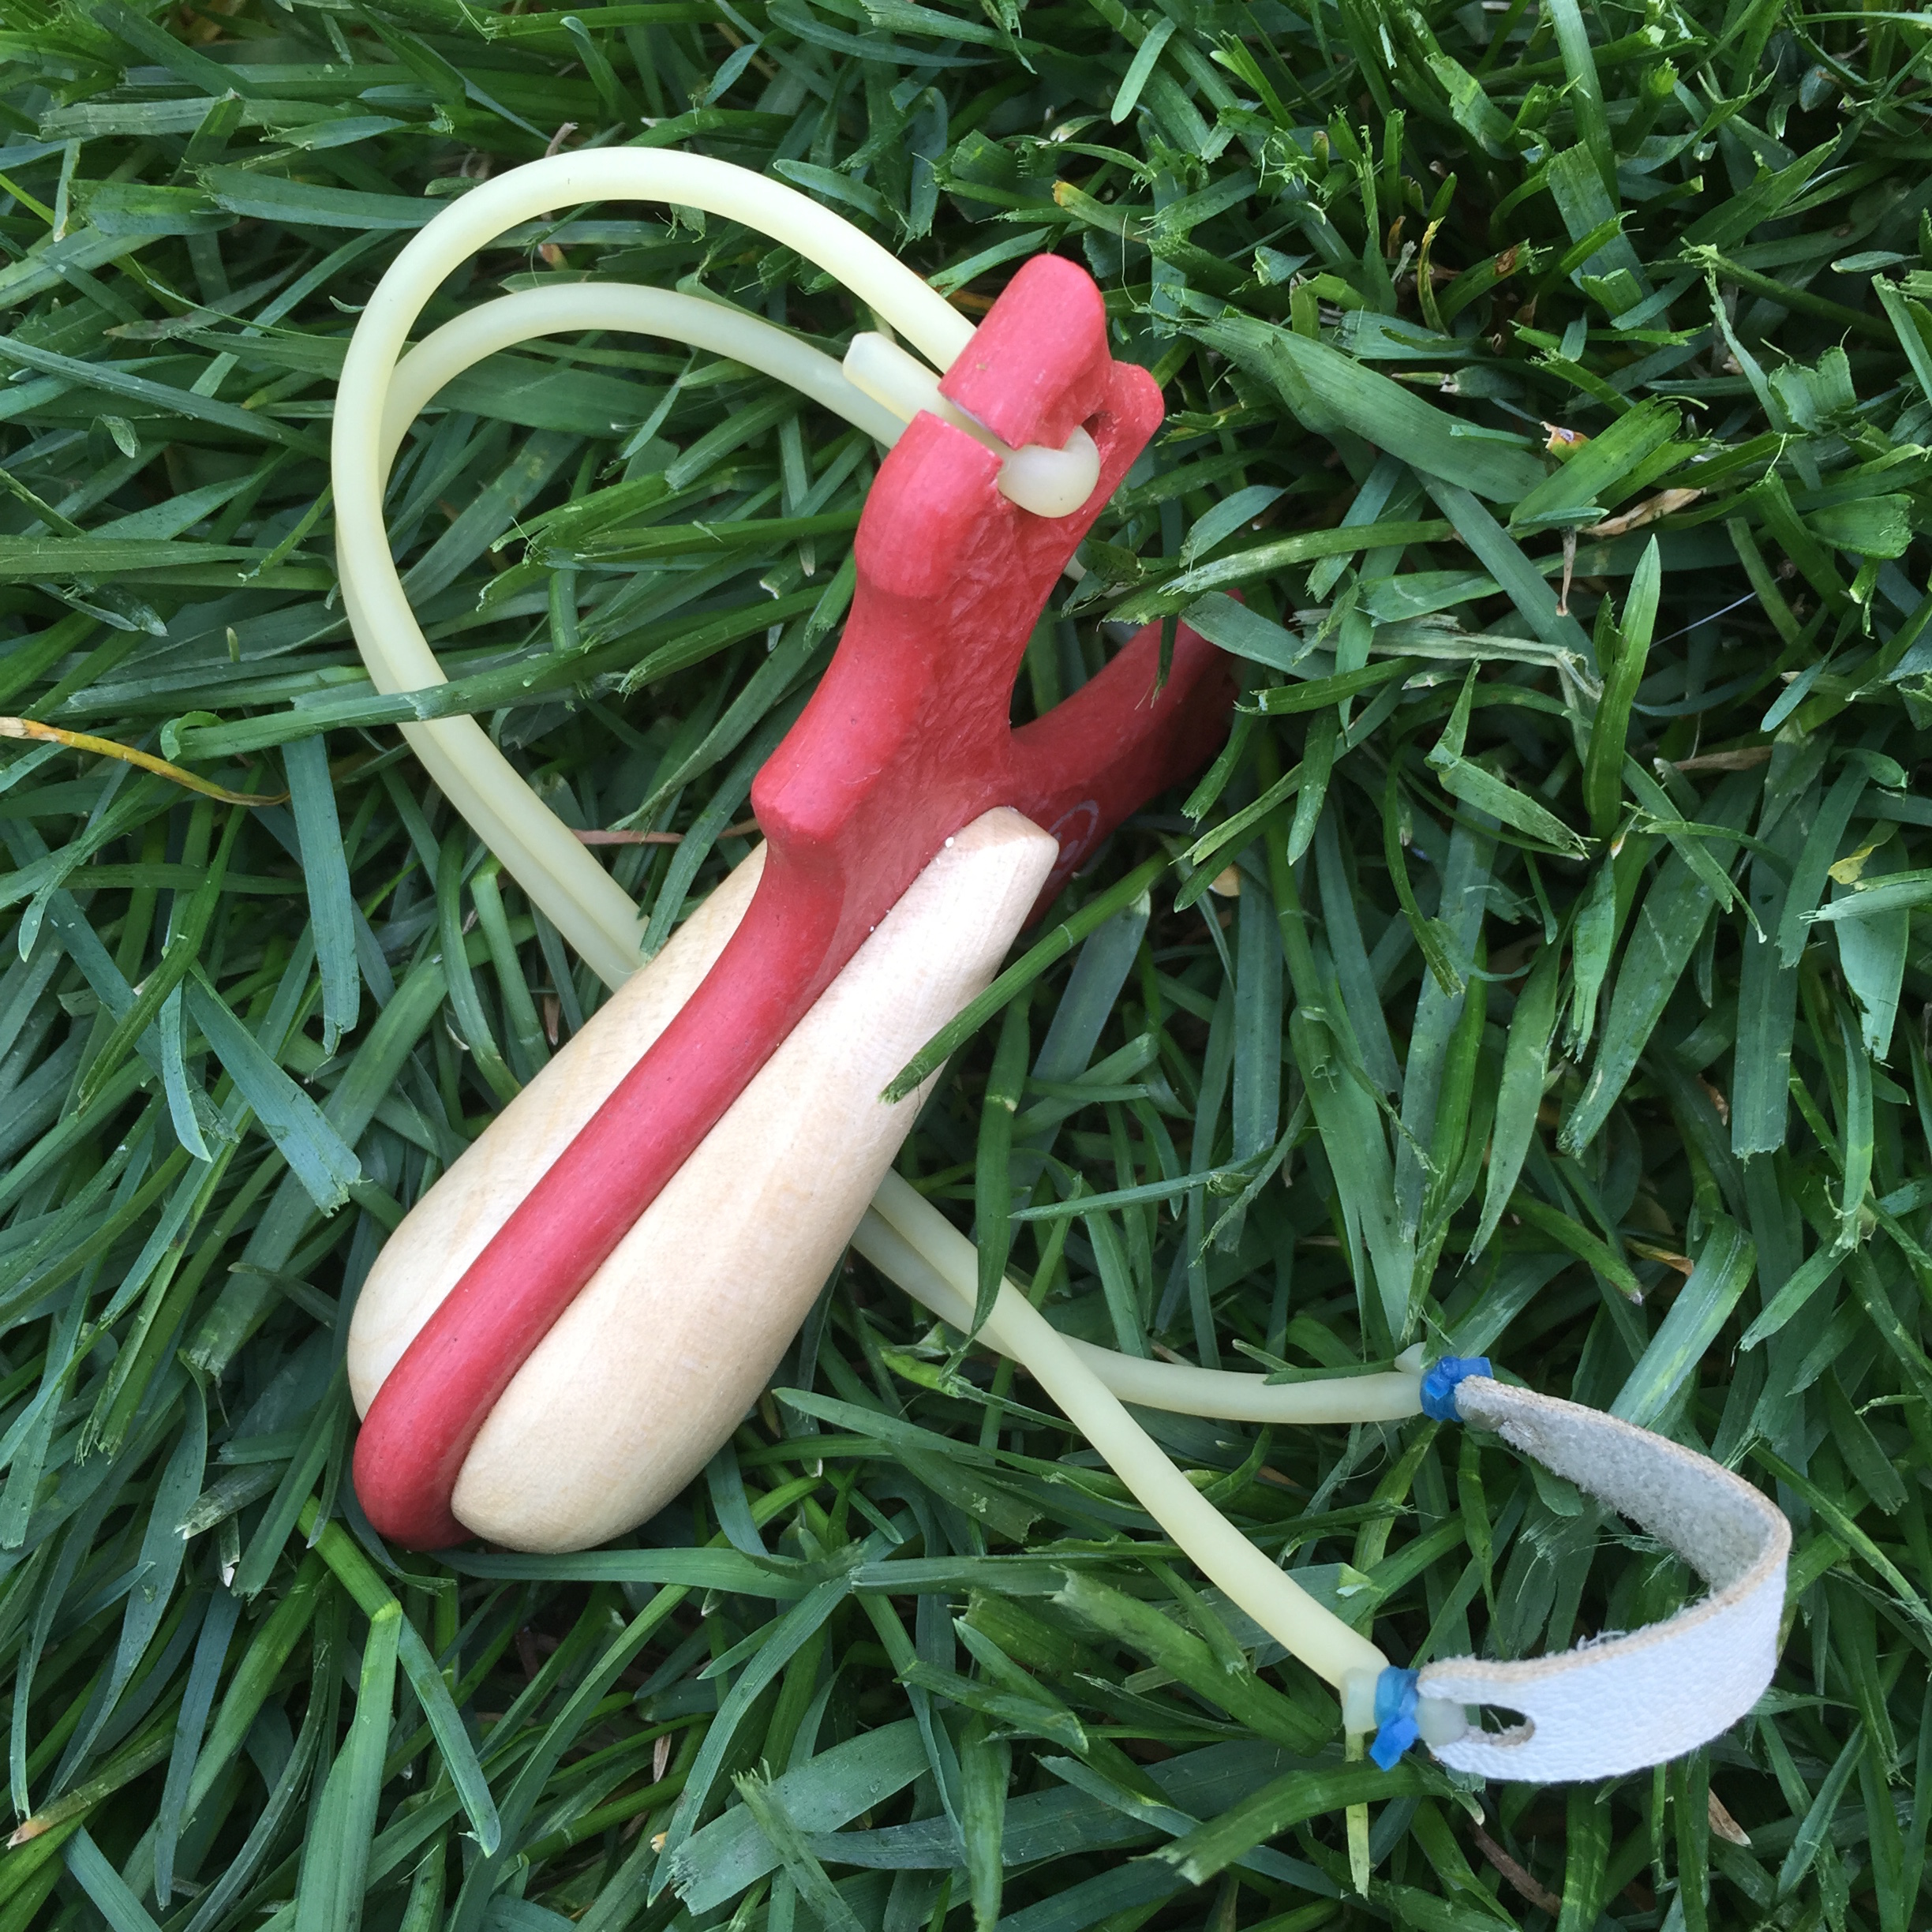
Resemble anything? Did you think…hot dog? I did. So that was aptly named the Hot Dogger. Here’s a quick video of me shooting it.
I enjoyed the feeling and look of the GPO3 so I went for something a little more ambitious, something kind of colourful and not everyone’s taste but I felt I needed to make something for once and not have to post rationalize features or design choices. This would be a through and through concept to completion build.
The inspiration, this picnic pin-up painting by Harry Ekman.

So let’s start with the core of it. Recently, I have heavily favoured the OTT Tapped Tab Tyton slingshot. I can shoot it sideways and upright and have great success for both, each have their advantages and disadvantages. So to make this build extra special, I decided to stick to something I knew.
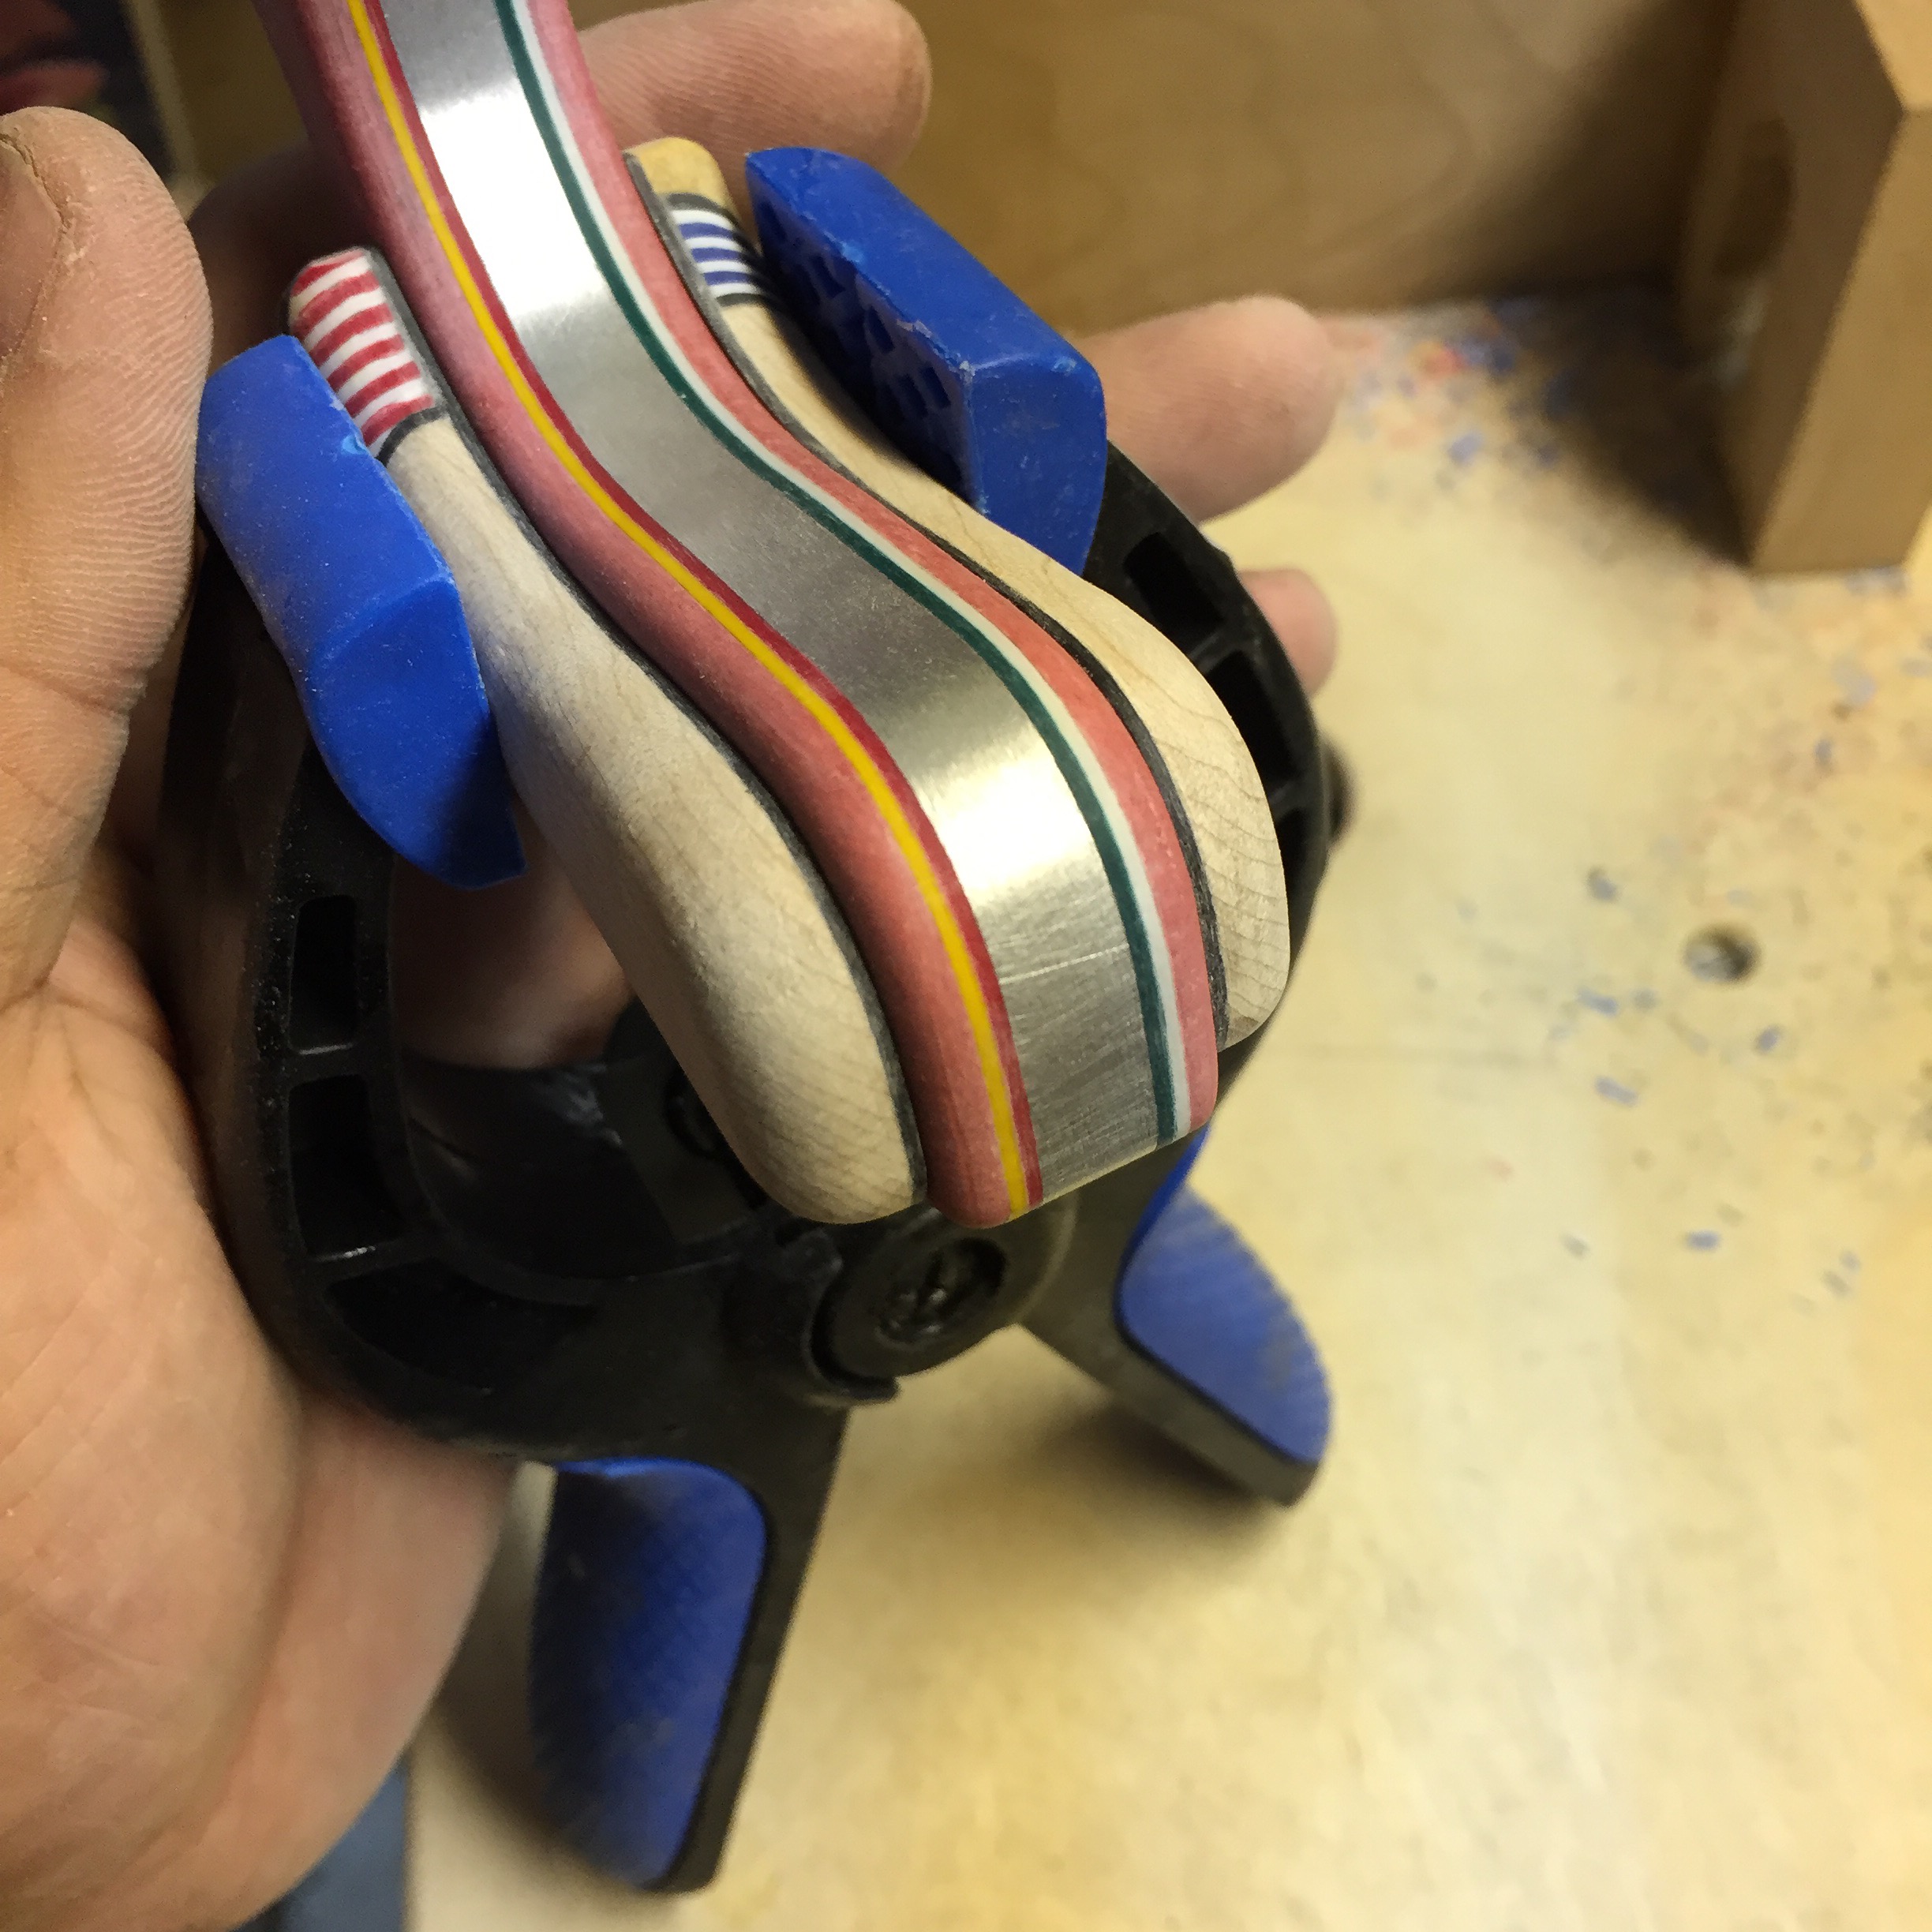
I am going to skip the part about laminating, if this is your first time reading, you should check out this post to get up to speed: The Spanish Knight. The 1/4″ aluminum core was laminated with some specifically chosen coloured liners followed by an outer layer of 1/8″ GPO3. The colours chosen by the most common, and my most favourite hot dog condiments: yellow for mustard, red for ketchup, green for relish and white for sauerkraut. The laminatatins are all held in place 4 solid aluminum pins. Here you can see the partially finished core with pins glued in. Pretty standard stuff when gluing differential materials together.
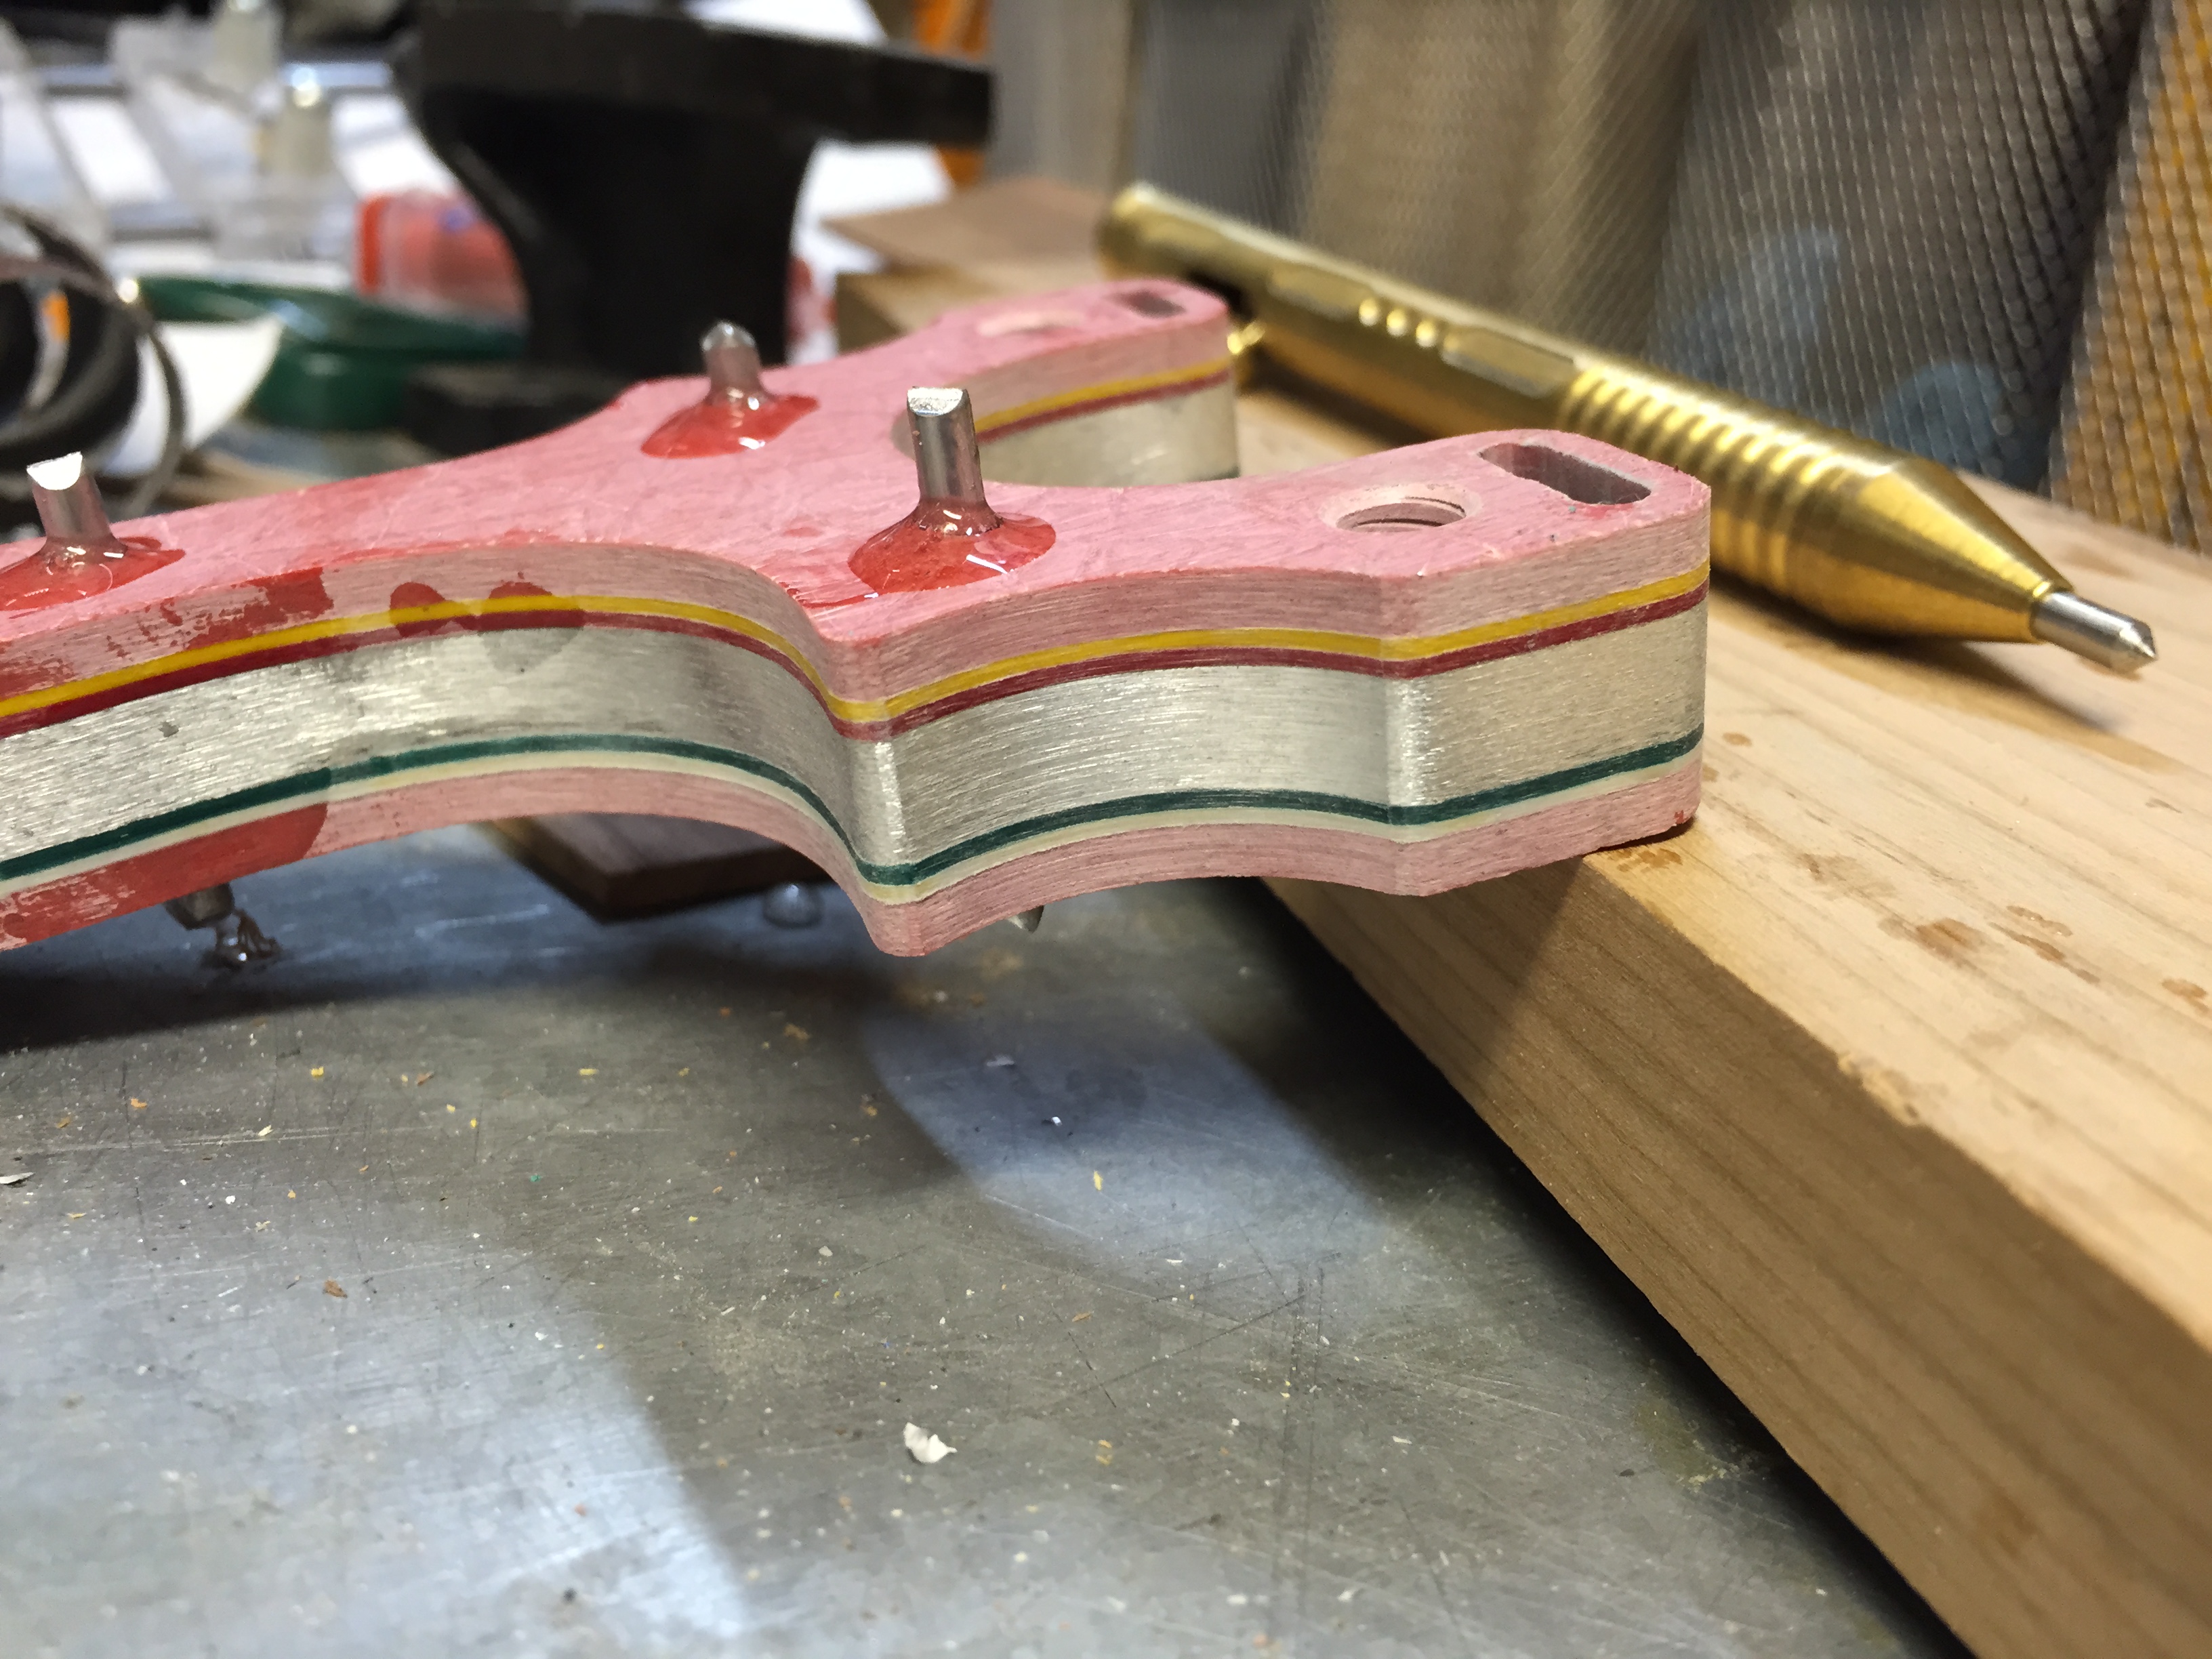
Leaving to set up over night and coming back to it in the morning, the pins were ground flush and then the edges of the entire slingshot where passed over a 1/8″ round over bit on the router.
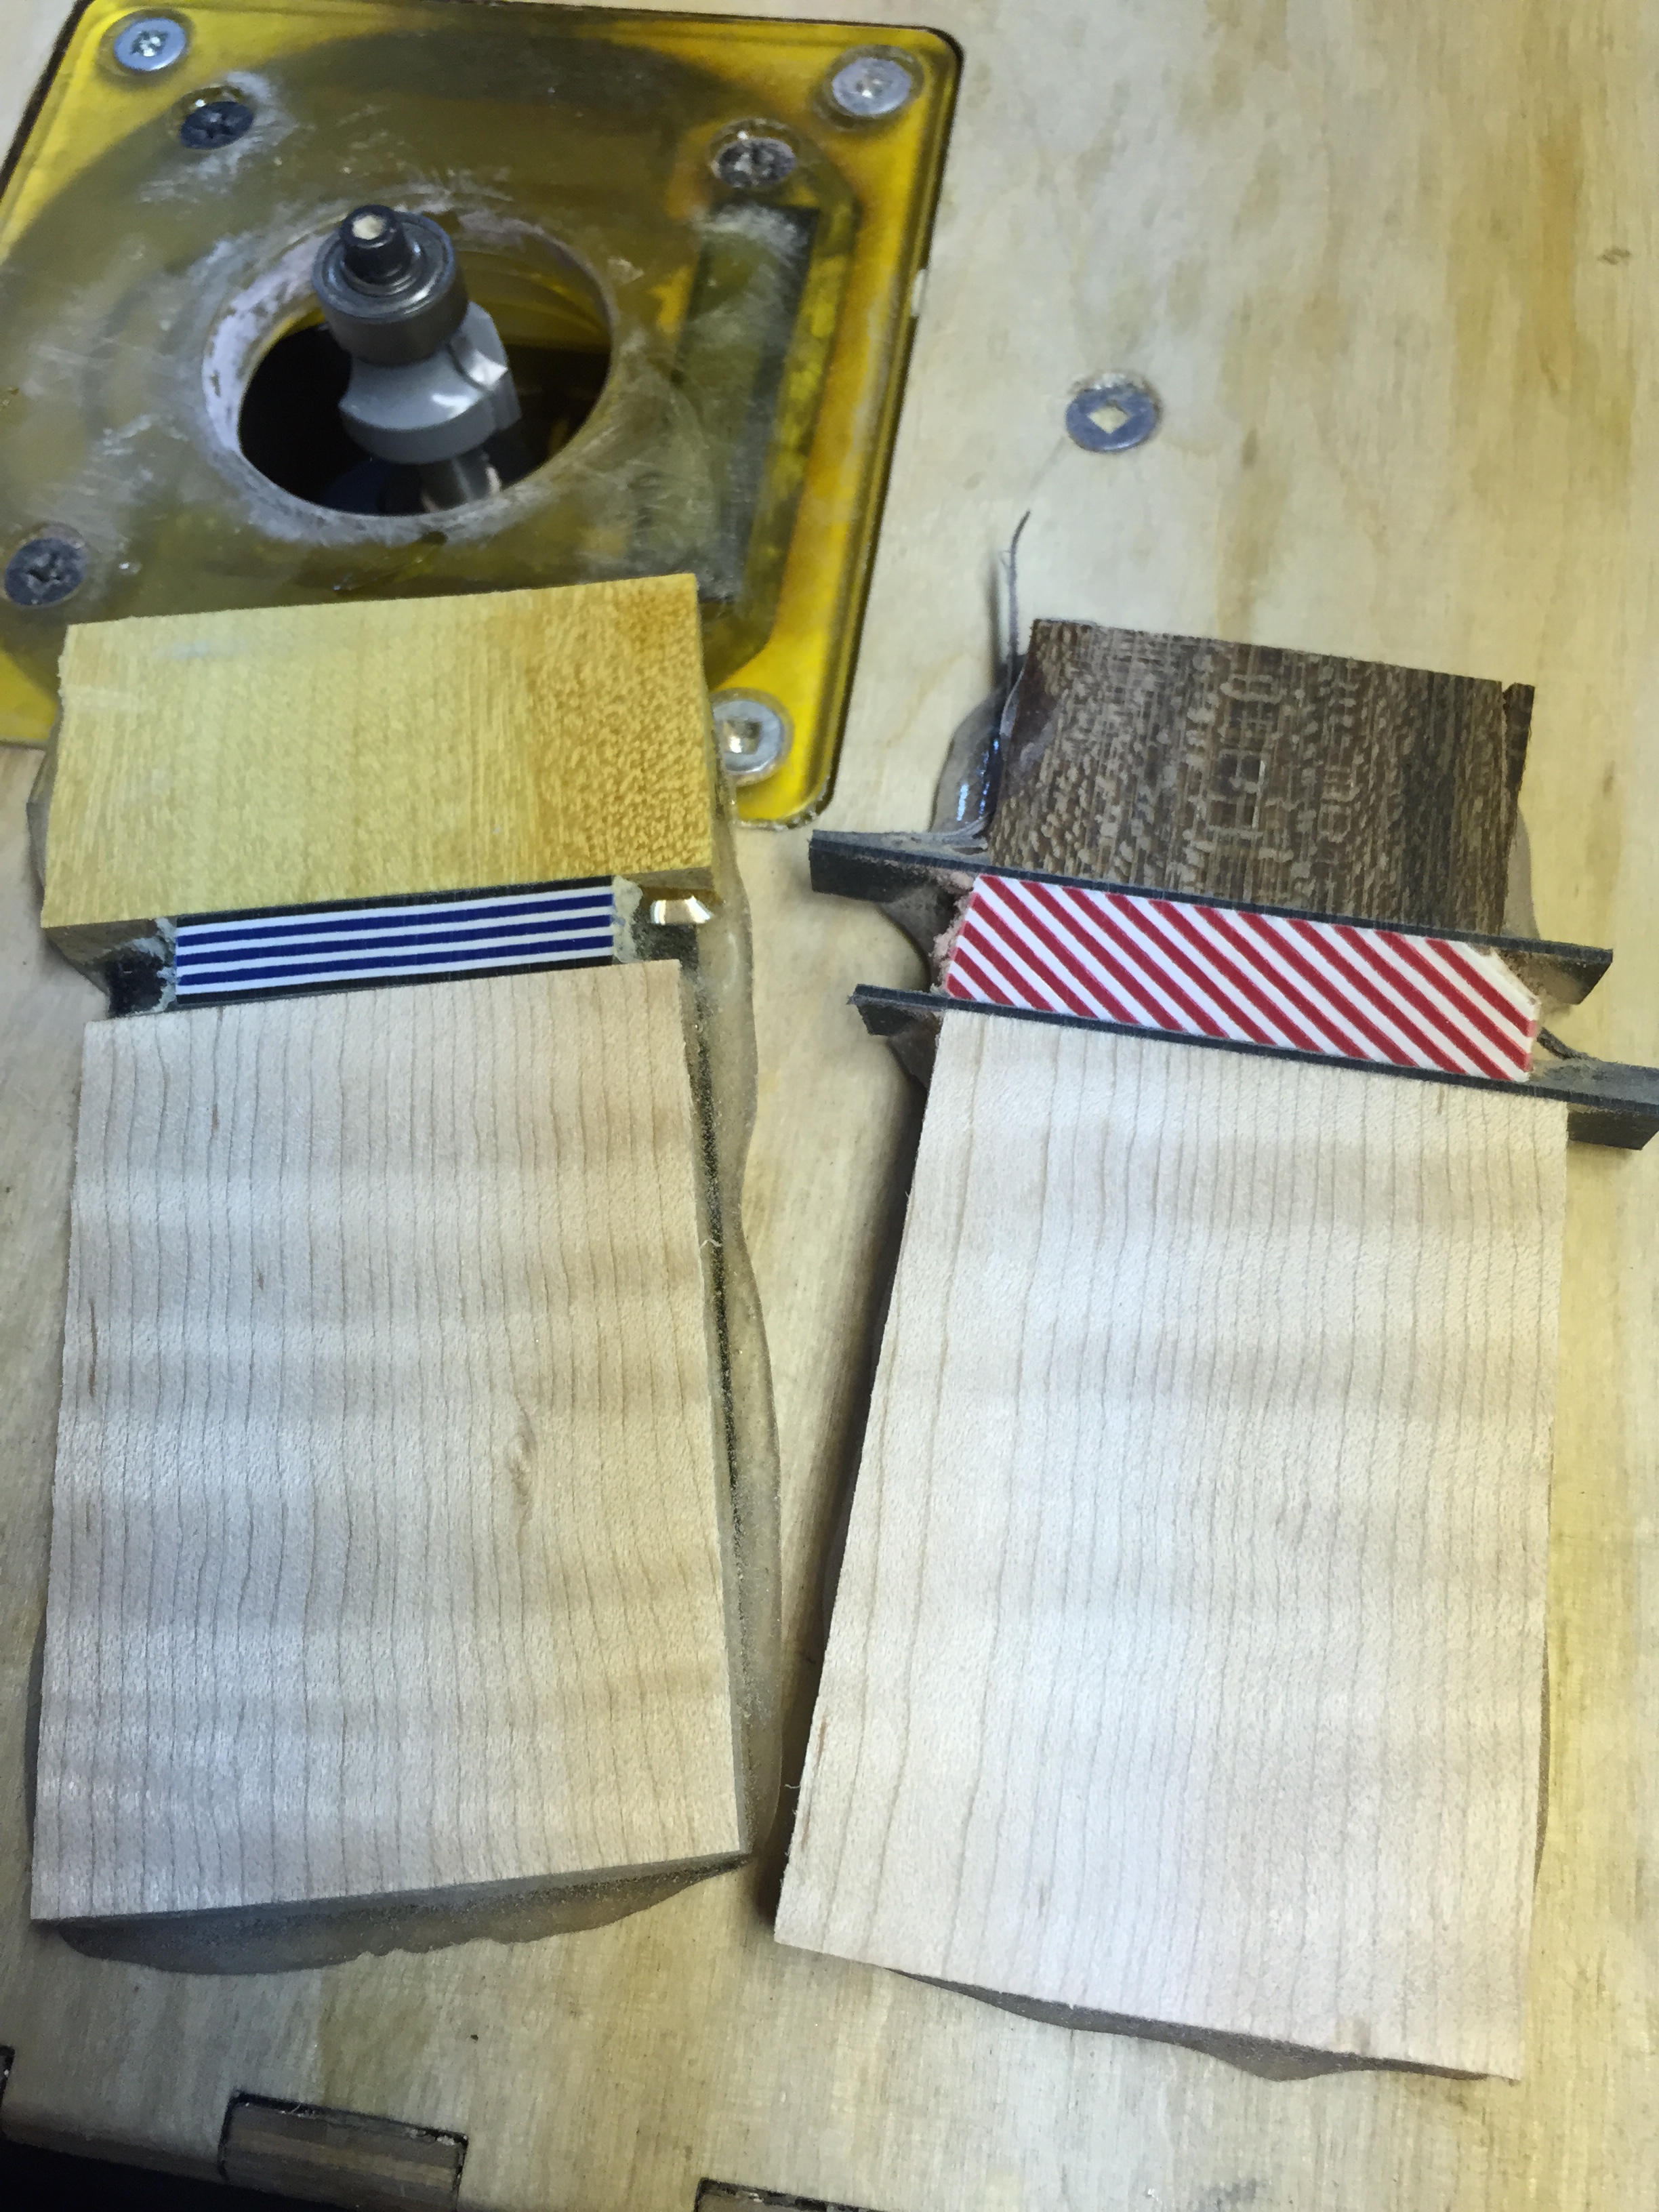
Now..the fun part. Instead of just using regular maple, I went with a nice selection of quilted curly maple.
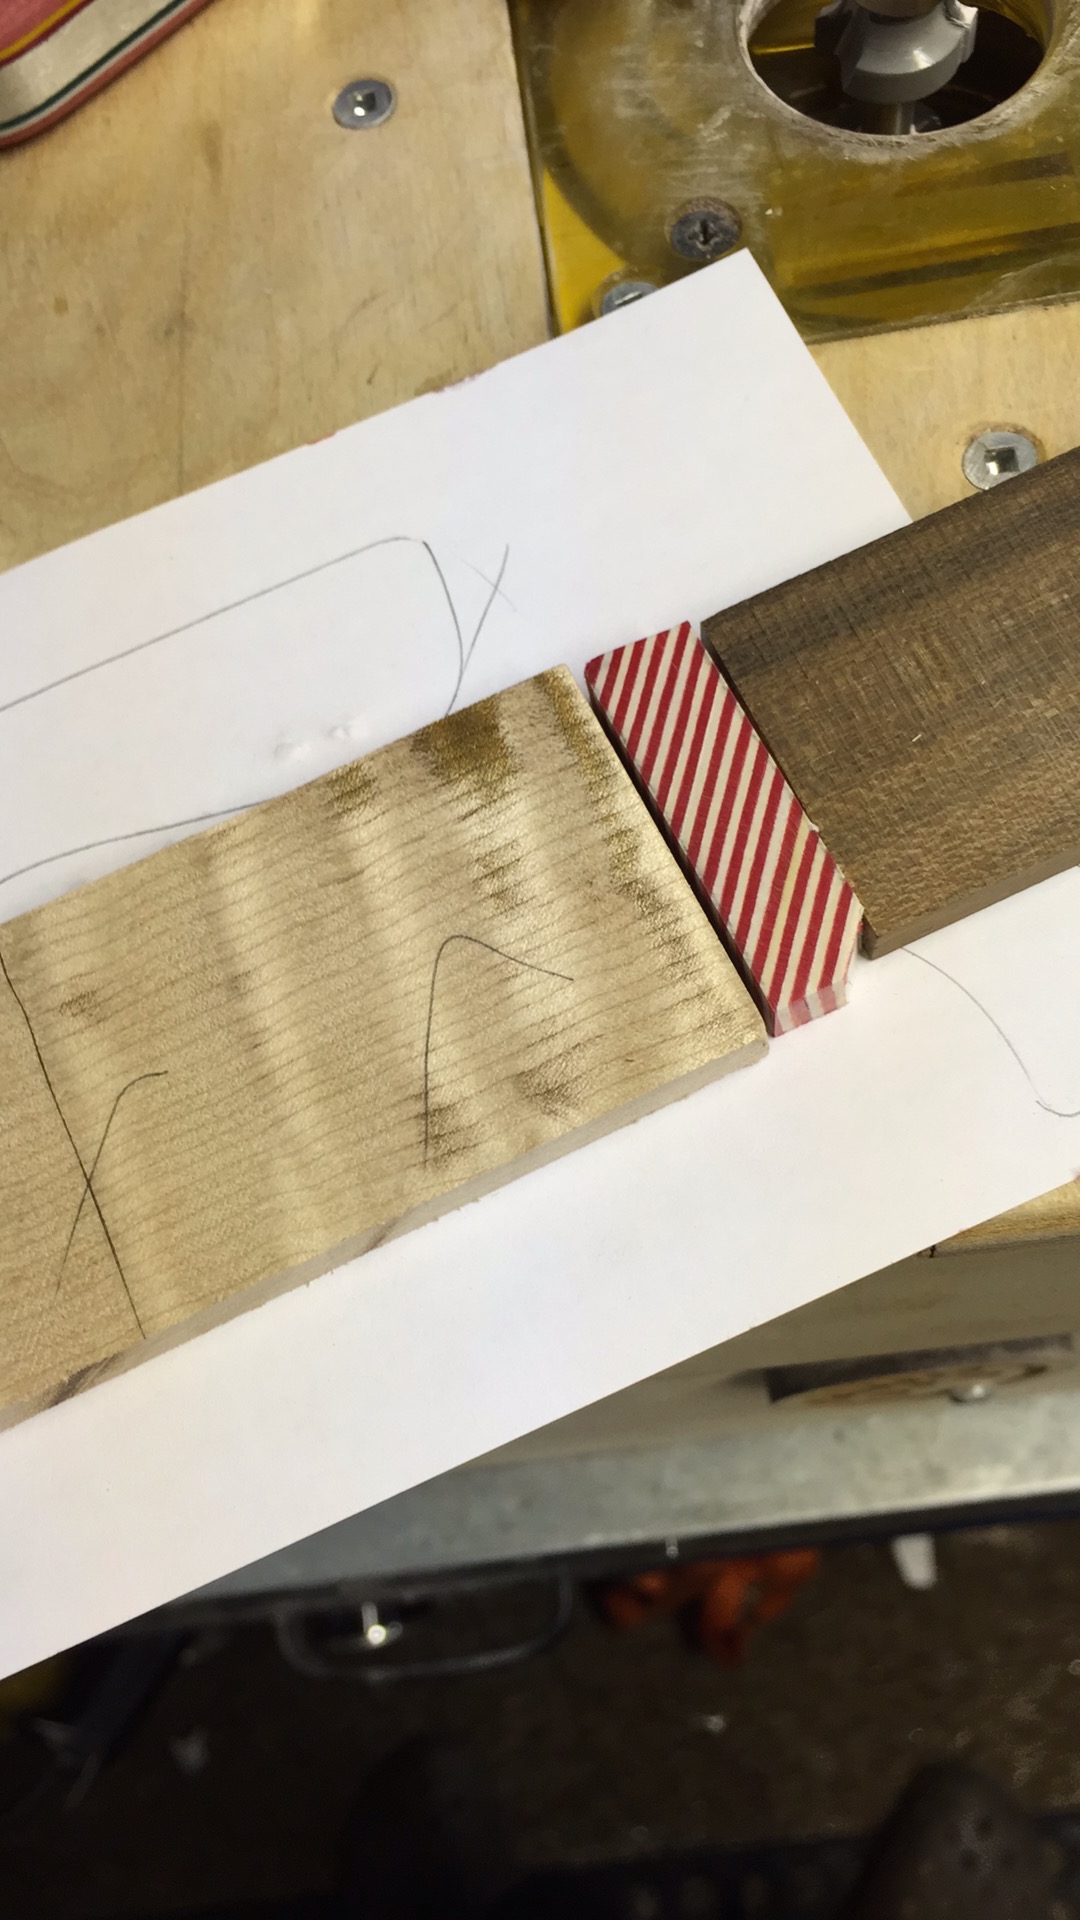
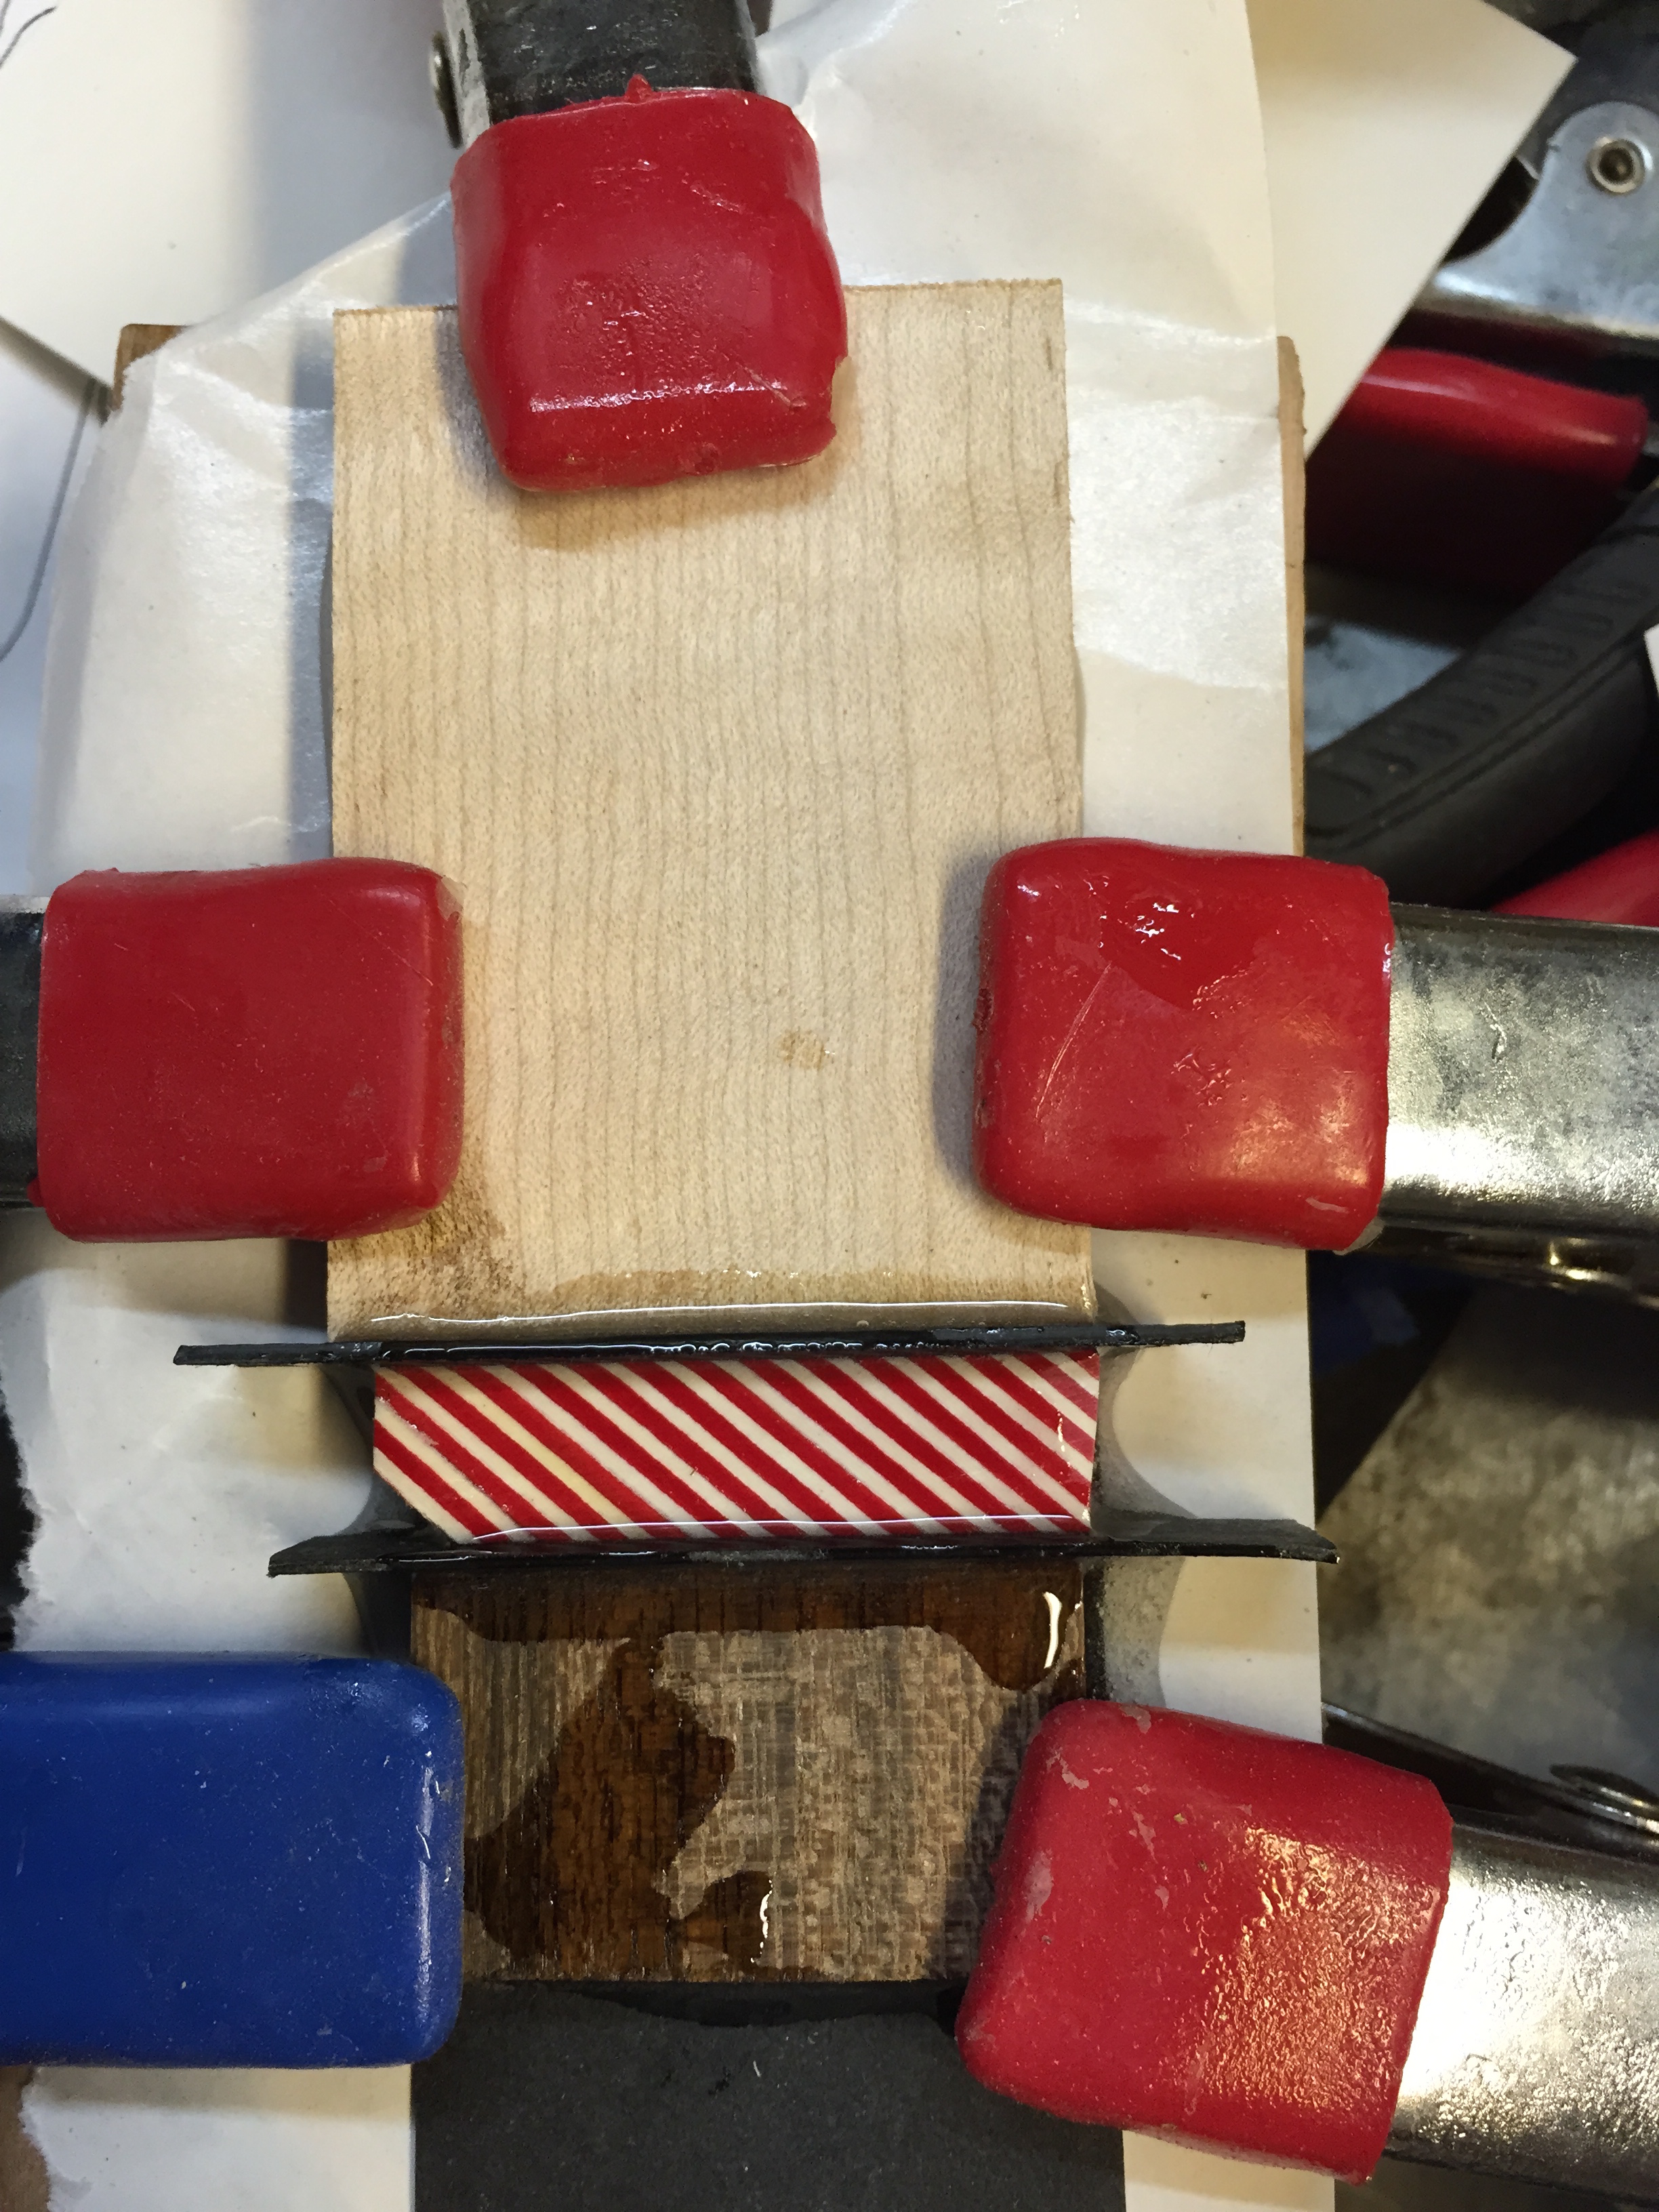
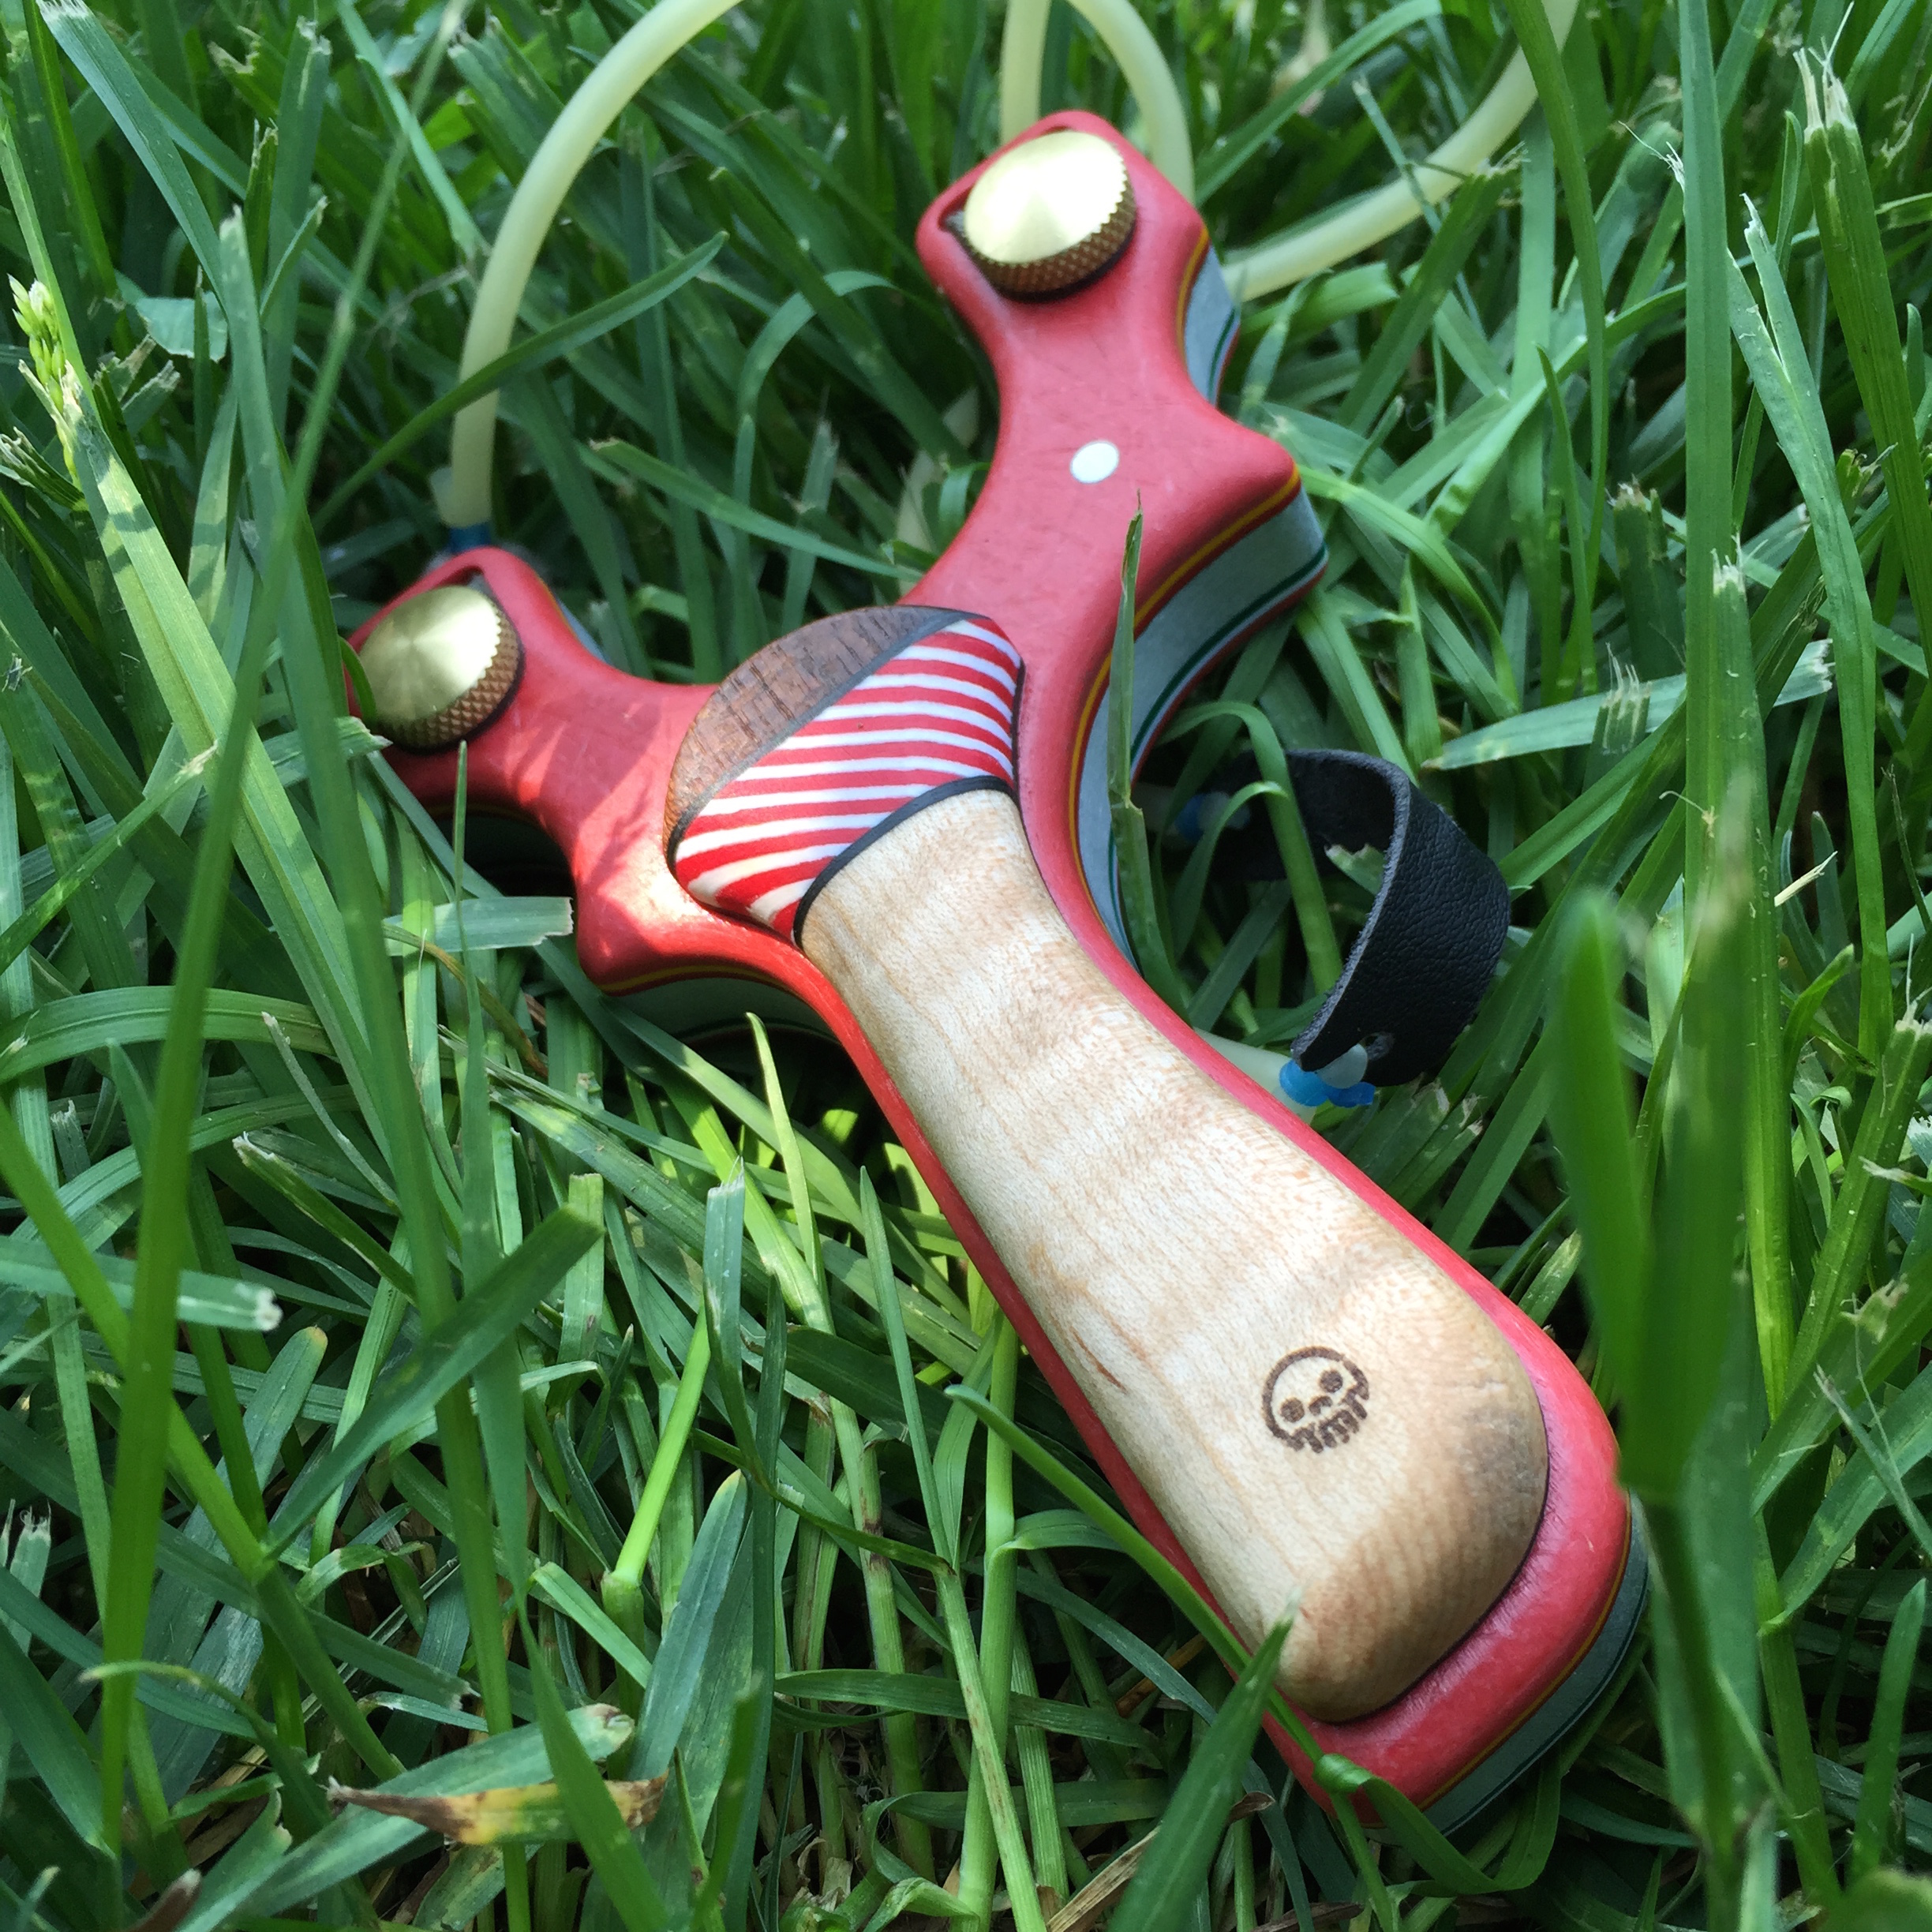
Using small strips of spacer material, I built up a candy stripe pattern found on old school drinking straws and then selected a small bit of zircote to reference my favourite picnic beverage, cola.
Here is the slab, overflowth with epoxy resin to fill in any gaps.
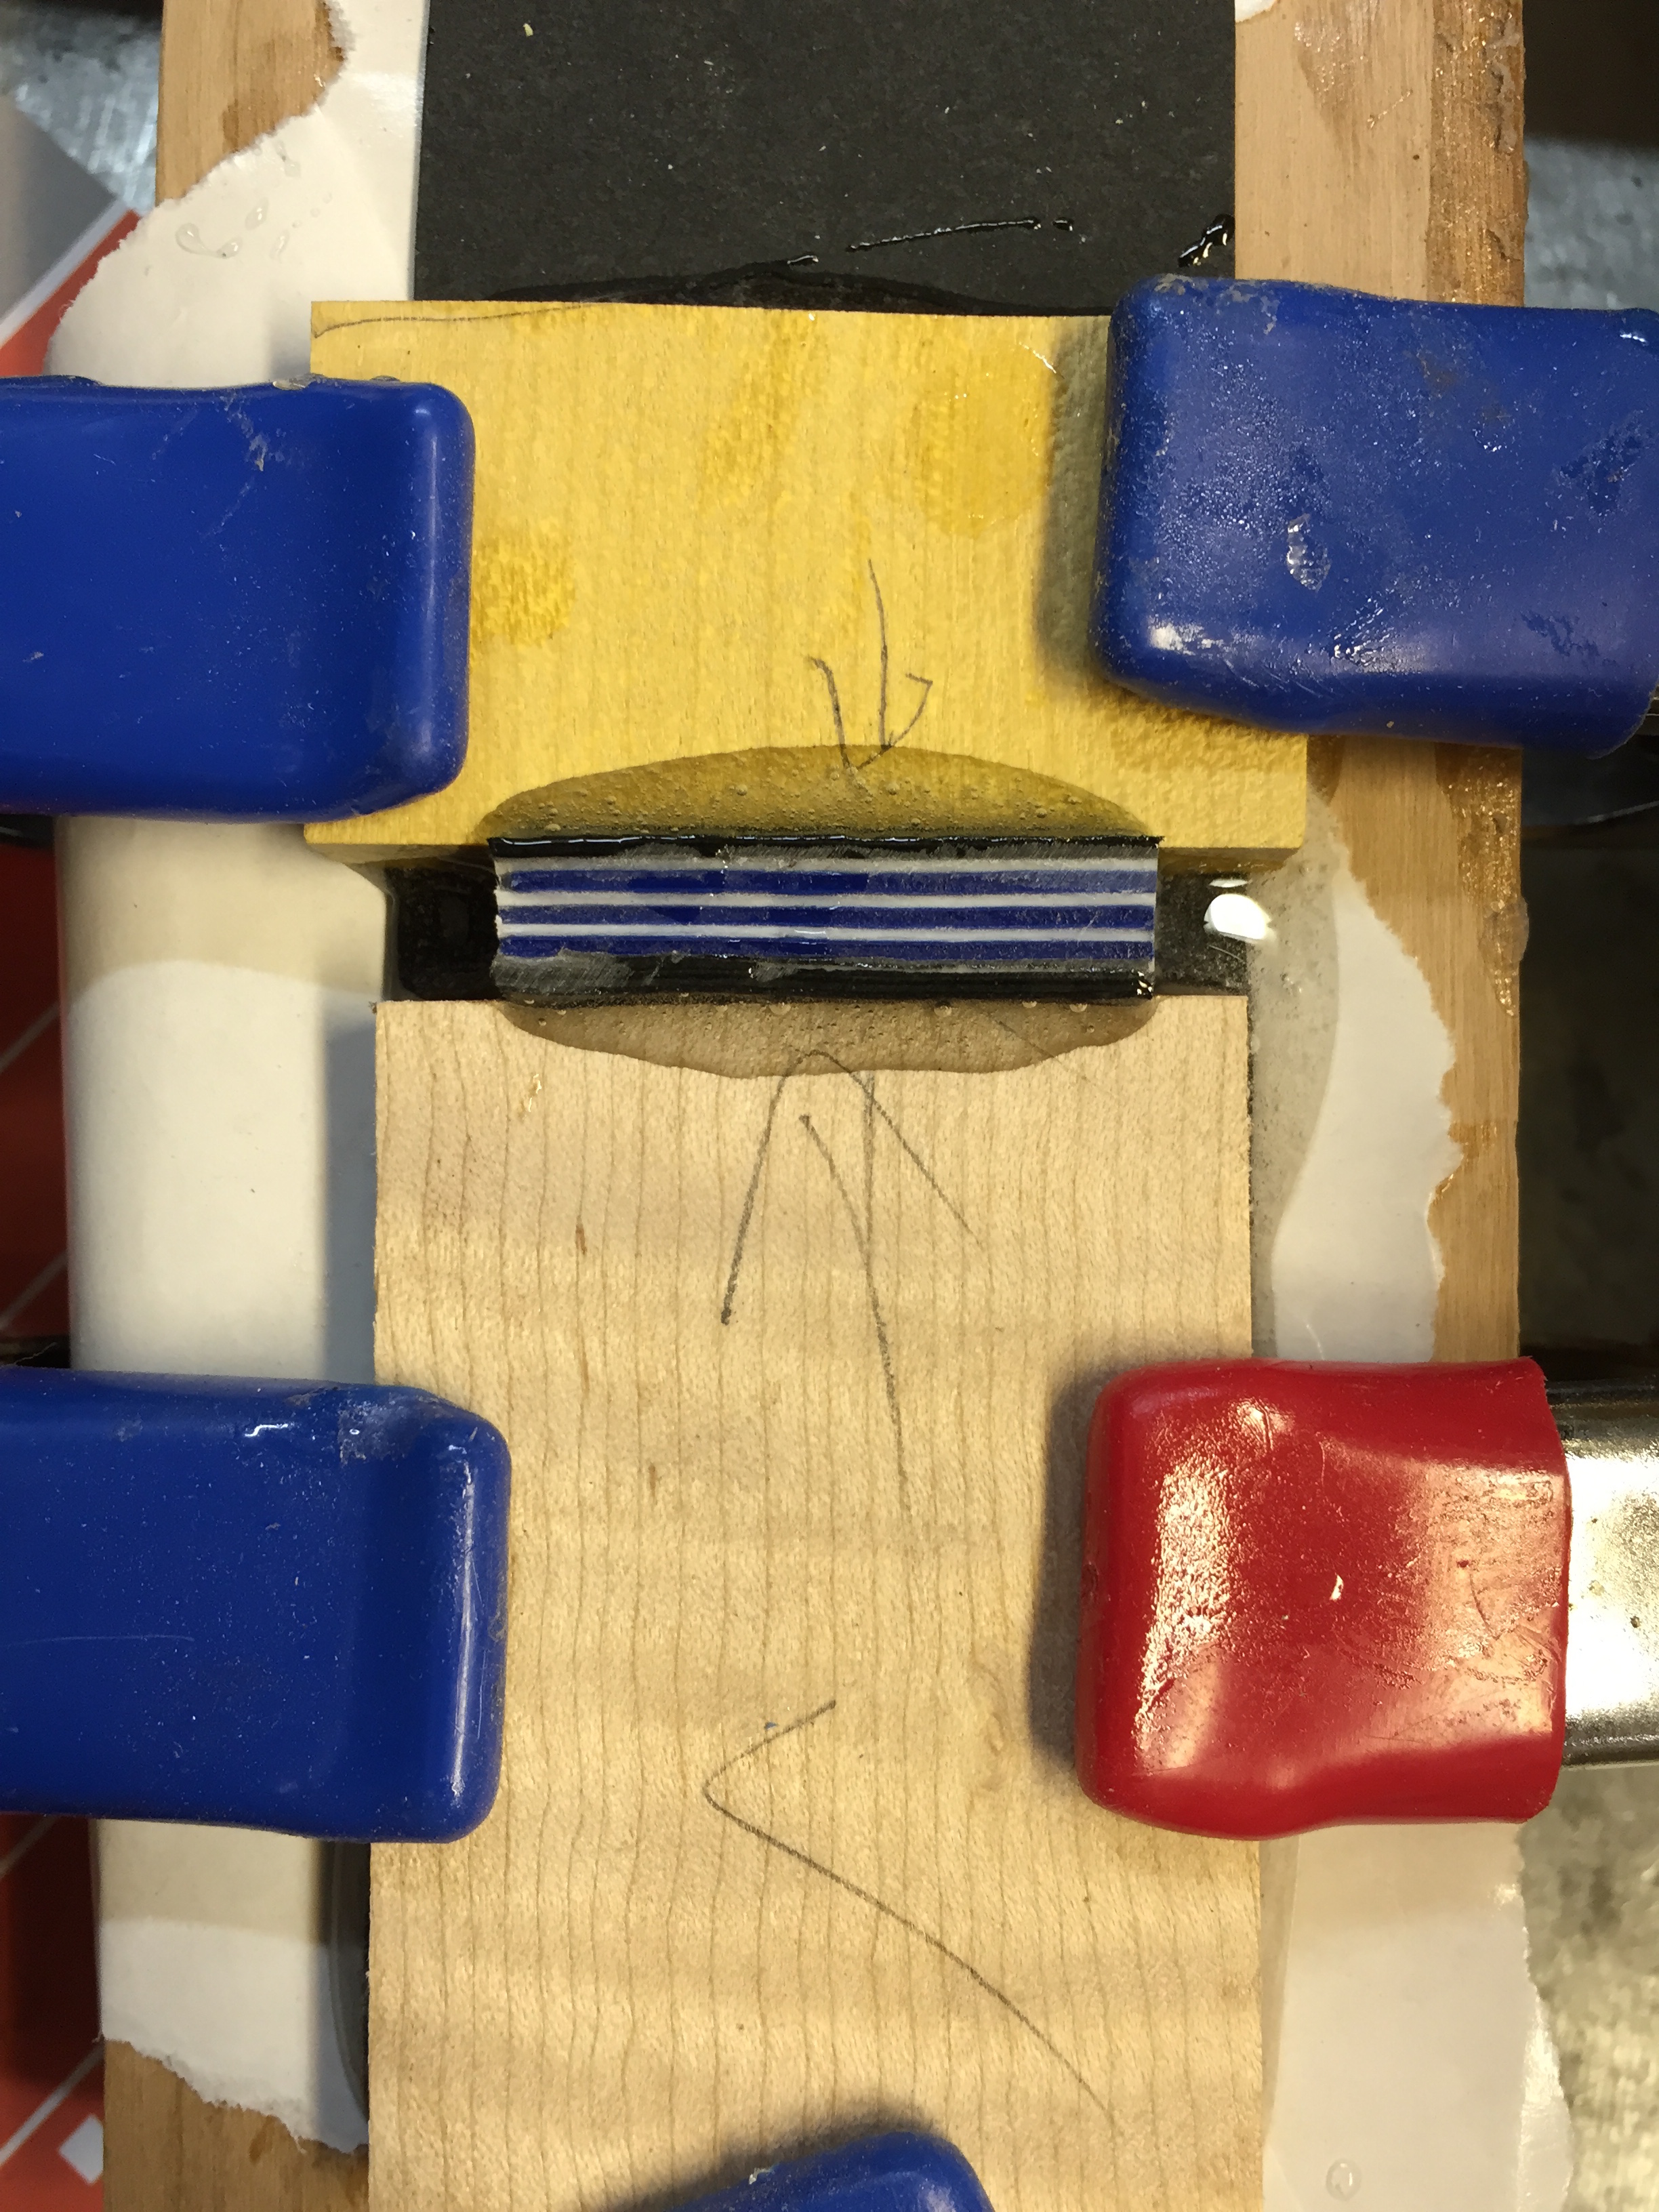
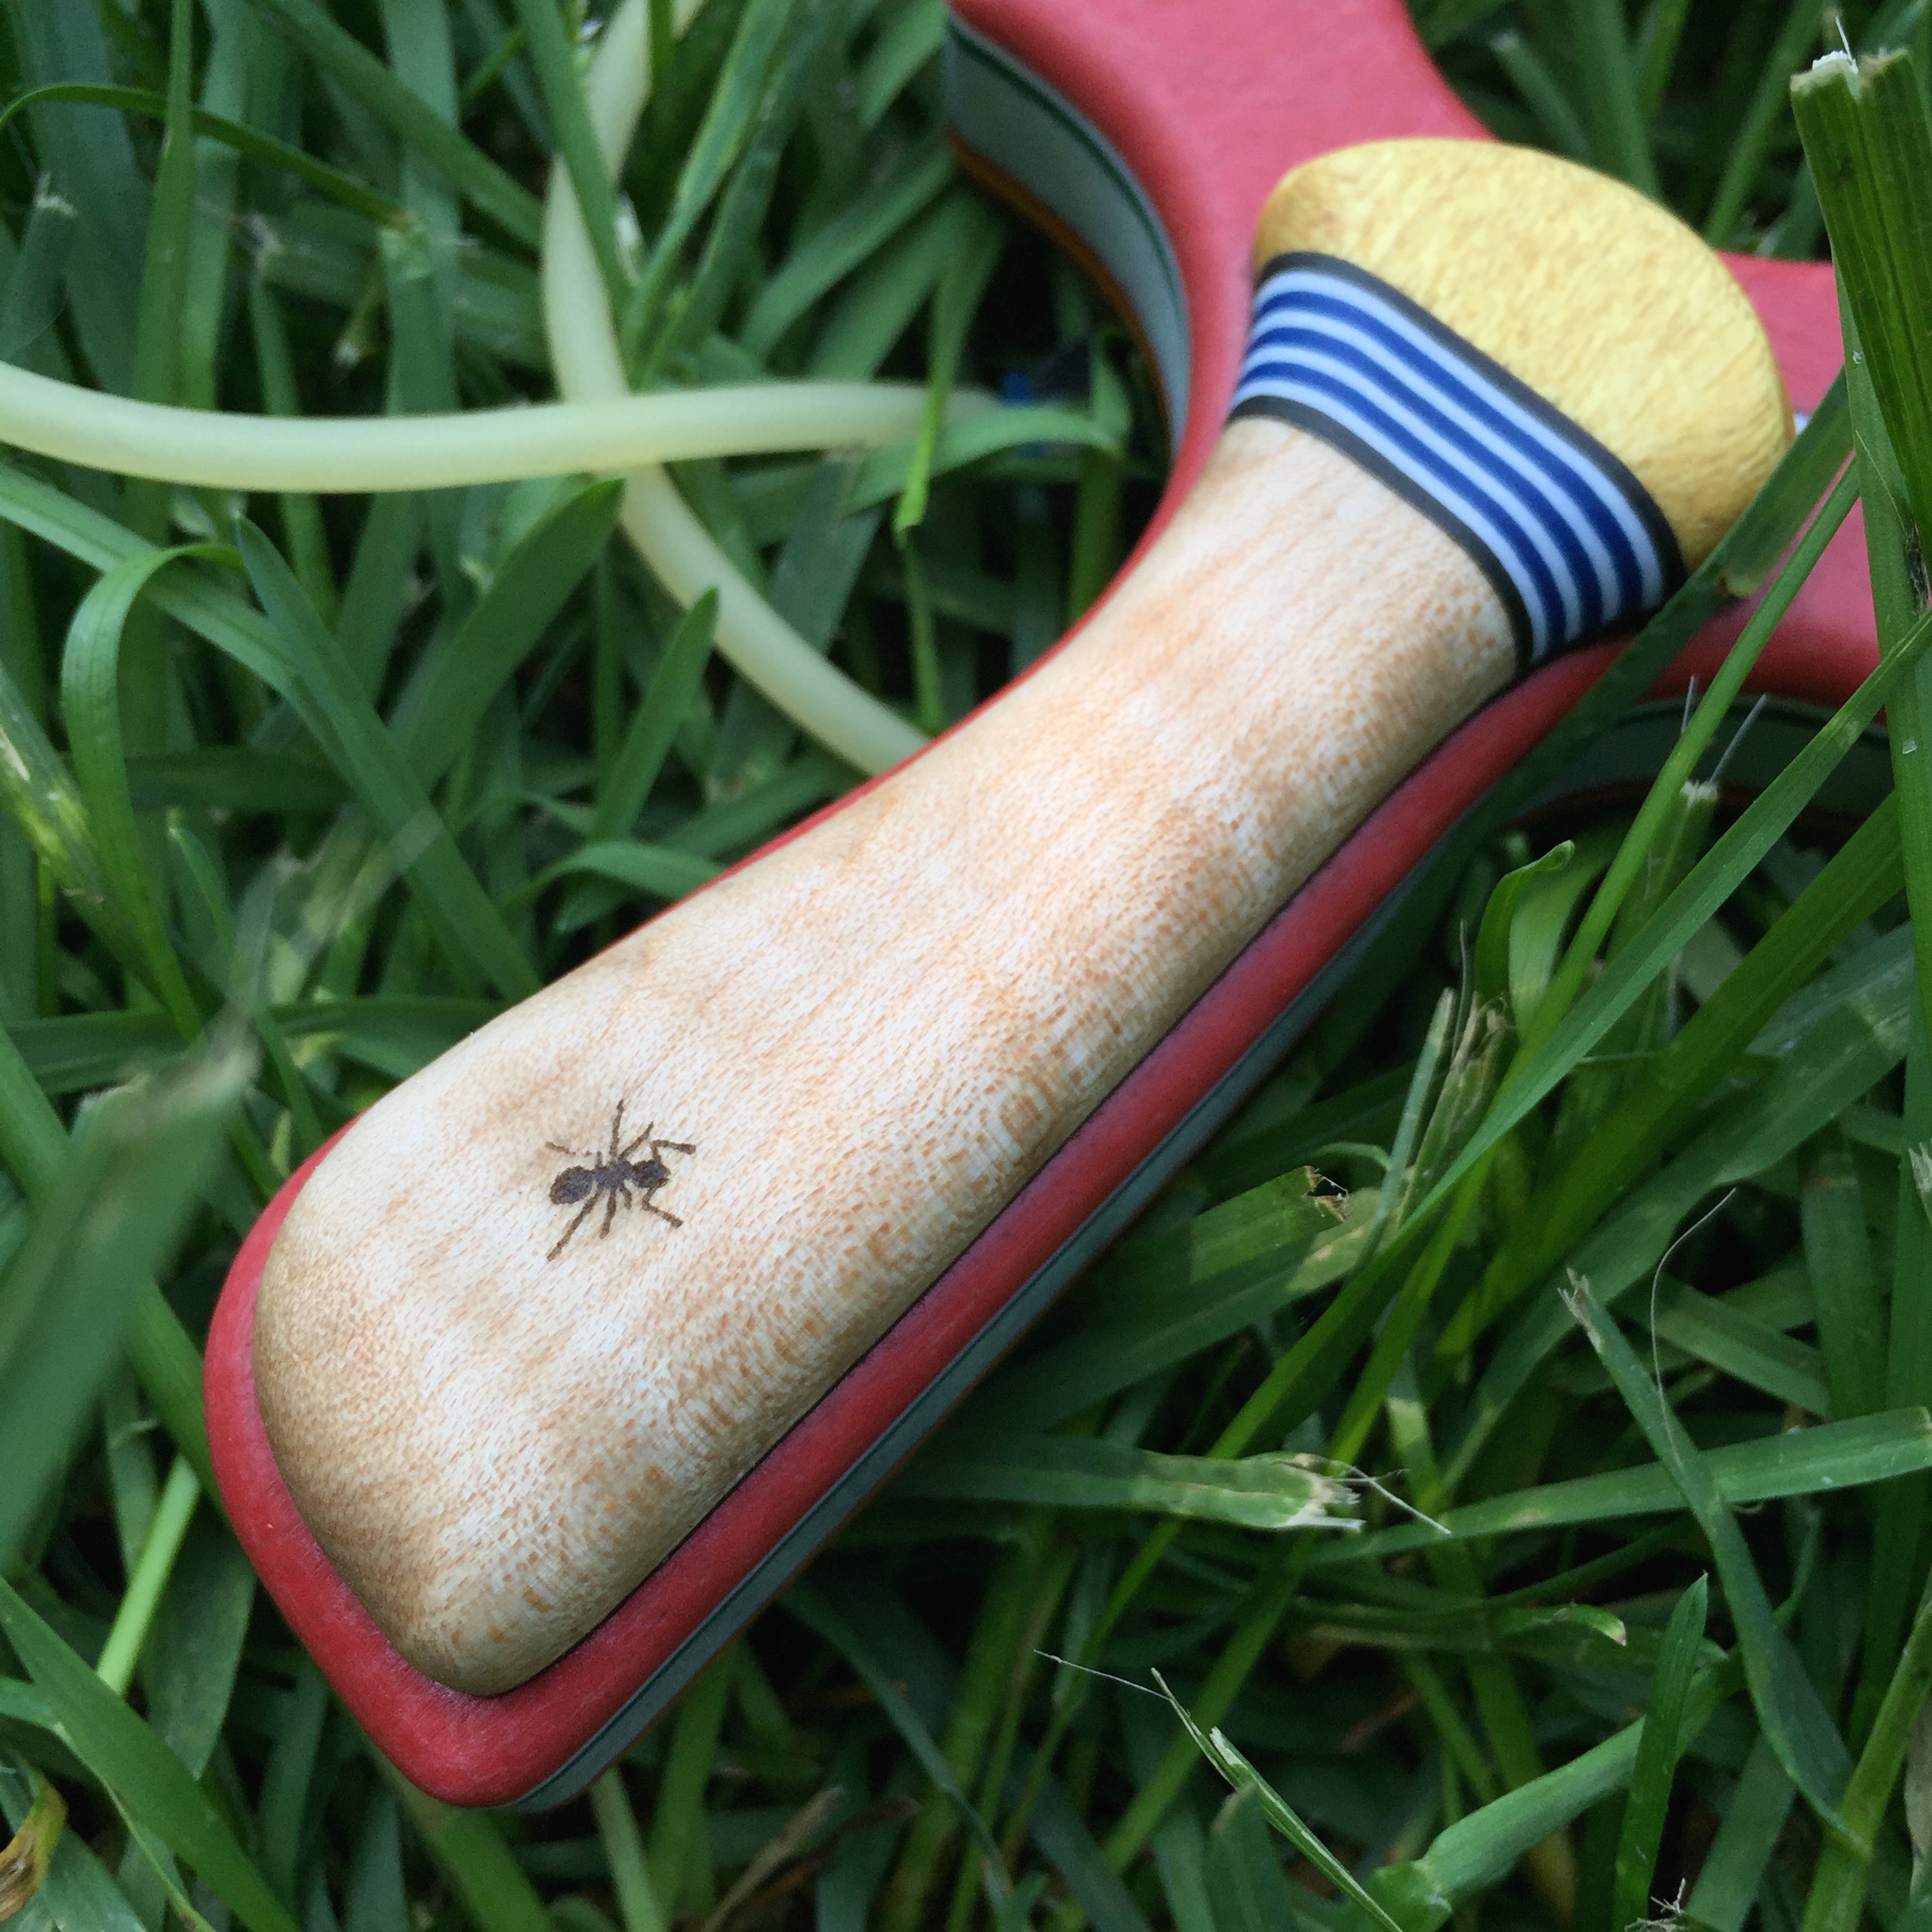
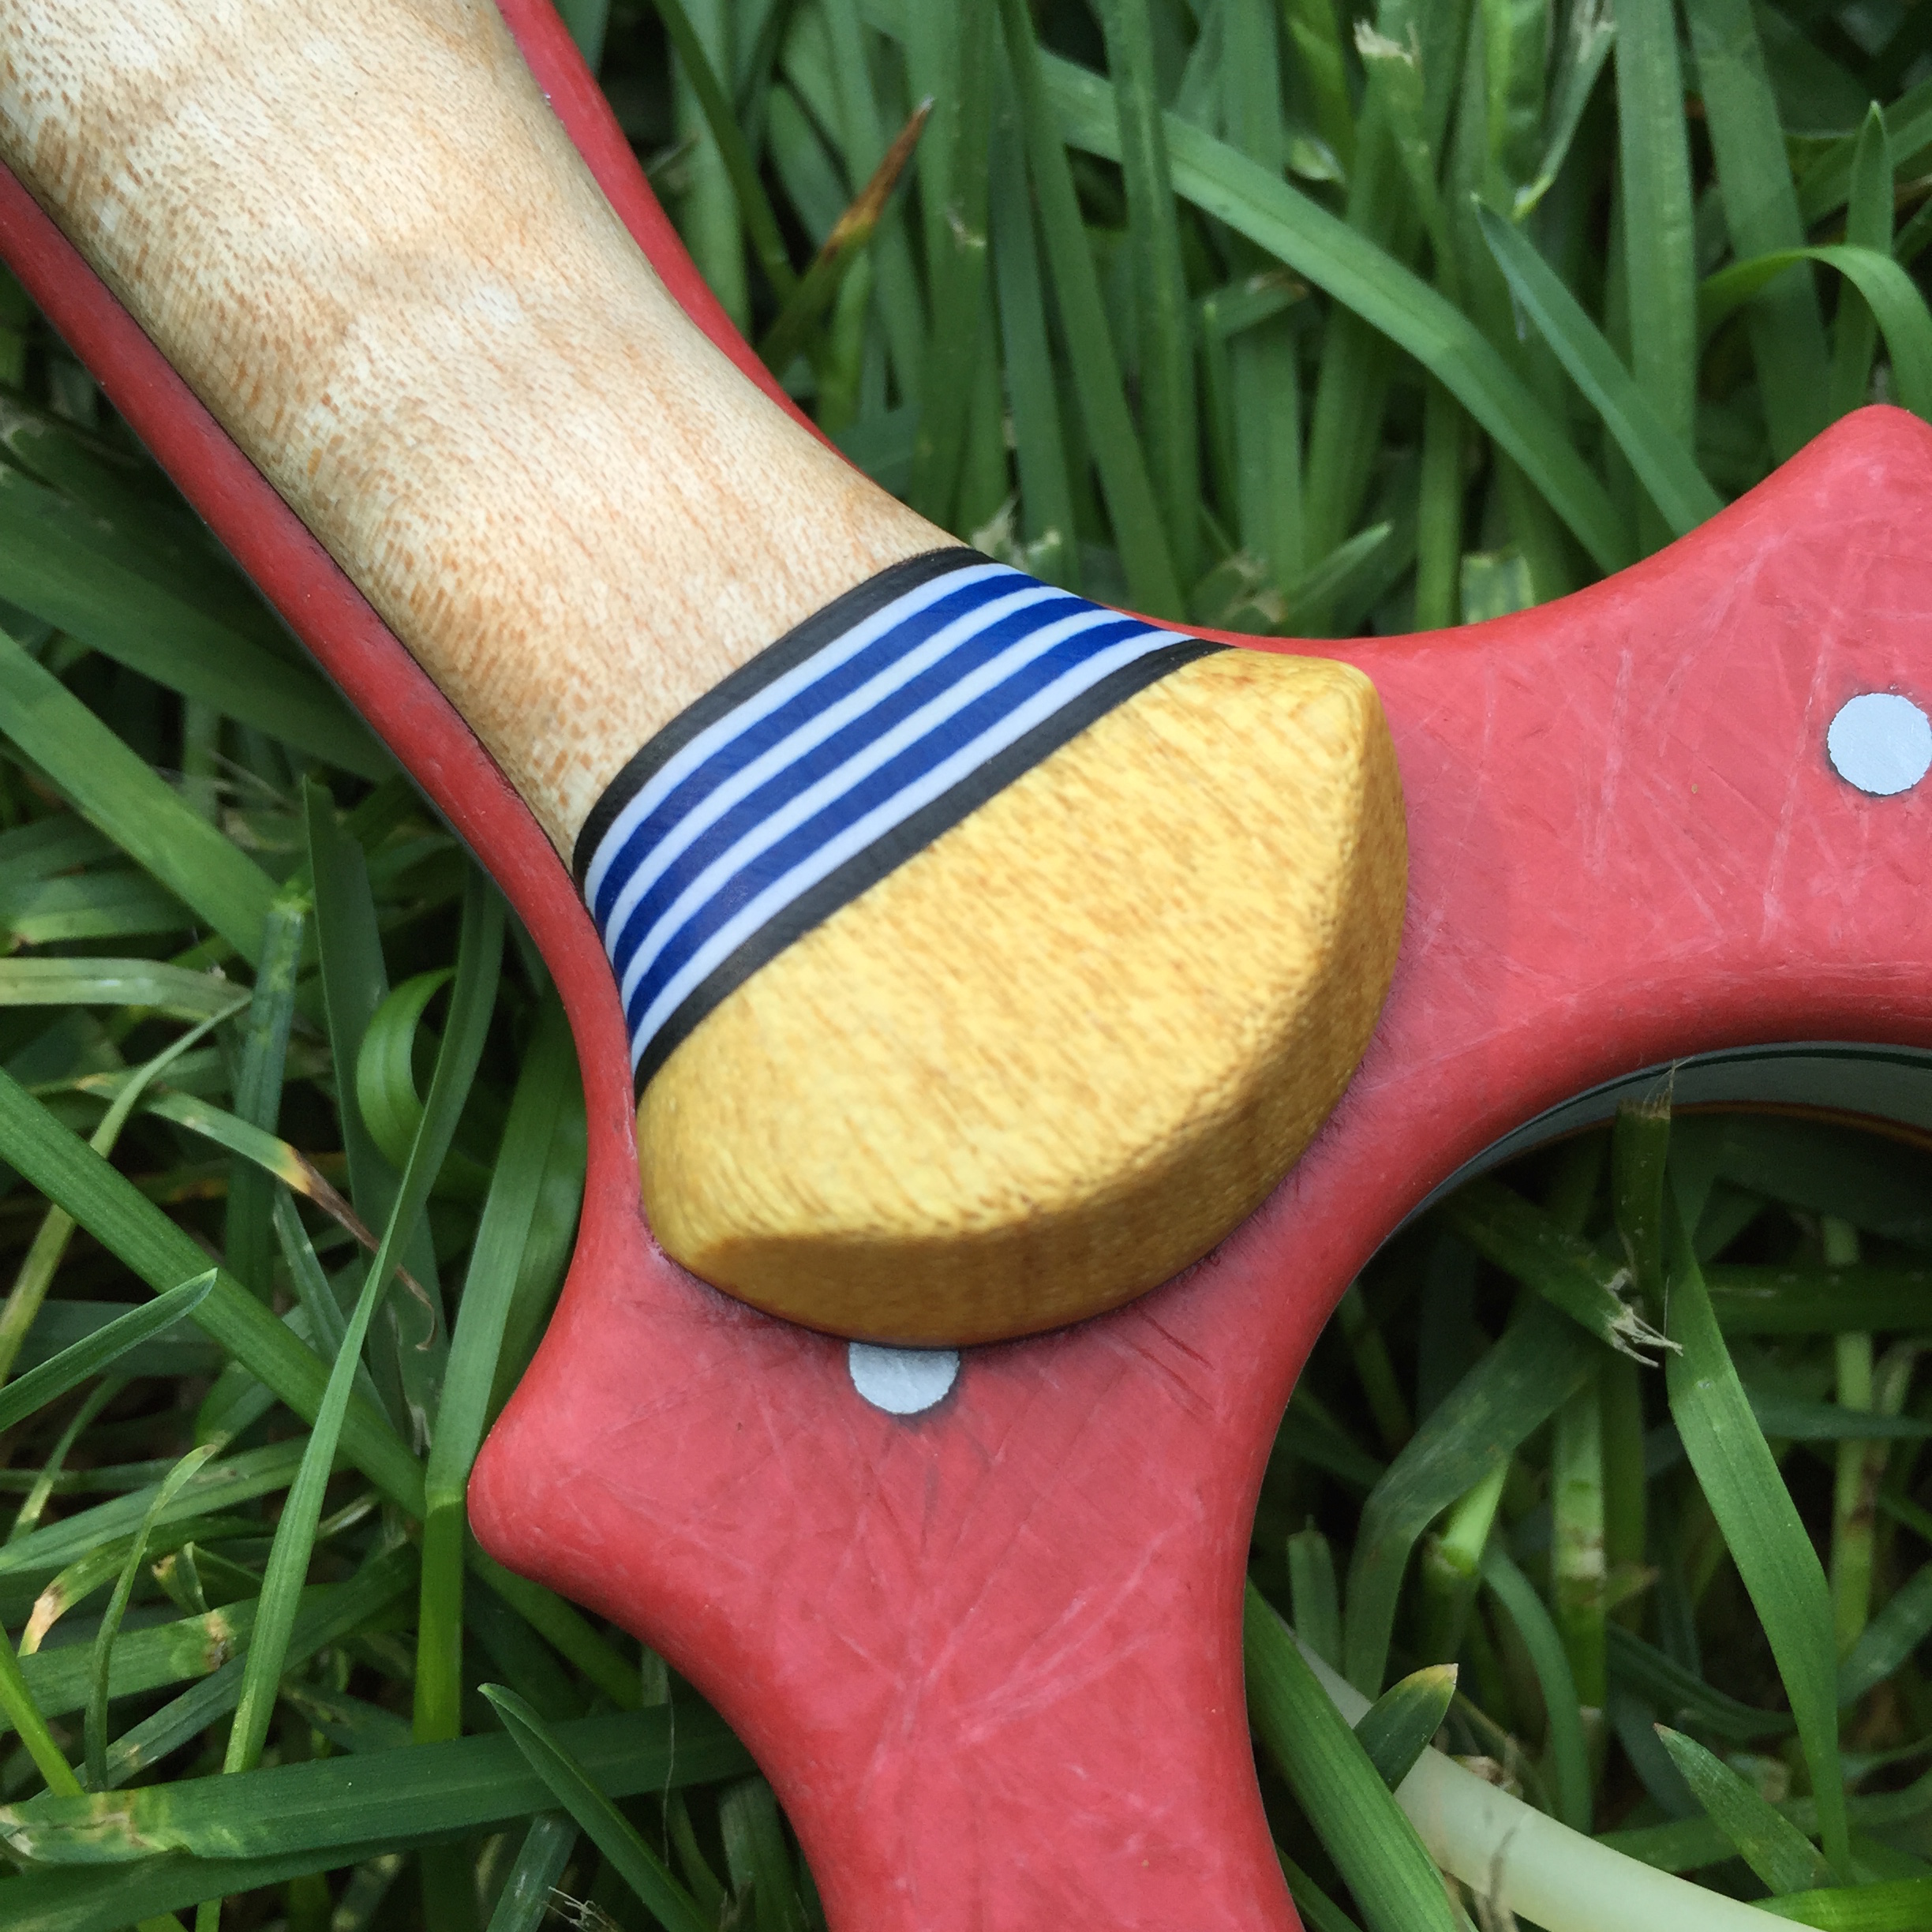
The back side scale was done in much the same way but I went back to the pin-up image to pull some colour choices. Some yellow heart from her dress, the white and blue from the picnic blanket. At this point, I’ve decided her name is Molly, so shall the slingshot’s name be.
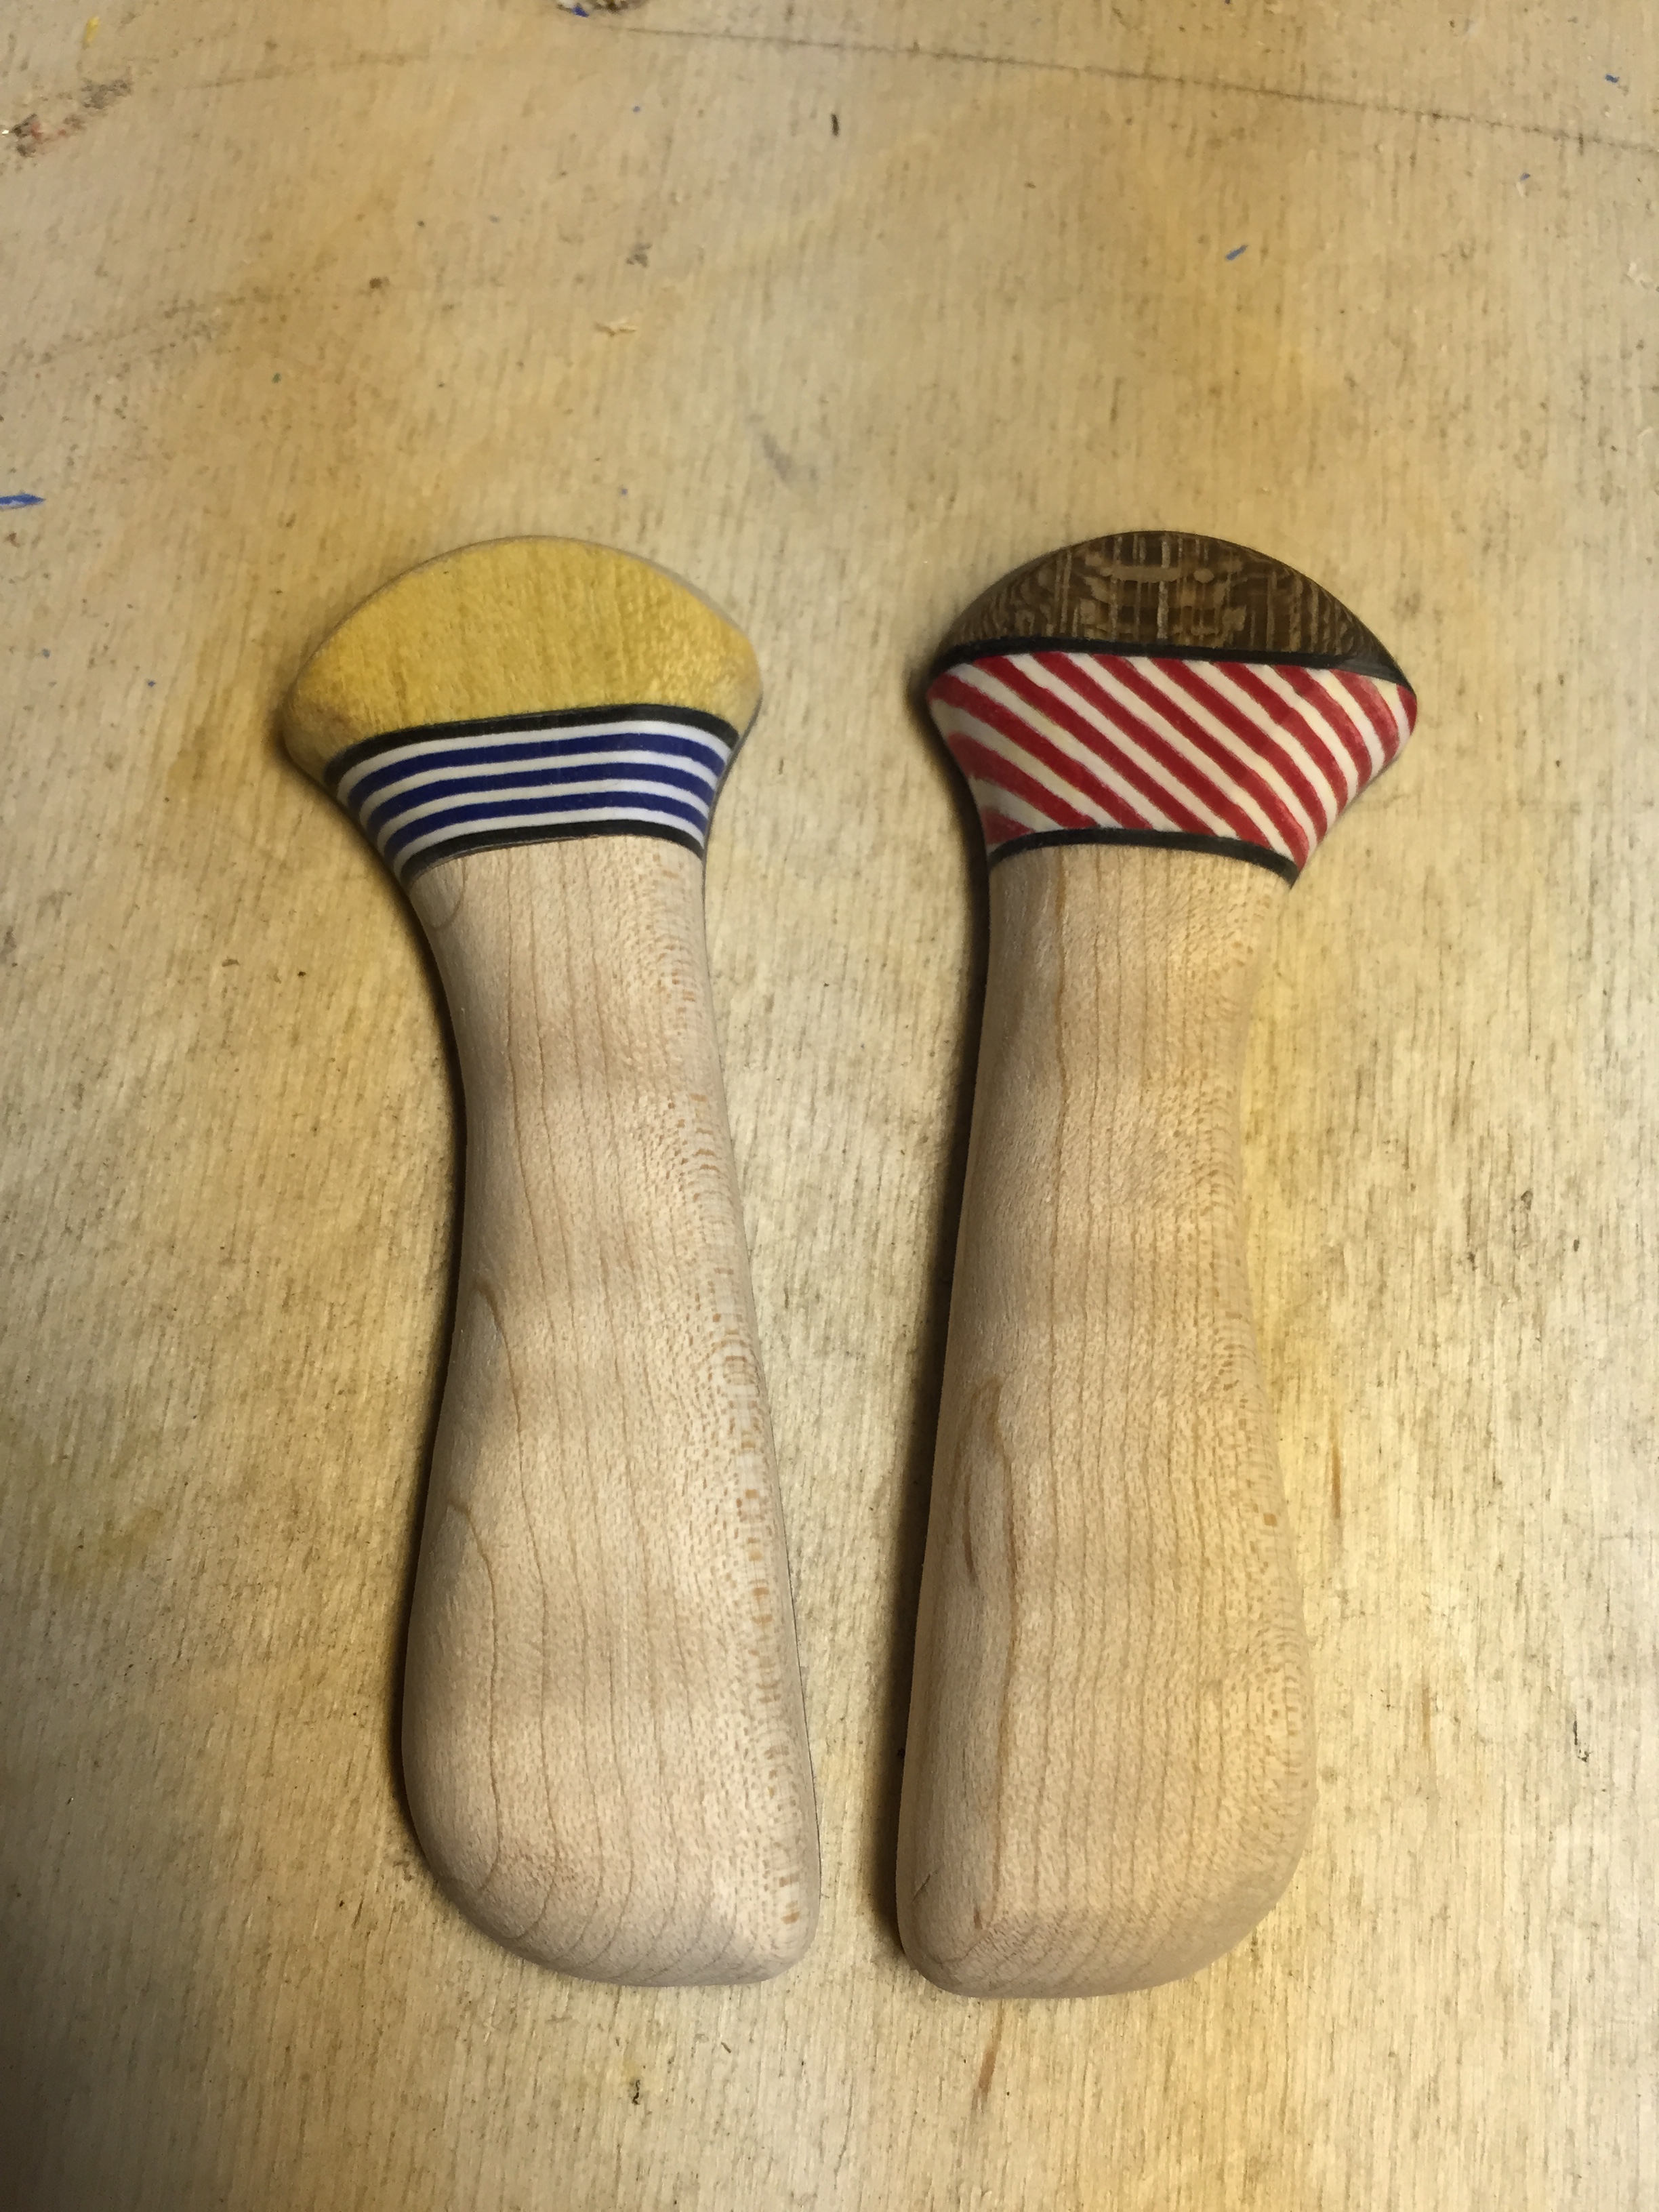
Letting the epoxy slabs cure over night once again, and in the morning sand the surface flush to reveal the contrasting, almost graphic novel style material slab.
Once the shape of the scale was traced out on one of the slabs, I taped them together to work on them simultaneously. This also made pulling them across the router bit a lot easier. These were sanded to 600 grit and it was beginning to look like I was going to pull it off.
Laying the scale on top of the core, it was all coming together.
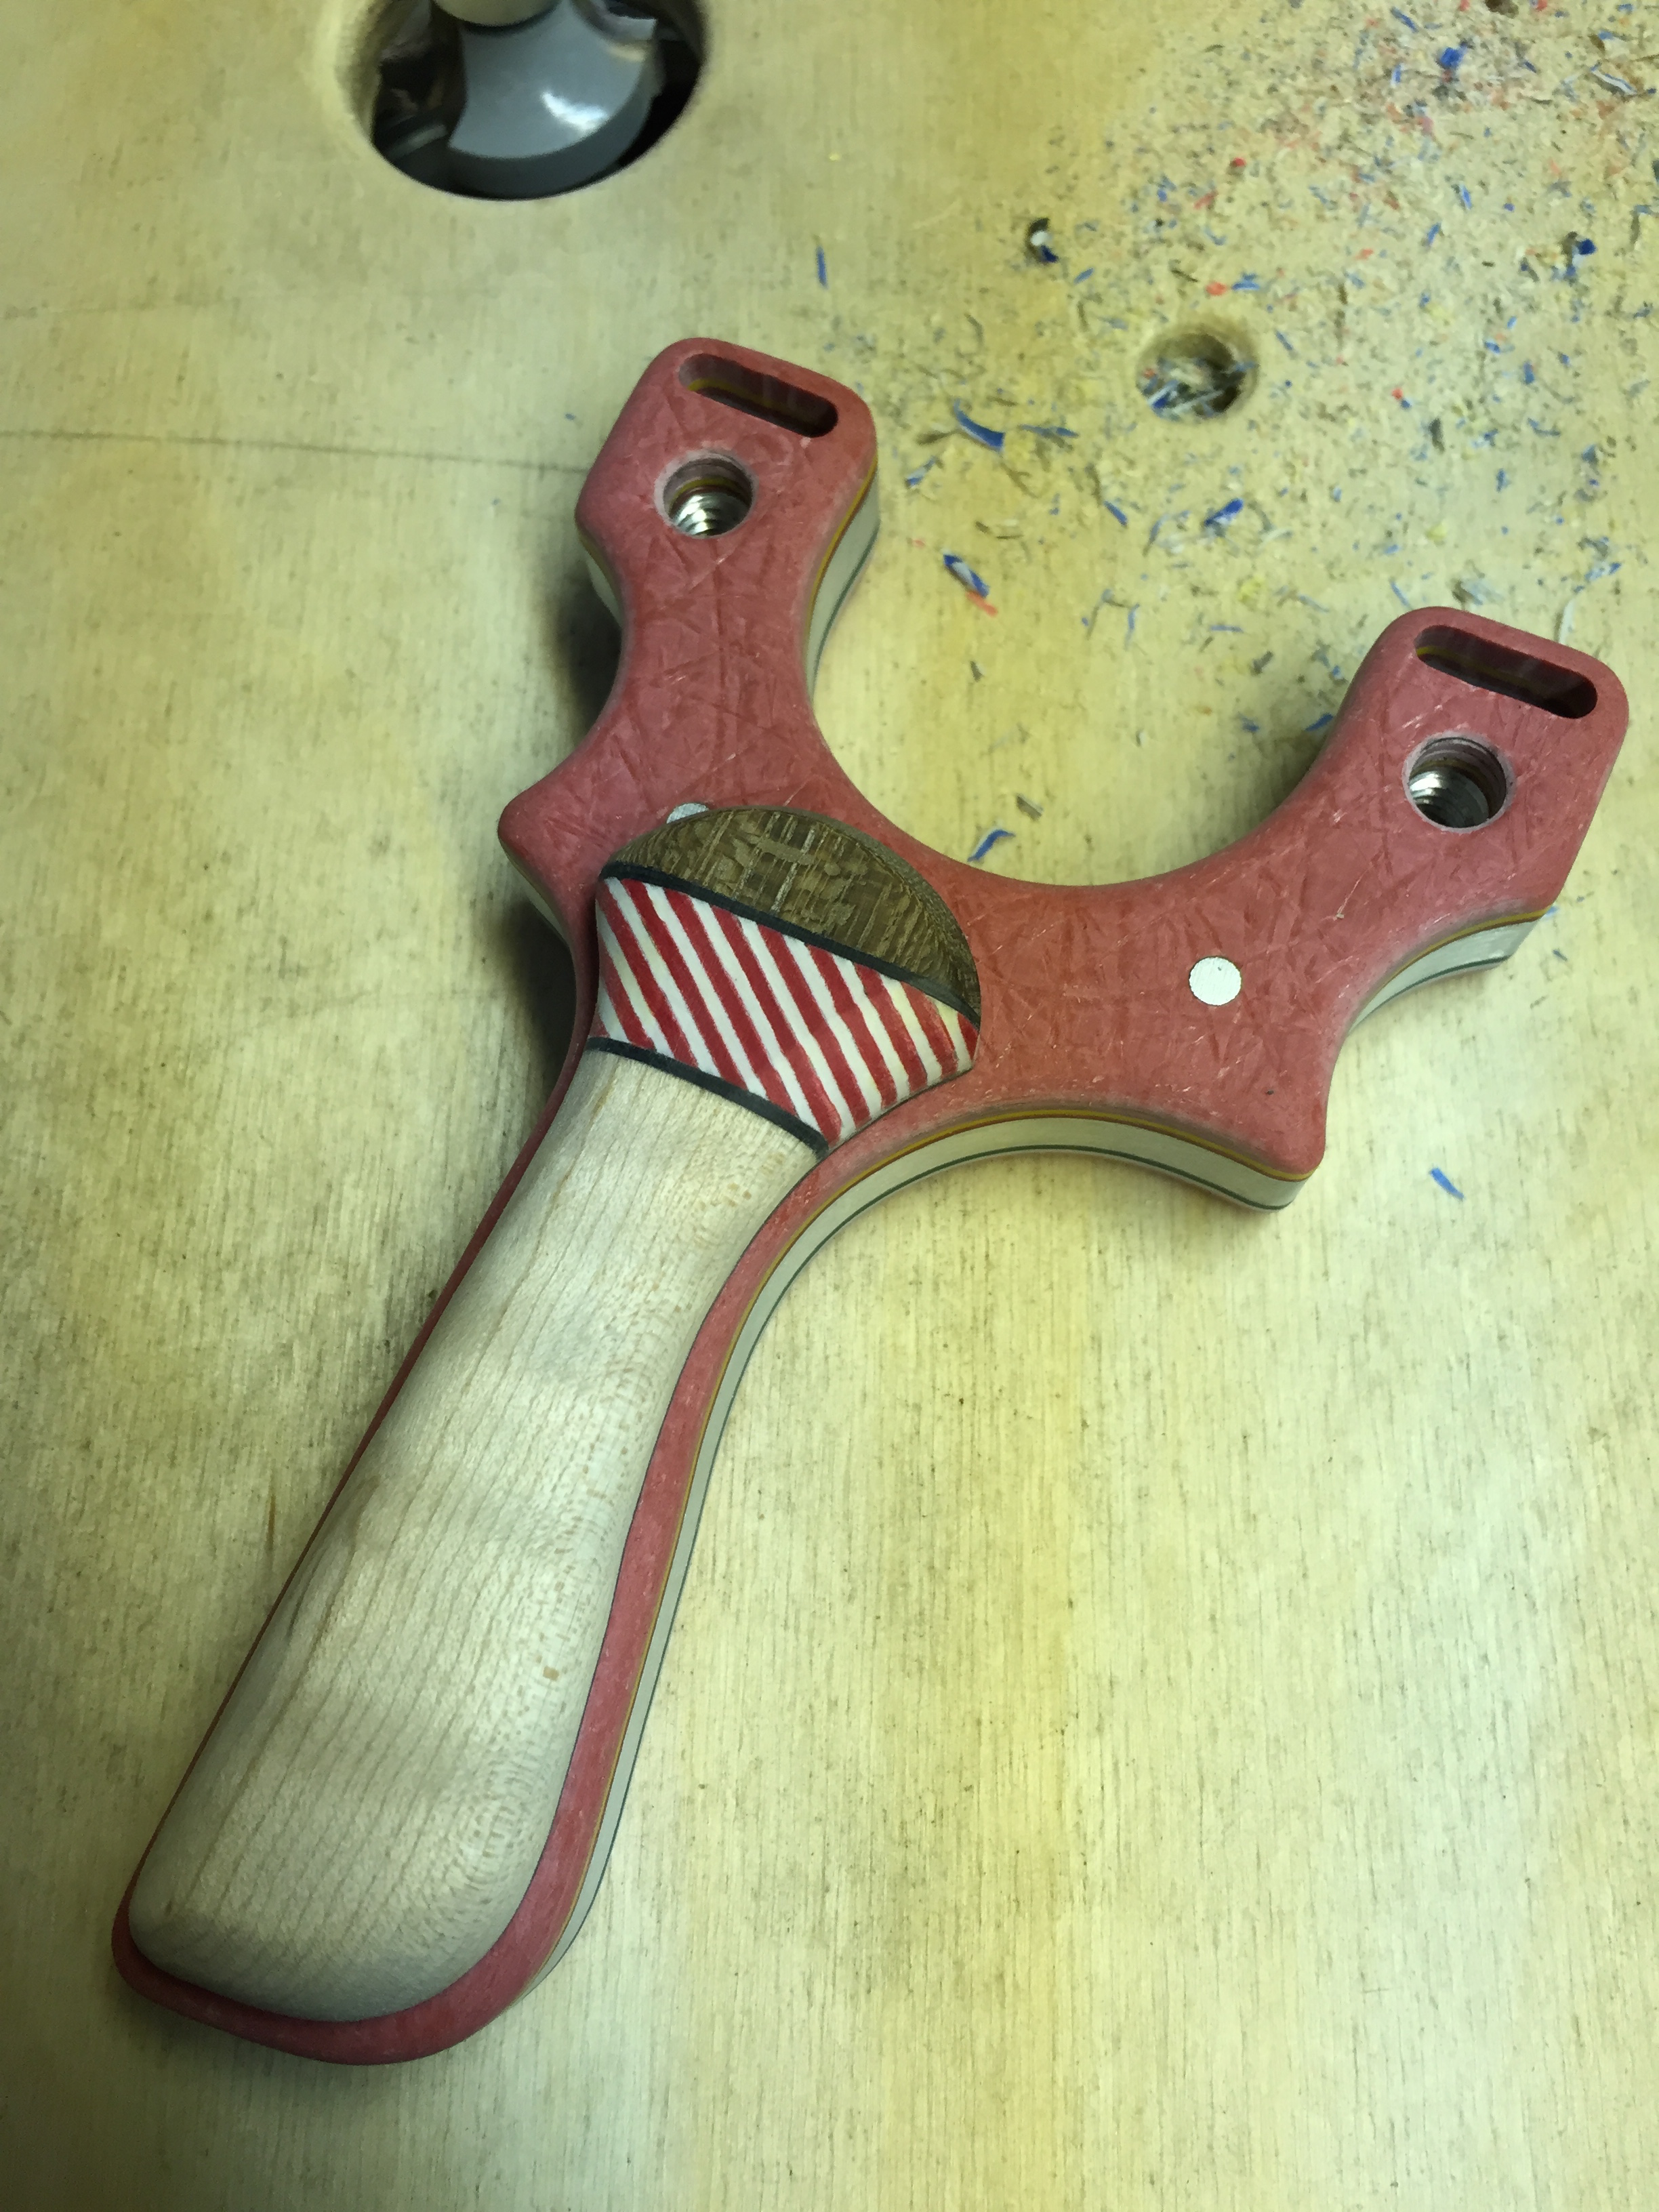
…and a quick mock up to see how it would look. The hot dog is strong with this one.
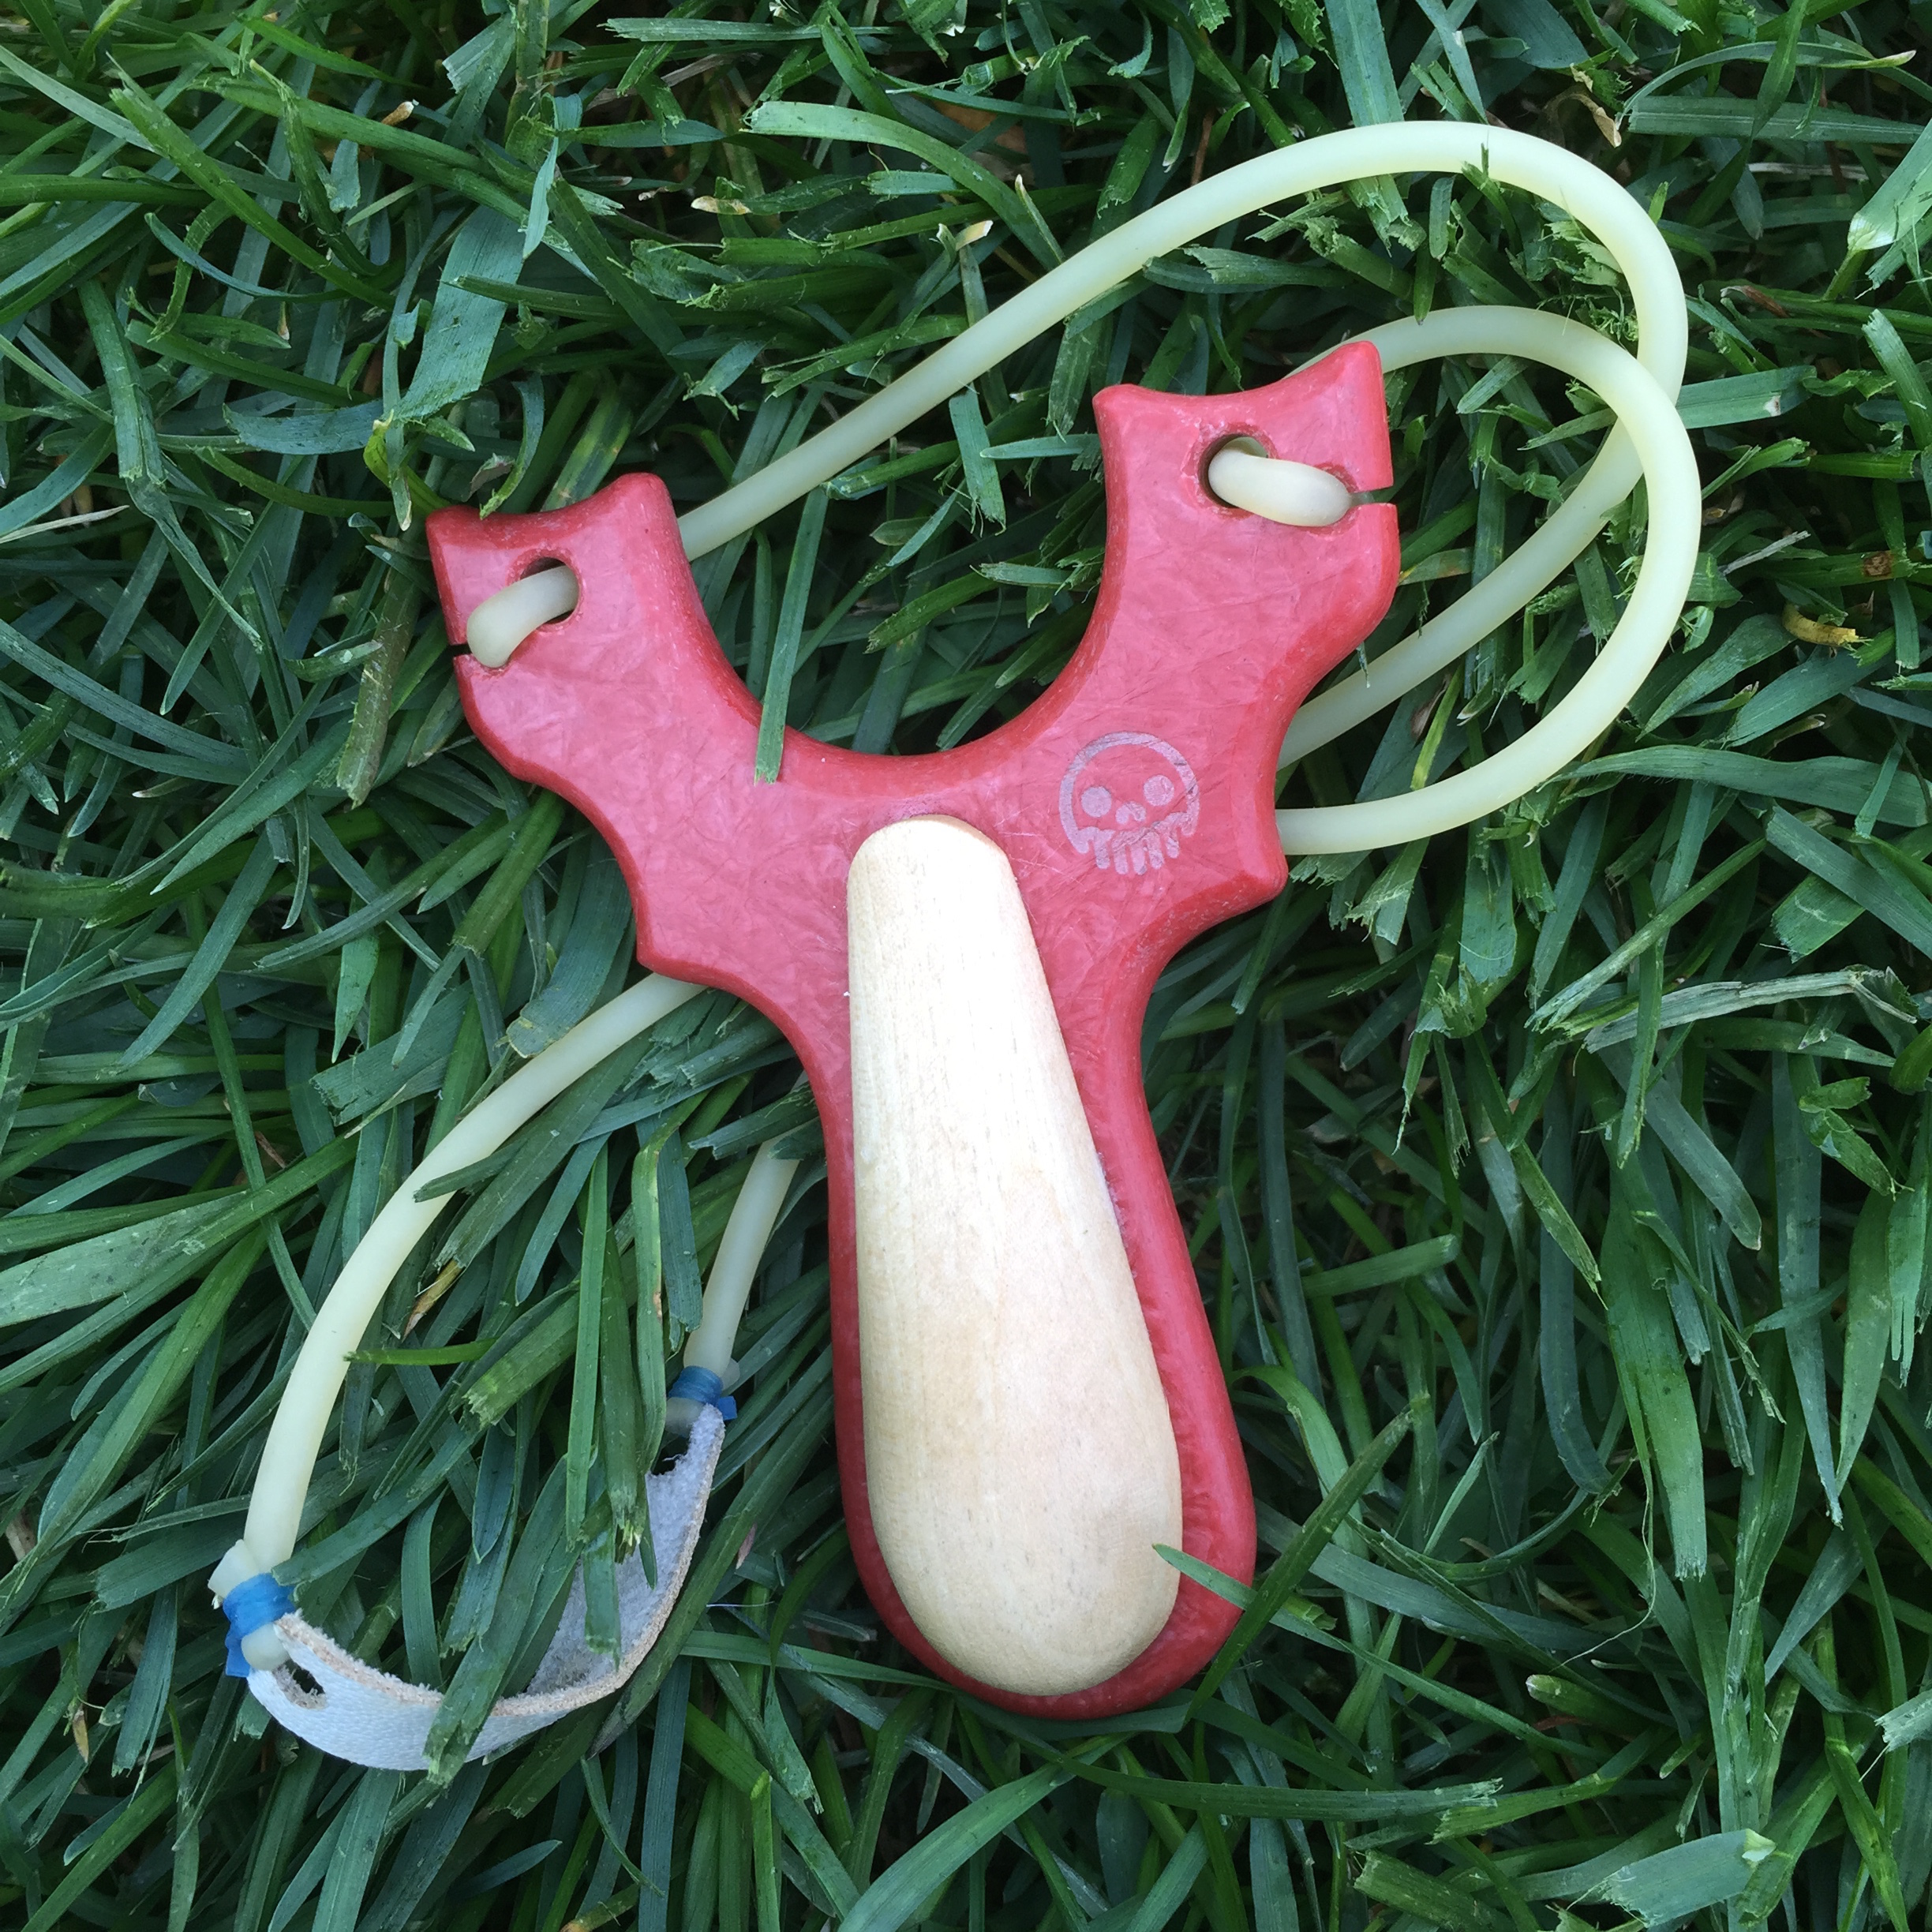
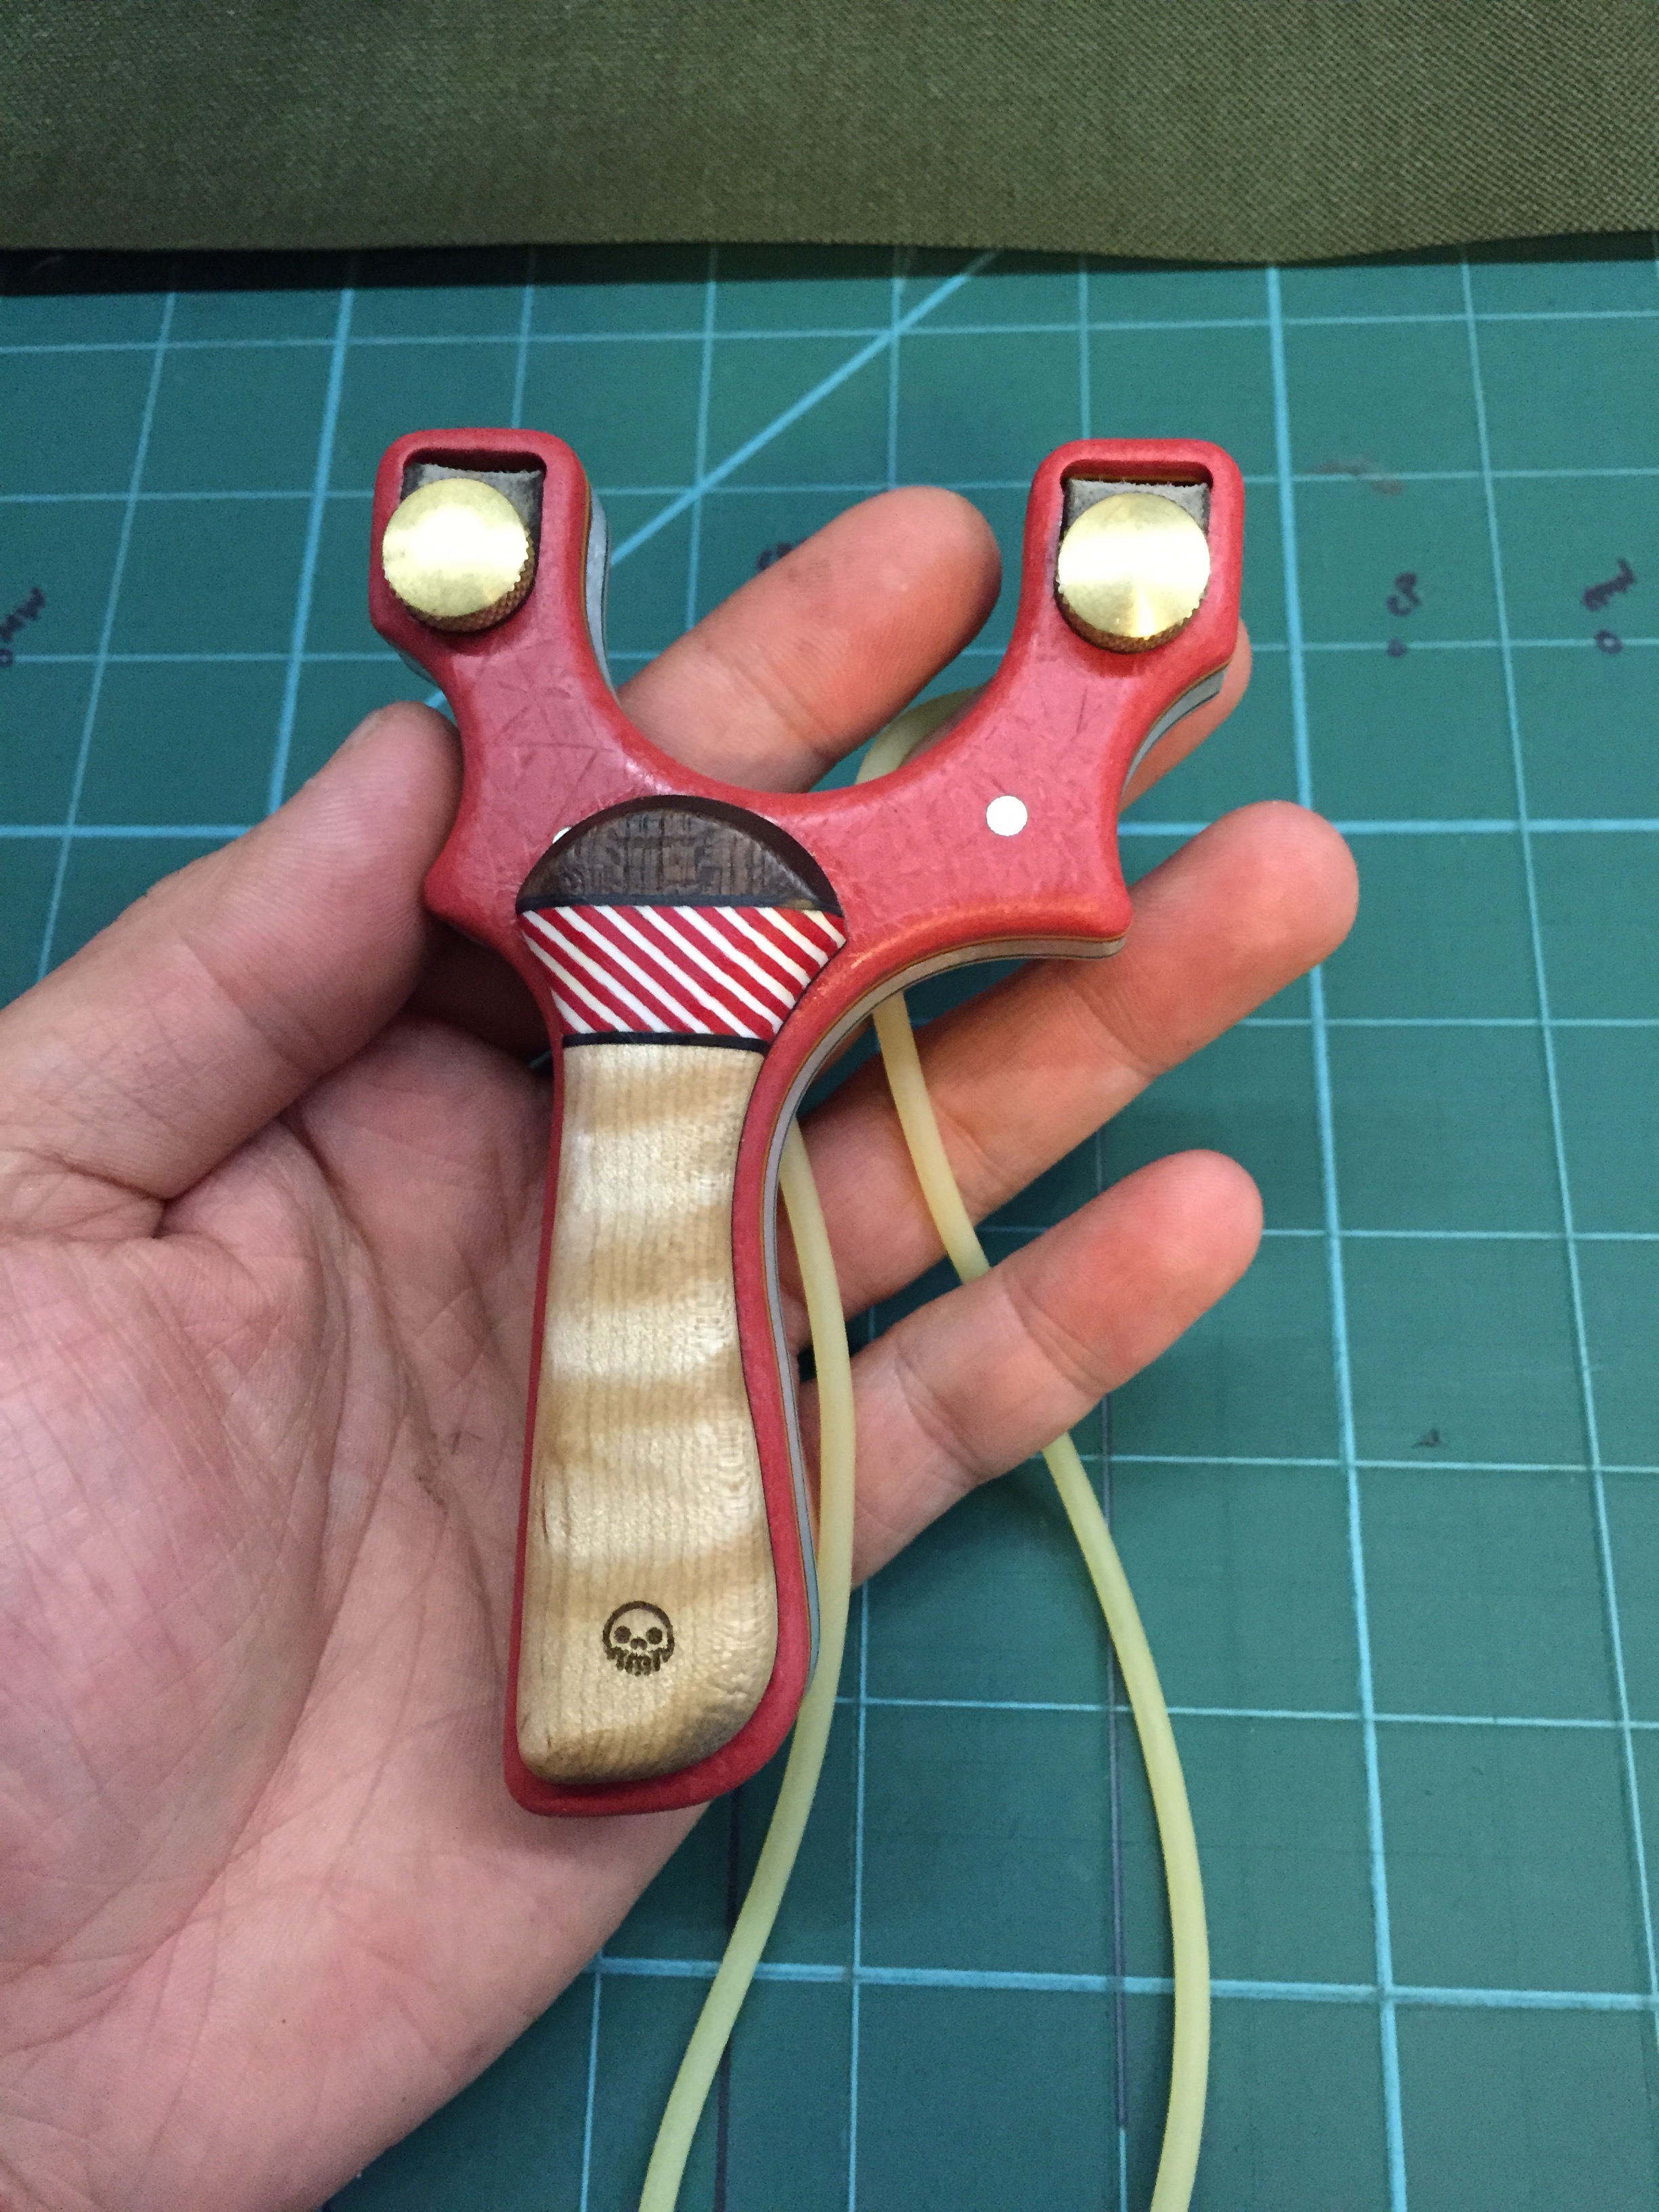
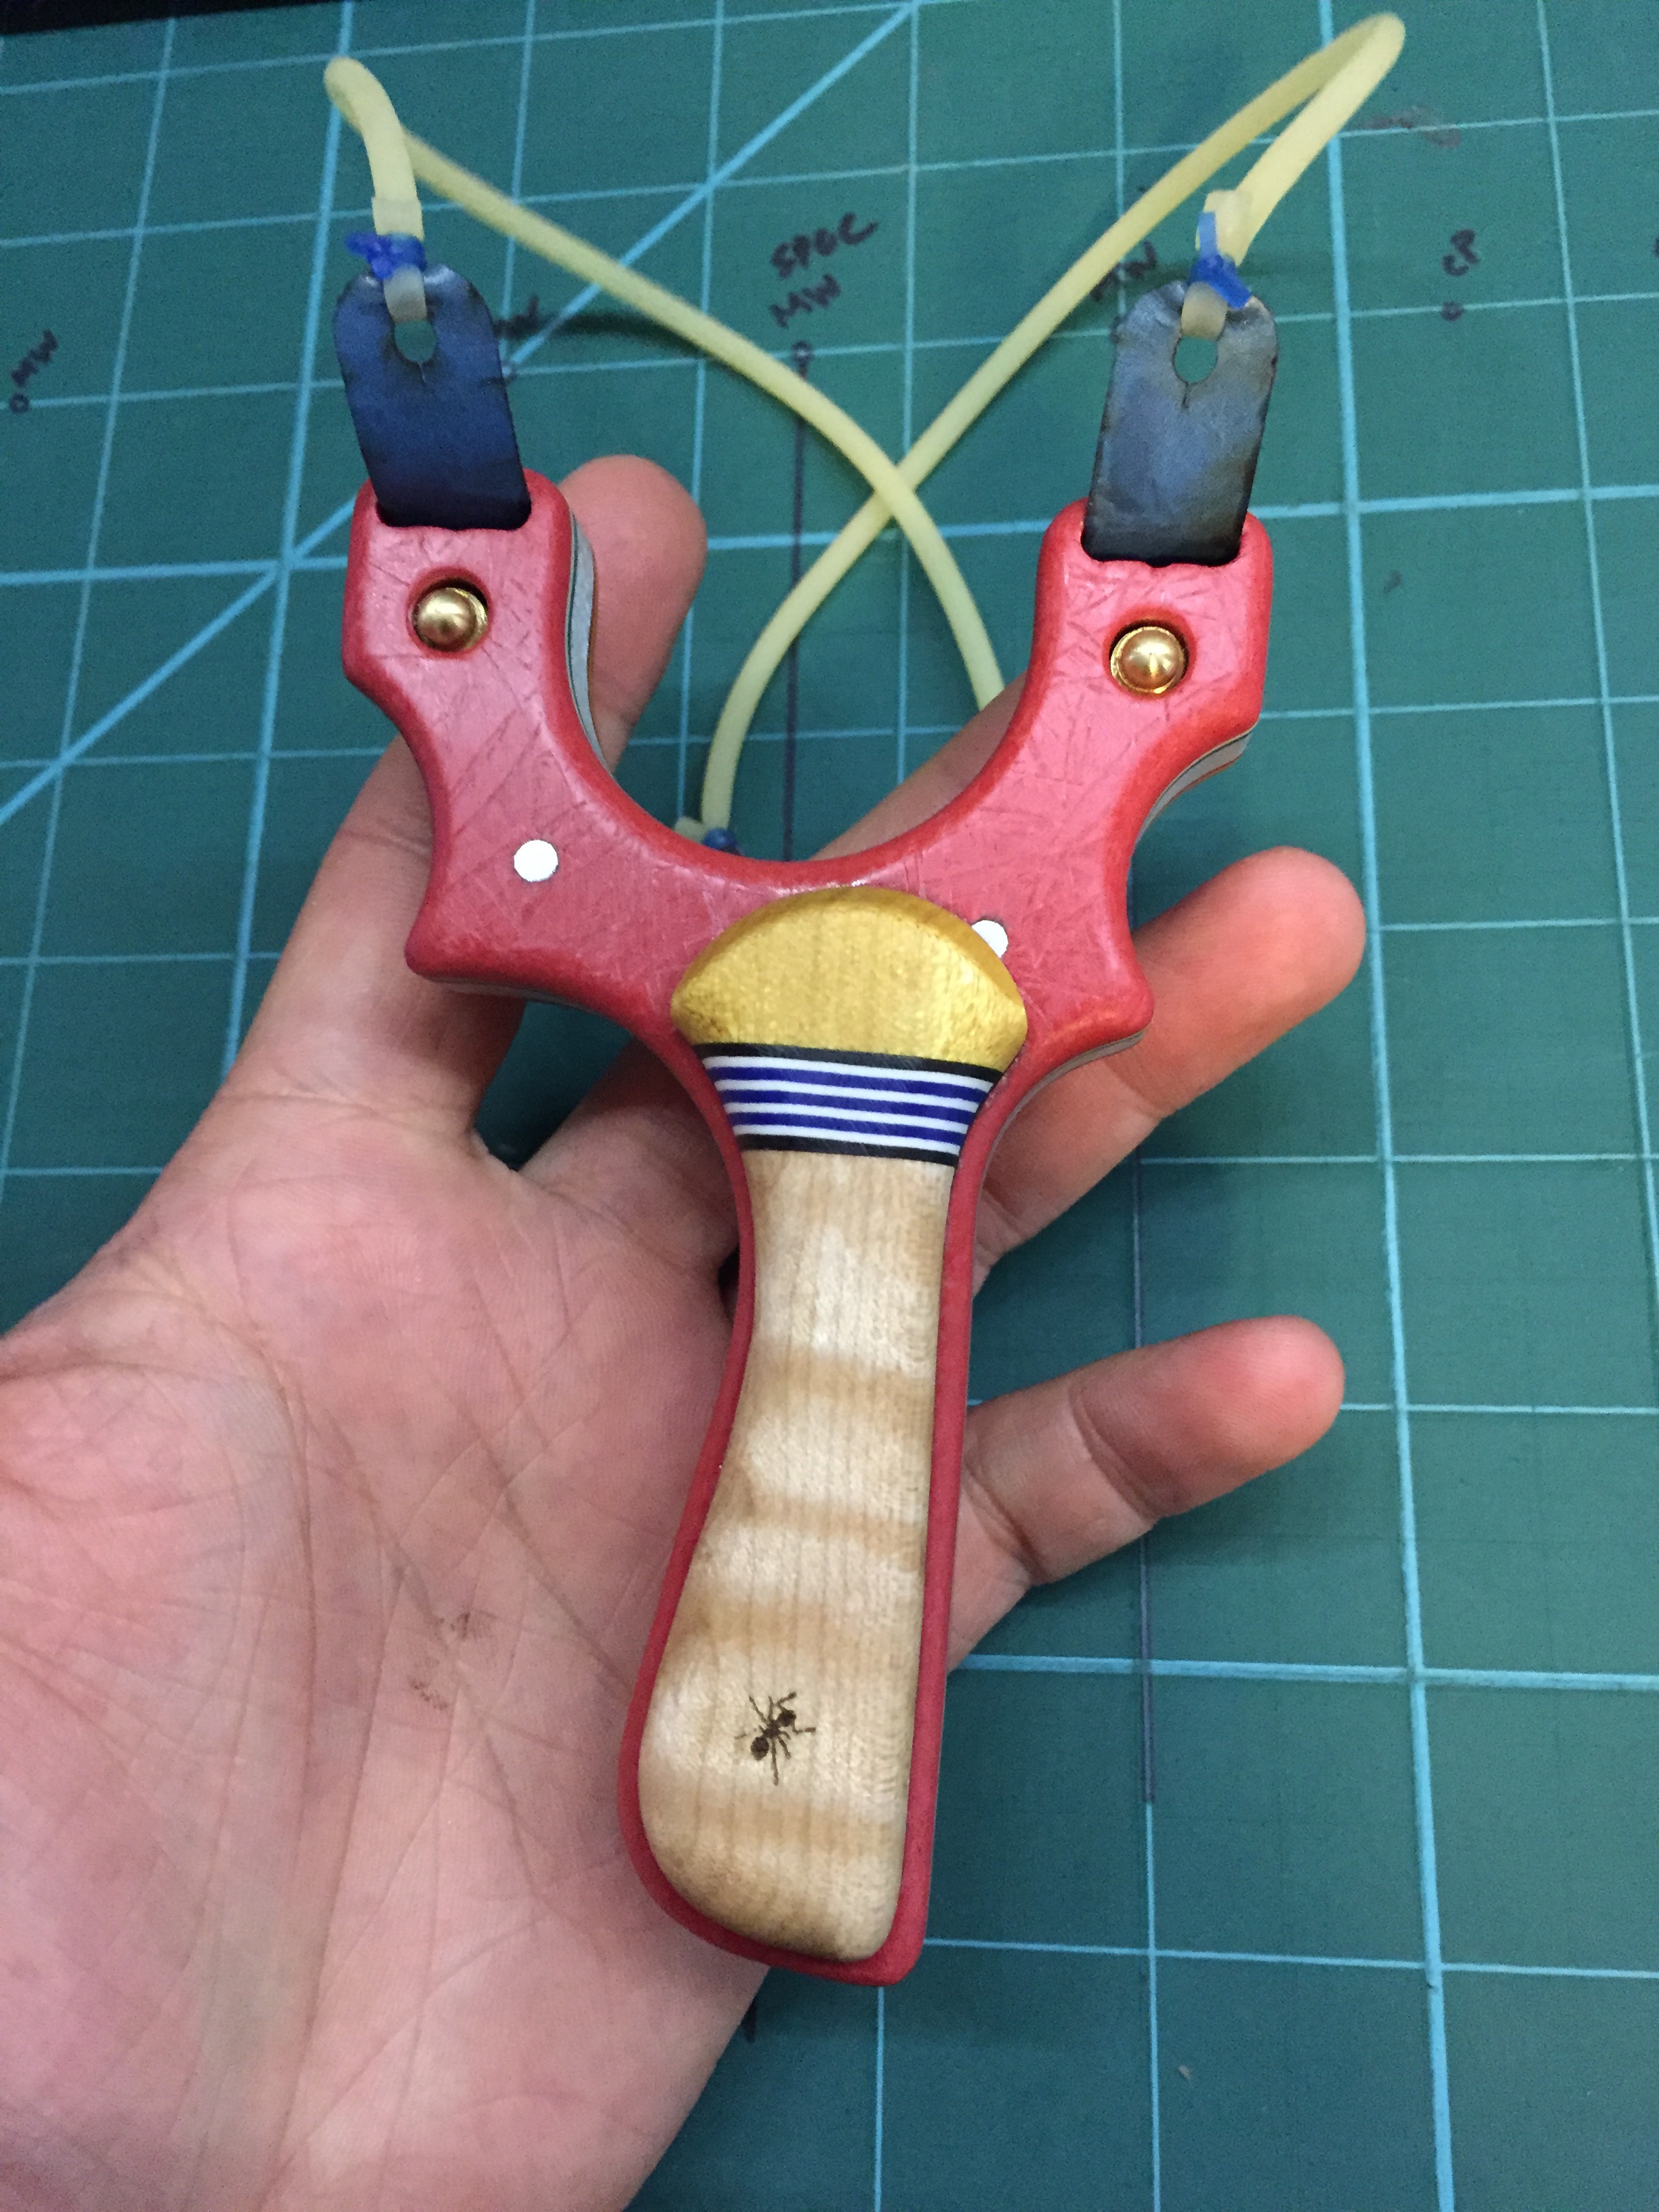
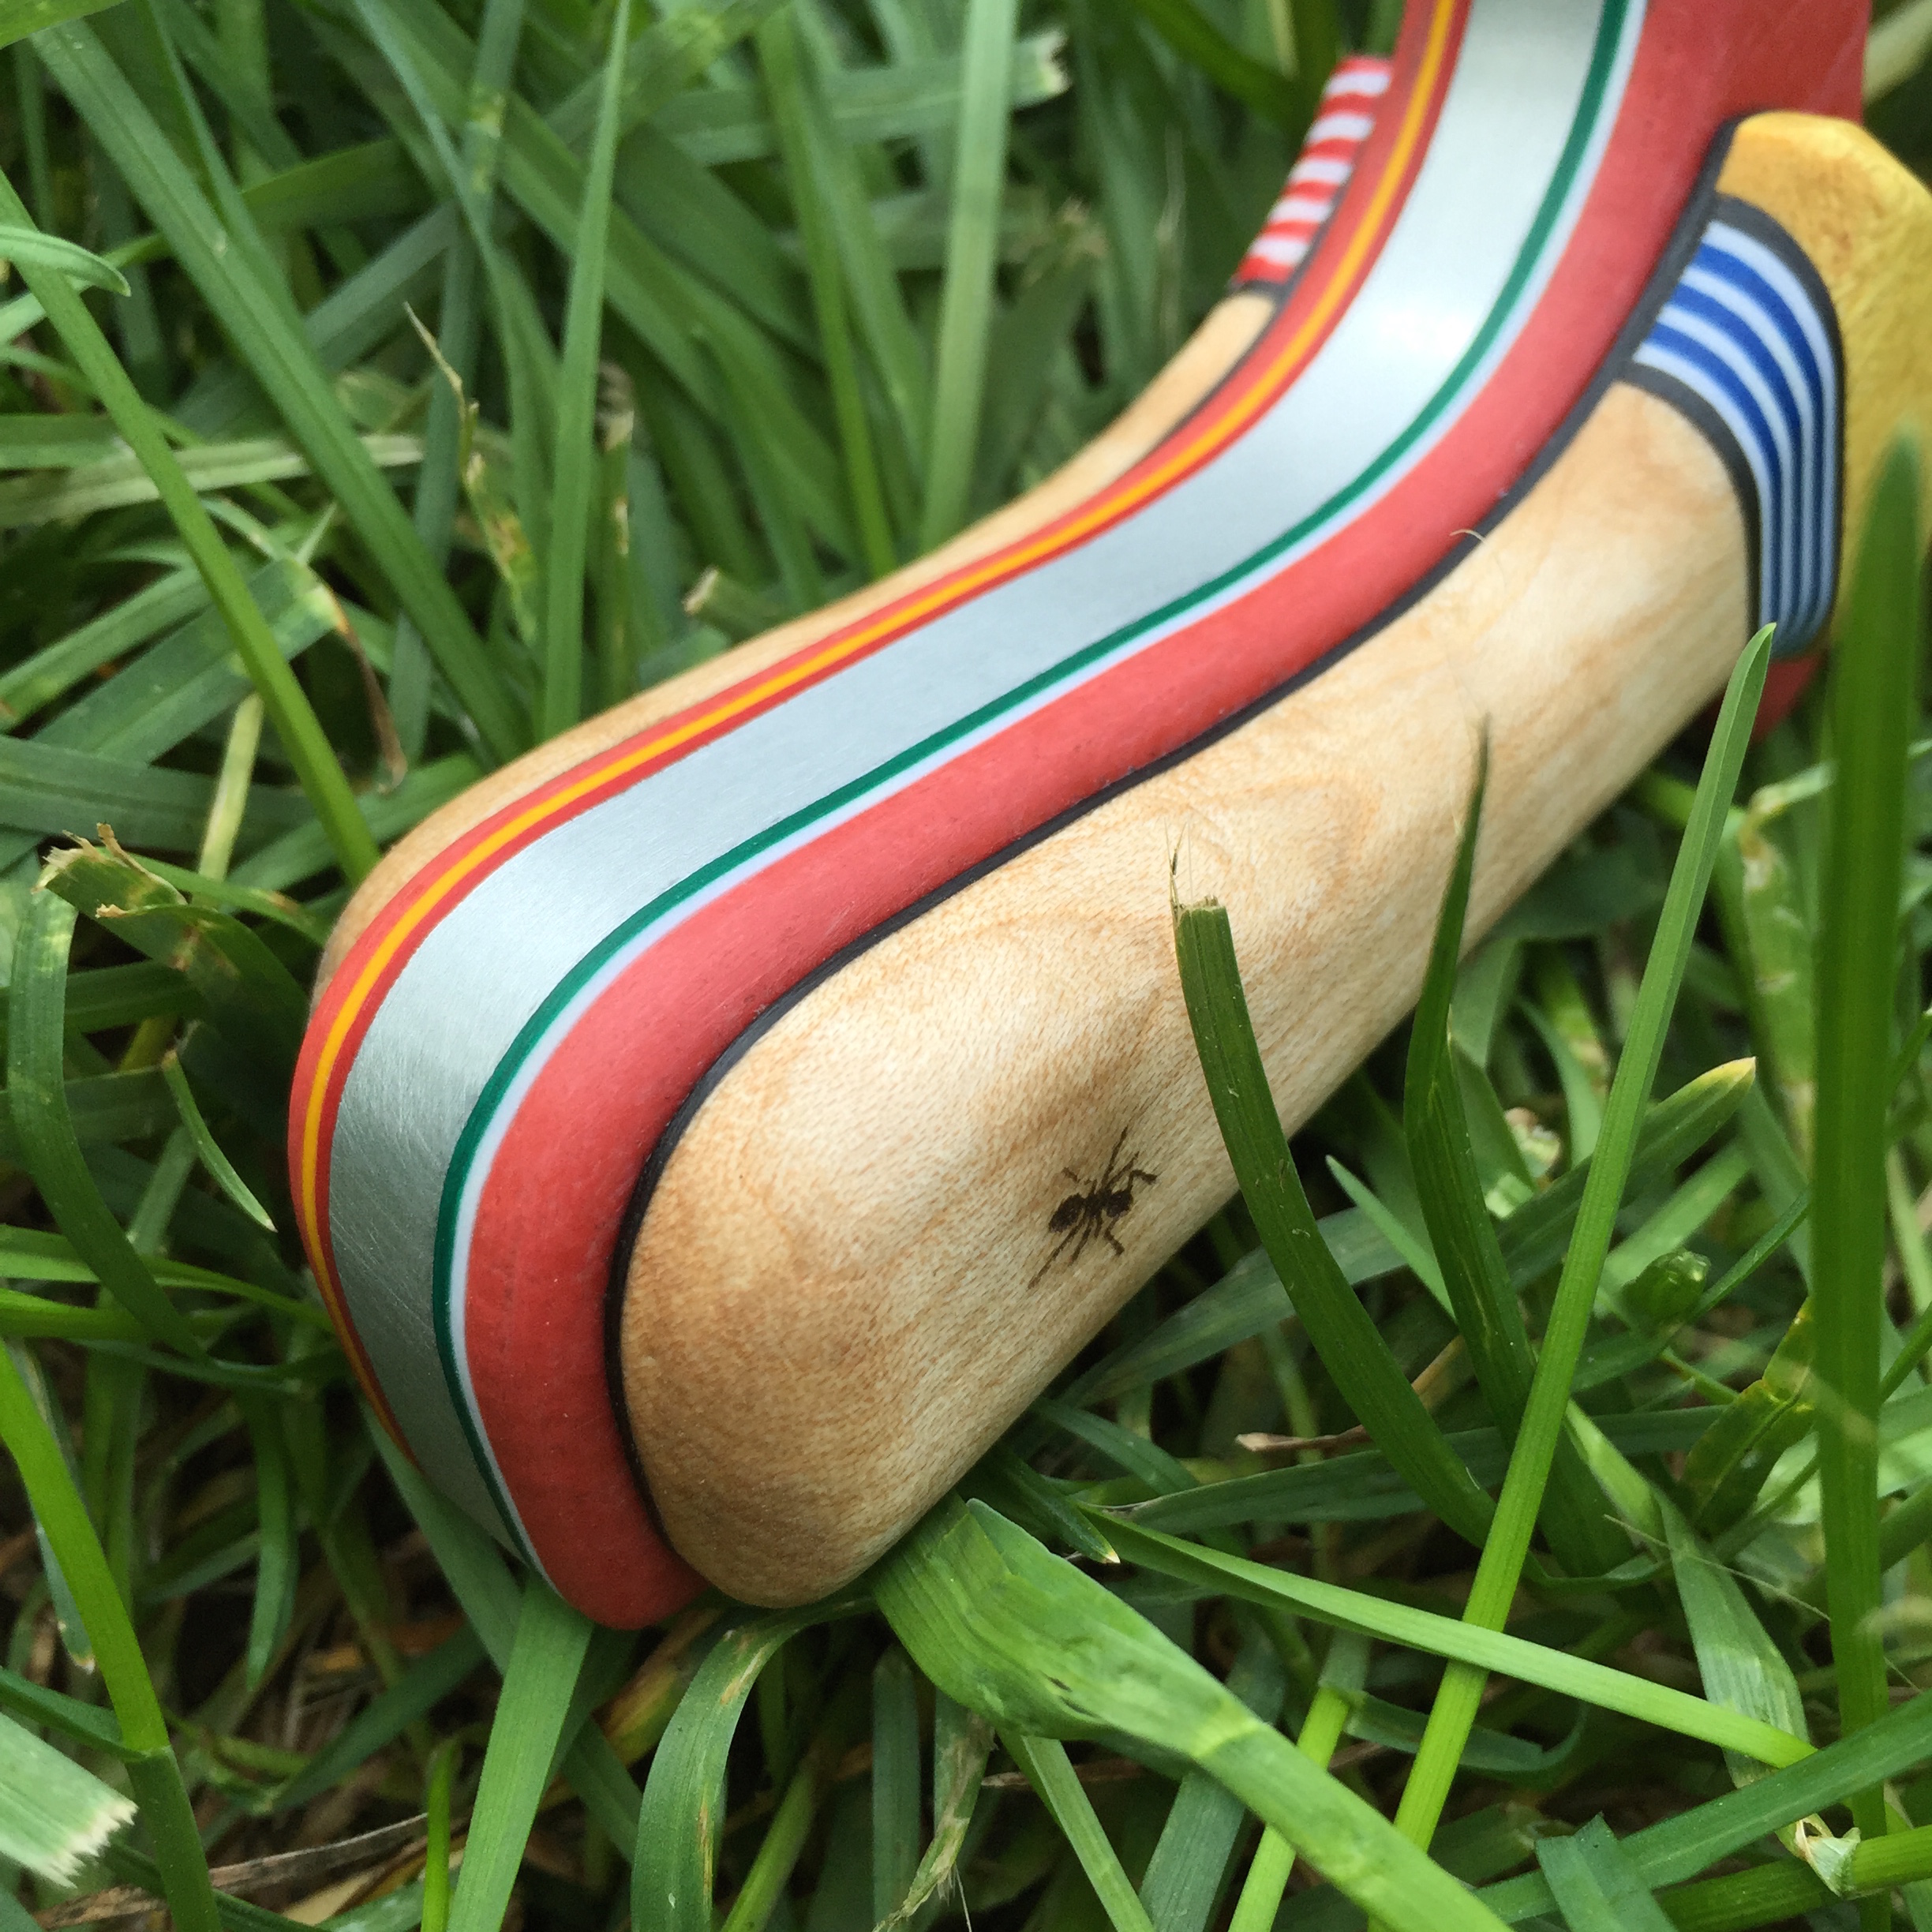
I had previously posted about a new tool I got in the shop, a mini laser engraver. To add more detail, I etched an ant on one scale and a scaled down (6mm) Metro Grade skull on the other.

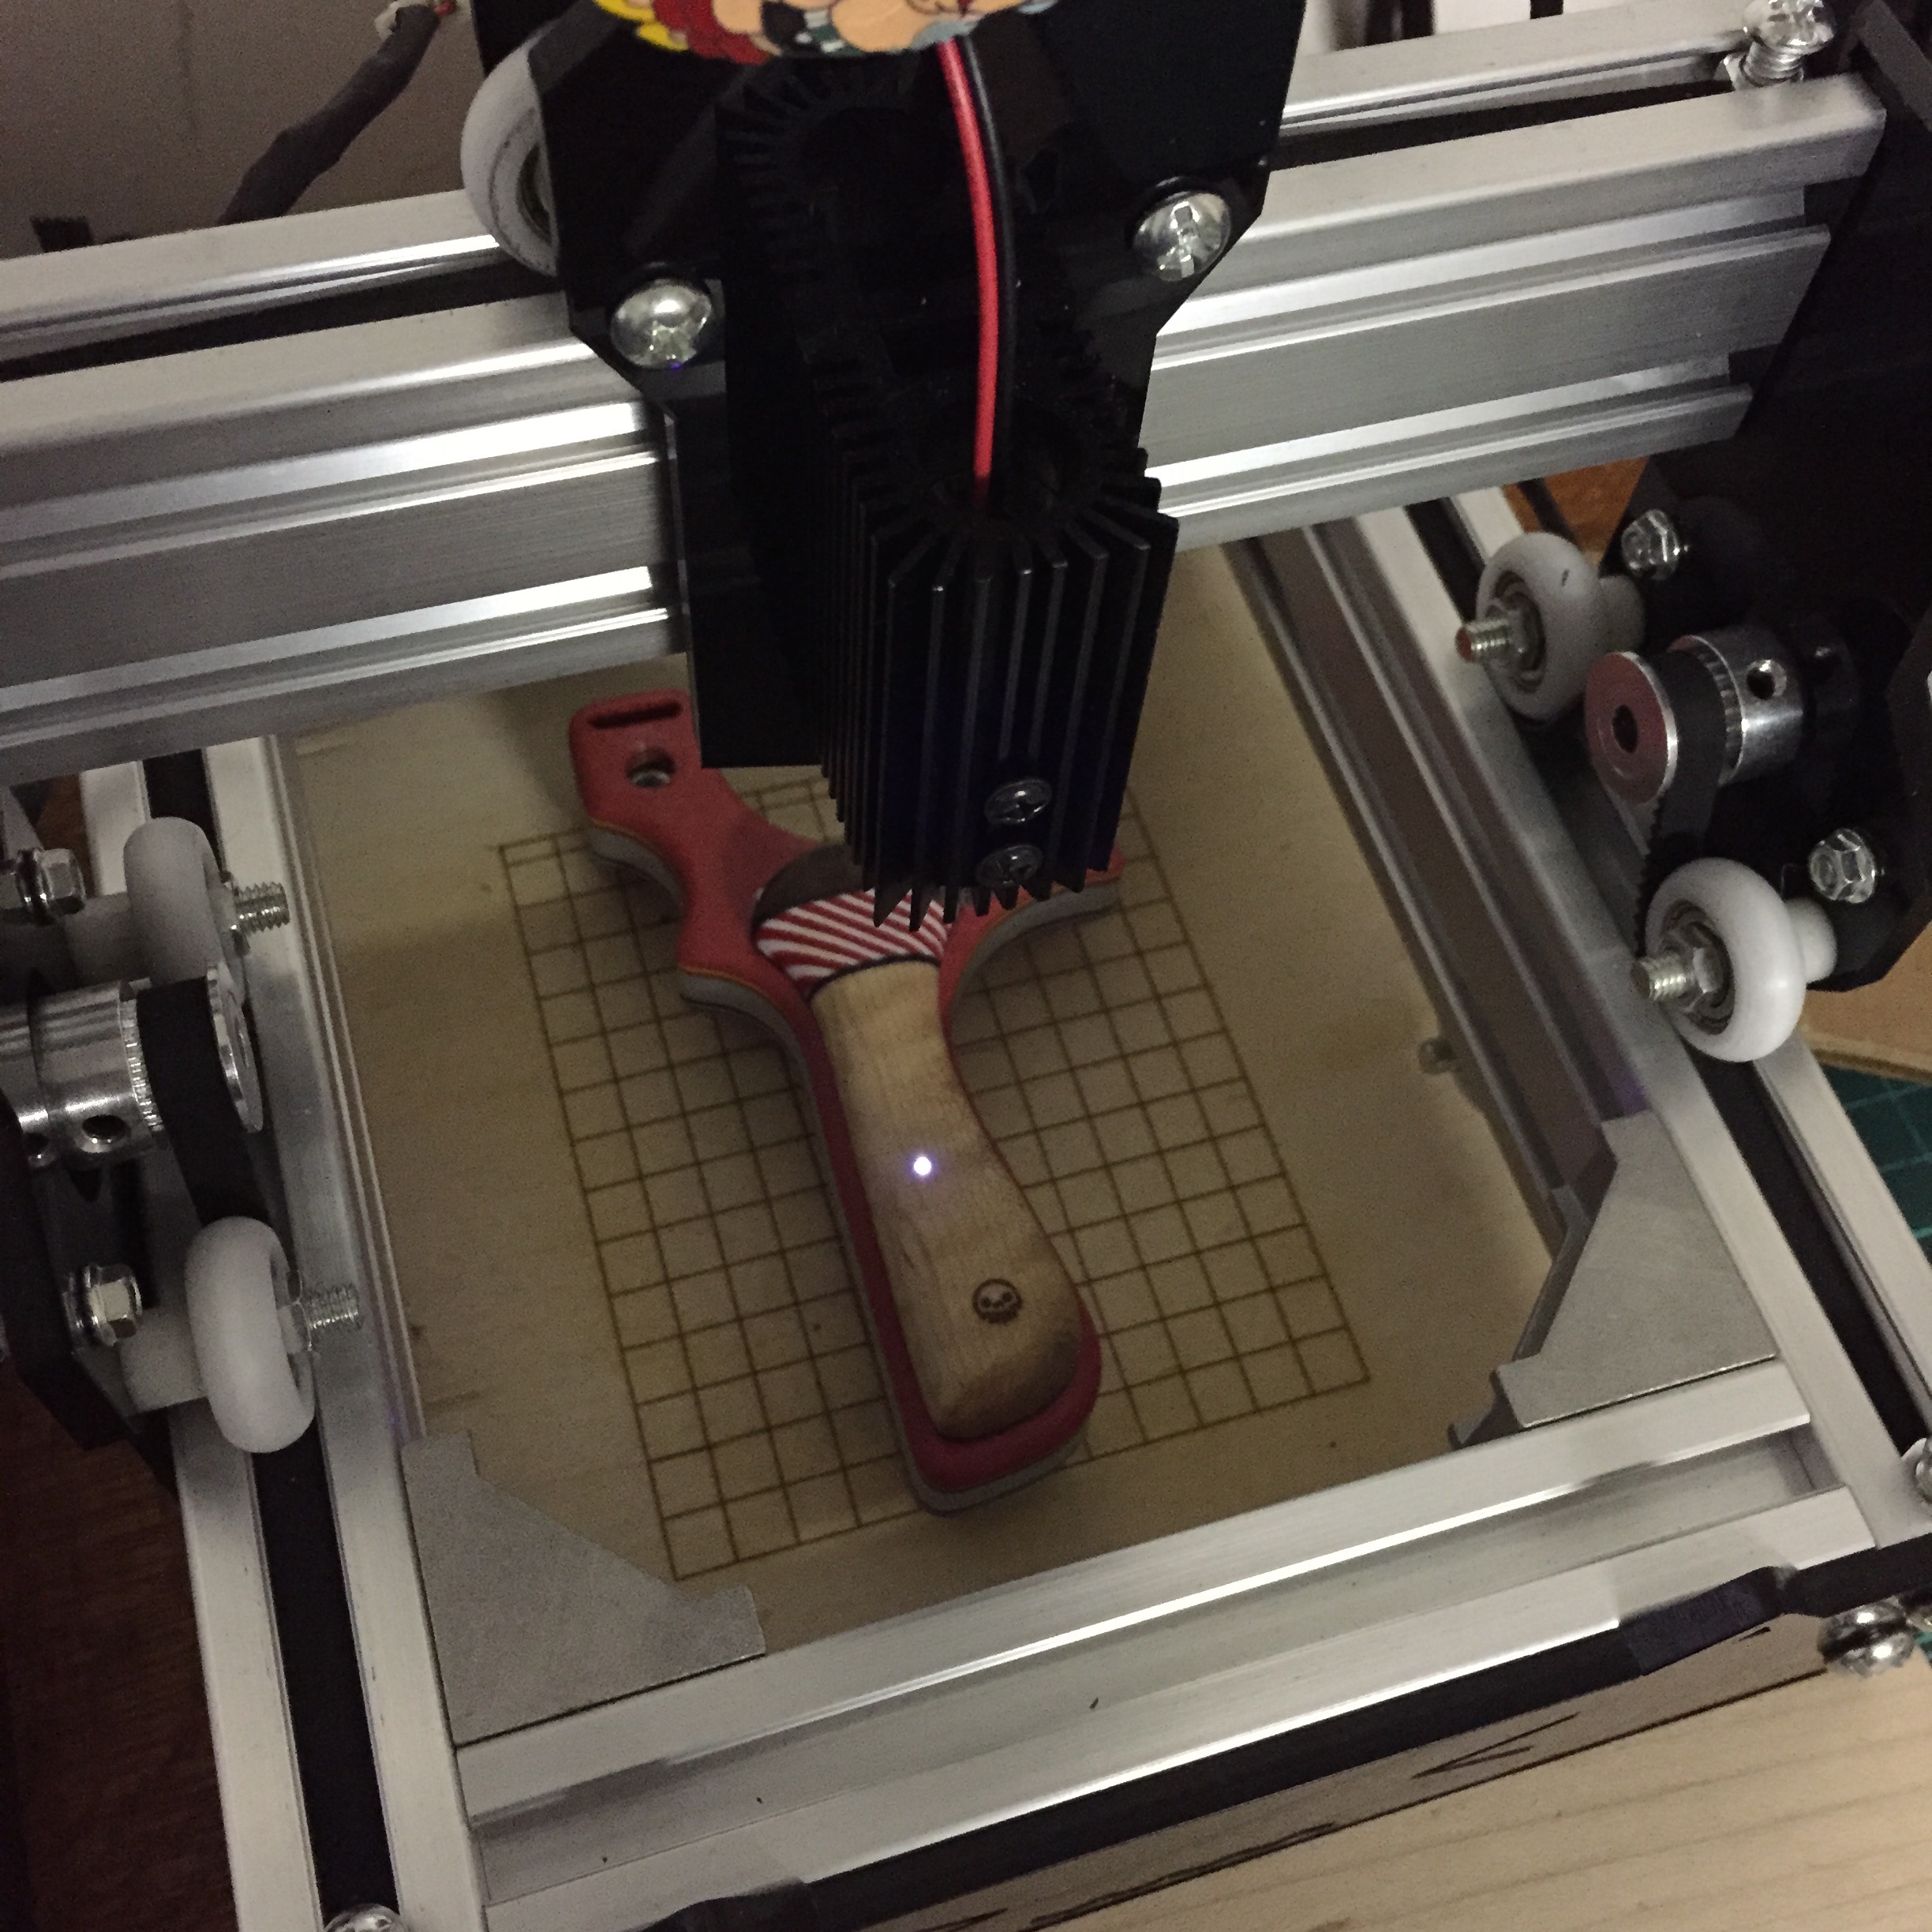
In the above picture, I already had attached the scales onto the frame. Seeing how these were decorative and weren’t structural, I felt there was no need to pin them into place. CA glue (super glue) bites onto GPO3 very hard and is a fairly secure bond.
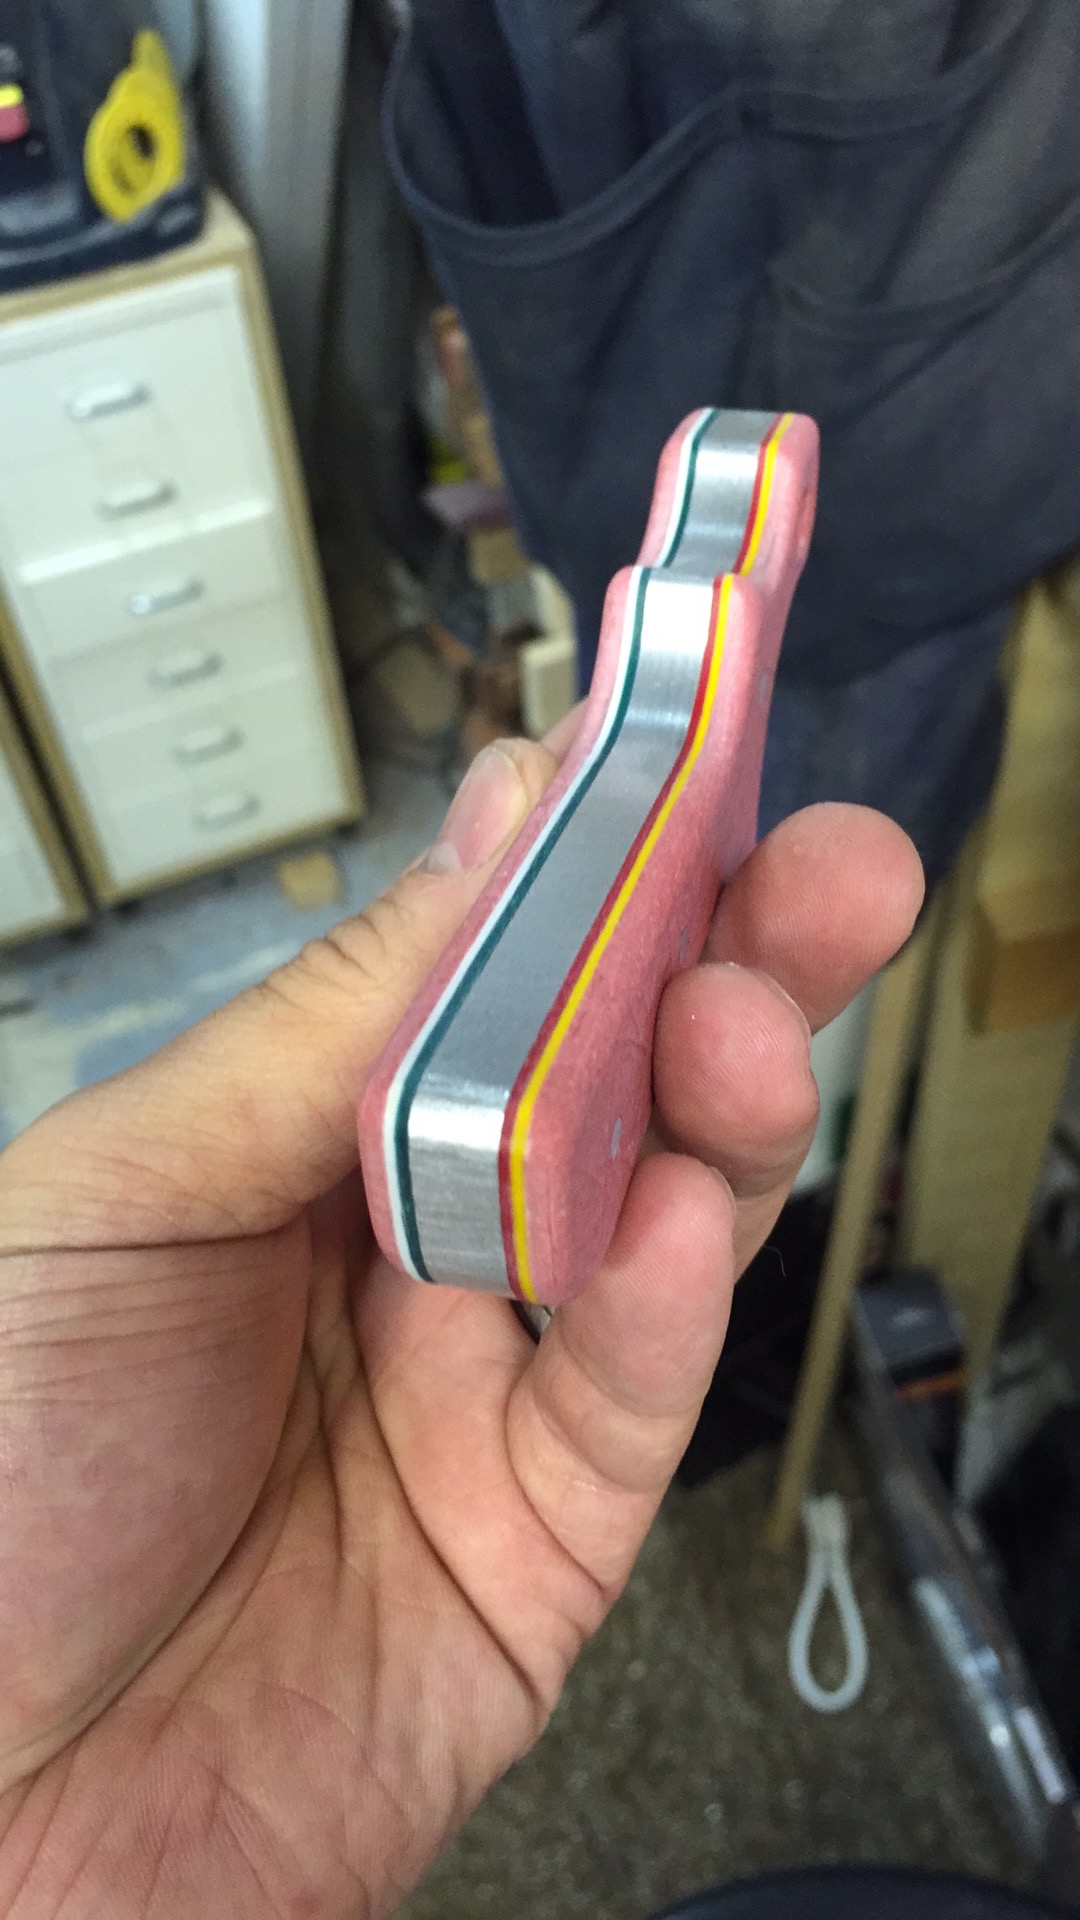
Once everything has set up and permanent, it was finishing time. The GPO3 really needs no finishing, but the surface is dry, dull in colour and often will shed tiny fibreglass shards that will itch for days, so something to tame the mane would be helpful. On the Hot Dogger, I used just paste wax to finish the GPO3 and it worked very well, so I knew that waxes would help. The wood needed an oil and wax finish so my best choice was to use my trusty linseed/beeswax combination finish, literally named Tried and True (available at Lee Valley).
I slathered it on liberally and let is set up for about an hour before touching it, then I hit it with some heat from a hair drier to open up the fibres of the wood to let the finish penetrate and liquify the wax too. The colours really pop when the finish gets applied.

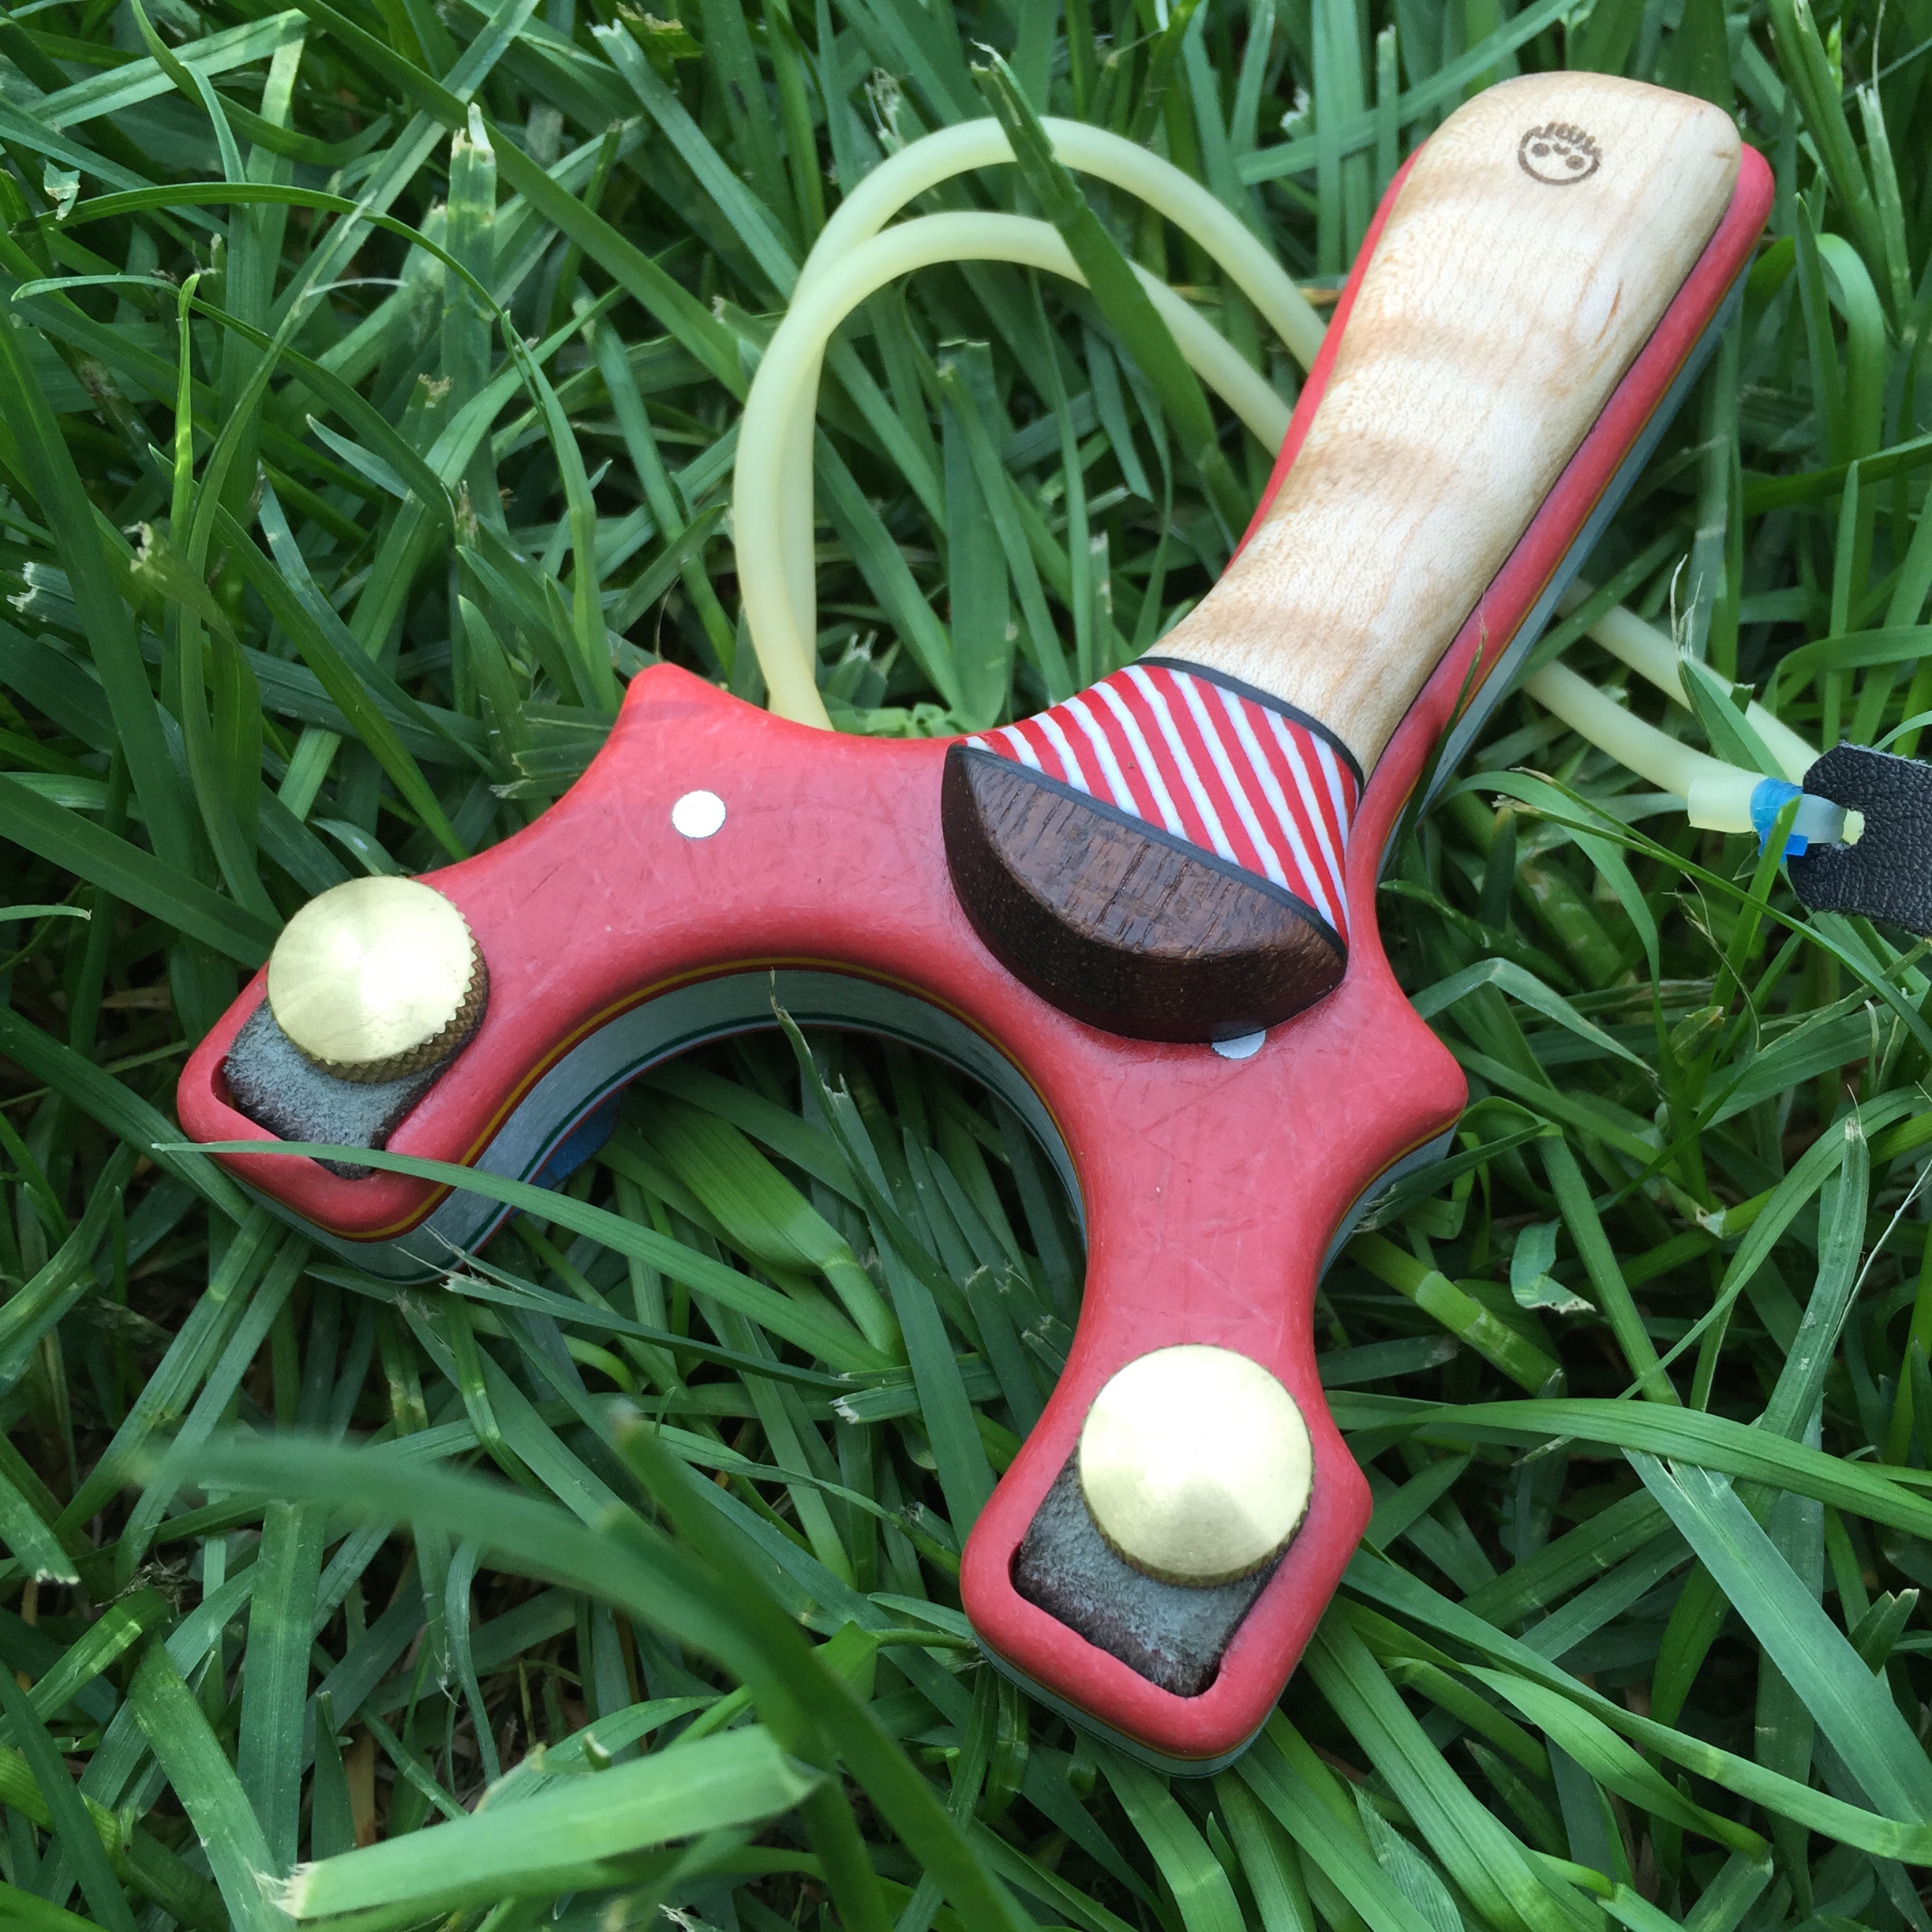
While I waited for the finish to set up, I made up a set of BB bands and selected some hardware to attach them on to it. These particular brass thumb screws are $4 each, but are well worth it.
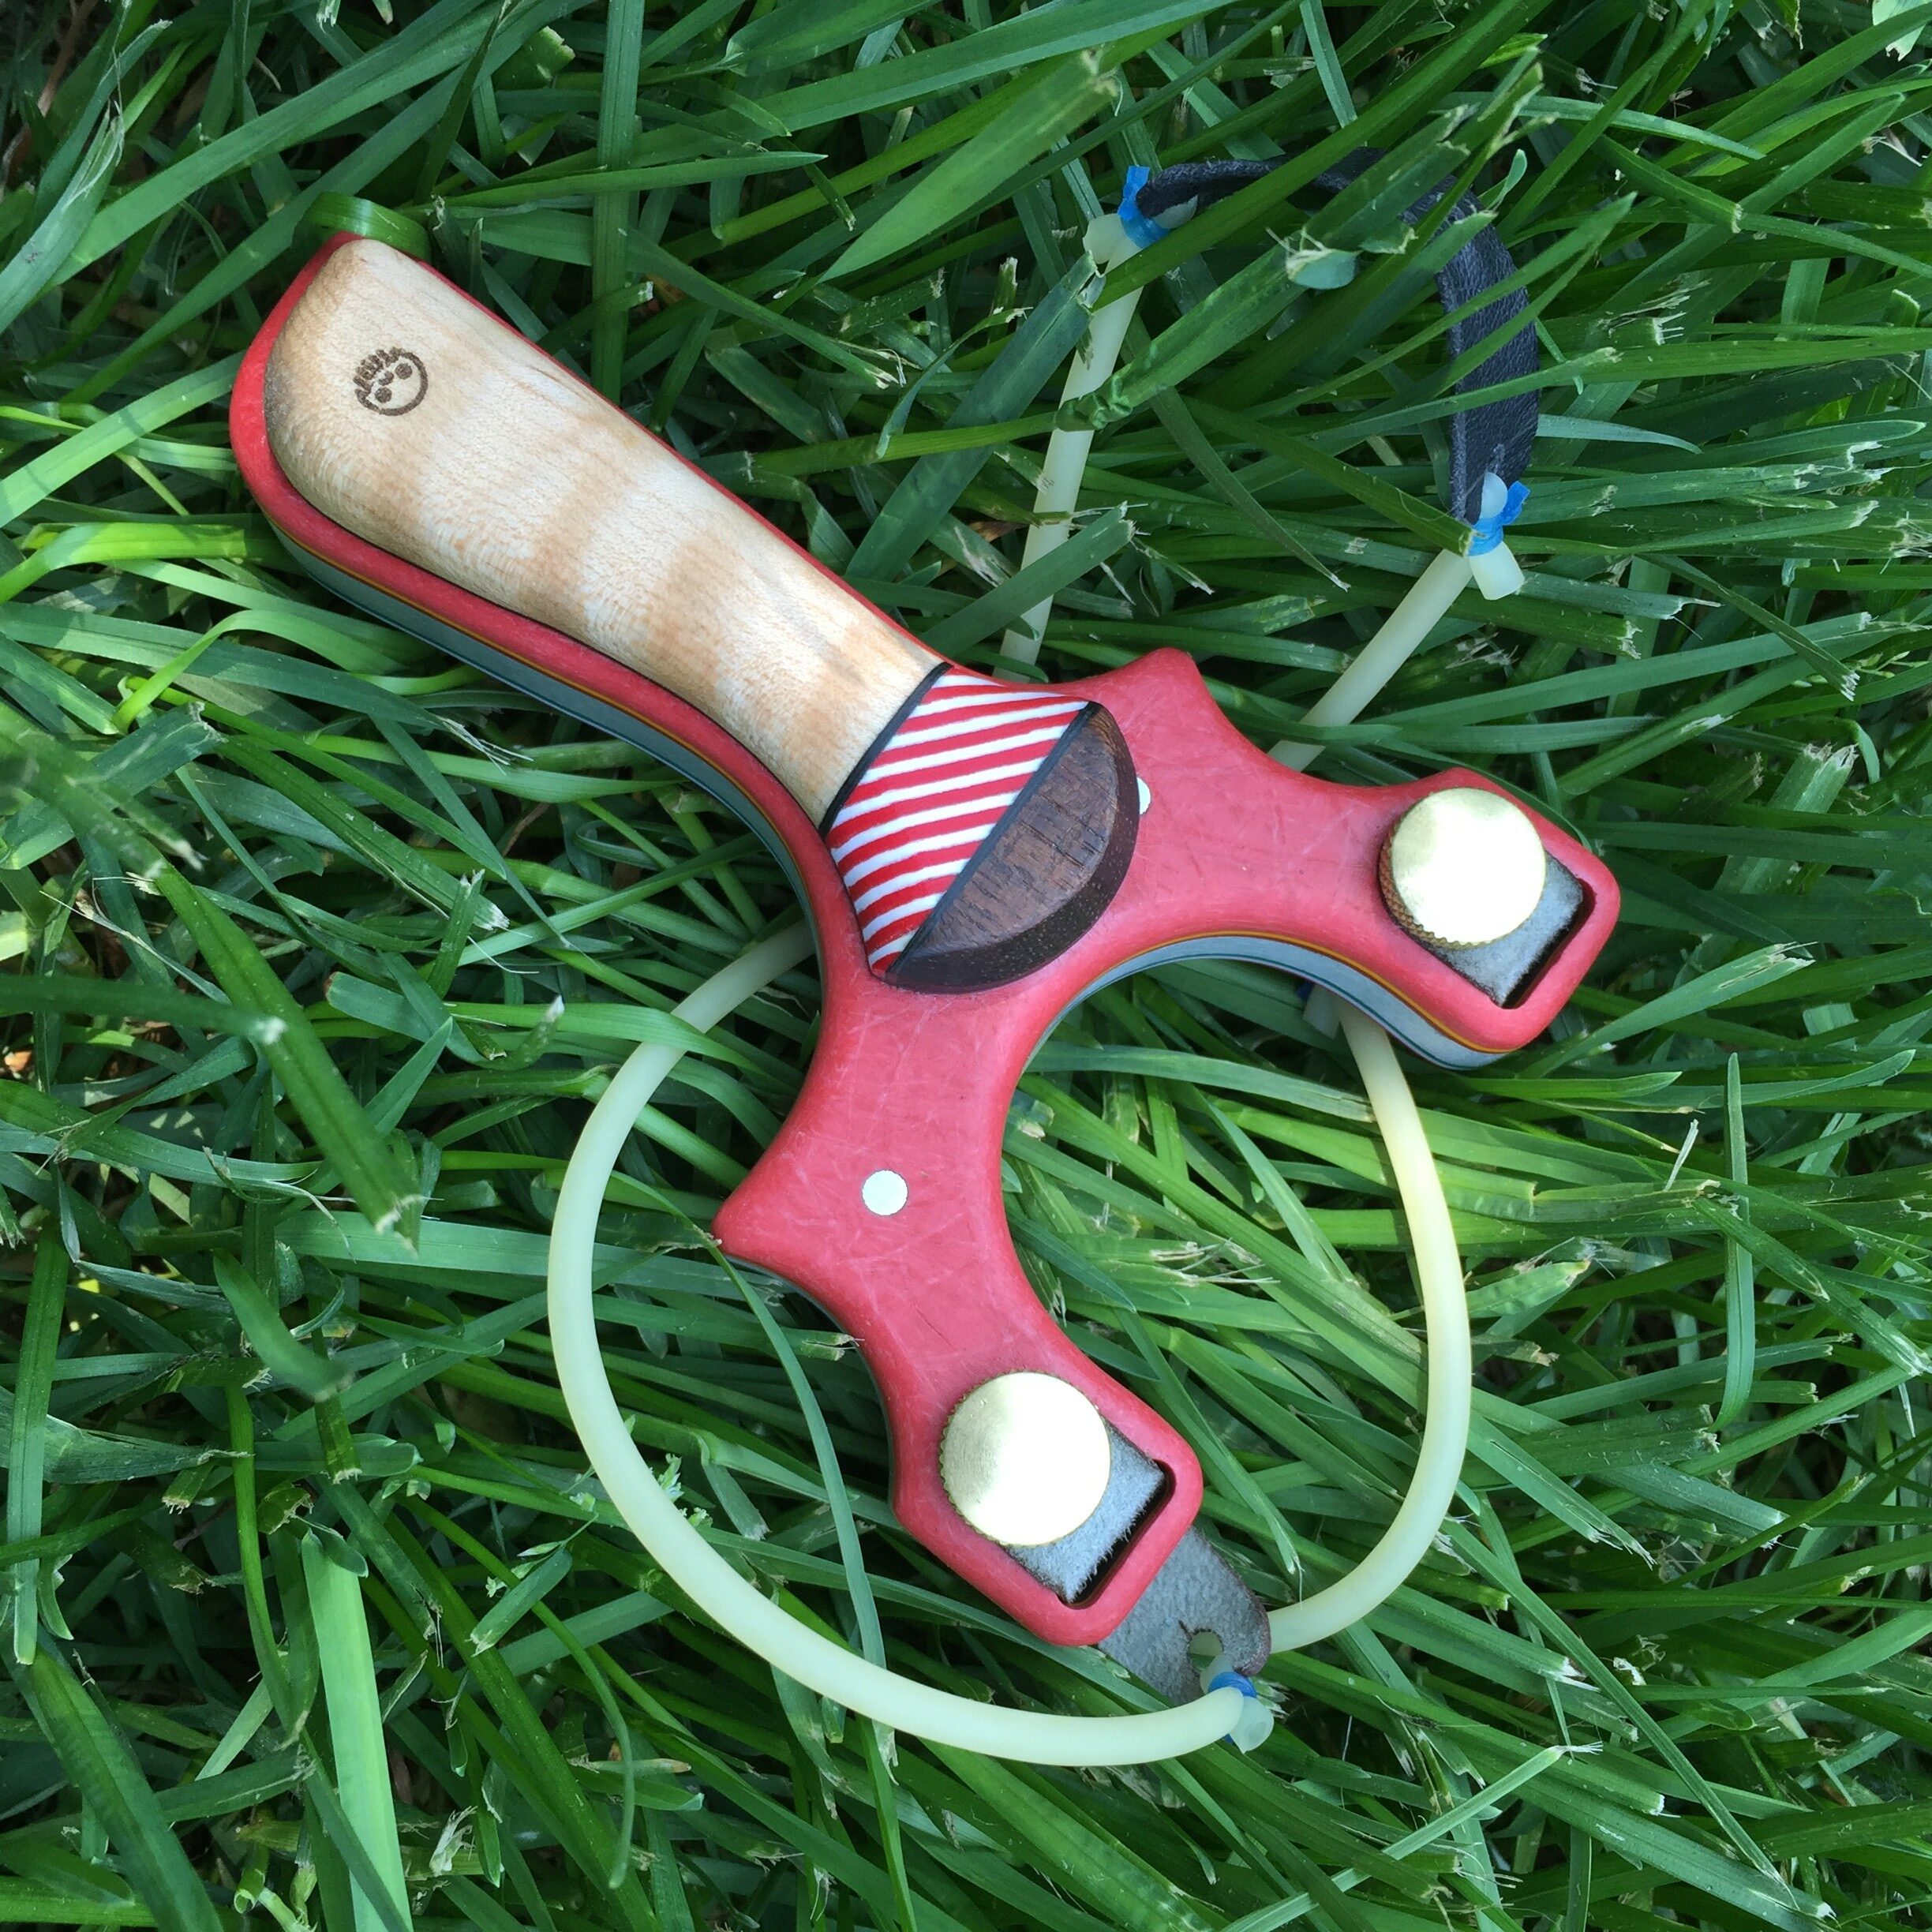
Rubbing down the wax for a final time with clean cloth, it was time to take Molly out for a nice sit in the grass.
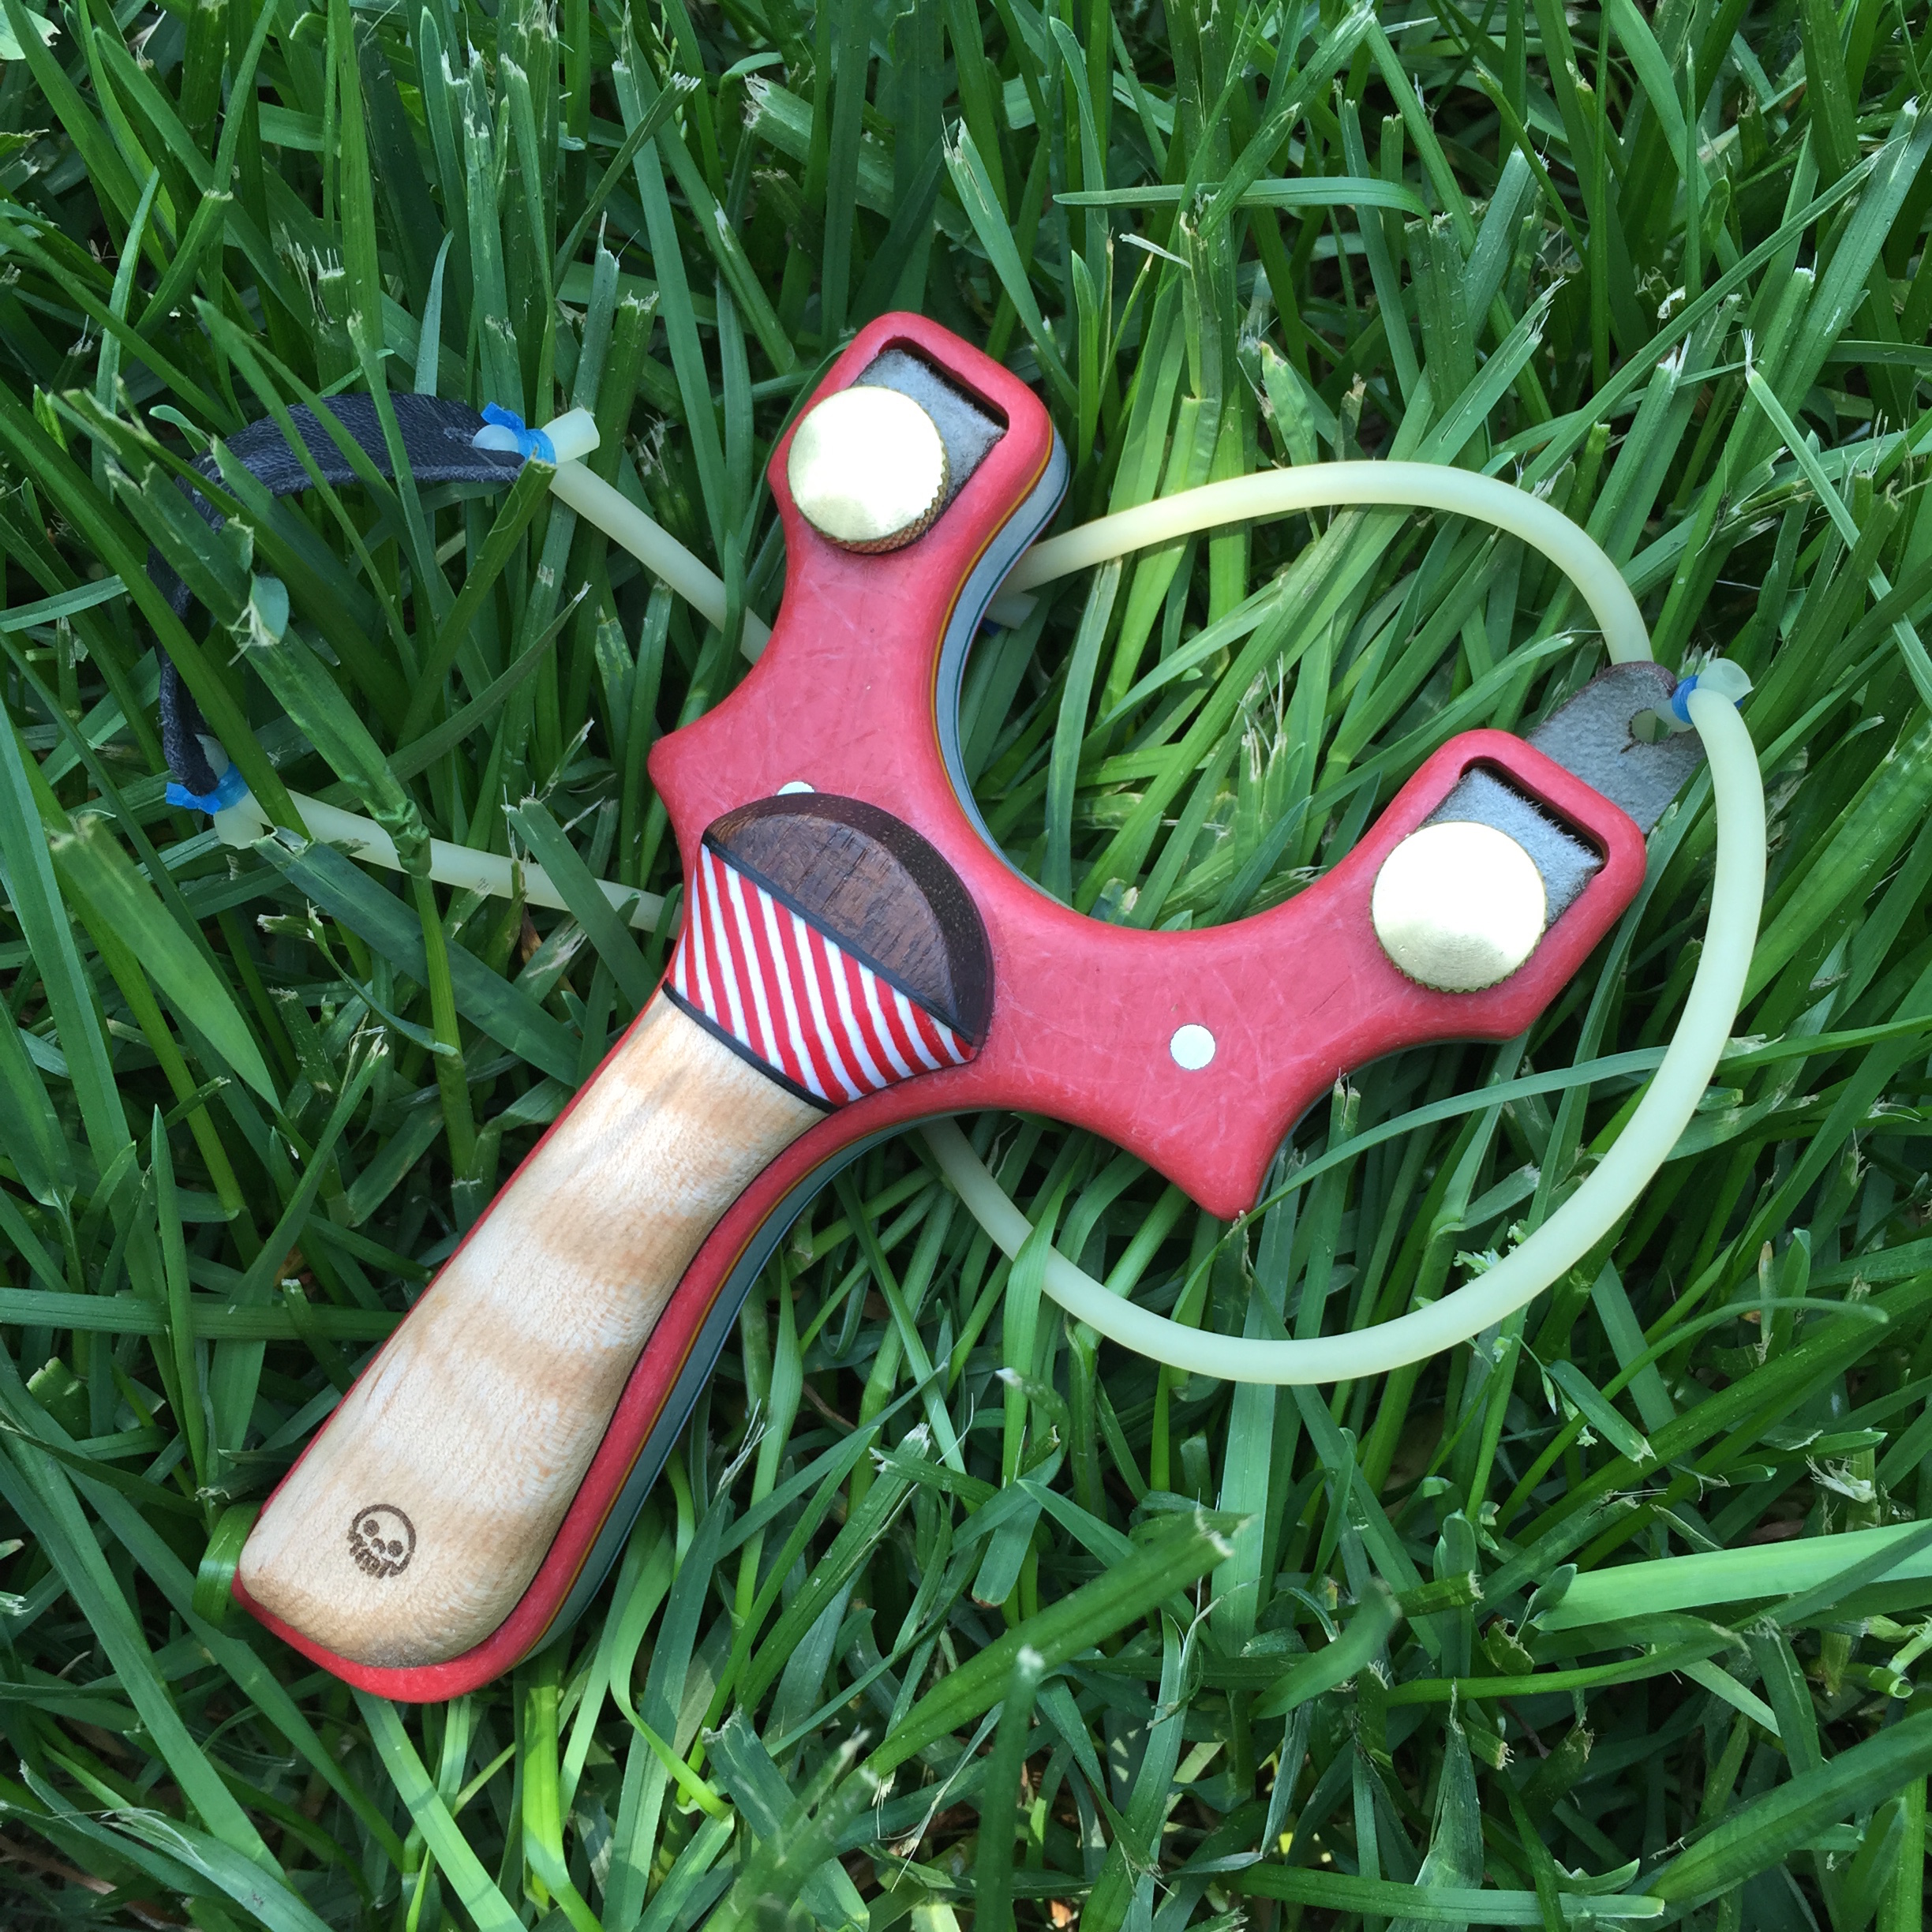

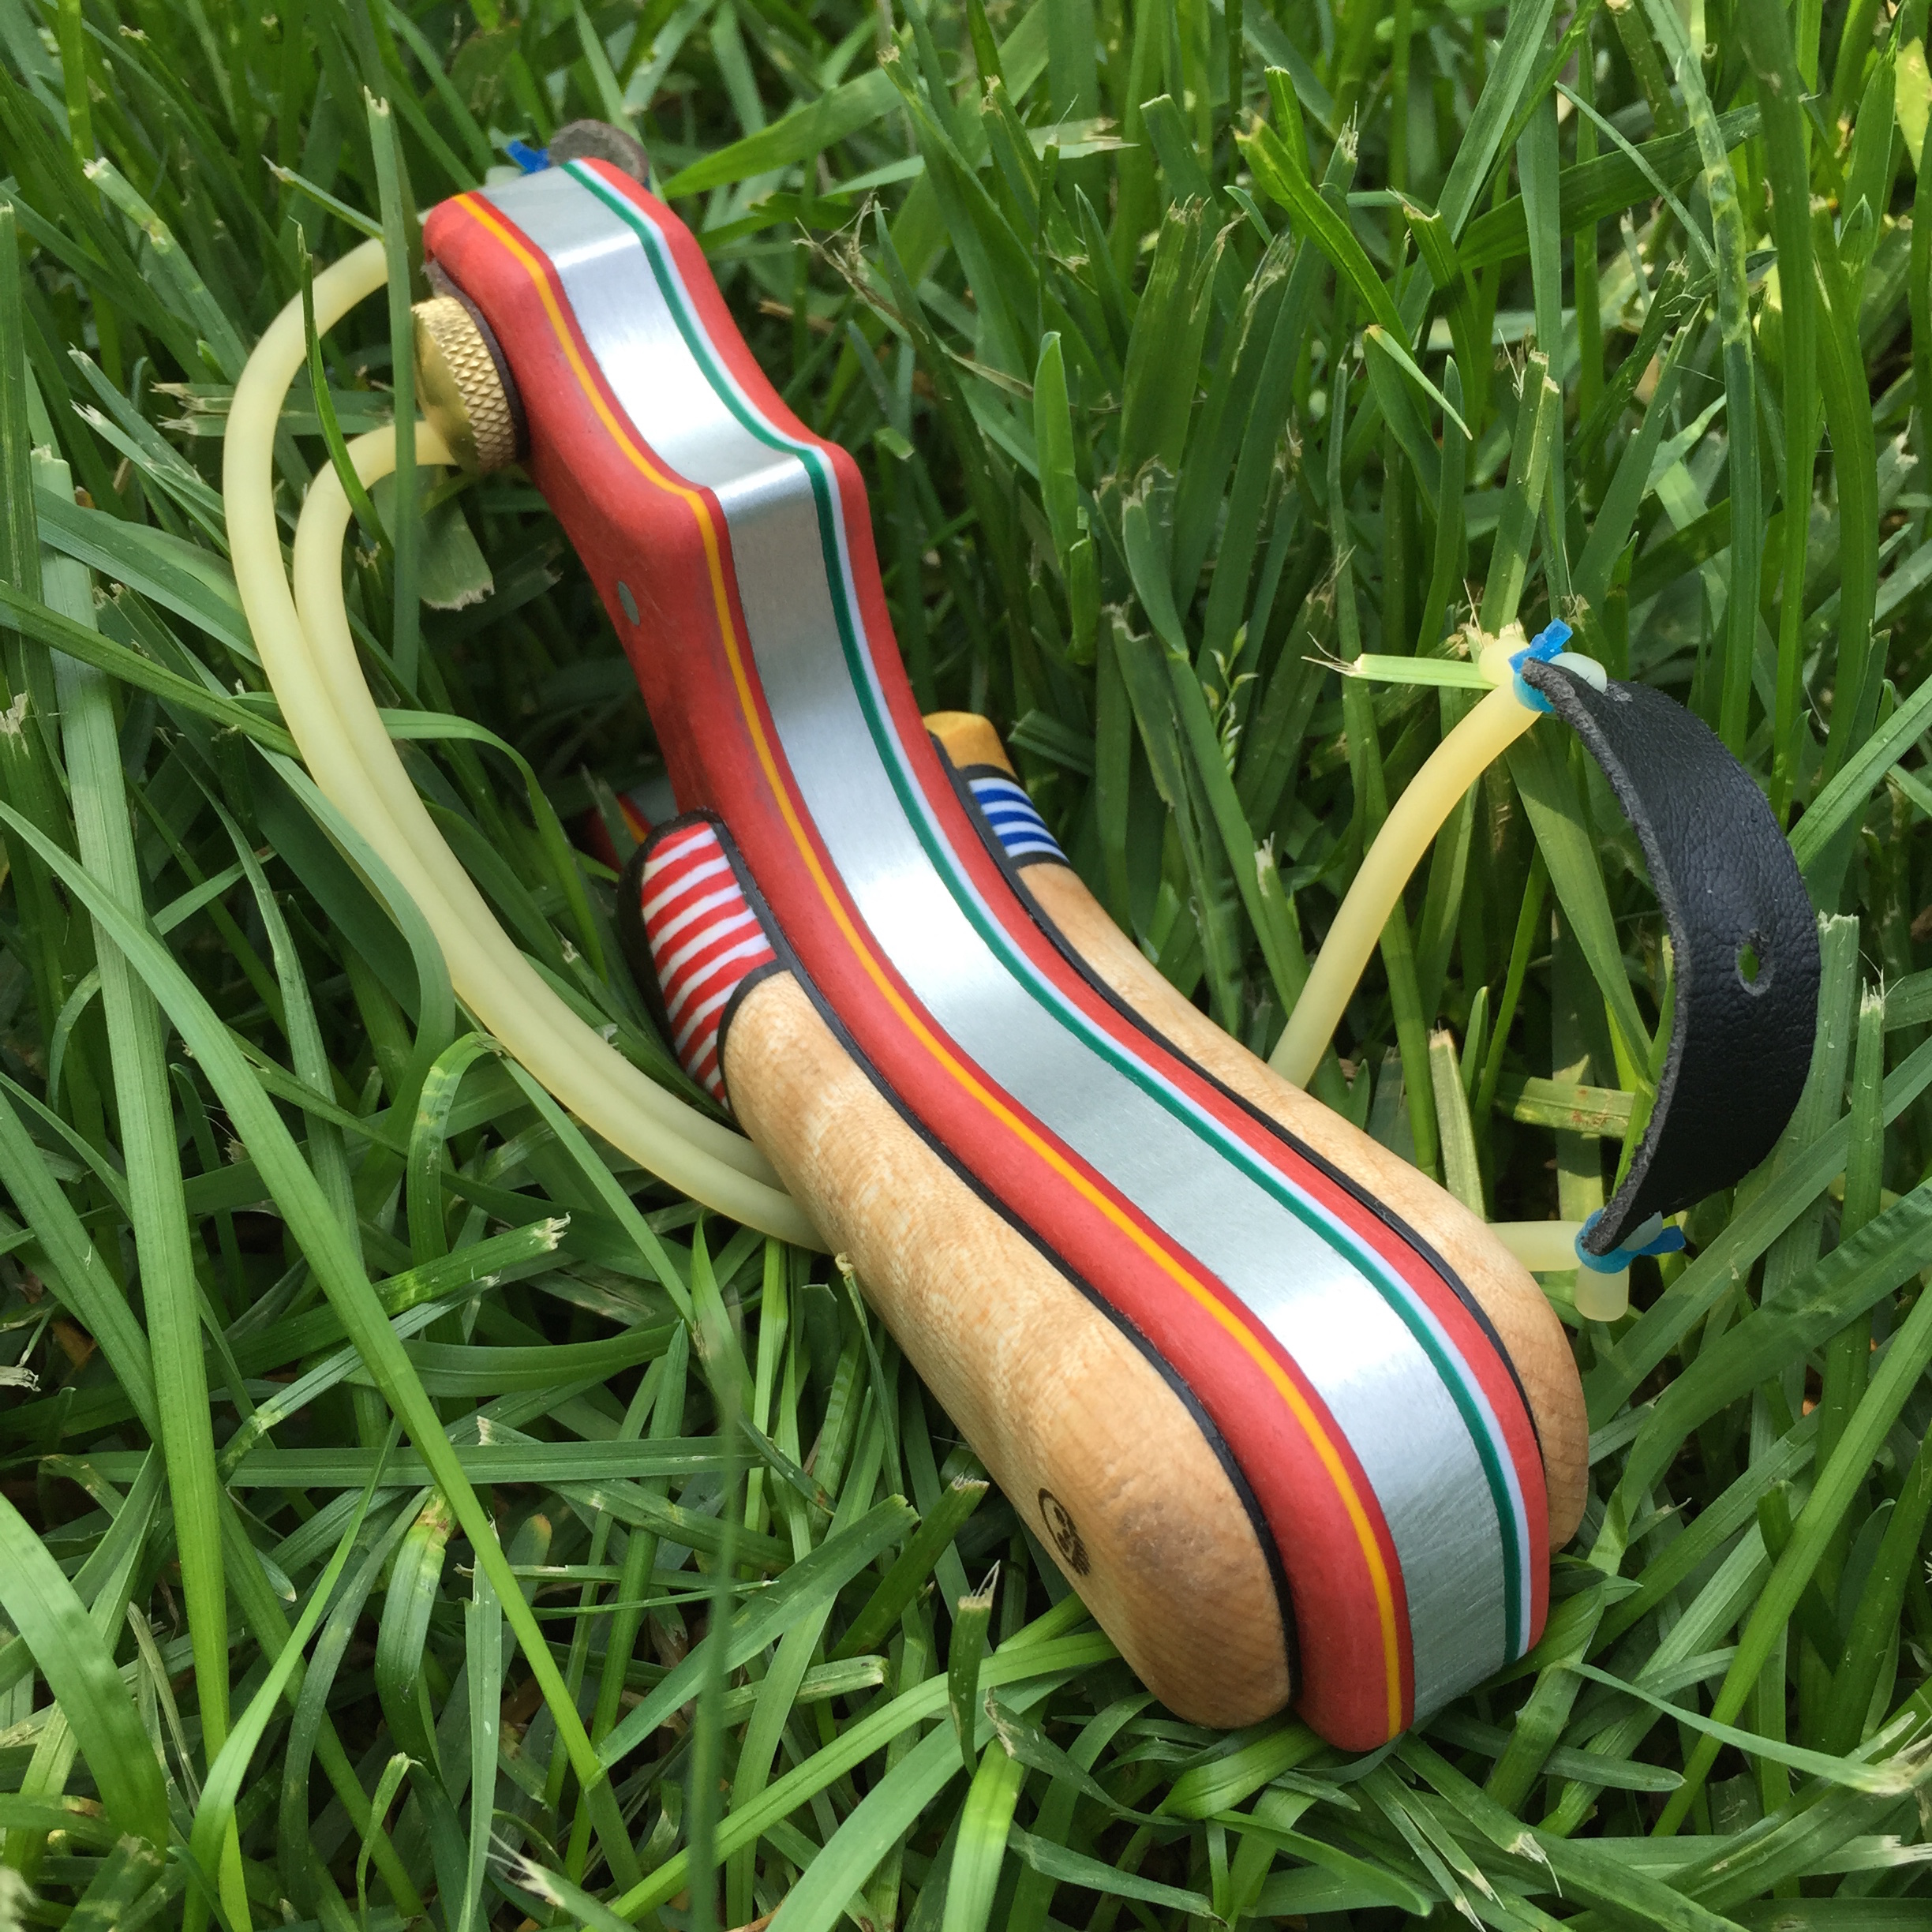
I hope you enjoy this build, I know I did. It’s not for everyone, but then again, I usually build what I like to see and hope others enjoy it too.
If you are headed to the 2015 East Coast Slingshot Tournament, you will be able to see this and many more of my personal custom slingshots in the flesh. I will also be hosting the Craftsman Roundtable discussion with master builder Nathan Masters of Flippinout Slingshots and SimpleShot.
-Eric