Posted on 3 Comments

Metro Made | The Wormhole Attachment (Lumbri Tyton Slingshot)

I recently bought a new Chinese cast aluminum slingshot called the Tiger Scorpion, while the attachment system wasn’t new (I have a few frames with the same style tip), the shape was kind of neat.

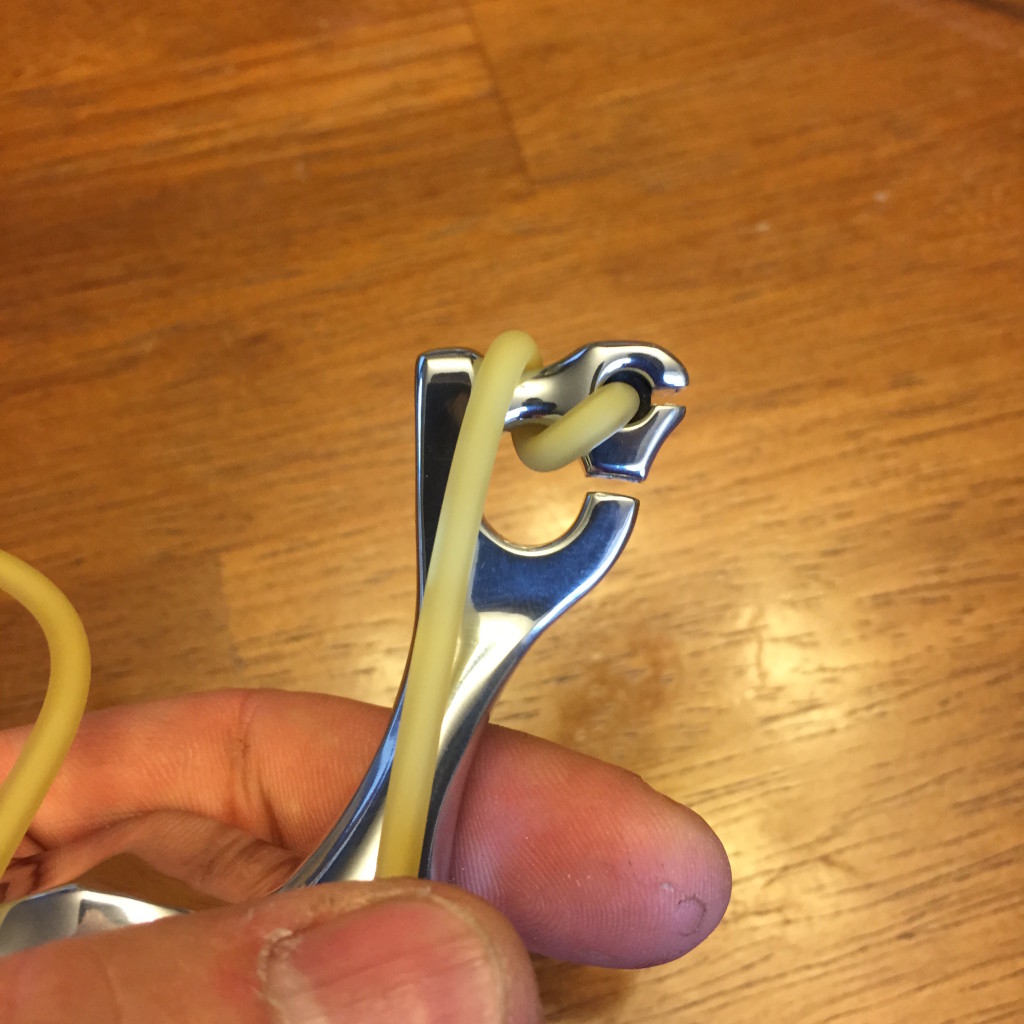
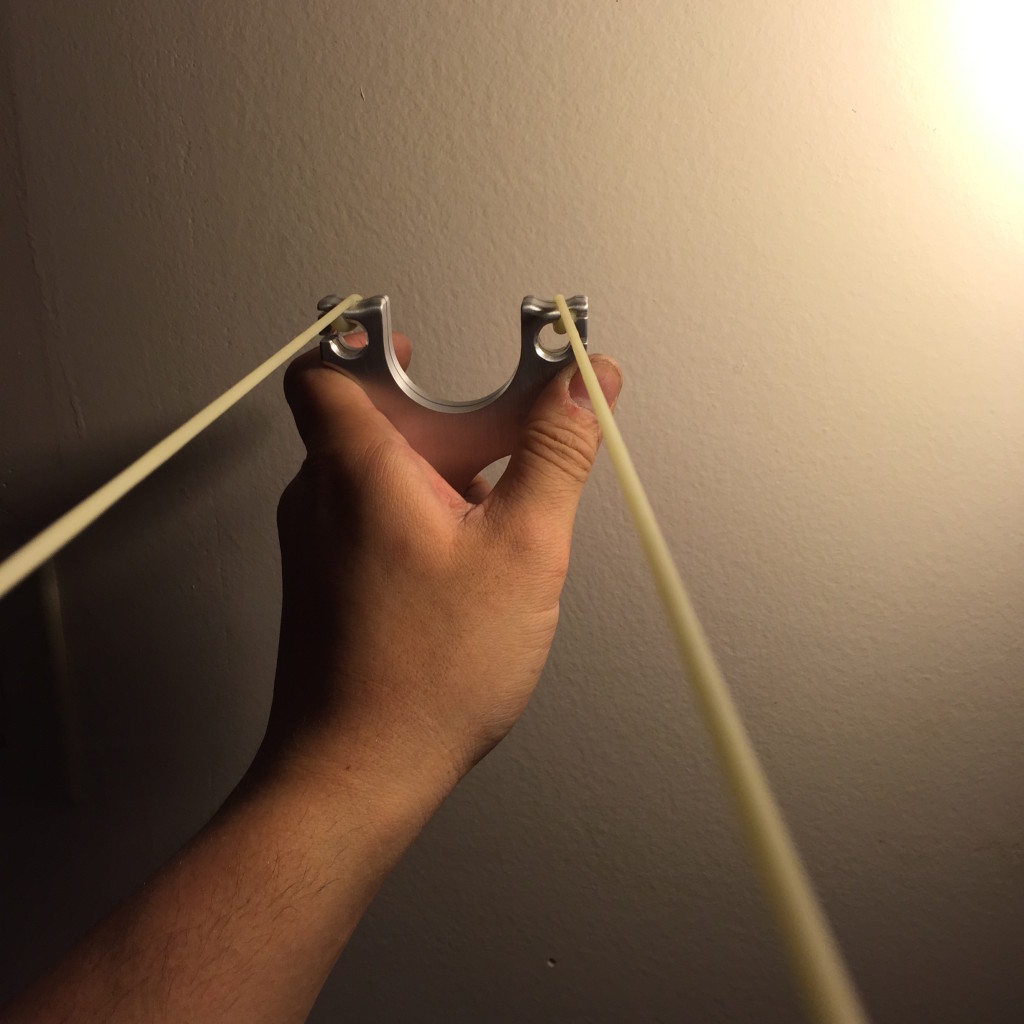
So I banded it up with some bb tubes and played around with shooting it..it was neat! I had set it up with a single tube with a ball in the tube end, then after one particular shot, the single tube slipped into the big hole as well as the small hole….bling..lightbulb. I quickly undid the bands and ‘wormed’ it through both the big and small holes, terminating at the small hole. Kind of like the Wave attachment.

IMG_2696

IMG_2697

Boom, instant OTT single tube attachment…this got me thinking..the Tiger Scorpion, while cool, wasn’t 100% what I liked. What I do like is my Tyton. I have practically packed up everything to send to Peppermack of Cracked Pepper Cataplts, so when the urge and inspiration hit…I was nearly devastated, BUT I have never been so happy to have found two extra cores in my shop.

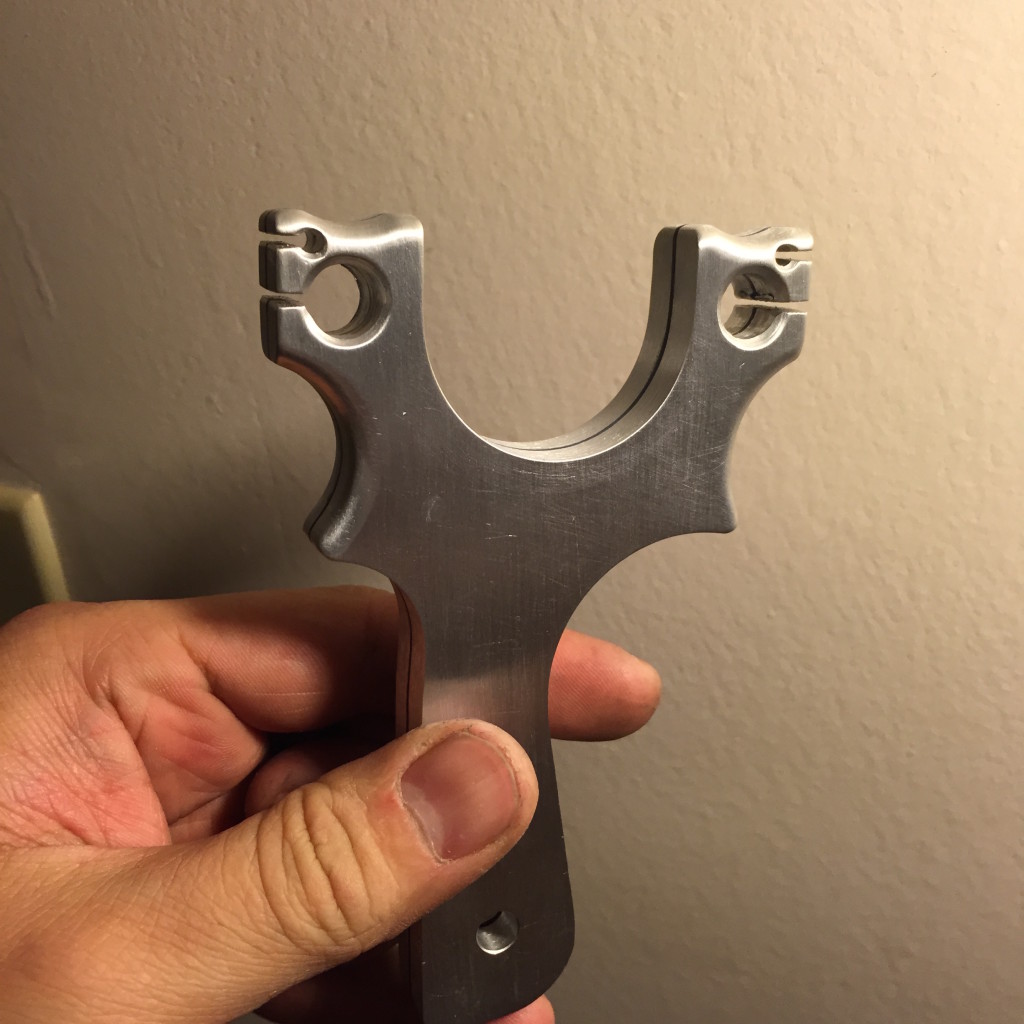
I took my digital file of the plain tipped Tyton frames I got cut for modding and discovered that there would be room for a big and small hole set up like the Tiger Scorpion, but what I wanted to do was make the smaller hole, even smaller than it was on the T/S so it would be more of a friction fit with no ball in tube needed. Thus the Wormhole attachment was born, and the namesake for this slingshot, the lumbricus terrestris: an earthworm.

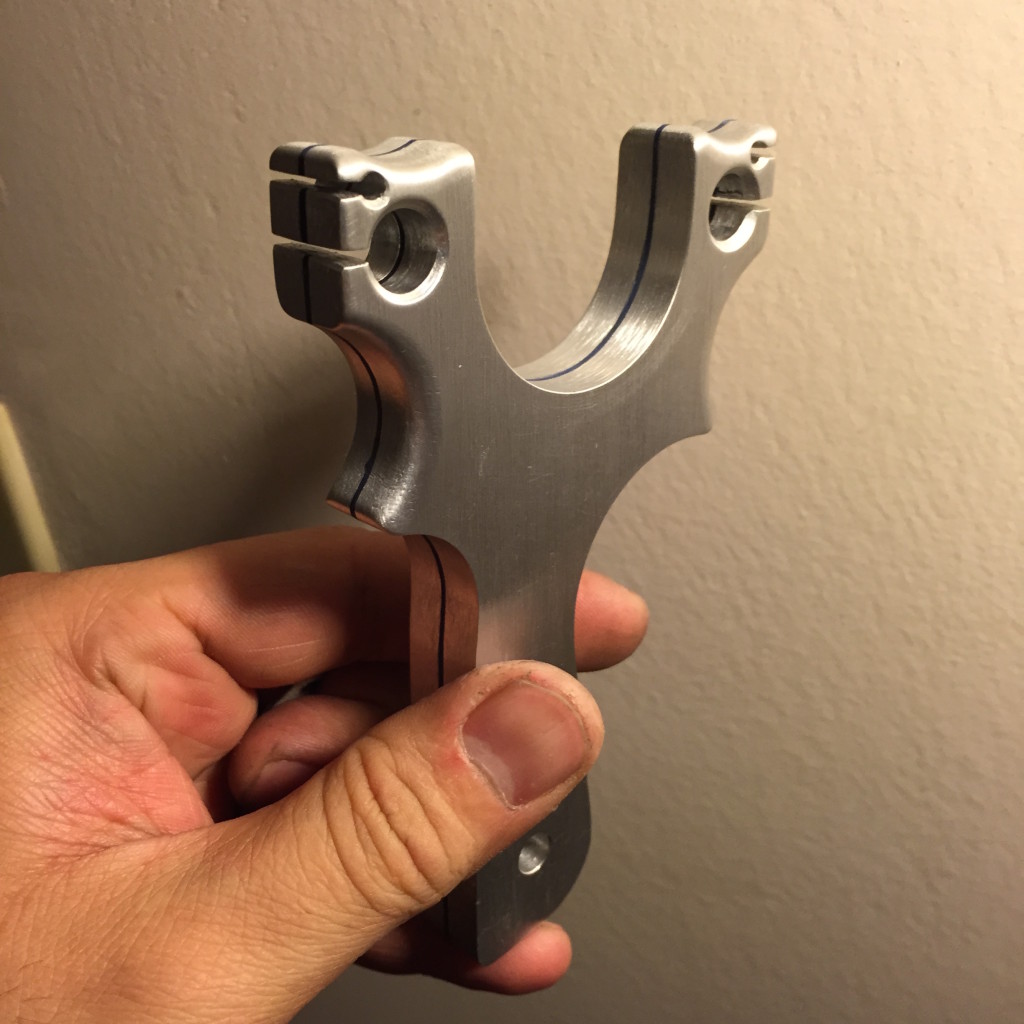
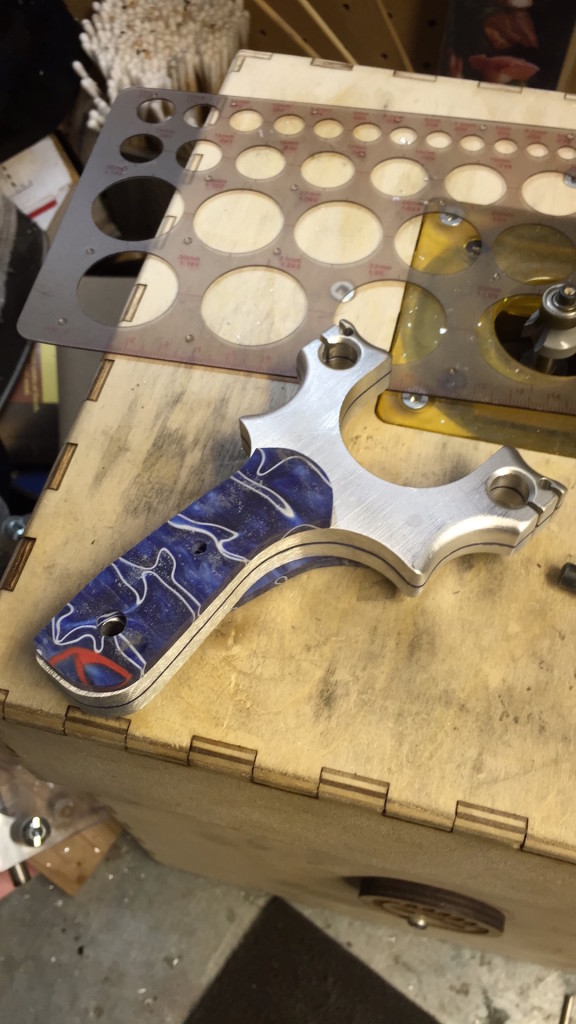
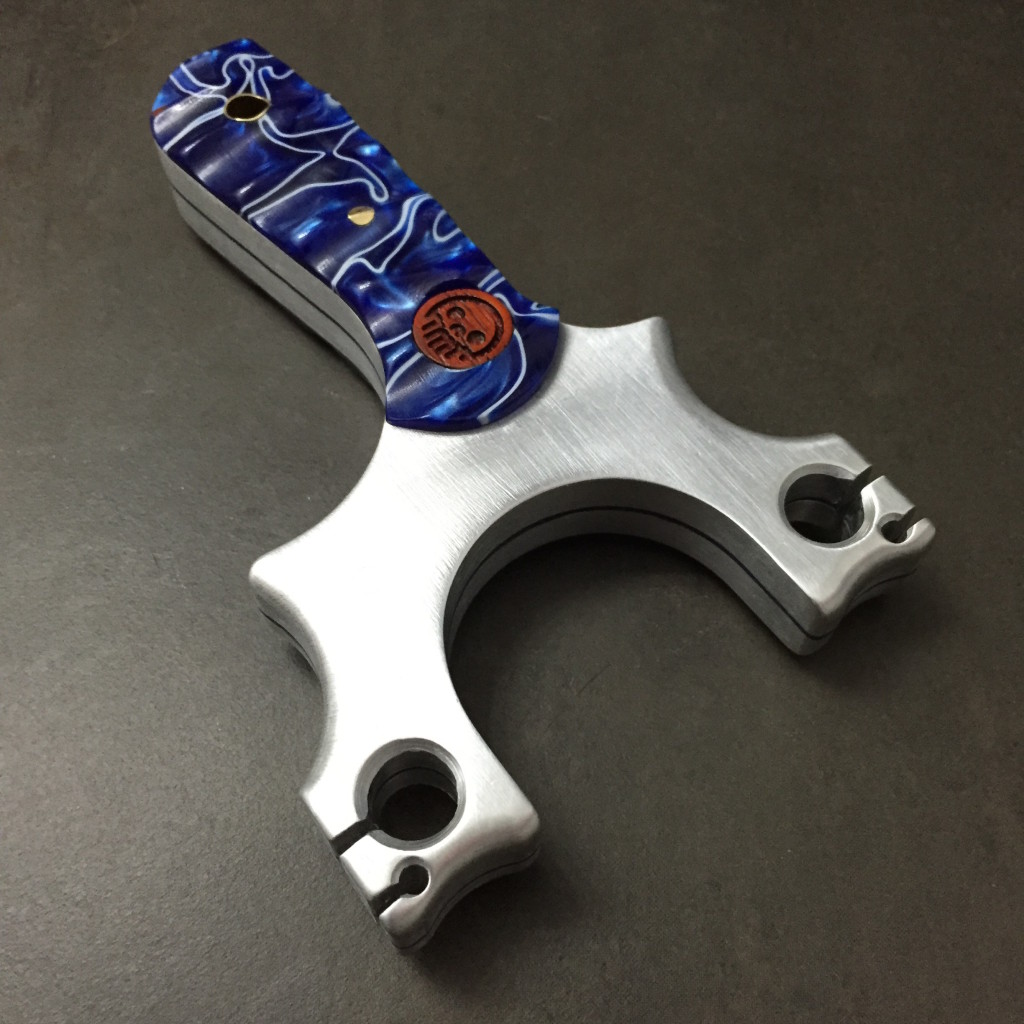
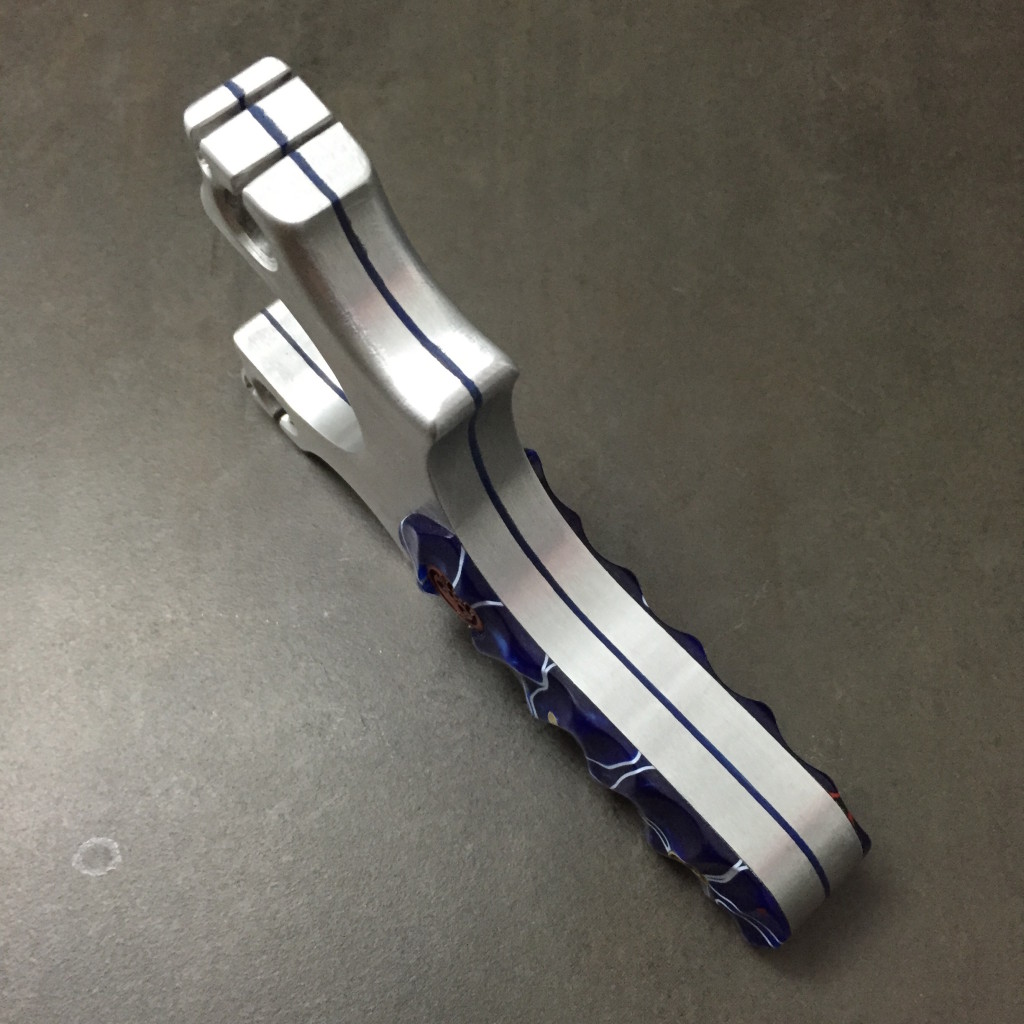
I started by gluing up two plain tipped Tyton frames with a blue spacer in the middle. I pinned the top two pin holes with aluminum and peened them into place before flush sanding the face.

I layed out the new hole patterns, a big 5/16 and a smaller 3/32, with connecting channels to the outside of the fork tips. This would allow for single tubes or looped tubes if I fancied it. From there, I shaped the tips till they were rounded and a divot was filed into the top of the tips to center the bands. I also shaped the finger and thumb grooves like my other Tyton mods.

IMG_2699

IMG_2700

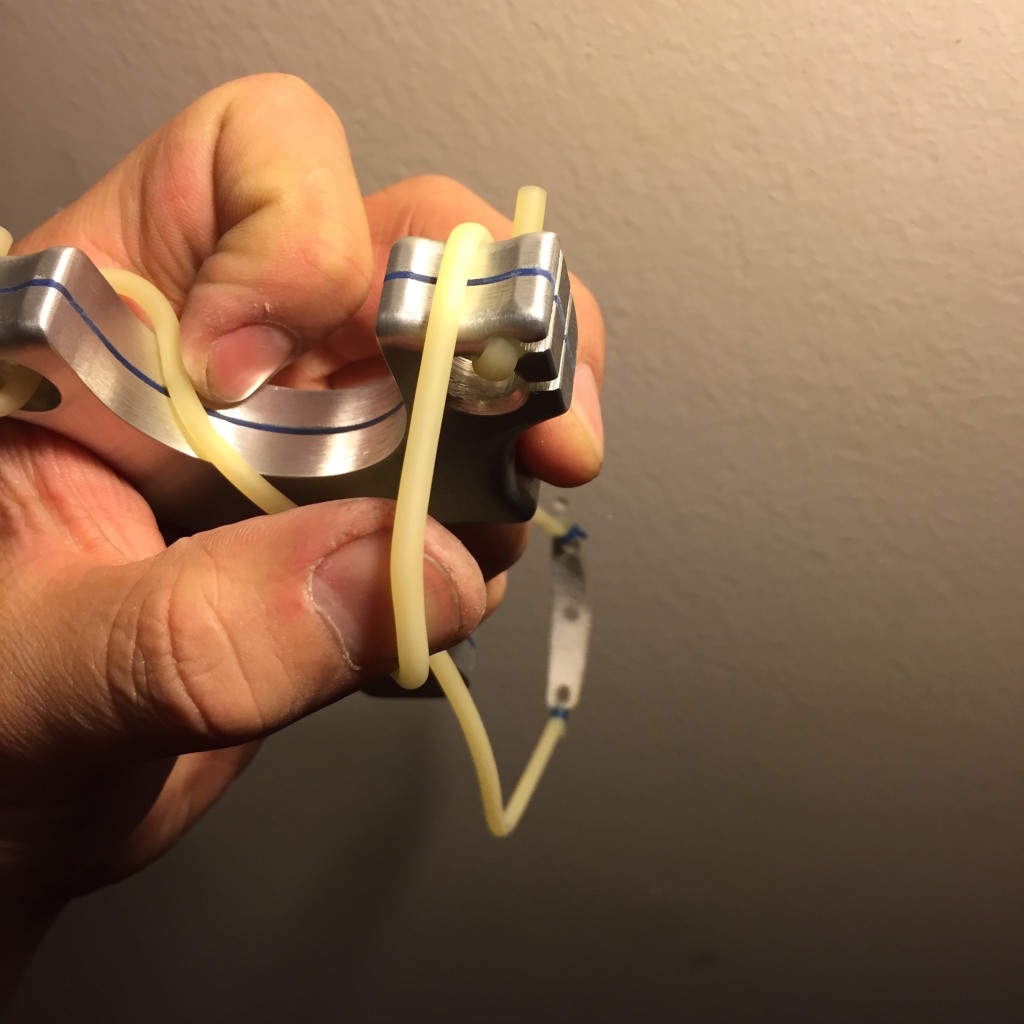
You can see here how the Worm attachment works. Since the band makes a 180 degree turn before rolling over the tips, there is no way the band will slip out.

IMG_2701

IMG_2703

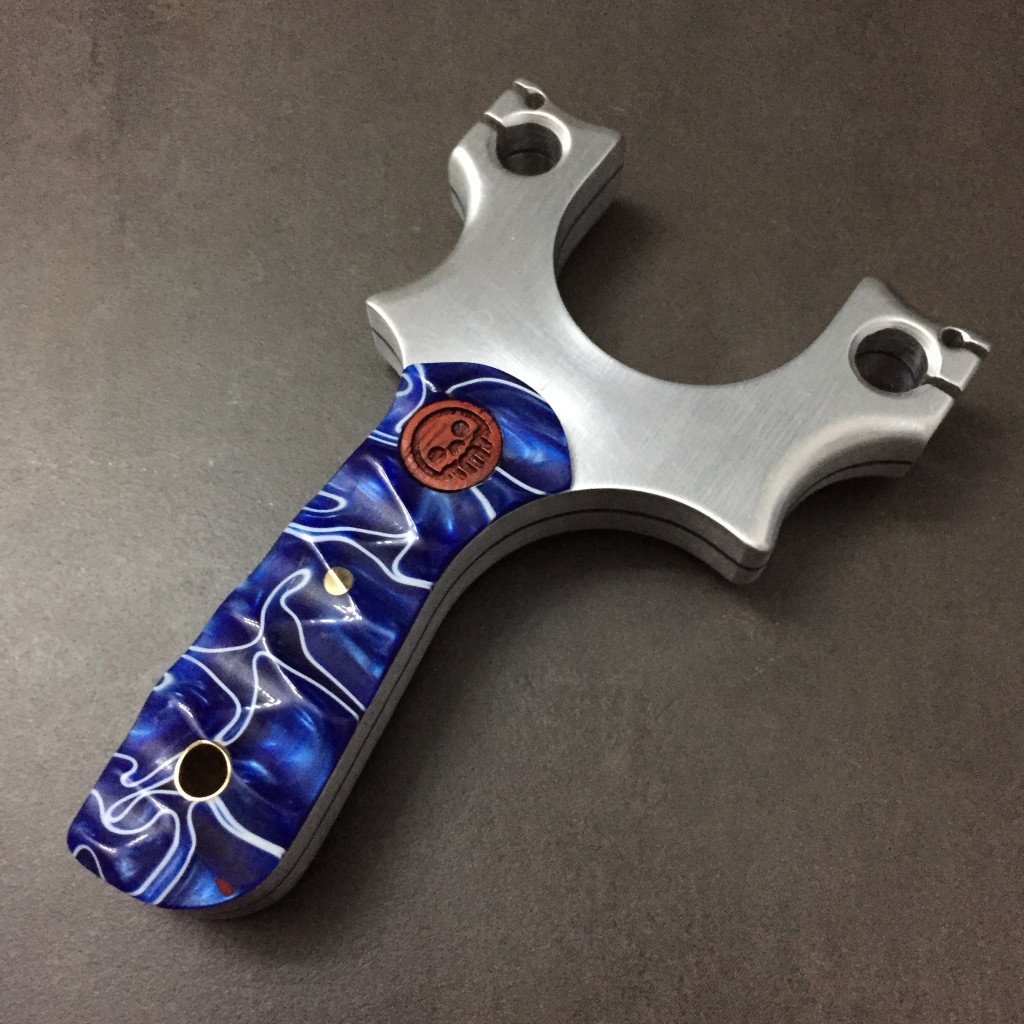
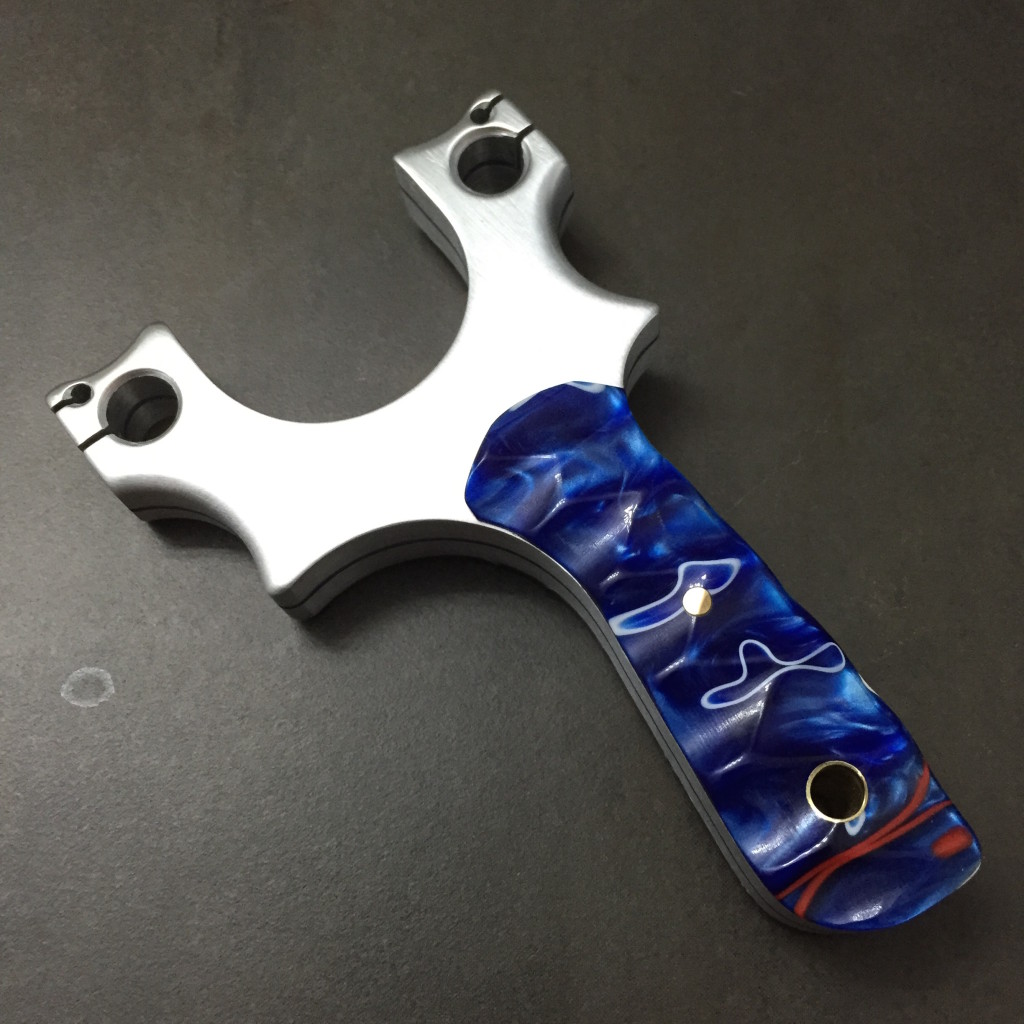
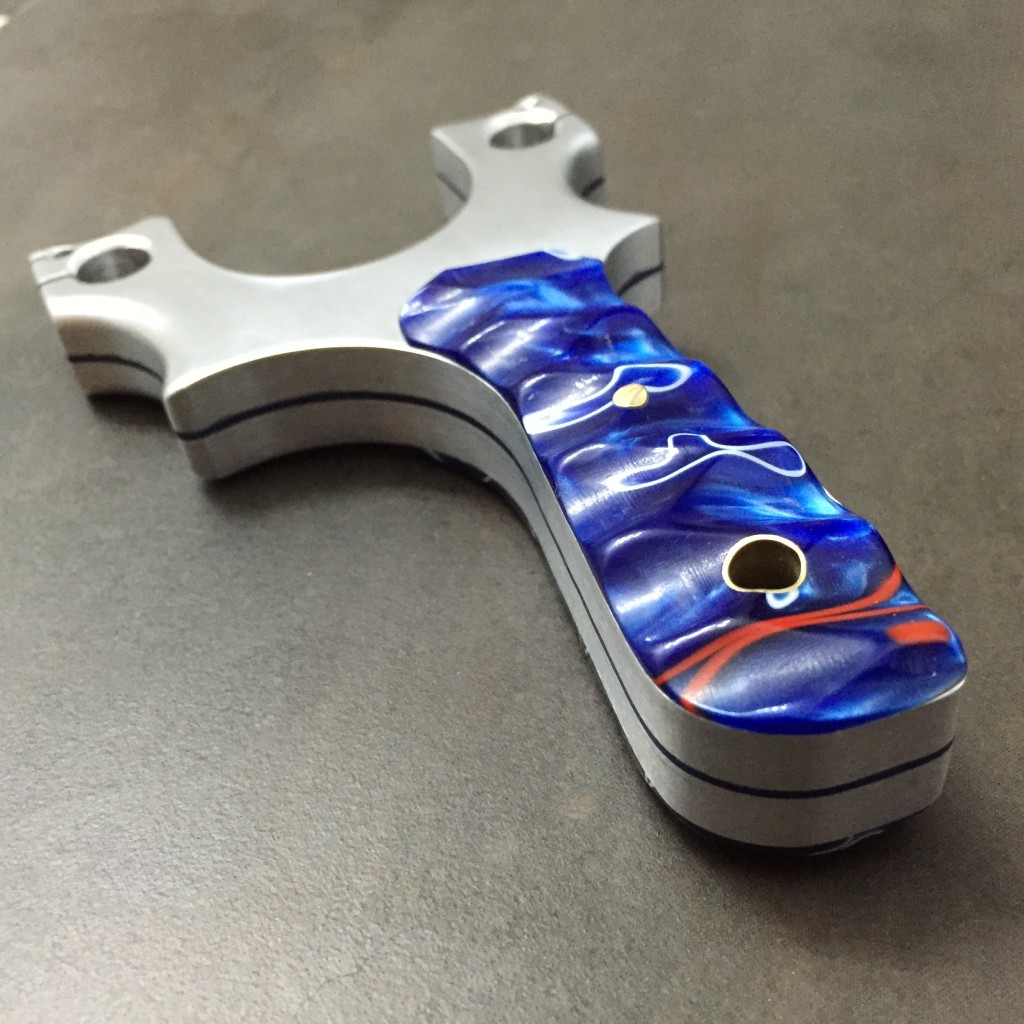
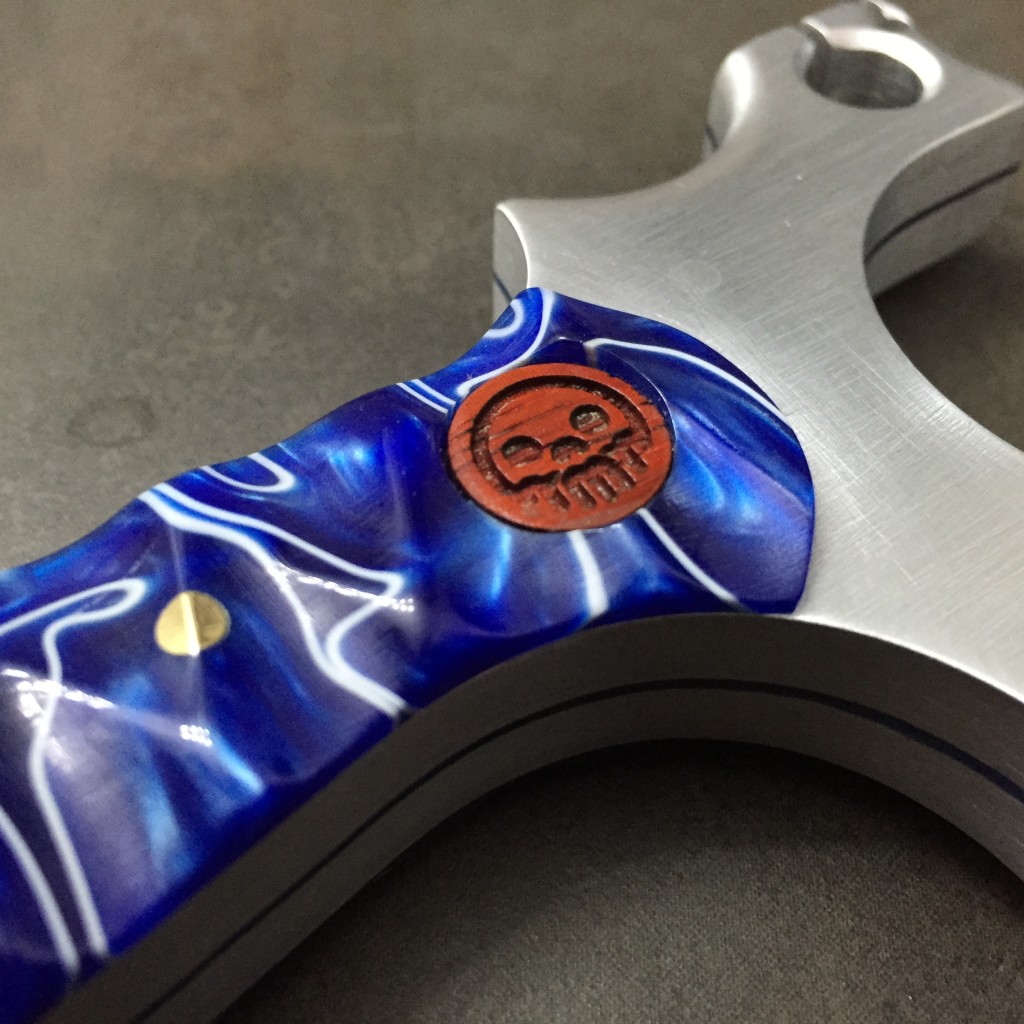
From there it was time to dress the Lumbri up! I shaped a small bit of ‘patriot’ pattern Kirinite. It was just wide enough to get to the base of the handle. After profiling it, I resawed it into to identical halves and flushed the faces. From there shaped and finsihed the front edge of the scale that touches the surface of the slingshot, like building a knife since you can’t access that area with out really damaging the surface of the slingshot.

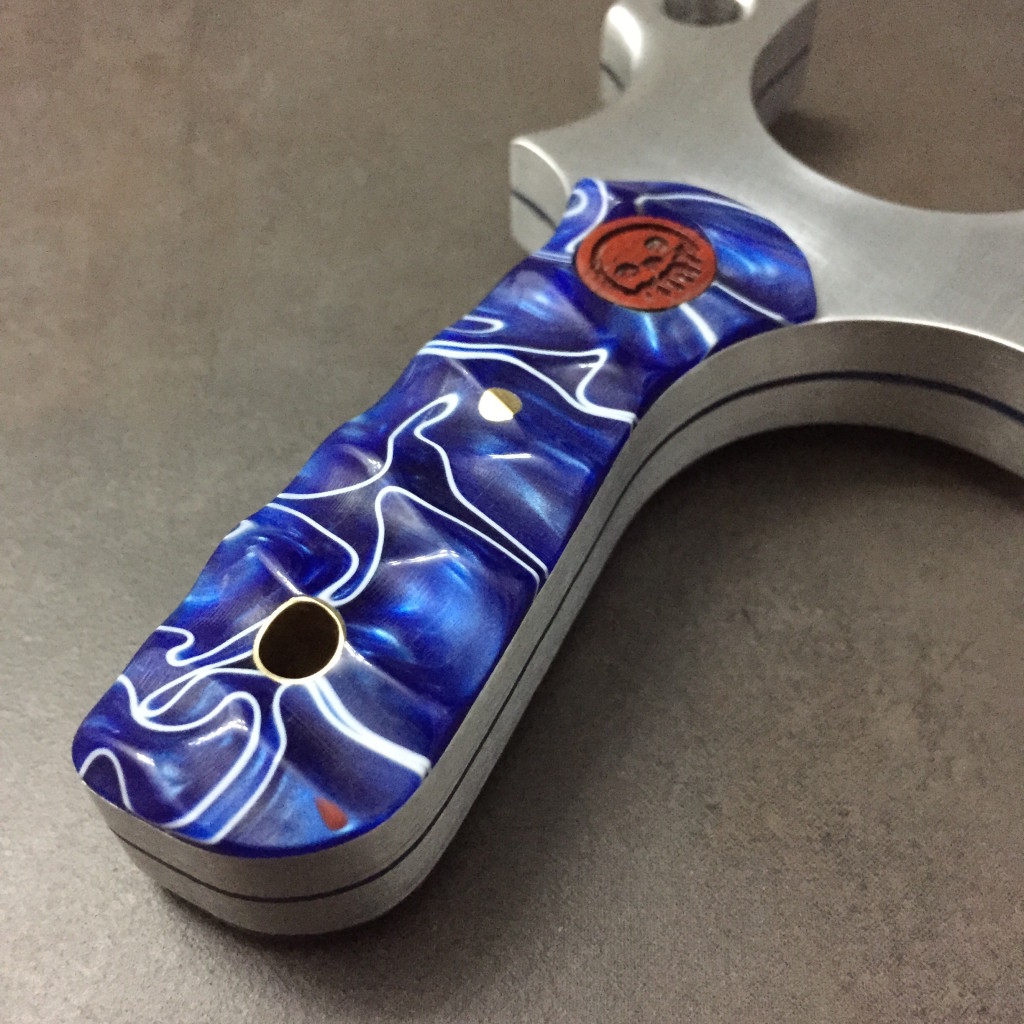
After fitting a 1/4 brass tube a 1/8 pin, I decided to try something I’ve seen 1000’s of times on custom knives, the very popular Anso texture pattern, an intersecting series of scalloped grooves. After plunging in for my first couple of grooves, I could already tell this was going to look sweeeeeet.

The Anso pattern is named after Jens Anso, an fellow industrial designer, custom knife and gear maker. Jens first did the pattern and has since been used on many custom knives and equipment. Here he is adding this trademark texture:

Rough cut and shaped scales.

IMG_2704

The rest are final pics, I didn’t want to ruin my work flow as the dust from the Kirinte is heavy and gets EVERYWHERE. In the end, I buffed the scales and matt finished the aluminum. I also added a Paduak makers mark and coated it in superglue to seal it up.

IMG_2708

IMG_2709

IMG_2710

IMG_2711

IMG_2712

IMG_2713

IMG_2714

Thanks for stopping! See you at ECST 2015!


-Metro


Posted on Leave a comment

Metro Made | Oak Metbro Unishot and Classic

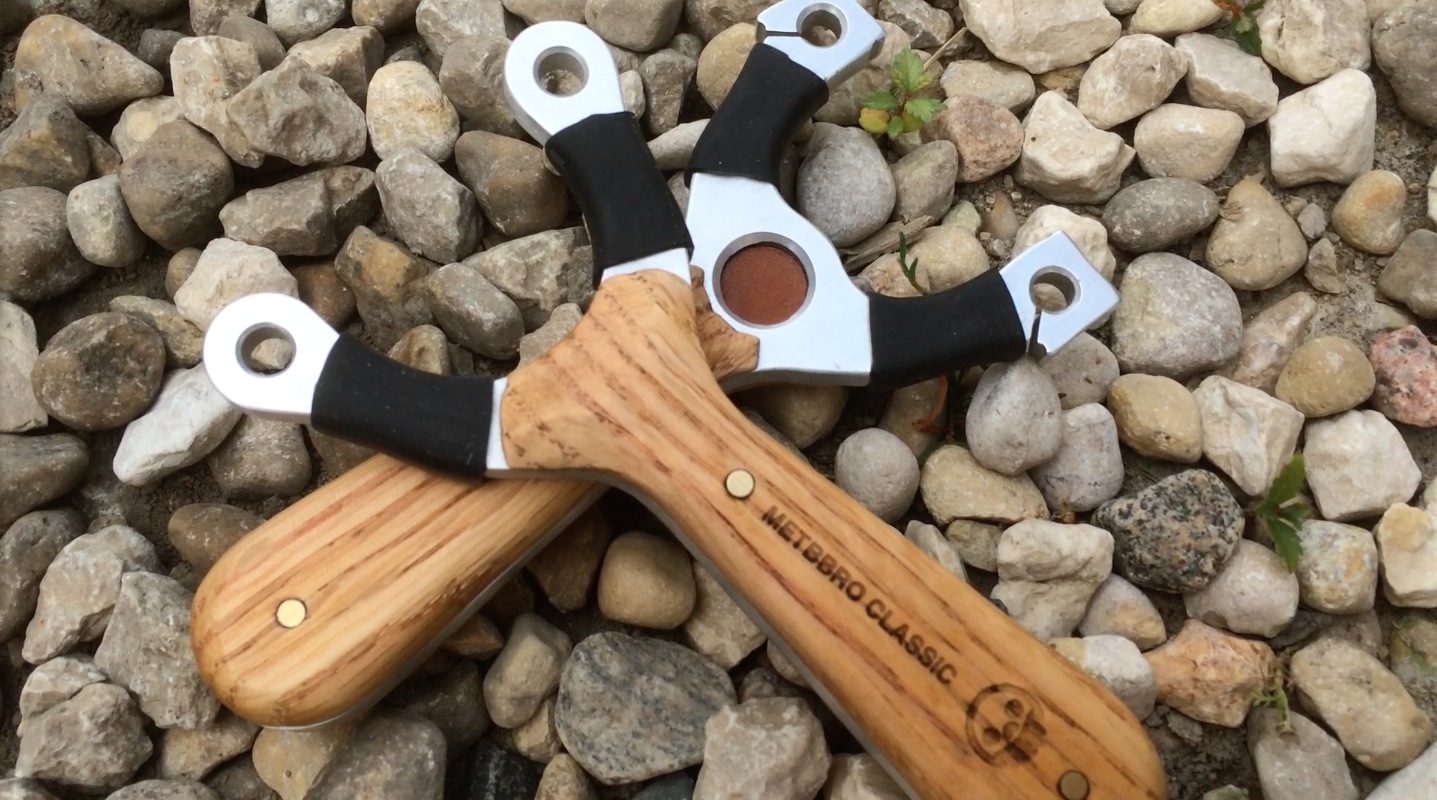
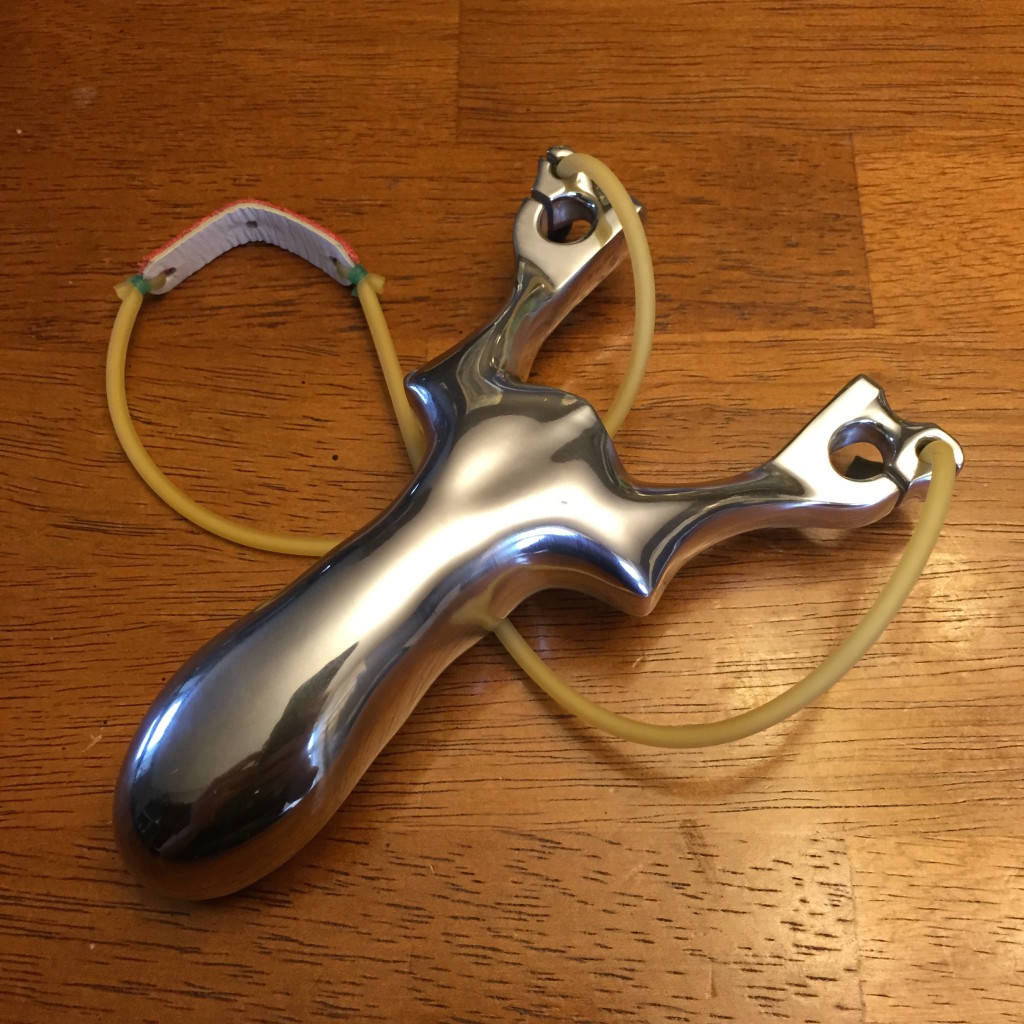
Since the launch of the new Metbro line, they have garnered a small following of slingers wanting to try out the old school feel but with some modern aesthetics. This Metro Made is about finishing a pair of Metbros, a Classic and a Unishot with some old growth oak, brass pins and a leather insert for the thumb pad.

Want to make one? Check out our Maker category.

Metro Grade Goods Maker Category


Posted on 1 Comment

Metro Made | The Delta Marker

In my day to day, I carry a pen and a Sharpie marker. I don’t remember when I started doing this but as soon as I wake up in the morning and get my day started at the shop, I always put those two things my my left pocket. I feel weird not having them and they really make up the core of my EDC items.

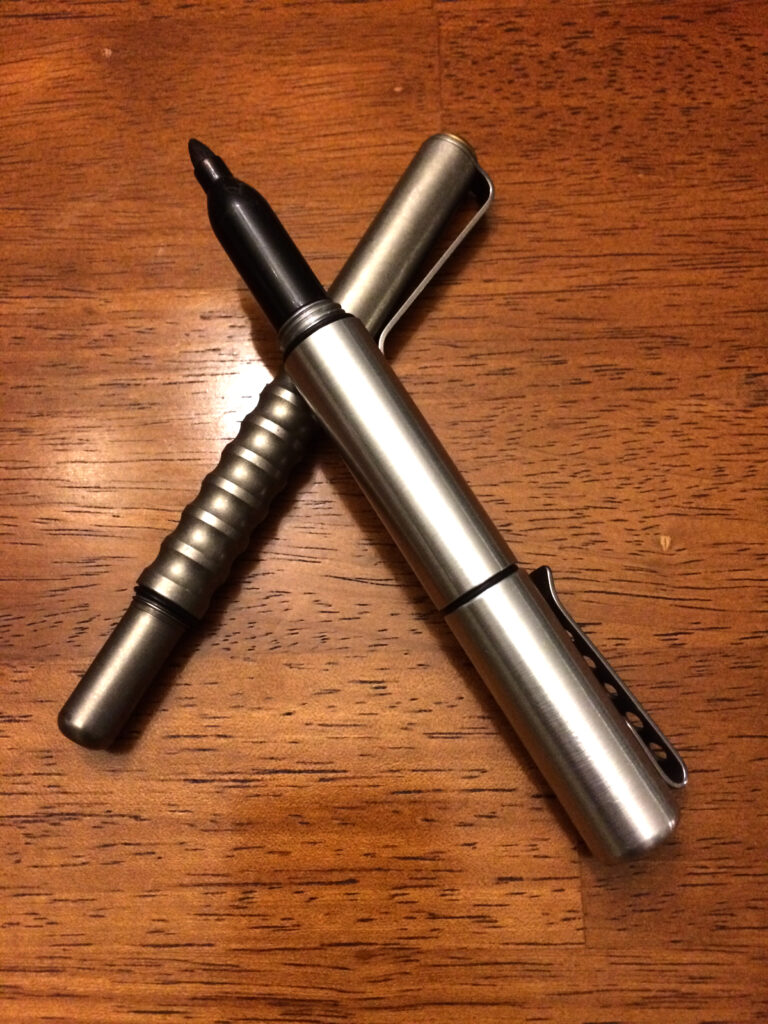
My most recent acquisition is the beautifully made titanium version of Jason Hui’s Alpha pen, which was a successfully funded Kickstarter project. Jason’s an insanely crafty guy, designing and manufacturing flashlights under his moniker, Darksucks. His low volume, high quality produces ooze style and class for the discerning gear guy/girl. His Alpha pen uses the finest of refills, the Mont Blanc felt tipped fine liner. At $4-5 each, the pen matches the pricey and beautifully writing capabilities of the refill.

Having a medium size collection of higher end custom pens, one of my greatest wishes was for someone to make a beautiful Sharpie marker holder. I’ve been waiting for someone on Kickstarter or other crowdfunding platform to make one, but no one seems to want to take up the challenge. Sharpie does make a stainless steel marker but the design leaves so much to desire and the refilled are fairly expensive given the relative short lifespan of a marker.

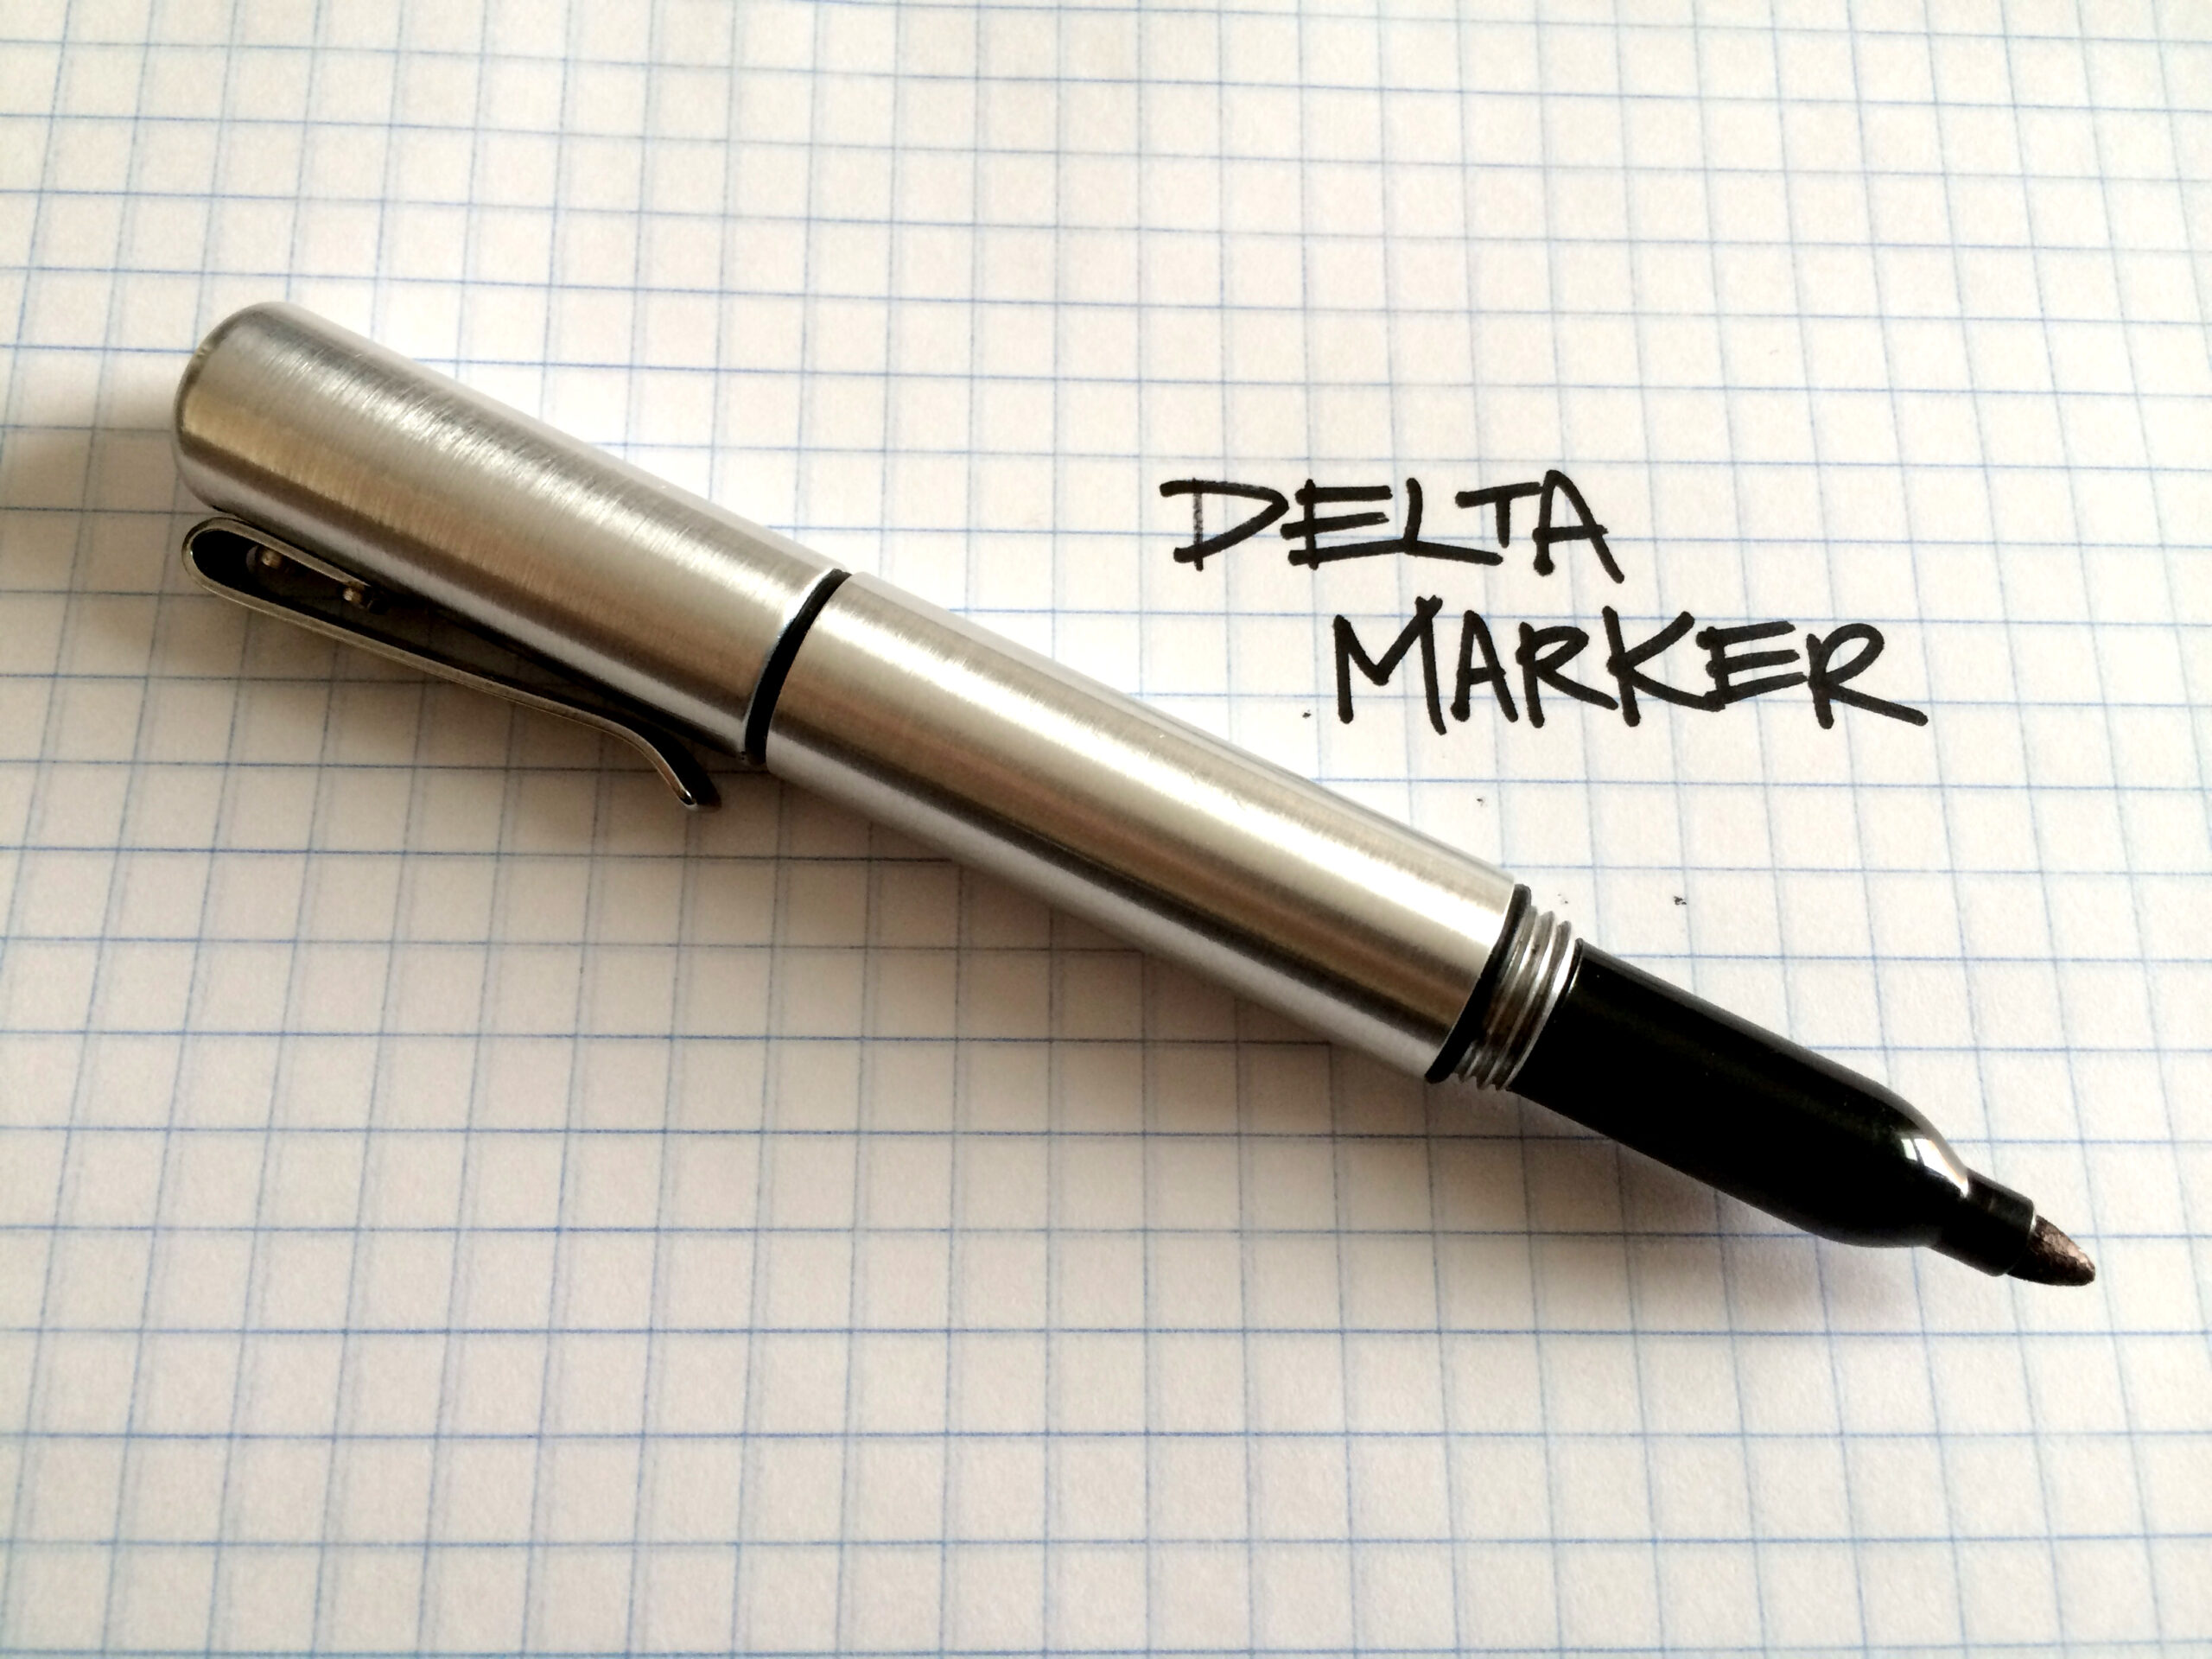
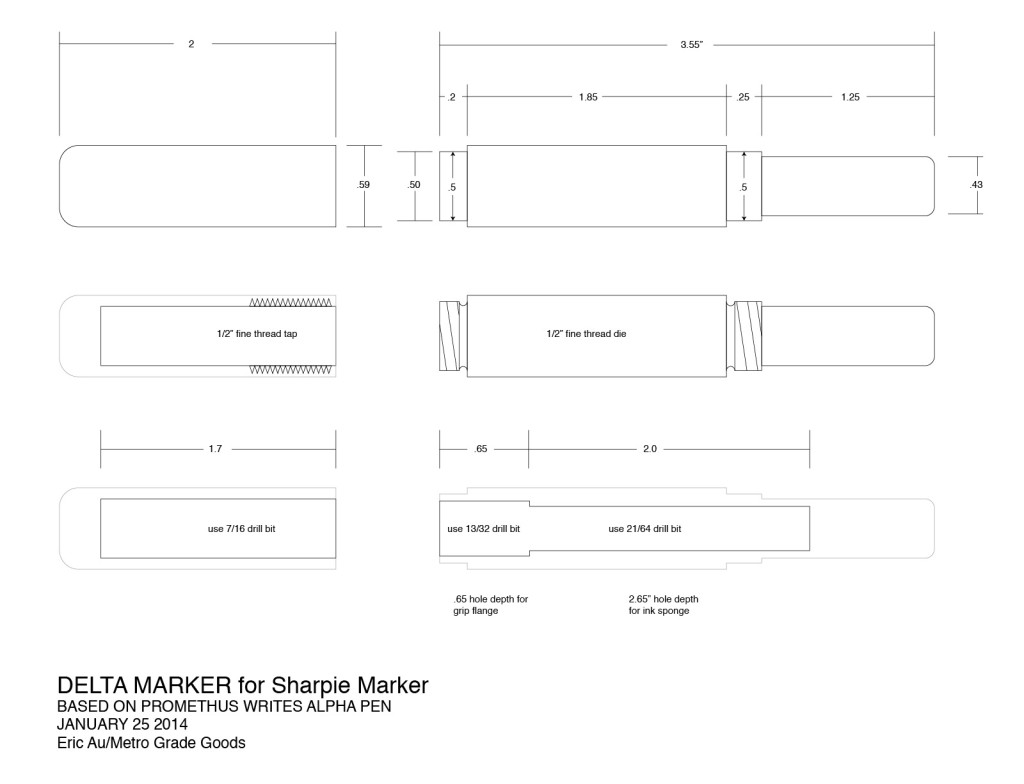
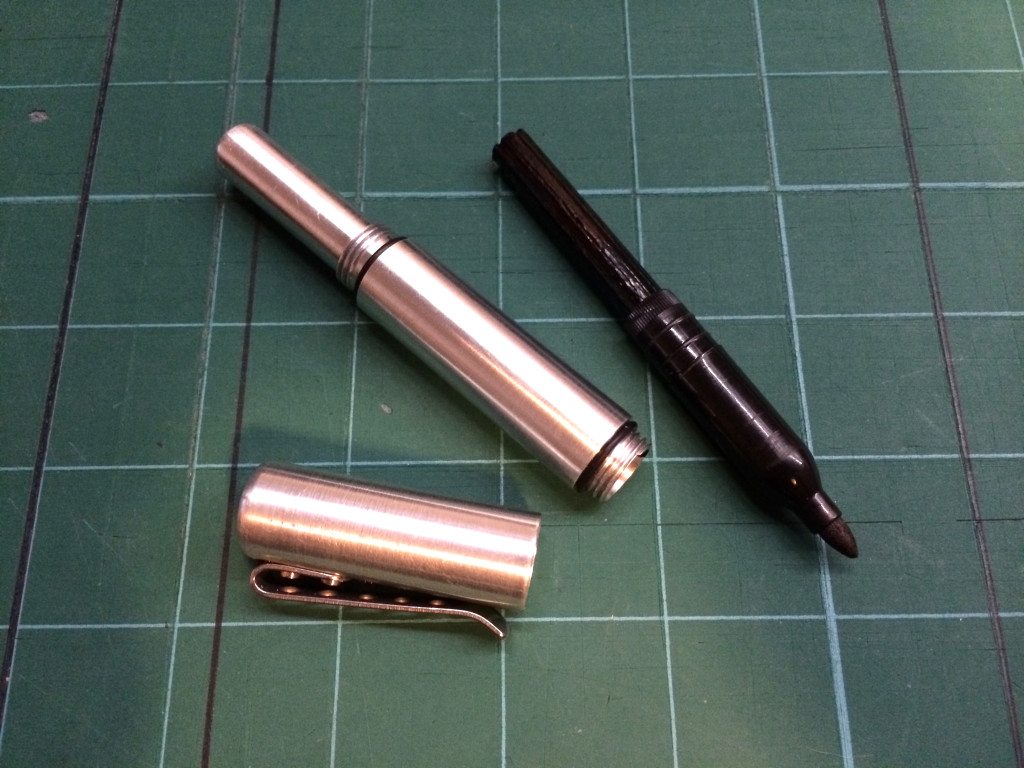
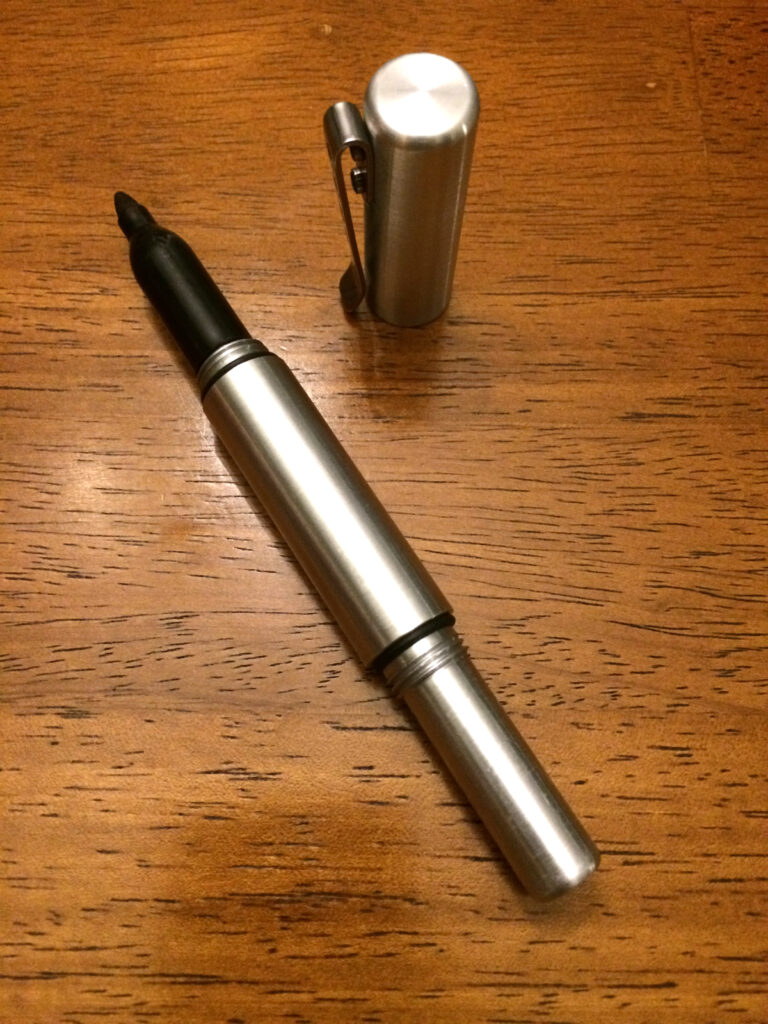
I finally broke down and spent some time in front of my lathe and made one. This is turned entirely from 5/8″, 6160 aluminum bar stock and using very commonly sized imperial HSS drill bits. The clip is from a Sanrenmu knife that seats itself into a flat spot milled into the face of the cap.

MGG Delta Marker Plans

Delta Marker internals

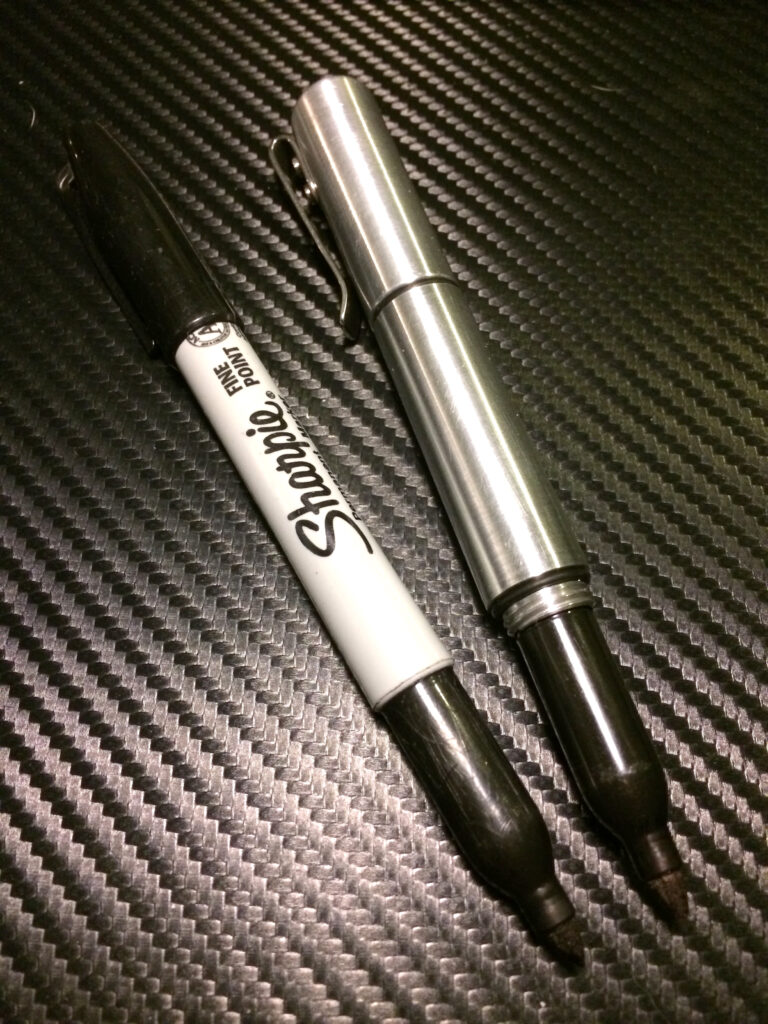
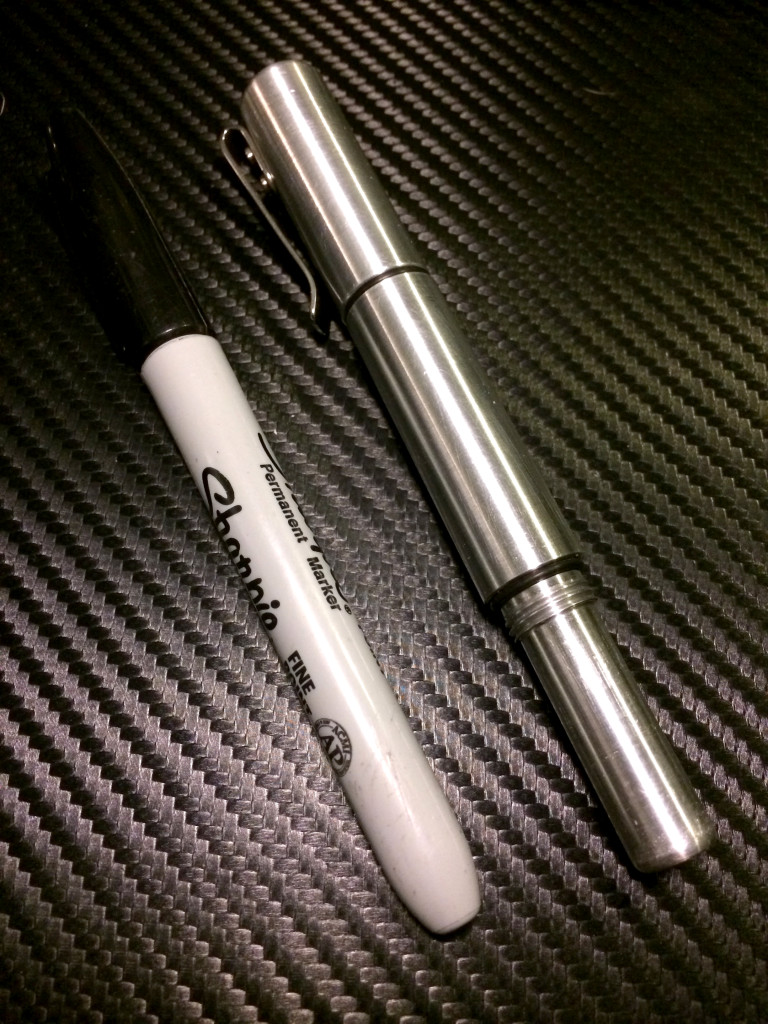
Basically, it’s a sleeve that accepts the grip, tip and ink well sponge of a regular sized Sharpie fine tipped marker. Extracting this is pretty easy, just bend the plastic body of the maker till the body separates from the grip. Then slide it into the Delta body and press down with the plastic cap. This seats the “refill” fully into the new home.

I call it the Delta Marker.

Delta Marker carbon 2

Delta Marker carbon 1


Why Delta?

Well, it’s no match for The Alpha pen, and it’s not refined enough to be a Beta so, it’s the Delta marker. It is also based off of Jason’s design, using his cap posting design ad well as the capping design, so it’s only natural to follow his naming convention. The only thing missing is the shallow scallops on the body, to do this I would need a round insert holder, which I broke some time ago.

I also wanted it to seal, so I added a groove at the base of each 1/2 fine thread for an o-ring. This did two things, it won’t allow the nib from drying out, but it also engages the cap when torqued on a bit so it won’t accidentally come apart in my pants or shirt pocket. I actually came about this epiphany when the Alpha pen came apart in my pocket a few times, so I put a few, really small o-rings meant for a AAA flashlight seated at the base of each thread. Lucky for me, Jason designed a relief for the threads, which meant there was a groove for the o-rings to seat. Mine are much less precise, but they don’t need to be since the o-rings I used are much thicker to generate a better seal.

Just a quick note, these are not for sale, it was a personal challenge and this blog is a place for me to present final, in progress, experimental as well as failed projects. It’s not often something comes together so nicely on the first try, but thanks to Jason’s design, a lot of the guess work is done for me.

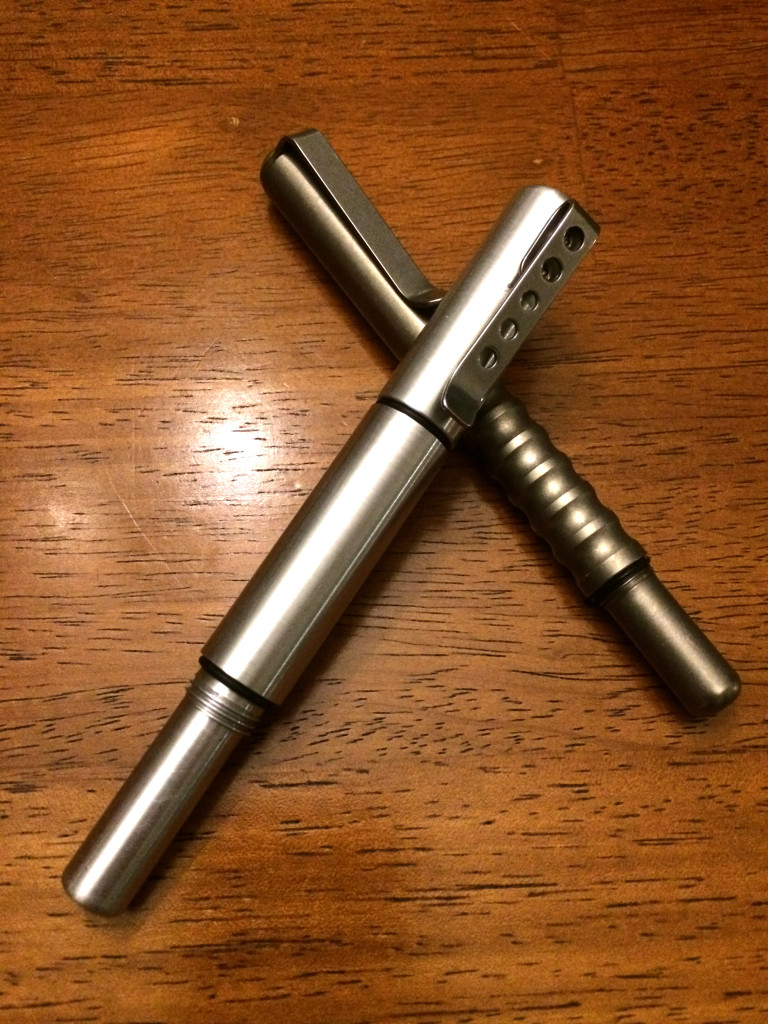
Here are some table top shots, under the Delta Marker is the Alpha pen.

Delta Marker alpha pen1

Delta Marker alpah pen 2

Delta Marker cap

Thanks for making it all the way to end of another long winded, designer rage fuelled build. I am really happy with the Delta Marker and it will serve me well until I can get this design in CAD and possible CNC this.

-Eric