Stuttgart Feuerbach It’s been far too long and it’s time for another Metro Made post, this time around, something familiar to you returning Metro Made readers. If you are tuning in for the first time, welcome! Metro Made is the blog of Metro Grade Goods and how I turn raw materials in the stuff you see on the site. It is my way of letting you know where things come from and how they are made. Besides, who doesn’t love a good behind the scenes.
In this installment of Metro Made, we take a look at how I took the plunge and crafted 8 super laminated slingshots in one weekend. A pretty daunting task since a single unit took 5 hours to complete. If you are at all familiar to scaling up production, you don’t just take your unit’s build time and multiply it by the number of units you are making. There are always ways to save time. Despite the time savings, this oct-build still took 15 hours to complete. This one is a long one so take a potty break if you need to now, those of you joining me DURING a potty break, I commend your multitasking mindset.
The Harlequin pattern is something I developed when I made another Metro Made project, the Art Deco Loris. It was my ploy to use up a lot of small, left over wood ‘sprues’ generated when laser cutting full frames from planks of hardwood. The results where a stunning selection of hardwoods arranged in a very pleasing Art Deco style.
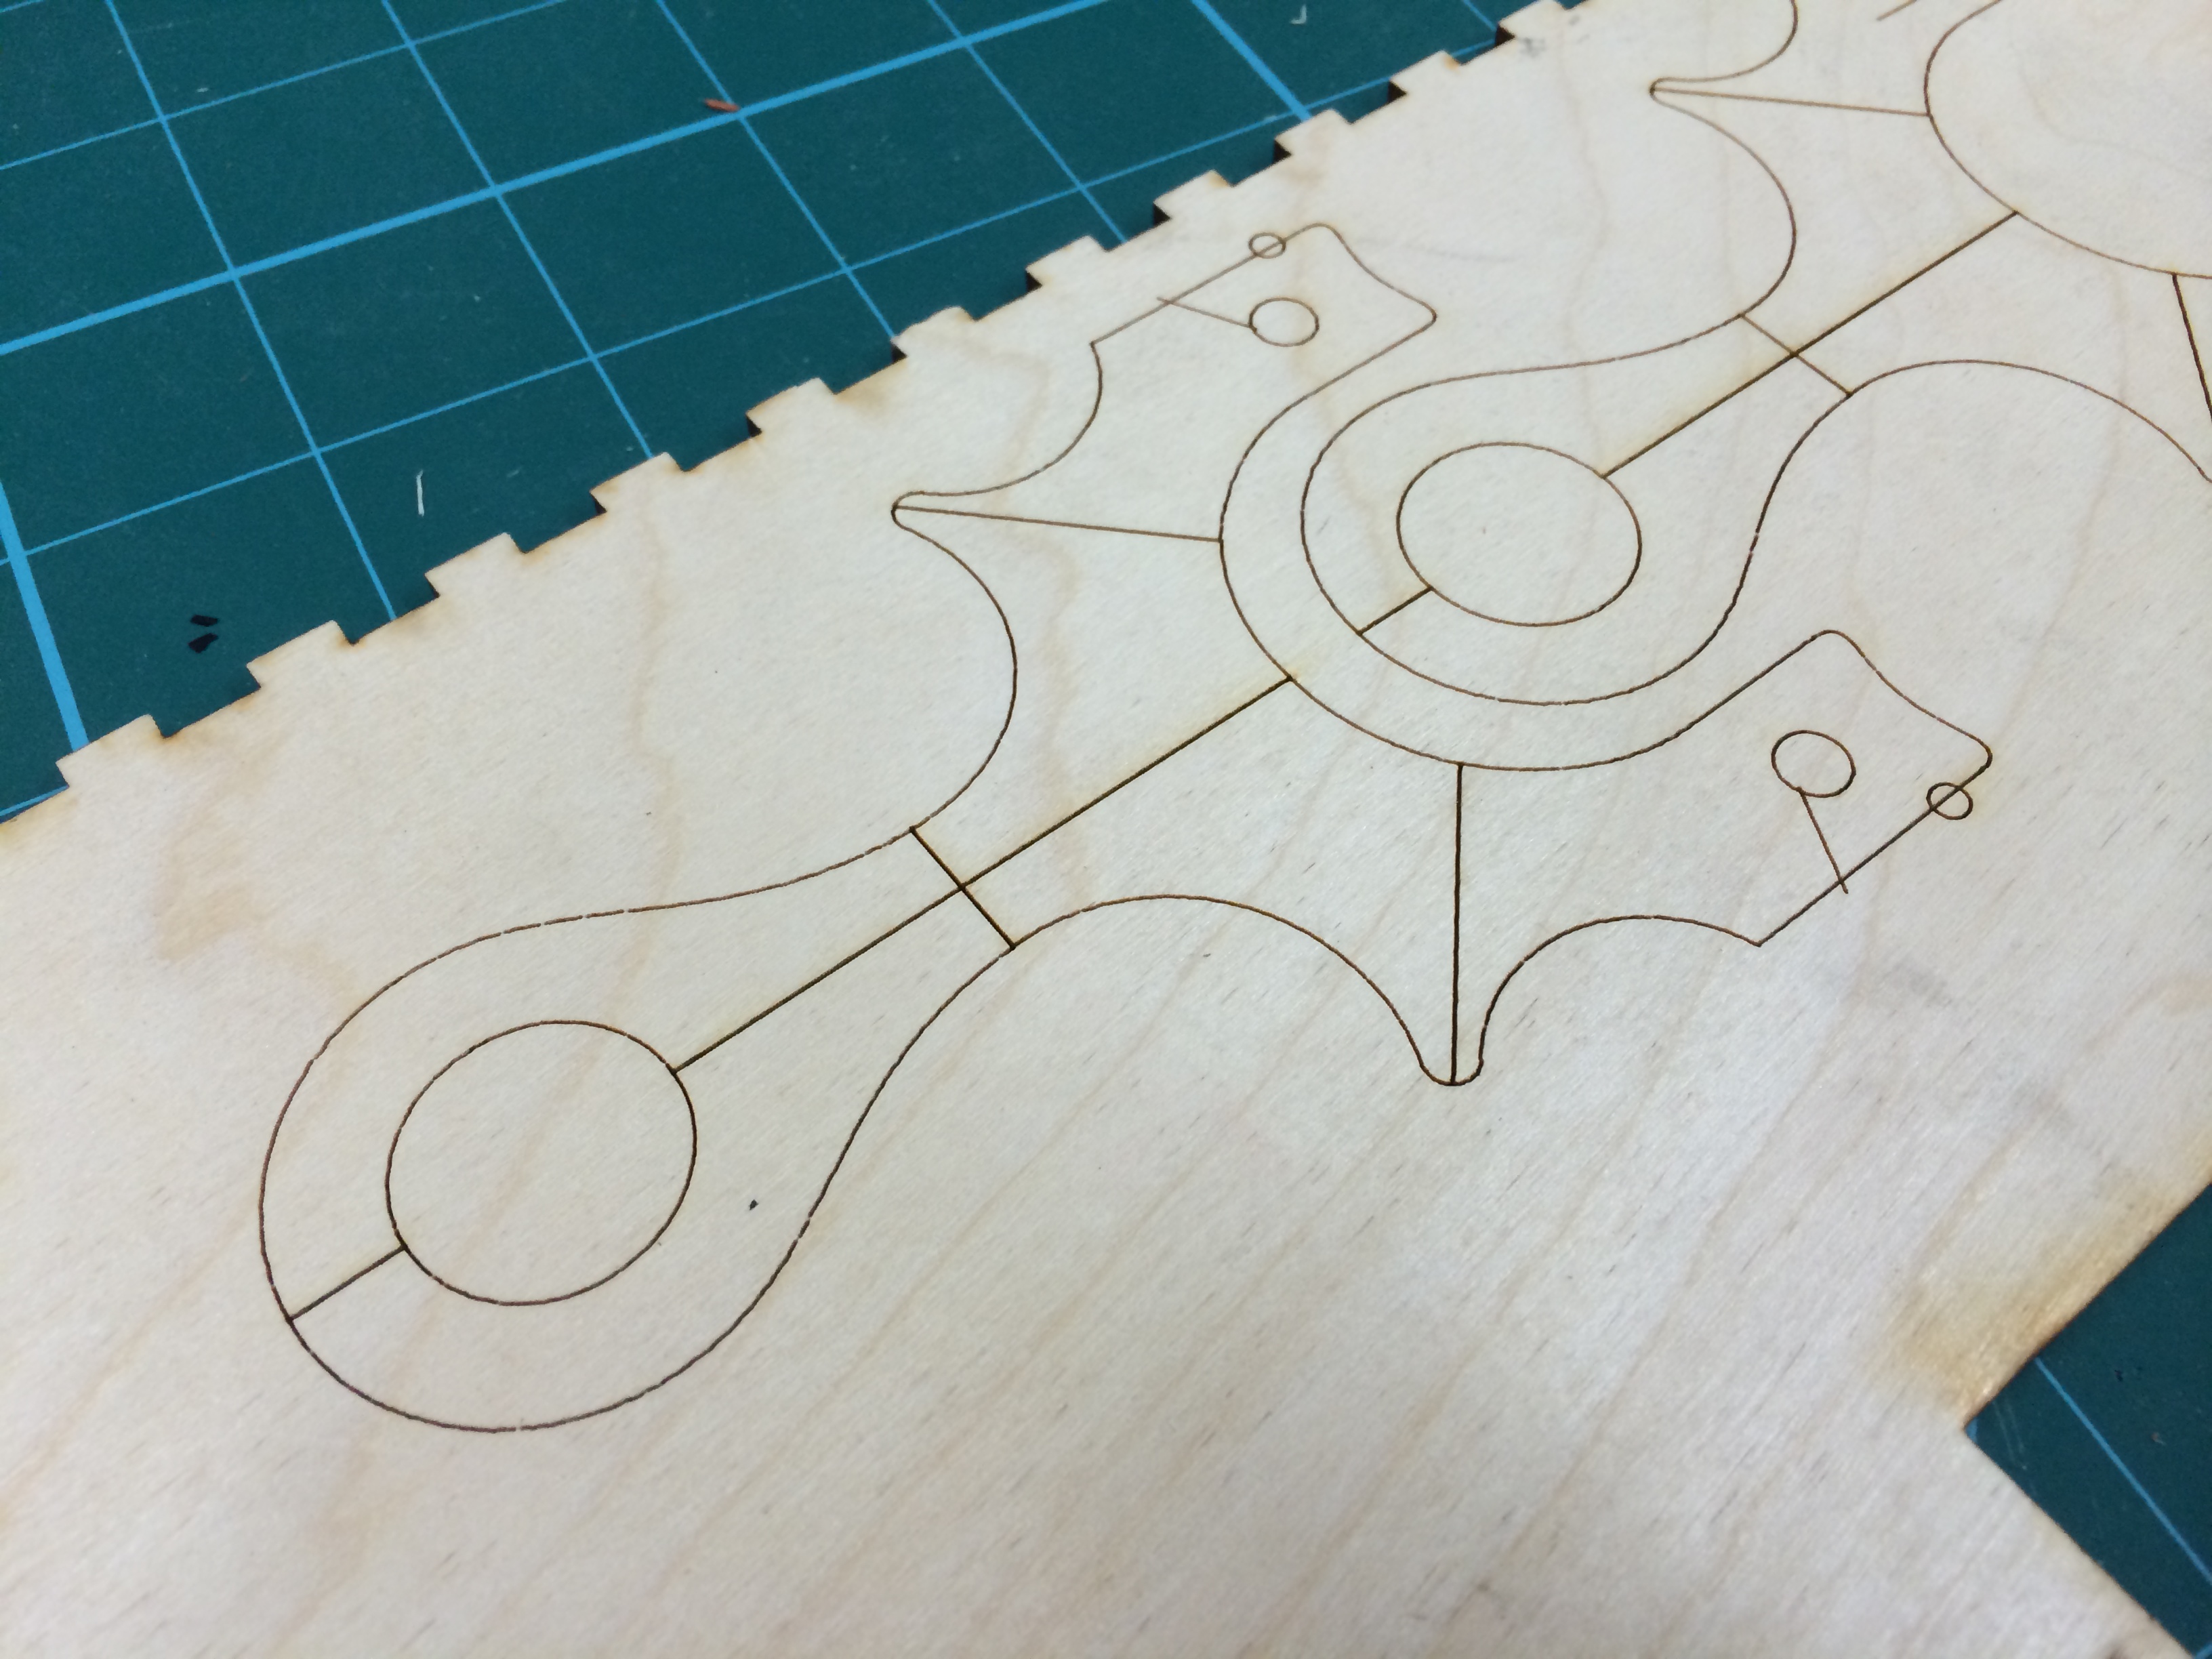
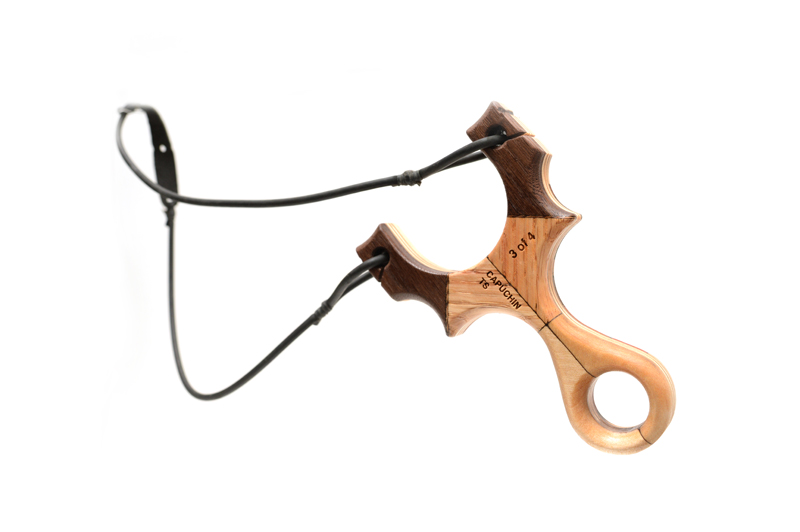
There were a lot request to have this available but the Loris was not the most popular slingshot to begin with, so I decided to go with a more universally appealing frame, the Metro Grade Capuchin. A smaller frame with a lot of potential for slicing and dicing for the Harlequin pattern, I went ahead and did that. I started by laser cutting the 1/4″ Baltic Birch plywood cores. I planned to make 4 Harlequin Capuchin TS’s (Tube Shooter) and 4 Harlequin Capuchin FB’s (Flat Band).
The biggest difference between making one of these versus eight is parts management. With 8 sets of near identical micro bits of wood (close to a 30 some odd part count per slingshot) something to keep them in order was necessary. Here’s what I used:
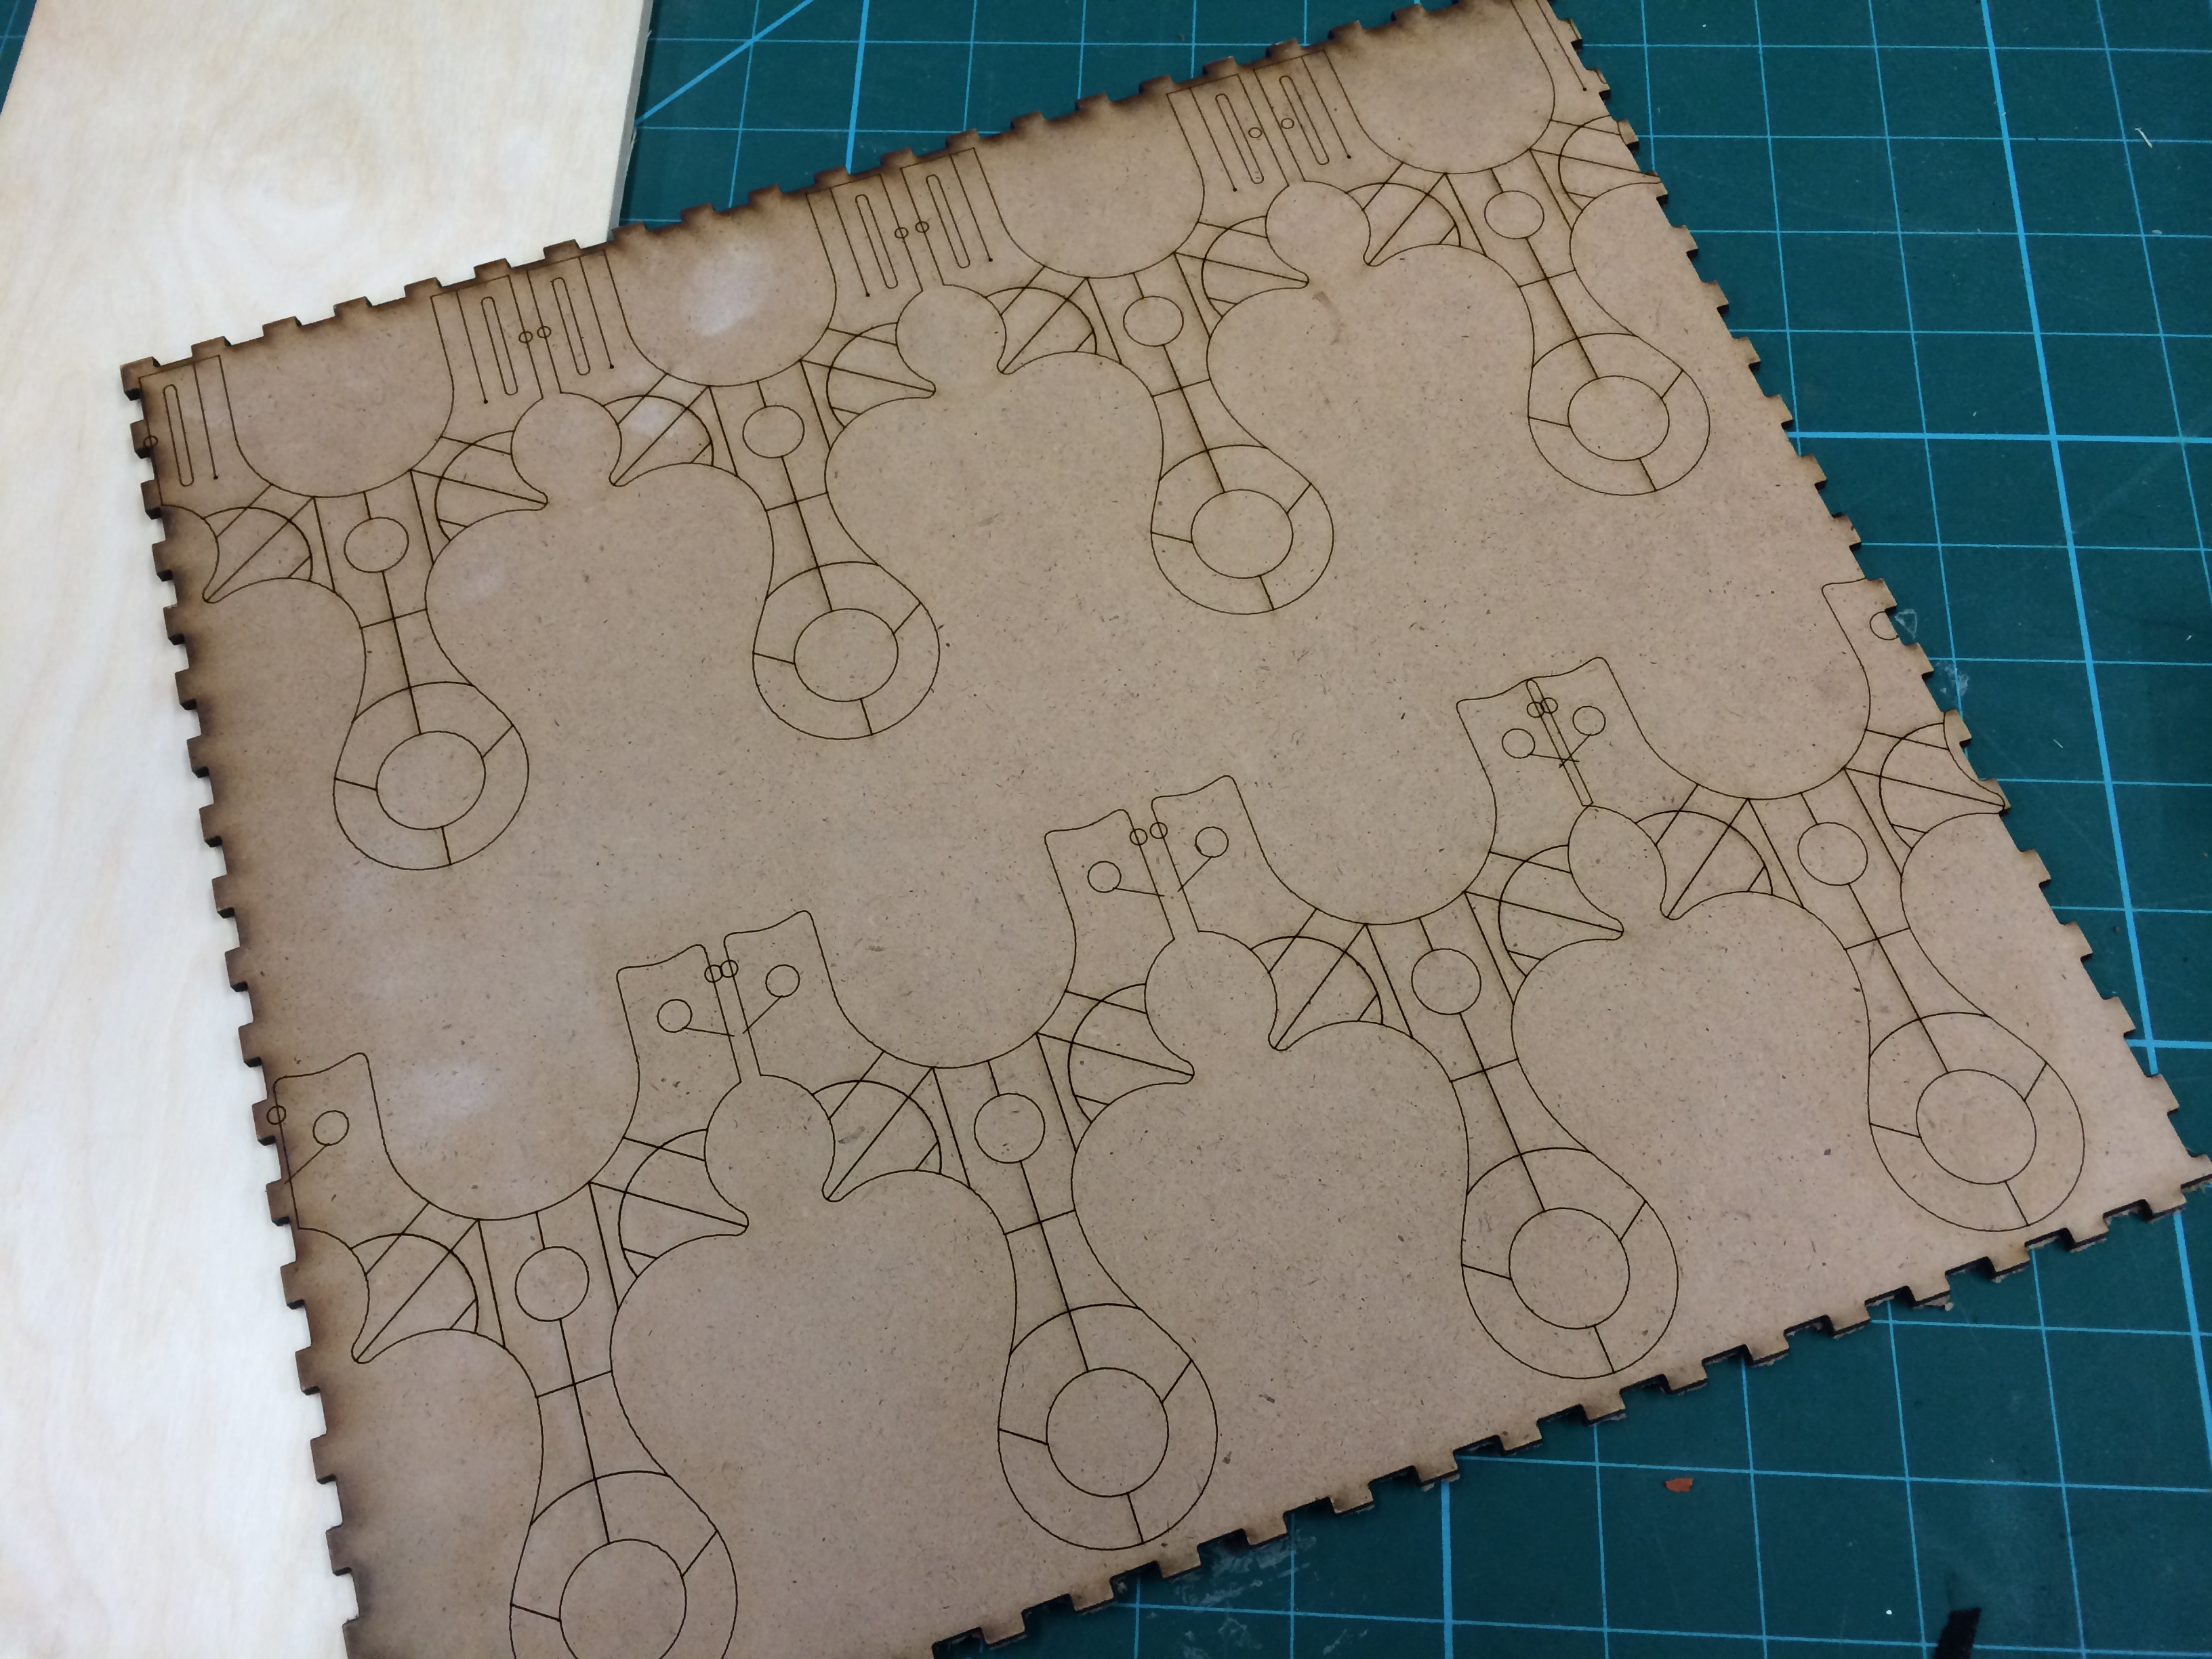
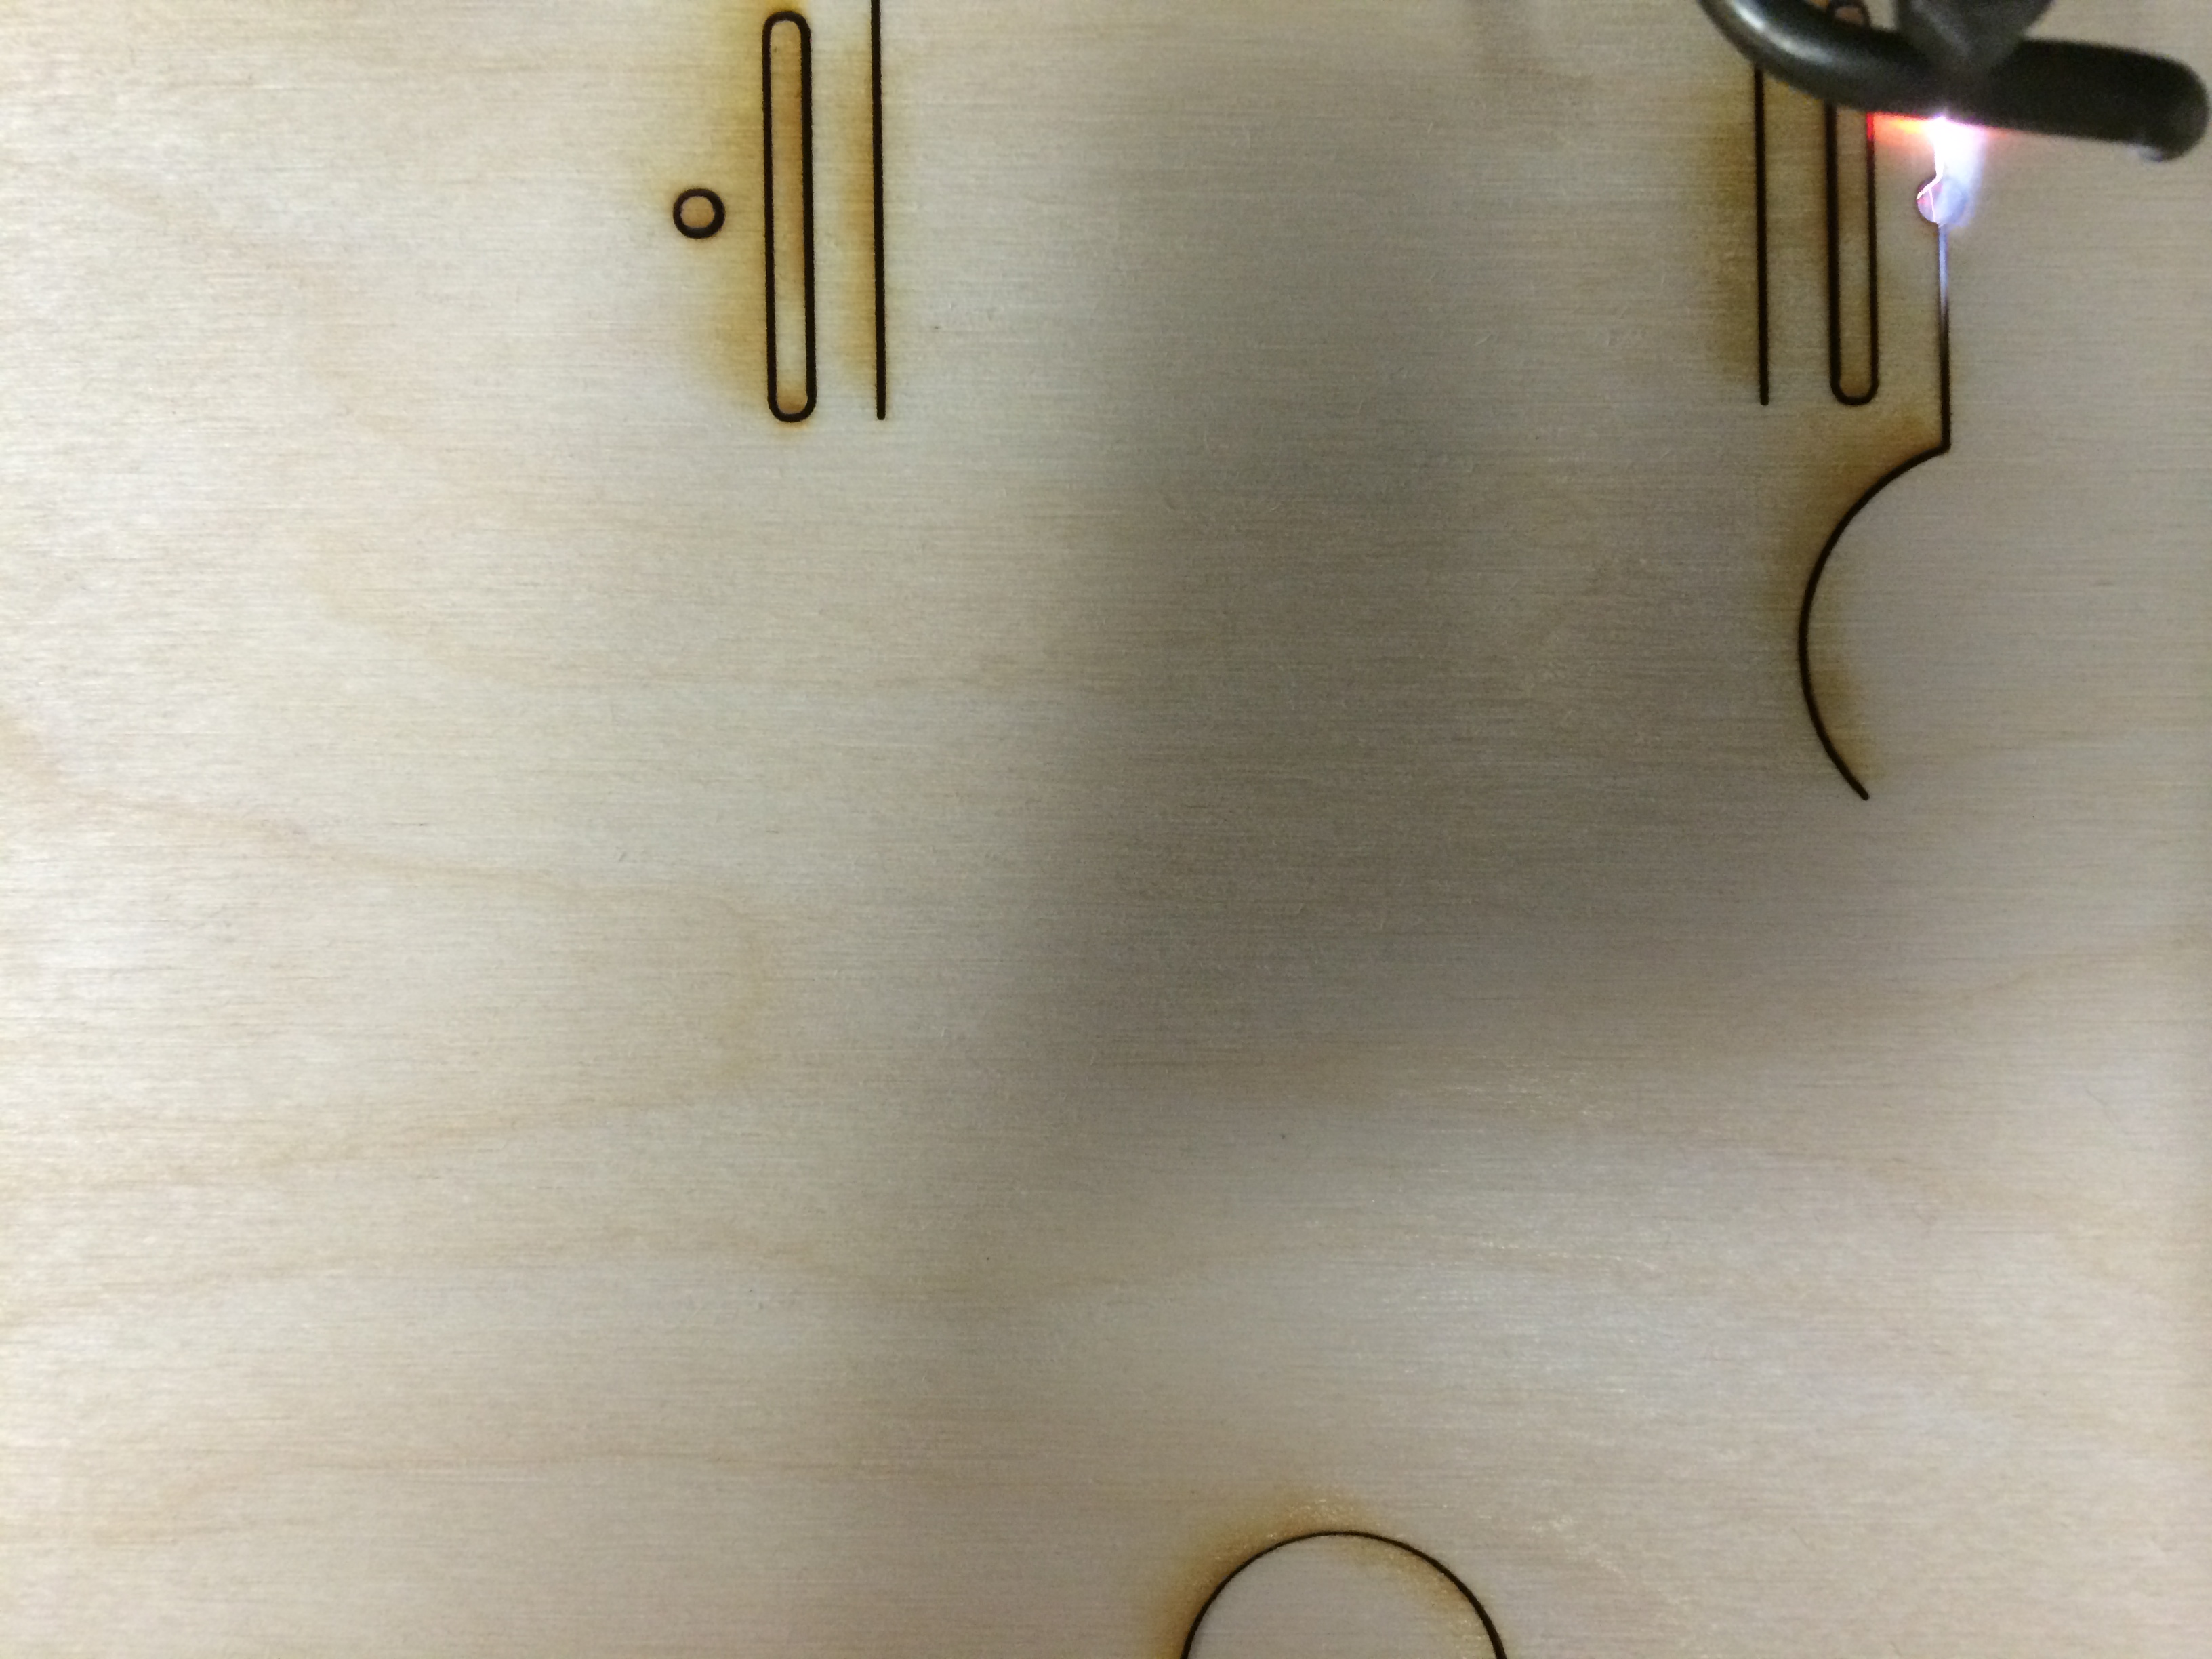
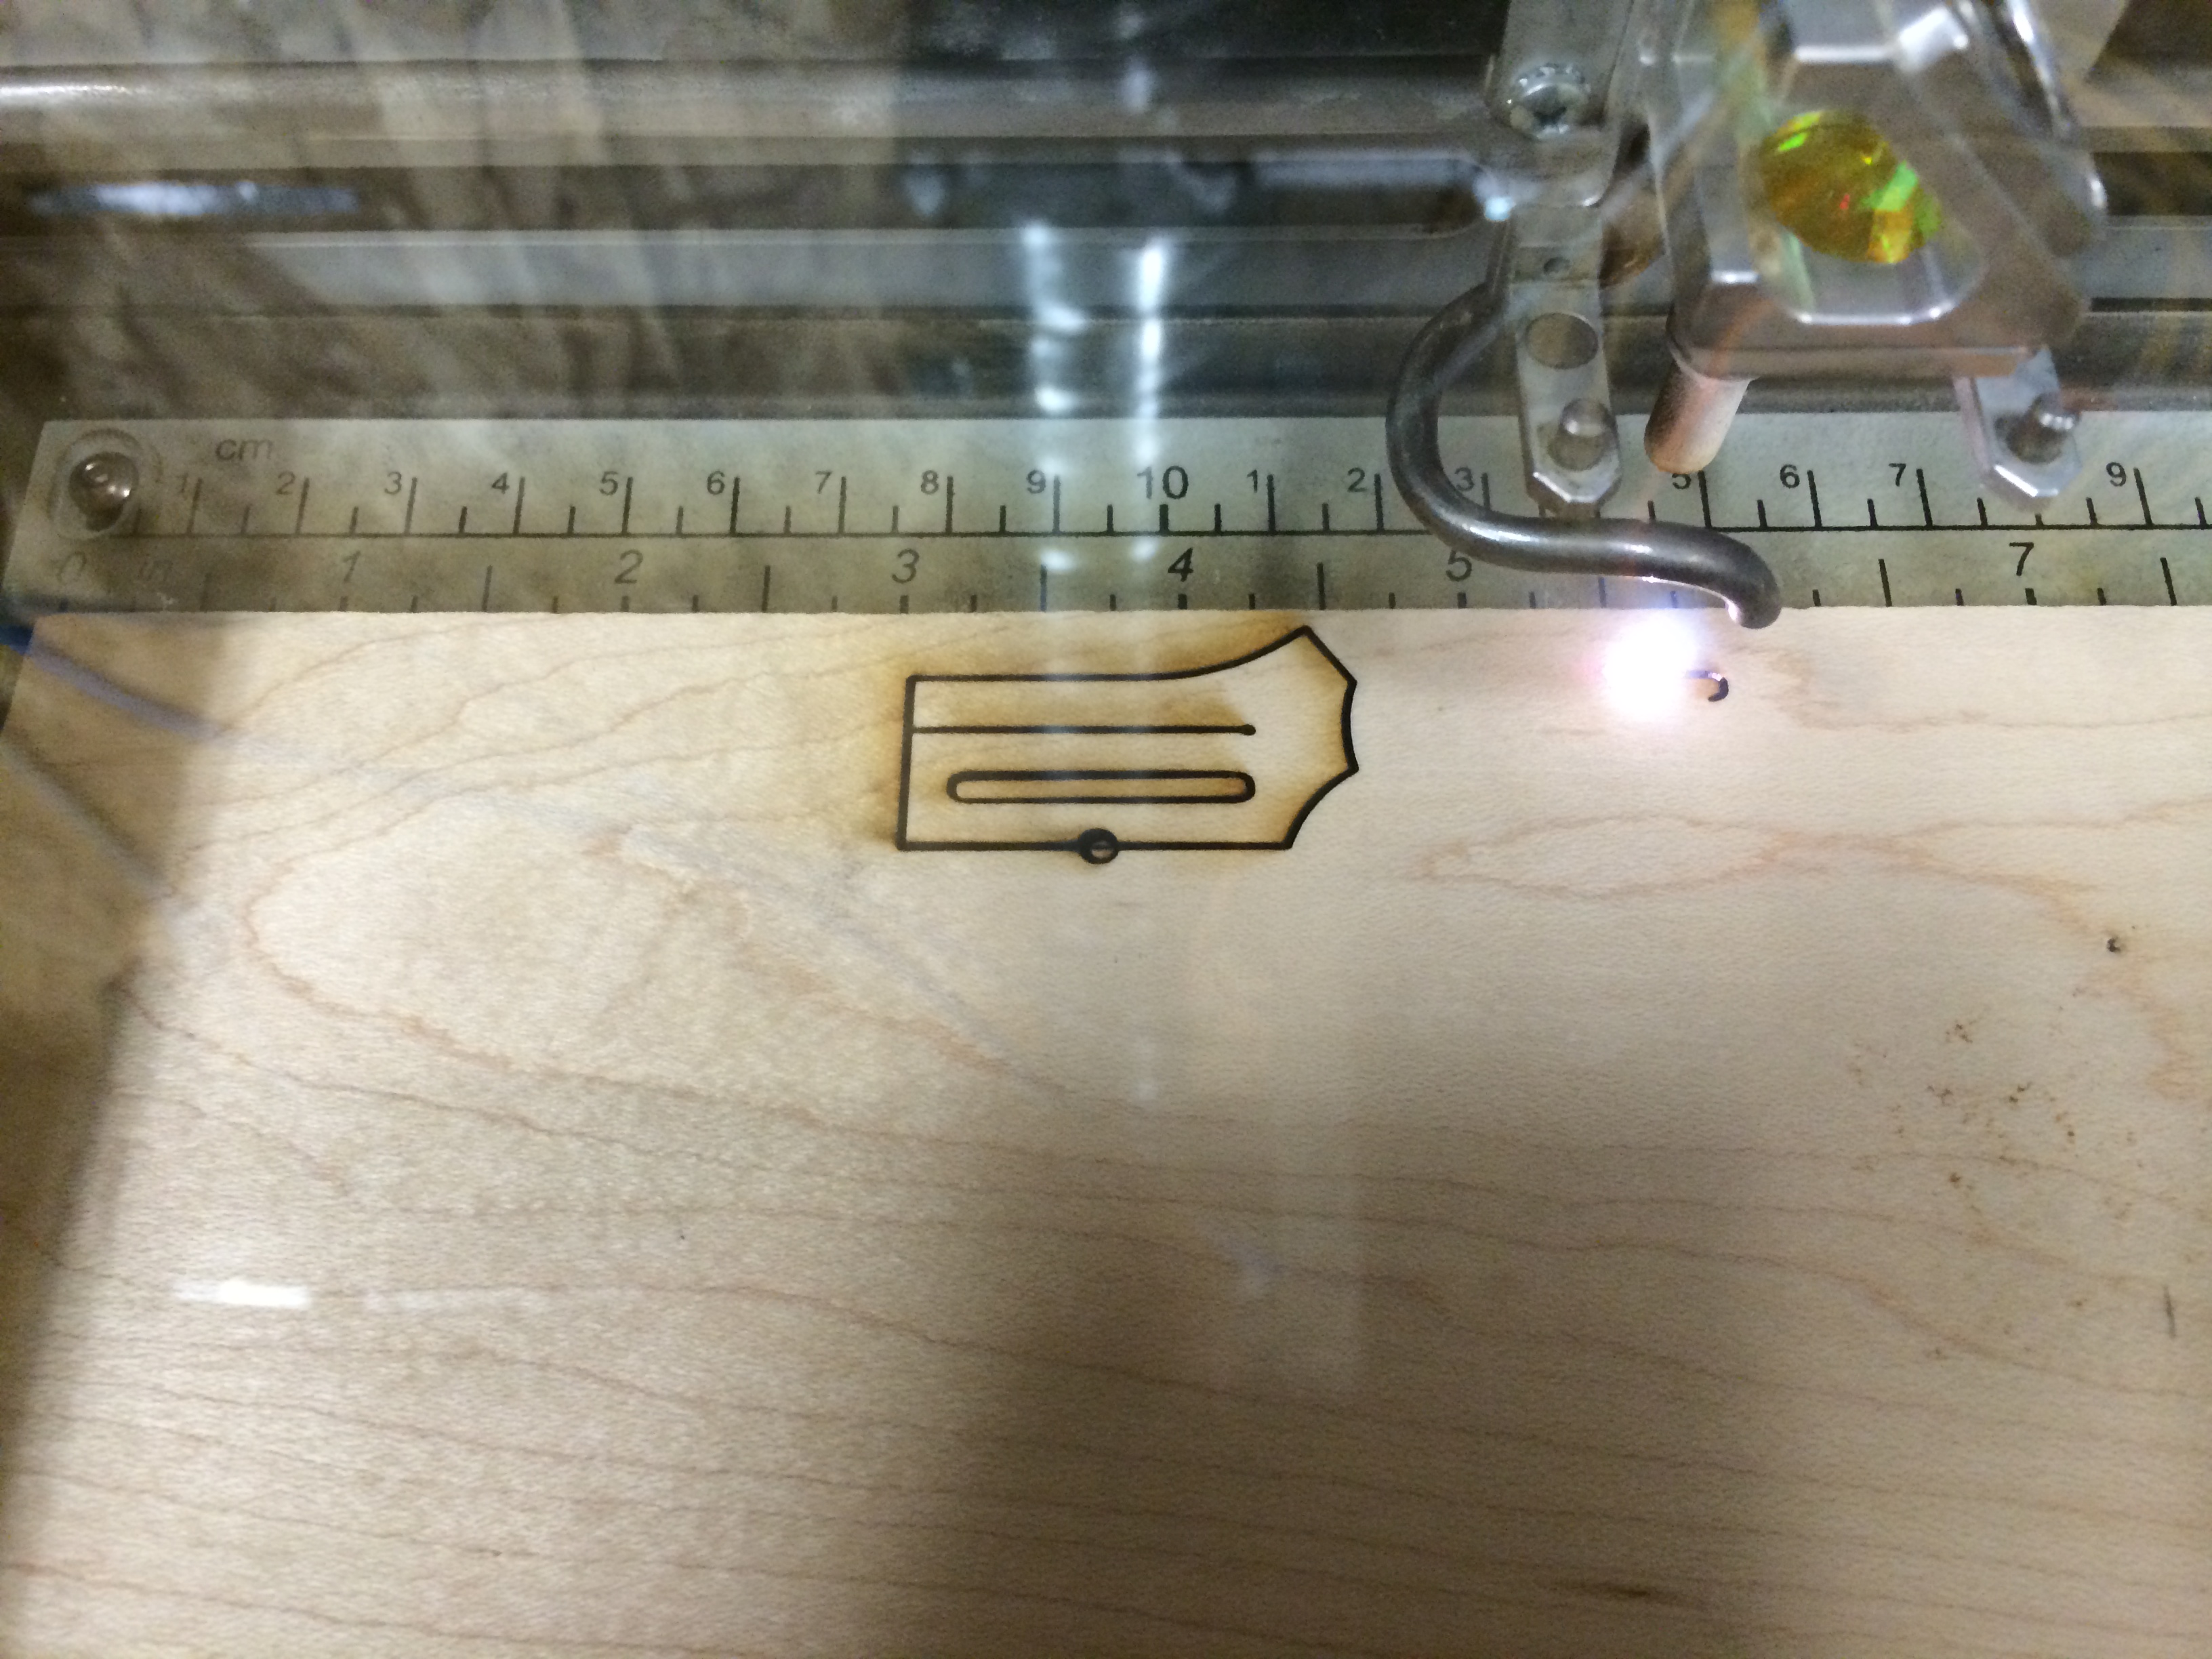
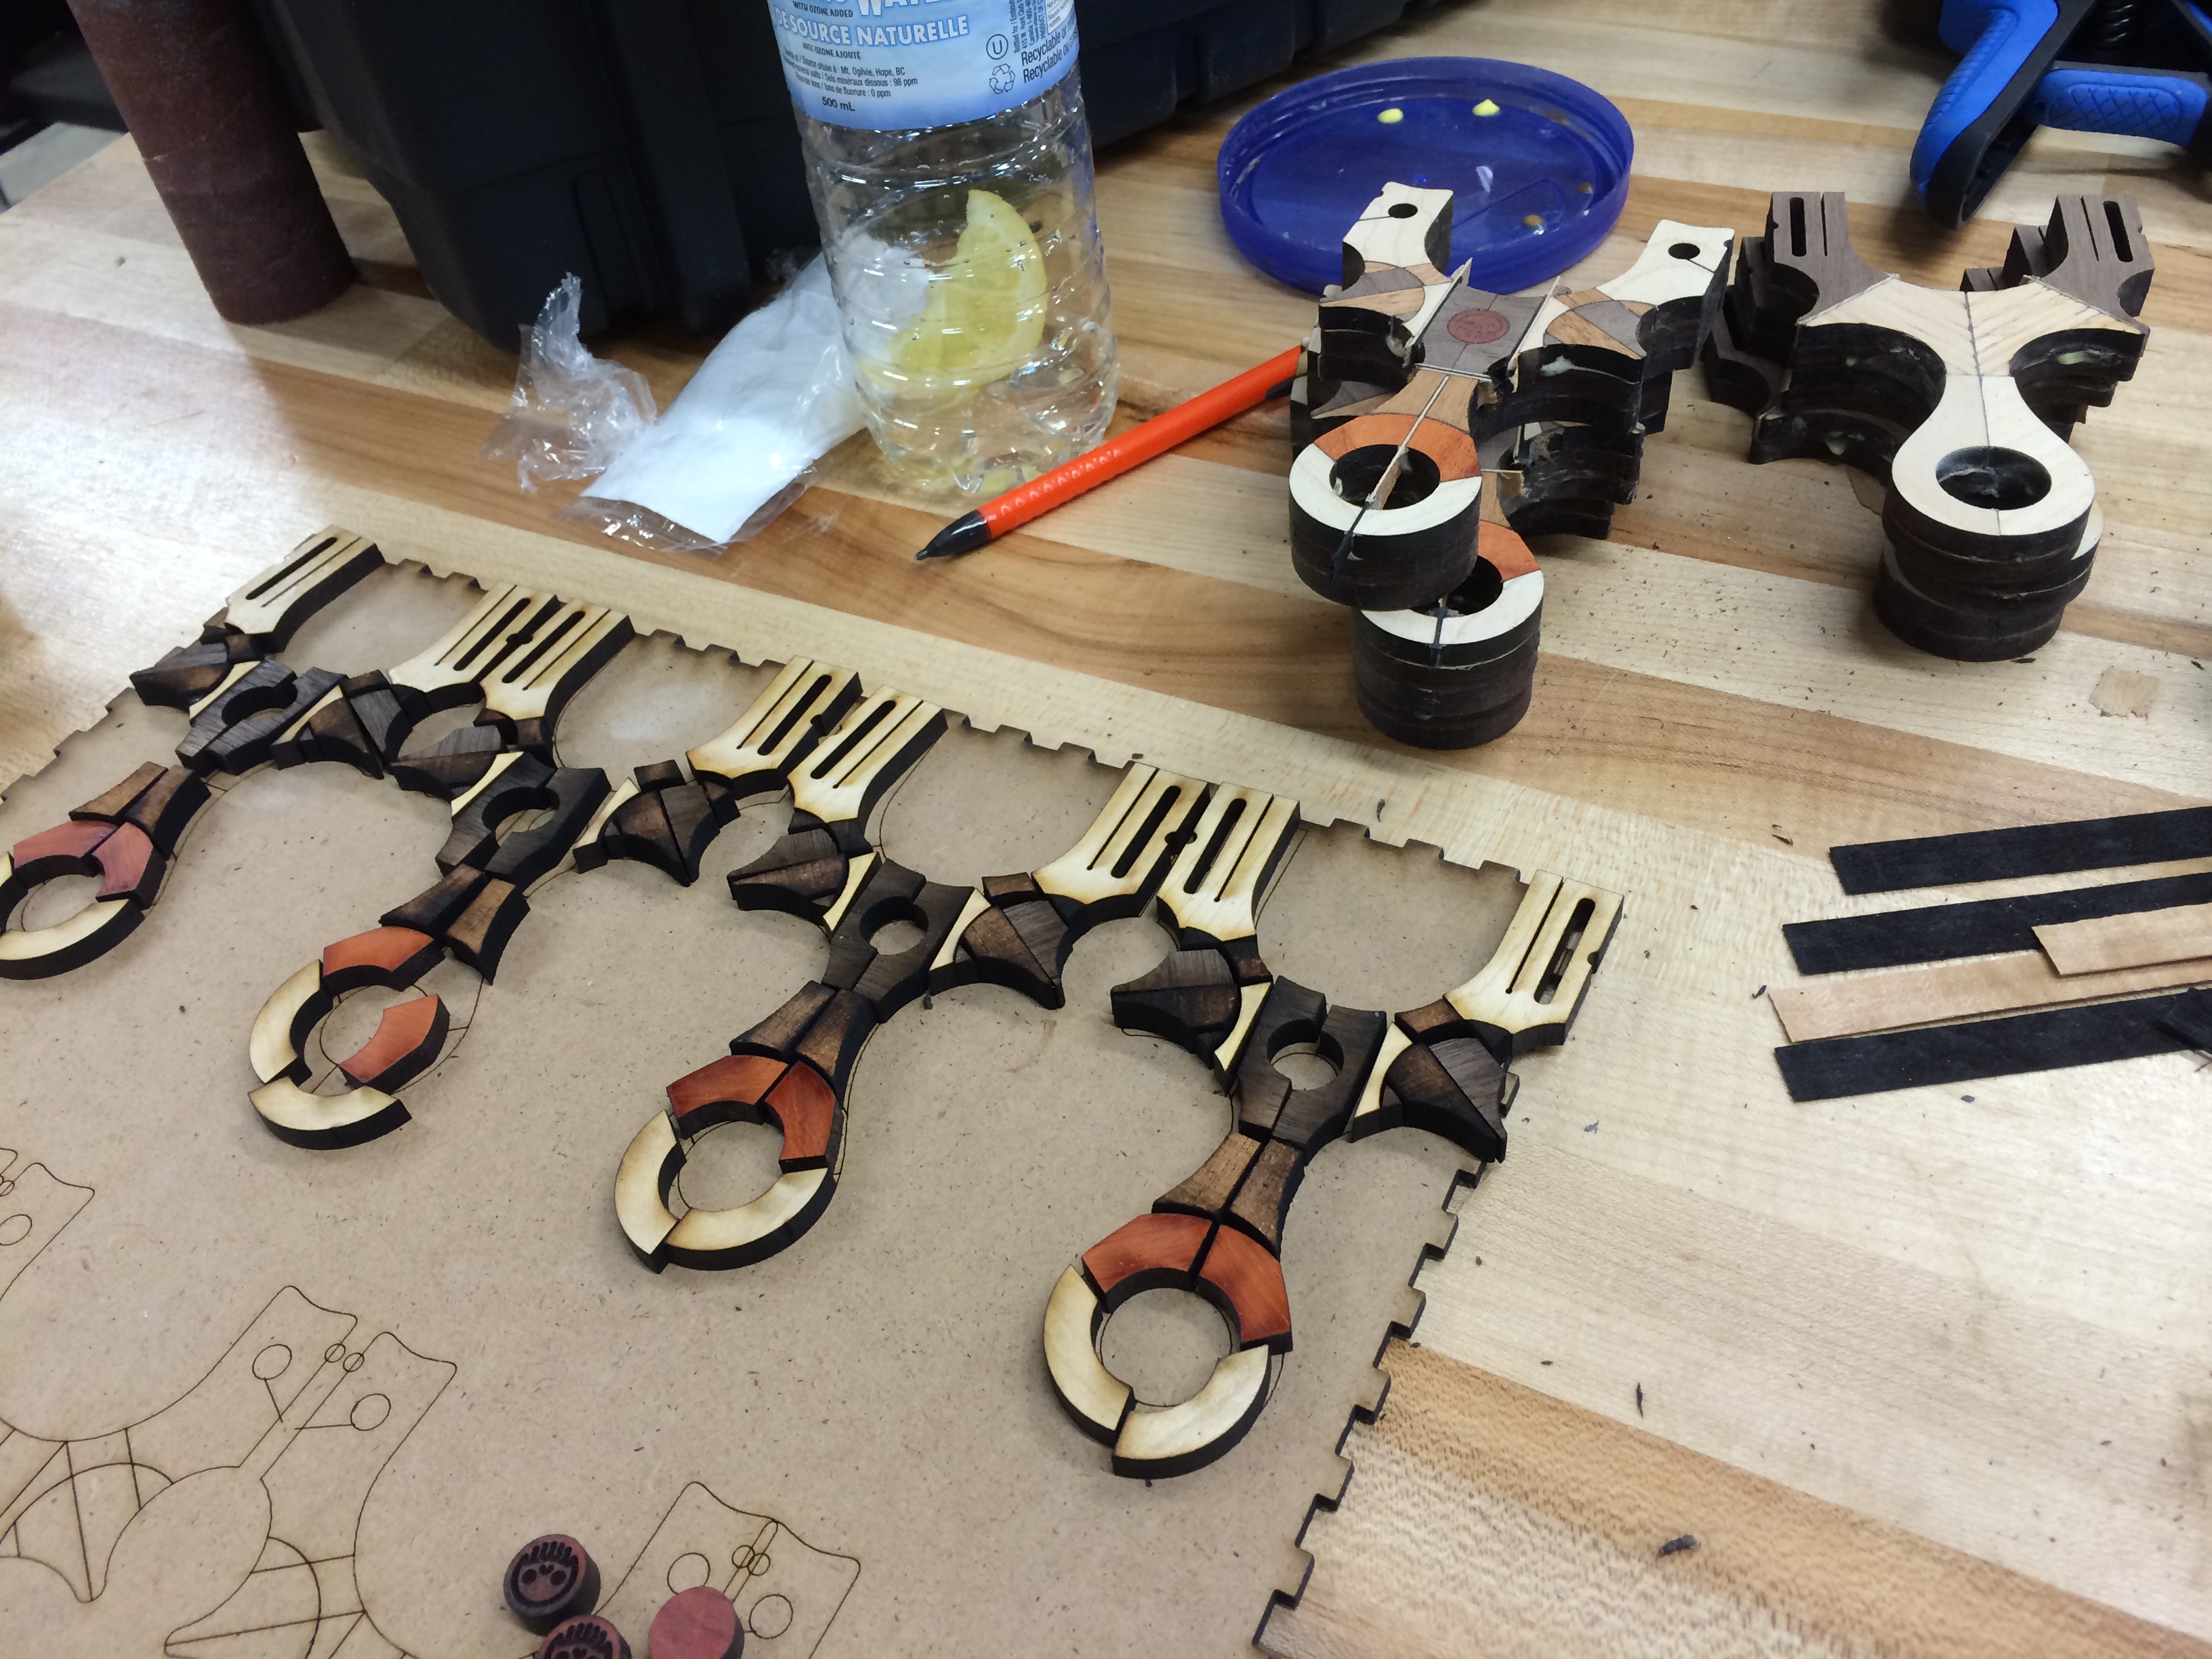
Adjusting the laser so it would only shoot out 50% of it’s 75 watt beam and speeding up to a max velocity, I made a template to organize the parts as they came off the laser cutter. The material is a scrap piece of hardboard. The next few photos show how the parts started to fill up the puzzle grid. I chose to go with rock maple for the fork tips since it is one of the hardest woods that can be laser cut and it is also readily available.
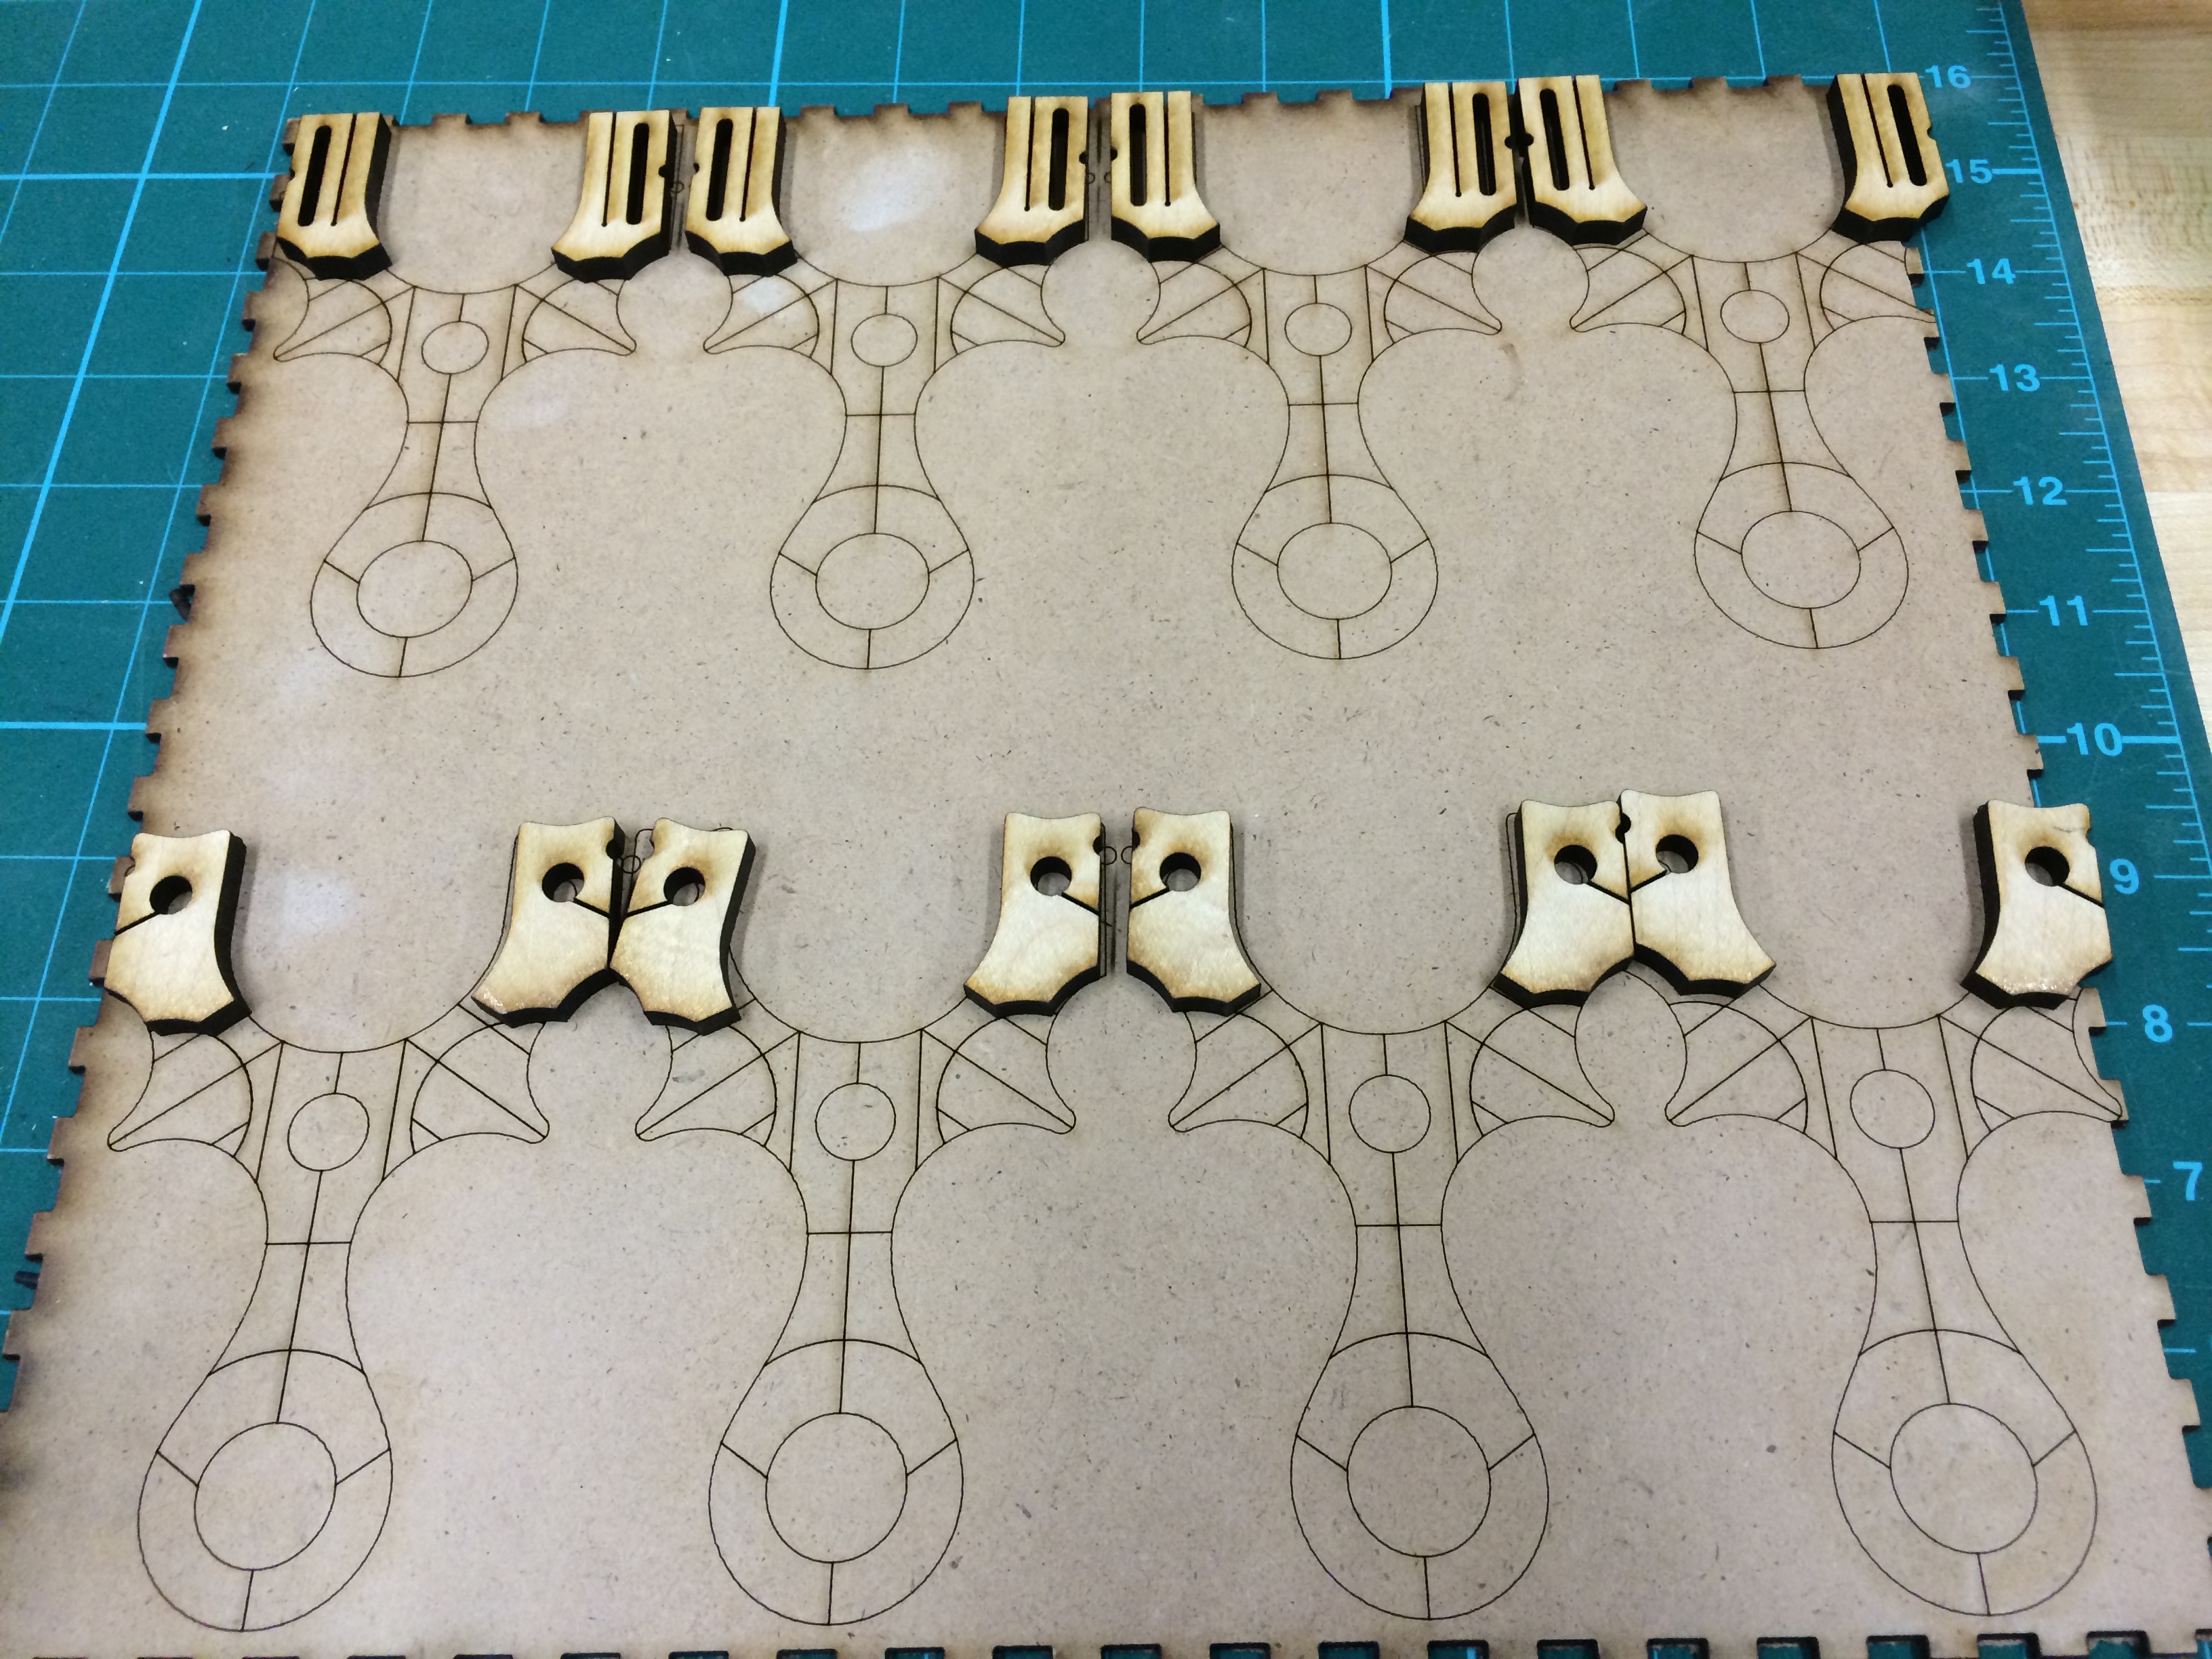
Not long after, the Honduran Mahogany, Black Walnut, Paduak and some more maple was laser cut and placed in their respective spots. You can see how the puzzle board is necessary now, and this is just one side.
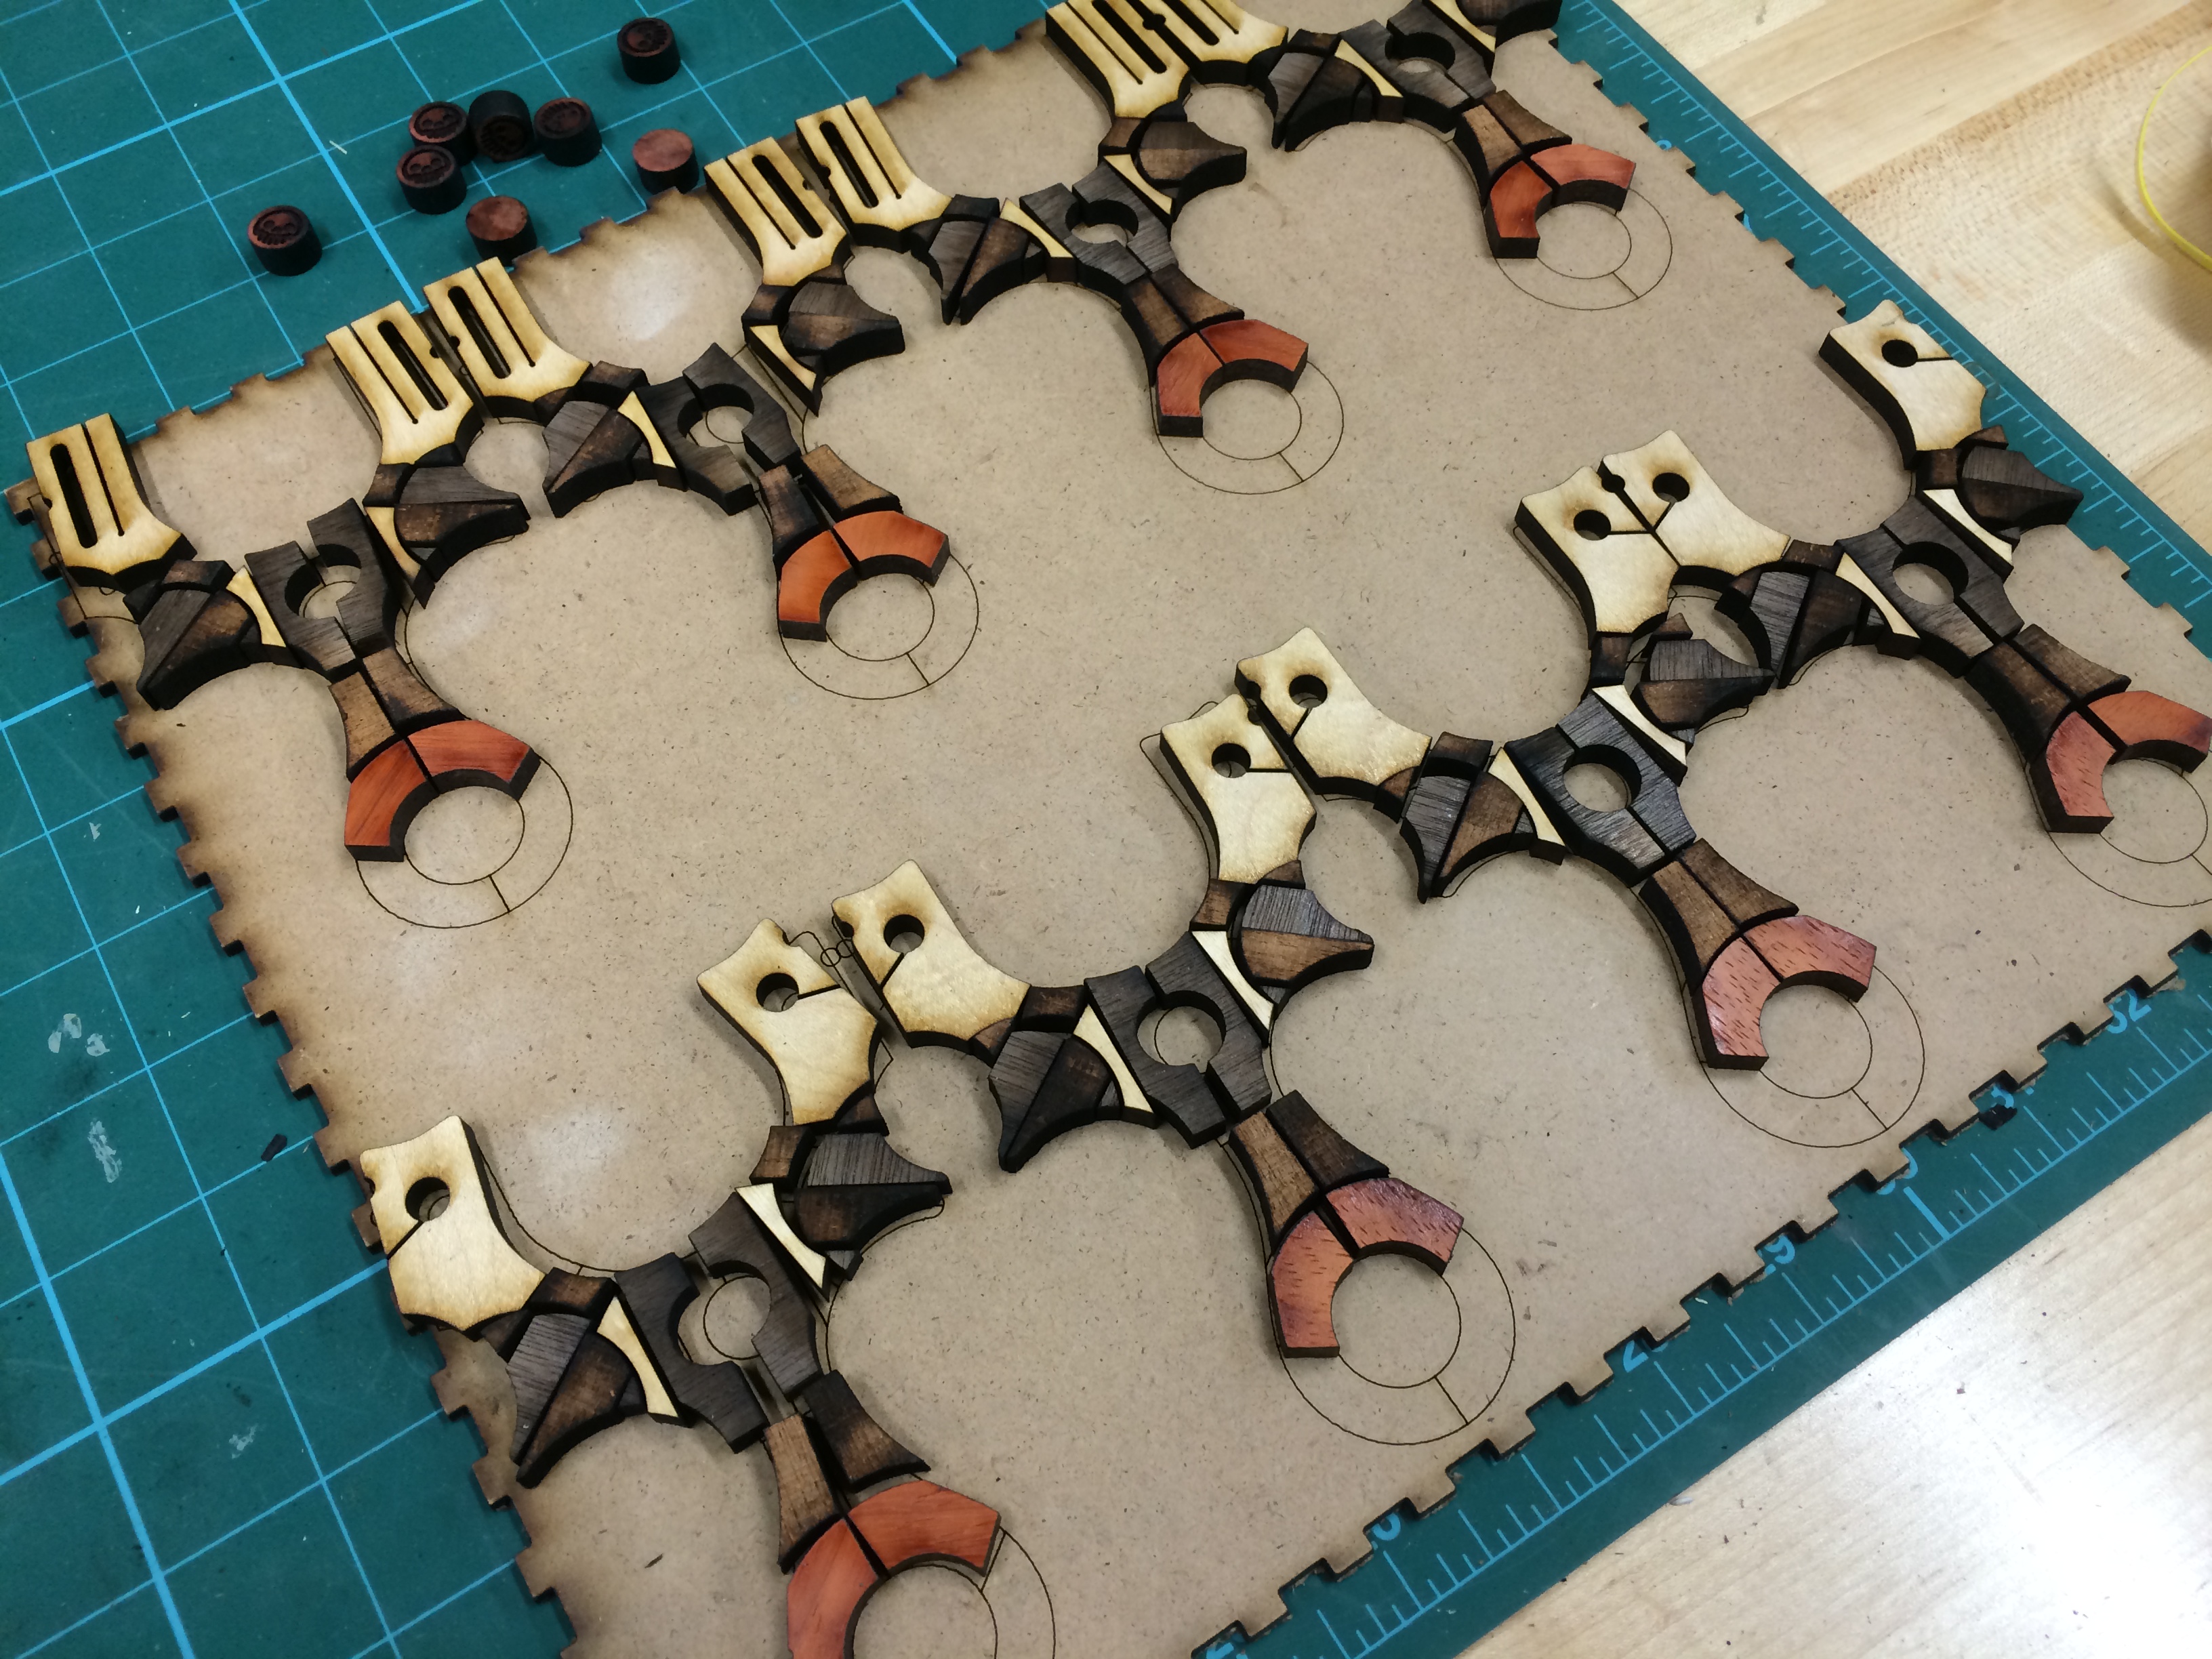
The final pieces for that side were cut from maple, here’s the video to prove it.
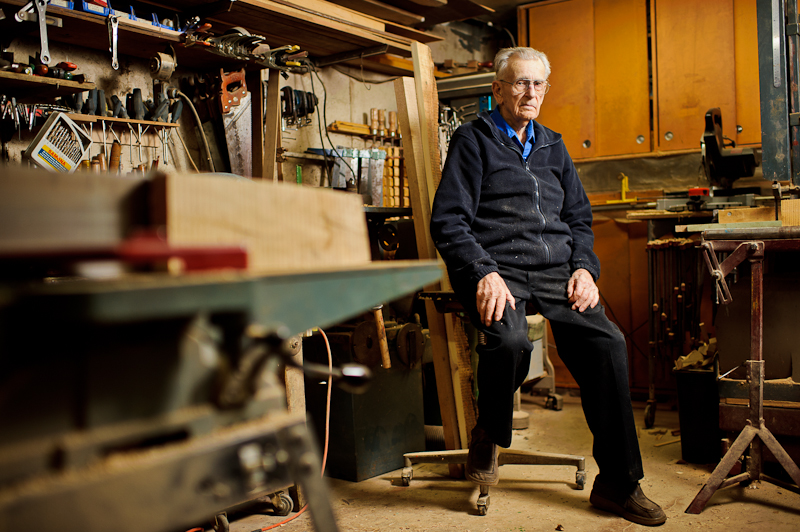
Here are some shots of the backside puzzle board. That’s some Walnut and a piece of vintage Oak reclaimed from an ‘old’ friend (who is young at heart!). Meet Mervin, the most brilliant guy I know.


Once all the parts were cut out, it was time for the hardest and longest part of the build process; the lay up. I wanted to start positive so I began with the back side. With less parts, I would feel like I was accomplishing more and carry me through to the more complicated side. The forks get glued on first, since they are the only parts that need critical alignment, especially on the flat band version. The tips were clamped for 10 mins to ensure a good bond.
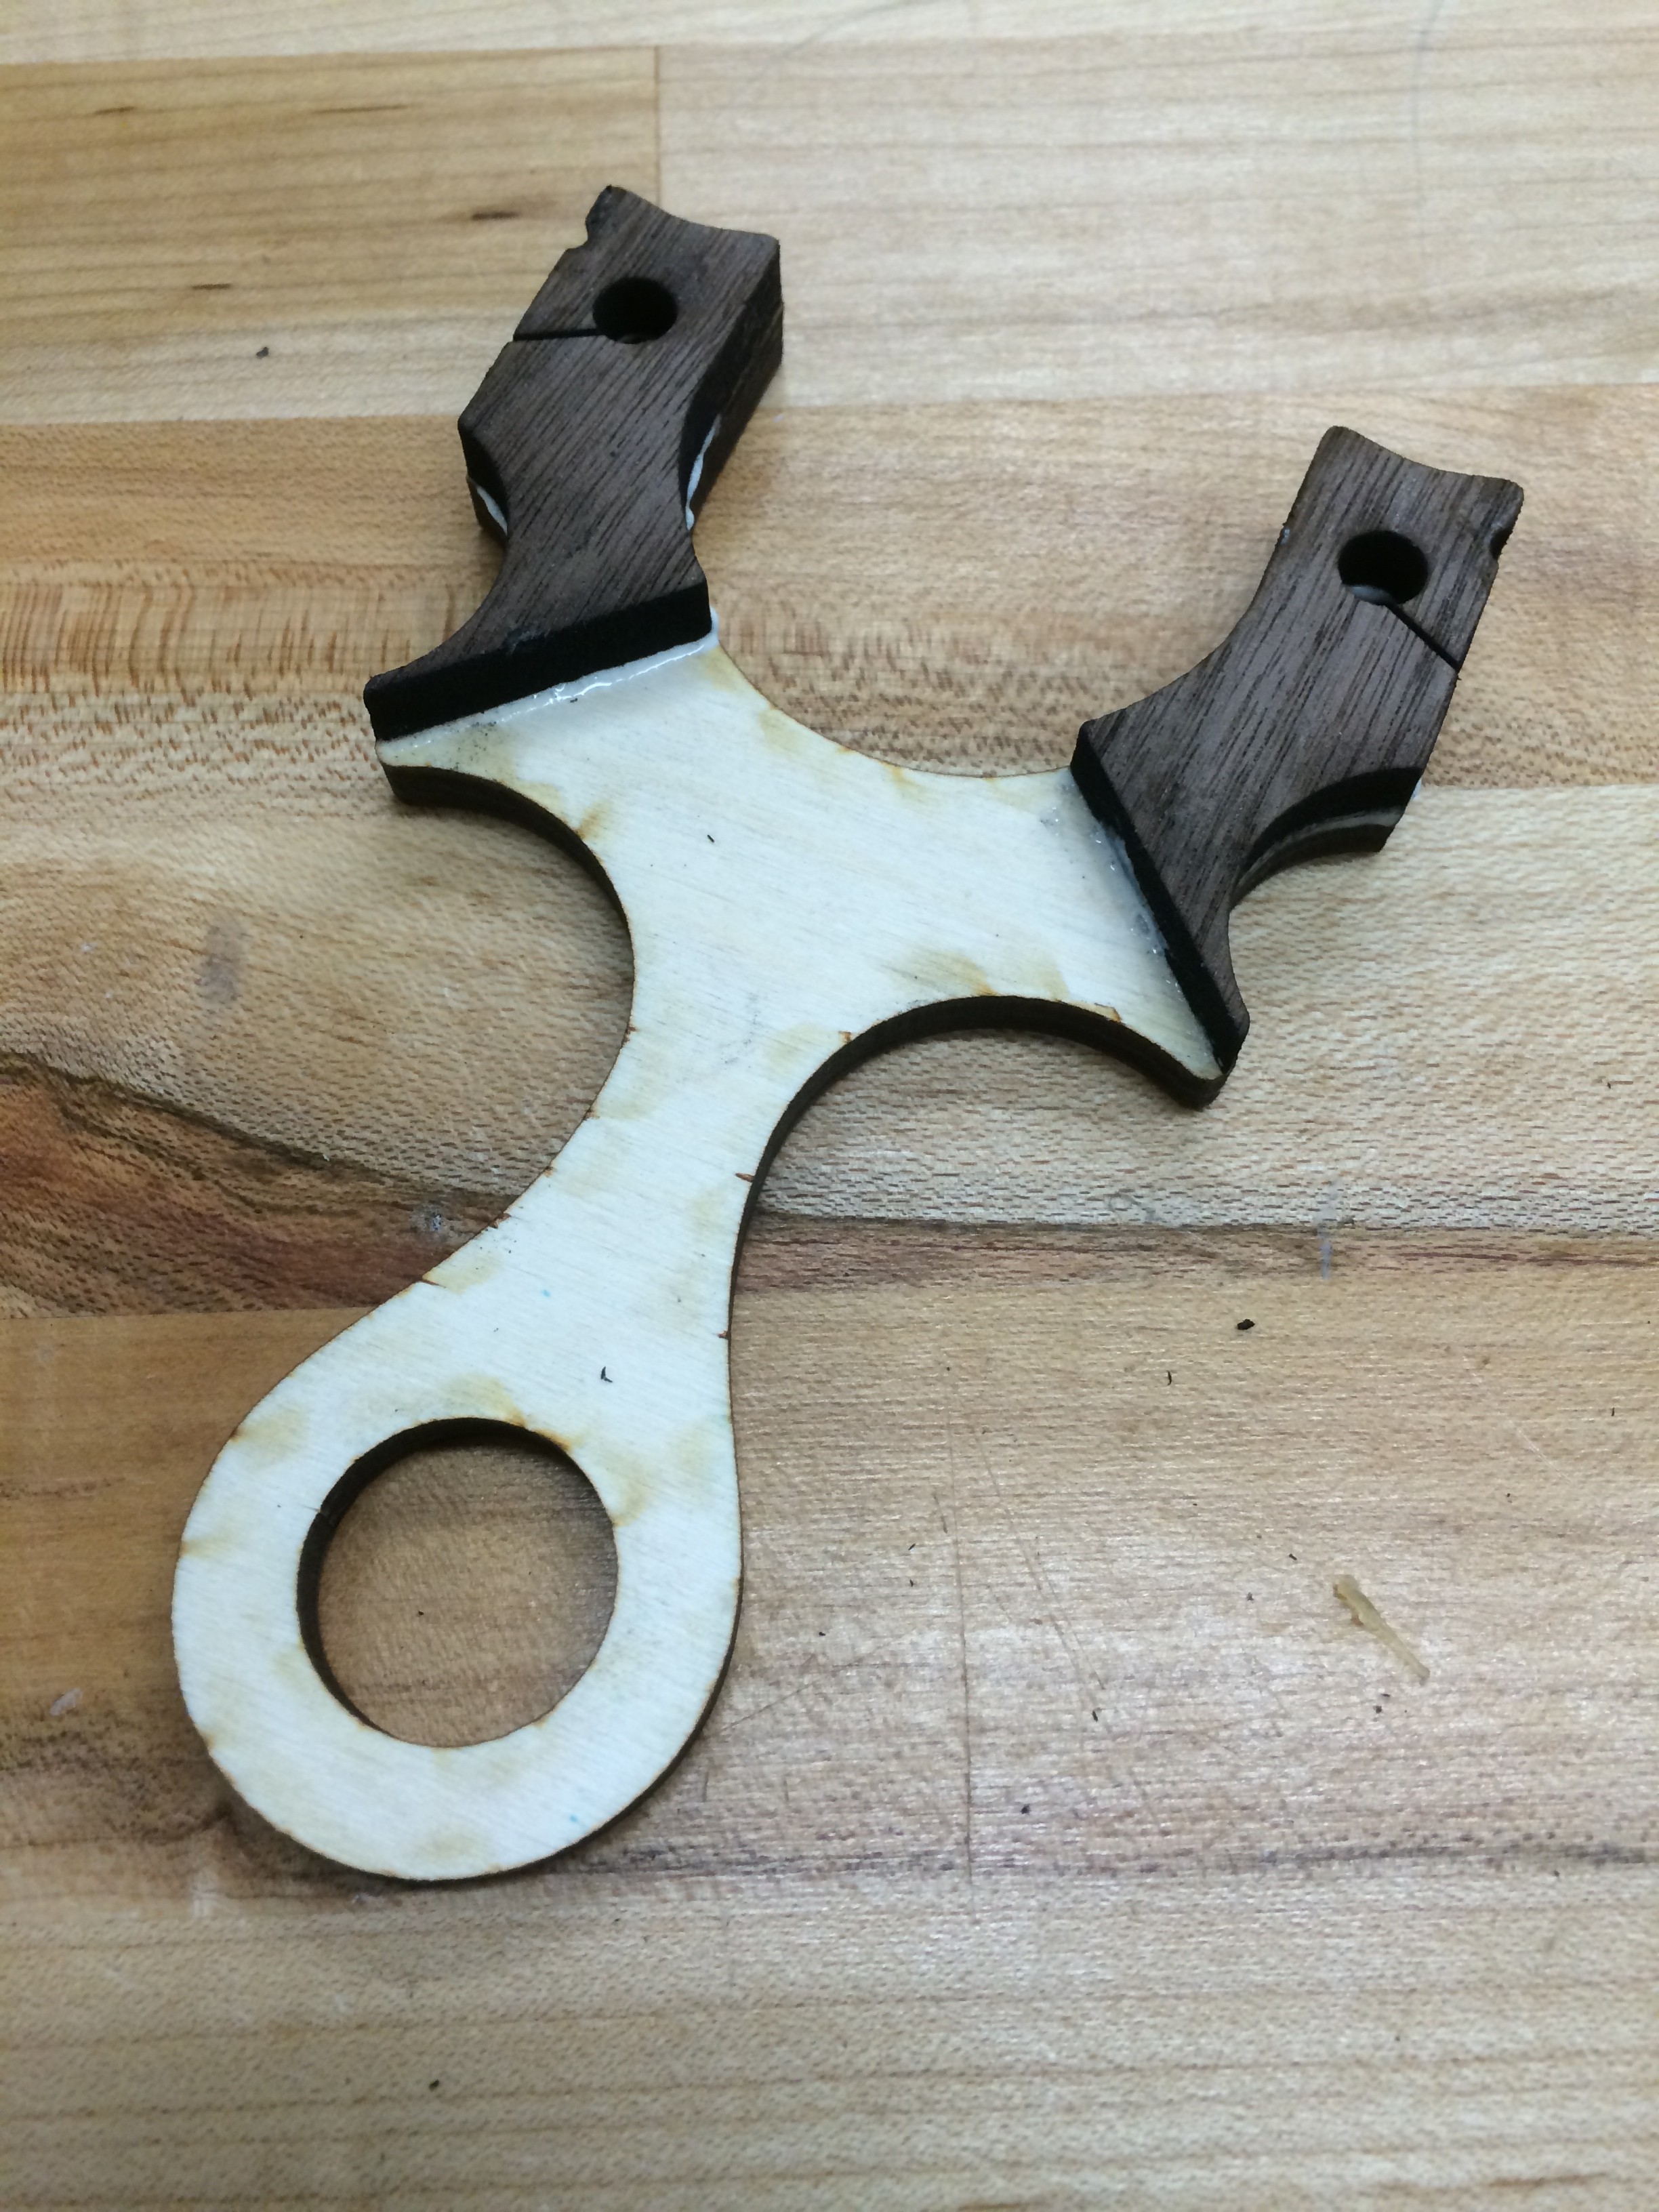
Here the Oak goes on but with a Zebra Wood spacer to fill in the laser beam kerf, this only fills the gap, but lens a little bit more pizzaz and detail.
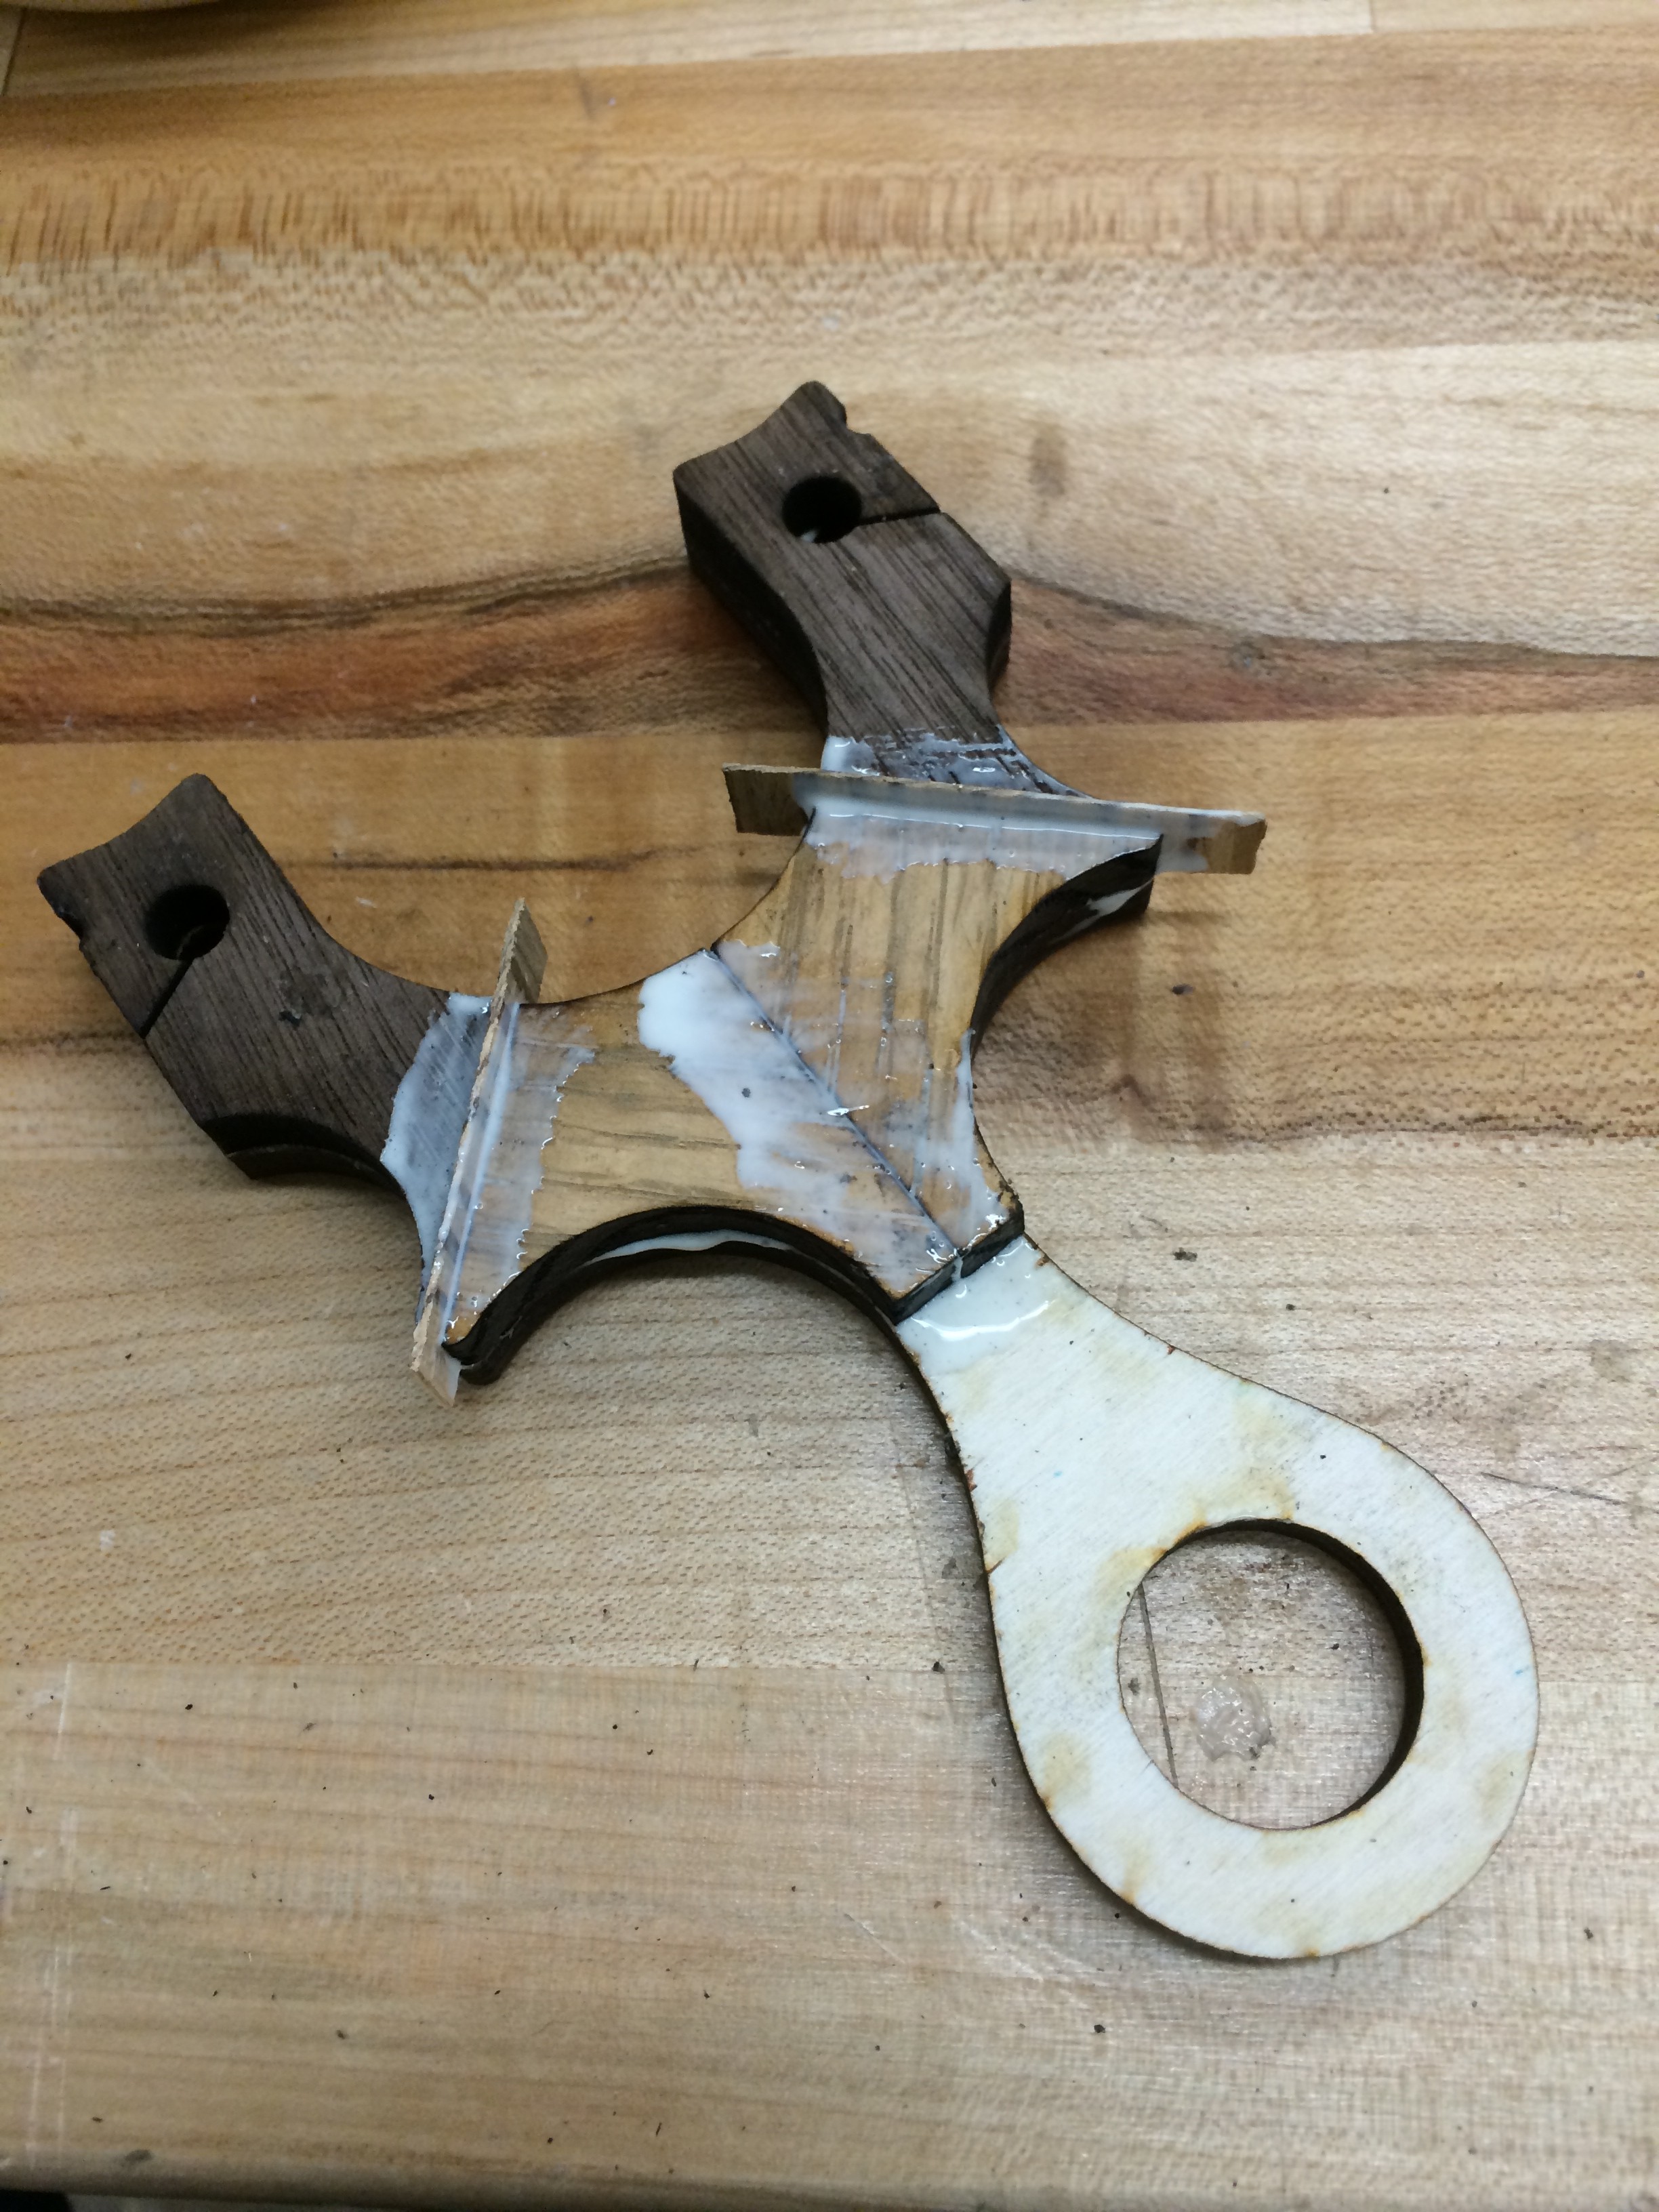
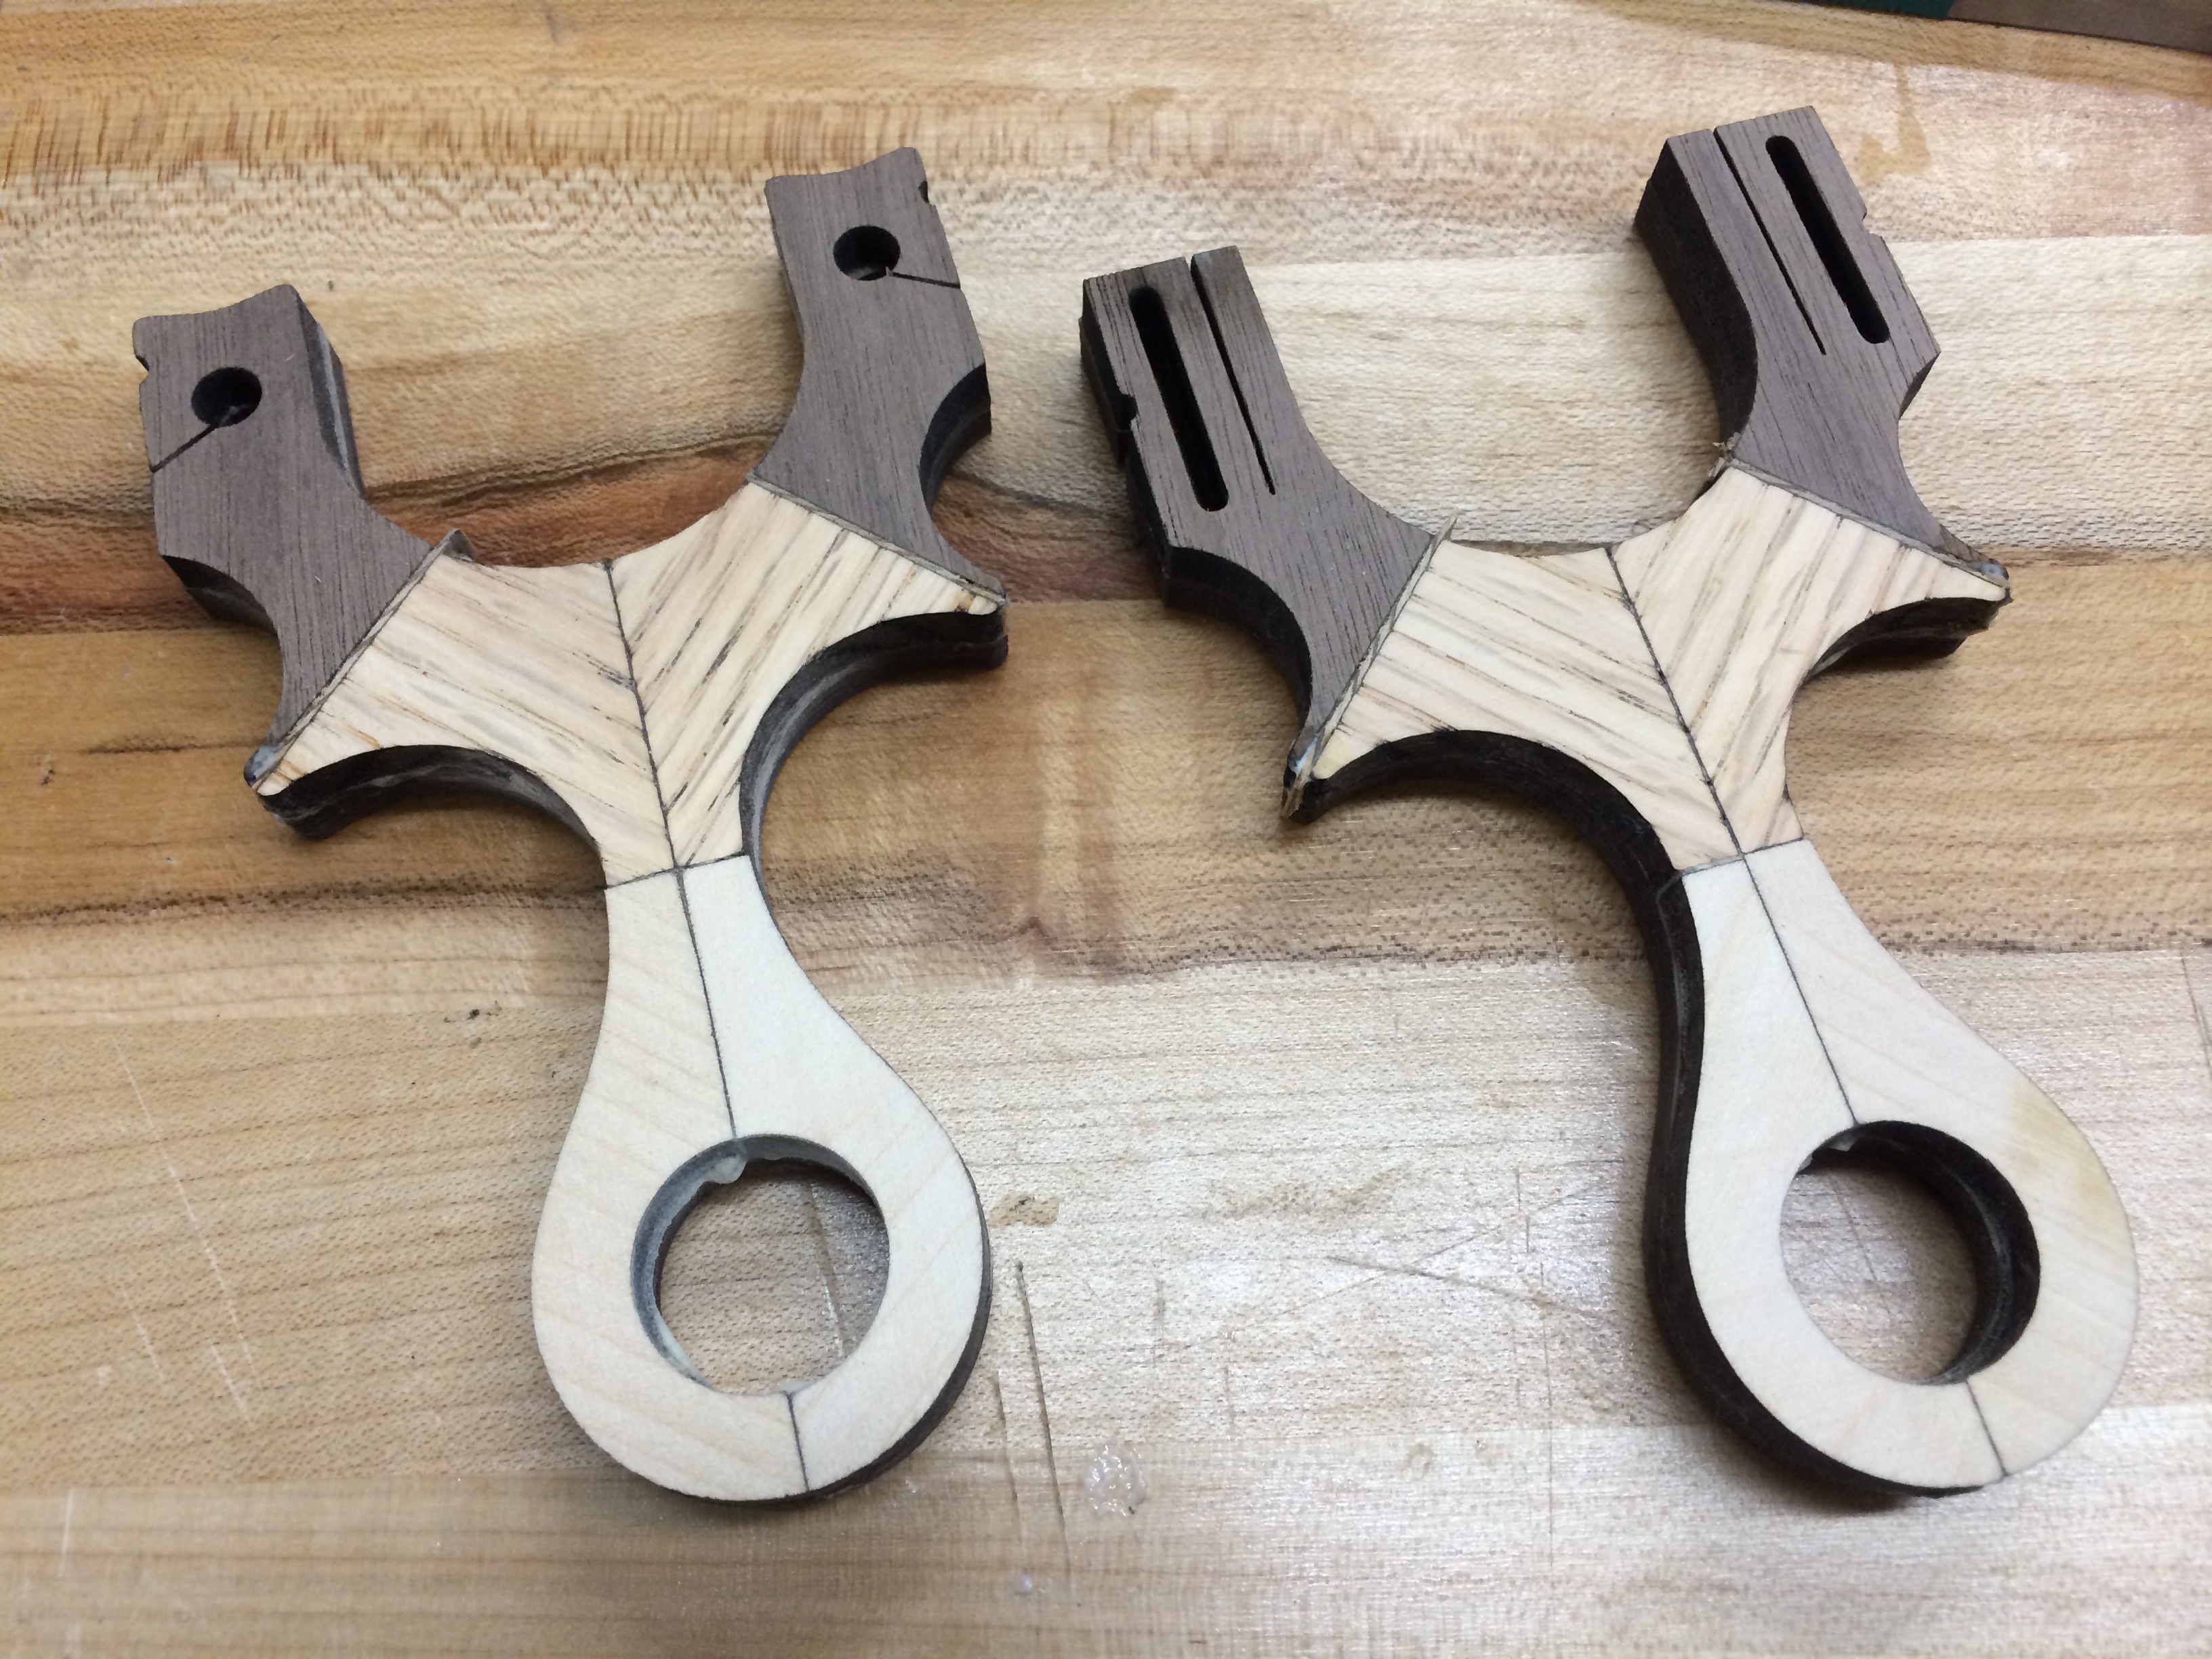
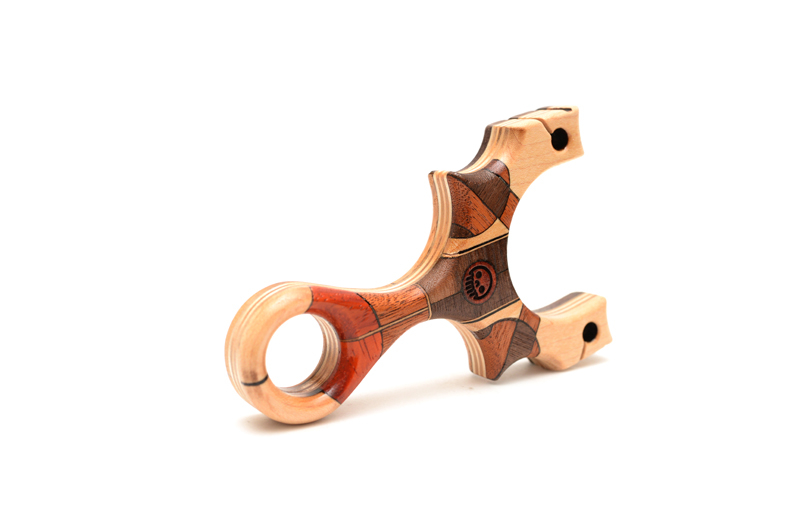
The final bottom pieces were added (solid Birch) and left to set up a bit. Once they were more solid, the whole thing was flush faced on the belt sander. This is one of my favourite states of a slingshot build, revealing a built up pattern is pretty great.
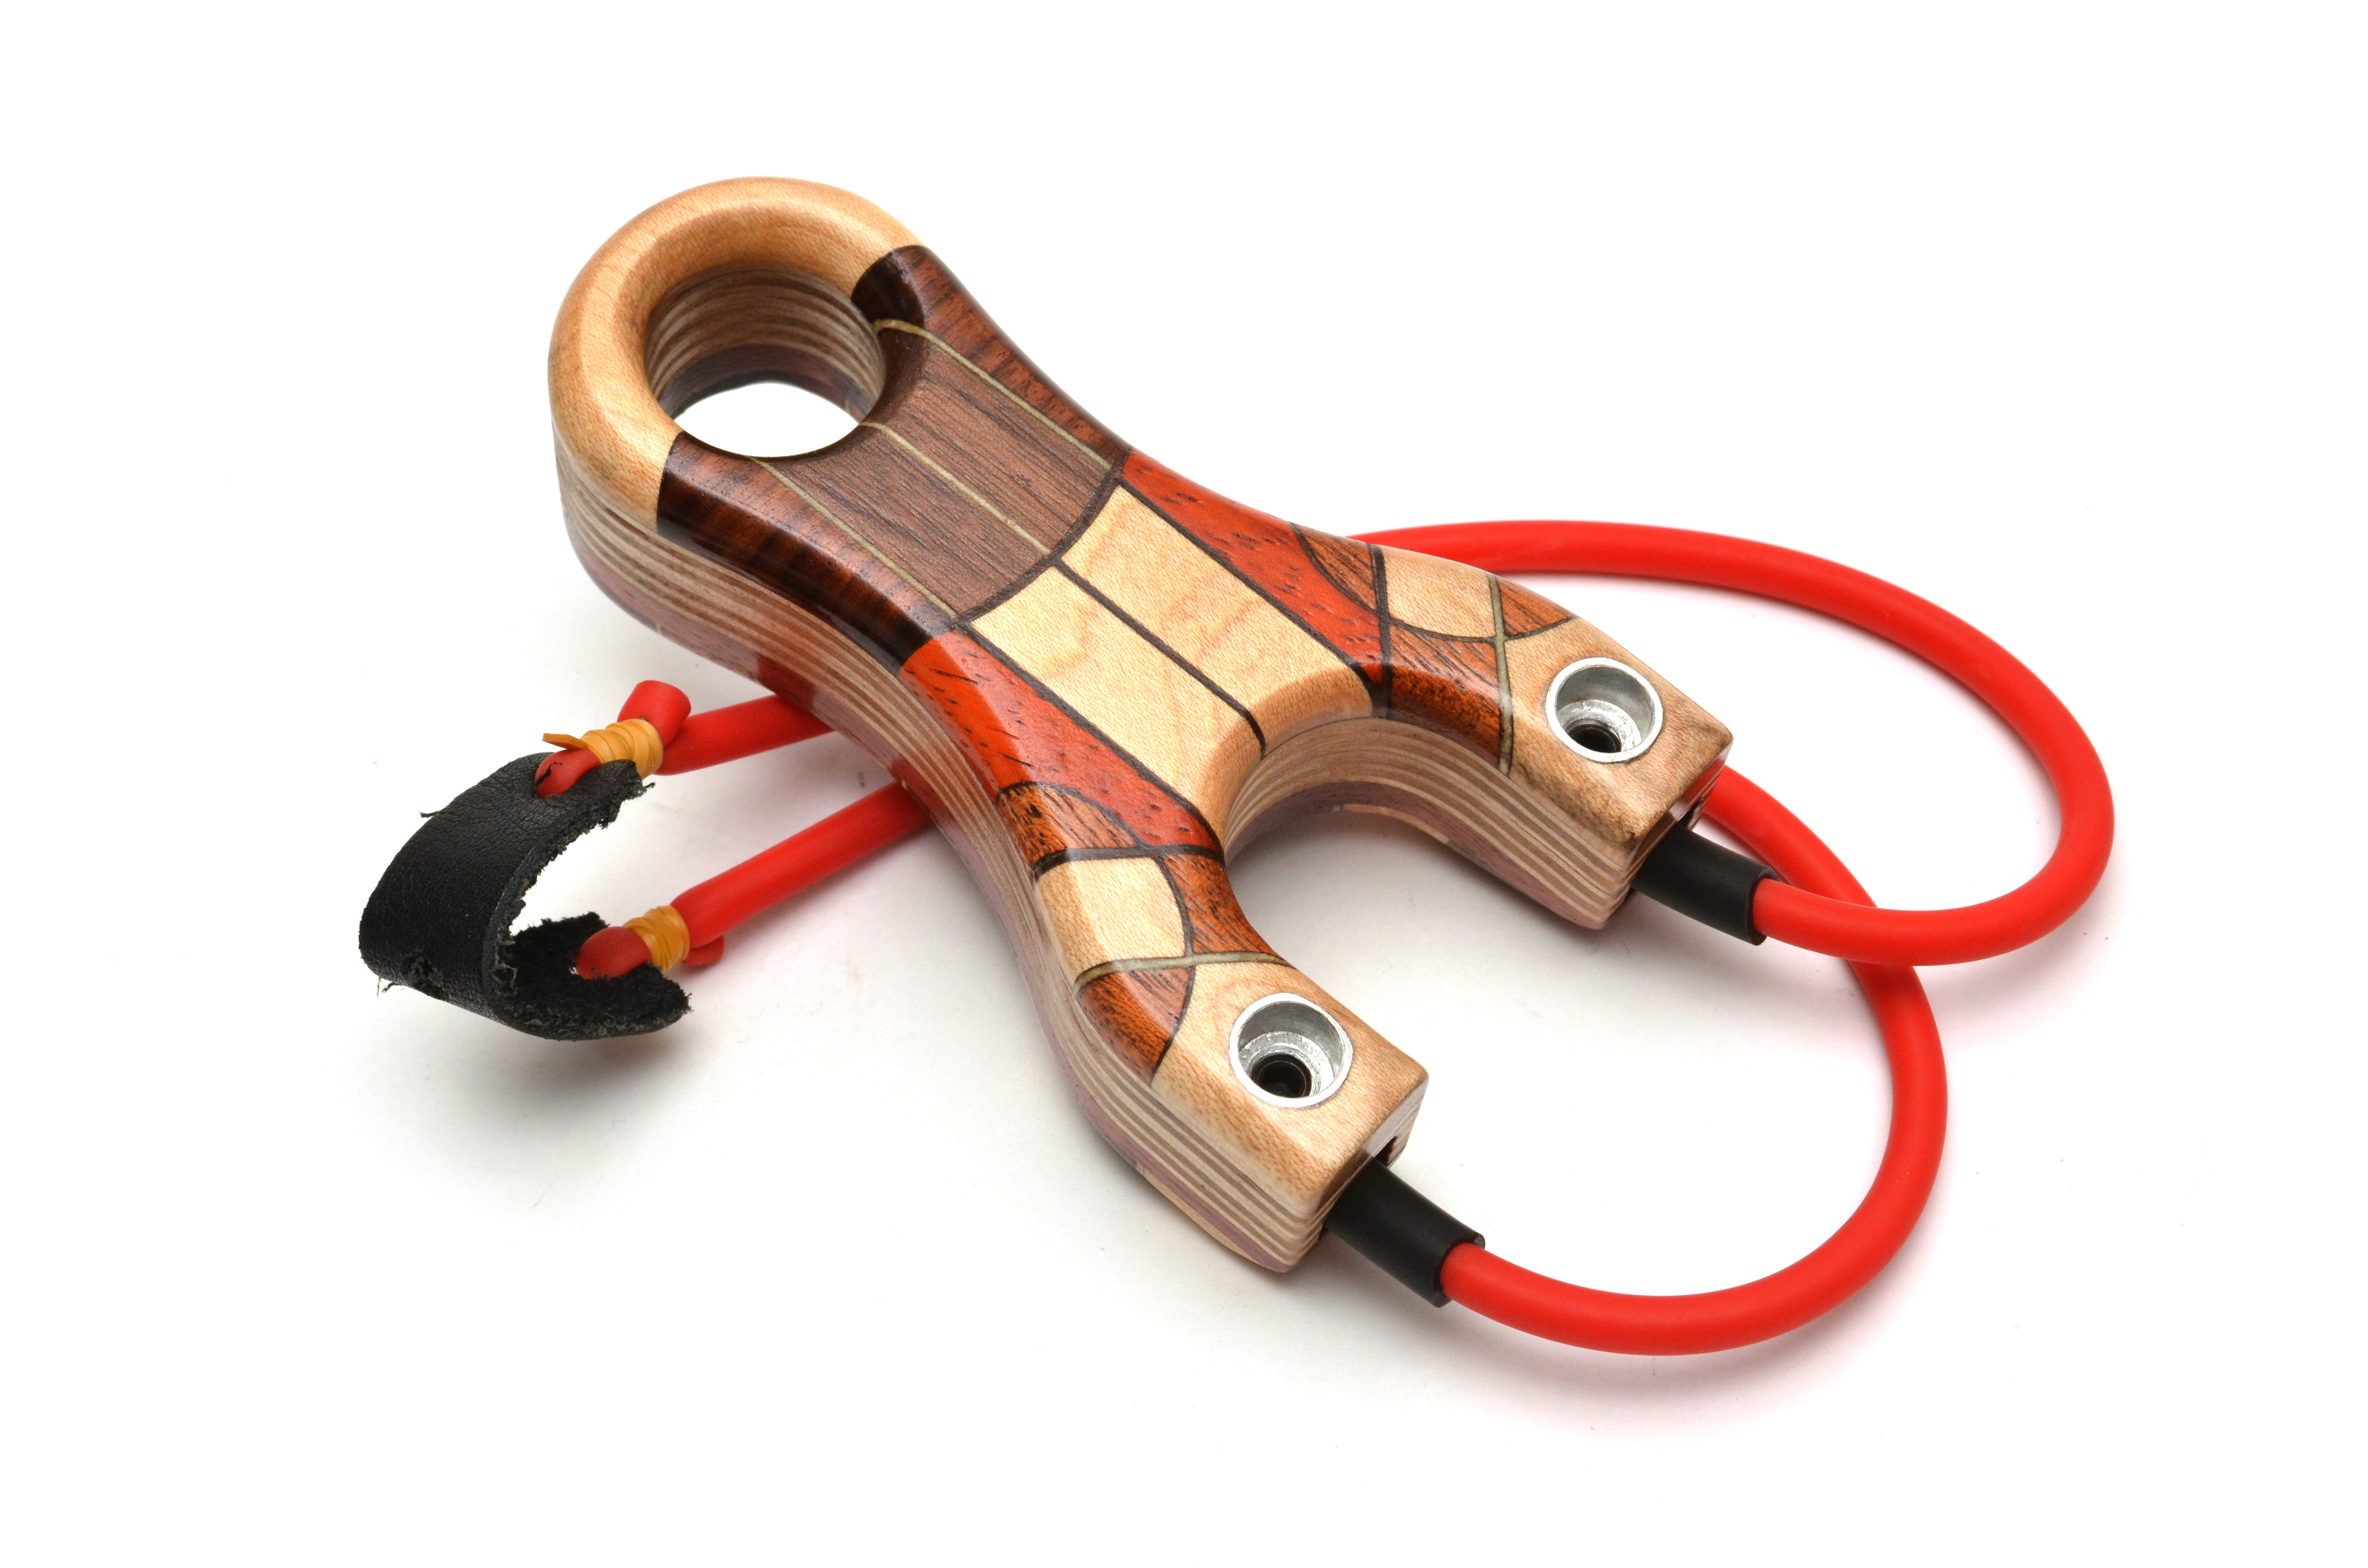
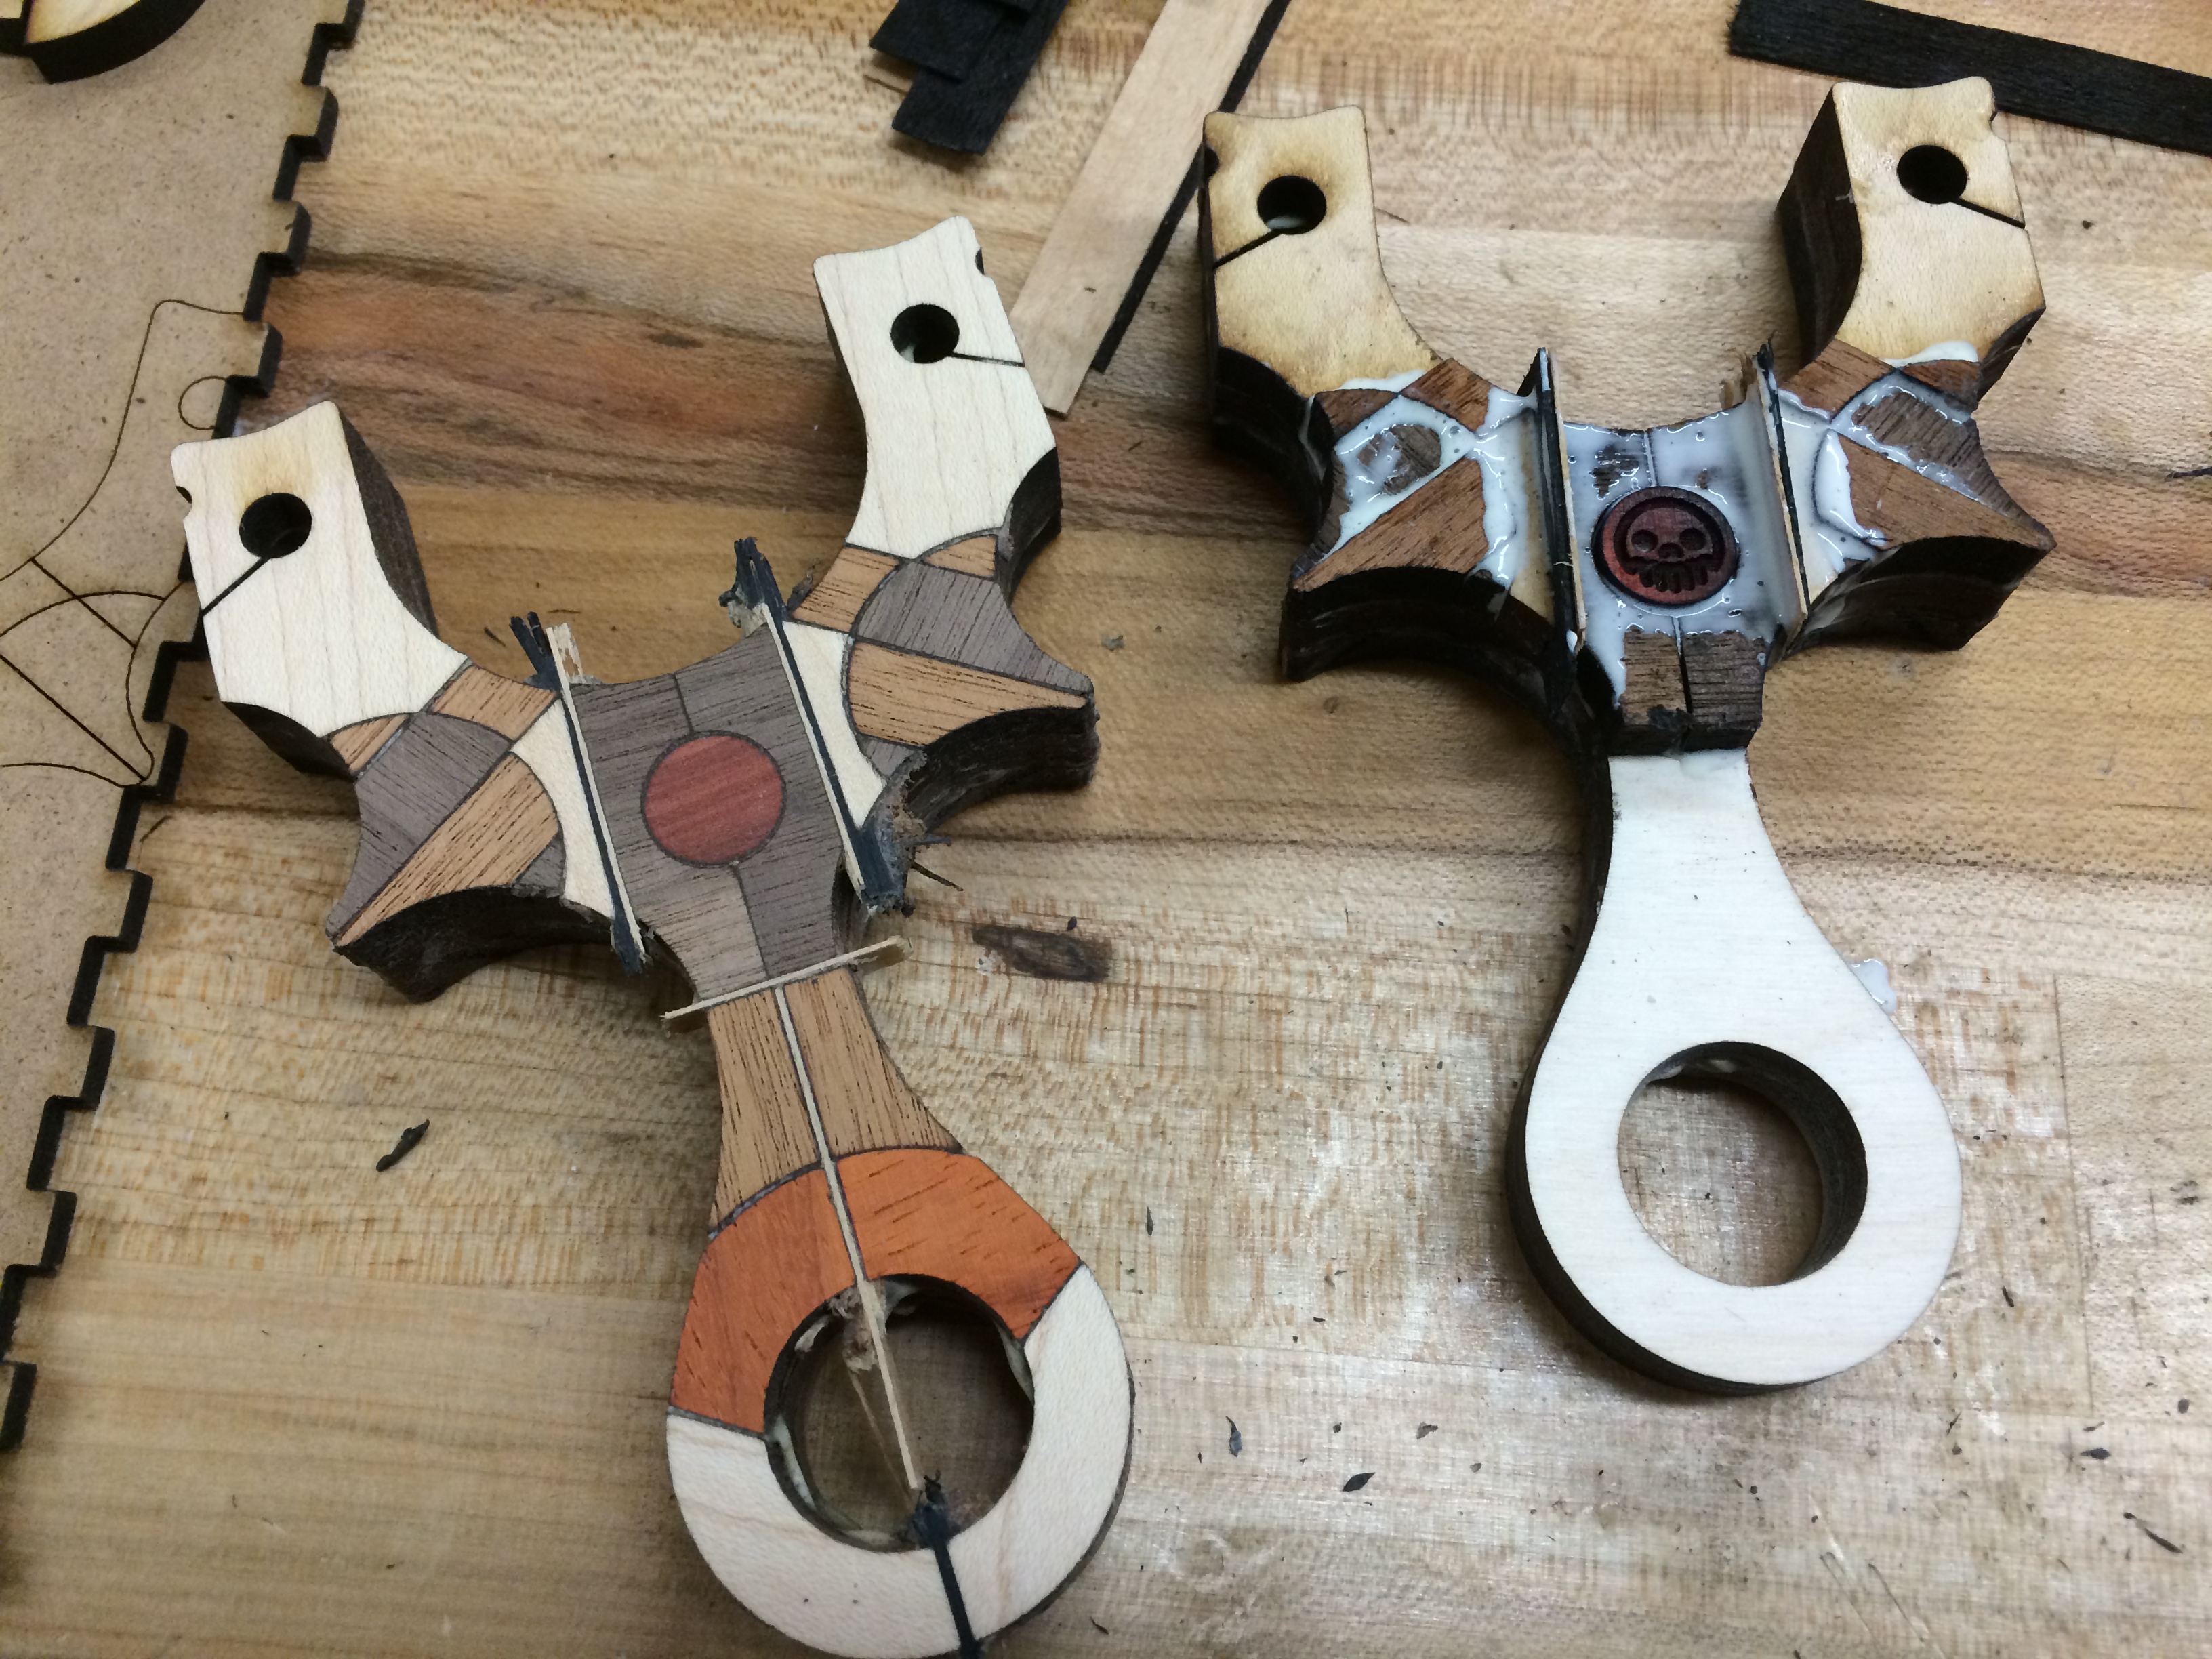
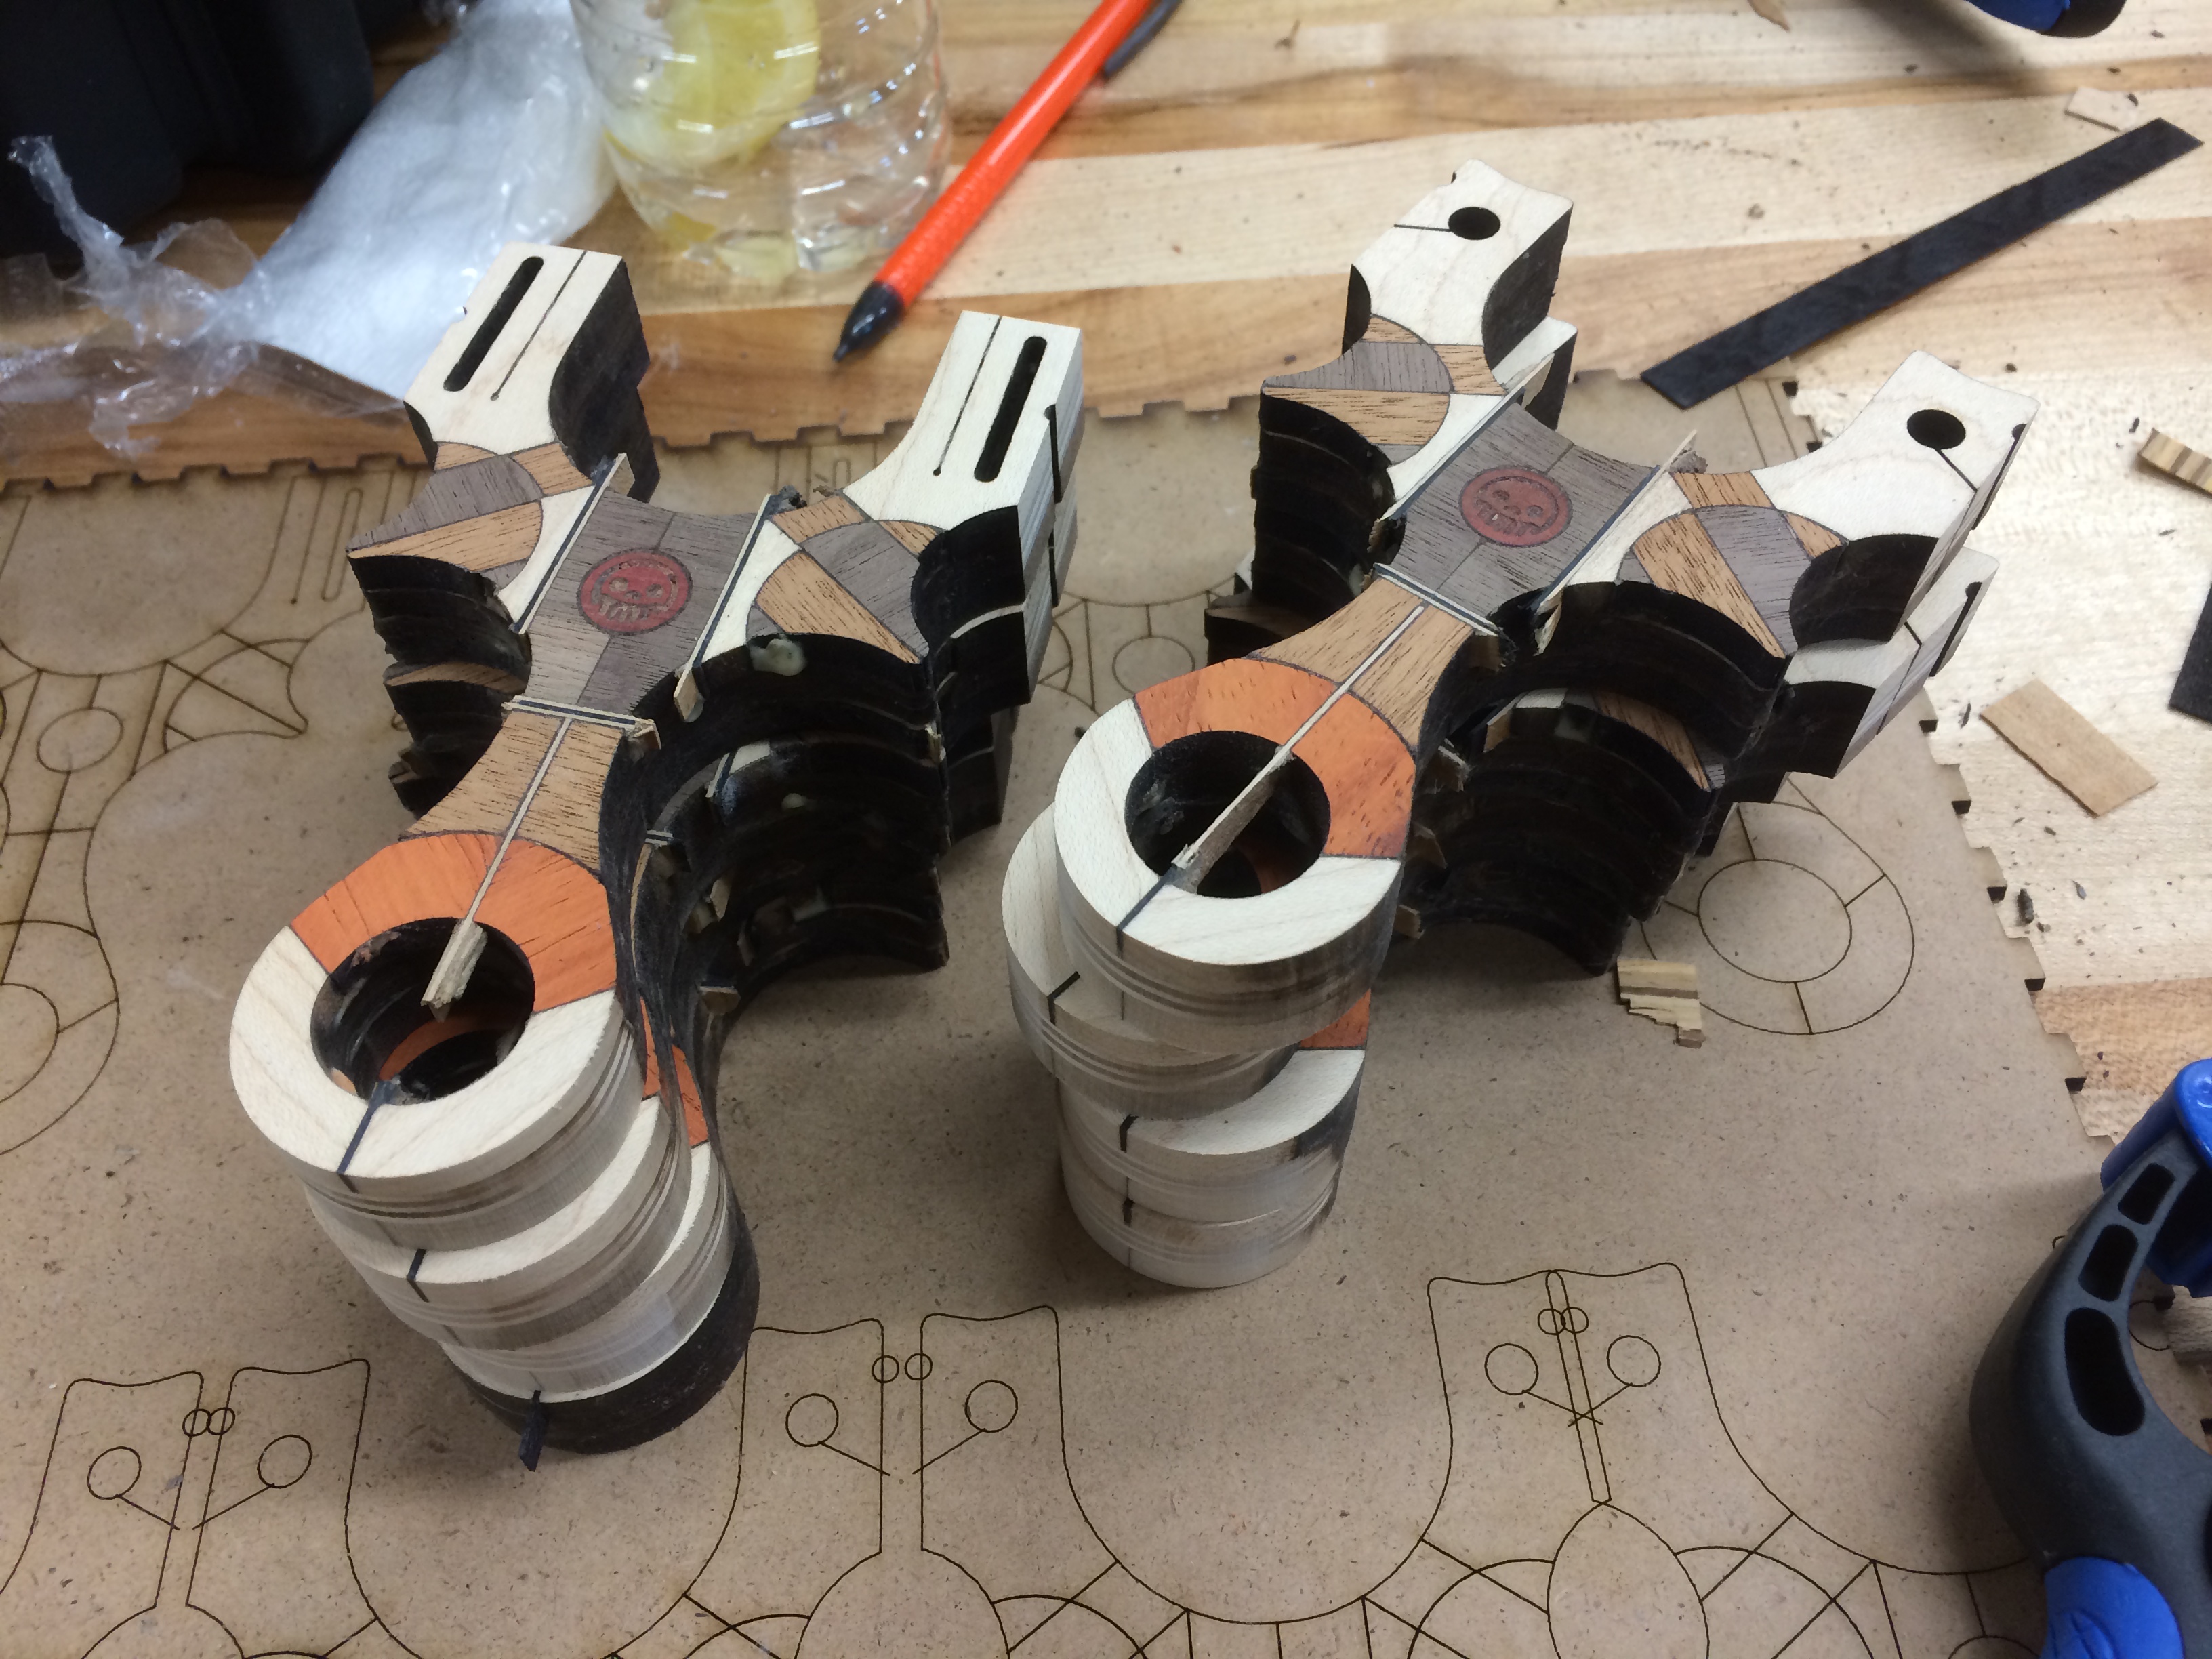
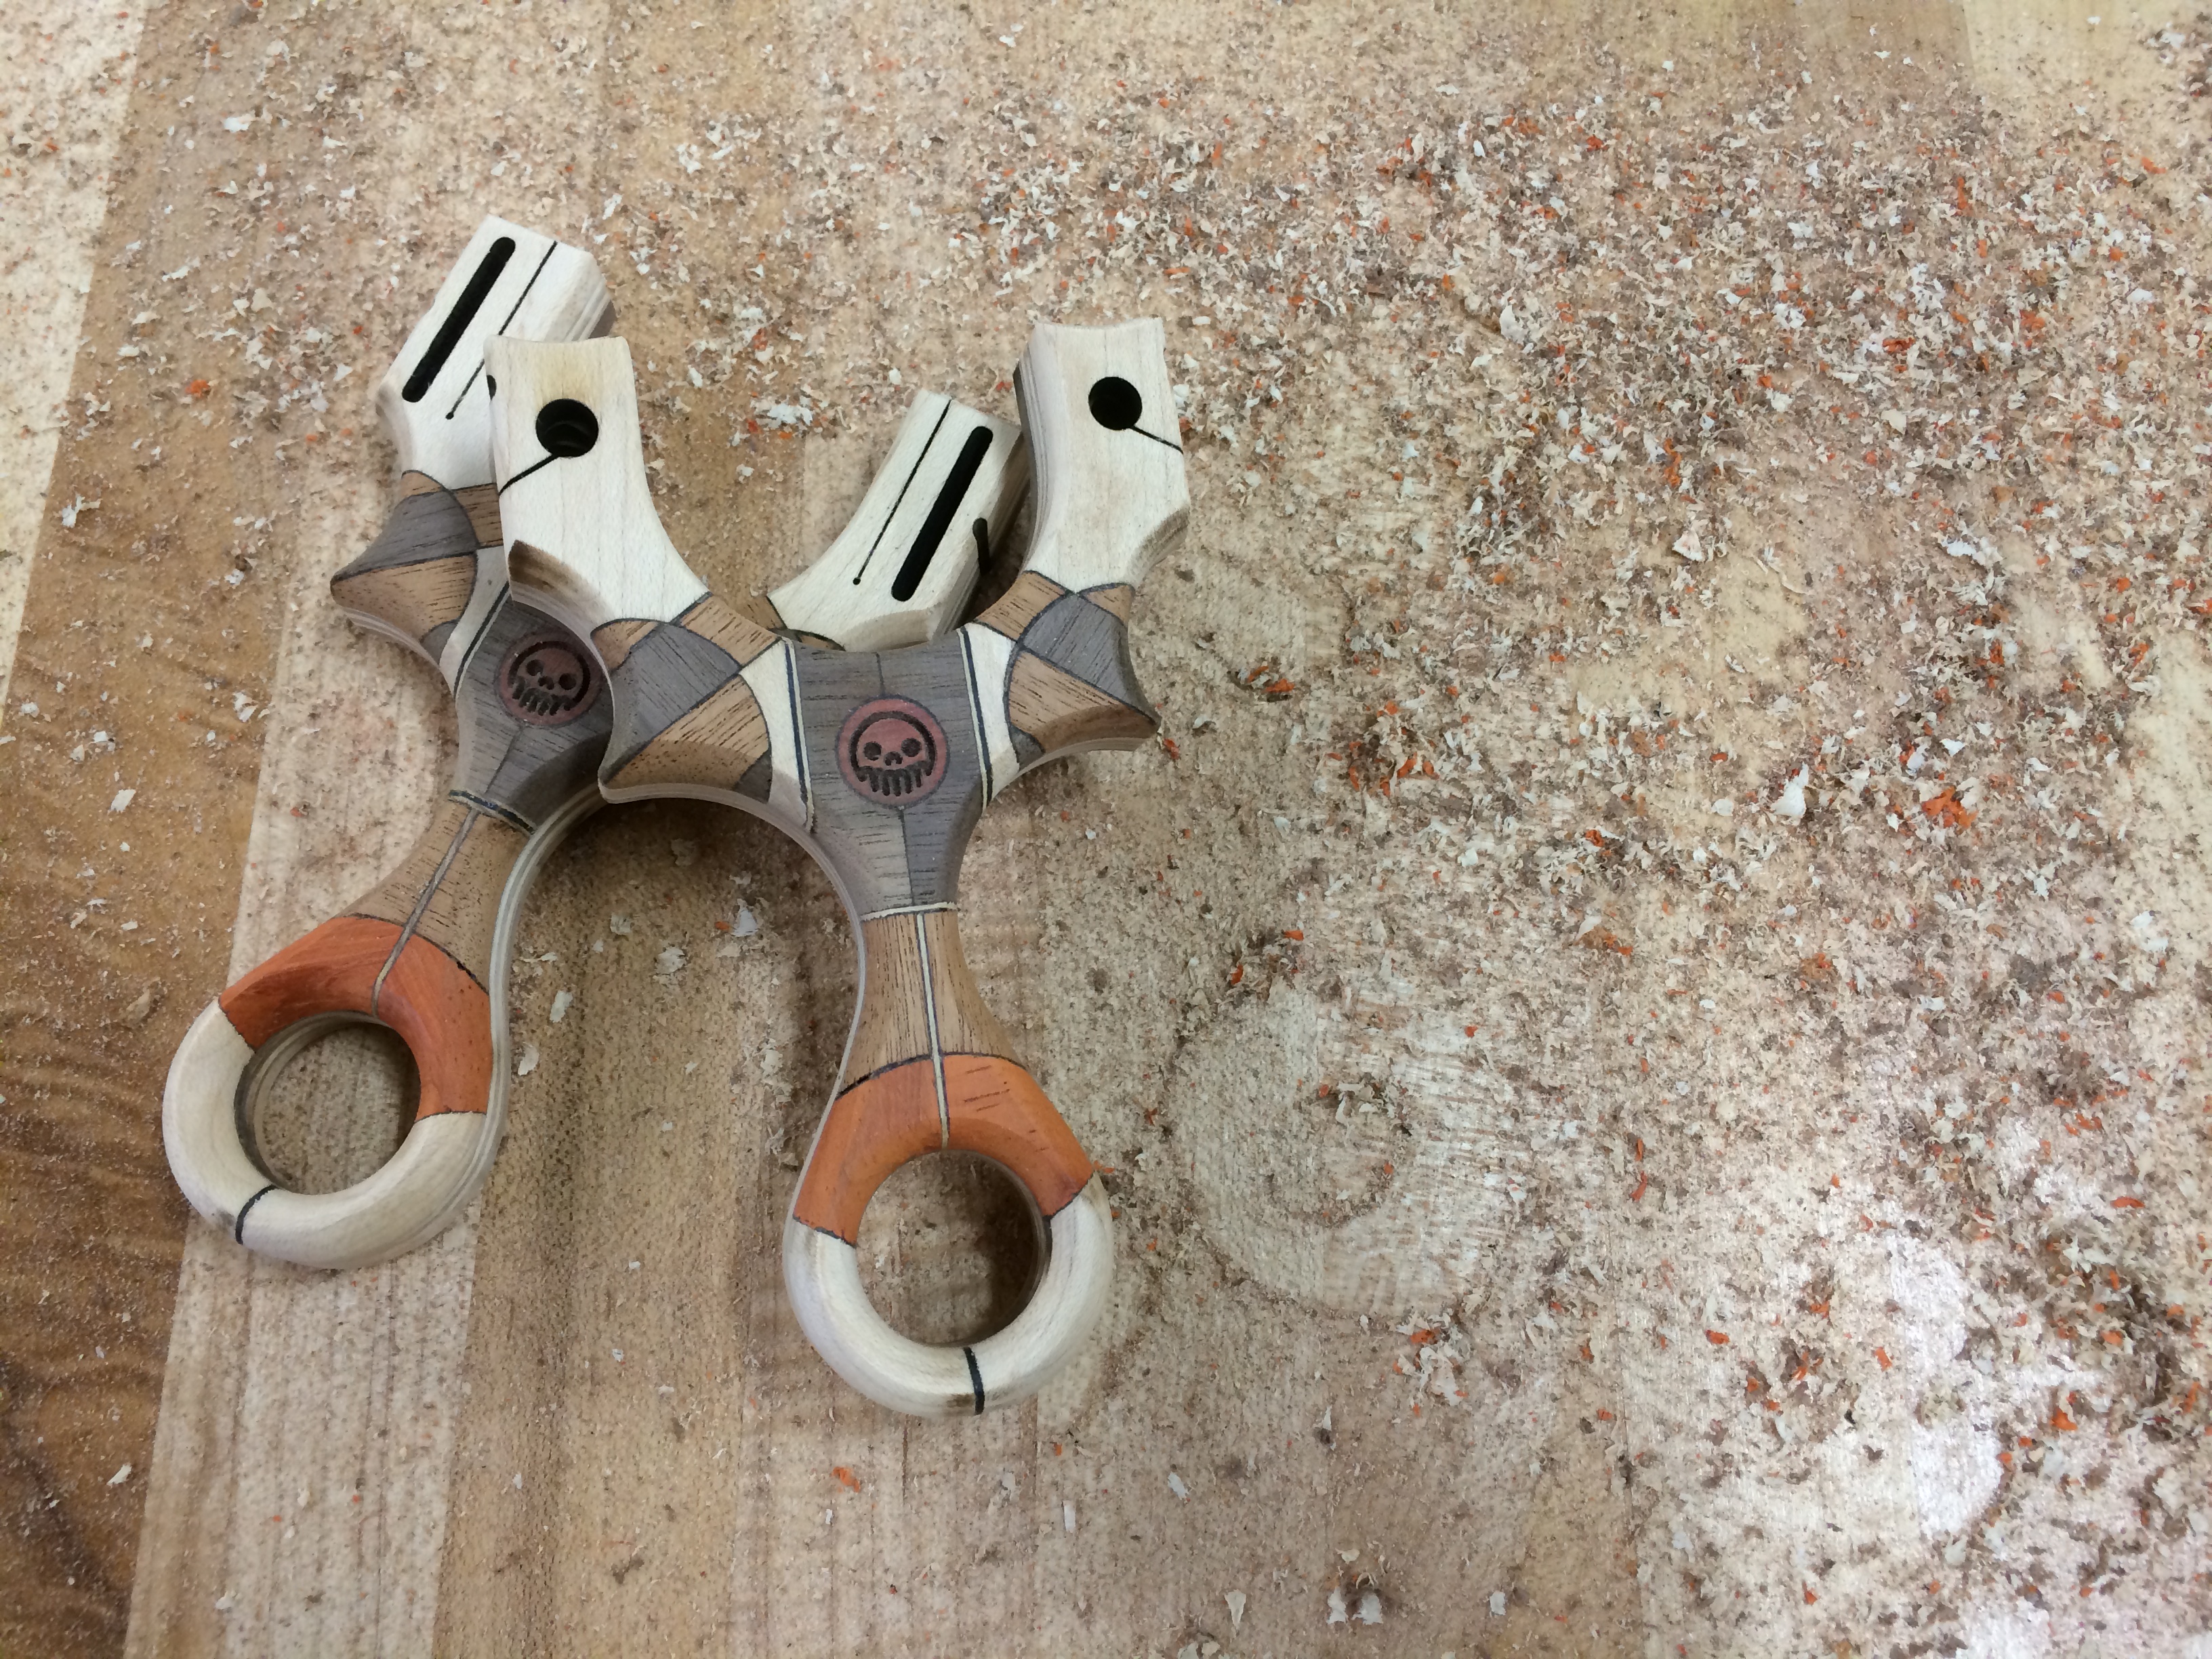
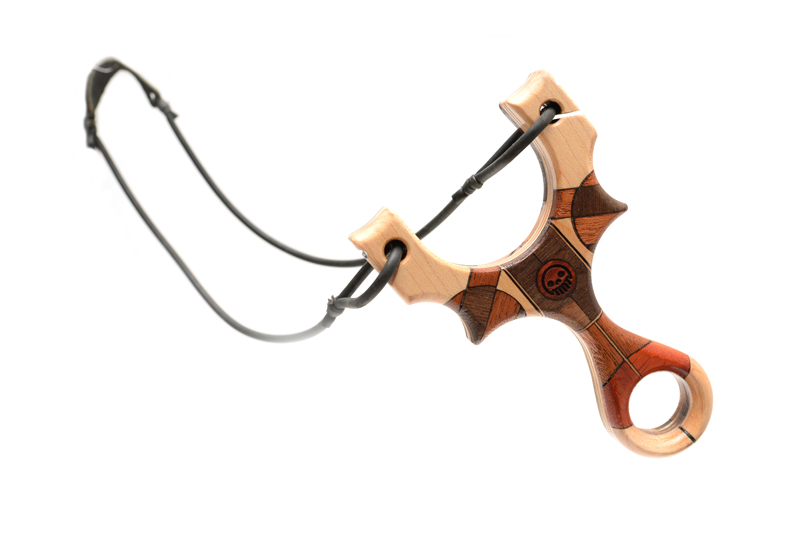
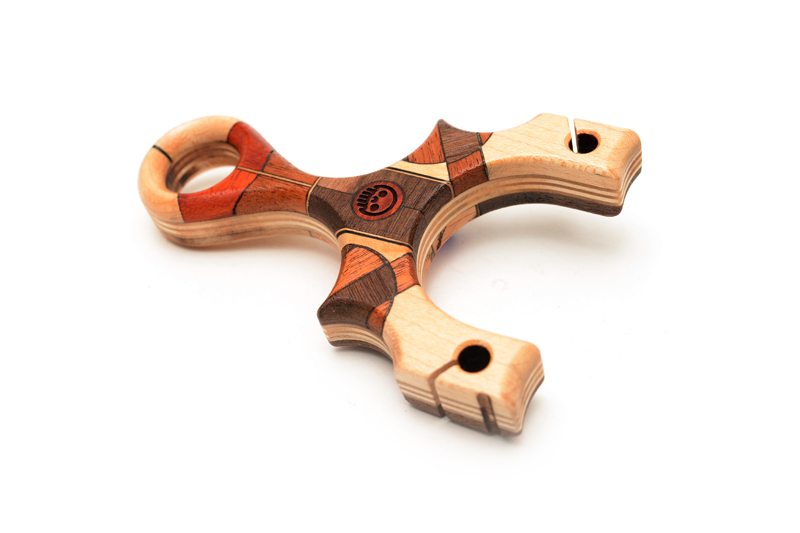
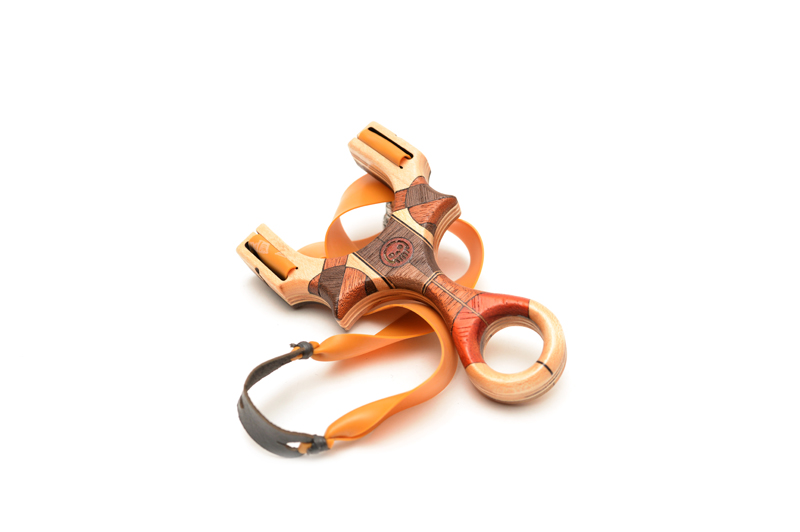
Now, the painful but rewarding part, gluing up the 30 some odd parts that make up the pretty face side. I didn’t take to many photos of this process but as you can see, this part required a lot of attention to detail. The detail I particular enjoy is the red heart wood (Chakte-Kok) I used for the Metro Grade skullthulu logo. Even though I know that the red will deepen in colour once it hits UV rays (natural properties of the wood), the dramatic red splice in between the slabs of Walnut are really something else.
![]()
You’ll notice the face sanded frame has the Metro Grade skull sanded clean off, this was a mistake on my part since the Chakte-Kok wood was thicker thank some of the wood so the etching came clean off. No worries, I had a plan to return the etching back on the face the Capuchin.
After many, many cycles of this gluing, sanding, fitting and more sanding, the result was a respectable stack of work, worth of calling it a good day’s work.

—
cytotec sale no prescription *One night later*
—
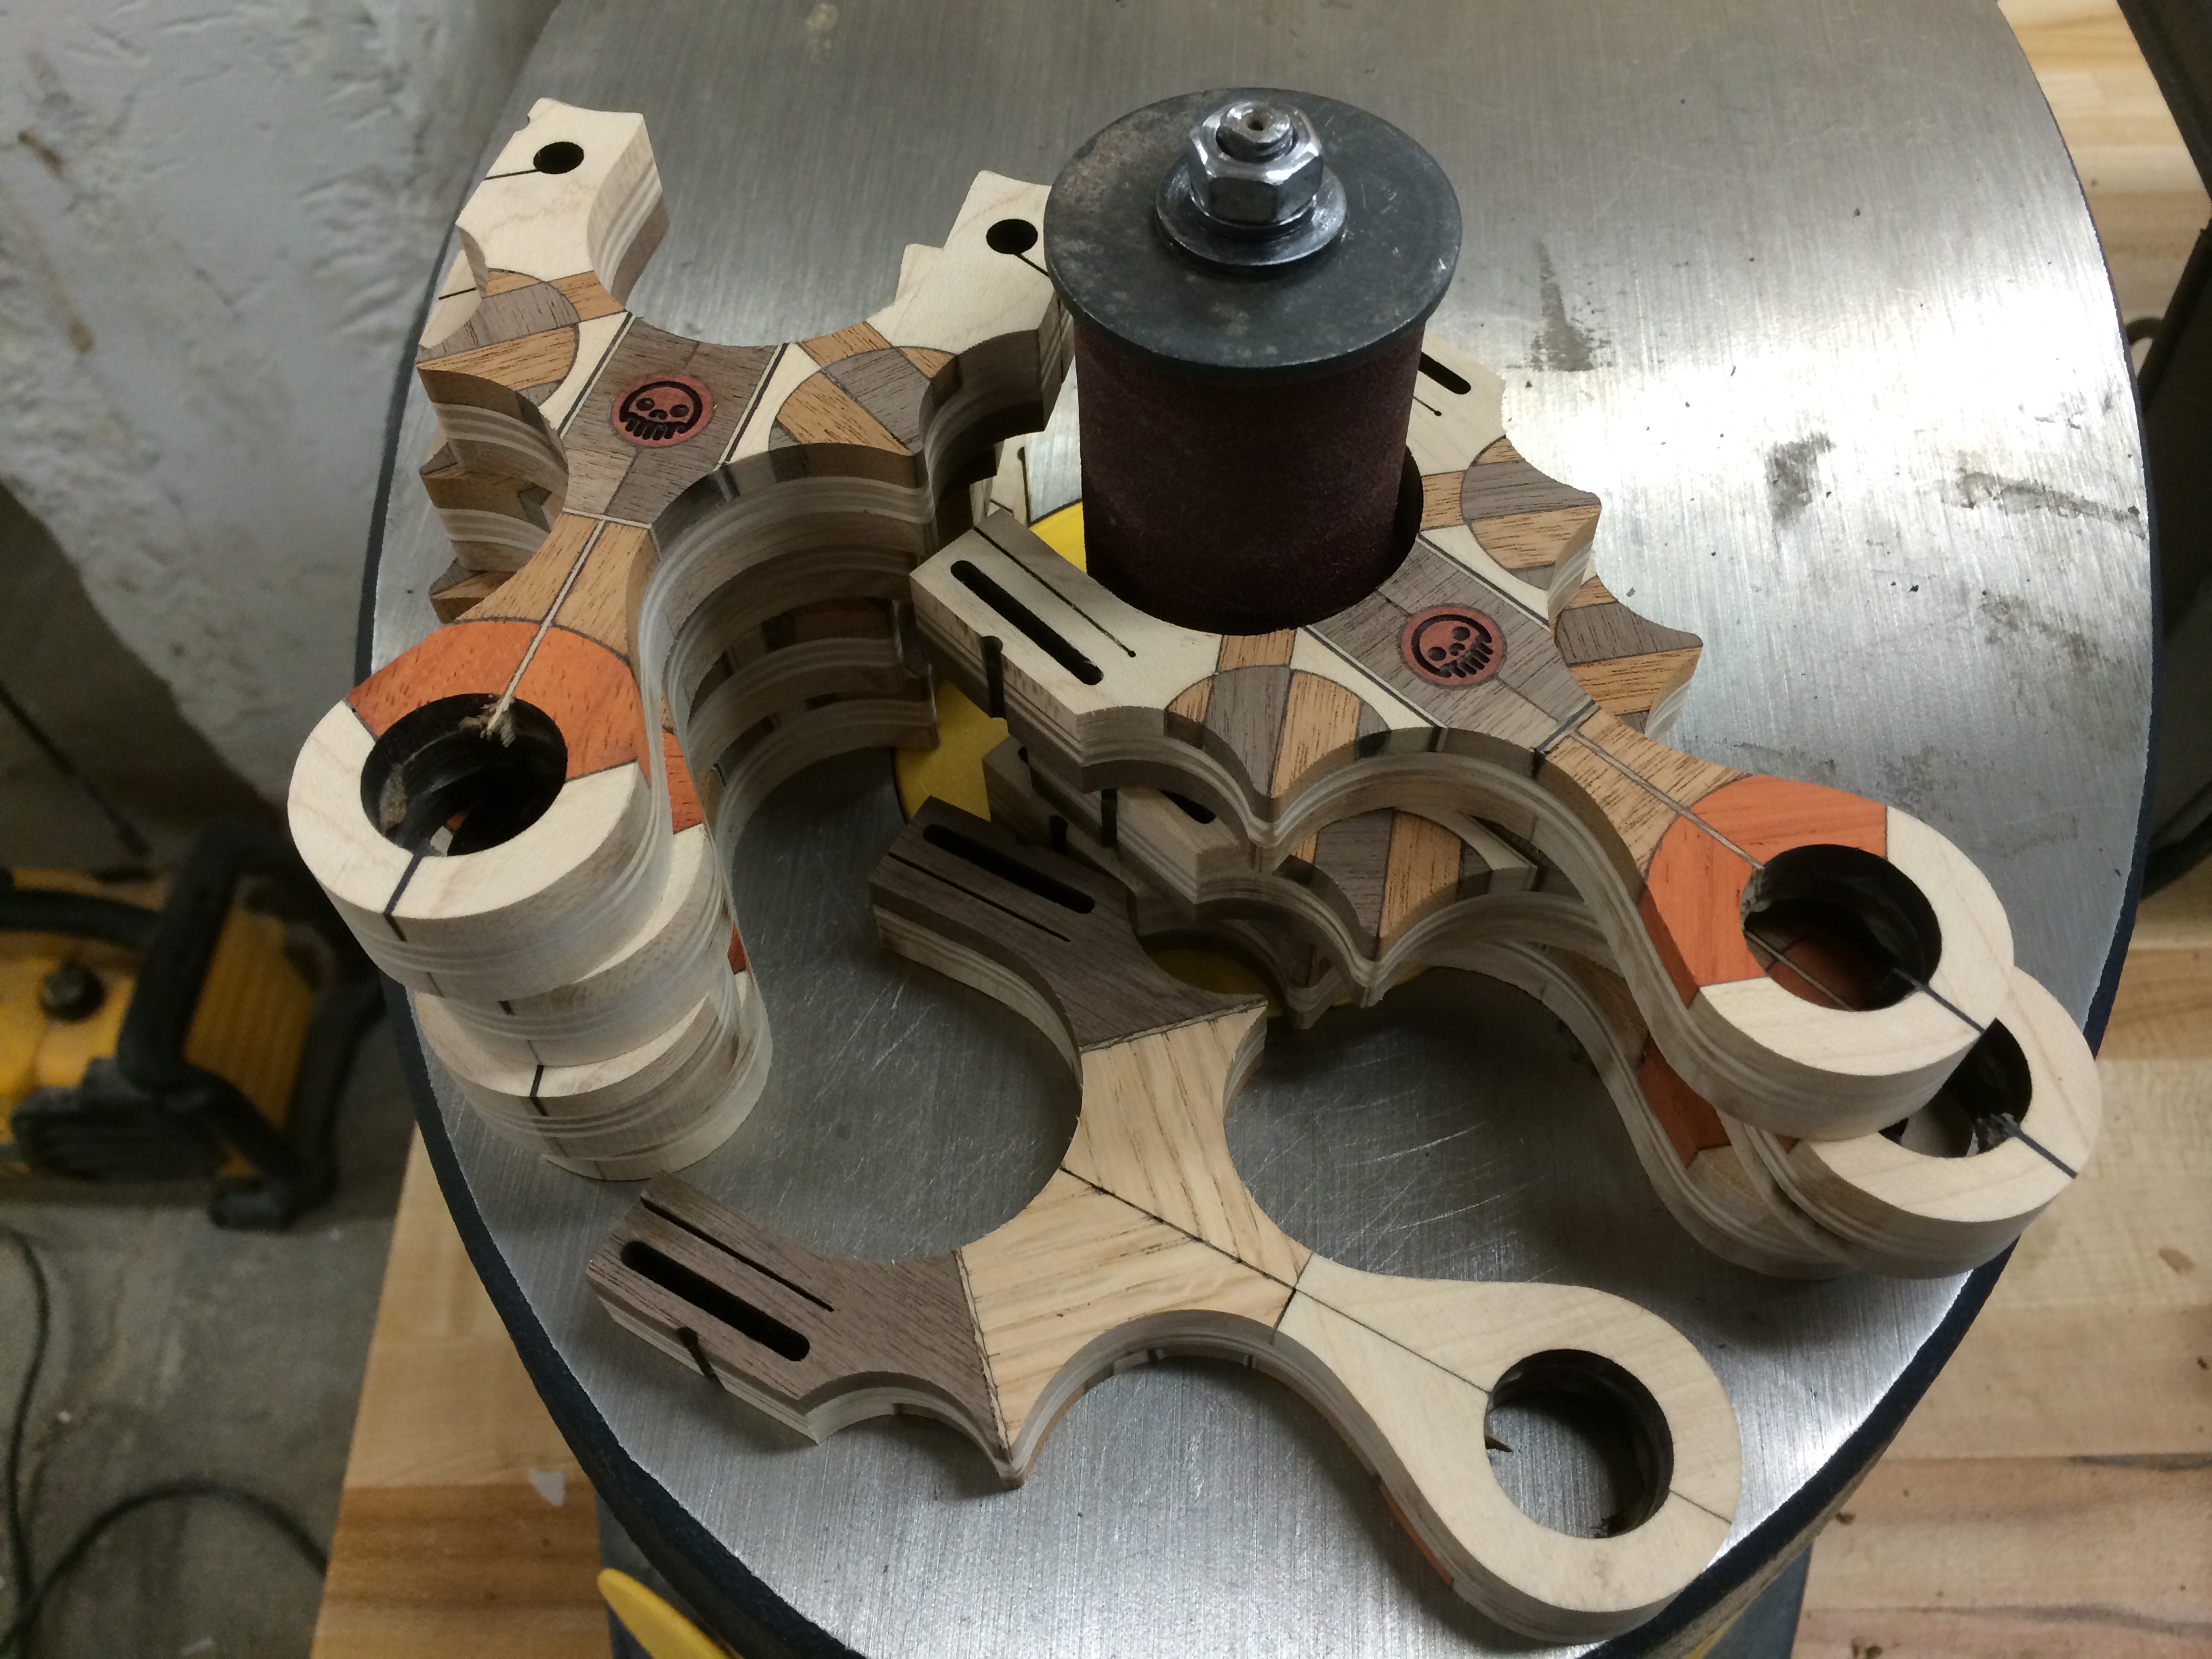
The next morning, it was time to get cracking, knowing the project would have some finality to it. First order of business, flush sand the sides of the Capuchins and remove the burned laser cut edge. Thanks to a fresh 80 grit spindle sanding drum, this was a mere 30 min job for all of them.
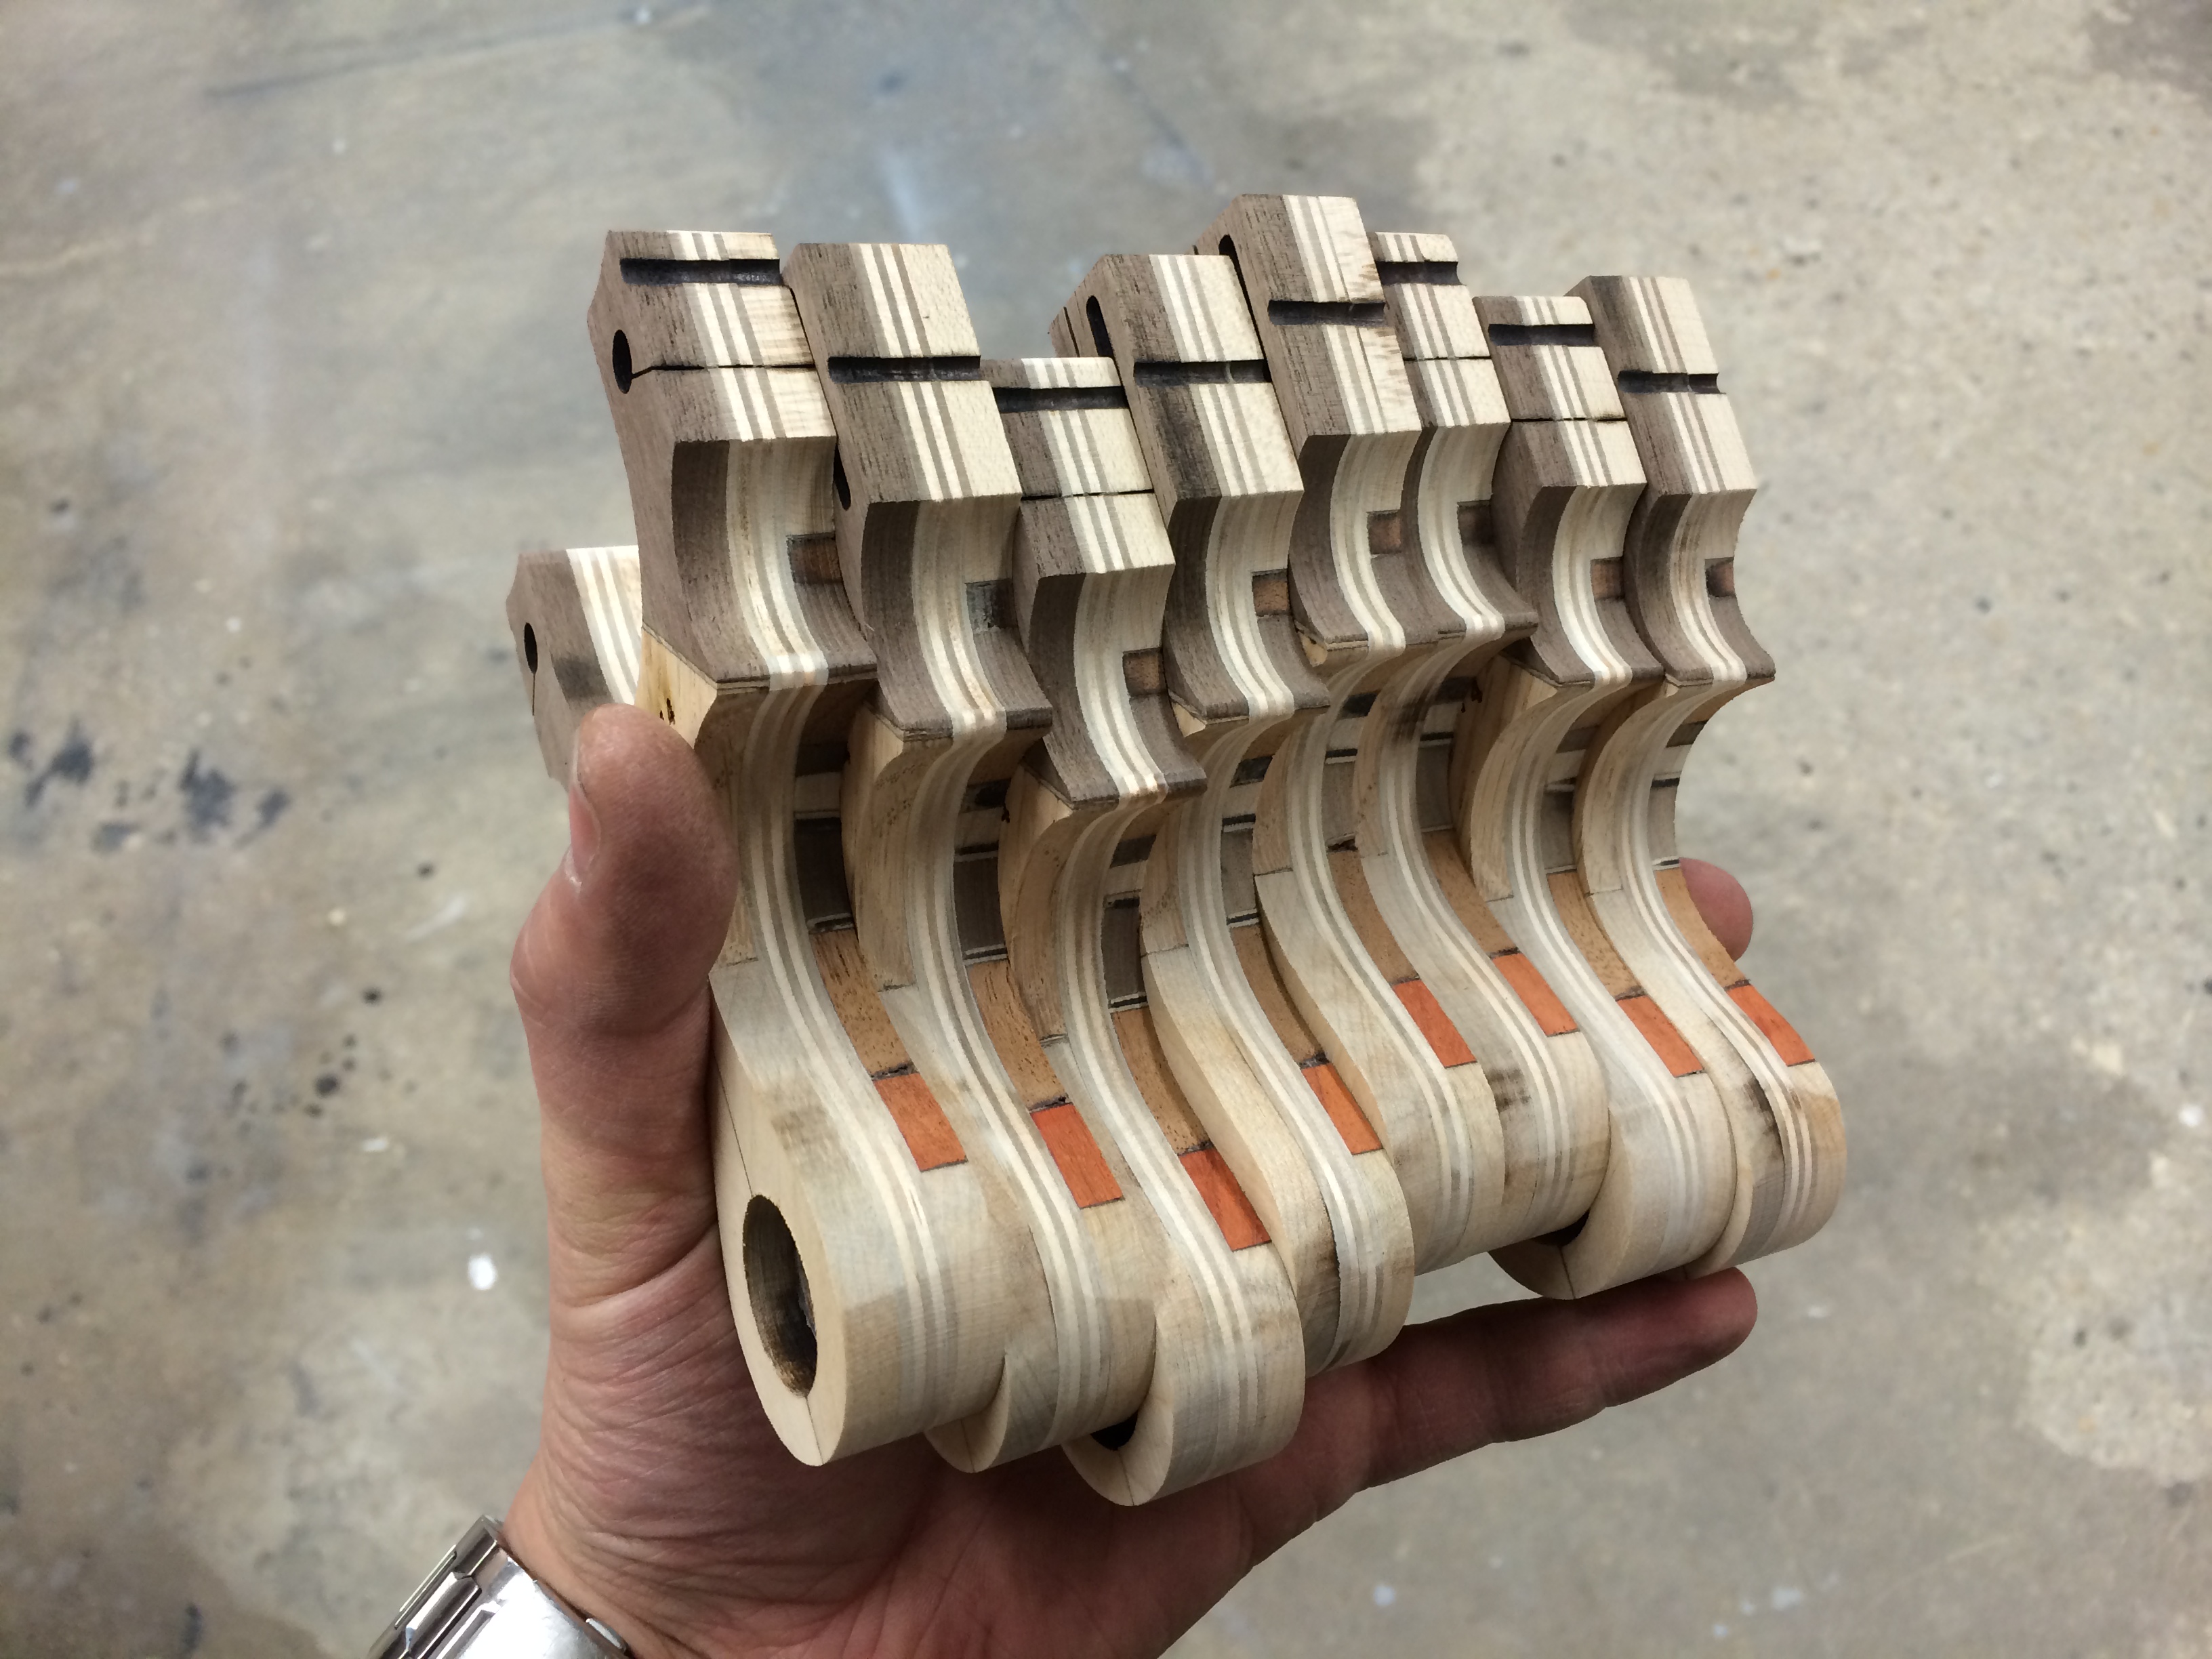
This next photo represents 10 hours of time, kind of crazy to think. I call it ‘Fist full of Awesome’.
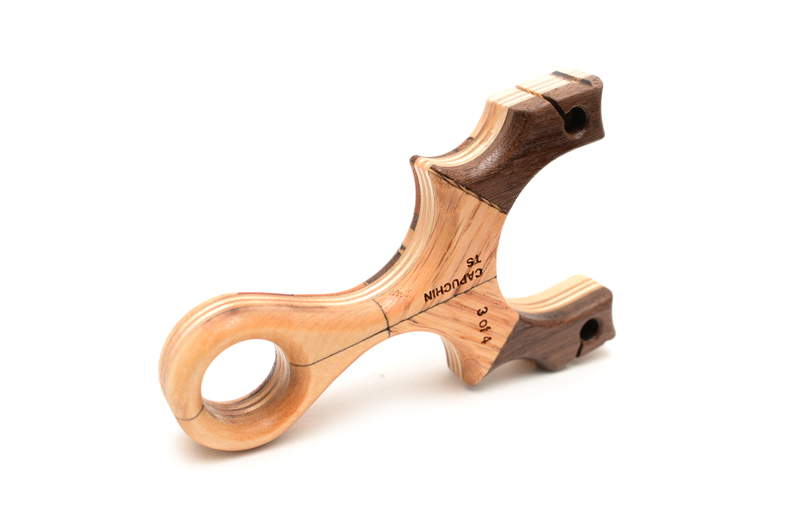
Remember when I said I had a plan to return the Metro Grade skull back onto the Chatke-Kok wood circle? This is that plan. I knew I wanted to mark on it that this was a limited edition of 4 (4 TS’s and 4 FB’s) so I again used a scrap piece of wood and quickly etched the outline of the slingshot so I could realign the already assembled and glued slingshot back onto the laser bed. This technique is also what I used to realign and re-etch the skull on those slings that had the face sanded off.

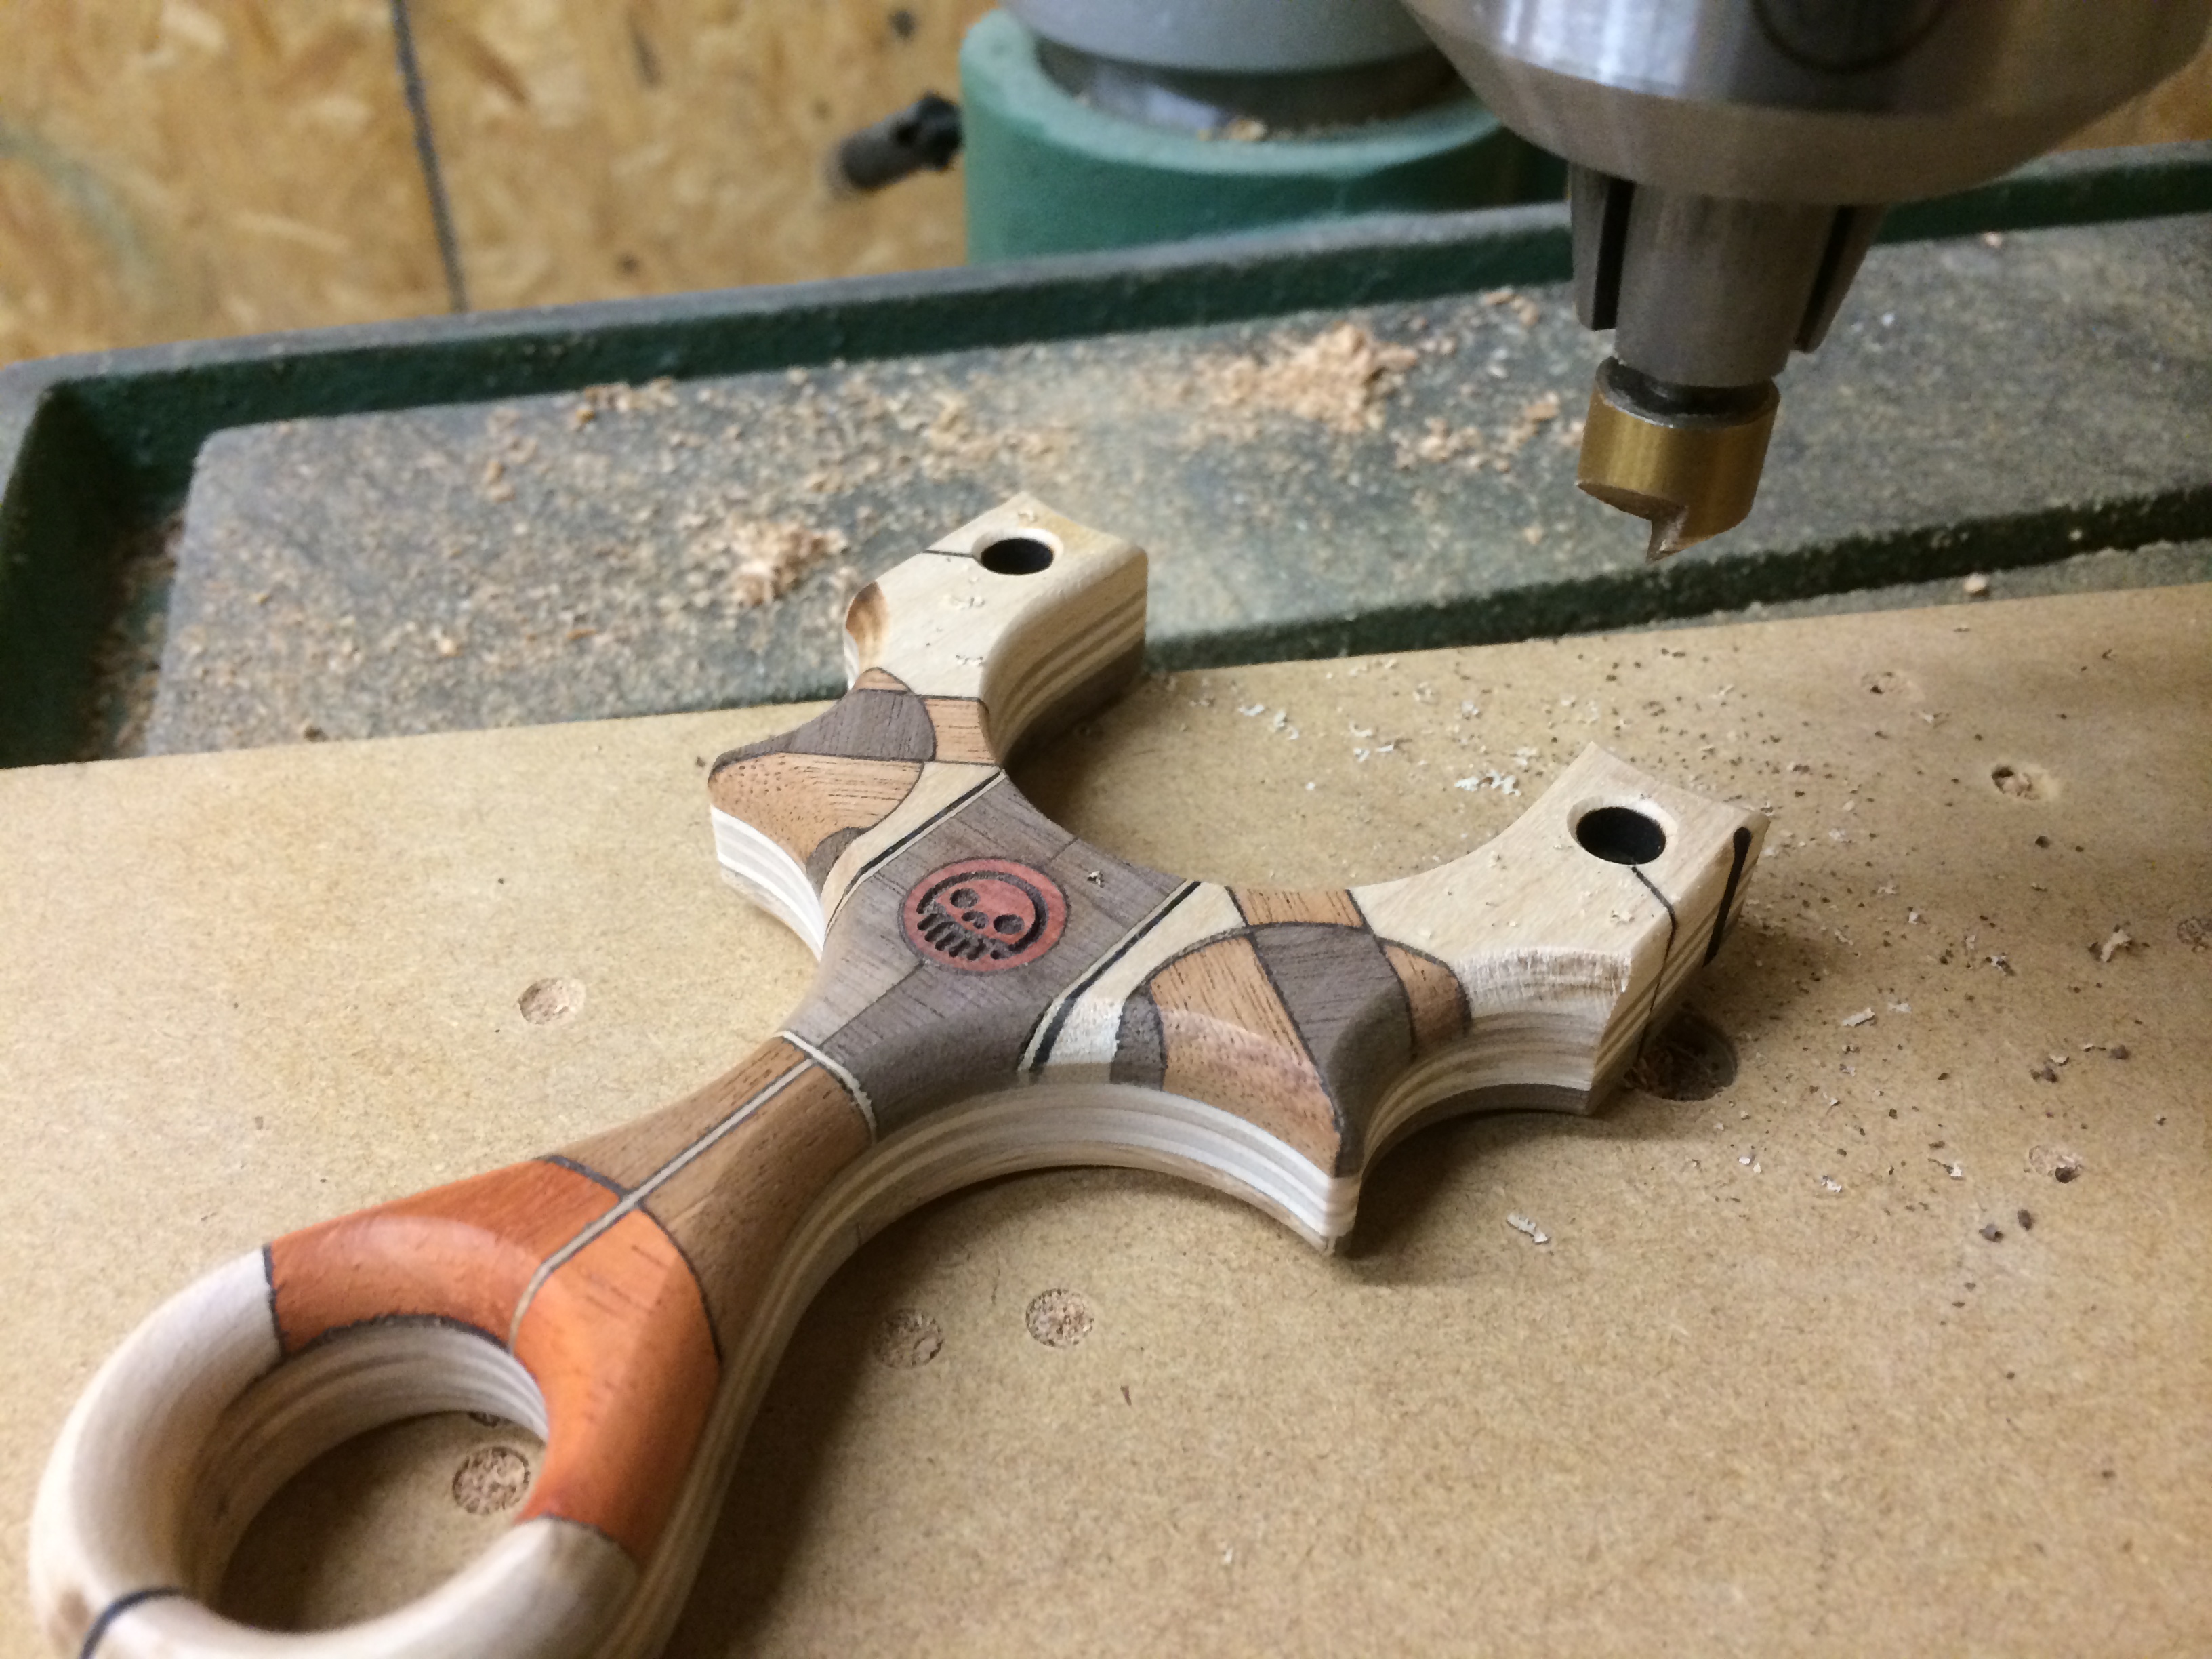
Now the most dangerous part of any slingshot build, the router. Things can go VERY badly here and the entire sling could go to waste if there are any slip ups. Thankfully, I’ve had lots of practice with this model having made a limited edition of 10 plywood ones and various other hardwood versions. Despite my comfort level with this pattern and frame, I treat every time I turn on a switch to a machine a chance to die. It works, seriously.
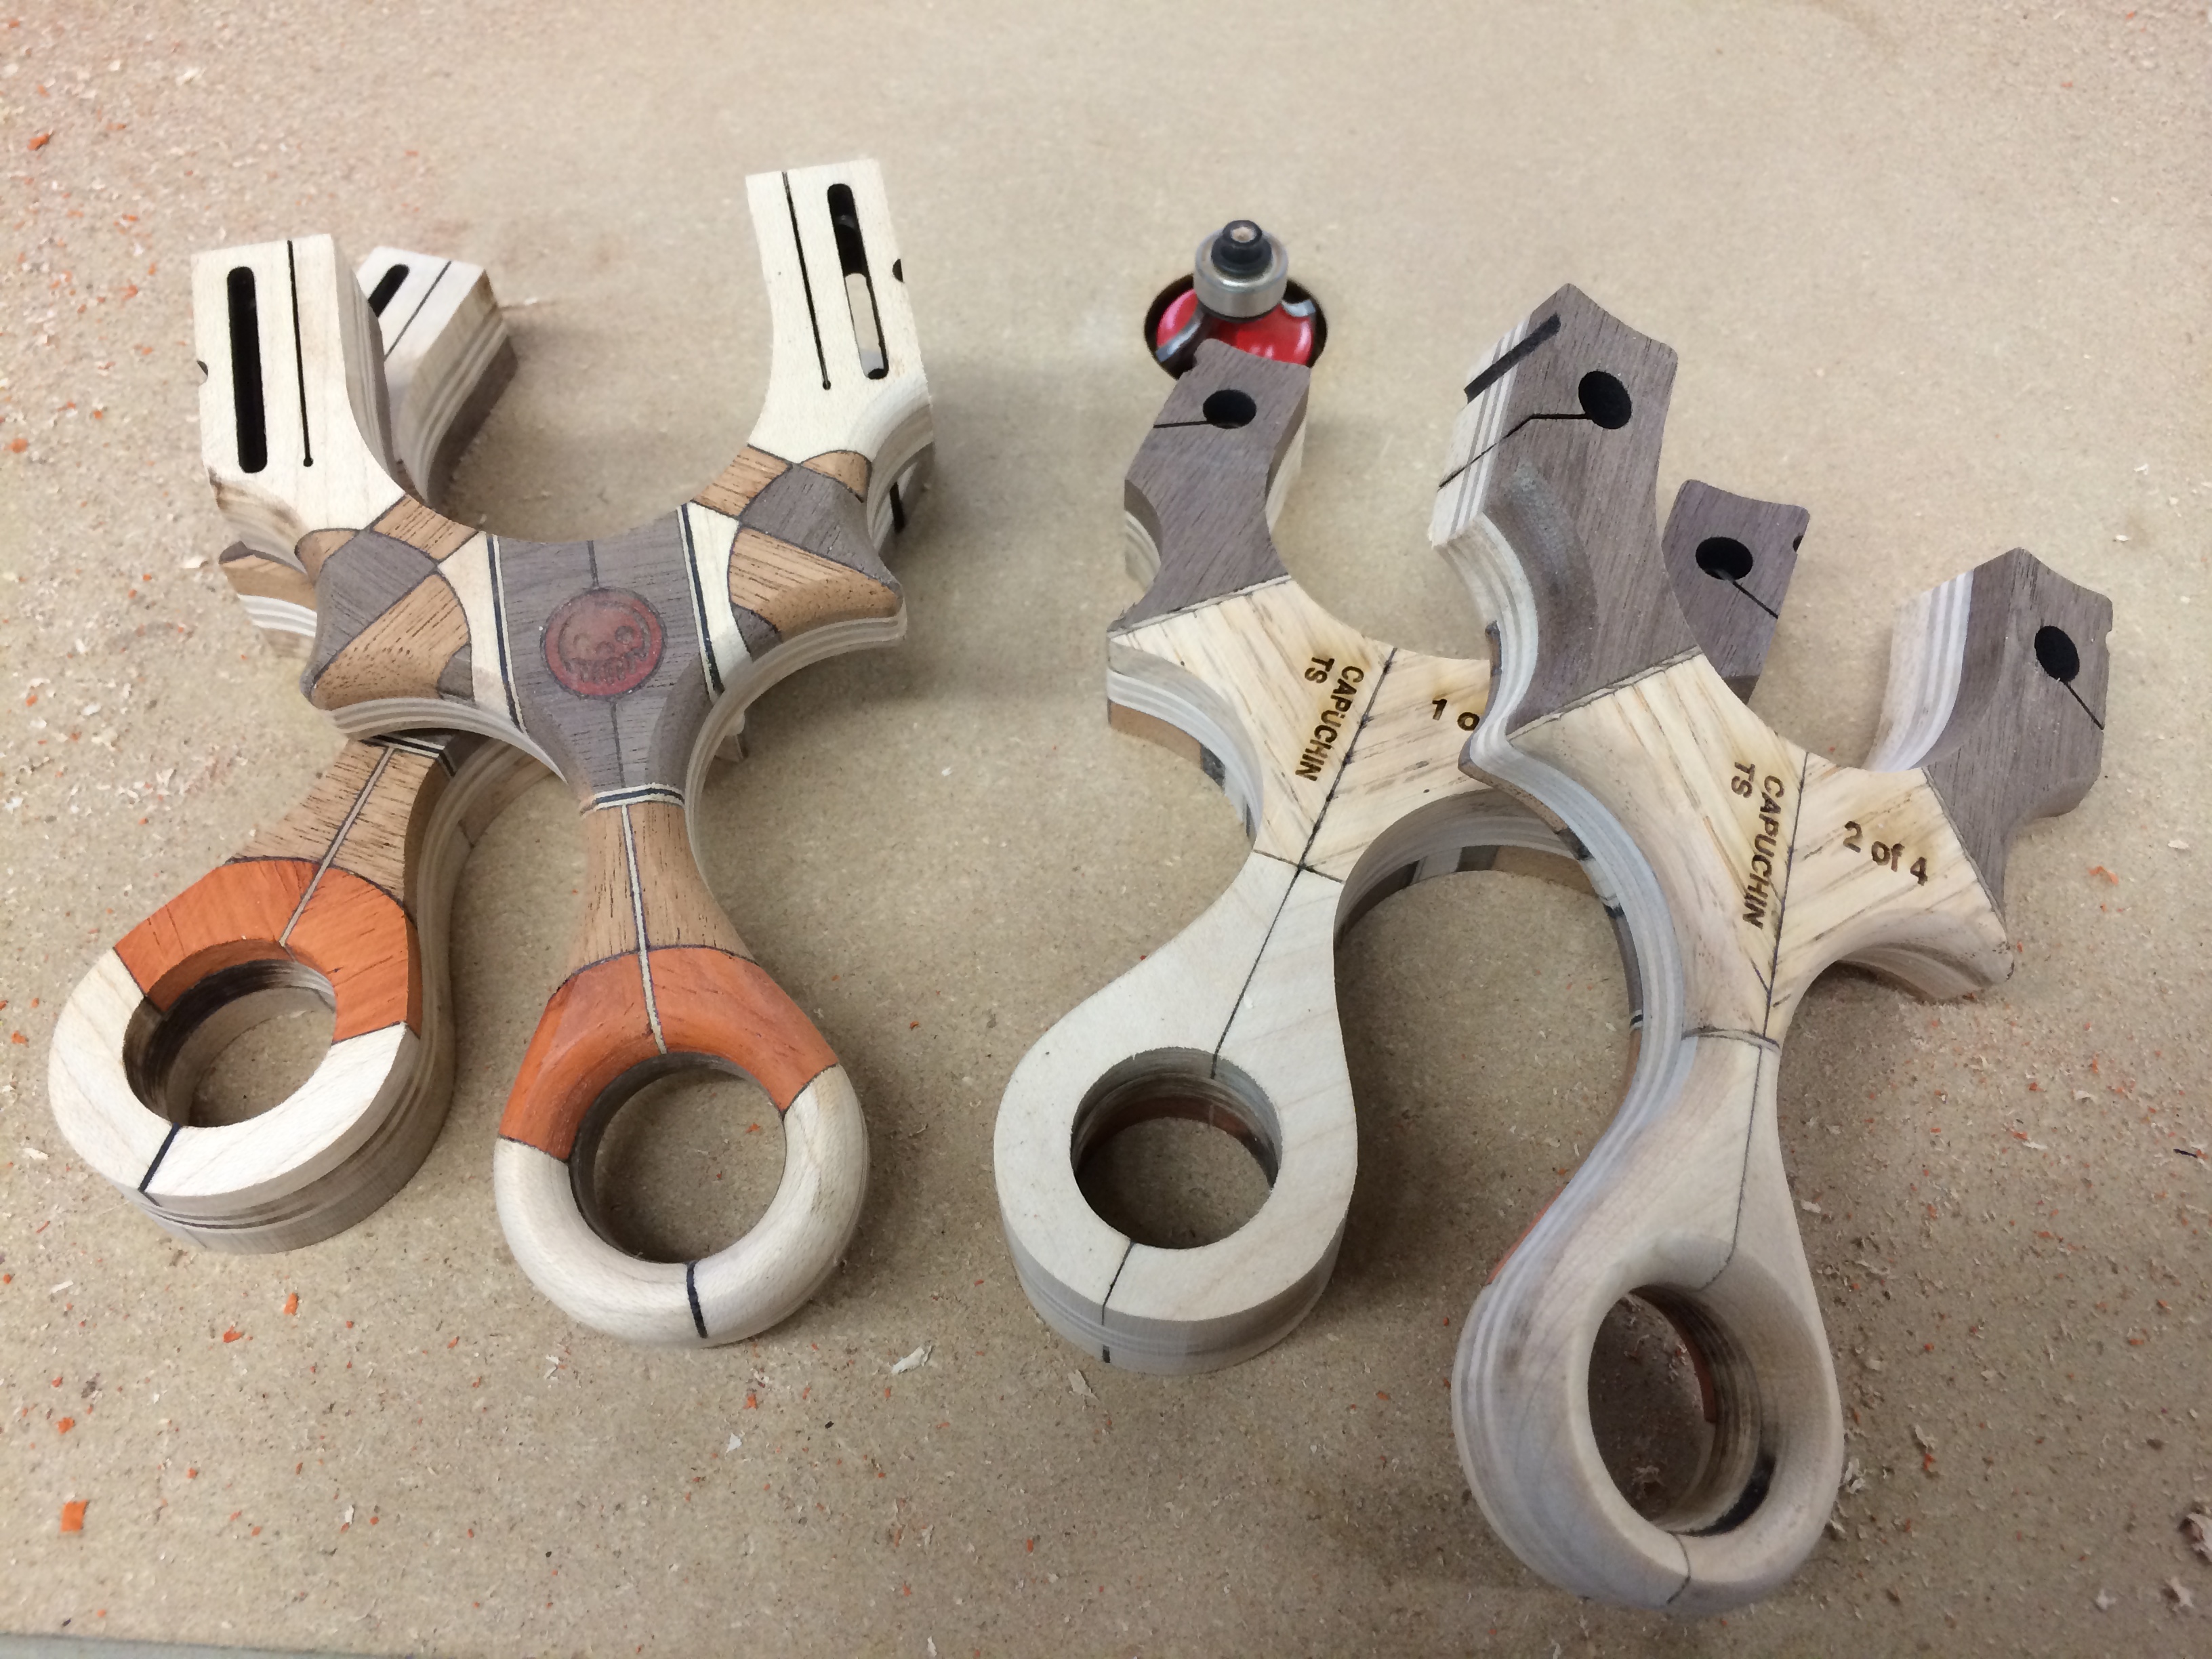
This photo doesn’t show anything new, but I wanted to grab a pic of the router shavings. Such beautiful array of colours.
The Capuchin TS and the Capuchin FB both have things that still need to be done with them before the band attachment area are operational. The TS’s tube slot needed to be widened but not before the edges of the hole are chamfered with a 1/4″ counter sink.
Then it’s off the band saw with a fairly narrow, 1/2″ blade, the tube slot gets widened to a saw width. The existing tube slot was not really a tube slot at all, it was merely a guide for the alignment when gluing up the layers and subsequently, a guide for the band saw to slide into.
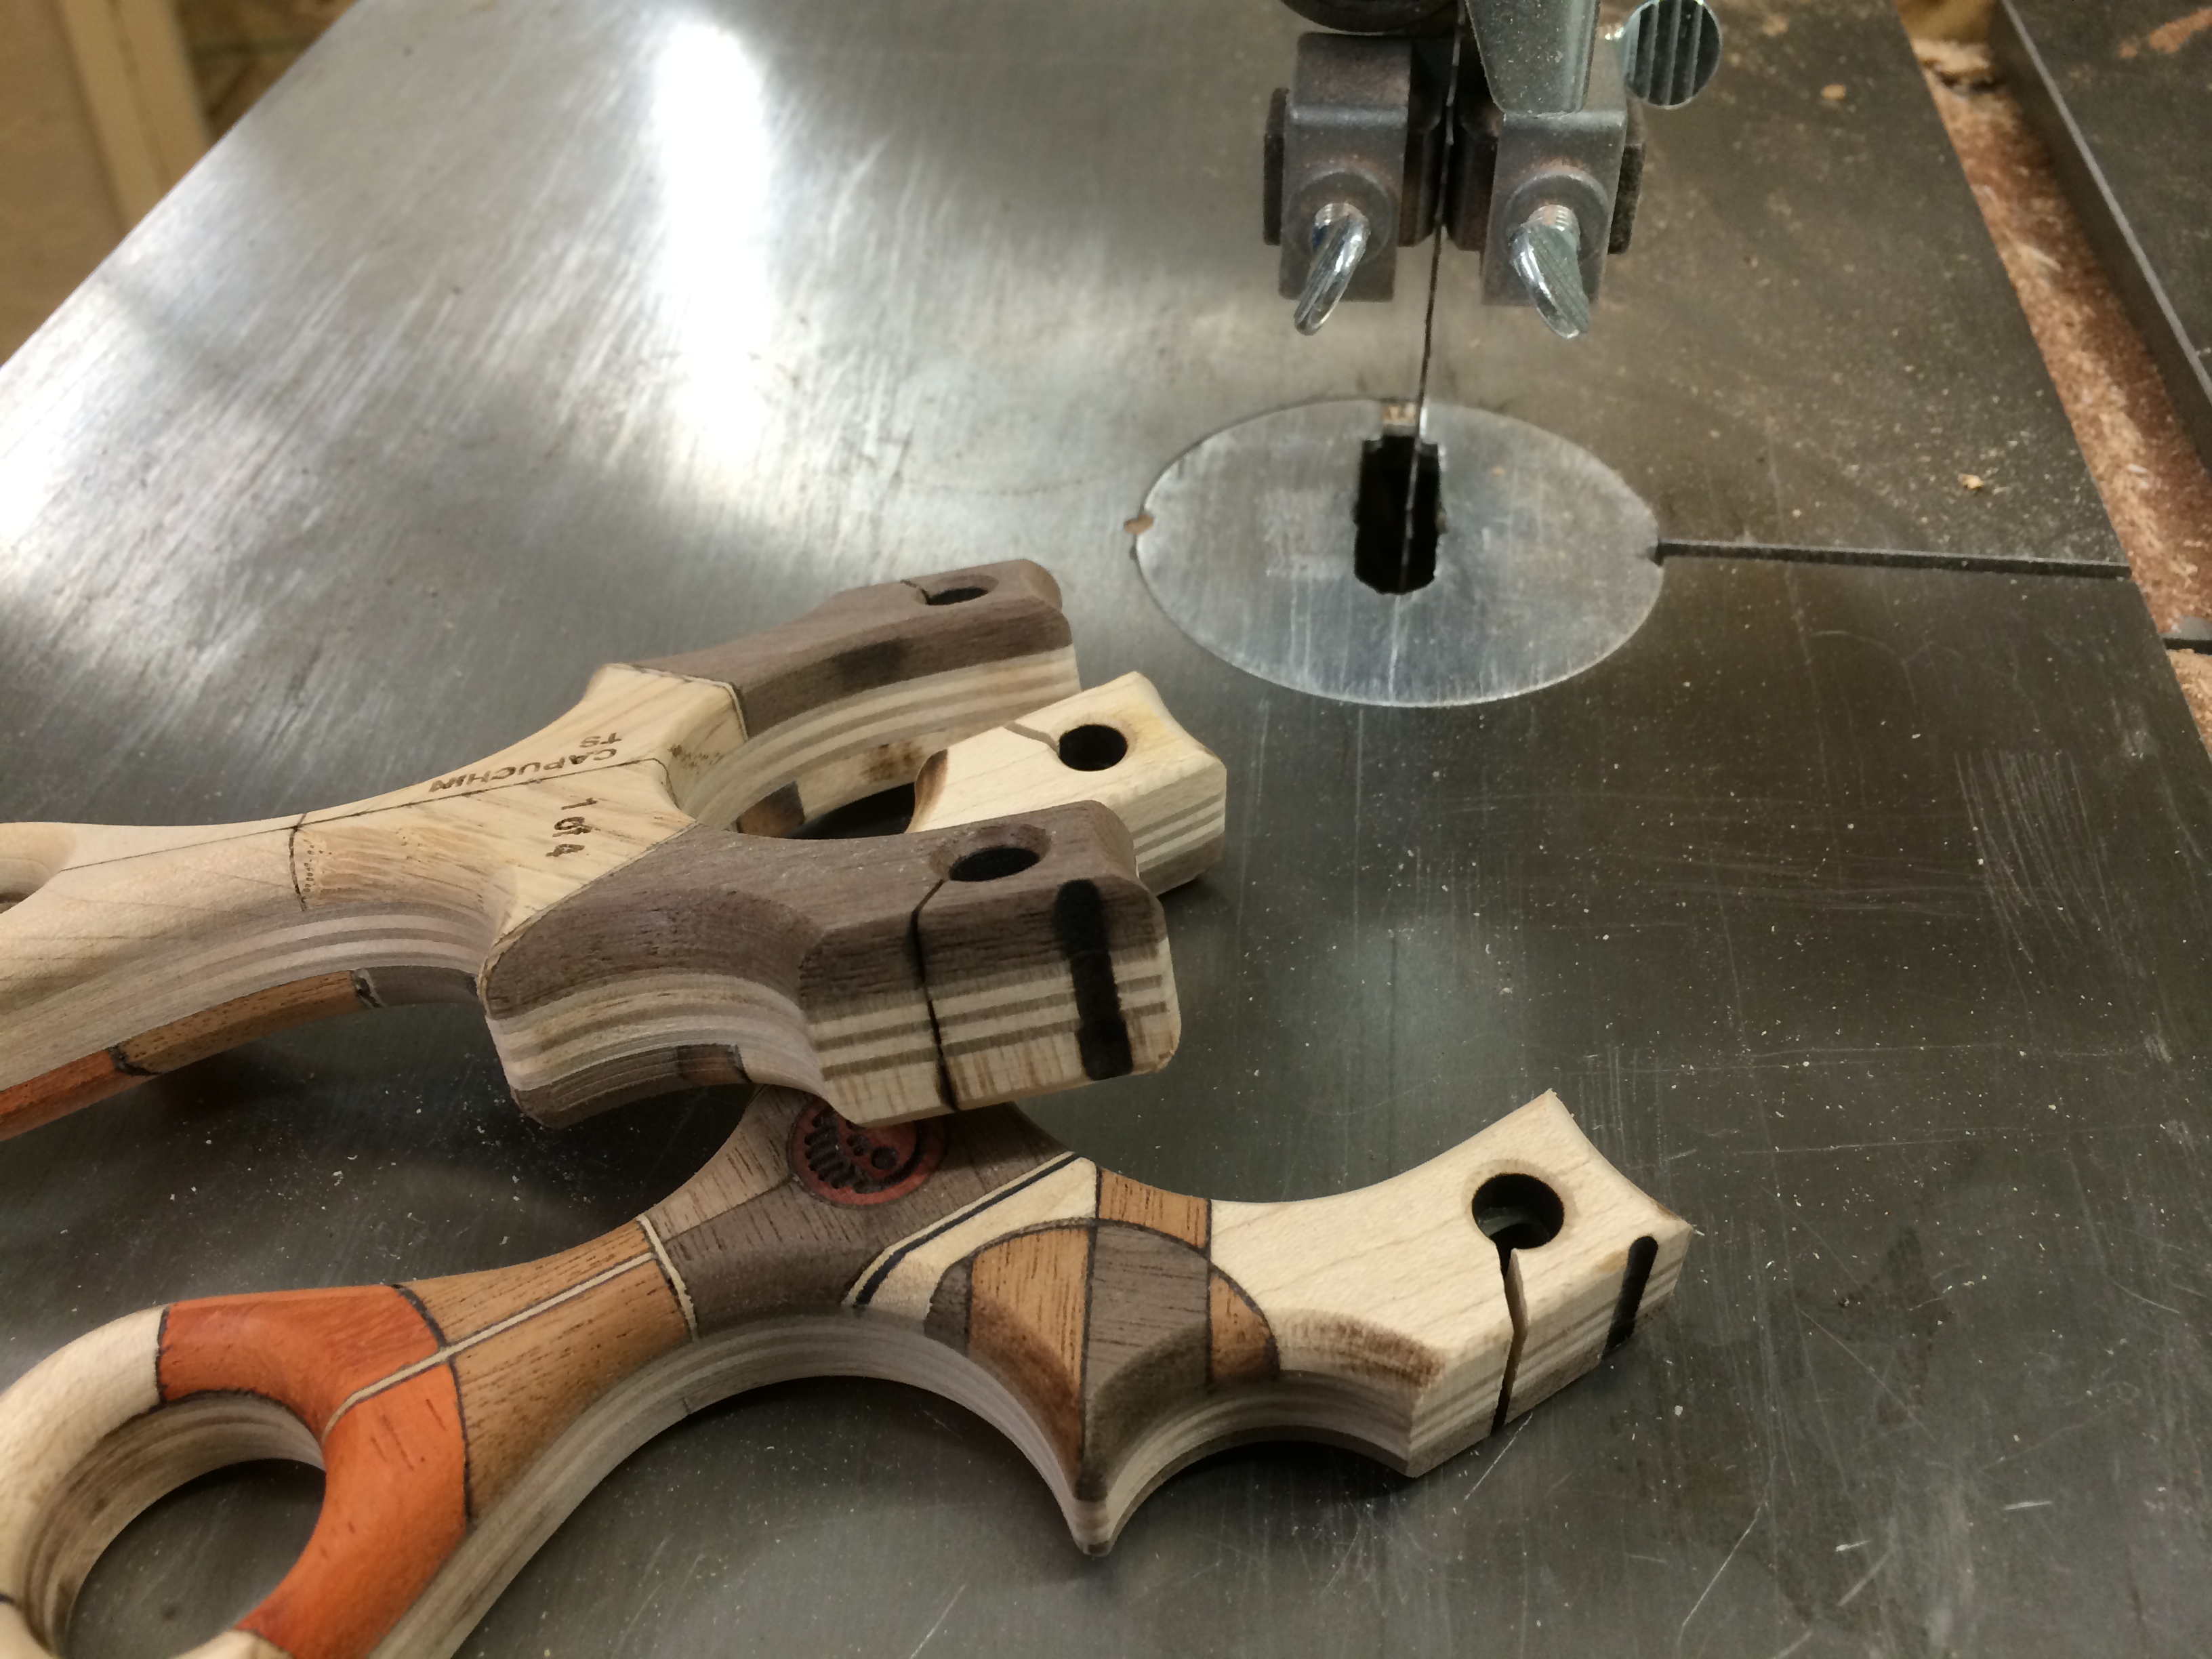
Then the notched ‘iron sight’ needed to be cleaned up too, so a round rat tail file comes to the rescue. Under the TS is one of sanding blocks used to sand the surfaces of the sling. These are 80/120 grit mini blocks meant for manicurists, but for those tight curves and hard woods, they are perfect.

I didn’t take any photos of the FB slot finishing as it’s a bit of a secret but essentially it just needed to be sanded out to improve the consistency in the width of the slot for Theraband Gold and pure Latex bands. Once they were all sanded with 600 grit paper, it was off the paint booth to shoot 3 coats of acrylic sealing spray.
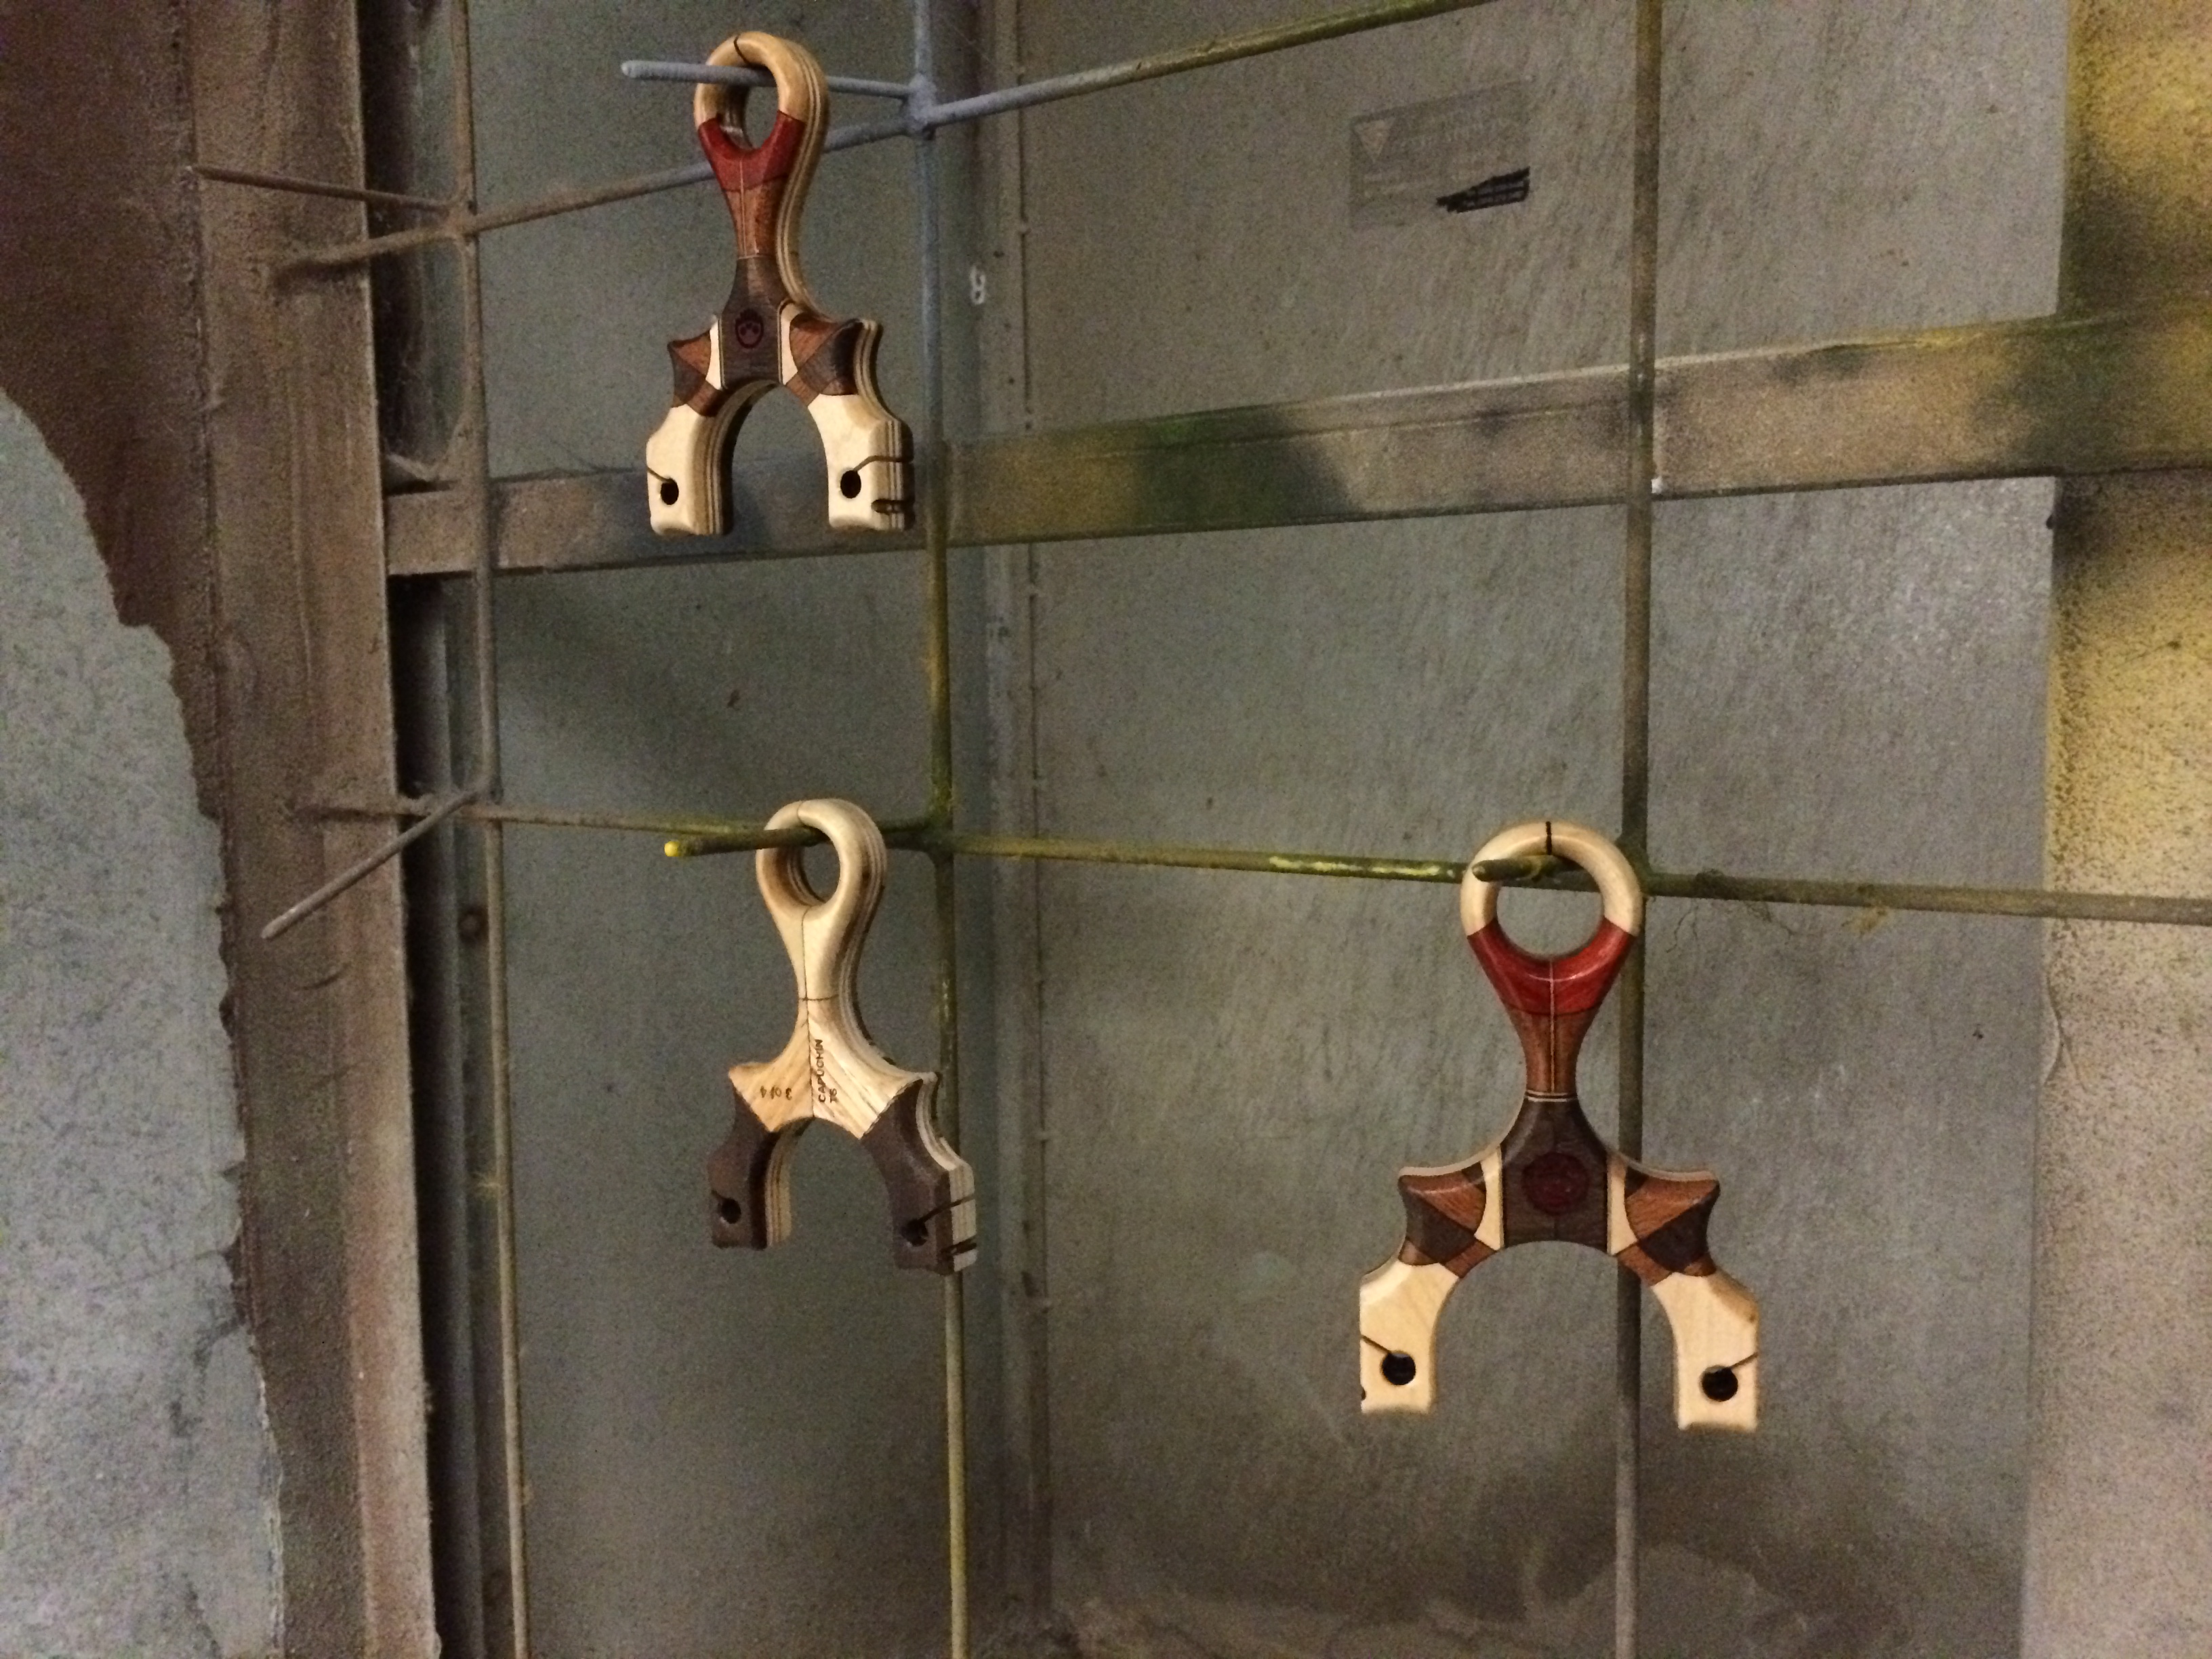
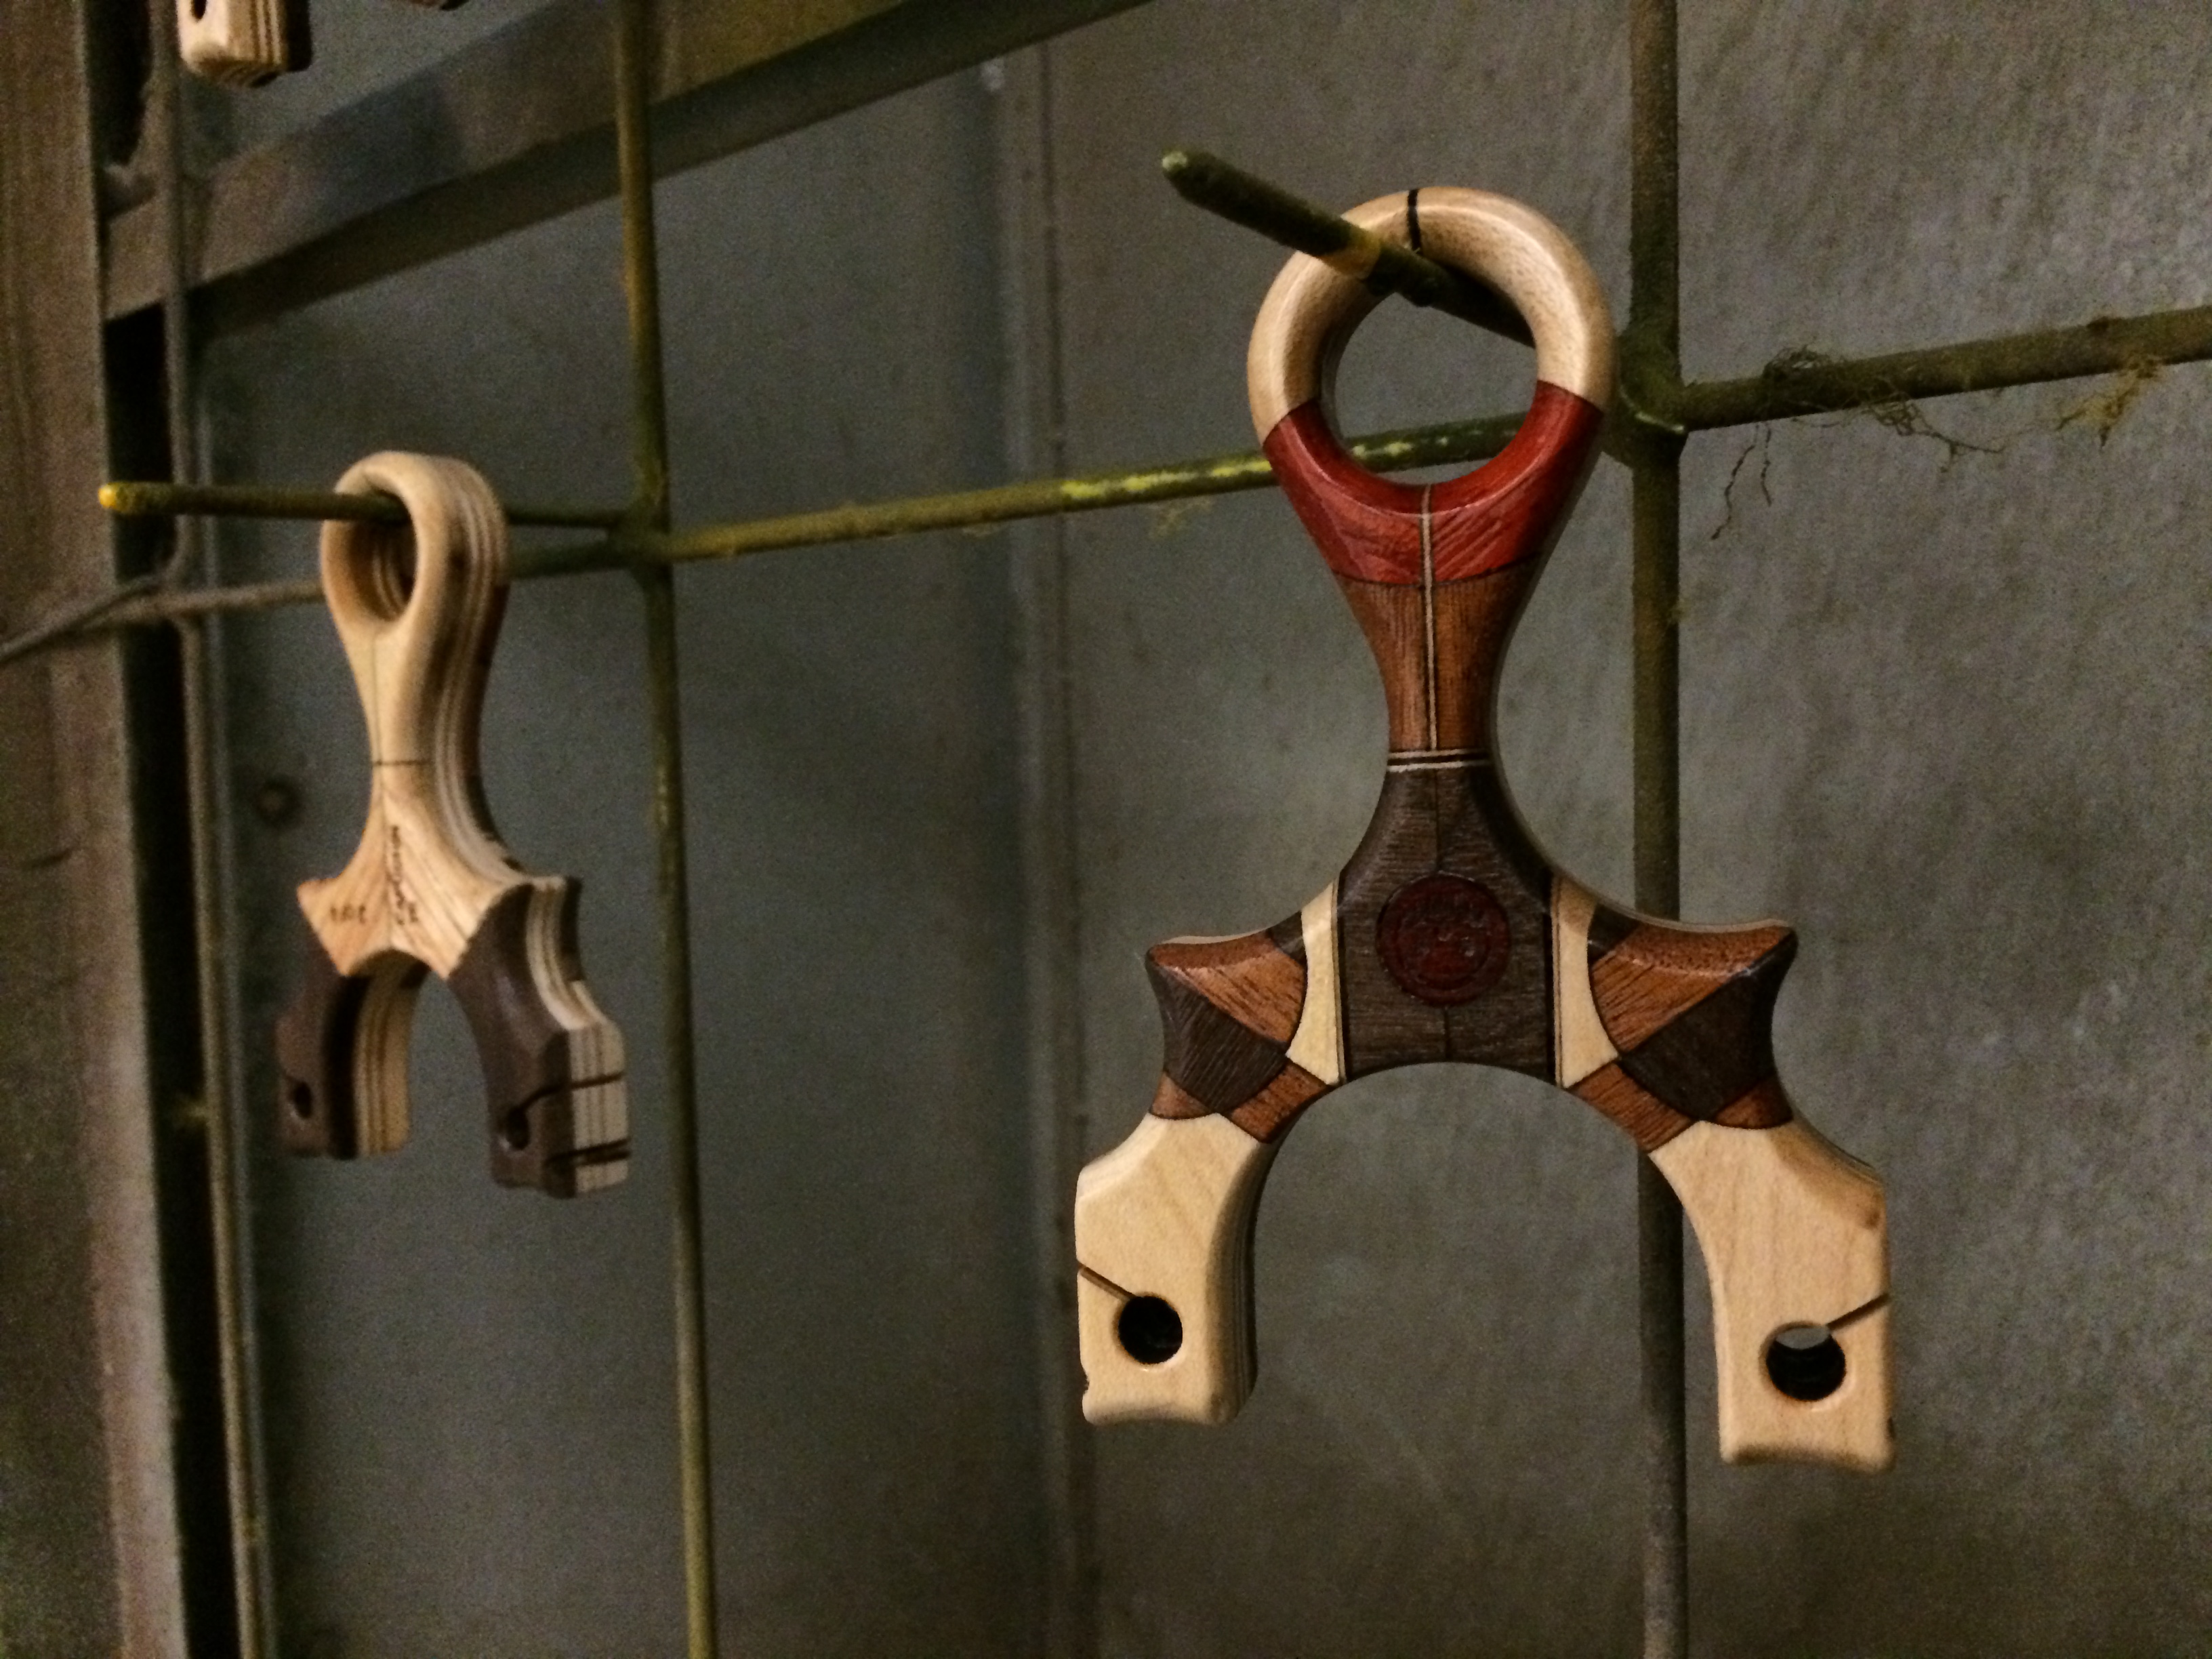
Once they were cured (acrylic spray only has a 30 min cure time), they were buffed to a shine with another manicurist tool; the nail buffer. It was time to hit the photoshop.
BUT before you go ahead to the final product and images, I want to list the woods used in these slings:
– Baltic Birch plywood core
– Rock Maple
– American Black Walnut
– Honduran Mahogany
– Chatke-Kok
– Maple Veneer
– Ebony Veneer
– Zebrawood Veer
– Birch
– Paduak
– Oak
…ok enough stalling.
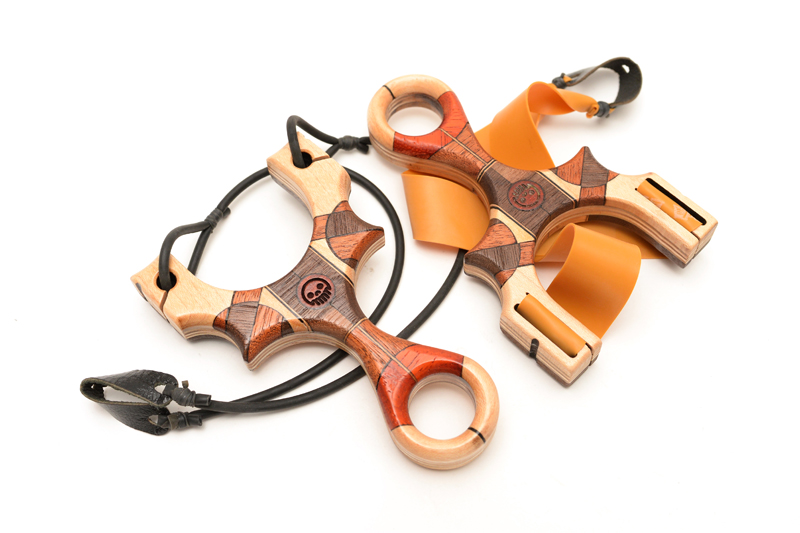
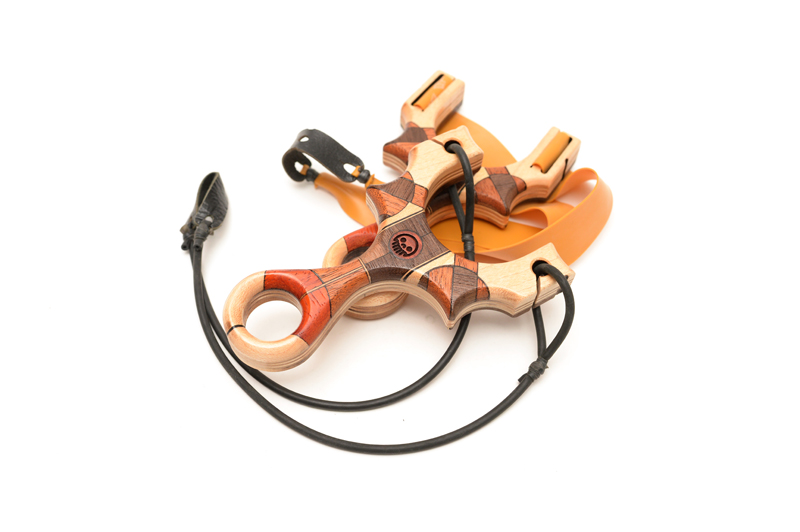
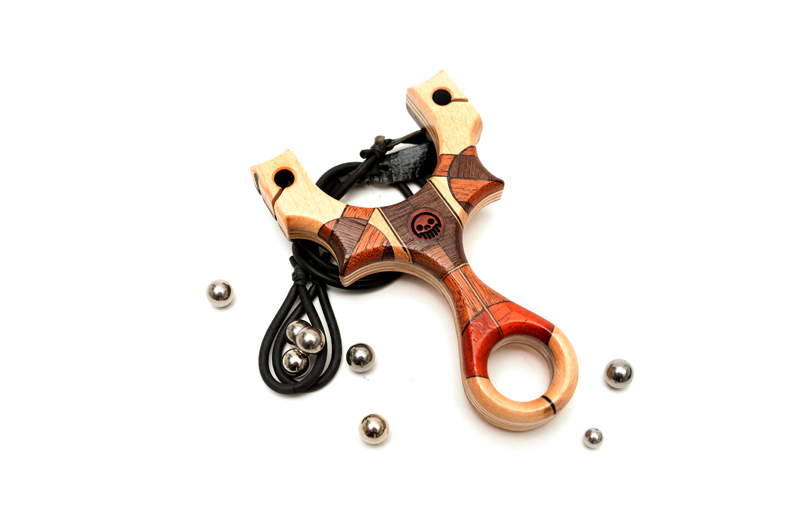
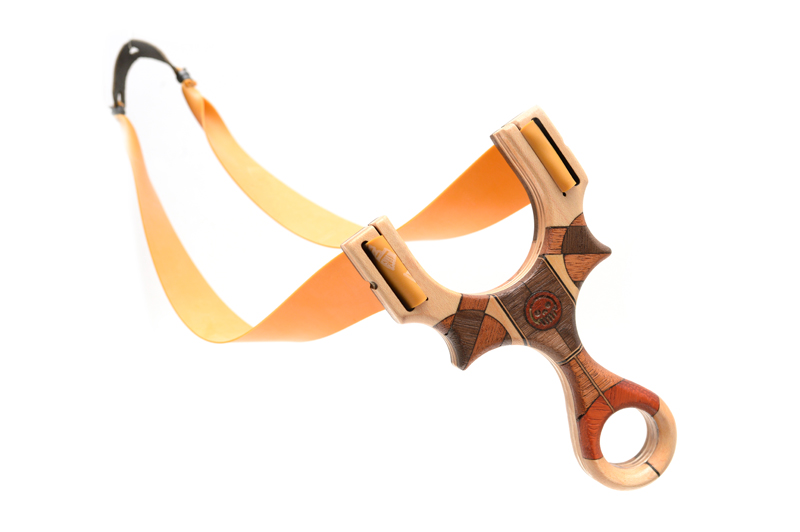
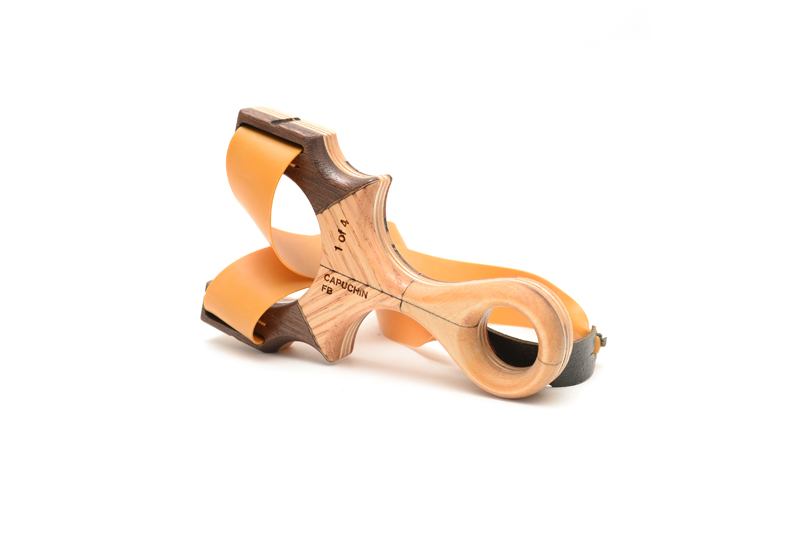
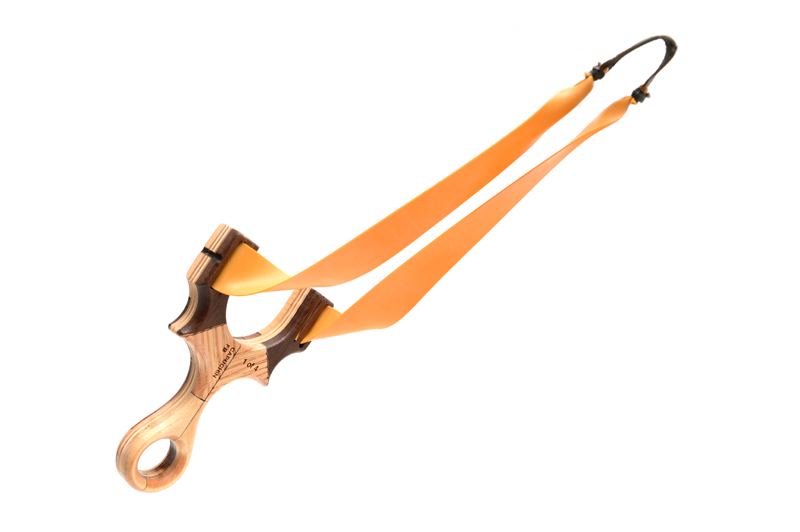
I am pleased to present the Harlequin Capuchin TS and FB.
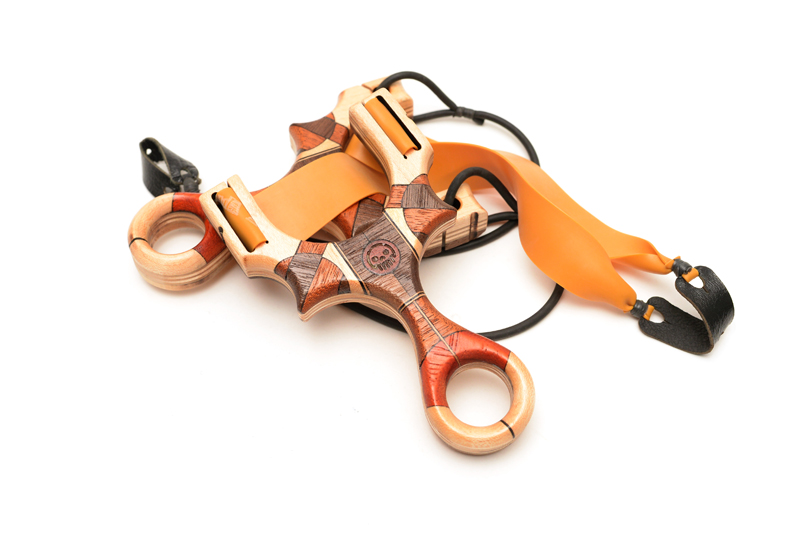
Thank you for reading to the end, it’s not often I get to spend this much time writing about my process and methods, but I know it’s always worth looking back on projects like these.
I am also really happy (but with begrudgingly) to announcing that Metro Grade is now on Twitter, you can follow and reach me at @MetroGradeGoods
3 of each Harlequin TS and FB will be available at the Metro Grade Shop.
Find the Harlequin Capuchin FB here
Find the Harlequin Capuchin TS here
-Stay True-
-Eric