Posted on 3 Comments

Metro Made | Bloodlines Slingshots – Meeting Prince Charles

May 21, 2014. The Prince of Whales visits the shop, I am tasked to present him with a unique gift made in the shop. I am proud to say, I have 2 Metro Grade slingshots in the Royal gift collection.

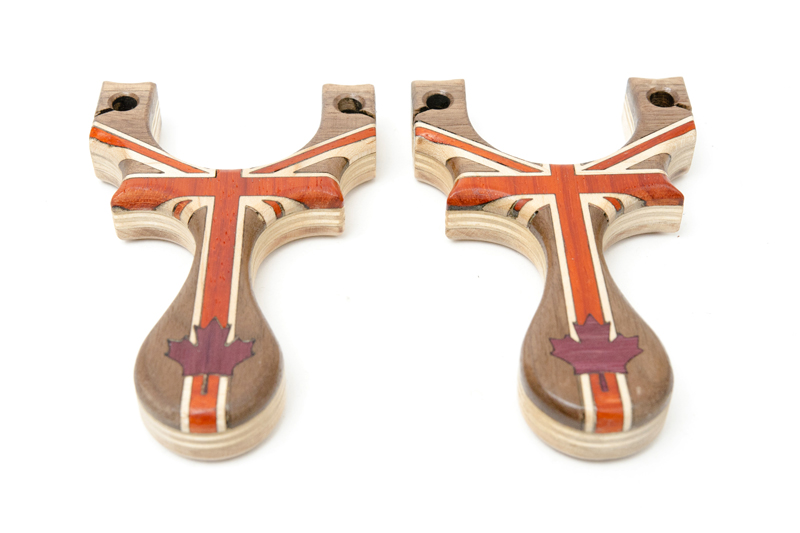
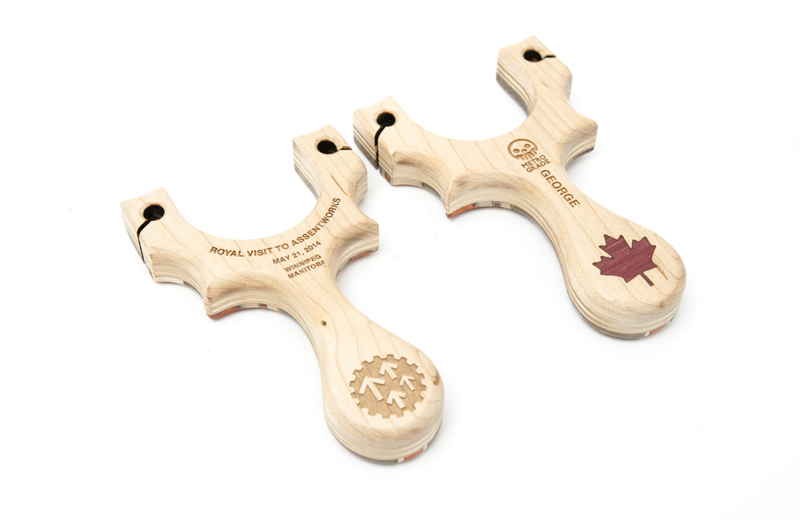
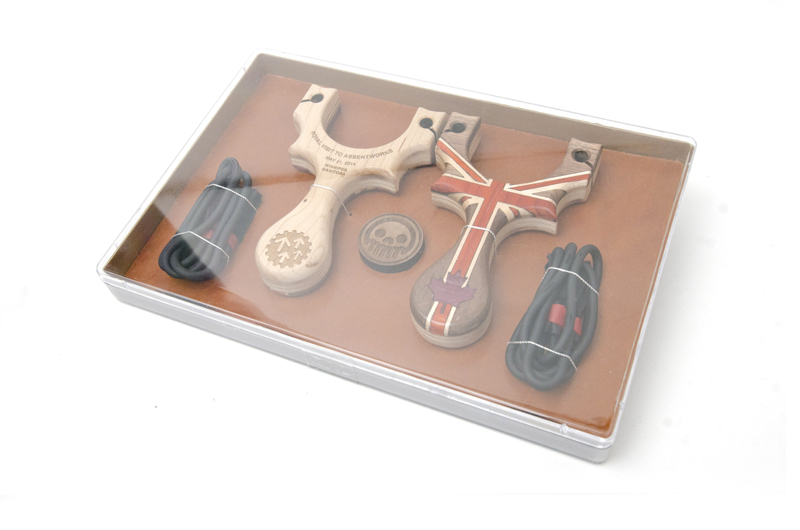
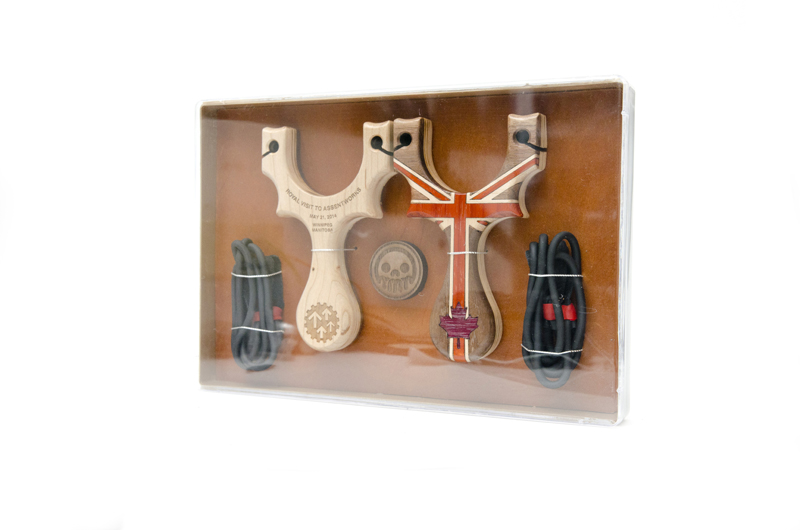
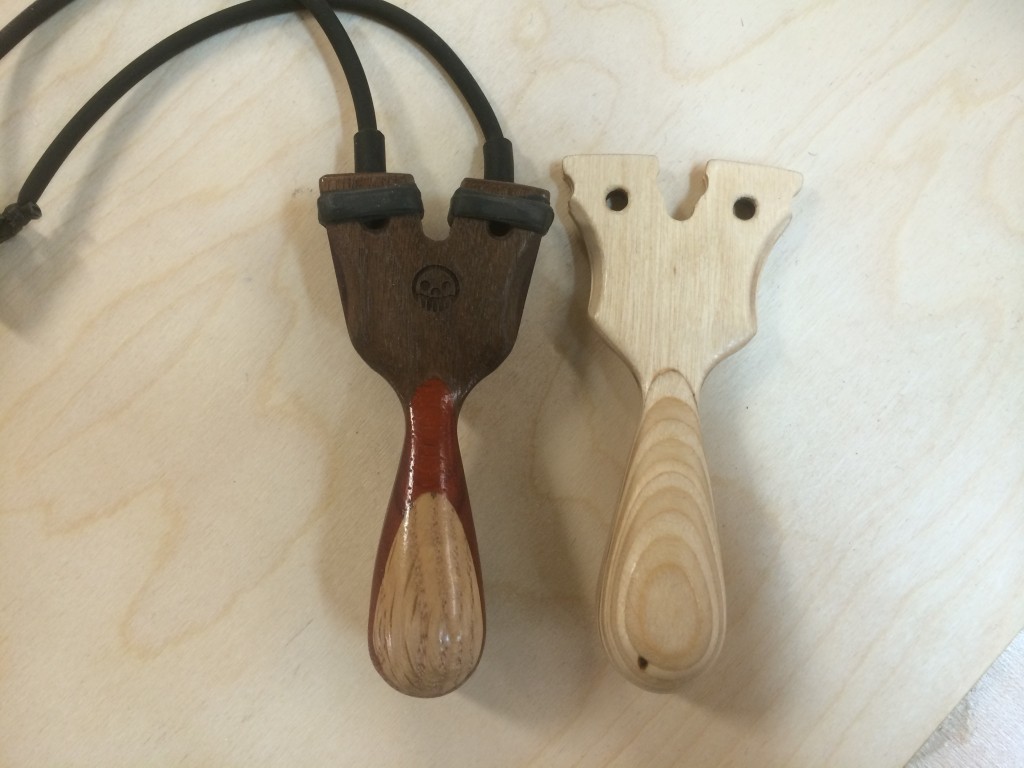
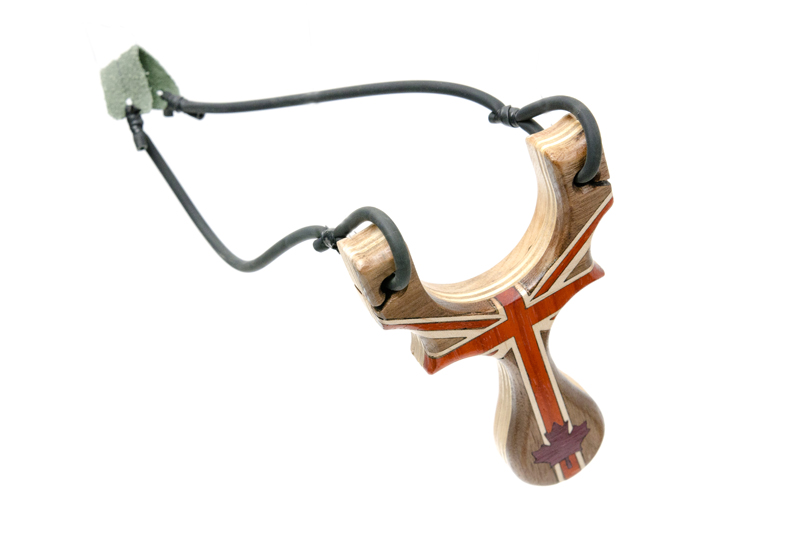
I call these two slingshots, the Bloodlines, as you see, one is for Prince Charles himself and one for his brand new grandson, George. These had to be unique, classic and well crafted, so I didn’t fool around with an unfamiliar shape, I went with my classic Capuchin side shooter.

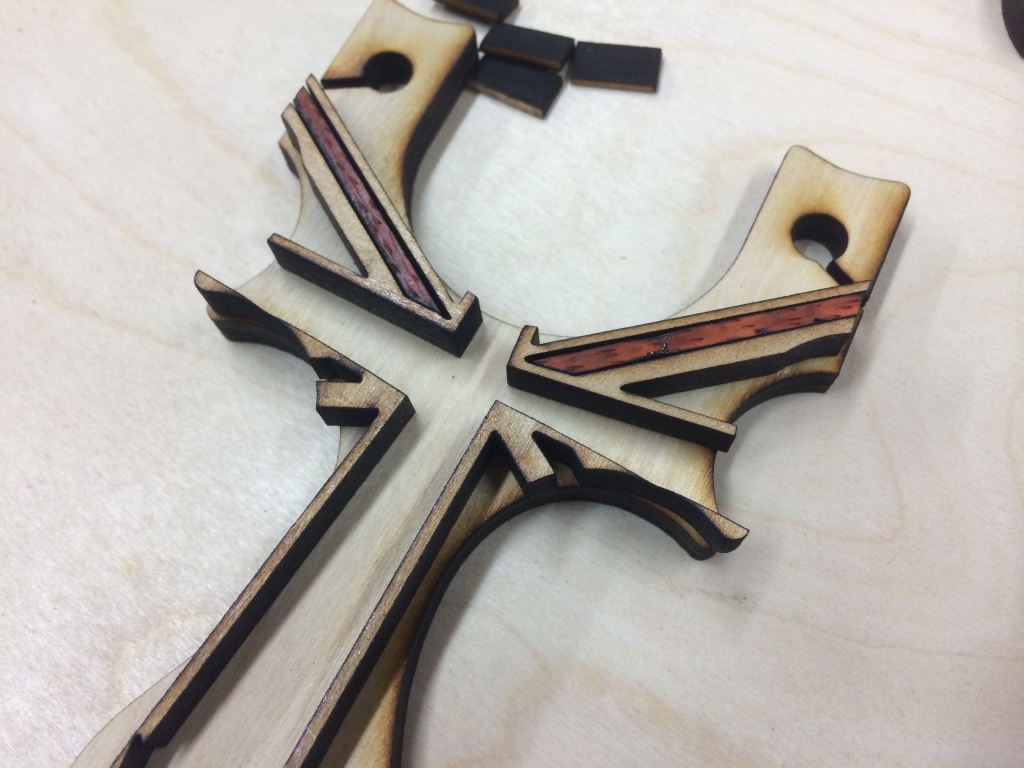
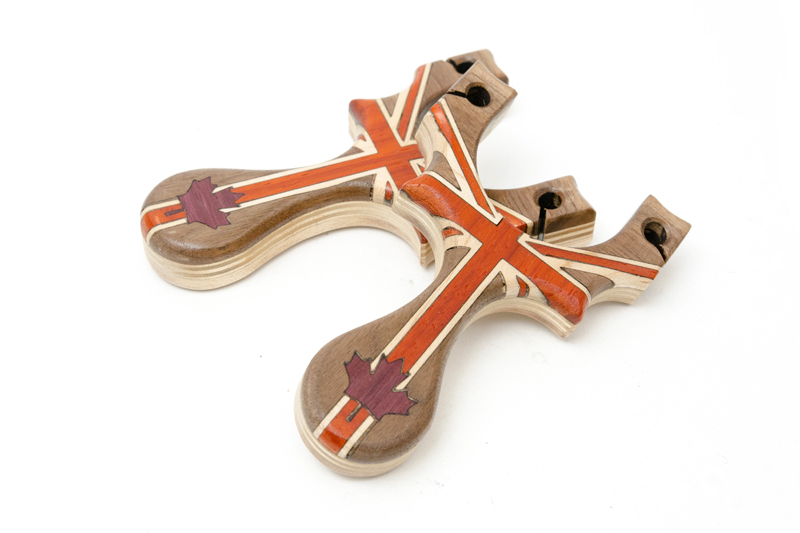
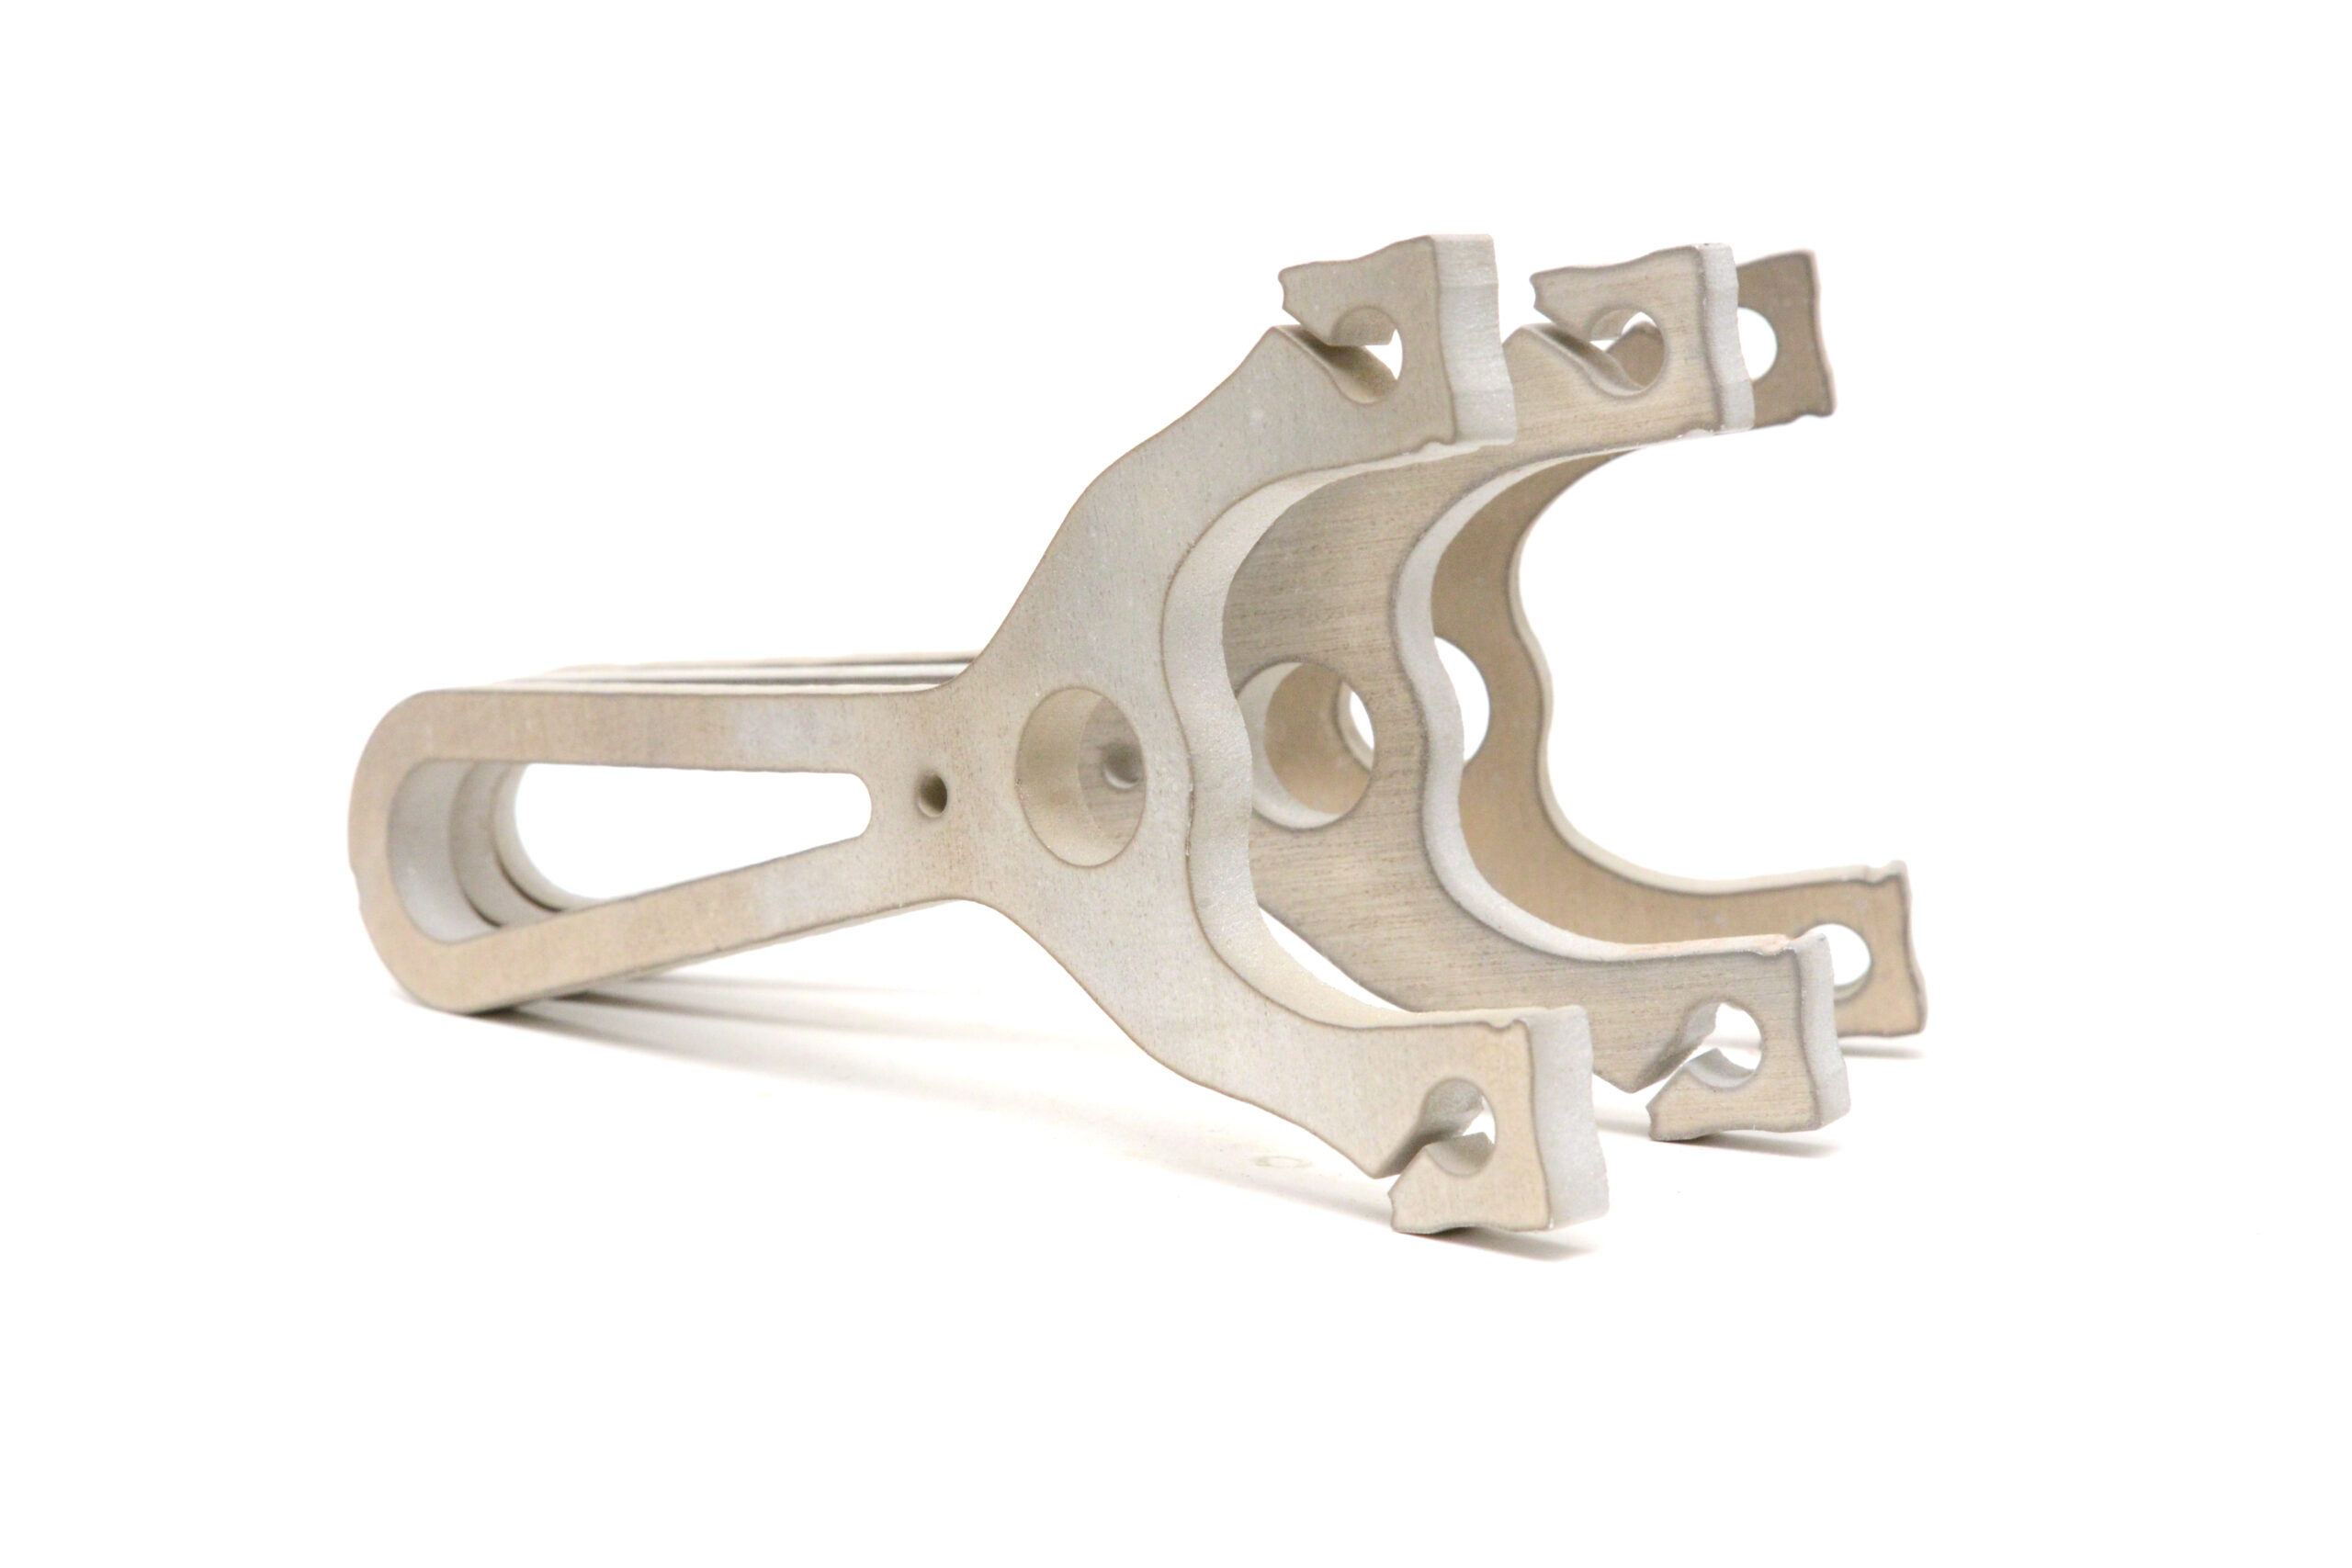
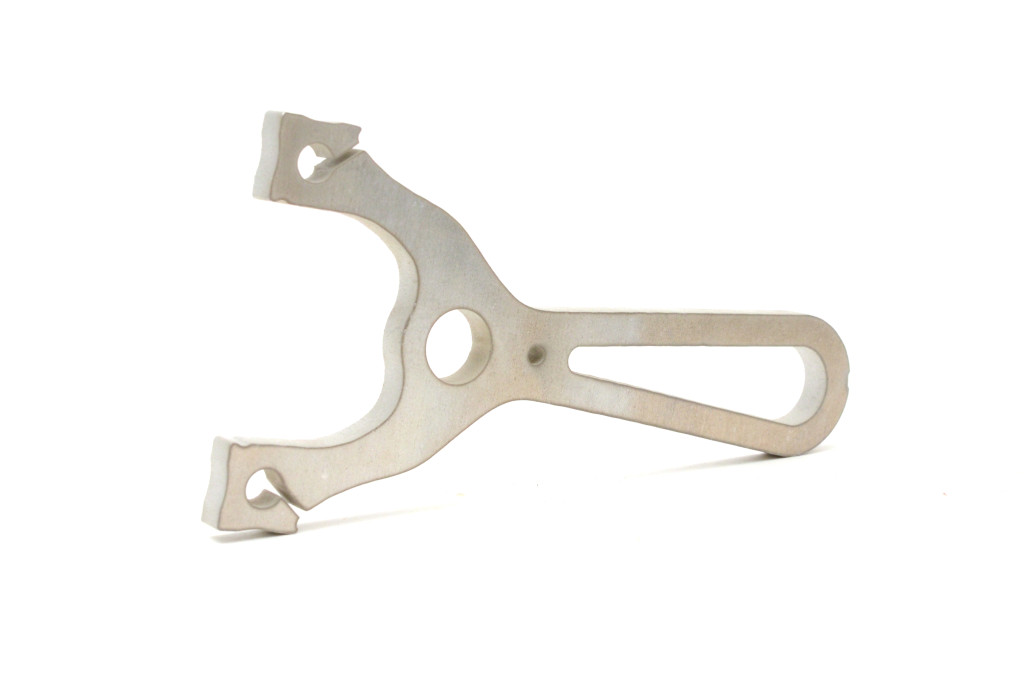
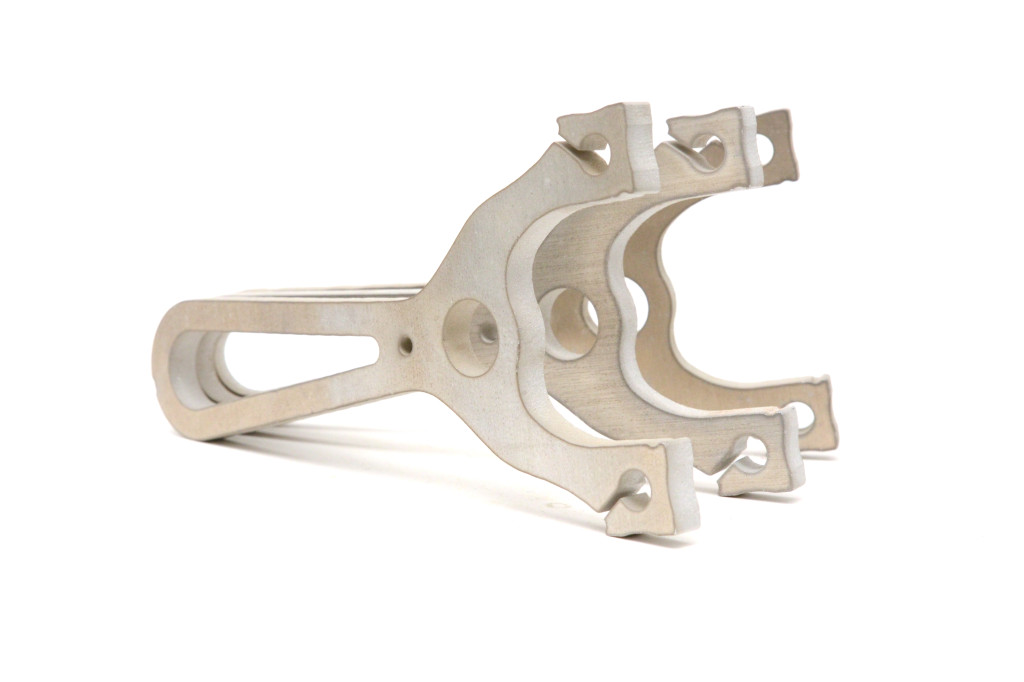
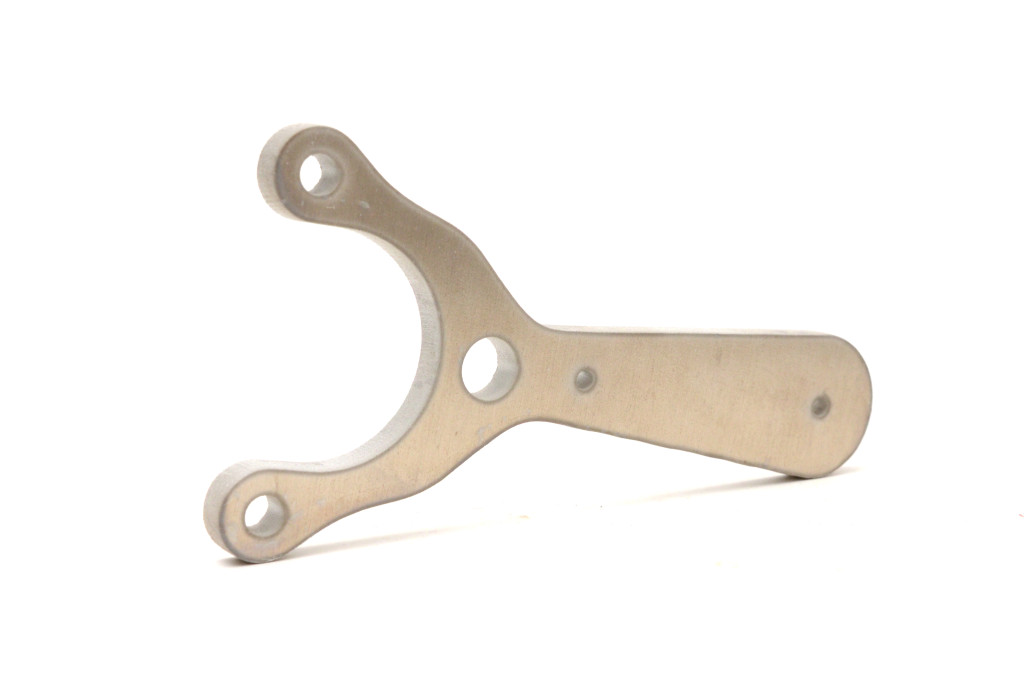
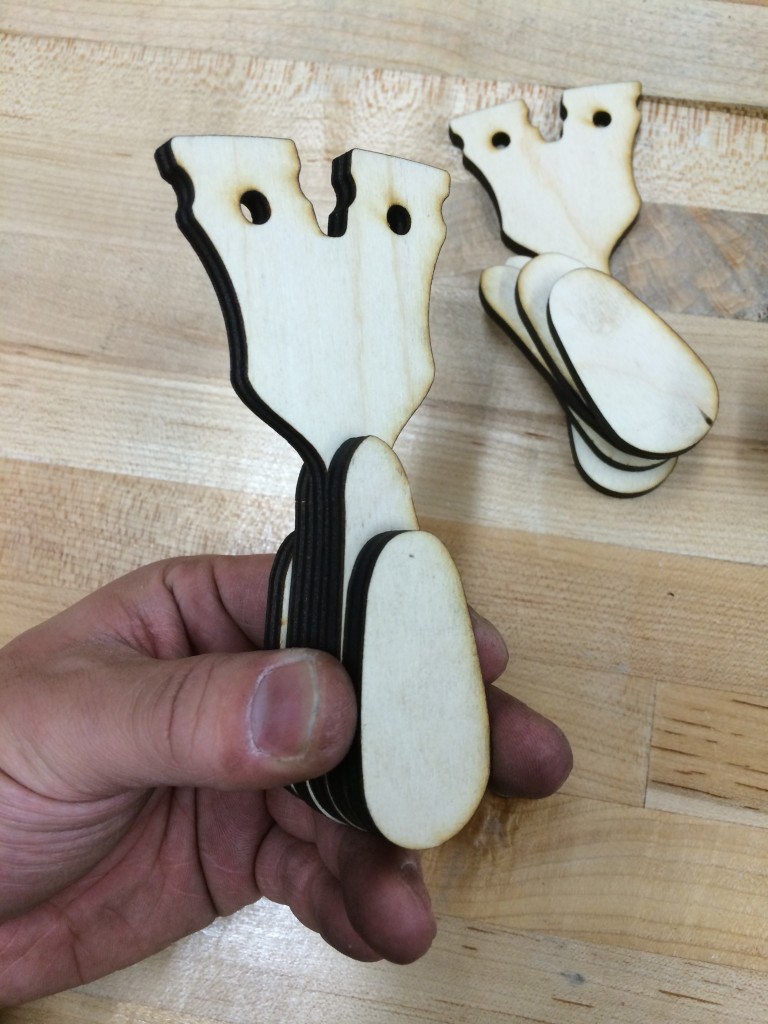
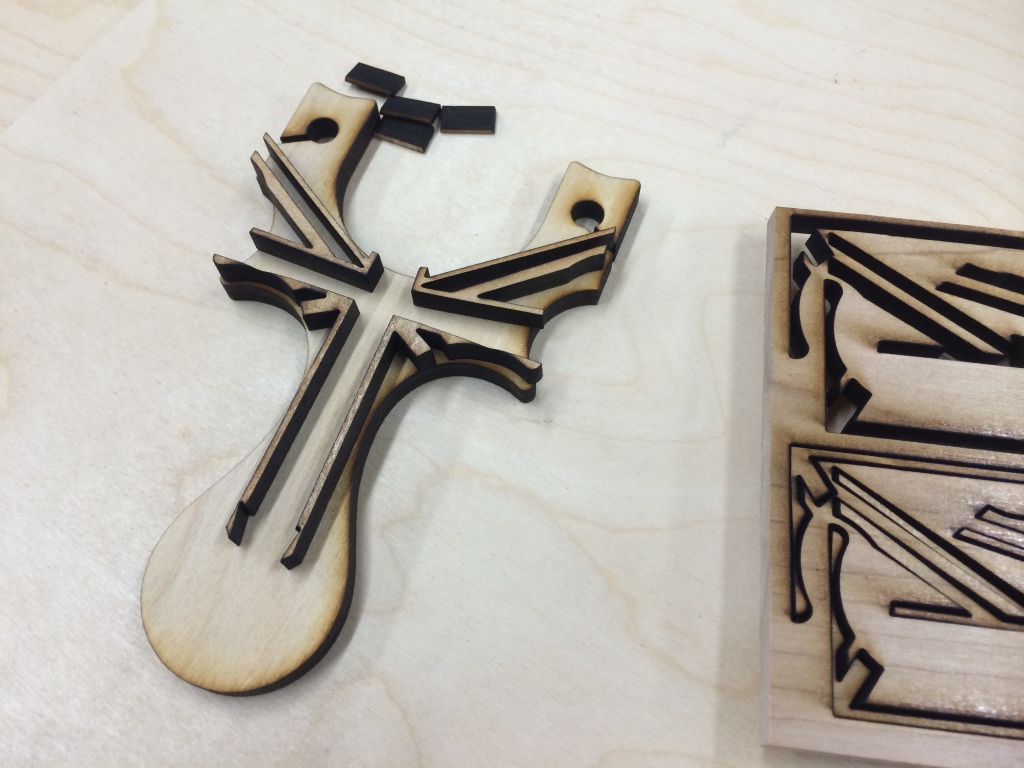
My goal for the pattern design is to meld a little bit of Brit with a little bit of Canuck. Using the Union Jack as inspiration, maple, paduak and walnut is utilized to make a slightly modified version of it. Here you can see the laser cut maple as the skinny lines of the Union Jack are formed.

image (4)

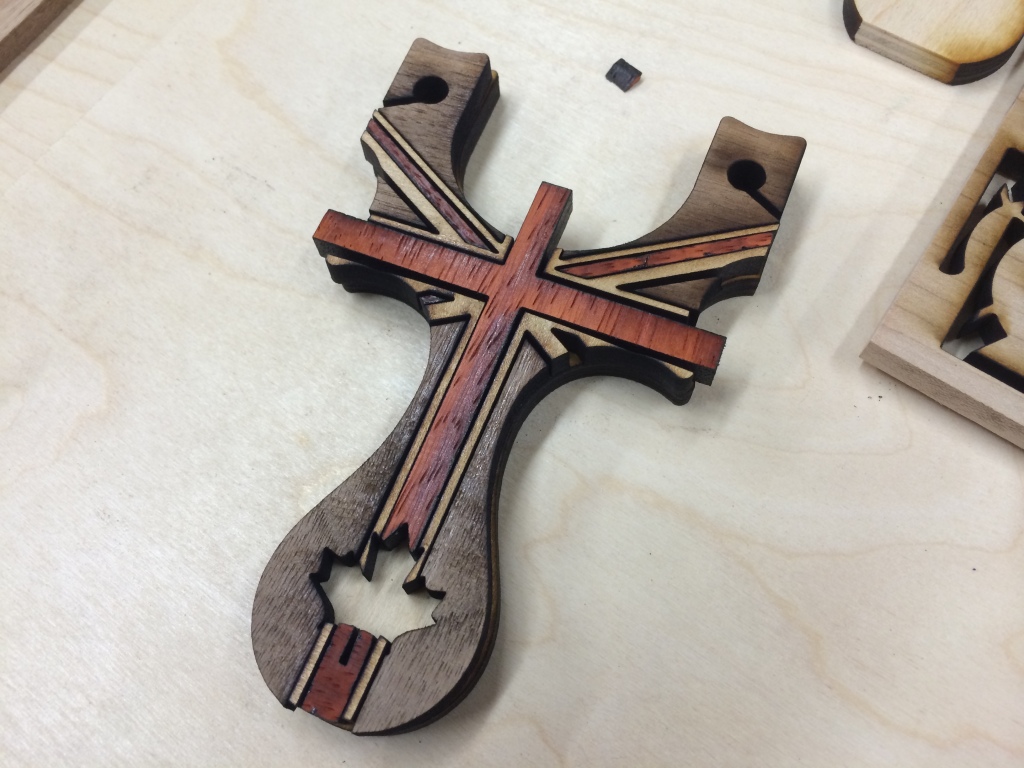
As the each piece of paduak is set in place, the ‘Jack comes to life.

image

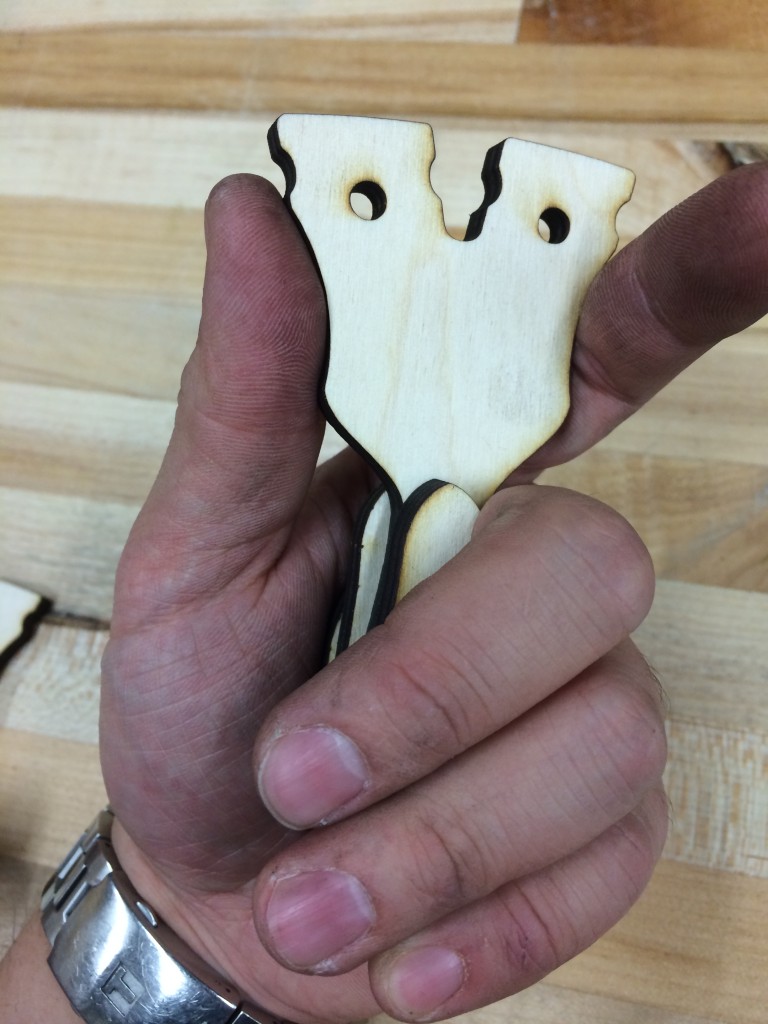
As I said, a little bit of Brit and a little but of Canuck. After dry fitting and making sure all the parts fit, it was time for glue up.

image (1)

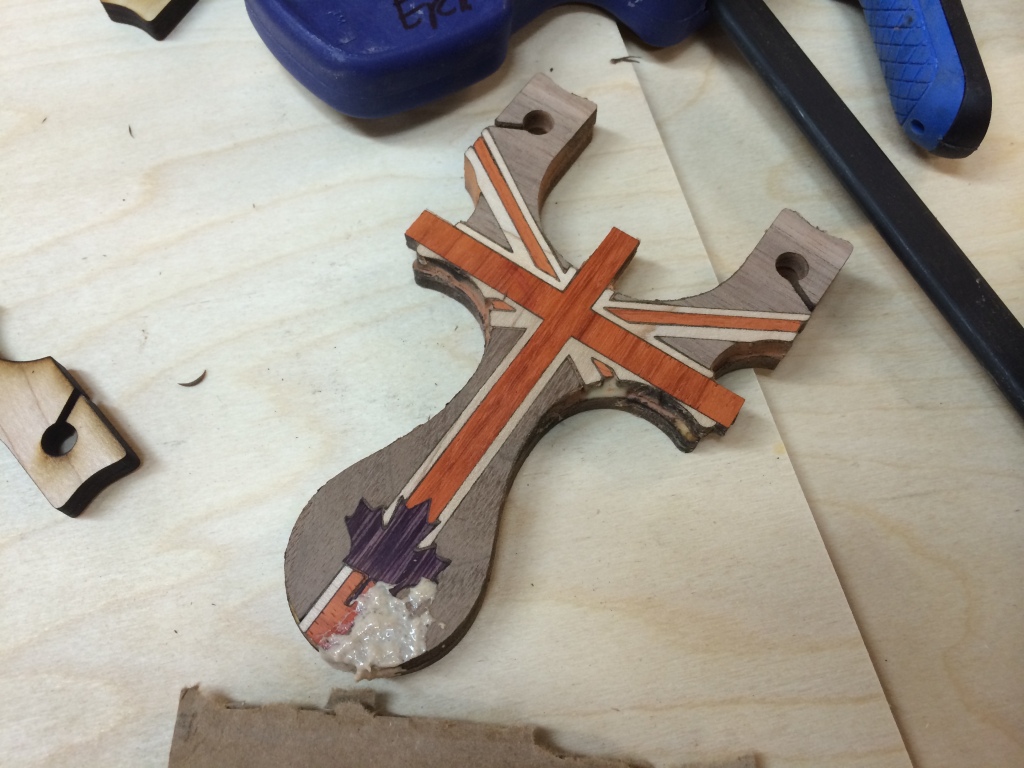
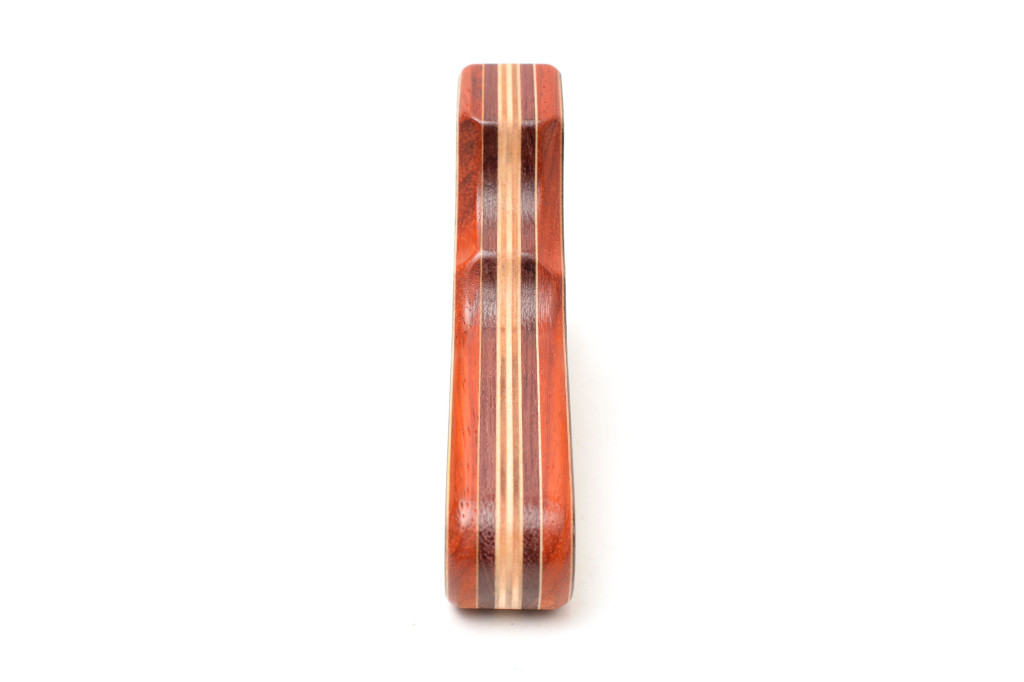
Once the glue was set up, the surface was face sanded to reveal the gestalt pattern of the Union Jack being anchored by a purple heart Canadian Leaf. The paste at the bottom is a bit of ghetto wood filler for some gaps left in the lay up.

image (3)


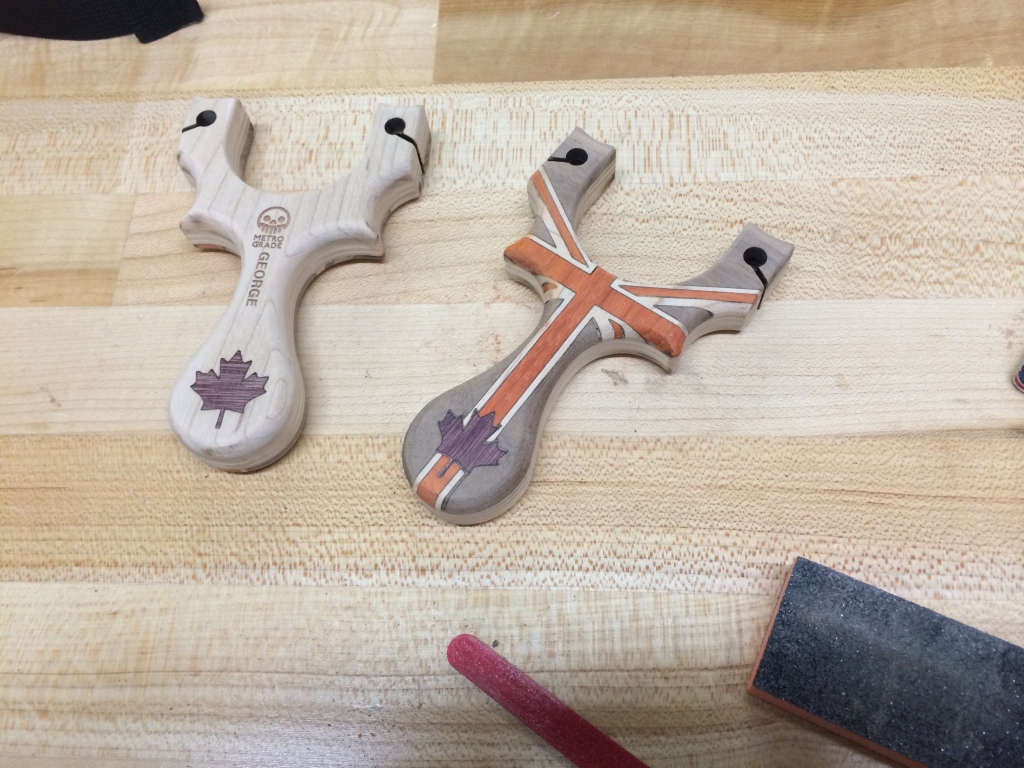
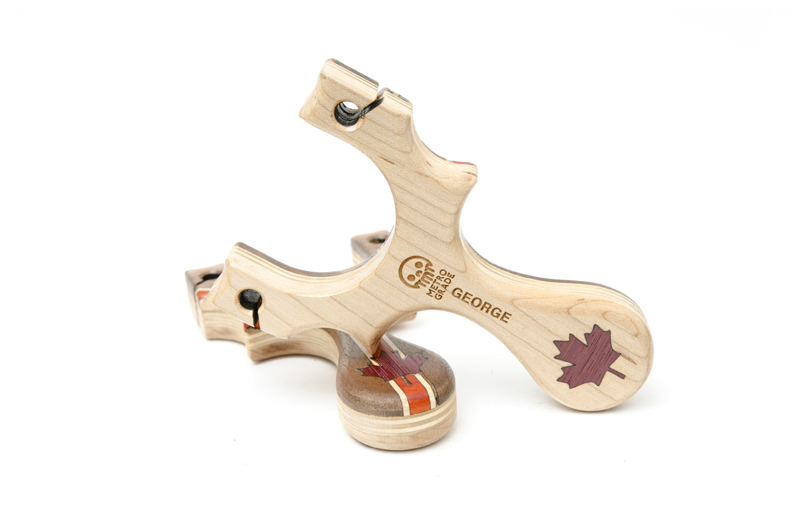
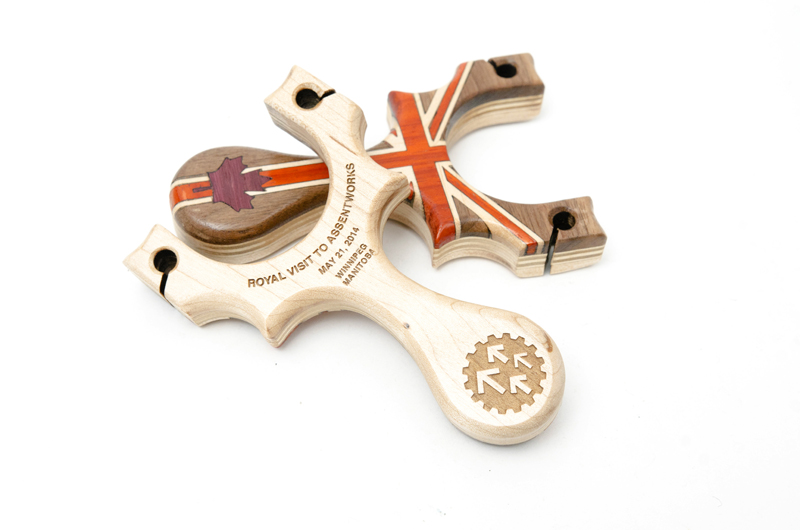
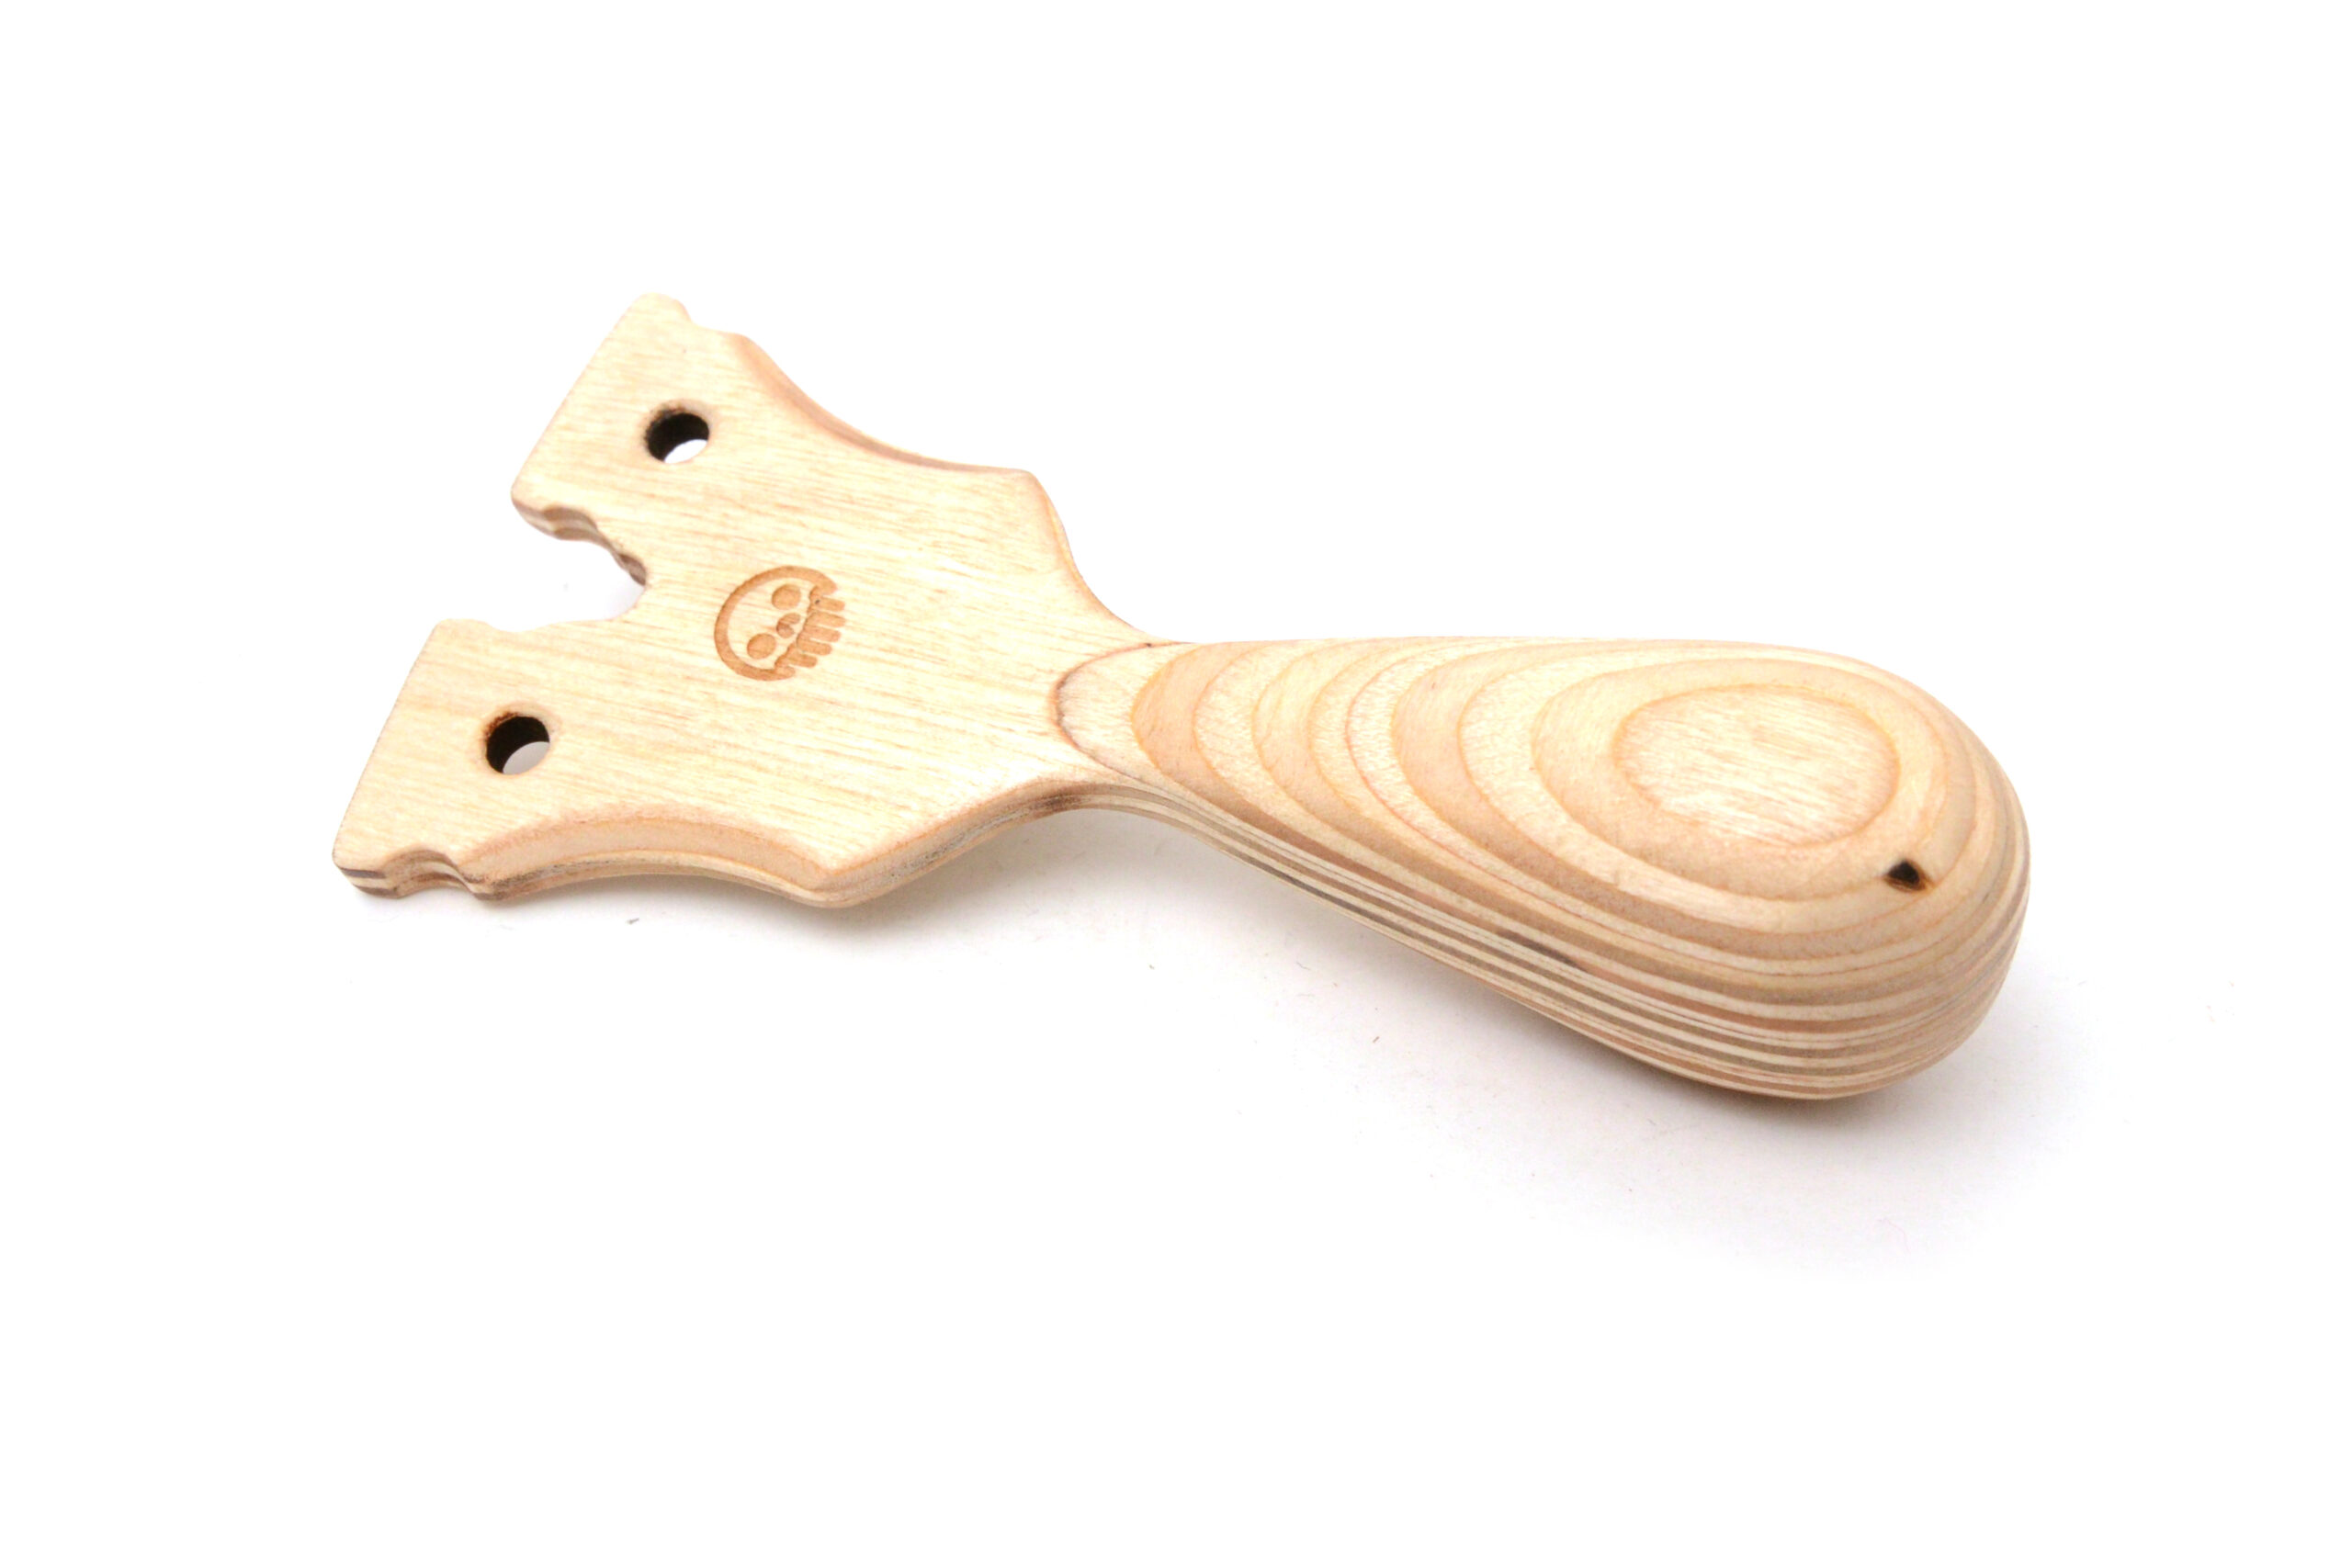
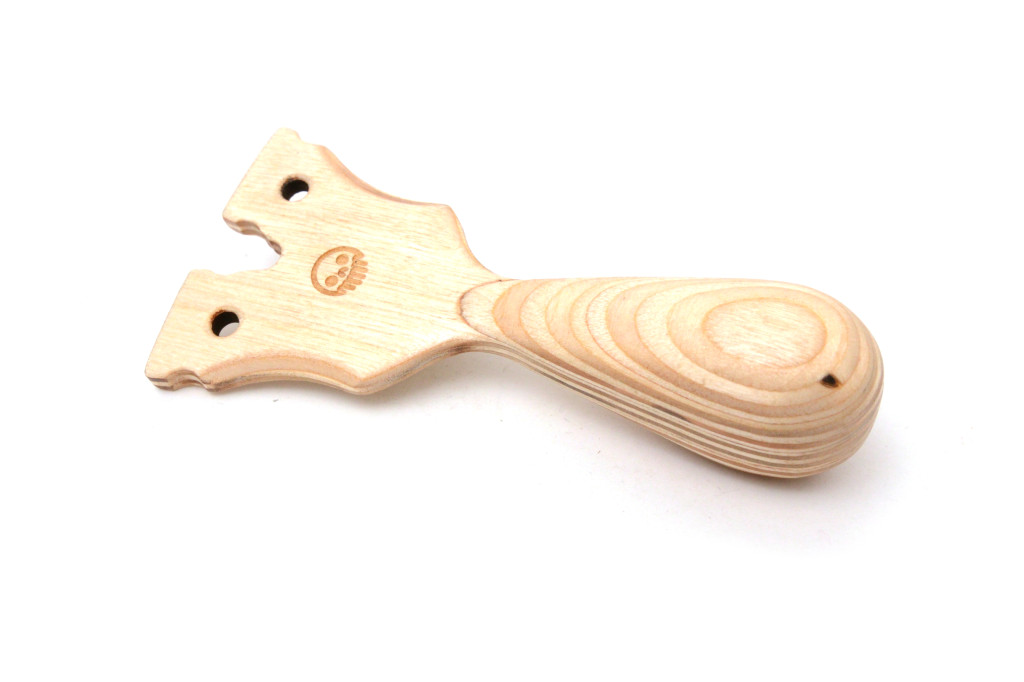
On one slingshot, I decided to document the date, the event and the location. Also the Assentworks logo is etched into the handle. On the 2nd slingshot, some Metro Grade branding as well as “George”, for obvious reasons. Another purplehear maple leaf would later fill George’s slingshot’s handle.

image (2)

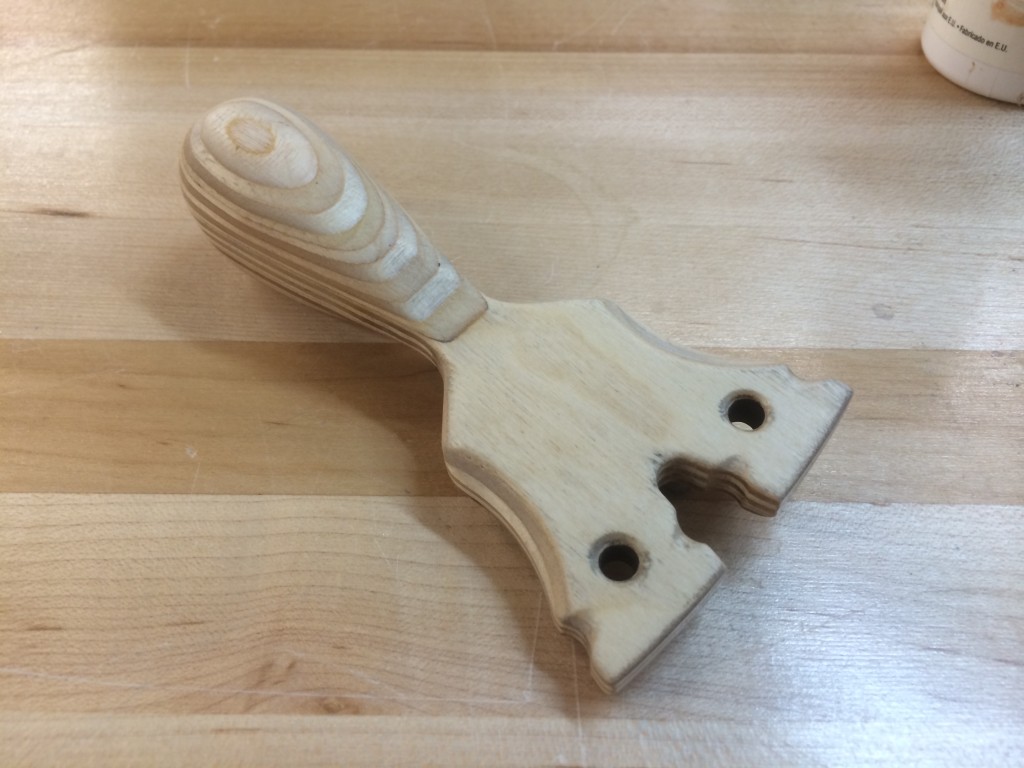
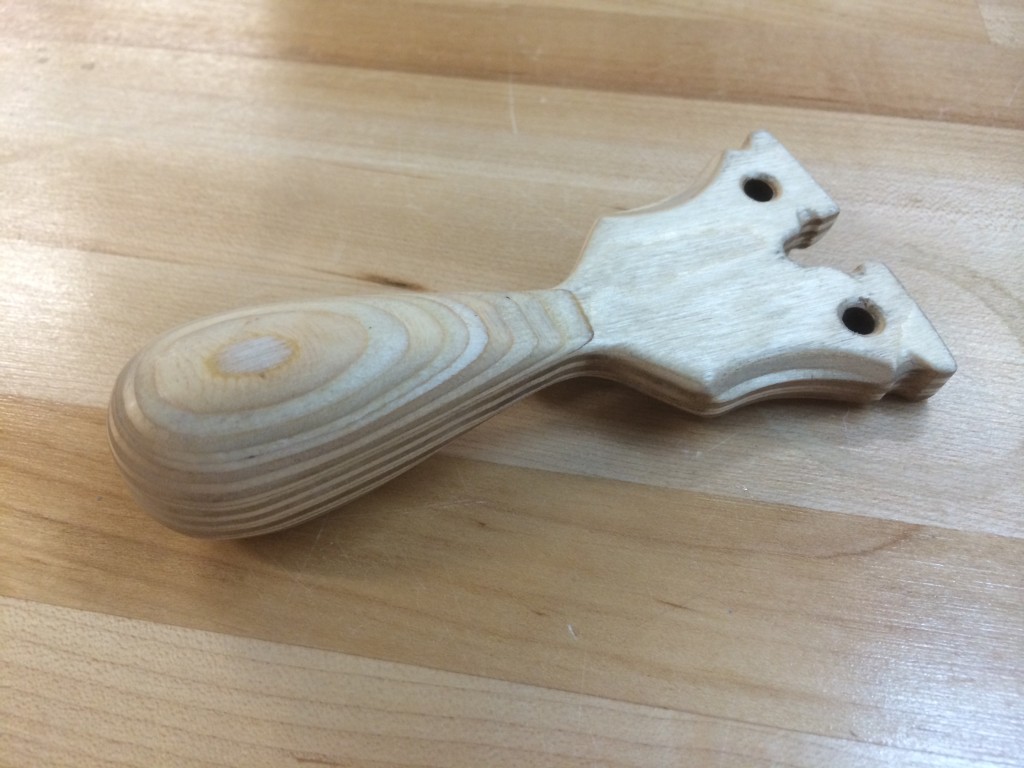
Some quick router work on the edges and some final sanding before a couple of coats of sealer.
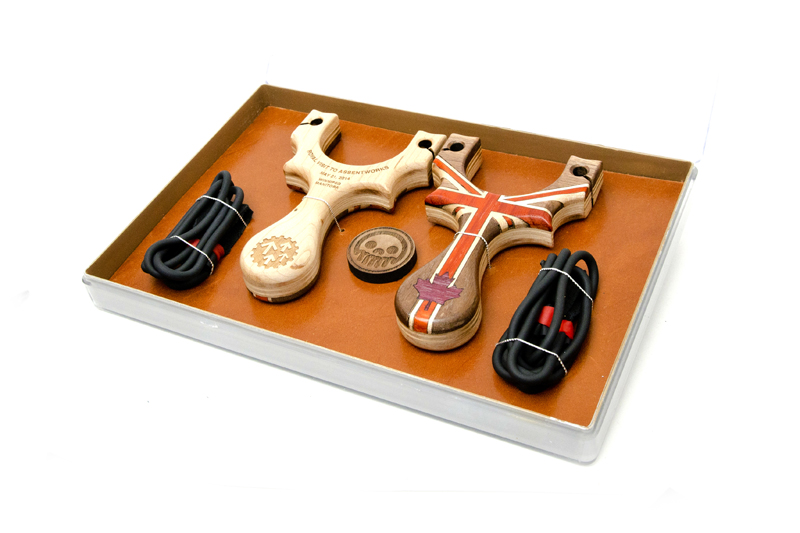
image

Here are the archive photos: MAR_1530

MAR_1527

MAR_1529

MAR_1528

MAR_1531

MAR_1533

MAR_1539

MAR_1541

MAR_1543 ..and thanks to Tracey Goncalves for the images of the actual hand off. My exchange was quite short, a mere minute. His majesty was ill, runny nose to be exact so his voice was very quiet. He asked, “are these catapults?” to which I answered “yes, one for you and one for your grandson, George”. He explained how he used to play with one as a child, good to know.

It was an honour to meet him.

817

820

822

819

It’s funny to review those photos and look at my face….I can’t make a single serious face even when meeting royalty.

Thanks for reading!

-Eric
Posted on Leave a comment

Double Nomination for June SSOTM

Every month, the Slingshot Forum community nominates slingshots made in the previous month to be pitted in a friendly, juried competition.

I am happy to report that not just one but TWO Metro Grade slingshots are in line to gain the coveted recipient of the title Slingshot Of The Month (SSOTM)

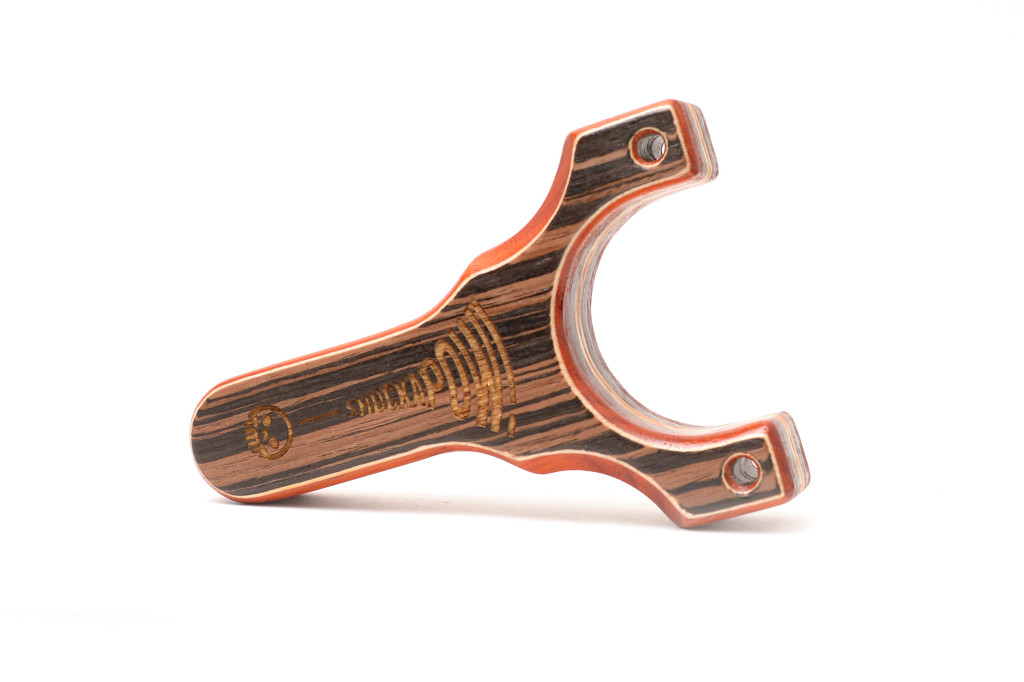
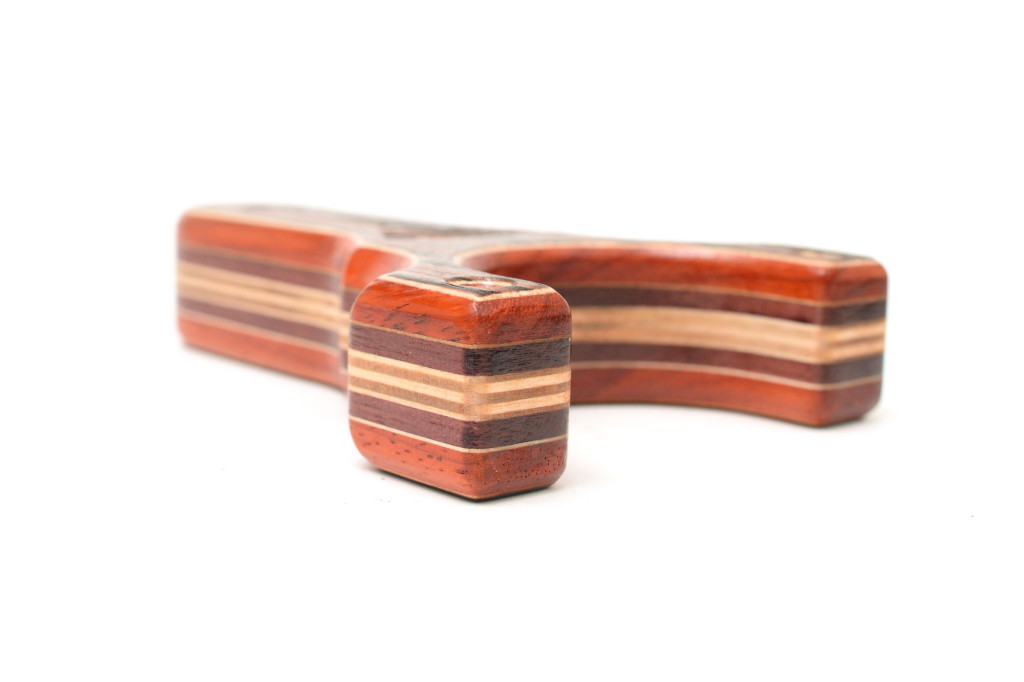
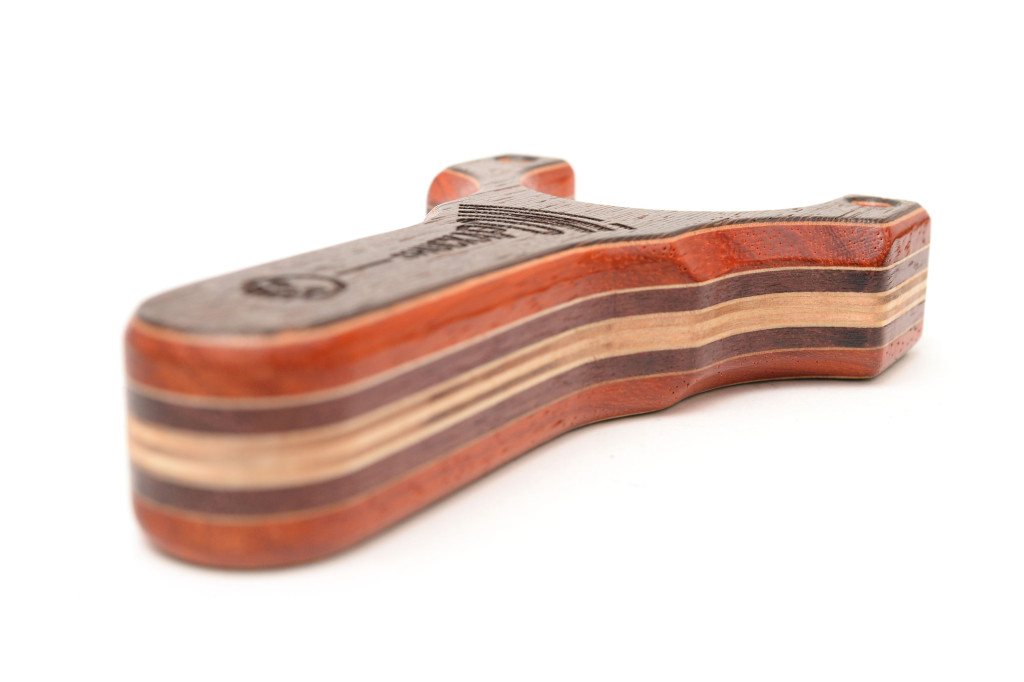
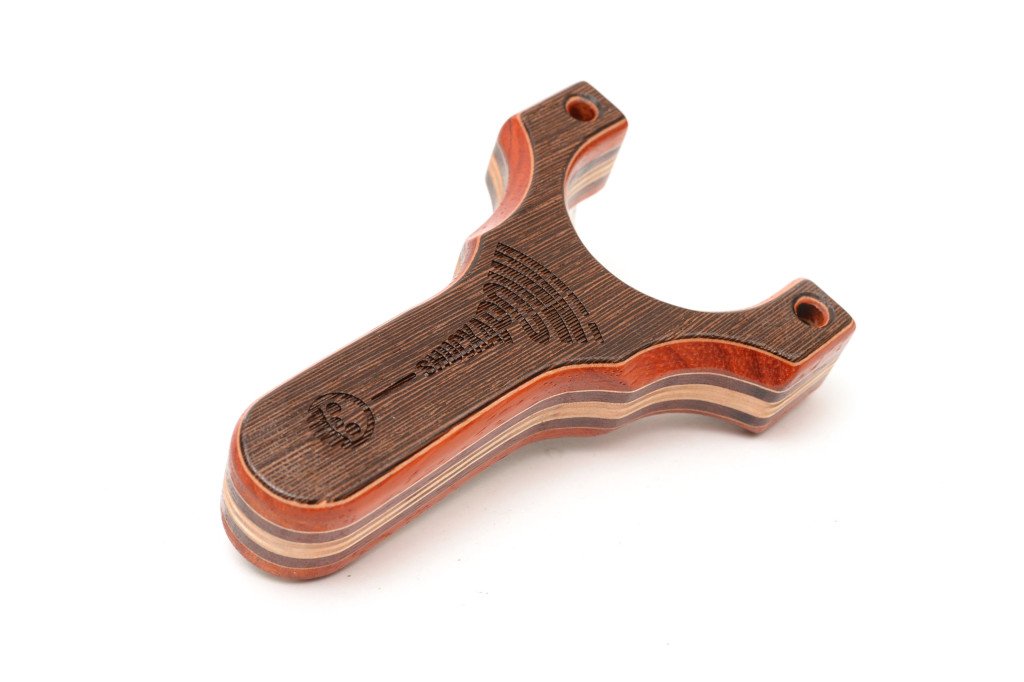
Our Metro Grade Black Hornet (based on our new Wasply Maker Kit) and the mega layered Turkey Shukapow!.

IMG_8150

IMG_8151

IMG_8152

IMG_8153

MAR_1589

MAR_1591


Turkey Shuckapow!

ROS_8482

ROS_8483

ROS_8484

ROS_8485

ROS_8486


Posted on 1 Comment

Metro Made | Wasply PFS Slingshot

Been a little while since I’ve posted a Metro Made, so there is no reason why NOT to post one. Fresh from the laser cutter to your workshop, this is a tutorial on how to assemble and finish your Wasply PFS Maker Kit. Don’t have one? You can get yours here: Wasply PFS Maker Kit

In the kit, you’ll have two cores, and two sets of palm swells.

IMG_8117 IMG_8118

First things first, glue up the core, and two palm swells.

IMG_8125

When they are set up, I used a belt sander to start to shape the palm swells. This make life a lot easier later if you take off the bulk of the material first.

IMG_8126 IMG_8127

Once the swells are partial shaped, time to glue up the swells on the body core.

IMG_8128

IMG_8130

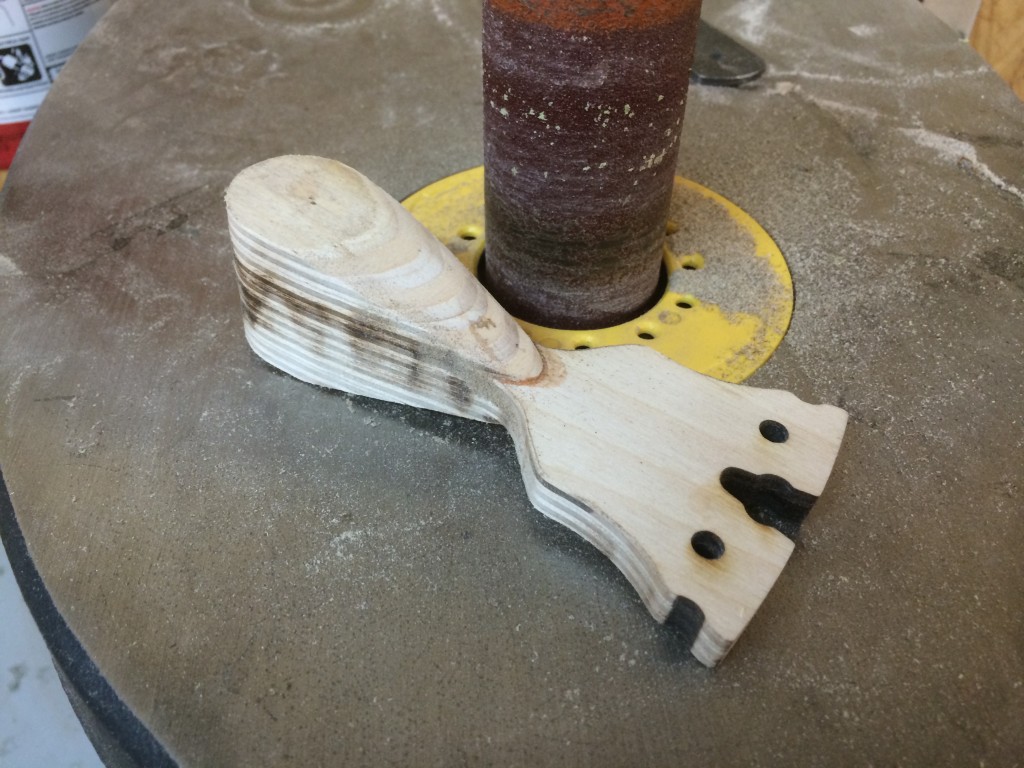
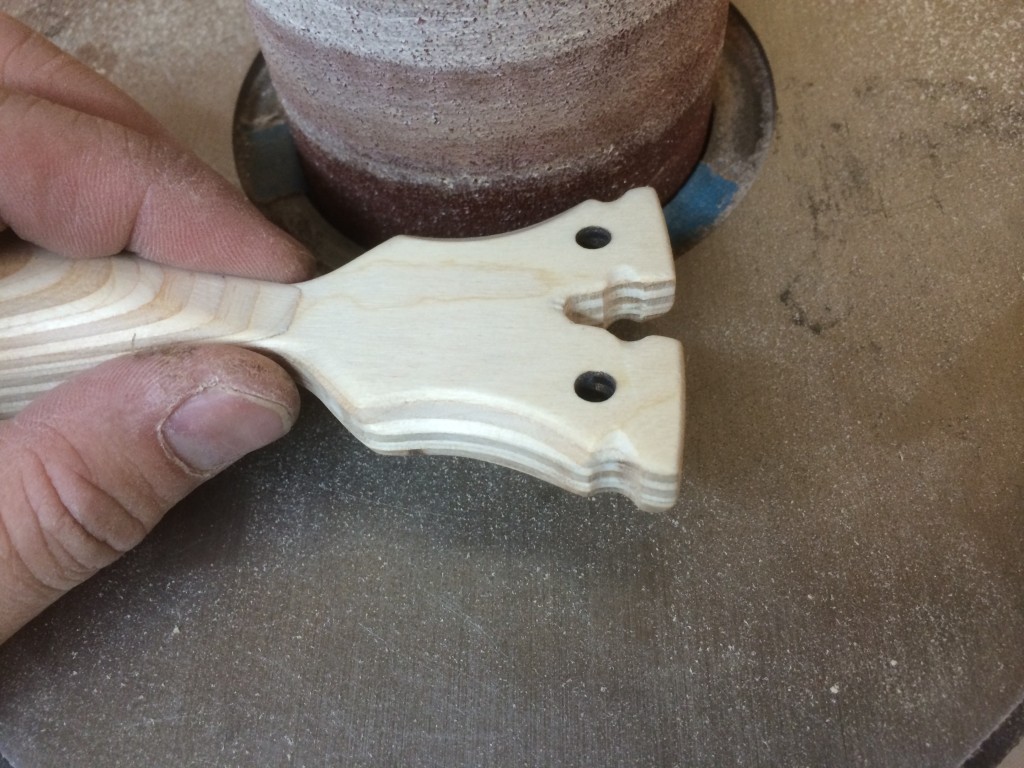
I used a spindle sander to remove the laser burned wood but this can be done with files and sandpaper.

IMG_8131

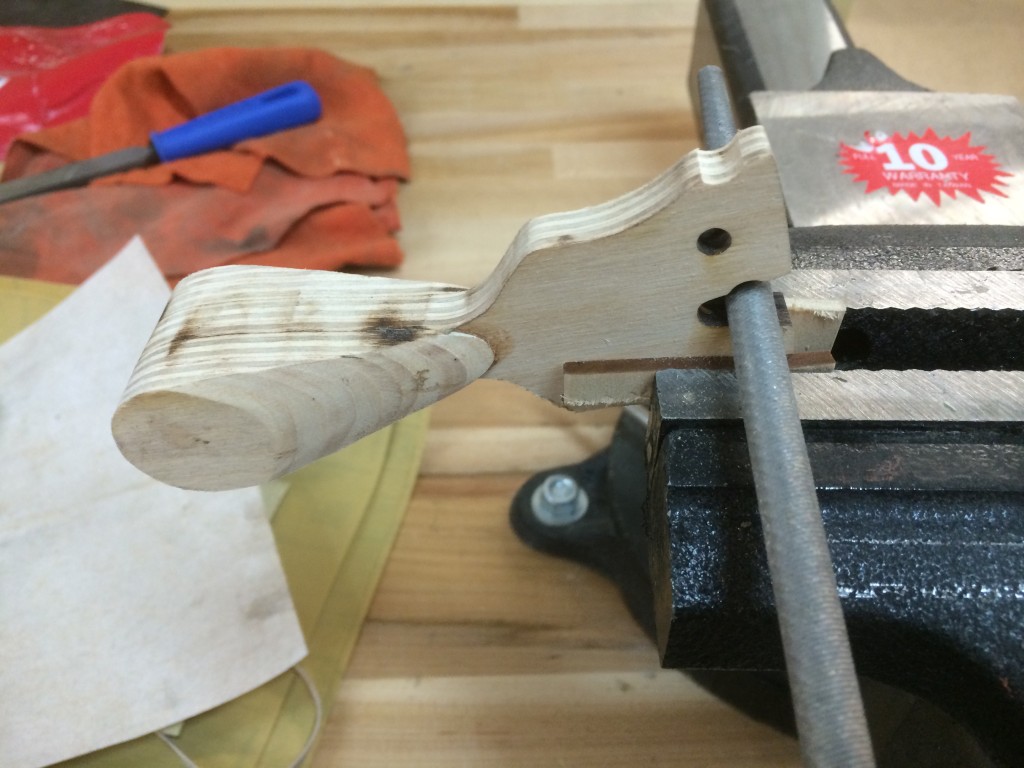
A round file expands and refines the band grooves.

IMG_8132

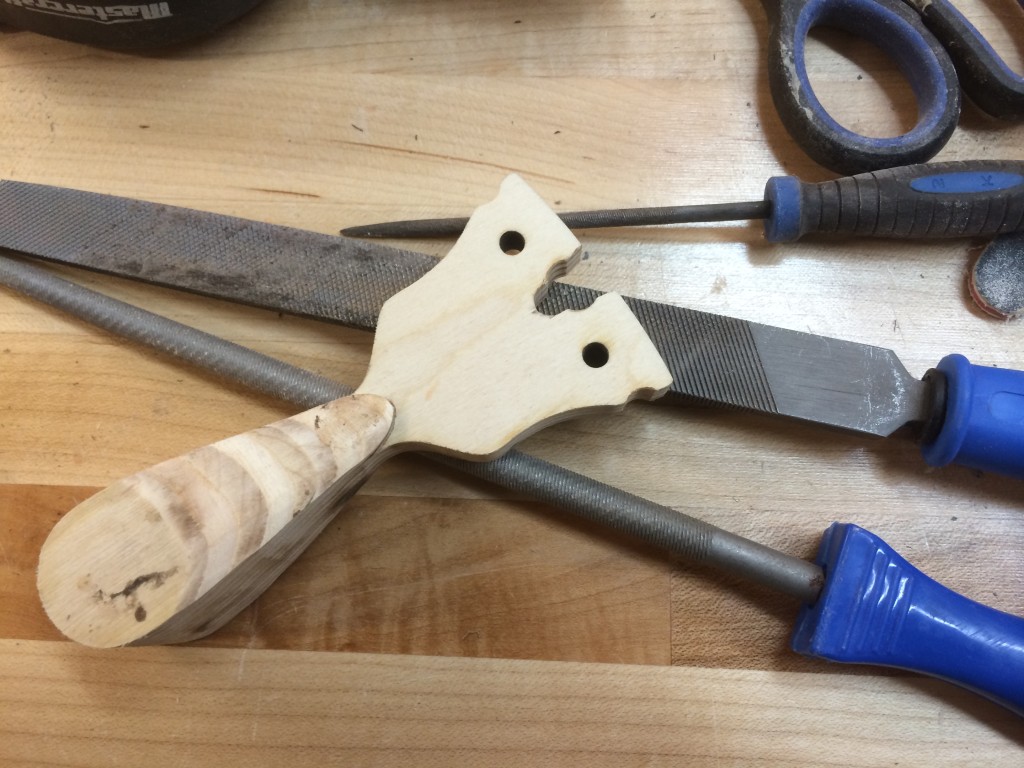
A few more swipes with a first cut file and the inside of the forks is cleaned up.

IMG_8133

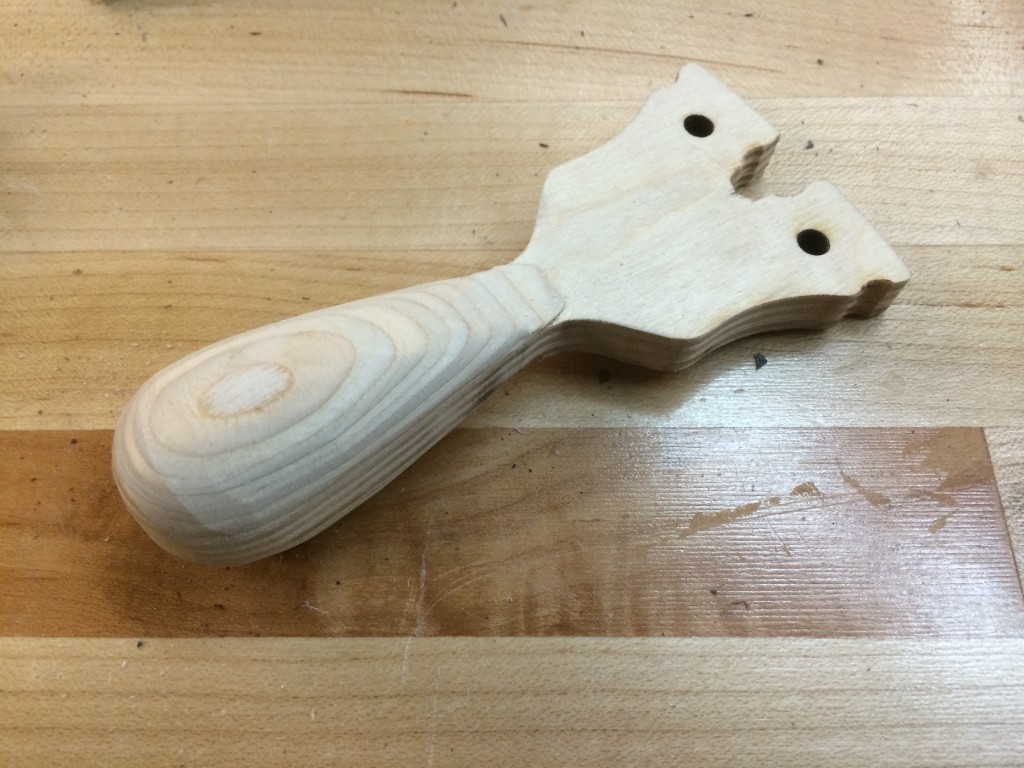
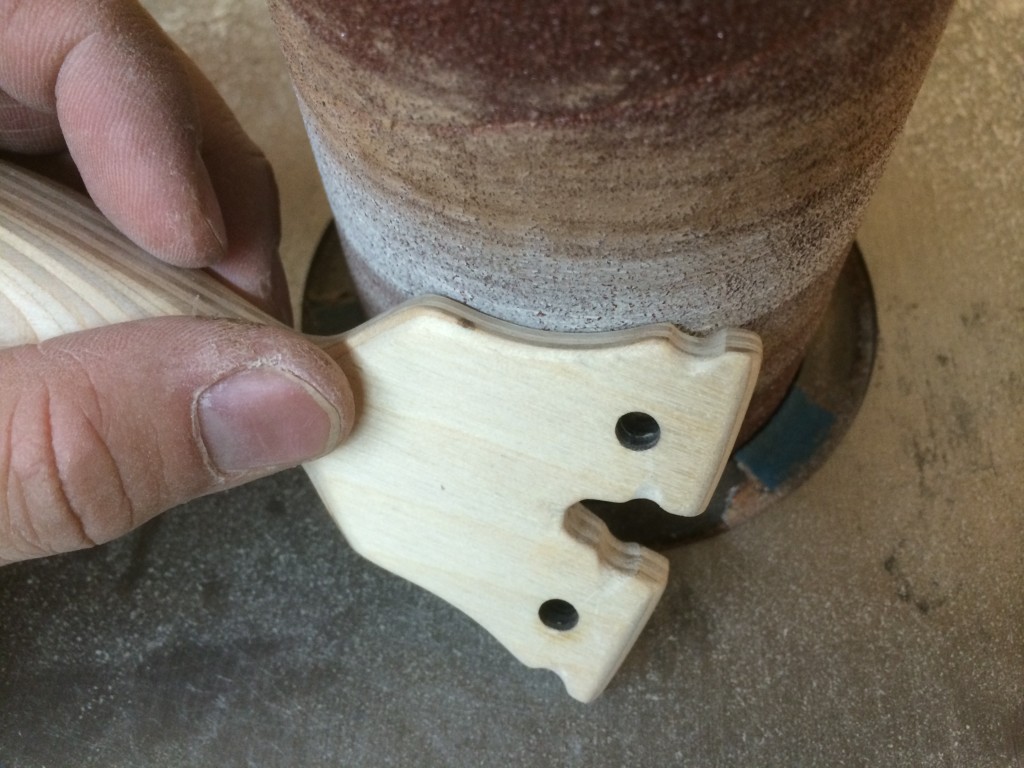
The hardest part of the build is shaping the palm swells so they are perfectly round. I used the belt sander again, rotating it like a drum stick. Rasps, files and sandpaper will do the same job.

IMG_8134

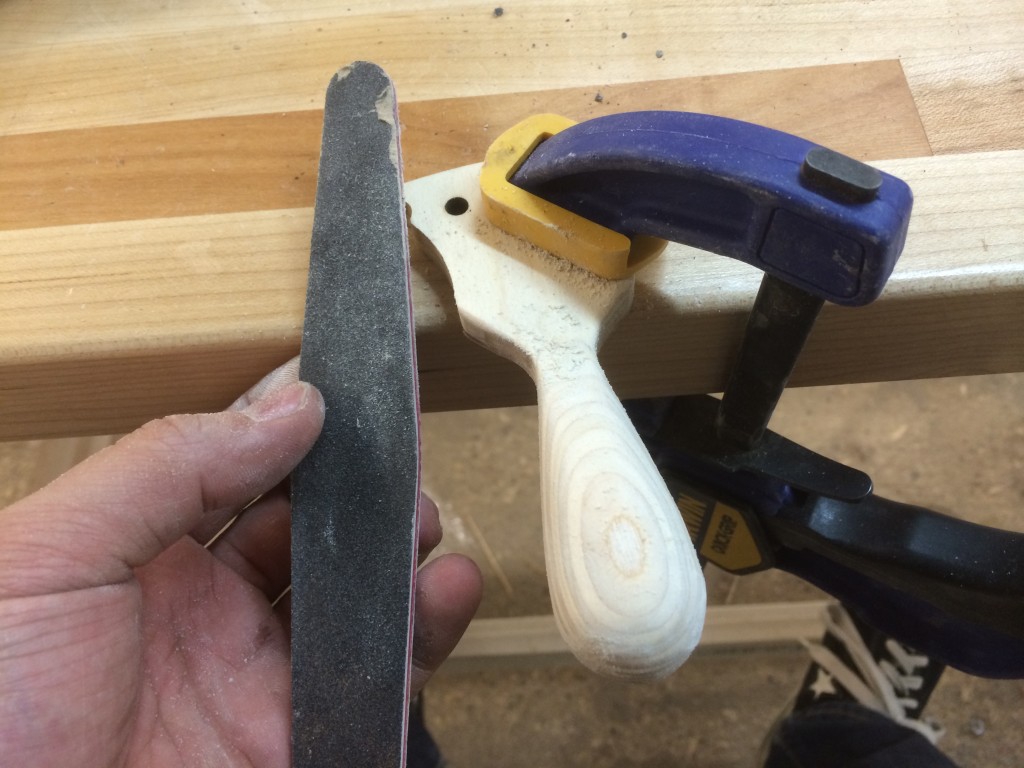
Using some 100 grit nail files, the palm swell is blended into the core, making a seamless joint.

IMG_8135

An optional machining step is to cut some scallops with a big 3″ drum into the finger grip area, but this can be done with a 1/2″ round file.

IMG_8136 IMG_8137

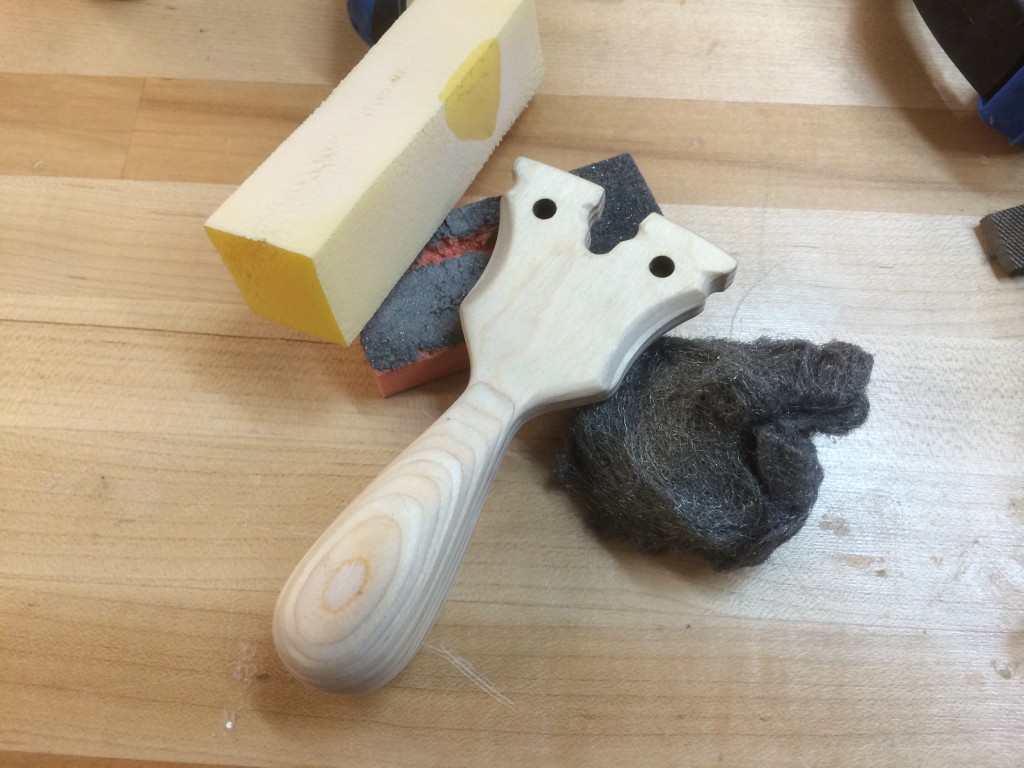
Now to finish it! A variety of 100 grit, 320 grit foam blocks and a final swipe with some steel wool to prep the surface for clear coat or oil.

IMG_8138

The one on the left is one designed by Magpie Slingshots and I replicated it to test out the scale. We worked in collaboration to come to the final design of the Wasply PFS.

IMG_8142

After a couple of coats of clear and some light buffing with the wool to get it a more matte finish, the Wasply PFS is done!

IMG_8148

IMG_8149

WASPLY Finish1 WASPLY scale


Thanks for reading and in case you missed it, you can get your Wasply PFS Maker kit at our store.


Posted on 1 Comment

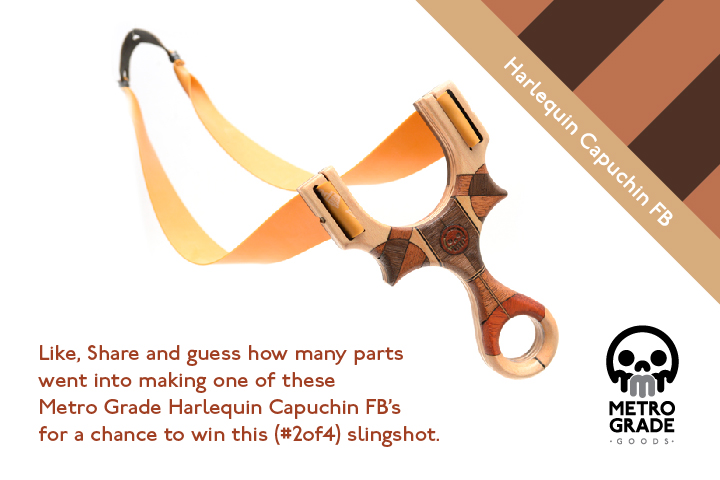
Contest! Chance to win a Harlequin Capuchin

If you haven’t gone and liked our Facebook page, you should. Why..? Because we are holding a big contest, with a chance to win one of our prized Metro Grade Harlequin Capuchin FB’s! 

All you have to do is like the top post about the contest, share the link and then in the comments, guess how many parts it took to make it!

The draw will take place on May 1st, 2014, so get your ballots in!

HarlCapuchin FB Giveaway-01

Posted on Leave a comment

Metro Grade Tuff Udder Pouches

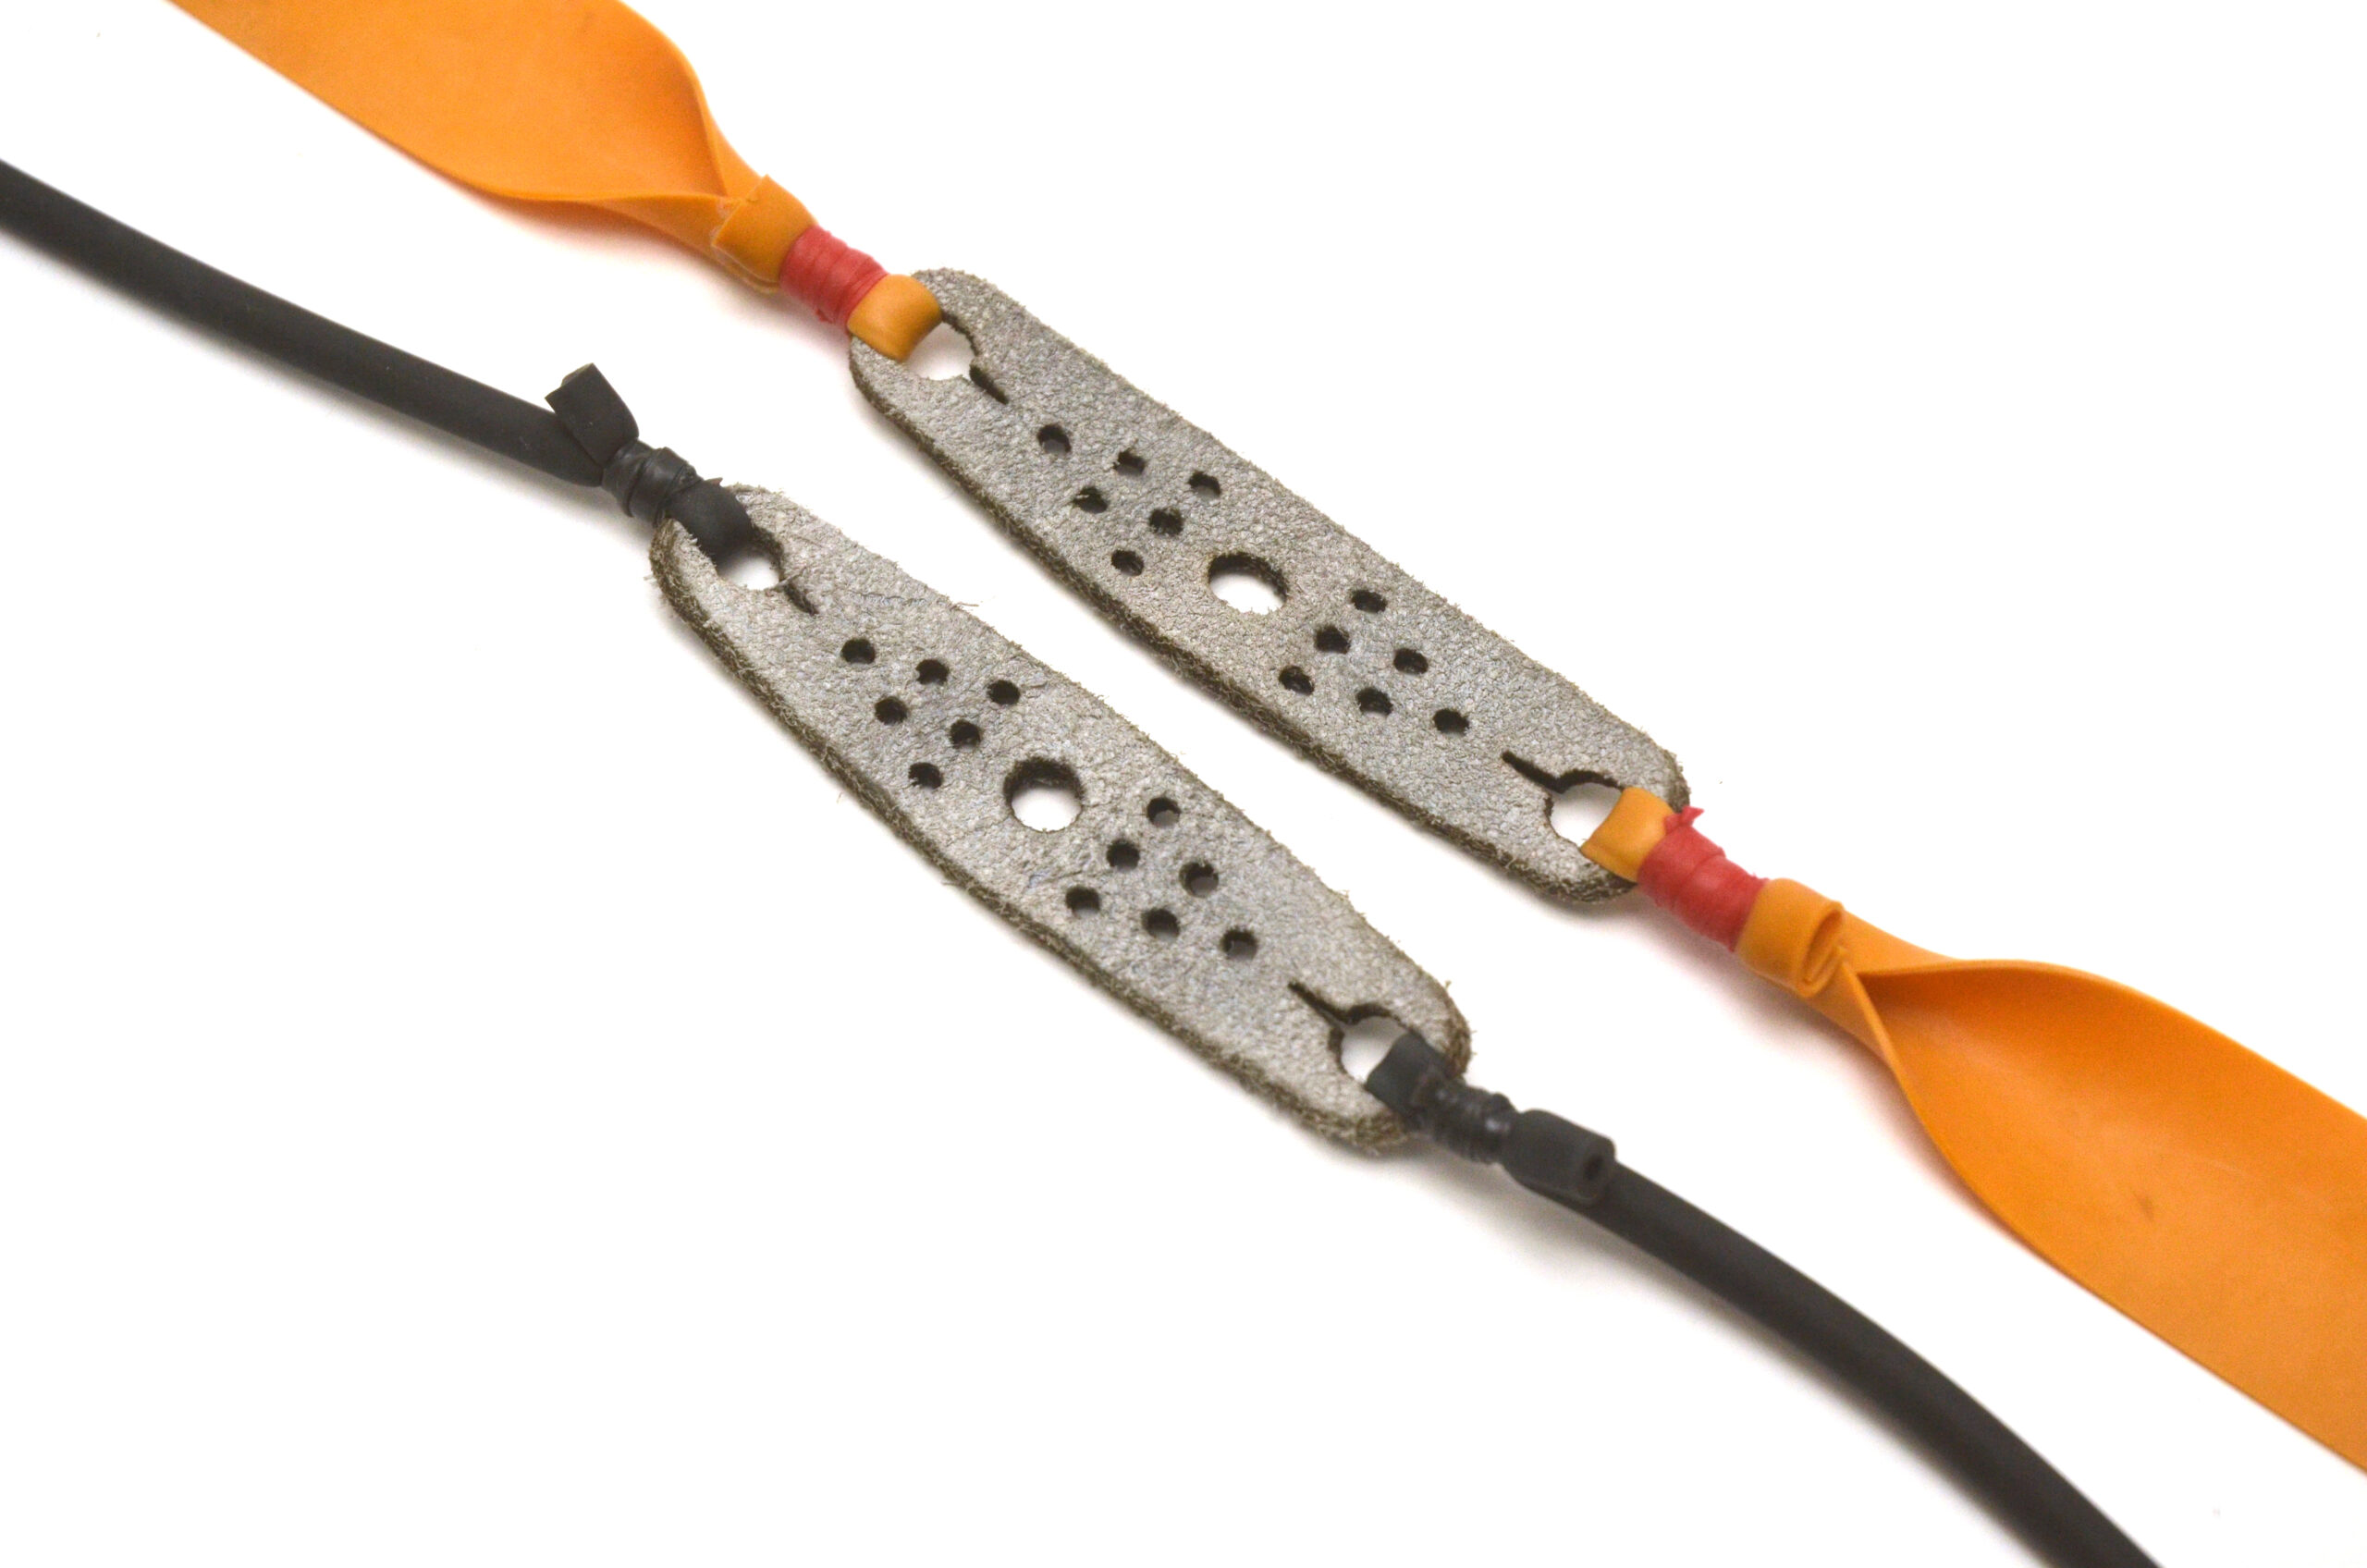
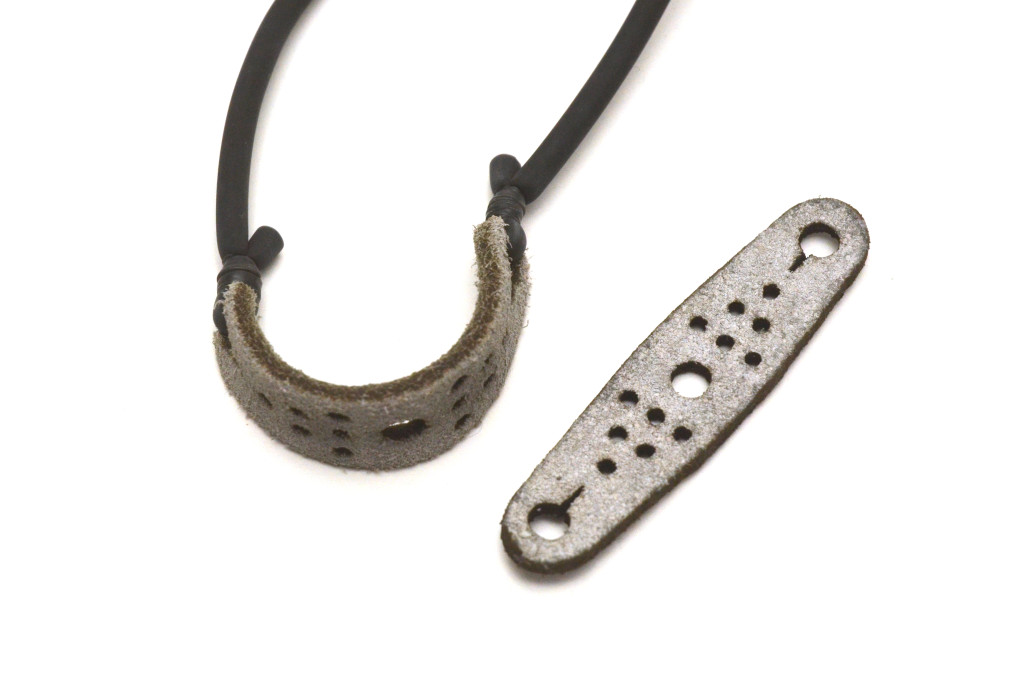
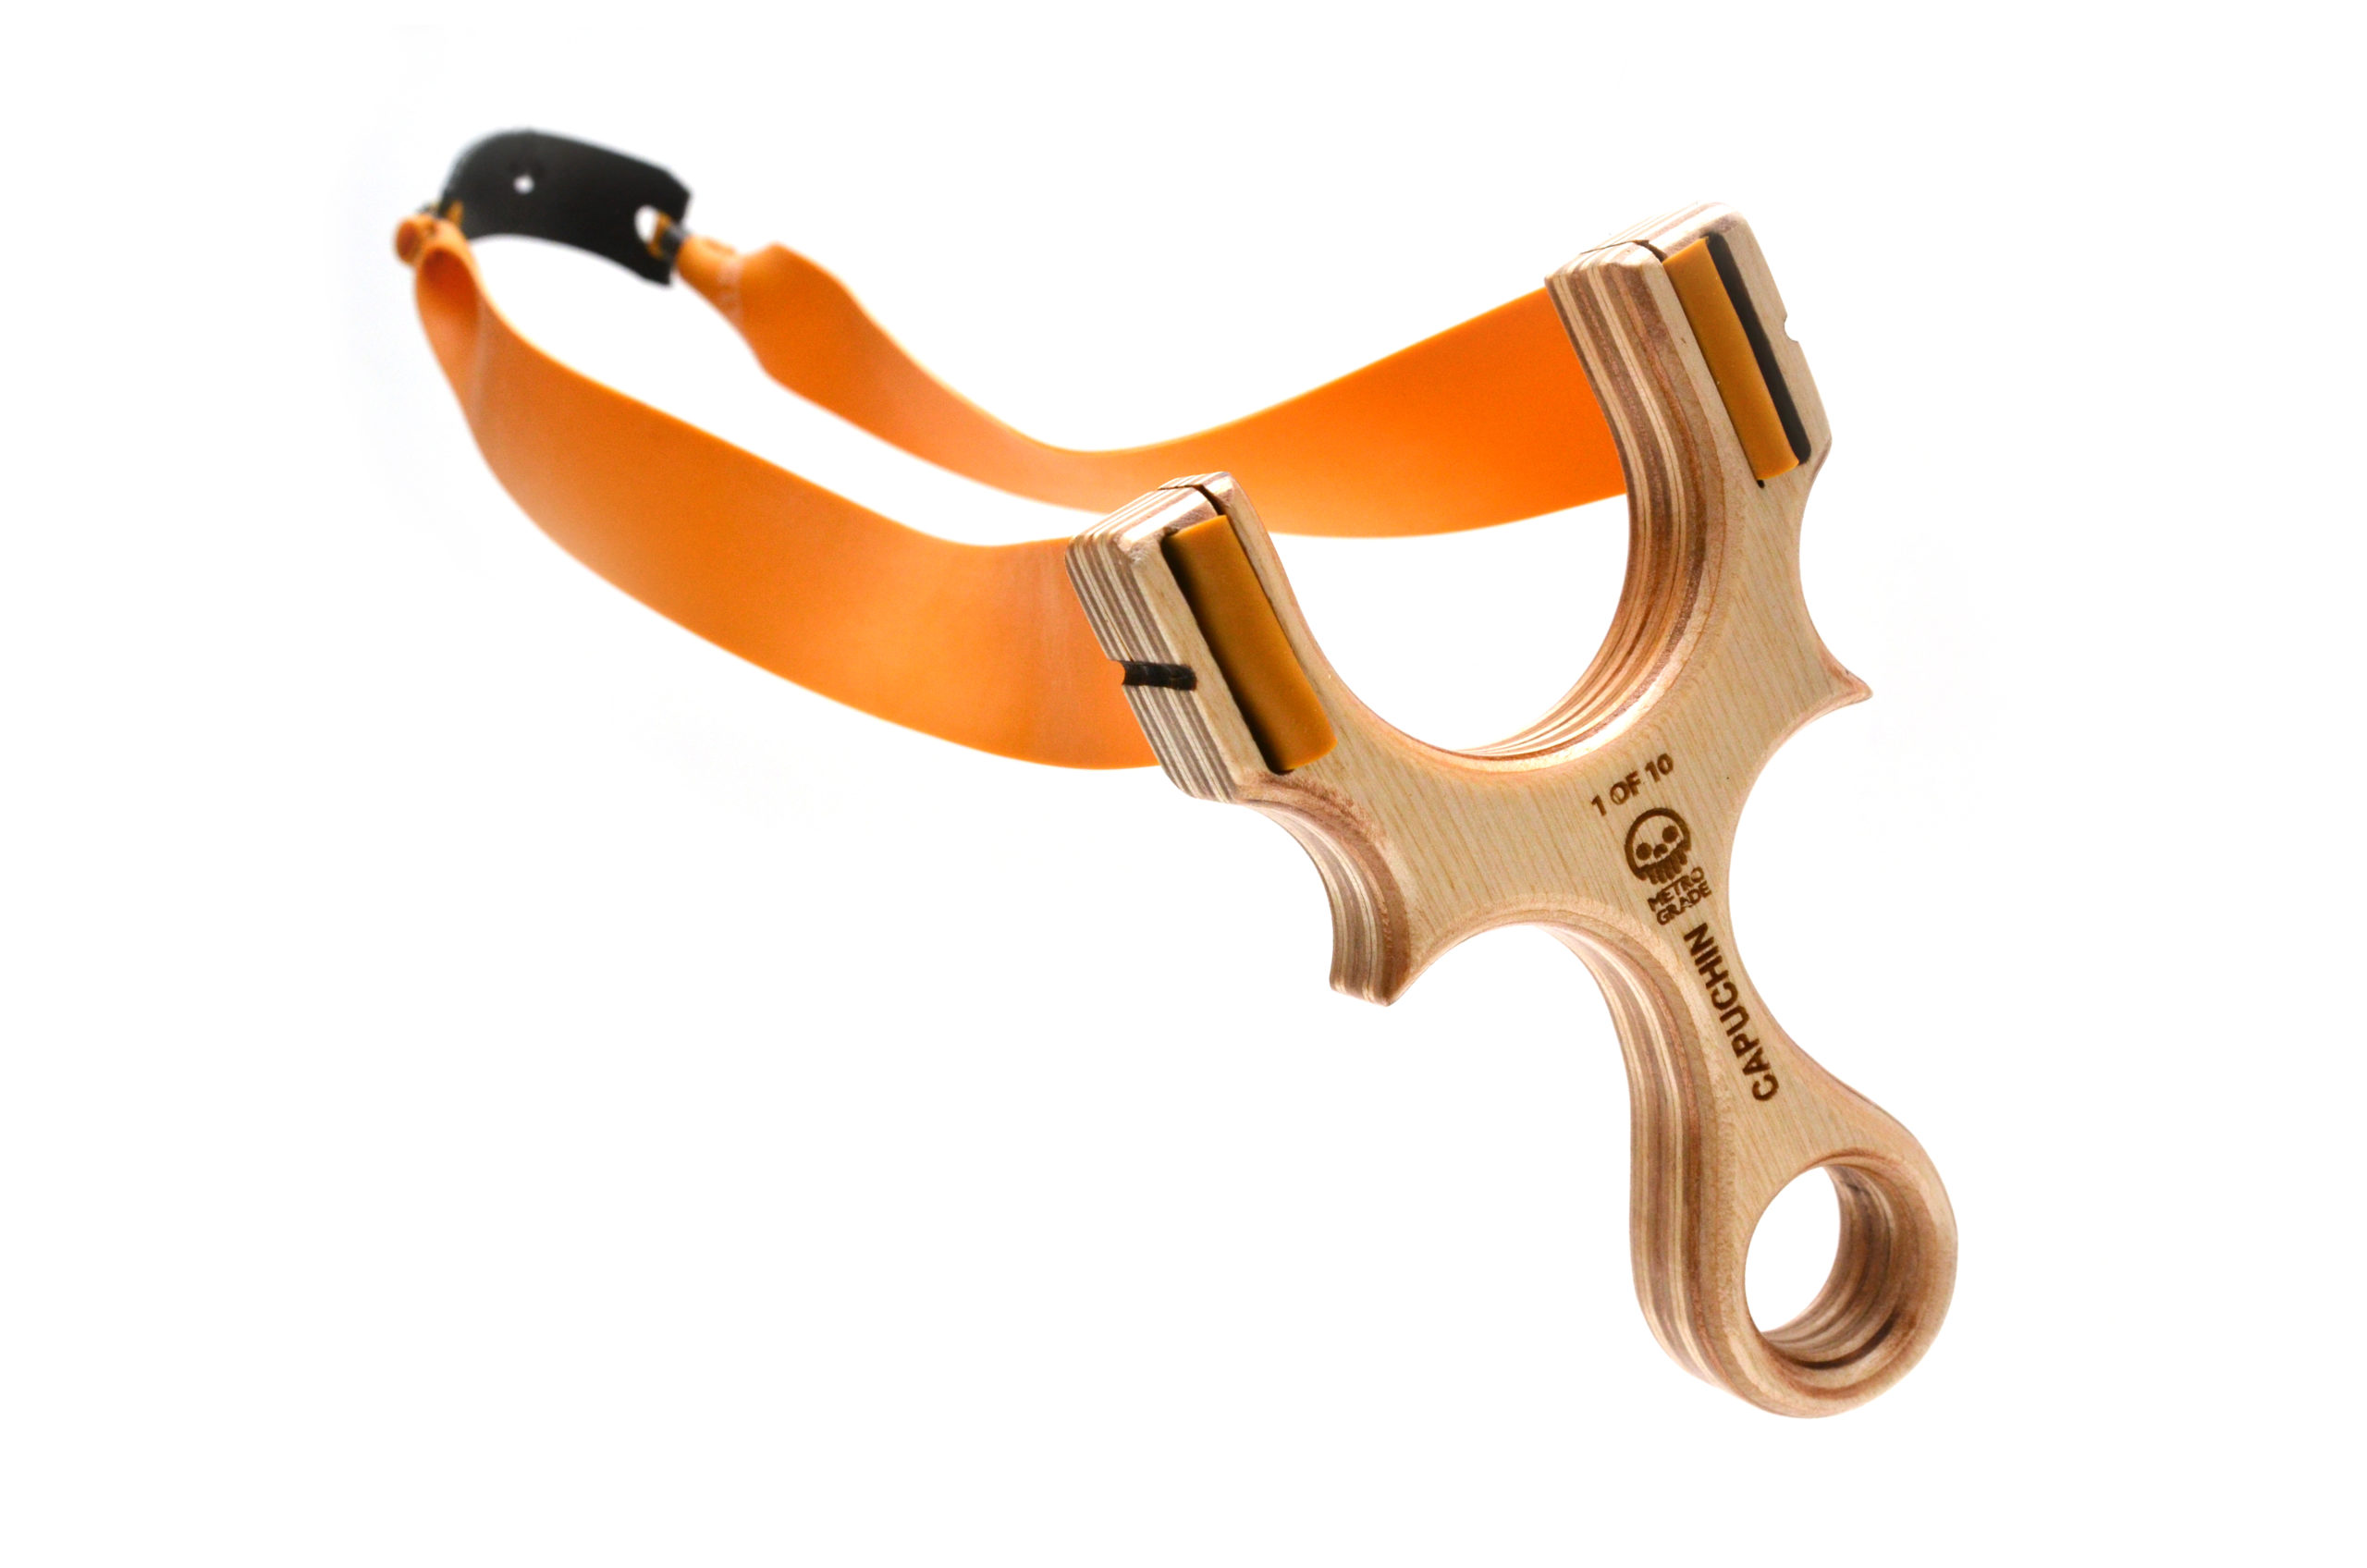
When building custom slingshots, there three key areas of focus, the frame, the bands and the pouch. The last one often overlooked but it’s one of the most important parts of the slingshot.

We’d like to introduce the first Metro Grade Tuff Udder pouch: The Big Bertha.

Holding the ammo correctly, catapulting it forward, retaining its shape, these are all features of a good ammo pouch design.

Here’s a quick video of the pouches:

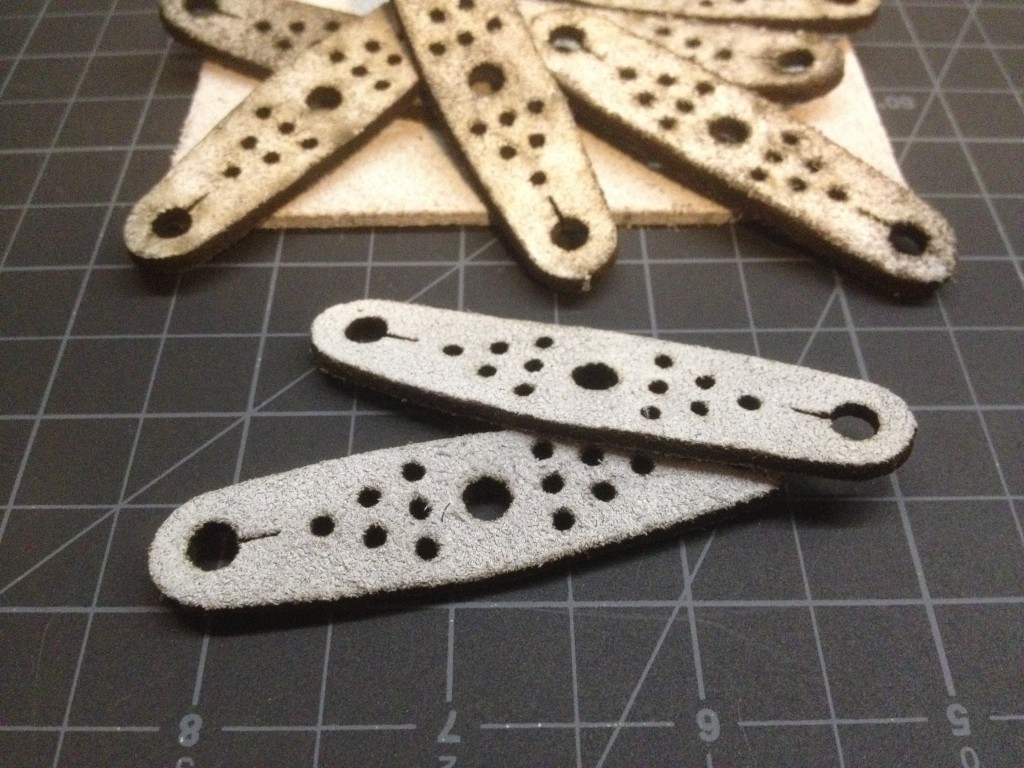
We started with a 1/8″ thick, heavily oiled cow hide and threw it under the laser cutter. The design features a ventilated body for increased speed and reduced weight. A middle hole centers the ammo perfectly for consistent results shot after shot.

Tuff Udder  Fold


The laser cutting left the surface dirty, marred with soot and residue. Since we wanted to wash these pouches with a light detergent to remove the surface oil, the bath also removed the grim.

Tuff Udder Fresh Cut

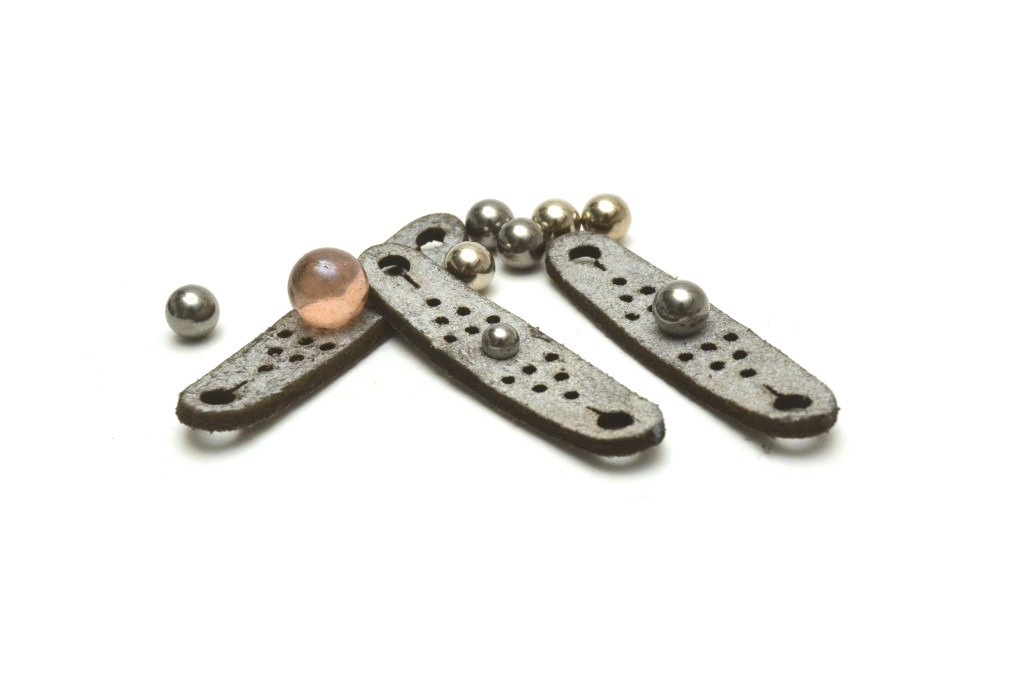
We wanted to start out Tuff Udder series with the biggest and most versatile one, allowing the slinger to shoot anything from 1/4″ steel balls to big rocks found in the wild.

Tuff Udder  Ammo Scale

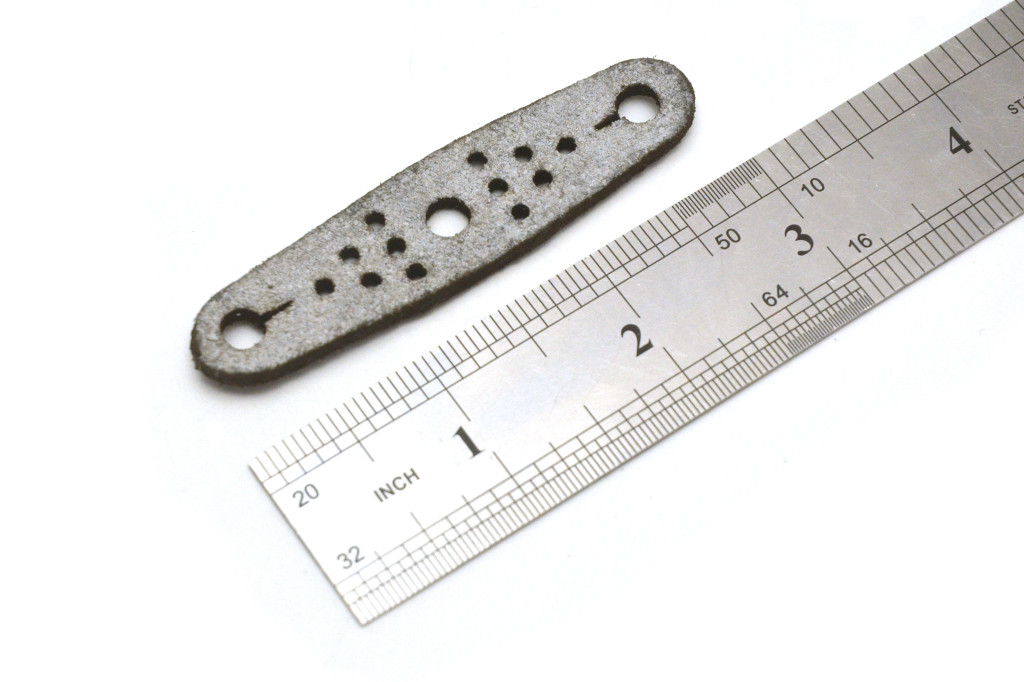
Just under 3″, the Big Bertha isn’t a small pouch, so it’s ideal for heavier band sets.

Tuff Udder  Measure


Posted on Leave a comment

Coupon Alert! Christmas Target

Haven’t got anything for your elusive Christmas target yet?

Nail them with a Metro Grade slinger! 

Enter this code : XMASTARGET5 at check out and get 5% off your entire order.

$10 flat rate world wide shipping.

Check out our latest limited edition, the MGG Capuchin FB, only $45 + shipping.

Coupon can only be used once and is in effect till December 20, 2013.