Since February 2006, the humble blog Strobist fashioned by seasoned media photographer David Hobby, has spawned an army of photographers wielding small off camera strobes, producing stunning and technically challenging imagery.
By using light weight equipment, smart thinking, public discourse, open-source education, and creative and often unconventional light modification sources, the Strobist movement has taught 1000’s of amateurs how to light and convinced professionals that sometimes a 1000Ws studio strobe is the only answer.
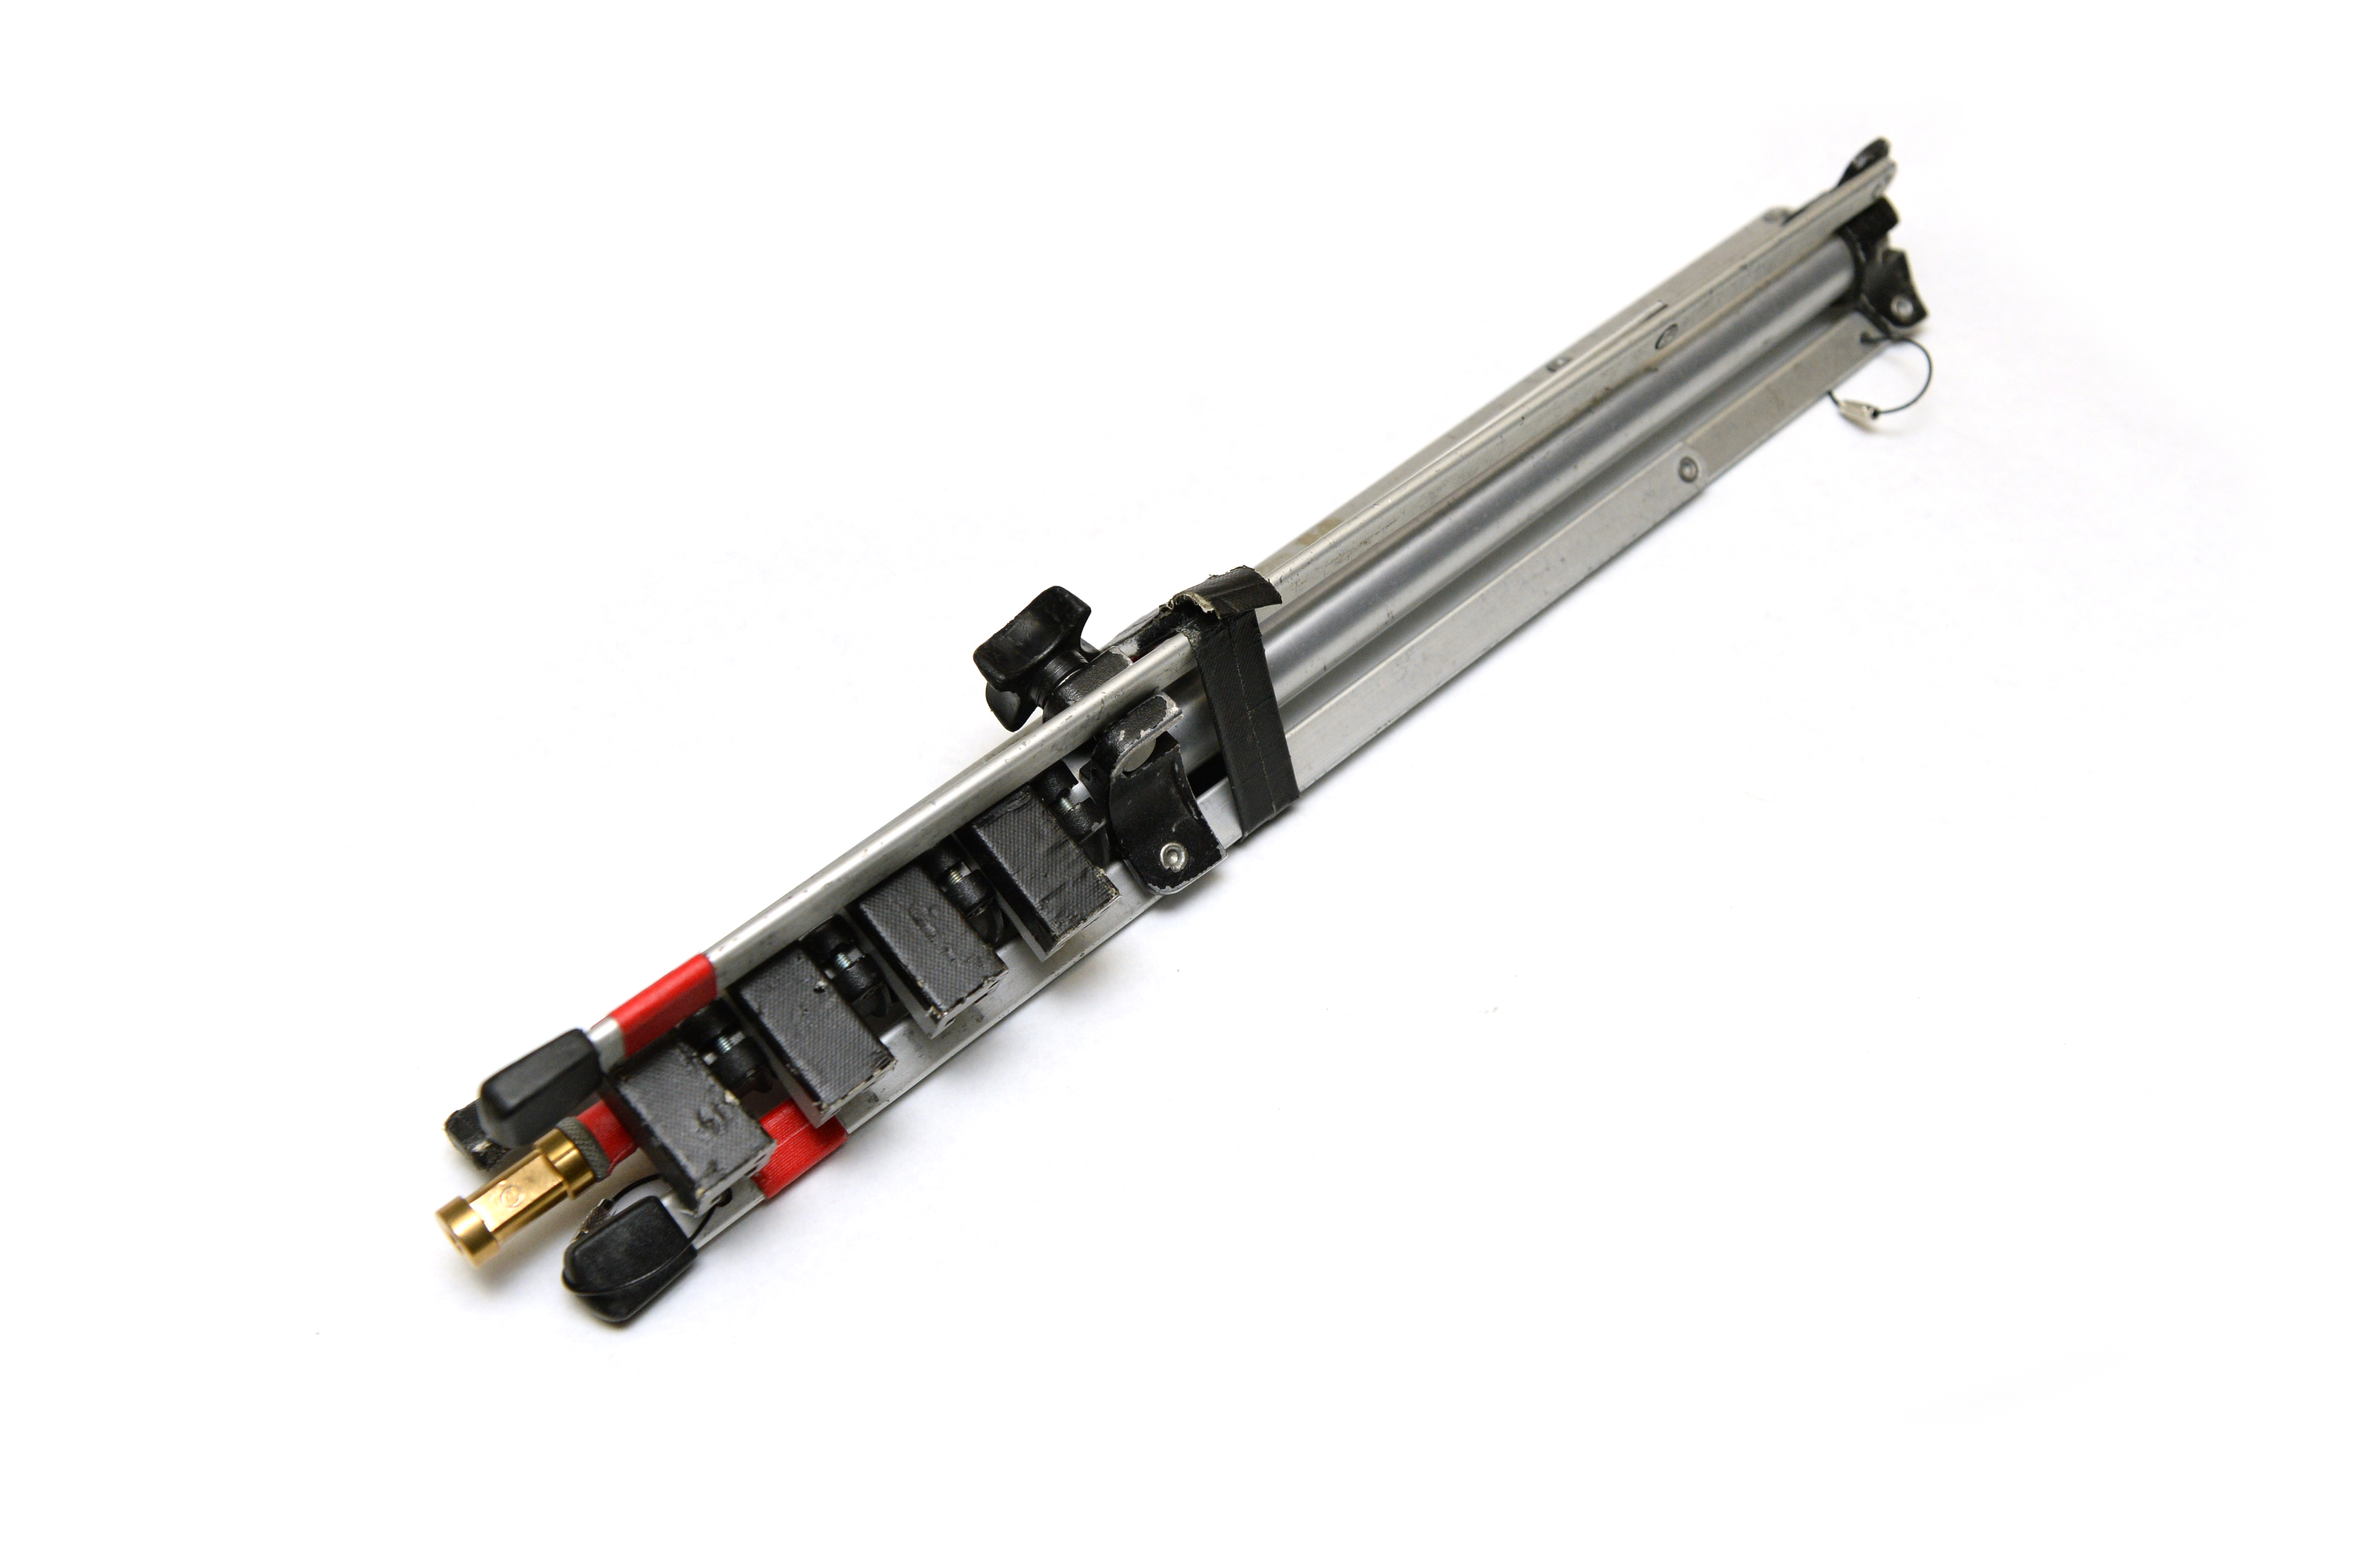
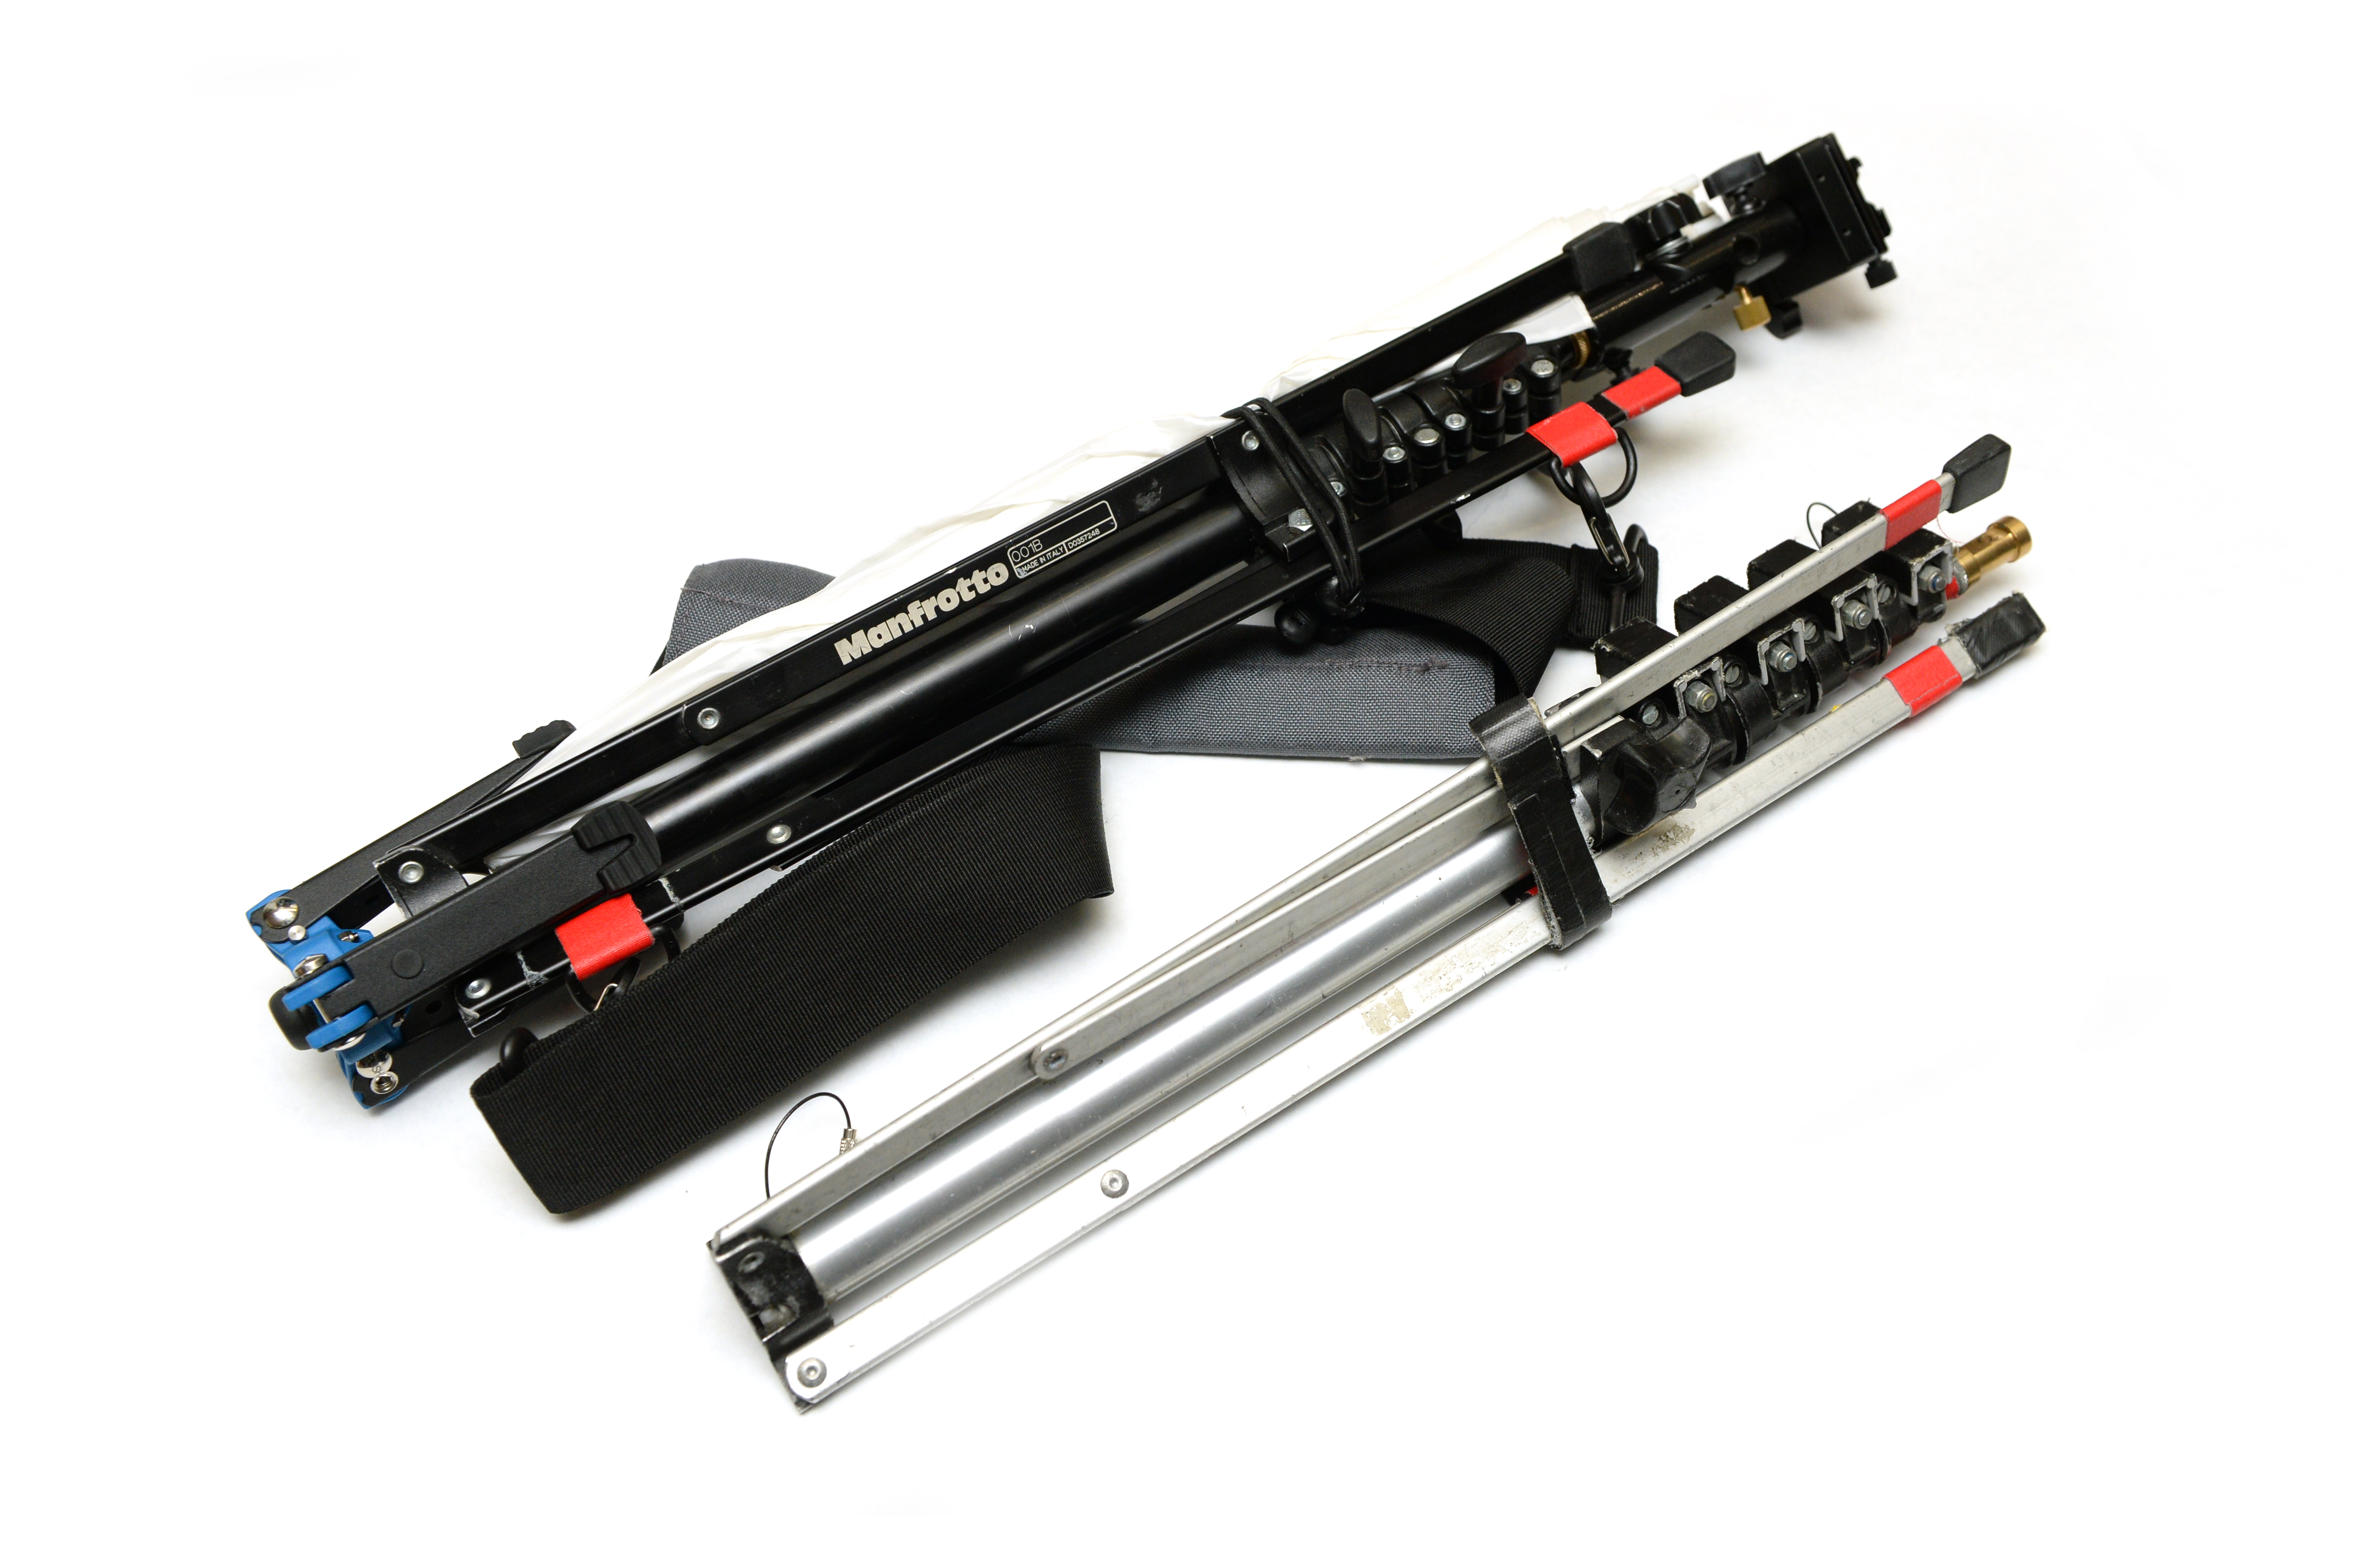
The backbone of the Strobist methodology of photography lighting is using ultra lightweight and compact lighting support. While this is the goal of MOST photographers, Strobist or not, David hobby introduced one of the best kept secrets in the photography support catalog, the Manfrotto Nano 5001B (formerly 00B). I am not saying I discovered this secret before, but I also used one of these in my 15 years of professional photography, however mine was a very early model with friction locks and a non-black finished. This baby has been with me literally everywhere, through most of Asia, western Europe (include it’s birthplace, Italy), a whole bunch of the Mid-Western and East Coast of the USA and across Canada. This maybe not be the 5001B with it’s new school cool, but it sure didn’t give up at any moment. I’ve since retired it in favour of the 5001B Nano because I did like the anodized black finish.

The Nano 5001B is one of the lightest and smallest flash stands on the market with plenty of Chinese variations, and David made a great post about how to hack it into something super portable, quick to deploy and easy to carry. This post is about how I pimped my newer 5001B, which has been around the block already but I recently updated it with a few new video features.
 1. Leg/Umbrella Management, elastic cord
Let’s start with the simple, this mod is so simple and so cheap that it is a no brainer. The cost of this mod is maybe, $2 if you go fancy, free if you have some of this stuff lying around the house. One of the few pains the Nano stand has is the legs tend to be a bit floppy when they are closed up. This is due to the geometry of how they fold up, backwards to any other conventional light stand. It accounts for it’s mere 18″ closed length. David uses a ball bungee for this, which does the same thing, but I found that I lost more ball bungees without some kind of retention system. So I came up with this adaptation.
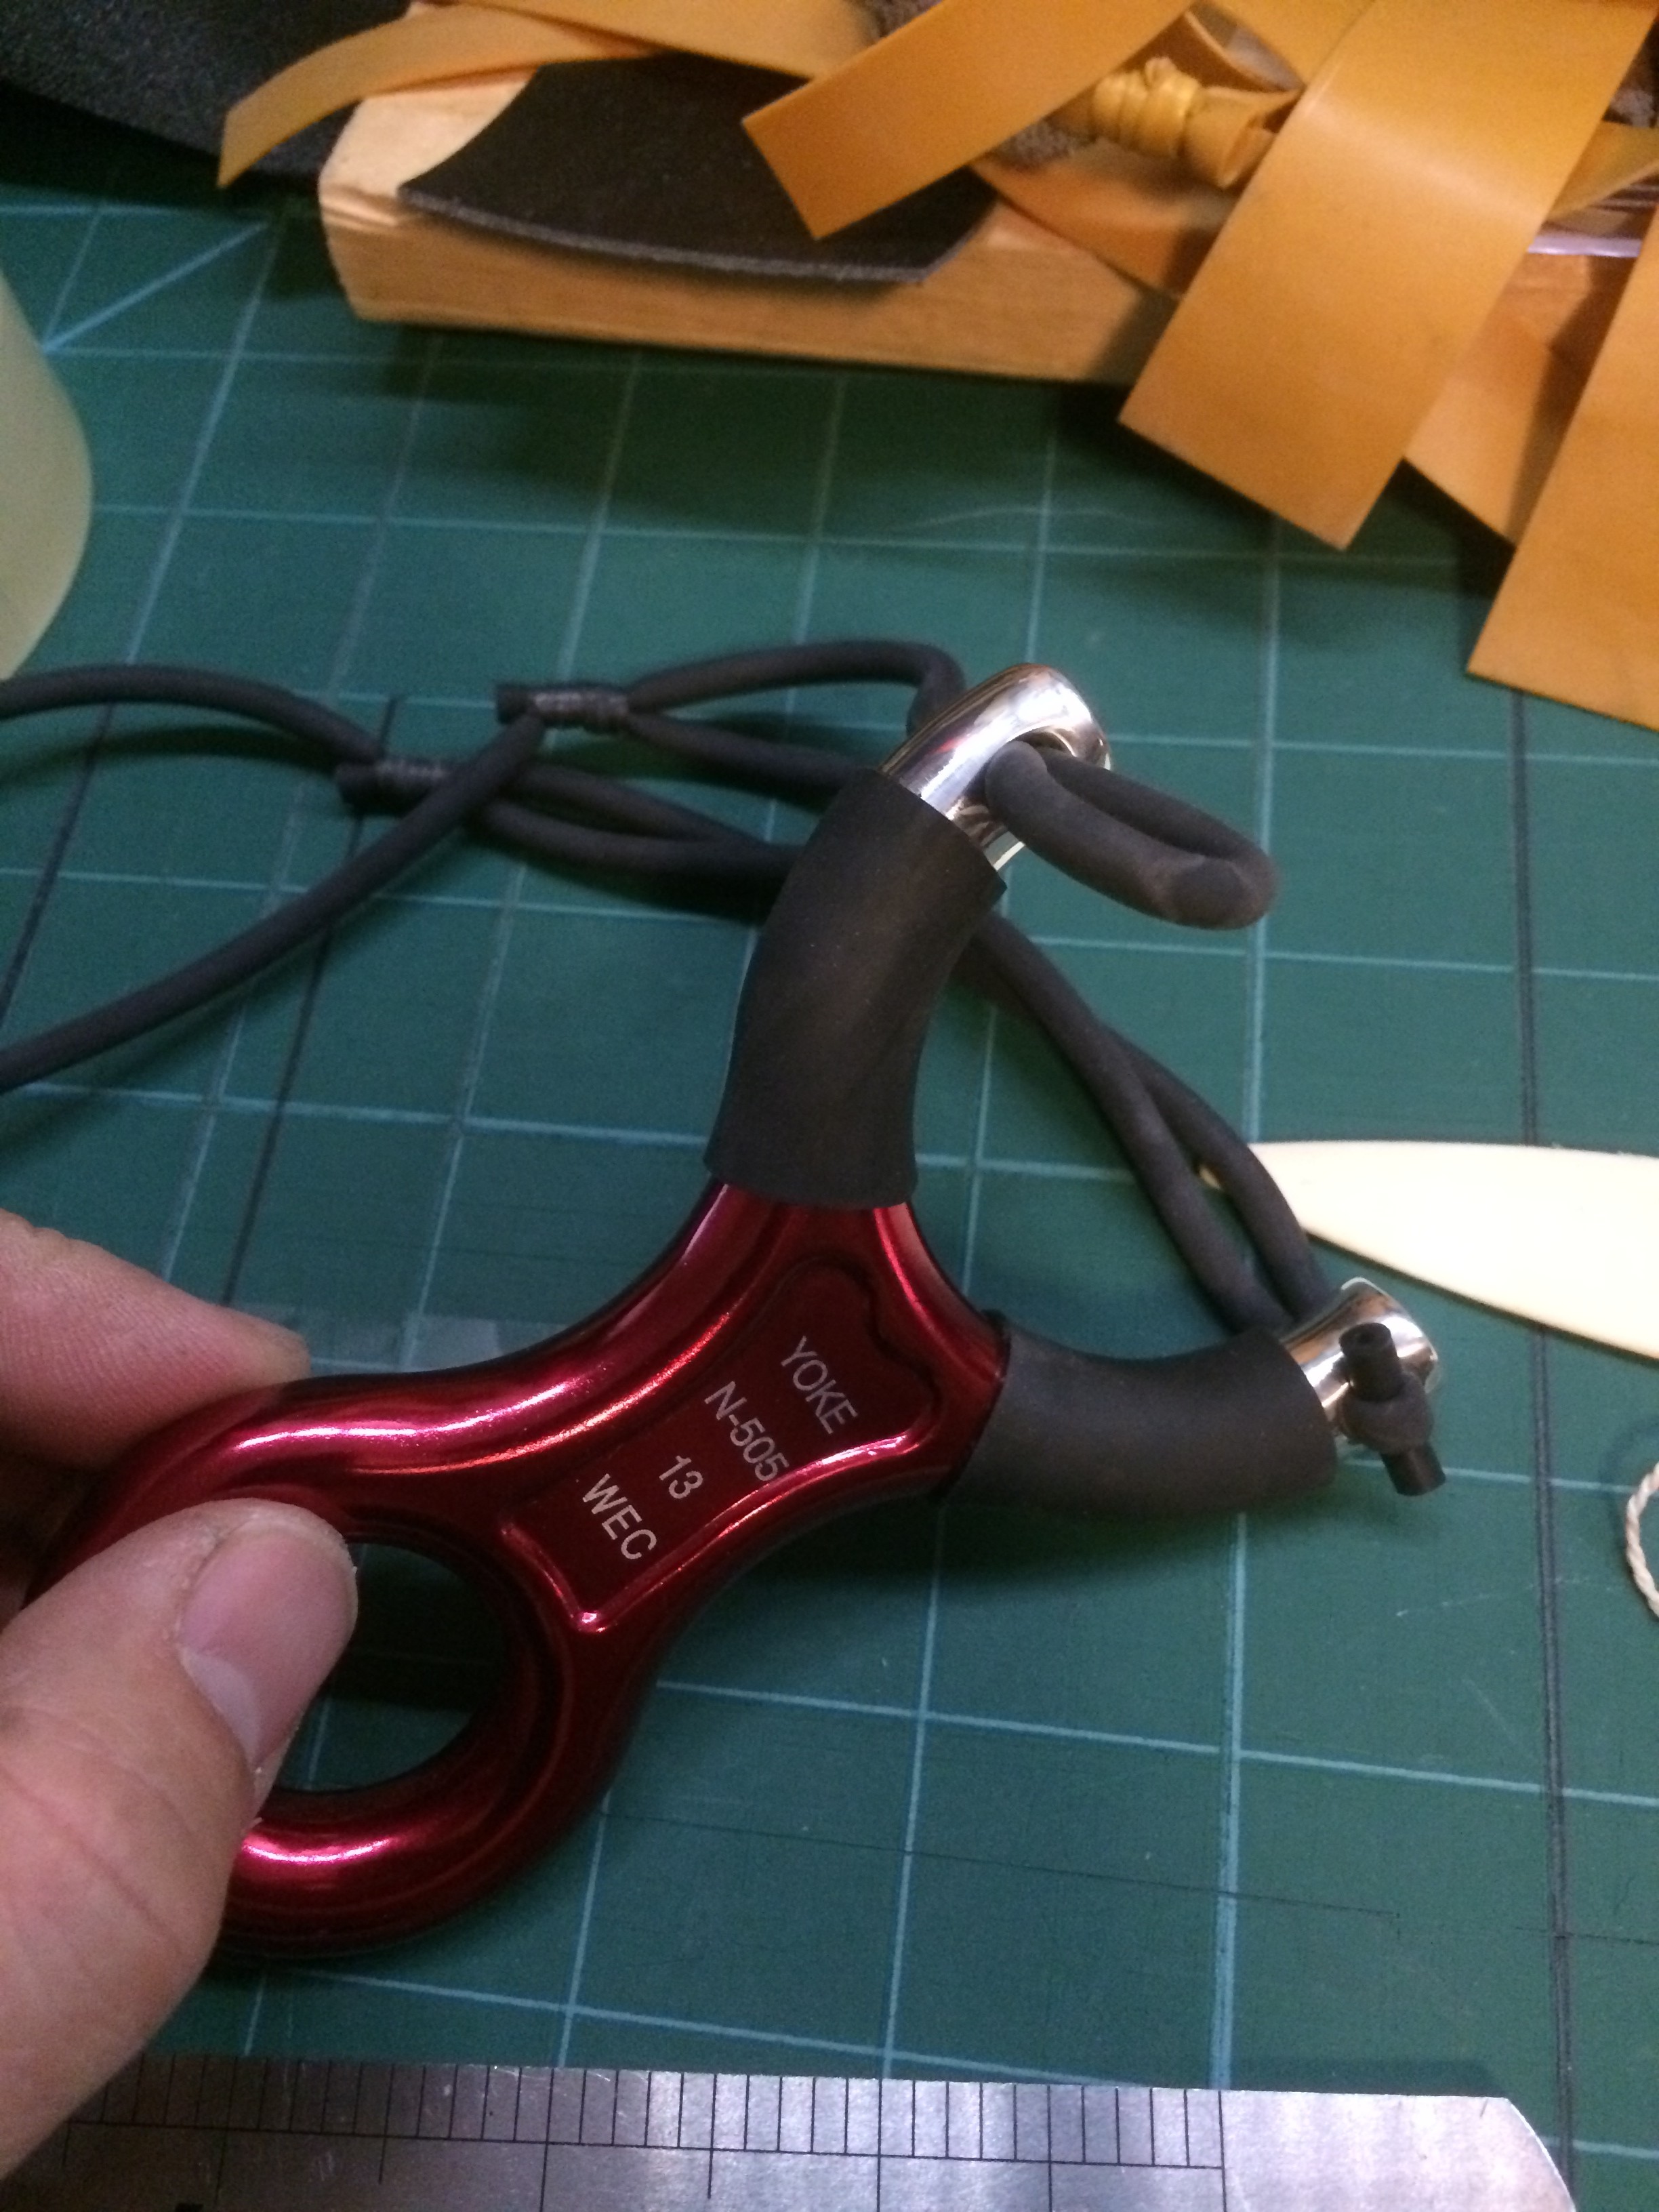
To manage this is simple, you need:
1. A length of shock cord (can be from a ball bungee)
2. A cord lock that can fit the shock cord through
3. A cord end.
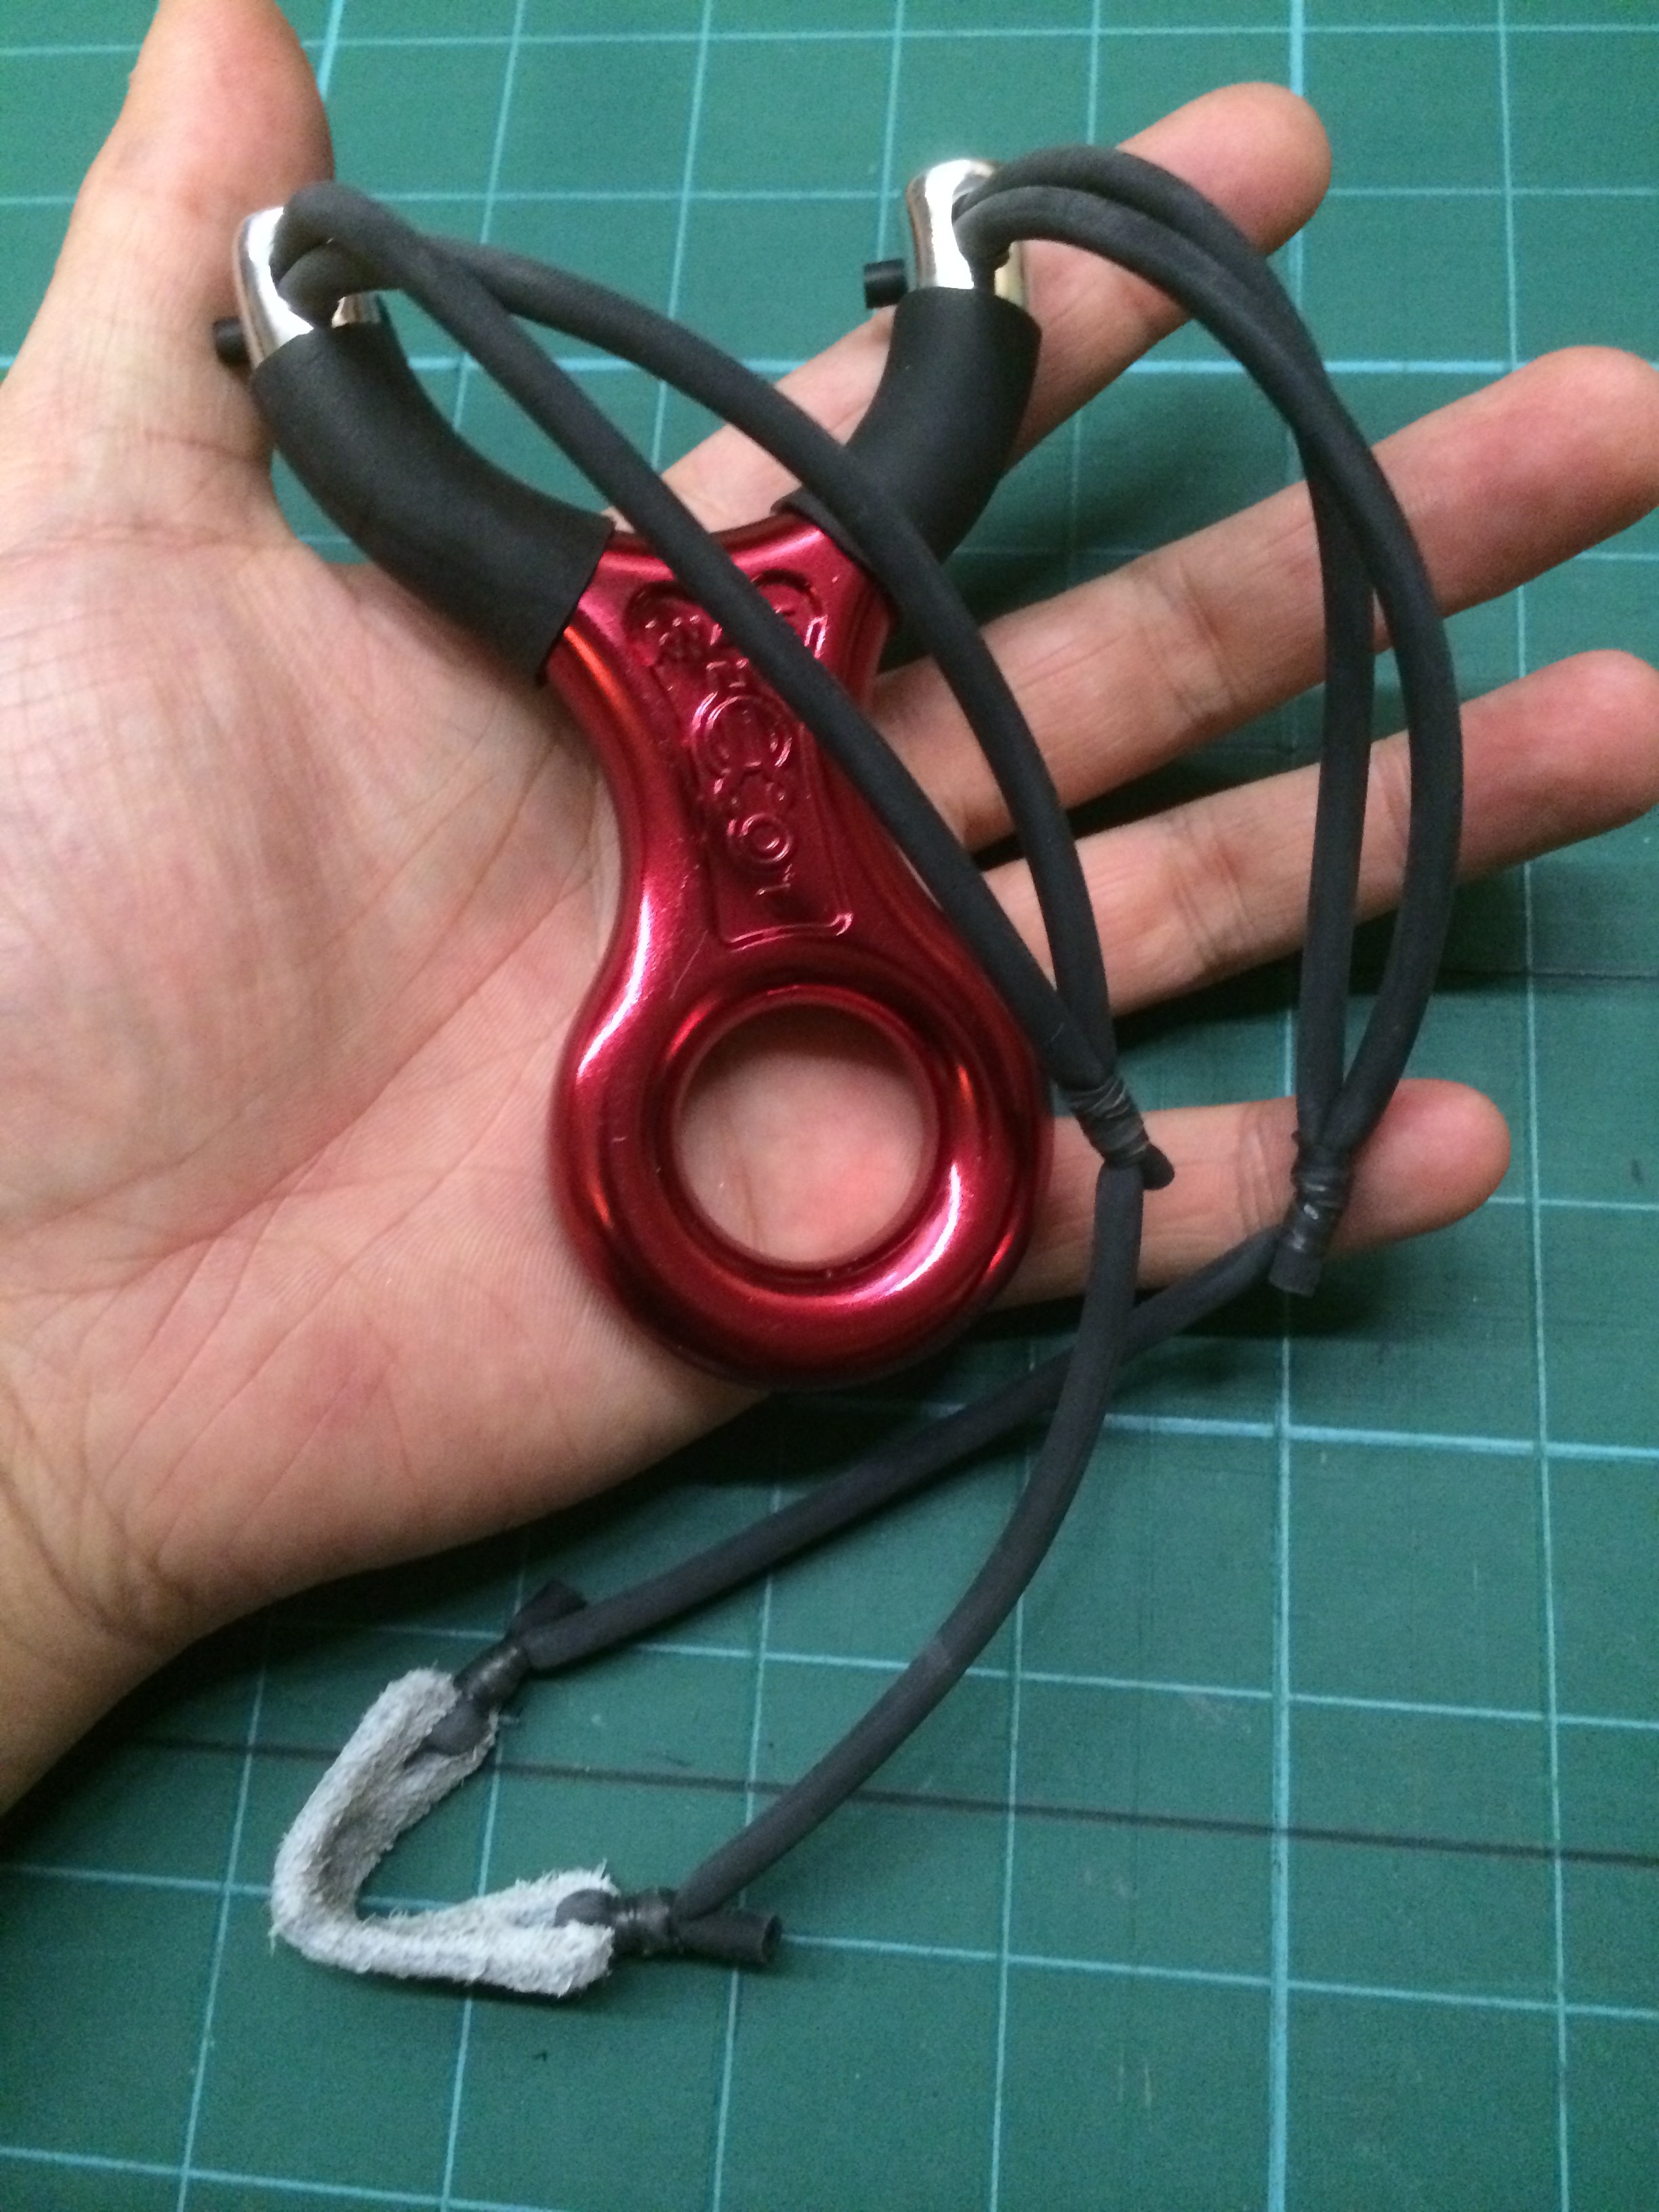
The result is this:
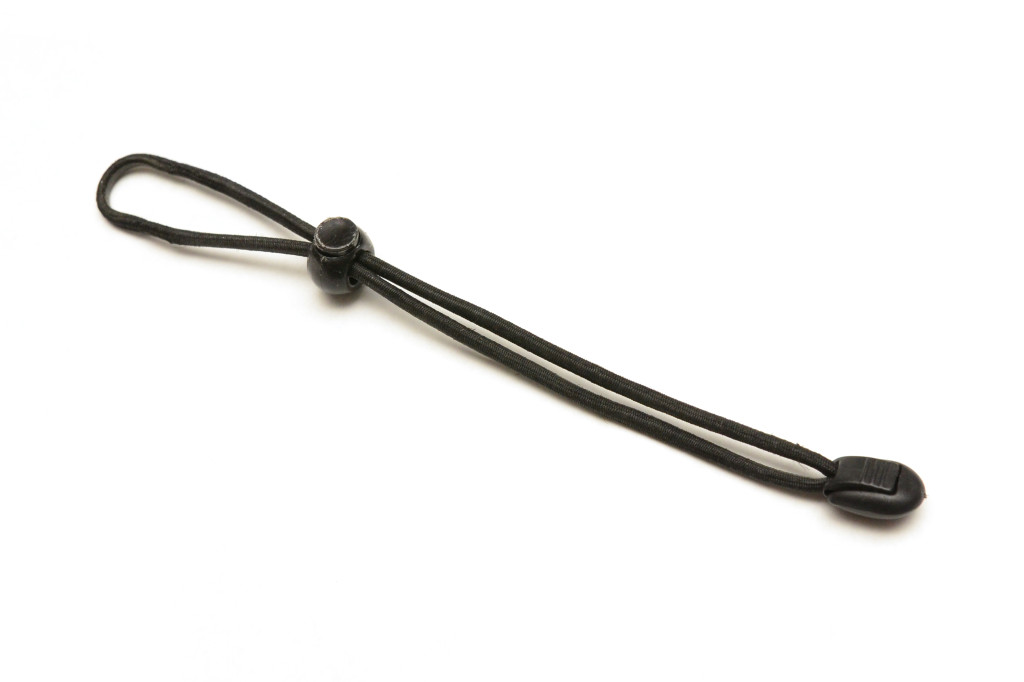
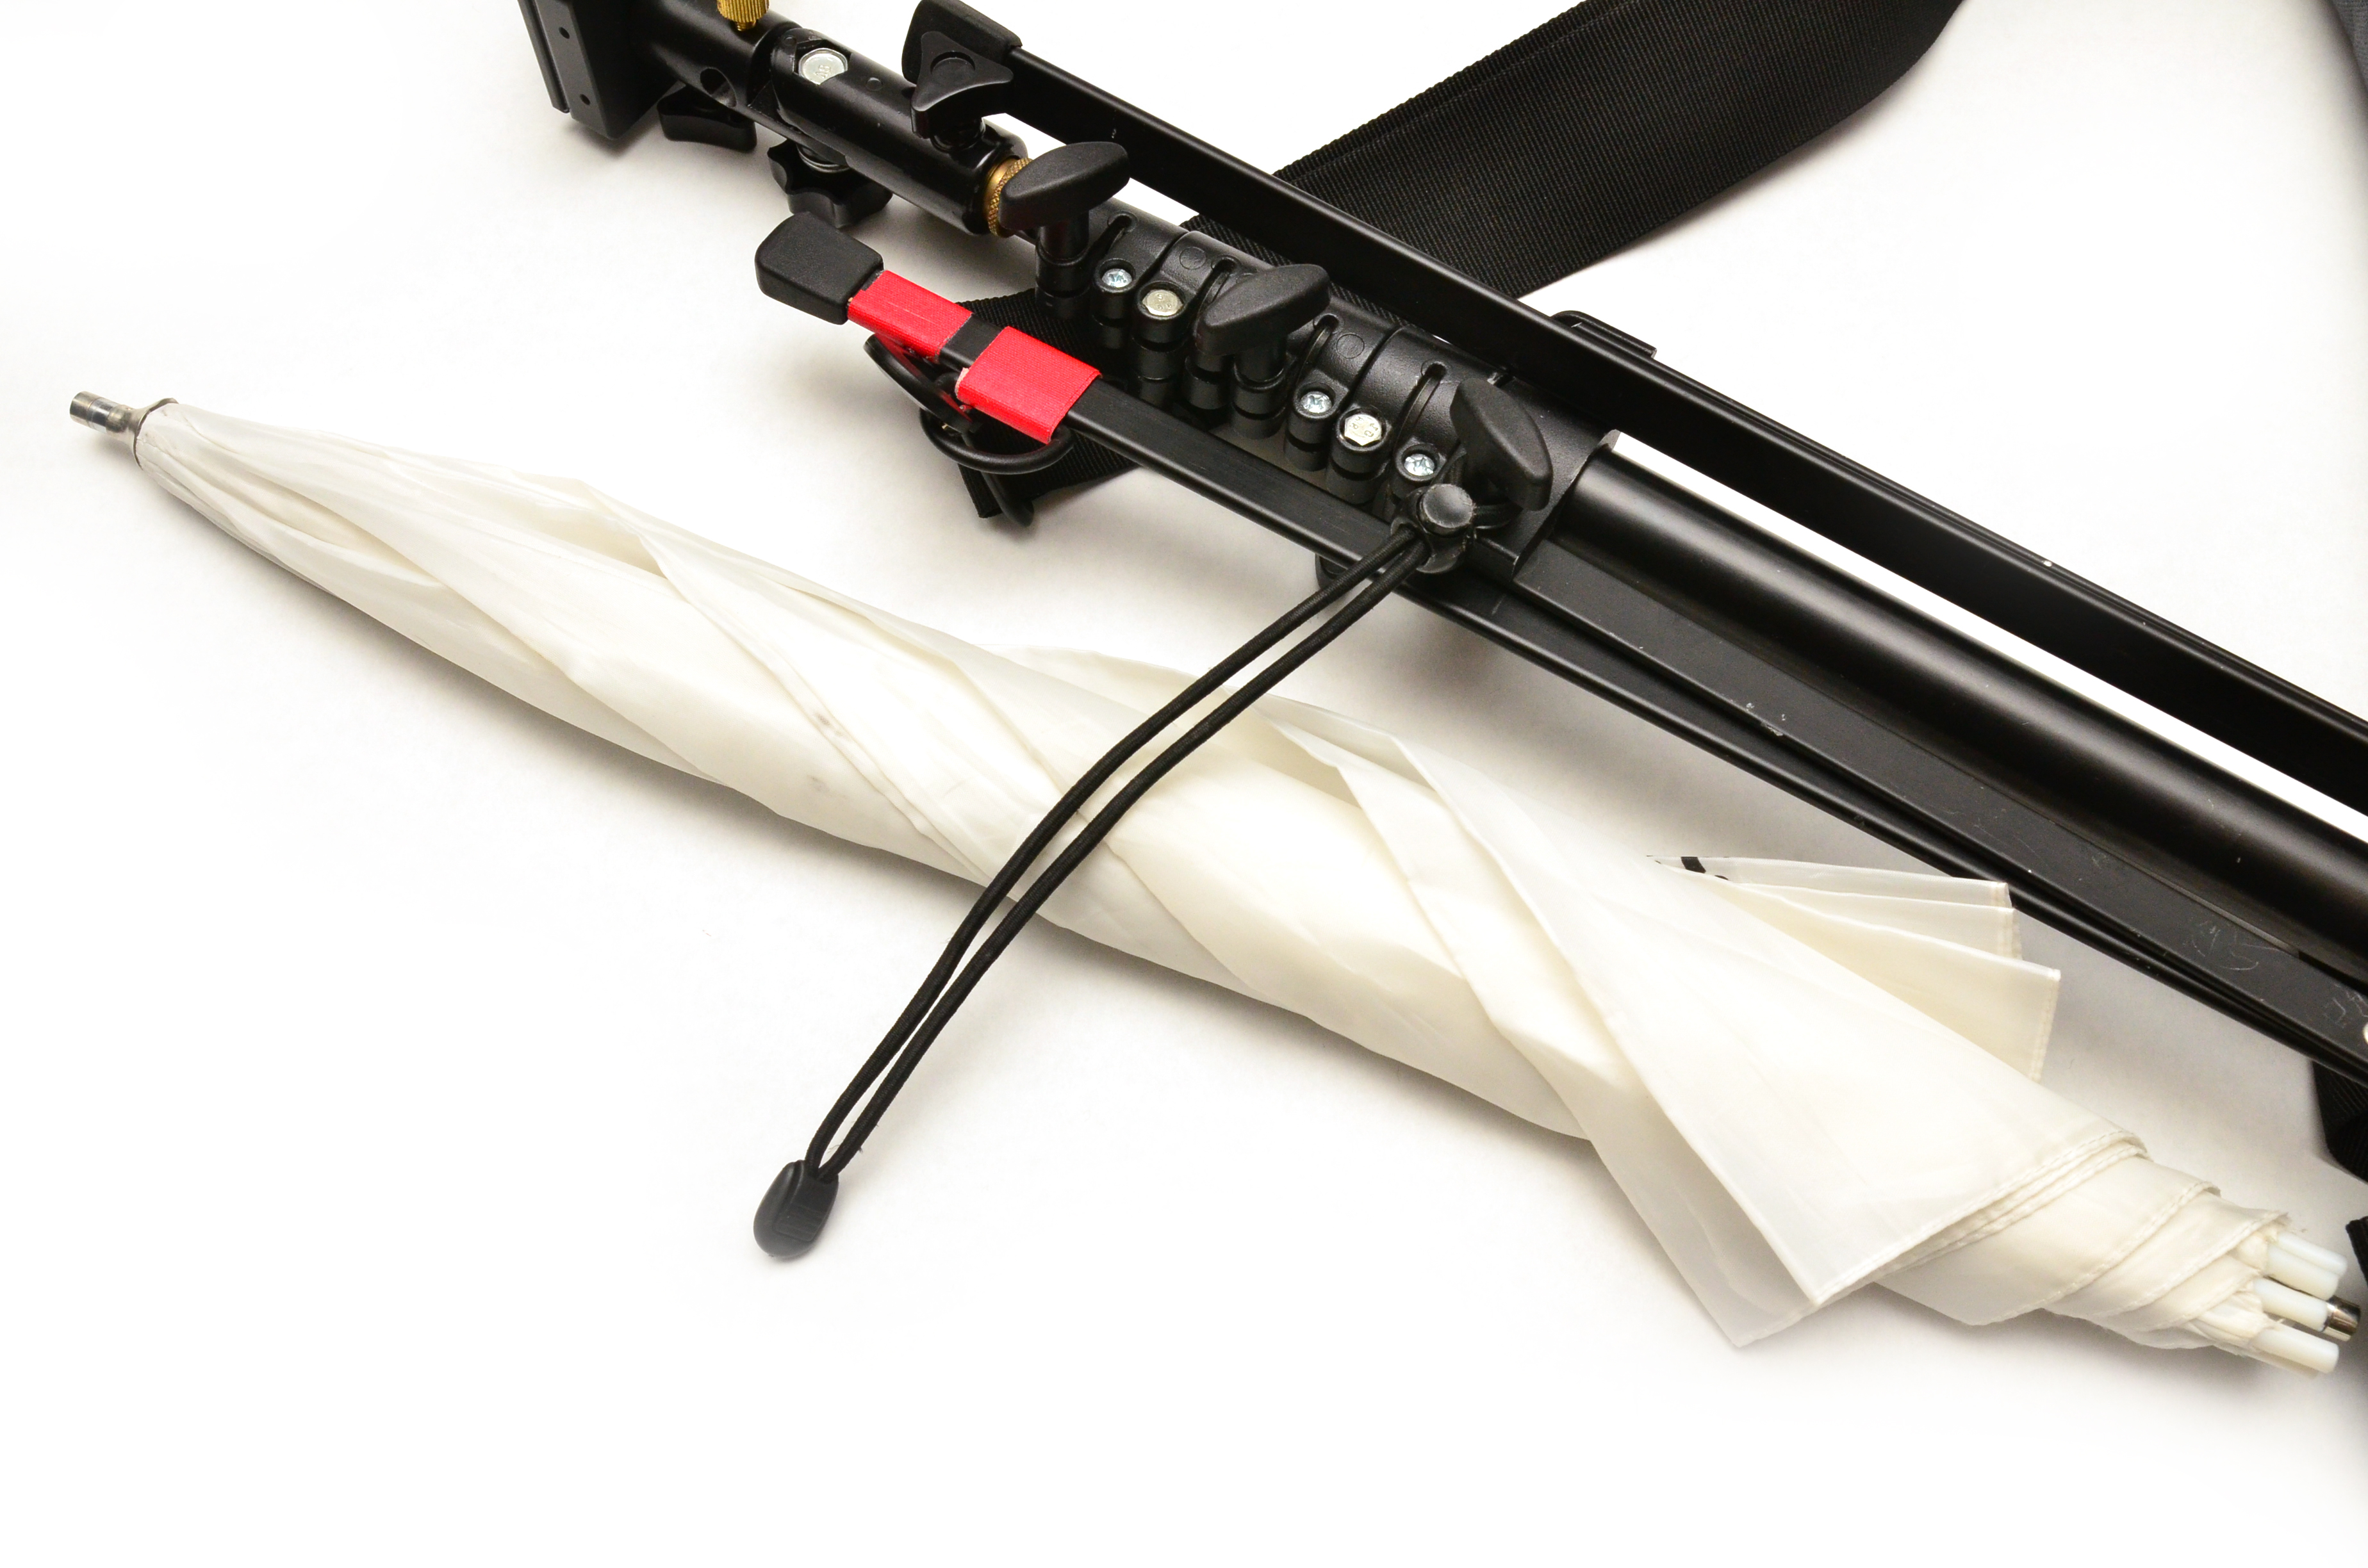
Pretty simple right? This can taken off and used like ball bungee to tie up strobes or hang up stuff but only when you need it, otherwise, it’ll stay put on the Nano stand. This gets looped onto the tightening handle of the legs, the cord lock is used to cinch up the shock cord and the cord lock on the end is a nice way to finish it off as well as give yourself something to pull on.

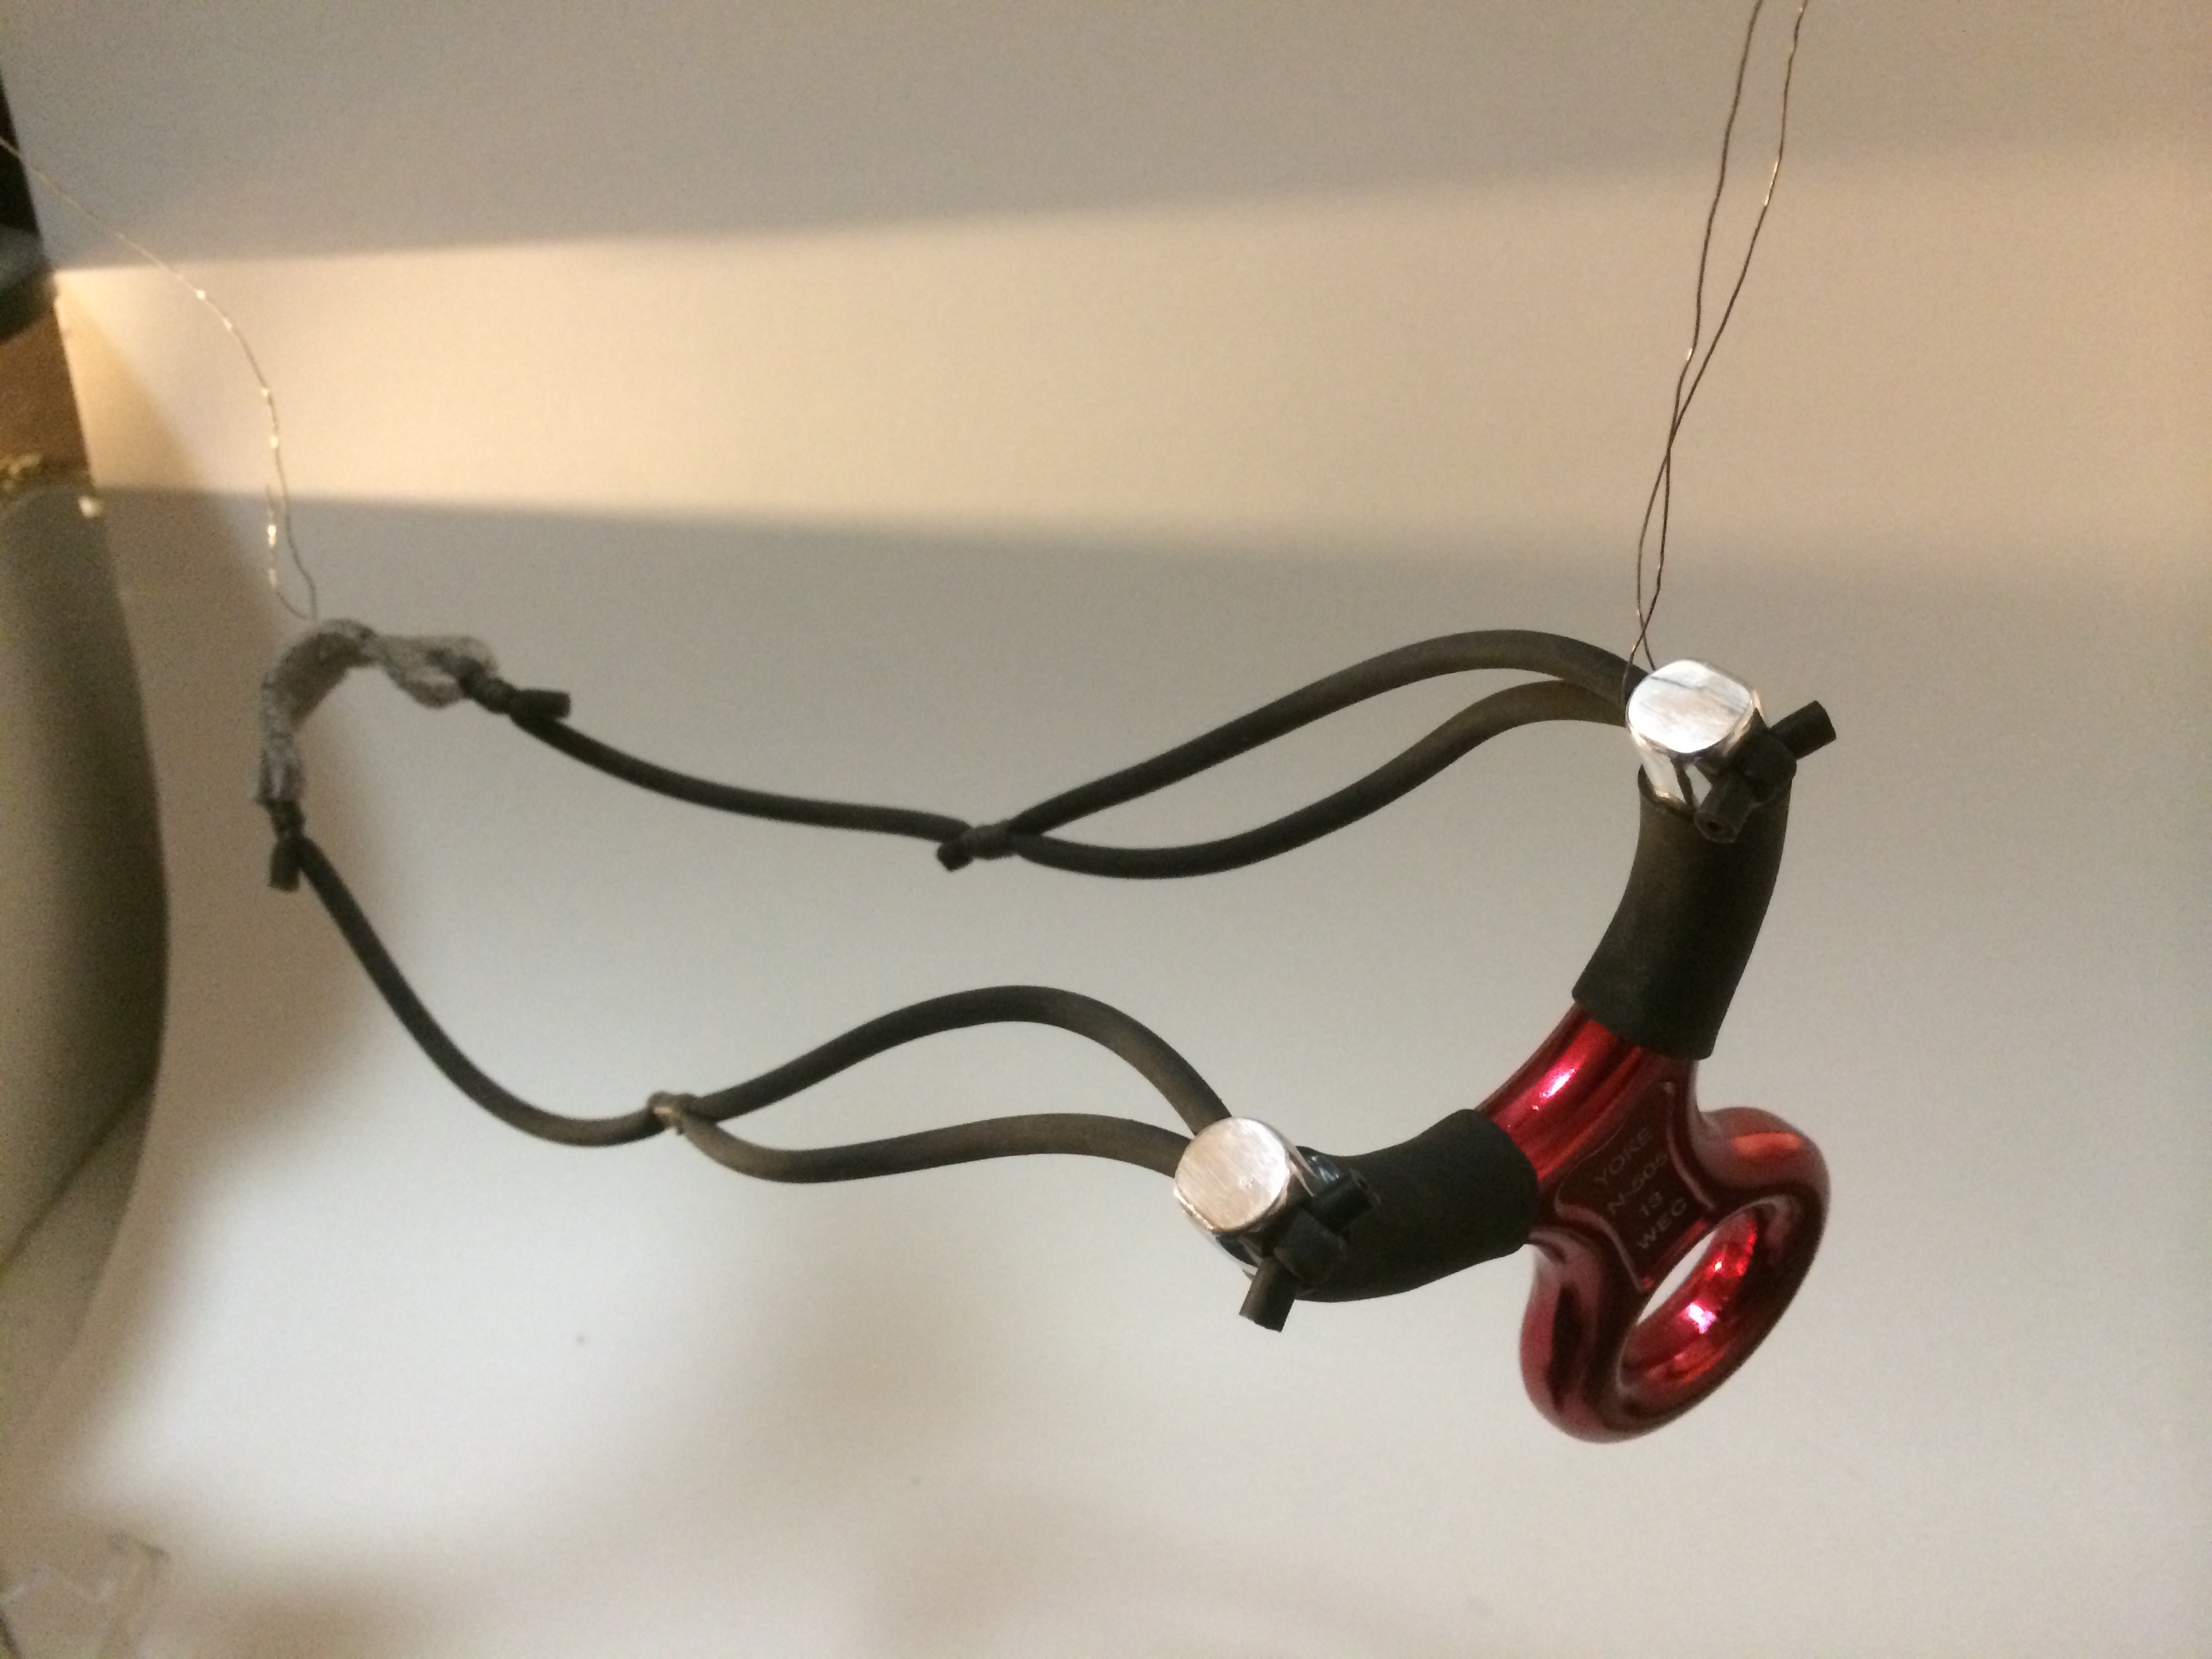
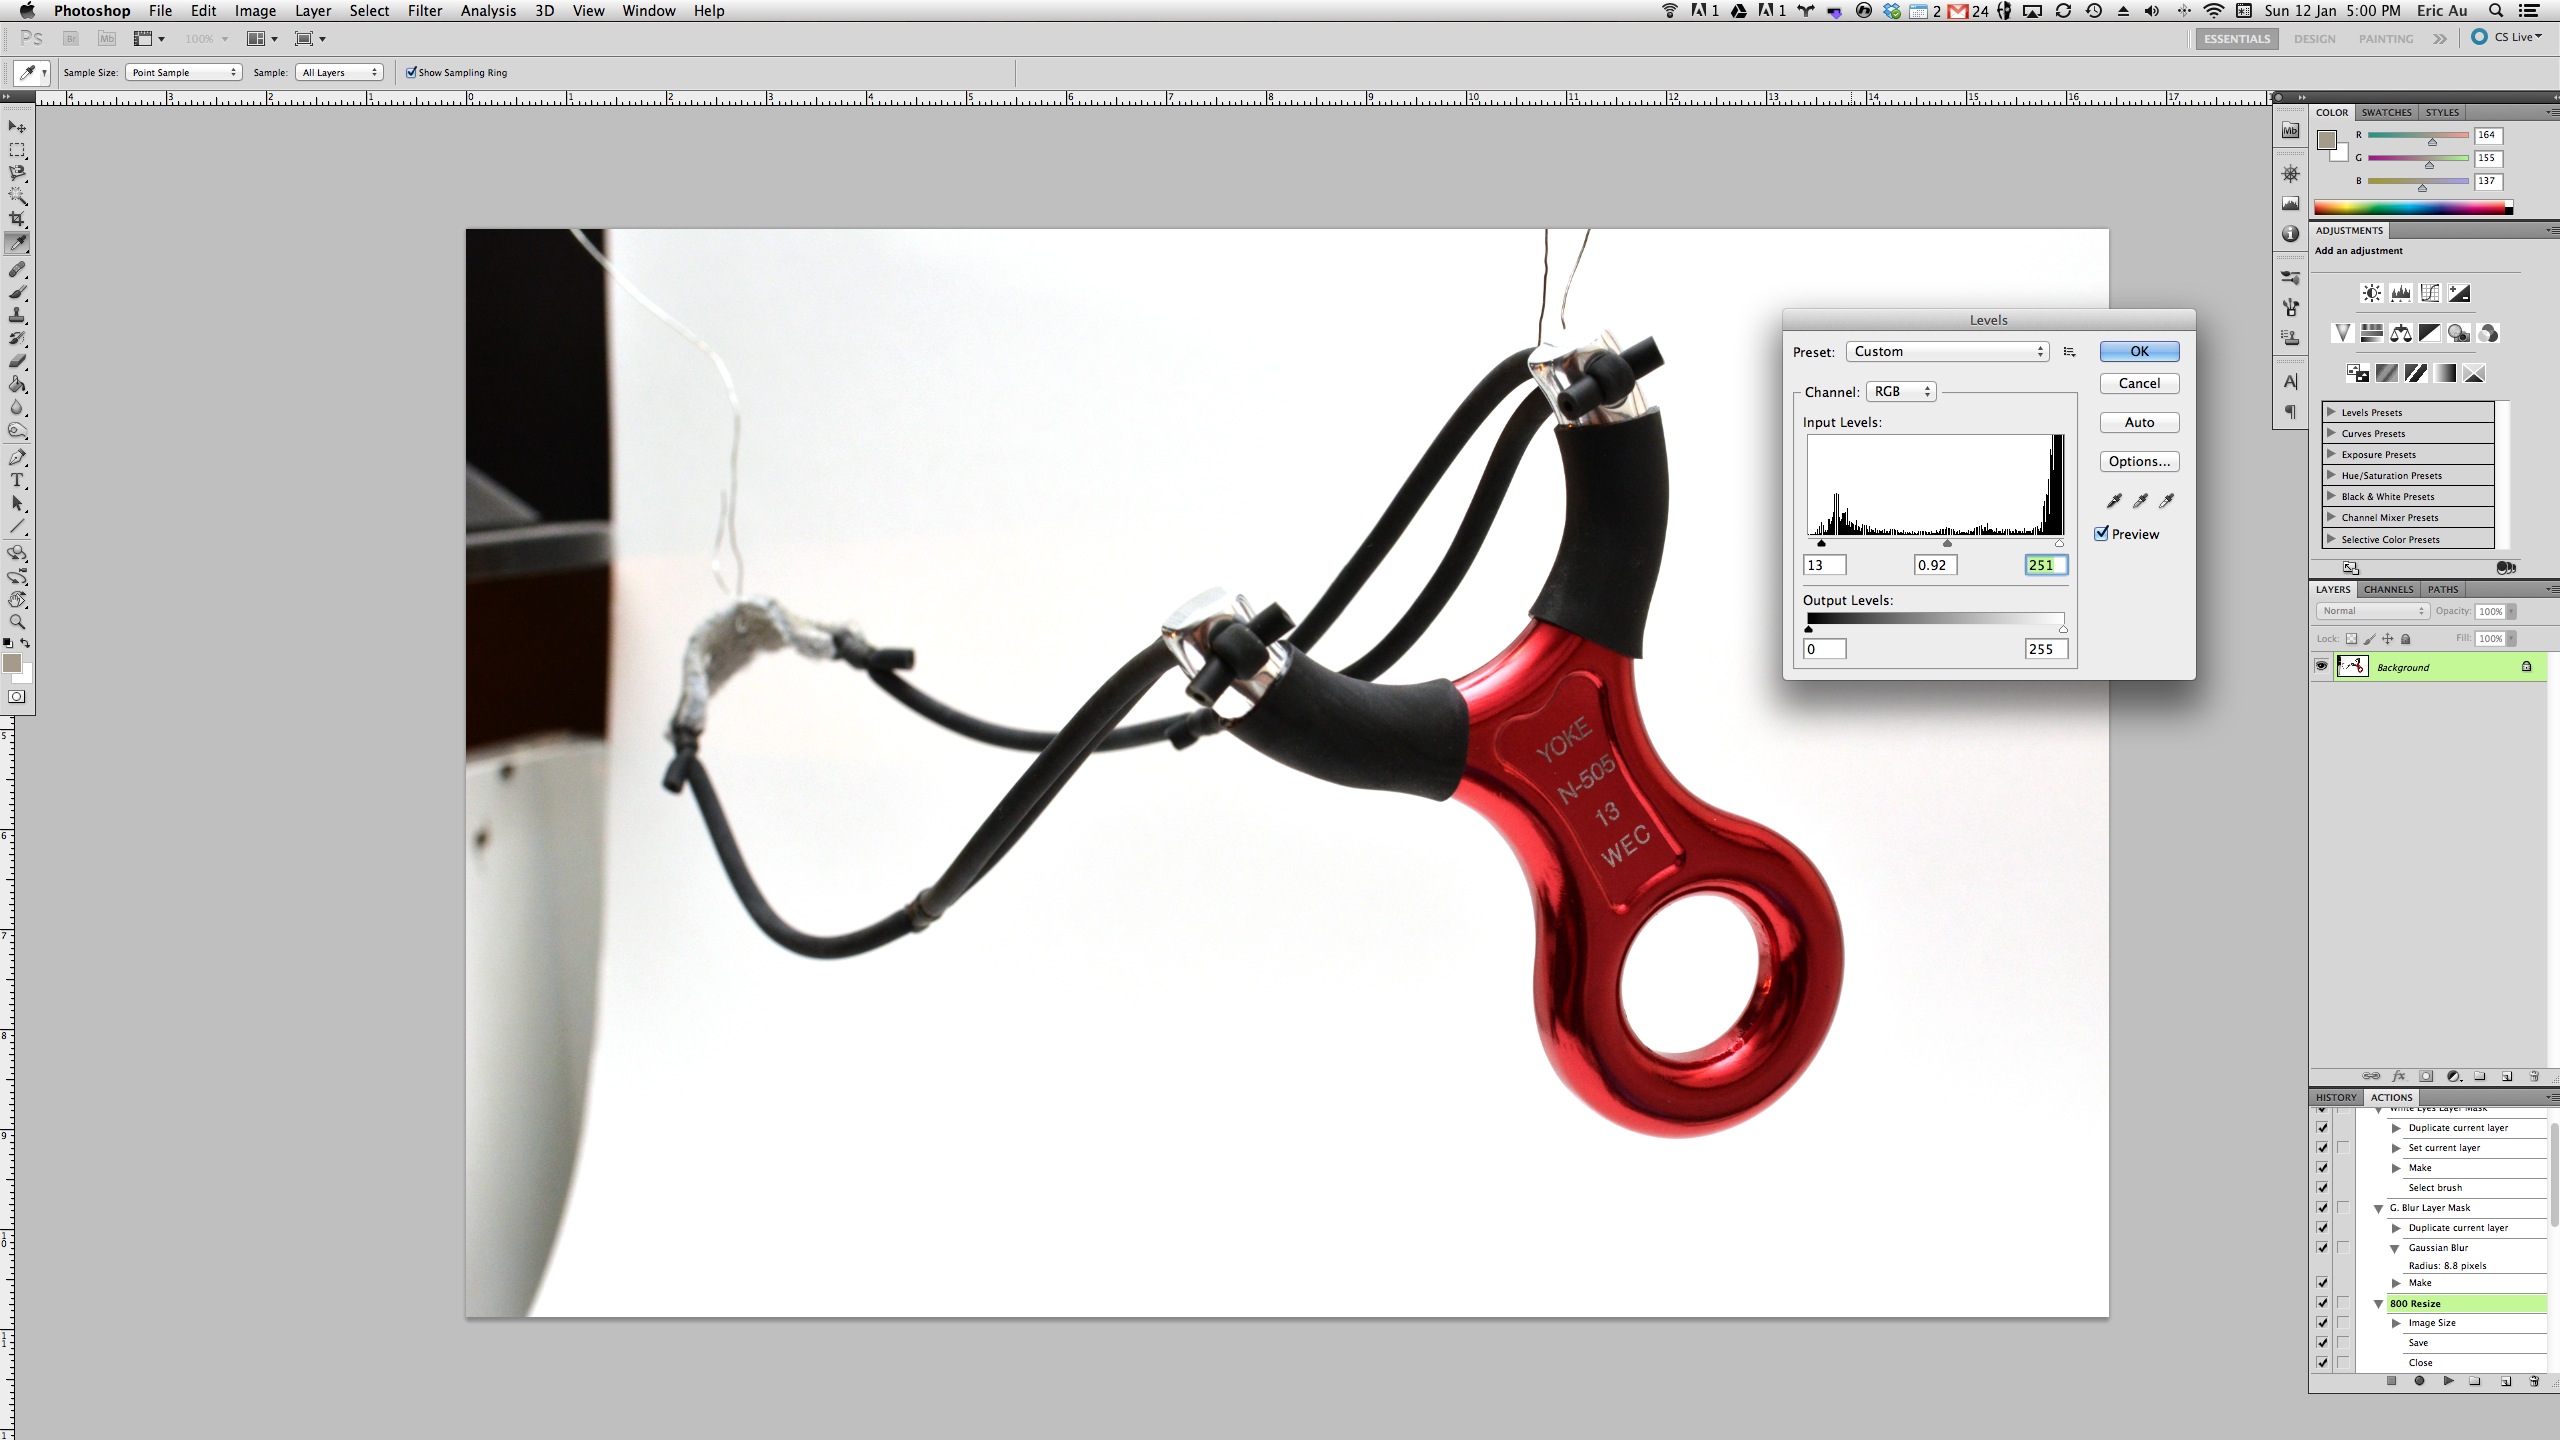
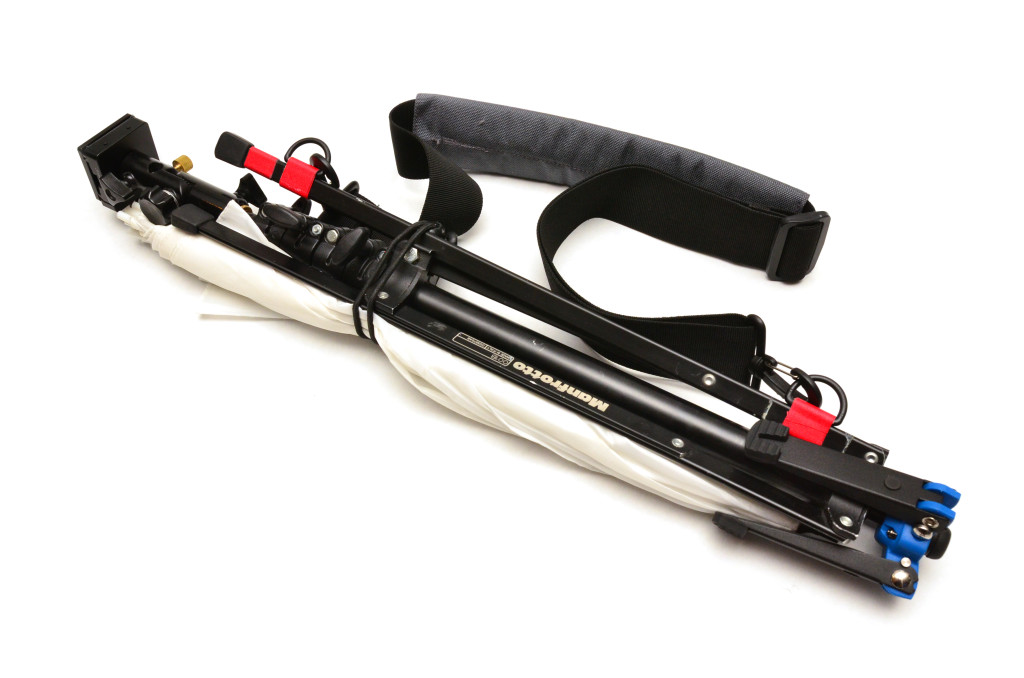
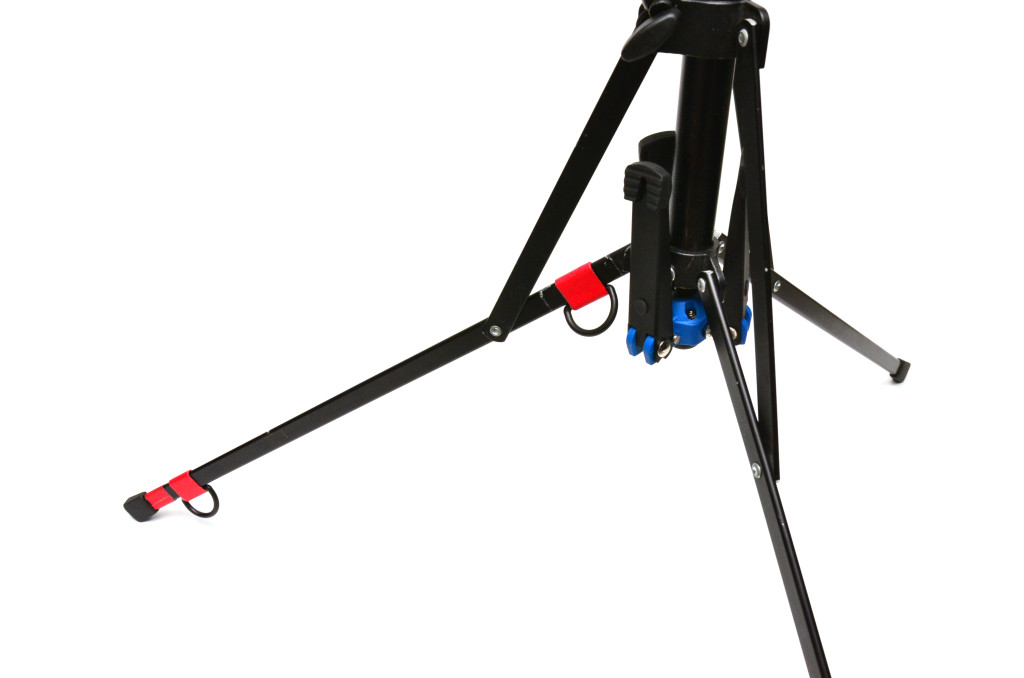
In addition to wrangle the legs, the shock cord is also used to hold a full size umbrella onto the closed stand, making this a nice tight package with no movement on parts.

This is how it looks when the shock cord is looped all the way around the stand and then hooked back onto the handle.
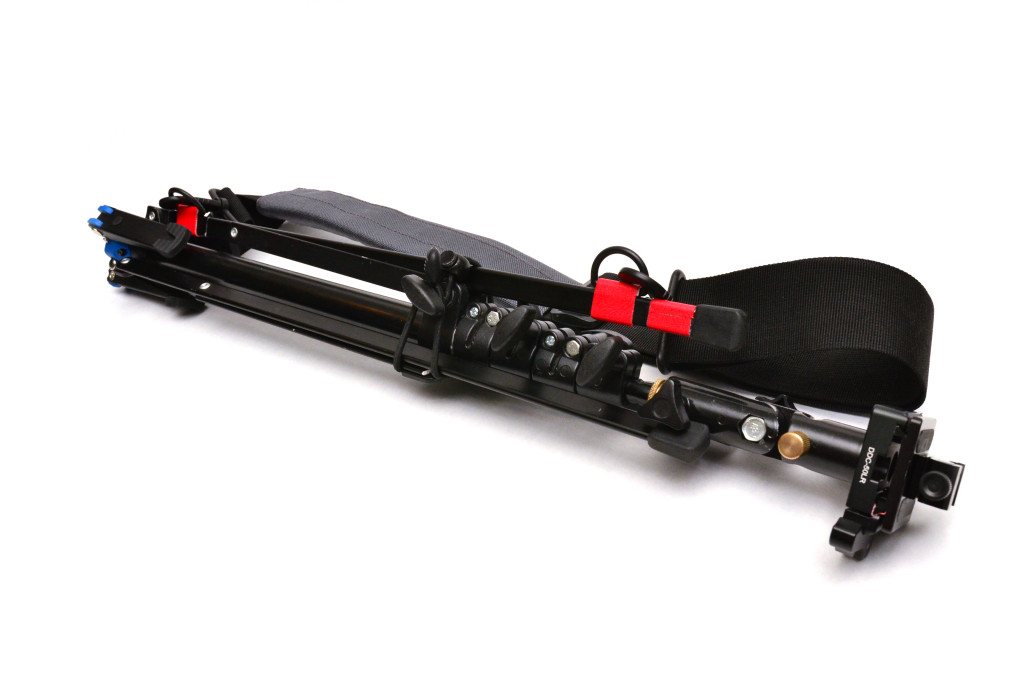
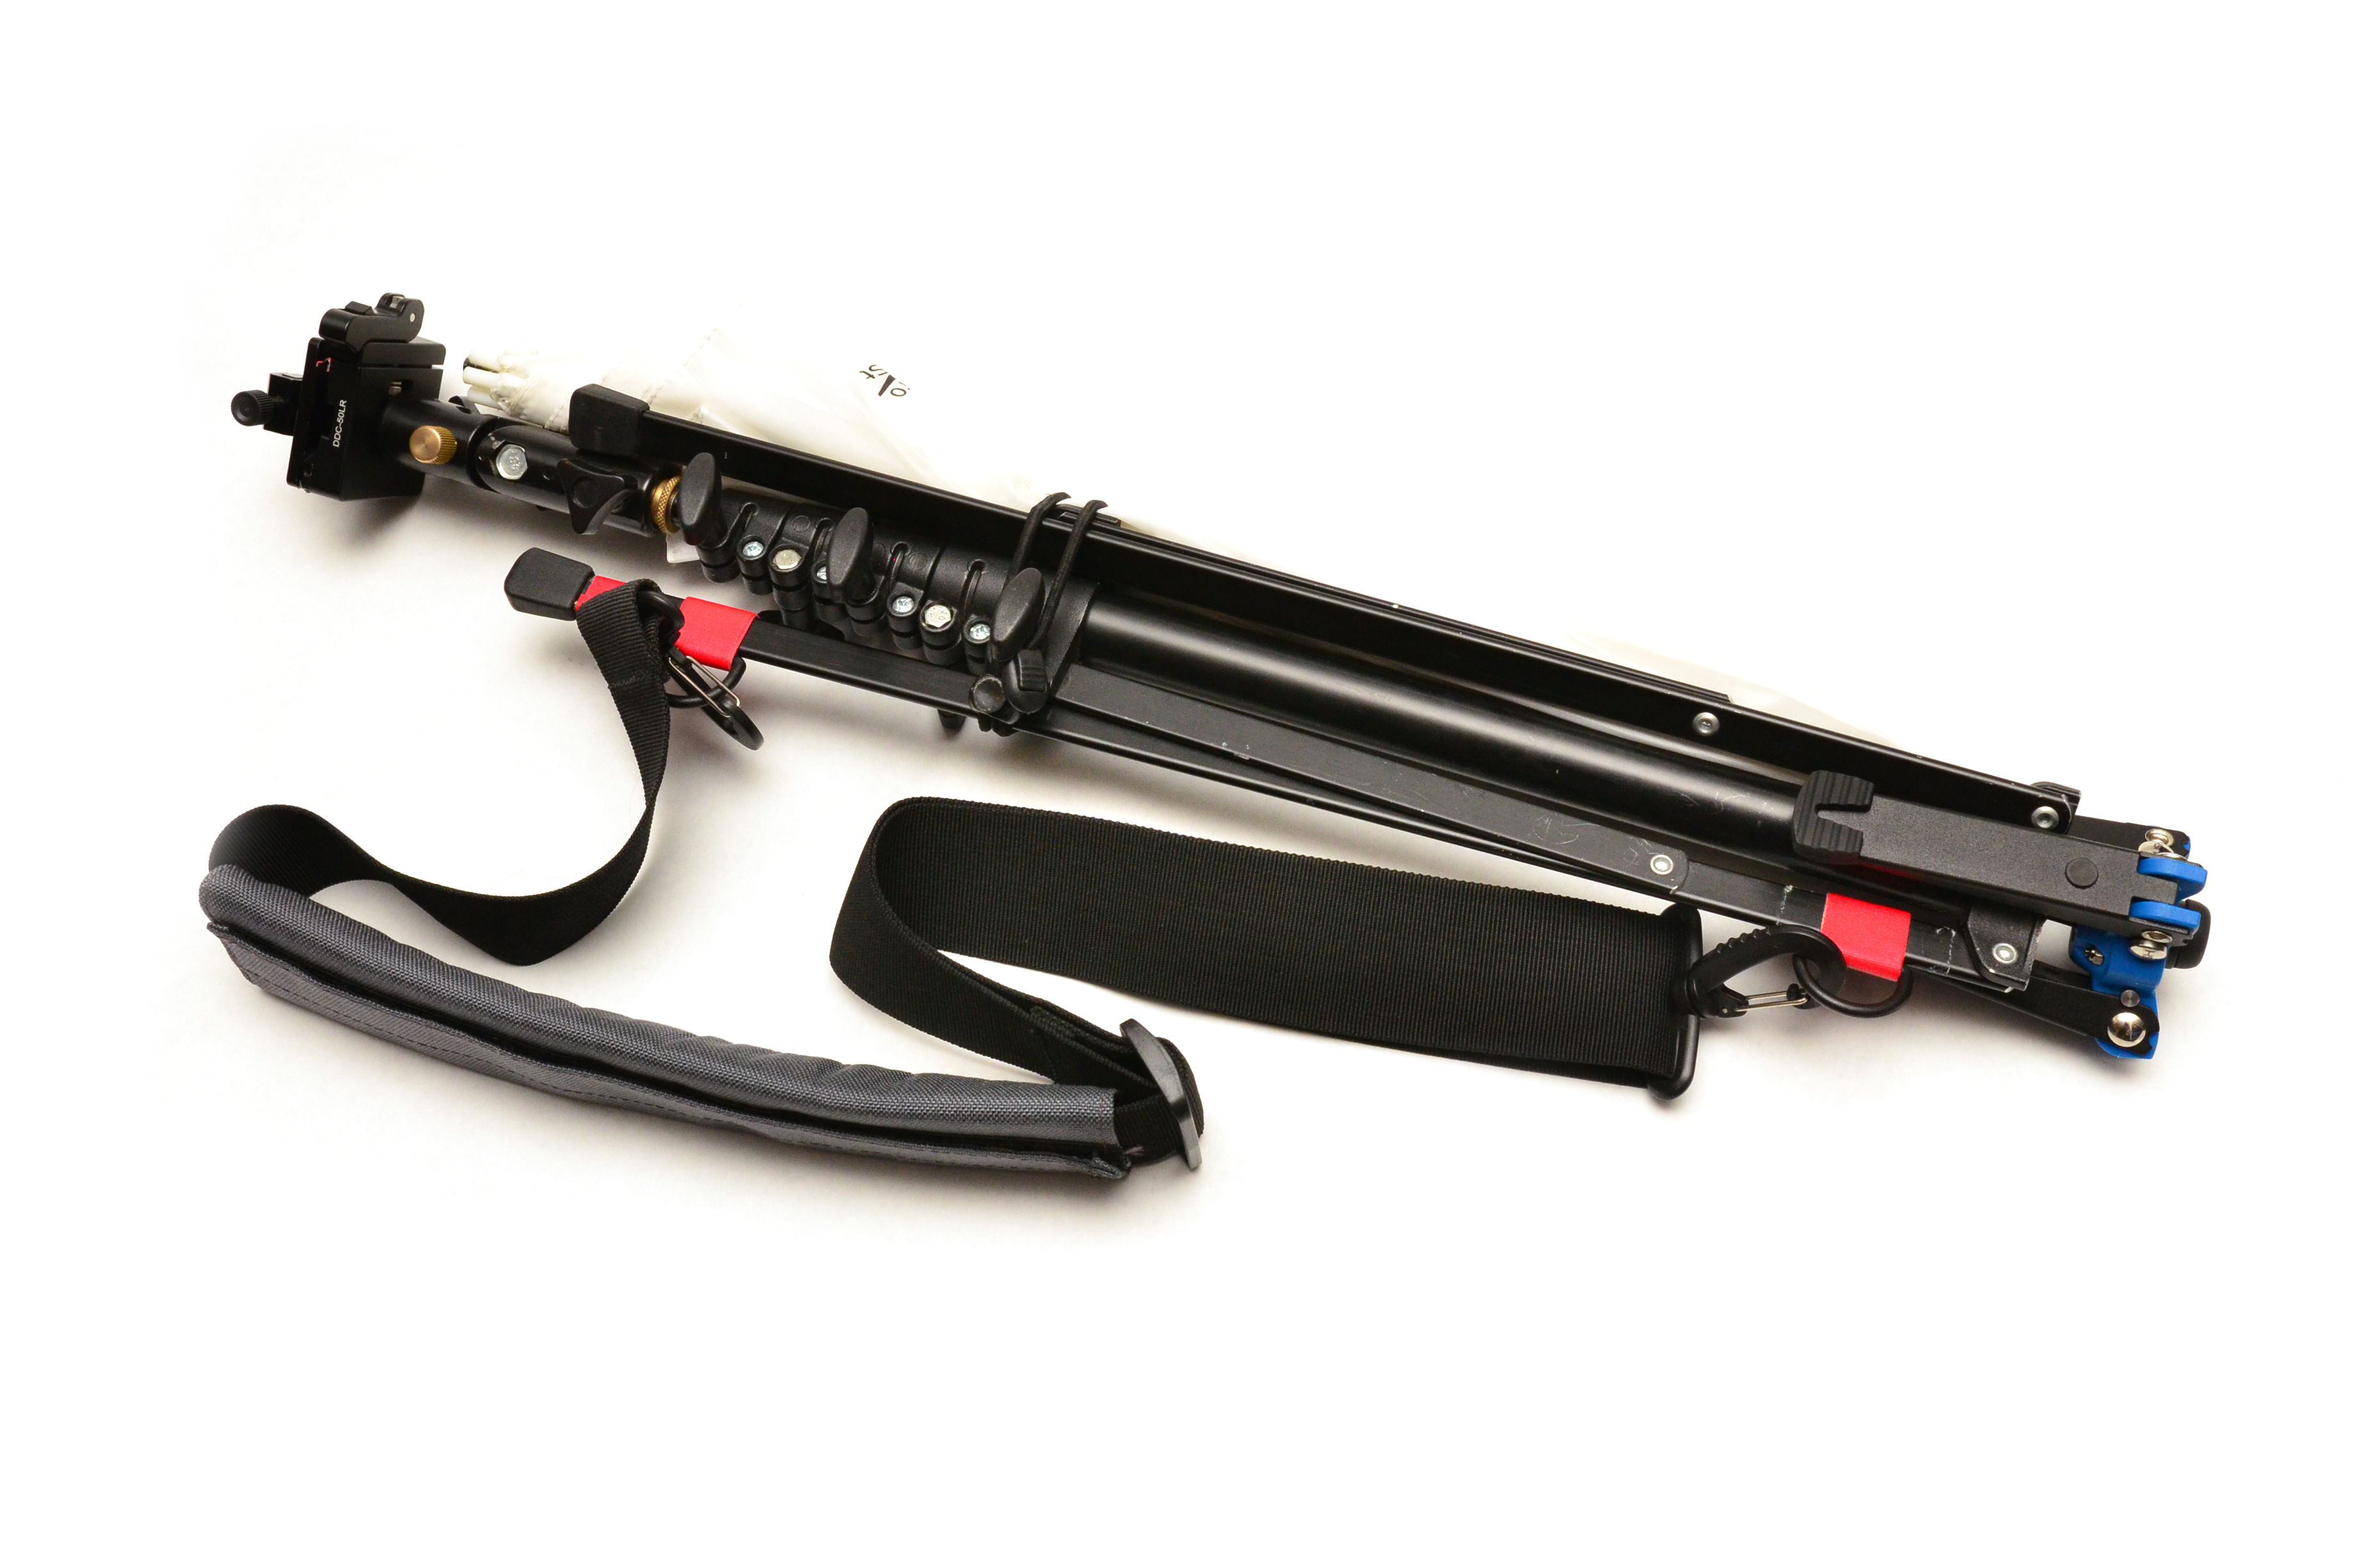
2. Shoulder Strap
This is one of those mods that when I saw it, I hit myself in the forehead. Of course, why try and find a bag for something that I will just use as one unit when I can just carry the whole unit as is. David drilled 2 holes into one of the legs and threaded on two keychain splitrings, which gave him two mounting points for a strap to be clipped on. I liked the idea of it but I didn’t like how much noise it made (the clanking).
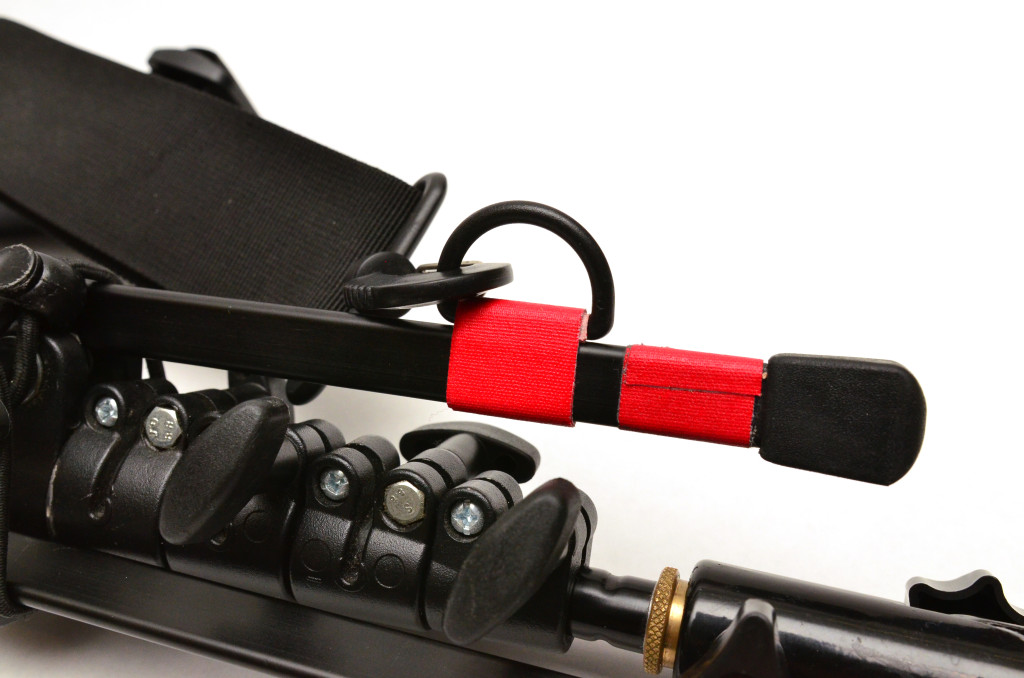
I used some 1″ D-rings and 1″ gaff tape to attach them to the leg that nests into the split of the upper leg collar. I did this for a few reasons, the split of the leg mounting collar kept the leg from shifting side to side (kind of important if the all the weight is carried on that leg) also the position of the collar and the tightening knobs meant that the only place to store the umbrella was the opposite side of the closed nano stand.
Think I am crazy to think of such a minute detail? When you have 10 minutes to set up, take a photo of the president of a company and breakdown again, it pays to know where things go and have it go smoothly.
The shoulder strap is from some random bag that I don’t use anymore, so it was a perfect choice.

Here’s a closer look of the D-Rings and how it was wrapped on. The tape is fresh since the old tape was looking a little haggered. Bright tape helps others see the black stand on the ground and also if I needed take the strap off if the ground is wet, I don’t need to fumble around in dark situations to find the D-rings.
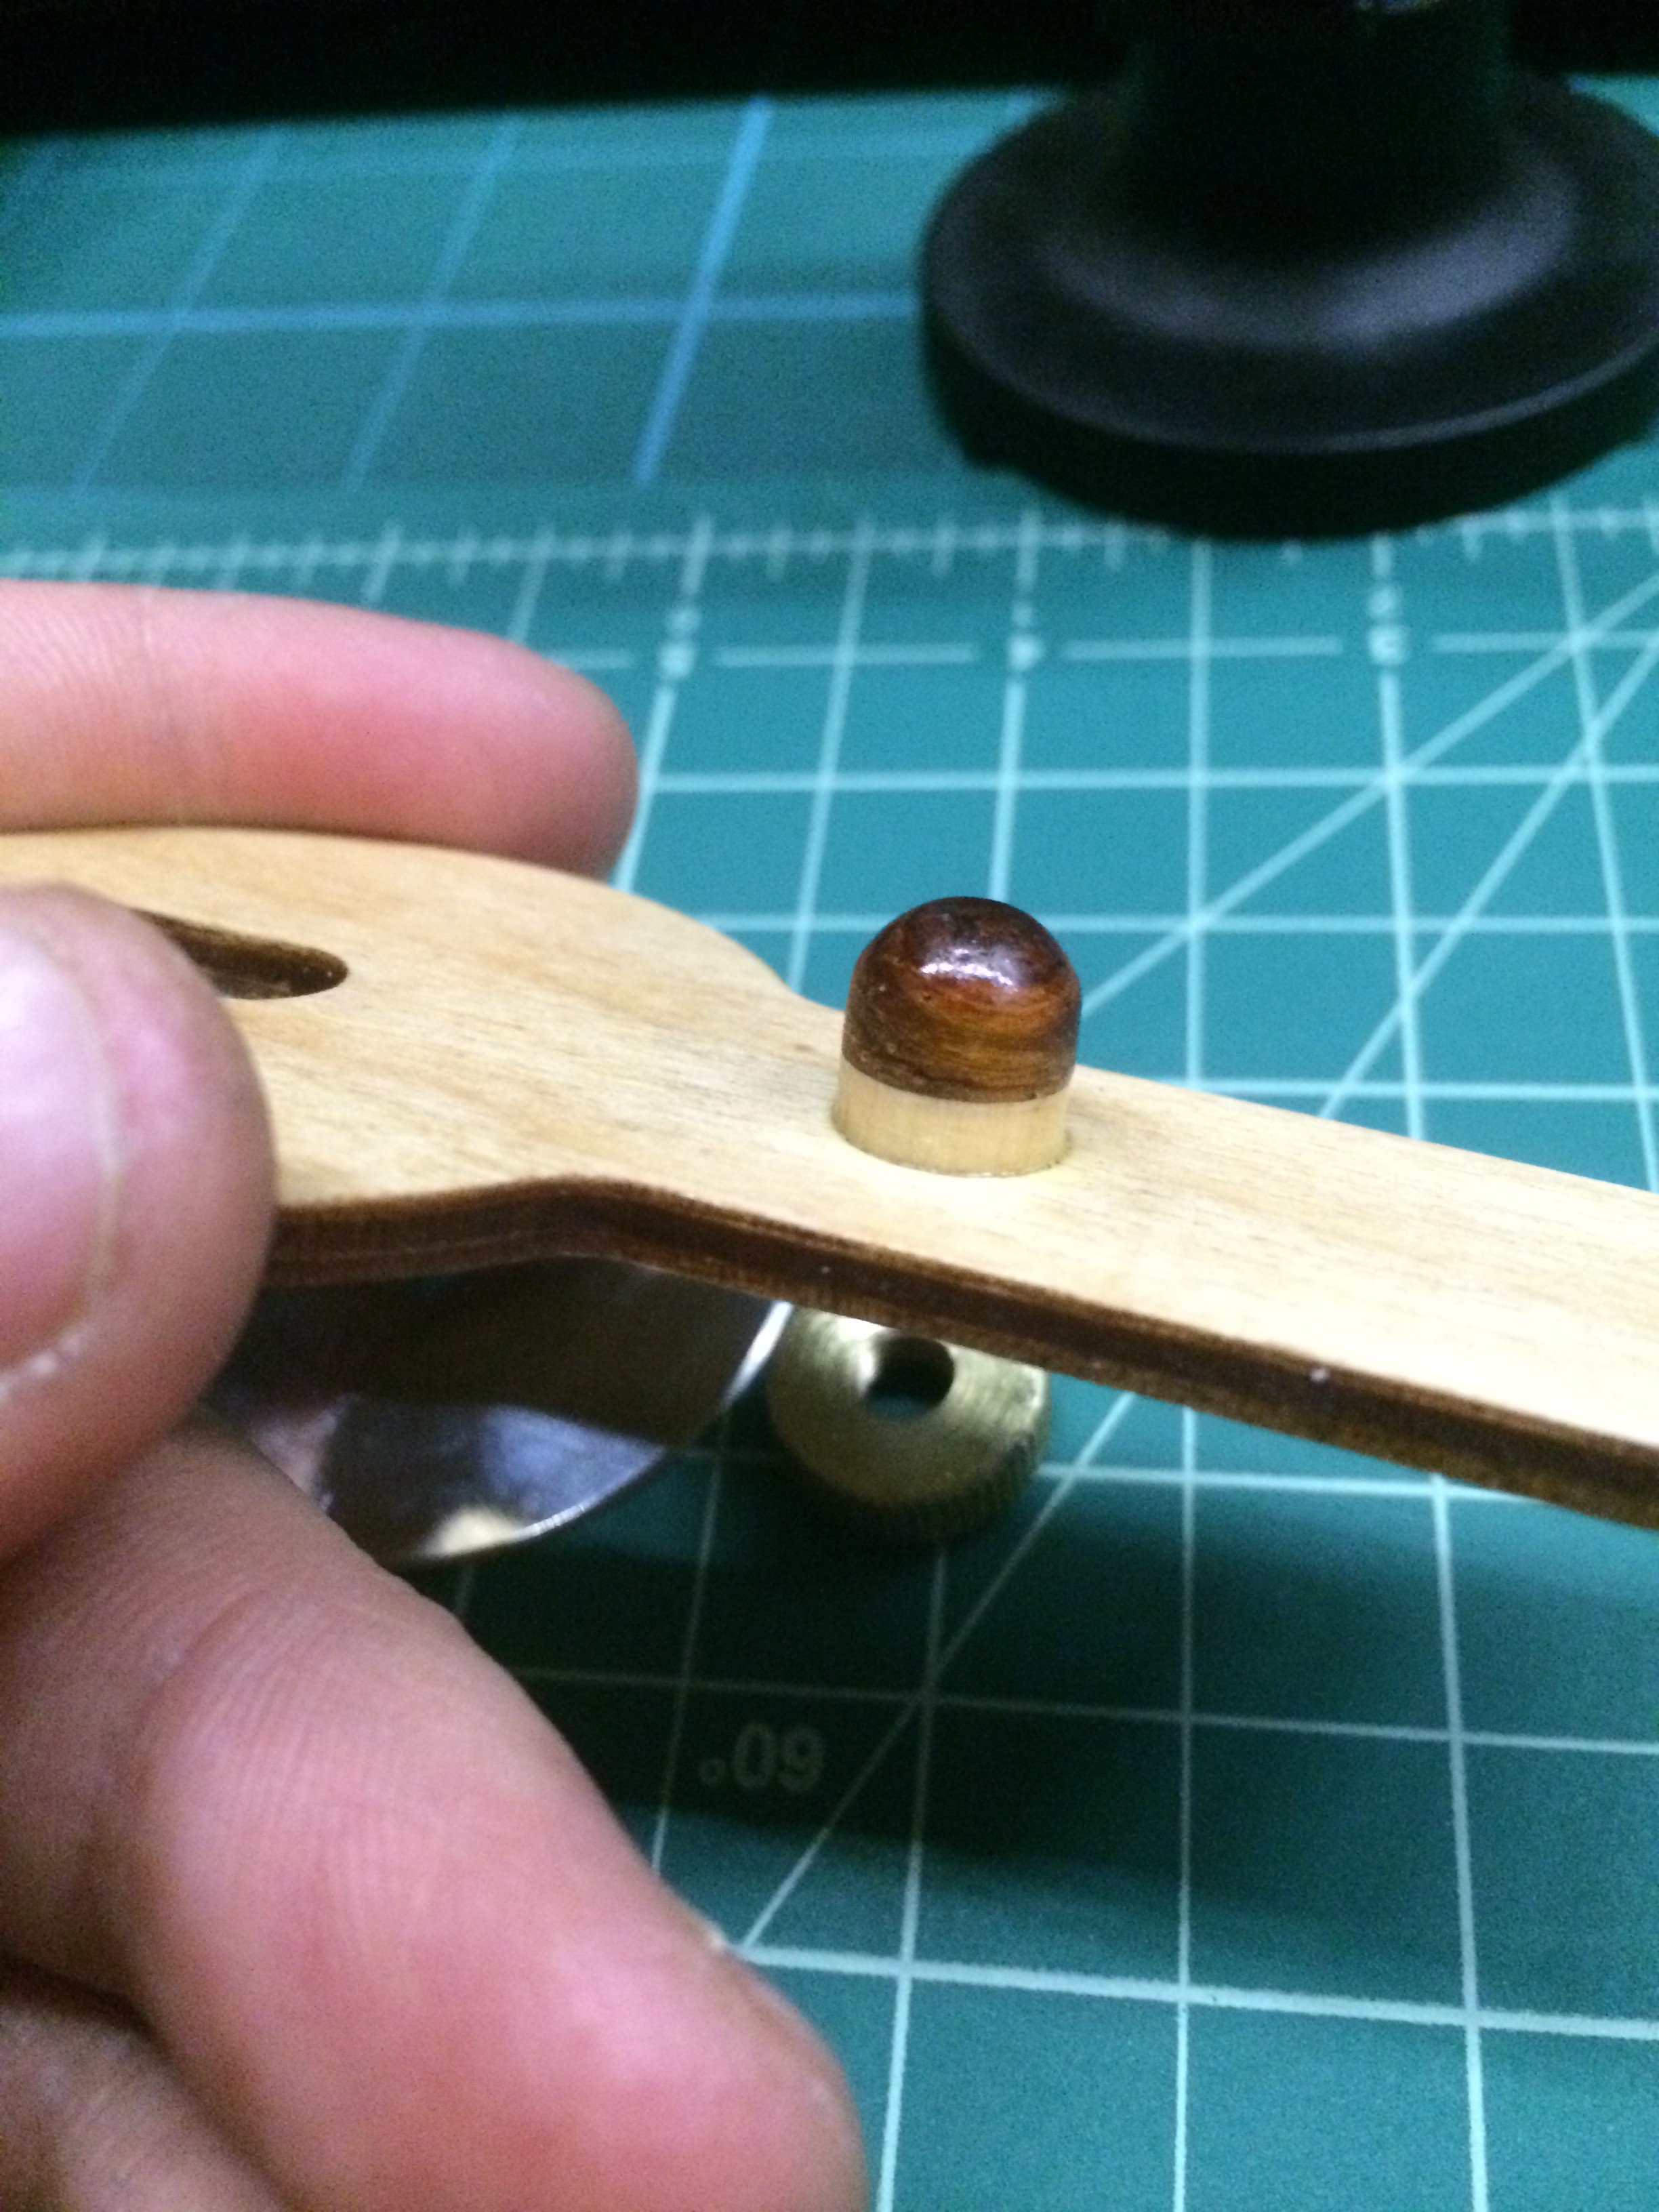
3. Monopod Foot Mod
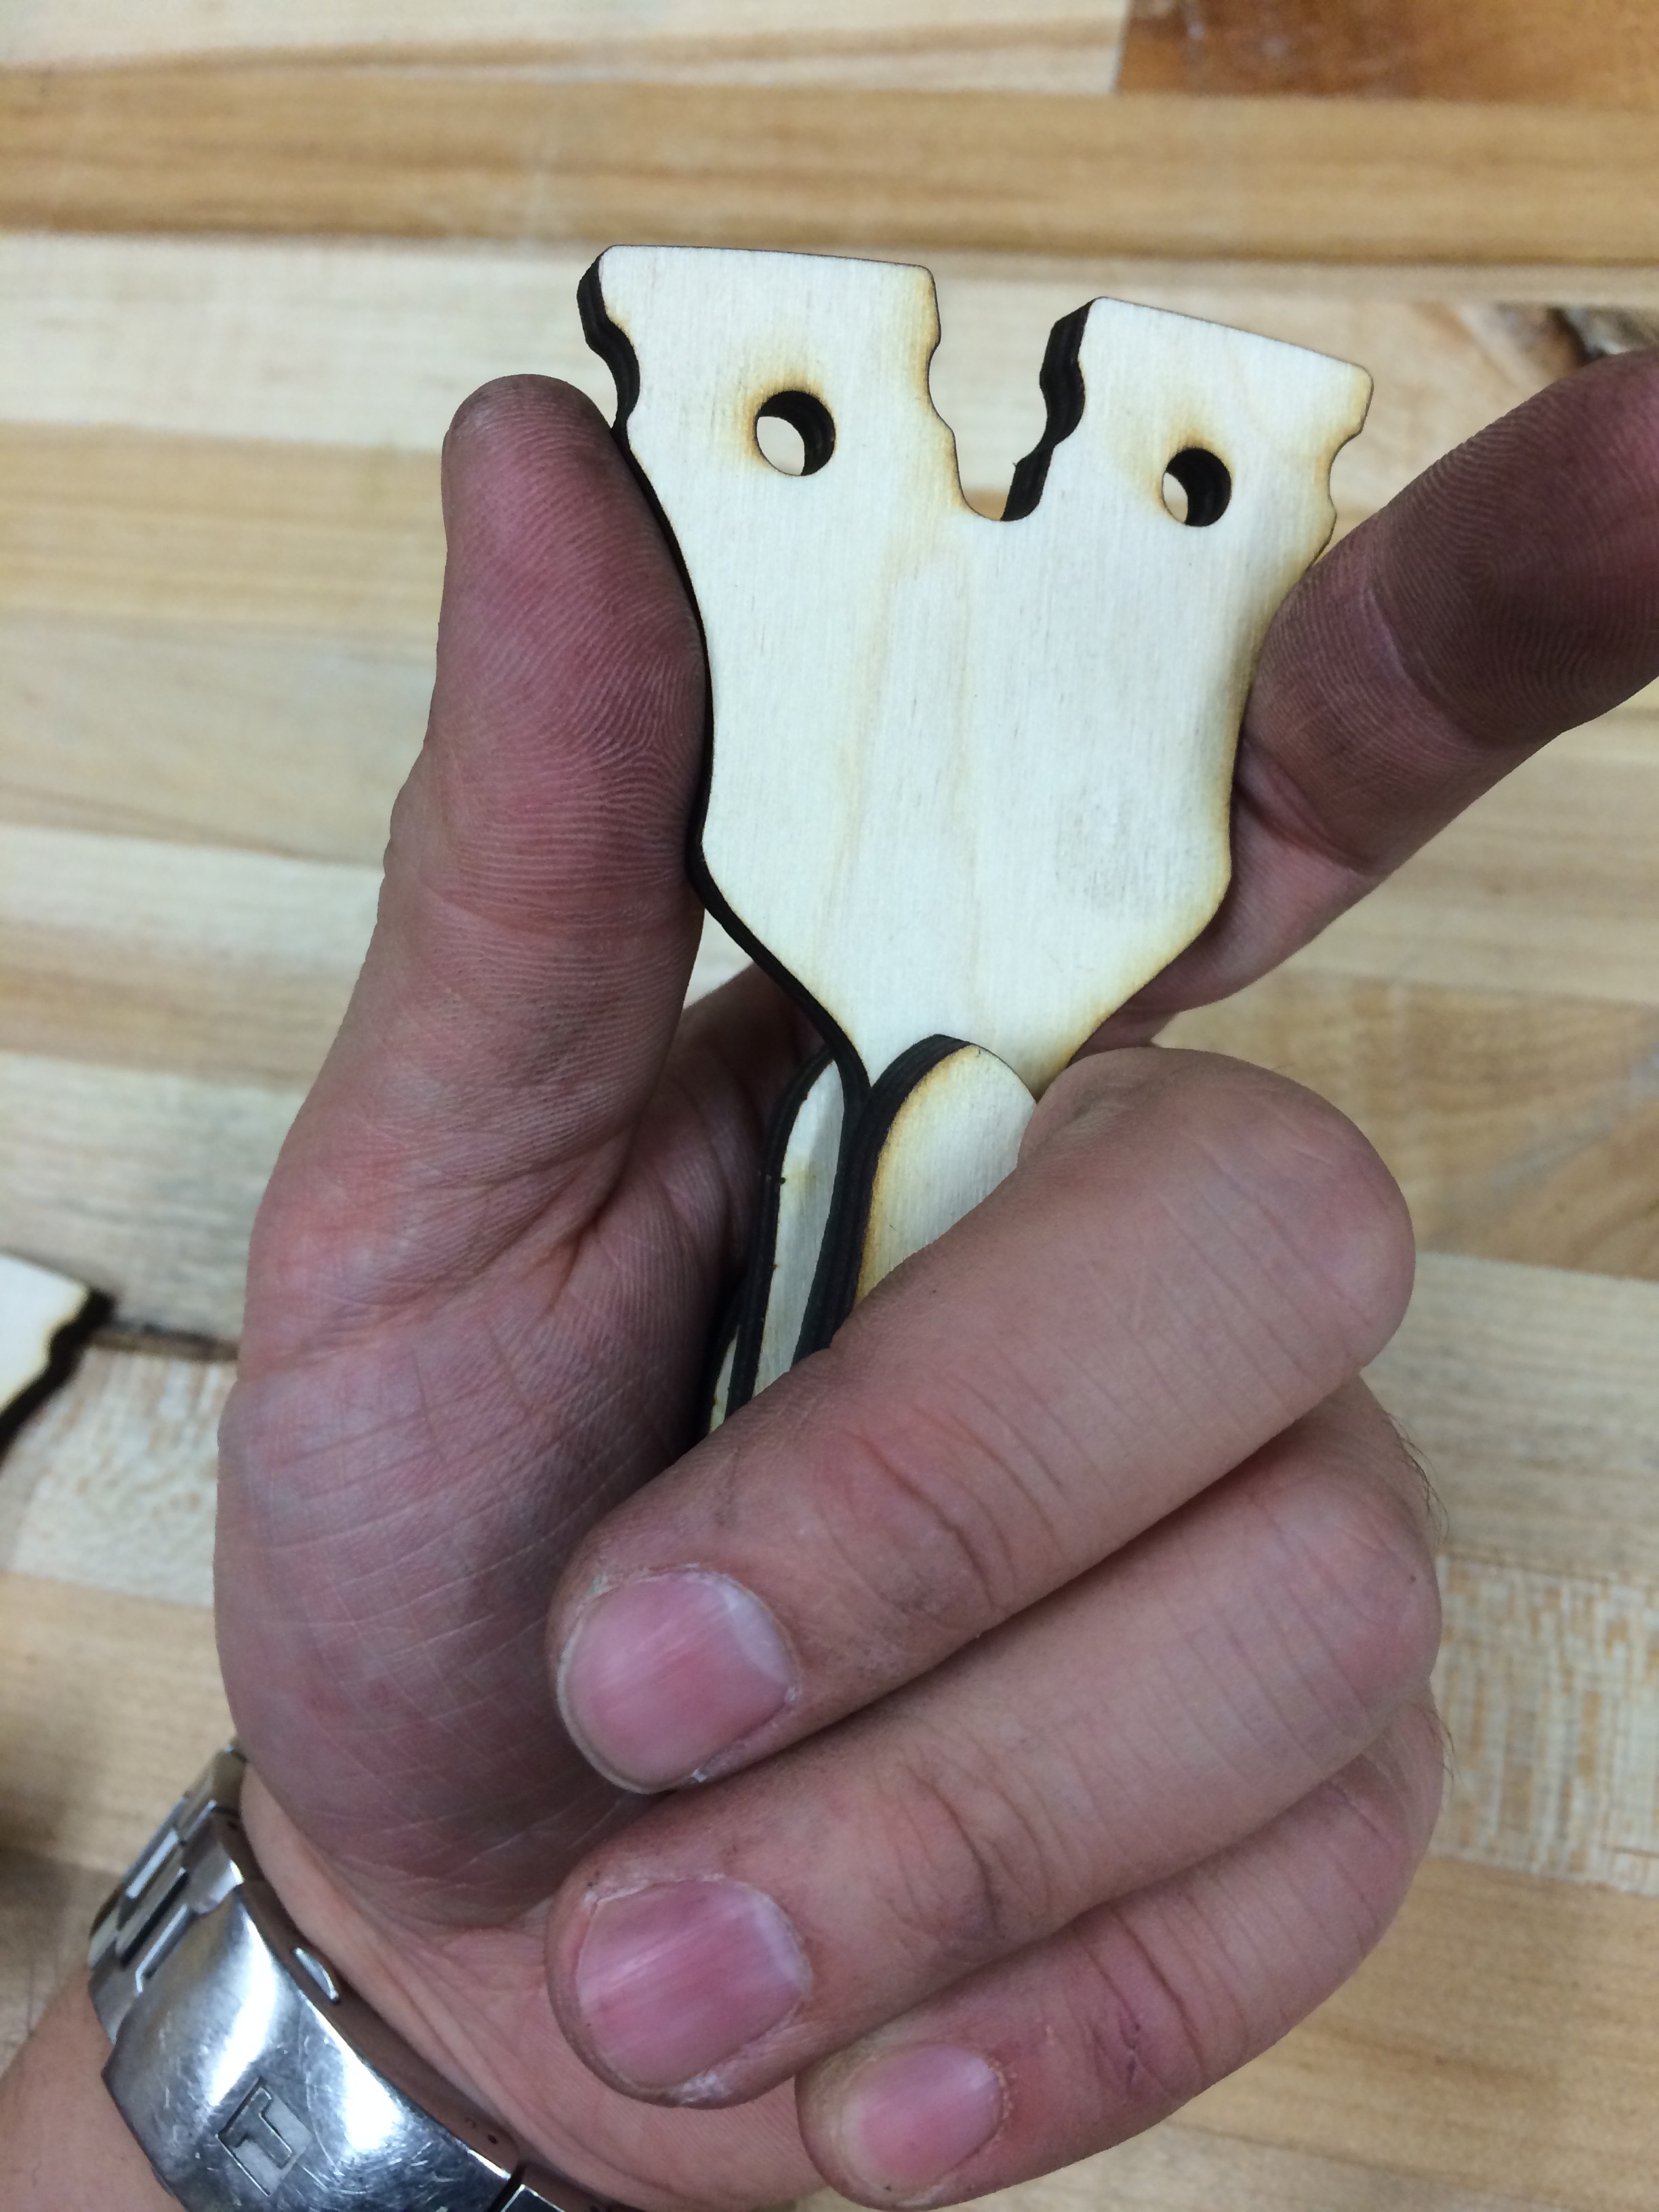
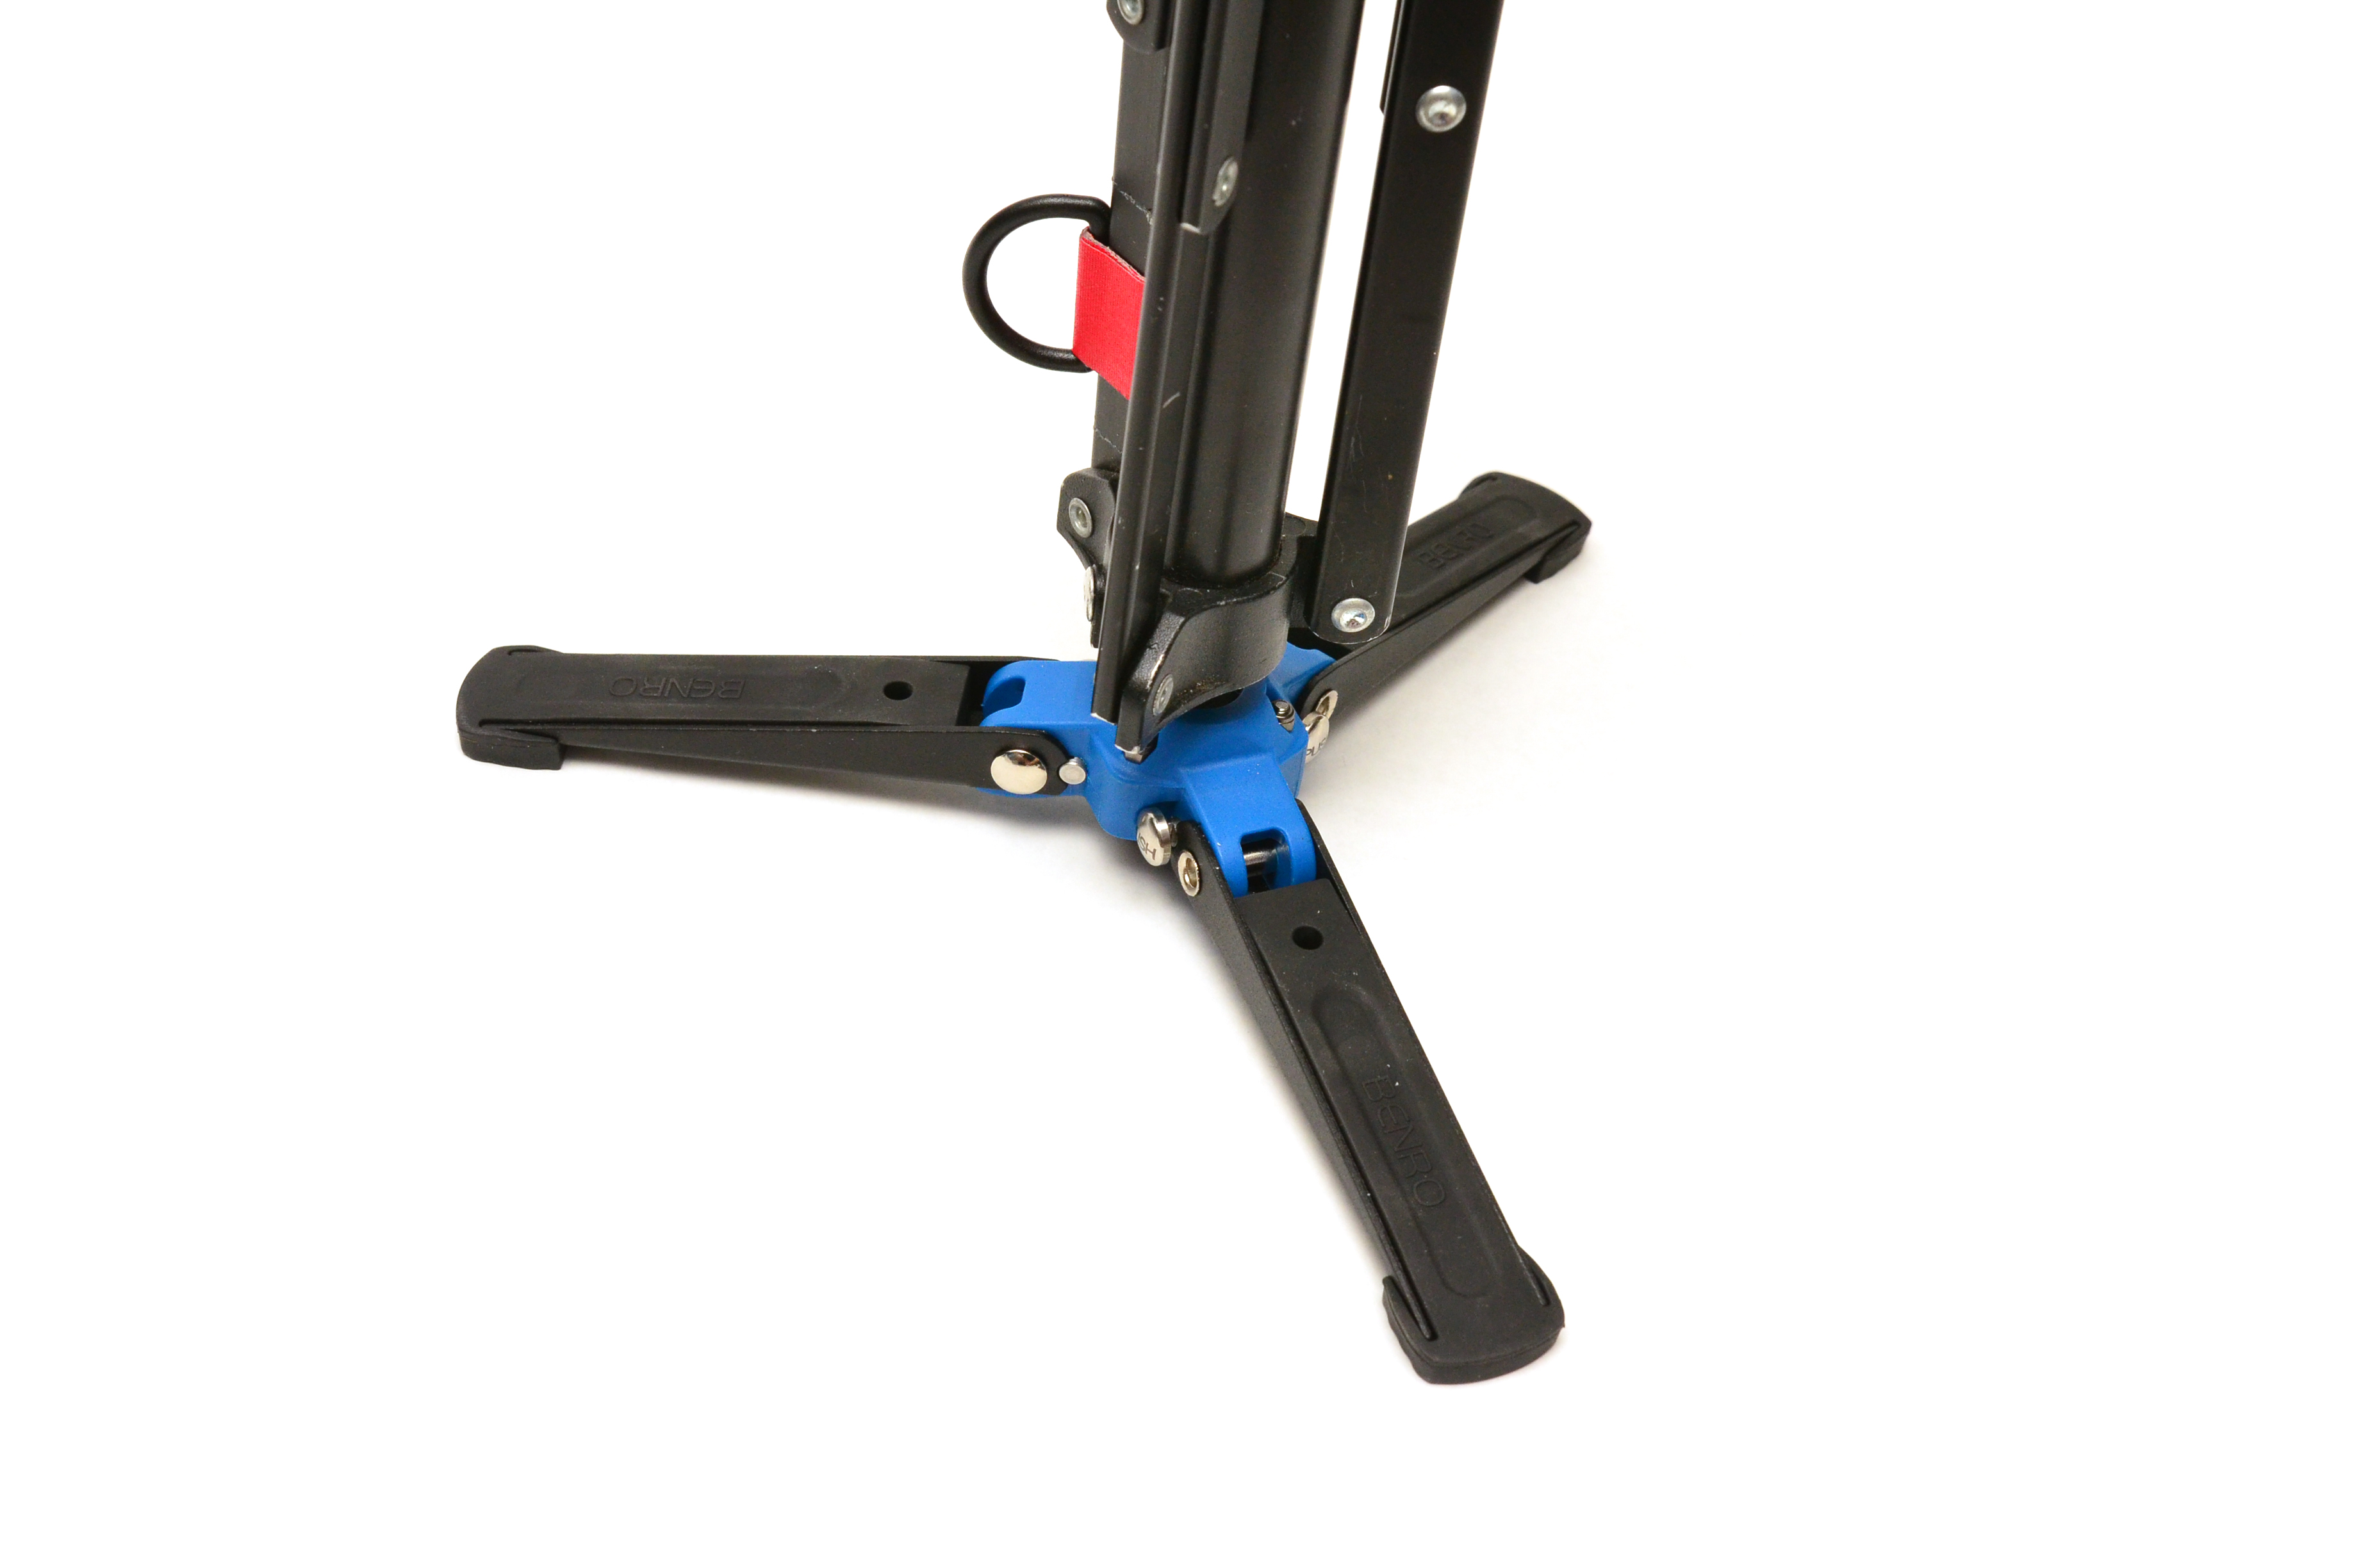
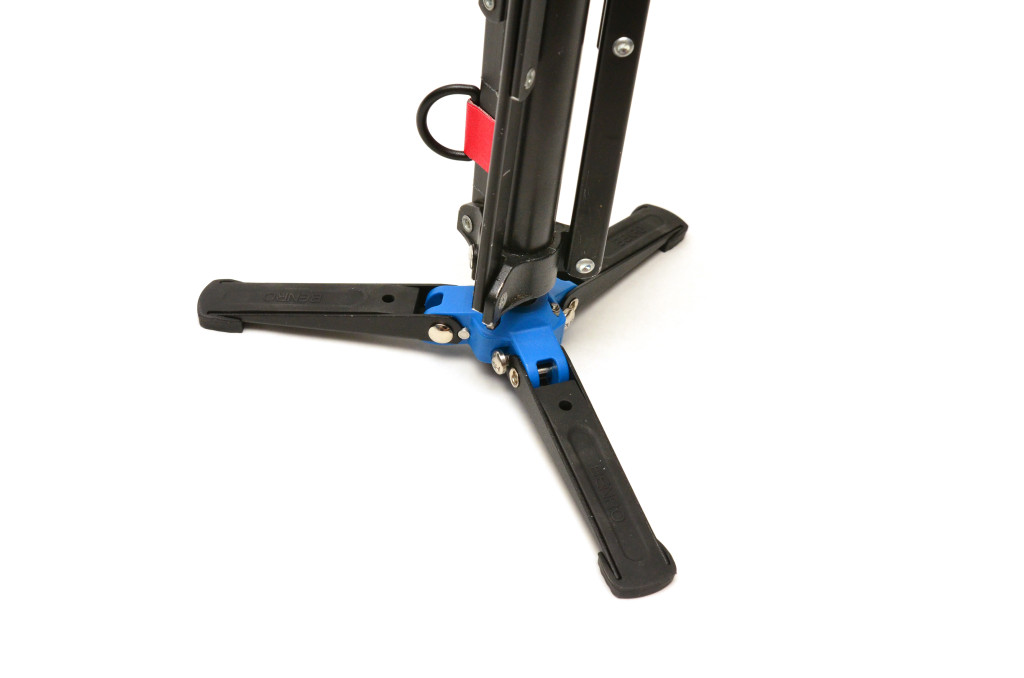
Alright, here’s where my version of the Nano stand system differs from any other. I am finding myself doing more and more video, much to my chagrin and wielding a nearly 6-8 lb camera and keeping it steady is a feat best left to higher beings. While attending a wedding in Hong Kong, I noticed one of the crew documenting the wedding using a curious little monopod foot that looked really good. I asked and he showed me where I could get one. A day later, I had in my hands a Benro ST1 hydraulic universal monopod foot. I had already thought of how I could incorporate this into a Nano stand, knowing the bottom base bracket was solid cast aluminum. I bought the one with the 3/8 thread to get the maximum amount of support.
The Benro ST1 is a mini tripod foot, meaning it has three legs. The Nano stand also has three legs, so I thought I would be able mount the ST1 on the bottom and have the short legs nest in the empty space between the Nano legs. I was right!
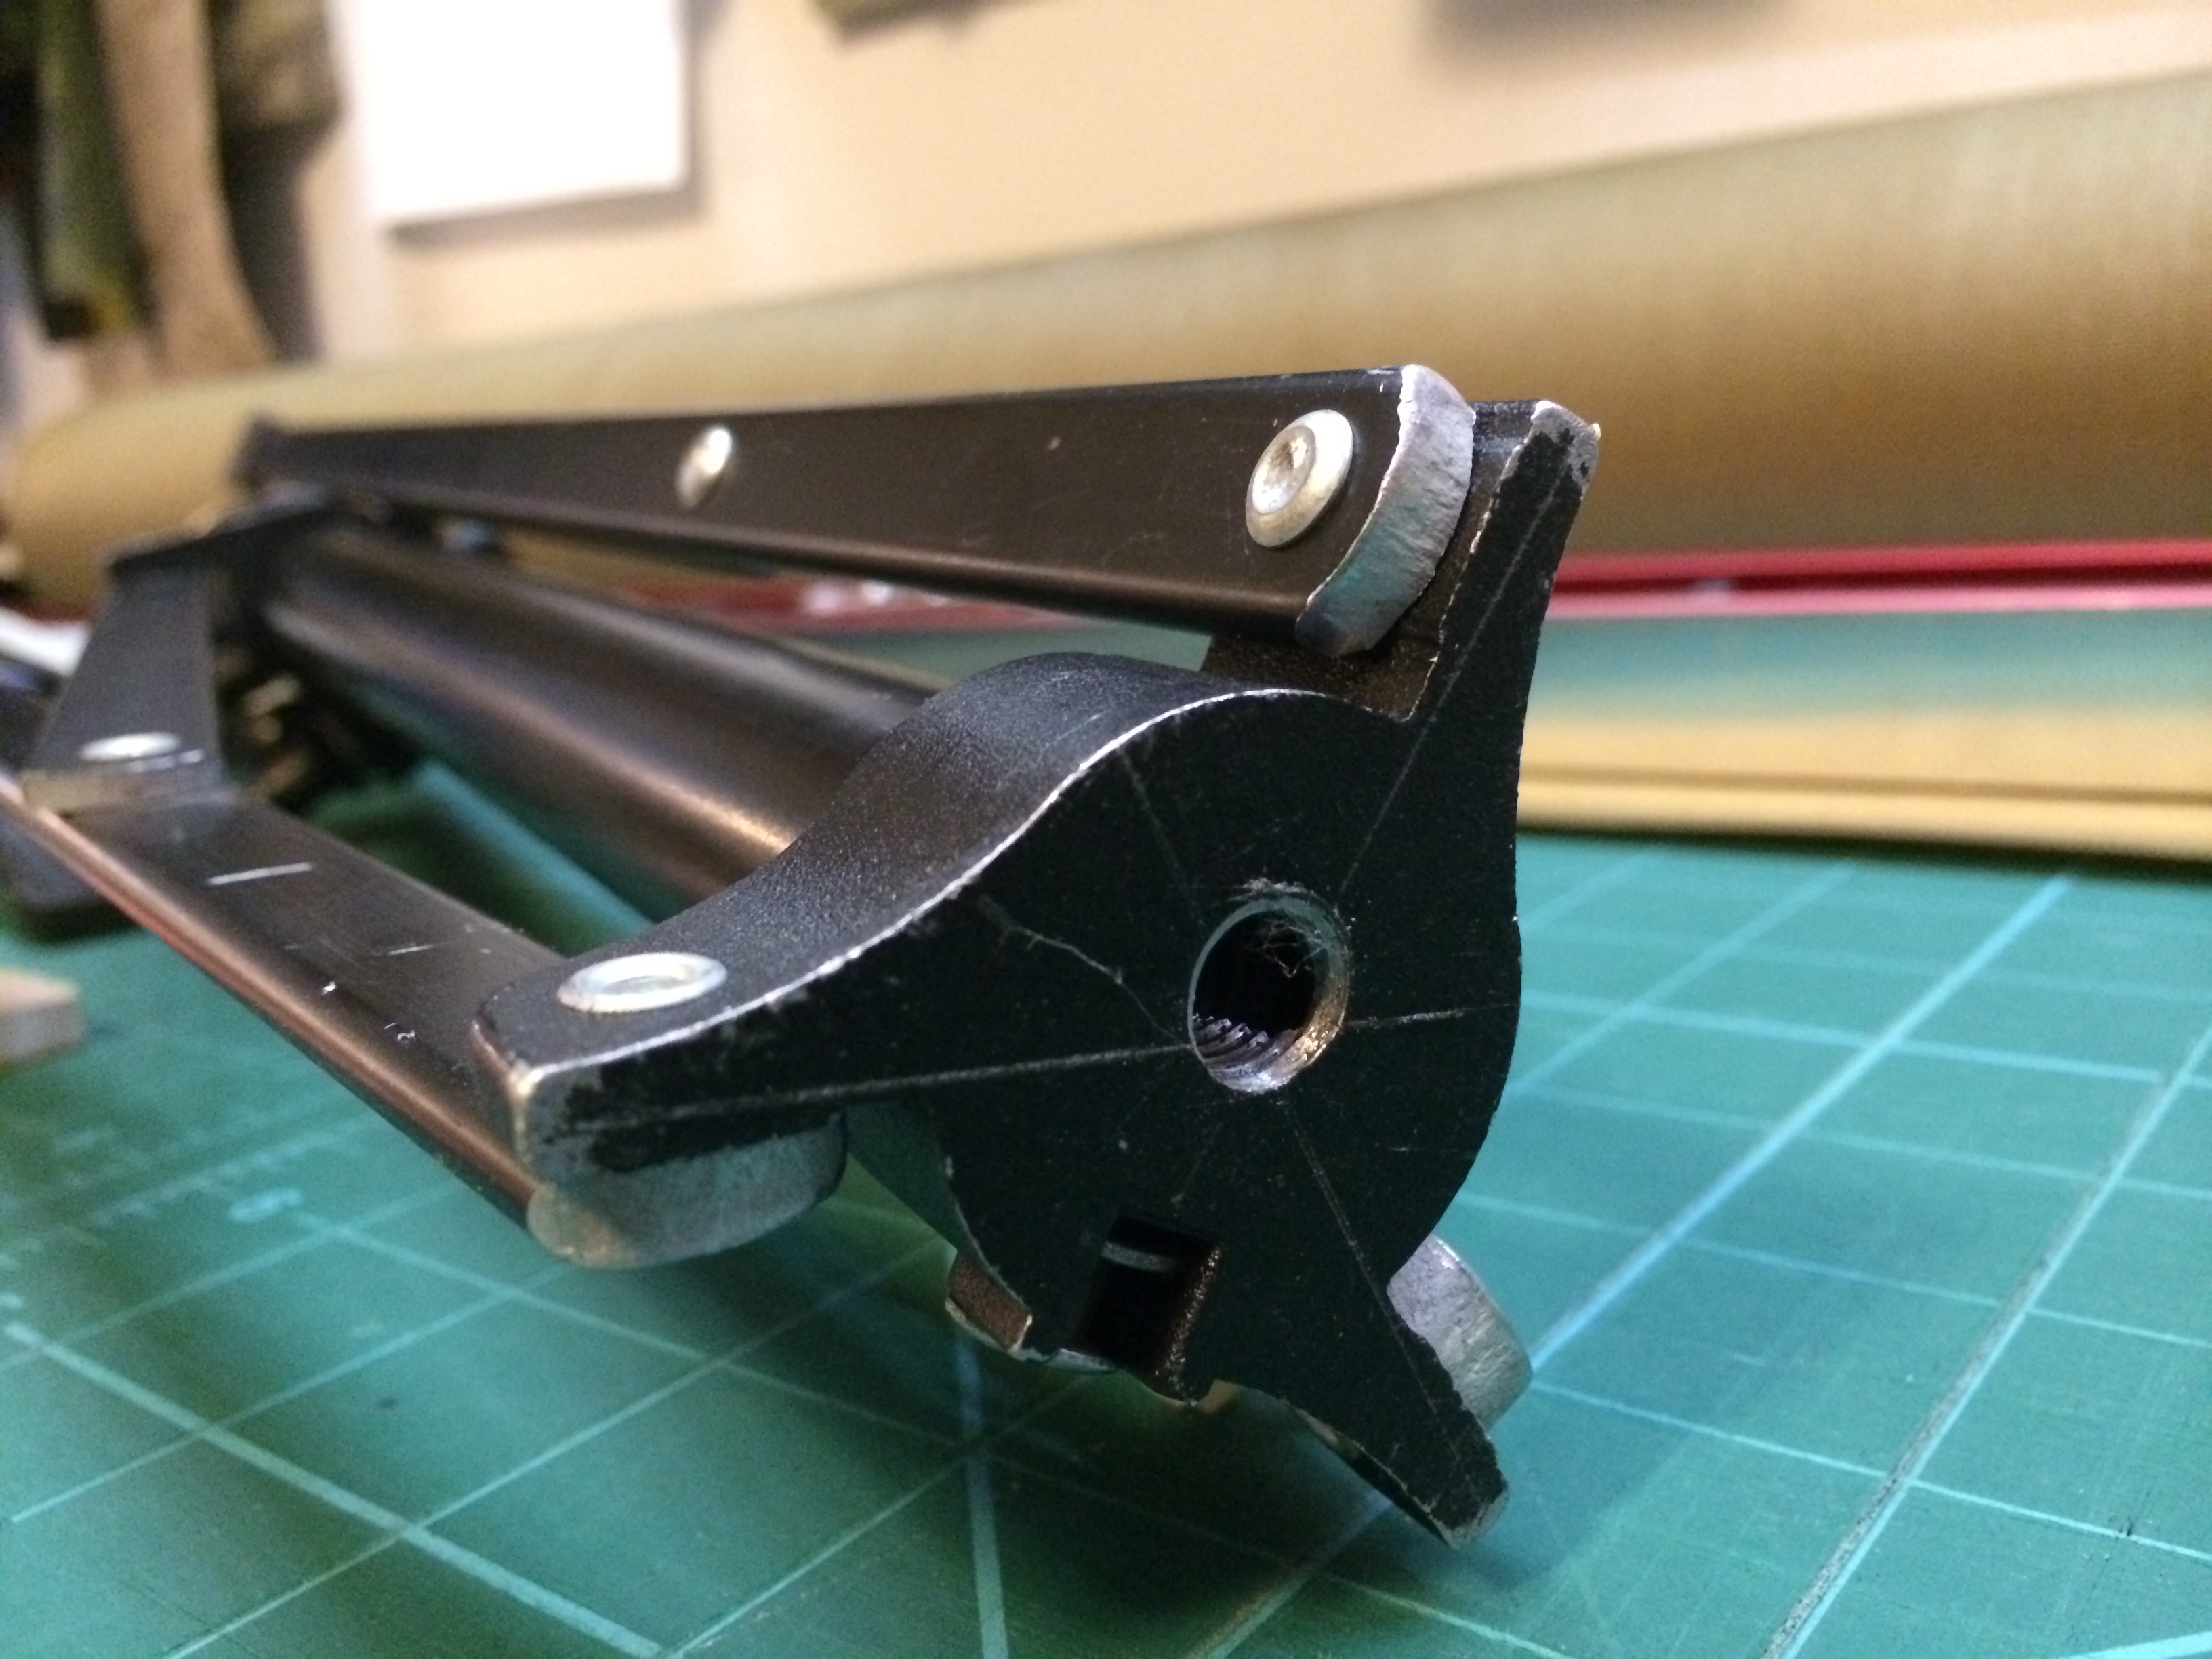
I drilled and tapped the bottom of the Nano stand with a 3/8″ thread, ready to accept the ST1. Not going to lie, I misfired and didn’t hit the centre of the base, but it didn’t effect the result much.

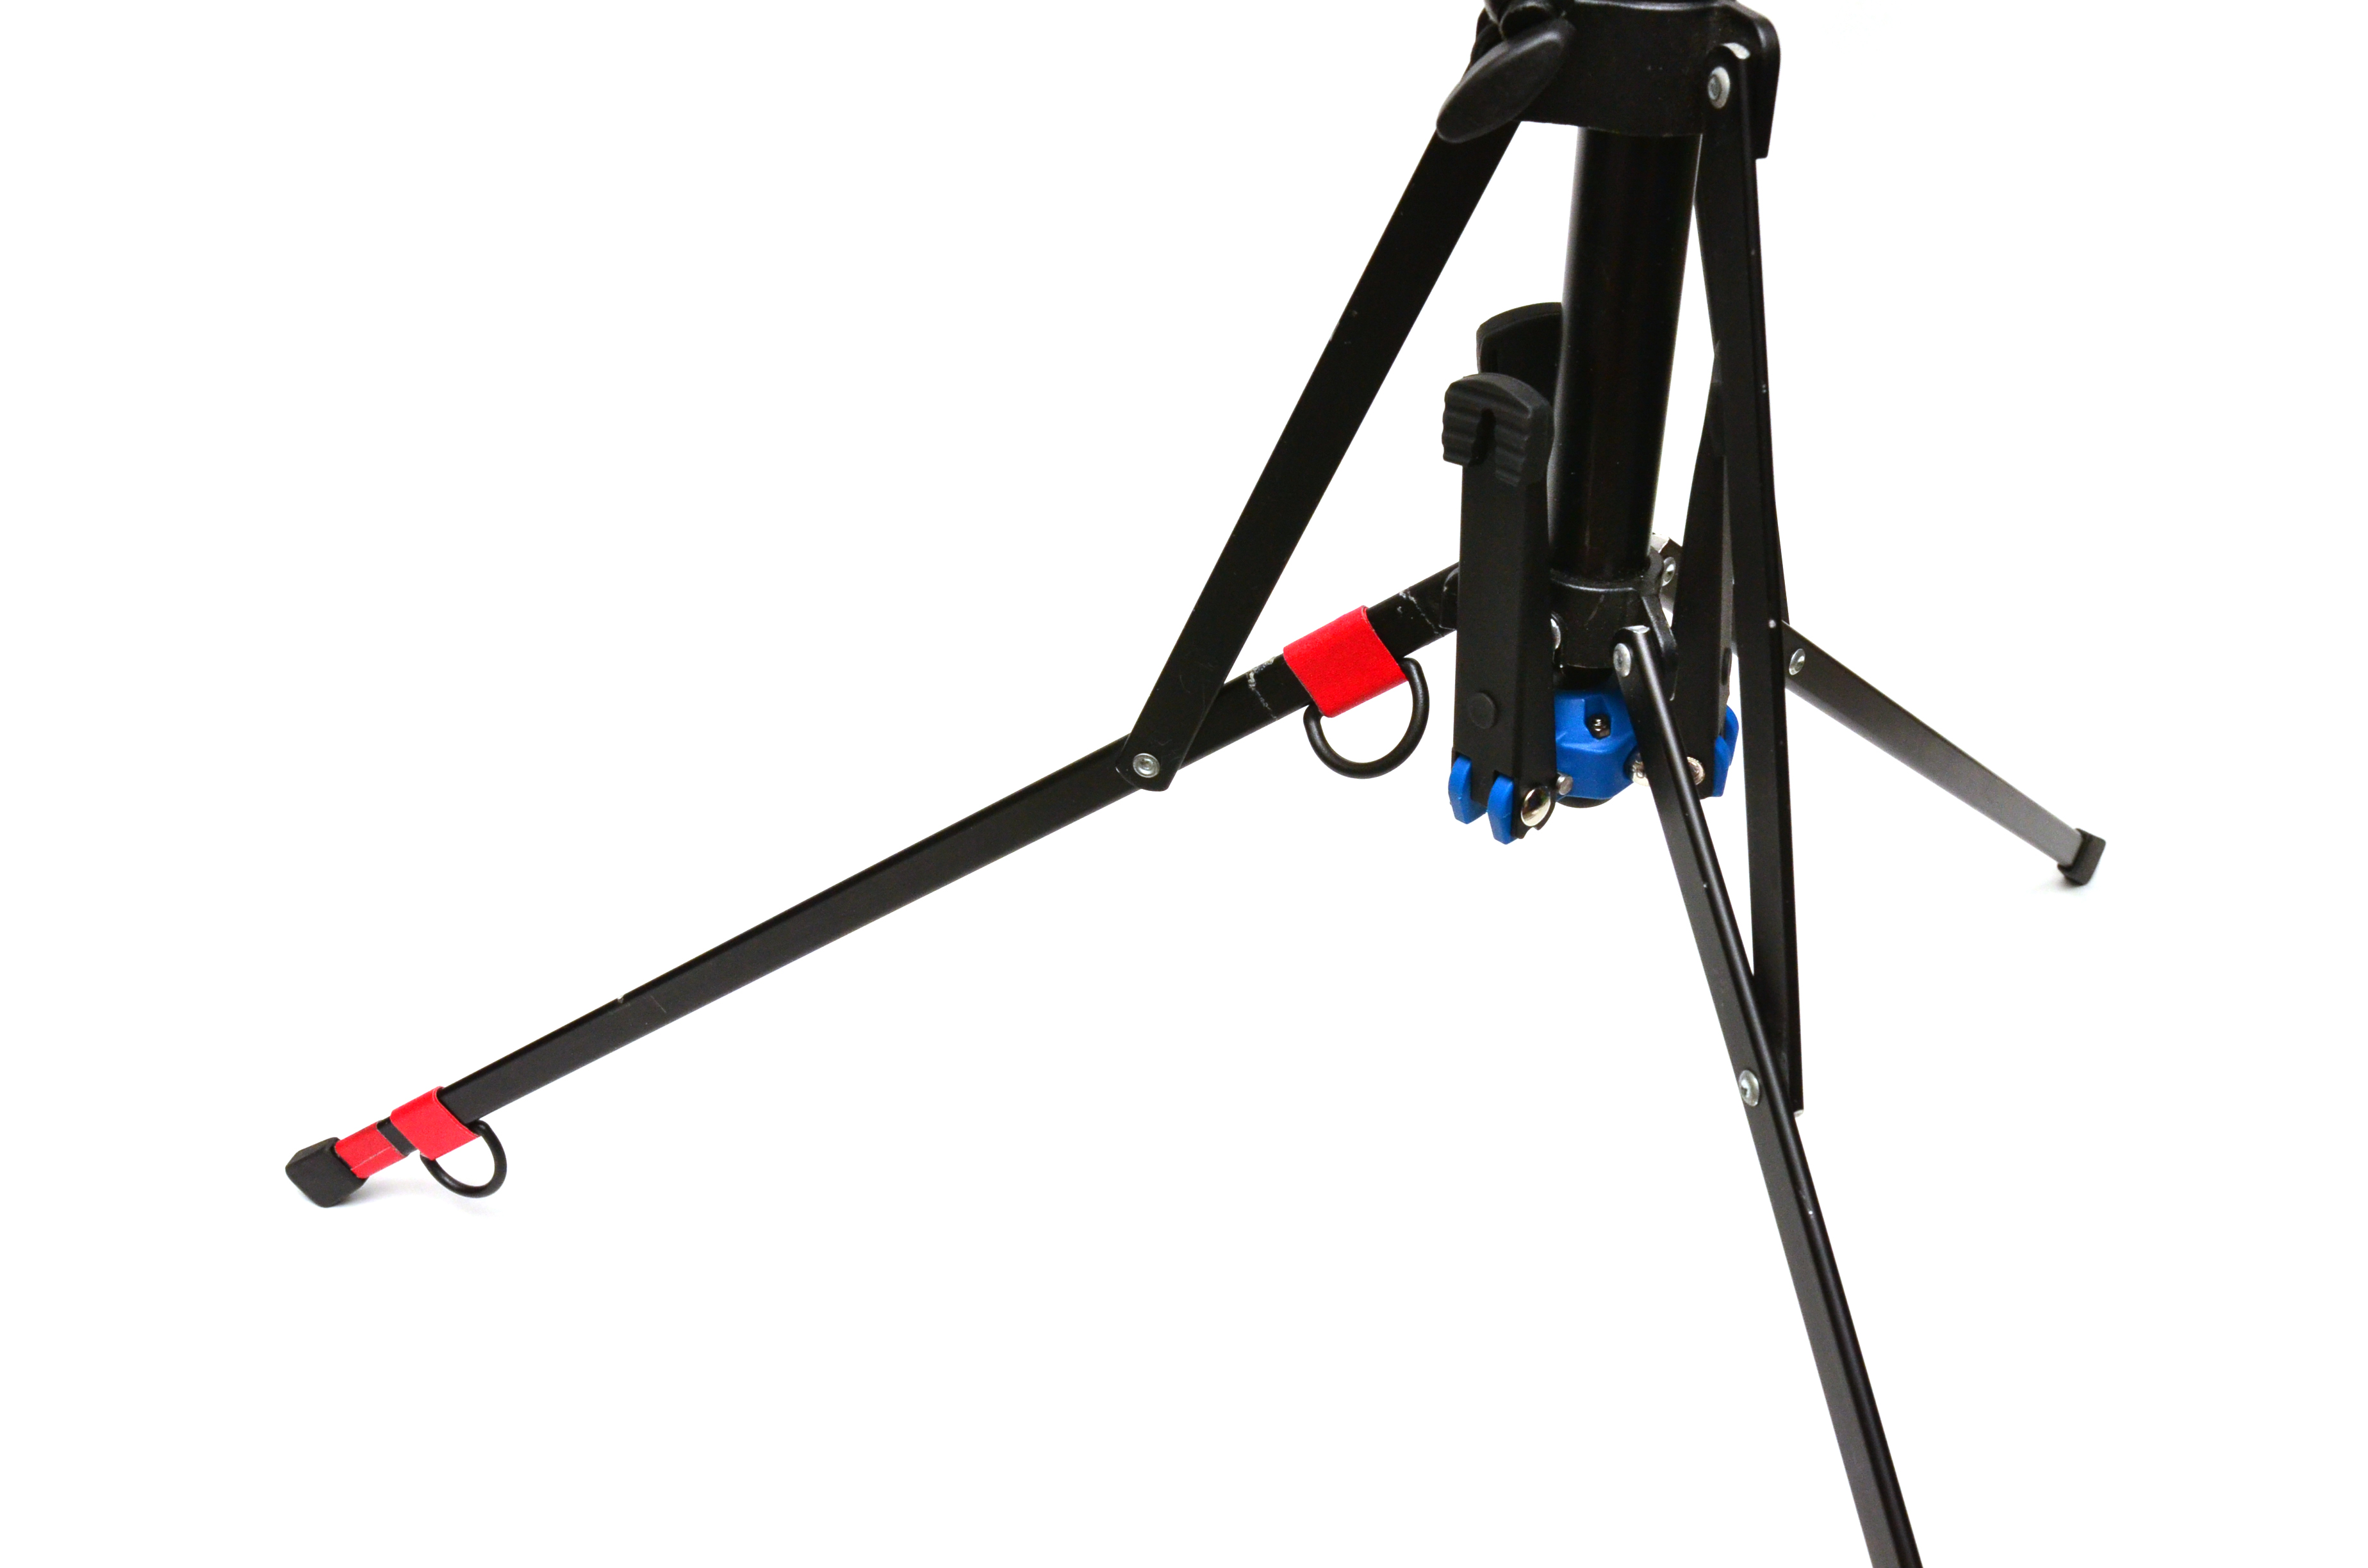
After mounting the ST1 on the bottom, the effect is as expected. The legs of the ST1 nest PERFECTLY into the legs of the Nano.
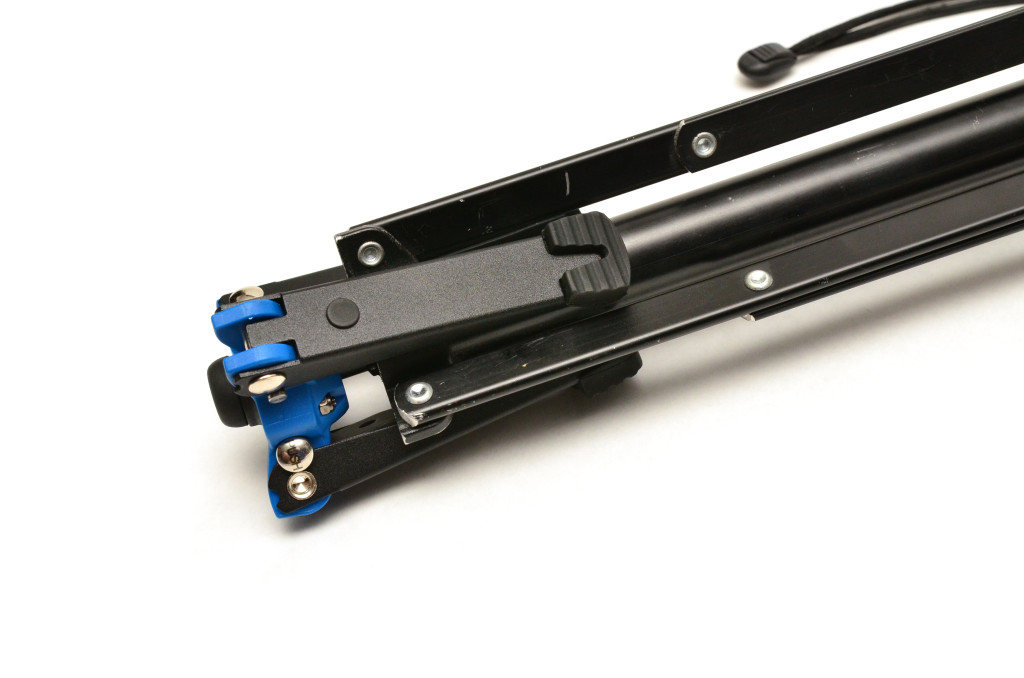
When open, they lock into position and the integrated ball head allows for a smooth freedom of movement on nearly any terrain.
 Since legs nest, it will not affect the Nano’s leg extension, even when lowered into its tallest position.
One of the added advantages of having a second set of smaller legs is that if the bolts are tightened for the ballhead on the ST1, it will stand up on its own. Making this a perfect stand for those places where you can’t deploy the full legs need a super low profile (untouched, indoors) naked flash stand.

Which brings us to our final mod, the business end, the flash bracket.
4. Universal Monopod/Flash Bracket Mod
Only wanting to carry a single implement of support, for video work and the very occasional low light situation where I need I monopod, I needed to make sure the flash bracket end was modular. I’ve been using the Arca-Swiss style tripod mounting system ever since I saw Kirk Enterprises and Really Right Stuff and their amazing camera L-brackets which allow for the camera to be mounted in the vertical position without tipping the camera over on its side on a tripod, super unique and useful. As such, the system is a little pricey, but have been adopted by many manufactures reduced the initial cost of moving to that style of mount.
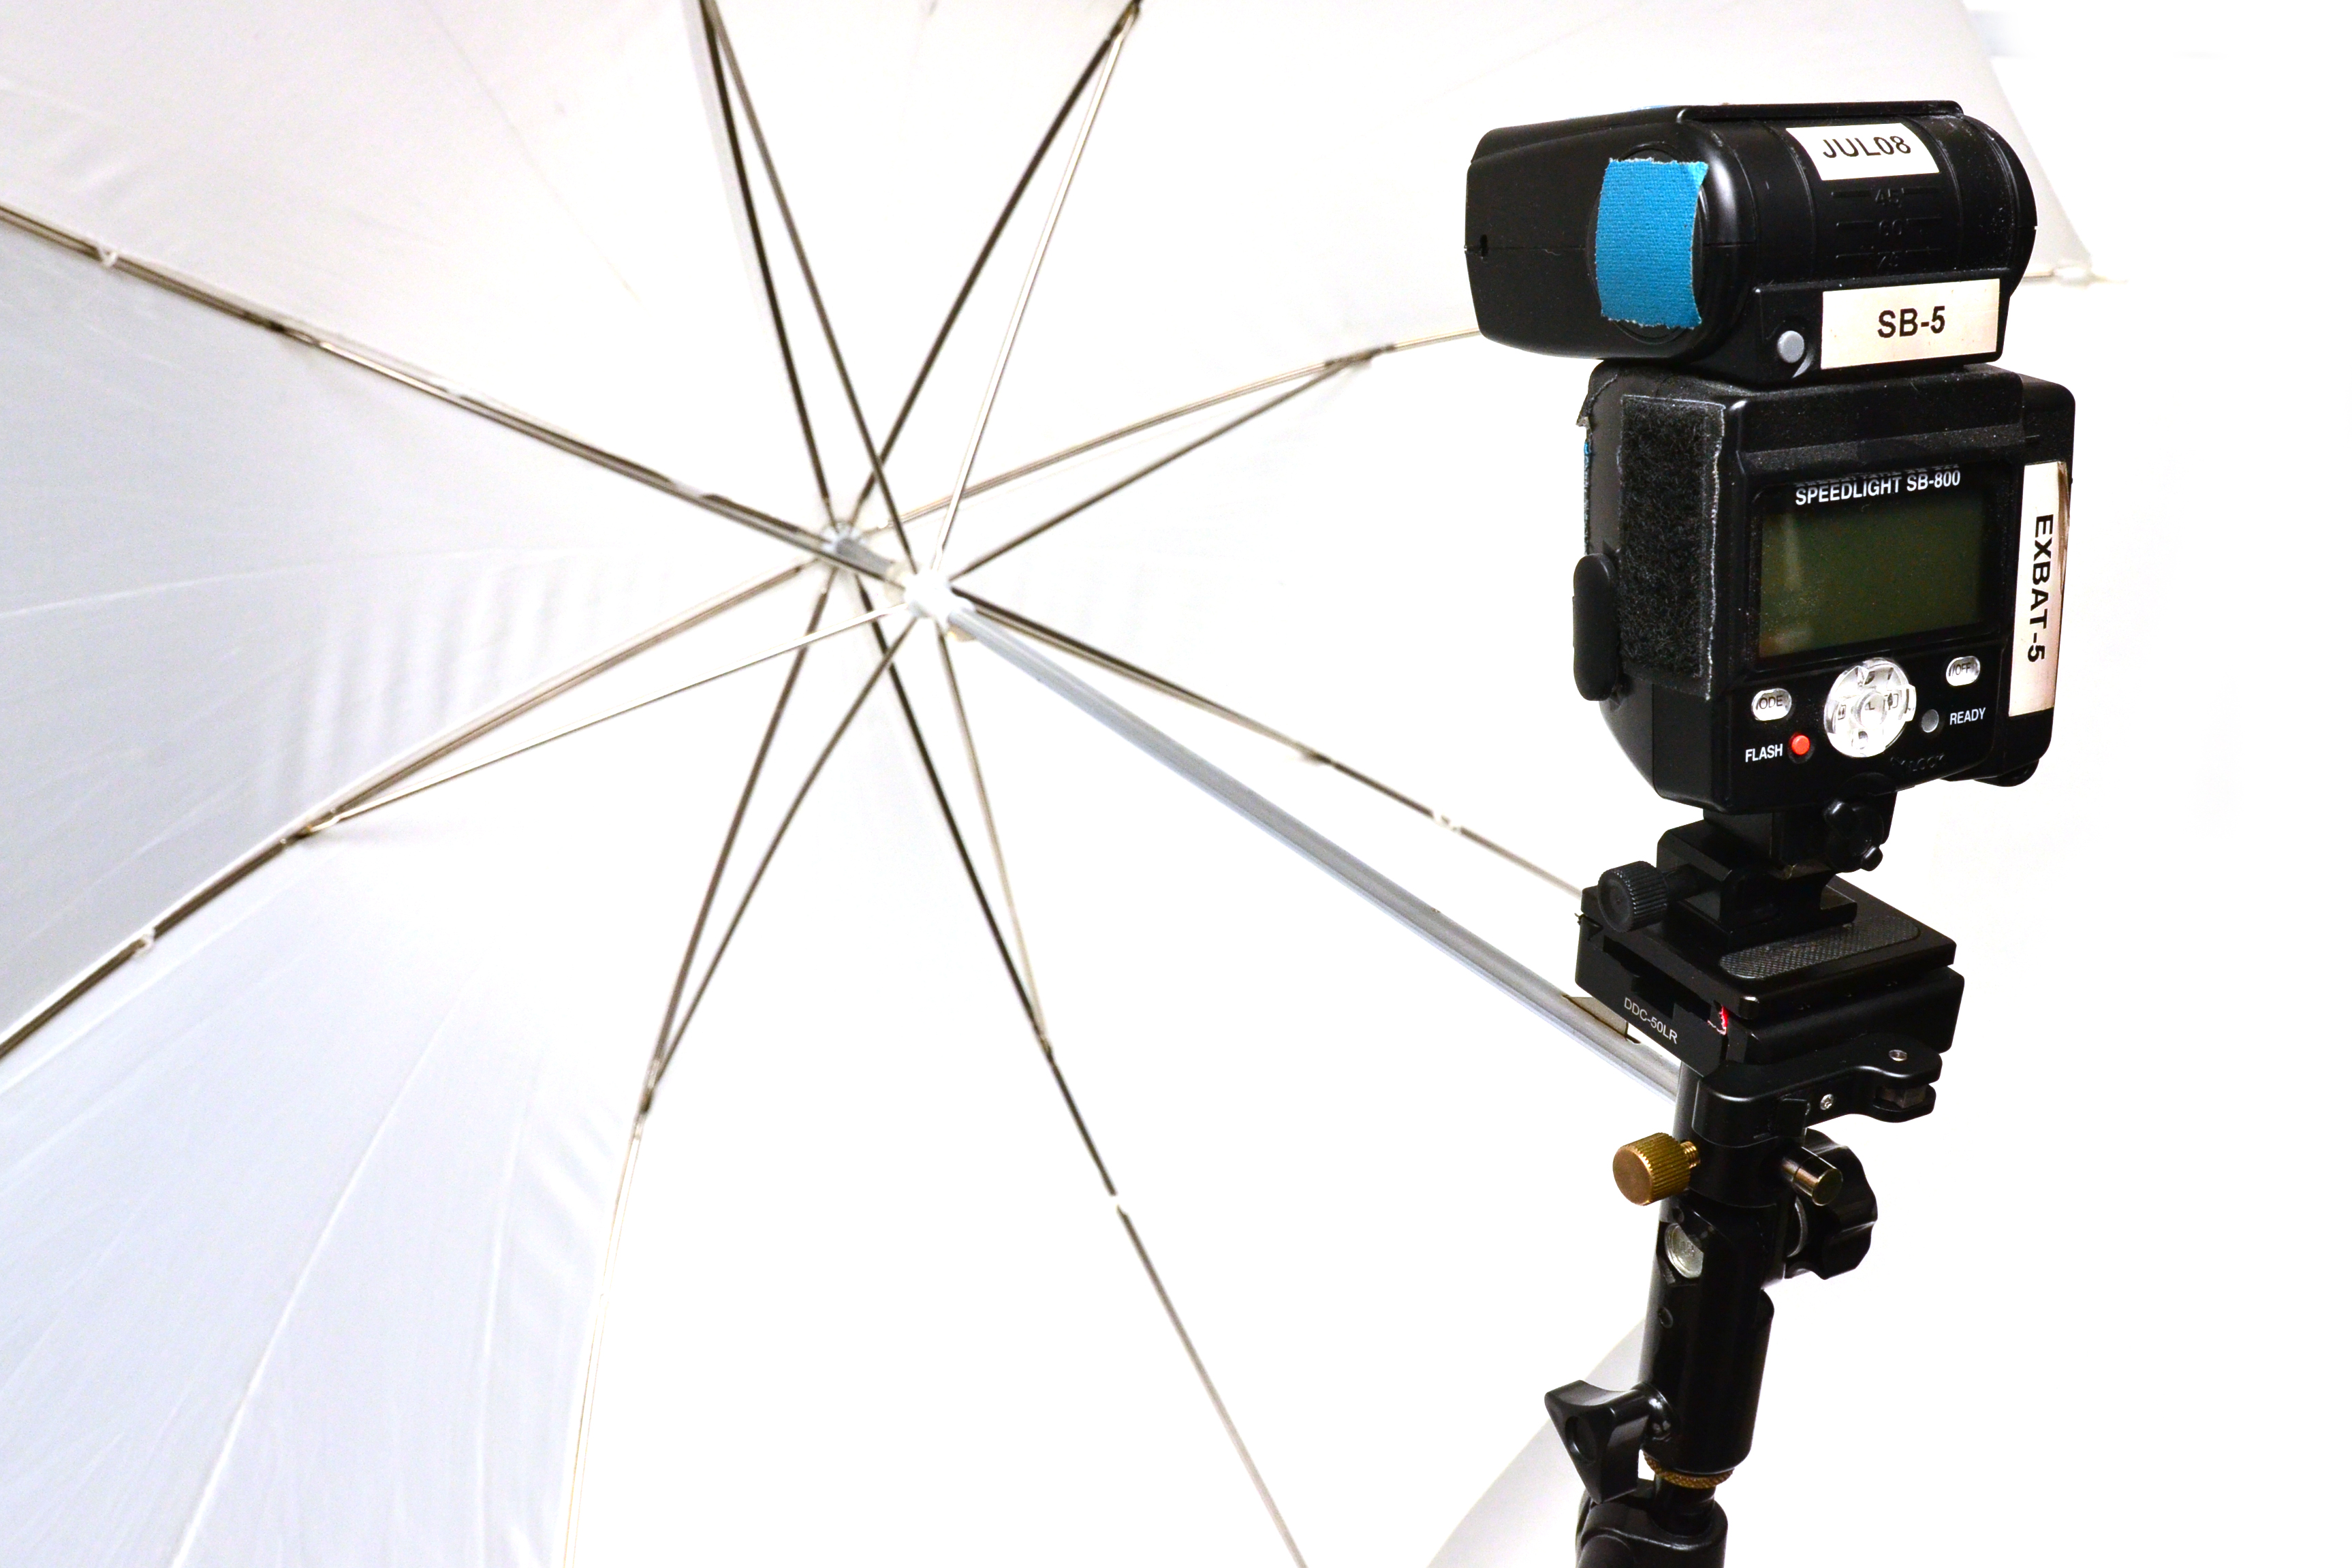
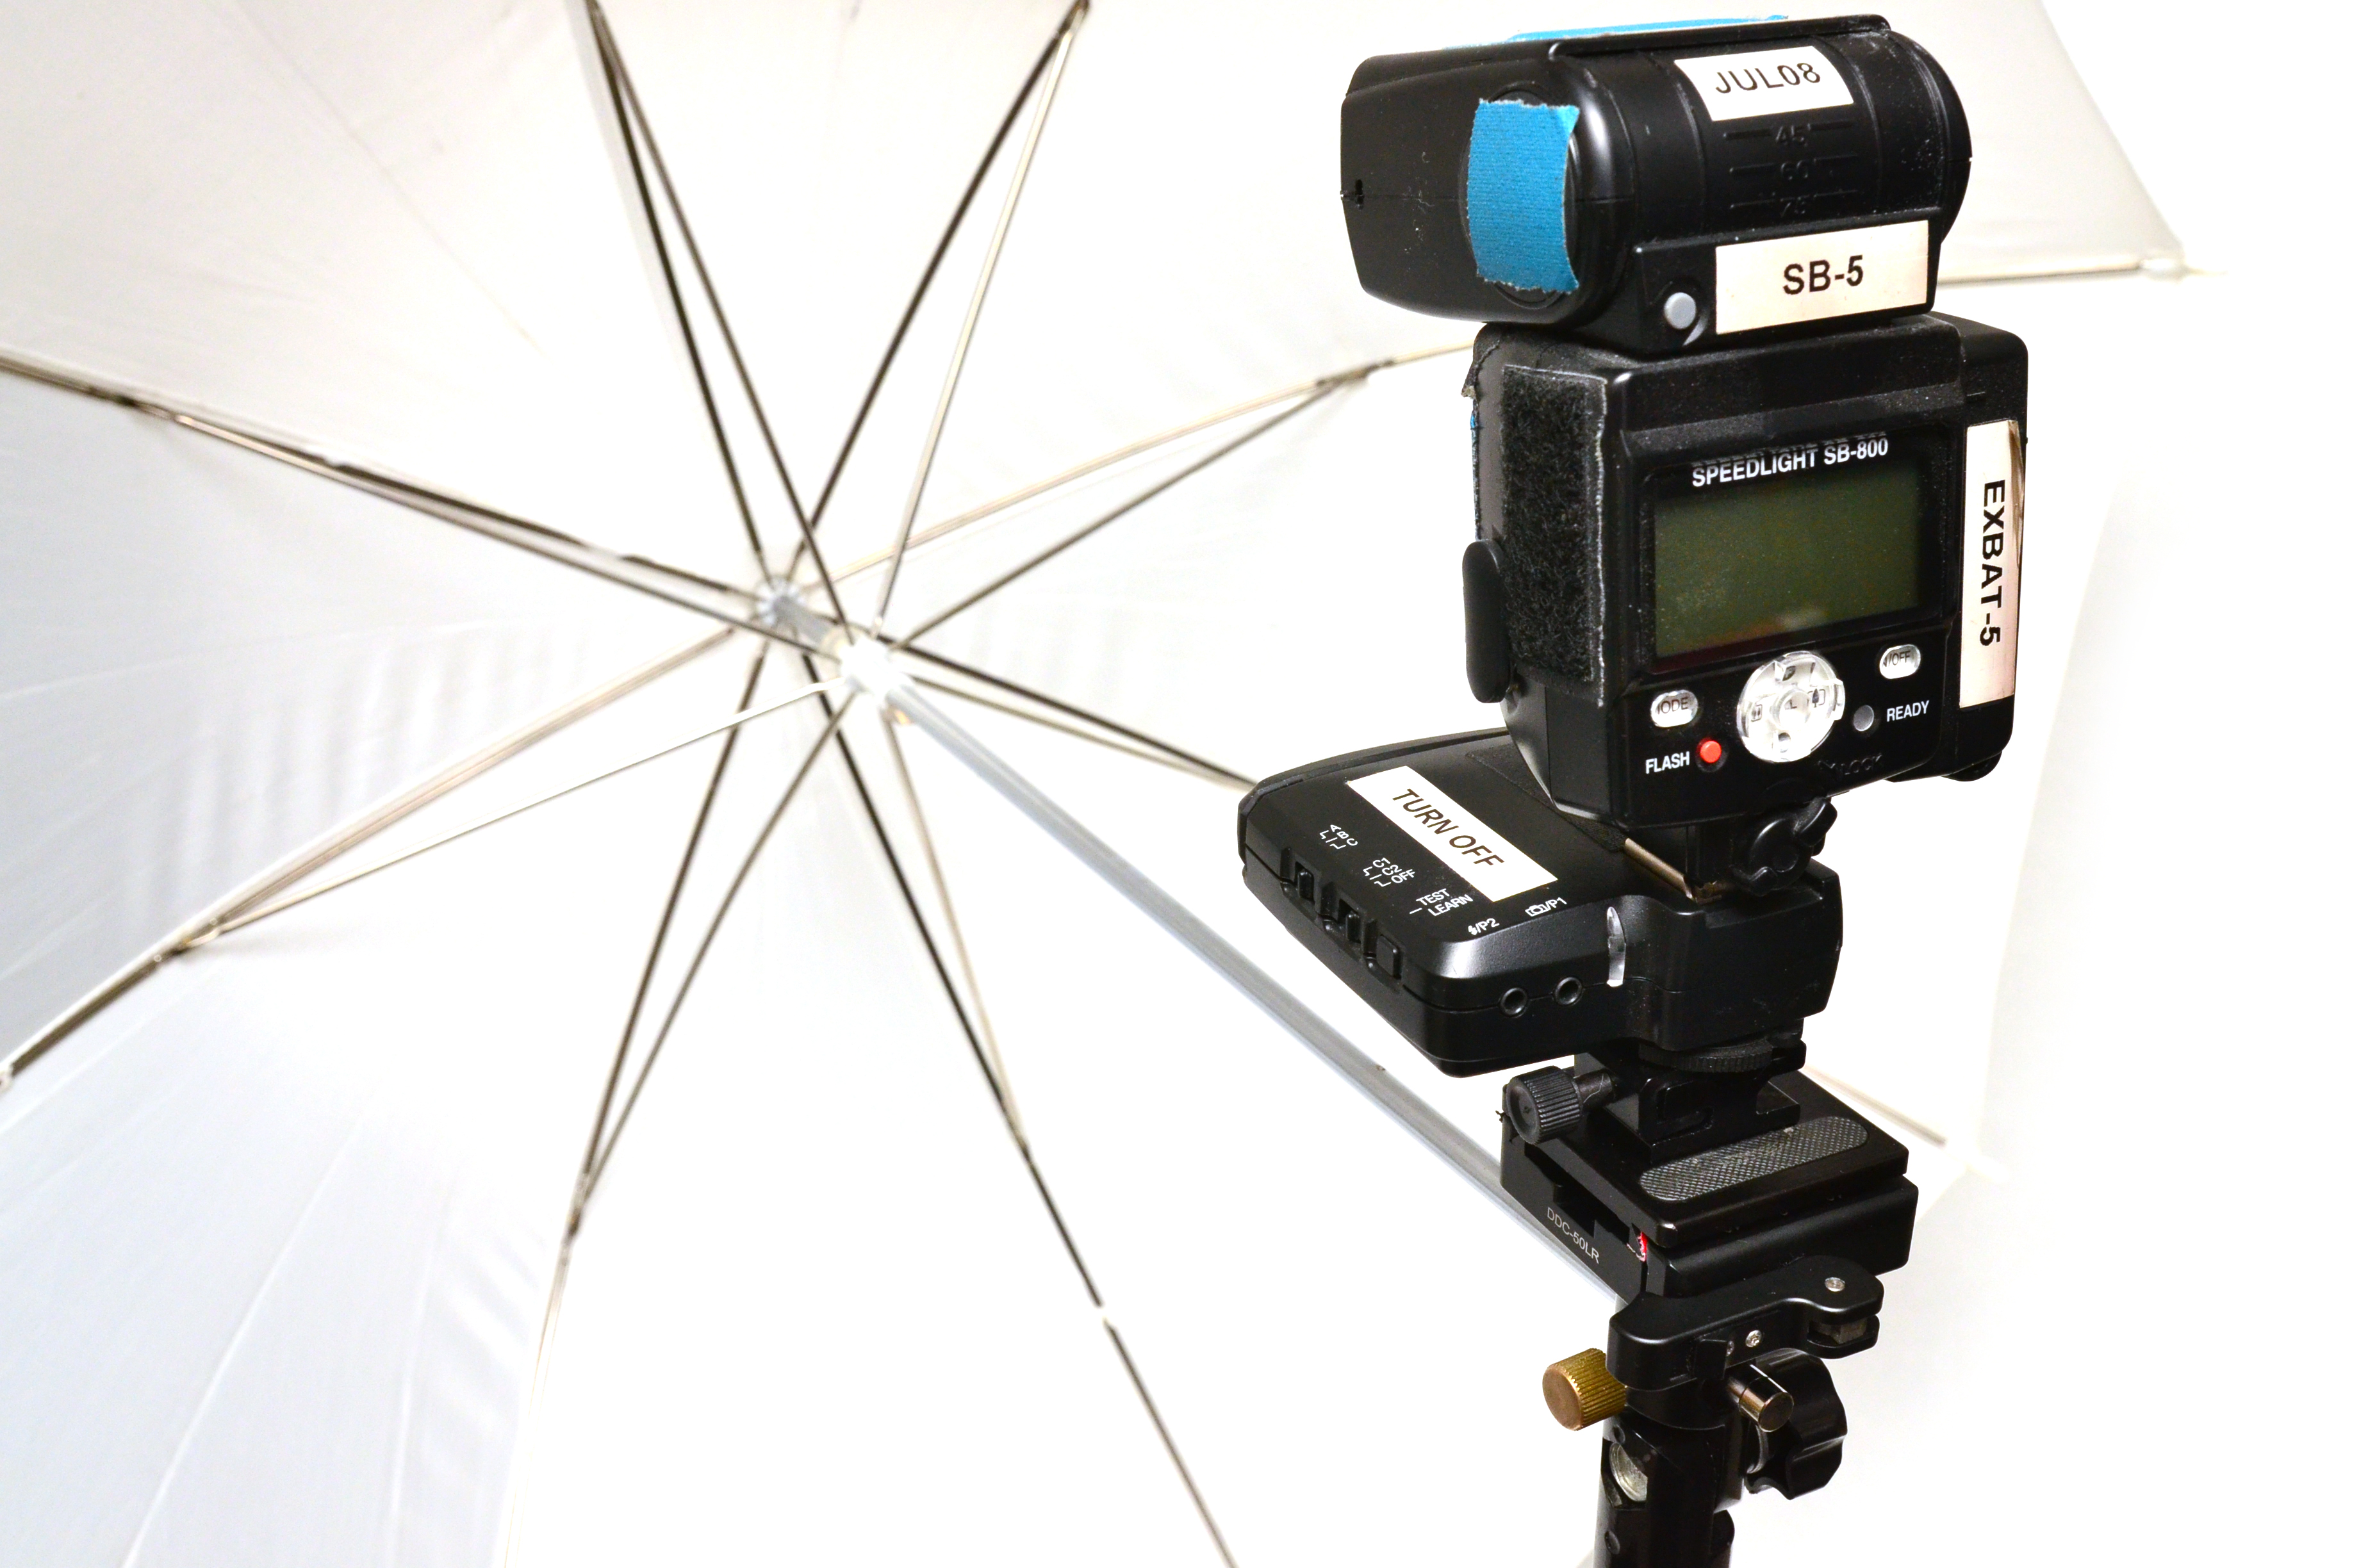
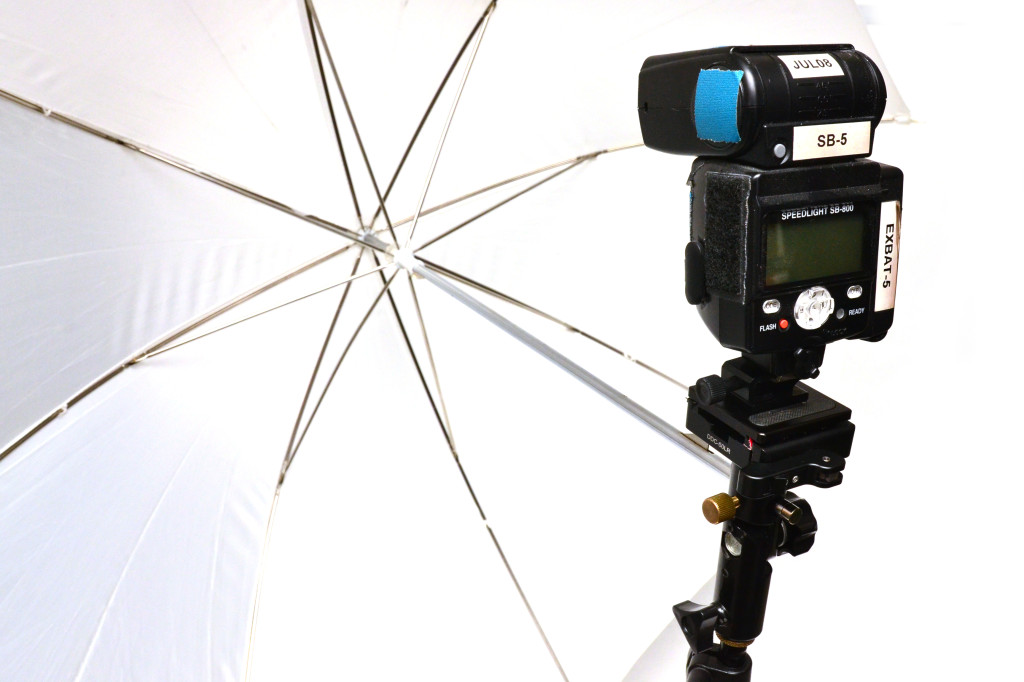
I started with looking for a compact flash/umbrella bracket, having used dozens of kinds, the Manfrotto one is the best. Unfortunately, the Manfrotto umbrella bracket comes with a huge flaw: its size; it’s huge. Way over scaled and overkill for the smaller flash units that I use. Many eBay searches later, I found one that not only appropriately scaled, the tilting mechanism for the flash/umbrella is index with 5 degree movements, making it impossible for it to slip down or up, its locked in and sturdy.
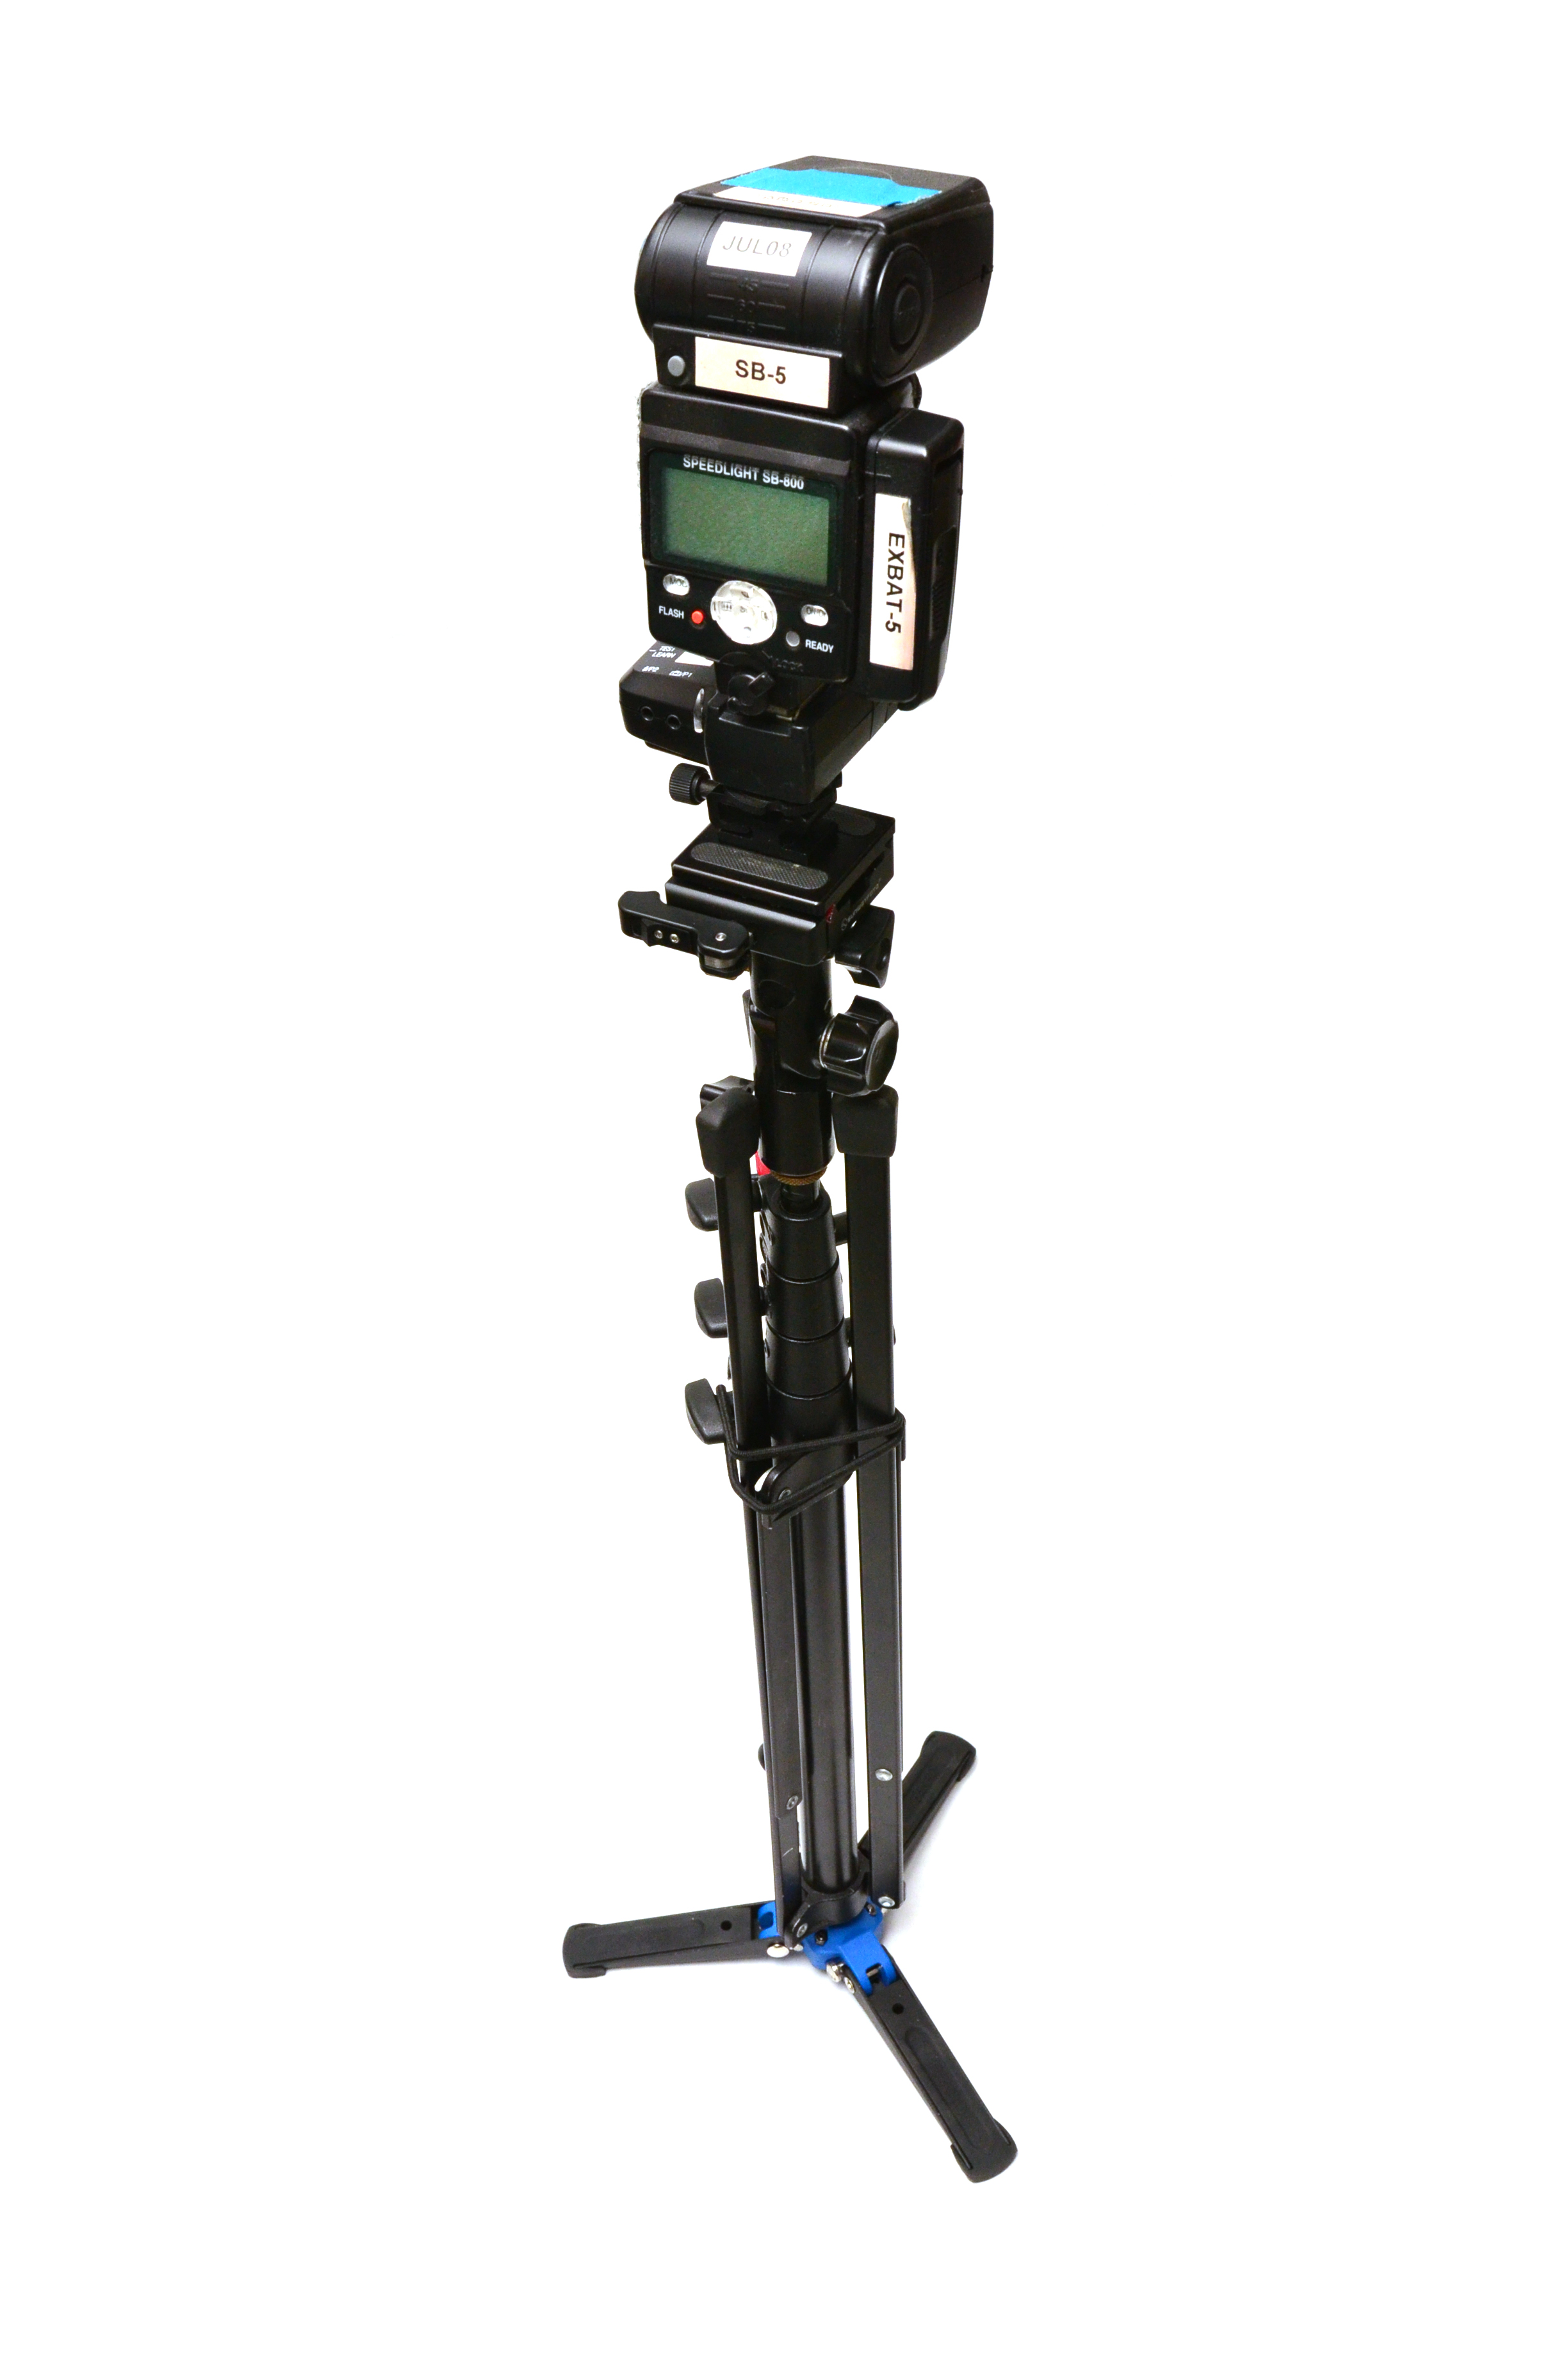
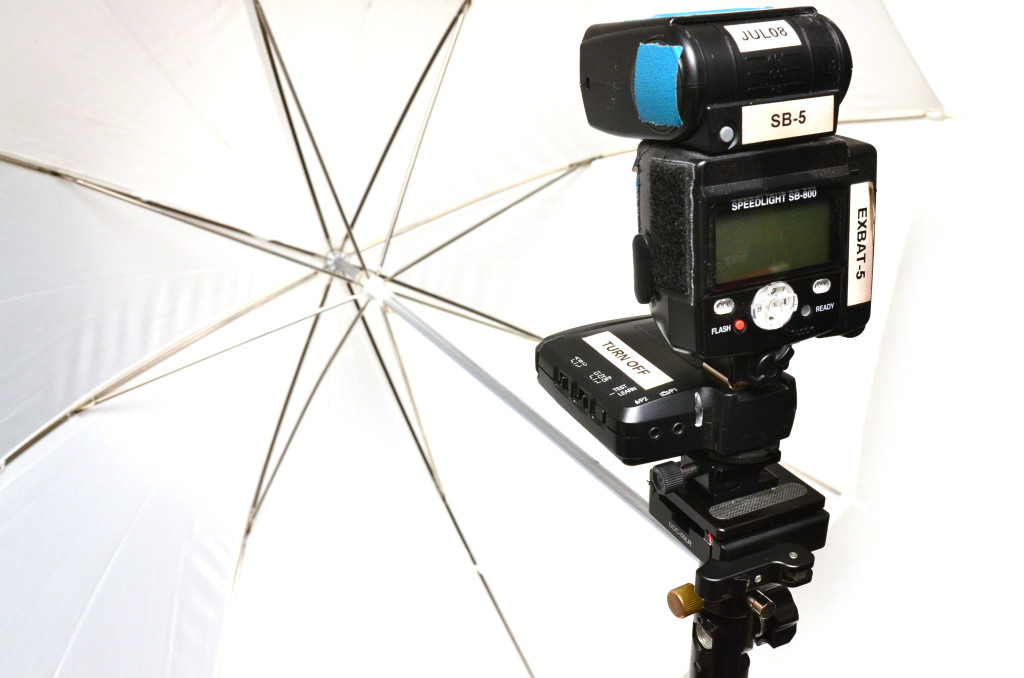
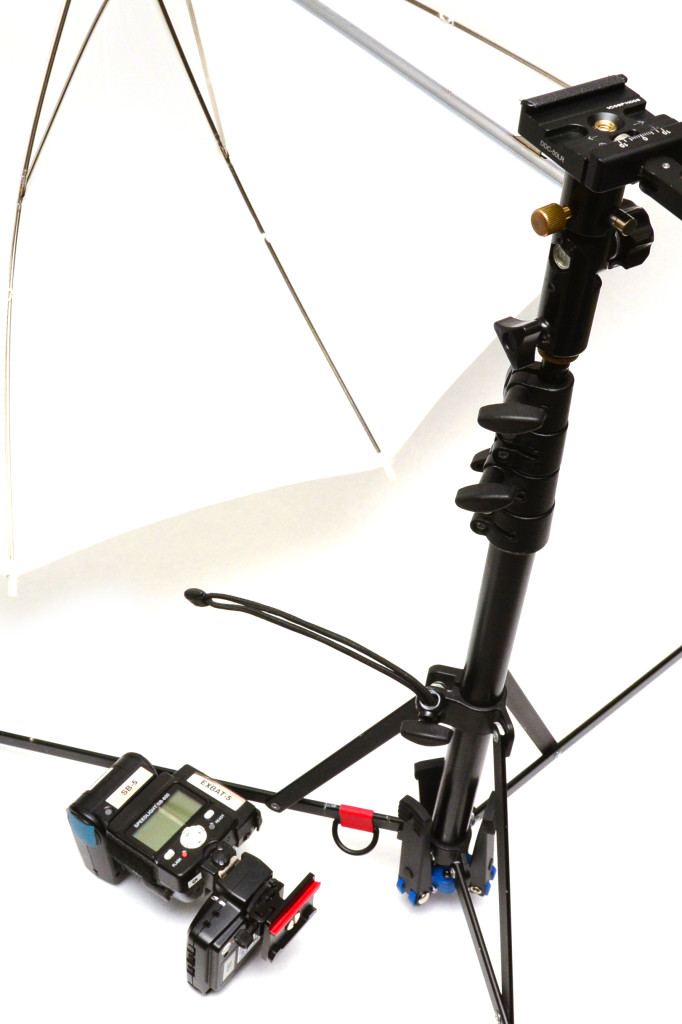
From there I applied a quick release Arca-Swiss tripod mount on top where the flash would go and a matching plate, I screw in a cold shoe for a flash to sit. More times than not, this is its home state. The flash or PocketWizard TT5 will mount on this, an umbrella is slid into the mounting hole we are off to the races.
When I need to use the monopod features of stand, I simple remove the plate with the cold shoe…
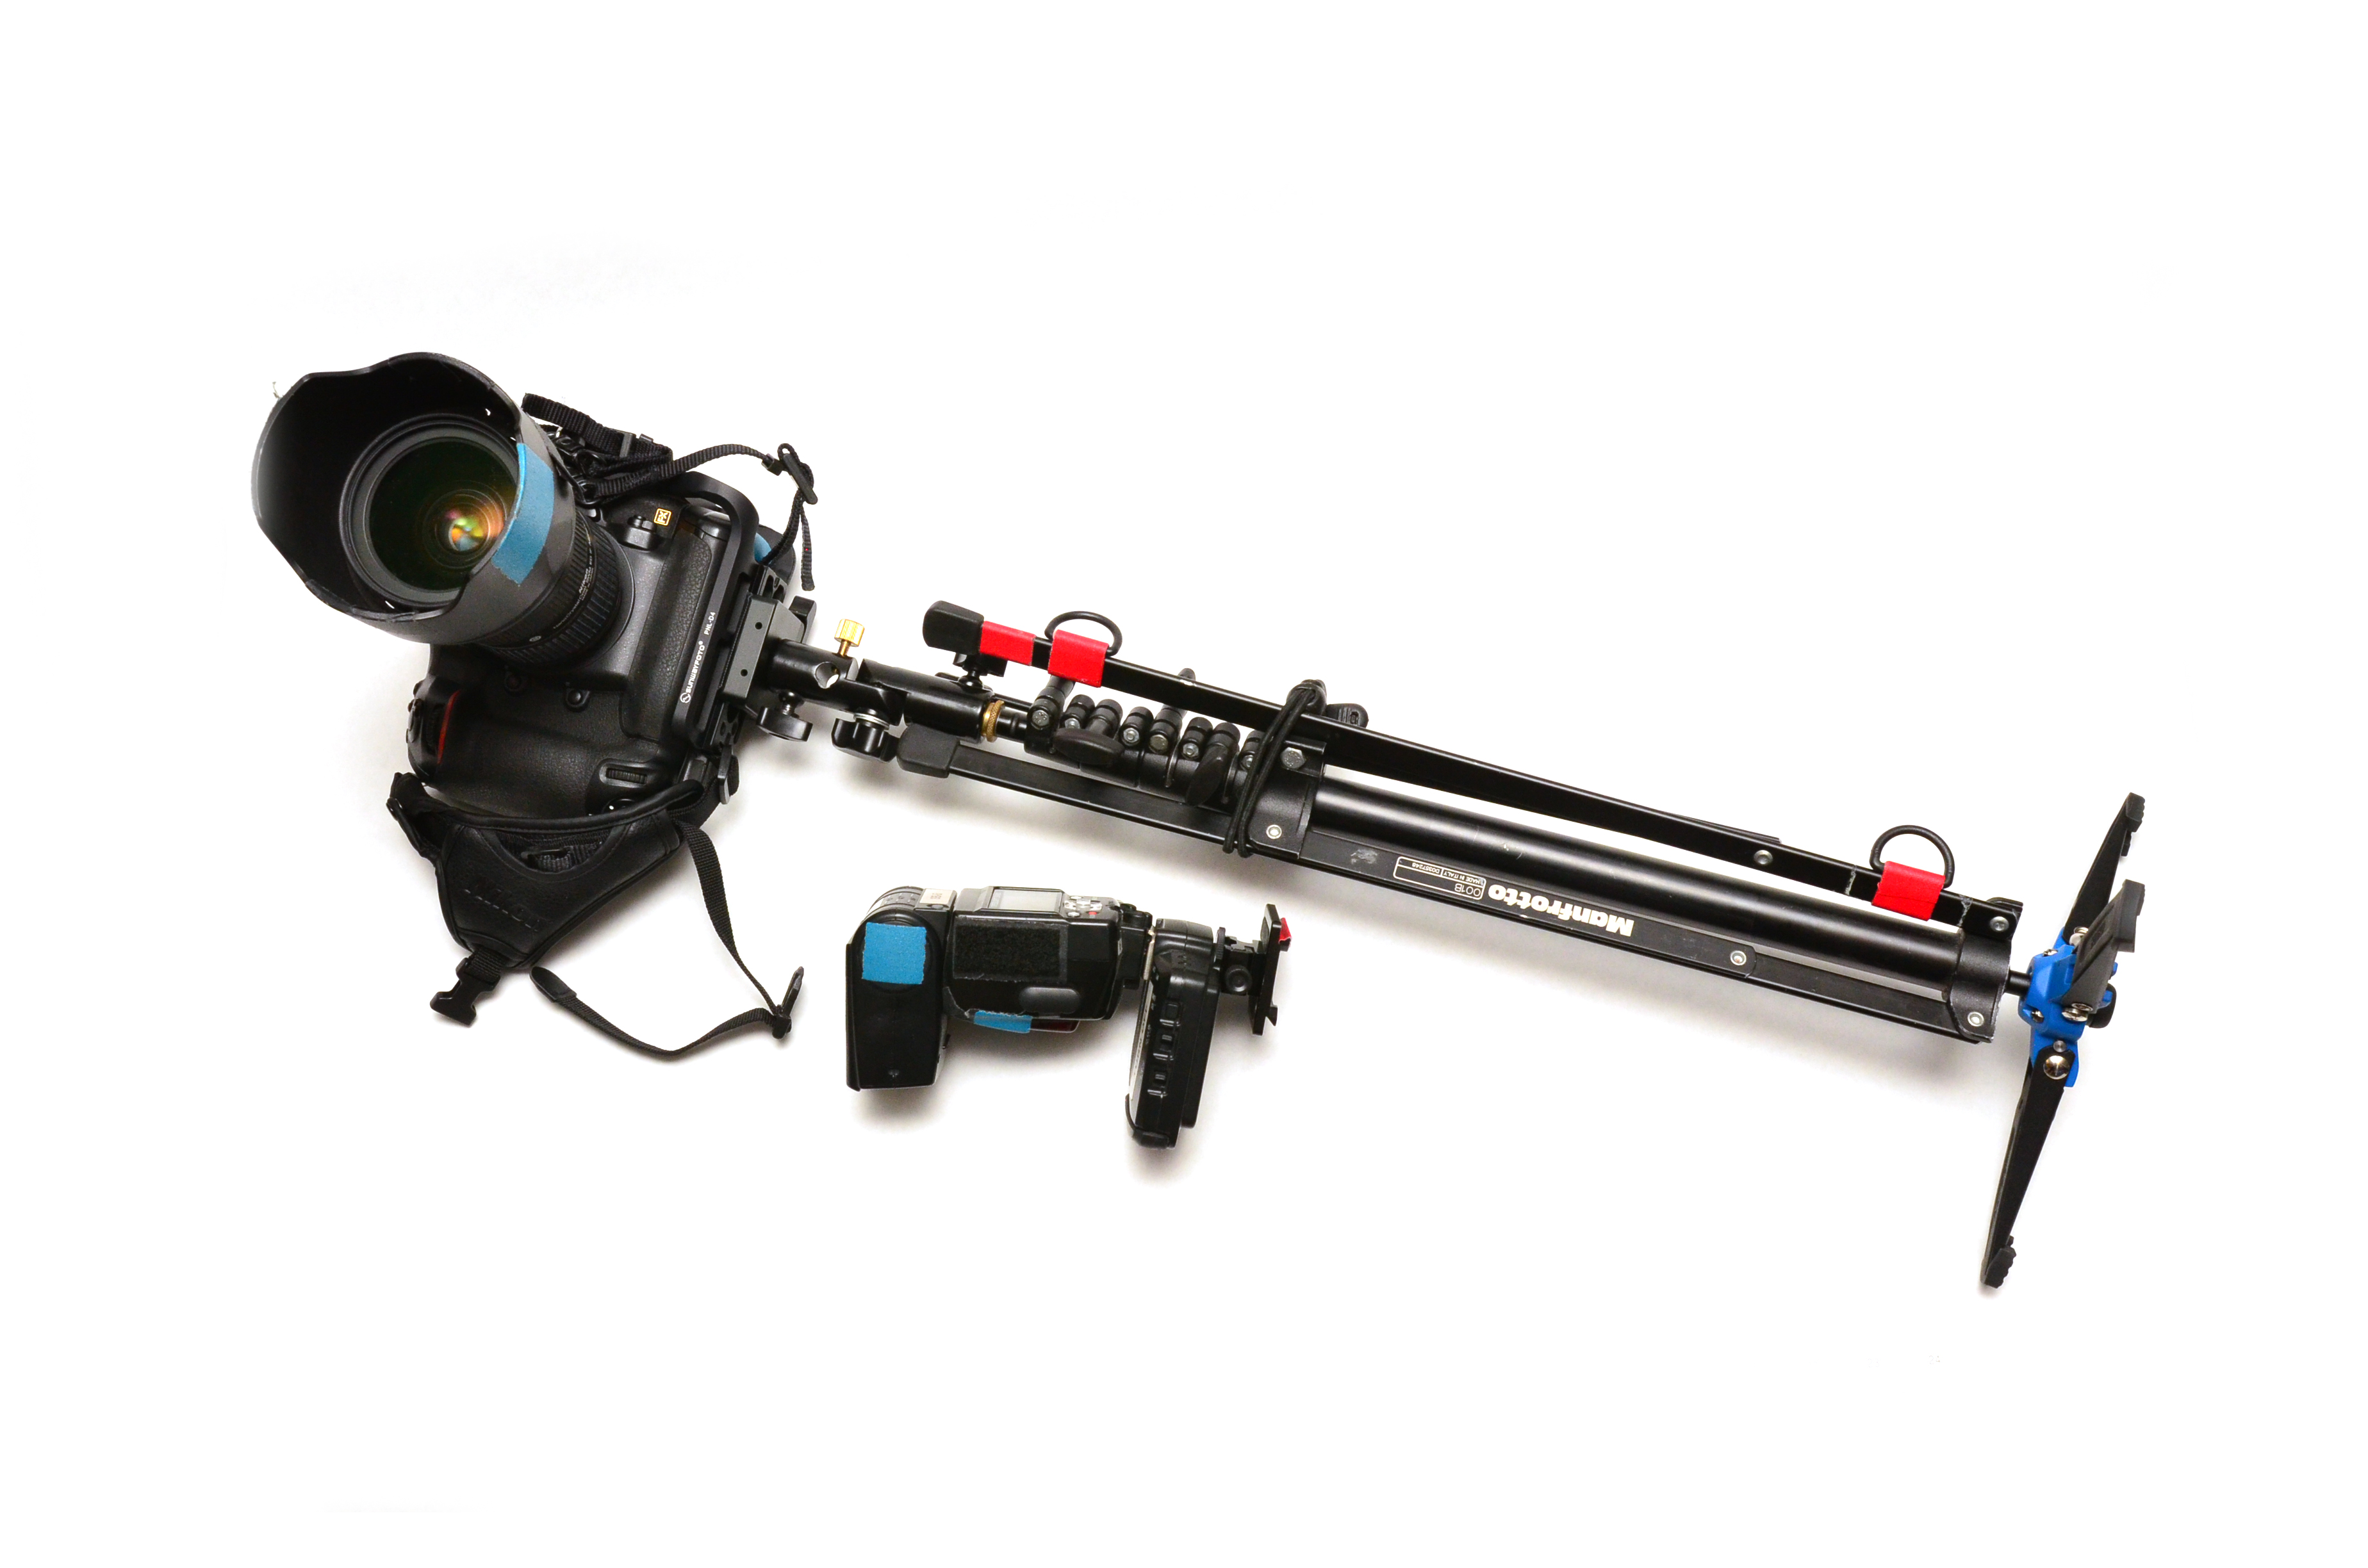
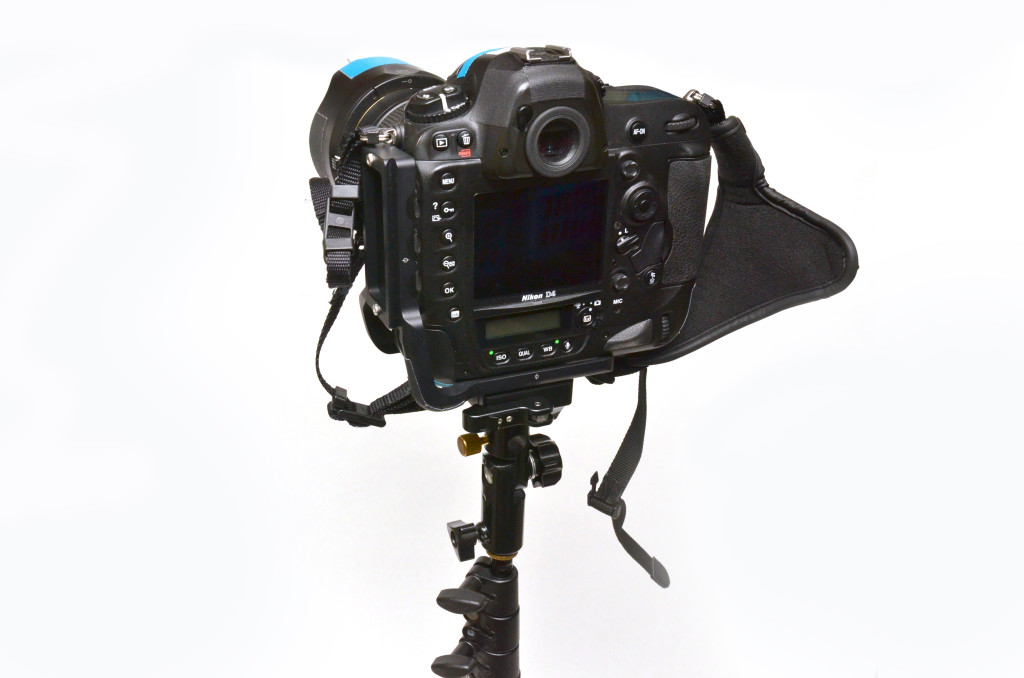
Slide the camera into the Arca-Swiss mount…
Close up the Nano legs, open up the ST1 legs…

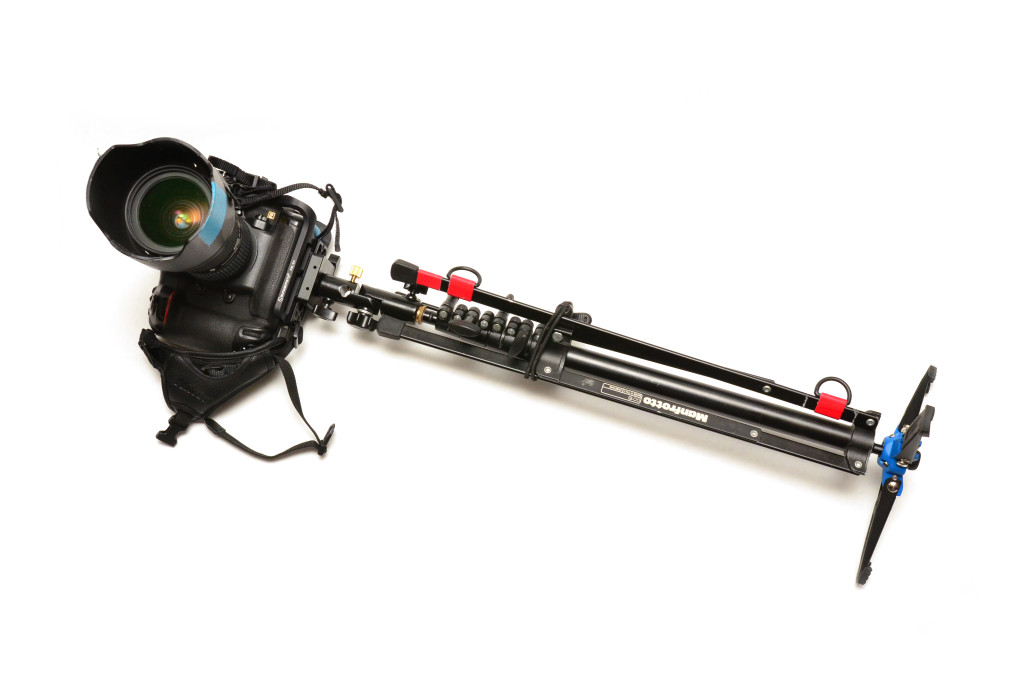
Adjust the height for my standing height (shown here at its lowest position), and we are ready to shoot!

The only major mod that I’ve shown here is the drilling and tapping of the 3/8″ thread in the bottom of the Nano stand, the rest is just careful and considered applications of readily available parts. I hope this was informative and will inspire you to reduce the amount of time spent on setting up equipment and start shooting more!
I can’t wait to get this thing dirty!
-Stay True-
-Eric